A Great Weekend!

I don't even know if it's possible to find words to accurately describe how great this weekend was.  I mean, it was just perfect!  After a full day of rain on Friday (ok, that part was not really perfect, but our grass did need it) , we had the BEST weather for an outdoor birthday party on Saturday.  So many of our friends and family came over to celebrate our little girl and she was just as happy as could be at her party.  The rest of the weekend didn't disappoint either, with a Notre Dame win, fun times with Matt's parents and the big kids, and a wonderful church service were Matt spoke and one of my best friend's sweet babies were baptized.  I really don't want this weekend to come to an end!

One of the best things I did when planning Katie Wynn's first birthday party was hire a photographer.  I knew I didn't want to be hiding behind the camera lens when the big day came, and I'm so glad I didn't have to.  I really enjoyed just being at the party!  The down side to that, though, is that I don't have any pictures to show for it yet.  Seriously, not an even an iPhone picture!  So a post all about the party will have to come once I get the photographer's pictures back.

That doesn't mean I don't have lots of other pictures from the weekend!  And here they are, from super crappy, blurry phone pics to semi-decent ones from my real camera. 

The weekend started out with a dreary, all-day-rainy Friday but it didn't slow my little Lady Bug down!  She hammed it up all day long her her Lala and Poppa who had just arrived into town. 

lady bug.JPG
lady bug.JPG
big shoes.JPG
big shoes

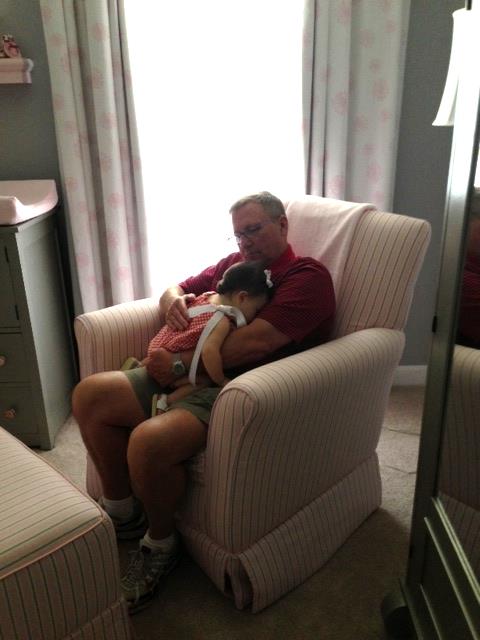
I'm not sure if I've ever mentioned it on her or not, but Katie Wynn loves men!  She shies away from the women - you know, the ones who always want to hold her - but she'll flirt and peek around at men on any given day.  It didn't take her long to decide she loooooved her Poppa.  Seriously, she never cuddles like this in my arms!

poppa cuddles
poppa kisses

I really don't think he minded being her favorite and getting all of her good lovin'.  

Obviously with Friday's all-day-rain shower, I was a nervous wreck about Saturday's outside party.  There was no way I would be moving the petting zoo into my house!! My worried prayers were answered when I woke up Saturday morning to sunshine.  We woke up early and got to moving furniture out to the grass.  The yard was wet but it thankfully dried off before the animals (and party guests!) arrived.  We tried to so hard to lay Katie Wynn down for a nap around nine so she would be well-rested.  But you know, nothing ever goes as planned.  T minus seven minutes til her birthday party and she face planted into her Poppa's chest and fell asleep! 

nap

We let her sleep for about 25 minutes before waking her up and bringing her outside.  She had no idea what was going on!  The picture below is from the end of the party, when I finally found the party hat I made for her.  She was supposed to wear that when eating her smash cake!  Oopsie daisy. 

#1

Like I said above, the party was a huge success.  I hope the photographer got a good picture of her grin when she rode the pony, but it's really her giggles that I want to remember!  Maybe we have a little cowgirl on our hands?  I know that would thrill some of her cousins! :) 

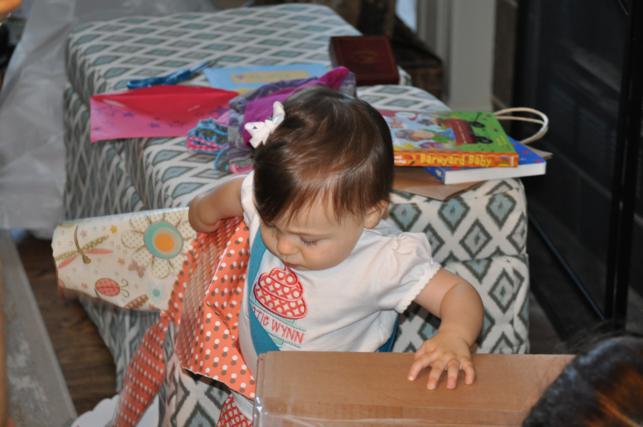
On the party invitation, we requested that, in lieu of gifts, guests bring a donation for Heifer International.   I'm thrilled that we'll have a sizable donation amount to send their way, and I'm also thrilled that we don't have TONS of new toys to find room for.  We waited to open what few gifts she did get until after everyone had left except for her grandparents and great grandmother.  KW did a great job of opening the first gift - two barnyard books - but then couldn't be bothered to open any other ones.  She was too busy carrying her books around!  Thank goodness for Anna and Wyatt being there to help (and being more excited about her gifts than she was).  Oh, and one gift had a blue ribbon on it that she wore as a birthday princess sash.

carrying book
IMG_4082.JPG
IMG_4080.JPG
opening gifts
carrying present
carrying present
DSC_0026.JPG
reading with wyatt

It wasn't until they got to the very last present that she decided ripping the paper off could be kind of fun.  Good thing it was a big box with lots of paper on it! 

opening present
opening present
opening present
opening present
IMG_4102.JPG

As soon as all the gifts were opened, the birthday girl crashed HARD!  She didn't even fight going down for a nap.   

napping
riding lulu

After her nap, it was fun to watch her face as she rediscovered her new toys all over again!  This is Lulu Ladybug who plays four different songs.  It jingled the whole time it was wrapped up in its box.  I feel for the poor UPS man who had to drive it around all day!

After a busy Sunday morning and a lazy afternoon, we took Katie Wynn outside in the early evening to try out some more of her new toys.  How cute is this garden cart that she got from her Aunt Beth, Uncle Nick, Jett and Bren?

garden cart
flower
garden cart
garden cart

It doubles as a wheelbarrow, but she hasn't quite figured out that it would be MUCH easier to wheel around if she would pull up on those handles! 

pushing wheelbarrow

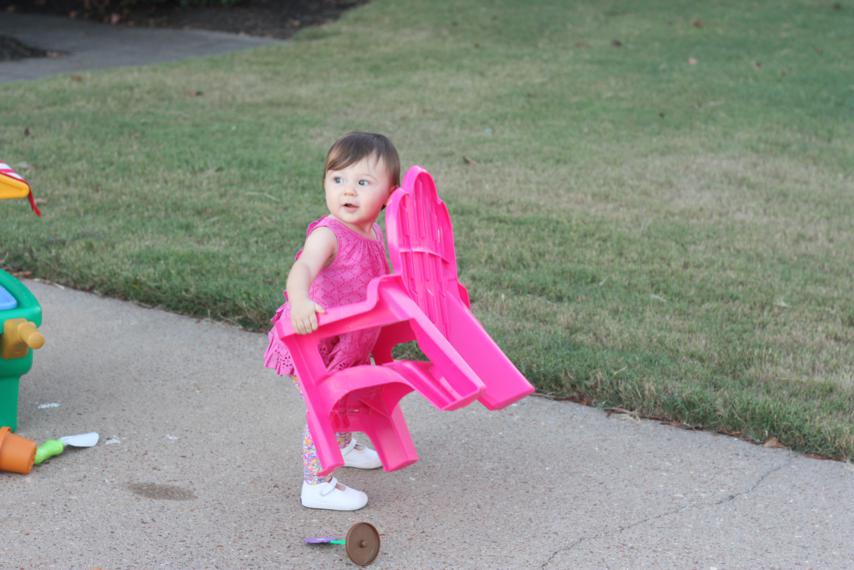
This chair is not new at all (five bucks at Walmart, go get one for your kiddo!) but we had it out for her too.  She decided rather than sitting in it, she'd rather carry it around.  That seems smart for someone who's still trying figure out how to walk without falling over, right? 

carrying chair
carrying chair
carrying chair
carrying chair

She took a break from her furniture rearranging to play basketball with her Daddy.  I bet her brother would be thrilled if she took up an interest in this sport!

basket ball
basketball

She ended the evening back with the chair, but this time actually sitting in it.  And of course, she's giving all those grins to her Poppa! 

grinning in pink chair
pink chair
pink chair
pink chair

I'll be back soon with updates about this little girl being ONE.  How is that even possible??  Til then, kick back - literally - in your lawn chair and enjoy this awesome weather! 

Burlap Door Hanger Tutorial

It's finally time for the tutorial you've all (read: Allyson) been waiting for!  The truth is I've had these pumpkin door hangers done for a week or so now, I just haven't had time to crank out the tutorial.  (We're T minus 2 days from Katie Wynn's first birthday party, so I've been one busy mama!!)

We didn't read a tutorial when we made the burlap crosses a while back.  We just got some burlap, cut out our design, and got to painting.  And while that method did technically work, we ran into a bunch of bumps along the road and knew there was room for improvement.  When we got ready for round two, I did google around and try to find a good tutorial, but all of the ones I found followed the same method we'd just done.

So, with some trial and error, we came up with our own way of doing this.  I'm sure others have done it this way too, I just couldn't find this exact tutorial anywhere.  Here we go!

  Supplies:
Colored burlap (the natural color will work too, but it's easier to start with colored)
Elmer's glue
Paint (craft paint works, but leftover latex paint from other projects is better)
Paint brushes
Bendable wire
Hot glue gun and glue sticks
Plastic shopping bags

For this round, we purchase orange burlap to make some reversible pumpkins.  We also ordered red burlap for the next set.  Not sure what we'll make yet - candy canes? Valentine hearts? Who knows.

We had a yard and a half of burlap and, because we wanted to make three reversible pumpkins, needed to cut six pumpkins out of it.  I laid out the full yard and a half, folded it in half and cut it, and then cut the two halves into thirds so I would have six equally sized pieces.

1.JPG
2.JPG
3.JPG

Next, you need to prep your burlap.  Tip we learned: it's best to do this part with the burlap in a square/rectangle.  If you go ahead and cut out your shape, it will majorly ravel and distort the shape. 

In a bowl, mix your Elmer's (or generic) glue with water.  For our six rectangles, we used two full bottles of glue and a third of a bowl of water.  The more glue in your mixture, the stiffer your burlap will be.  (Next time I will probably use three for this much burlap.)   I just mixed the two together with my hand.

4.JPG
6.JPG

Now you want to soak each piece of burlap into the glue/water mixture and then wring it out.  We clipped ours to hangers and then hung them up to dry overnight.  You can see I kind of folded the rectangles to wring them out.  Oh, and note that the glue/water mixture turned orange so you'll need a separate bowl for each color of burlap you're doing.  It's also very drippy so put down some newspaper to protect your garage floors!  (Hanging outside on a pretty day would probably be better, but we had rain.)

8.JPG
9.JPG
10.JPG

The next day our rectangles of burlap were dry and stiff.  Not so stiff that they didn't bend at all, but much stiffer than before.  While they were drawing, my mom drew a pumpkin template out of newspaper for us to trace.   We traced the pumpkin on three pieces of burlap and then cut them out two at a time so that the fronts and backs of each pumpkin would match.

11.JPG
12.JPG

Next is the fun part: getting to paint and decorate your door hanger!  But here's a VERY important step: when you lay out your two sides, make sure you flip one over so that you have one front and one back.  This was a major uh-oh for us on the crosses as they did not match up correctly when it came time to put them together.  Also, the paint will go through - not as bad as if you hadn't soaked them in the glue, but still enough to ruin floors - so put a drop cloth or something underneath them.

13.JPG

I'm gonna walk you through how I painted our pumpkins in case you want to make a pumpkin door hanger too. :)

First up, I painted the stems brown.  Easy peasy.   Then I added the green leaf.  I had to free-hand in the shape of the leaf.  This is where I really noticed a difference in the kind of paint I was using.  I used craft paint for the stems and, because burlap is so dry and thirsty and craft paint can be kinda thick, it took a lot of dipping my brush into the paint to get enough to cover it.  For the leaf, I switched to some leftover latex paint and it was much thinner and smoother.  It went on my more easily.

14.JPG
15.JPG

For the front of my pumpkins, I wanted to just add polka dots so that they would be generic fall pumpkins.  Here's my favorite trick for getting perfectly round polka dots...just find a cup that you like the size of, dip it into some paint (I used the lid of the paint can), and then press it down onto your pumpkin (or whatever).  Like the bend and snap, it works every time.

16.JPG
17.JPG
18.JPG

Then you can just use a paint brush to fill in your circles. 

19.JPG
20.JPG

On the other three pumpkins (the backs), I painted on a jack-o-lantern face for a Halloween vibe.

23.JPG

Now, this next step is what I think really takes your burlap door hanger to the next step.  It's on all the professional ones that I've purchased but none of the tutorials that I read, but it's what really "wakes up" your design.  Ready for it?  Puff paint.  Yes, go dig out your box of leftover crafting supplies from the 90s and find your puff paint.  This is important. 

24.JPG

Use the puff paint to outline everything and give it more definition.  I outlined the stem, leaf, and all the polka dots and also outlined the outside of the pumpkin and added lines for the pumpkin curves (or lumps? or whatever you want to call them).  On the jack-o-lantern side, I did the same but also outlined the face and used green puff paint to add some vines because I thought it needed a little something else. 

25.JPG
26.JPG
27.JPG

Now would be time to add any other finishing touches you want.  Sprinkle on some glitter.  Stitch on some buttons.  Whatever. 

Once your paint has dried, you're in the home stretch.  The rest is really easy and pretty self-explanatory.  Line up the two sides of you pumpkin (or whatever) and run a bead of hot glue all the way around the edge (do small sections at a time) to glue them together.  Be sure to leave a small opening so you can stuff it!  

29.JPG
37.JPG
32.JPG

Use something like plastic grocery sacks for your stuffing.  (Newspaper might get soggy and wet if it's hanging outside.)  Stuff it as full as you'd like.  I think I used 13 sacks on each of out pumpkins.   When you've gotten it full, glue together your small opening.

35.JPG
36.JPG

Even though you cut out your front and back pieces together, there's a chance that by this point, they don't perfectly match up.  See how you can see orange around the green leaf below?  Take your scissors and do any necessary trimming to clean up your edges.

33.JPG
34.JPG

To make a hanger, I use bendable wire that can be found at Home Depot or Lowe's.  It comes in a package that has a cutter on it - nice and convenient.  :)  Pull off a piece about a foot long.  You should be able to poke the ends right through the burlap.  To finish it off, I wrap the ends around a pencil to make a cute little curly-q. 

38.JPG
39.JPG
43.JPG

Boom, you're done!  Get out your command hook and hang those babies, er pumpkins, on the door! 

45.JPG
47.JPG
44.JPG
46.JPG

You did it!  Yaaaay!  (Obligatory Katie Wynn + clapping pic.)

48.JPG

For reals though...if you make one, I wanna see it. 

First Haircut Is In The Books

Does anyone else go a reeeeeeallllly long time between haircuts and then wake up one morning and decide it's time?  And then, once you've decided it's time, it's all you can think about and you just want your hair cut rightthisverysecond?  Or is that just me?

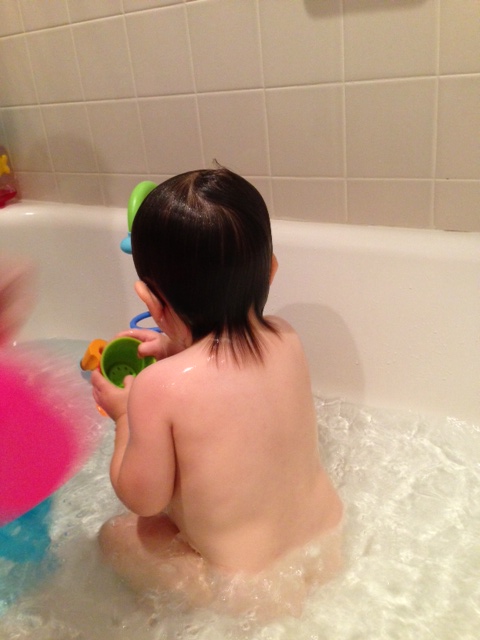
The same thing happened to me with Katie Wynn.  No, she didn't go a really long time between cuts since this was the first one, but last weekend when I finally decided it was time for a trim, I couldn't get it done fast enough.  Y'all, she was rockin' a mullet.  Big time.  Here are some pictures from her bath that we took the night before the big cut. 

mullet.JPG
mullet.JPG
mullet.JPG

It's pretty long in the front too.  (And I couldn't resist taking at least one cute soapy picture.) 

long hair
soapy

In my head, I had worked this first haircut up to be a Very Big Deal.  In reality, it was over in about 3.3 minutes.  She didn't even get to wear a cape!  We went to visit my hairstylist, Chase, at 3:30 on Wednesday and were walking back out the door by 3:40.  At his recommendation, we decided to just trim the back.  The front definitely gets in her face but, as he said, it's gotta grow out sometime, might as well get it over with now. 

She surprised us all and did really well!  No tears, no trying to get up.  She was very serious since she had no idea what was going on. 

hair cut
hair cut
hair cut
haircut
haircut
haircut

I wish I had a really great After photo for you, but I don't.  It really doesn't look much different, especially from the front!  In fact, if I didn't tell you she got her hair cut, you might not even know.

new do
new do

This after picture of the back actually looks pretty bad, but that's because he cut her little curls in half (yes, it actually curls a little back there!).  It looked much better today after it had been washed and dried.   She looks like she has a little bob.  :)

new do

I had no intentions of keeping a lock of hair - I mean, really, what do you do with that anyway? - but Chase gave us one so here it is.  This is how much got cut off the back of her hair.  I put this in her keepsake box for now but I'll probably end up throwing it away.  What's the point of keeping hair? 

hair.jpg

So this first is officially done.  And it came just 12 days before her first birthday!  

Half Bath Makeover

Well, you've now seen the pallet wall we installed in the half bath and even the shelf we built to go on it, so how about some real Before and After shots now?  

This half bathroom is off the kitchen, near our back door.  It was perfectly fine when we moved in, except that it was capital P Plain.  We only did two things immediately: hang the mirror (it was just sitting on the sink leaning against the wall) and hang a hand towel holder (how did they not have one of these?).  Other than hanging a red hand towel, nothing was done to the space.

before.JPG
before.JPG

Do you see in those Before pictures how all the hardware is gold but I plopped down our silver garbage can and soap dispenser??  Drove me crazy! 

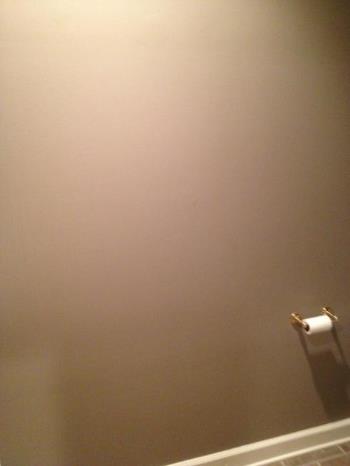
The other thing that drove me crazy was the view from the hall as you walk in from the back door.  From that angle, you get a full view of the main wall of the bathroom (across from the door) but the only thing on it was a toilet paper holder.  Nice shot for all of our guests, no? 

before.JPG

It was high time this tiny room had a makeover!  Obviously the pallet board wall was the inspiration that got the ball rolling.  If you look up at the Before picture of the toilet, you can see that I had painted some blue swatches on the wall.  I toyed with painting the walls something bright so that the pallet boards would be a big contrast, but ultimately decided to keep it about the same shade that it was.  I found leftover paint in the garage from the previous homeowners that was just a hair of a shade darker and had it painted in less than two hours.

The pallet board wall went up on July 3rd and then on the 4th of July holiday, Matt was able to switch out the gold sink fixtures, hand towel holder, and toilet paper holder for brushed nickle ones.  Then it was just left up to me to accessorize!  Take a look... 

after.JPG
after.JPG

Those of you that are really observant will notice that we hung the new towel and toilet paper holders on the opposite walls.  No more view of the toilet paper from the hall...hooray!   

The new mirror - from Home Goods - is slightly smaller than the one that was there but much  more my style.  I painted the shelf above the toilet to match it.   

after.JPG
after.JPG

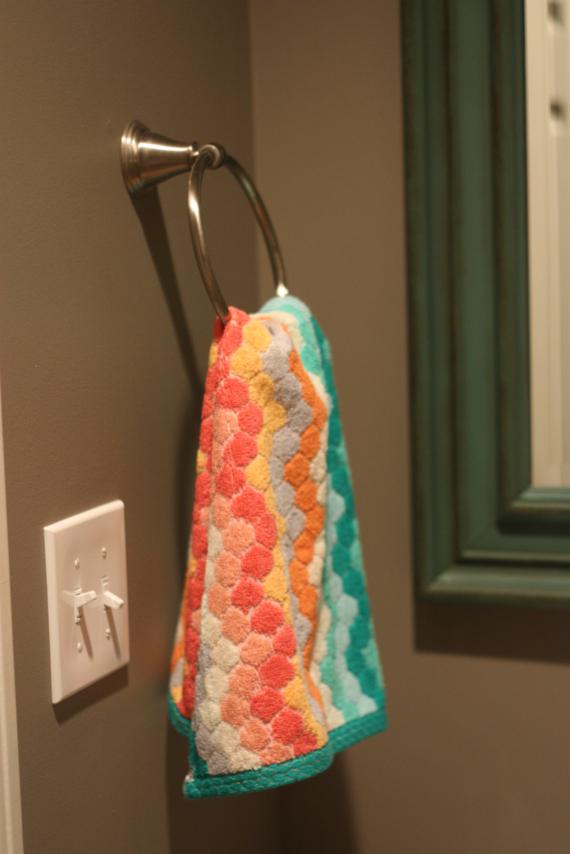
I thought the hand towels were a good way to introduce pops of more color.  The floral one is from Home Goods and the dotted chevron-ish one is from Target.  I couldn't decide which one I liked best so I got them both.  It's actually nice to be able switch it up occasionally and have a backup when I'm washing one. 

The big blank wall got decorated with a grid of six frames.  These were also found at Home Goods and I really wanted 9 instead of 6, but they didn't have enough.  If I ever find three more, I may add to the wall.  The original plan was to frame pen and ink drawings of outhouses since that seemed fitting for a bathroom.  Since I've been lazy and haven't actually obtained said drawings yet, I filled the frames with fabric scraps and called it a day.  I'm actually loving all the colors the fabric adds to the wall, though, so who knows how long these will stay.   

after.JPG
after.JPG

The view from the hallway is much better now!   No more toilet paper eyesore.  

after.JPG

I'm still struggling with what to put on the shelf.  I like the white vase (Home Goods) with the flowers (Pier One) for the touch of whimsy they add to the rustic wall.  And I like the color of the three candle holders, but I don't necessarily love that everything on the shelf is tall and skinny.  Anyone got any great ideas on what should go there?  Which should stay and what should I replace the other with? 

after.JPG

So that's how the bathroom looks today.  What does it still need?  The three more frames?  A rug on the floor?  Something better on the shelf?  I'd love your feedback!

Pallet Board Wall

Remember back when I told you how to put a shelf on it and then said I'd be right back to tell you all about the wall I put said shelf on and then disappeared for, like, a month?   

Yeah, sorry about that.   

Guess what, though.  I didn't forget.  I'm finally back to tell you about that wall. 

It all started when I saw this picture on pinterest and the wheels in my head started turnin'.   You already know I love a good plank wall and all things distressed, so using old pallet boards on a plank wall was right up my alley.  I loved the muted colors in the wood in this picture and especially the grey undertones.  And it just so happened that we had a half bath that could use some sprucing up...

via

When I get an idea in my head that I'm really excited about, I develop a one-track mind and start moving full-steam ahead.  In less than 48 hours, I had a pile of pallets delivered to our house...for free!  Gotta love having connections.  :)  (Thanks, Kim!) 

Slight problem with the f-r-e-e pallets, though.  They were brand new.  As in, the wood wasn't worn at all.  They were also really, really rough.  So rough that I think I got a splinter just by looking at them.  So it wasn't going to be as easy as just taking them apart and slapping them up on the wall.  A little pre-work was required. 

My dad worked on pulling the pallets apart for me.  I pulled up at his house one Saturday just after he'd finished the first one.  It took him over an hour!  After watching some YouTube videos of how to correctly dismantle a pallet, we were able to hammer the other ones apart much faster.  Thank goodness or this project still may not be done!  
A couple Christmases ago, we gave my Dad a wood planer for his wood shop.  It doesn't get used very often, but this was the perfect project for it.  We were able to run all the pallet boards through it and turn them from incredibly rough to nice and smooth.  That made a HUGE difference.  I wasn't so sure we were going to be able to use the boards in their original state, so I was really glad running them through the planer worked. 

Even after smoothing them out, they were still brand new wood.  (In case you can't tell, I forgot to take "before" pictures of my pallets.)  I really wanted those grey undertones so I went shopping for some stain.  At Lowe's, I found a sunbleached stain by Rustoleum that was perfect!   My husband stepped up for the staining part.  (I'm quickly learning that I have to do a lot of sweet-talking to get projects done these days since someone always has to be on baby duty too.)  He put two coats of stain on all the boards and then we were finally ready to put them up in the bathroom!

I think it was the evening of July 3rd when we installed it.  I remember because we didn't have to work the next day (4th of July holiday) because we didn't really even start working on it until after I'd put Katie Wynn to bed for the night.  As we ate dinner, the three of us (me, Matt, Dad) talked through the plan.  We were pretty sure we were going to be able to remove the tank of the toilet but the leave the seat in place and still get the boards in behind it. 

We used liquid nails to glue the boards to the wall and then nailed them in with the nail gun too.  I think we were all really nervous when the first one went up.  It won't be pretty should we ever decide to pull these down!  It would probably require re-sheetrocking the wall so the boards are here to stay for a while! 

As the second board went up, Matt turned to me and said: 

When we got married, I didn’t really think we’d ever be standing in the bathroom together watching your Dad sit on the toilet.

Then shortly after he said that, I texted this picture to my mom.   No maintaining-three-feet-of-personal-space for this project!

IMG_4779.JPG

After the first couple of boards were done, we really got into a groove and it started going up quickly.  My job was to cut the boards to length out in the garage (while fighting off mosquitoes and June bugs!)  and decide the pattern of the boards (we alternated between one full-length board across and two boards pieced together).  Matt then applied the liquid nails and then handed the board off to my Dad who nailed them in place.  All while never waking the baby.  :)

IMG_4780.JPG
IMG_4783.JPG
IMG_4786.JPG

In the picture above on the far right, you can see that when we made it to the ceiling, we were left with a sliver of space too narrow for a full board.  We measured it out and then sent my Dad home to cut it to size on his table saw.  Waiting for him to come back was probably the longest part of the whole project and he only lives 5 minutes away!   

I guess I forgot to take a picture of just the wall by itself before putting a shelf on it.  Here's my side-by-side before and after pictures like the Pinterest inspiration above. 

IMG_4876.JPG

It's been over two months now since we installed the pallet wall and I still love, love, love it!  More pictures of the complete bathroom redo coming next.  Promise.  :)