Photoshop Day 7

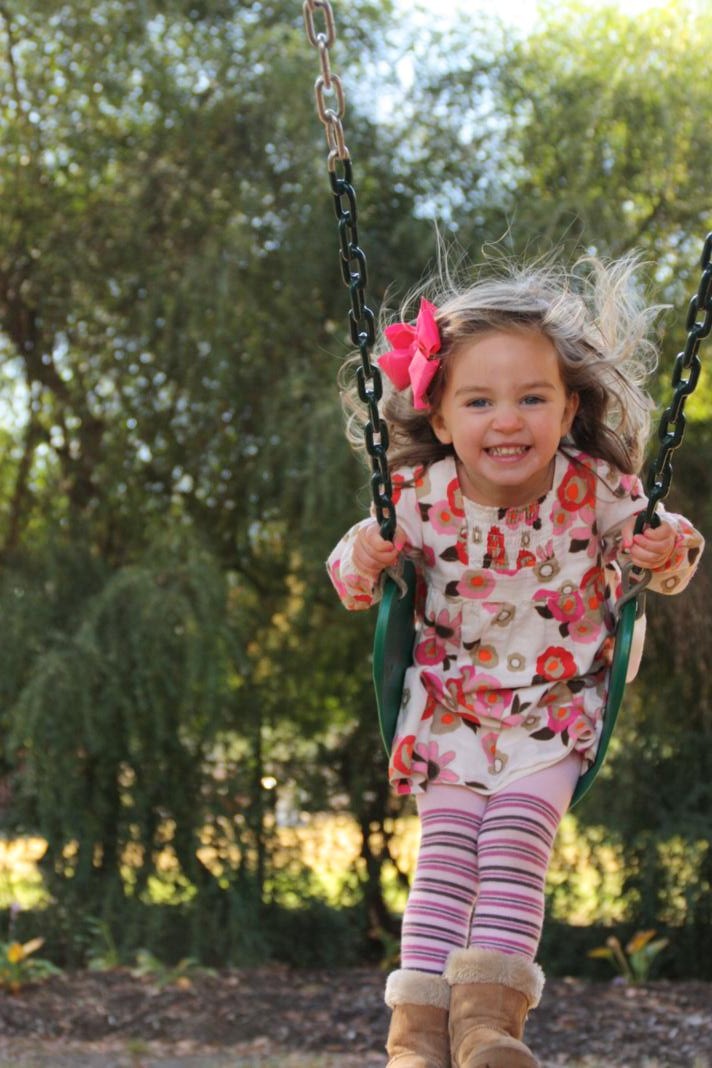
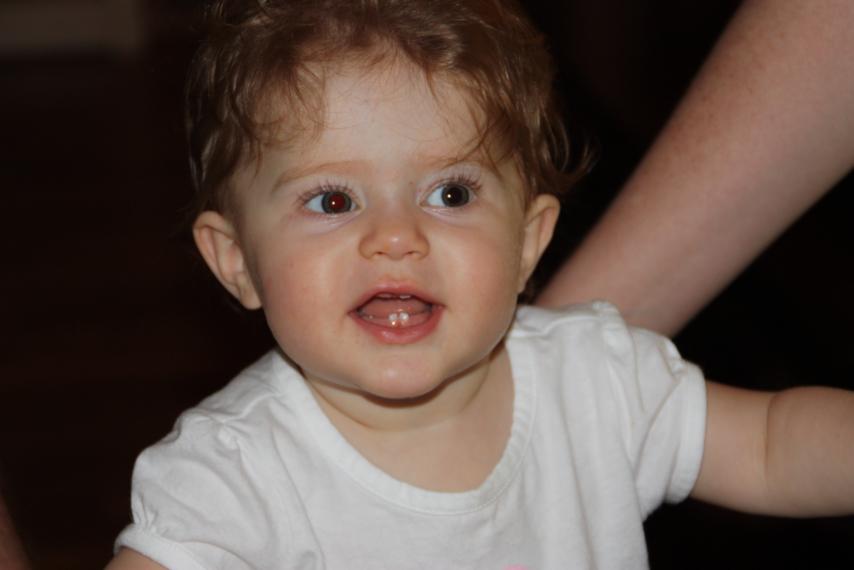
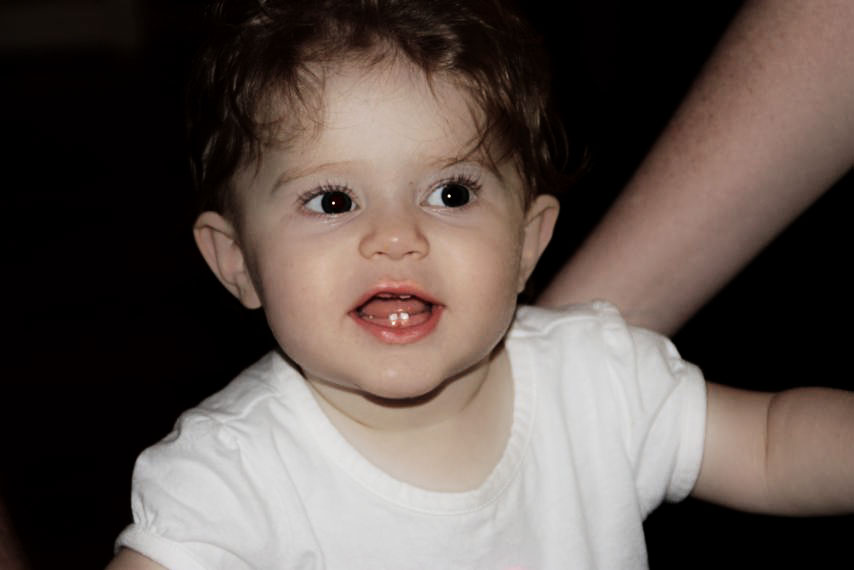
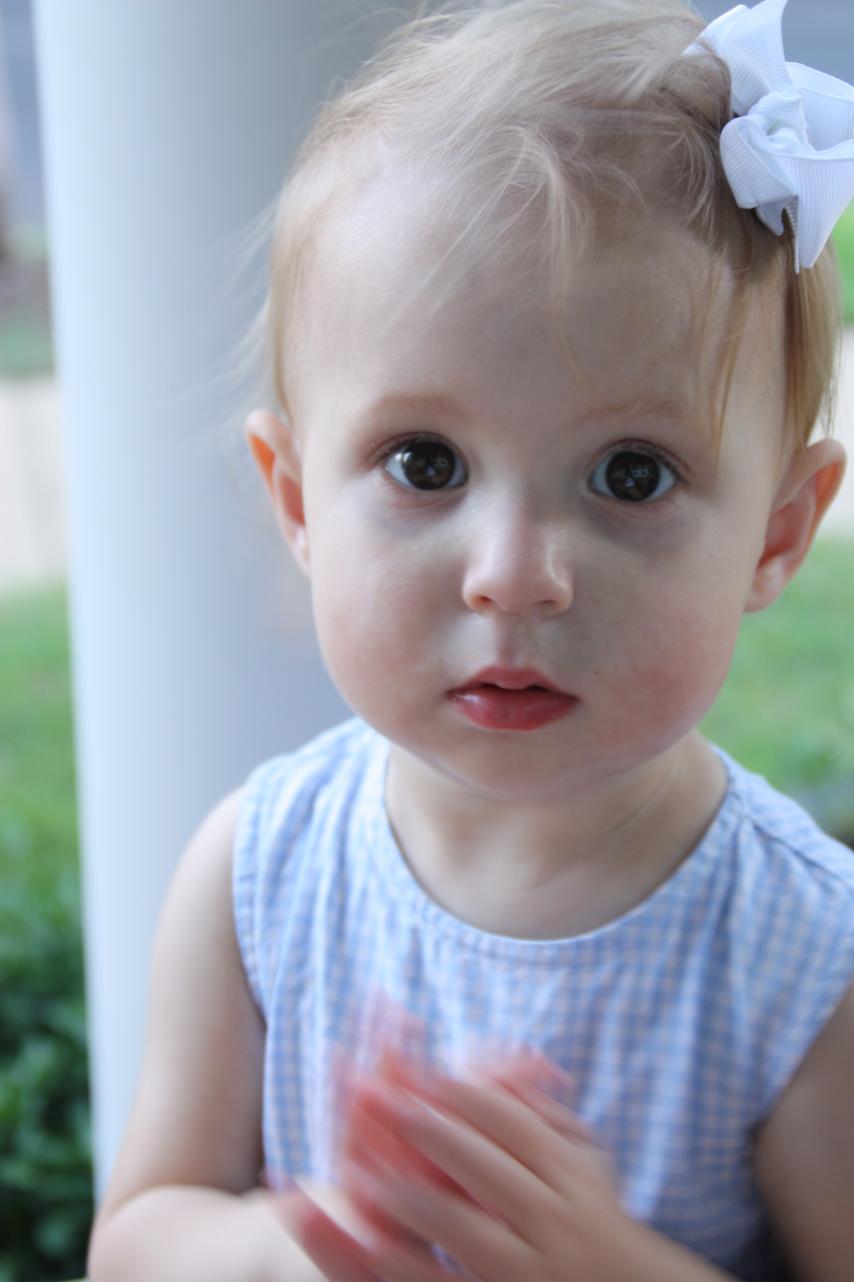
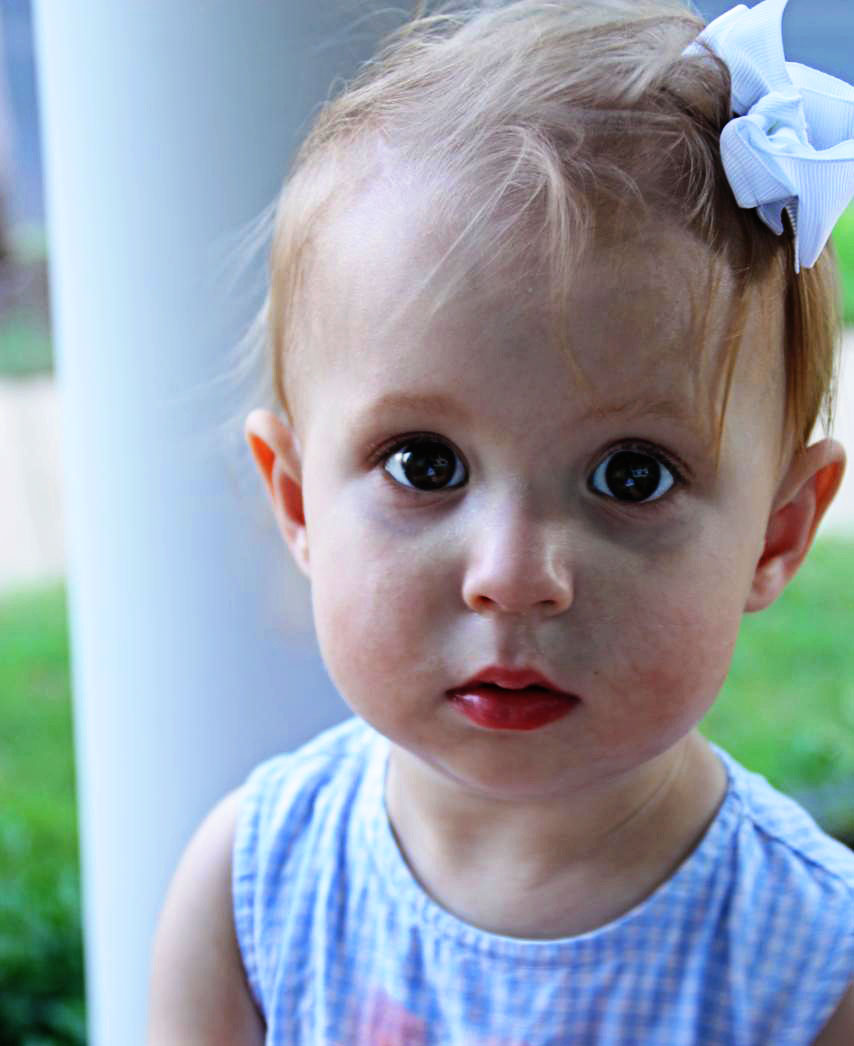
The challenge was to post photoshopped pictures for seven days straight and I was going strong for the first 6!  Now it's after 8 pm on the 7th day and I'm rushing to squeeze this post in at the last minute so I can say I met my goal.  I didn't get to play in photoshop at all last night so I've just done these last photos very quickly.  I may have to revisit them at a later date and try again because these were the ones I've been wanting to play with since I first got photoshop.  Let's get to it... Alternate title for this post could be "The Seasons, According to Bren" or something like that.  Every time Bren is at my parents' house, all she wants to do is "fwing," so I have tons of pictures of her on the swingset.  These swing pictures could almost be her own version of a growth chart.

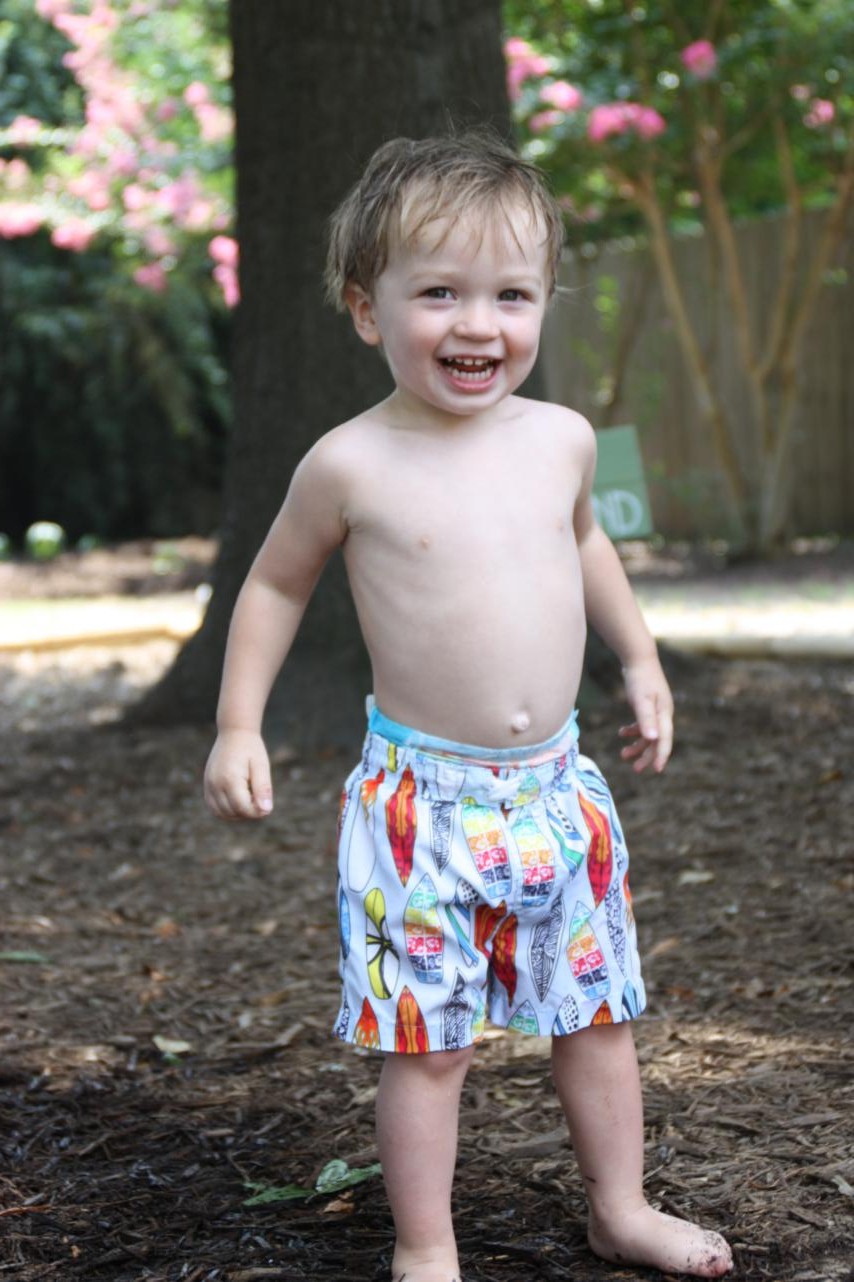
Here are the original straight-out-of-camera shots.

The pictures are arranged in order of the seasons, not necessarily her age.  I think she's the youngest in the summer one, and the spring one might be the most recent.

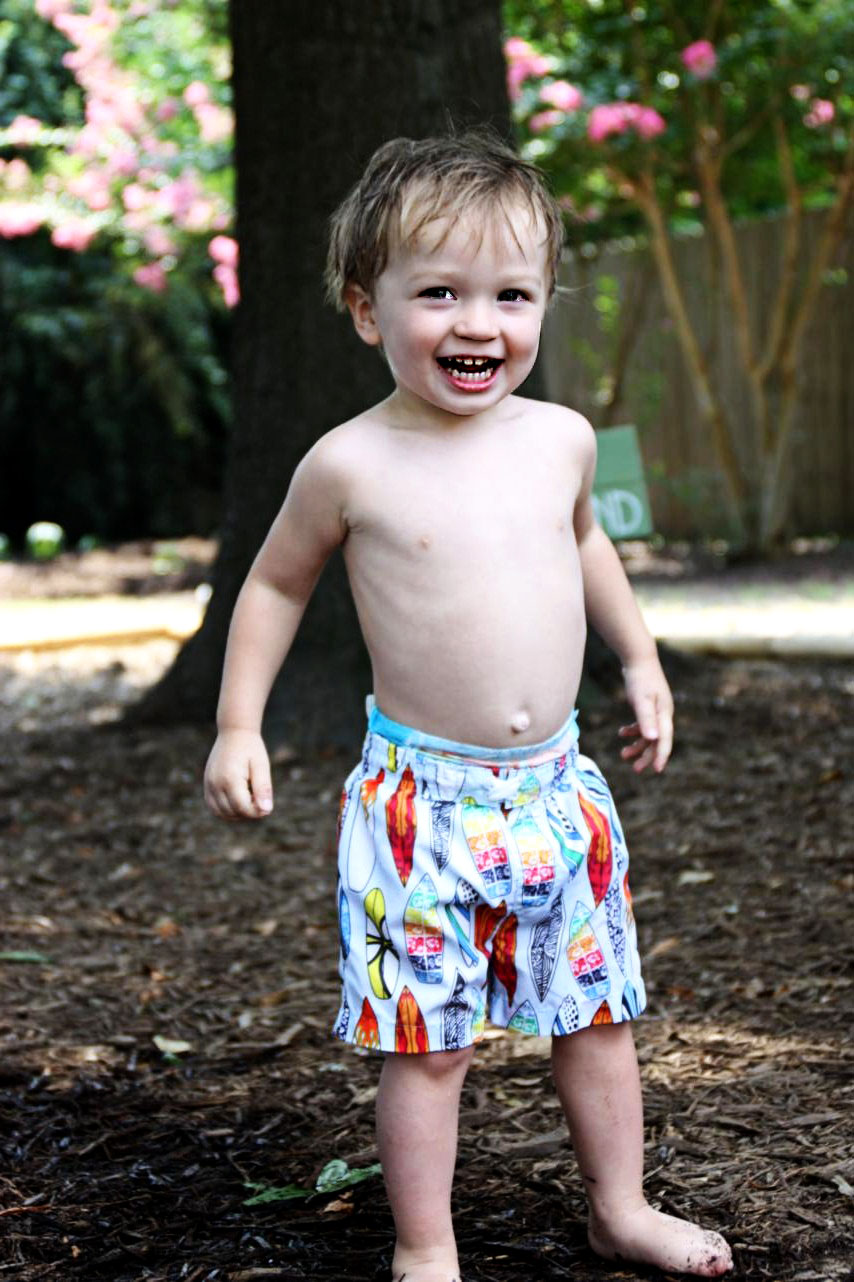
Here are the touched-up photos...a little sharpening and color boosting, and then just an added text box for the season.

Do you have a favorite Bren season?  I can't decide.  I really like the picture quality in the Fall one (like how you can see all her little hairs flying) but I like her smile in Spring.  The Fall one's cute too, and her fuzzy legs in the Summer one kinda make me laugh...

Photoshop Day 6

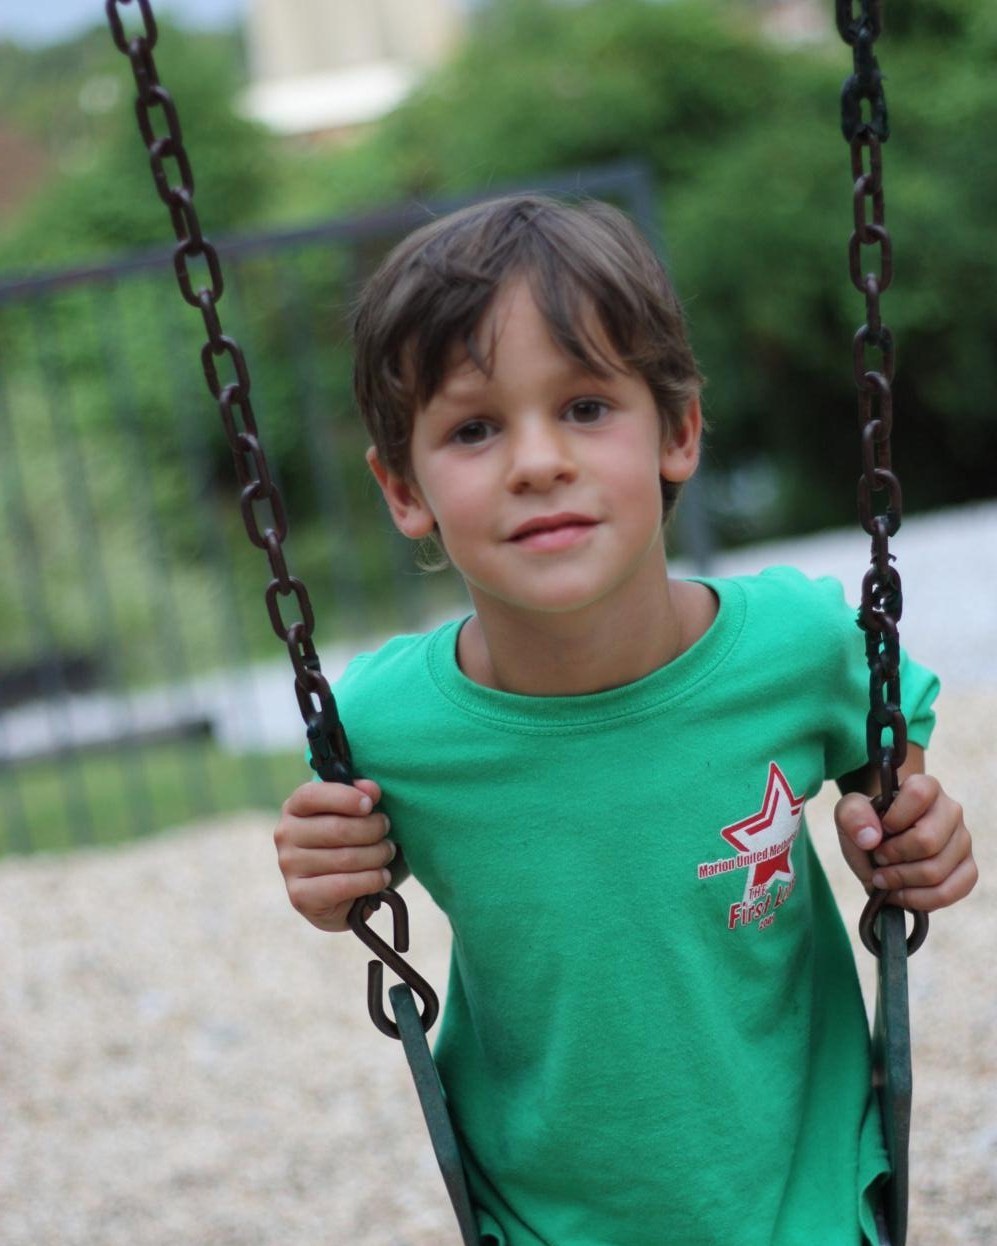
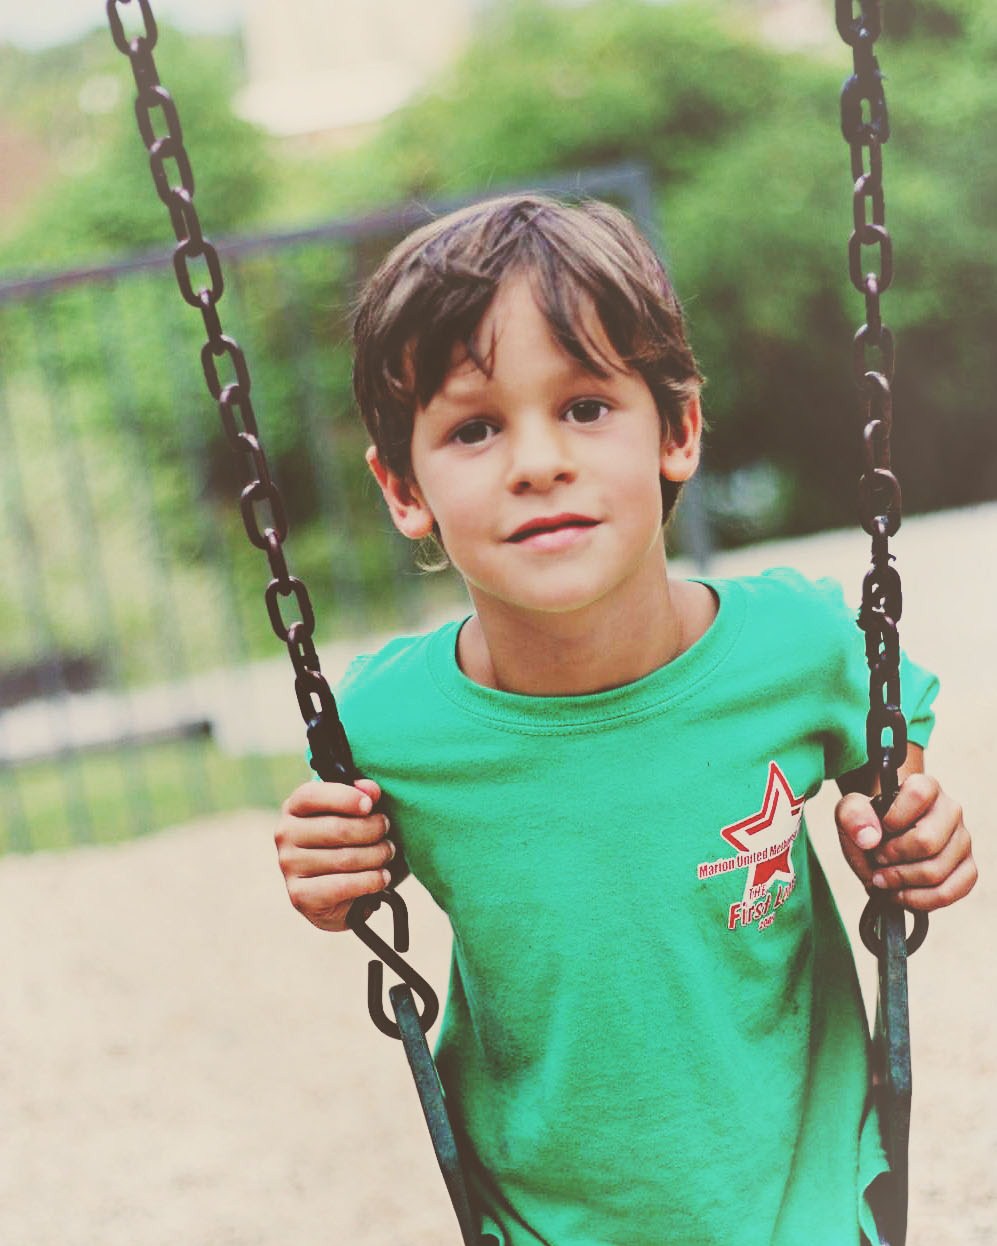
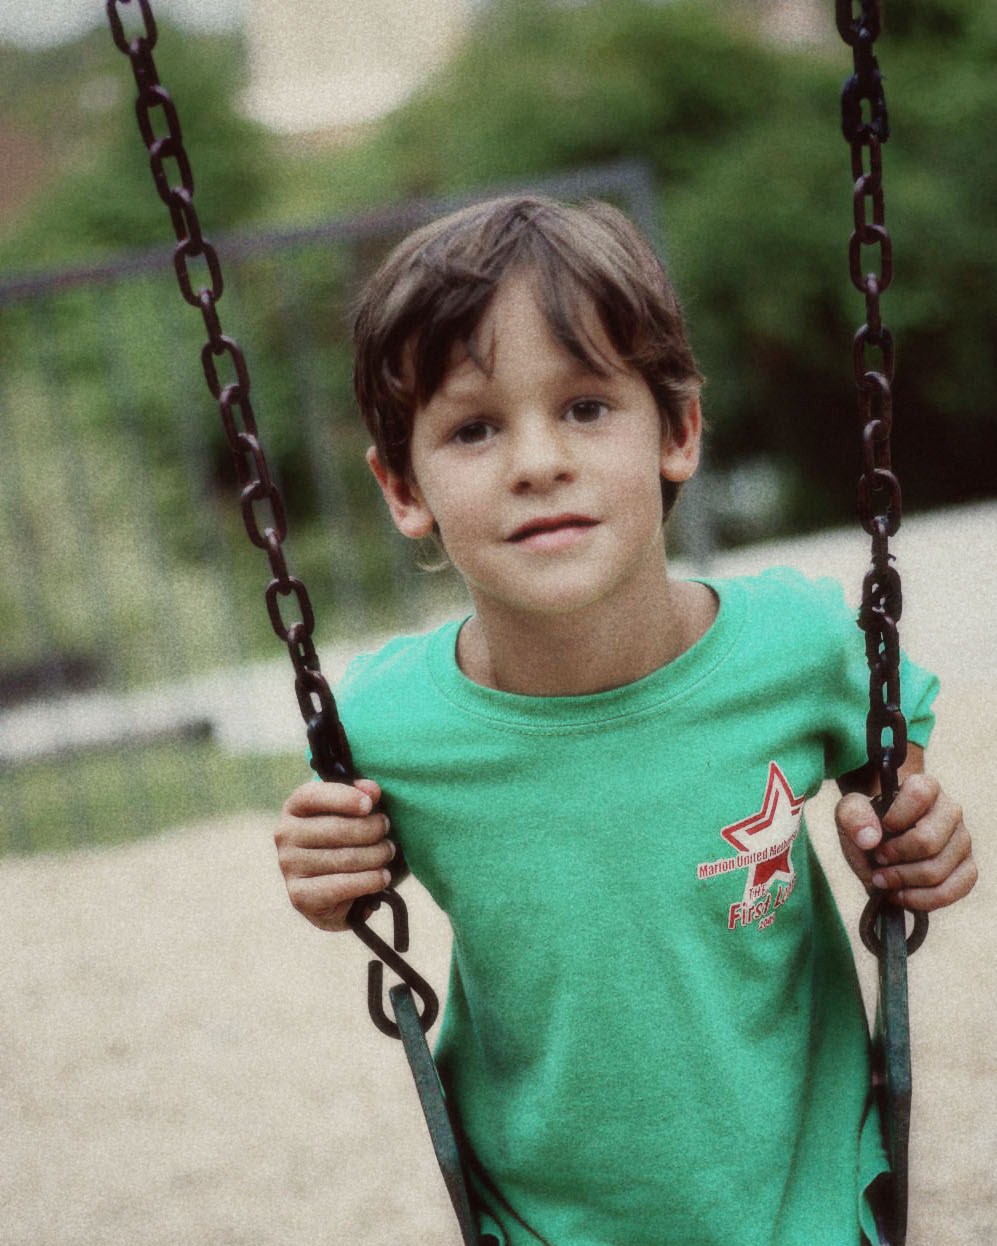
I couldn't decide what picture to play with for today's post, so I scrolled back through the ones I've already done.  Then it hit me...duh!  I'm missing one of my favorite cuties: Jett! This picture is actually from last summer.  After dinner at our house one night, we walked down to the playground around the corner and the kids played hard while I snapped photos.  This pic of Jett is one of my favorites; it hangs on our fridge.

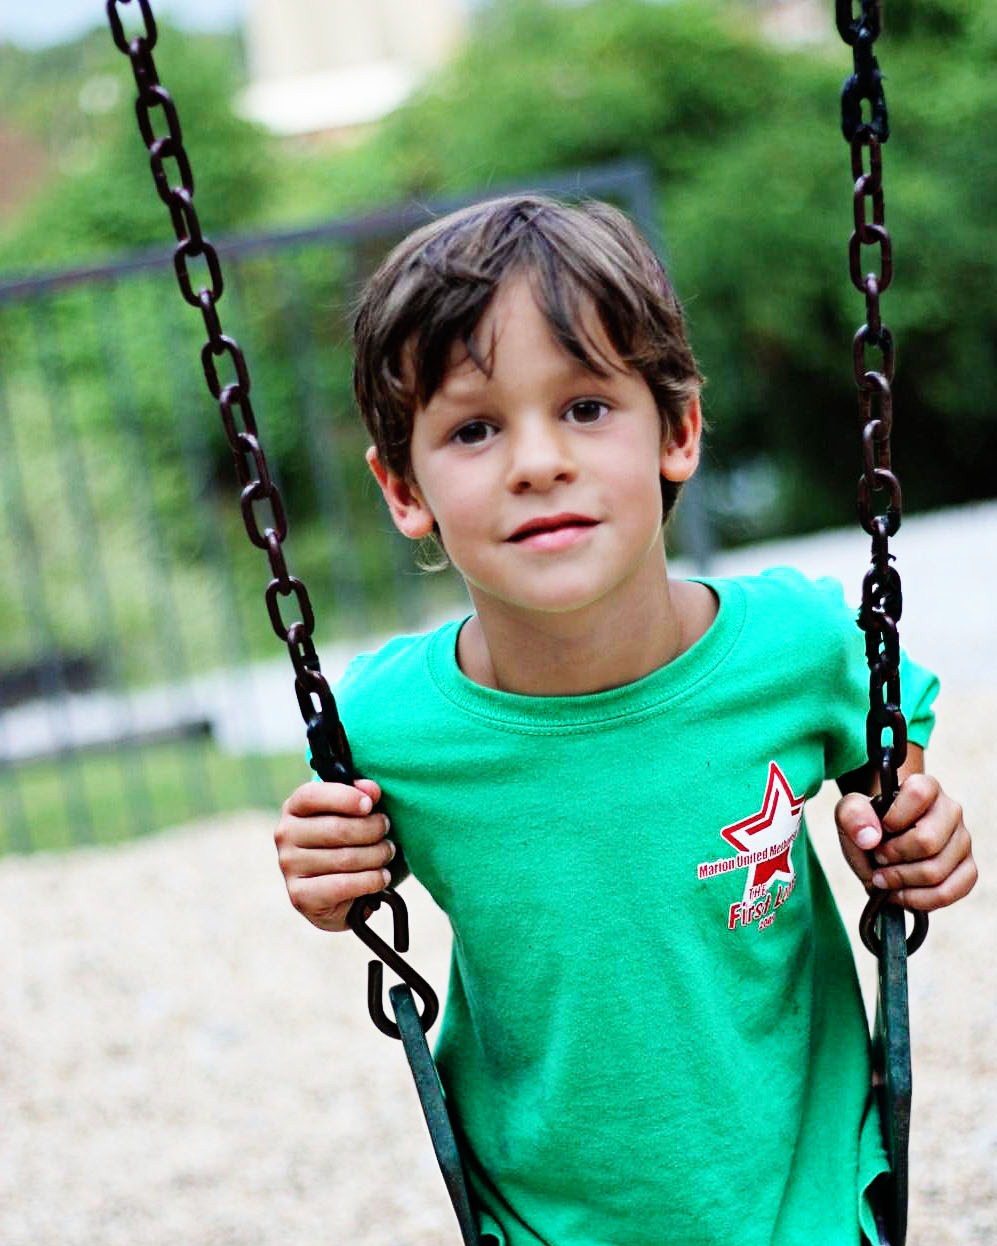
First, I did all the same steps that I did on Bren for Photoshop Day 1.  I slightly sharpened the whole photo, boosted the colors, brightened the eyes, and then selectively sharpened some of the details on his face and the swing (that chain was a pain!).  I tried to dial it all down a tidge this time, though, so it wouldn't seem too fake.

Once I was satisfied with all of those adjustments, I decided to run some more of the Pioneer Woman's actions to see what they looked like.

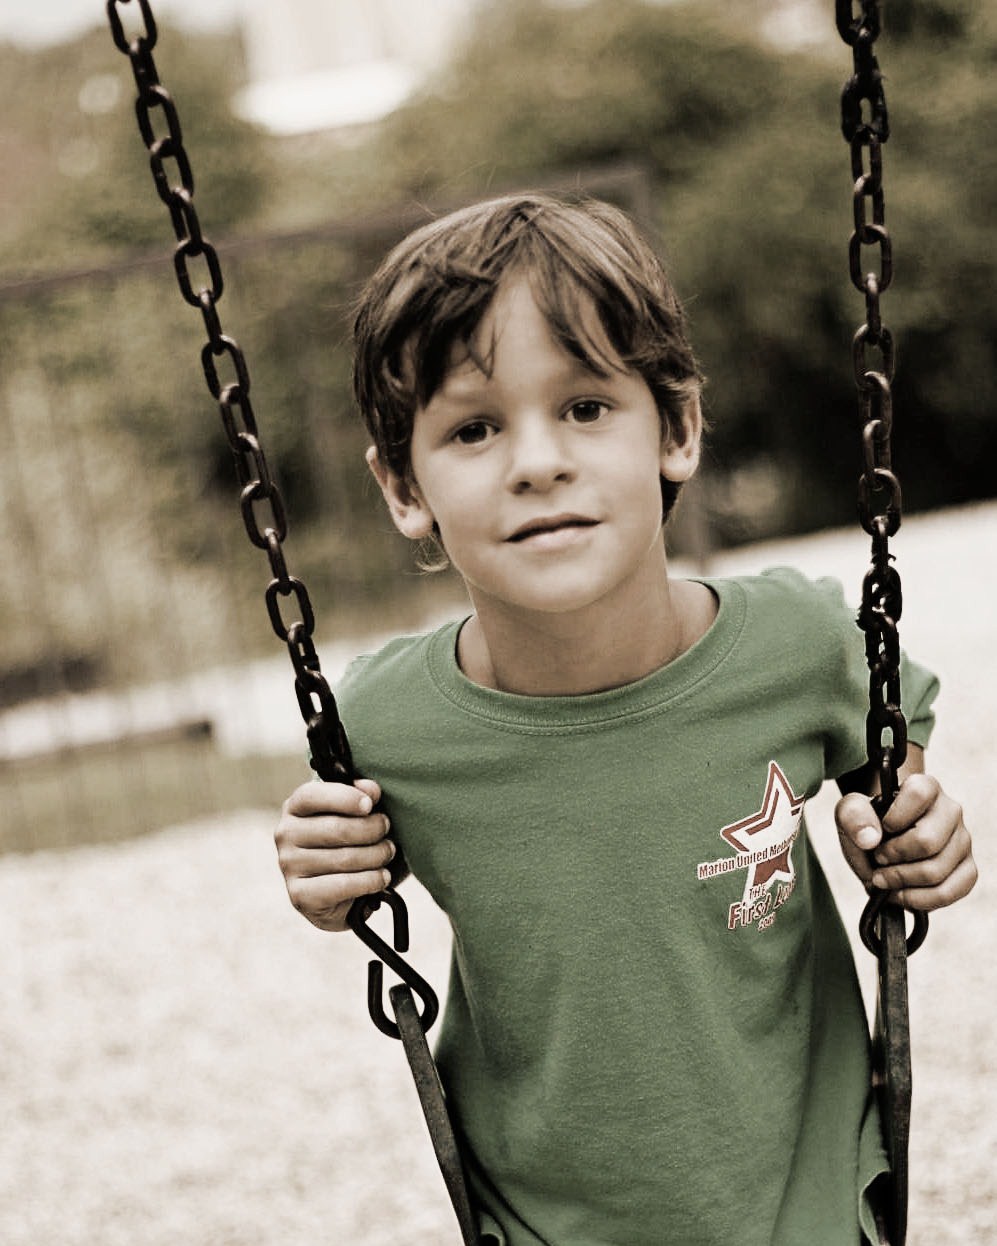
First, I ran the Sepia Tone action.  Of course, I know was sepia tone is, so I kinda knew what this one was gonna do.  Instead of it being straight up brown-tones, though, I scaled it back a hair so a little of the color still showed through.

Next, I took off the sepia layer and applied an action called Heartland.  I had no idea where this was going to go.  I feel like it was kinda like putting on a pair of lightly tinted sunglasses.  Everything is just kinda less bright.

This next one is called Vintage and I think it makes sense.  The photo looks kinda grainy, like an older photo.

The last one I tried is called Old West, and the outcome is not at all what I would've guessed it to look like.  I think it made the picture look warmer and softer but without losing its sharpness, if that's even possible.

I've changed my mind several times, but right now I think my favorite version is Old West.  What about you?  Which one do you like best?

Photoshop Day 4

Wanna know how much time I wasted playing in Photoshop this past weekend? I spent so much time either on the couch or the bed with my laptop in my lap, that I managed to injure my tailbone.  For reals.

At least, that's the only reason I can come up with for why I woke up Monday morning in excruciating pain.  Felt perfectly fine when I turned off the light Sunday night (after almost a 3 hour stretch of photoshopping), and then woke up the next morning with shooting pains every time I moved.  After some very careful movements to figure out where the pain was coming from, it was decided that I've got a bum bum.  I guess I just spent too much time sitting on it?

The pain definitely subsided a bit as the day wore on, maybe thanks to all the ibuprofen I popped, but I'm still walking a little funny.  My fingers are crossed that it's just a 24 hour ailment.  A girl can hope, right?

Back to the 3 hours I spent playing in photoshop before my bum became bummed...I kept my word and didn't use any actions this time.  Which means it looks baaaaaaad.  But, learning's the game and that's what I did.  I altered the overall colors just a tidge, and did a little bit of burning where the sun bleached out the ground, but mostly I spent all my time using the clone stamping tool.

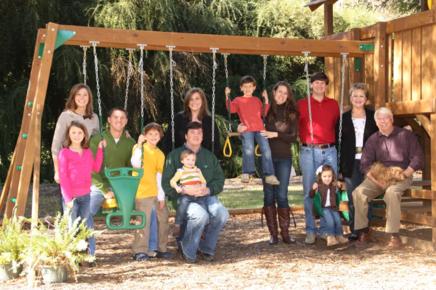
Here's the original picture - our family photo from last October.

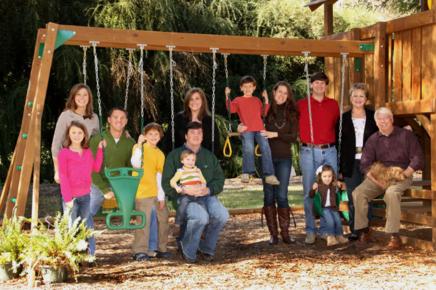
You really can't tell that much difference in my touched-up version, unless you look closely.  I tried to use the clone stamping tool to remove all of the sun spots on our clothing.  Now, up close, everyone looks really "flat" since I've colored in their chests, legs, etc.  My clone stamping looks pretty rough, especially if you zoom in.  In hindsight, I probably could've matched the colors and painted in the sunspots using the paint brush.  Oh well, maybe next time.

Four days down, three more to go!

Photoshop Day 3

Well, I think I've messed myself up.  After spending way too much time downloading Actions (and wasting away half of Saturday on the computer and making myself late for church Sunday morning), I can't figure out how to use the regular tools myself.  This is why I don't like technology and am afraid of it taking over the world.  There's always a new way to make things easier (or flat out do something for you) that you can't remember how to do them yourself.  Not that I ever really knew what I was doing with the Photoshop tools, but now I really don't. Take this picture of sweet Alice, for example.

After opening it in photoshop, I ran all kinds of Actions on it.  I tinted the colors, I softened her skin, I made her eyes twinkle.  I even whitened those two little teeth a smidge.  But you know what I couldn't figure out how to do?  I couldn't for the life of me find the tool/filter/layer I needed to correct the red-eye in her right eye.

Um, shouldn't that be Photoshop 101?

Here's the picture after all my edits.  It's far from anything that could be called perfect.  In fact, I got so frustrated with this one that I just ended up quitting.  Her eye doesn't look that red anymore, but that's completely luck.  This picture is so bright to me.

So I'm thinking maybe I should take a step back and try to edit a photo without using any Actions.  I'll admit, I'm nervous about it.  But that's why I'm practicing, right?  So that hopefully I can figure all this stuff out.

Just so you can see how overboard I've gone with some of the Actions, here are some more pics I played around with over the weekend.  Go ahead, critique away.

Parker, before.

Parker, after.  (His head isn't cut off in the real pictures.  Don't know why that's happening now.)

Swimmers, before.

Swimmers, after.  (Is it just me, or does Doc look like he could've borrowed some of Adam Lambert's eye makeup?  And is Anna wearing lipstick?  In the pool?)

Wesley, before.

Wesley, after.  Take one.

Wesley, after.  Take two.

To all you photoshop users out there:  if you could give me one little nugget of advice to help me along, what would it be?  What's something you do on every photo?  What tool should I really focus on getting comfortable with?  Or maybe you have a fancy trick you could show me?  Thanks in advance; I appreciate any help I can get.

Photoshop Day 2

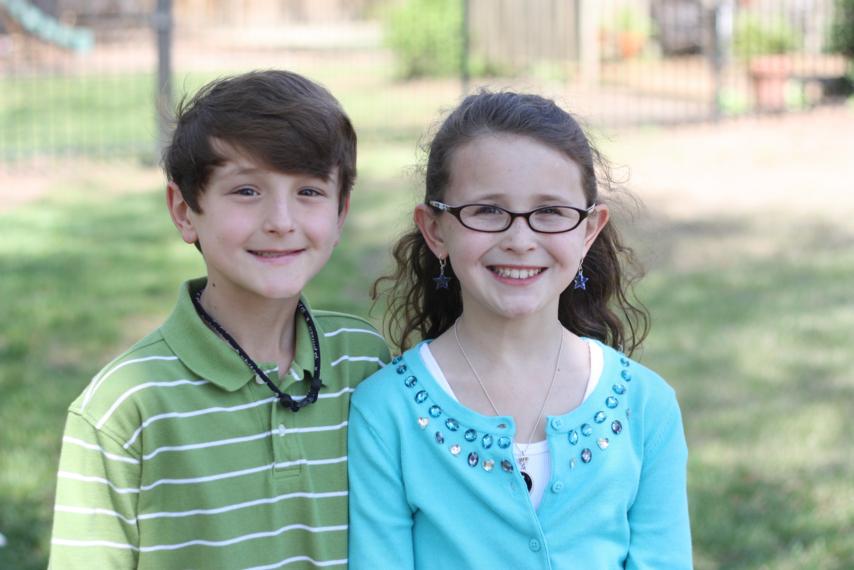
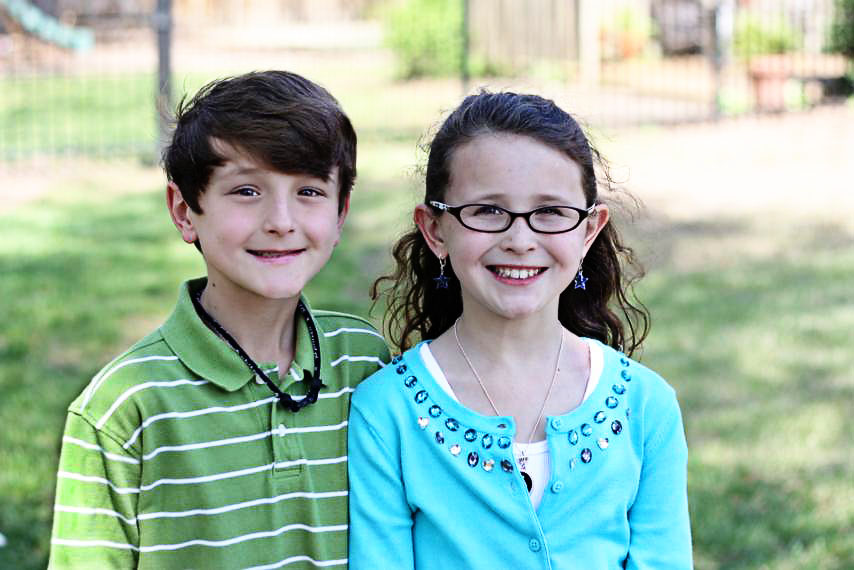
For today's post, I played with this picture of Wyatt and Anna.

When I took this picture last spring, I was actually pretty pleased with the way it looked SOOC (straight out of camera).

Of course, now I've tinkered with it so much I've probably gotten it overly photoshopped, but it's crazy how much different it can look!

Which do you like better - the before or the after?