Rustic X Bookshelf

I considered titling this post "New Bookshelf" but since we completed it last January - as in, January 2015 - it probably can't really be considered new anymore.  That's how far behind I am on this update!  

It all started when we came home from our first Christmas with small children and had SO many new toys with no where to put them.  I was desperate for some kind of toy storage in our living room so we could keep some in there for them to play with.  Luckily, we had plenty of space to add some storage.  If you'll remember from this Living Room post, we pretty much had a big blank wall to play with.

I started thinking maybe a big bookcase of some kind with baskets for toys would A) fill up some empty wall space and B) solve the no-place-for-toys problem.  That fall, before Christmas, Matt had used some plans from Ana White's website to make us a new coffee table.

I have LOVED the Rustic X Coffee Table and was so excited to see that she also had plans for a matching Rustic X Bookshelf.  Perfect solution to our problem!  My sweet husband (and Dad) listened to my idea and graciously built the bookshelf for me in January.  We modified the original plans a bit to better fit our space and to perfectly match the coffee table.  They had the bones of the bookshelf complete in one afternoon.

They finished up the following day with the X's on the ends.  It's never fun trying to figure out those angled cuts!

Just like with the coffee table, my job was to stain it using this driftwood medium.  I love working with that wood finish because it goes on easily and dries quickly.  And no polyurethane is required with this look!  It does kinda stink though...

The veeeery last steps were to add the same L-brackets and hex bolts that we used on the coffee table to give it a little more detail.  I love how they just take the style up a notch.

The dirty truth:  the bookshelf was finished and put in place in our living room in January but it was months later before I put anything cute and decorative on it!  The baskets of toys were there immediately, though, so at least it was serving its purpose.  :)

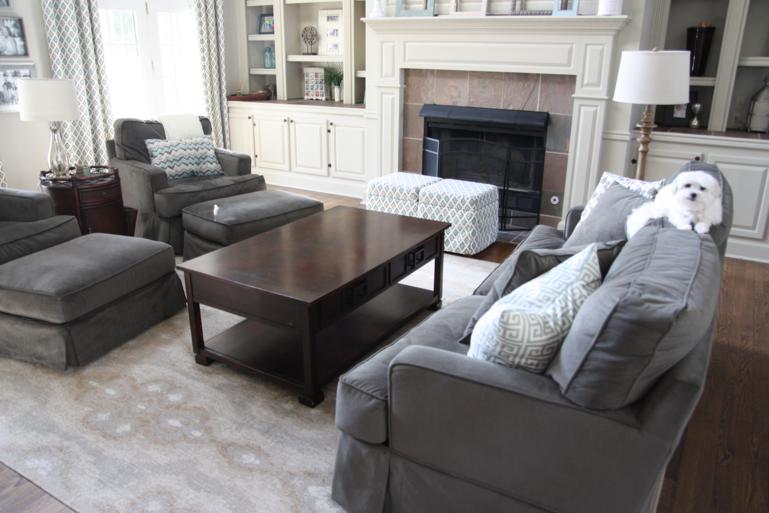
I'm so glad that it fills up that big empty corner that we had before!  I love that it ties in with the coffee table and that it's light in color to keep that corner bright.  I added the McCarty plates on top of the bookshelf to keep it and the entertainment center from being a straight line at the same height.  I think I will continue to collect things - vases and plates? - to fill up the top of it.

The hubs and my dad did a really good job, didn't they??  One of the best things they did is add a 2X4 across the back right under the top shelf so that we could bolt it to the wall.  No toppling over on little people at our house!

I bought a few knickknacks and shopped my house to fill up the shelves.  Any of it could be changed at anytime.  I like having a space where I can work in new things that I buy or receive as gifts.   Here's the top shelf.

Second shelf...that silver ball is actually a lamp that adds a nice little glow to the corner in the evenings.

Third shelf.

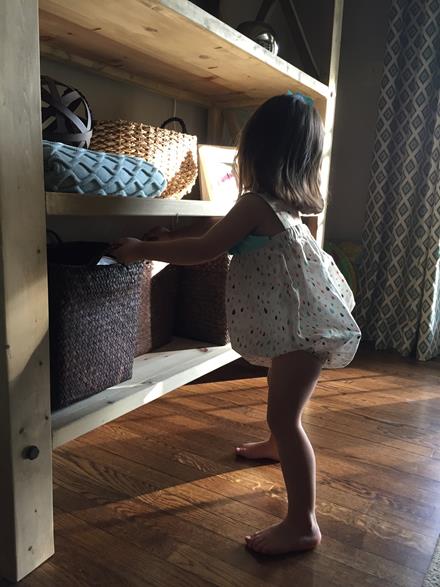
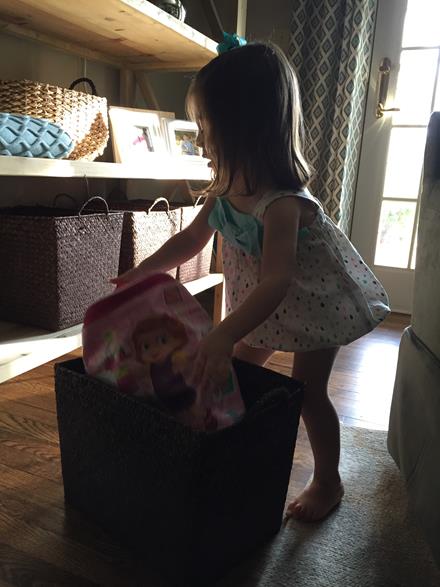
And the bottom shelf with its aforementioned baskets full of toys.  It took forever to find the right size baskets.  I ended up finding them at Hobby Lobby but had to go to four different store locations to get them all.  And you can see one of them has already taken a little bit of a beating but it still holds toys so who cares?!

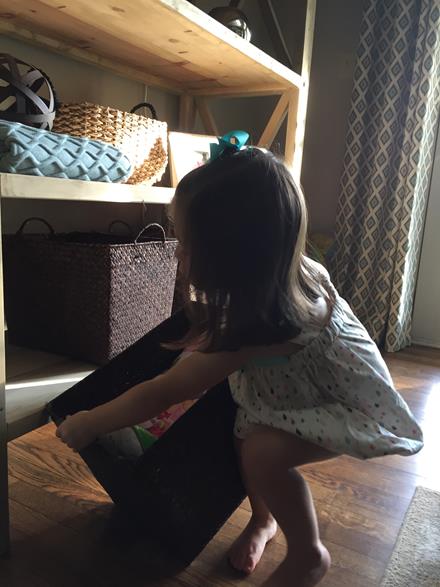
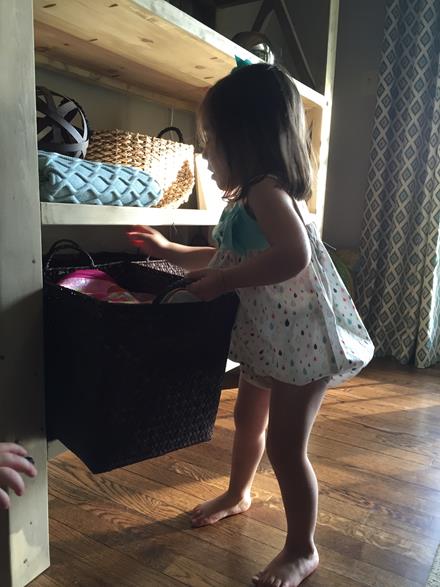
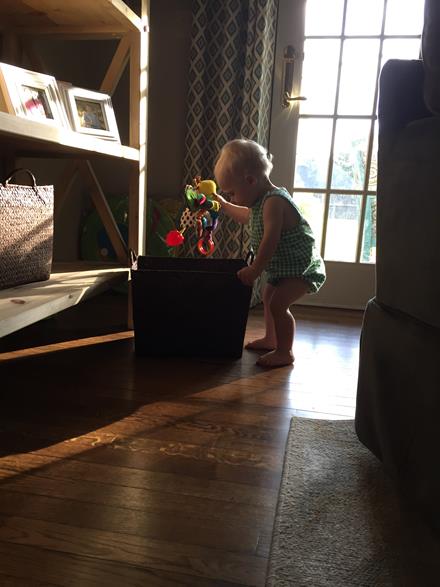
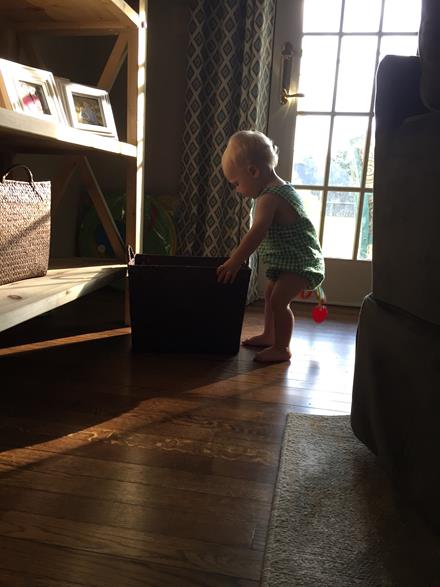
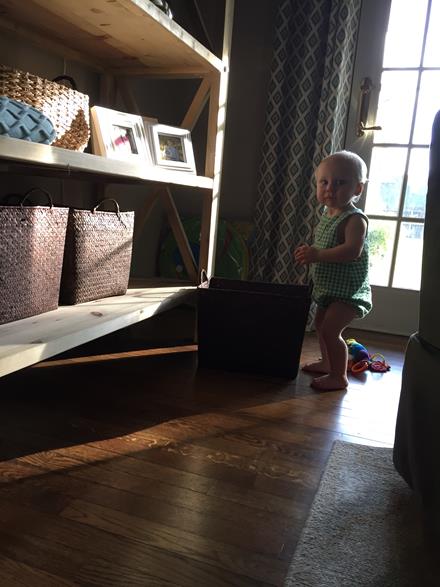
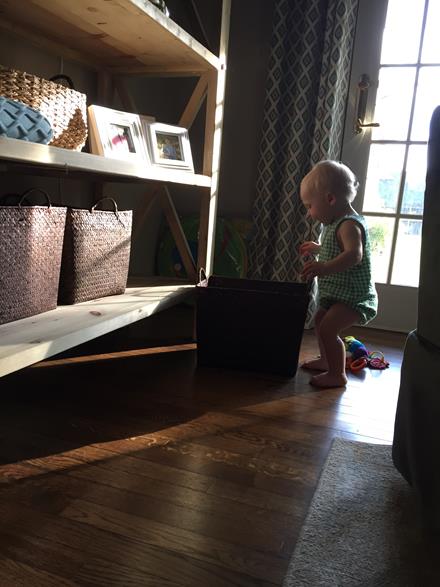
The baskets work great for the kids!  They both know how to pull them off to dig for toys and are both pretty good about putting the toys back in them when it's time to clean up.  Here are some pictures of them using them from last summer.  They look so little!

Tiny Thomas!  Please stop growing!

Man, am I glad to have finally written about this bookshelf!  Now I can stop thinking that every time I walk through the living room and see it.  I'll be back next with another tiny update on this same wall...

Mantel Decor

Before I jump into my long-overdue Christmas post, I want to share these fun projects we cranked out during the busiest time of the year.  How we managed to get them done, I have no idea.  Definitely couldn't have finished them without my Dad and his willingness to, once again, help me out with my shop projects.  I miss getting to work out there with him!  

Anyway, I actually dreamed up a Christmas tree forest, if you will, for the mantel a year ago and never got around to doing it.  I started thinking about it again in the fall and thought if I could make a tree forest, I could also make a pumpkin patch!

My dad always acts annoyed with my wood-cutting requests, but I secretly think he likes them.  I usually draw out what I'm thinking to help him visualize.  Here was my rough sketch of our fire place, mantel, and the pumpkin patch.  I drew my vase and large candle stick on opposite sides than they are in real life, and Matt gets extra points for actually noticing!

With a roll of his eyes, Dad said, "You'll have to draw the pumpkins however you want them."

So I did.

Then I went out of town overnight and came home to wooden pumpkins!  We had some leftover barnwood that I had pulled out to use.  I knew some of it wouldn't be wide enough so I had instructed Dad to plank them together.  I love that he did some of them on the diagonal.  Aren't they so awesome in their rustic-ness?

Before I could turn them their proper shade of orange, I had to touch up the raw side edges.  We used two different batches of barnwood and one set had a red tone and the other had a green tone.  I gave the sides a quick rub down with one of my favorite stains, Rustoleum's Sunbleached, so they would be more uniform in color.

After that dried, I did a little dry-brushing with some Texas orange paint.  I didn't want a full cover coat of paint, just enough to add some color.

This was done bright and early on a Saturday morning (gotta DIY when you can) and my pajama-clad helper busied herself by making ramps for her trains and asking repeatedly if she could touch the orange paint - cause orange is her favorite color, you know.

I brushed brown paint on the stems and then, as a final coat, rubbed them all down with some brown glaze wax.  Some were just a little too orange in spots and I liked that the brown glaze kinda put the barnwood rustic-ness back on them.  :)

In between coats of paint, I also cut a long 2x6 board to mount them on.  I waffled on what color to paint it but ultimately went with the same color as our mantel so that it would blend in and be nondescript.  I'm glad I did; I love that it doesn't take away from the pumpkins.

Once they were finally dry, I took them home to our house for assembly.  I'm pretty sure assembly happened the weekend before Thanksgiving - that's how behind I was on this fall decorating project!

Originally I thought I would use long screws to attach them from the bottom of the 2x6.  When we thought that threw, it was not going to be very easy.  So I grabbed some L brackets from our local Ace Hardware and used them to attach the pumpkins to the base.

Attaching the L brackets went pretty quickly since I had a little helper handing me my screws.  (Actually, it probably took twice as long since I had a little helper, but at least he's cute!)

Special shout-out to both Matt and Anna who helped hold the pumpkins up while I moved them around into an arrangement I liked.  Then, it was as simple as screwing them into place.

And then up on the mantel they went!  They needed a little something so I gave them all a little neck wear.  I'm not dead set on that part but it was a quick fix that worked perfectly for the last week of pumpkin season.  Now that it's done, how awesome is it going to be next October when all we have to do is grab this one (extremely heavy) thing from the attic and just pop it into place?!

Looks just like the picture I drew, doesn't it?

Ok!  Moving on to Christmas!

Approximately 5 days after finishing the pumpkins, the Christmas tree and decor came out and took over the house.  The pumpkins stayed put because A) I had JUST finished them! and B) I didn't have the trees finished yet.  Mostly because I hadn't started them yet.

Again, super thanks to my Dad for cutting them out for me since I didn't have time.  I left instructions to cut five each of three different sized trees.  (We have made tons of these twinkle trees in the past, so we have templates for them now.)  He delivered and had them all cut out in no time.  I really didn't think I was going to get them done before the end of the year (when the heck did I have time to go paint?!) but I made a firm decision that they would be up on our mantel in time for the Christmas party we were hosting...in a week.

No step-by-step pictures this time, but imagine me using four different shades of green paint to paint 15 different trees - front and back.  I wasn't picky about my shades of green; I used all paint we had on hand.  And just like with the pumpkins, I painted my long base board the same color as the mantel.

I assembled the forest of twinkle trees by myself one night during Thomas's awful sleep regression (read about that here).  I listened to him cry through the monitor (while Matt tried to comfort and quiet him) and took my frustration out with my drill and screws.  

The tricky part was whether or not the white lights that I had ordered would come in in time.  I was going to be SO MAD if I had busted my butt to get this thing finished for the party and then the dang lights didn't arrive in time!  They arrived the day before the party - thank goodness - and Matt helped me power through poking them into all the tiny drilled holes (not as easy a task as you would think).  

The kids stayed up past their bedtimes while we finished but it was fun letting them see it all lit up for the first time.  It is slightly blinding.  But in a totally awesome way.  

"Take our pitch-uh with the trees, Mama!" 

I took a panorama pic of the room so you could see all of the lights.  Maybe I went overboard?  We have our fully lit 12 foot Christmas trees on the far left, the blinding twinkle tree forest in center, a new Christmas tree addition this year sitting at the top of the stairs, and two more twinkle trees over on the right.  And from most places in the room, you could also see the Christmas tree in the kitchen.  Basically, it was my favorite room in the house during the season.  All the lights!  All the magical Christmas goodness!

And, just like with the pumpkin patch, the best part is that they're done now so next year we just have to carry them down from the attic.  Boom.  I am all about that.

Christmas pics coming!

Katie Wynn's Kitchen

So last year, Katie Wynn got the cutest little shopping cart for Christmas and with it came lots of food that she could fill it up with.  Shortly after Christmas, my Dad and I built a tiny pantry for her to store all her groceries in so that they wouldn't be scattered all over my kitchen.  When I found the plans for the pantry (here, from Ana-White.com), I saw that it had a coordinating kitchen set to go with it (here).  I immediately told Dad that Katie Wynn would be getting the rest of the kitchen from Santa Claus the following year so we should do it when we had free time and not wait til the last minute.

Fast forward 11 months and I emailed him a link to the plans just before I left for Palm Springs.  "We should probably build this soon..."  I told him.  

Well.  Have I ever told you how awesome my Dad is?  I was just going to make K-dub the stove to go with her pantry and maybe save the sink for a later occasion.  And I had no idea when I was planning on doing it with Christmas just three short weeks away.  But while we were living it up on vacation, my Dad built BOTH the sink and the stove for me (er, Katie Wynn).  Isn't he amazing?!  I had no idea he was doing it either.  When we got home from Cali, he told me to come over and see what he had built.  Such a weight lifted off my shoulders!  

It's funny, before having kids, I would've been really sad if he had worked on a shop project without me.  This time I was just so glad I didn't have to figure out when I was going to get it done!

I'd like to say that after he built it I took over and finished it up, but the truth is, this Santa gift would not have been possible if it weren't for him and my Mom.  I think the only thing I did was prime and paint it white.  Dad even did a touch-up coat of paint after that.  Then he attached the oven door and all the cute little accessories.  Mom shopped for hardware for me and sewed the tiny curtain.  All I did was pop my head in occasionally to see how things were going.  They are the best!  

We moved it to our house the day after Christmas.  (Santa brought it to Katie Wynn at my parents' house.)  One day, when I trust my kiddos to go up and down the stairs by themselves without getting hurt, the play kitchen will move to our bonus room.  But for now, we officially have a kitchen in our kitchen.  It's actually great because Katie Wynn cooks while we do!  (By "we" you know I mean "Matt.")

We had to do a little furniture shifting to have it all fit in one spot together, so I had to move some art around on the walls too.  This big cake painting was done by my sister-in-law, Beth, and used to hang in our dining room.  I LOVE it on the brown wall though and love that it goes so well with the color of the sink skirt.  Hooray for coincidental matching!

One of Katie Wynn's favorite things about her kitchen is the dish rag that has her name on it.  Go figure - that was a last minute addition that I whipped up on the morning of Christmas Eve!  She loves telling everyone that it has her name on it and using it to "dry" her hands after "washing" them in the sink.

My mom and Aunt Kim were superstars when it came to shopping for hardware.  I really wanted a cute little faucet for the sink but did NOT want to spend a lot of money on it.  They found this perfectly sized silver one from the Habitat for Humanity ReStore for just six bucks!  And they bought the towel holder for one dollar!  I was amazed.  The sink basin was my Dad's idea (I think) and makes me so happy...it was the water bowl that their dog, Taylor, used.  She was such a good dog; I'm glad that something of hers is living on in the kitchen!  

For the stove top, Mom and Aunt Kim picked up some thin wooden circles from Michael's that I painted black.  We had four of them to use but only two fit on top; I think that works just fine!  I wanted to add a little kitchen timer up here too but could only find ones that had really long times - like an hour - on them.  I don't think KW can wait that long for the ding! to go off.  What I really need is the timer from a board game or something.  If I ever come across one, I'll add it on here somehow.

The little oven door has a plexiglass window so we can see what she's baking inside.  She loves getting to open it up and put things in it.  She knows to turn the knobs to turn the oven on to bake.

It looks like on this particular day, she had a tray of cookies and a pan of cupcakes baking.  That's my kind of oven!  She'd tell you that red pot is full of soup.

The pantry and shelves under the sink are great for storing all of her other foods.  Under the sink she has fruits, meats, and cake that she can "cut" with her play knives.  I, of course, love that there's a curtain to keep it all concealed when she's not playing with it (which is not very often).

Speaking of playing with the kitchen, here are some recent phone pics of Katie Wynn playing with her kitchen and accessories.  She spends time playing here every single day!

The pan of cupcakes is pretty awesome because it's also a shape sorter.  She has to match the shape of the top up with the right shape on the bottom.  She's getting so good at it!  The cupcakes are also helping her learn her colors...orange is still her favorite.

Sometimes we bake cookies in bed and then she runs the cookie sheet into the kitchen to put in the oven and bake while we get ready for the day.  These are fun too because they velcro together into a roll so that they slice like Slice-N-Bake cookies.  She likes decorating the ones that have sprinkles.

When Big Sister isn't looking, Thomas likes to play with the kitchen too.  Notice he went straight for the steaks!

I'd say that Santa Clause (ahem...Poppy and Mimi) did a really good job with his gift this year.  It has already gotten so much use and I hope that she continues to play with it for a while.  Her daddy hopes this will spark an interest in cooking for Katie Wynn and that she might enjoy it more than her mama does.  I hope so too so that she can cook for me on nights that he's not here.  :)

New Coffee Table

Guys, I have bad news.  This is my last week of maternity leave.  I realize this is probably only bad news to me, but I'm really sad about it.  Mostly because, since we likely will not be having more children, I'm going back to work indefinitely.  No more long breaks anytime in my future.  So sad!

I have several goals this week but one is to get caught up on the blog.  Lots has happened since the last time I posted - we went on vacation! - and I really want to get it all on here before I get busy with work and the real world again.  

First, here's a quick little living room update we did.  I have been wanting a smaller, less bulky coffee table for our living room and, after shopping around and not finding anything that I liked, Matt built me one!

Before I show off his handy work, here are pictures of the coffee table we've had for years.  We purchased this one before we were even engaged so we definitely got our money's worth out of it.  It has served us well!

before

Our cleaning ladies like to use a LOT of furniture polish so it was always super shiny.  Also, I haven't been able to keep anything on it since there's a certain toddler that likes to push off anything sitting on it so she can climb up and have a front row seat for Frozen viewings.

before

The big coffee table combined with the ottomans from the chairs didn't leave much room on the floor for the kids to play.

before

Here's a view from the top.  Nevermind that box full of balls over in the corner.

before

Matt used Ana White's Rustic X Coffee Table plans for the new table and did a great job putting it together!  We modified the plan a little bit to make it more narrow.  Her plans call for 5 boards across the top but we only used 4.  (I wanted to use only 3 but got majorly vetoed on that.)  After he built it, I used this stuff to make it look like driftwood and also spray-painted some hardware to put on it.  

after
after

We added L-brackets to the corners and hex bolts on each of the legs to give it a little extra character.  

after
after

When I first started staining it, I was a little upset that one of the top boards was red wood while the other three were white, but now I kinda like how unique it makes it.  Can you tell that the third board from the left is more red than the others?

after

Here is a view from the top of both tables for comparison.  It's hard to tell in the pictures but we gained at least 8 inches of space since the new table is not as wide as the other one.  And, it's even a couple inches longer too, although it doesn't look like it in the picture.  

before
after

We've been using it for over a week now and so far really like it!  Hopefully, since it has a driftwood weathered look to it, it won't be noticeable as it gets bumps and dings from the kids.  Now I'm debating if we should build a matching console table to go with it or not.  Time will tell...

Tiny Pantry

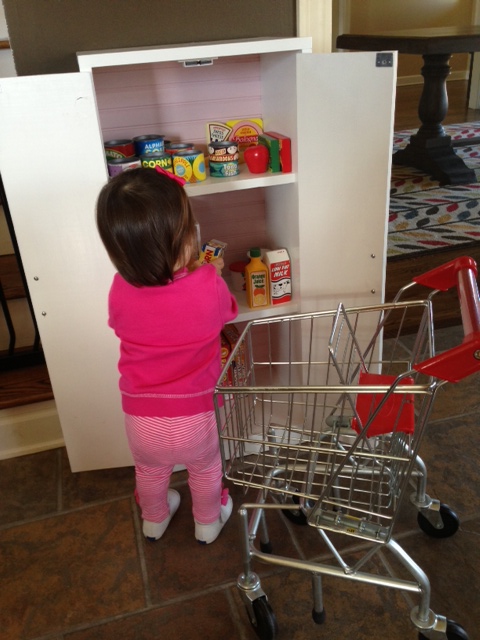
Katie Wynn got the cutest little shopping cart for Christmas from her Mimi and Poppy.  It's like a real deal metal shopping cart, not a plastic hot pink one or anything like that.  I seriously love it.  To go with it, her Mimi also gave her a boat load of groceries, because really, what's a shopping cart without some groceries to go in it?  The only problem was that the groceries were taking over our kitchen!  Even when I straightened them and lined them up by height (OCD, maybe?), our kitchen never felt picked up with them in there.

Enter a tiny pantry.  I found this plan from Ana White's website (she calls it a fridge, I'm calling it a pantry) and sent it to my Dad so he could get excited about our next woodshop project!

We managed to use all scraps to put it together and made it using all of Ana's dimensions.  It wasn't hard to build at all, but ours is definitely wonky in several places since we used less-than-ideal materials.  It's perfect for Katie Wynn, though!

I decided to paint the back wall pink approximately 4 days before finding out that we have a boy on the way.  Should've just left it all white, but oh well.  (Sorry for the craptastic iphone photos.  I was snapping them in a hurry before KW got her hands on it.)

empty pantry
closed pantry

As we built it, I kept thinking that it looked really tiny.  But after getting it home on Saturday and filling it up with all of her groceries, I saw that it's the perfect size!  It fits perfectly on this tiny wall in our kitchen and holds all of her food with some wiggle room to spare. 

full pantry
grocery shopping

She loved seeing all of her groceries in it, and especially loves getting to open and close the doors!

grocery shopping
grocery shopping

I decided to do a little shopping of my own and found the cutest little girl to cram into my shopping cart!  Don't you agree?  :)

shopping cart
shopping cart

I'm glad she likes the pantry we whipped up for her, but I'm especially glad to have a place to store all those groceries now!  Don't tell her, but Santa Claus is already scheming up plans to make the matching kitchen stove and sink to go with it for Christmas next year...