Last week, we finally finished a closet makeover that was started the week we moved into this house! It was a very loooooong, drawn out makeover, but I am so glad to have it all done now. It was more than worth the time (and money, ugh) that it took to get it the way it is now. It's funny that we've spent so much time and energy making over our closet when we still have a completely empty dining room, but considering we use our closet every single day and would probably have only had maybe 2 meals in our dining room by now, it just made sense to focus on the closet first.
Phase One of the closet makeover was very unexpected. We knew when we closed on the house that we would maybe add some shelving, but we didn't realize we would be doing renovations on it during our first week in the house. Here's what happened...
Our hanging clothes were the very last things to be moved from our old house to this one. I wanted to keep them all on hangers and I didn't want the movers messing with them and throwing them in a truck. So after all the big stuff was unloaded and in the house, Doc loaded up all our clothes in his car and brought them over. With my brother helping him unload them, it became very obvious very quickly that there was not going to be enough room for all of our clothes.
We'll call the left side of the closet "Doc's" side. See those two hanging bars? They were about, oh I dunno, shoulder level, maybe? And above them? Nothing but wasted space!
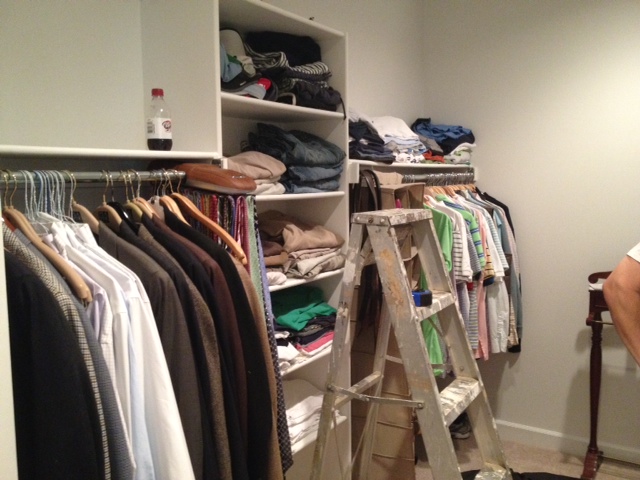
And check out what's going on on my side...that hanging bar's about to snap in two from the weight of my clothes, and they weren't even all on there yet!

So at about 4:00 one Sunday afternoon, we decided we needed to work on the closet ASAP. We loaded into the car and headed to Home Depot - an hour round trip without counting our shopping time. By dinner time, we had all of our supplies, had already stopped by my Dad's shop to cut and route the edges of all the boards, and had a coat of primer and paint on them. We were rolling!
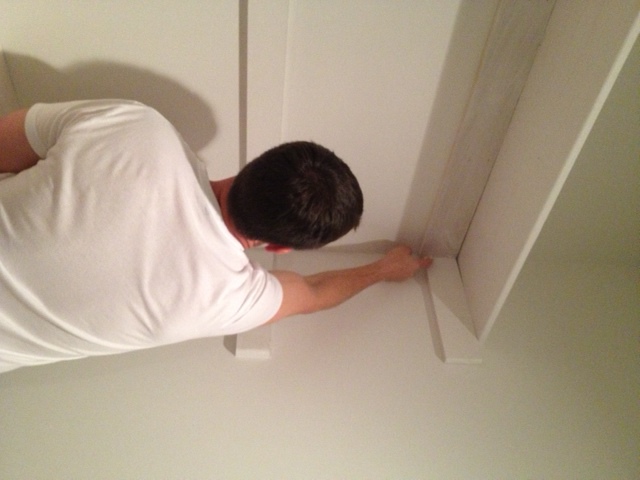
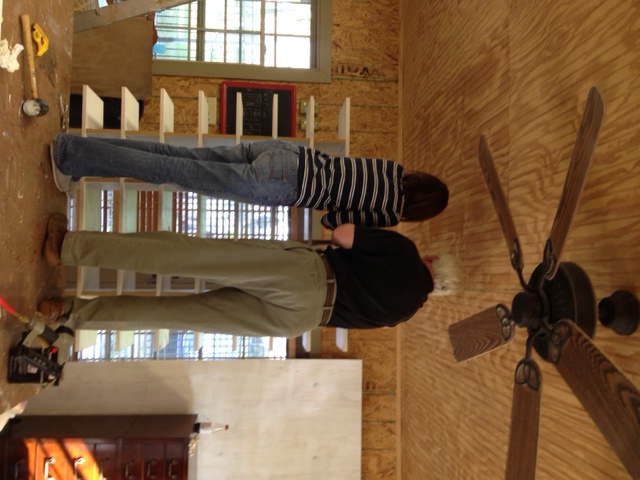
My side of the closet was easy. We just added more supports to hold up the bar with the weight of all the clothes. Doc's side was a lot more involved. See how there are kinda three shelf levels in the picture below? The middle one that my Dad is scraping glue off of is where the one hanging bar originally was. We couldn't rip those support boards off the wall without tearing the sheetrock, so they stayed put. The shelves below and above it are the two new ones we added. This way, there would be two levels of hanging clothes instead of just one.
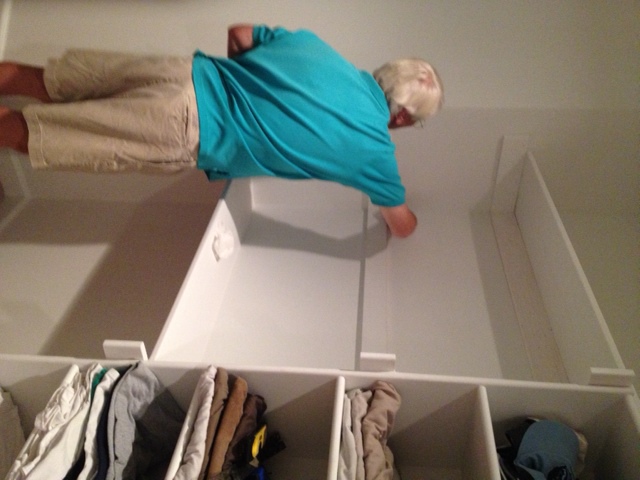
I think I frustrated the guys by making them caulk and paint. They argued that once clothes were added they'd never be seen. But, I was 8 months pregnant at the time and they knew what was best for them and did it my way. :)
Apparently I did not feel the need to take an after picture of this phase, but just imagine all of our clothes finally up off of our bedroom floor and hanging in the closet where they belong. We were thrilled with our new additional hanging bars.
About a month passed, we welcomed our baby girl, and I decided we needed to finish changing out the fixtures in her bathroom. They were all gold when we moved in, and I wanted them silver. Doc and Dad had already switched out everything except for the shower fixtures. This is where things got tricky because we had an outdated piece. I won't bore you with the details, but I will say that I know way more about push-button diverters then I ever imagined I would. Anyway, the solution was that we needed to have some plumbing work done if we wanted to switch to silver. And rather than letting the plumber go to town busting up the tile in her shower, I requested that they go through the back. That meant our closet got partially emptied out again so that this hole could be cut out of the wall.
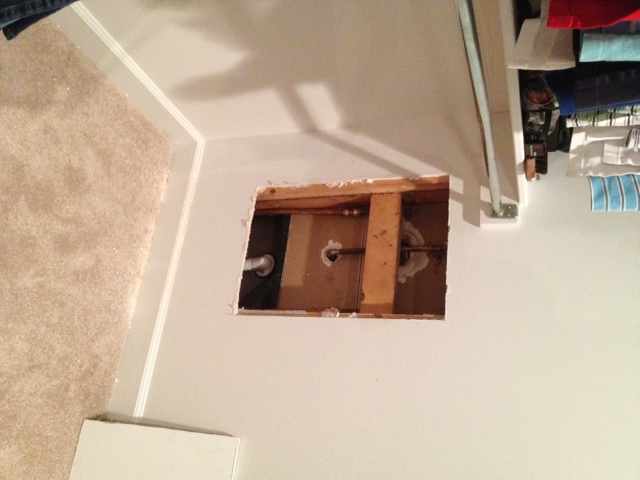
Thankfully the hubs was able to patch the hole up in a way that will still allow us access to the plumbing in the future should we ever need it.

With Katie Wynn's bathroom done and me still on maternity leave, I was ready to move on to the next project. Enter Shoe Shrine, Take One. The back wall of the closet was the perfect spot to put some custom shoe shelving, so we drew up a plan and got to work. I ordered some MDF and had it delivered and we got to cutting, priming, and painting. It was so huge that it had be to assembled inside the closet.

I can't even tell you how sad it was for me right when I took this picture. As much as we talked about the plan beforehand, we still didn't think through some key parts. We were excited to get it up and because of that, cut some critical corners. It was designed to be two pieces - a wider part at the bottom that created a bench to sit on and a skinnier part on top for regular shoe storage. The shelves in the bottom section were also removable to my boots could slide in in the winter. The problem was that it was extremely heavy and very unsturdy. Even with it being bolted to the wall, it felt like it'd probably just pull the sheetrock down with it. So, while I really, really wanted to be excited about it, all I could think about was my baby girl trying to climb up it one day and it crashing down on top of her. In tears, I told the boys to take it down.
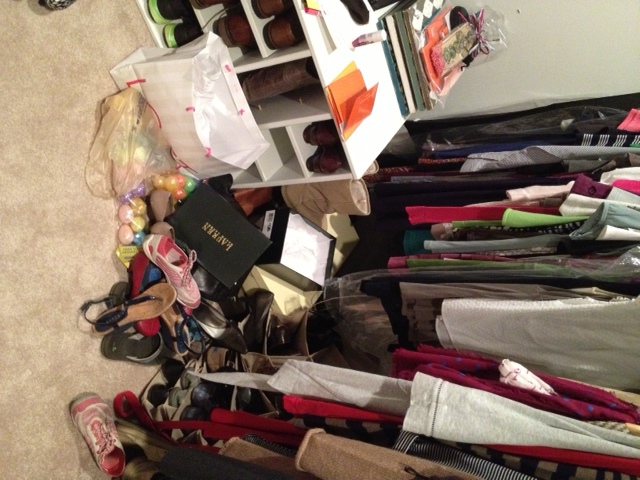
We felt really defeated at that point. We'd just wasted a whole lot of time (and a lot of money) on something that was now sitting unassembled in our garage. Except for the bottom portion. We never got around to taking it apart so it continued to sit in our closet and became a flat surface where we piled everything. (Doc did actually use it to hold his shoes, though.)
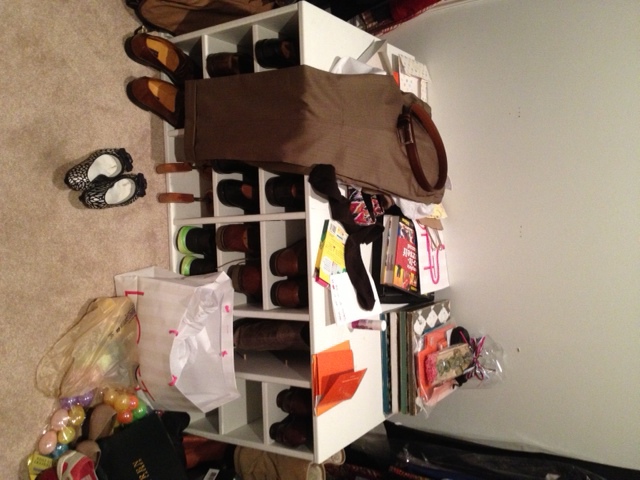
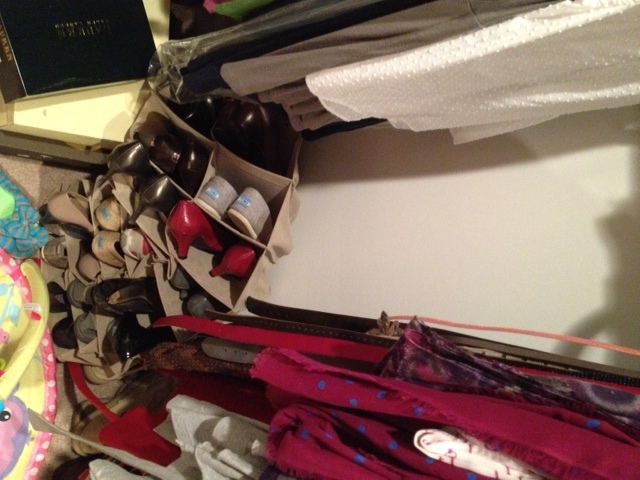
I returned to work and life went on. And then about a month ago I walked into the closet one morning and saw that my hanging shoe rack had finally given up and torn apart. My shoes were in a heap on the floor.
The closet was becoming a huge mess.
We knew this meant it was time to revisit the shoe shrine. This time, though, we'd really, really think through everything and do it the right way. Thankfully, Ana White had already drawn up some plans for a shoe shrine that we could adapt for our closet.
Doc and my dad spent a Saturday morning cutting and routing all the pieces we would use. I spent one of my days off work priming and painting every side of every board. And then the following Saturday, my dad and I got busy assembling.
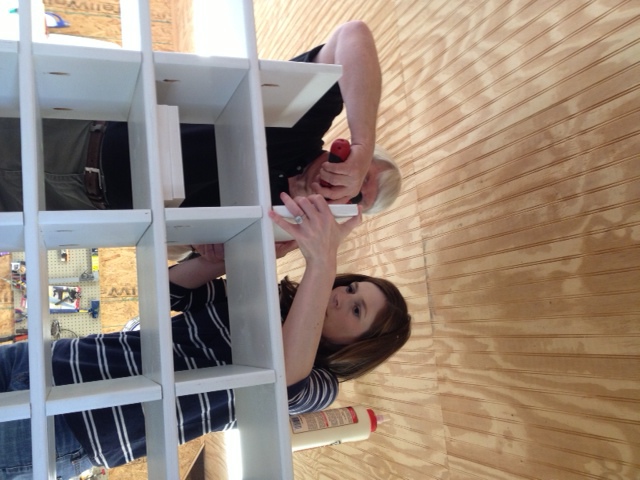
This time the Shoe Shrine would be one big piece, instead of two separate pieces. At eight feet tall, we had to climb up on the table to finish putting the top of it together!
What I don't have a picture of is the hour or so that we worked while I was wearing Katie Wynn in the Baby Ergo. You gotta do what you gotta do when there's no sitter around.
The Ana White plan was for a unit that was three shelves wide. We made ours five shelves wide instead. We also adjusted the size of the cubbies to fit our shoes better. There are three columns that are wider to accomodate for Doc's bigger shoes and two columns that are smaller for mine. (Don't worry ladies, this does not mean I get less storage. My shoes fit in the bigger cubbies too.)
It was tricky to transport and get into the house, but my two favorite guys were able to get it in there! For Shoe Shrine, Take Two we didn't cut any corners. We even went above and beyond and glued and screwed every single piece of wood multiple times. Then we bolted it to the wall in nine different places. This thing is not going anywhere!
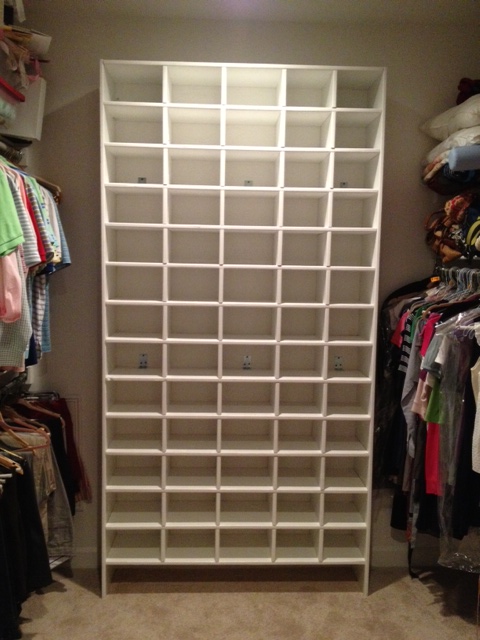
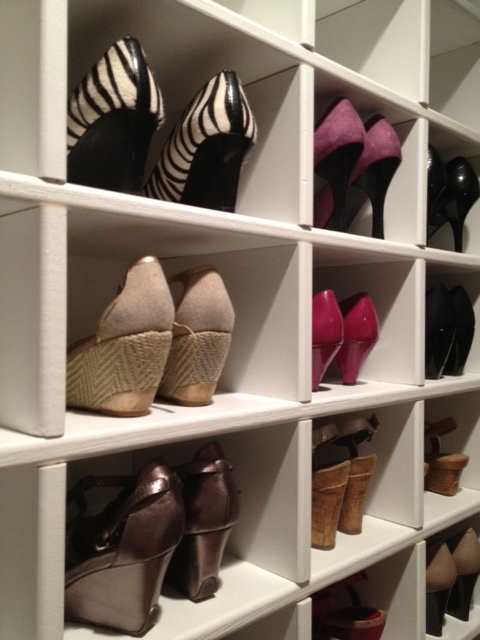
That's sixty-five cubbies just waiting to be filled with shoes. Awww, yeah!! This girl was happy, happy, happy!
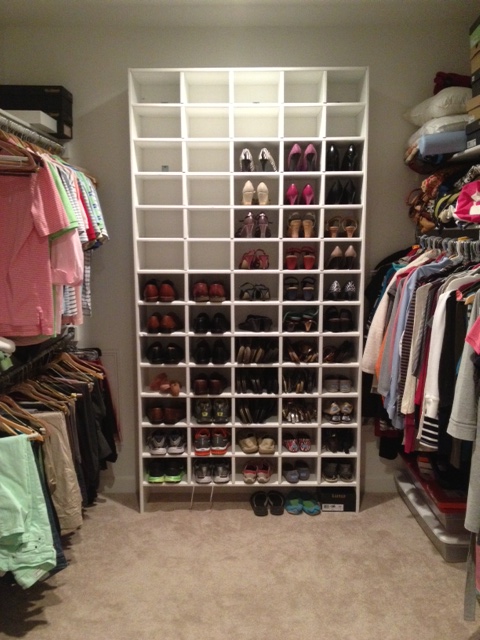
Oh look, after all the summer shoes have been put in, there are still empty cubbies. Sounds like I need to do some shopping! :)
Sometimes I go in the closet just so I can look at it. It makes me really happy.

It's come a long way since the day we moved in. I'm so glad our clothes finally fit on all the hanging racks, there are no holes in the sheetrock, and our shoes are up off the floor. It feels huge now too! Which is a good thing since Katie Wynn spends a lot of time playing on the floor in there (we put her there while we're getting ready so we can watch her from the bathroom).
Now I'm on the hunt for a cute bench that I can redo to set in front of the Shoe Shrine. Doc wants somewhere he can sit to put on his shoes and I'd like to be able to use it to reach the higher cubbies. And I guess at somepoint I need to clean out all the shelves at the top that are overflowing with stuff but, ugh, that can wait for another day. For now, I'm just gonna keep drooling over my shoe storage!