Potting Station

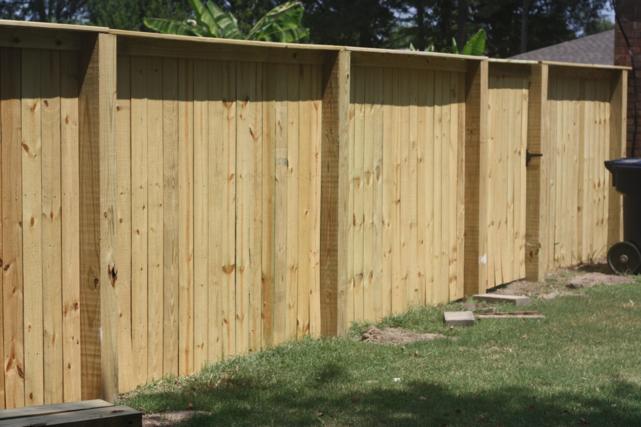
My parents' neighbors got a new fence so my mom got a new potting stand. How does that work? I'll show you. Here's the new fence the people next door put up:

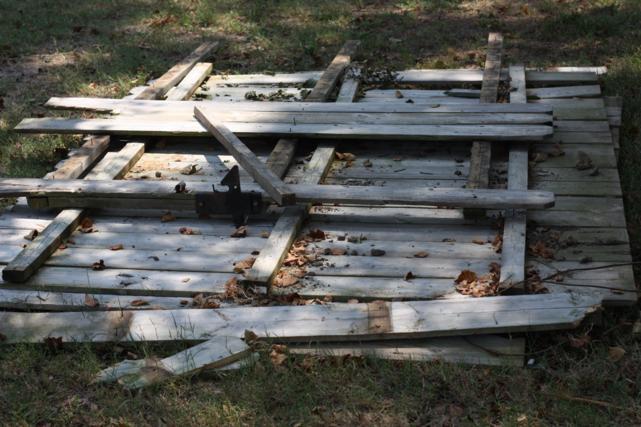
Pretty nice, I guess. But this is the part I was drooling over...the pile of wood they were discarding.

I didn't know what I wanted to do with it, I just knew I wanted it. So I conned my dad and Doc into helping me drag it over to our yard. We stacked it up behind the shop and called it a day.

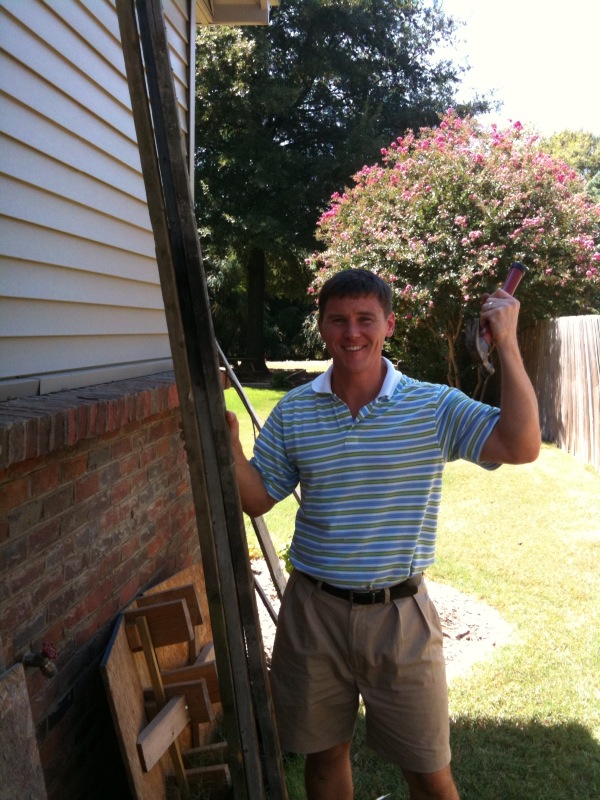
That was about 2-3 weeks ago. On Monday, my dad asked what I was planning on doing with that wood. I believe his exact words were "that's not a graveyard for wood back there." So we all (mom, dad, Doc, me) headed around to the back of the shop to have a little look-see.

And then I started giving orders.

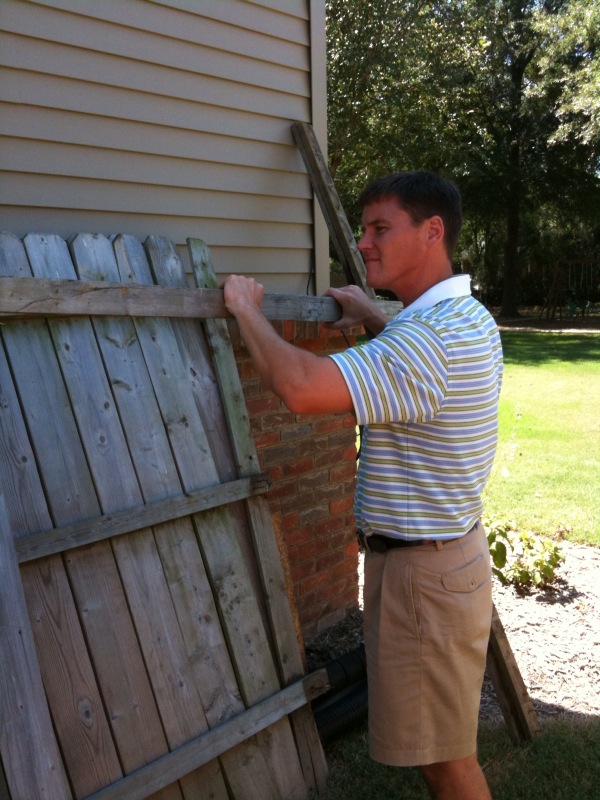
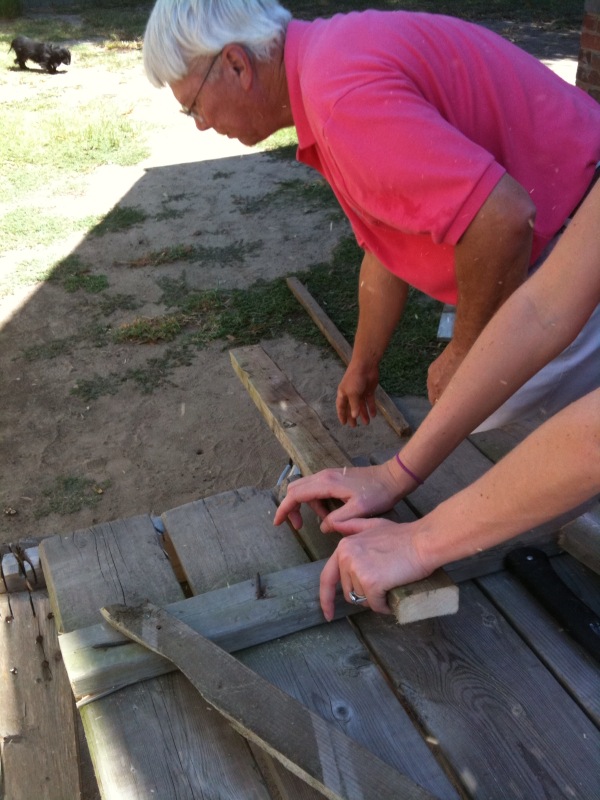
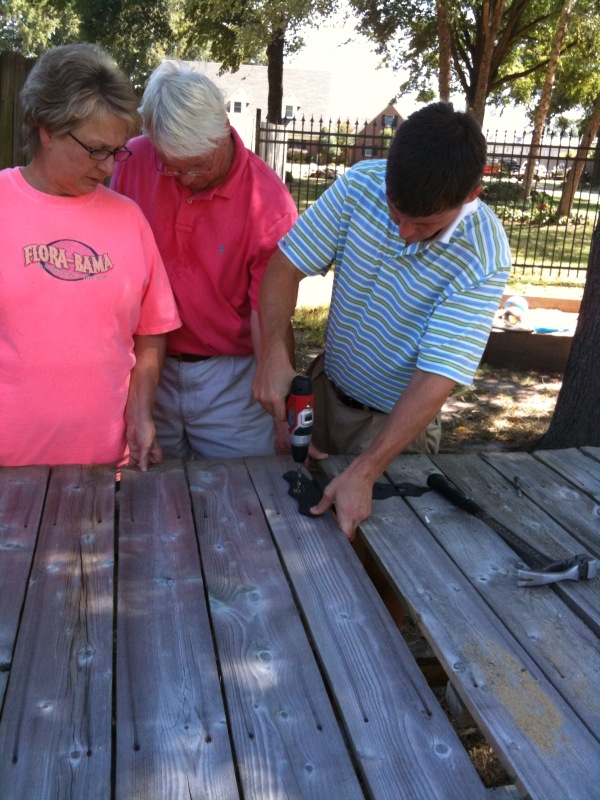
I immediately put my dad and Doc to work tearing apart a few pieces.

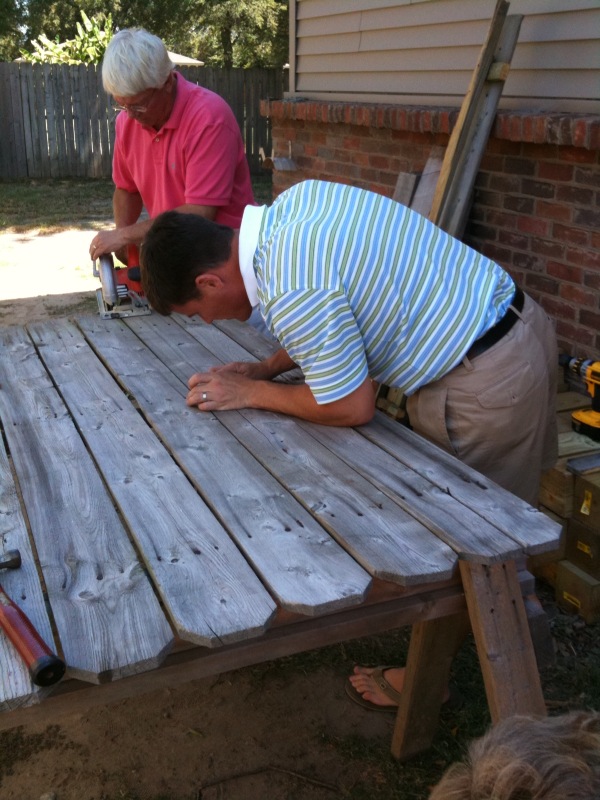
The gate to the fence was still mostly in tact. I wanted to use it as a table top, but it was a tad too big. The circular saw made its way out of the shop and my dad and Doc cut the gate down for me. We also hammered all the loose nails in.

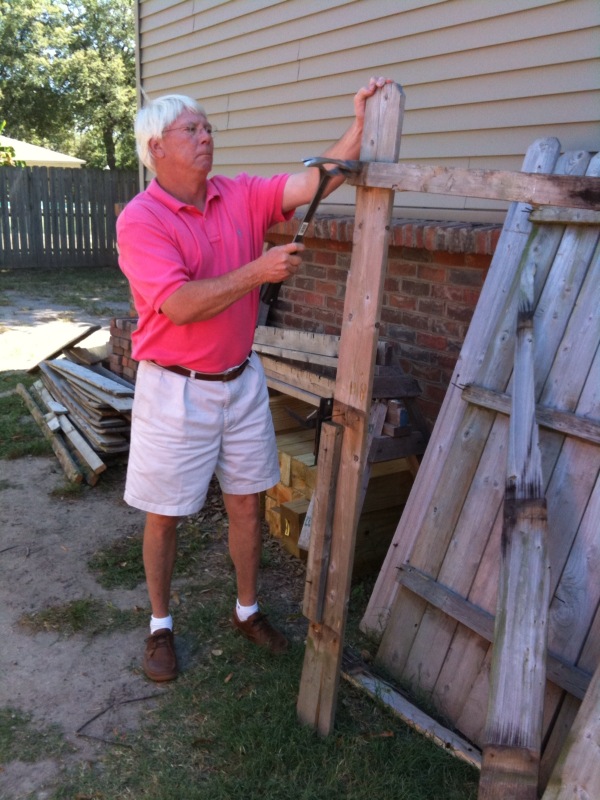
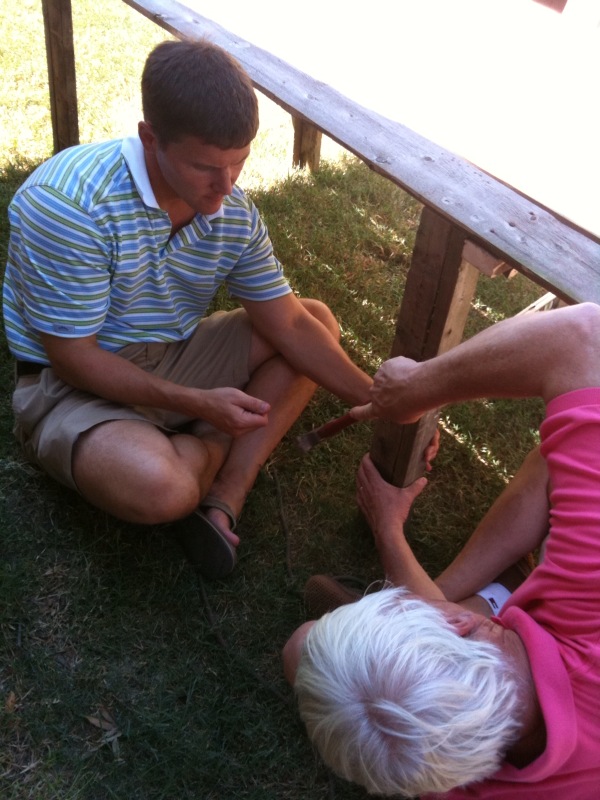
Doc grabbed a hammer and pulled all the rusty nails out of some of the posts so they could be used as our table legs.

Dad cut the posts down to the correct lengths.

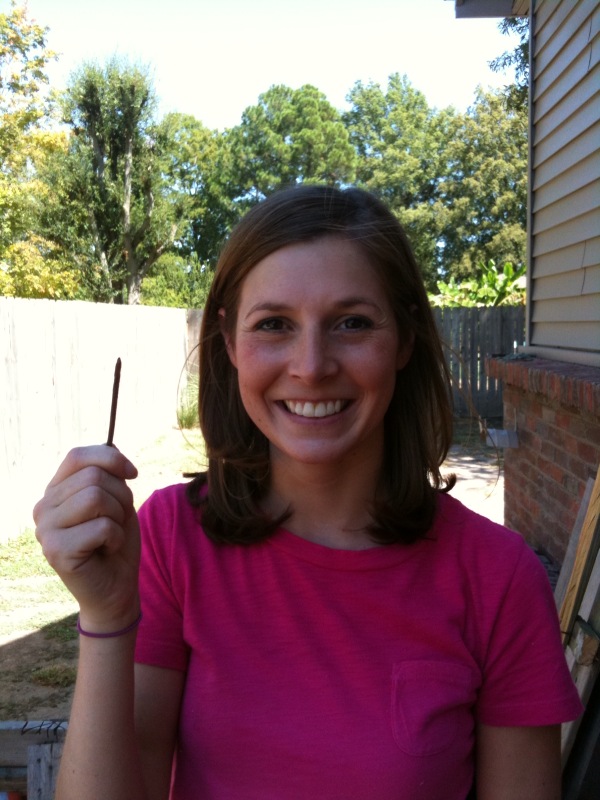
My job? Besides being Project Manager? I held this nail.

This is the rusty nail we used to mark all of our cuts. After dropping it about 48 times, my dad finally grabbed my hand, held it open, put the nail in it, and said, "don't let go of this!"

After the posts were cut, we attached them to the gate as table legs.

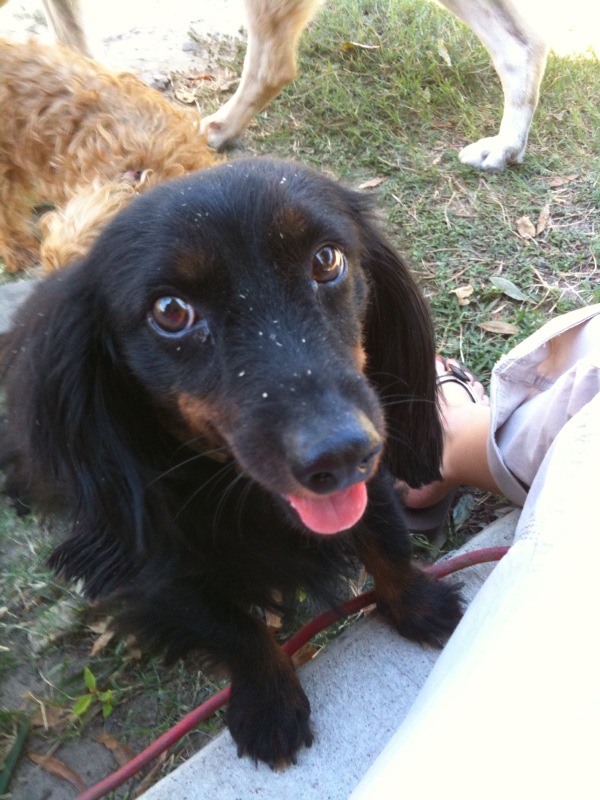
Did I mention we had the cutest little puppy cheering us on? (Note that she's also covered in sawdust.)

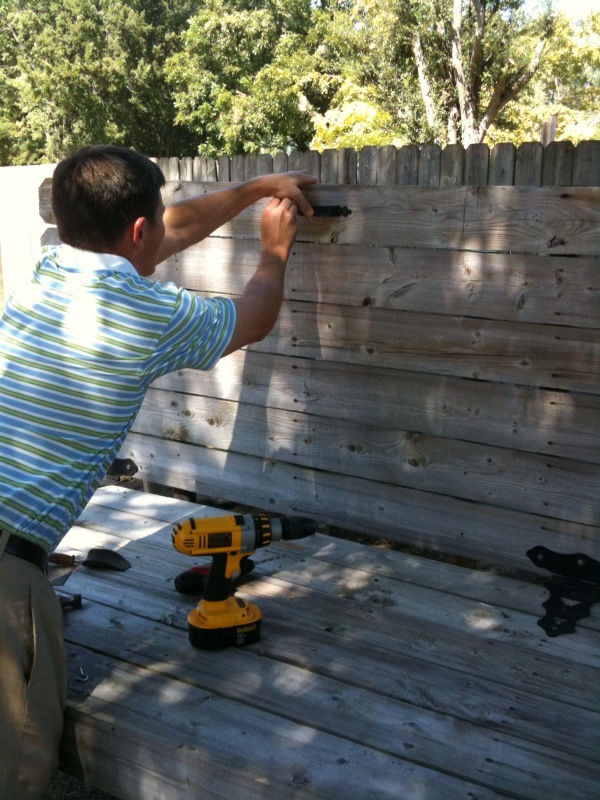
After the table was built, we decided to use the still-attached hinges from the gate to attach a back to the table. We used another section of fence for this and just drilled the hinges into it.

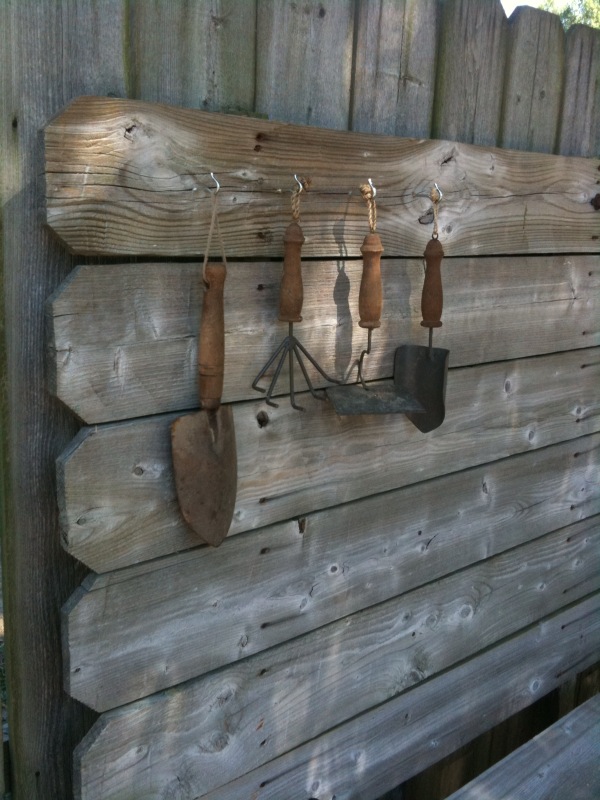
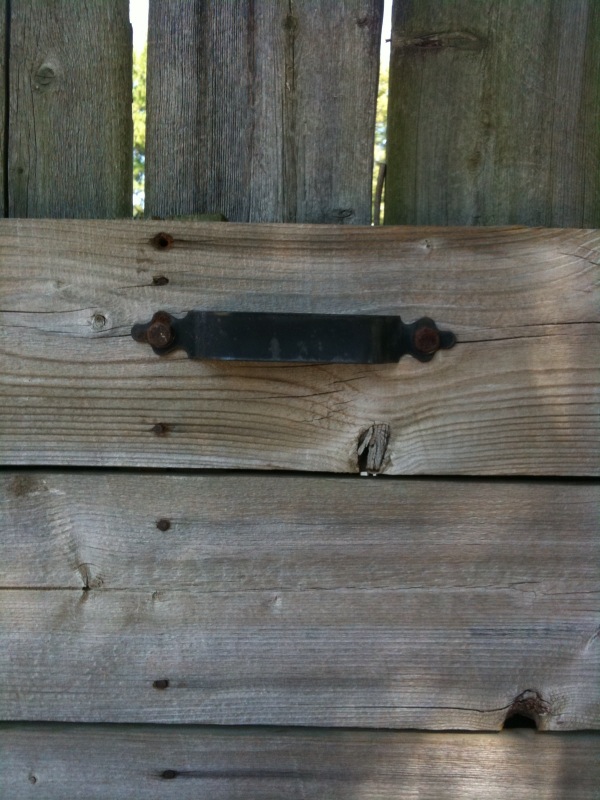
The last step was to remove the gate handle from the table top and reposition it up on the back so it wouldn't be in the way.  We screwed in some hooks for hanging things, too.

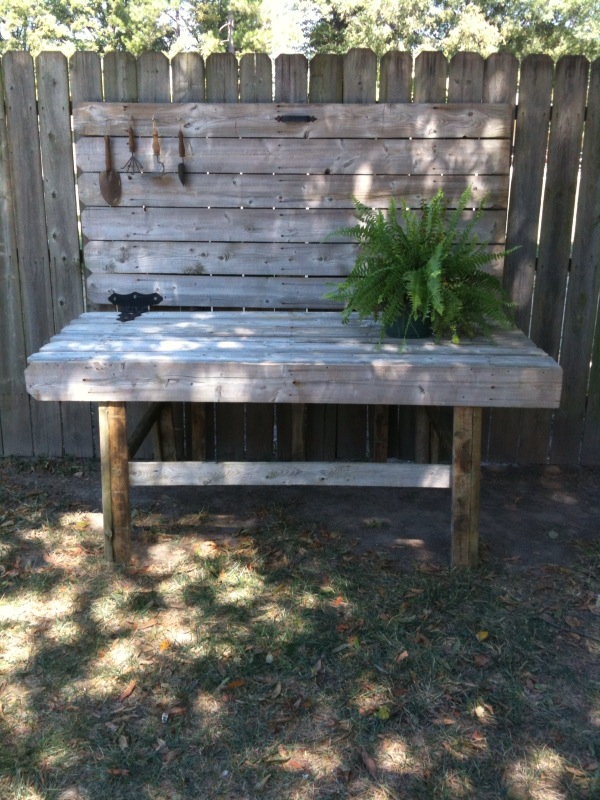
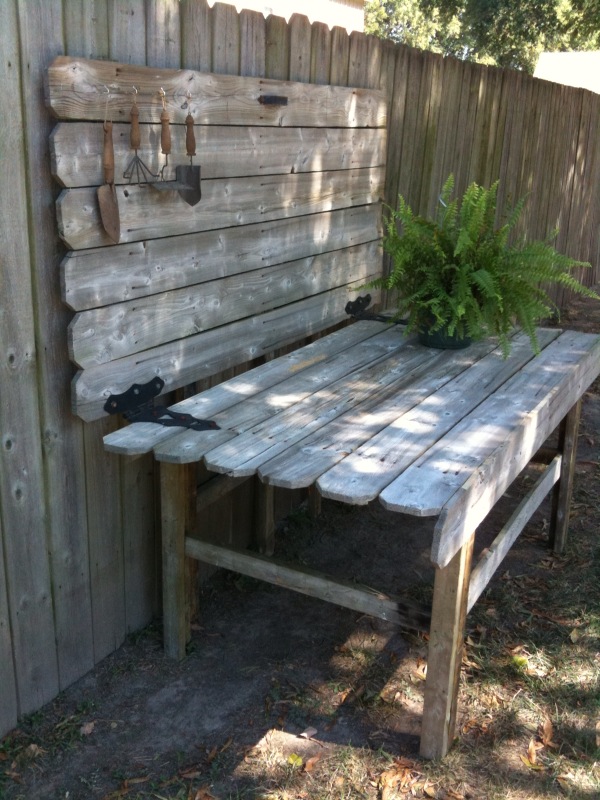
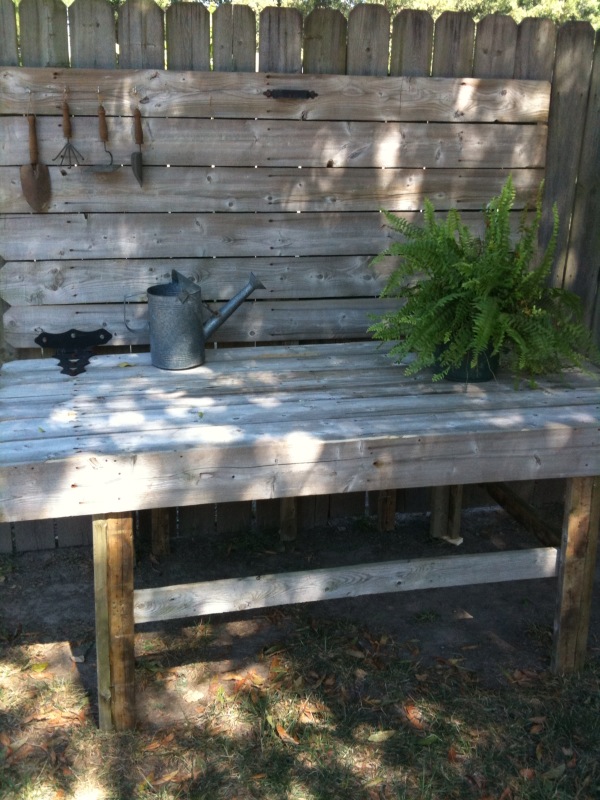
And voila! Just like that, my mom had a new potting station.

We spent zero dollars and I love the look of the reclaimed wood. Double win!

Here are some more views.

I have to say, this was some on-the-fly carpentry. We didn't really measure anything or have a plan. We just figured it out as we went. It might have a little wobble to it, but who's gonna complain about a free potting stand? Now, the true test will be if it survives the winter so my mom can use it to re-pot all of her plants in the spring. Only time will tell...

Lately

A couple of weeks ago, we cat-sat for Porter while his parents owners keepers servants were out of town. As far as cats go, Porter's pretty cool. Not only is he really pretty (can you say that about male cats?) but he's also very friendly and sociable. We spent the week petting him and feeding him and reassuring that his real servants would return soon. As a reward, he gave me this surprise:

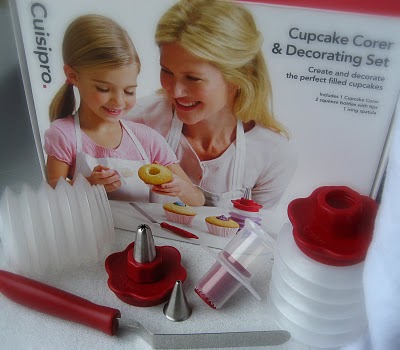
A Cuisipro Cupcake Corer and Decorating Set! Cool, right? This is awesome for two reasons:

1. I can now fill cupcakes with things like icing, preserves, ganache, marshmallow fluff, and who knows what else, making them even more delicious than regular cupcakes. 2. As the baker, I think it's only right that while coring a batch of cupcakes, I get to eat all the cored centers, a.k.a. the best part of the cupcake.  Oooooh yeah.

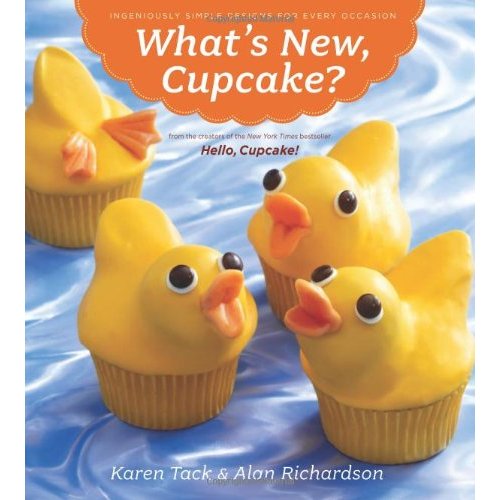
And, as if the cupcake coring set wasn't awesome enough, along with it also came this:

Oh yes, a book all about decorating cupcakes. Porter sure does know me well! I am so excited about this book. I have already read through all the tips and how-tos and have begun flipping through the different tutorials and recipes. Soon, I'll be able to make a batch of little yellow duck cupcakes, monster cupcakes, and even some that look like weenie dogs! Minnie will be excited about those.  Now, I just need to find a reason to get baking...
***************

I bought some new tenny shoes.
I might actually start doing some physical activity to justify the purchase. Eh, we'll see.

***************

Sunday, while getting ready for church, we encountered a nuclear-grade meltdown. I dry my hair using a round brush, and I do it in three sections. This particular time, I had finished the first (bottom) layer and was working on the middle section. It was feeling pretty dry so I started to lay the hair dryer down on the counter so I could unclip the top portion, and that's when I screamed. Doc came running. There was hair ALL over the counter. My eyes were huge.

"Why is my hair everywhere?" I asked. "I dunno, but it smells like something's burning up here." Doc replied. "It does?" I apparently couldn't smell it.

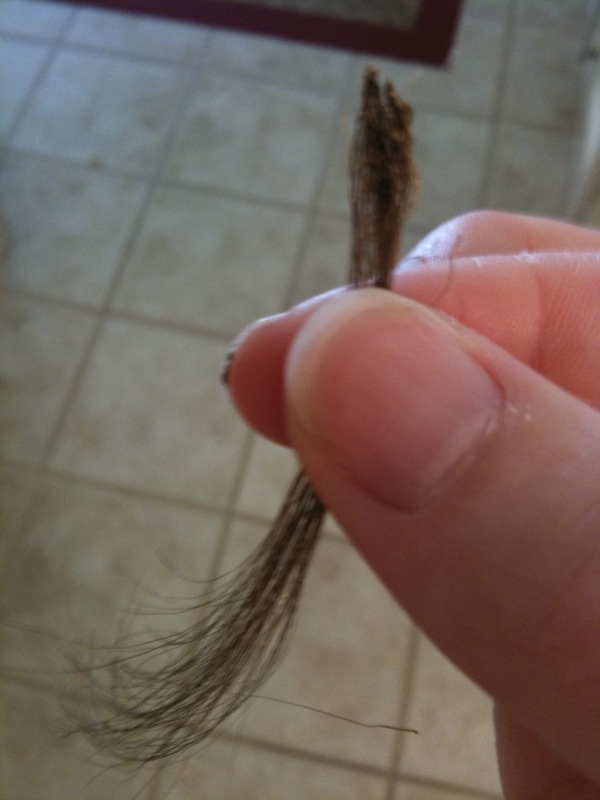
And then we turned and looked at the floor and found a few of these:

CLUMPS of my hair melted together and no longer on my head. What the what?!?

We're guessing my hair dryer kicked up the heat a little and started burning my hair. I now have new unwanted layers in my hair, and lots of frazzled, fried ends. I'm still trying to decide what to do about that. I have, however, already purchased a new hair dryer.

***************

Sunday afternoon, while I was still upset over my melted hair catastrophe, my mom called to let me know that sweet little Parker had been taken to the emergency room.  Funny how things can quickly get put into perspective.

It turns out the little guy fell off his chair while eating breakfast and busted the back of his head open. He and his parents spent about 5 hours at the hospital getting him fixed up.  His mom, Erin, sent me a pic when the codeine kicked in and made him high as a kite.

He's doing ok now, I think. Back to running around everywhere. You aren't a tough two-year-old until you've had four stitches on your head.

***************

We were able to get lots of building done over the long weekend: two benches, a small coffee table, a console table, and something else that I'll be showing you tomorrow. I'm so excited about everything we're making and we have officially decided to have a shop sale!

We're shooting for Sunday, December 5 so mark your calendars! If all goes to plan, we'll have lots of fun things for sale that would make great Christmas presents. Plan to come shopping and check out our work!

Perfect Saturday

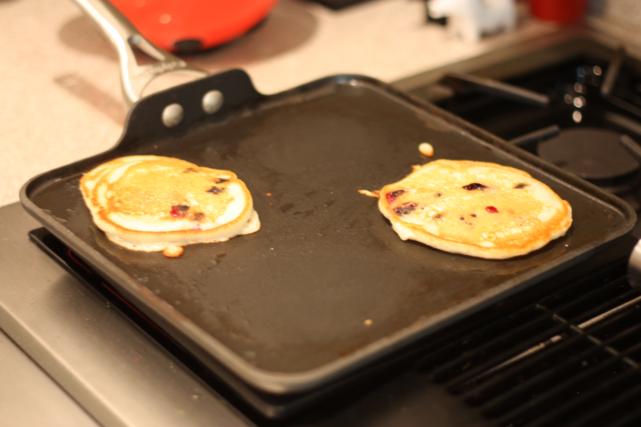
1. Early morning walk in the fall-like weather. 2. Blueberry pancakes.

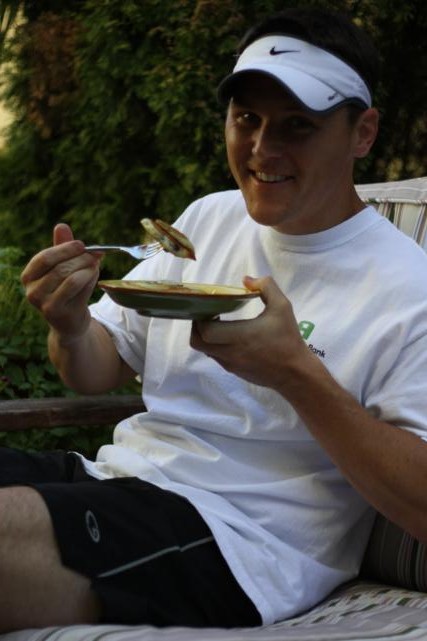
3. Breakfast on the patio with this guy.

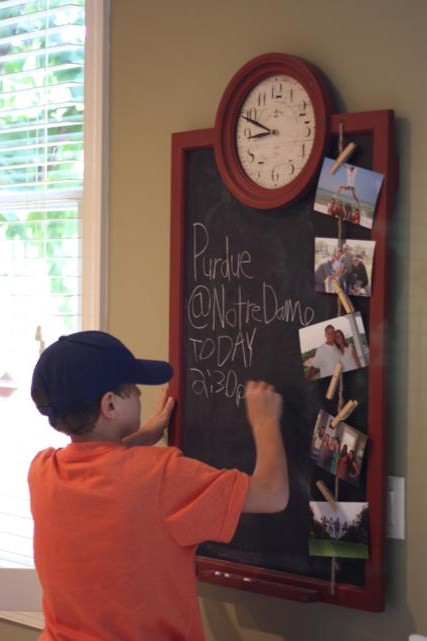
4. The schedule for the day posted.

5. Notre Dame puzzle.

6. Sidewalk chalk.

7. Really good deals from clearance racks.

8. Game day decor.

9. Hopscotch.

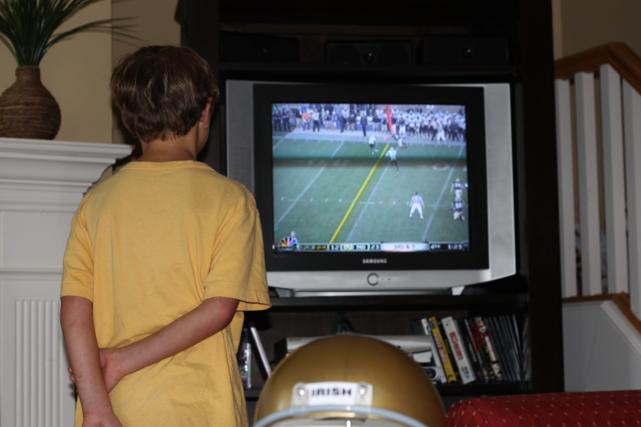
10. Intense game watching.

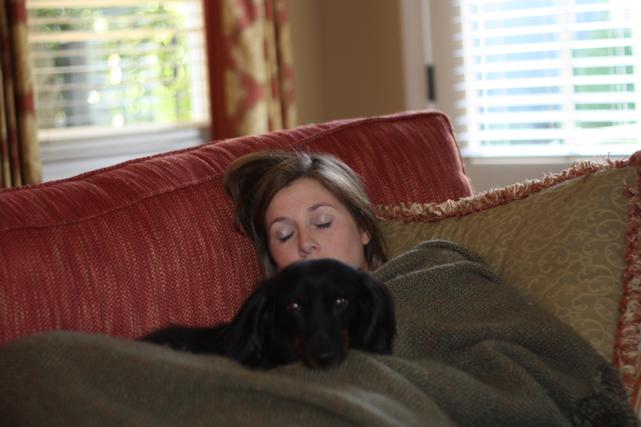
11. Afternoon nap (with guard dog).

12. Fist bumps of victory.

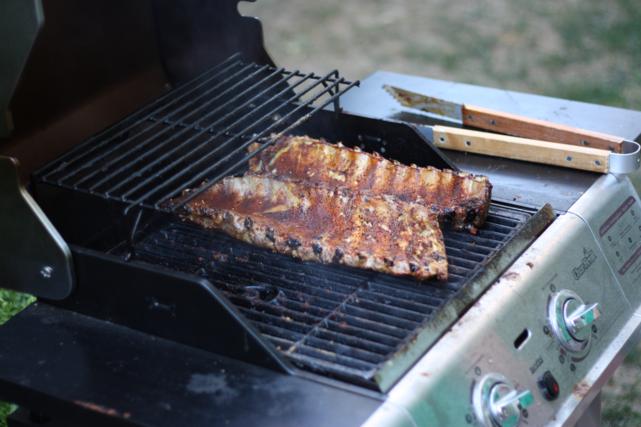
13. Ribs on the grill.

14. Tomorrow's church clothes already ironed.

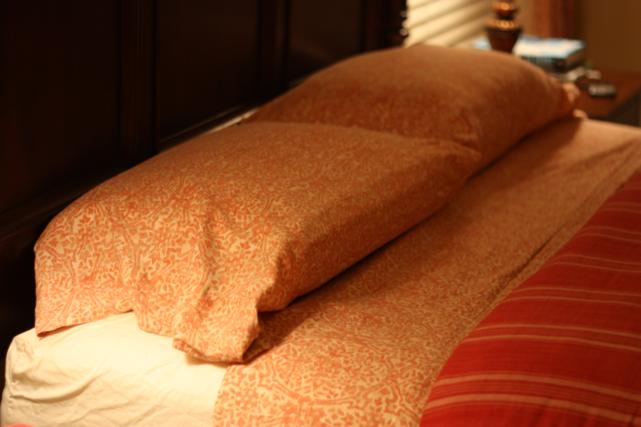
15. New, clean sheets to sleep in.

Couples Shower

Finally, I have time to recap our party from last weekend! A week late's not too bad, right? These were the invitations that were sent out a few weeks in advance.

My friend Matt did the design work and printed them for me, and then I cut all the tissue paper fringe and glued it on. The last step was to sew the red line across the fringe "skirt."

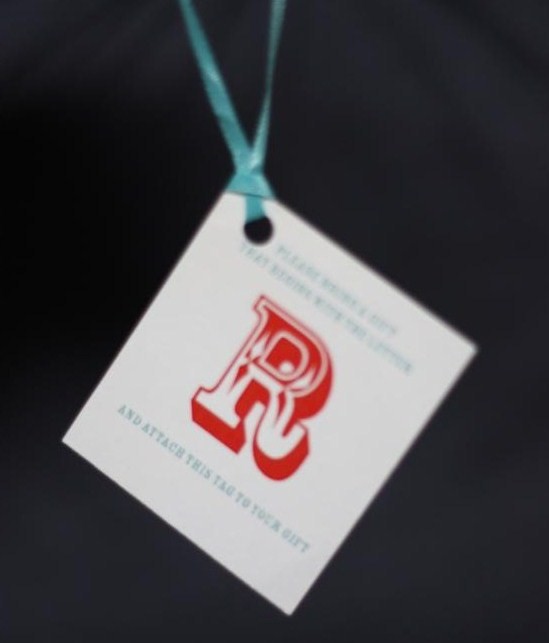
In each invitation was one of these tags with instructions to bring a gift that started with that letter and to attach it to the gift.

I tried to go around the house and take pictures of all the decorations before the guests arrived. I think I missed a couple of things, but here's the bulk of them.

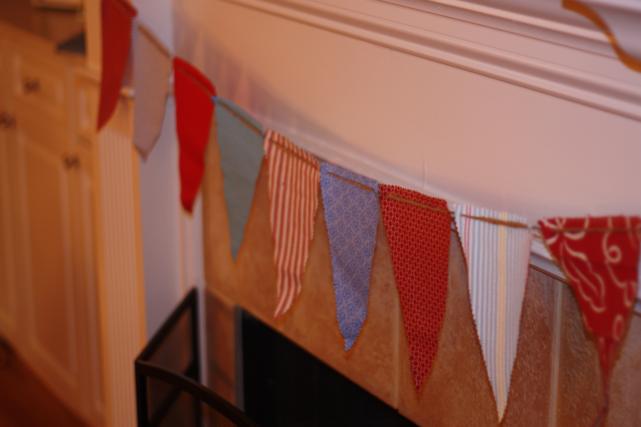
The banner was hanging on the mantle.

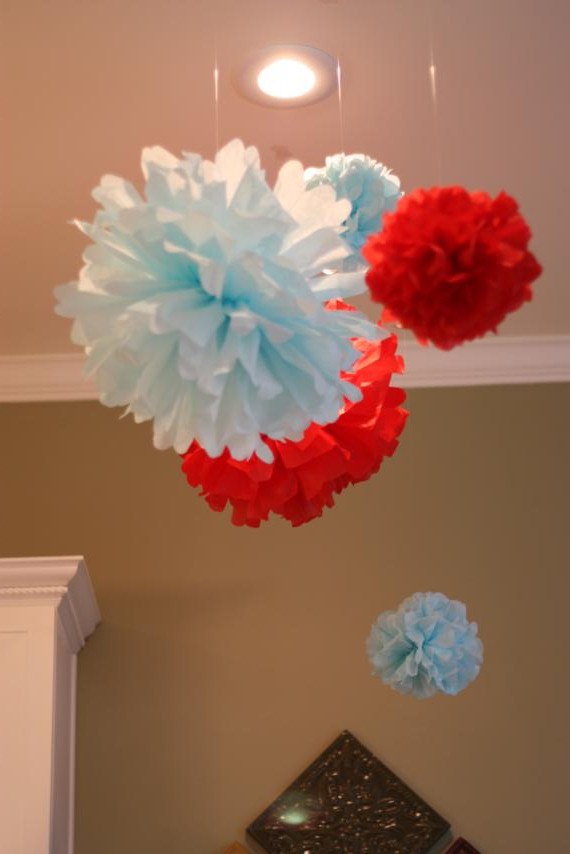
Two mini tissue poofs hung from the doorway separating the kitchen and the living room.

And the rest of them were hung in the kitchen over our bar.

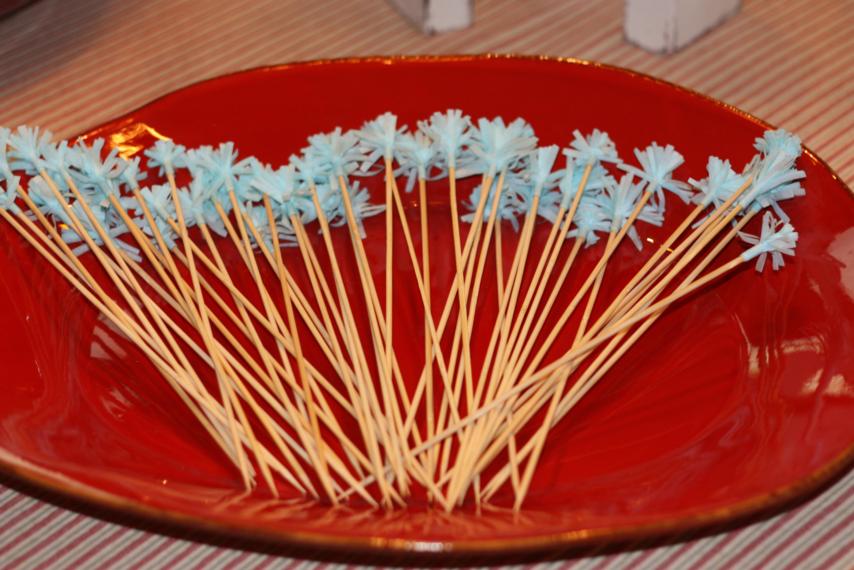
The pom-pom skewers were set out beforehand, just waiting for their food.

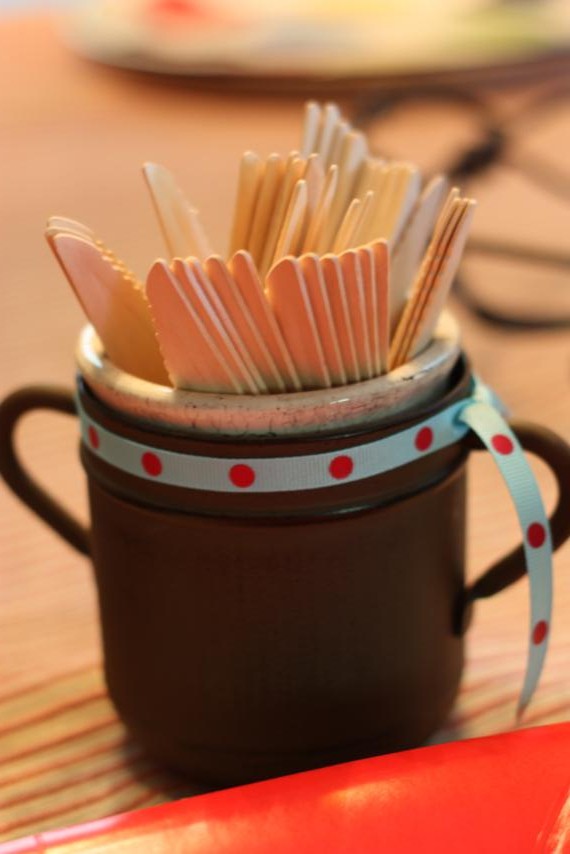
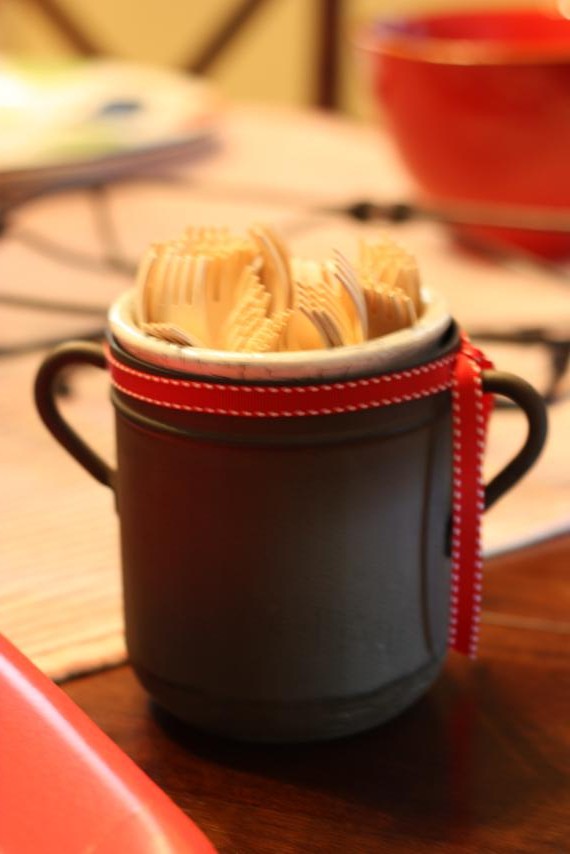
I tied ribbon around two jars so the wooden flatware would match the theme.

And these cute napkins sat on another corner of the table.

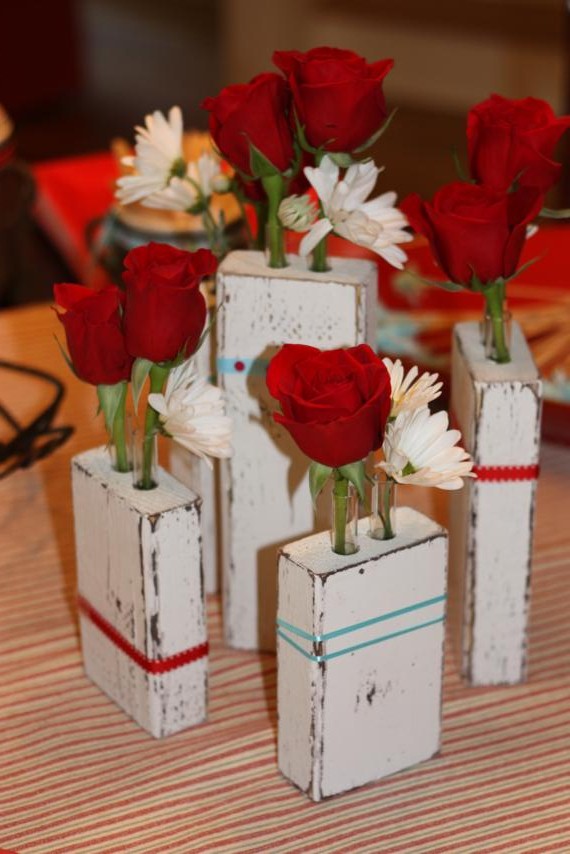
The centerpiece on the table was a few of my wooden test tube vases. I wanted red flowers for them and roses were my only choice. I added the daisies and the ribbon to try to make them look more cutesy and less romantic.

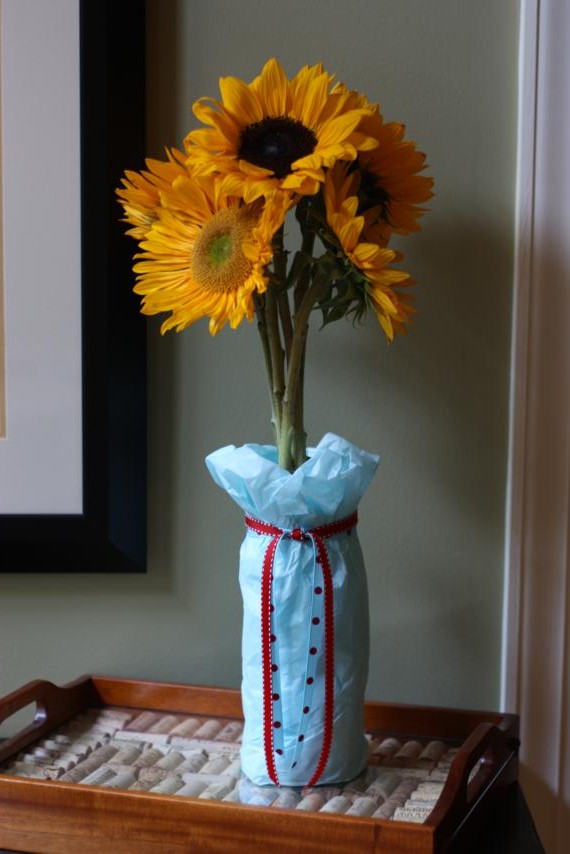
Doc brought home some sunflowers earlier in the week, and I dressed them up so they'd match the party, too.

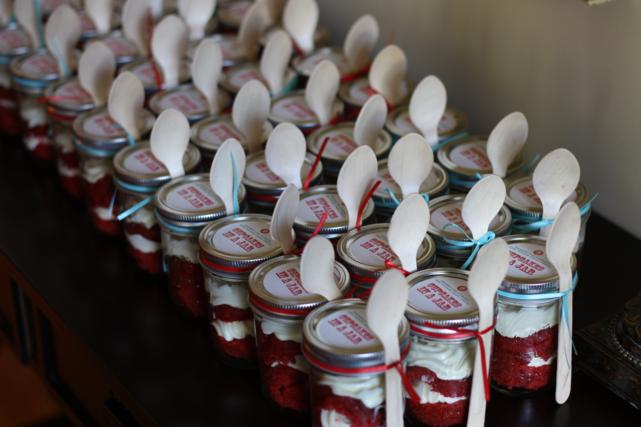
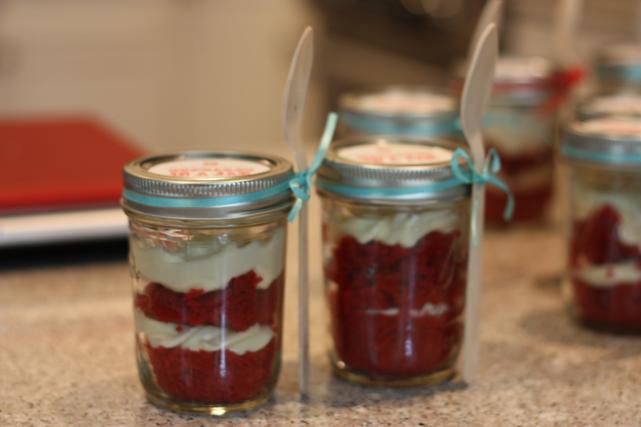
The cupcakes in jars were lined up like an army of deliciousness, just waiting for people to take them home.

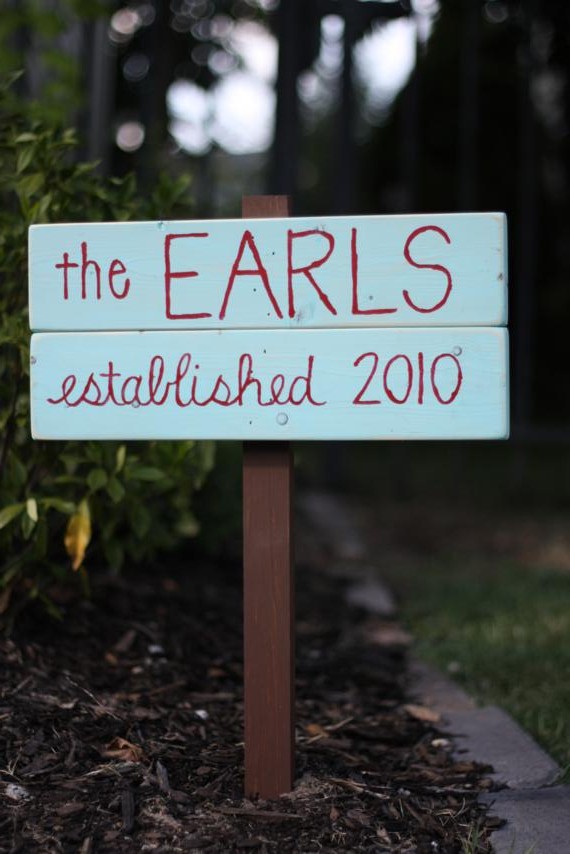
Outside, we put a sign in our flowerbed so all of our guests would come to the right house. Jenny and Darrin got to take it home with them.

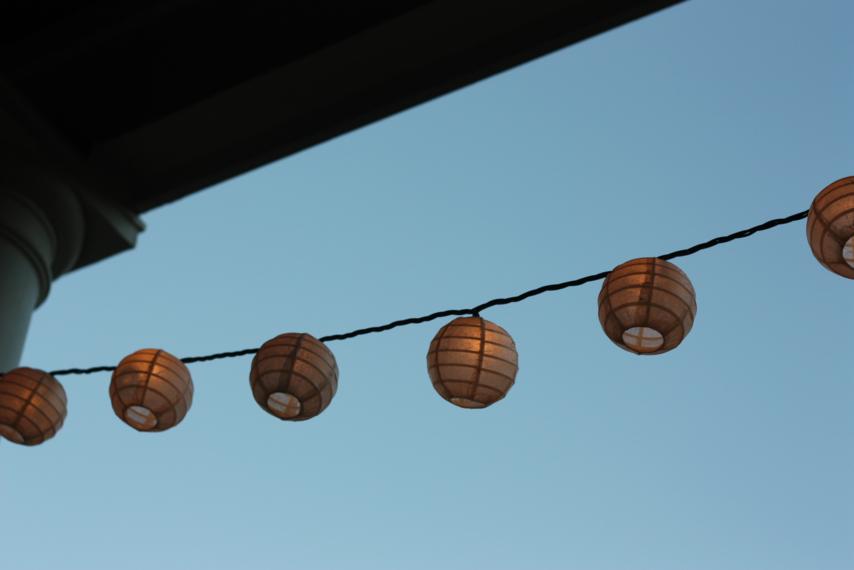
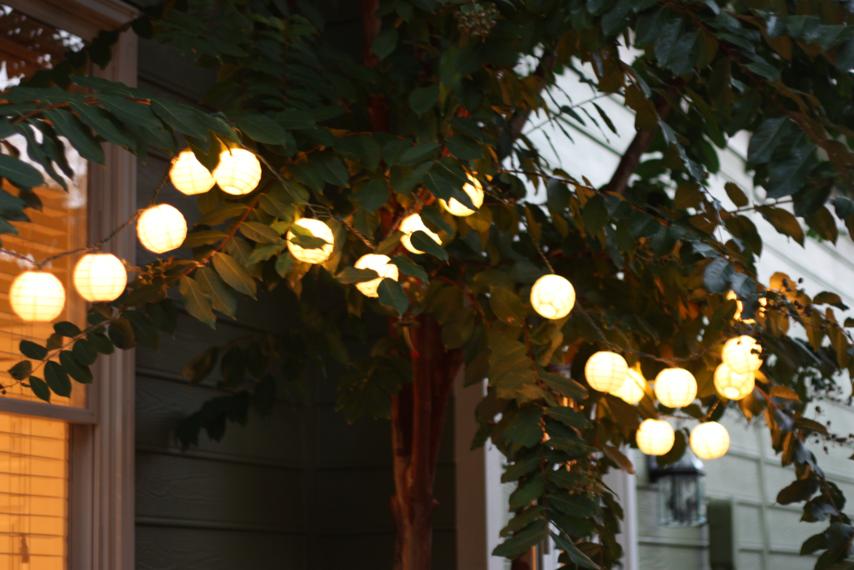
We also hung lights outside. This was probably my favorite part. I love strings of lights!

Luckily we got everything done and ready with about 15 minutes to spare before the party started. Just in time!

Reason #34 why I'm friends with Jenny and Darrin: they came dressed to match the theme.

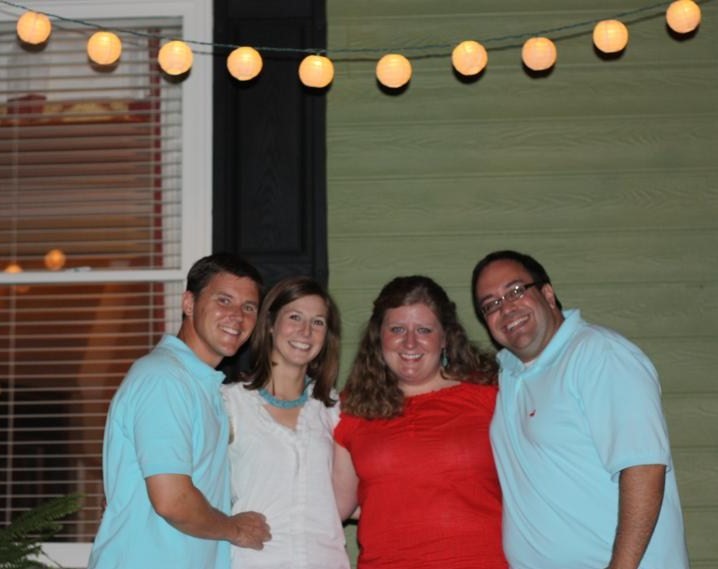
Our other friends didn't get that memo, but we let them come in anyway.

It wasn't long after everyone arrived that the food was ready.

Here are the pom-pom skewers full of fruit.

And the whole spread: pork tenderloin, cowboy beans, spinach orzo salad, fruit, and rolls.

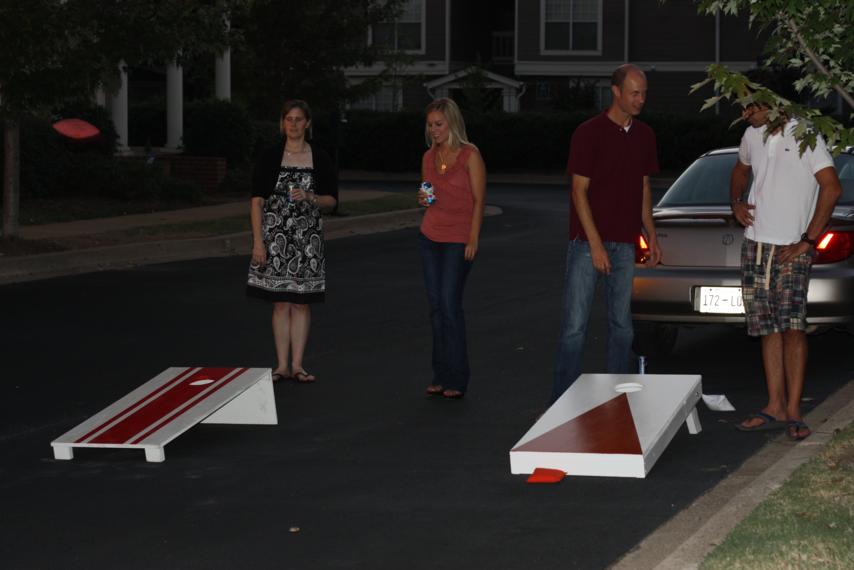
After dinner, the party moved outside for some cornhole.

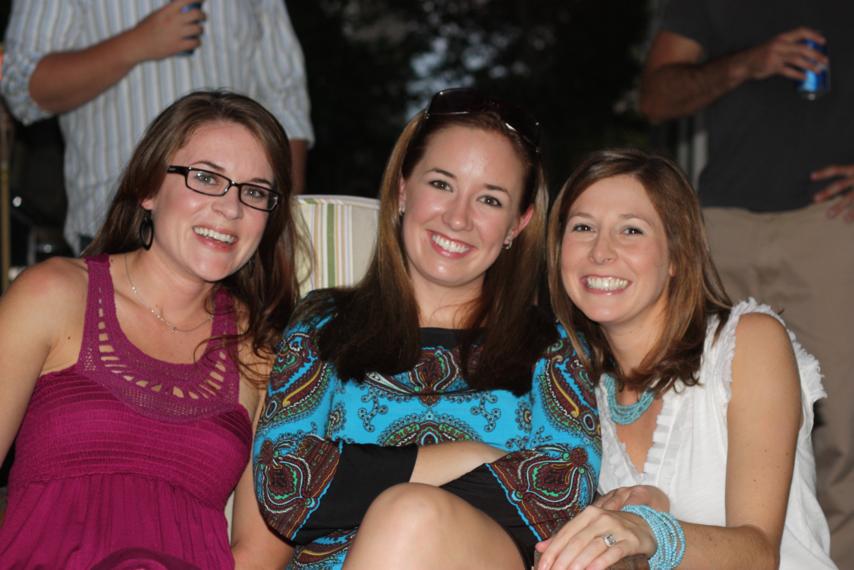
The weather was pretty perfect for sitting outside.

We headed inside after a bit to watch the guests of honor open gifts. It was fun to see what everyone came up with for their letters.

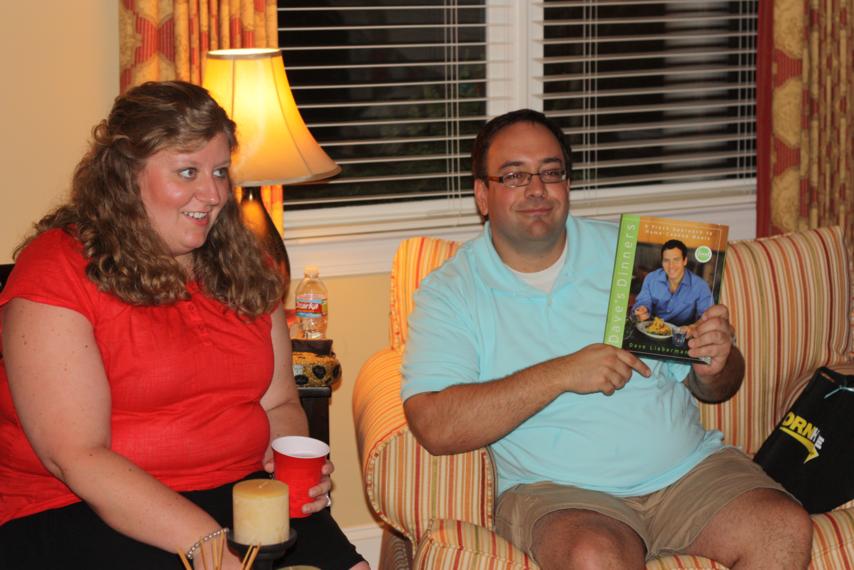
D for Dave's Dinners cookbook.

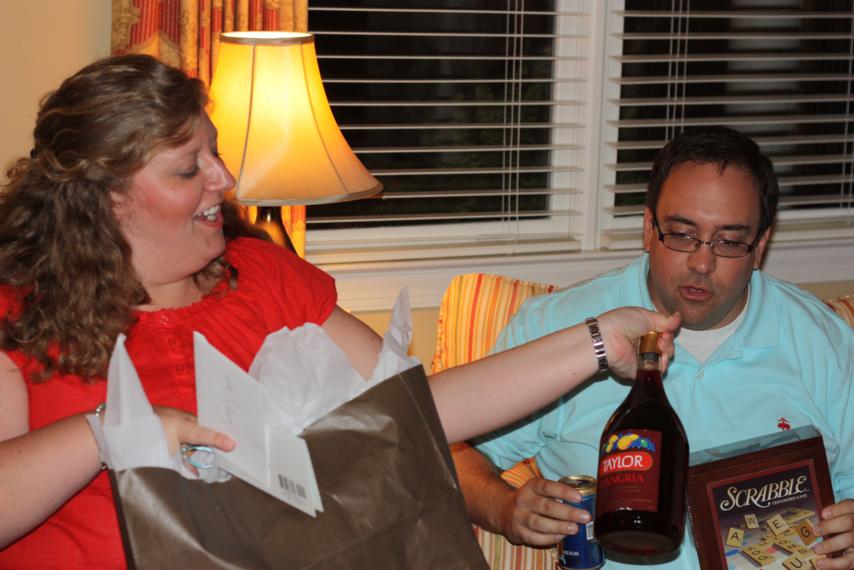
S for scrabble and sangria.

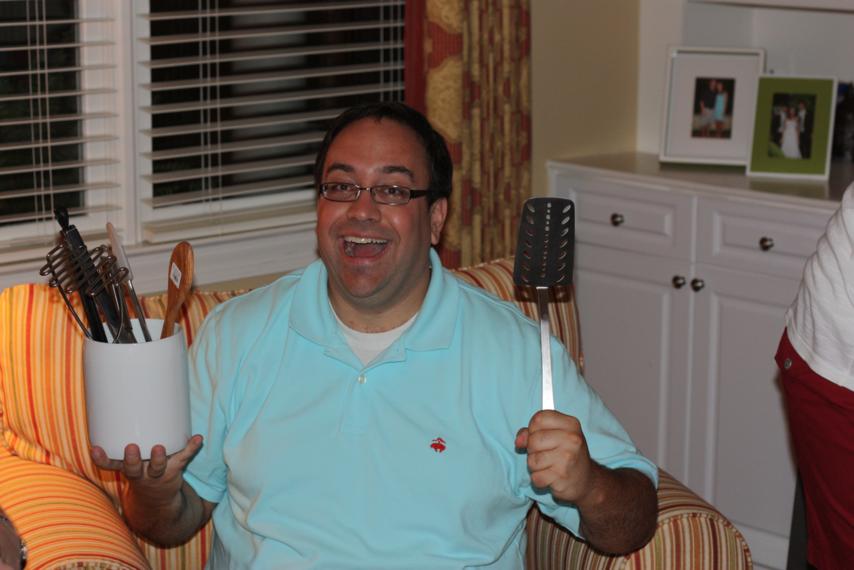
U=Utensils!

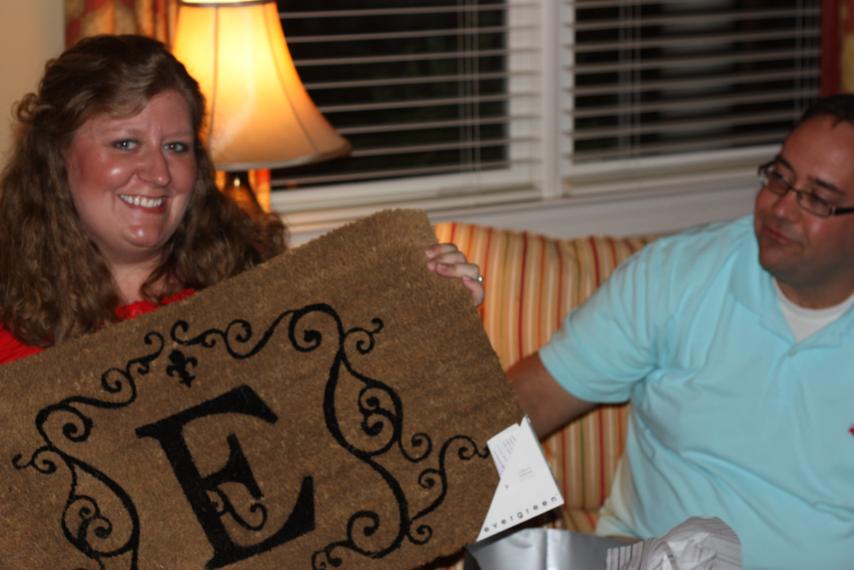
A welcome mat for W.

Our letter was C, so we made them a cornhole set painted in Texas colors (Darrin's alma mater).  It got broken in during the party.

It's safe to say they got lots of good, fun, and unique gifts. I think they were pleased!

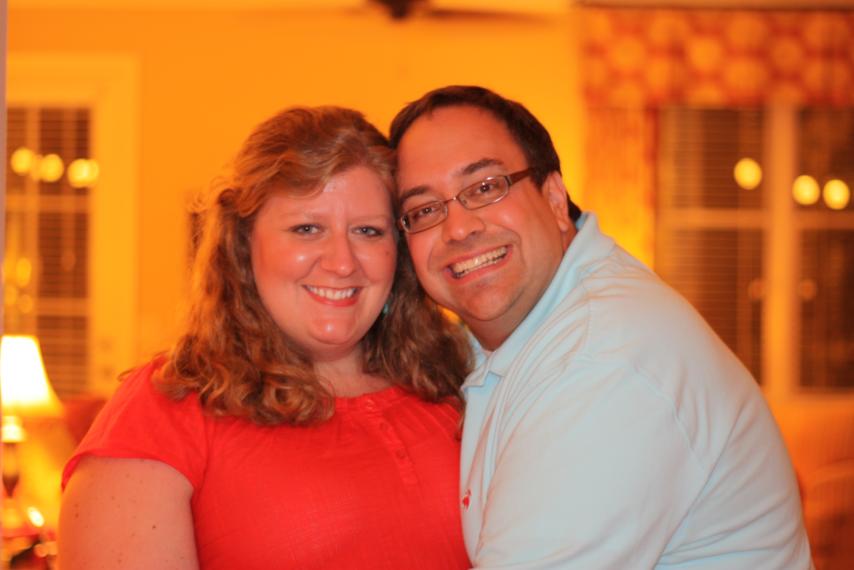
One last picture with the couple, and that's a wrap!

DIY: Cupcake in a Jar

I wanted to have favors to give our guests at our party this past weekend and this cute little idea I found online was perfect for it. Or maybe it was that I found the idea and just wanted an excuse to try it. Either way, I love how they turned out. I found the idea and recipe here.

Now, I'm not a big fan of red velvet cake, but you know how I like to go all out with a theme, and red cake would match so I went with it. I doubled the recipe from the link above to make two batches. And I must say that the red velvet cake from scratch with the homemade icing may have won me over.

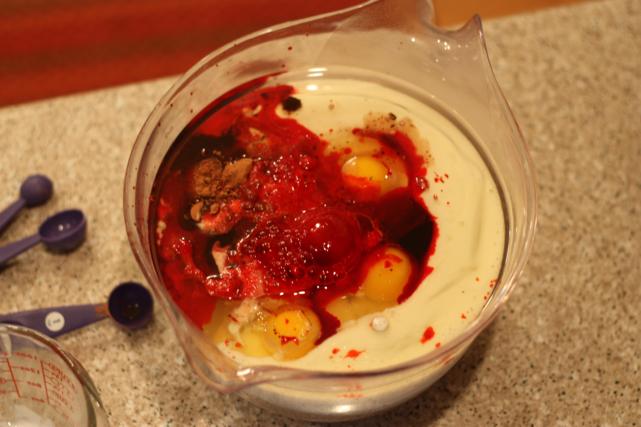
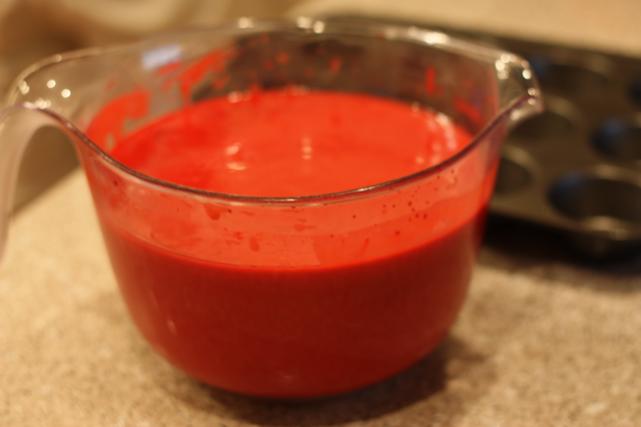
First step is obviously to make the cupcakes.  My bowl was barely big enough.

Here's a tip: when making a double batch of red velvet cupcakes, trust me when I say you do not have enough red food coloring. Even if you have the big bottle, it won't be enough. Buy more than you think you need, or else you'll end up sending your husband to the grocery store at 9:30 to get more.

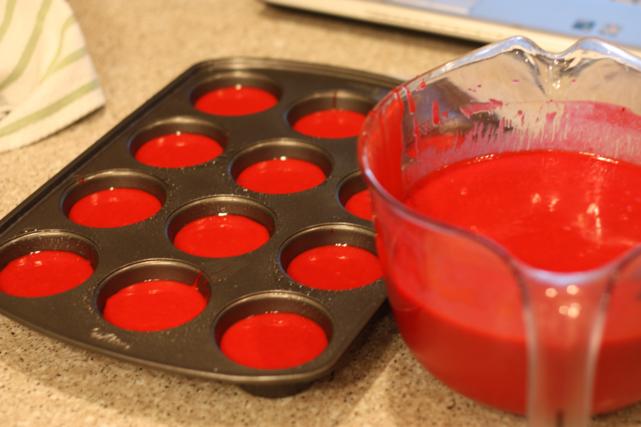
Next, fill your cupcakes 2/3 full.  The first batch I did not use cupcake papers and even though I sprayed the pan really well, they stuck like crazy. The next set I used the papers and it was much, much better. Use them.

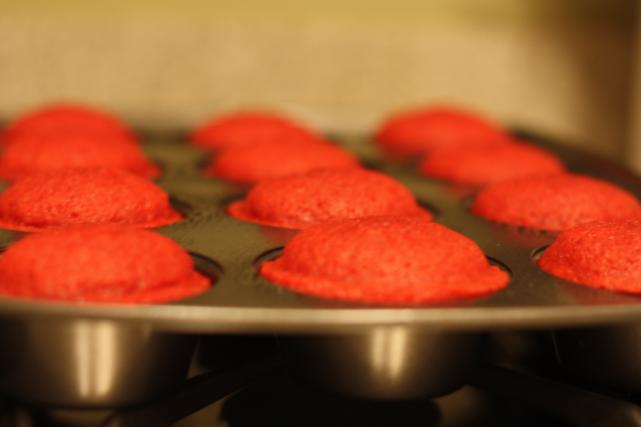
Pop 'em in the oven and let those suckers bake!

While the first batch was cooling and the second batch was baking, we made the icing.

Here's another tip: when making two batches of homemade icing, you will not have enough powdered sugar. Even if you have two boxes, it will not be enough. Buy more than you need, otherwise you'll be sending your sweet husband back to the store.

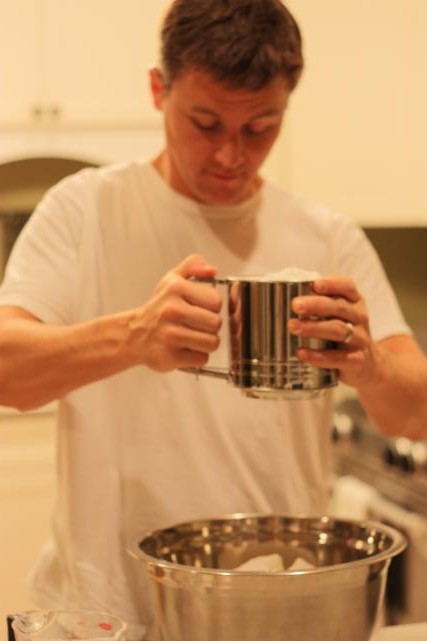
Oh, and we got to use our new sifter for this!

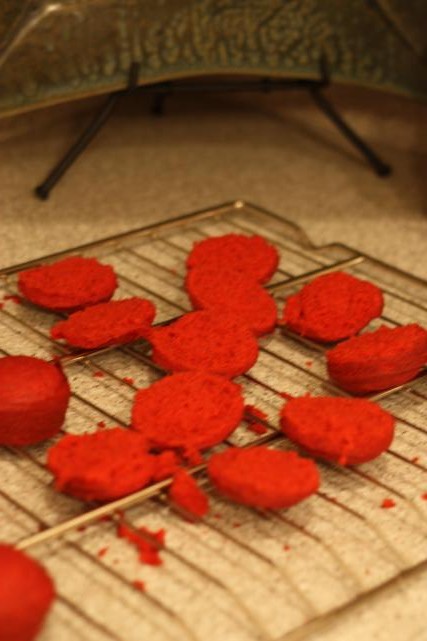
Once the cupcakes are completely cool, cut them in half. (Sorry, bad pic here.)

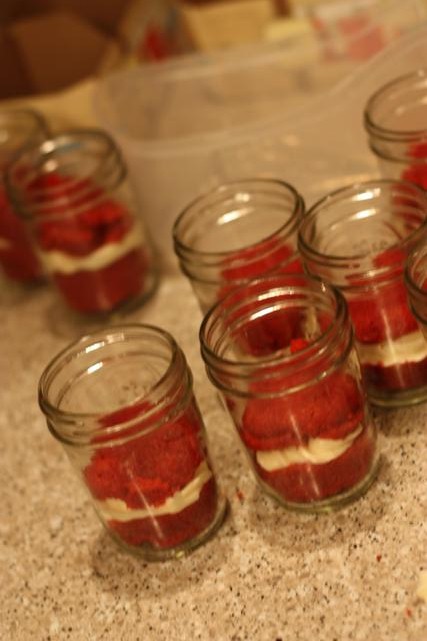
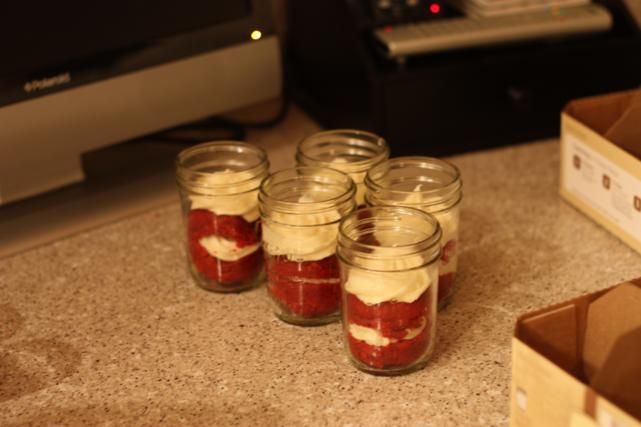
Place the bottom half of the cupcake in the bottom of the jar.

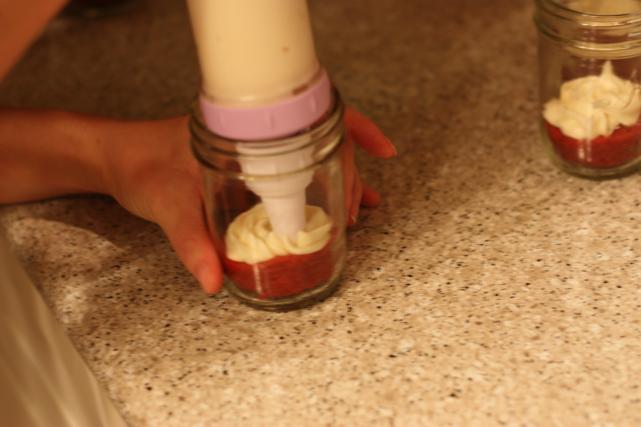
Next up, squirt some icing in!

After the icing, you want to take the remaining half of the cupcake (the top half) and smoosh it down on top.

And now another shot of icing is needed.

This time, the icing won't be getting smooshed, so make it a cute dollop.

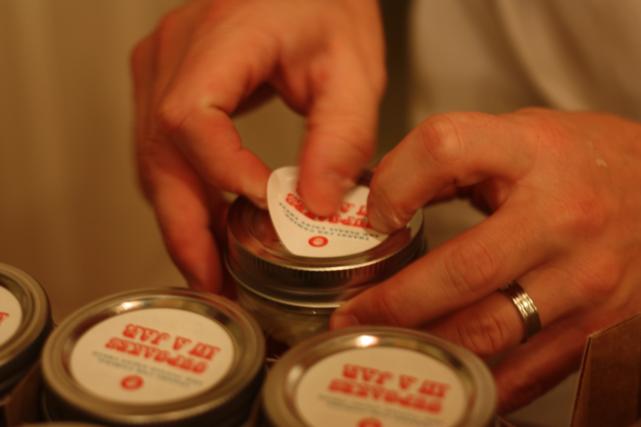
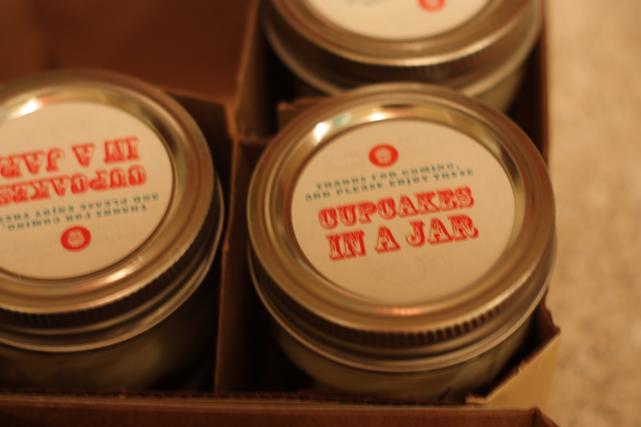
And now they just have to be packaged up. We put the lids on and then topped them with a cute label. (Shout out to our friend Matt for printing the labels. Thanks, Matt!)

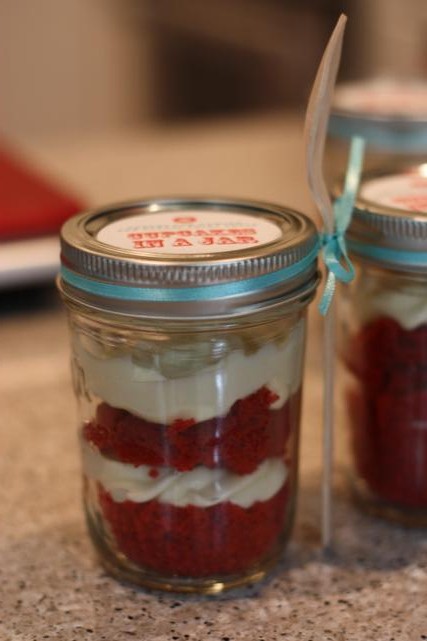
What's the point of a cupcake in a jar if it doesn't come with a spoon? The next morning I tied a ribbon and spoon around each jar.

And finally, they were done! Just in time too...we only had a few hours to spare before our guests arrived.

I won't tell you exactly how many of these I've eaten, but it's somewhere between 5 and 10...