Sesame Street Party

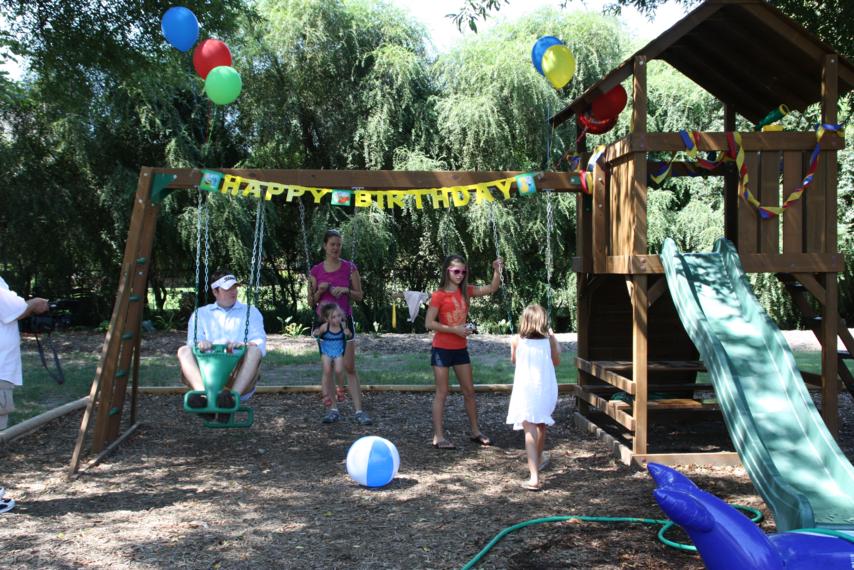
In case you thought Bren was the only person in our family turning two this month, I've got pictures of Mr. Parker's playground party from this weekend to share. When we arrived, we saw that Poppy's Playground was decked out in decorations,

and everyone there was already playing hard. Even the big kids.

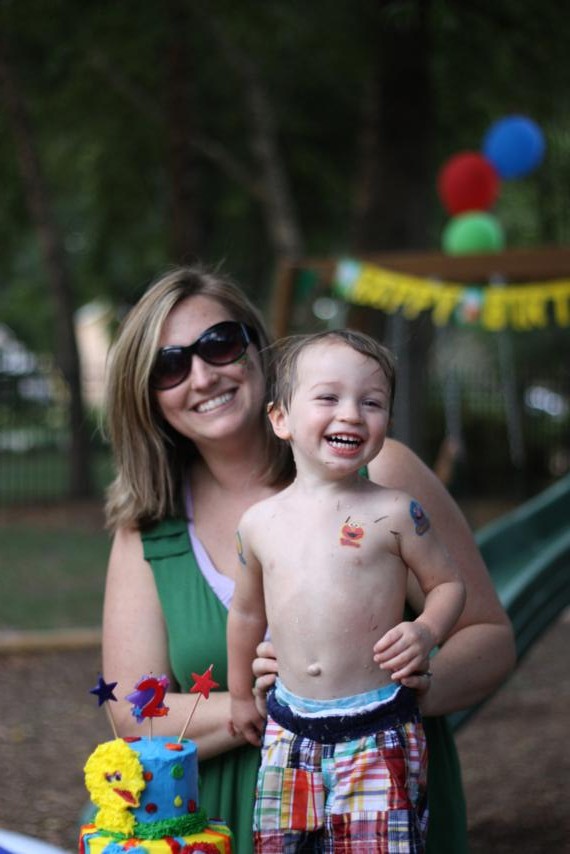
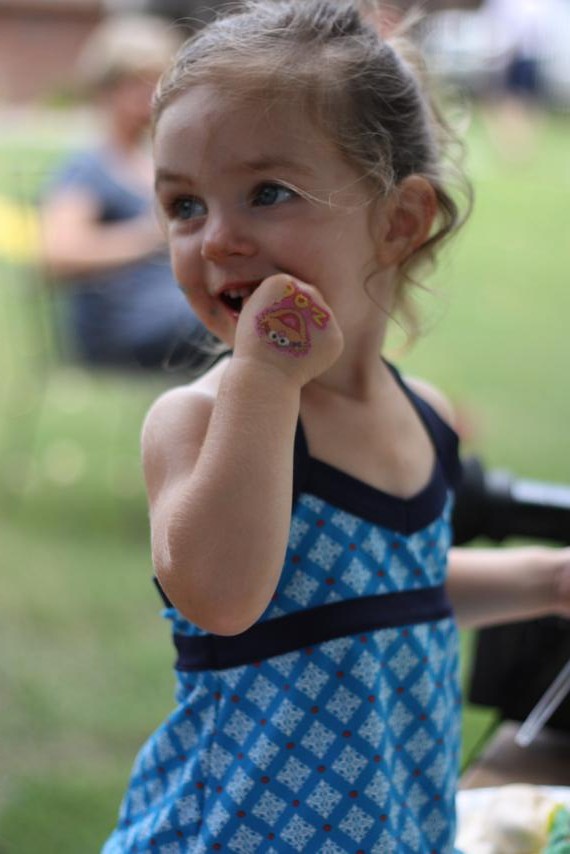
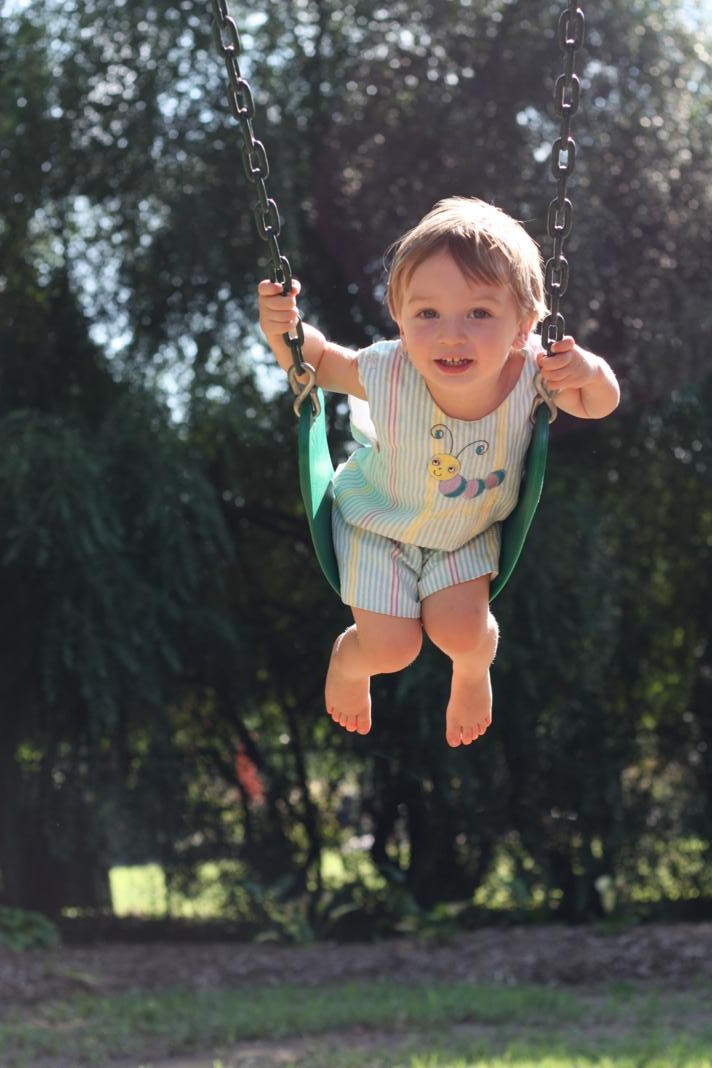
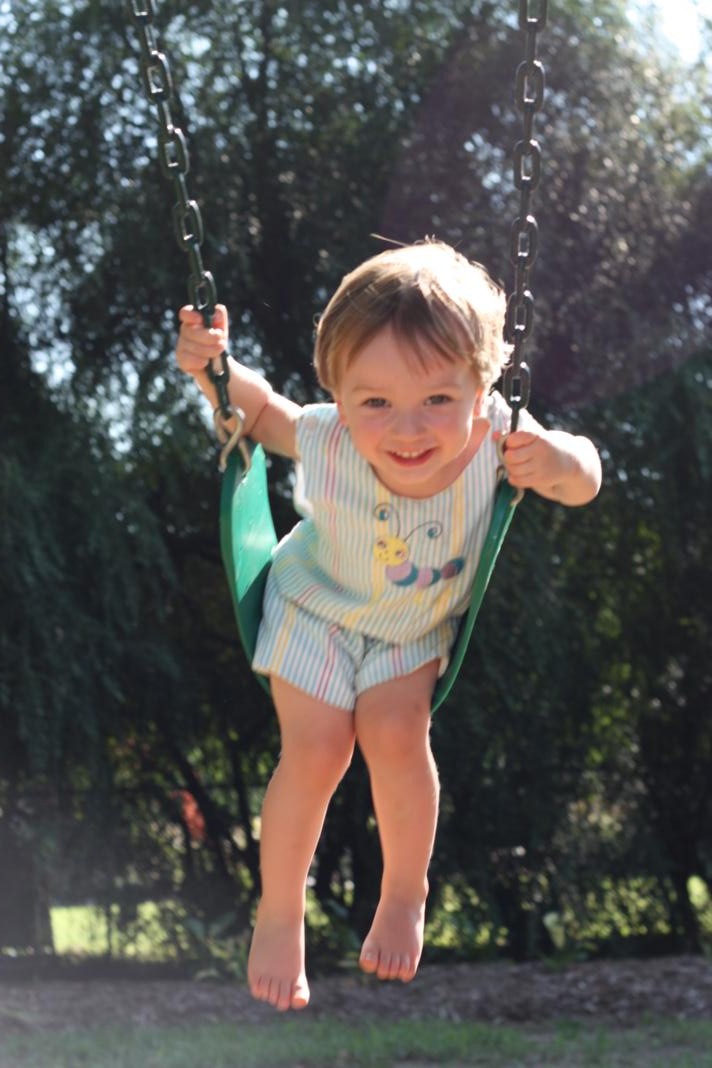
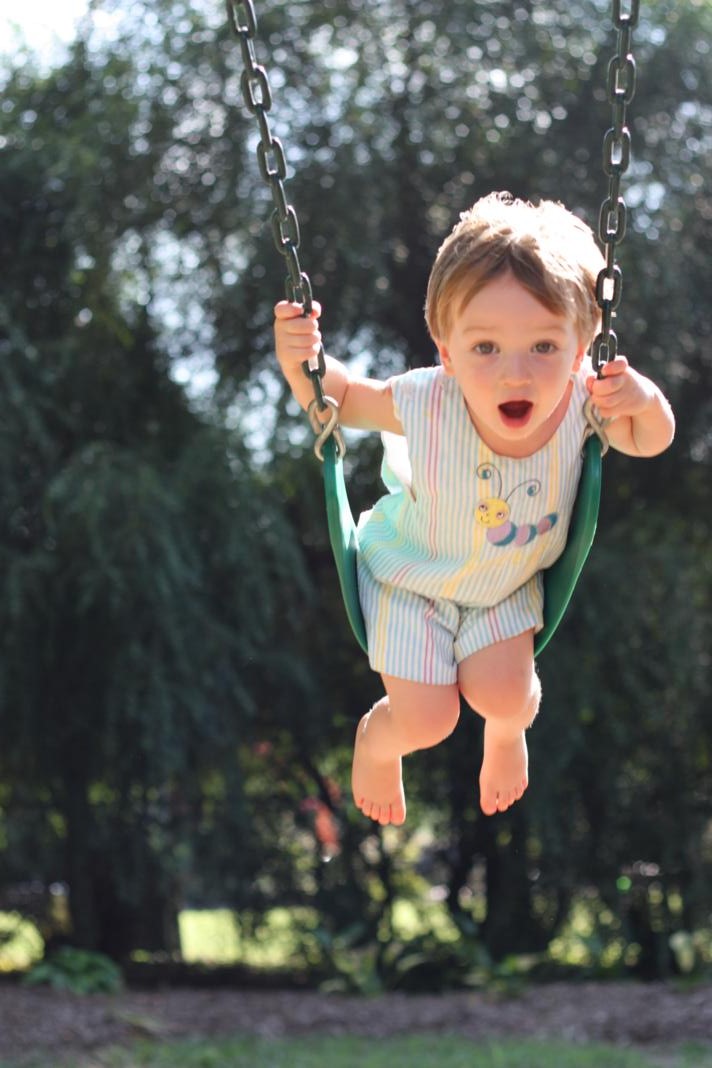
The birthday boy spent lots of time on the swing. And, as you can see in the pic, he was sporting a new Elmo tattoo.

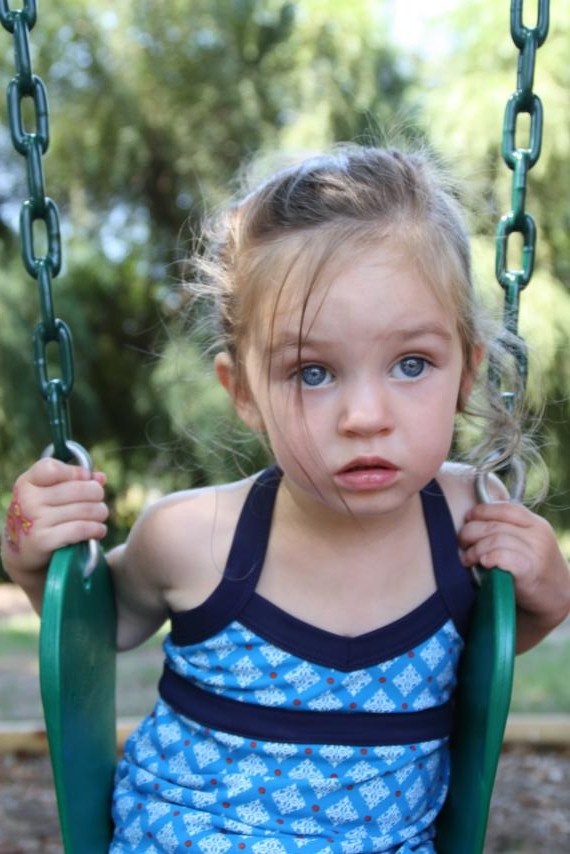
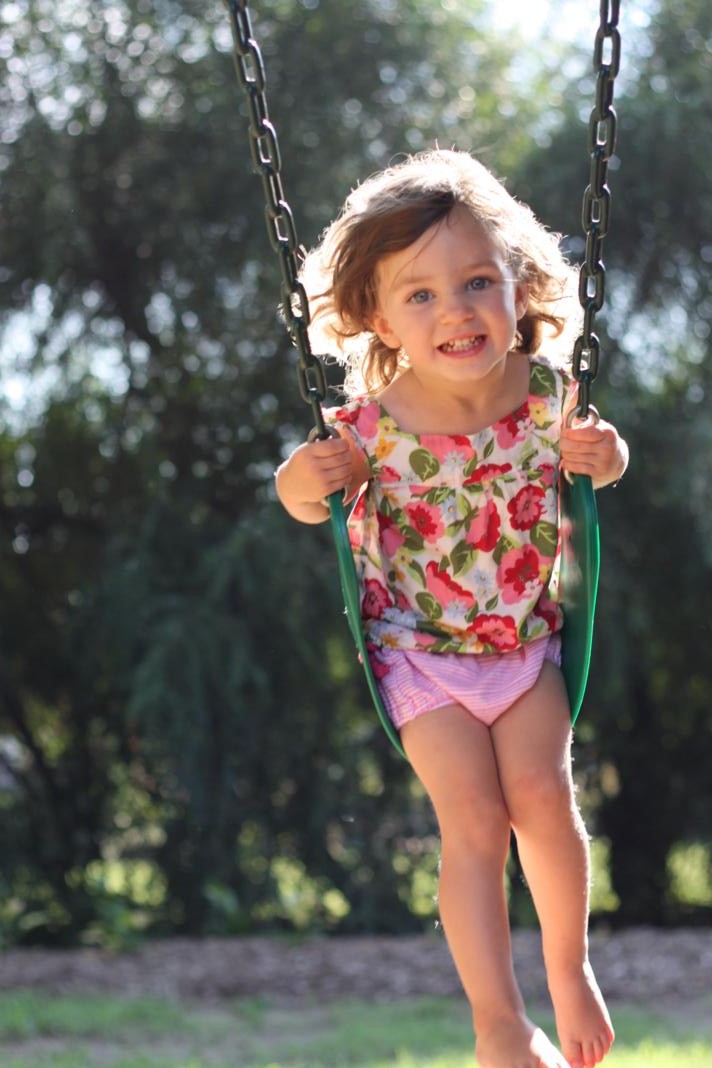
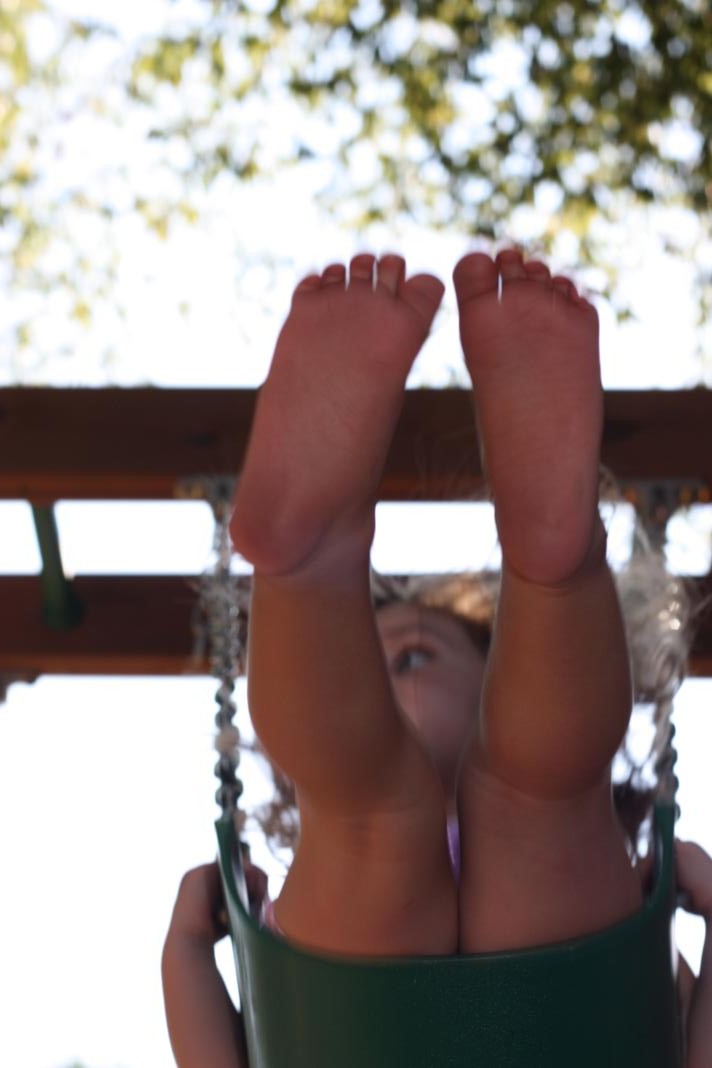
Bren swung for so long it put her in a daze.

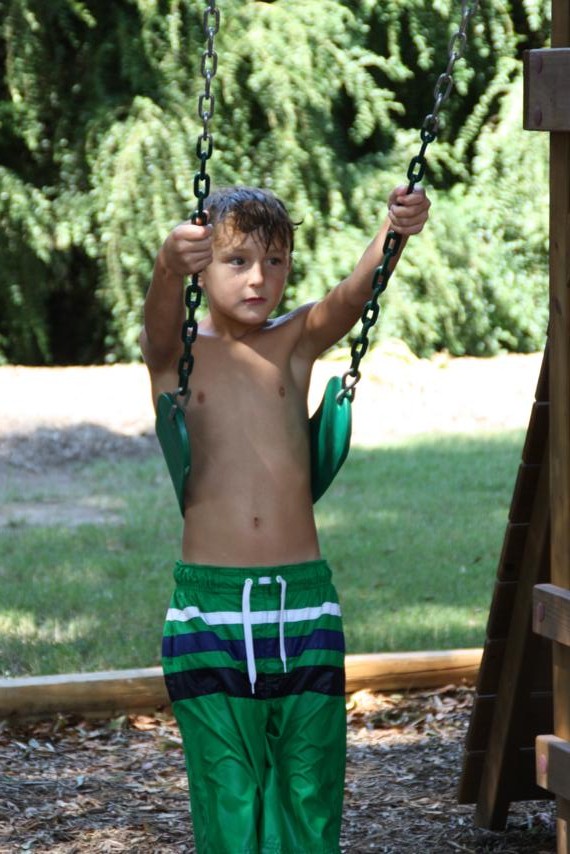
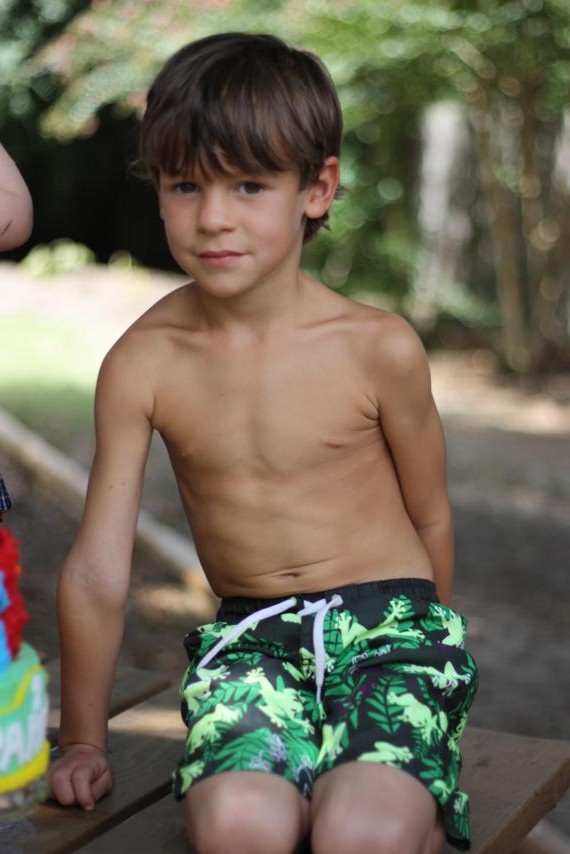
Anna had spent the night with a friend the night before, so we only had Wyatt there with us. I don't think it bothered him that he was older than the others; he played hard too!

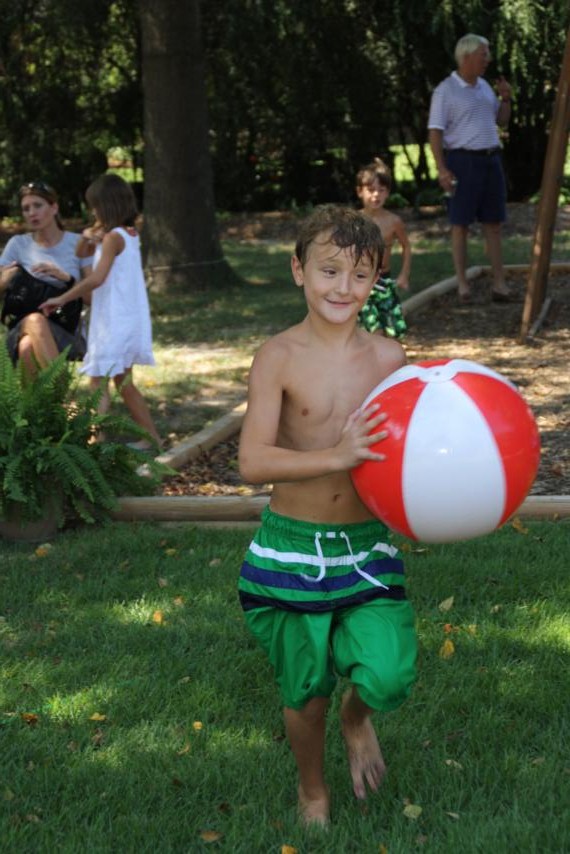
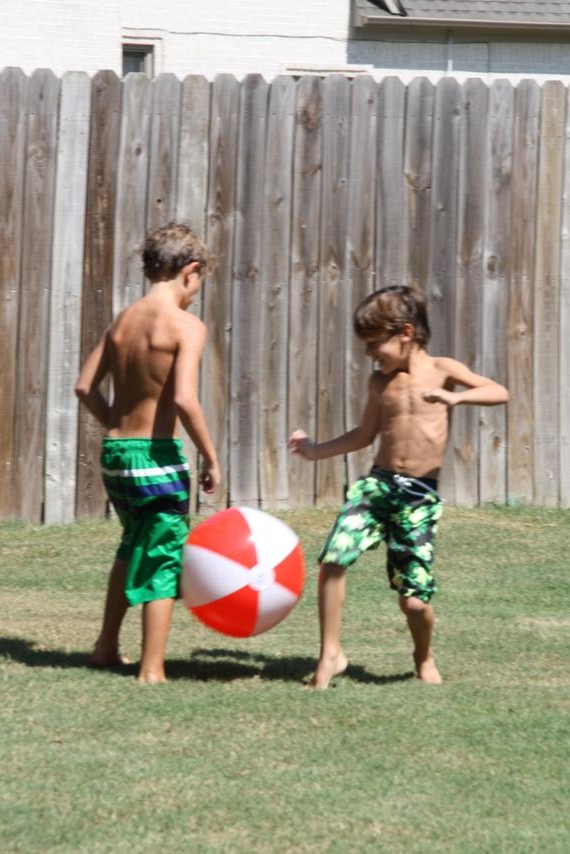
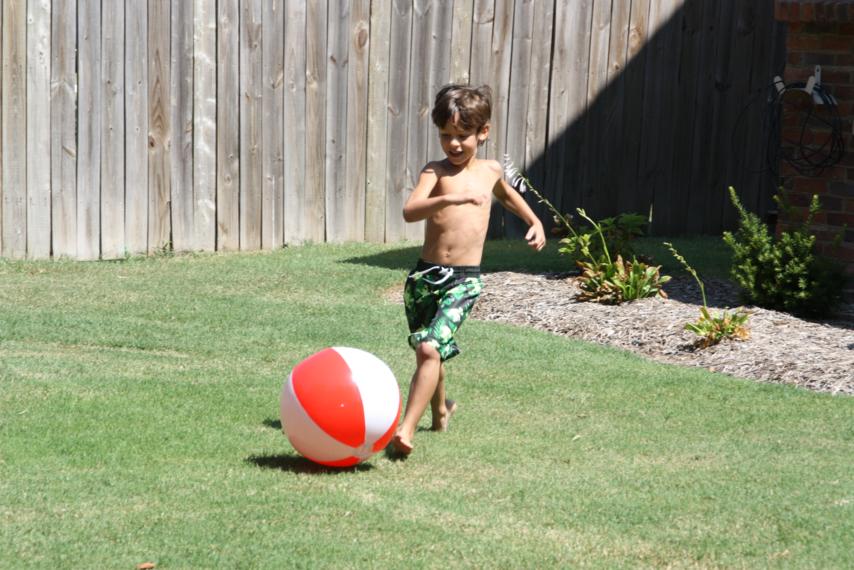
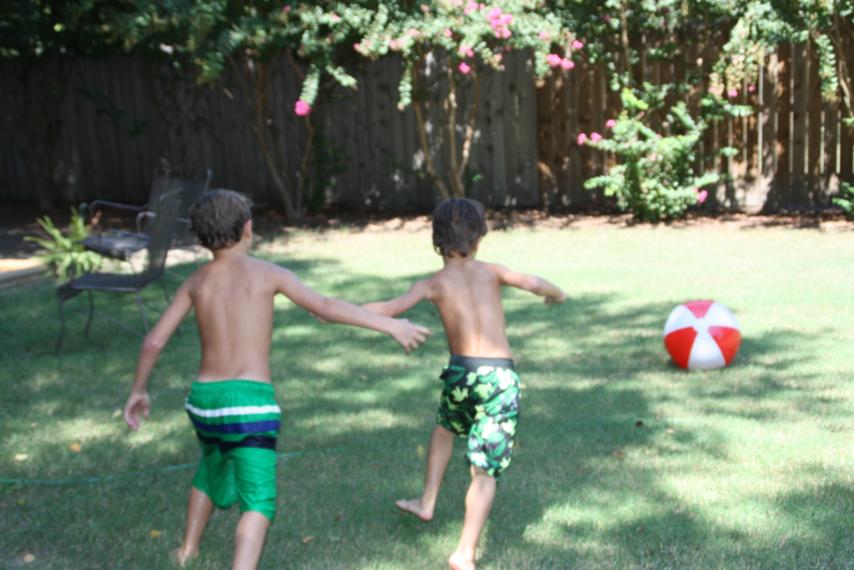
In fact, he and Jett got ahold of a beach ball and played a long game of soccer.

(Look at all those bones! It was like a soccer match between the two skinniest players ever...)

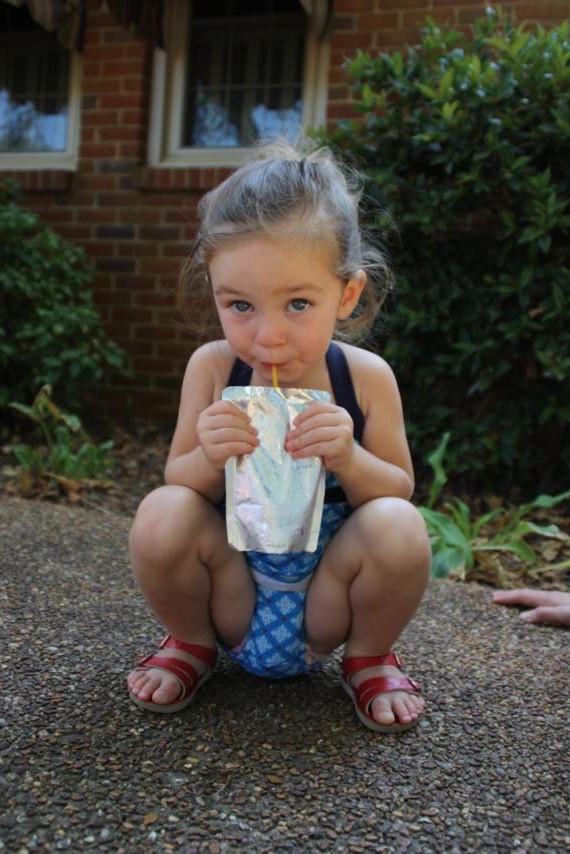
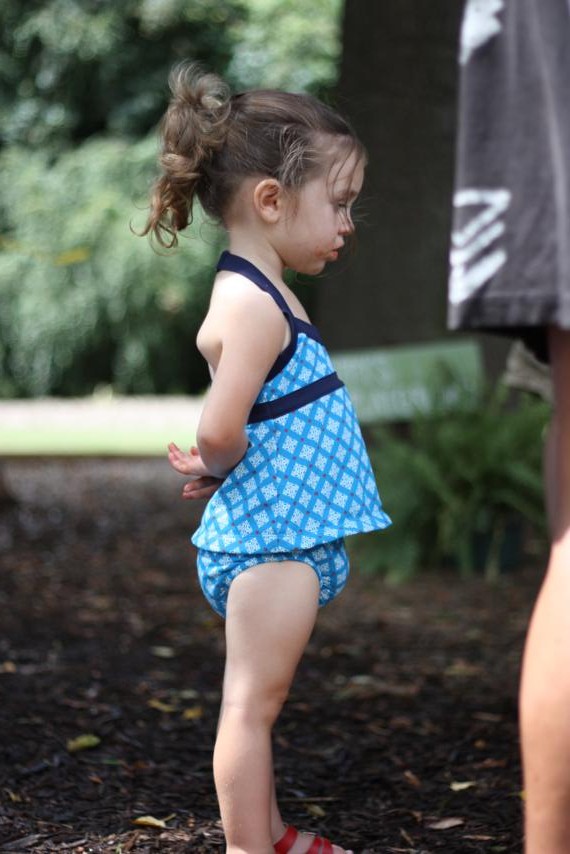
Bren took a break from her swinging to enjoy a cold CapriSun.

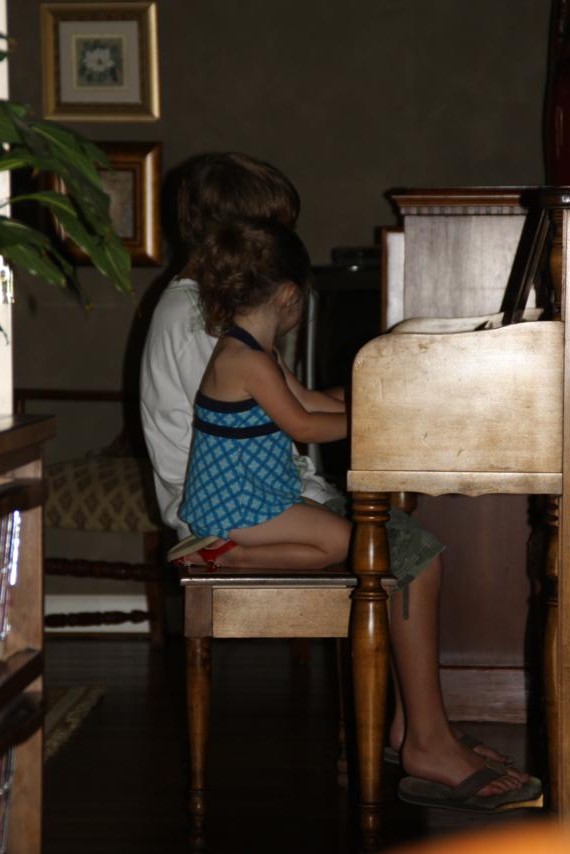
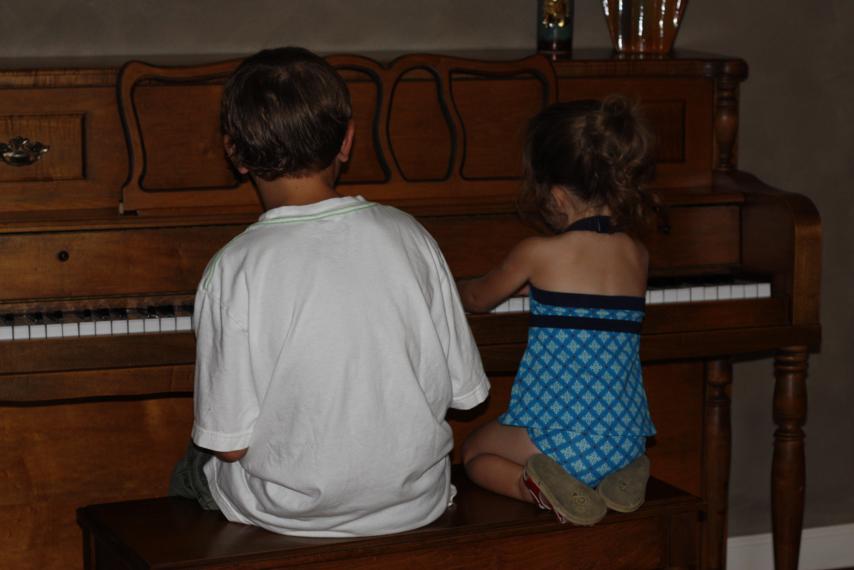
After getting dried off and changing clothes, Wyatt played a tune on the piano for us. Bren thought he was amazing!

One of these pianists knows what they're doing; the other does not...

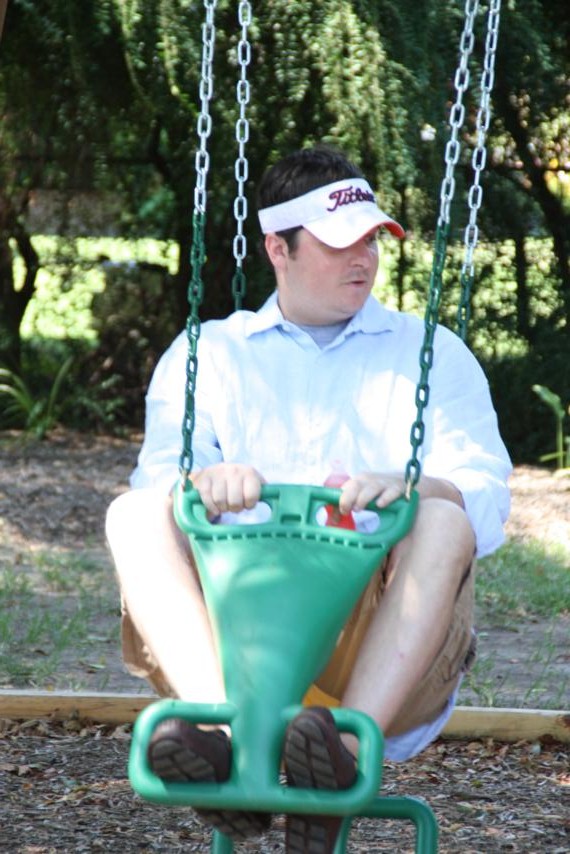
Finally, it was time for lunch! I ate with this goofball.

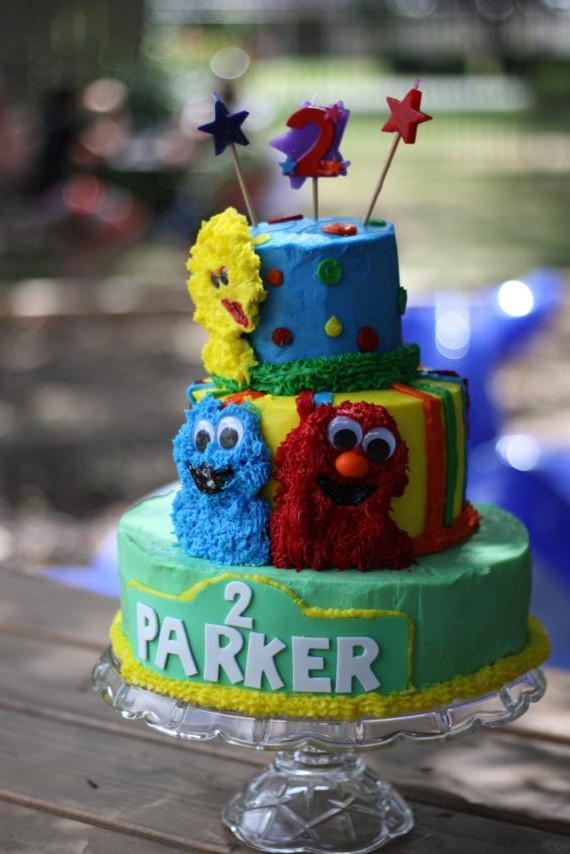
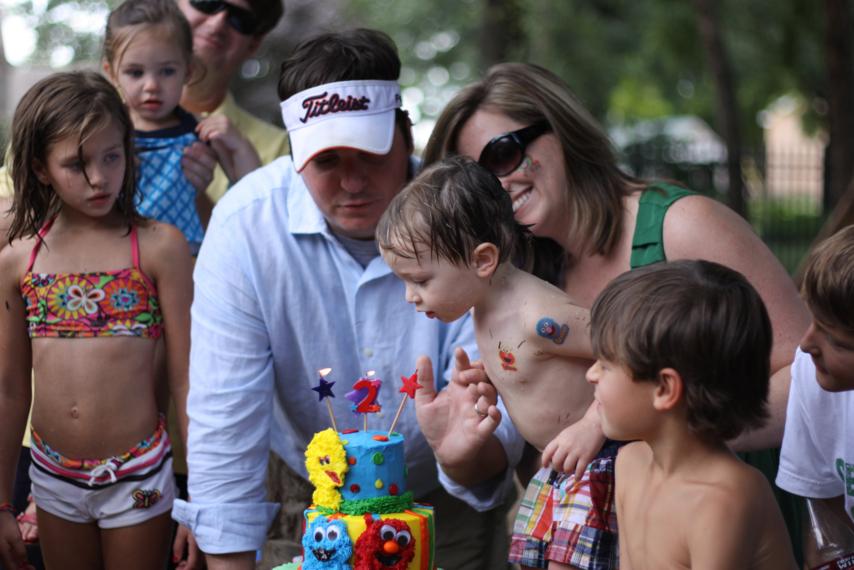
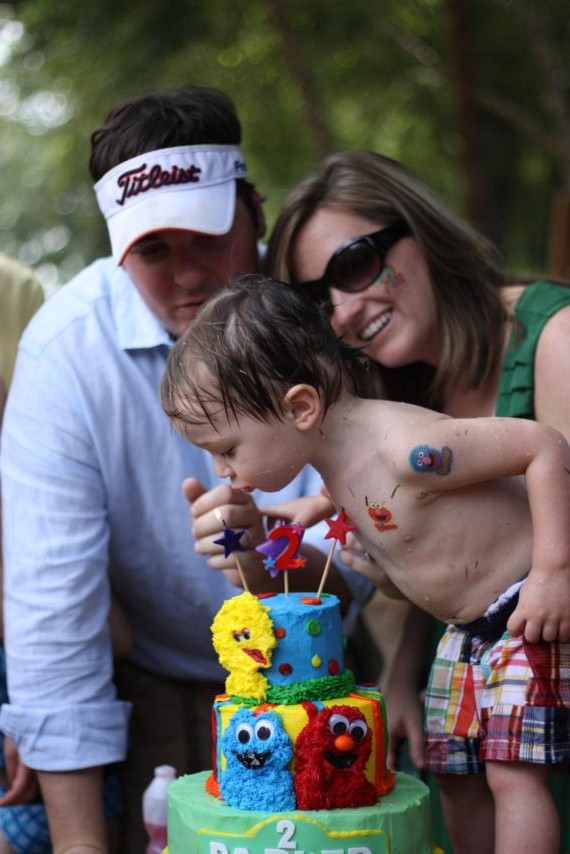
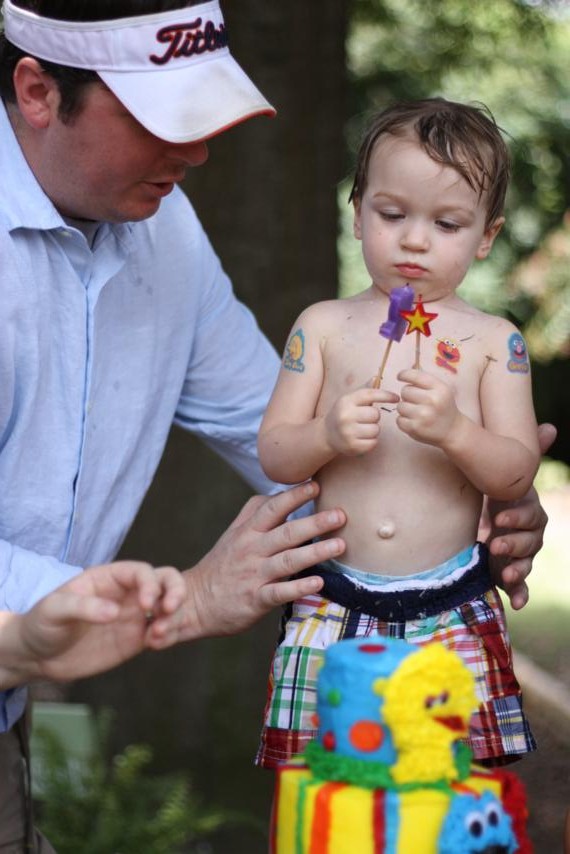
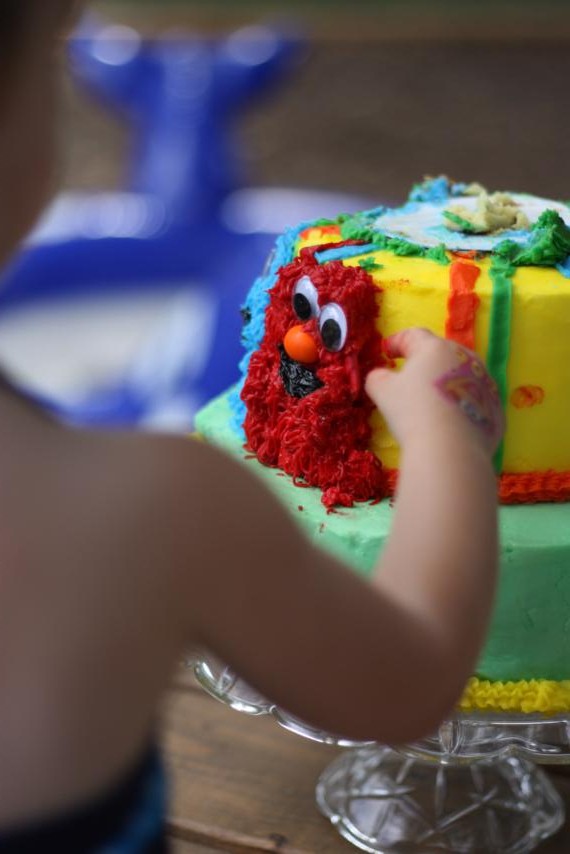
And then after lunch comes everyone's favorite part...cake!  Check out the super-cute cake Erin made.

Parker, with three tattoos at this point, was excited about blowing out his candles.

Some people were so excited about cake that they climbed right up on the table for a piece.

And others just stood back and patiently waited their turn.

Little did we know, that little girl was secretly waiting for everyone else to get their pieces so that she could have the rest of it aaaaalll to herself.

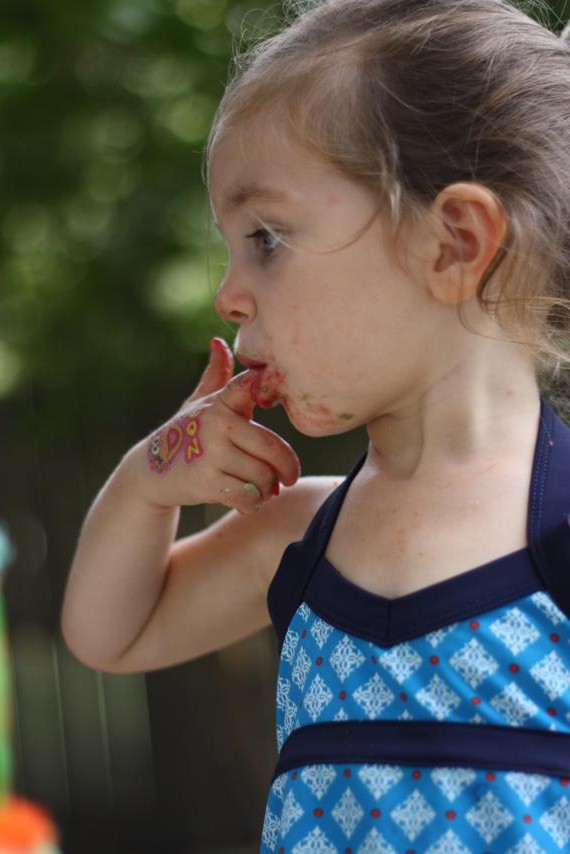
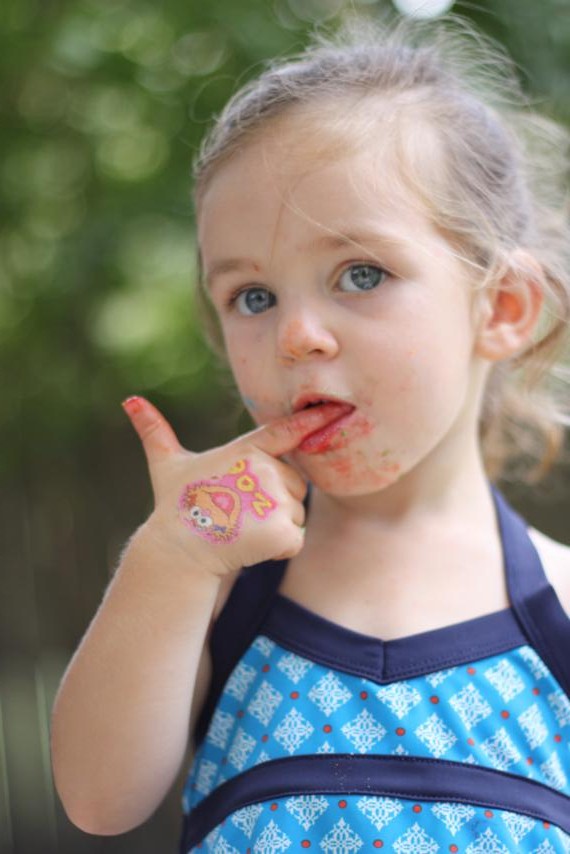
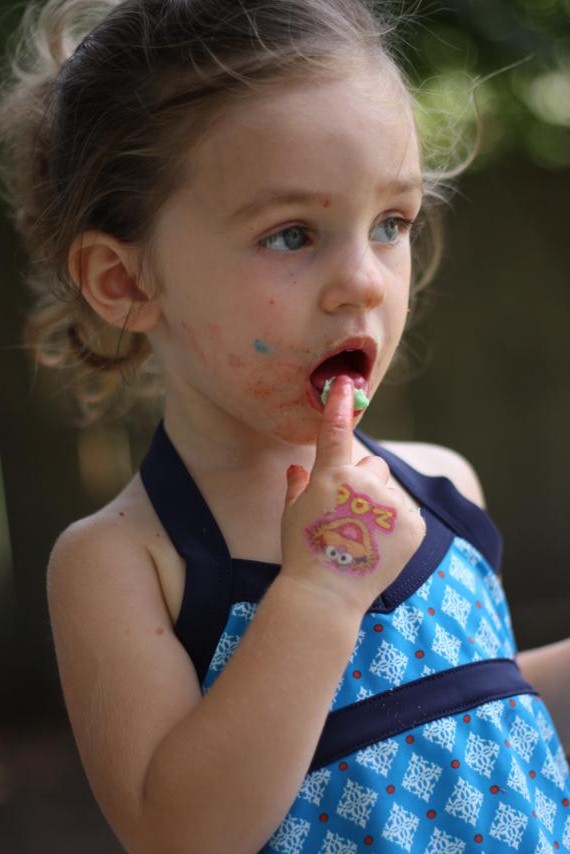
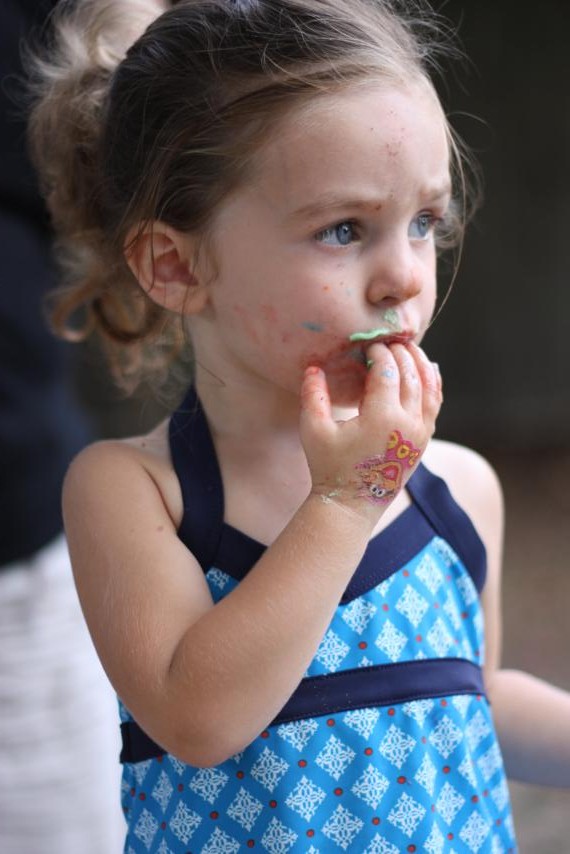
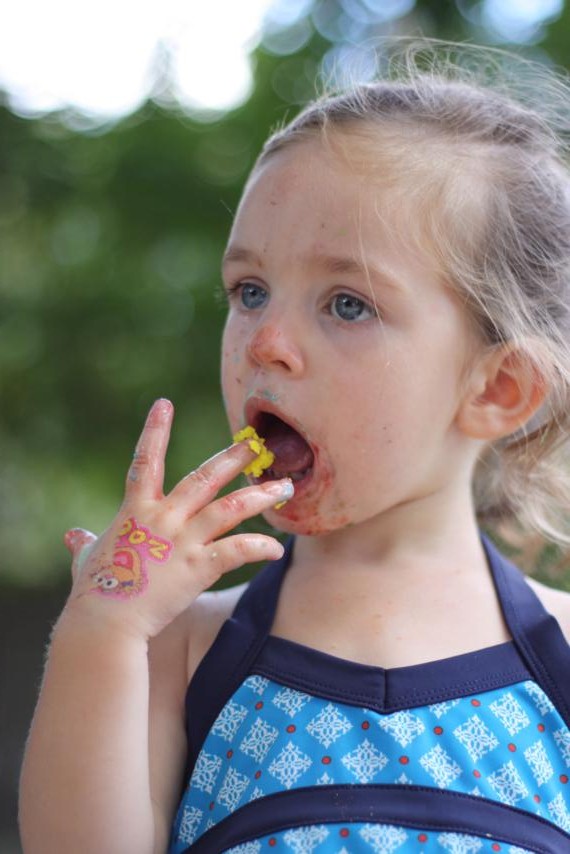
She decided that icing tasted pretty good!

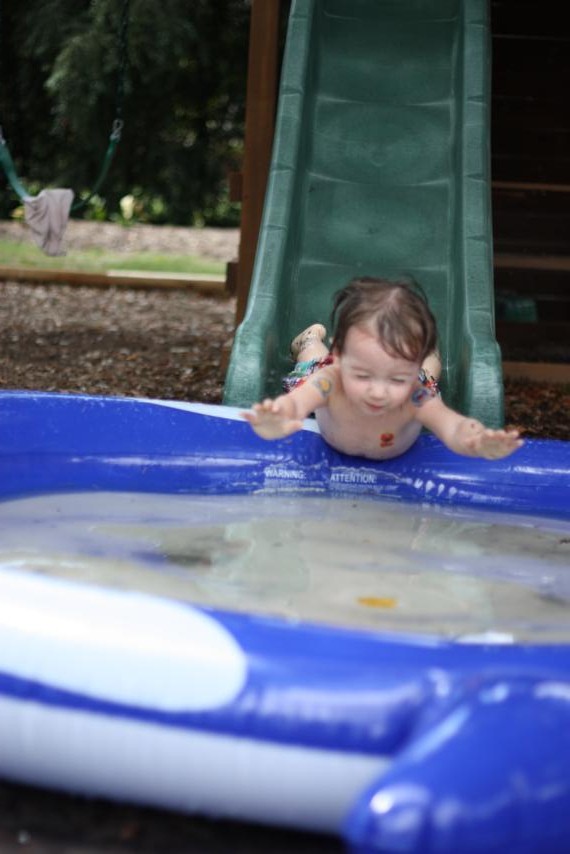
Parker decided it was time to start going down the slide head first,

but Bren kept going on the icing.

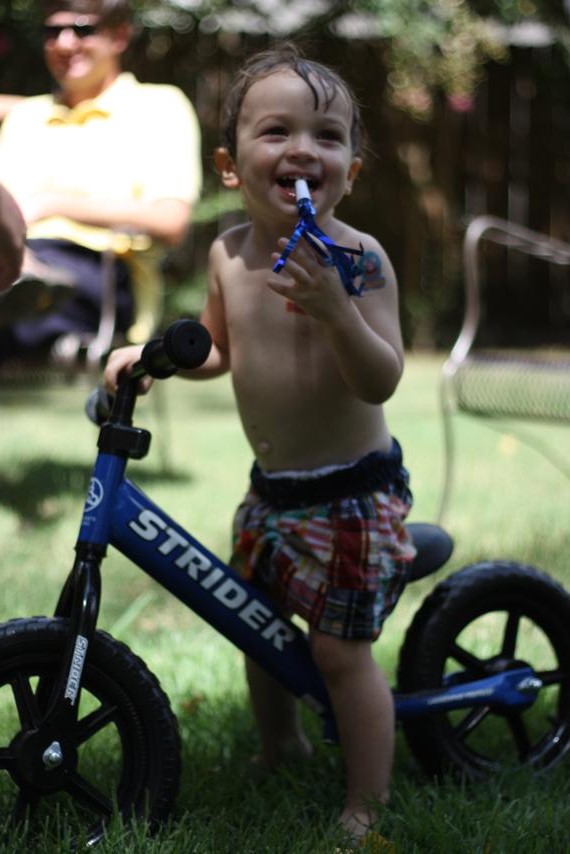
Parker got a cool new bike from his parents,

and Bren got another scoop of icing.

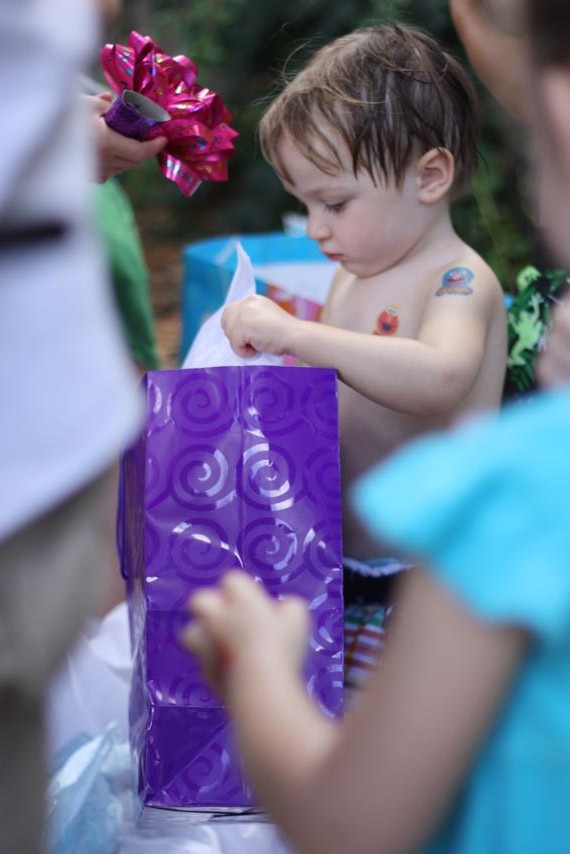
Everyone watched as Parker opened his presents.

Well, everyone but Bren. She had a little more icing...

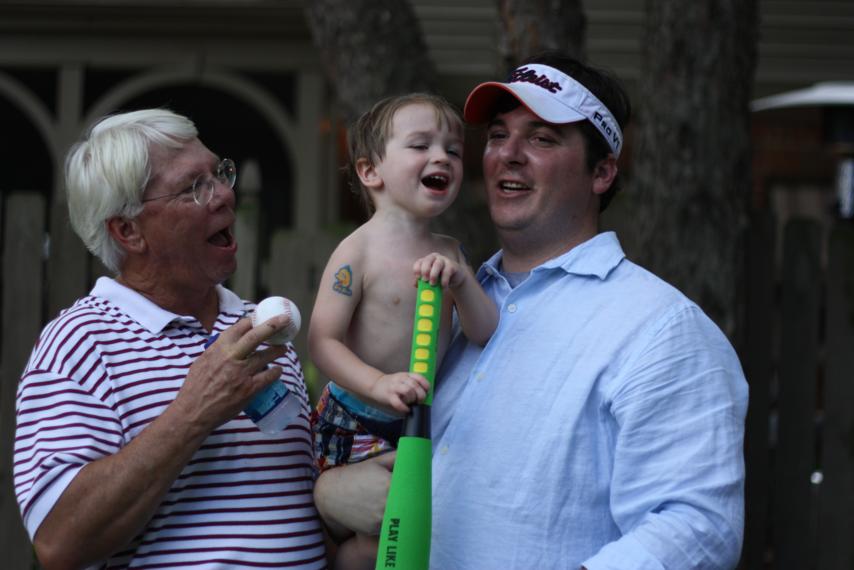
Three generations were excited about playing baseball,

and Bren finally decided she'd had enough icing. Phew!

Surprisingly, the icing overload didn't seem to faze her at all. I guess she's got her momma's sugar tolerance!

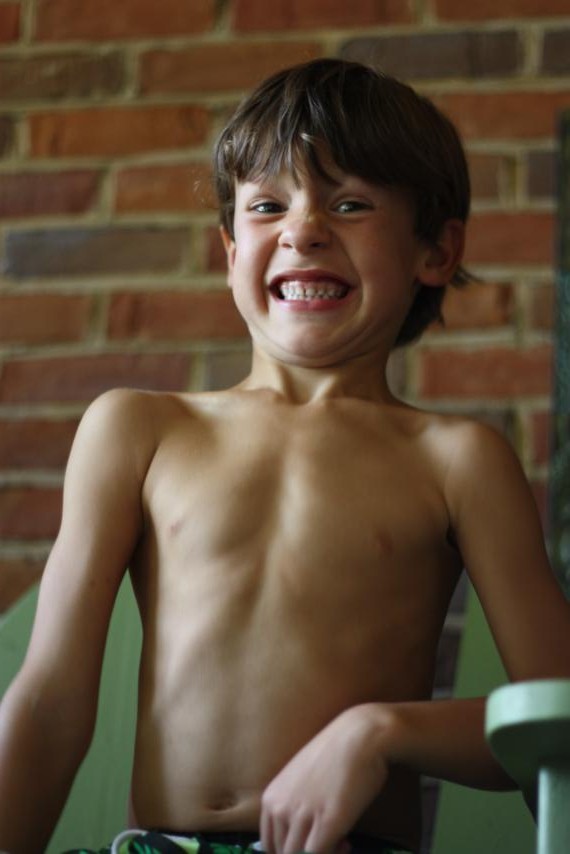
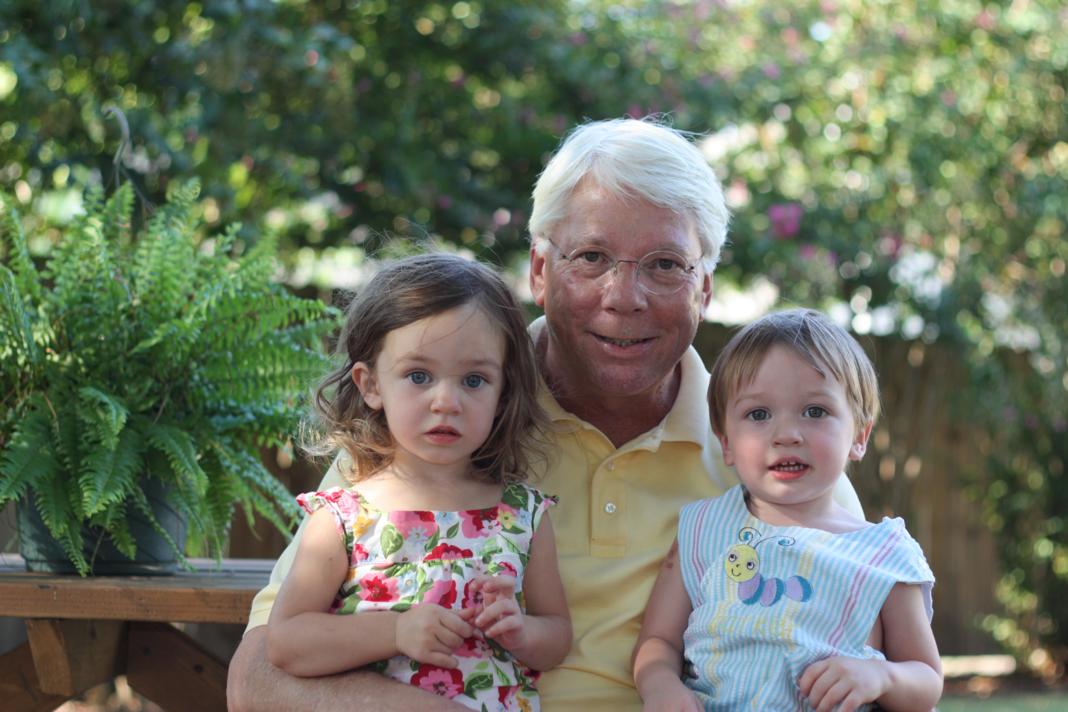
And, since my dad refuses to read my blog, I can post any kind of pictures of him I want, right? This is what I got when I asked him to please just smile for one picture.

It was a great birthday party! And I think the birthday boy took a good loooooong nap right after the last guest left. Success!

DIY: Tissue Paper Poofs

I really think these could be called Pom-Poms, but since we've already called our skewers that, we'll go with Poofs.  And, like the fabric banner, there are lots of tutorials for these online. Or you could buy a set to make them. My version's not much different from the others, but here it goes.

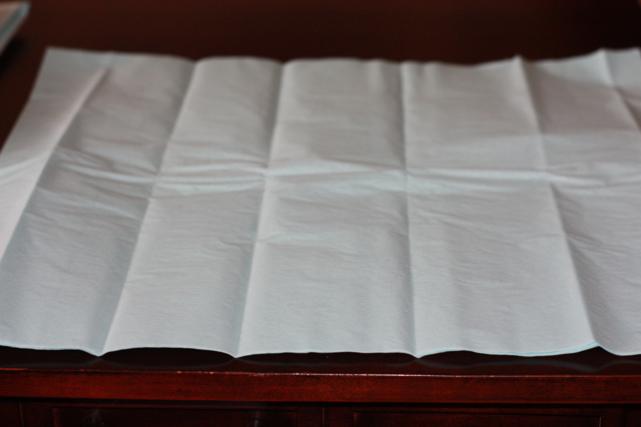
Start with 8 sheets of tissue paper laying flat on your table.

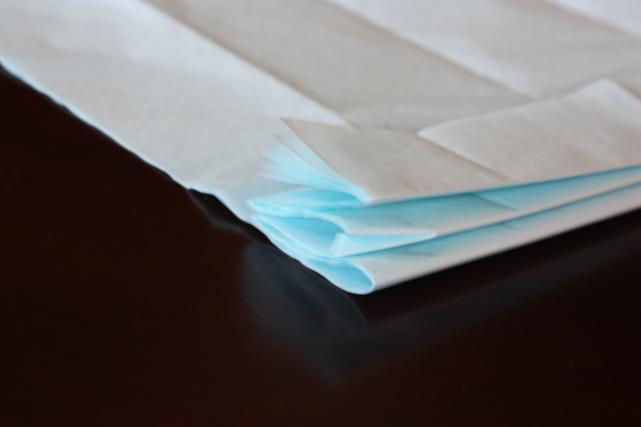
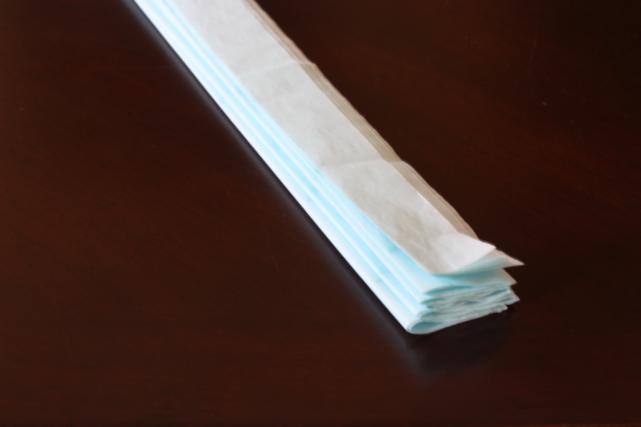
Fold all 8 sheets together, accordian-style. I made my folds about 1 1/2 inches - 2 inches wide.

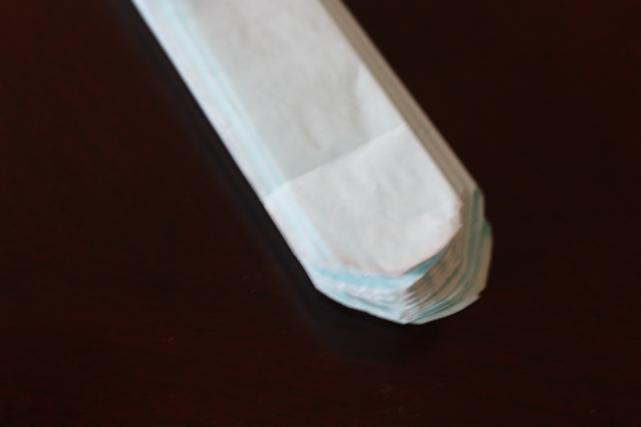
Using scissors, round the edges of the folds.

Next, you need to wrap wire around the middle of the folded paper. I cut small notches in mine to make it easier and so that the wire wouldn't slide.

Here's where you can learn from my mistakes: if you're going to be using fishing line to hang your poofs, go ahead and tie it to the wire now. It's very hard to find once you've poofed out your tissue paper.

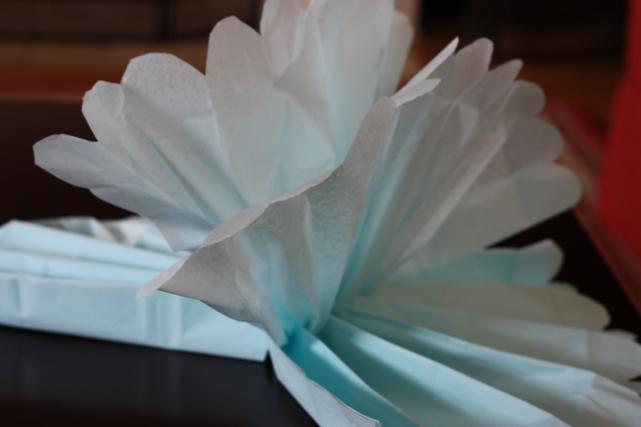
Next, fan out the folds in the paper.

Very carefully, start pulling up the layers of tissue paper, one layer at a time. Trust me when I say the paper will tear. Be extra careful.

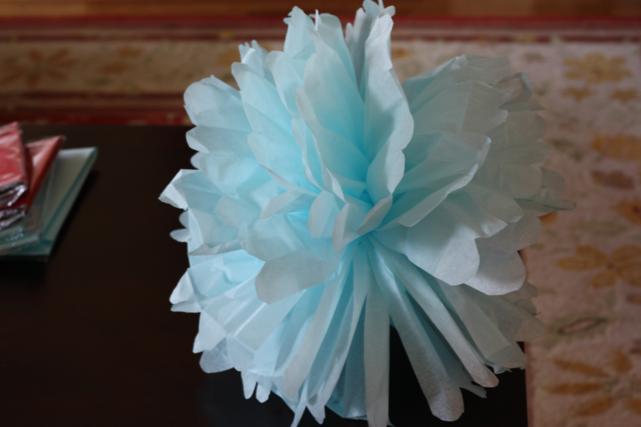
Continue to pull up the layers on both sides, until you've separated them all.  All the layers pulled apart will create your poof.

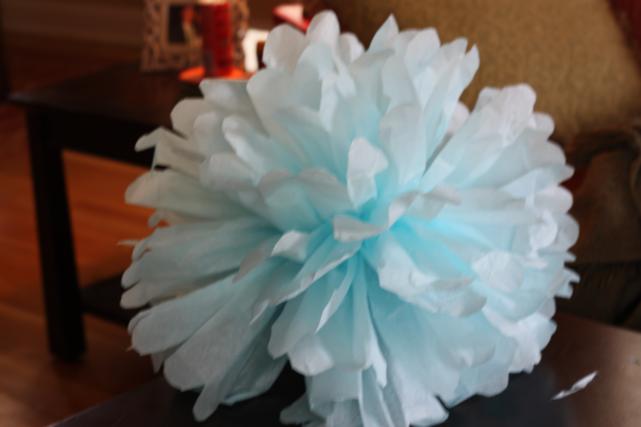
Now, if you're like me, you'll be annoyed by how "layer-y" this looks.  Don't worry, it's easy to fix. Grab your scissors and cut slits into the layers, making smaller "petals." I cut each big layer into about 3, 4, or 5 petals, being careful not to cut one layer in the exact same spot as the layers on either side of it.

This picture's blurry, but hopefully you see that it looks less "layer-y" and more like a full poof.

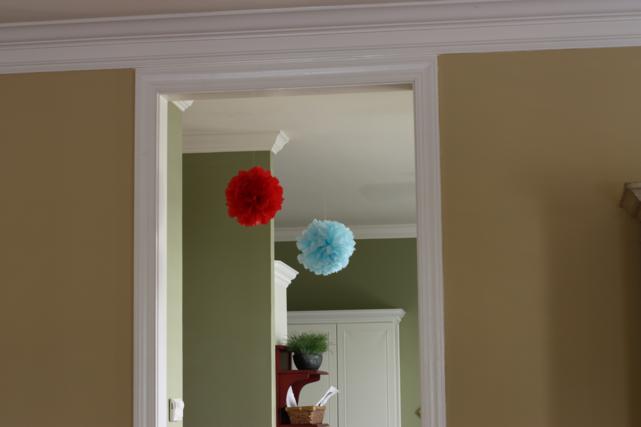
And that's it! If you tied your string on at the beginning, you should be done. I also cut some of my tissue paper in half to make smaller poofs. They turned out pretty cute, and were actually easier than the big ones.

The big party's tomorrow night and I can't wait! I've got more details to show you but those will have to wait until after the party. Can't spoil the surprises!
NB Diaries: Chapter 8

On our company intranet, we have a section called "Employee Spotlight."  This is not for employees that are being praised for their hard work, ala Employee of the Month. It's more of a get-to-know section for employees. The employee featured changes on a weekly basis and, as far as I know, is chosen at random. This morning, the employee featured on the spotlight has been changed and is our very own NB. So, this chapter of The NB Diaries is written by NB herself.

 Employee Spotlight: New Boss

Division: Finance & Administration

Job title: Director of Accounting

Time at [Company]: 5 months

Job summary: I maintain the daily operations of the accounting department, including the cash room, accounts payable and general ledger departments.

Best part of job: Numbers!
City raised in: Tullahoma, Tenn.

Childhood ambition: I wanted to be one of the June Taylor Dancers.

First job: I worked as a babysitter when I was 12 years old.

Favorite TV shows: A&E TV's Hoarders

Favorite sports team: Cincinnati Reds (I was lucky enough to see the Reds in the playoff and World Series games at Riverfront Stadium in 1990. In case you've forgotten, the Reds swept Oakland.)

Favorite desk/cube accessory: My eraser collection (The Sanford® Magic Rub® is the best eraser on the market today. The PaperMate® Pink Pearl® is way overrated.)

Favorite smells: Cinnamon

Favorite travel destination: The beautiful, rolling hills of Middle Tennessee

Last movie seen: Little Children (a film adaptation of the novel by Tom Perrotta)

Last book read: Animals as Persons: Essays on the Abolition of Animal Exploitation by Gary L. Francione

Best concert attended: My favorite was Prince at a dress rehearsal on his Purple Rain tour in 1984. Other favorites include Talking Heads (1978), James Brown and Wilson Pickett (1984), Nick Lowe and Elvis Costello (1989), Webb Wilder (1992), George Clinton and the P-Funk All-Stars (1996), Justin Timberlake (2007) and Lil Wayne with T-Pain (2009).

Perfect meal: Peanut butter sandwich made with whole grain bread

Morning person or night owl: Night owl

Biggest pet peeve: People who ignore or are rude to service workers

Biggest fear: Blood

Can't live without: The Internet

Most people don't know this about me: My husband and I got married in 1987 at the courthouse on my lunch hour.

DIY: Fabric Banner

This next do-it-yourself project is very easy...easy to do and easy to figure out. But, just in case you need a little help, I've got a tutorial for you. Now, you've probably seen these fabric banners all over the web, and you can buy them from tons of different sellers on etsy.  Those range from $6 all the way up to $45. But why spend money on it when you can just make it yourself? And, if you're like me, you can do it for free.

First, you need to gather scraps of materials you like. I raided my mom's fabric cabinet, so my fabric was free of charge.

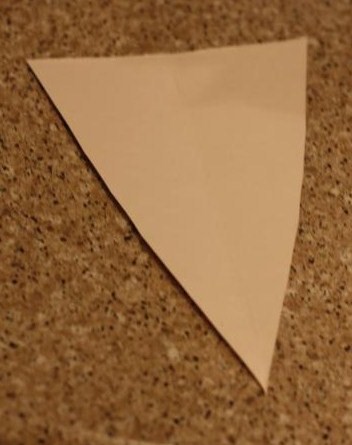
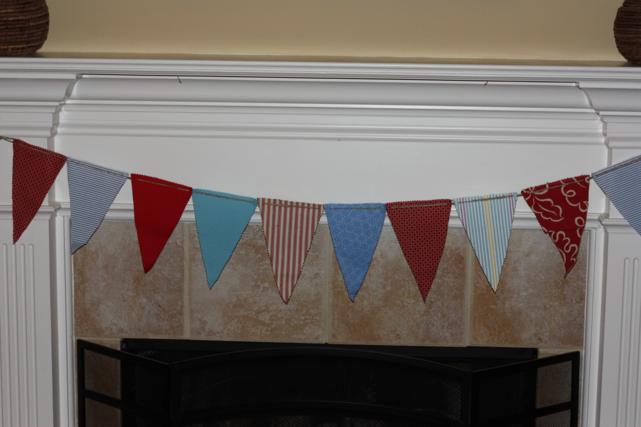
For this particular banner, I chose to do triangle flags. I used a thin piece of cardboard (think cereal box) to cut out a triangle stencil. This doesn't have to be perfect, it's just a guide.

Lay your stencil on top of one of your fabric scraps and cut around it.

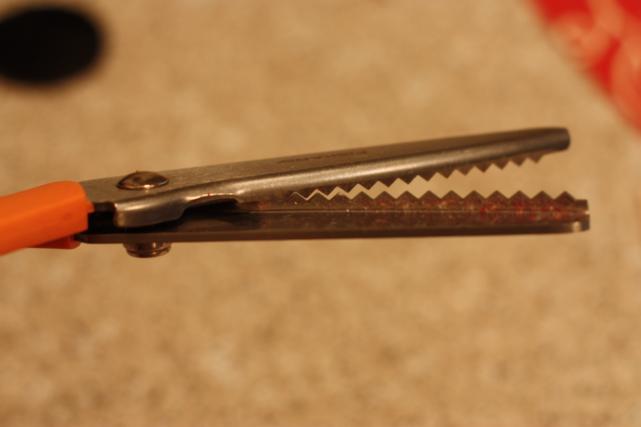
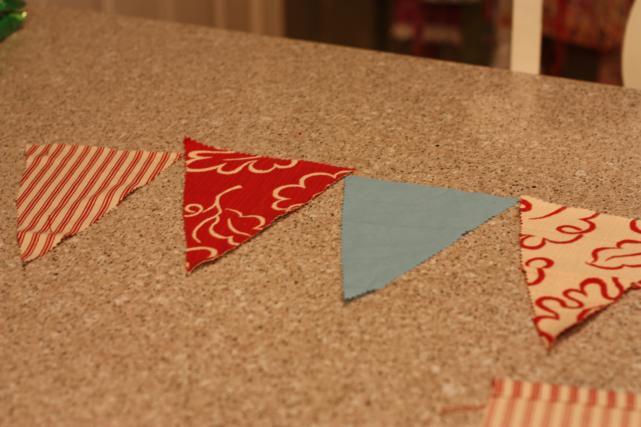
I used pinking shears to cut mine out. These keep the fabric from unravelling so much, and give it a nice zig-zag edge.

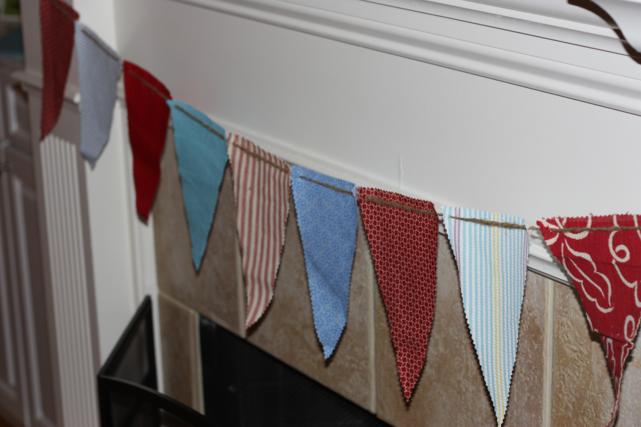
Continue cutting out your fabric flags - they can all be the same fabric, or you can use lots of different ones like I did.

Now this is where some of the expensive banners on etsy take it to the next step. Some people cut out two triangles for every flag and sew them together as a front and back. They may even put cardboard in between the two to make them stiff. I just made my banner for a cookout, so I saved lots of time and skipped that step.

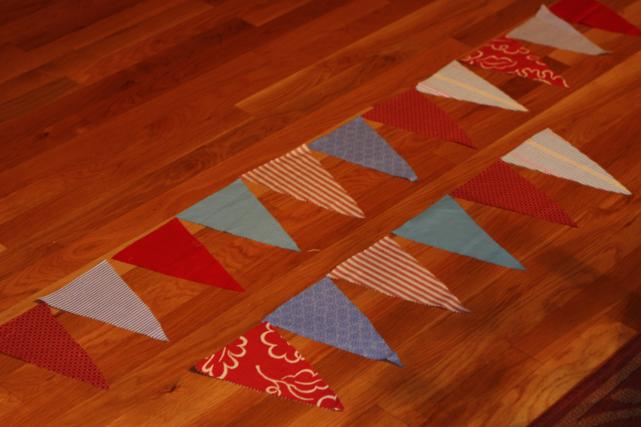
Once I had all my triangles cut out, I laid them out on the floor so I could decide the order I wanted them in.

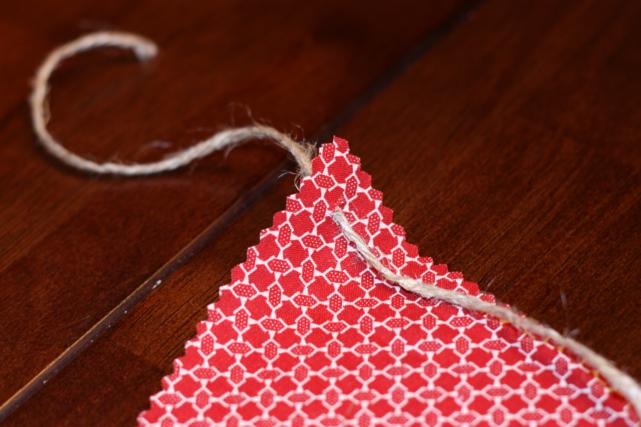
Then, I carefully snipped a small hole in the top corners of the triangles to thread my twine through.

Some people use a cute ribbon and sew their flags on, but again, I decided to save time and just used jute twine I already had on hand.

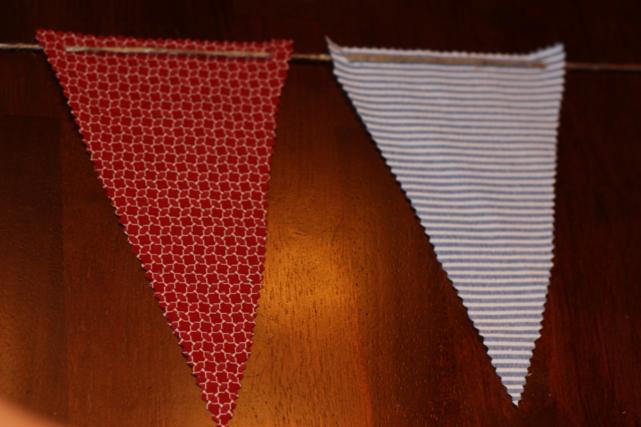
I thread my flags with the twine in front, but you could always do it where the twine runs behind the flag.

Once you have all your flags strung on the twine, you're done! Just find a place to hang it.

I put mine on the mantle, but I still have more flags left over so I may do another mini one.

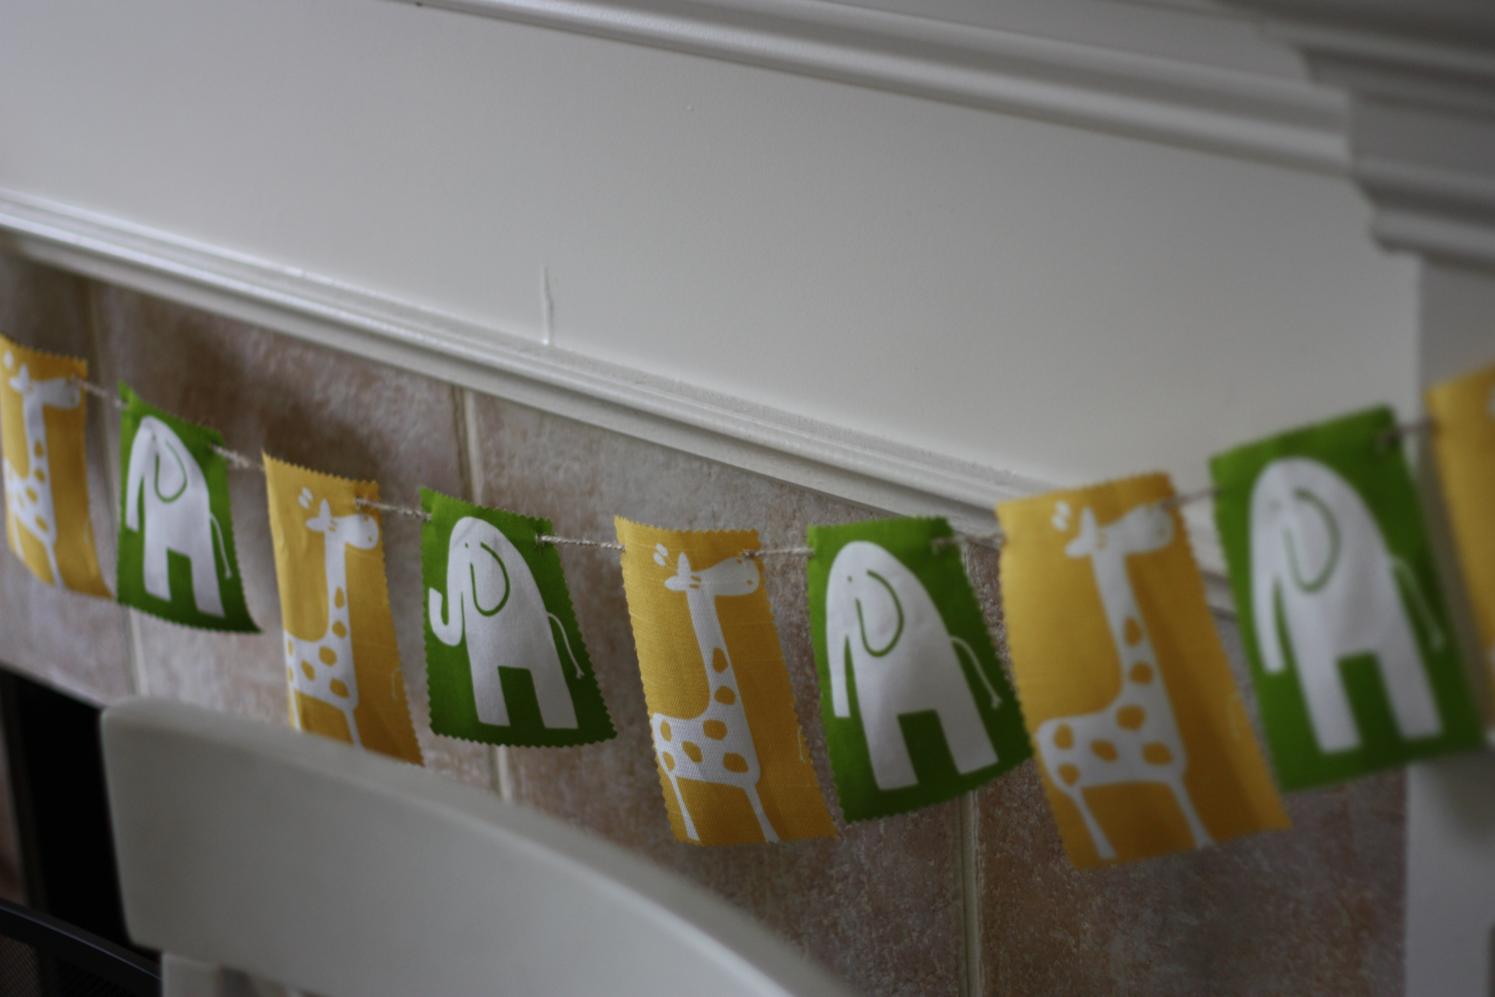
I love a good, easy project! Remember, if you try it yourself, you don't have to do triangles. You could do squares and rectangles like I did for the triple baby shower, or you could do circles.  Get crazy with it!