Beaded Board Letters

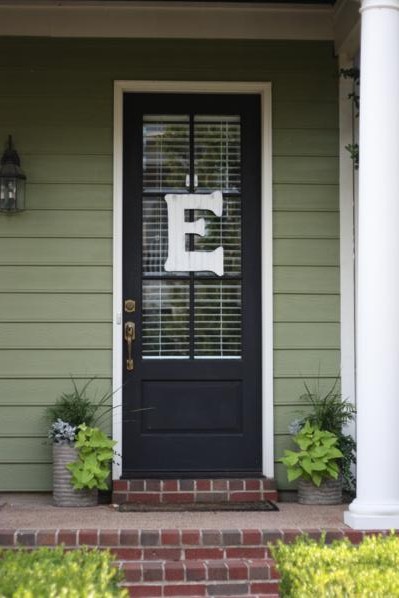
For my last baby shower, I had a really hard time coming up with a good idea for a hostess gift.  Obviously I wanted to give something that my lovely hostesses would like, and hopefully it'd be something they didn't already have.  I figured the easiest way to guarantee that I was giving them something they didn't already have was to give them something I made myself. With about a week to go before the shower, Operation: Homemade Hostess Gifts was launched.  The craft project I decided on was to make personalized door hangers, just like the one I made a while ago for my own door.

The first step of this process was by far the hardest: draw the templates for the letters.  I drew them out on newspaper and had a pretty hard time getting them to look right.  For some reason, the larger a drawing is, the harder it is for me to get it all proportionate and to scale.  Anyone else have that problem?

I finally got them all drawn and cut out of newspaper and was able to trace them on scrap pieces of beaded board we already had in the shop.   We used our scroll saw to cut them out, but you could also use a jigsaw if that's all you had.  Here's the G about halfway through getting cut out.

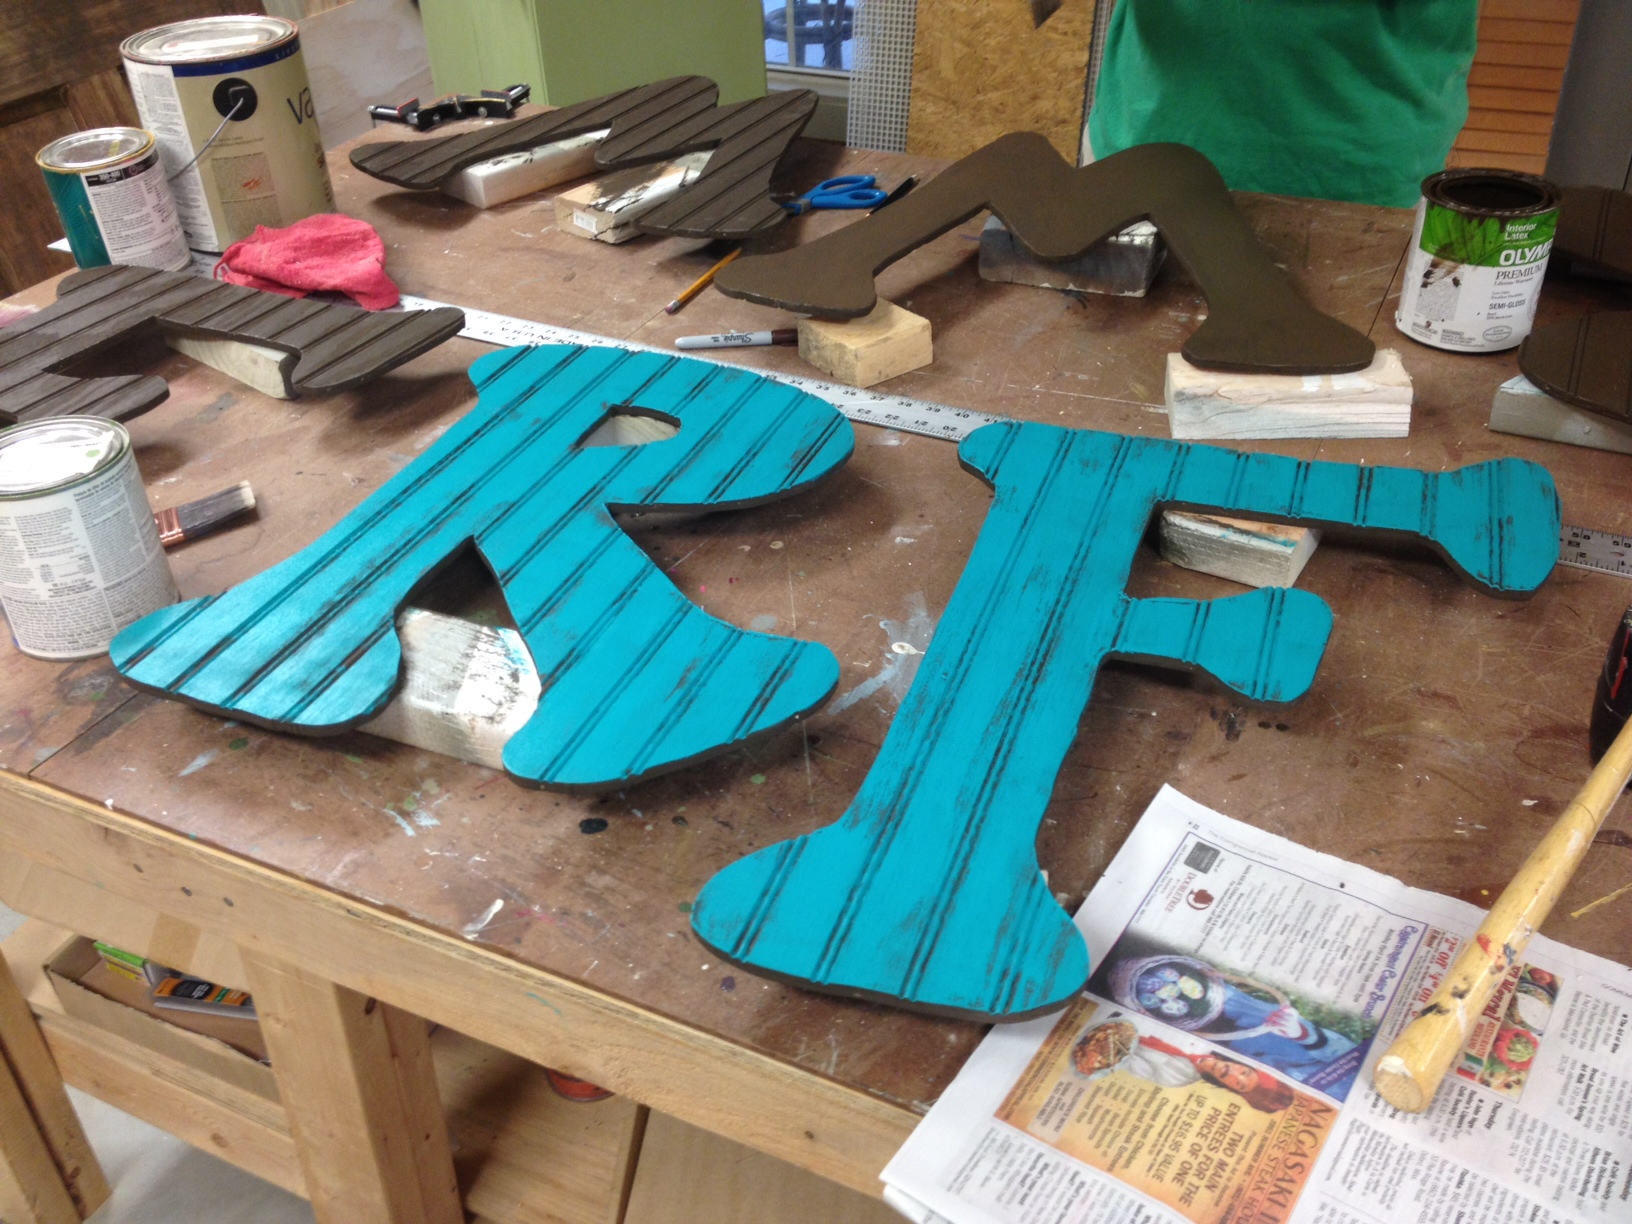
After cutting out all eight letters and sanding the edges down smooth, the next step was to paint them.  I started with a coat of dark chocolate brown on both the fronts and backs of each one.  (I didn't take a picture of this step but you can see them in the background of the picture below.)

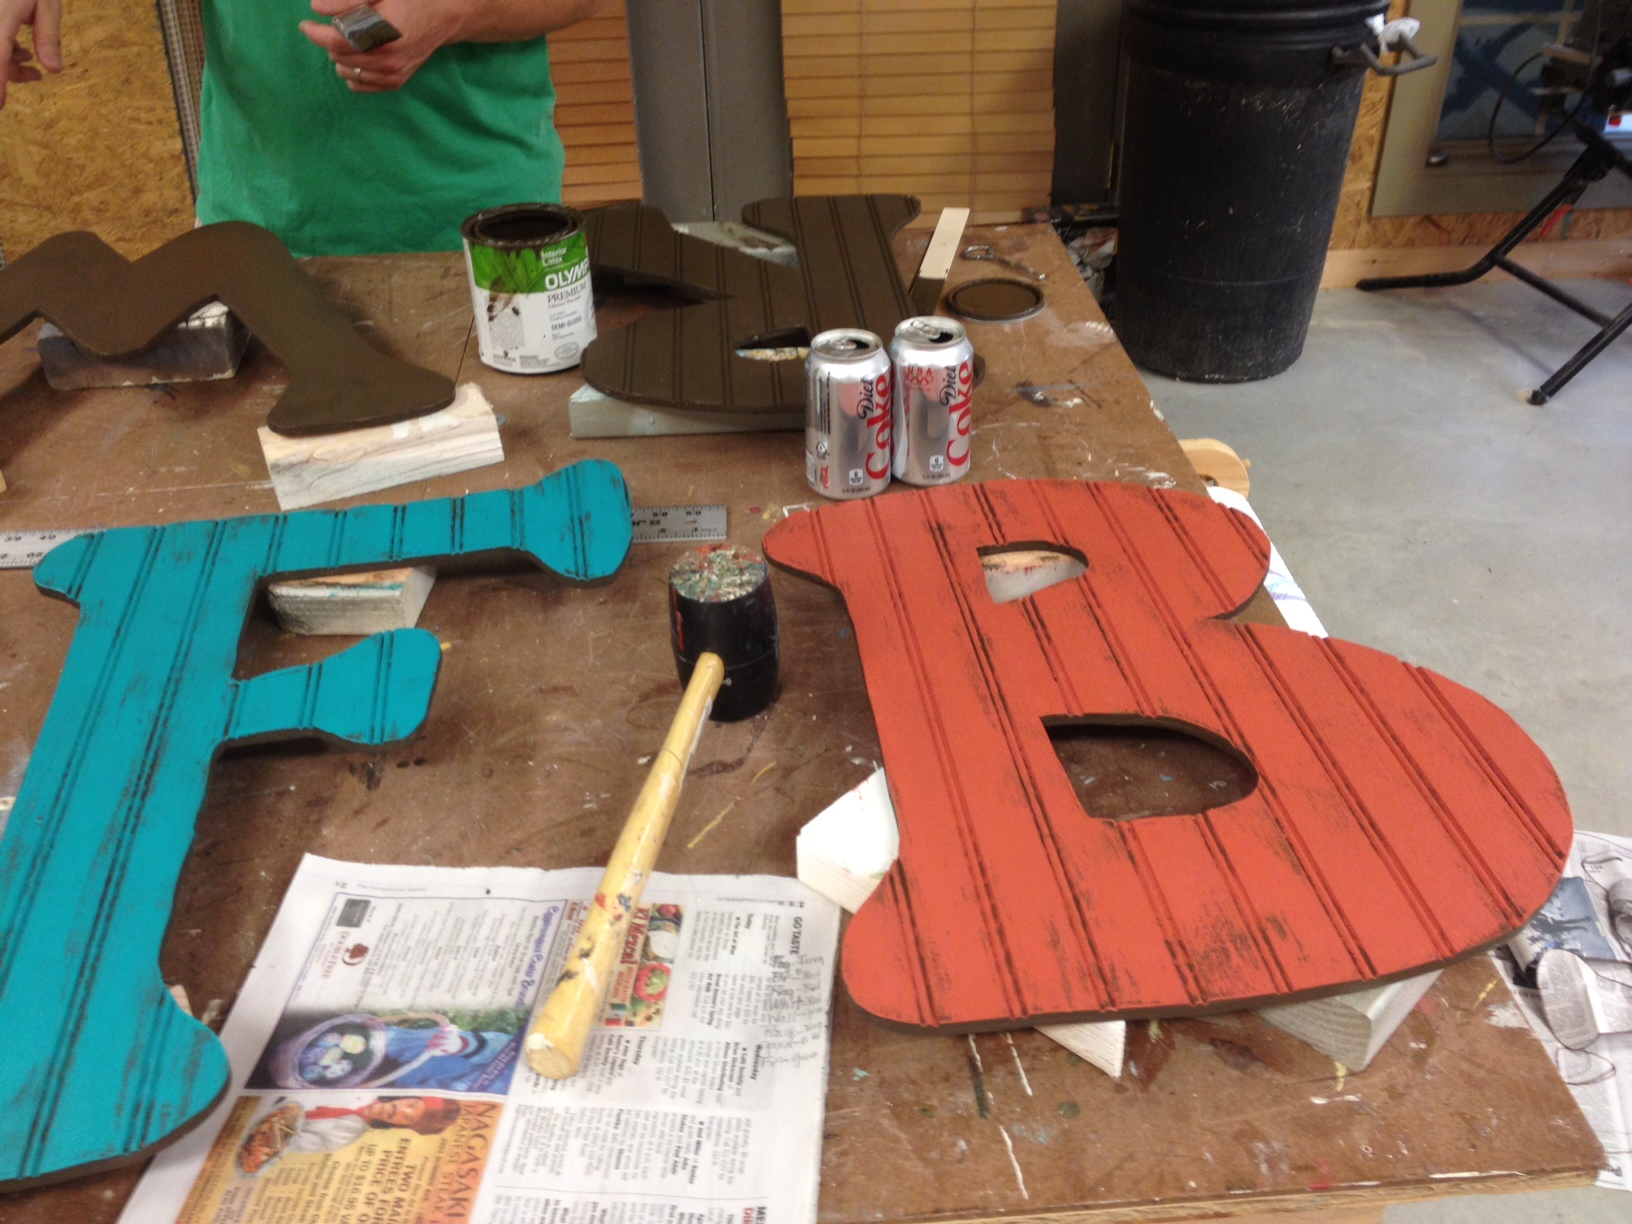
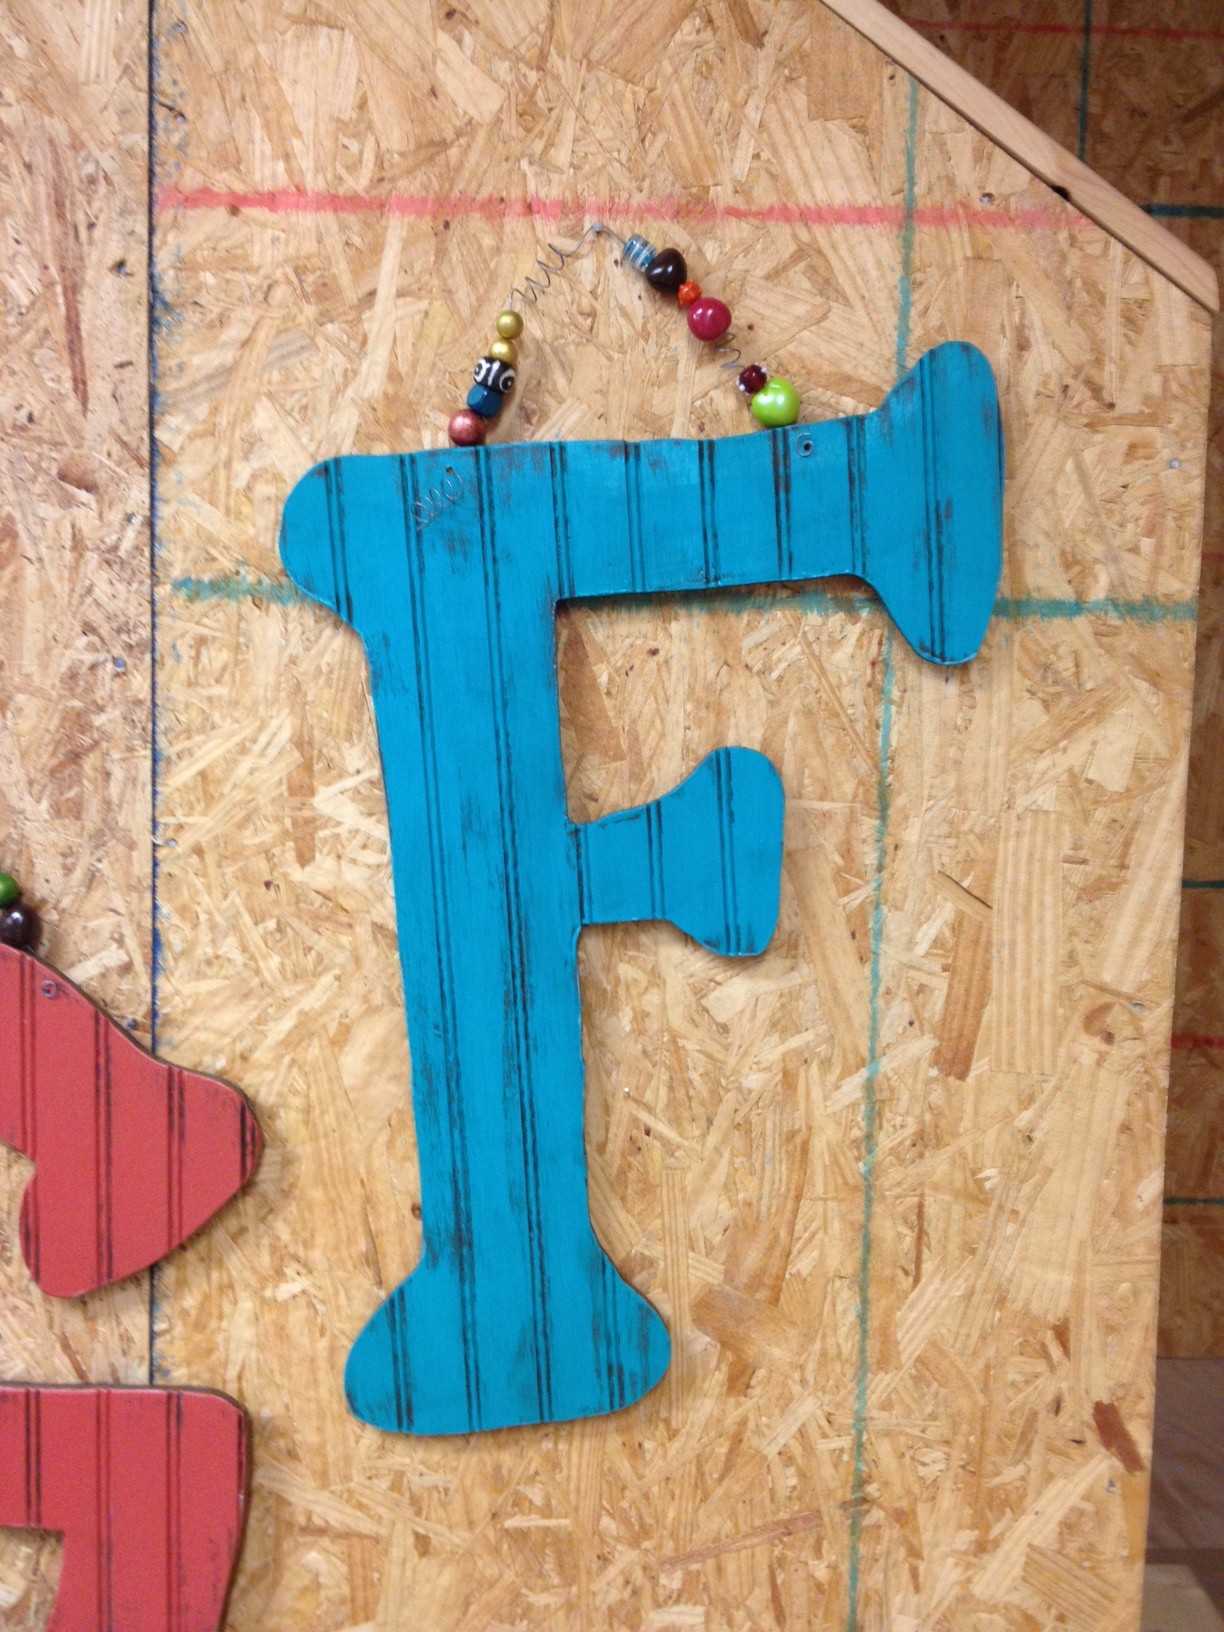
For the colors on the front, my mom and I tried to pick the best color for each hostess's house.  We ended up doing 2 each of four different colors.  I did the two turquoise ones first (the backs stayed plain brown).  I brushed the the front color on lightly, being careful not to paint in all the beaded grooves so that they'd still show up.

After the turquoise, I moved on to a fall-ish orange.

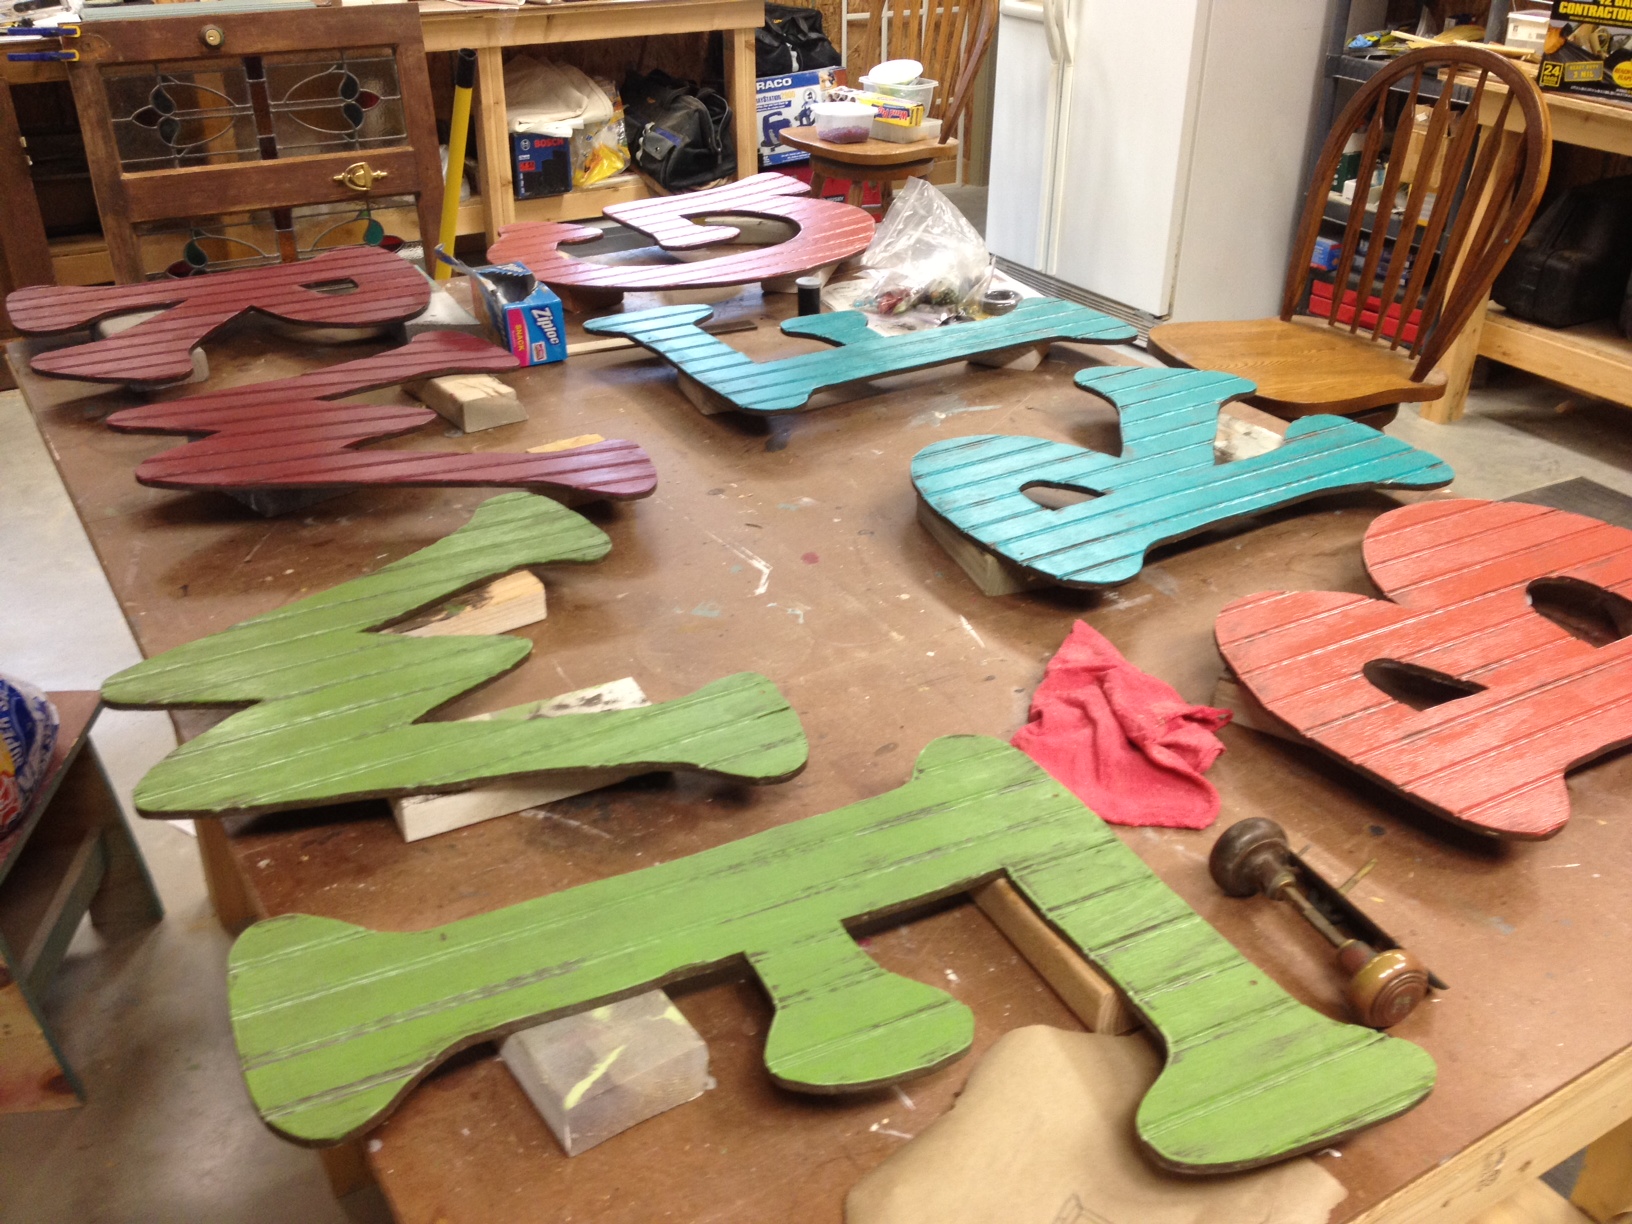
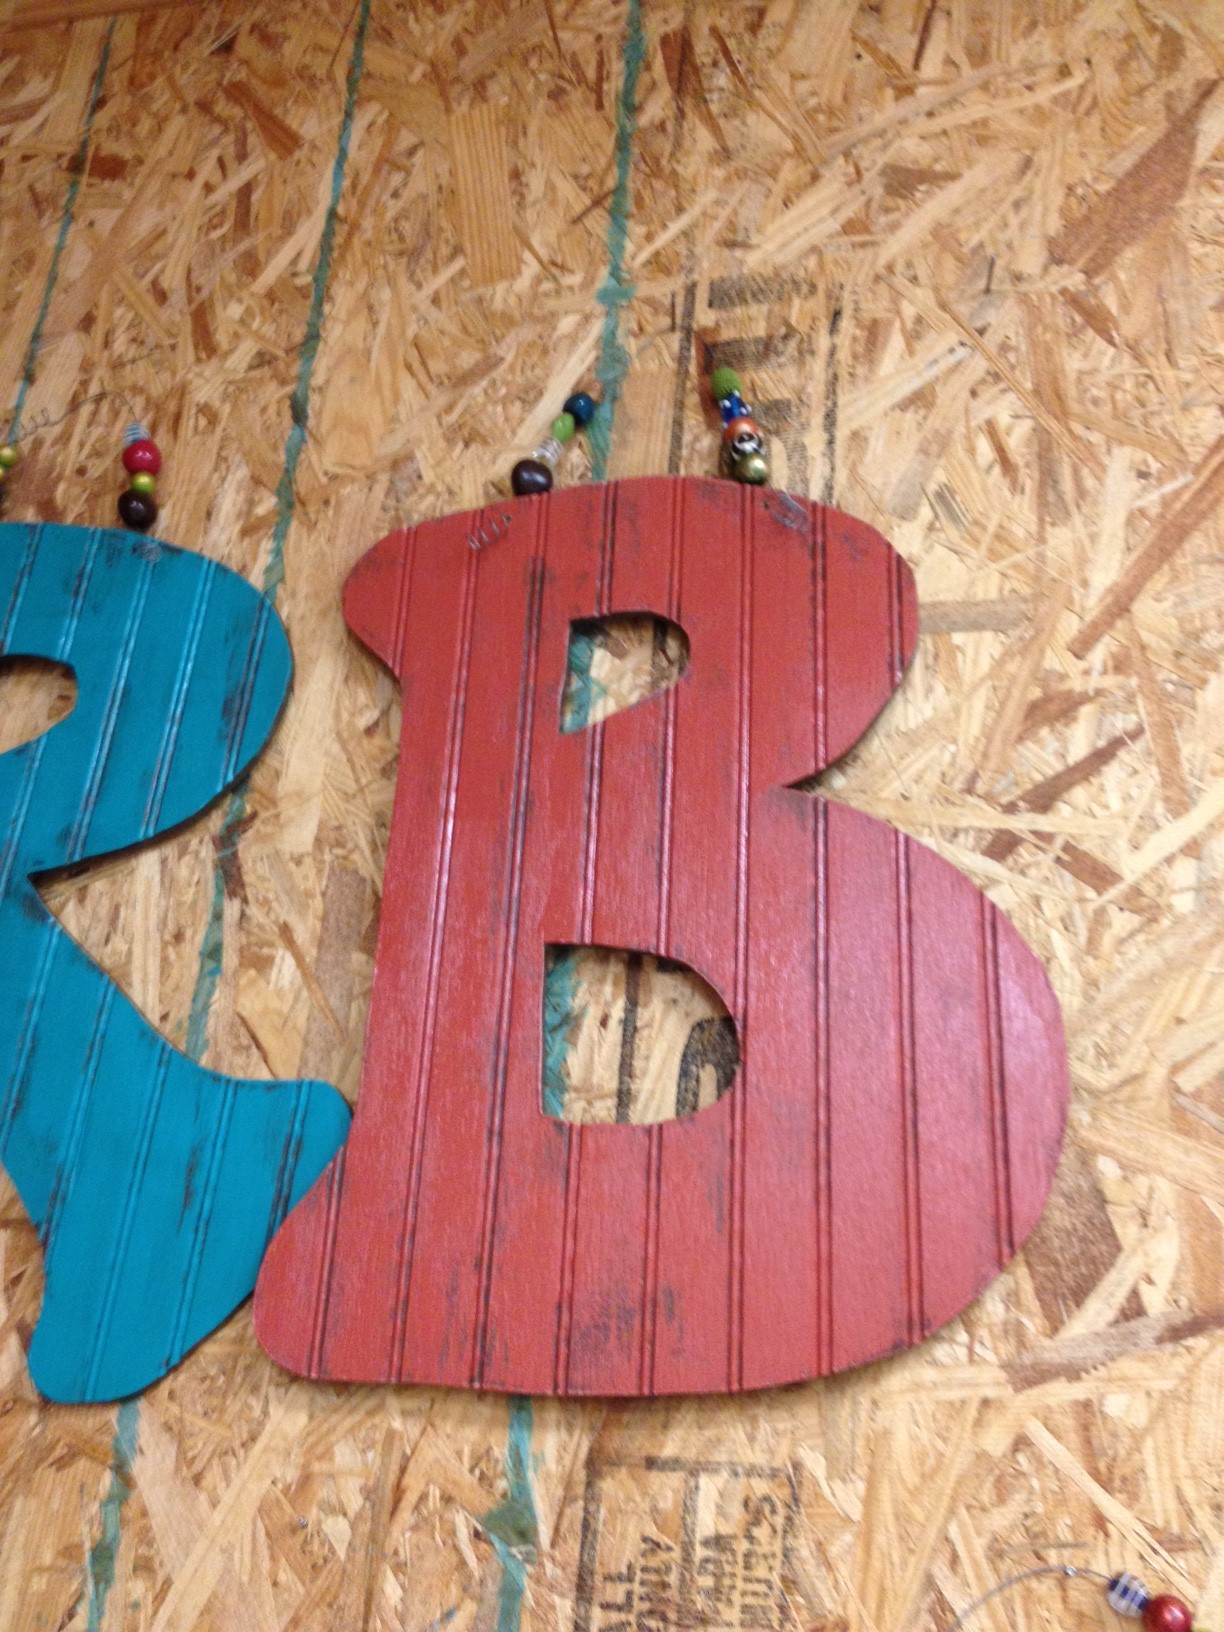
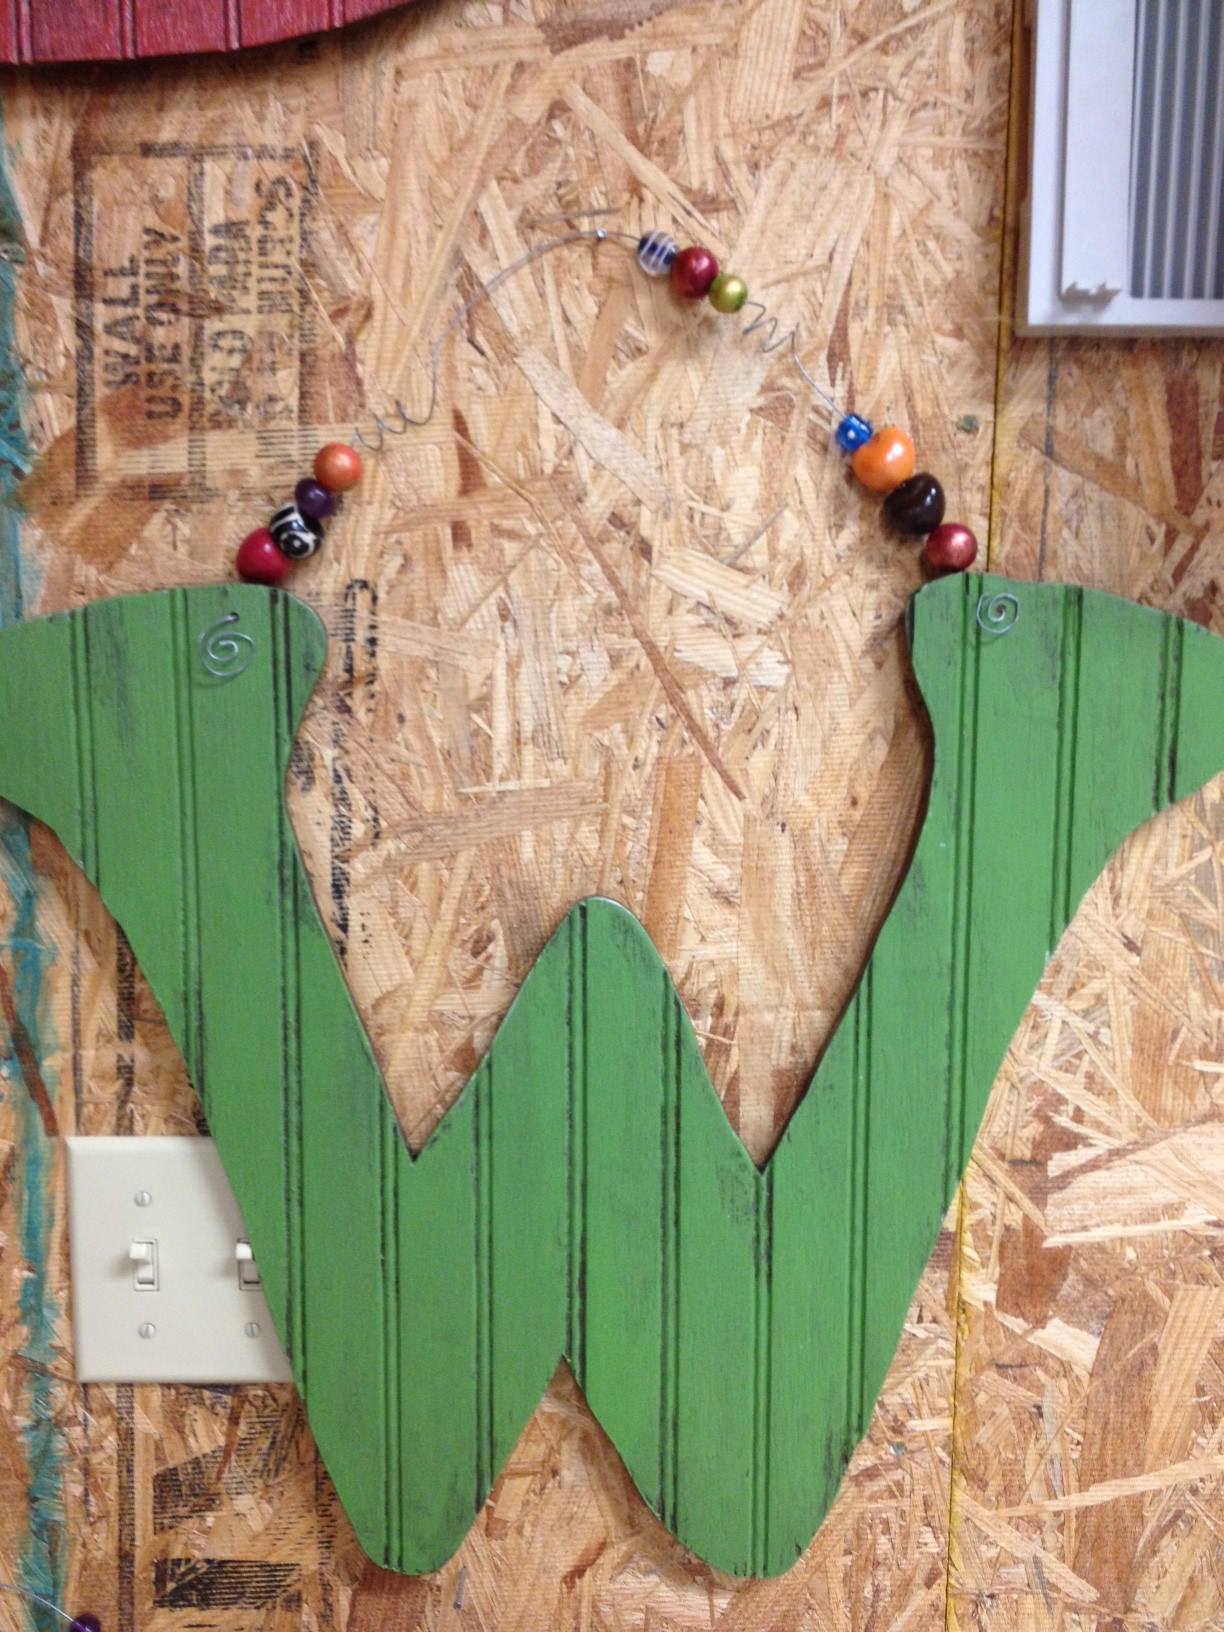
The last two colors I used were bright green and red.

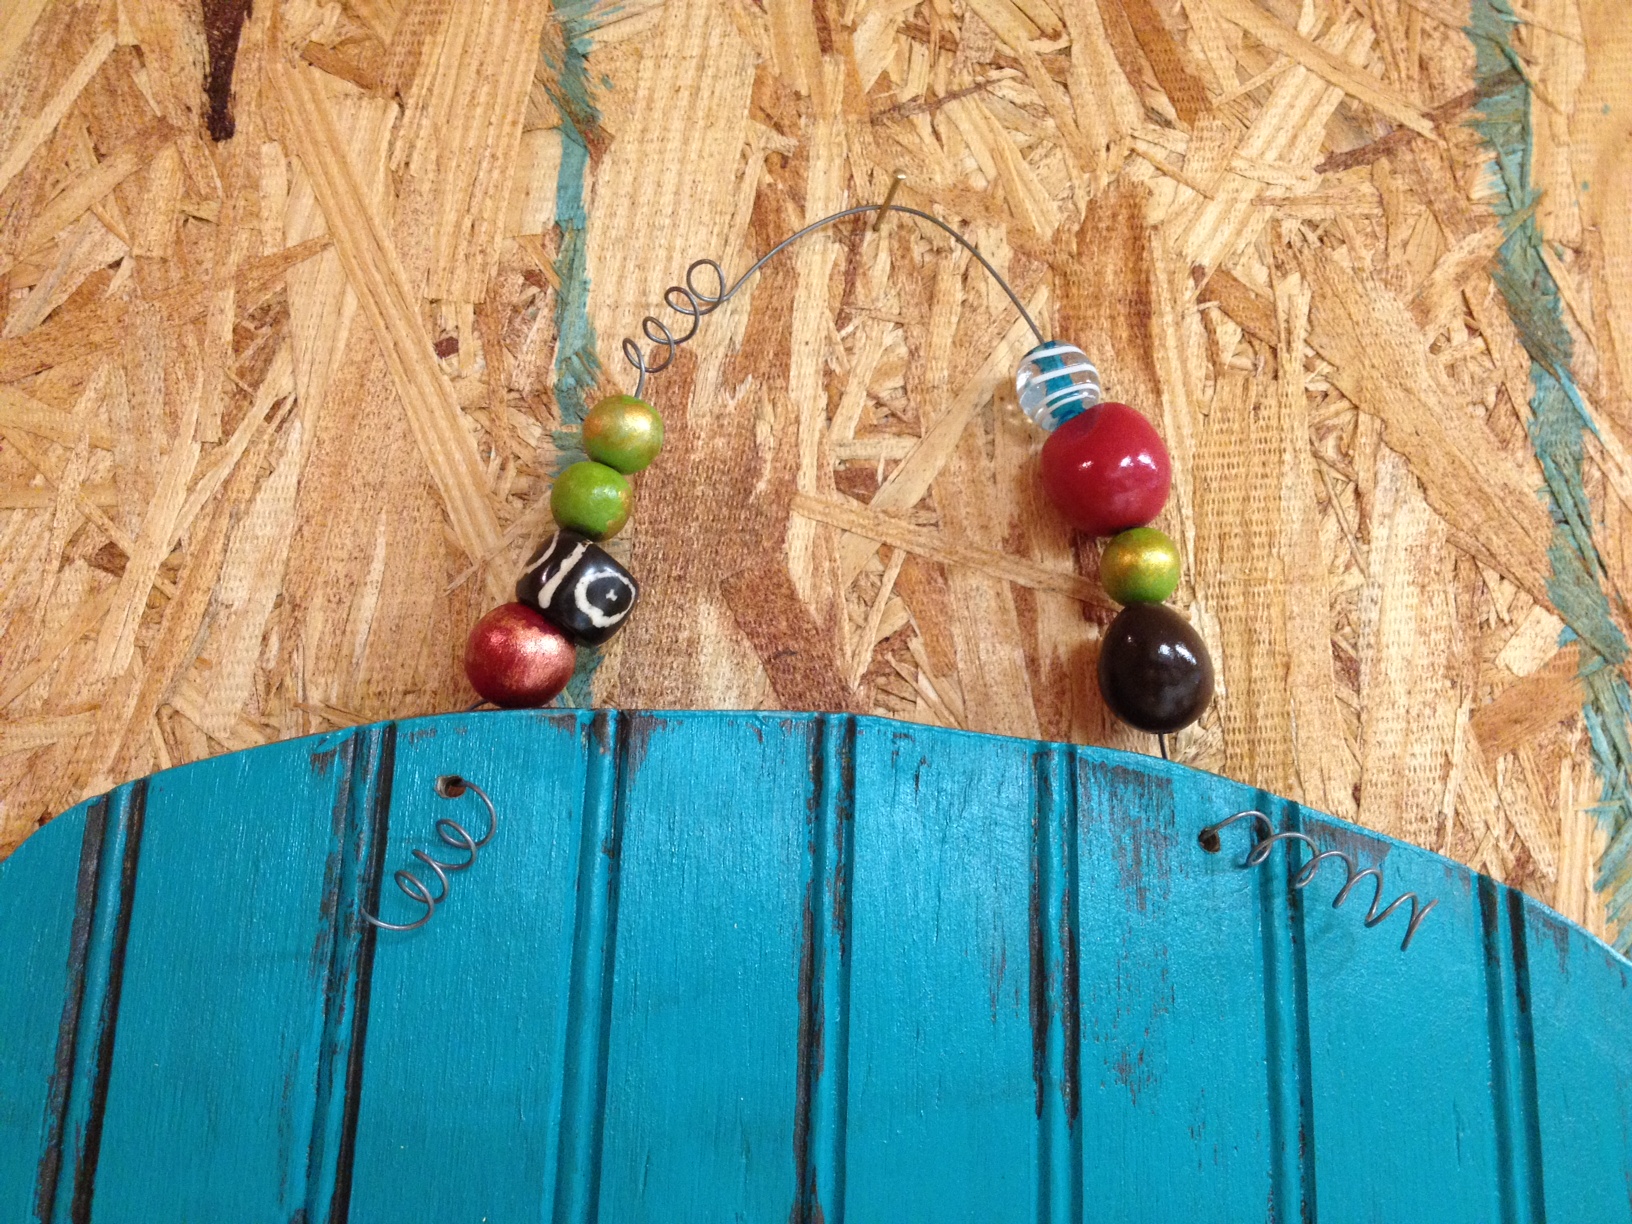
I applied a quick coat of polyurethane before the last step - adding a wire hanger.  The letter I made for my door just has a simple wire hanger, but for these I decided to dress it up a little with some colorful beads.  I also gave the wires a few twists and curly-ques.

Here are some of the finished projects.  Super easy, but I think they turned out pretty cute!

Of course, I'm sure they'd look even cuter actually hanging on a front door (or a wall!) instead of a plywood wall in a woodshop, but I don't have those pictures.

So there ya go, an easy project that makes a good personalized gift.  Perfect for those friends that already have everything!

Pink Punch For One

My favorite food group?  Party food. I know, maybe that doesn't exist on your pyramid of food groups, but it does on mine!  What can I say, I really like bite-sized foods.  And it doesn't hurt to wash them down with a glass of punch, amiright?
It's the delicious punch that I'm here to talk about right now.  Specificially, how I recently made it in individual serving sizes.  And served it in cute little mason jars to boot!

The first step is obvious: gather up a bunch of mason jars and make sure they're clean.

The next step was a little trickier.  I really wanted a cute lid that a straw could go through...you know, like these that are all over Pinterest?

Small problem: where the heck do you buy those?  Especially when you're in a time crunch?

So I had to improvise.  When I purchased my jars, the lids they came with had printing on them.  No problem, I just picked up an extra box of canning lids.  Except I realized after opening the box that the extras had printing on them, too.  Grrr.

While I sulked about the printing on the lids, I went ahead and started making my straw holes.  This was super easy - just drill a hole through each lid.  Don't cheat and try to stack them all up and do them together at one time.  It won't work out well...trust me on this.  But don't worry, it takes hardly no time at all to do them individually.

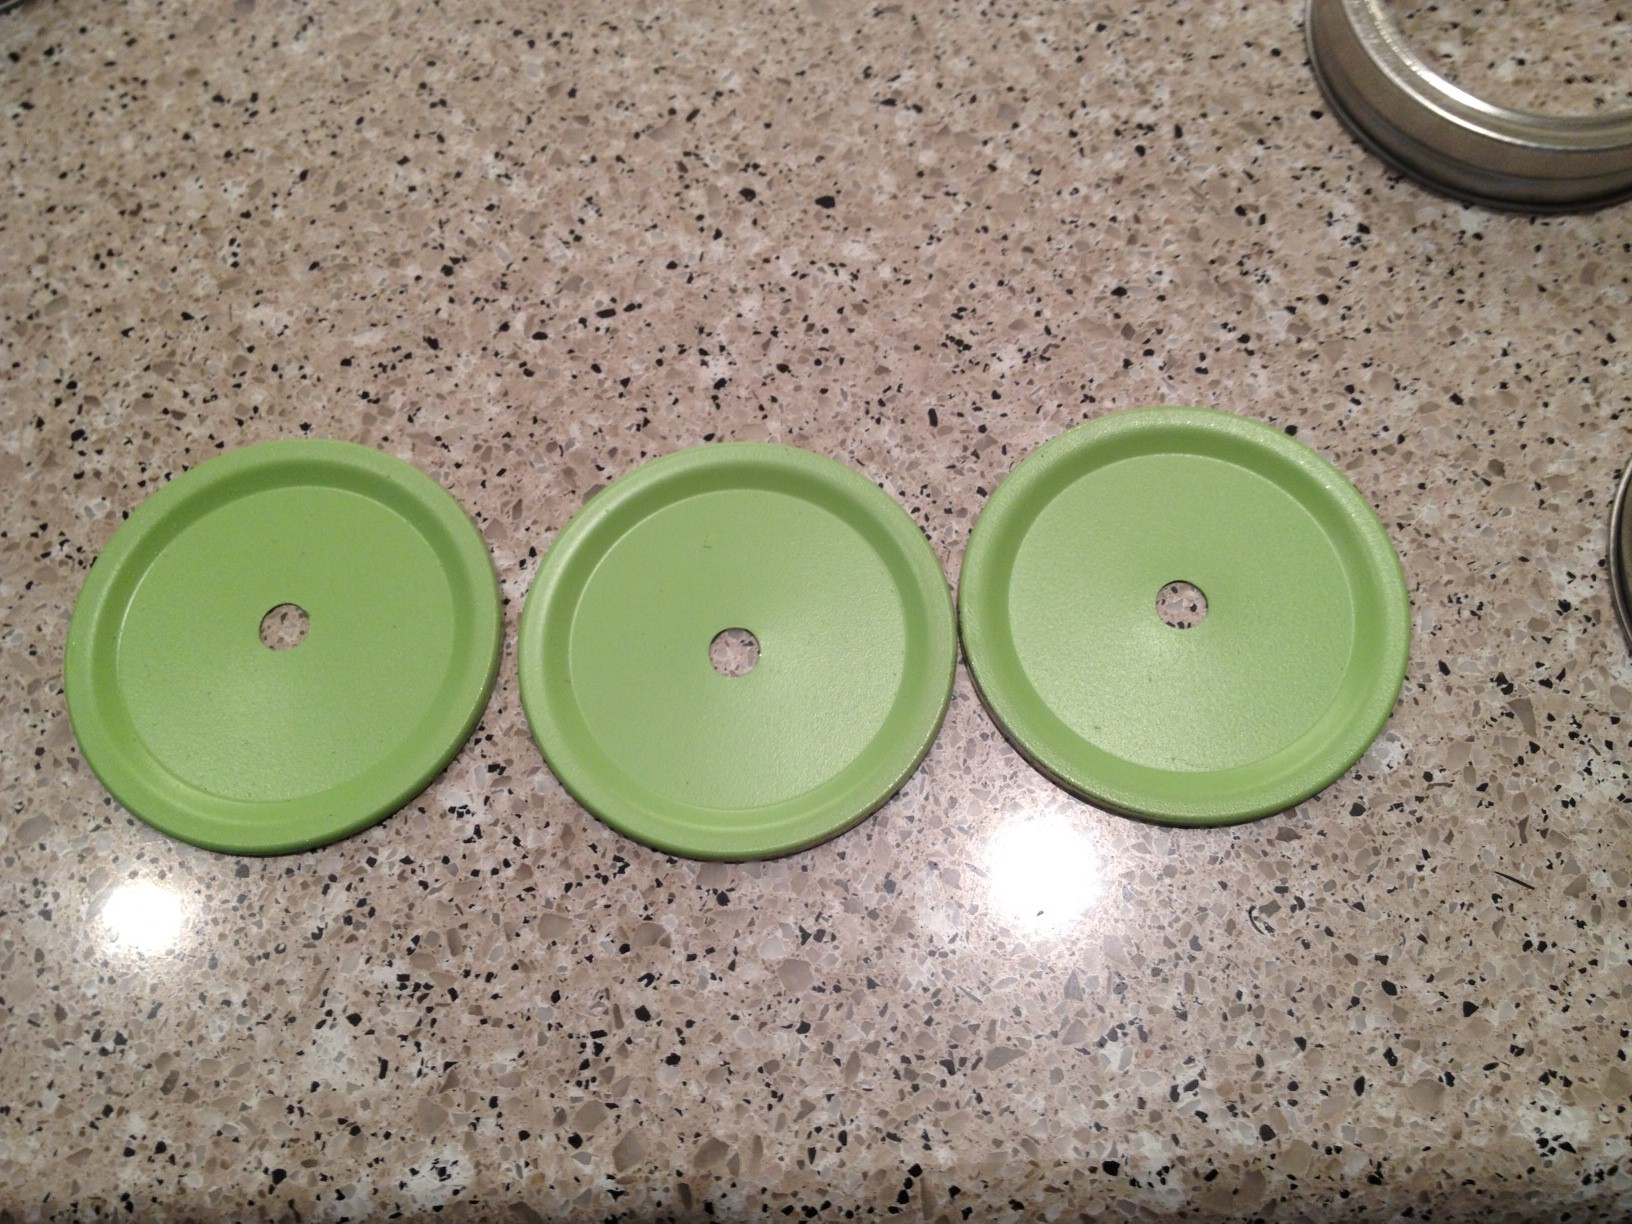
My mom is a genius and suggested spray painting the lids to cover up the printing.  How in the world had I not already thought of that?  Duh!  My color scheme for the shower was pink and green, and I already had green spray paint on hand so that's what I used.  After a quick 30 minutes of drilling holes and then spray painting, my lids looked like this.

That was the hardest part, so if you make it this far (or if you're lucky enough to find the cute pre-cut lids), the rest is easy breezy.

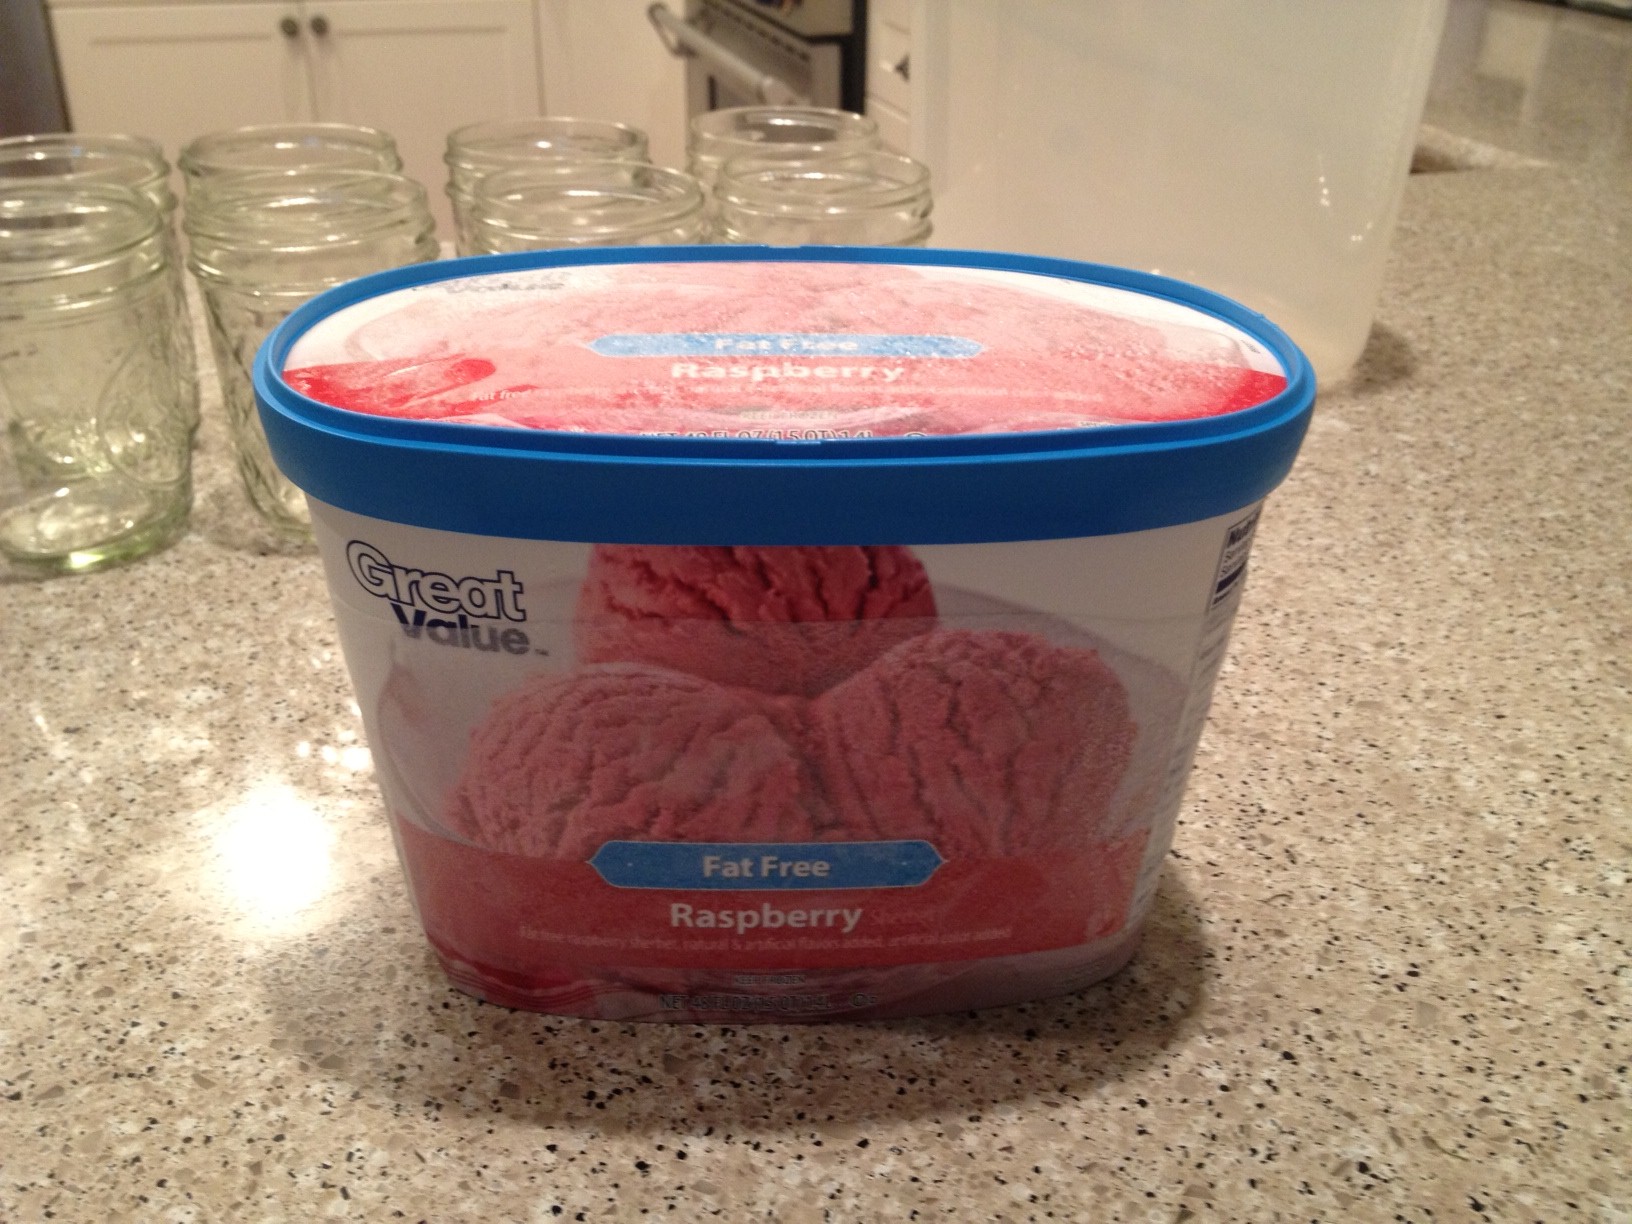
The shower was on a Sunday afternoon, so before church that morning I started preparing my punch.  First up was the pink ingredient: raspberry sherbert.  It was really hard, but some how I managed to refrain from having sherbert for breakfast.

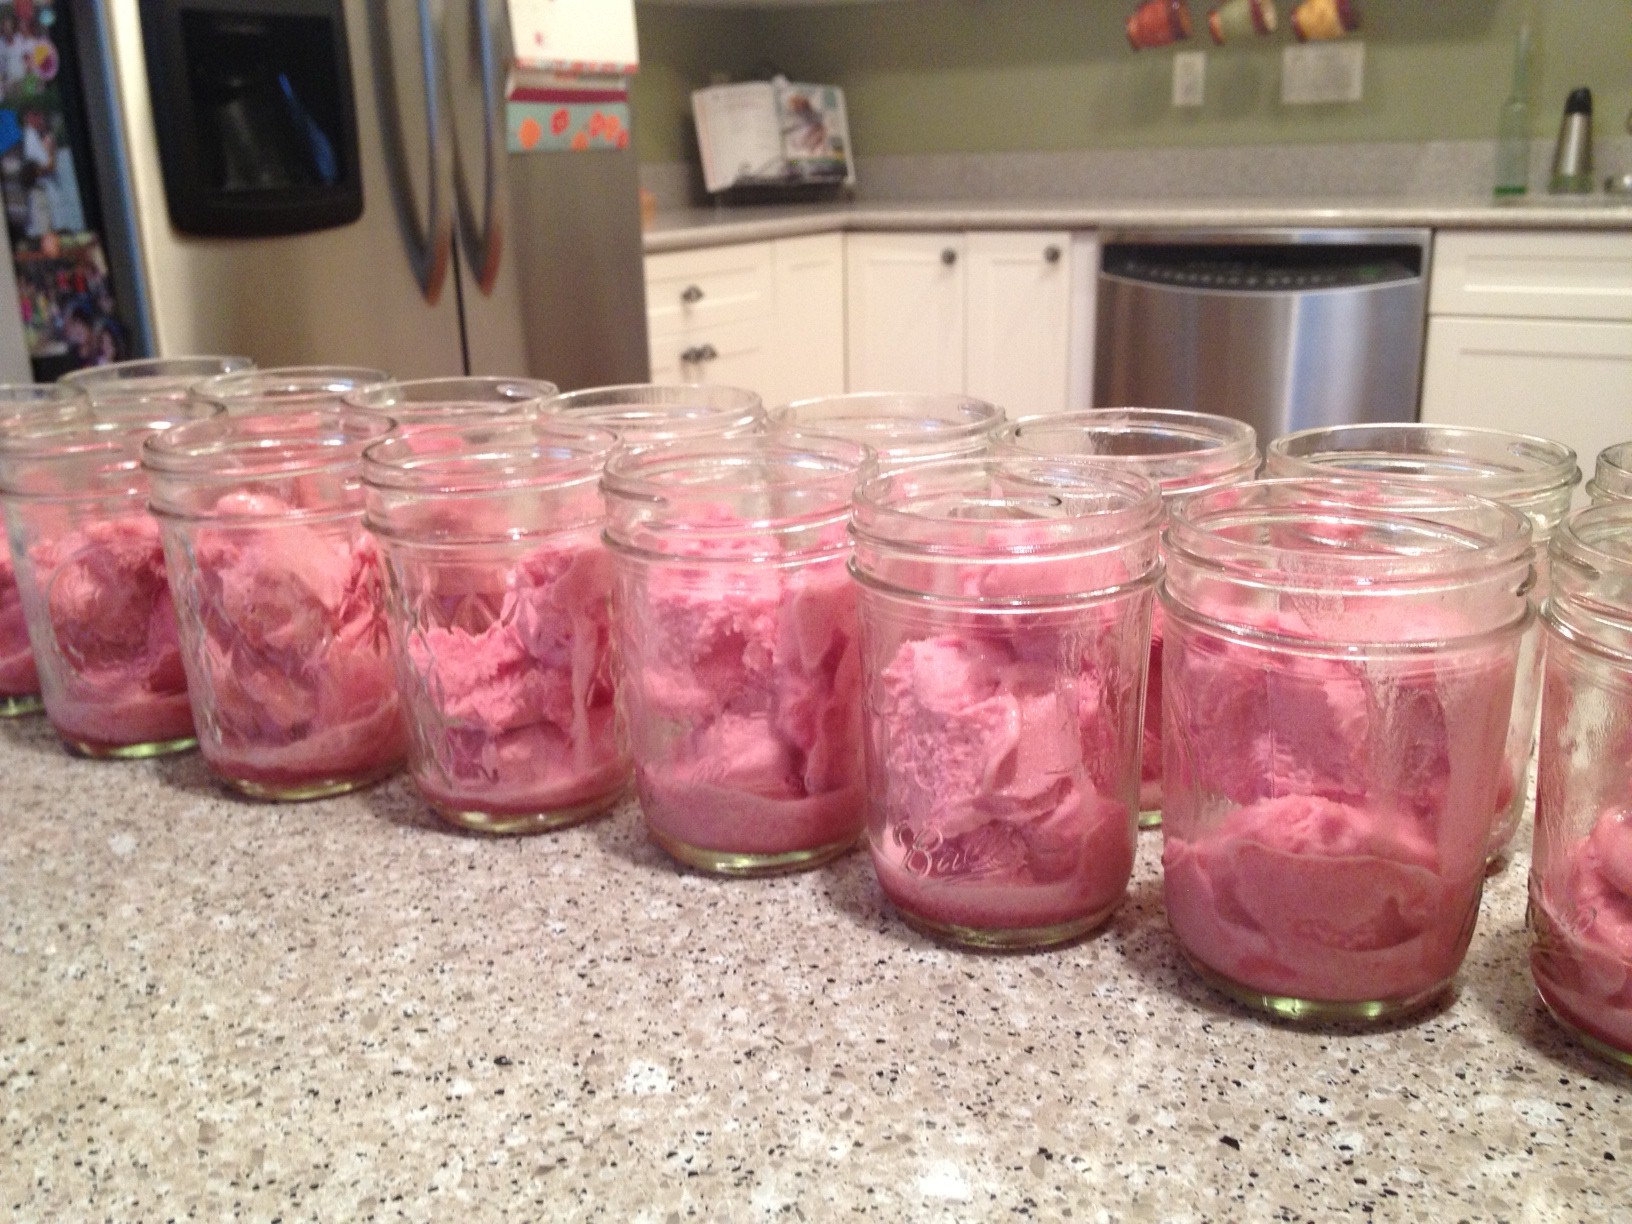
I scooped at least two spoonfuls into each jar.

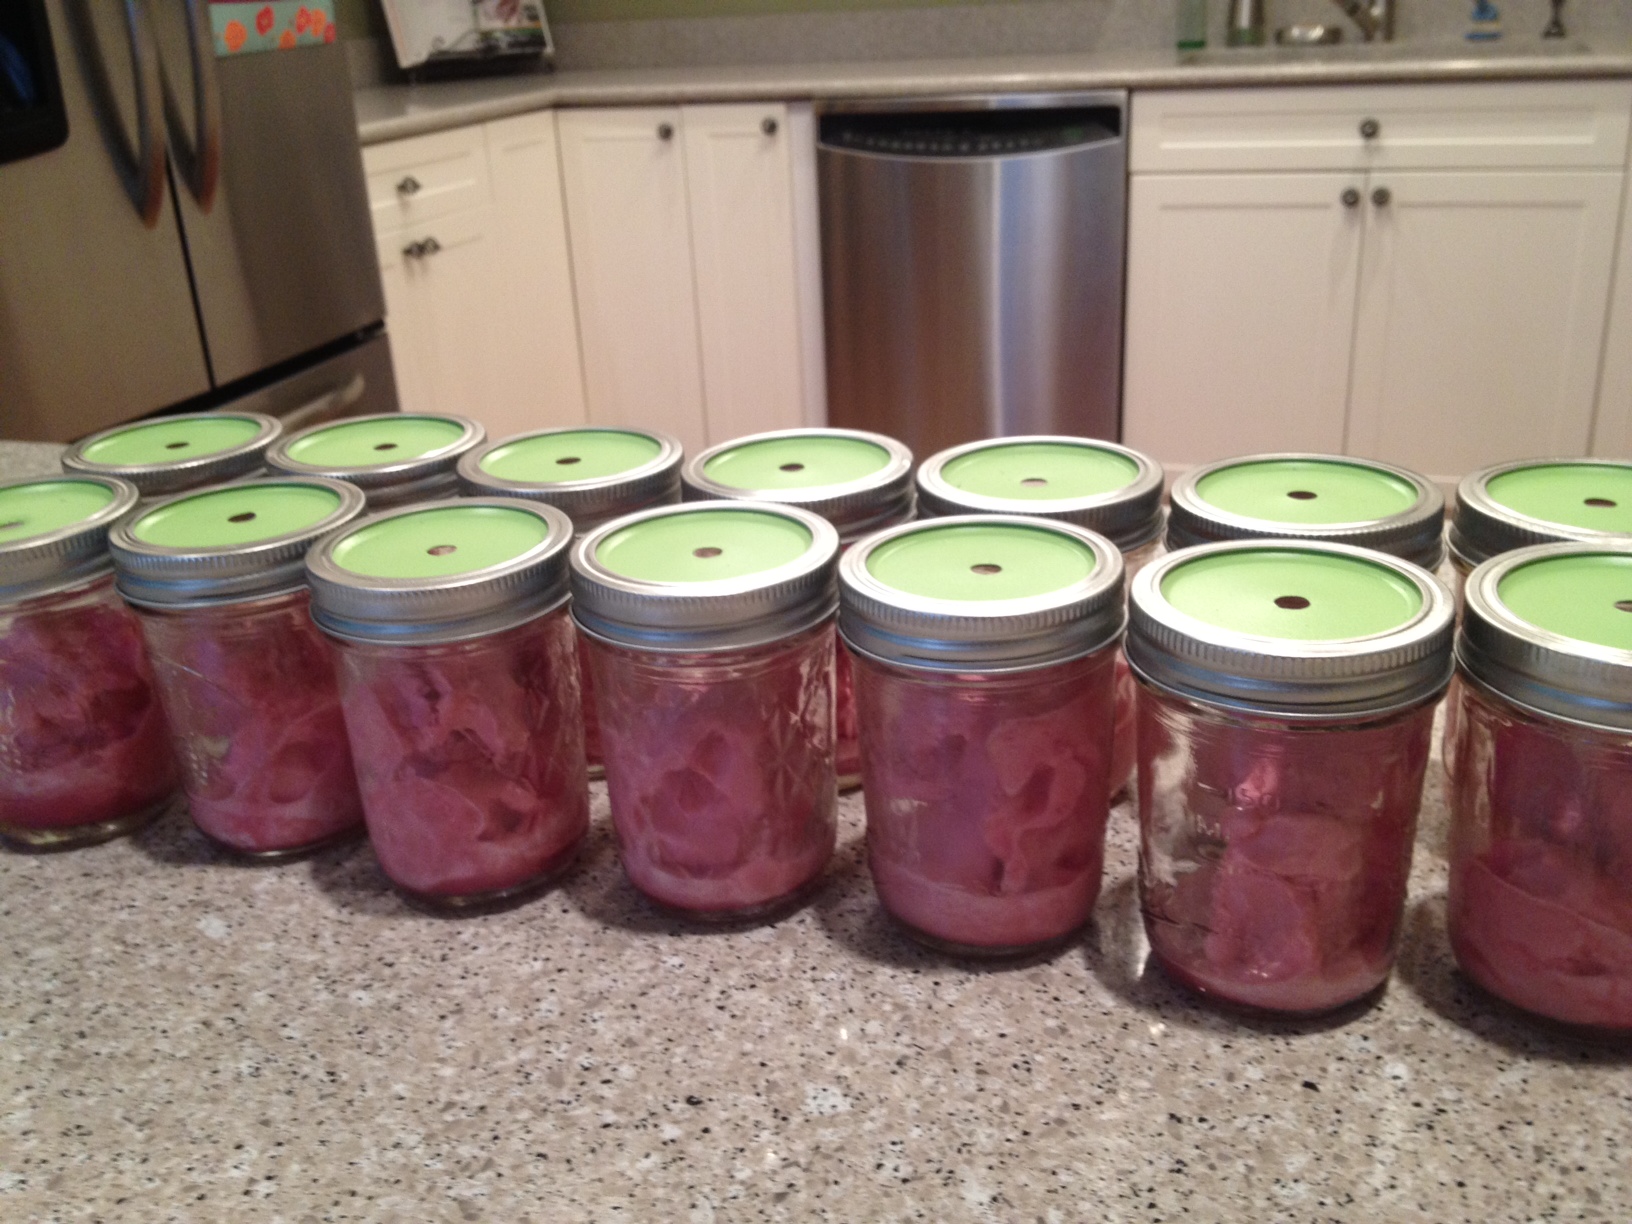
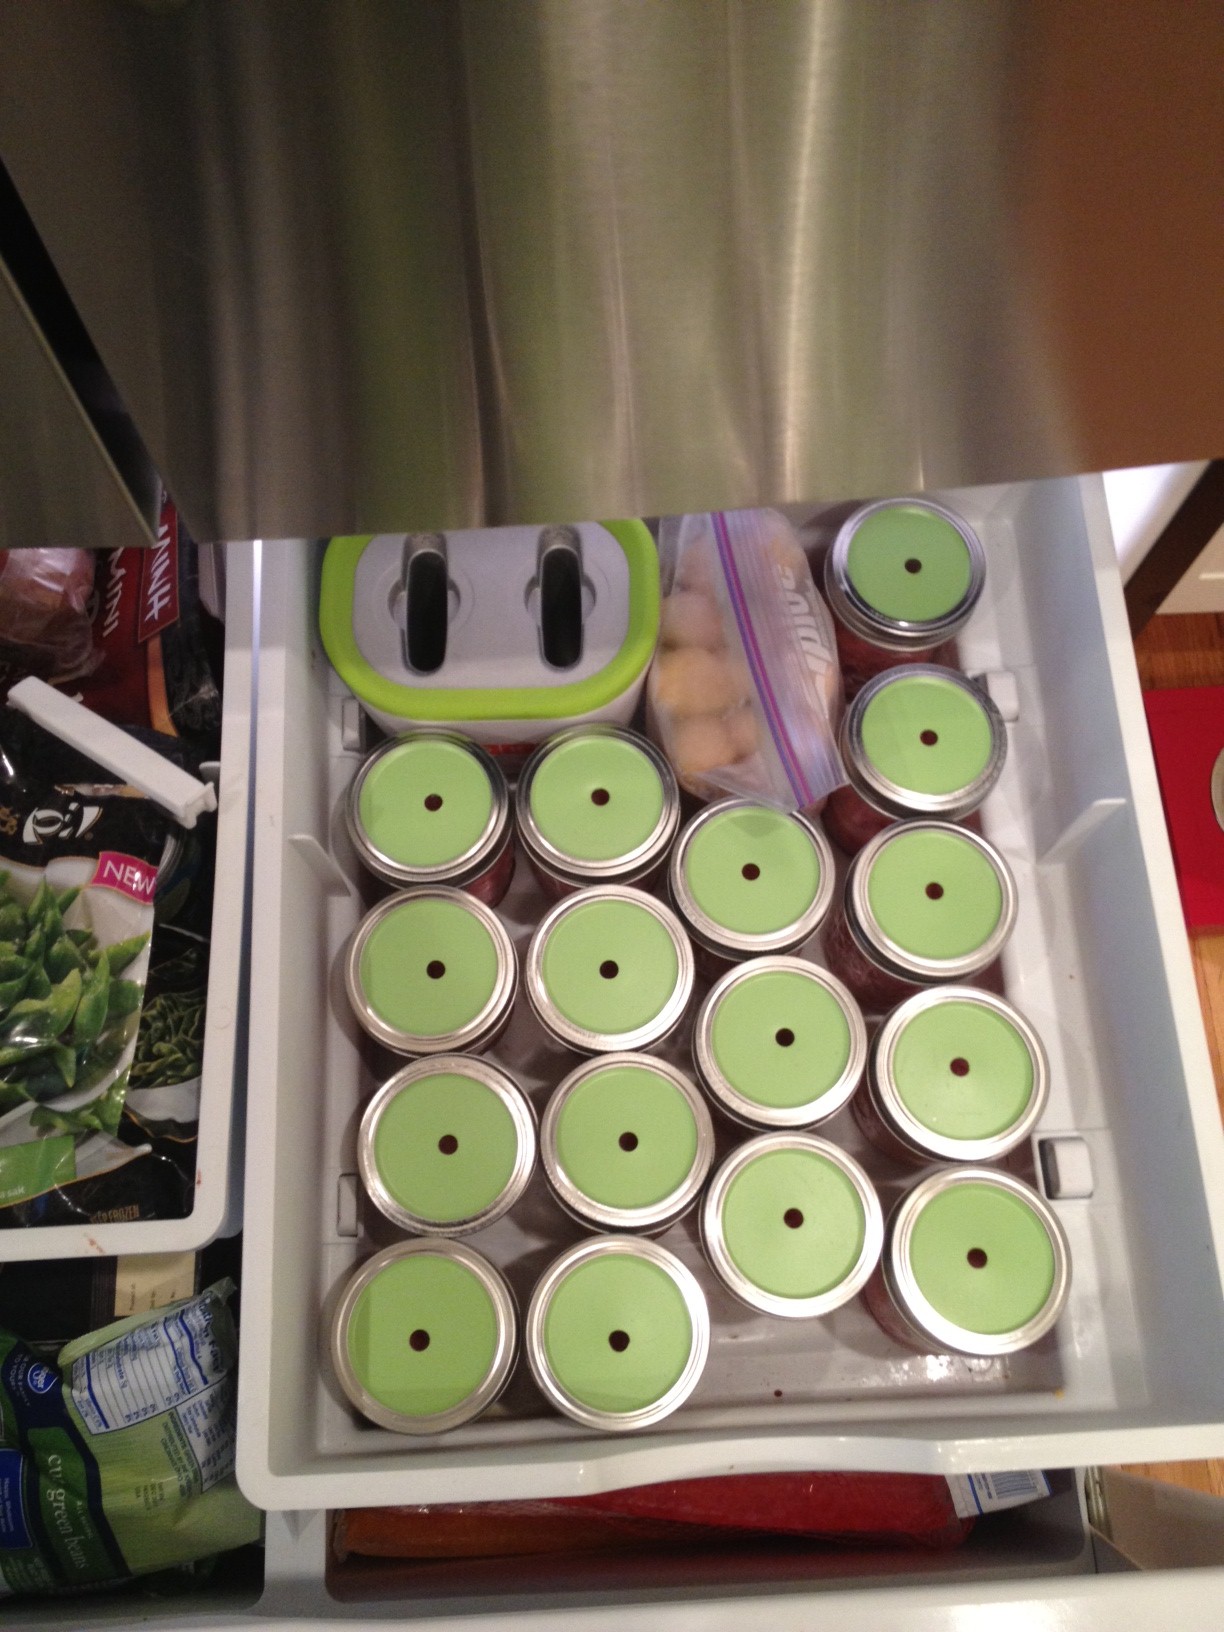
And then topped them with the green lids and metal rings.

My sherbert got pretty melty during scooping, so I popped the jars back in the freezer.  I wouldn't need to do the next step until after church anyway.  Oh, I wouldn't suggest doing this way, way in advance and then putting them in the freezer with these lids.  The holes might make the sherbert a little frosty and freezer-tasting.  Mine were only in the freezer a couple hours though so they were fine.

I, of course, forgot to take pictures of the final step, but I think you'll be able to handle it.  A few minutes before the shower started, I pulled the jars out of the freezer and took the lids off.  In a pitcher, I had mixed together equal parts pineapple juice and ginger ale.  I poured the liquid over the punch until the jar was full, and then put the lid back on.

Done!

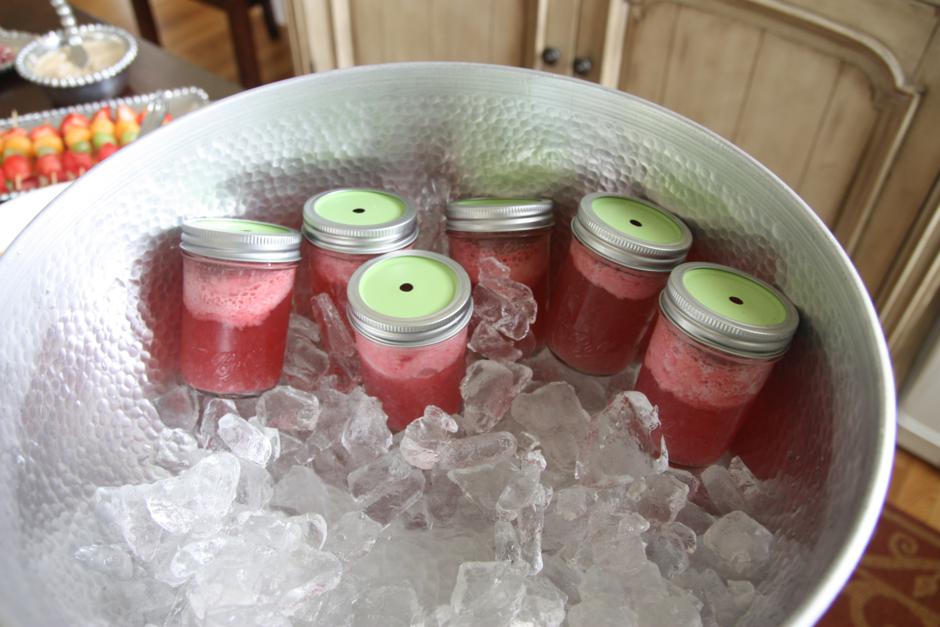
To keep them cool, I filled a punch bowl full of ice and plopped them down in it.

(I forgot to take a picture of them until near the end of the shower.  They are pretty melted in the pic above.)

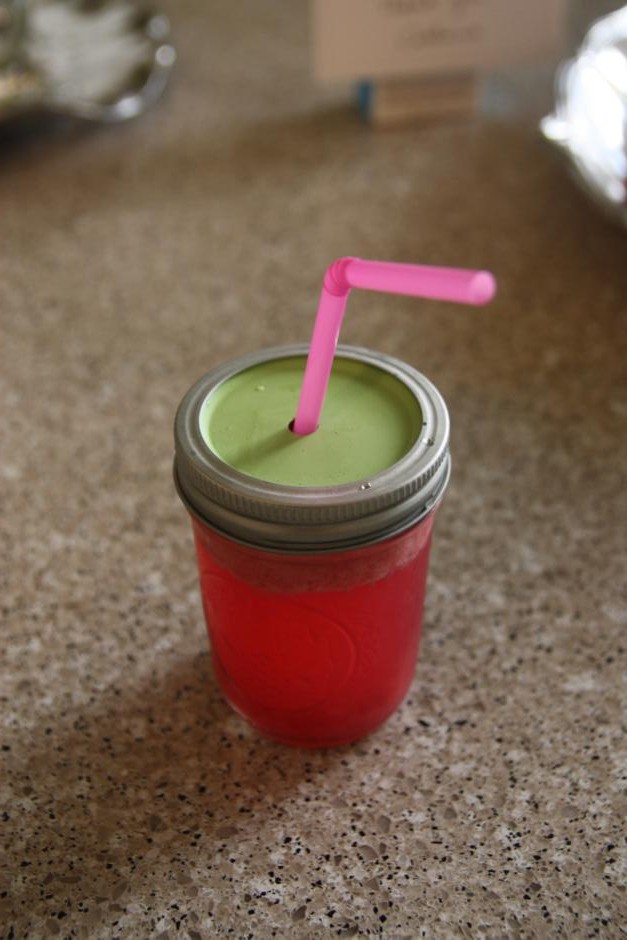
Next to the punch bowl I had another jar full of pink straws.  Here's a melty version of the final look.

Who says you have to use a crystal bowl and sip punch out of little glass with your pinky out?  Mason jars + straws are way more fun!

I won't lie, if I hadn't used every last bit of the sherbert up, I probably would've served these to myself all week long...

Bottle Vases

One night, while Doc and I were out with friends, we stopped into a local cheesecake store for dessert and I chose a gigantic Fanta as my drink of choice.  Mostly, I bought it because I liked the bottle.

They all probably thought I was weird for taking the bottle home with me, but I had plans for it.

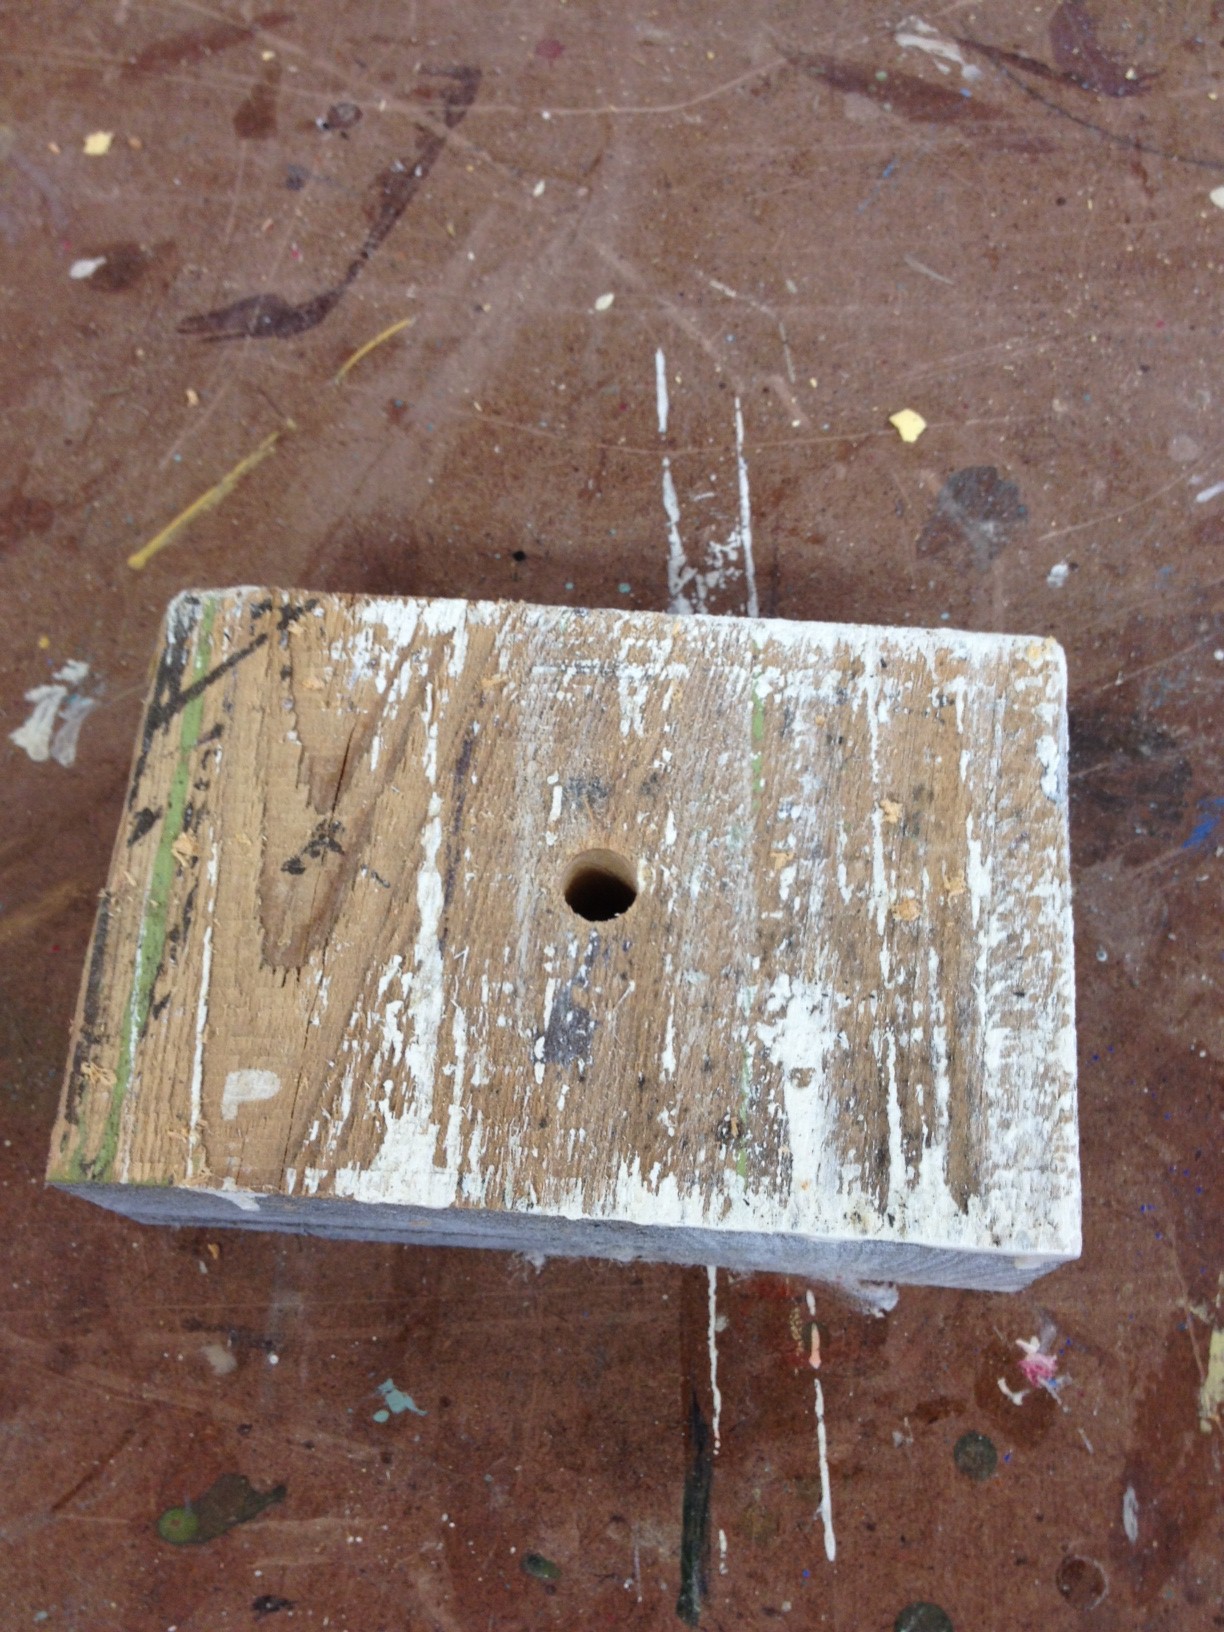
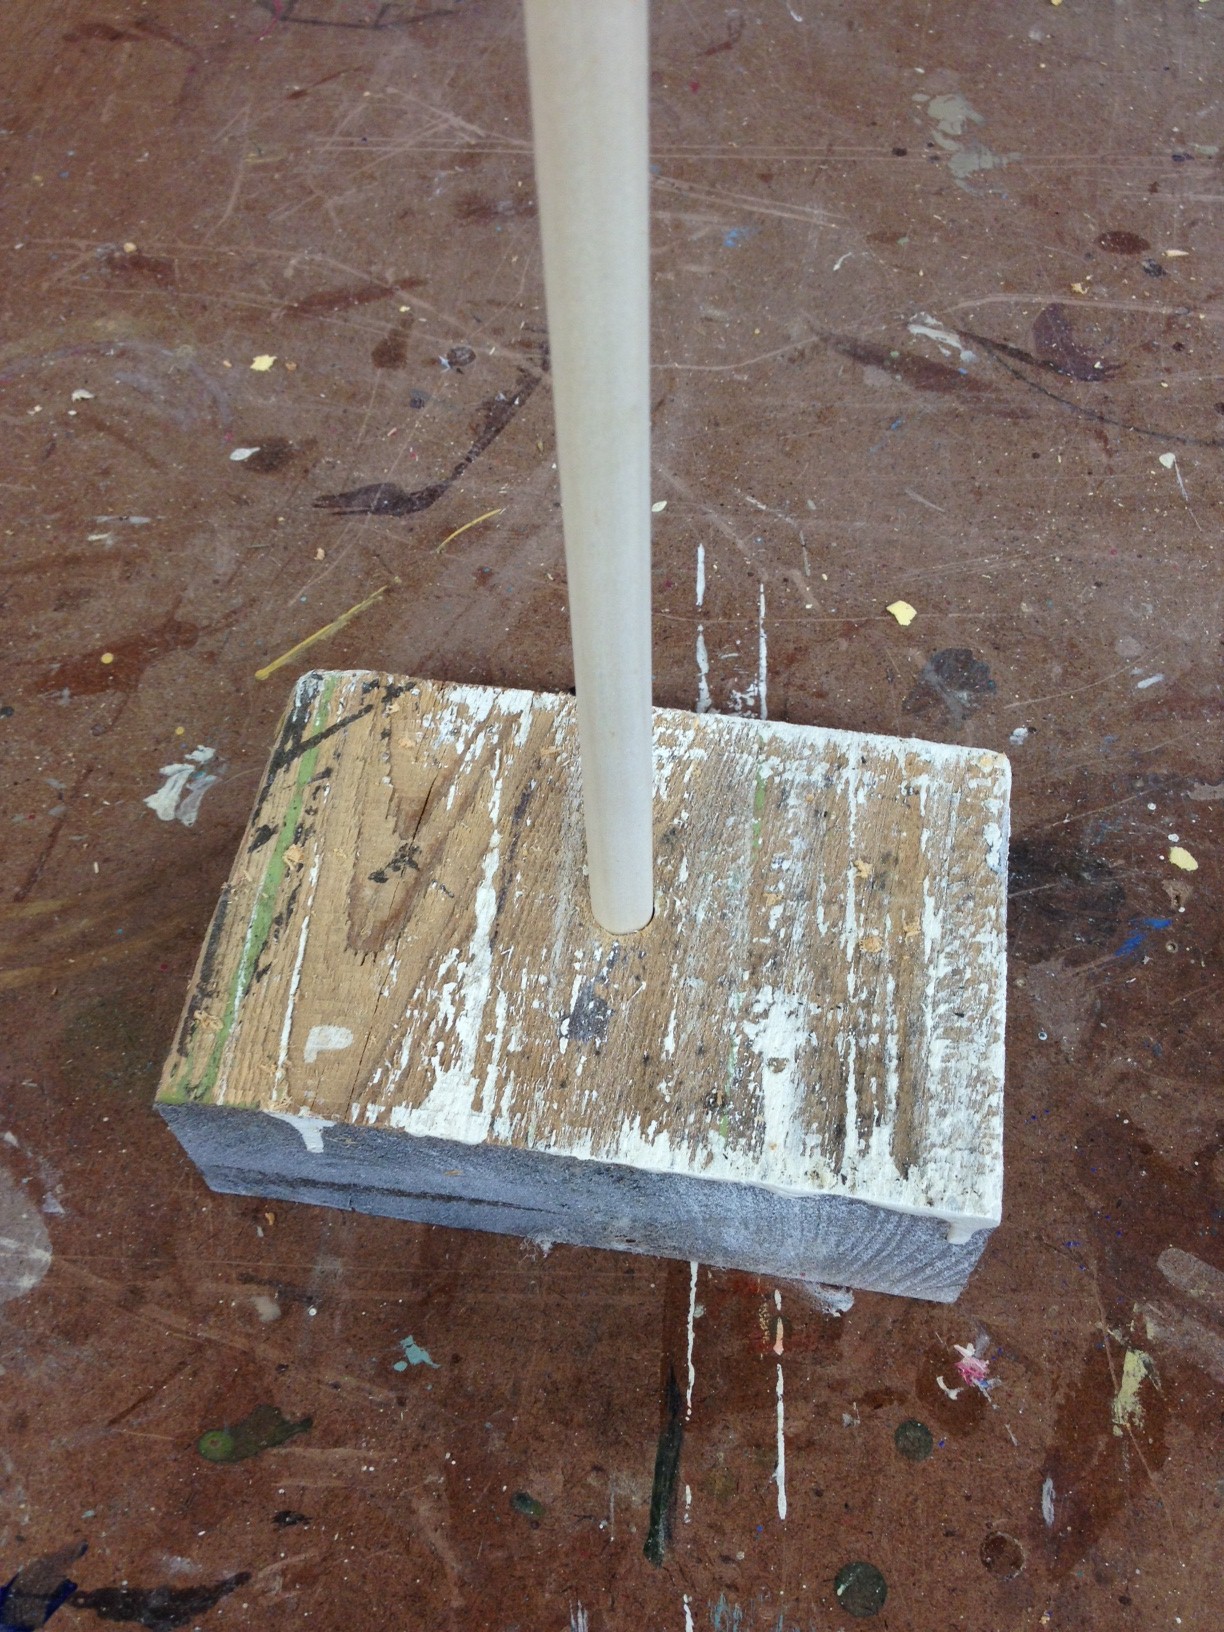
One day while I was piddling around in the shop, I took a scrap piece of wood and drilled a hole in it.

Then I stuck in a dowel rod.

Boom.  Instant bottle holder.

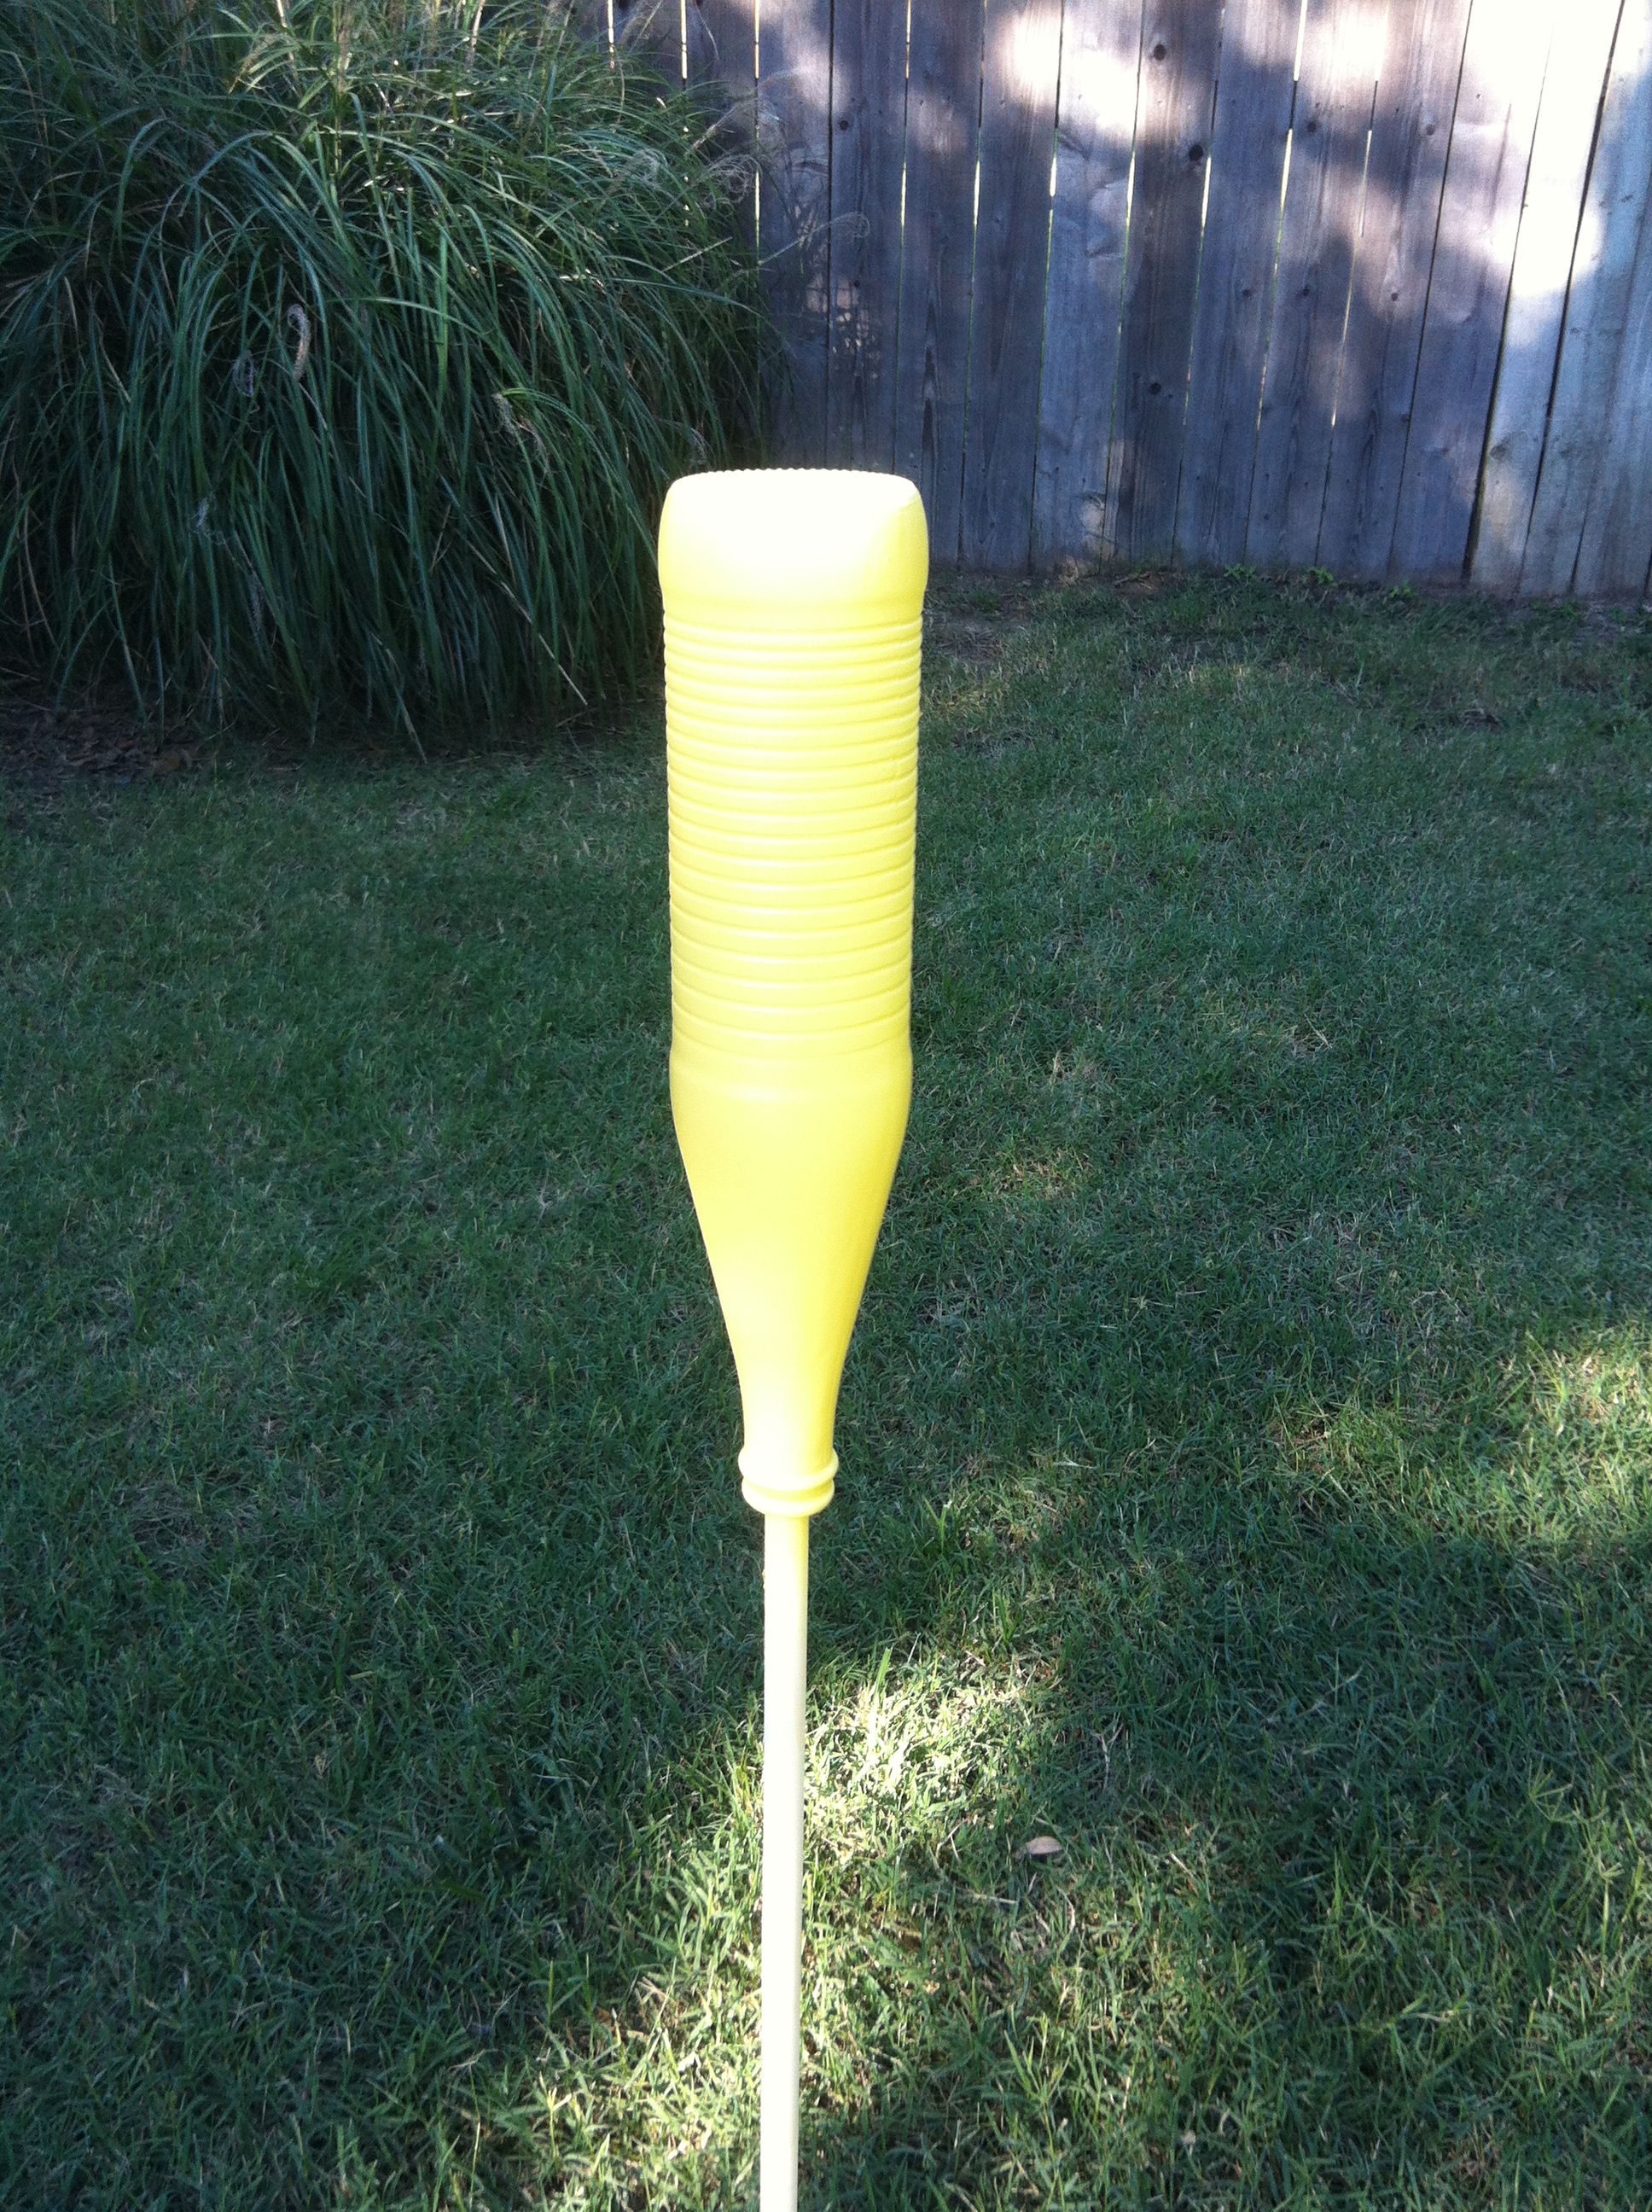
You know where this is going, right?  I started with a couple coats of white primer to try to hide the Fanta logo.

The final color?  Bright yellow.

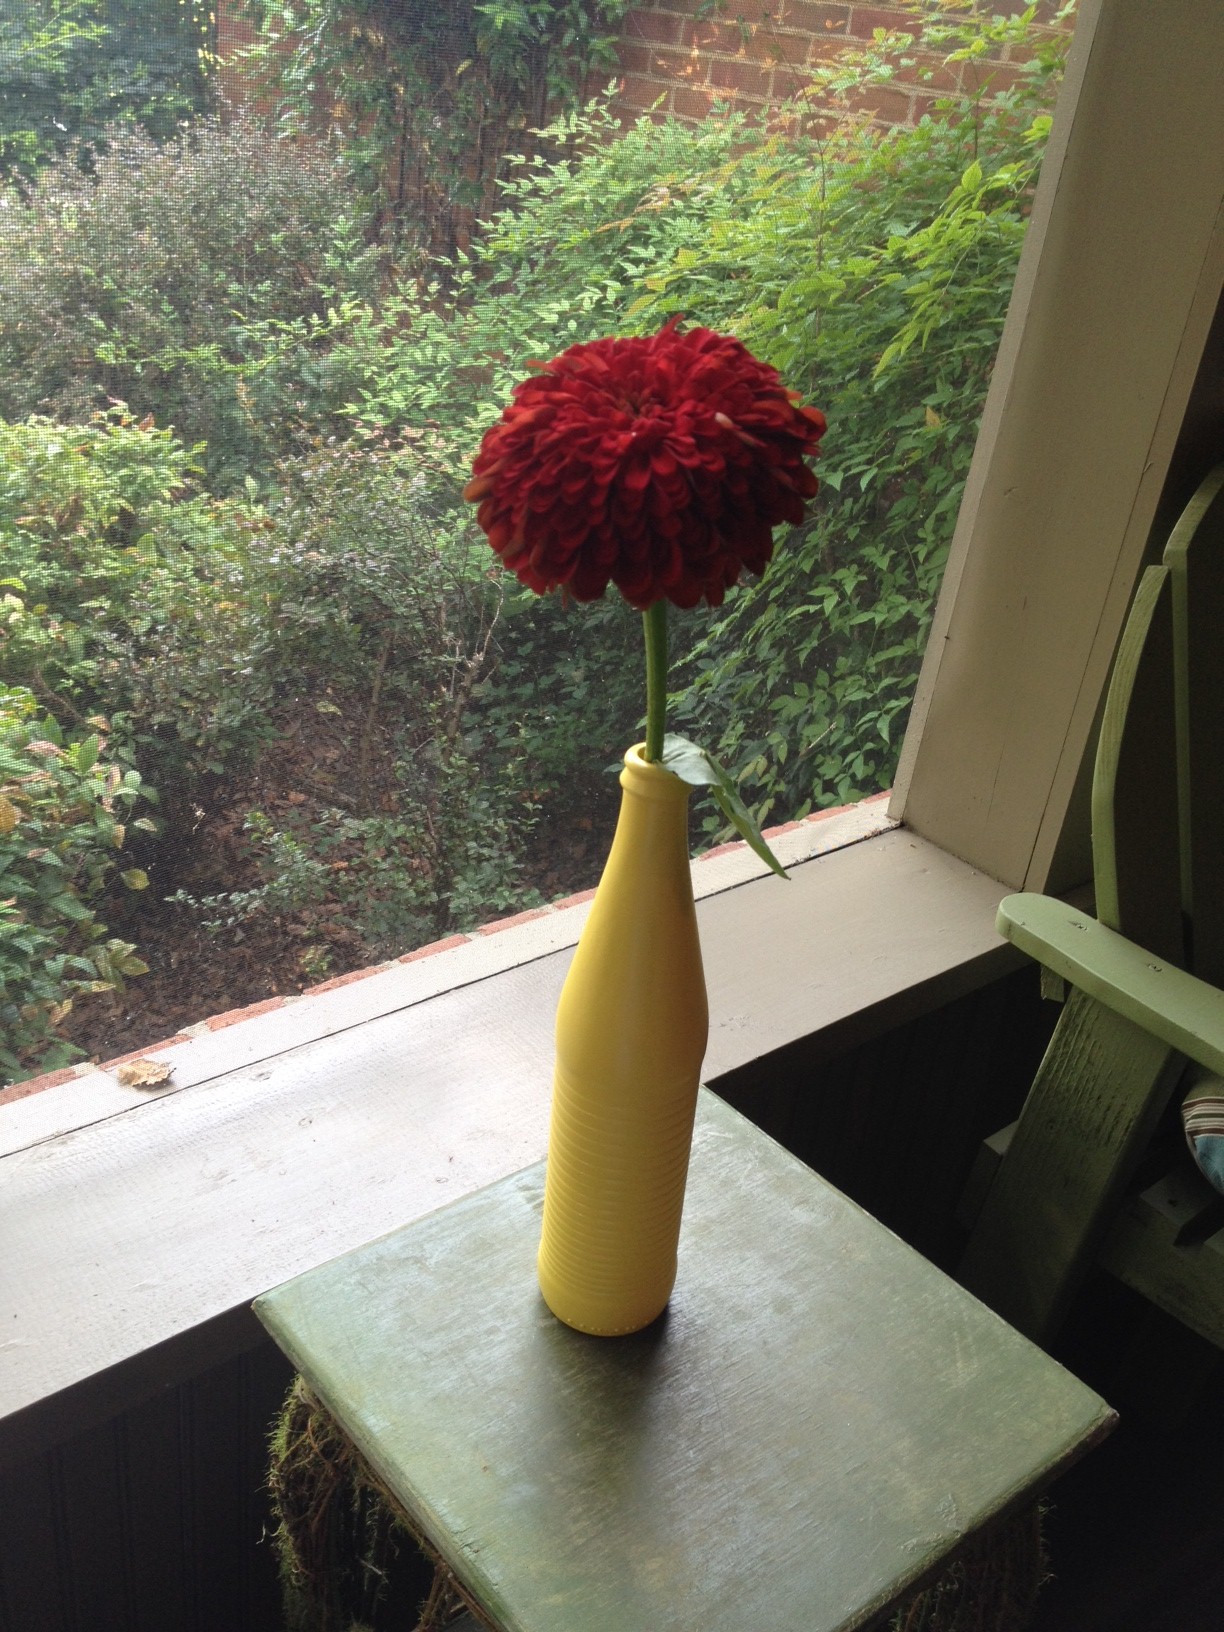
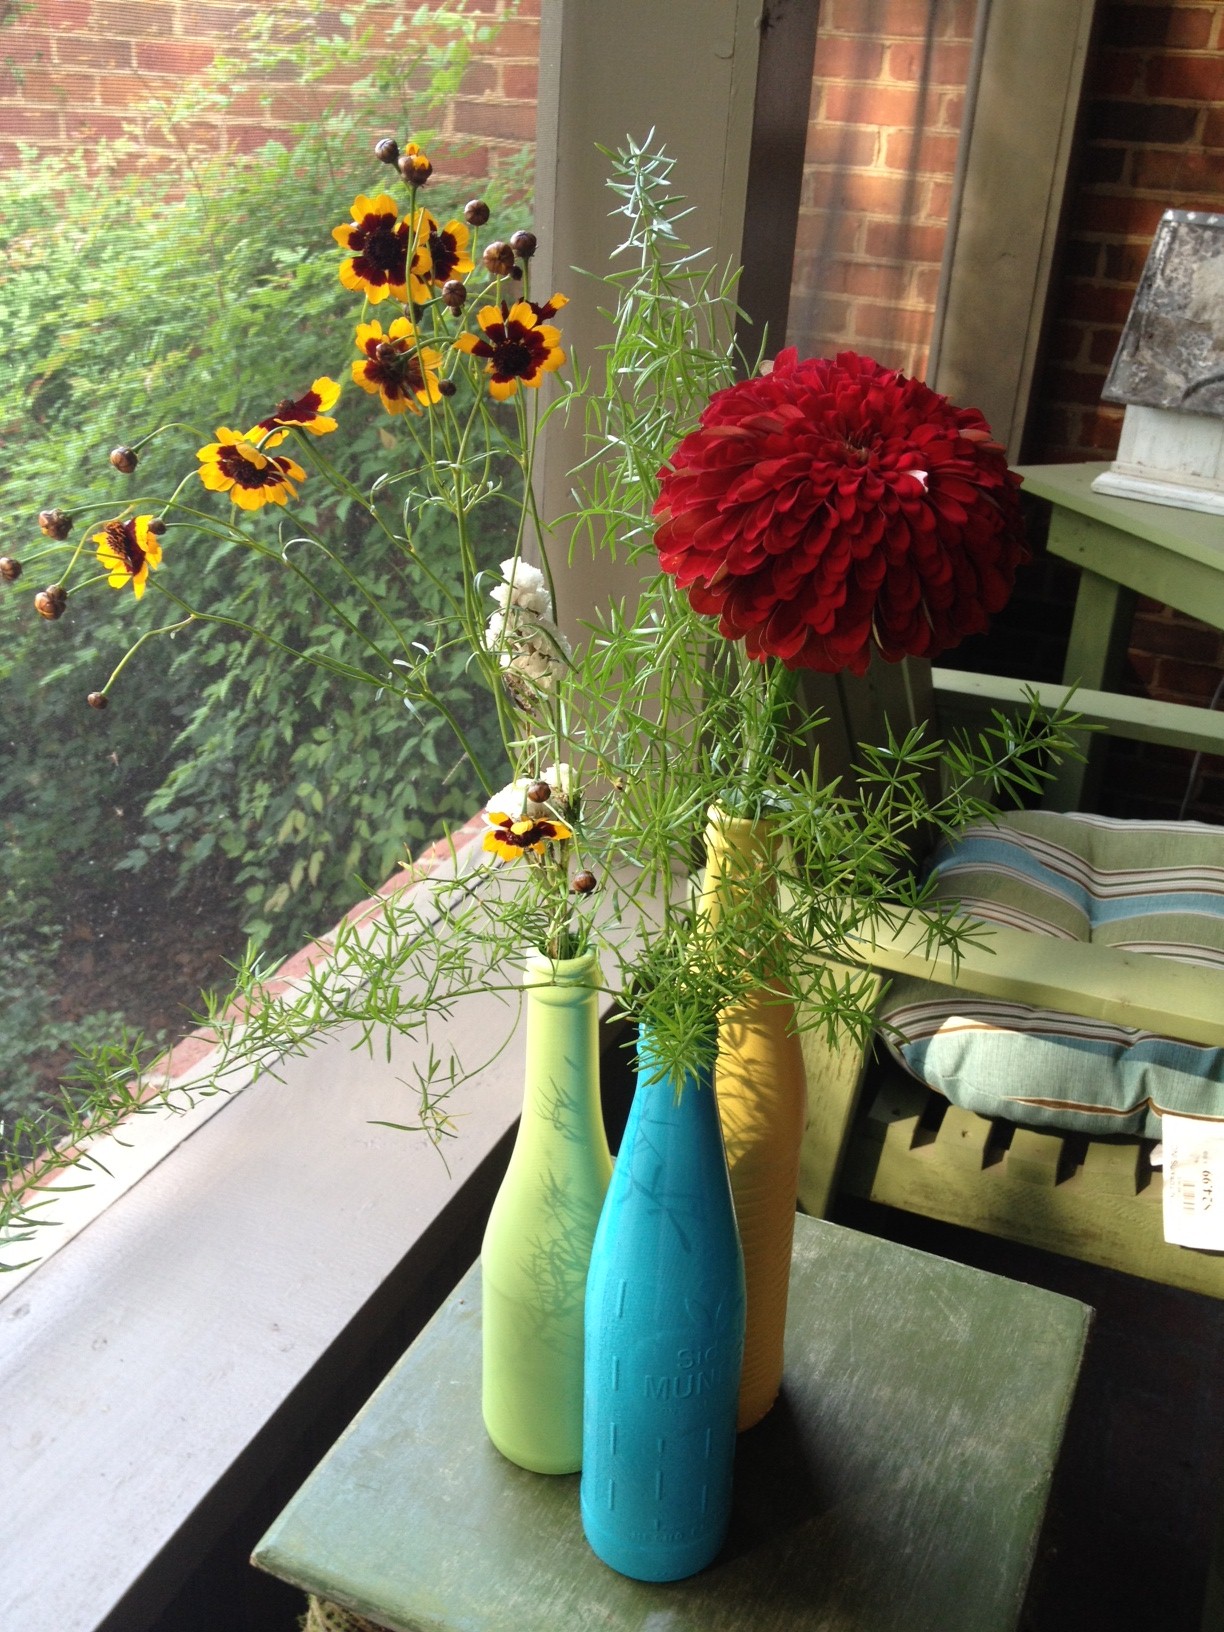
And now, it's a happy little sunshiney flower vase, perfect for a single zinnia stem.

Super easy!  And completely free since I already had all the supplies (well, except the overpriced bottle of orange fanta).

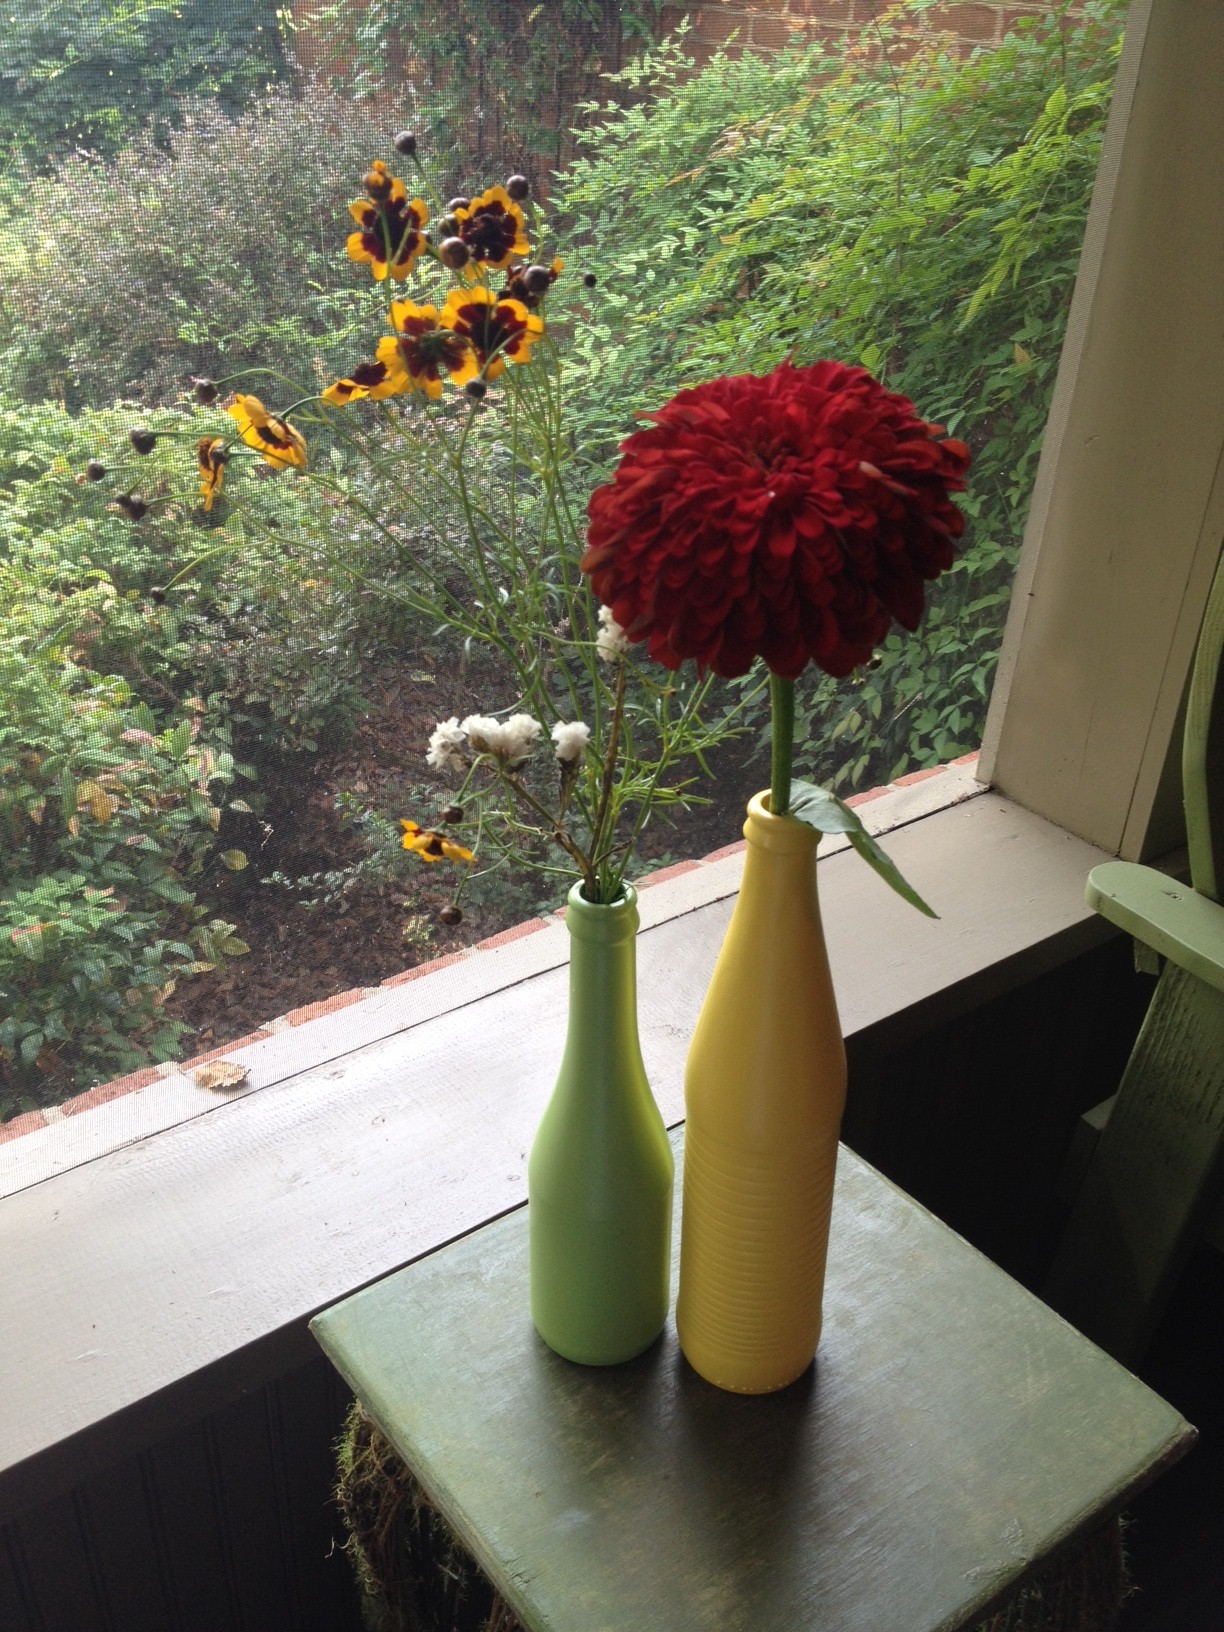
I couldn't just stop there.  I gave my yellow bottle vase a green little friend full of wildflowers.

Evens are cool, but odds are better so I sprayed another bottle turquoise to go with these guys.

I love 'em!  I can't decide if the turquoise or the yellow is my favorite.  And I think they'd look perfect up on a window sill over a kitchen sink, don't you?

Ooh, and wouldn't it be cute to do a whole six pack of coke bottles and then put them back in their holder as a centerpiece on a kitchen table?  Hmmm...I may have to start buying all bottle drinks!

Lollipops

I've got a quick and fun project for you before I recap our weekend.  The good news is I got my camera out and was very "snap happy."  The bad news is that means I have LOTS of pictures to go through.  I'm tired just thinking about it. Right now, I'm here to talk about Lollipops...the candy, not the dog.  I cannot take credit for this idea, I found the idea here, but I can tell you that they are awesome, easy, and delicious.  My coworkers gobbled these up so quickly that I've already had to make a second batch.

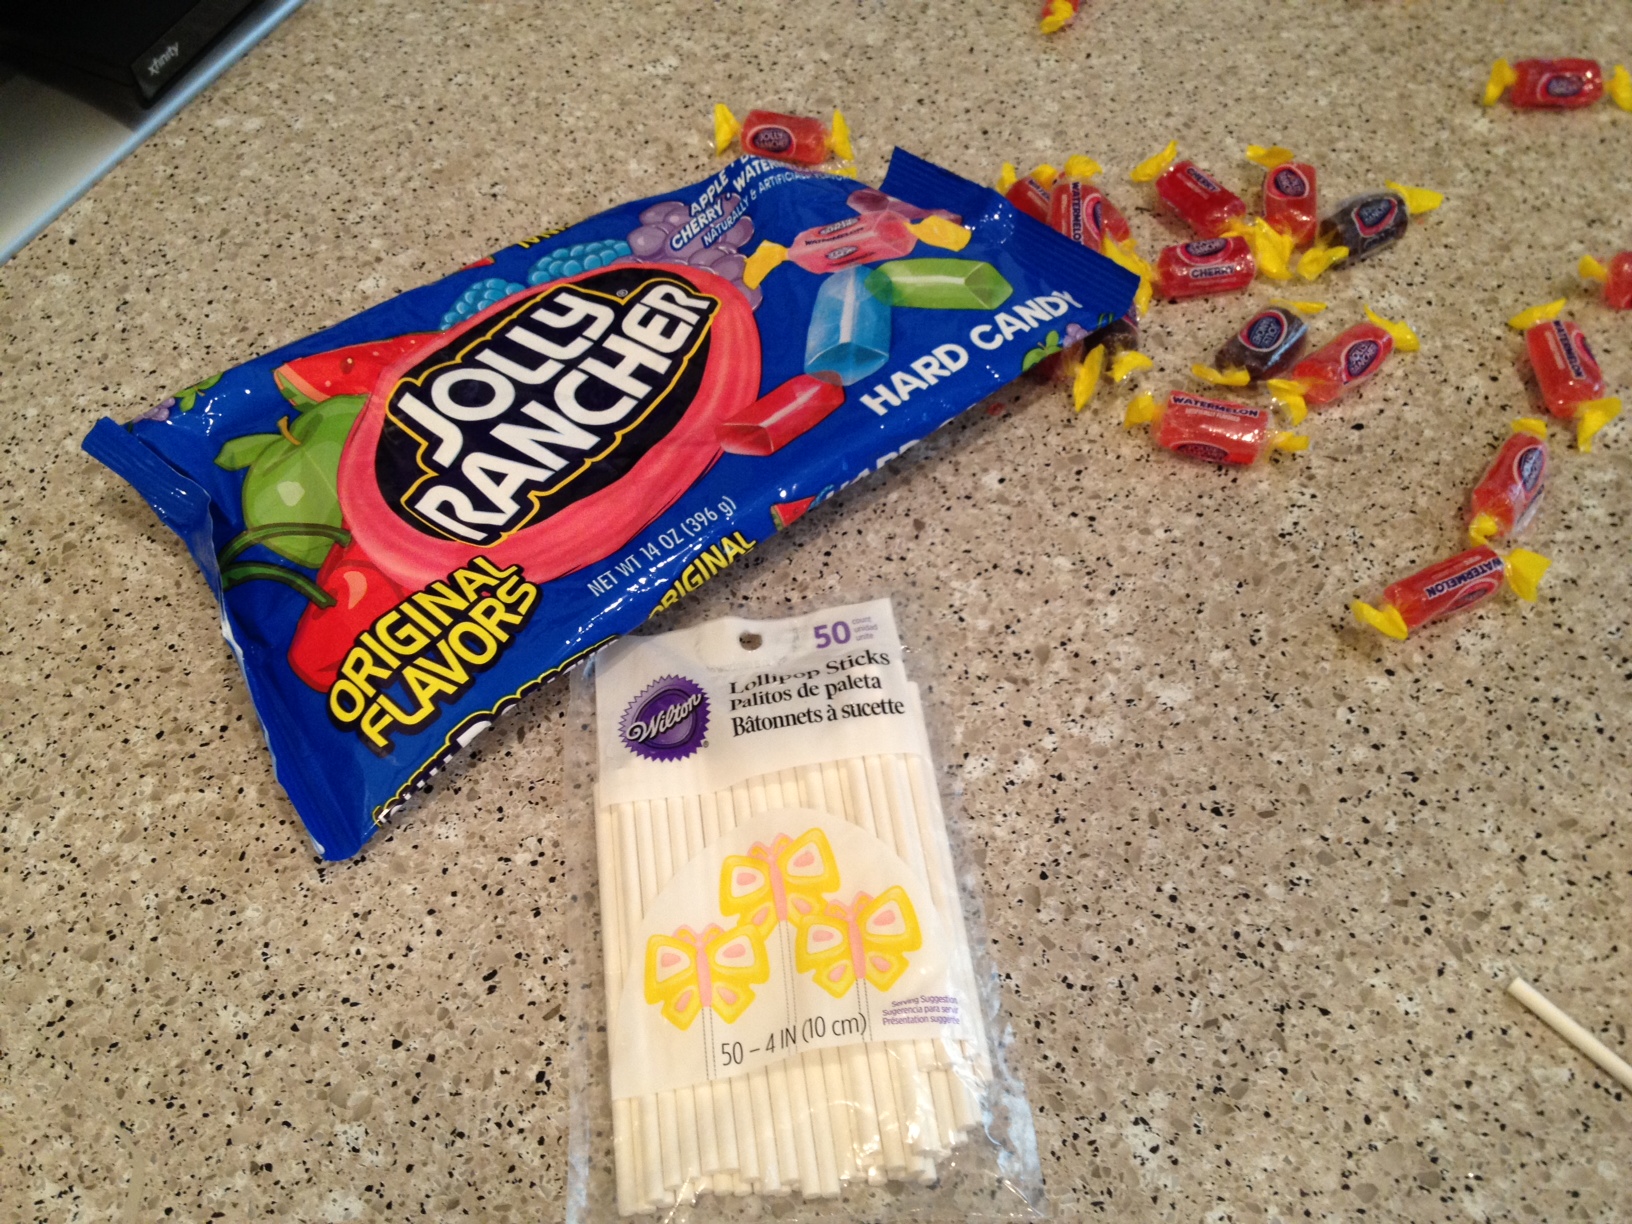
First, gather your supplies.  Jolly Ranchers (I could only find the original flavors but I bet the other flavors would just take this to the next level!) and lollipop sticks.  You'll also need a cookie sheet and parchment paper.

Line your cookie sheet with parchment paper and unwrap all the Jolly Ranchers.  Place them in groups of three on the cookie sheet.  Make sure that the candies in each group are touching and that you save enough room between the groups to add the sticks.

With your oven heated to 200 degrees, slide the cookie sheet in and let the Jolly Ranchers melt.  This took me anywhere from 7 - 10 minutes (not sure why the differences between batches).

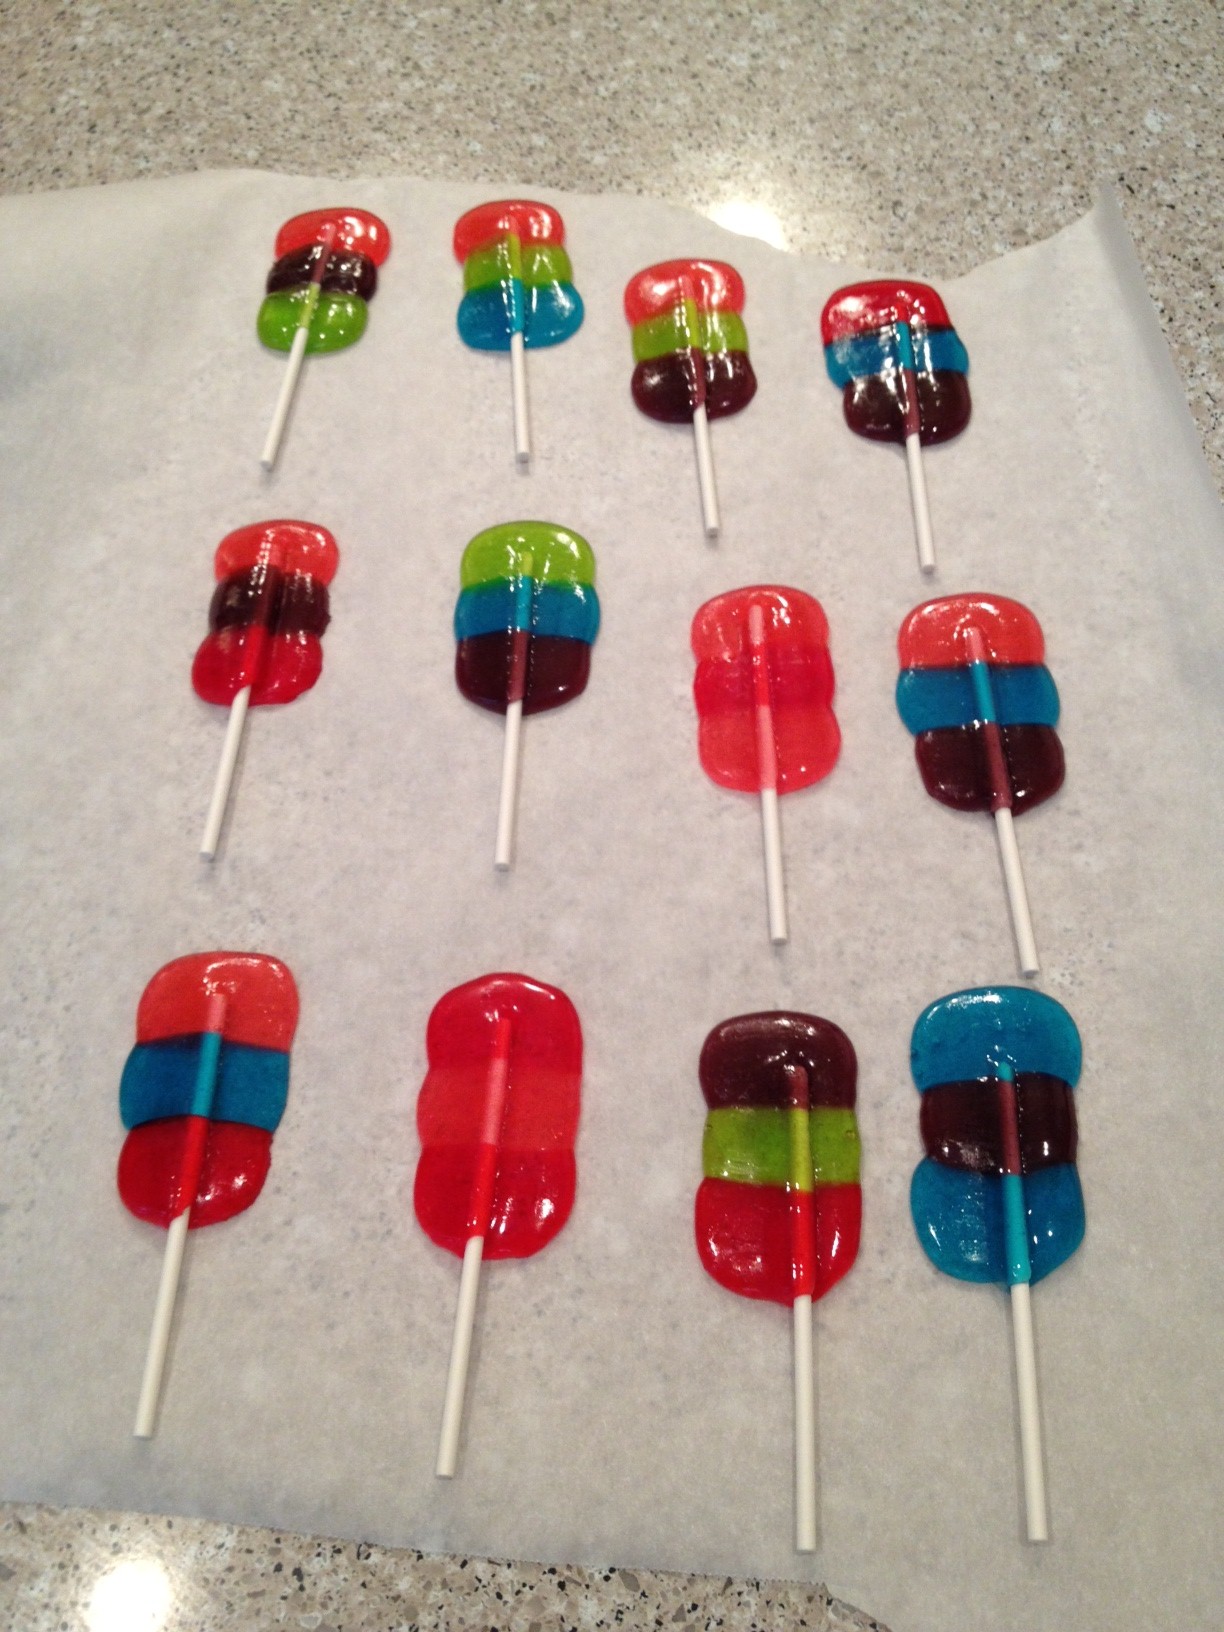
Remove your cookie sheet from the oven when the candies have melted enough to push a stick into them.  When adding the sticks, push them down and twist so that the candy covers both sides.  You've got to work fast because they harden back up pretty quickly!  I had Anna helping me and we worked from opposite ends of the cookie sheet (this is a  great project for kids!).

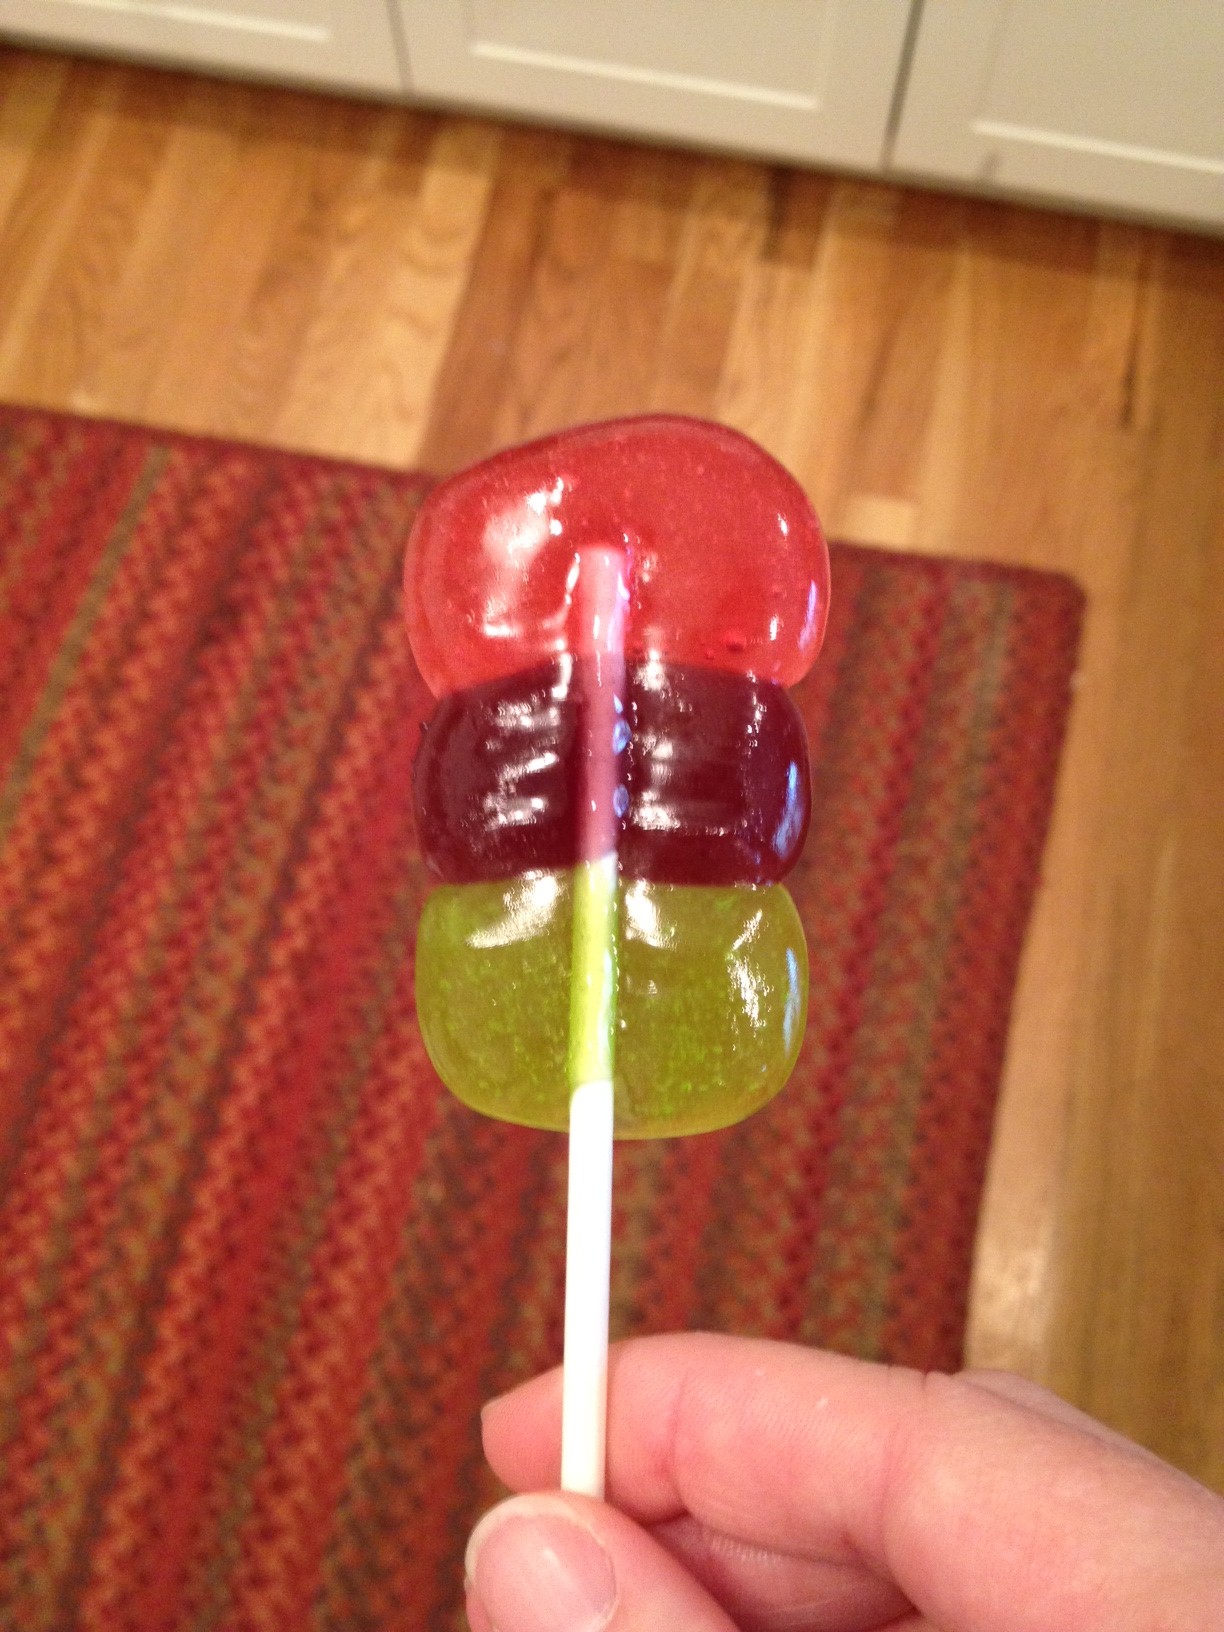
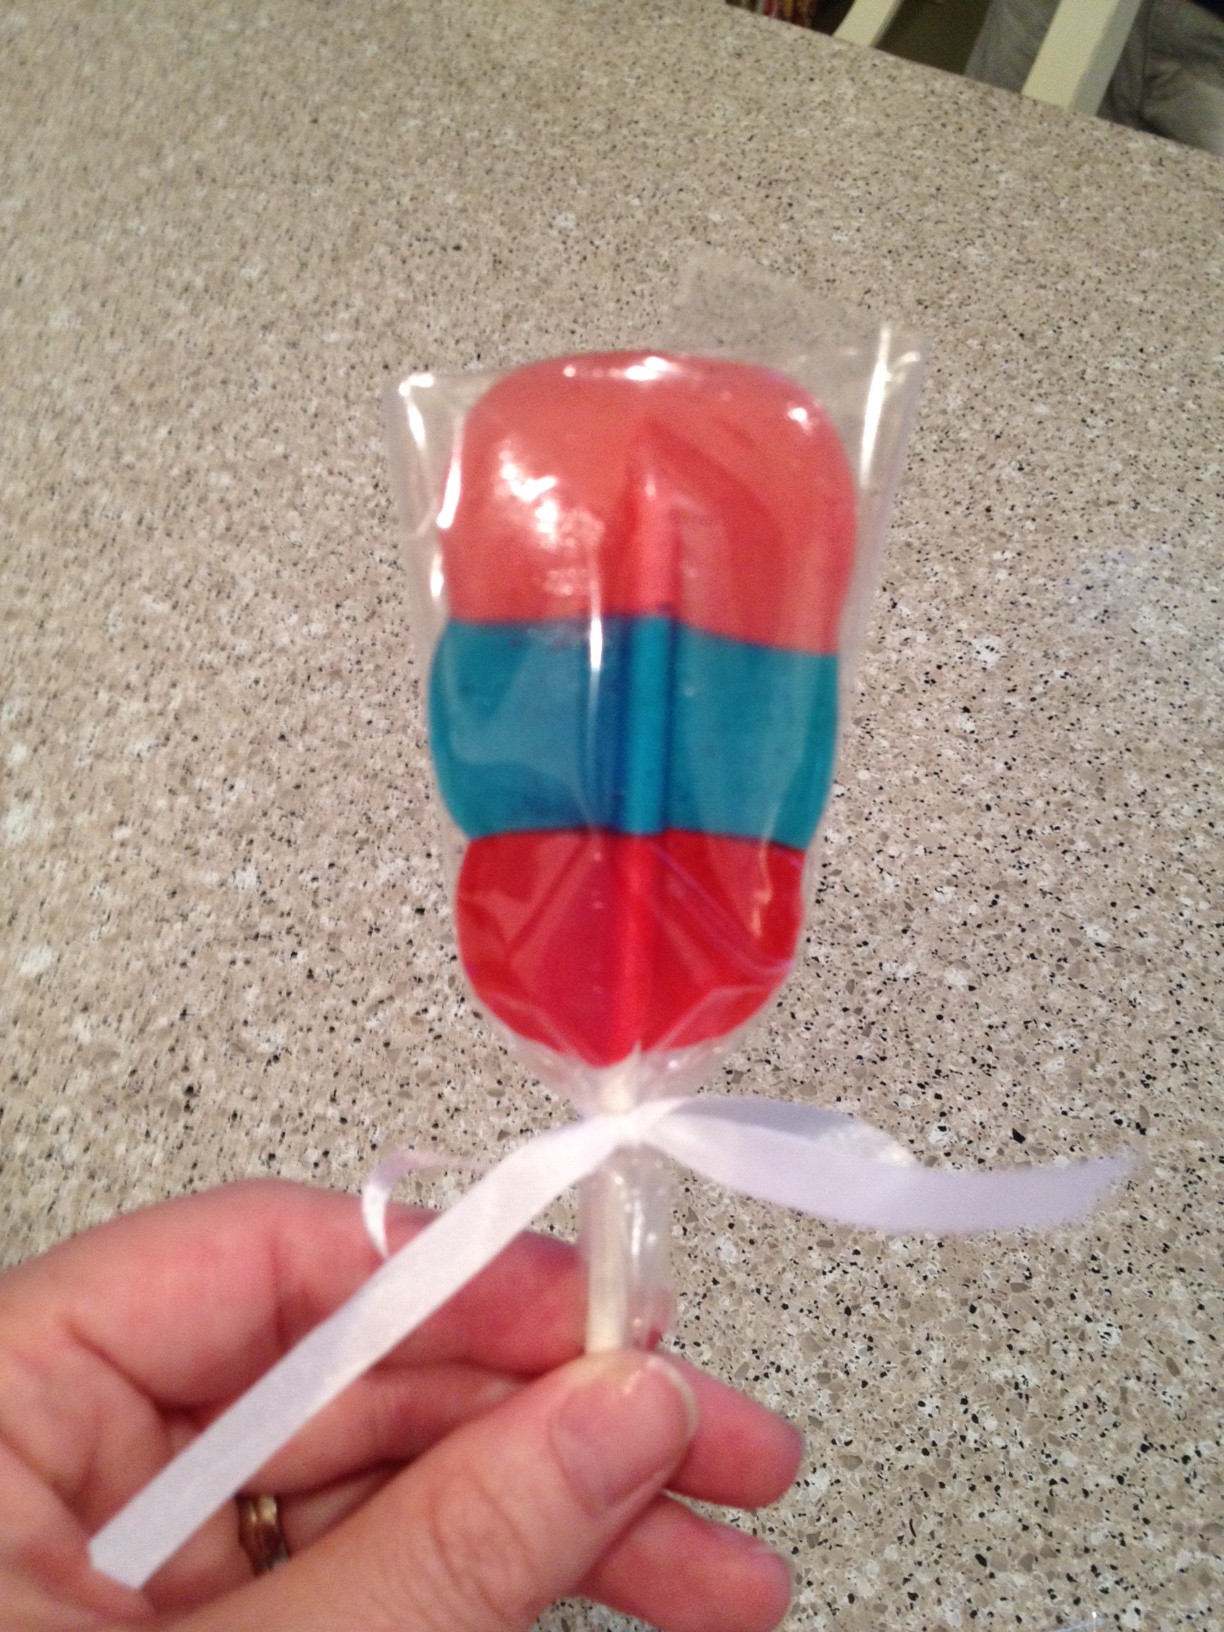
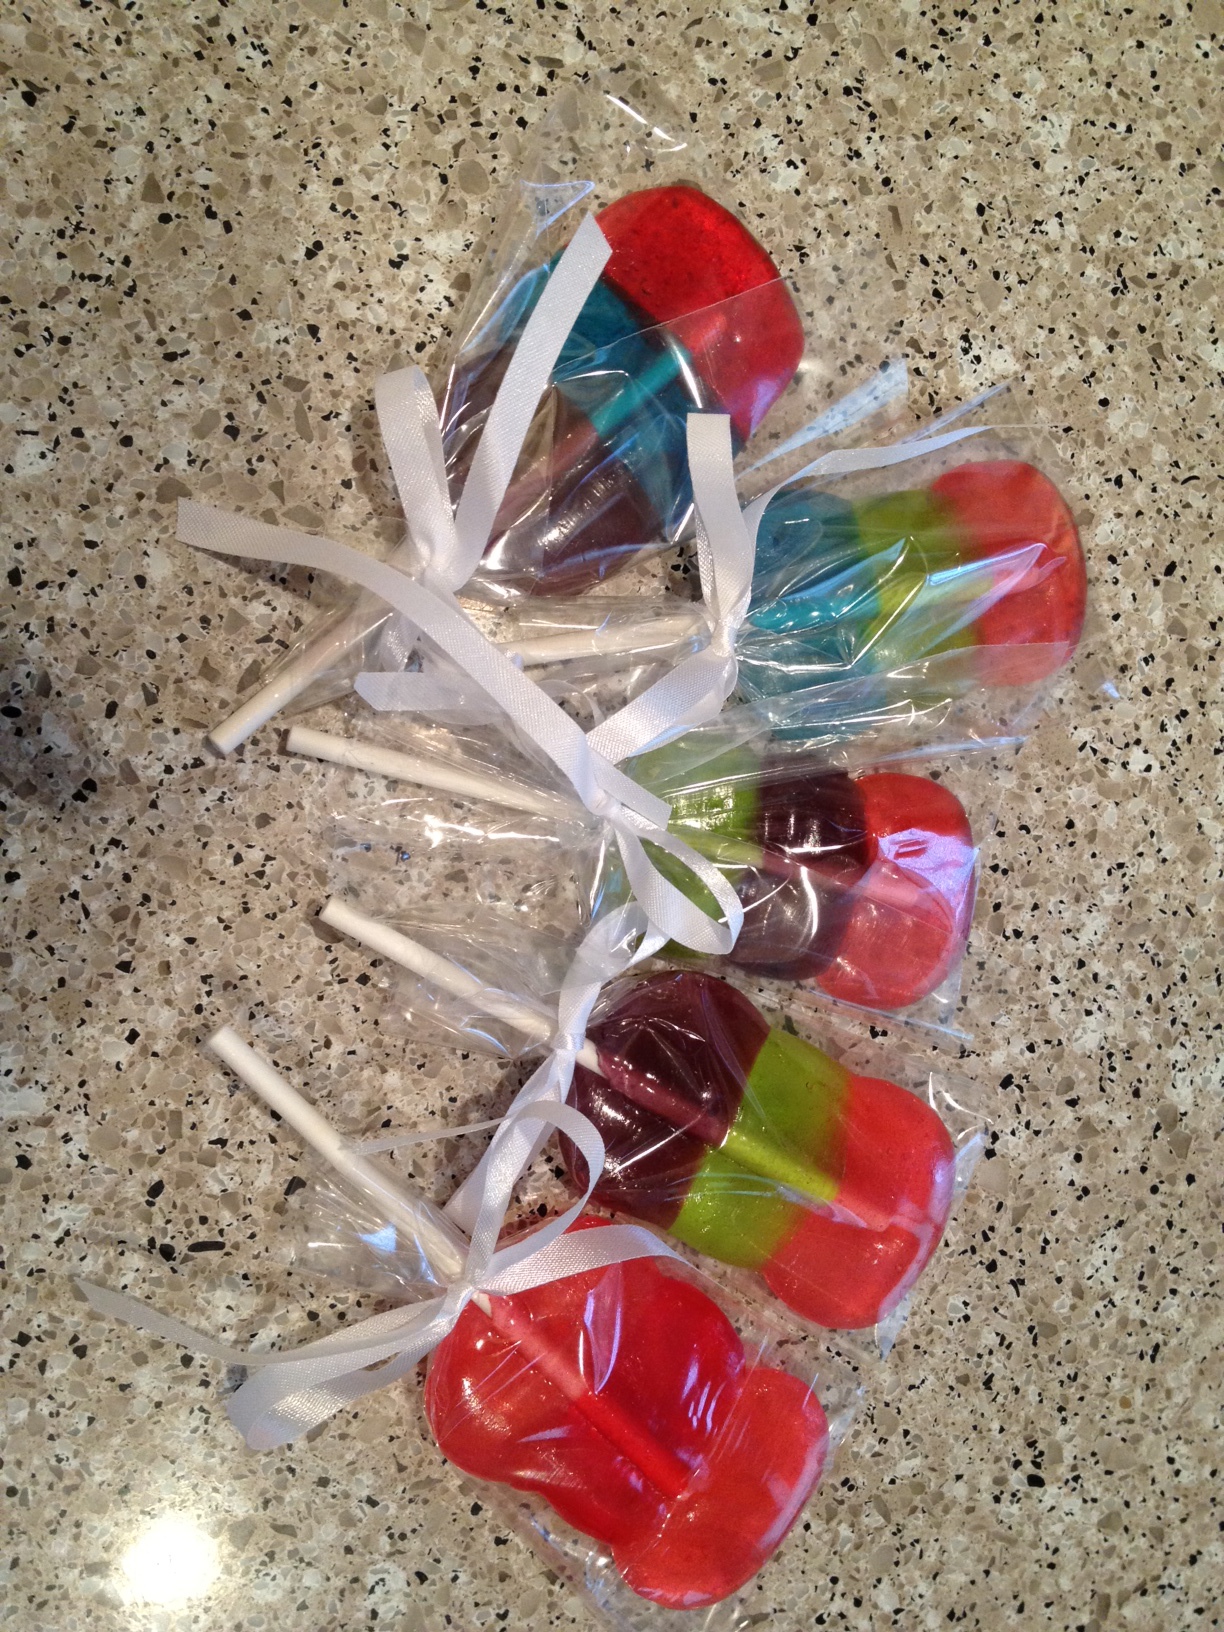
The lollipops harden back up within 5 minutes and then they're done!  Pictured below is watermelon, grape, green apple - by far my favorite combination!

I picked up a few baggies at Michael's that came with little bows so we could package our lollipops up.


The second set I just wrapped in saran wrap and it worked just as well but they obviously weren't as cute.

What are you waiting for?  Go make yourself a batch!

Pinterest Challenge: Winter Edition

It's that time again!  Sherry (from YHL) and Katie (from Bower Power) have announced yet another Pinterest Challenge...

The Pinterest Challenge was dreamed up by Katie B. in an effort to get us to stop pinning and start doing.  You may remember that for the Summer Edition, I set my crayons out to melt in the sun only to result in a Pinterest Challenge FAIL.  (Thankfully, I was able to redeem myself the next week.)  I completely missed the Fall Edition of their Pinterest Challenge but this time, I'm all in!

Tha basic idea is to take somthing you've pinned on Pinterest and bring it to life, all while putting your own spin on things, of course.  Easy enough, no?

The problem for me is that, while definitely a big fan of Pinterest, I'm much more of a "looker" and not much of a "pinner."  In fact, save for a few things from my first couple times to log on, you won't find anyting on any of my boards.   Mostly, I just get on Pinterest without even loggin in, do some looking around and then call it a day.  Because really, how many times do people actually go back to things that they've pinned?

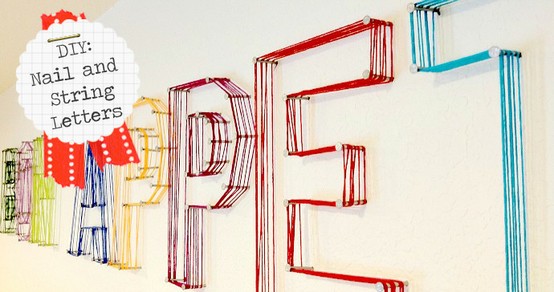
All that said, for my Pinterest Challenge project, I couldn't really pick a project from something I pinned since there's nothing there to choose from.  So I just picked something I saw on the home page that I liked.  And it's actually something I've seen pinned several times.  But while there are different versions, the first one I saw was here, by JK JK.

The pin links directly to Jen's post on how she did it and in her first paragraph she mentions that her inspiration came from Anthropologie.  So we'll give Anthro credit for the original idea, and Jen credit for bringing it to my attention.

Enough chatter, let's get to the dang project already!

Actually, before we do, I just need to throw out there that I really, really wanted to participate in this challenge, but I only had one night to crank out my project.  And also, every minute that I spent working on this Monday night was a minute not spent packing for the beach or watching The Bachelor Finale - two other Very Important Tasks.  (And don't even get me started on Crazy Courtney...)  So this project is faaaaar from perfect.

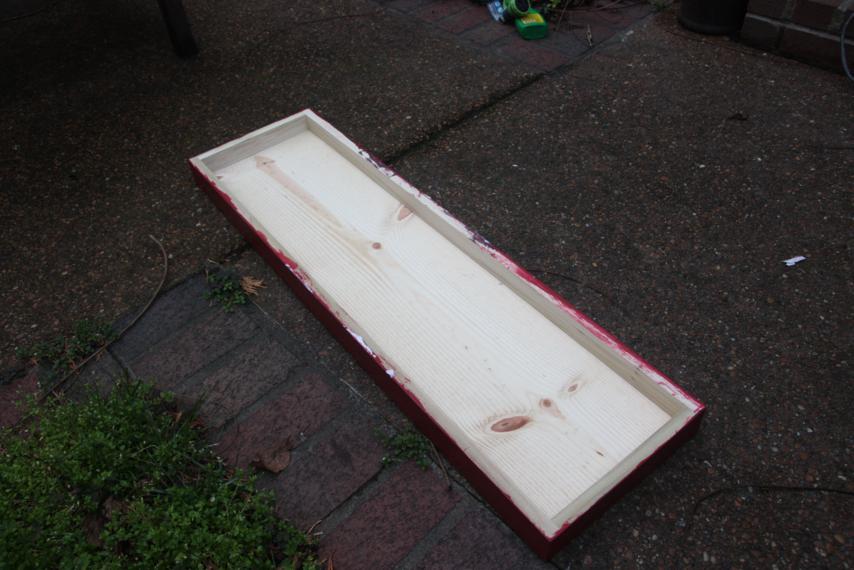
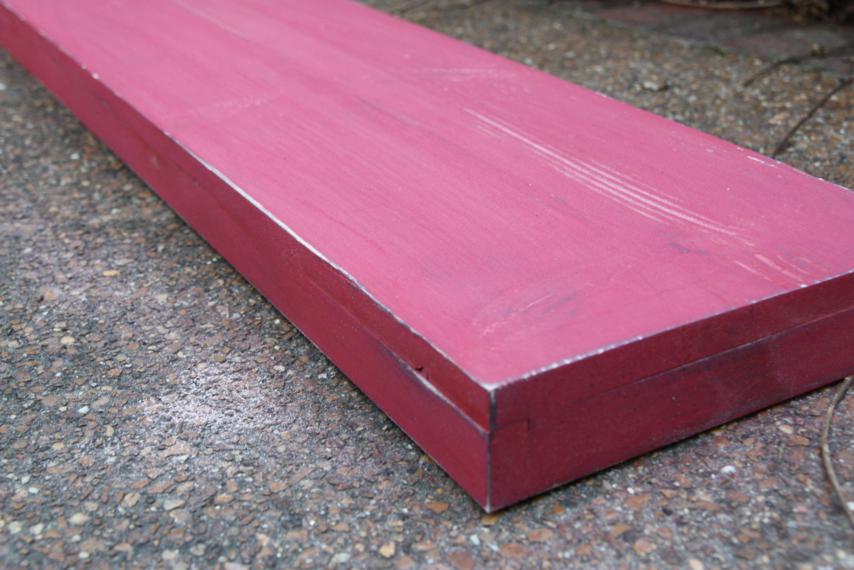
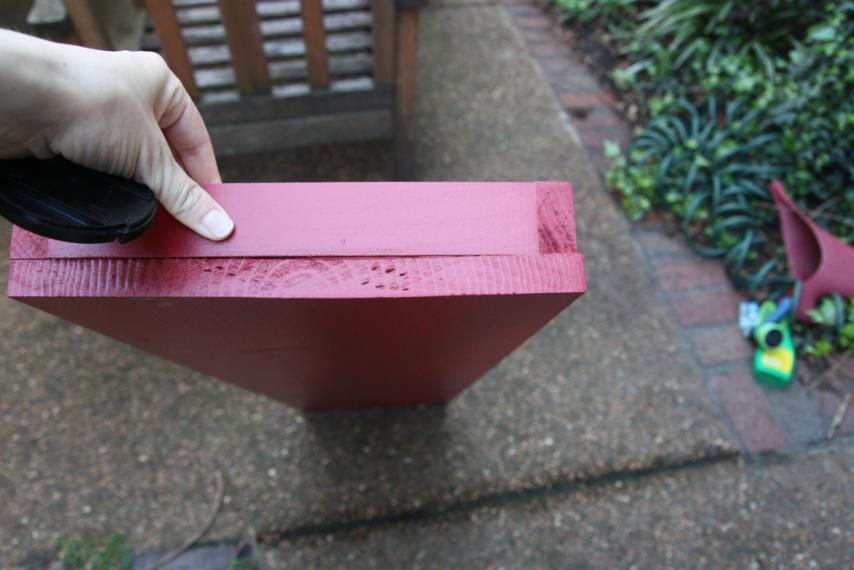
I didn't want to put a whole bunch of nail holes in my wall, so I decided to make my letters on a piece of wood.  To beef up the 1x12, I framed it out with 1x2s so it'd sit off the wall a little bit.  The picture below shows the back side and how it's framed out.

Here's the end of it.  I did not miter the corners of my 1x2s, there was no time for little details like that.

I painted the wooden "box" using the same method I explained here.  A coat of red+black, and then three coats of red.

Then I took my electric hand sander to Big Red to rough 'er up a bit.

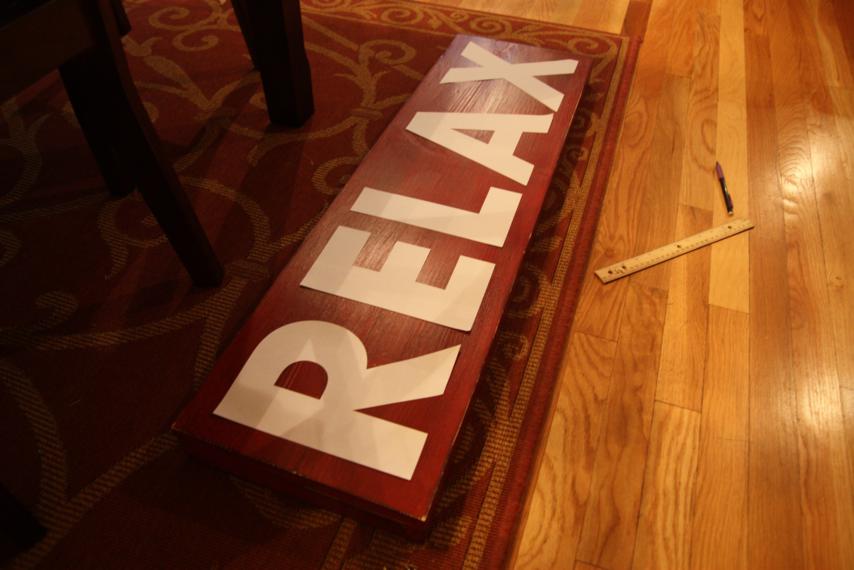
A coat of polyurethane (water-based cause it dries faster) later, and I was ready to add the letters.  I used my Silhouette machine to cut them out of regular typing paper and then just eye-balled the spacing.

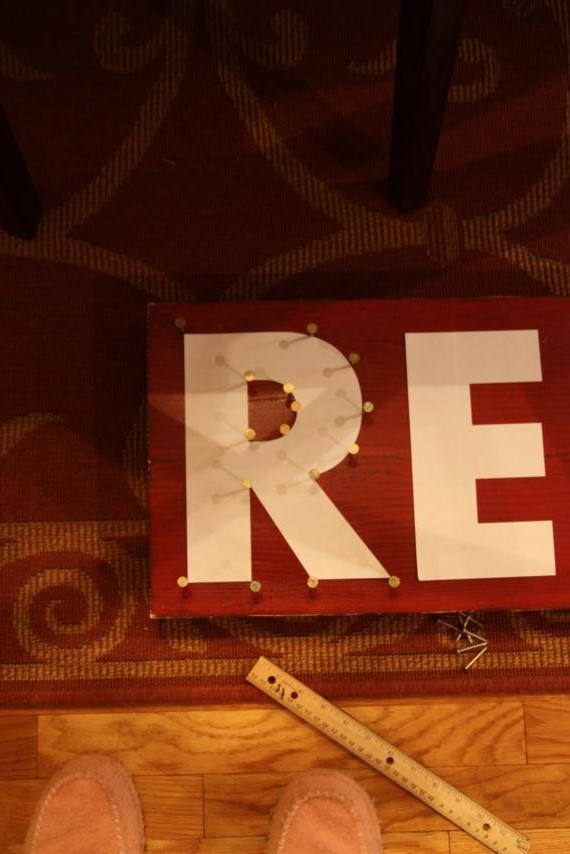
I wanted to use a nail with a big head on it so my yarn wouldn't slip off, and the only ones we had on hand were roofing nails.  The pain that comes with roofing nails is that they're all stuck together (to load into a gun maybe?) and you have to pull each one off.  Thankfully, the hubs stepped in and separated the nails for me.

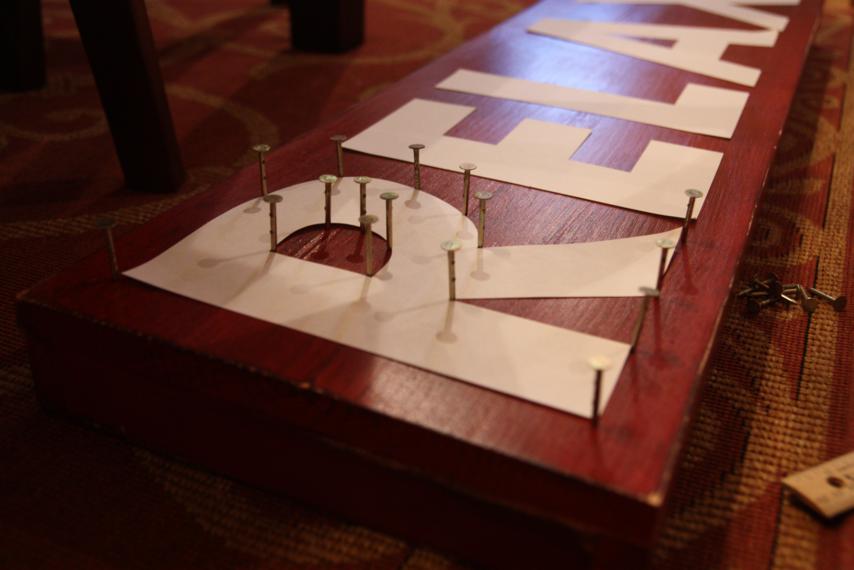
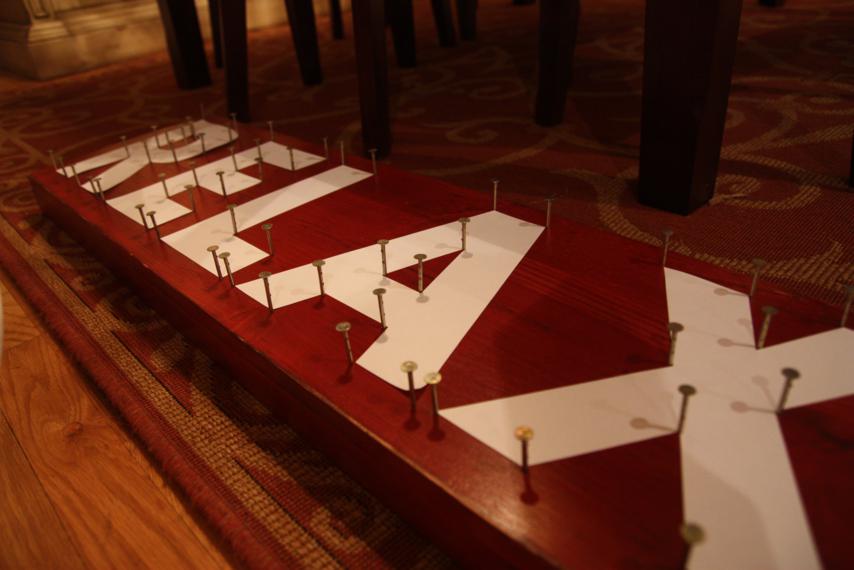
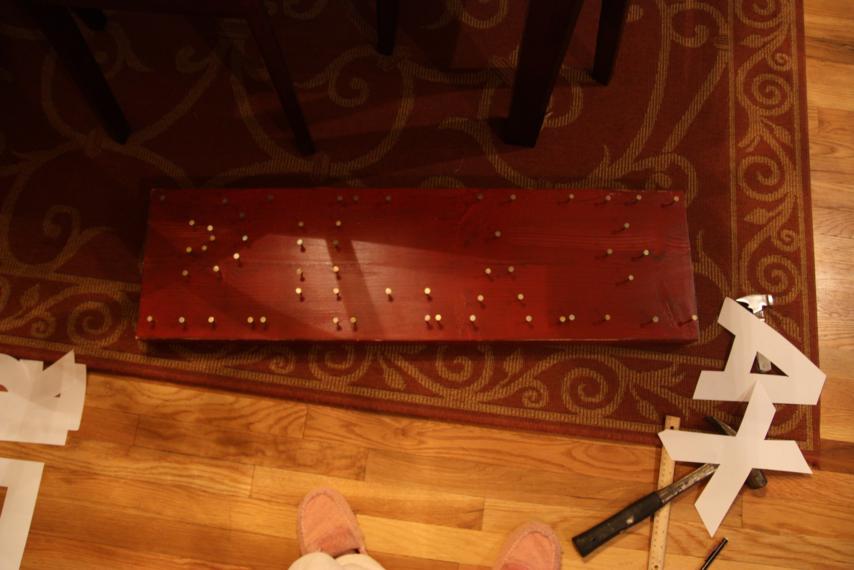
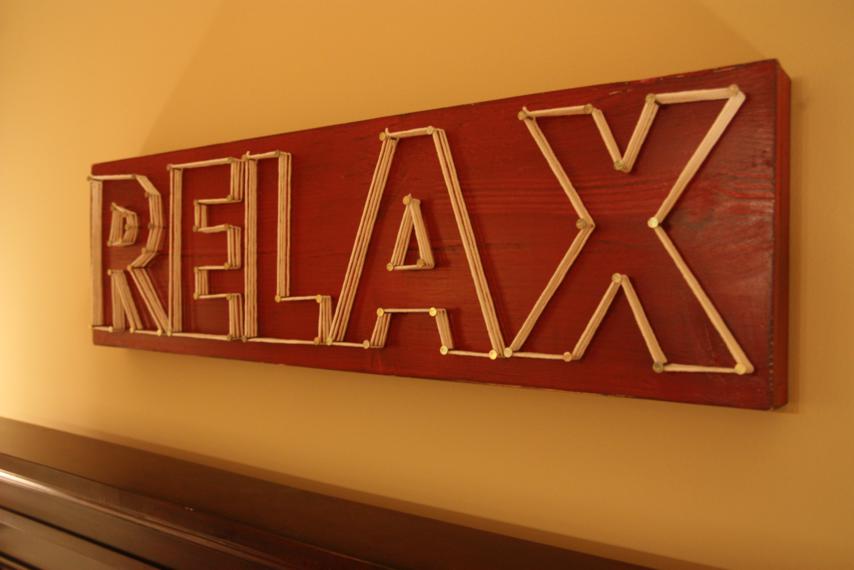
I used the paper letters as a guide for where my nails needed to go.  Basically, every corner got a nail, and the curve of the R got several.

I just lightly tapped the nails in at first and then, after removing the paper letters, I hammered them in further to make them good and secure.  It really didn't take long at all to get all the nails in, especially since I was not being a perfectionist about it.

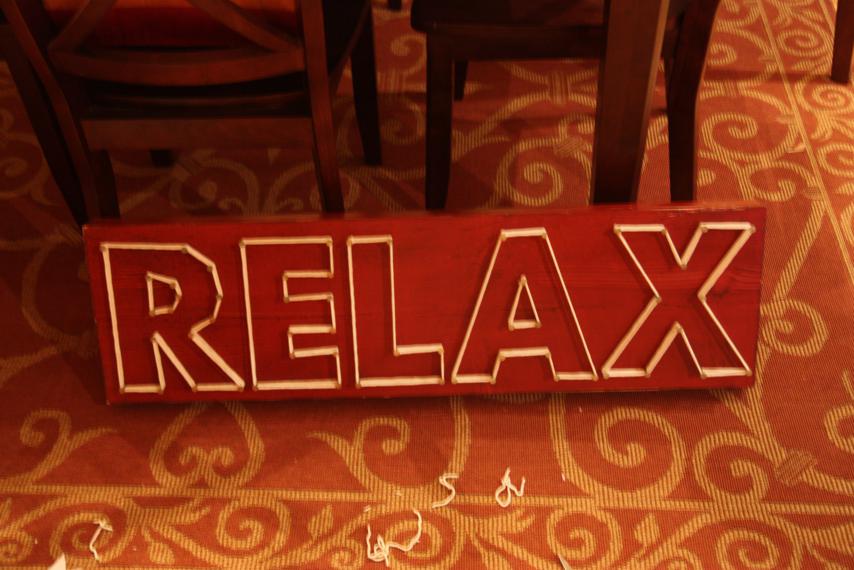
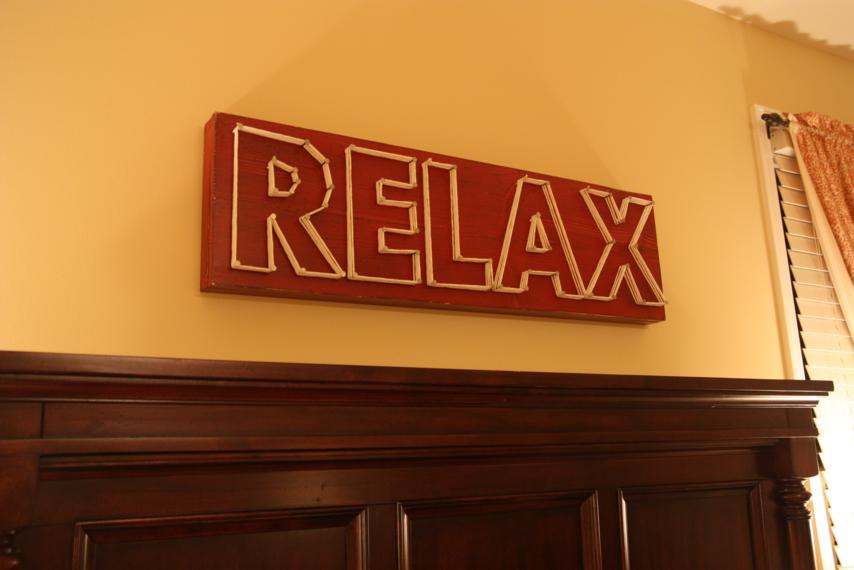
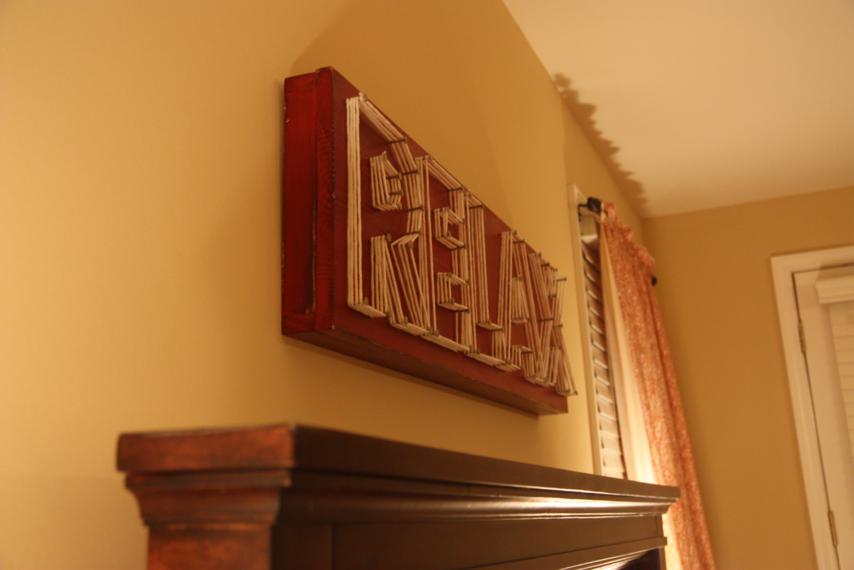
Adding the yarn was the fun part!  I used a cream yarn I had left over from knitting hats and opted to do four rounds on each letter.  I tied a knot on the top left nail of each letter, wove the yarn around the nails four times, and tied off again on the same starting nail.

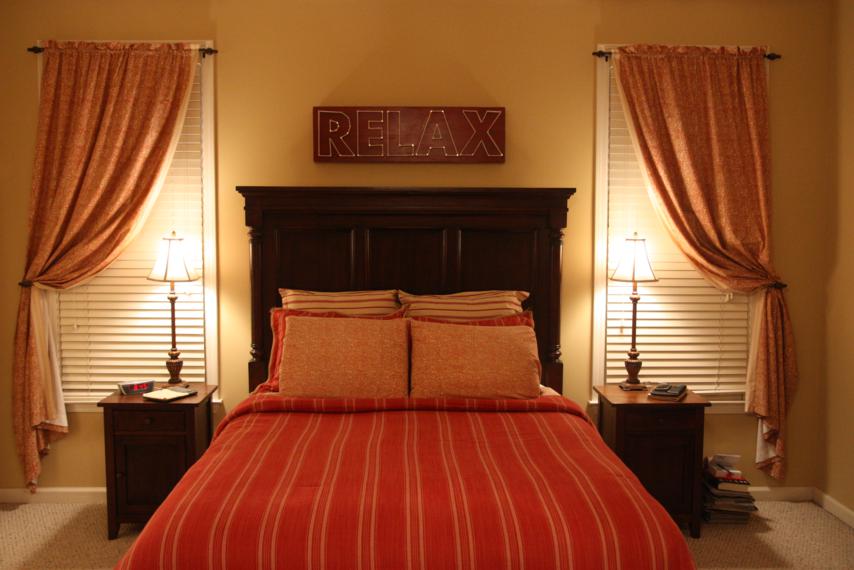
I made this to hang above the bed in our bedroom.  I've never felt that the bed needed anything over it since the headboard is so chunky, but it couldn't hurt to add something, right?  Plus, I'm running out of other walls to decorate.  Oh, and the chunky headboard was another reason I framed the 1x12 with the 1x2s, so it'd look more substantial hanging up there.

(Please ignore our tired, worn, desperately-needing-to-be-replaced bedding.  Hopefully a room makeover is in the semi-near future.)

By the way, I toyed with doing "DREAM" instead, but I already have that on another sign somewhere.  RELAX seemed like it'd be good, easy block letters to do.

I really like the side view since you can see all the layers of string.

So there you have it, my quick and easy yarn letters.  As far as this Pinterest Challenge project goes, I'd say I nailed it.  Har.

I'll be linking up over at Young House Love and Bower Power.  You should swing by and check out their projects (Sherry's awesome bean bag project can be found here and Katie's very cool watercolor painting is here) and all the other ones too!