It's that time again! Sherry (from YHL) and Katie (from Bower Power) have announced yet another Pinterest Challenge...

The Pinterest Challenge was dreamed up by Katie B. in an effort to get us to stop pinning and start doing. You may remember that for the Summer Edition, I set my crayons out to melt in the sun only to result in a Pinterest Challenge FAIL. (Thankfully, I was able to redeem myself the next week.) I completely missed the Fall Edition of their Pinterest Challenge but this time, I'm all in!
Tha basic idea is to take somthing you've pinned on Pinterest and bring it to life, all while putting your own spin on things, of course. Easy enough, no?
The problem for me is that, while definitely a big fan of Pinterest, I'm much more of a "looker" and not much of a "pinner." In fact, save for a few things from my first couple times to log on, you won't find anyting on any of my boards. Mostly, I just get on Pinterest without even loggin in, do some looking around and then call it a day. Because really, how many times do people actually go back to things that they've pinned?
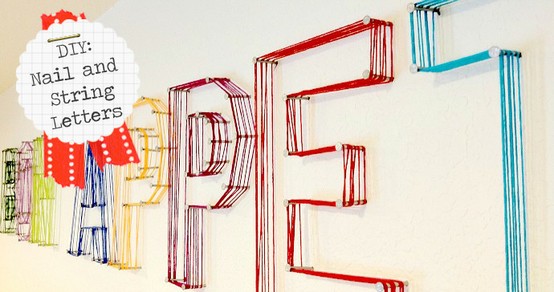
All that said, for my Pinterest Challenge project, I couldn't really pick a project from something I pinned since there's nothing there to choose from. So I just picked something I saw on the home page that I liked. And it's actually something I've seen pinned several times. But while there are different versions, the first one I saw was here, by JK JK.
The pin links directly to Jen's post on how she did it and in her first paragraph she mentions that her inspiration came from Anthropologie. So we'll give Anthro credit for the original idea, and Jen credit for bringing it to my attention.
Enough chatter, let's get to the dang project already!
Actually, before we do, I just need to throw out there that I really, really wanted to participate in this challenge, but I only had one night to crank out my project. And also, every minute that I spent working on this Monday night was a minute not spent packing for the beach or watching The Bachelor Finale - two other Very Important Tasks. (And don't even get me started on Crazy Courtney...) So this project is faaaaar from perfect.
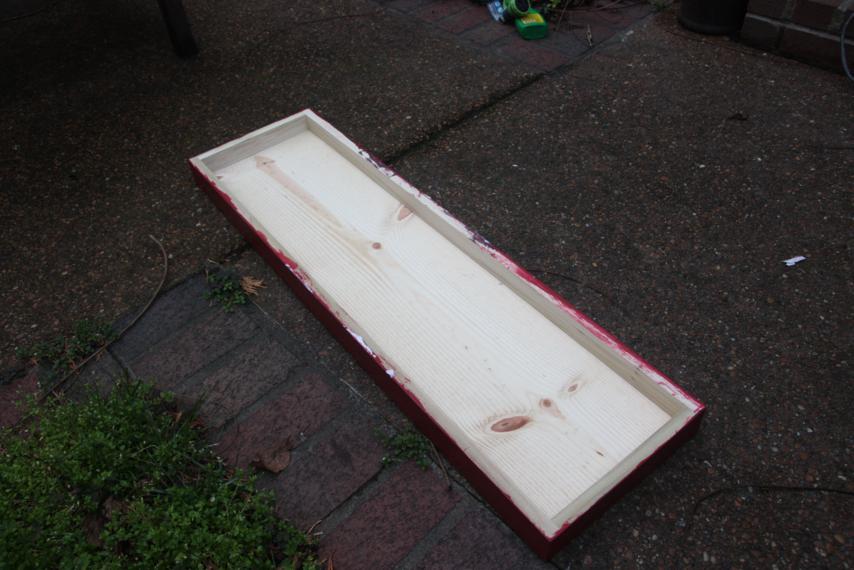
I didn't want to put a whole bunch of nail holes in my wall, so I decided to make my letters on a piece of wood. To beef up the 1x12, I framed it out with 1x2s so it'd sit off the wall a little bit. The picture below shows the back side and how it's framed out.
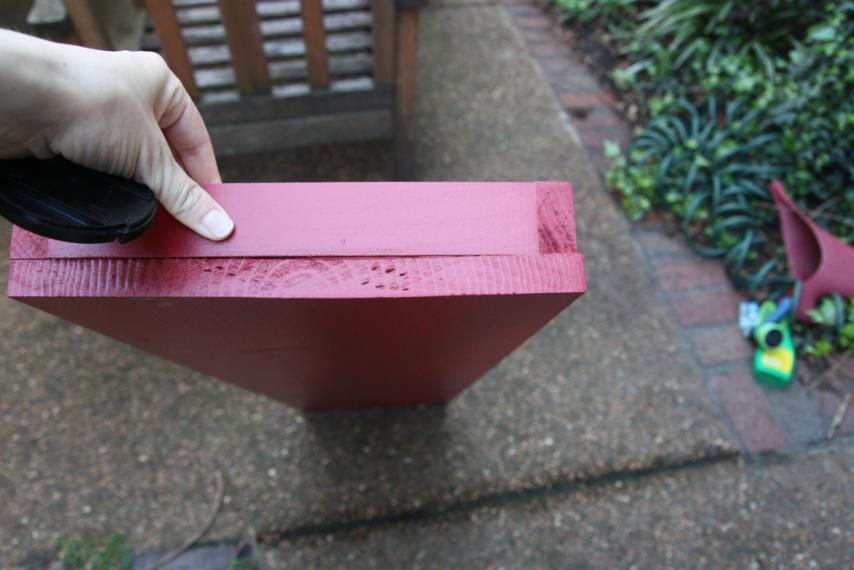
Here's the end of it. I did not miter the corners of my 1x2s, there was no time for little details like that.
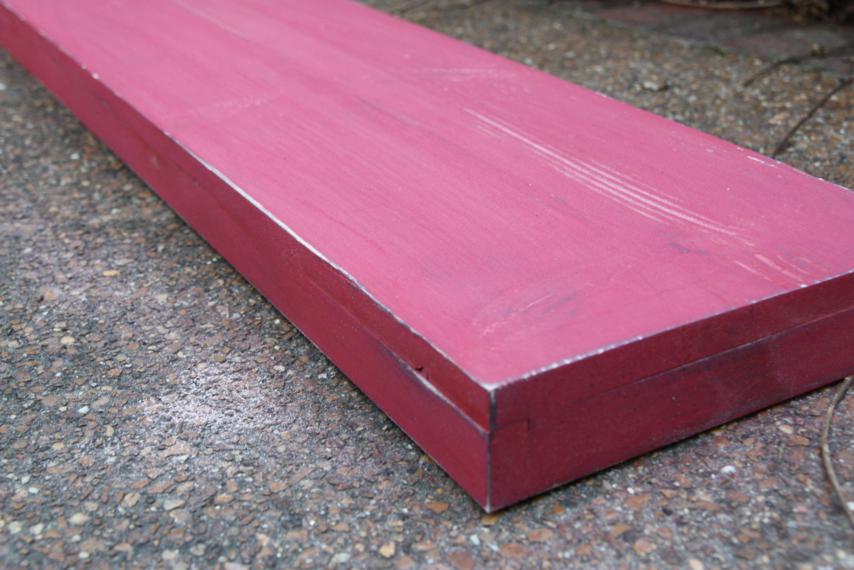
I painted the wooden "box" using the same method I explained here. A coat of red+black, and then three coats of red.
Then I took my electric hand sander to Big Red to rough 'er up a bit.
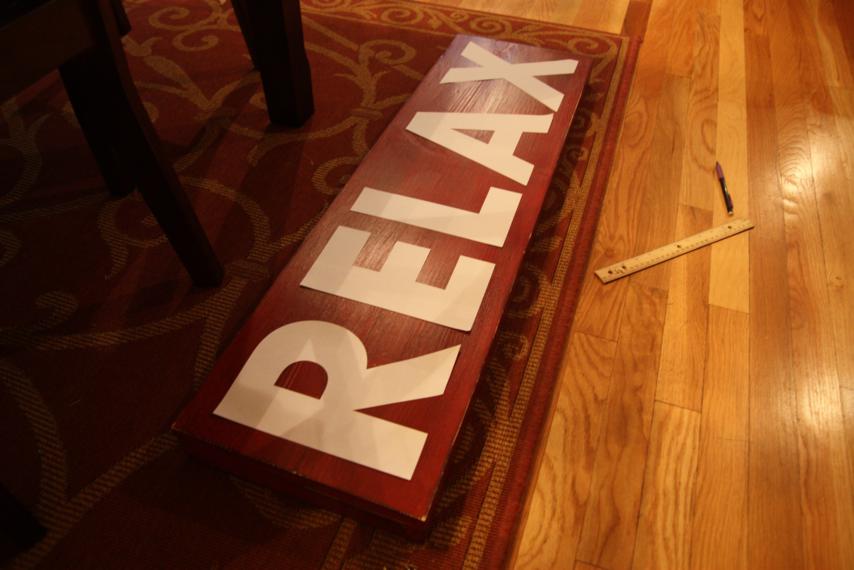
A coat of polyurethane (water-based cause it dries faster) later, and I was ready to add the letters. I used my Silhouette machine to cut them out of regular typing paper and then just eye-balled the spacing.
I wanted to use a nail with a big head on it so my yarn wouldn't slip off, and the only ones we had on hand were roofing nails. The pain that comes with roofing nails is that they're all stuck together (to load into a gun maybe?) and you have to pull each one off. Thankfully, the hubs stepped in and separated the nails for me.
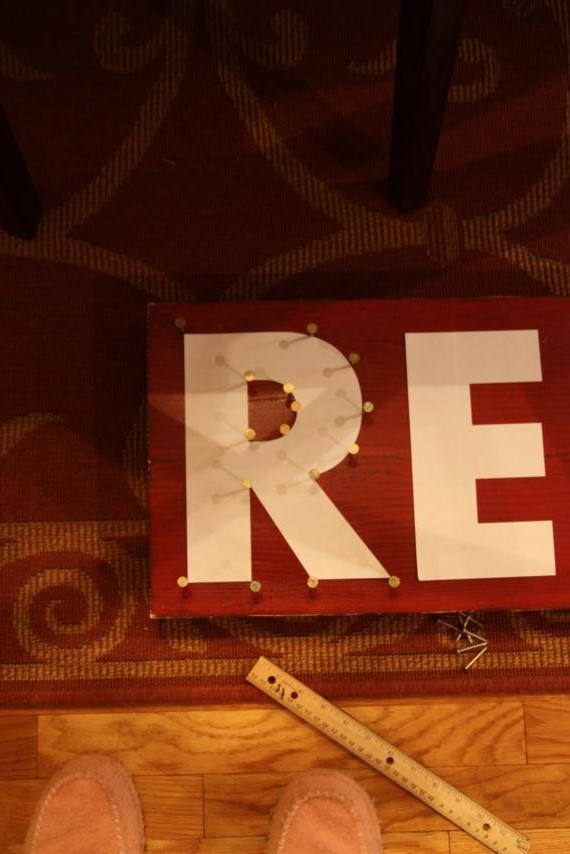
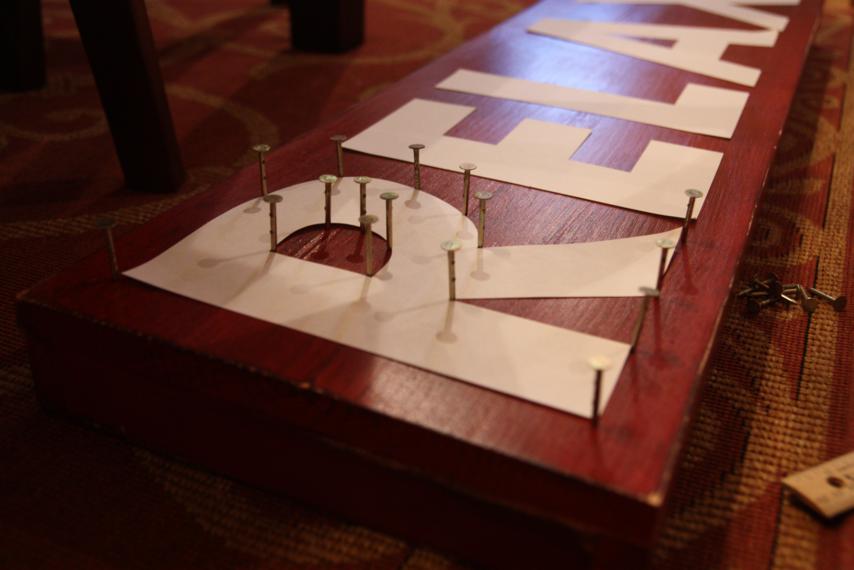
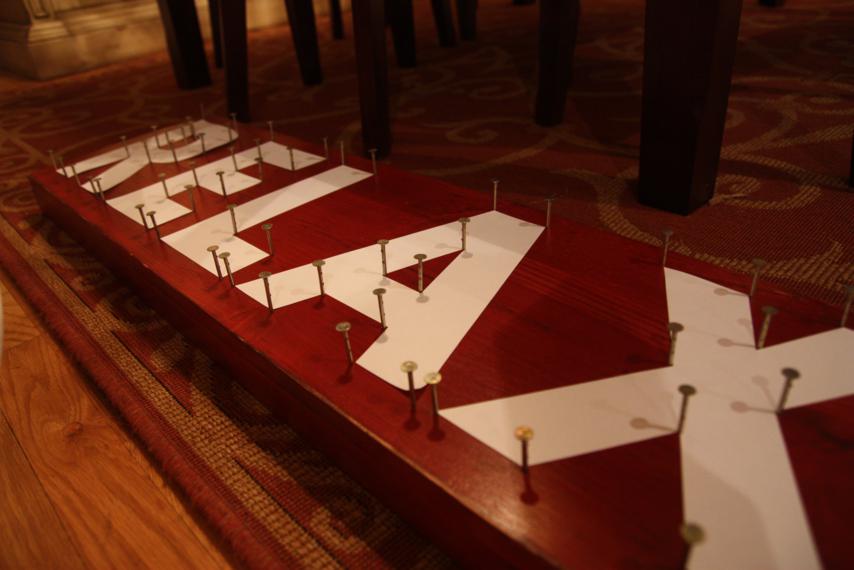
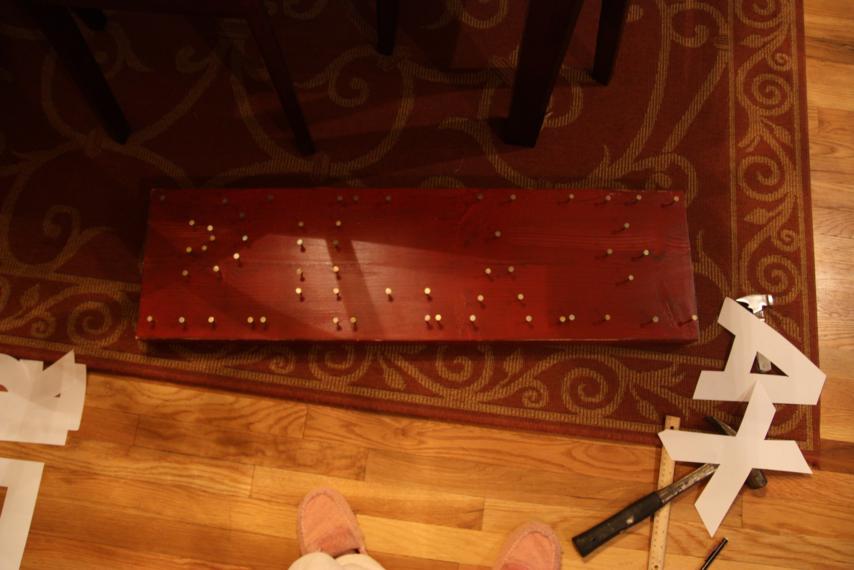
I used the paper letters as a guide for where my nails needed to go. Basically, every corner got a nail, and the curve of the R got several.
I just lightly tapped the nails in at first and then, after removing the paper letters, I hammered them in further to make them good and secure. It really didn't take long at all to get all the nails in, especially since I was not being a perfectionist about it.
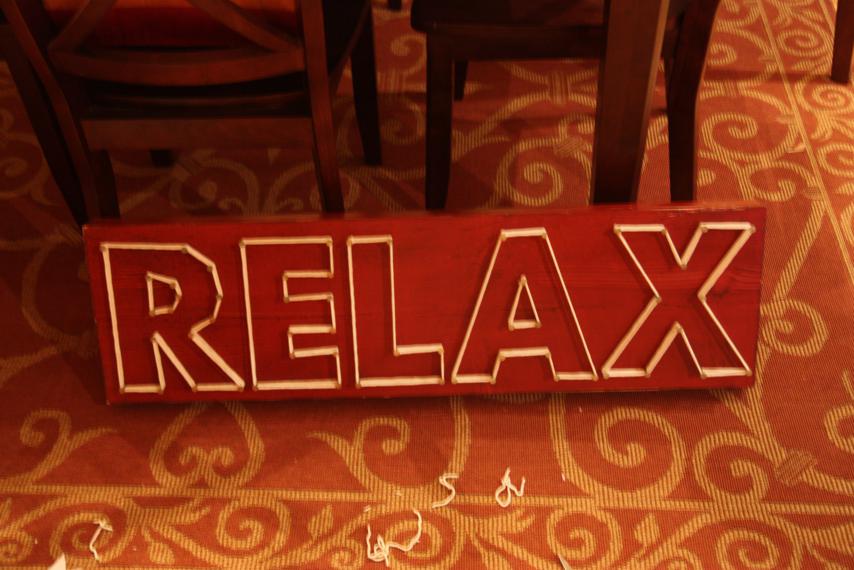
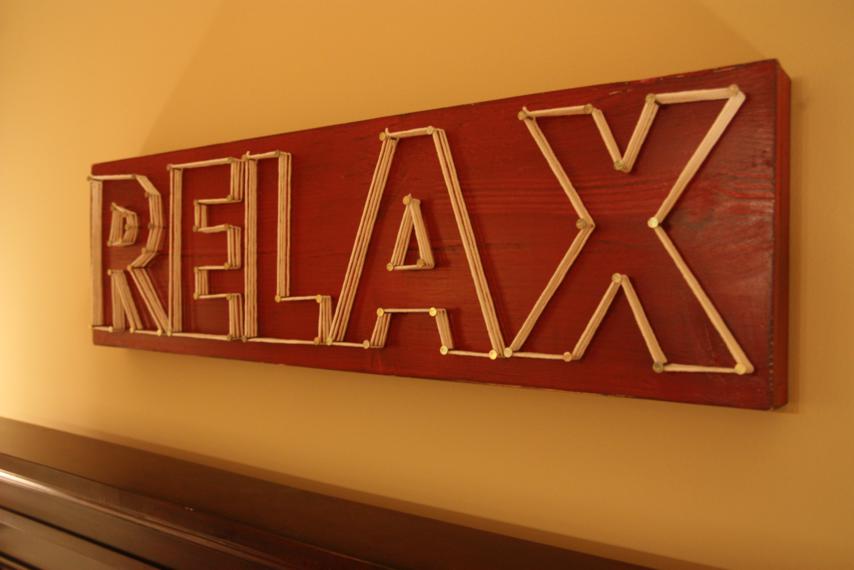
Adding the yarn was the fun part! I used a cream yarn I had left over from knitting hats and opted to do four rounds on each letter. I tied a knot on the top left nail of each letter, wove the yarn around the nails four times, and tied off again on the same starting nail.
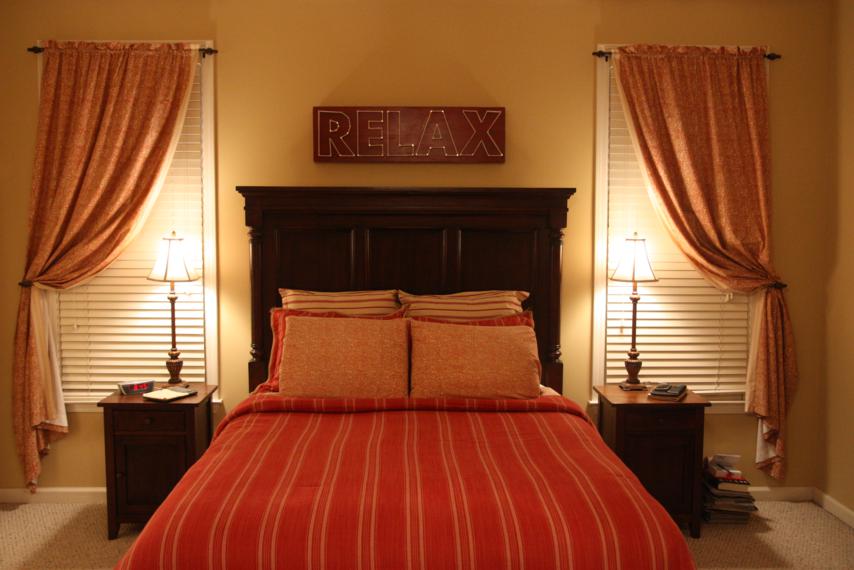
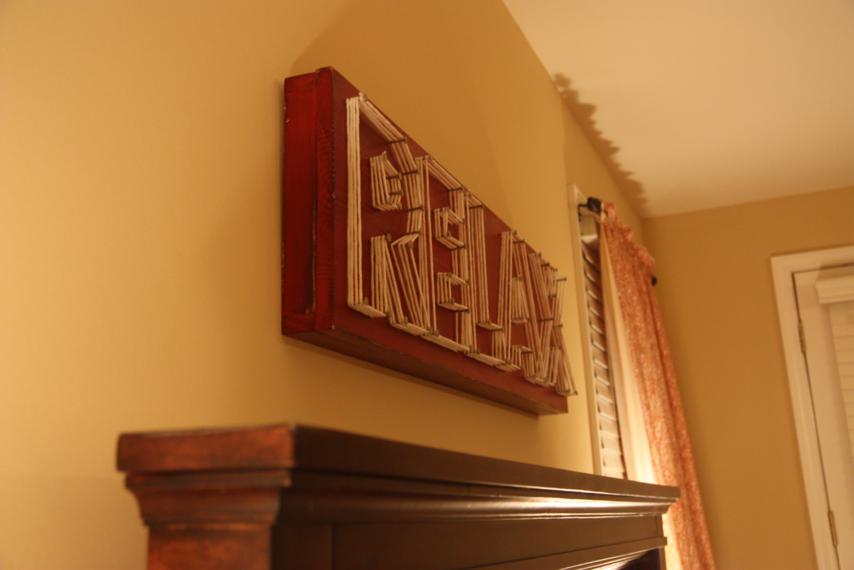
I made this to hang above the bed in our bedroom. I've never felt that the bed needed anything over it since the headboard is so chunky, but it couldn't hurt to add something, right? Plus, I'm running out of other walls to decorate. Oh, and the chunky headboard was another reason I framed the 1x12 with the 1x2s, so it'd look more substantial hanging up there.
(Please ignore our tired, worn, desperately-needing-to-be-replaced bedding. Hopefully a room makeover is in the semi-near future.)
By the way, I toyed with doing "DREAM" instead, but I already have that on another sign somewhere. RELAX seemed like it'd be good, easy block letters to do.
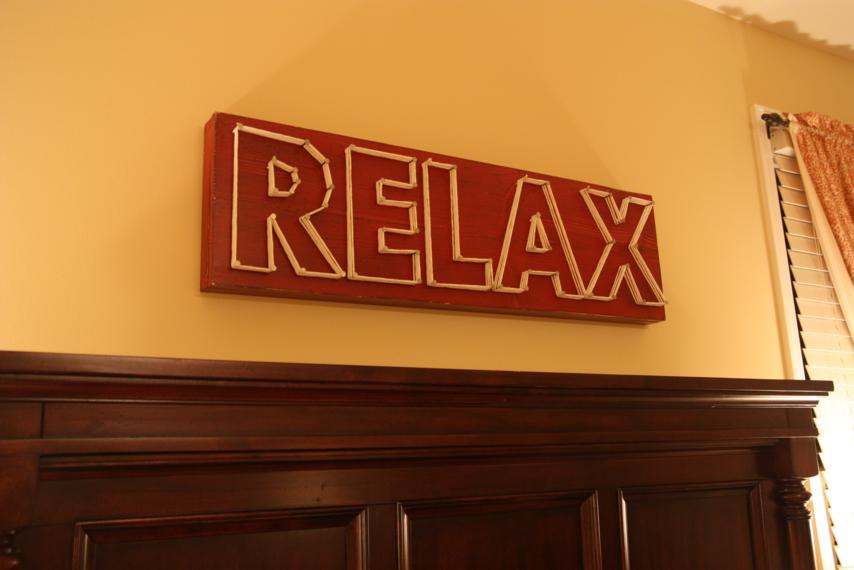
I really like the side view since you can see all the layers of string.
So there you have it, my quick and easy yarn letters. As far as this Pinterest Challenge project goes, I'd say I nailed it. Har.
I'll be linking up over at Young House Love and Bower Power. You should swing by and check out their projects (Sherry's awesome bean bag project can be found here and Katie's very cool watercolor painting is here) and all the other ones too!

