 This post is a little overdue. I had hoped that Doc would write it but since he's been so busy, busy, busy with work and travel and running, I guess I'll just do it instead. But, while I'll get credit for writing the post, Doc gets all the credit for building the cutest little lemonade stand ever. He built it all by himself.
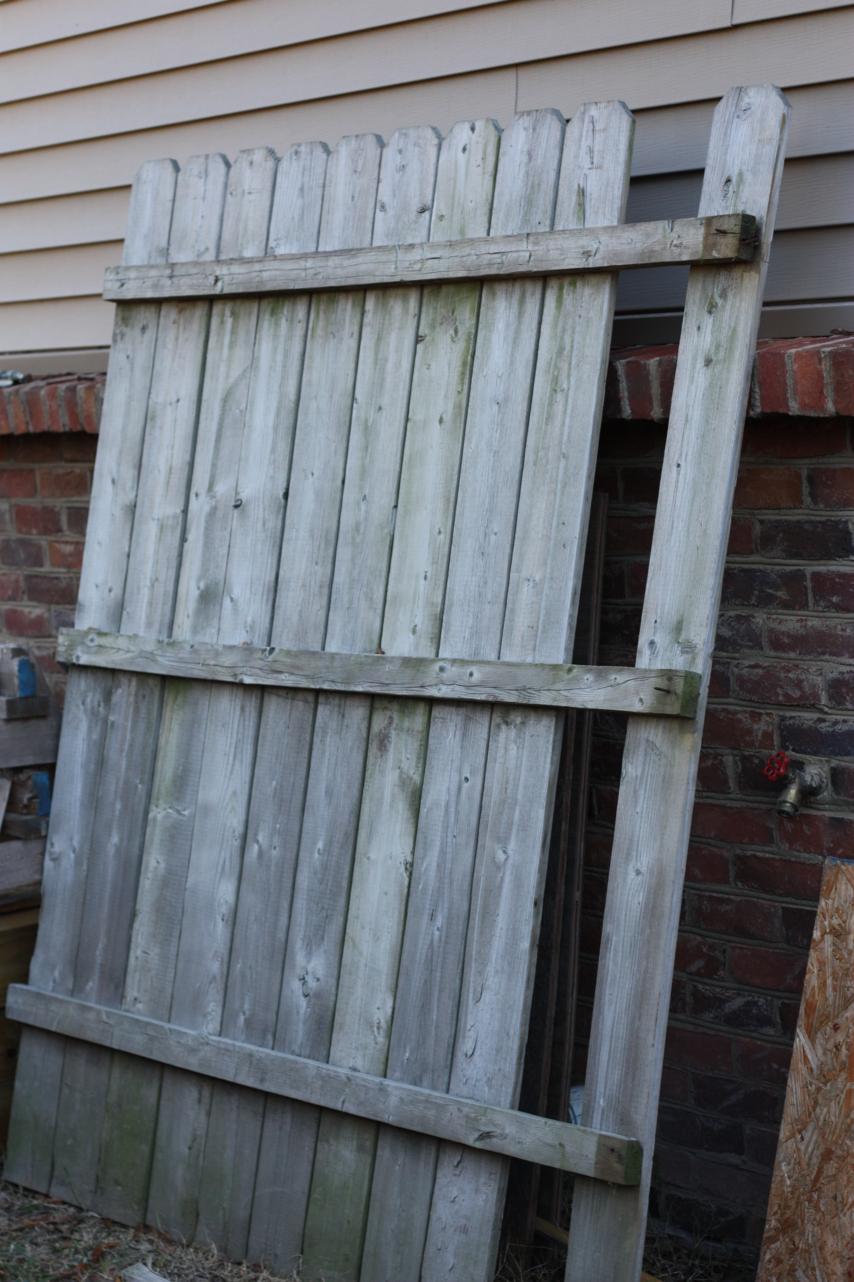
Remember the old fence pieces we got from my parents' neighbors? After building the potting stand for my mom, we still had a good section of fence in tack.
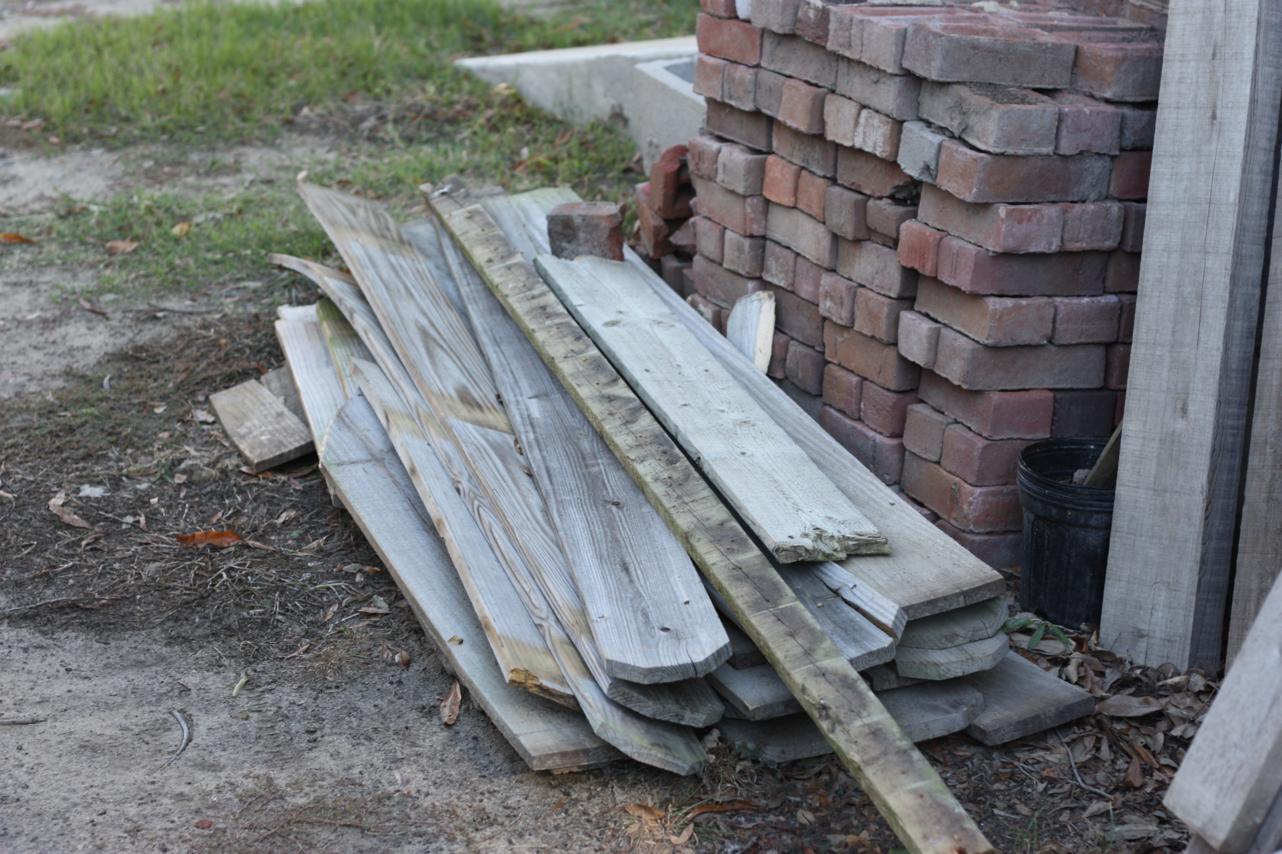
We had a decent sized pile of scrap fence pieces, too.
Quick switch of topic: A few weeks ago at church, our preacher gave us all a dollar bill. (Crazy, right? How often do they pass out money at church? It's usually the other way around.) We were all instructed to grow our dollar bills for the church. We were told we could invest them individually or as a family or a small group. But whatever we did/do, we have to bring back our dollar plus whatever we make with it to give to the church in 6 months.
There are 13 people in our family, which means we have $13 to grow. We brainstormed how we could double it and have decided that we'll use the money to have a lemonade/cookie stand at our shop sale that's coming up in just a few short weeks. We'll ask for donations only, and all the proceeds will go to the church. The kids are soooo excited about, which is great! And hopefully we'll have more than our original $13 when it's all over.
You can probably see where this is going. An extra section of fence + an upcoming lemonade/cookie sale = we were building a lemonade stand. And by "we" I mean Doc.
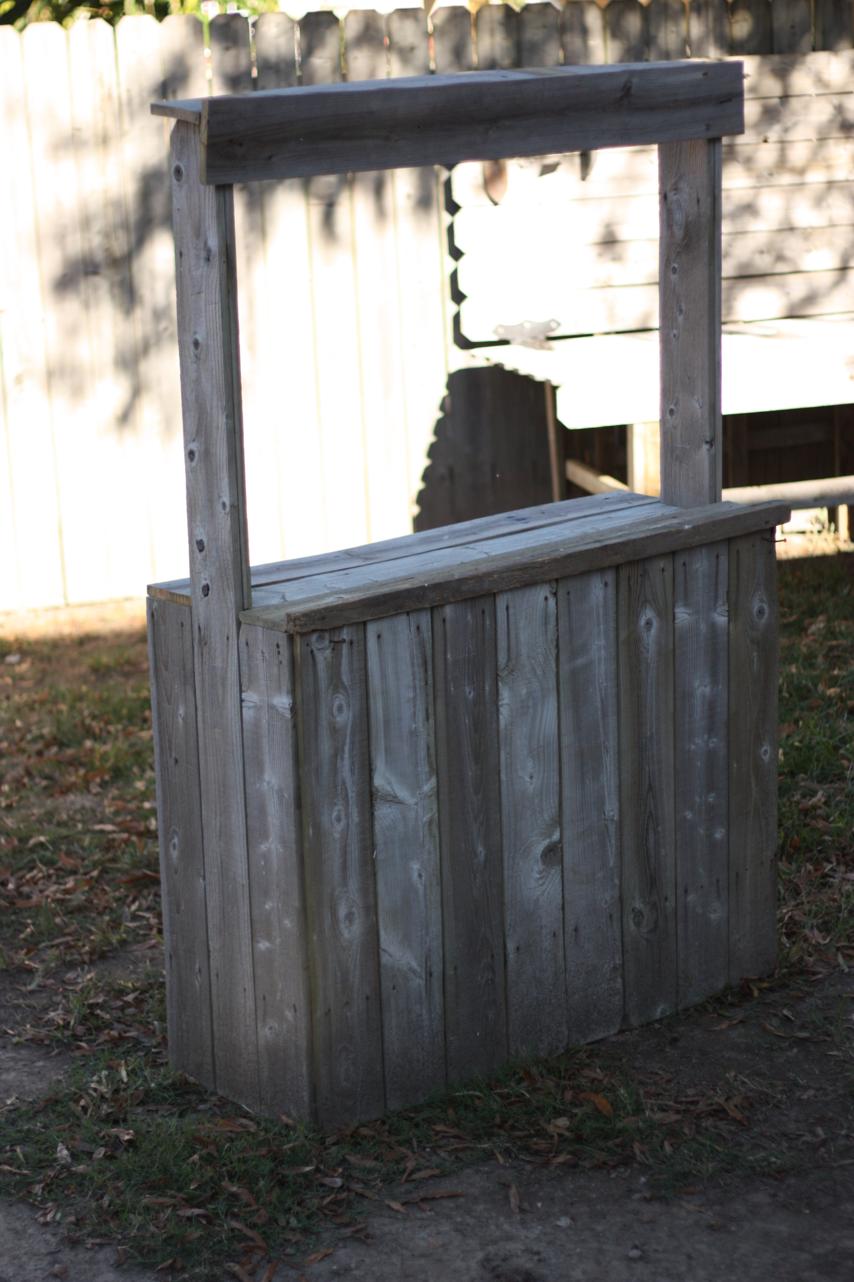
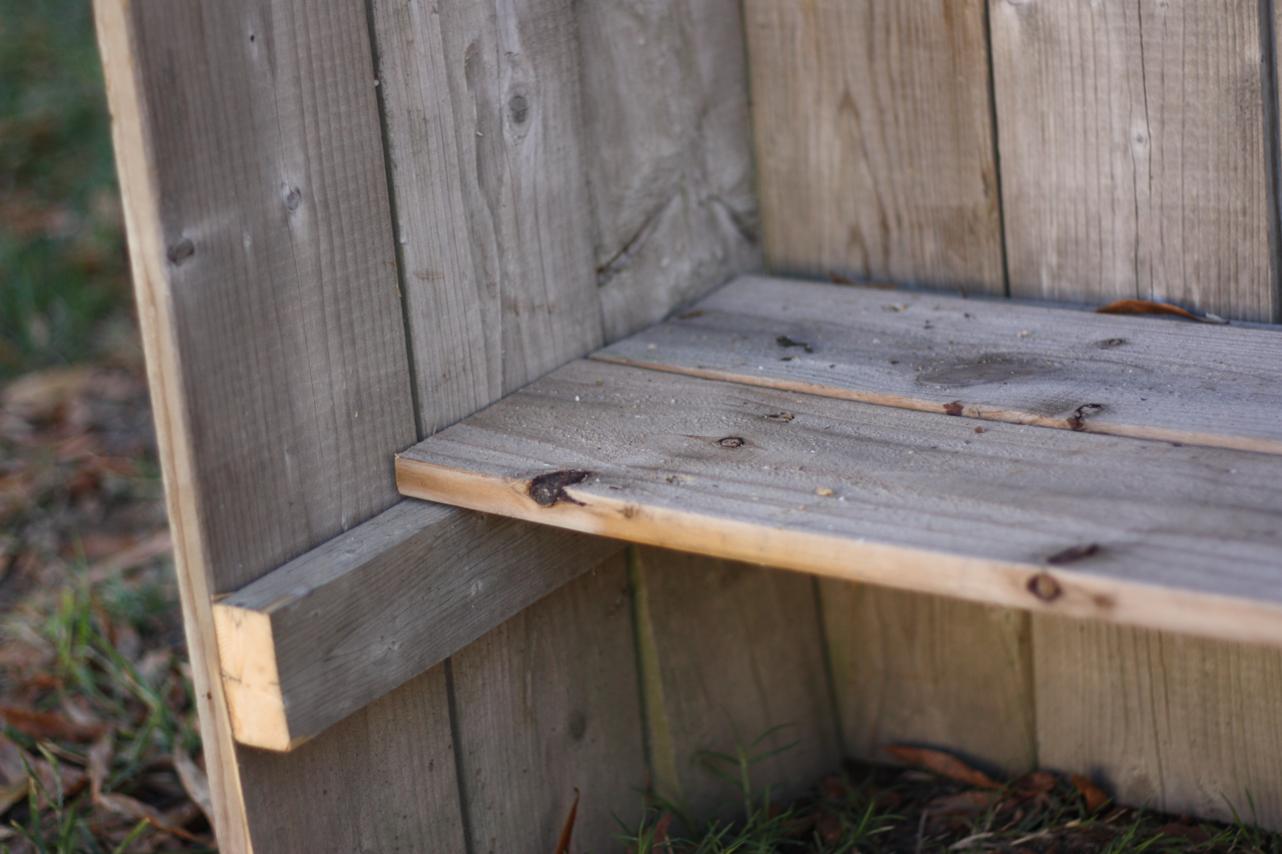
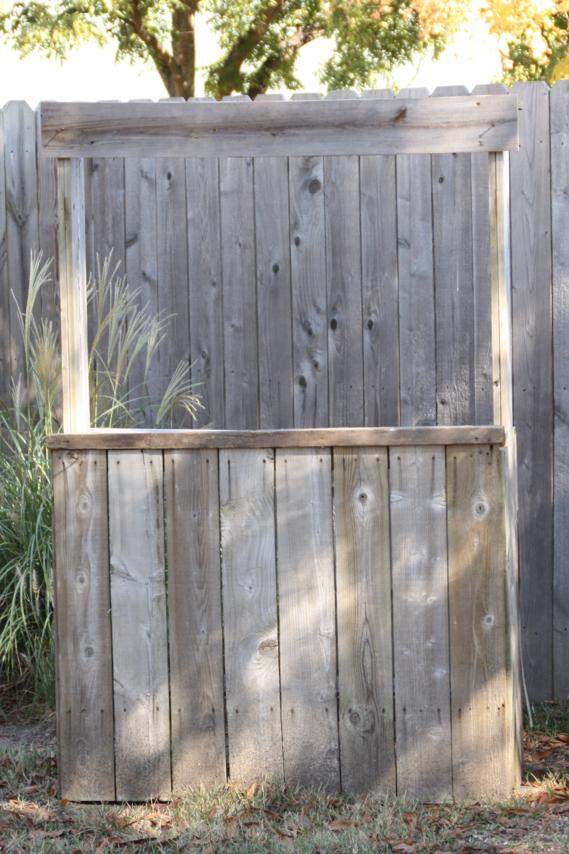
I swear I took pictures of him during the building process, but I can't find them right now. But maybe I can explain what he did. In the fence picture above, you can see how there's a board running horizontally right through the middle. He cut the whole section of fence right above that board and the bottom half became the base of the stand. He cut three slats off each end so they could turn and be the sides. You can see the sides in the picture below. And you can also see that I lied - he didn't cut the whole section, he left one tall slat on each side to hold the top.
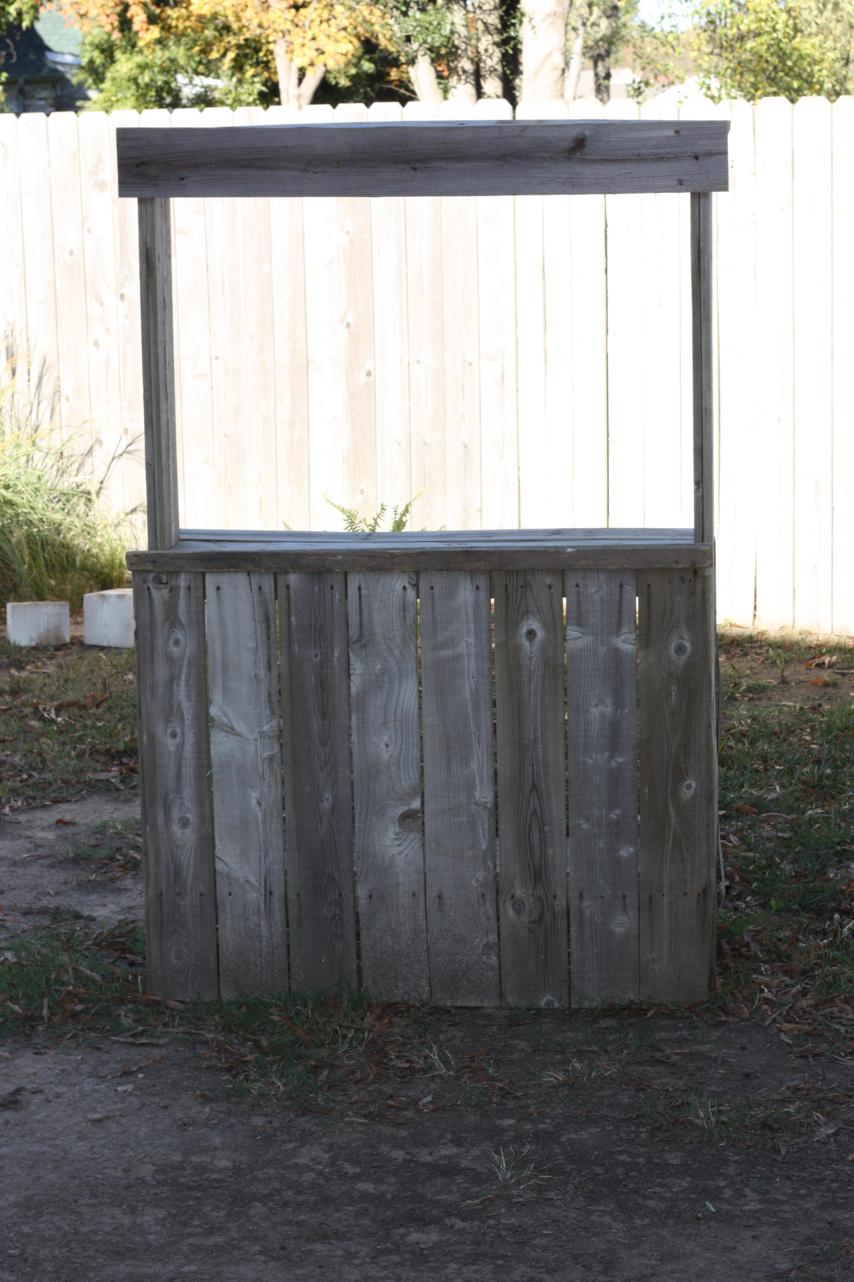
The rest is pretty easy to figure out. He used scrap boards to make the table top. He lined the three top boards up with the three boards on each side. More scrap boards were used to make the bridge across the top.
The bottom horizontal piece from the section of fence made a perfect ledge to build a shelf on in the back. It'll be a good spot to store all the goodies.
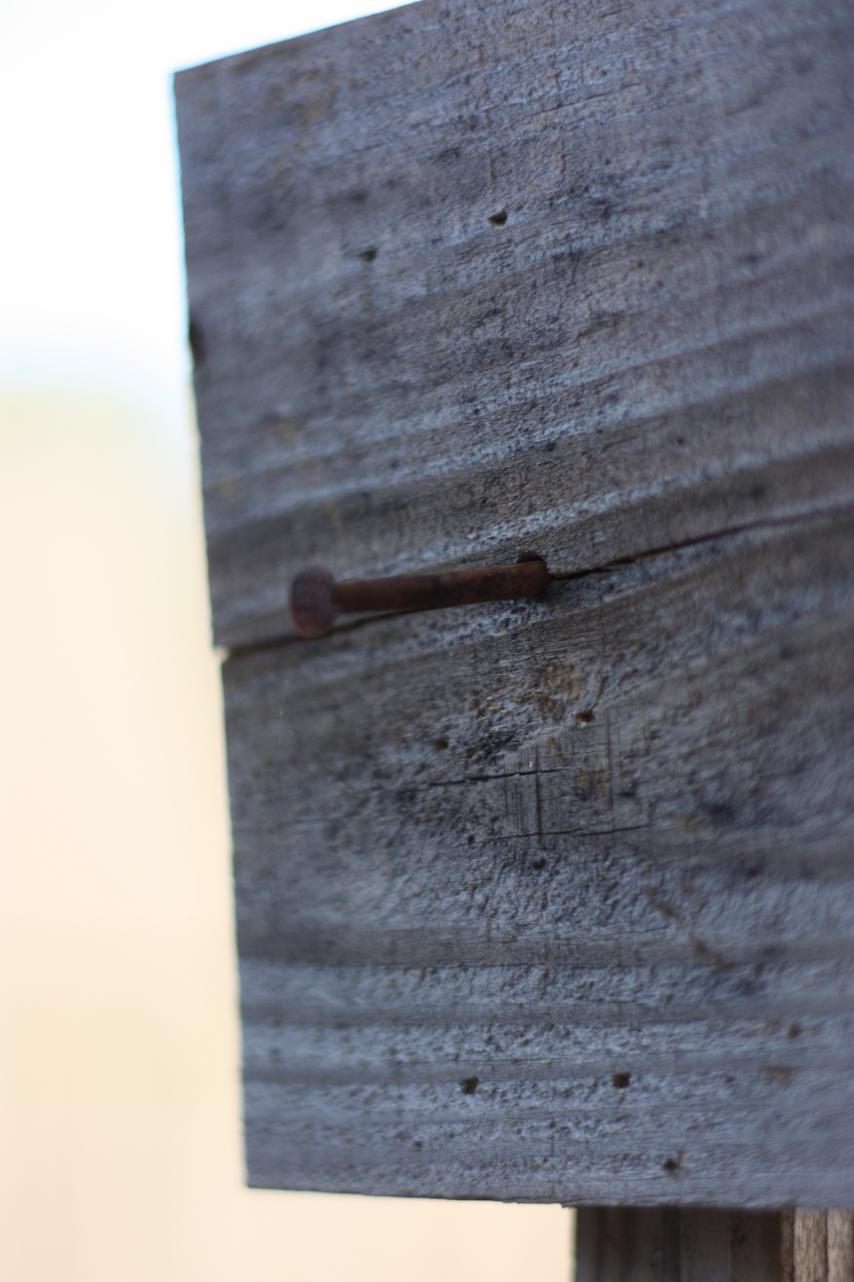
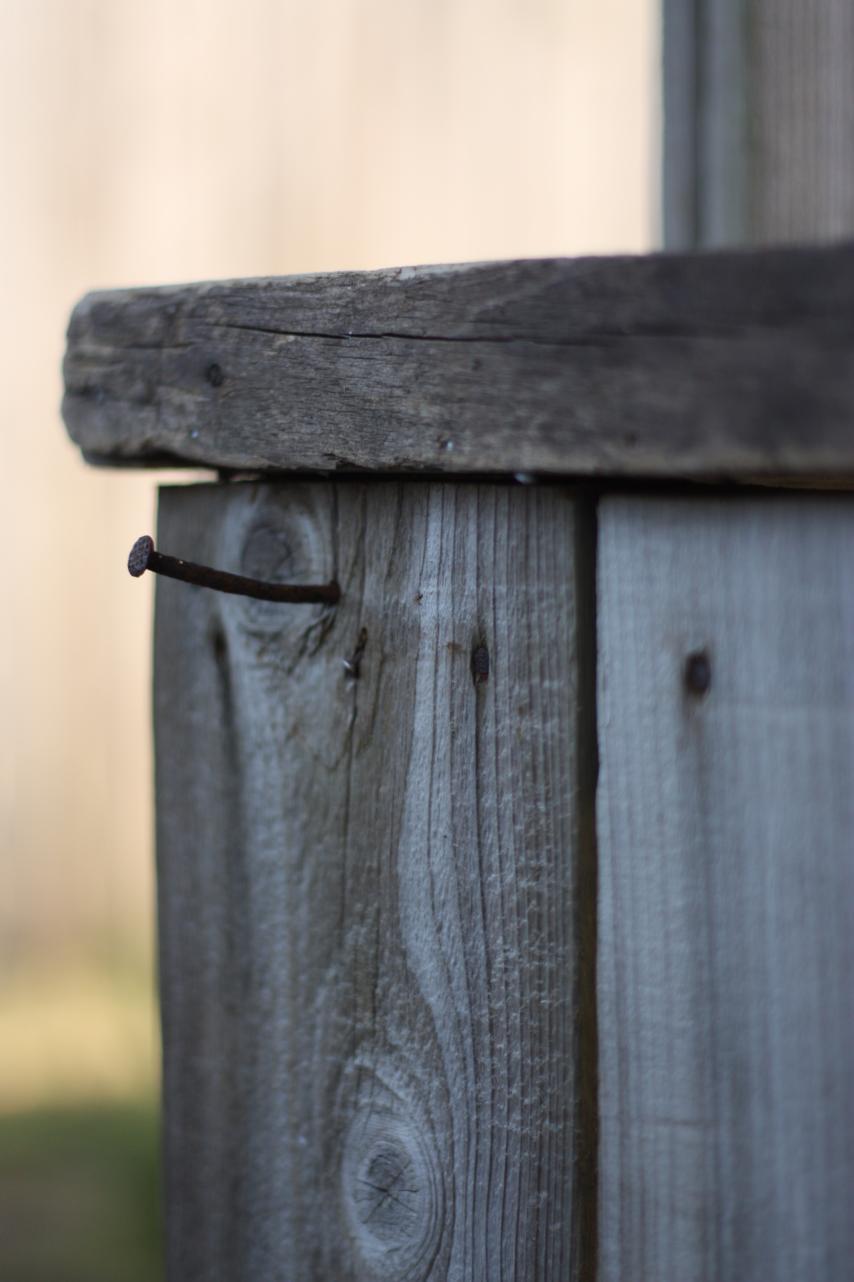
I only had one requirement for the stand - I wanted to be able to hang cute signs on it. (I did not want a sign painted permanently on the top bridge so that we could use it for other things in the future.) Doc hammered in these great rusty nails on the sides of the top board so that I can hang a sign between them.
He also put a couple nails down on the base for me. I think a fabric banner would look super cute hanging between them, and I can make it festive for the event!
Super cute, right? I can't wait to see it in action!
The great news is, since it's made from recycled fence boards, it can sit outside next to the fence without getting damaged. And it blends right in!
I love it, Doc. Thanks for building it for me the kids!

