Katie Wynn's Birthday

Once upon a time, I had a baby girl.  Then I blinked.  Once.  Ok, maybe twice.  And then all of a sudden, she was five.  FIVE.  A whole hand.  The last age before becoming a school kid.  The last size in toddler clothes.  How did this happen?!

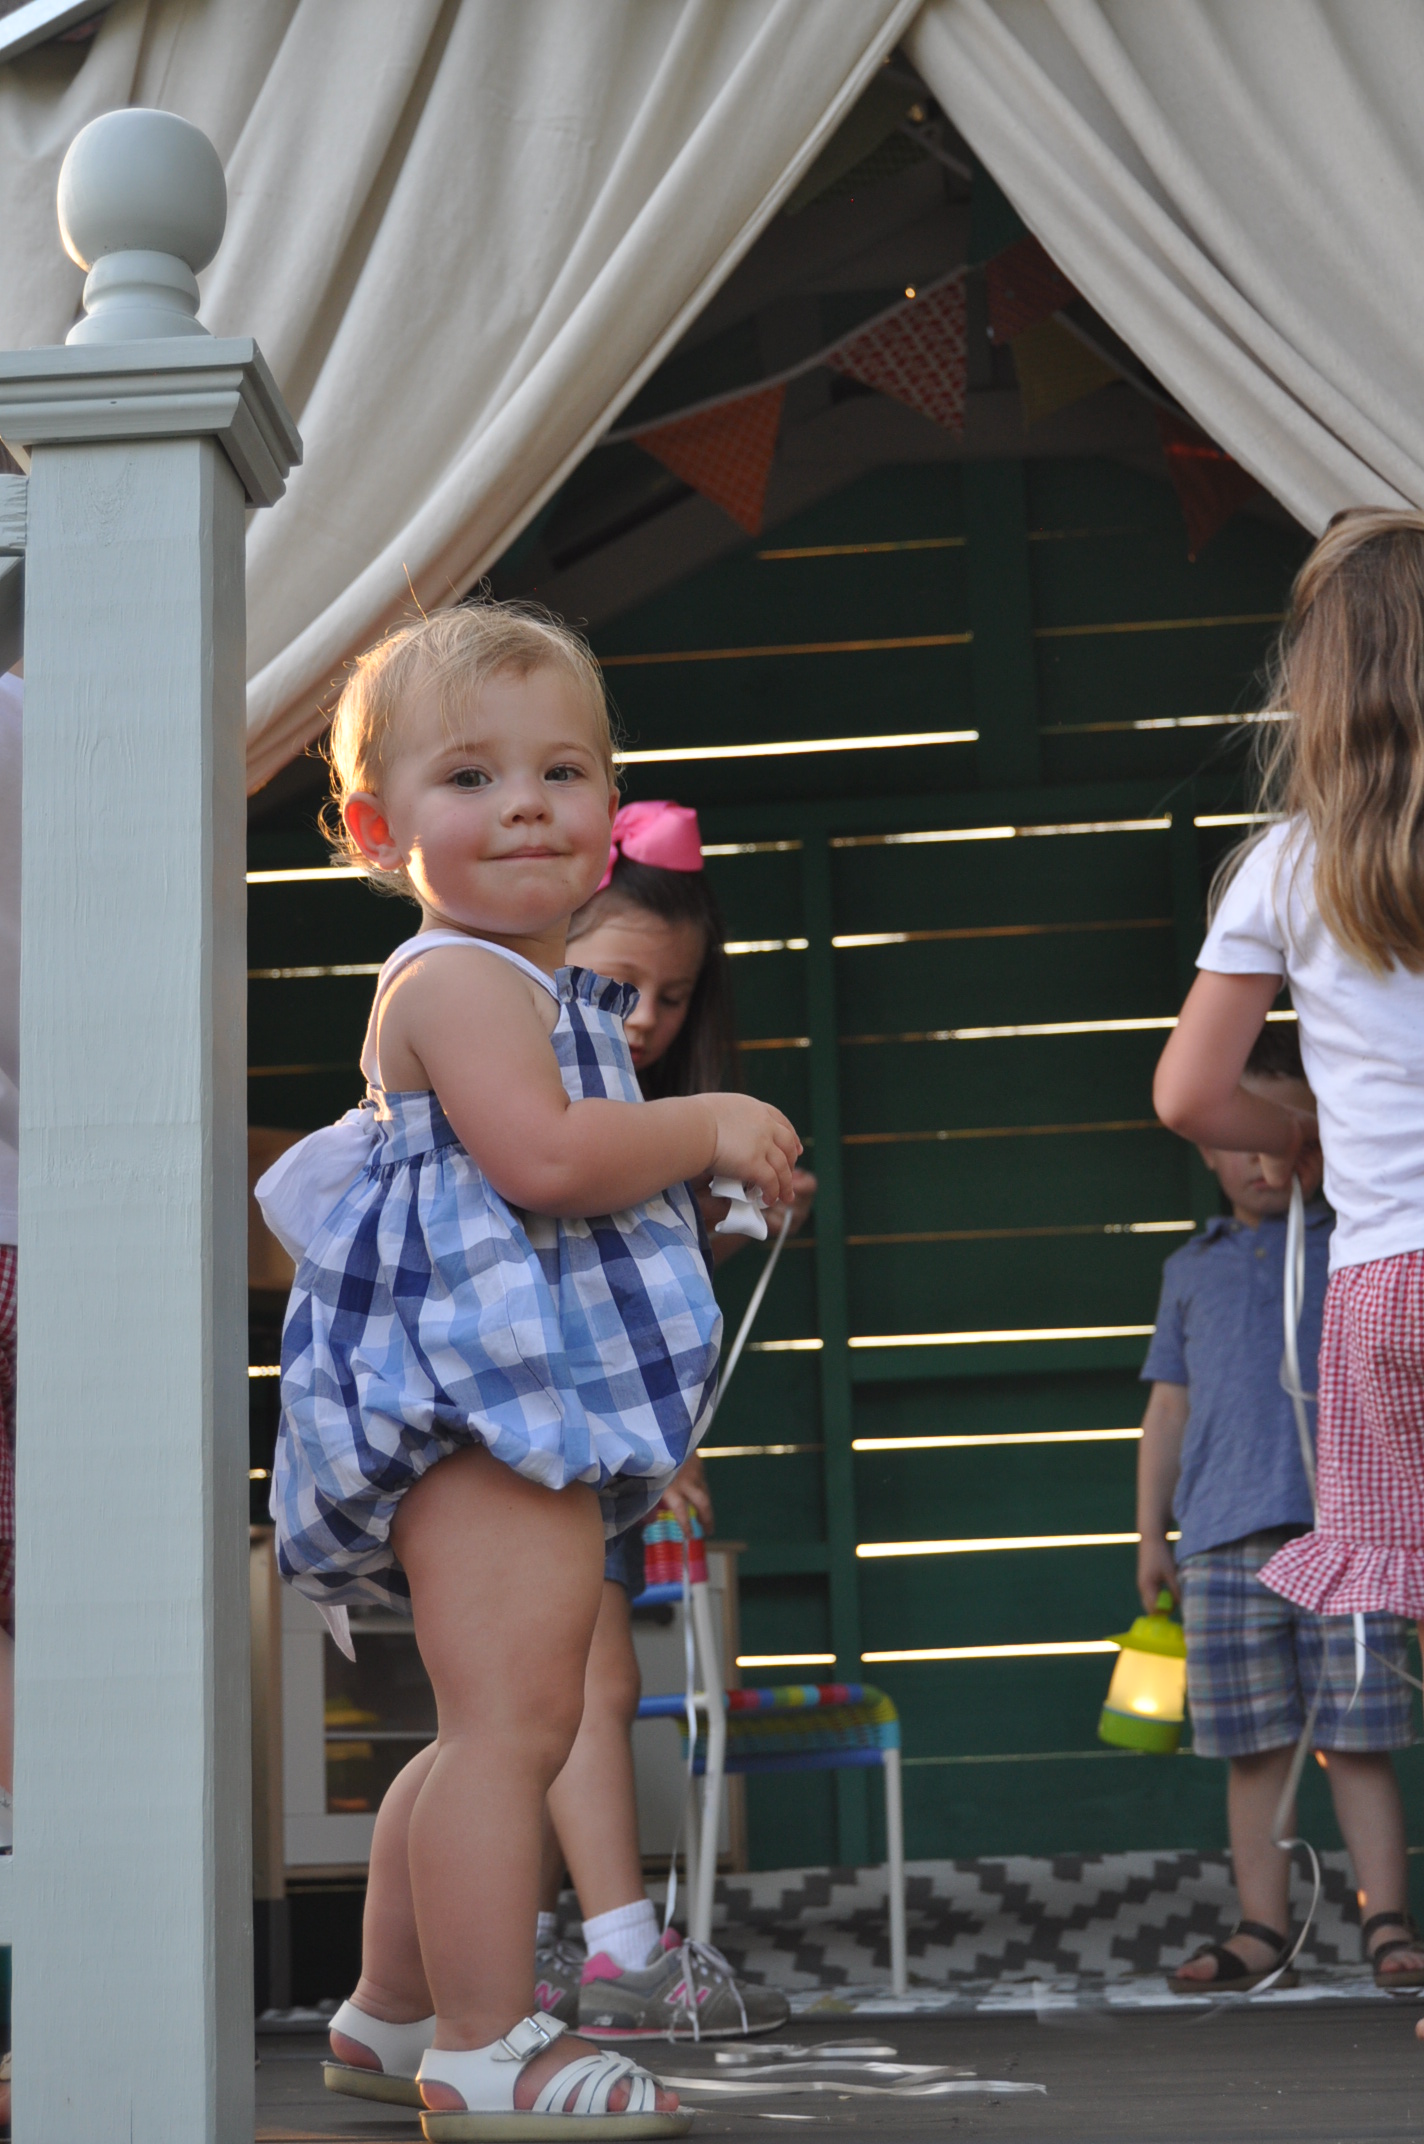
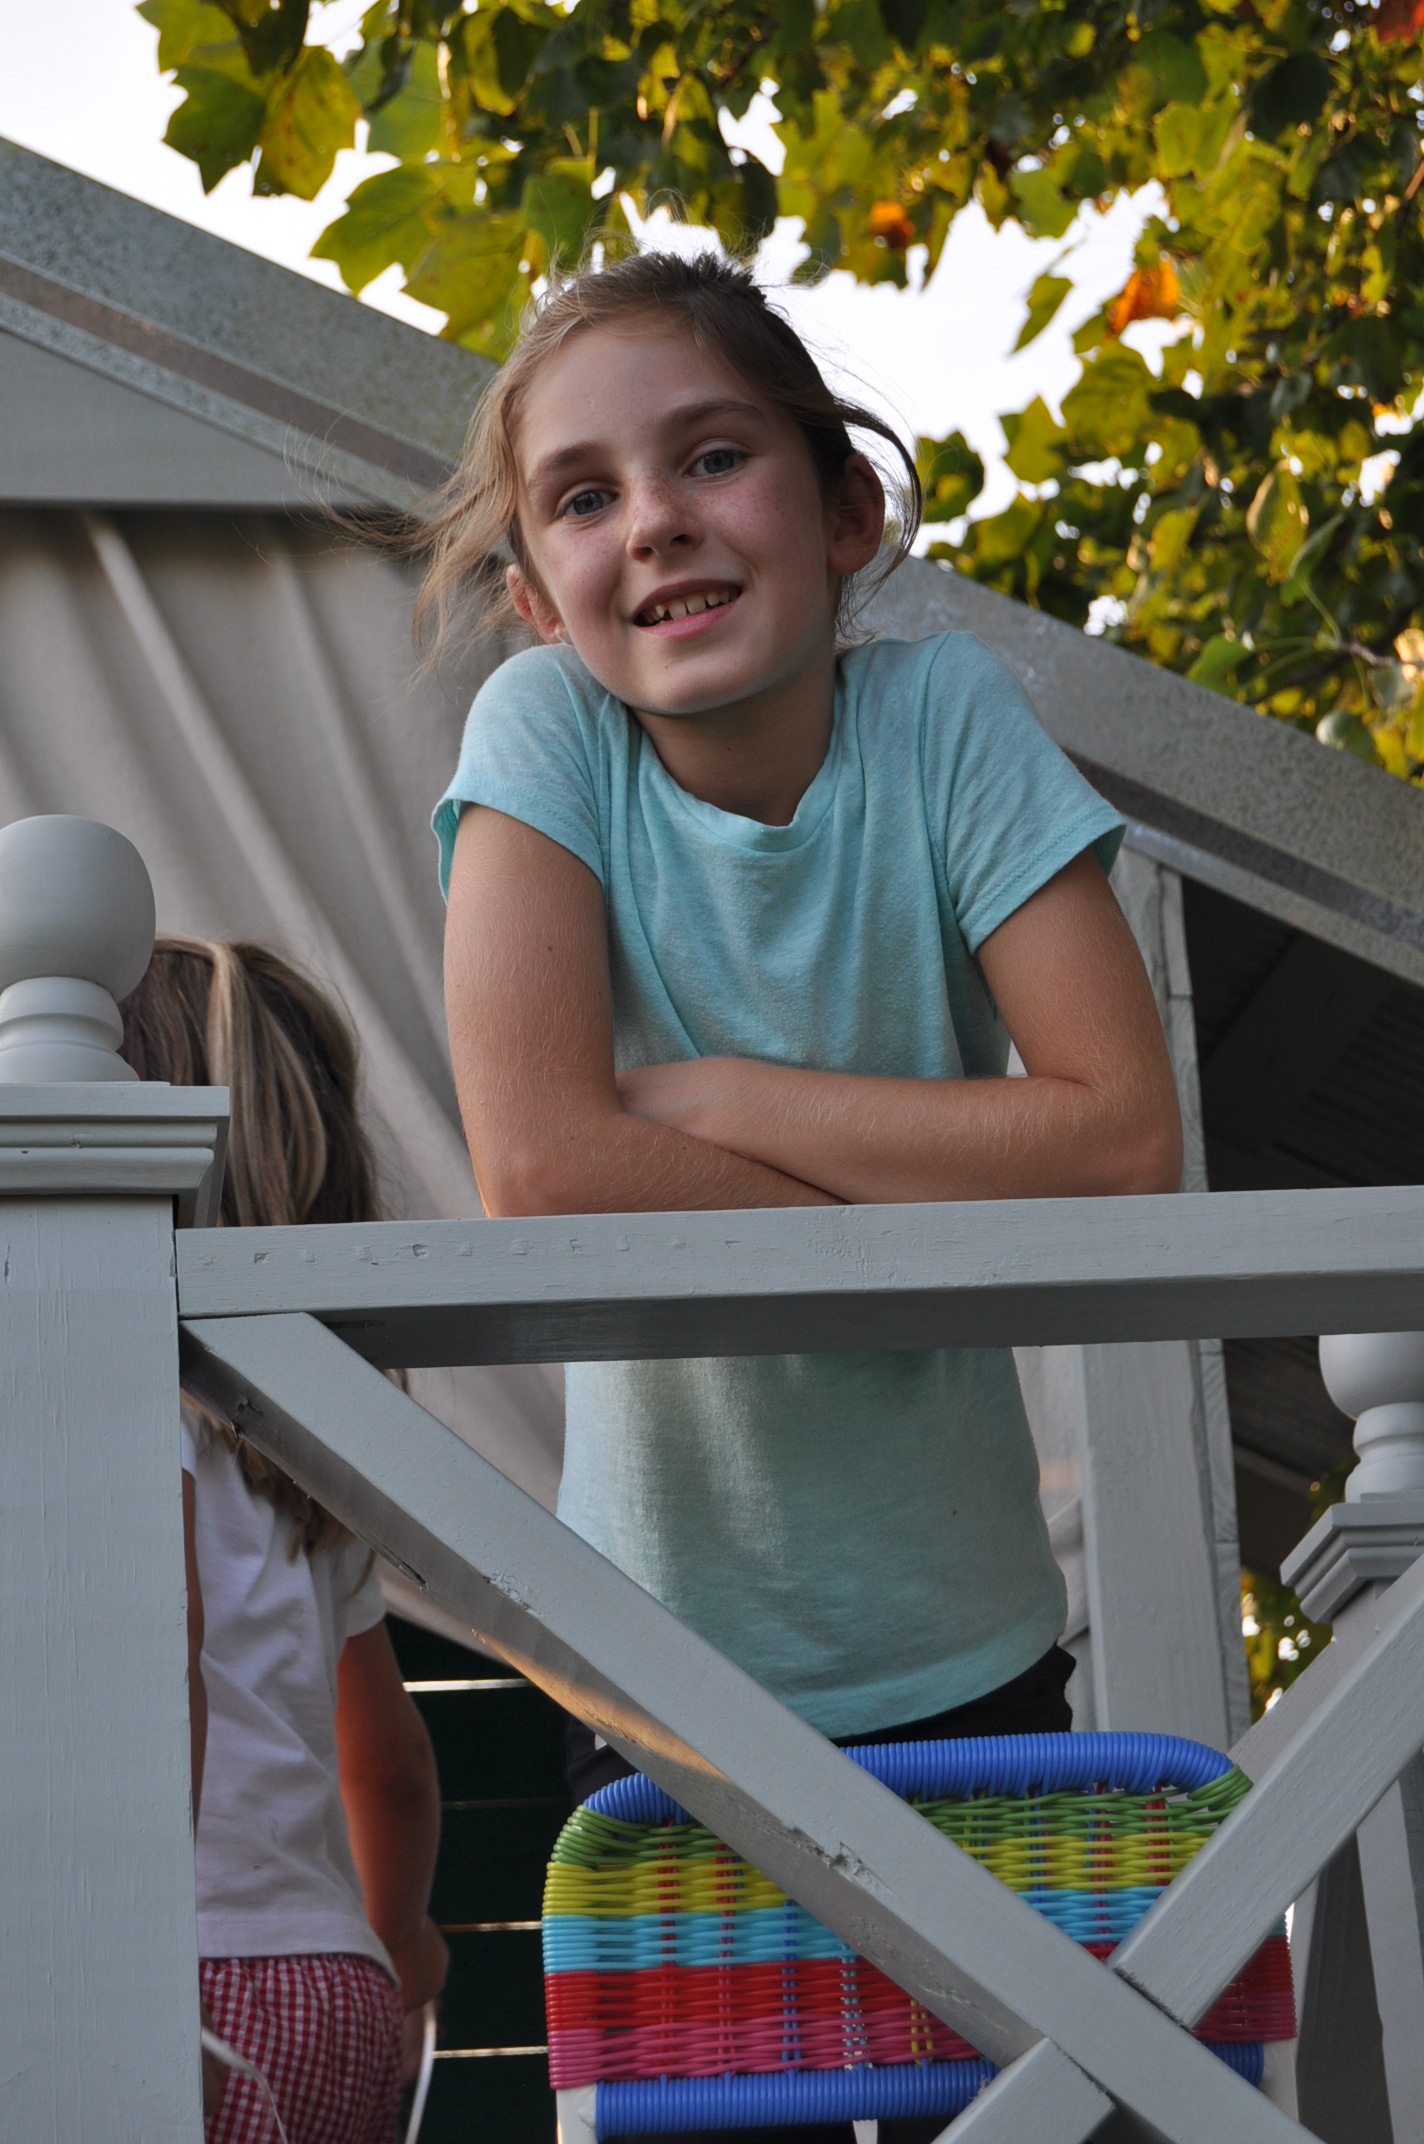
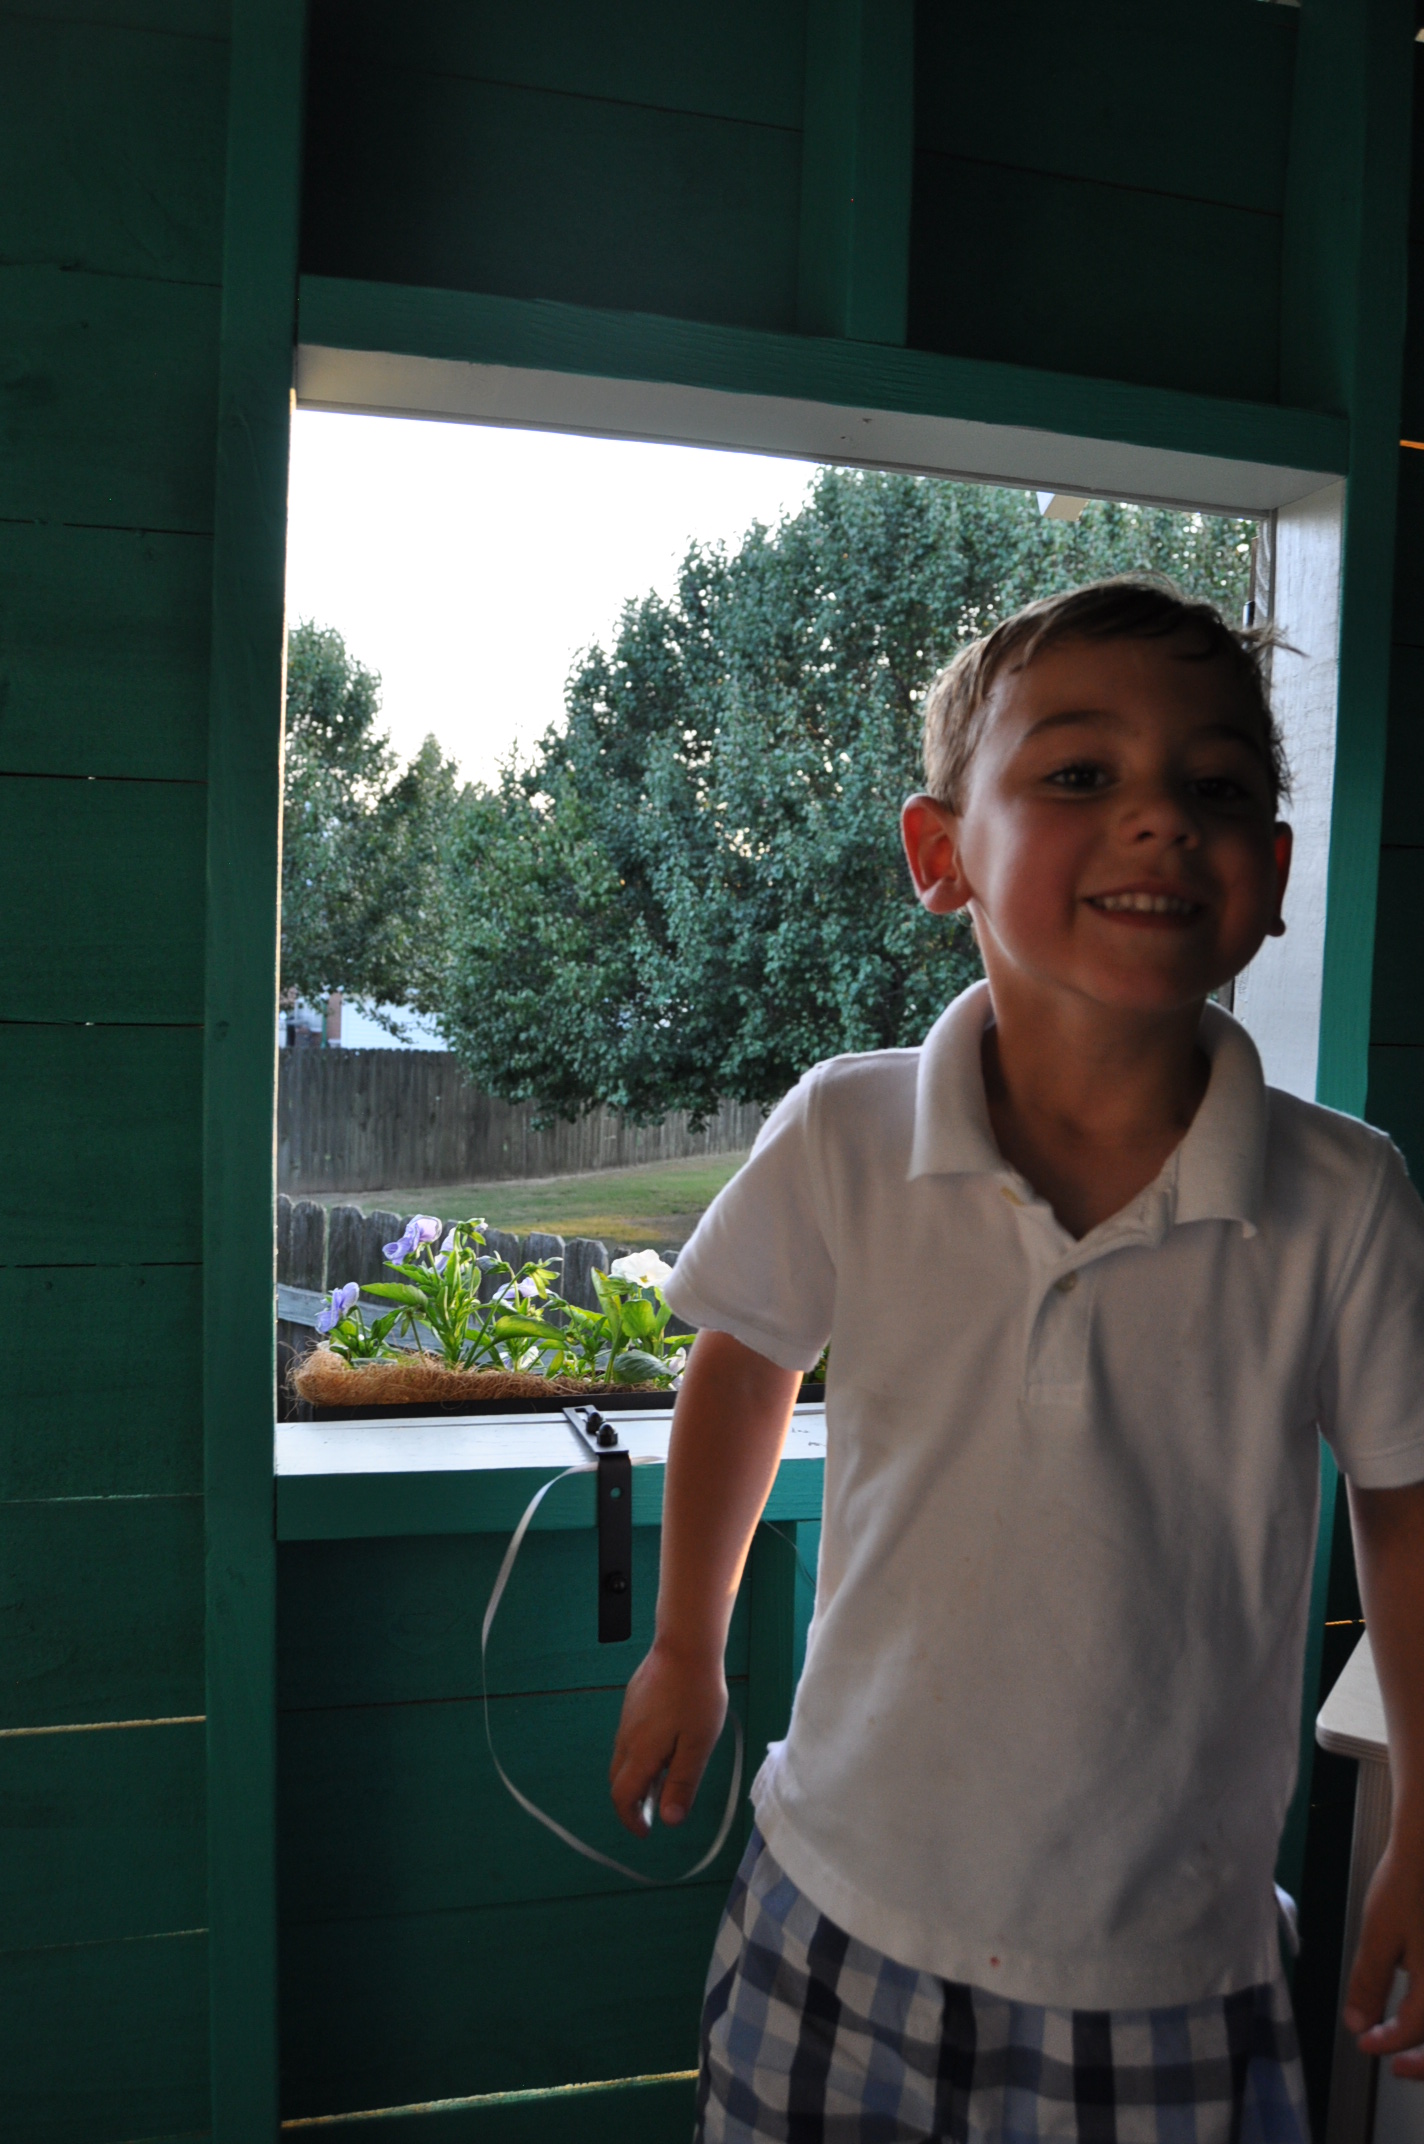
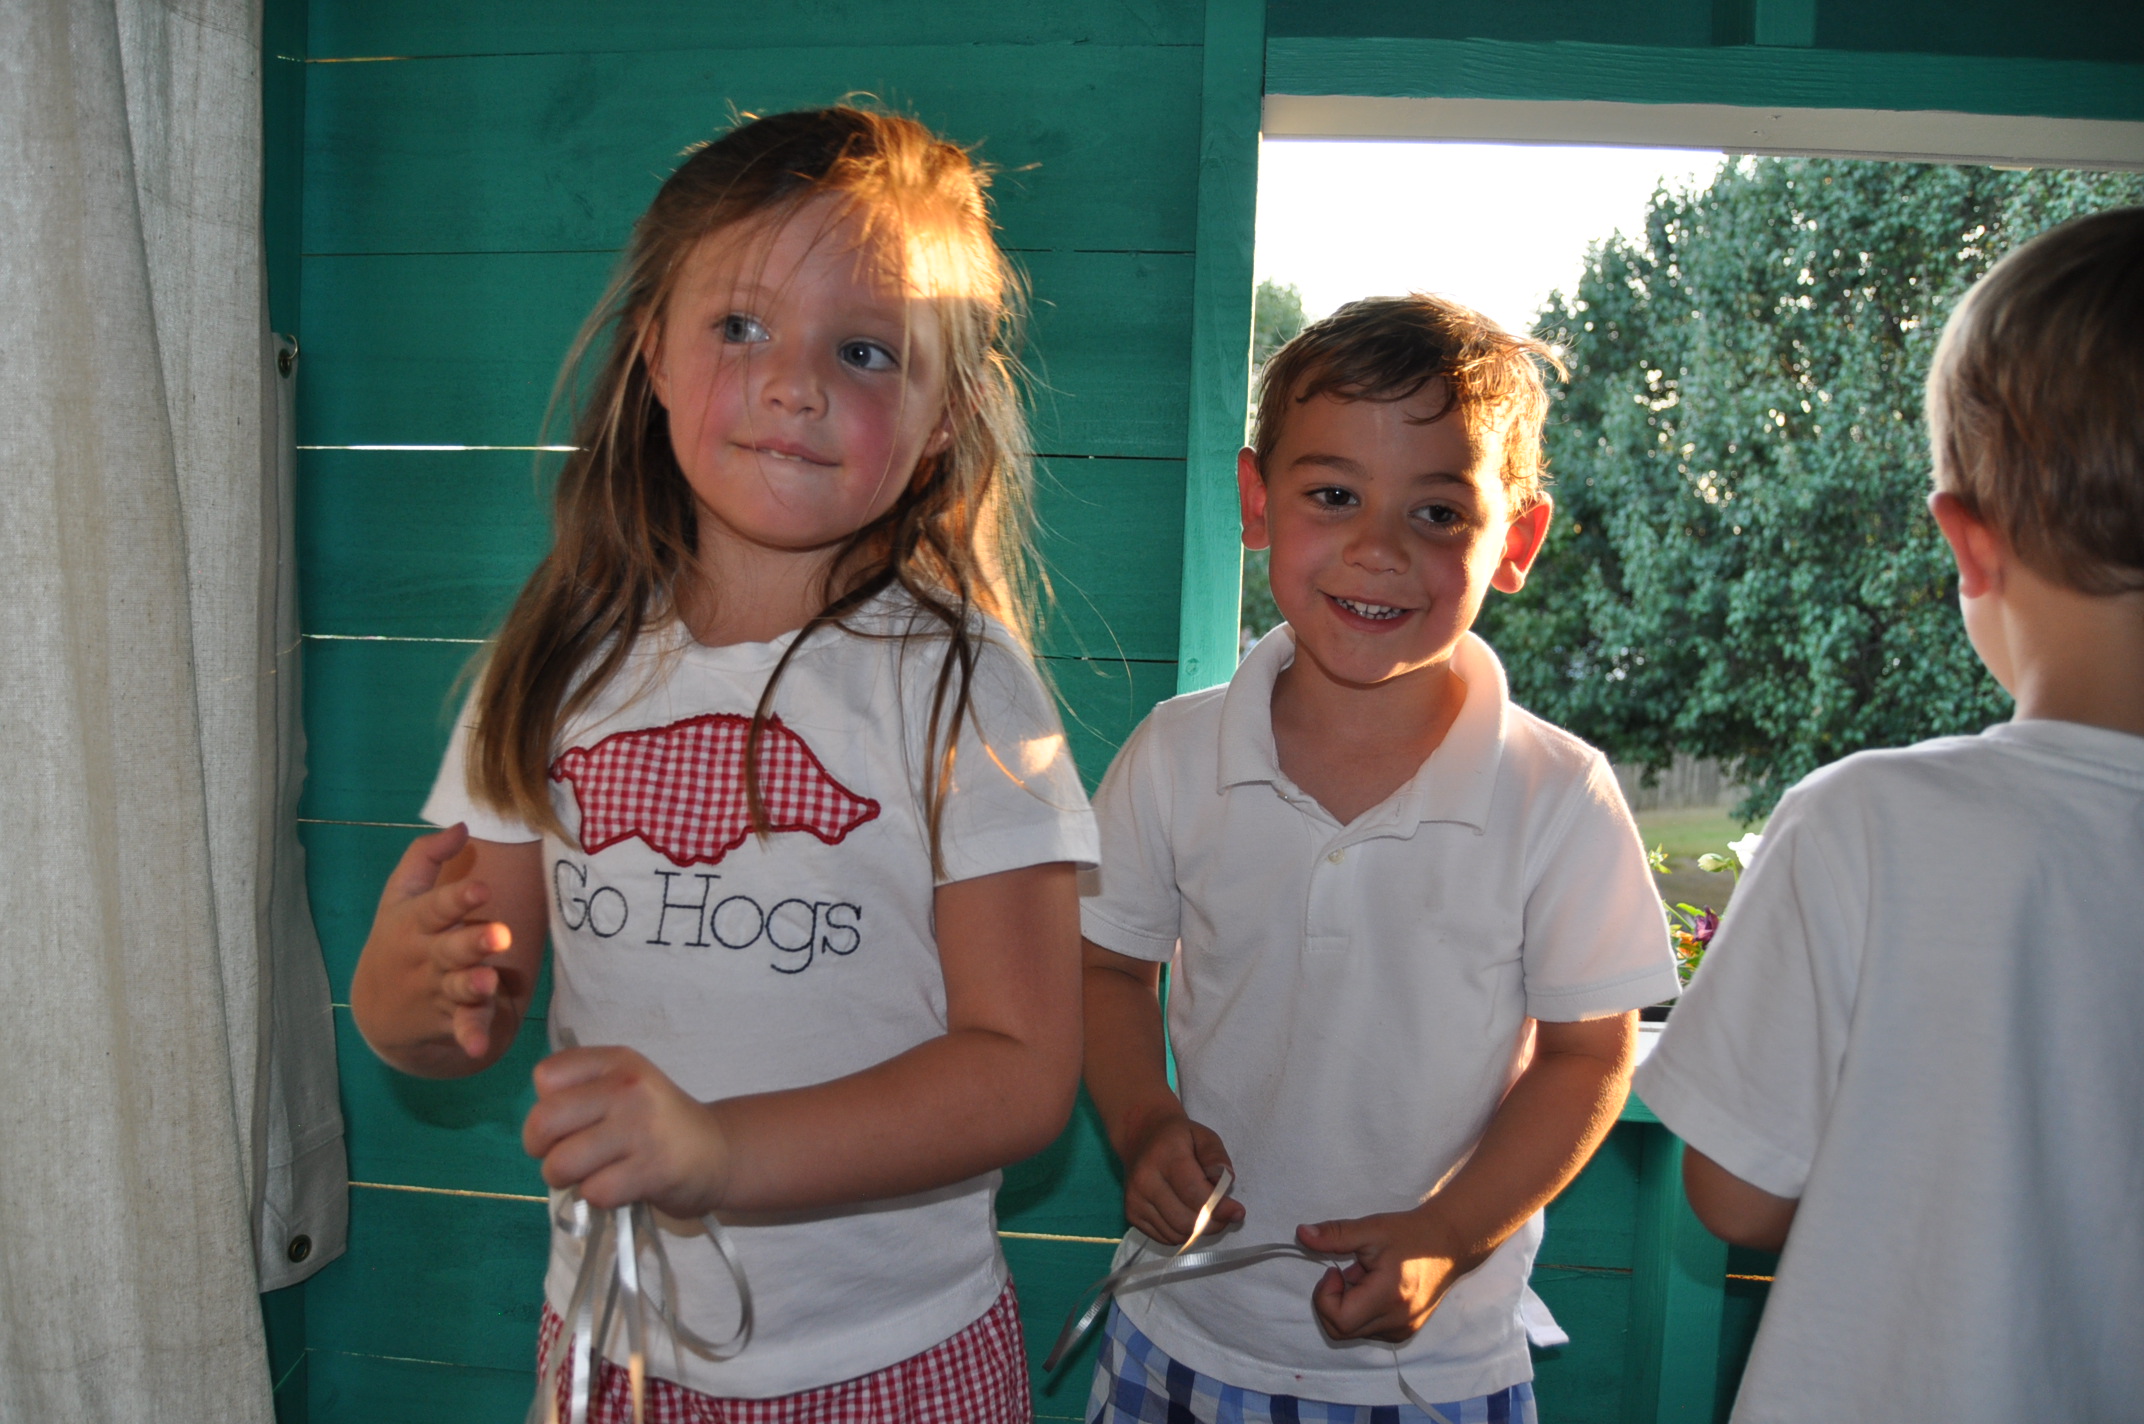
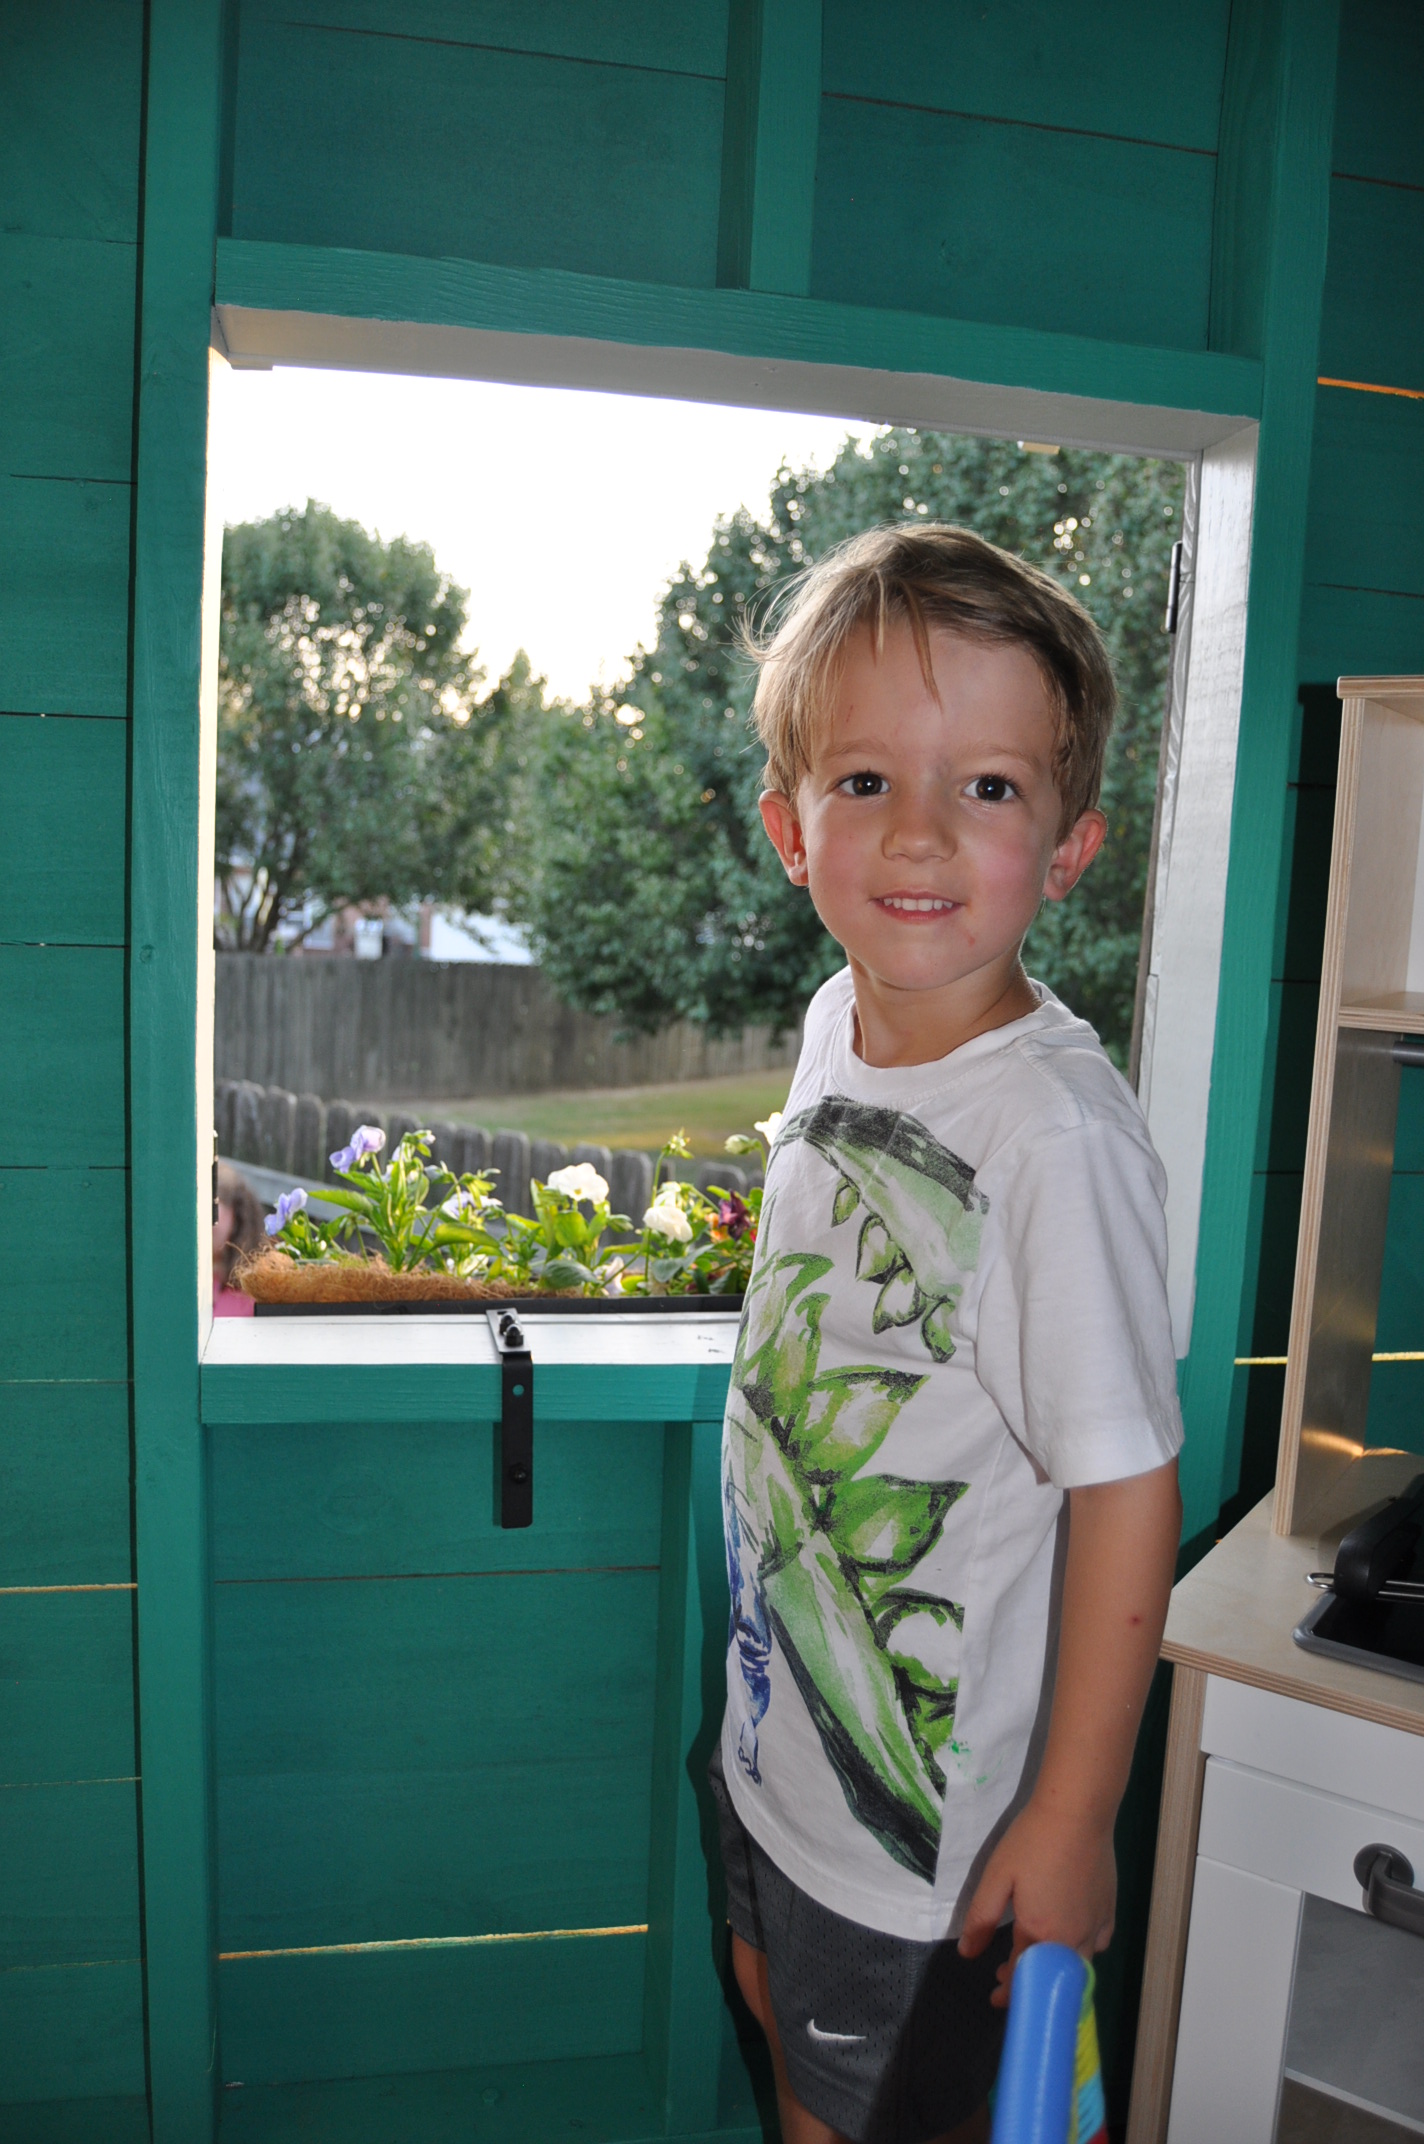
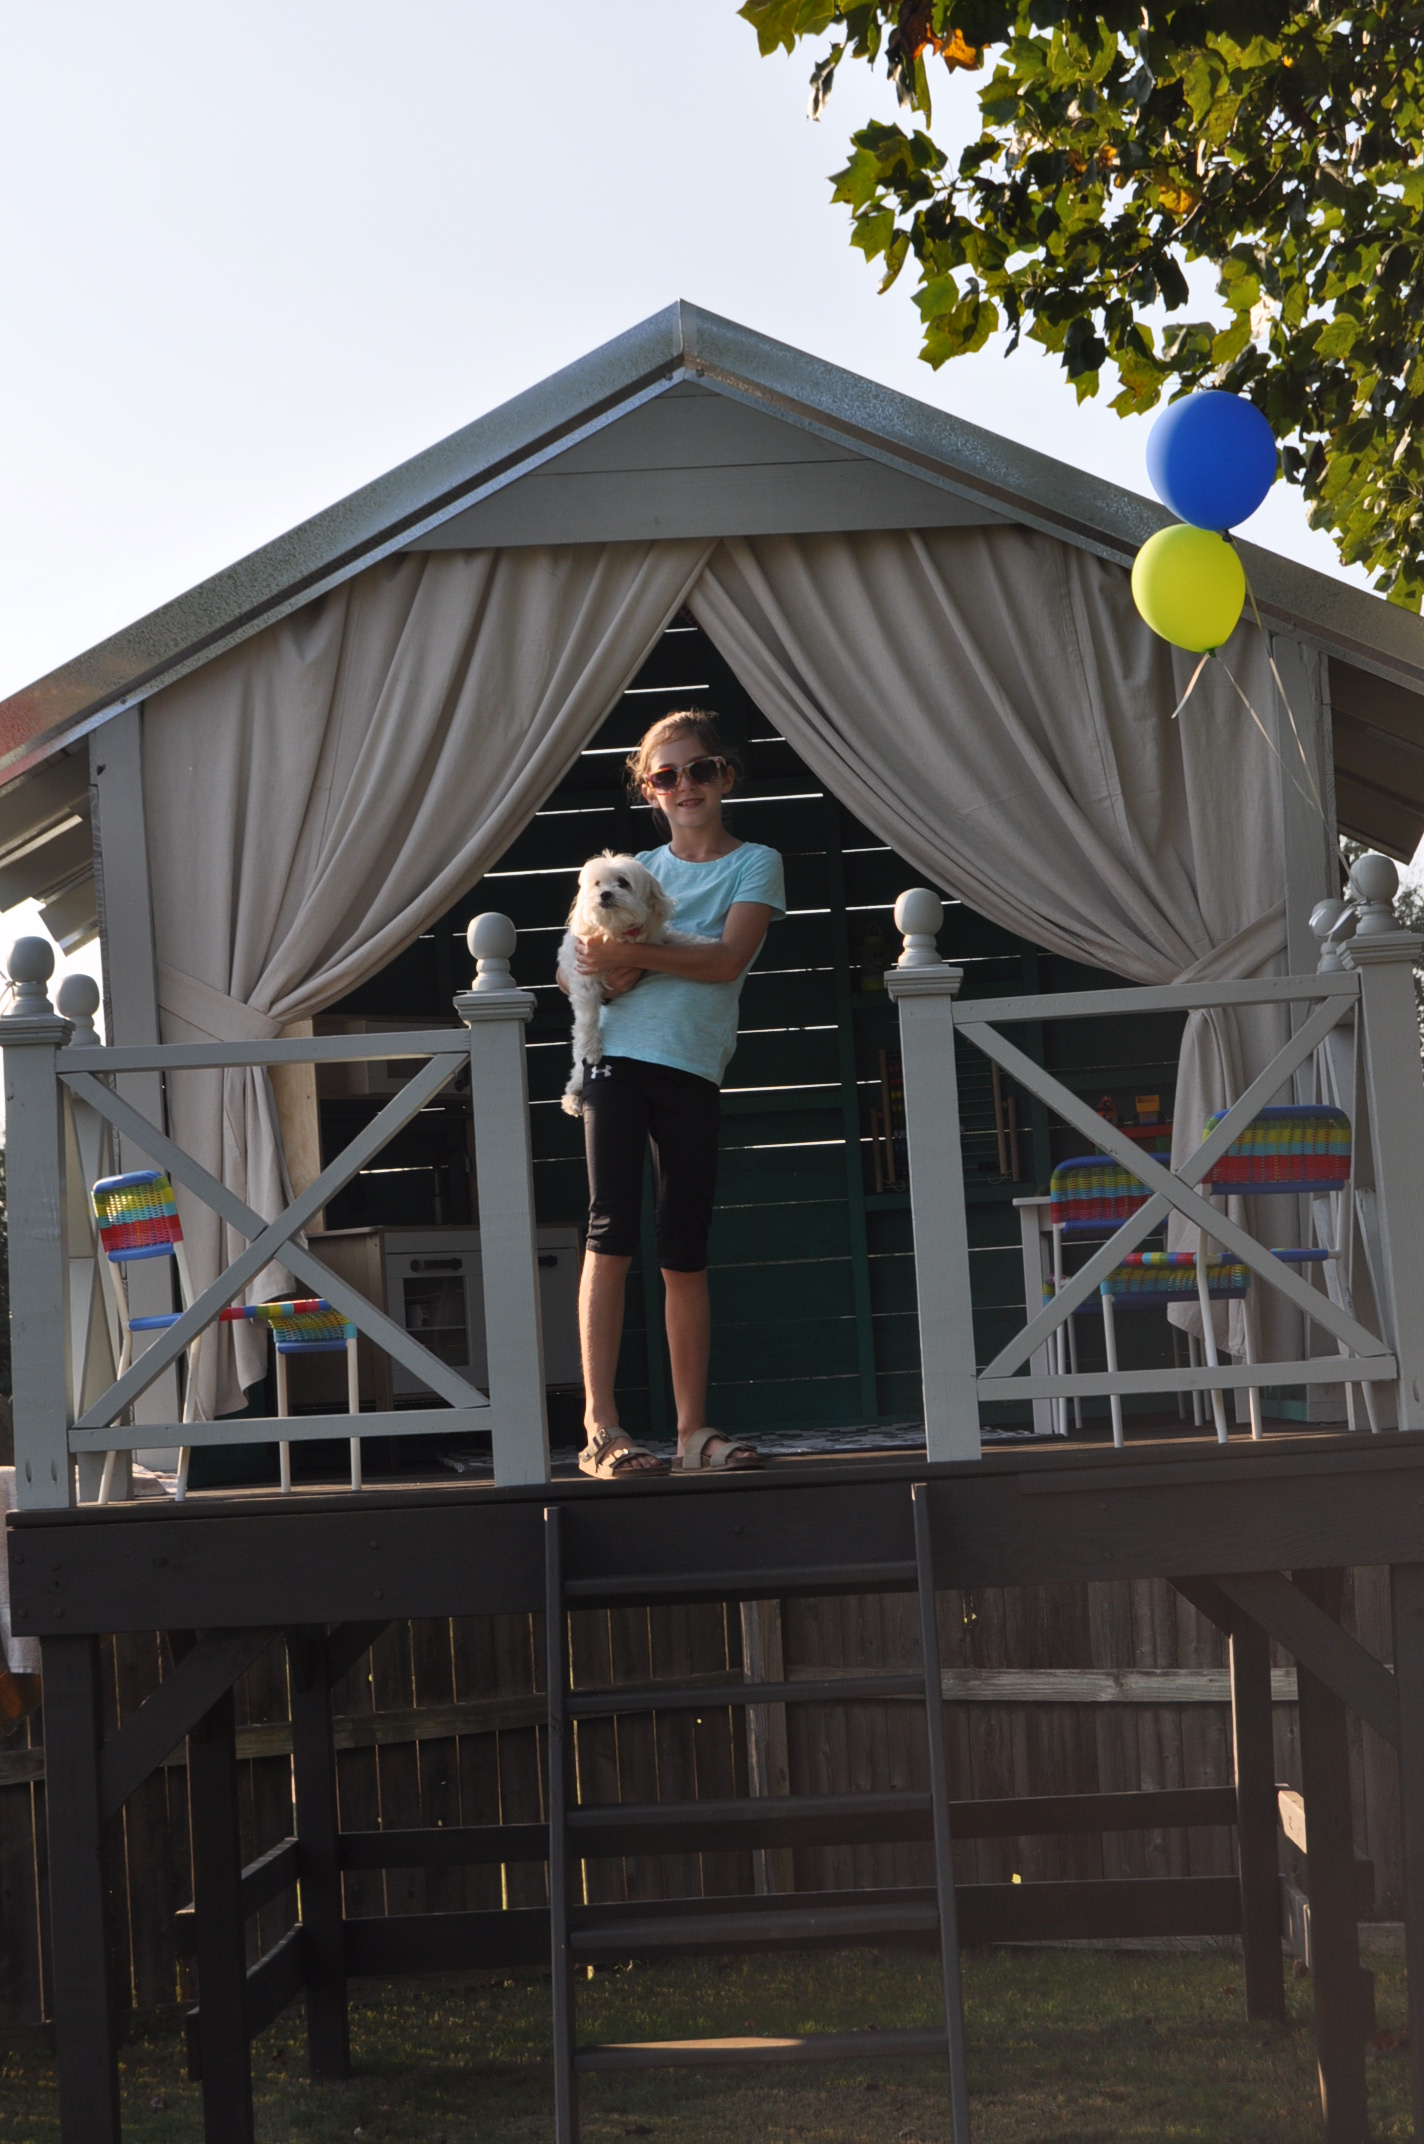
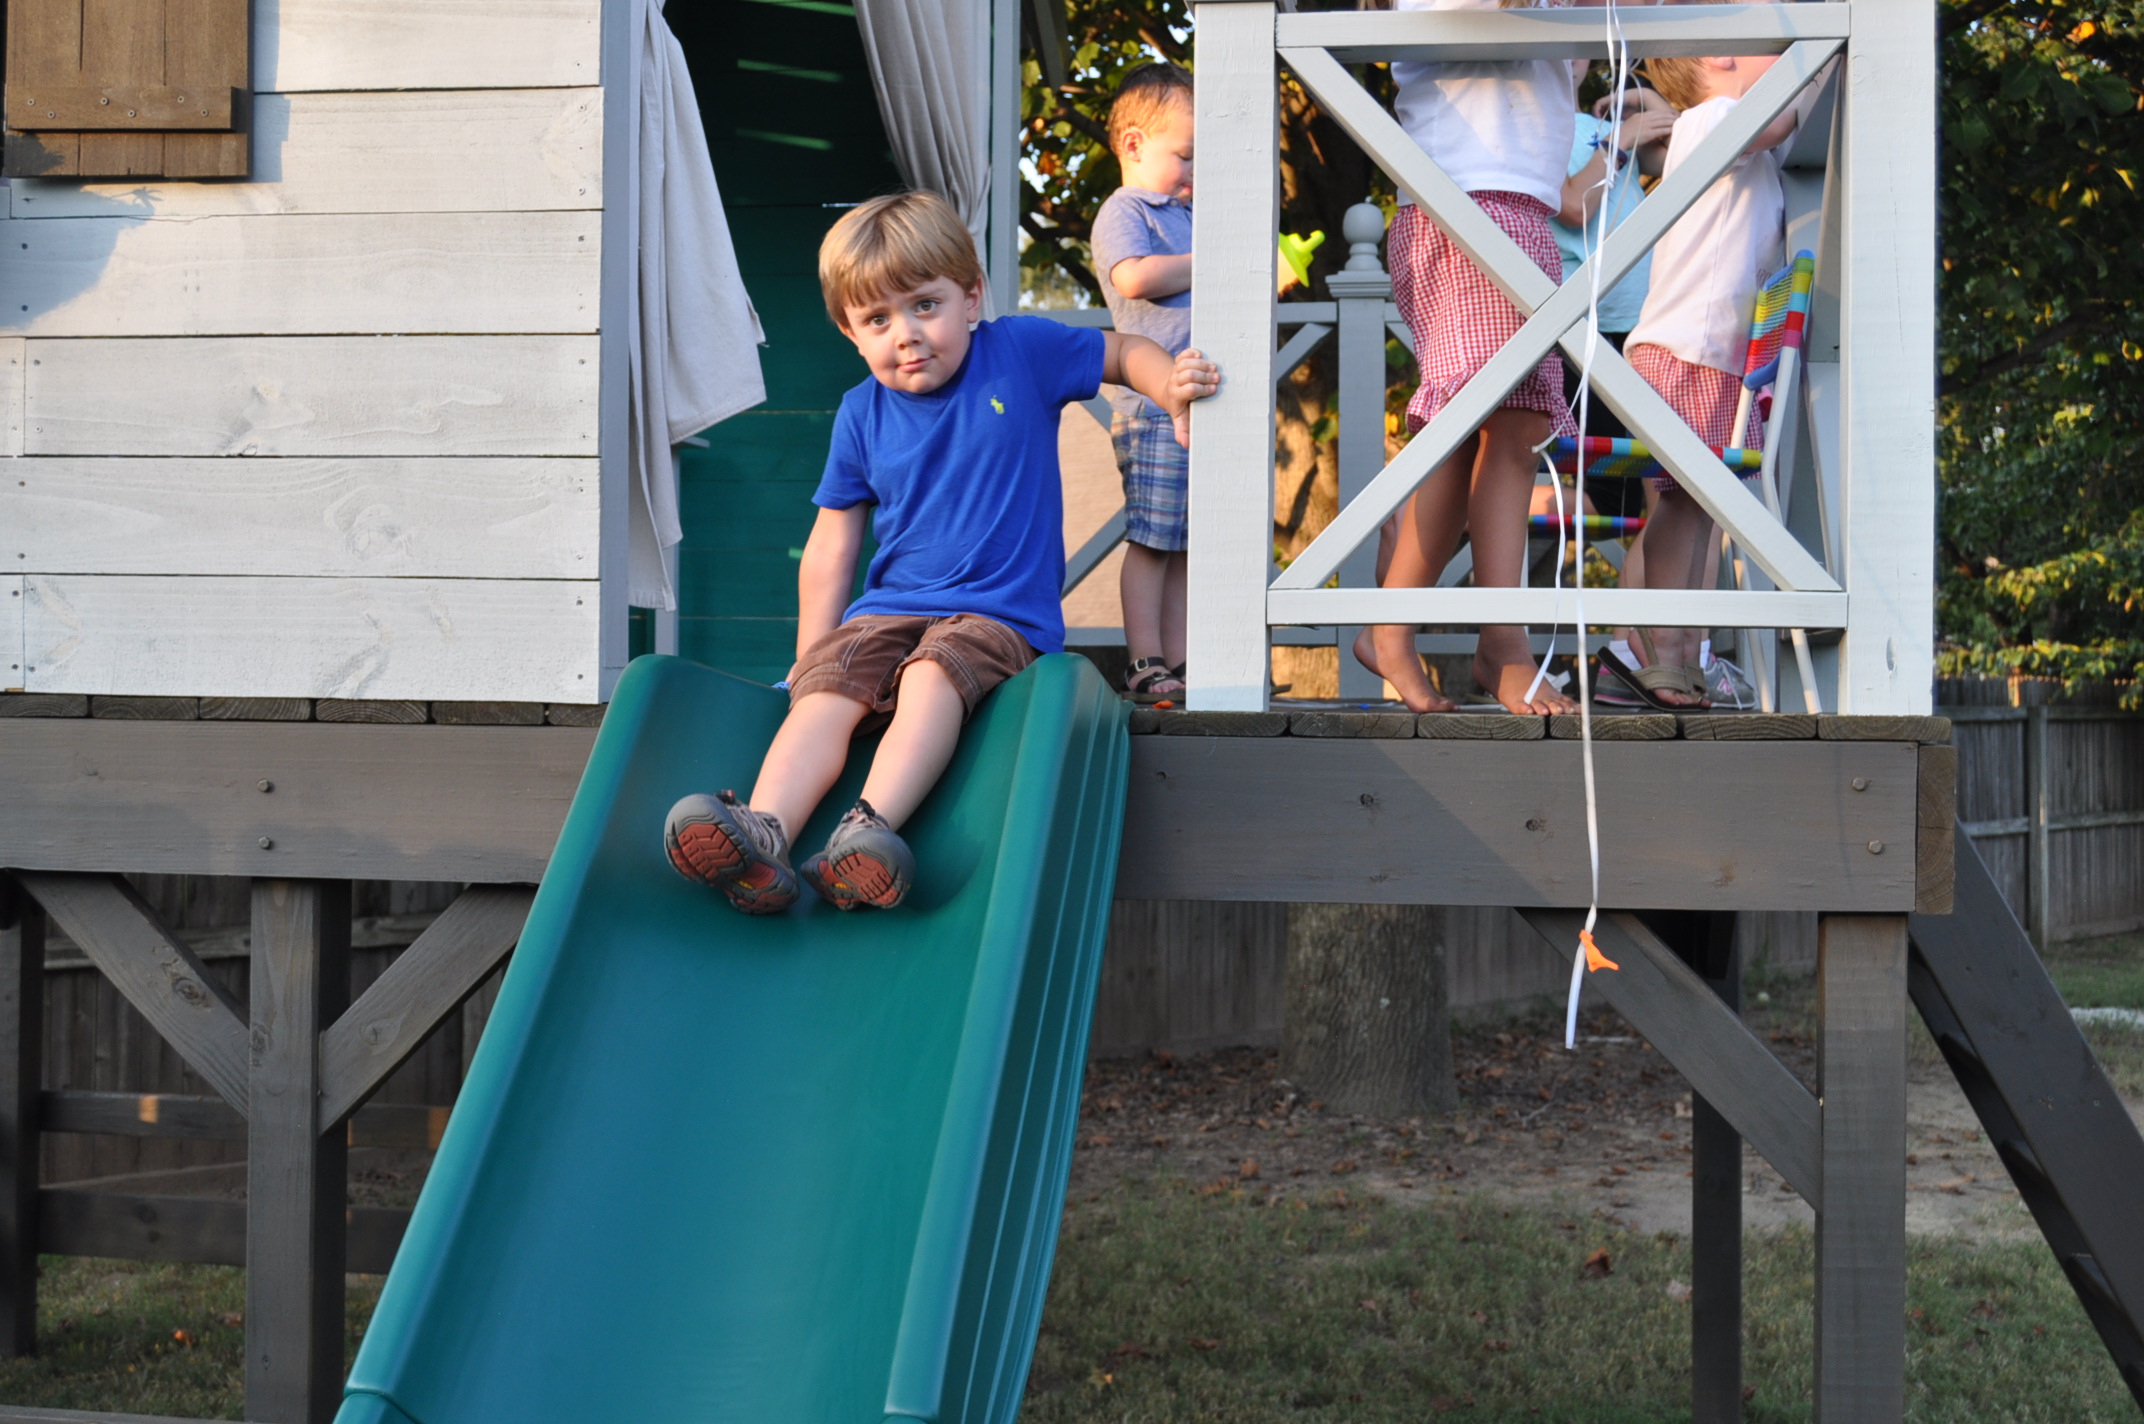
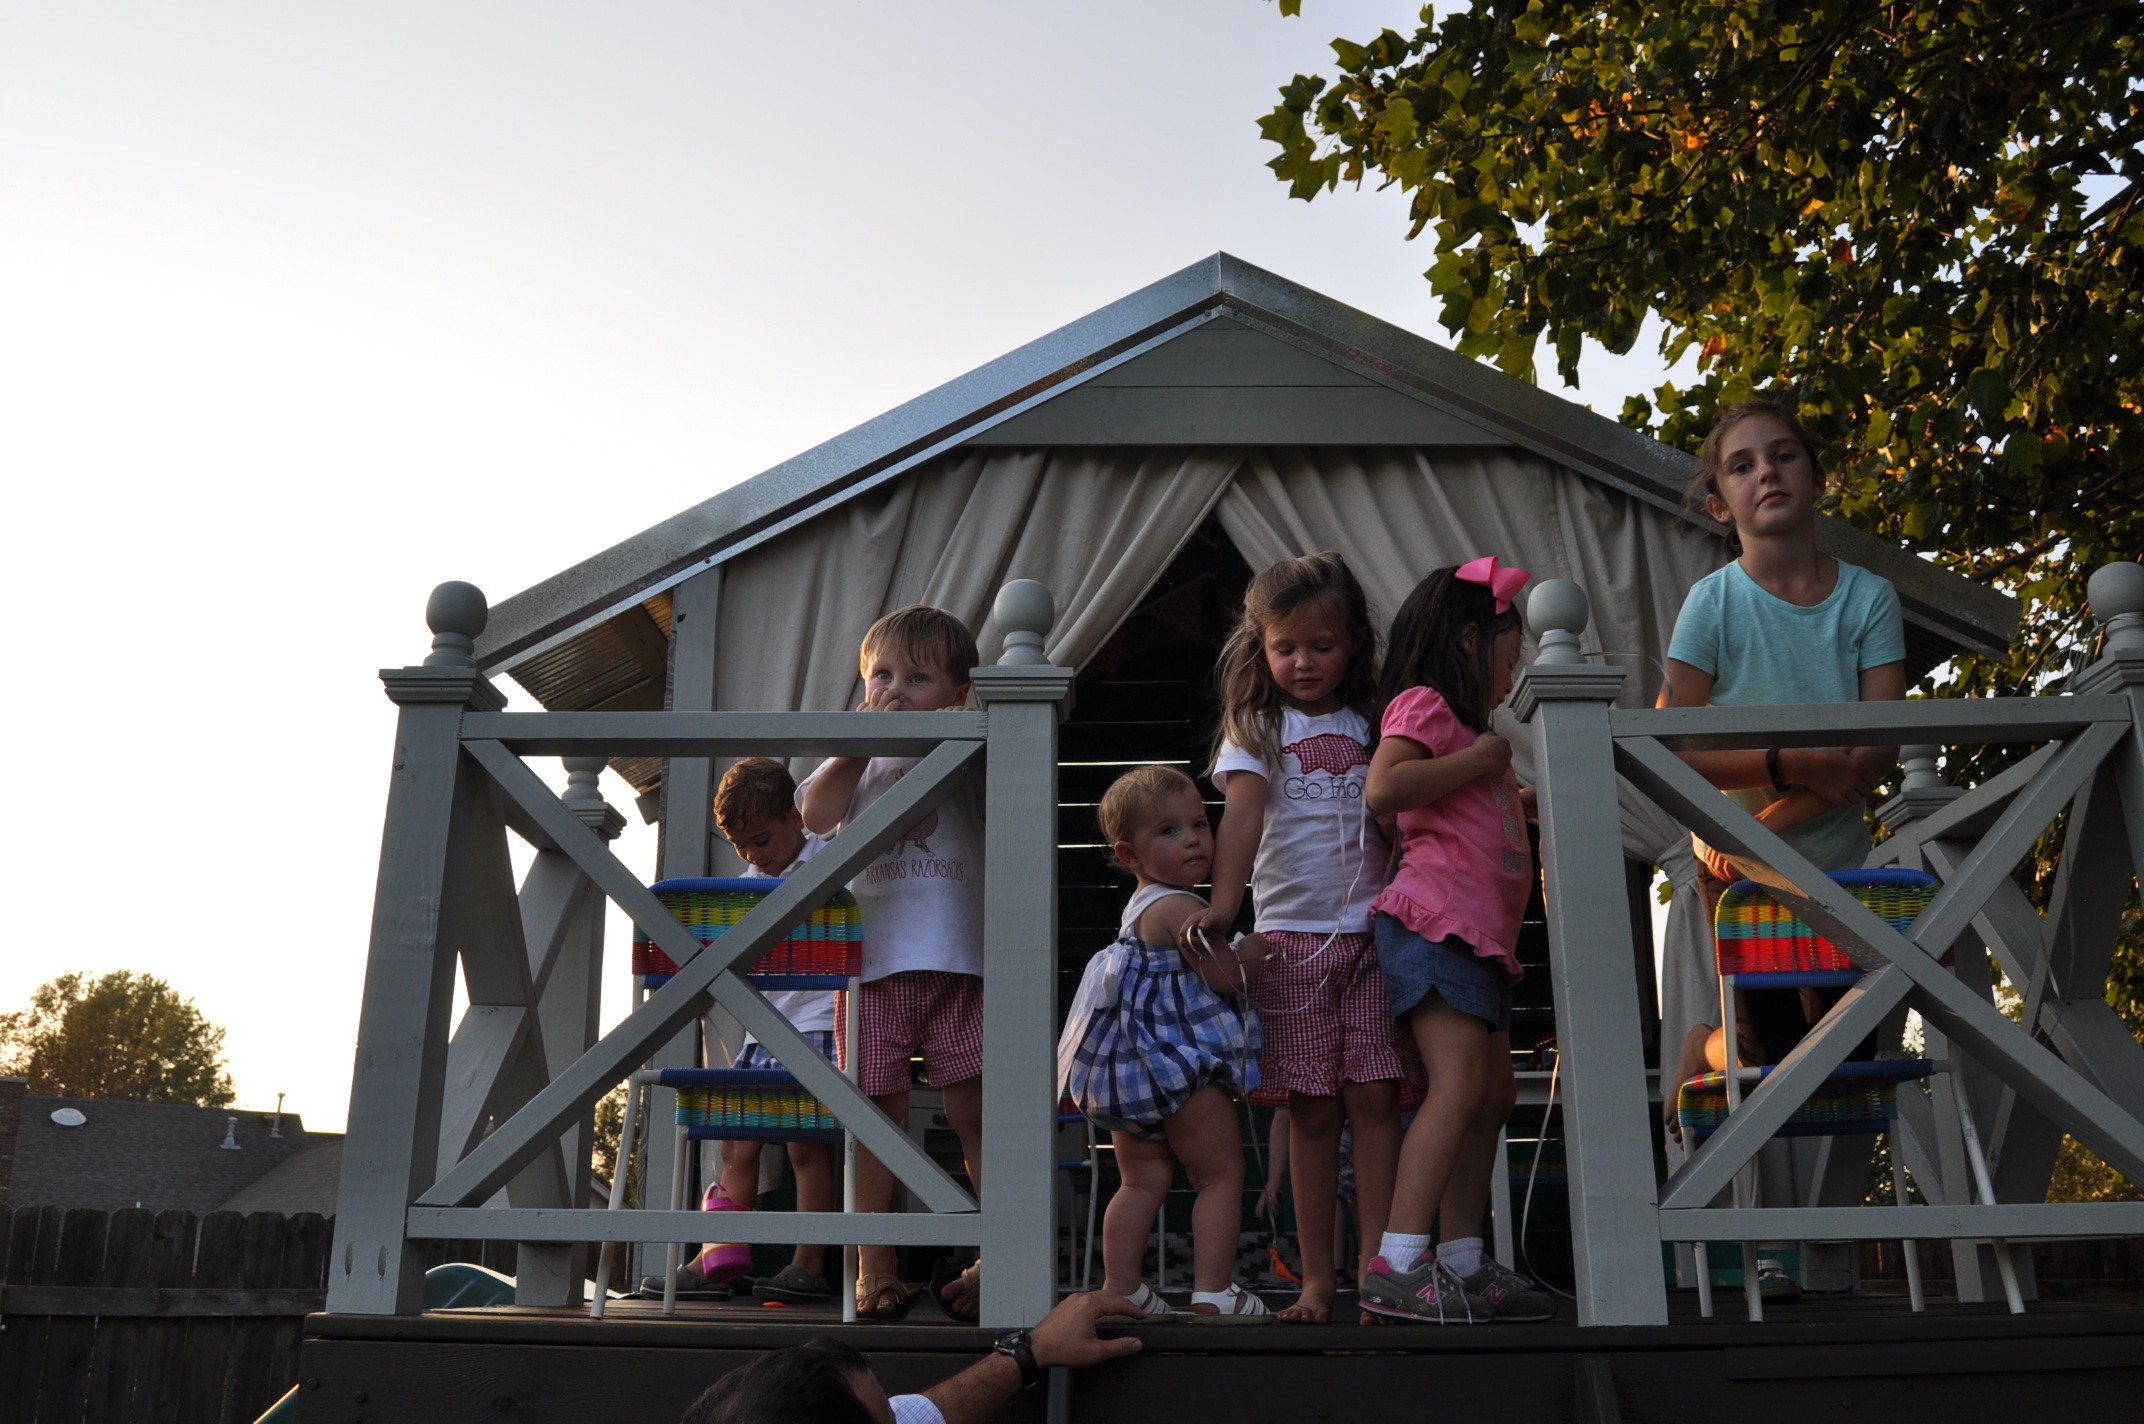
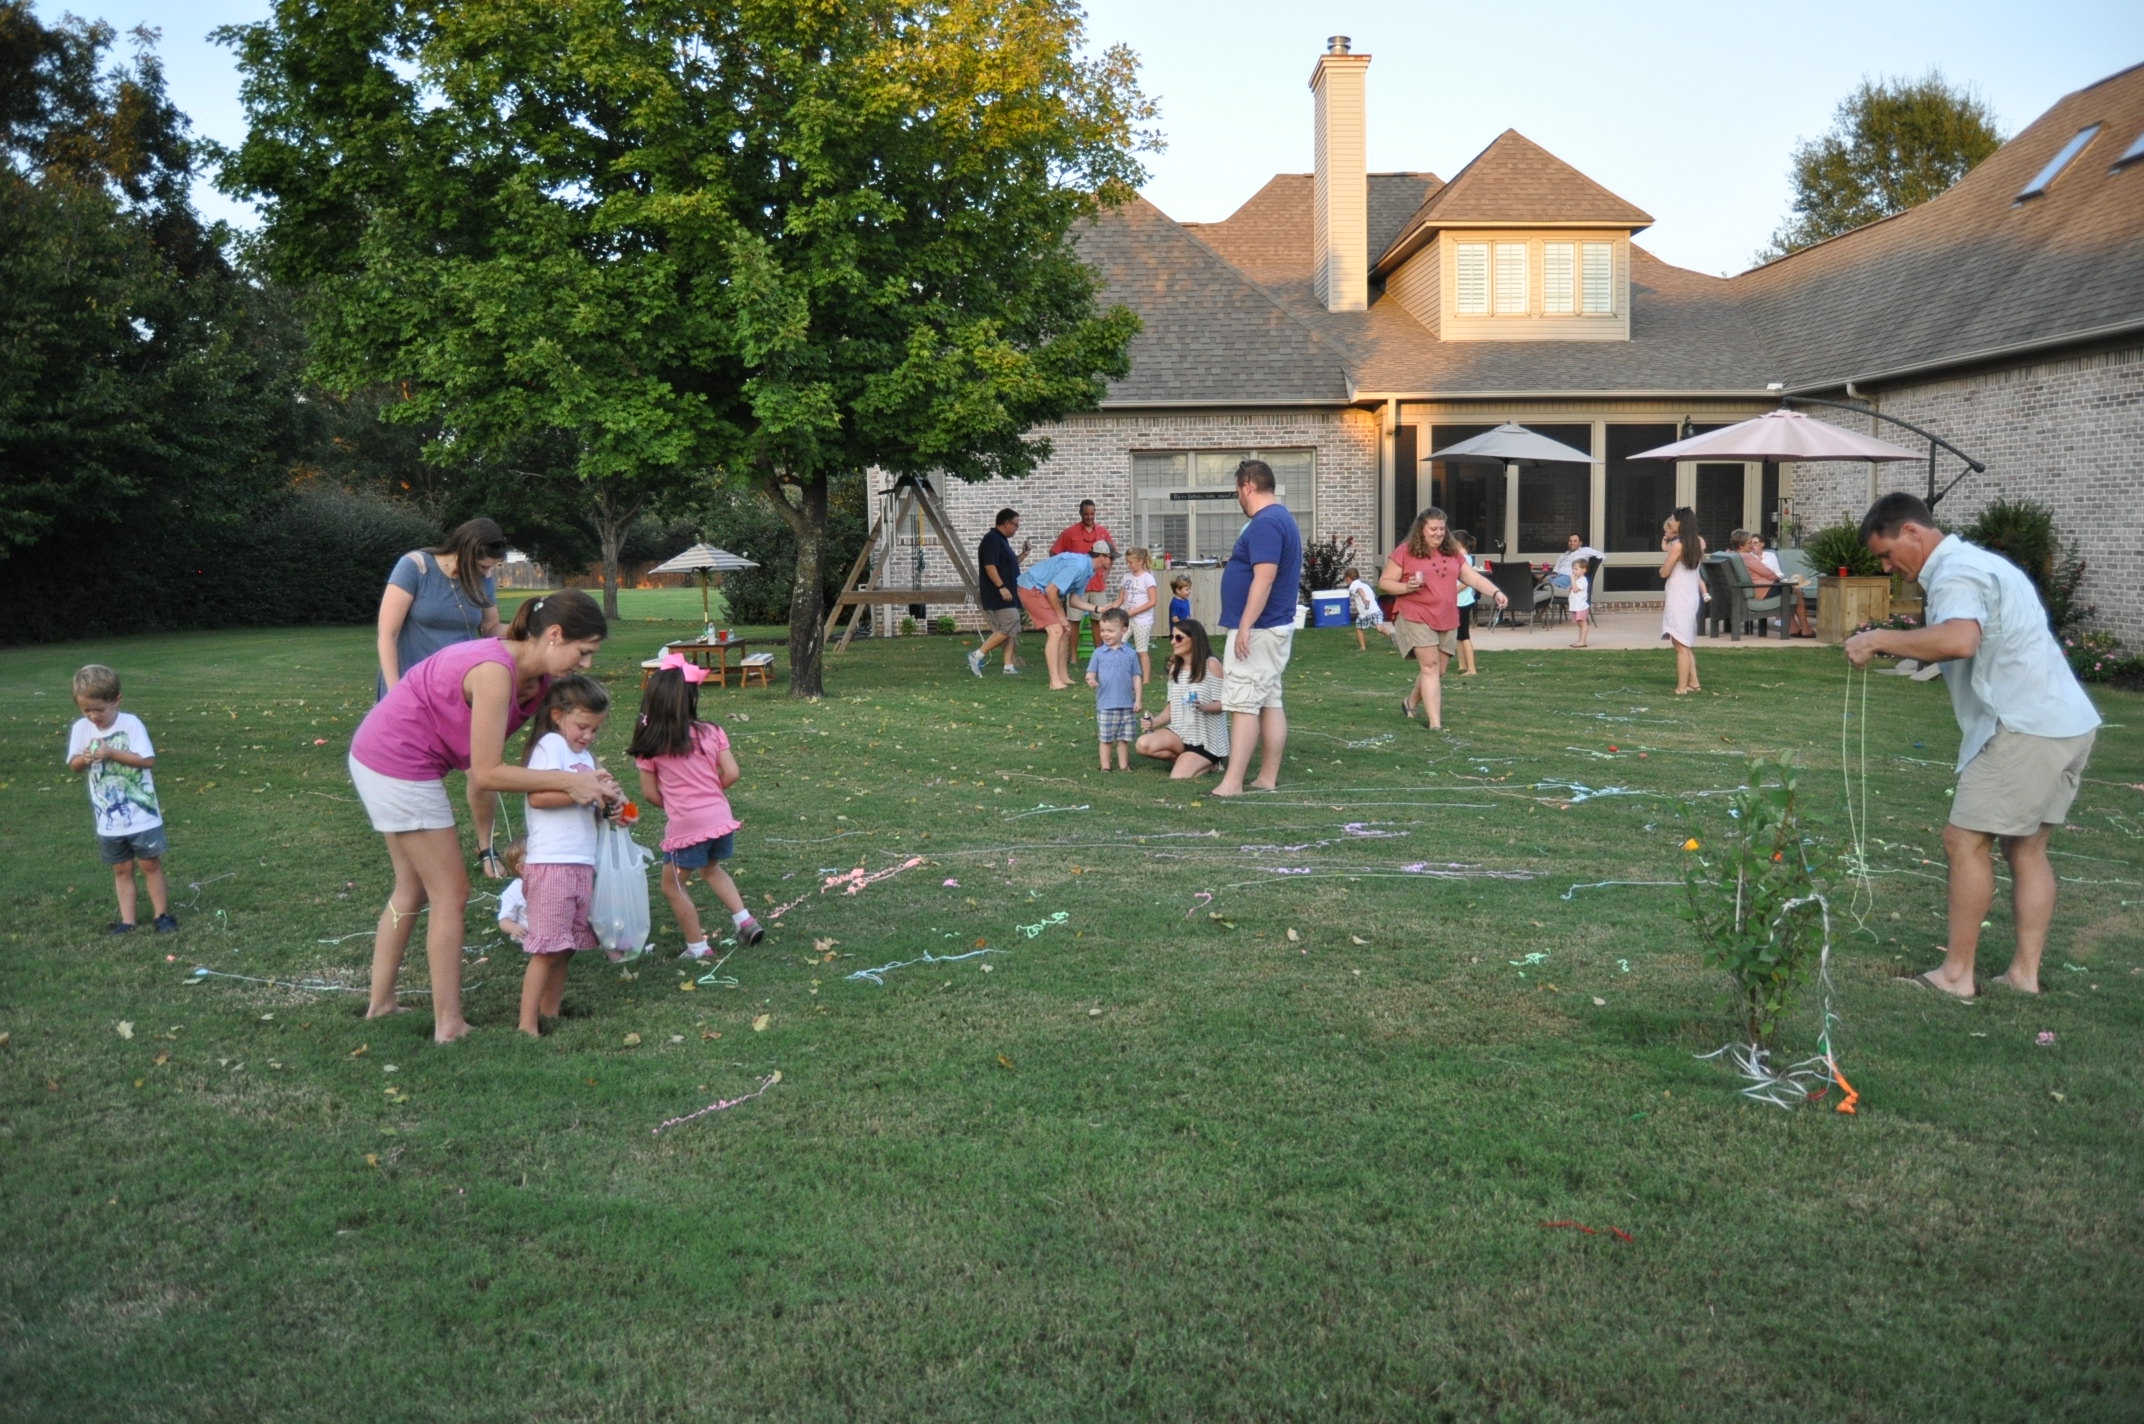
We worked and worked to get the backyard playhouse finished in time for her birthday.  It was her biggest birthday gift and her party had no real theme except to have her friends over to play in the new playhouse.  It might be the most low-key party we've had to date.  The kids ran around in the backyard, Matt made street tacos for dinner, I ordered the cake for the first time ever, and we just had fun visiting with our friends.  

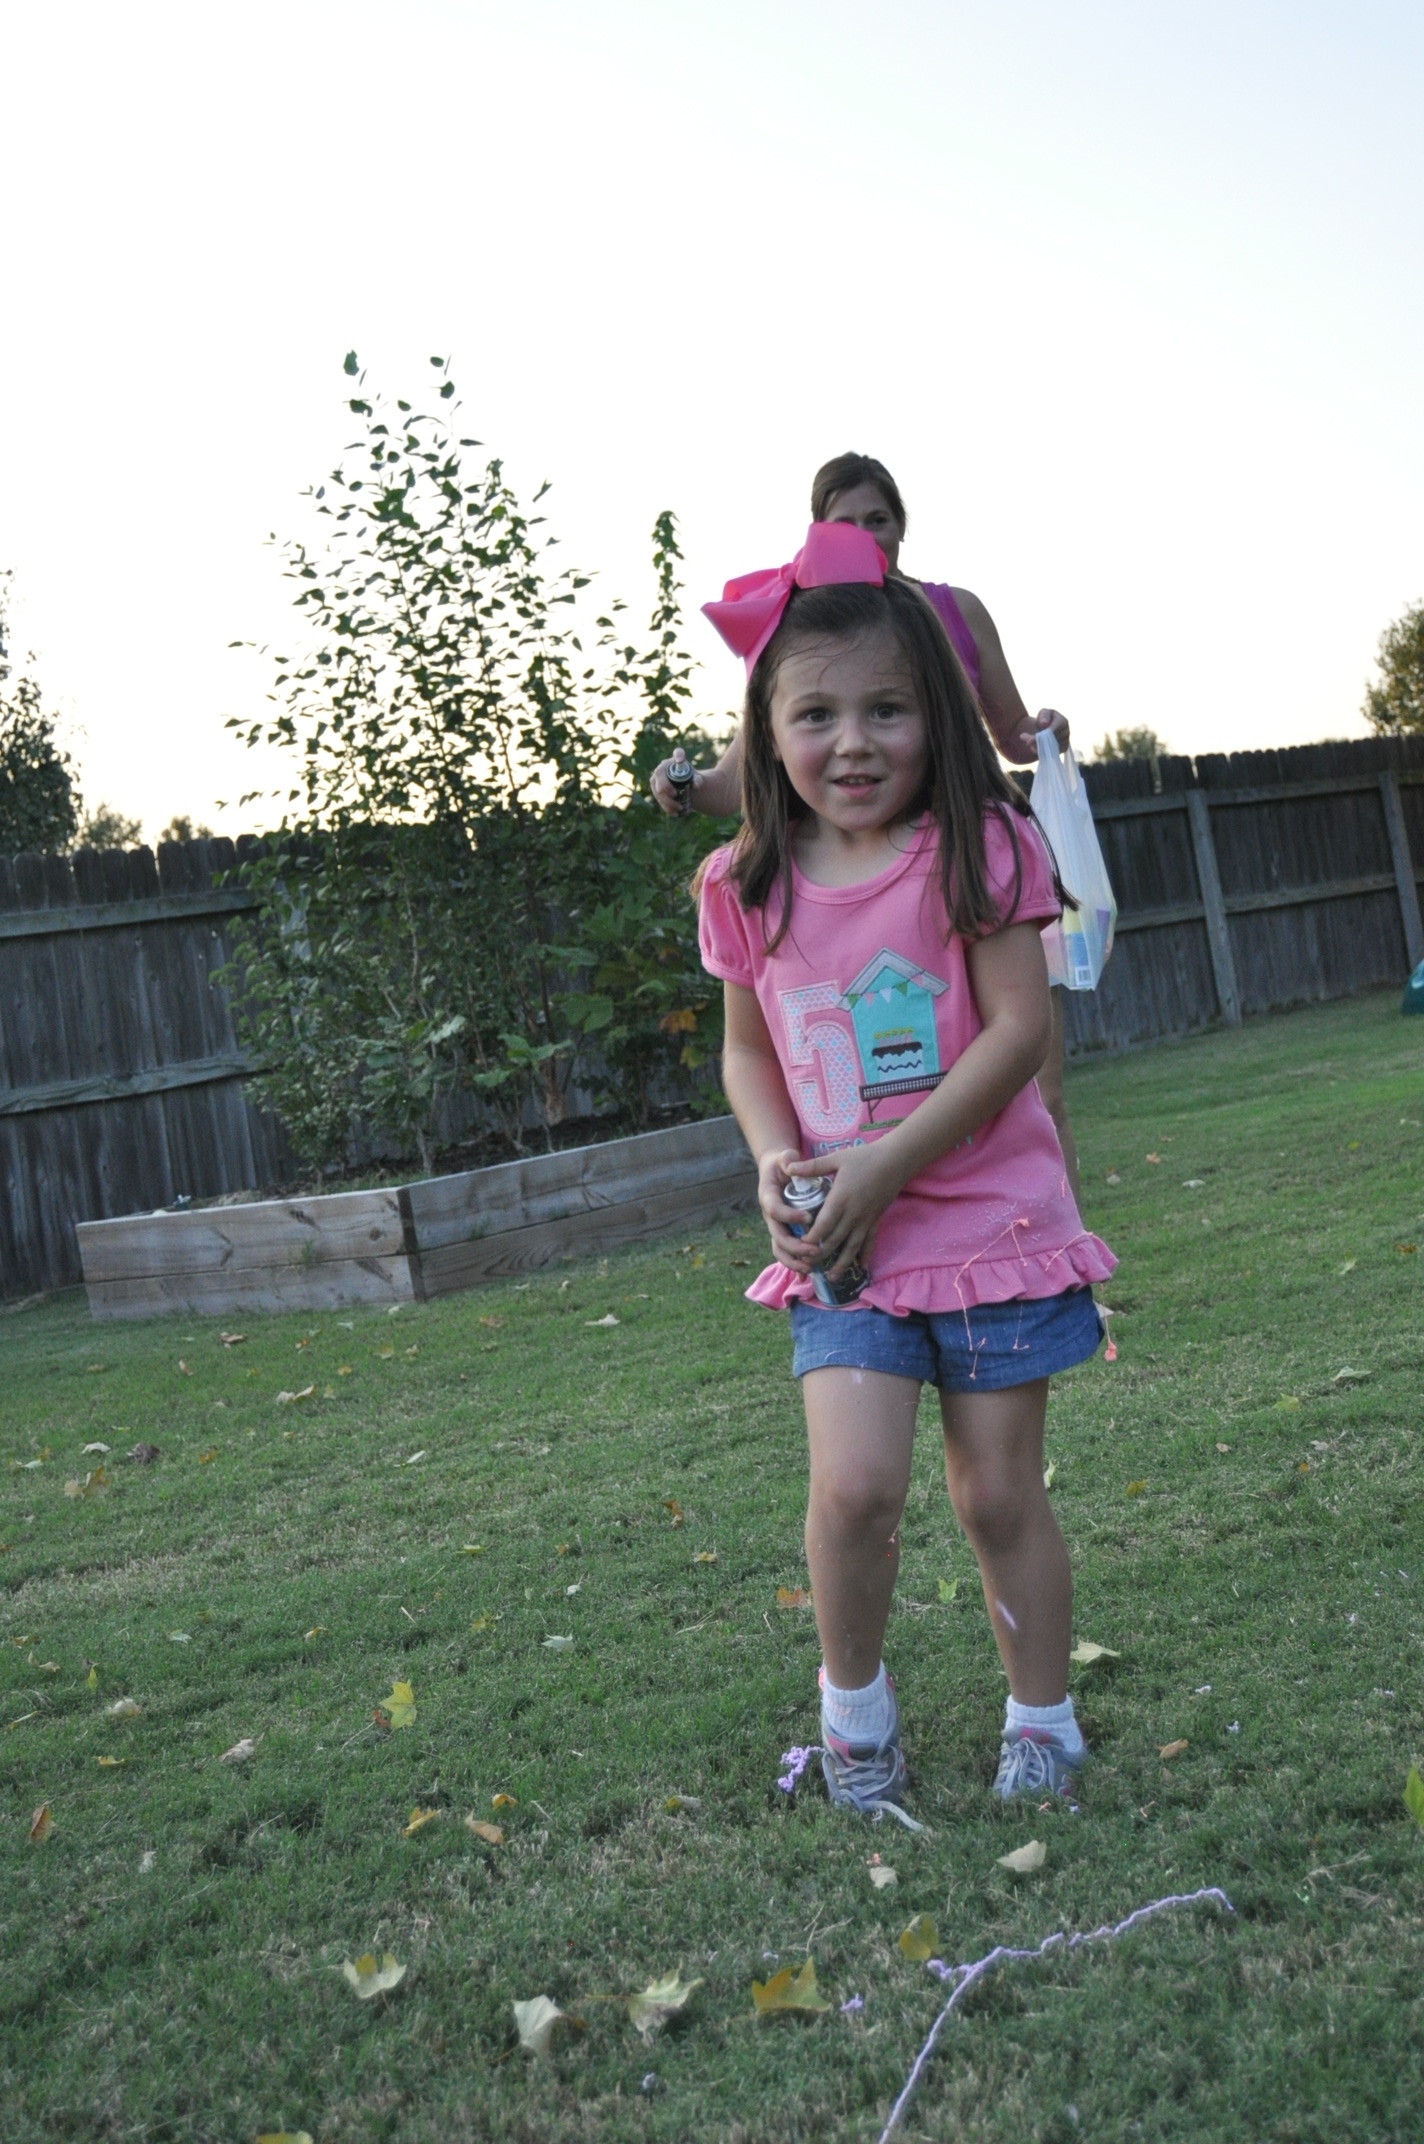
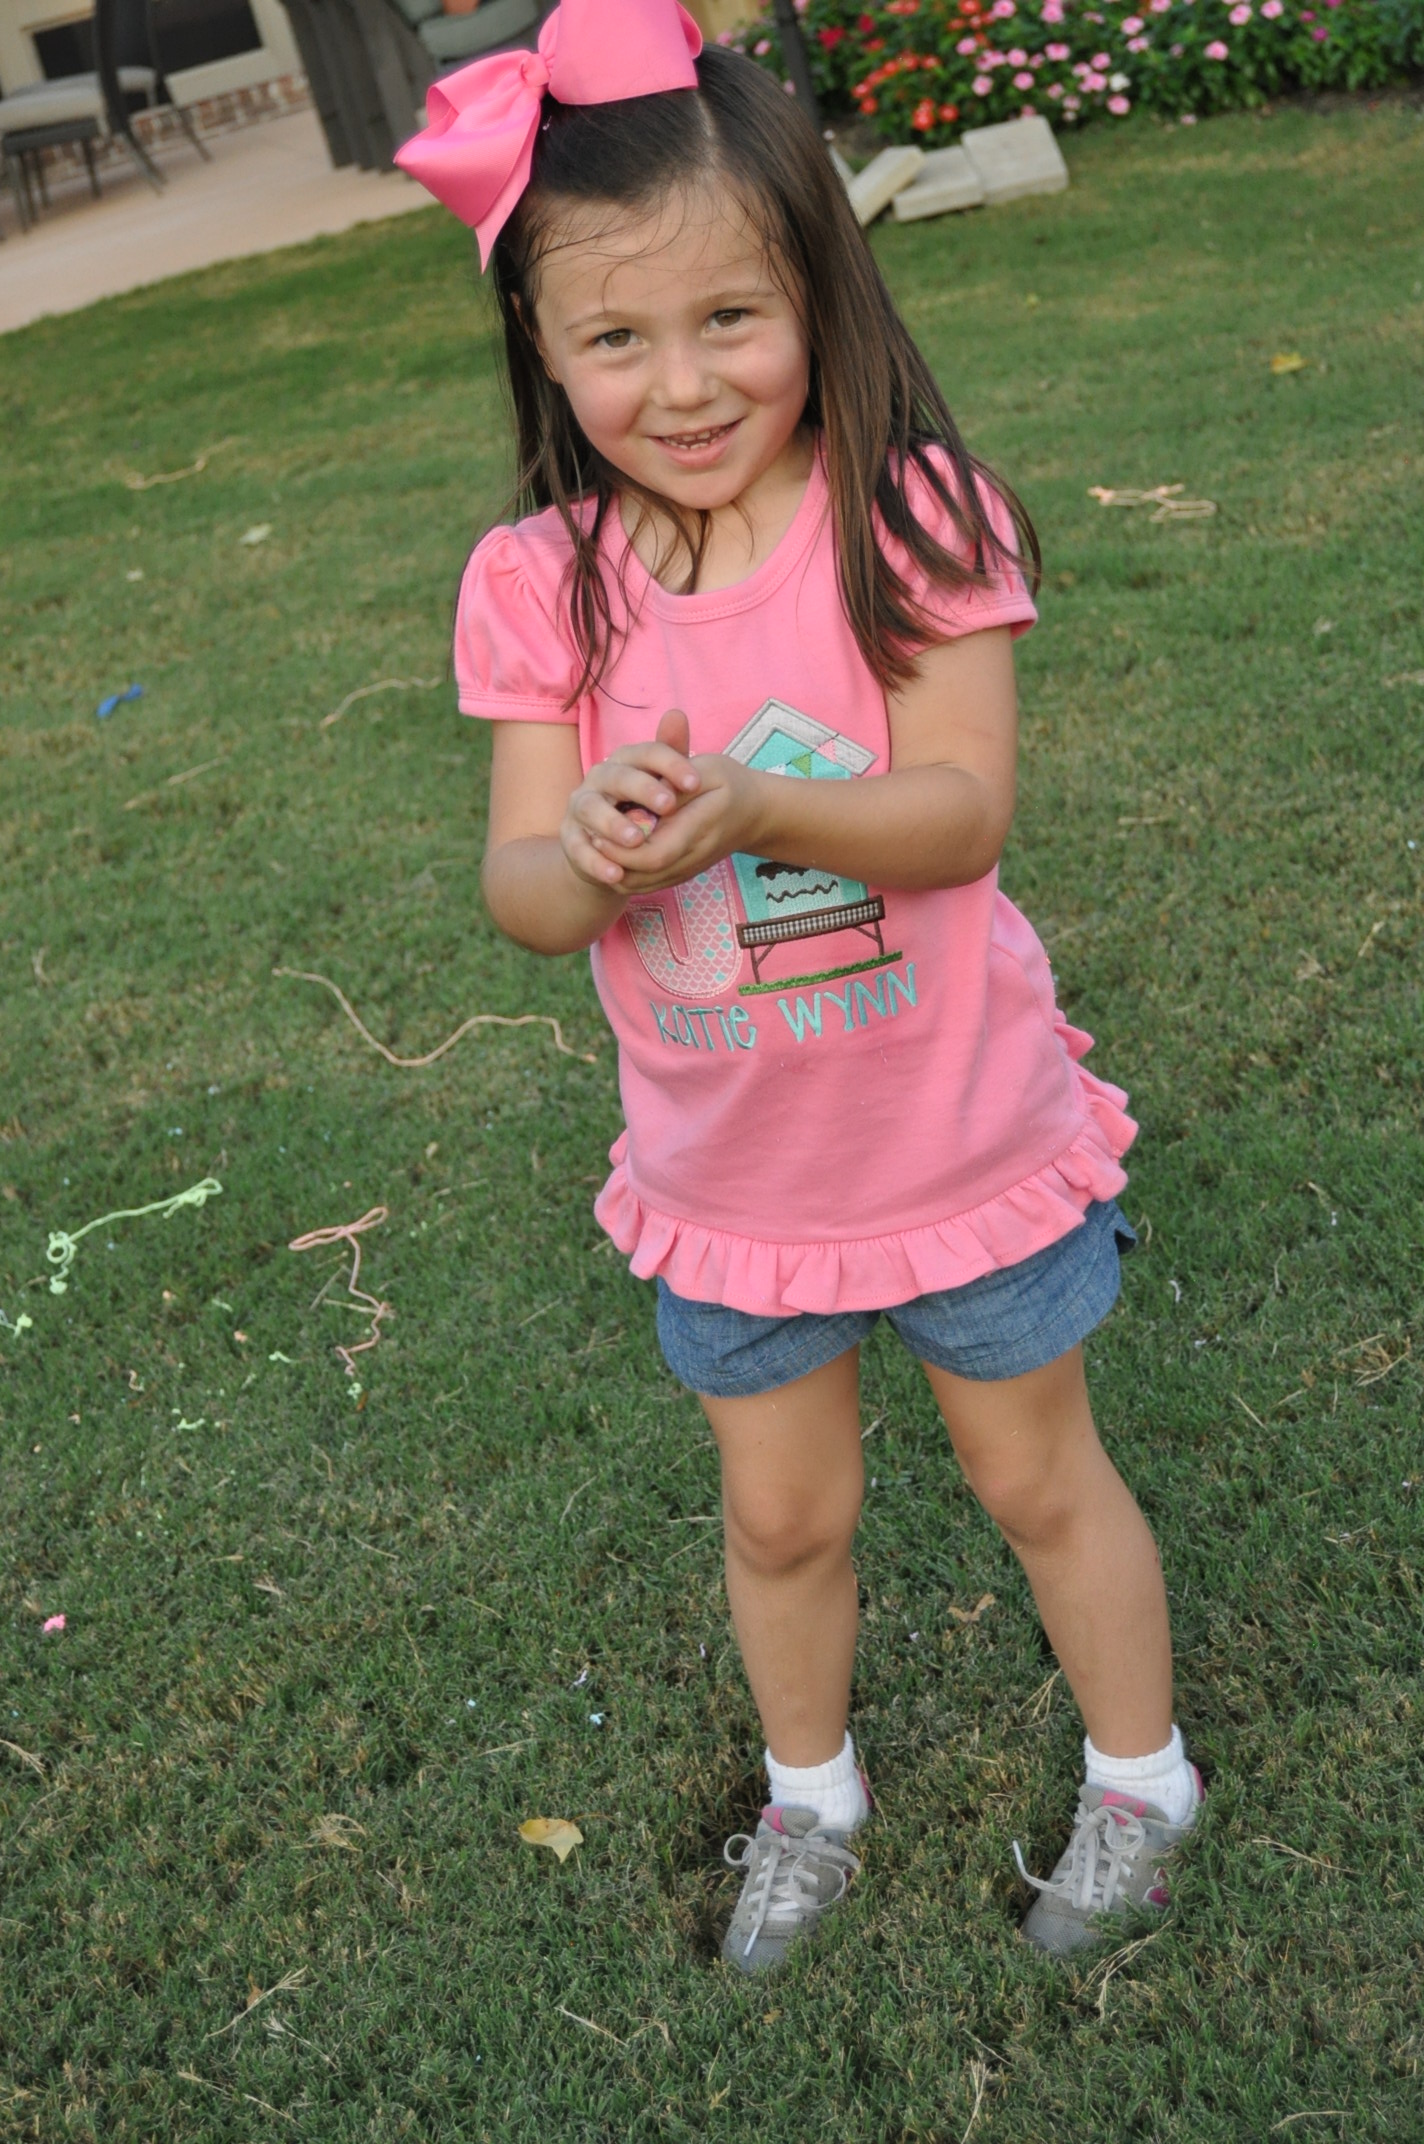
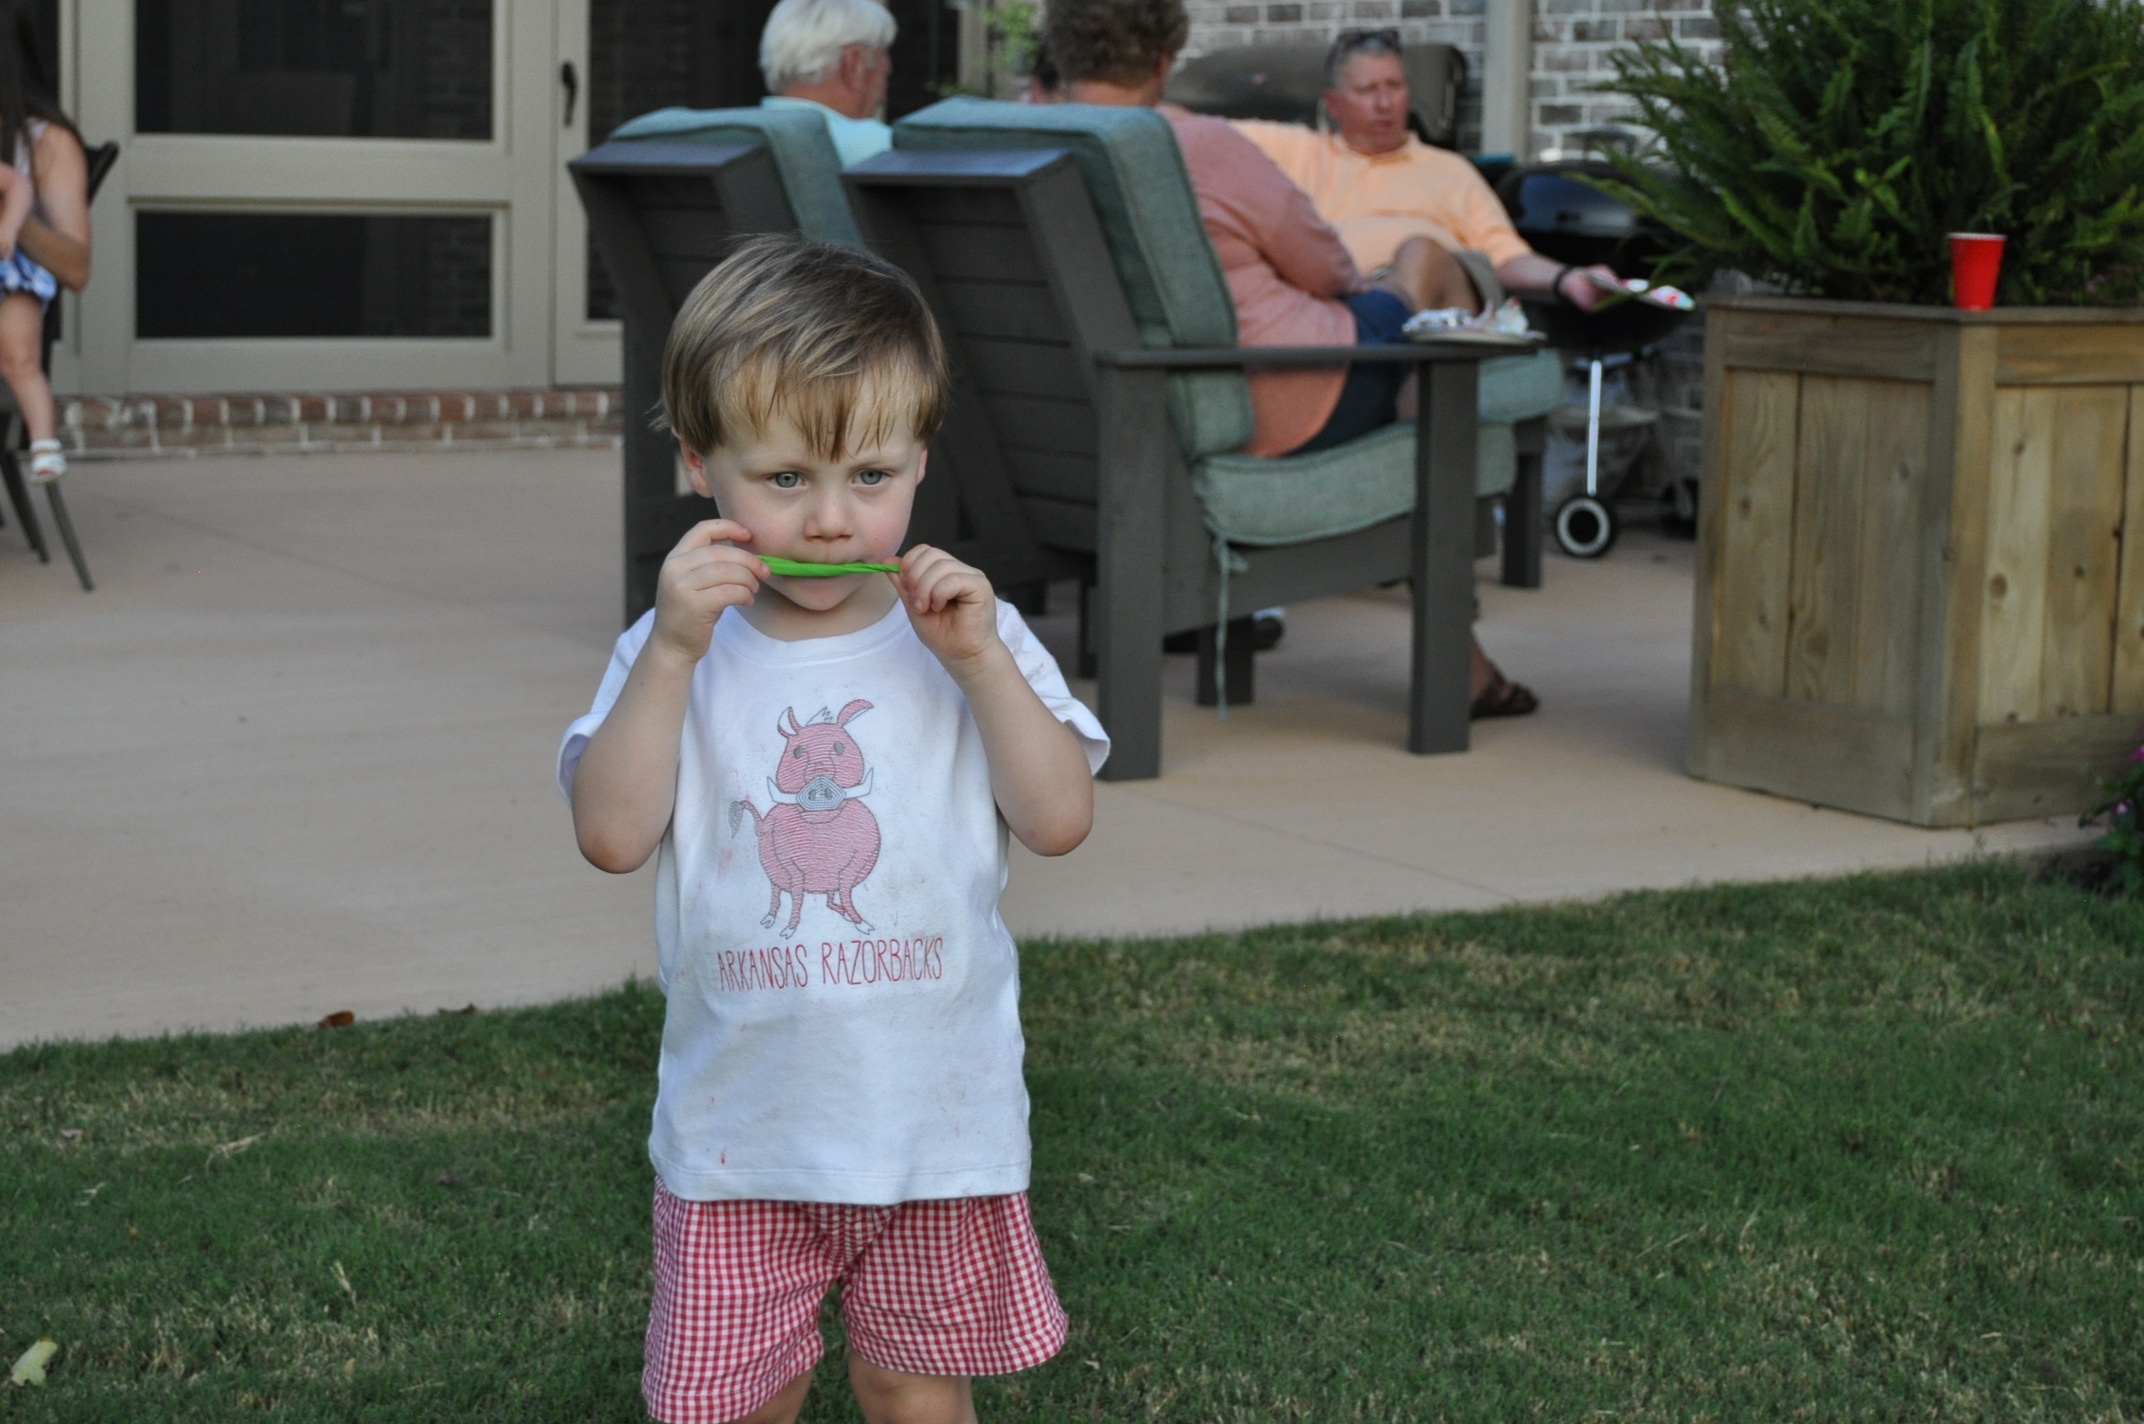
Special thanks to Beth for taking snapshots at the party for us!  Of course I made Katie Wynn a shirt for her party.  I asked her what she wanted on it and her requests were a big five, a cake, balloons, and grass.  Um, ok.  Amazingly, I was able to get all of her requests on the shirt except for the balloons.  I substituted bunting for those but I added the playhouse too so I think she was ok with it.  

DSC_0315.JPG
DSC_0316.JPG
DSC_0320.JPG
DSC_0323.JPG

At the last minute, I got a little nervous that none of the kids would want to play in the new playhouse, but they all went straight for it as they arrived in the backyard.  Phew!

After we ate Matt's delicious tacos, I called the kids around for a surprise.  

DSC_0357.JPG

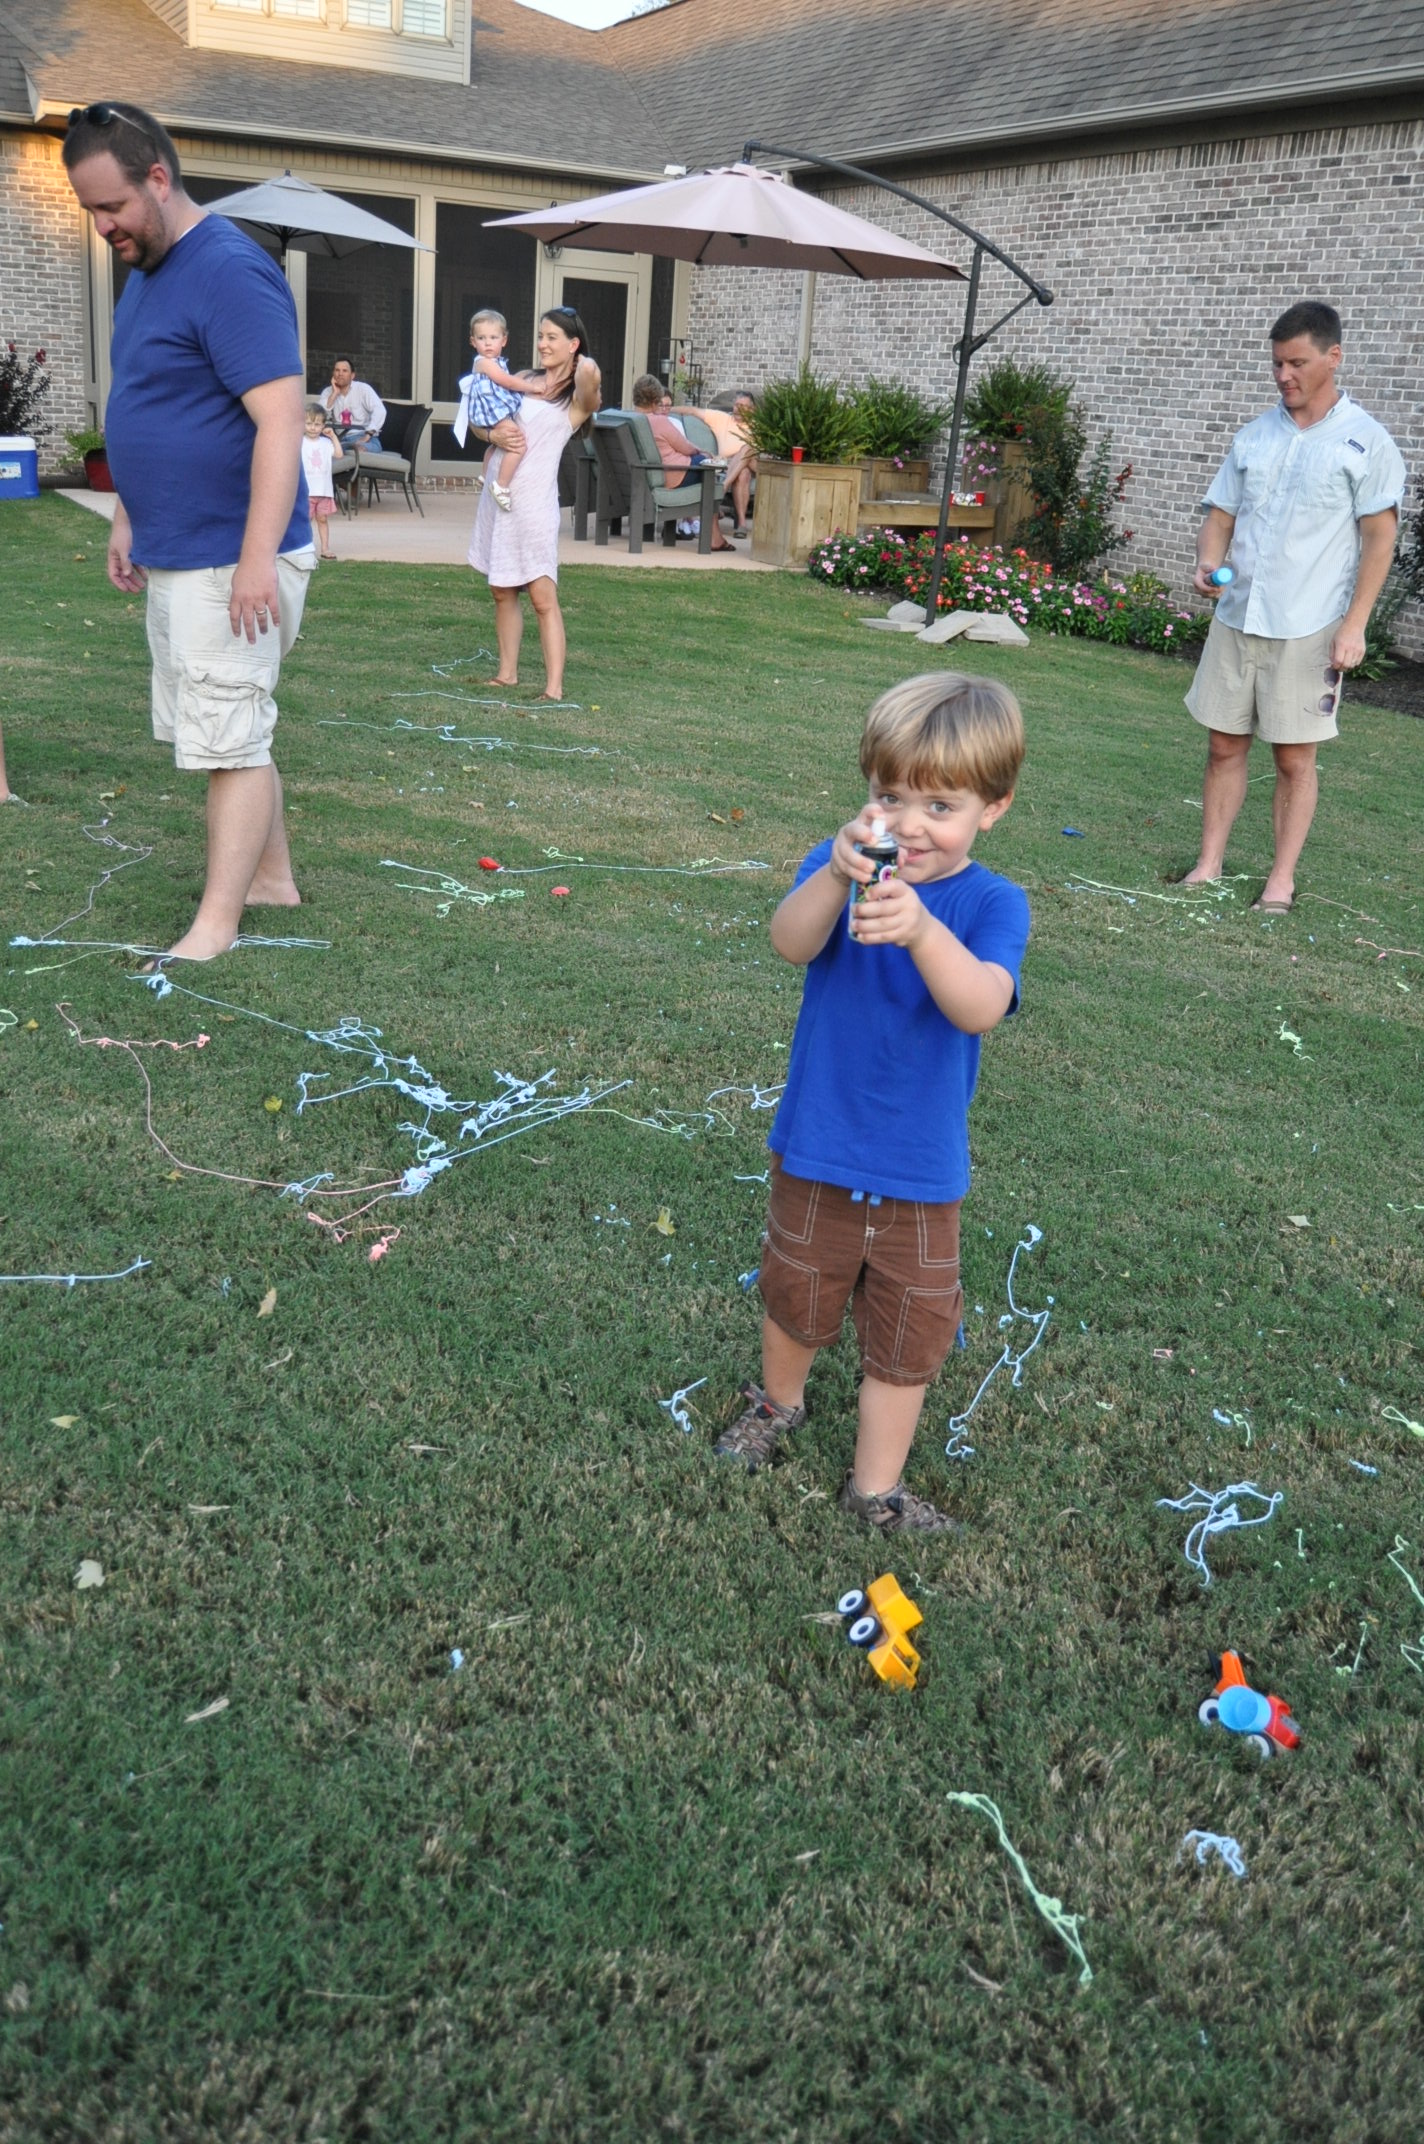
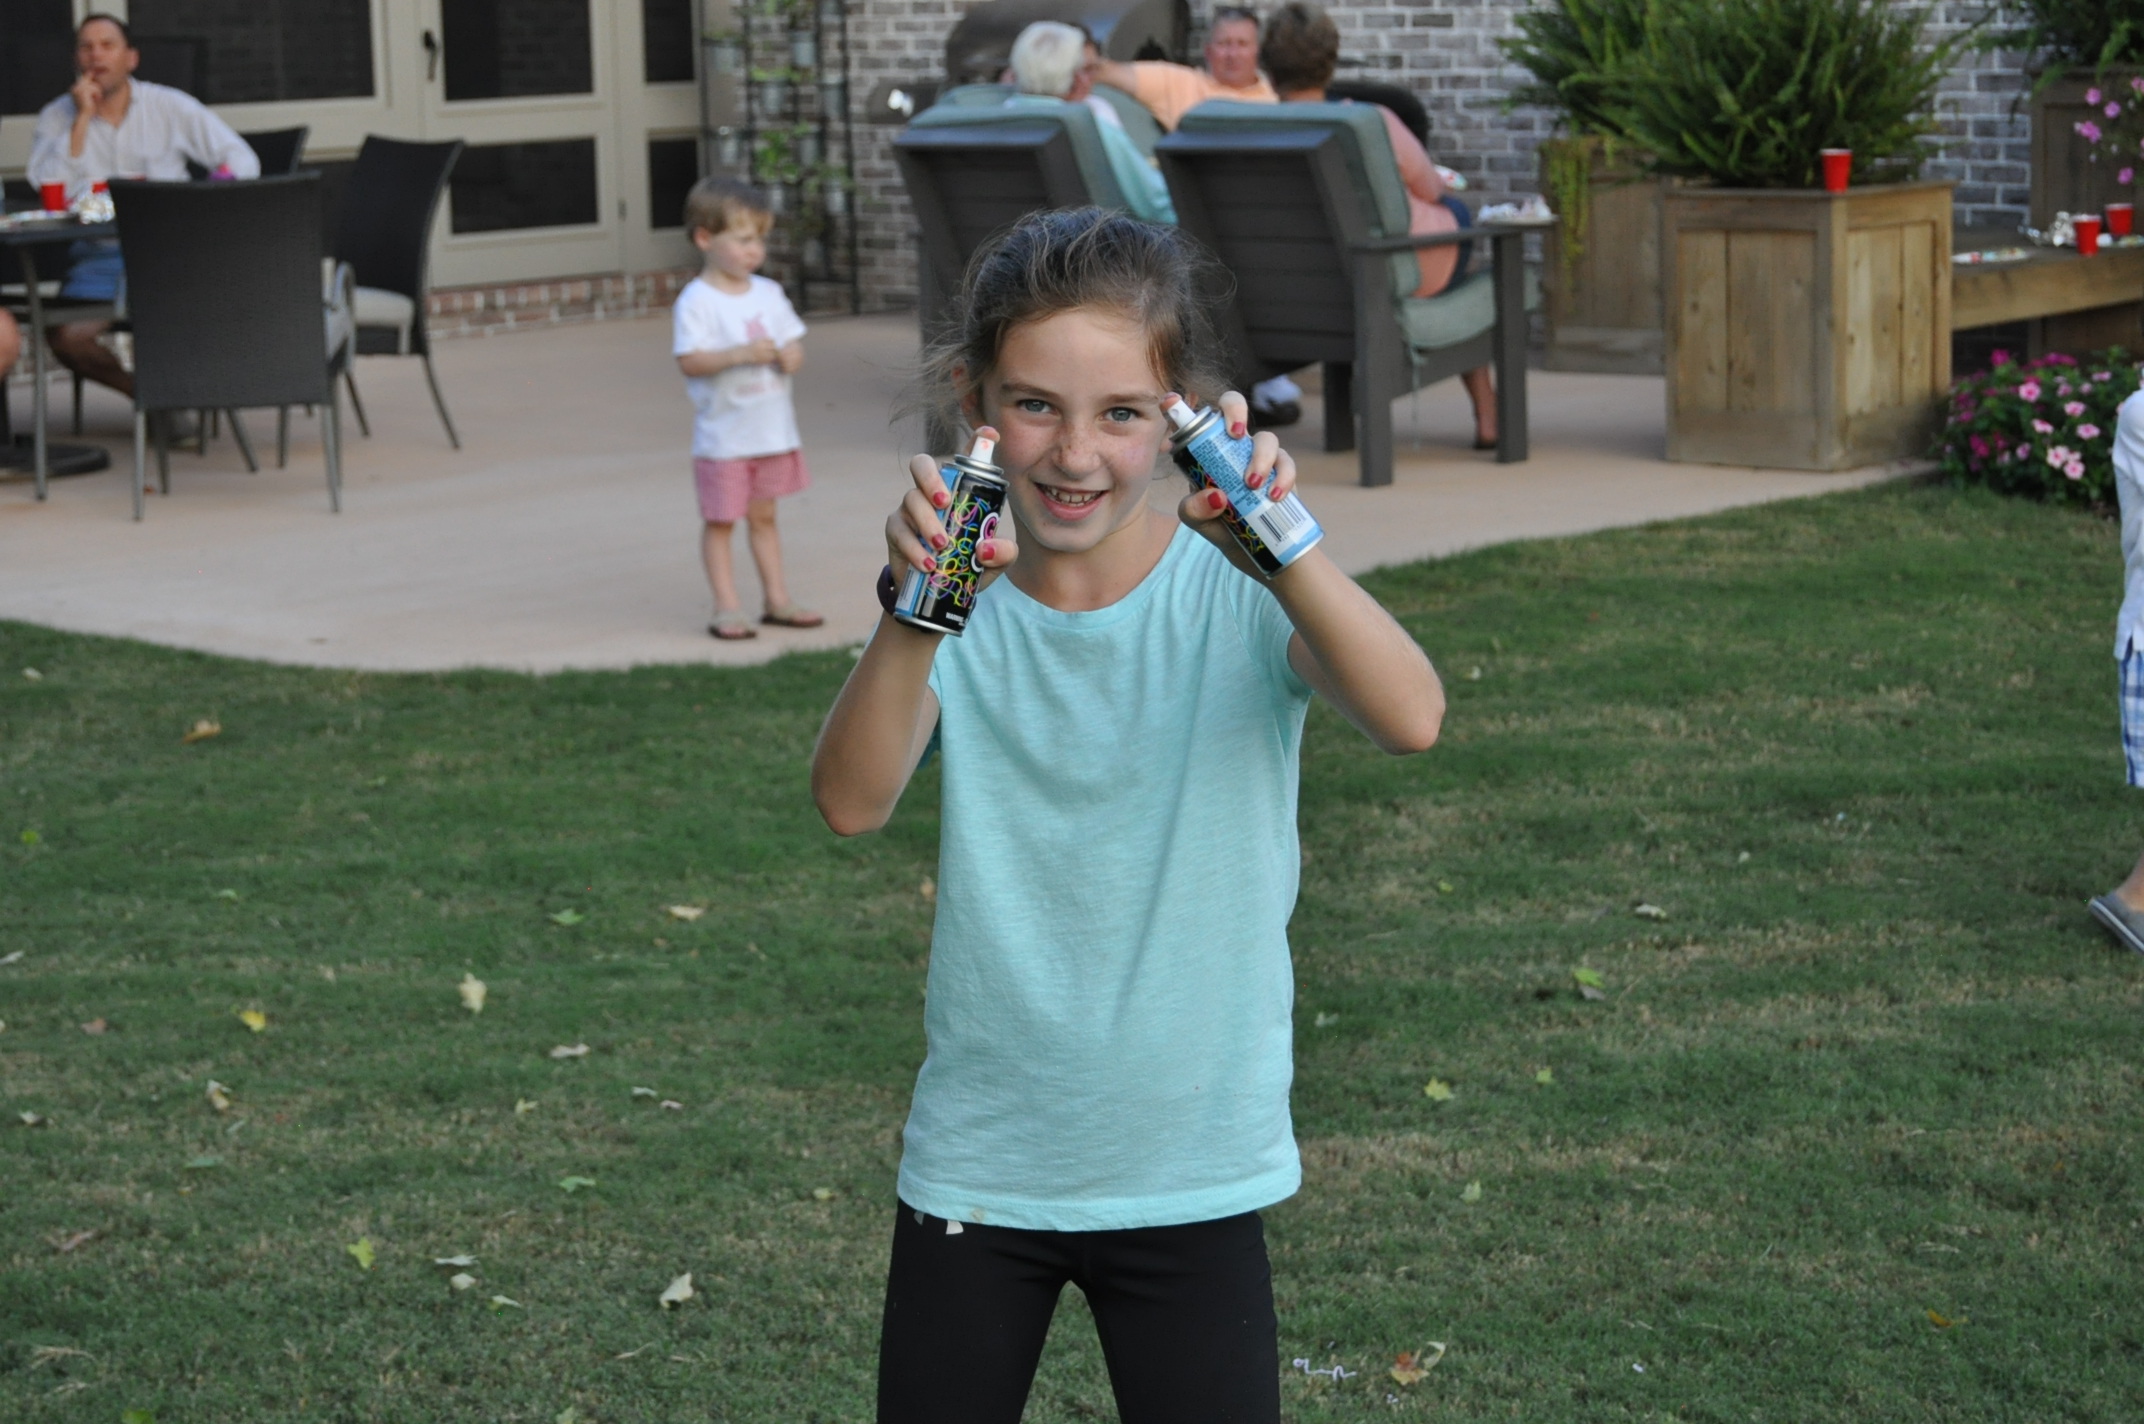
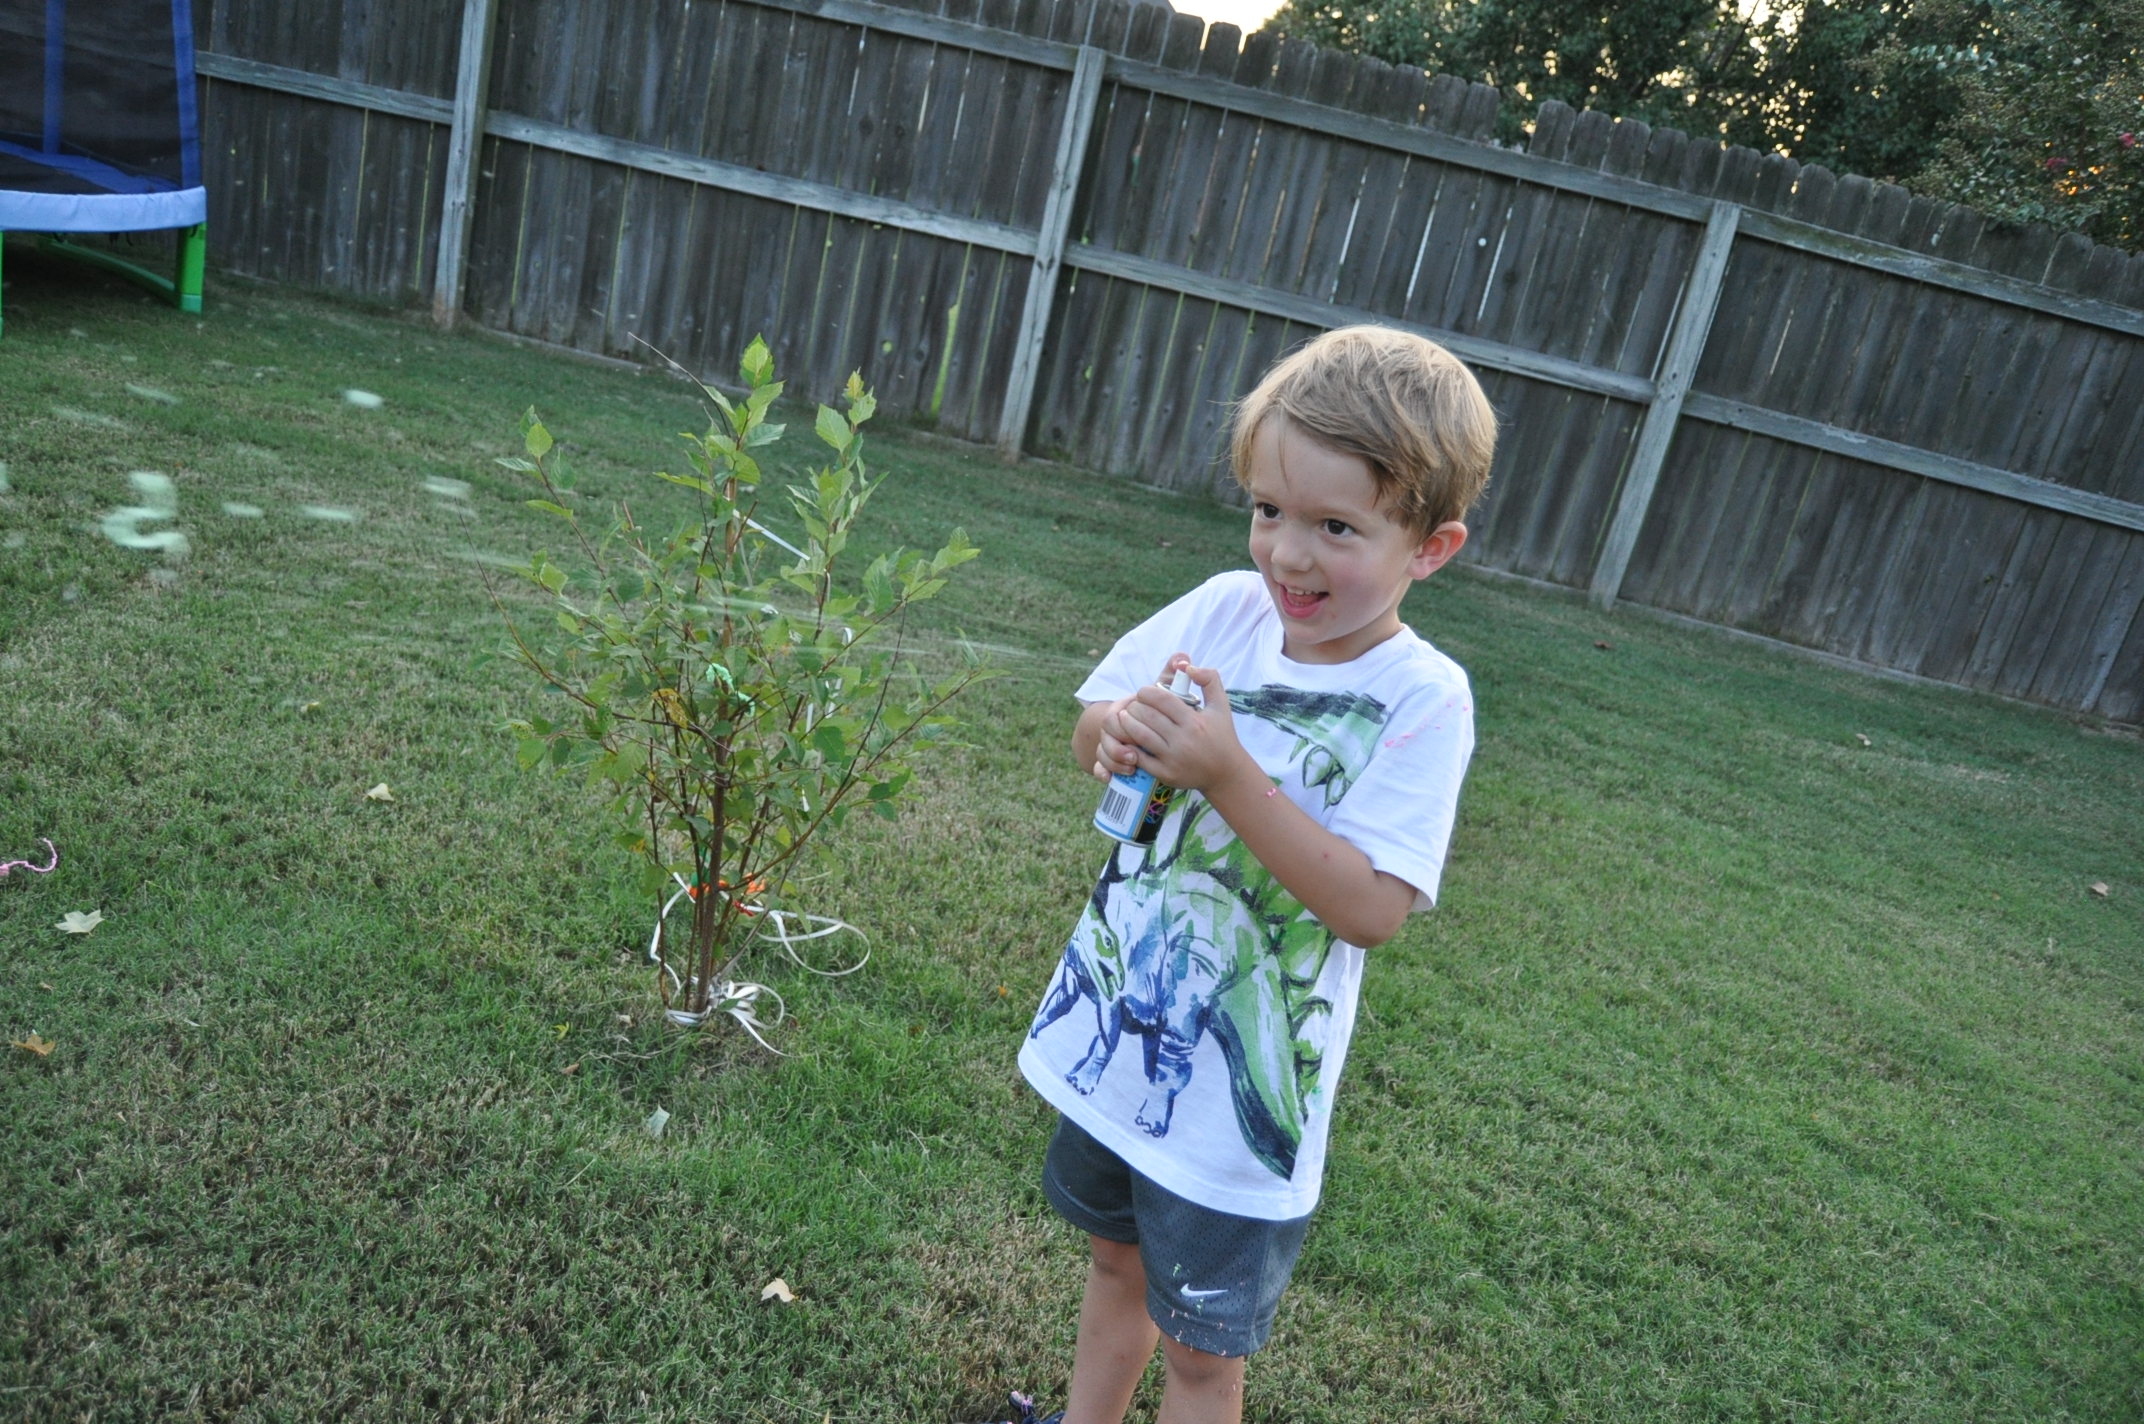
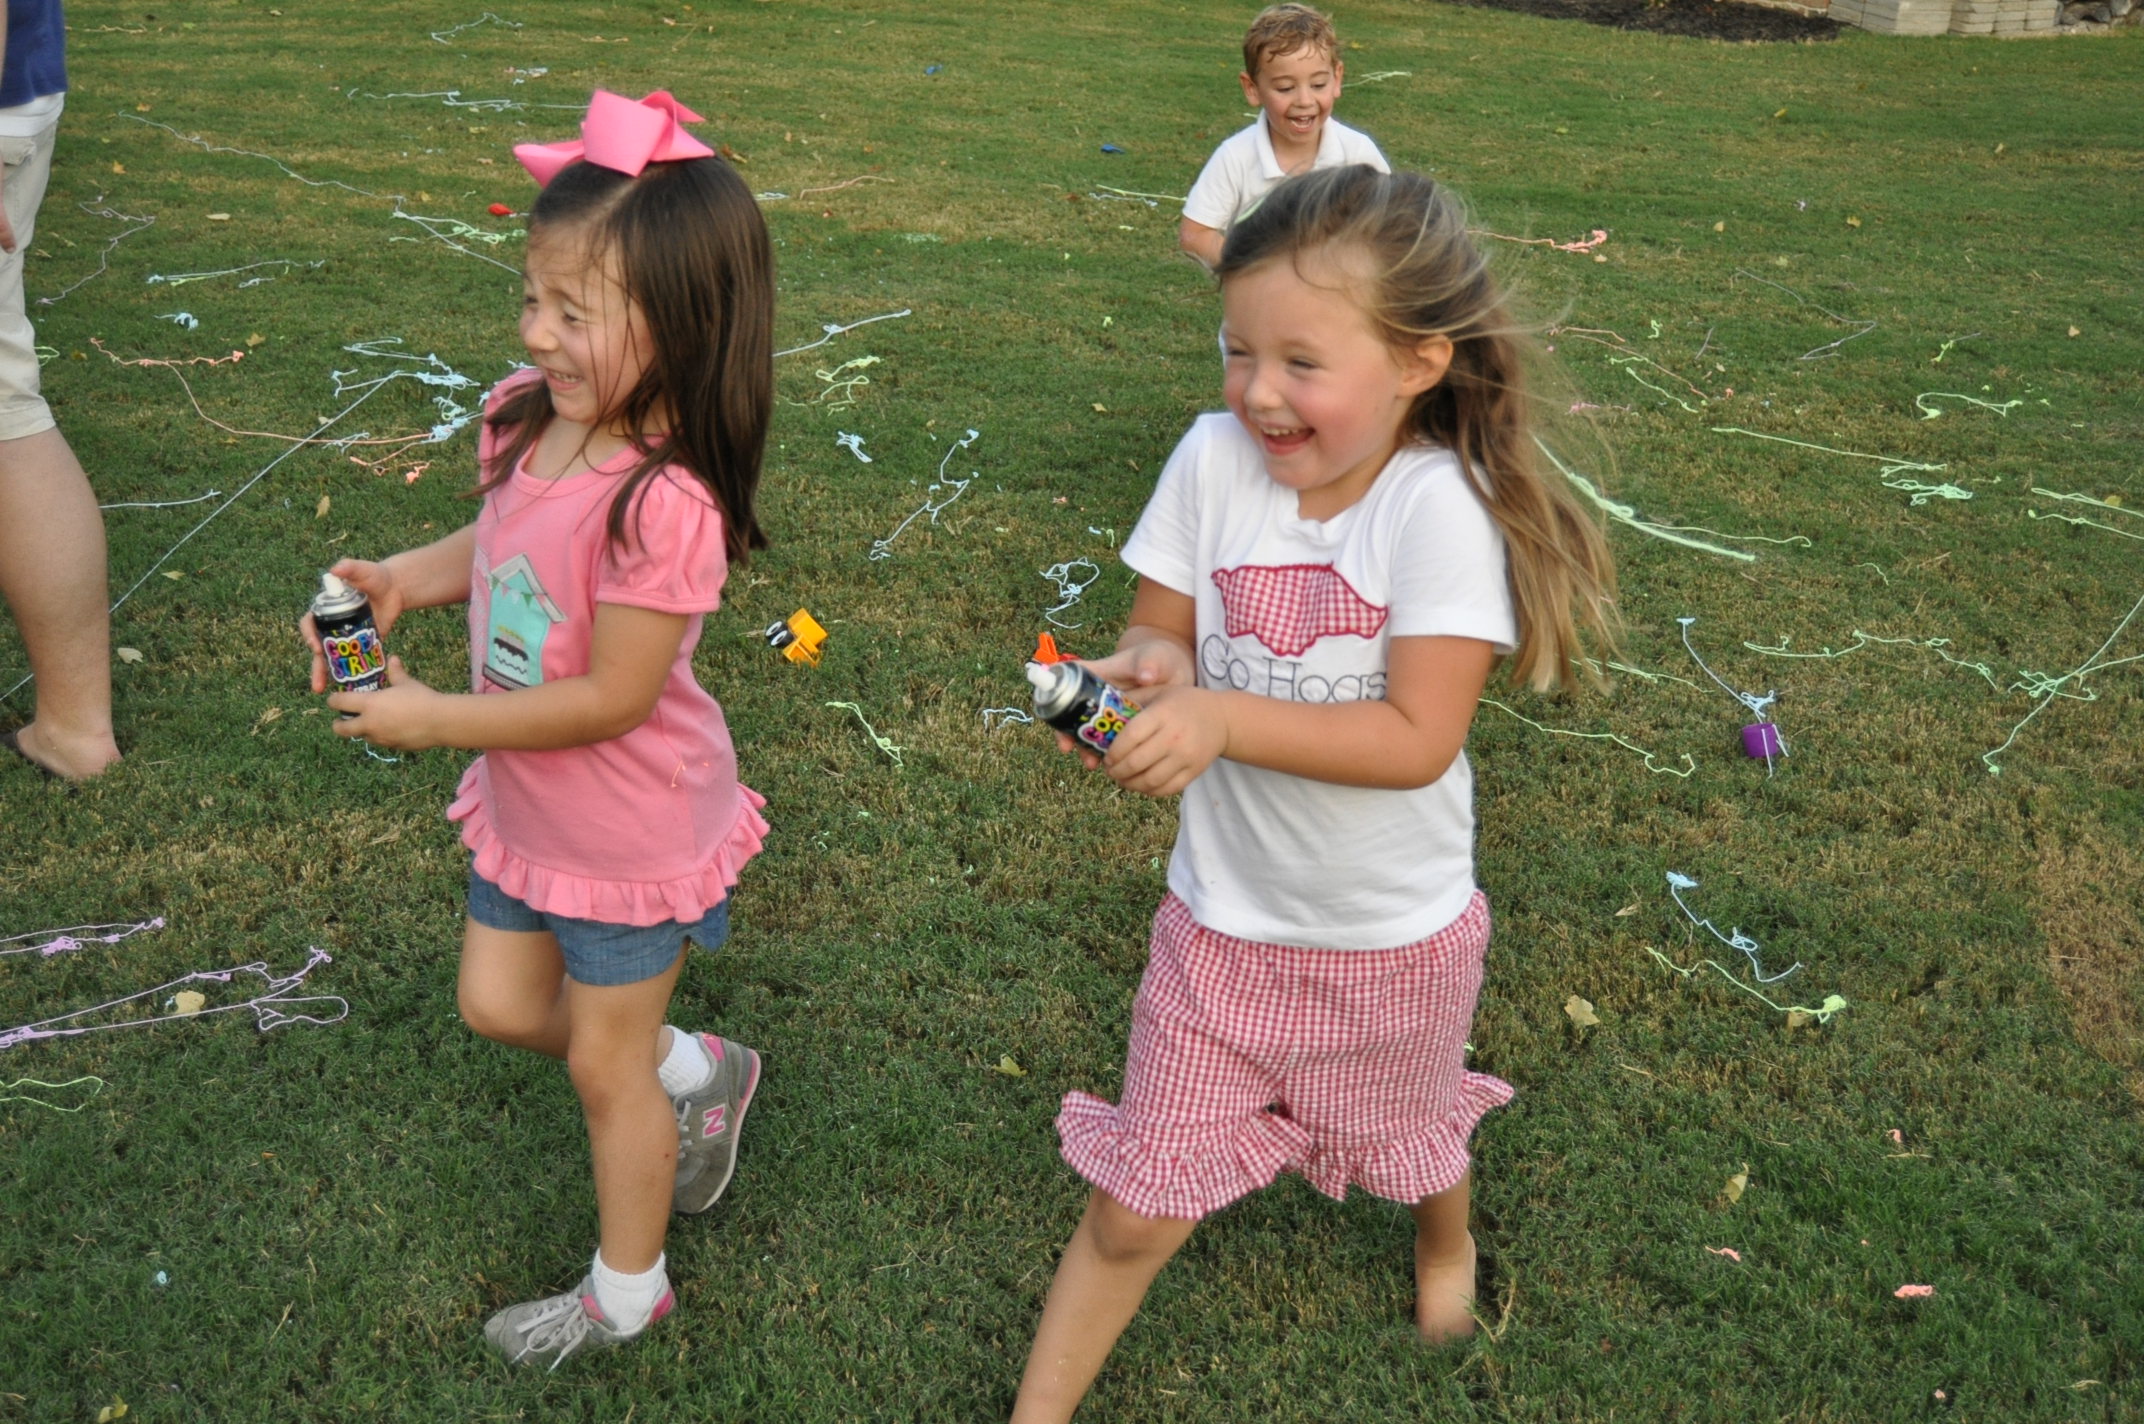
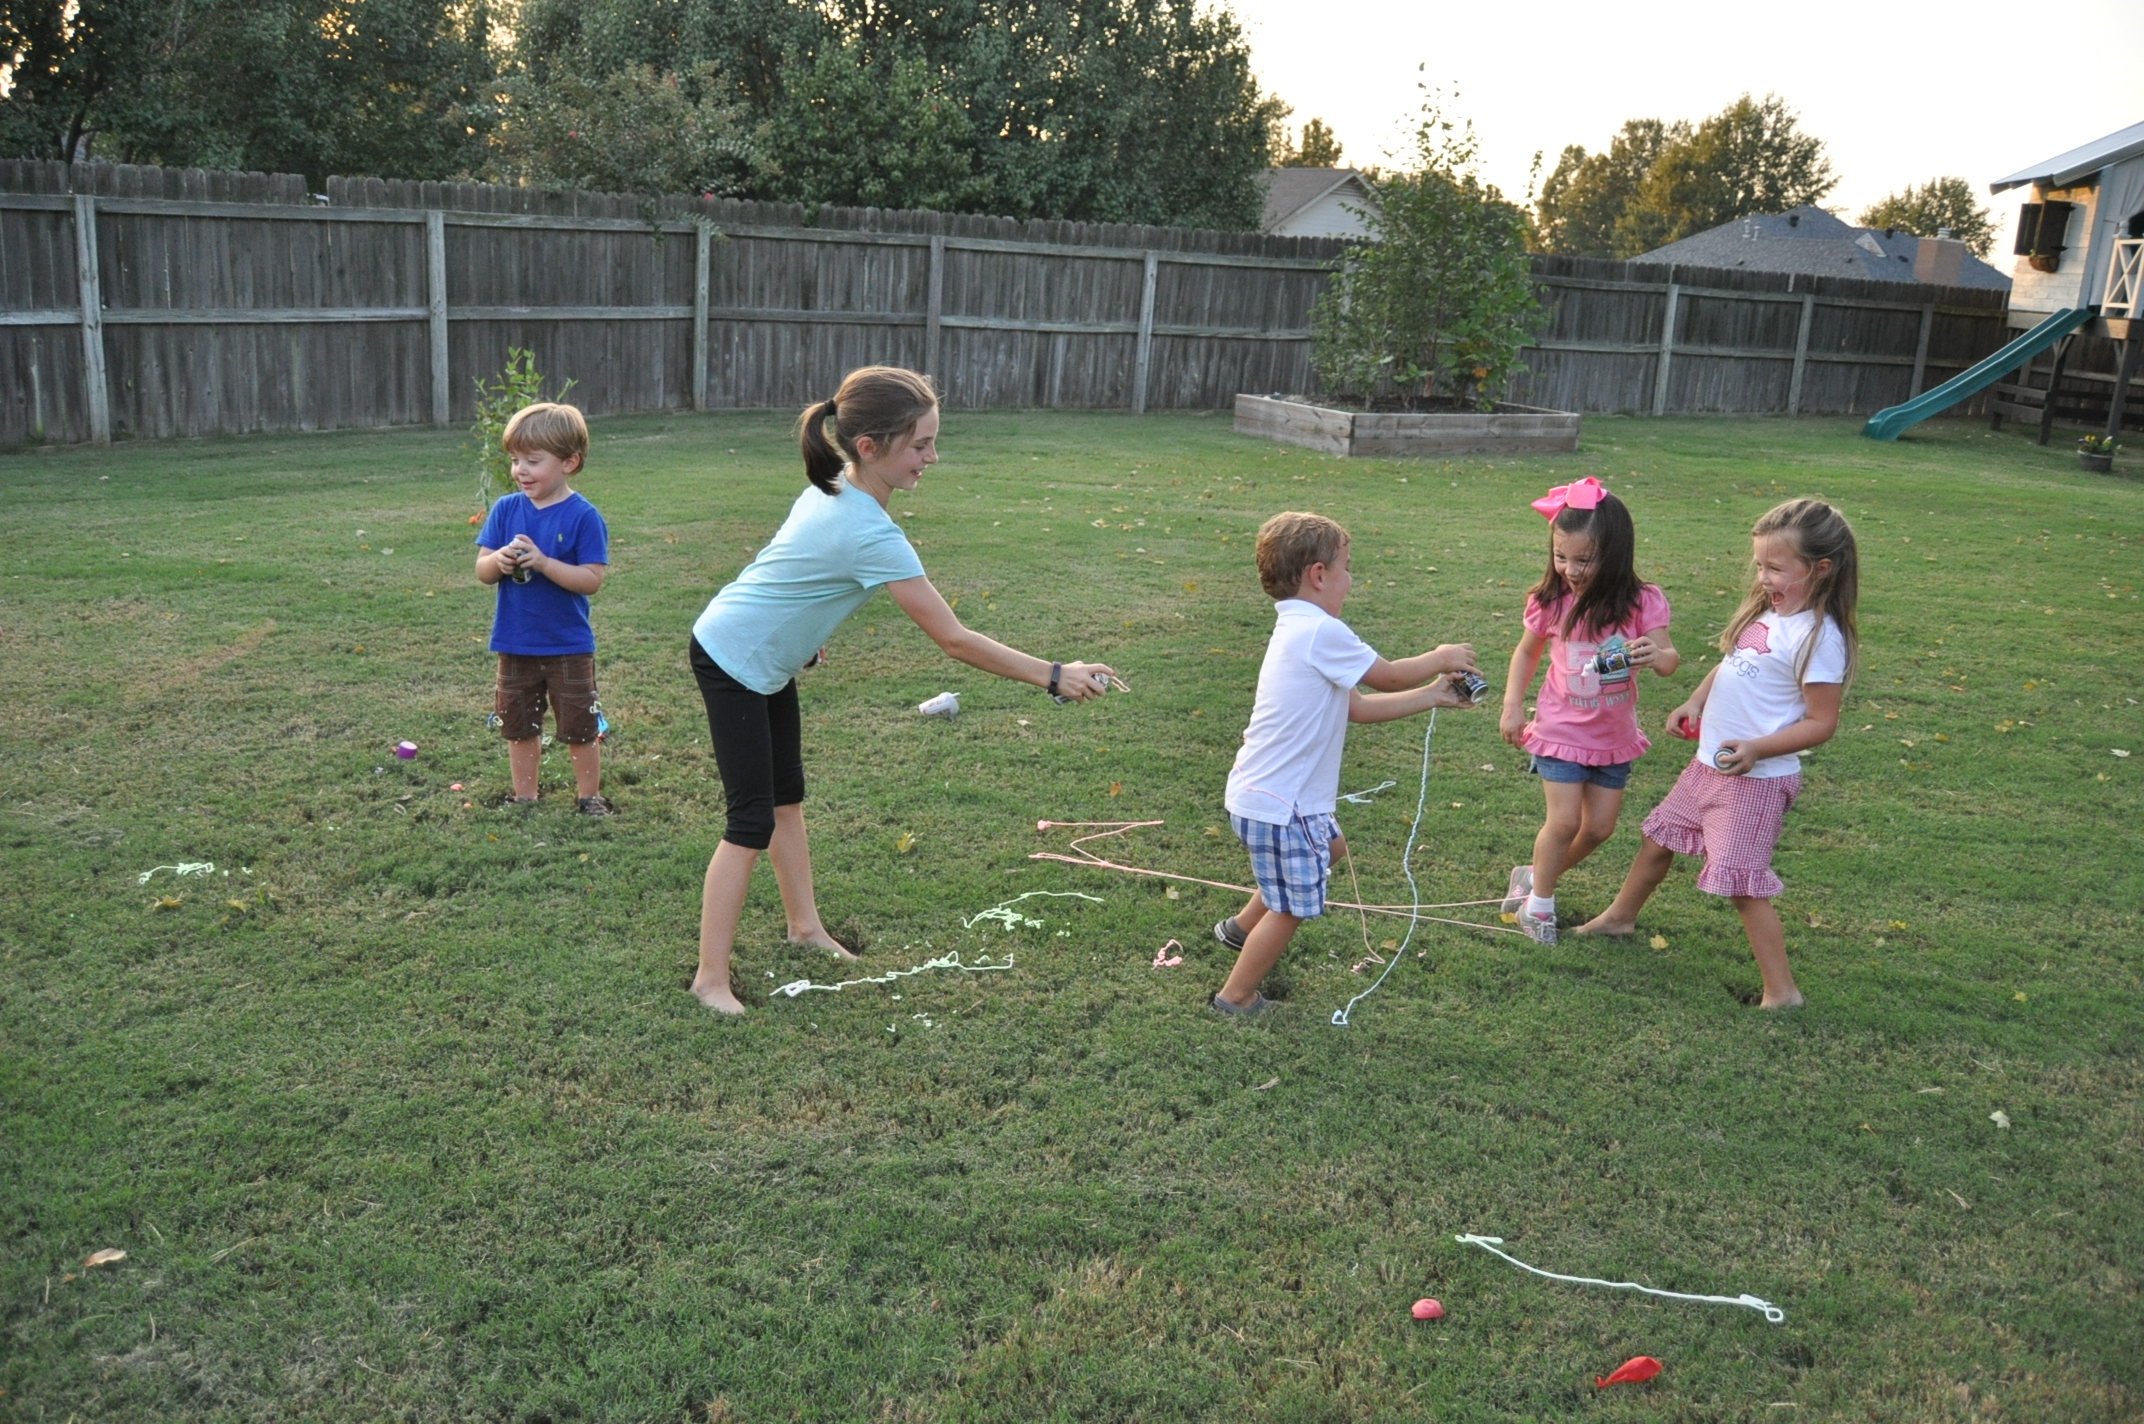
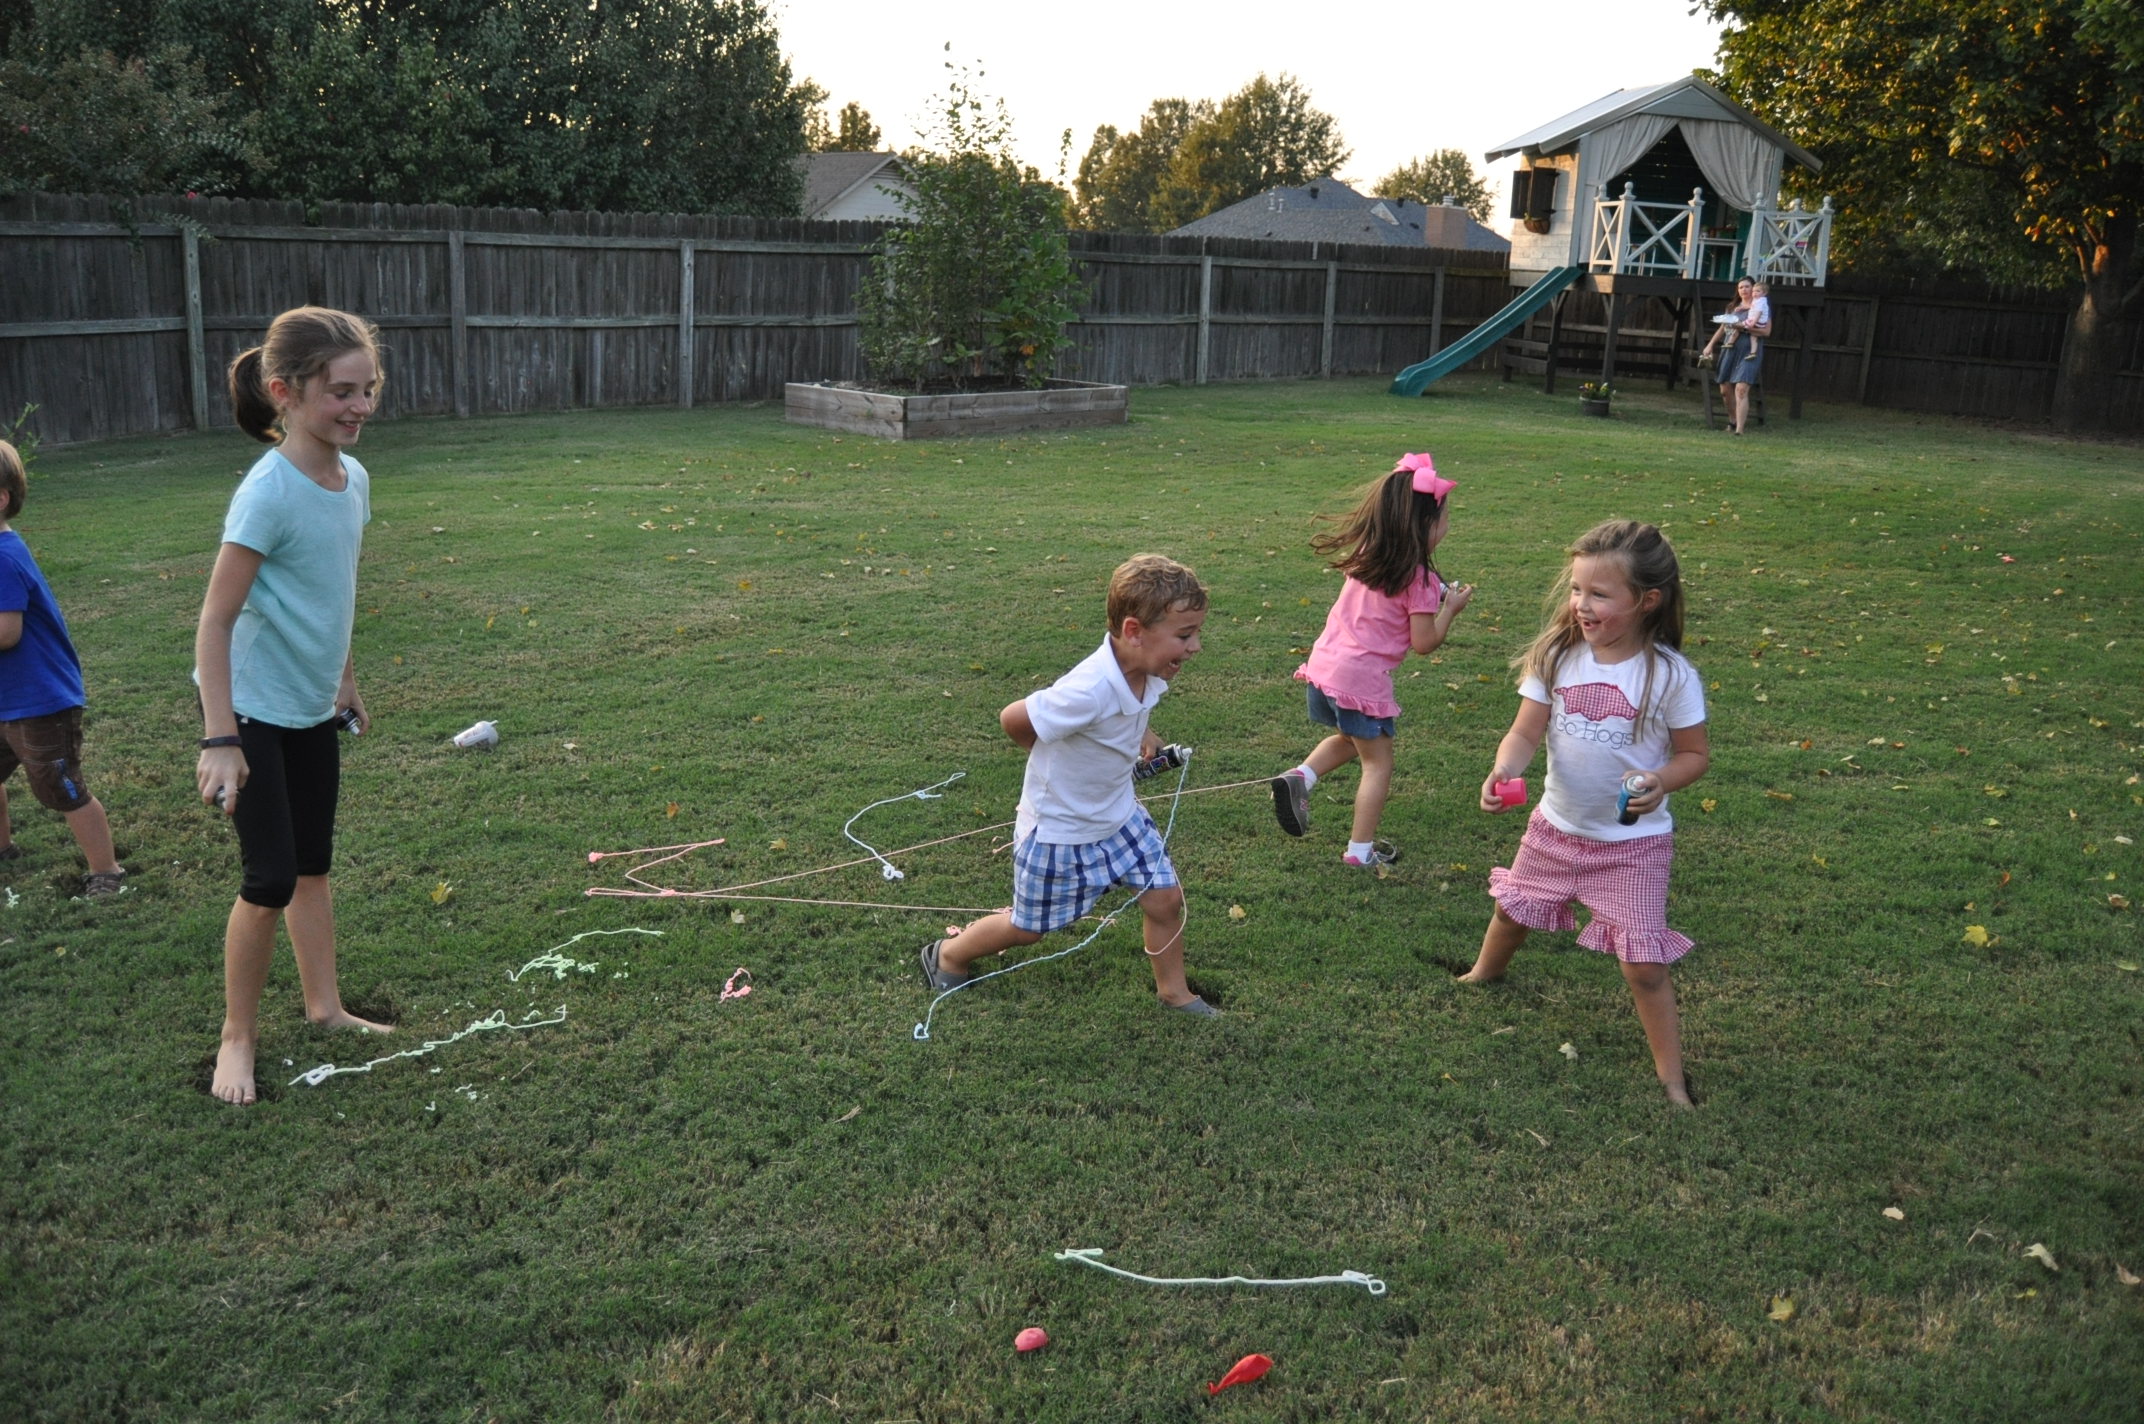
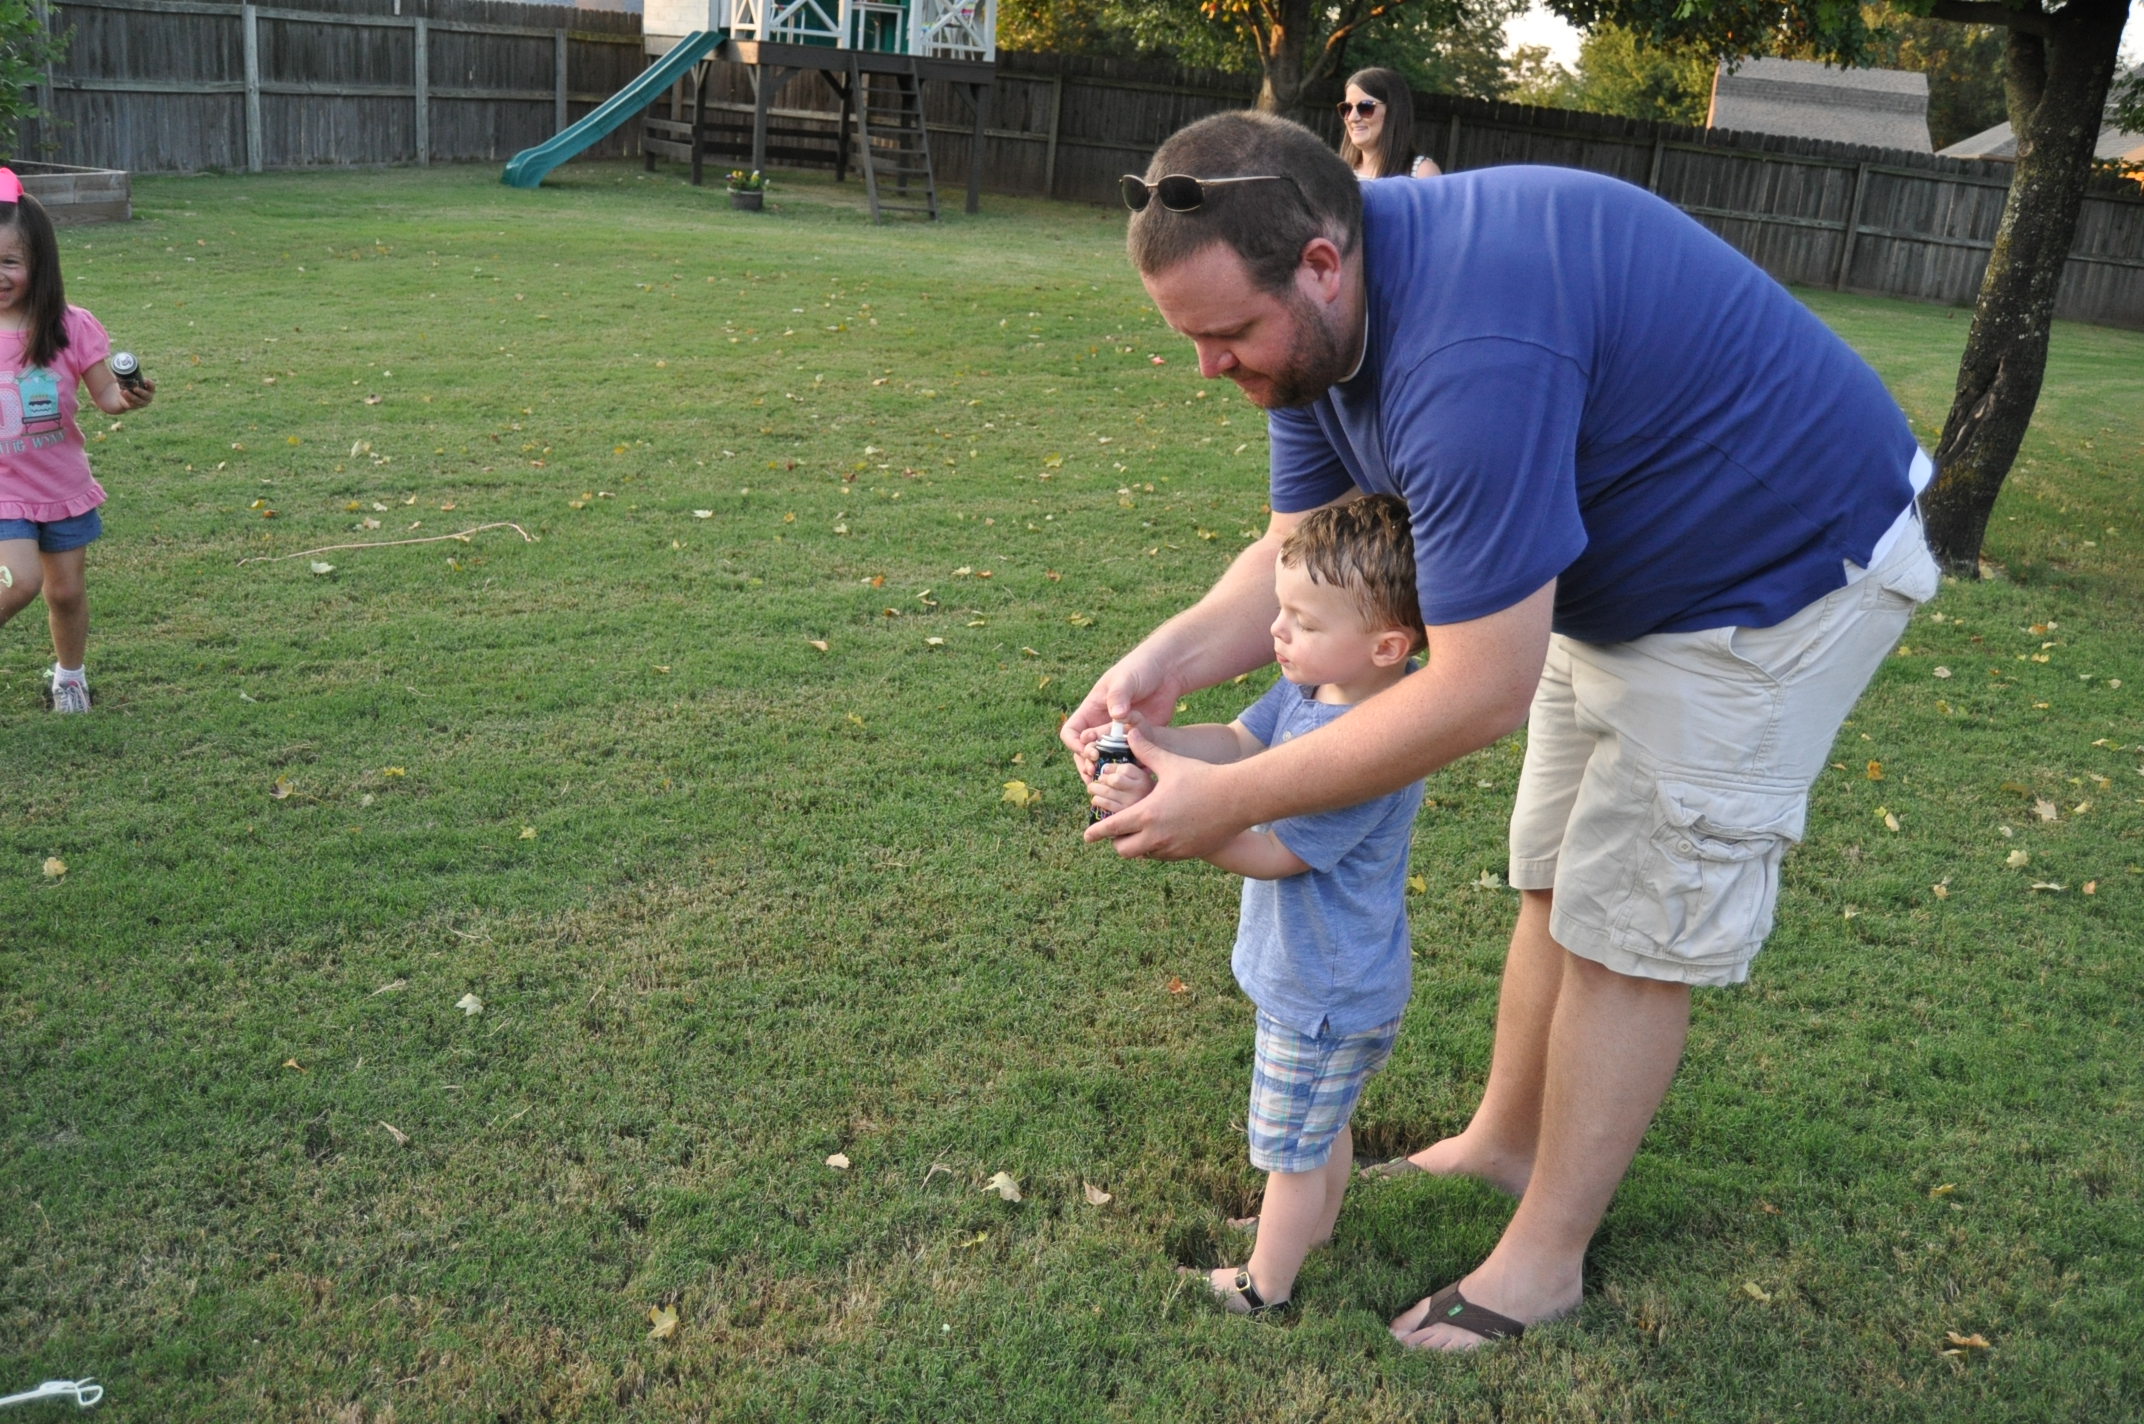
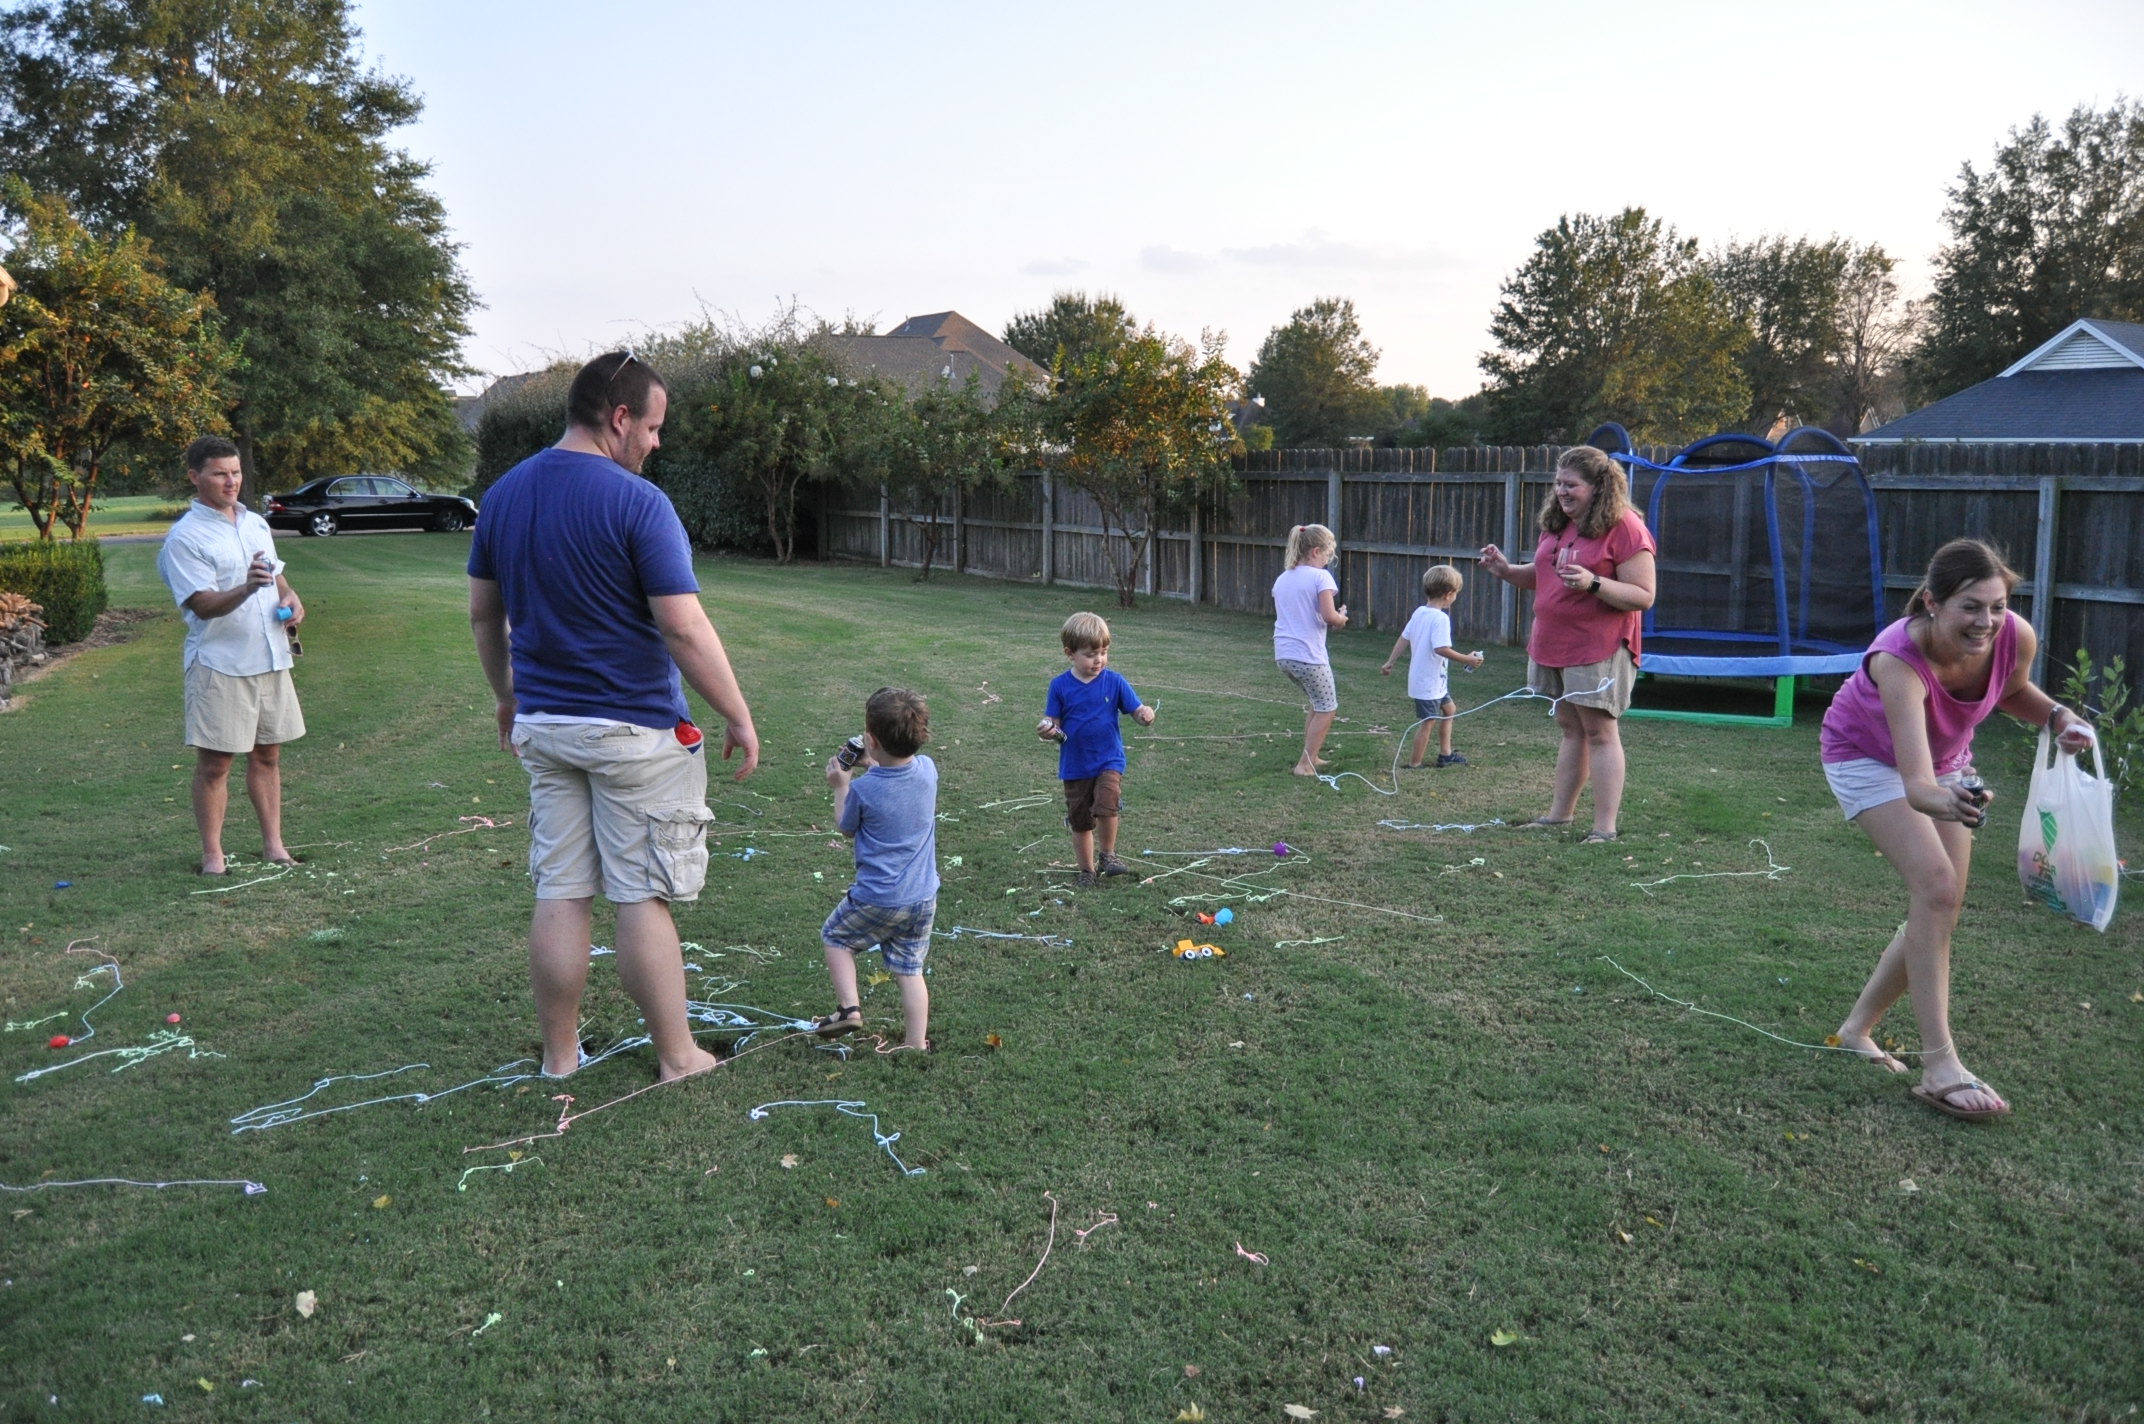
While at the dollar store earlier in the week, I had picked up cans of silly string for the party.  I knew most of the kids there (my own included) had never seen it before so we talked about what it was, the rules of playing with it (no spraying in faces!), and that it was just for fun.  

DSC_0368.JPG

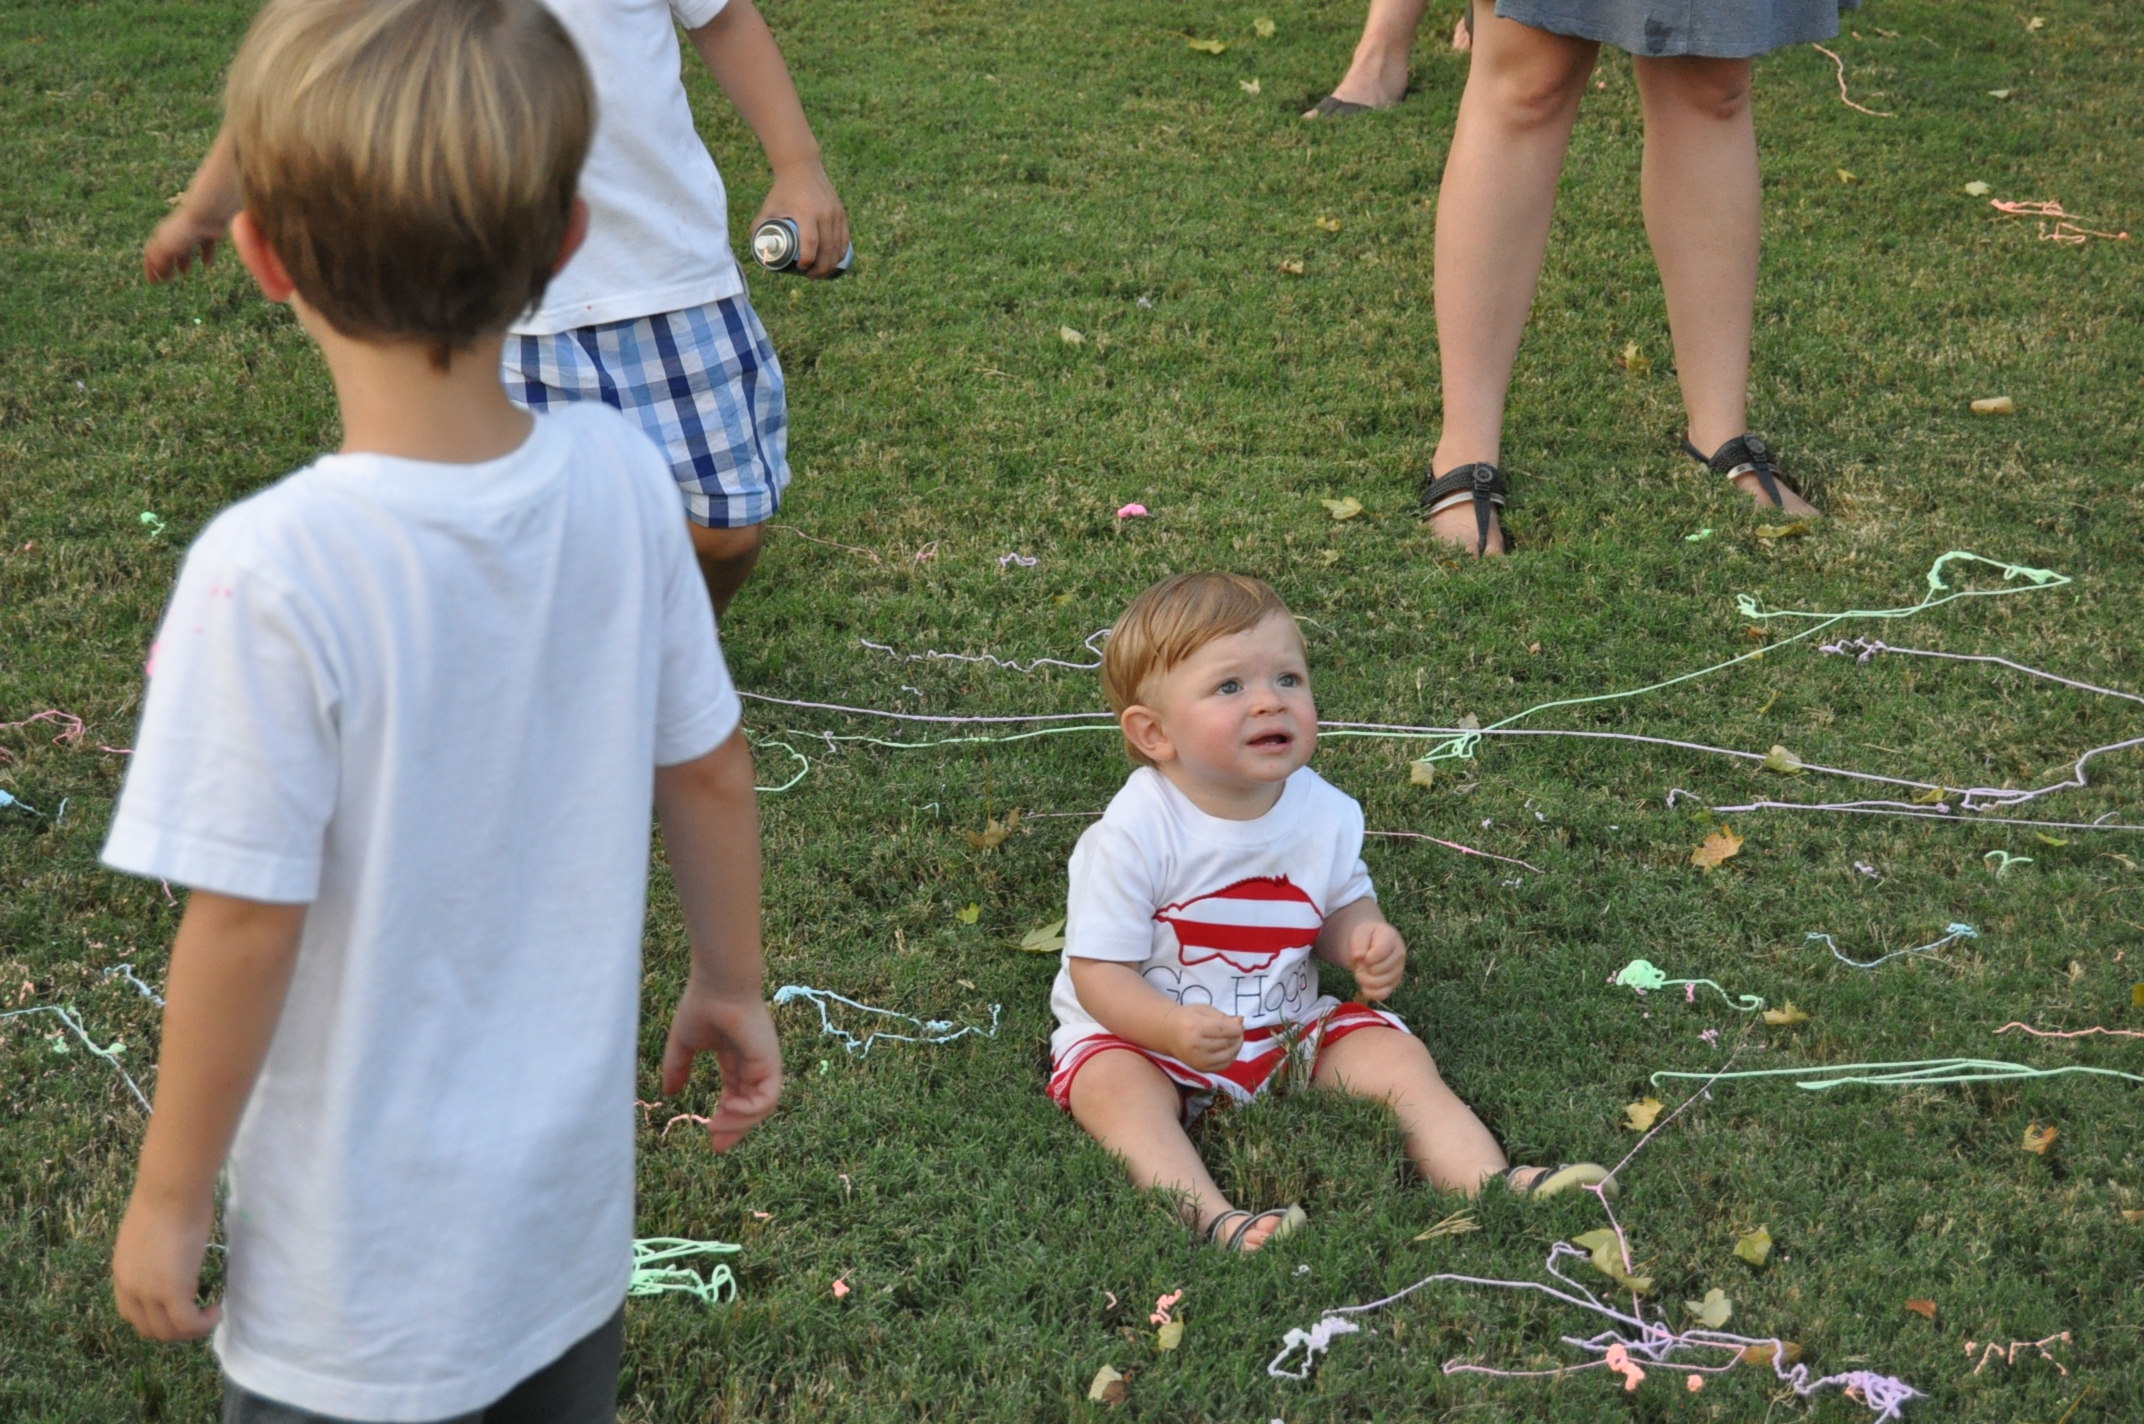
Once they figured out how to get it spraying, they all loved running around spraying it and being sprayed!

Dare I say the silly string was the highlight of the party?  Had I known that was gonna be the case, I could've saved a lot of money on that playhouse...

It wouldn't be a birthday party without cake!  After spending the better part of the month building the playhouse, I had zero energy left to bake a cake so I ordered one.  I sent the baker a picture of the paper plates I'd purchased and she made the cake match them perfectly!

DSC_0425.JPG
DSC_0430.JPG
DSC_0434.JPG
DSC_0439.JPG
DSC_0442.JPG

This little girl is loved by a lot of people! 

DSC_0440.JPG

I still can't believe my baby - the one I JUST had - is five years old.  Heck, I'm not even old enough to have a five year old, am I?! It's just as the saying goes, the days are long but the years, they sure are quick.  Love you lots and lots, baby girl.  

Our Handmade Hideaway

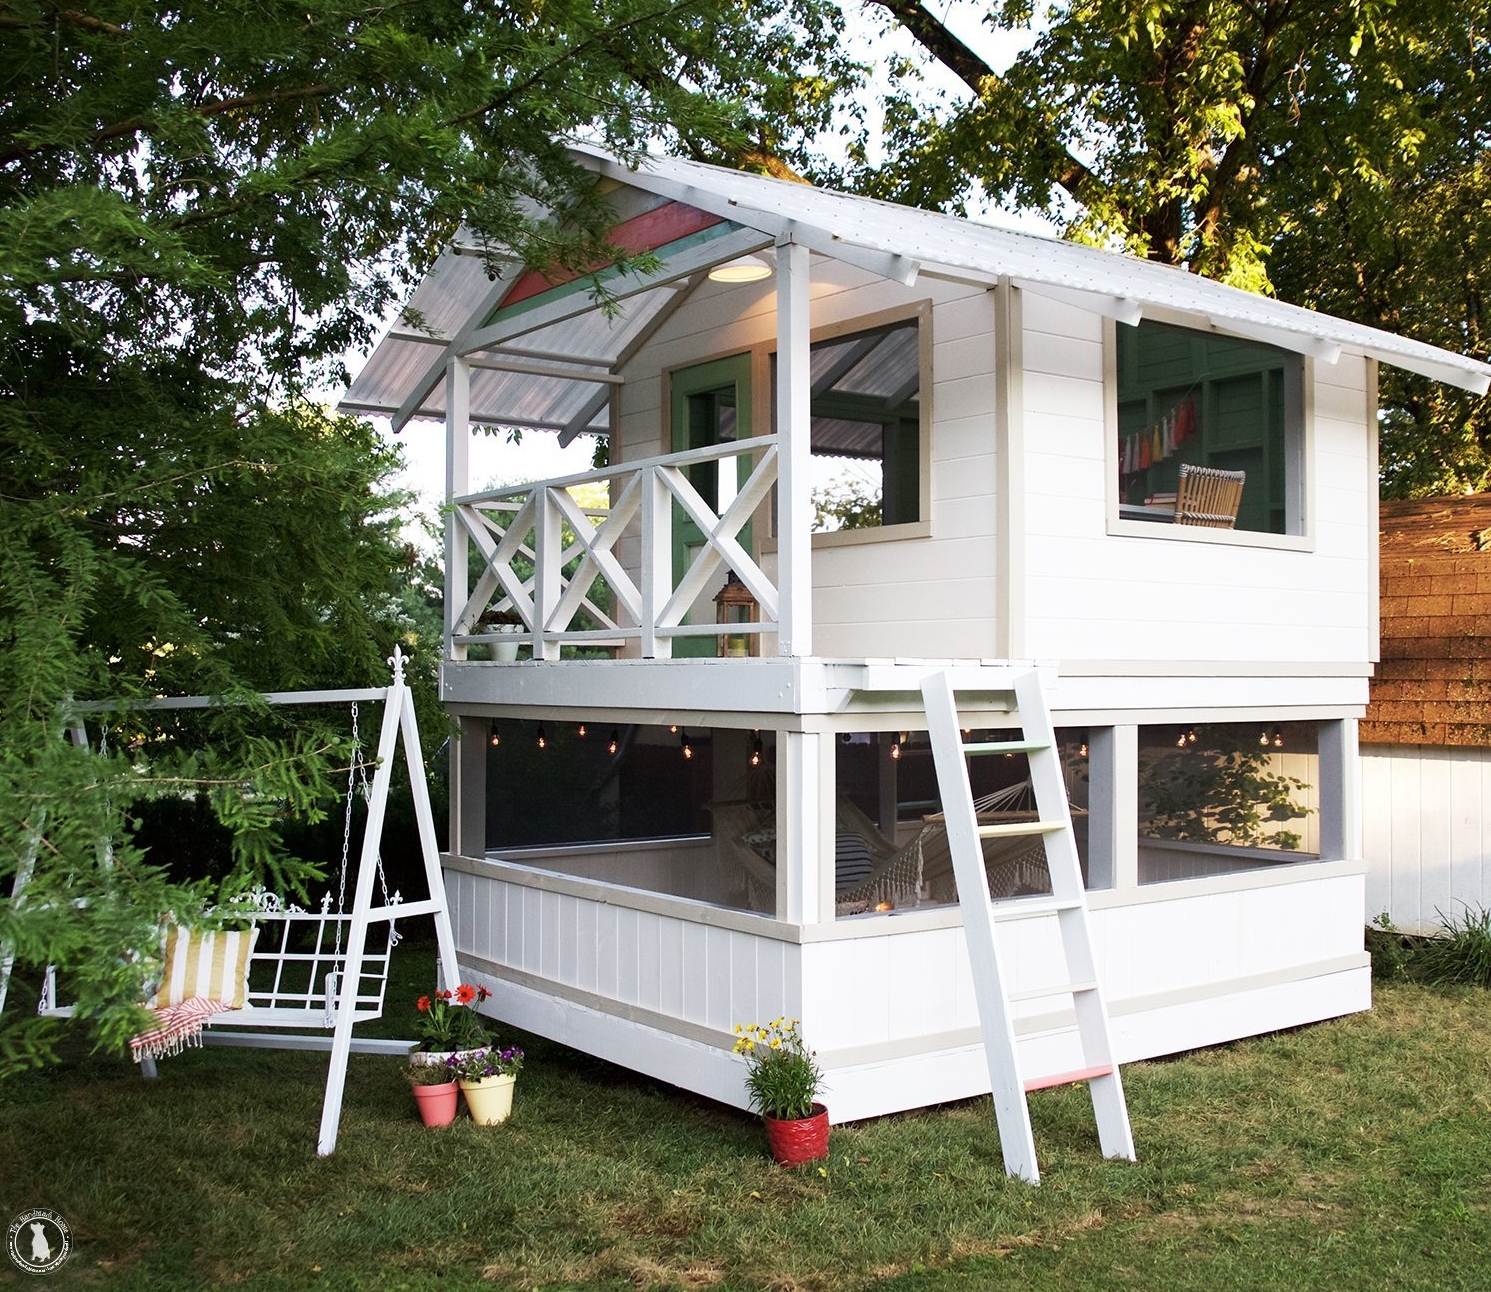
For the last couple of years, we've been talking about wanting to build some kind of playset for the kids in our backyard.  We briefly looked at purchasing one but thought that we could DIY one that might suit our needs better.  About a year ago, I started following Ashley and Jamin from The Handmade Home and was excited to discover what they call their Handmade Hideaway.  [Photo below belongs to them.]

handmade hideaway 1.jpg

Isn't that the cutest little playhouse you've ever seen?  And the best part is that while they were building it for their three kids, they photographed the process and wrote detailed blog posts about how they did it so others could do it too.  In fact, check out #handmadehideaway on Instagram to see LOTS of different versions of their hideaway.  Some variations are really, really cool and others are...not.  

I thought about drawing up some kind of playhouse plans of my own, but the more Matt and I looked at theirs, the more we thought it would be a really good one to replicate.  We love that it's big and that it's nice and open in the front.  One thing we didn't want in our kids' playhouse was an enclosed house that would become a sweatbox in the summer, or home to wasps and hornets.  I also love that their playhouse was used by all three of their kids, all of which are older than ours, making me think it could be something the kids enjoyed for many years.

I declared the summer of 2017 to be when the playhouse would finally be built, but while we procrastinated getting started ("It's just so hot!" we told ourselves), Ashley and Jamin moved into a new home and built a newer version of their playhouse: the Handmade Hideaway 2.0.  [Photo below belongs to them.]

handmade_hideaway2.2.jpg

We oohed and ahhed over it.  Isn't it just something?!  At this point, I had decided that Katie Wynn's birthday party would be themed around her nonexistent playhouse so we really needed to get started!  We started to ditch the plans for the first Hideaway in favor of the new upgraded version, but ended up returning to the original for several reasons:

  • We still really loved the open front over the enclosed house for reasons mentioned above.
  • The bottom level is screened-in which initially really appealed to us, but it's only accessible through a trap-door in the top level and we worried about how we would keep it clean.  No doubt dust, dirt, and leaves would end up in it when the yard was mowed or from the trap door up above, and that kinda seemed like a nightmare to deal with.
  • Ashley and Jamin hadn't published the plans for the new version yet, and we didn't have any time to wait.

Matt and I read through their blog posts of instructions both together and individually until we had our minds wrapped around what all we were about to be doing.  We penciled out our first supply list, went shopping, and on Saturday morning of Labor Day weekend, we officially started on our own playhouse.

Just as their plans instructed, we started by building the base upside down.  We opted to do this in our garage so we would have shade and a level ground to build on.  Great idea until it was time to move it because this sucker, even without the top slats, is really heavy.

IMG_9083.JPG
IMG_3489.JPG
IMG_3492.JPG

It took me, Matt, my dad, my brother Nick, and the use of a lawn mower and trailer to very carefully drive the base to the backyard.  I wish I had a picture of our setup but it was an all-hands-on-deck situation.  We relocated it to the backyard on Saturday evening and then on Sunday morning I decided I didn't really like where we had positioned it so I asked them back over to move it again.  Noone was happy about that...

I don't plan to detail each of the steps in the process as Ashley and Jamin have already done that on their blog, but I will touch on things we did differently in case anyone visiting is getting ready to build their own.  

First major difference is the size of the base.  Theirs is 10 feet deep by 8 feet wide and 4 feet high.  Ours is bigger.  It is the same width - 8 feet across - but it is 14 feet deep so our front porch could be bigger and it is 5 feet high so the kids could play under it too for at least a few years.

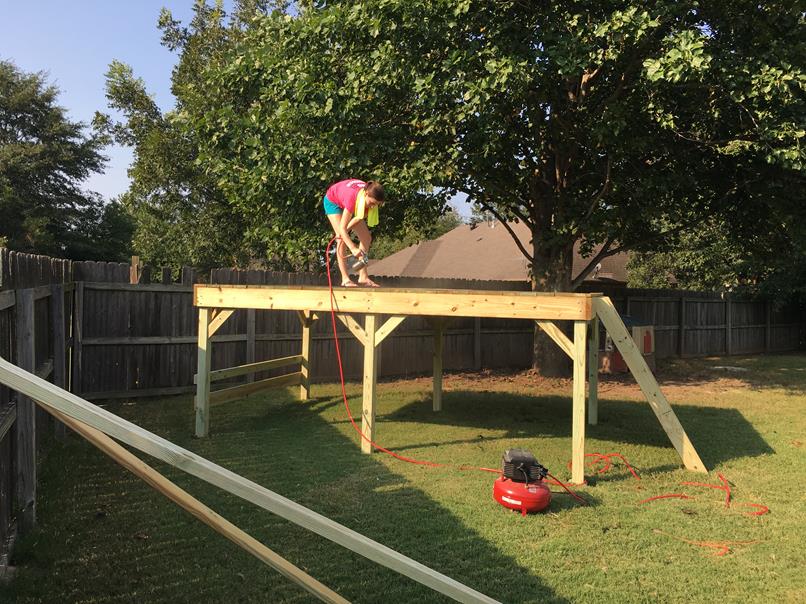
With the base finally in the right position, my Dad screwed in the planks across the top (the floor of the house) while Matt and I built the stairs.

IMG_9090.JPG

Katie Wynn, Mom, and my grandmother were our audience that afternoon.

IMG_9092.JPG

Once the slats were on, it was my turn to climb up and stain the deck.  This is another deviation from Ashley and Jamin's plans.  They built their whole hideaway and then painted.  We opted to stain/paint in sections as we went.  I HIGHLY recommend doing it our way!

IMG_9094.JPG
IMG_3495.JPG

Because our deck is bigger than theirs, we also added a few extra support braces on the bottom.

IMG_9098.JPG

We had to go buy a few more boards to use as braces between the back legs for extra stability and another gallon of stain to go over some splotchy areas and the underside of the deck boards.

IMG_9111.JPG

I love this picture below because in the background under the tree you can see the playhouse the kids already had that we were getting rid of.  I'd say they were getting a pretty big upgrade!

IMG_3500.JPG

Since it was Labor Day weekend, we had a bonus workday on Monday!  Our goal for the day was to knock out the framing of the walls.  Just like with the base, we started on concrete so we'd have a flat surface to work on.  Because our base is 4 feet deeper than theirs, we added two feet to each of our side walls.  This way our extra 4 feet in depth would be split between the interior and the porch. 

Two side walls

Two side walls

Back wall

Back wall

Adding "shelves" to the back wall.
Adding "shelves" to the back wall.

As the kids went down for a nap, I went to pick out paint colors.  The winners were Building Block for the exterior and Enchanted Mermaid for the interior.

IMG_9103.JPG

Matt ditched me for a golf tournament that afternoon, but I forged on with the next step - painting!  I loaded the paint sprayer with the enchanted mermaid paint and sprayed the frames of the walls.  (I use this paint sprayer and I LOVE it!)

Back wall

Back wall

Side walls (windows have been added)

Side walls (windows have been added)

We used fence slats for the siding of the house and I laid them all out in the yard to spray a coat of the turquoise paint on one side of them too.  I leaned them up against our fence once they were dry and from a distance, it looked like I had painted our fence bright blue.  I'm sure our neighbors thought we had lost it.  

IMG_9110.JPG

So at the close of our first work weekend, we had a completed deck, the three walls built with a coat of paint, and one coat of paint on the interior sides of the wall slats.  Not too bad.

The goal for the next weekend would be putting up the walls and adding the siding, so I had to finish painting the fence slats during the week.  I was unhappy with how the coat of paint from the paint sprayer looked, so I rolled on another coat of enchanted mermaid on all the fence slats. You can see the difference it made in the picture below - the top portion has the second coat rolled on.  

IMG_9138.JPG

The next evening, I flipped the slats over and rolled on a coat of the grey exterior color.  

IMG_9173.JPG

My favorite girl cheered me on from the top of the deck.  :)

IMG_9177.JPG

We started bright and early on Saturday of Weekend #2 and Matt's parents came to help us - both with the playhouse work and with the kids.  By 8:45 that morning, the three wall frames had been screwed into place!

IMG_9224.JPG

Thomas was head water (gatorade) boy while we worked.  Isn't he the cutest?

IMG_9228.JPG

I don't have progress pictures of the next phase because to me, it was the hardest part - building the frame of the roof.  We calculated our pitch, moved back to the driveway, and built it upside down with the ridge laying on the ground.  This worked fine until it came to flip the frame over and all of the rafters pulled off.  Super frustrating.  We ended up building it in place with everyone available having to hold pieces in place.  

We had plans that evening so we had to wrap up early.  I took the picture below - our stopping point for Saturday - at 1:45. 

IMG_9230.JPG

The main objective for Sunday afternoon after church was to get all of the wall slats up.  Matt's dad, Bill, worked nonstop on them while Matt and I started the porch railing.  He had a couple helpers at times.  :)

IMG_9261.JPG
IMG_9270.JPG

We ended Weekend #2 with all of the wall slats up and the posts and horizontal rails of the railing in place.  It was starting to look like a playhouse!  But the left-to-do list was still pretty long...

IMG_9281.JPG

I love this view - I think it's the only picture I have from inside the playhouse facing back to our house.  It helps orient you with where in our backyard this is situated.  

IMG_9280.JPG

My job during the week would be to paint the parts of the railing we got up.  

IMG_9282.JPG

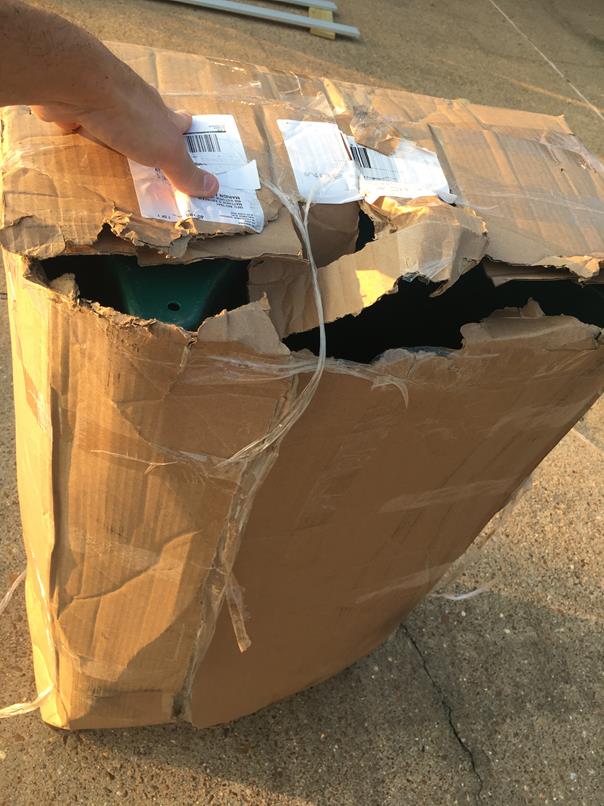
We had to order the slide for our playhouse and here is something I learned: raising the deck to 5 feet high instead of 4 feet high put us in a higher price bracket for slides.  So many of the more affordable slides that I found were only suitable for decks up to 4 feet high.  Also, all the curved slides I could find made right turns; there weren't any left turn slides like I had envisioned us having.  Who knew?  Our slide cost around $200.  And this is how it arrived. 

IMG_9369.JPG

The box did not look very promising and, sure enough, it was missing pieces.  Amazon's customer service was great and they shipped us another one, but it didn't arrive until after the birthday party.  We rigged the first one to work long enough for the party and then switched them out afterwards.  

The goal for Weekend #3?  Finish the roof and railing!  I ordered the tin roofing sheets and trim pieces from a local construction store and they delivered them to our house.  Once again we were at it bright and early on Saturday morning!

IMG_9380.JPG
IMG_9381.JPG

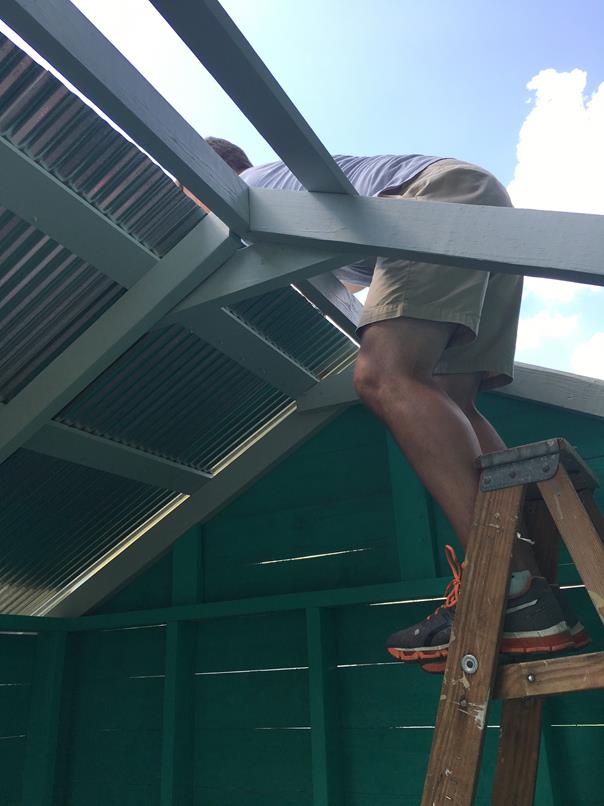
Have you heard the expression "cat on a hot tin roof?"  I'm pretty sure that's how Matt felt this day.  

IMG_9383.JPG

By the end of Saturday, he had finished the roof and we had gotten the first diagonal piece in each of the sections of railing.  

IMG_9388.JPG

I hosted a baby shower the next day after church so I didn't get to help work on it, but Matt was able to assemble and attach the slide (even with missing pieces).  

IMG_3517.JPG

I did put together shutters for the windows and get them stained to match the deck though.  

IMG_9392.JPG

That's where we ended Weekend #3 - the last weekend before Katie Wynn's birthday.  Her party was scheduled for the following Saturday and there was still quite a bit of work to do!  We needed to finish the railing, add the roof trim pieces, attach the shutters, sew curtains, and then - the part I was most excited about - decorate and accessorize!  Not gonna lie, I was pretty nervous at this point that we wouldn't make it.  

Two days later and we had finished the roof and the x's on the railing.  We could totally have the party at this point and the playhouse look finished.  

IMG_9411.JPG

My mom and I made a big Ikea run to buy some accessories for the playhouse.  The tricky thing was that the playhouse was being built for Katie Wynn's birthday, but we wanted to make sure the kids knew it was really for both of them.  So a lot of the accessories and toys went in right away and only a couple were reserved for Katie Wynn's birthday.

By Thursday of party week, we were able to call the playhouse done.

IMG_9478.JPG

My mom helped me with the curtains - they're made out of drop cloths so I'm hoping they'll hold up well being outside.  We cut the top of the two drapes at an angle to match the roof line, added grommets, and hung the curtains on small cup hooks that we screwed directly into the inside of the playhouse.  

I picked up a couple of hanging flower baskets from Home Depot and filled them with pansies.  I think they added the cutest touch!  We also completed the railing by adding caps and finials to the posts - just another small detail adding to the charm.  

IMG_9477.JPG

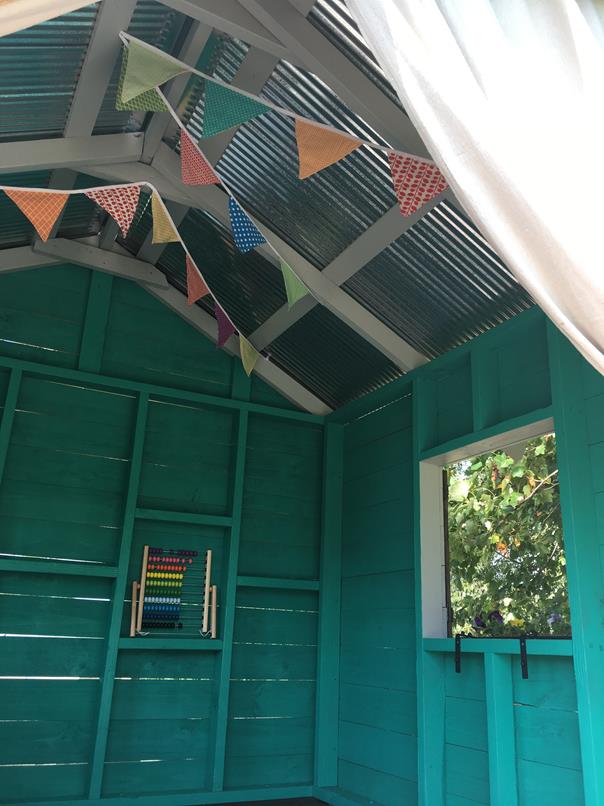
I took a big pile of scrap fabric and sewed together a bunting.  Swagging it on the ceiling made the inside so fun and festive!

IMG_9474.JPG
IMG_9473.JPG

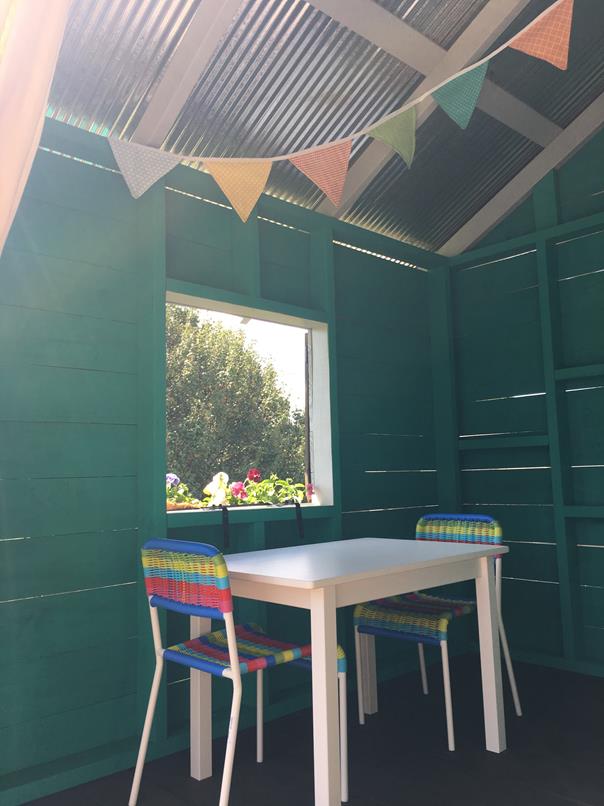
I chose a plain white wooden table from Ikea and paired it with these bright colorful chairs.  I just love them and the pop of color they add!

IMG_9476.JPG
IMG_9475.JPG

The kids were so excited to come home from school and see the added curtains, bunting, and table and chairs.  I had also added a couple of toys for them to play with.  

IMG_9484.JPG
IMG_9489.JPG

Friday evening we had both of our parents over for Katie Wynn's birthday dinner.  Together, they added a rug, kitchen, and pots, pans, and utensils to the playhouse.  The kids covered their eyes to go see the surprise. 

IMG_9512.JPG

They loved it all and got right to work making some leaf stew.  

IMG_9516.JPG

And of course they love the slide! 

IMG_9519.JPG
IMG_9517.JPG
IMG_9526.JPG

We are so glad we got the playhouse finished before Katie Wynn's party!  We weren't really sure what to do the next weekend without a list of work to get done.  :)  

The kids are still enjoying playing in the playhouse in the afternoons after school.  Right now we have it decorated with pumpkins for fall.  

IMG_1018.JPG

I say the playhouse is "done," but really, this was just Phase 1.  I have already dreamed up plans of how to tie in the tree off to the right.  And I definitely want to bring the swingset over closer to it.  And trim the play area out and mulch the ground underneath it.  Guess we still have plenty left to do for Summer 2018!

Labor Day Mini Session

Matt's sister, Jill, and her boys came to visit for Labor Day weekend, so we took advantage of the rare occurrence of the whole family being together and scheduled a mini photoshoot.  These pictures are all credited to Kristen Catt Photography.

Entrekin1.jpg

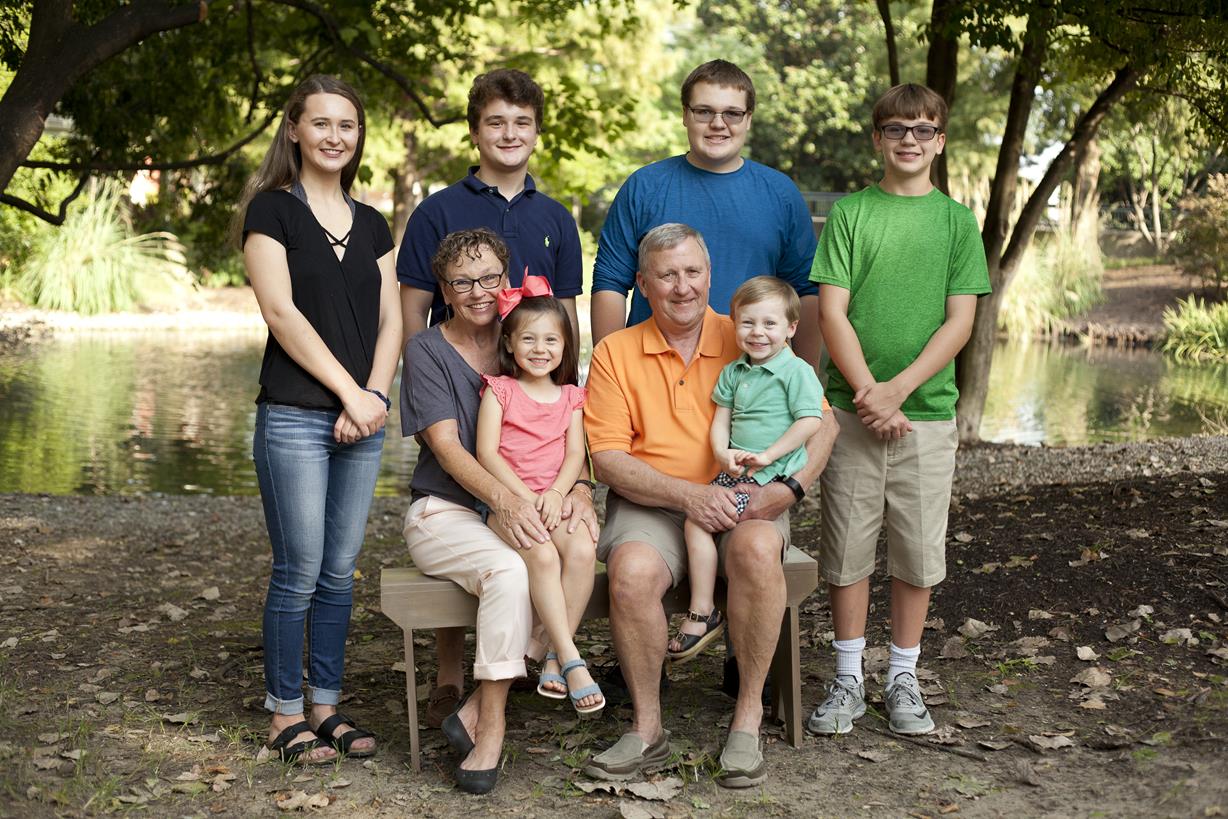
This one of Bill and Pat and all of their grandchildren is probably my favorite from the whole shoot!  Back row is Anna (16), Wyatt (17), Nathan (13-ish?), Henry (11-ish?) and in their laps are Katie Wynn (4) and Thomas (3).  

Entrekin2.jpg

The Indiana crew.

Entrekin7.jpg

And the southerners.  :)

Entrekin13.jpg

This one is my favorite of our family, I think.

Entrekin17.jpg

But this one is a favorite too.  What can I say, I have a lot of favorites...

Entrekin27.jpg

I like this one of Jill's boys too. 

Entrekin34.jpg
Entrekin31.jpg

Ok, this was taken at the end of the summer and do you see how my skin is glowing?  Or reflecting all the light?!  Maybe I wear too much SPF.  Gone are the days of bronzed skin for me, I guess.

Entrekin30.jpg

We are so glad to finally have family pictures with Matt's side of the family!  And the fact that we already have good options for a Christmas card this early in the year?  Bonus!

Built-Ins for the Playroom

We have a playroom in our house that has its own set of stairs and resides over the garage.  I think it's the only room in the house that has not ever been on the blog (that I can remember).  For good reason, too, because it was a bit of a disaster when we moved in and has stayed that way for about 4.5 years.  

I cannot find a good "before" picture of the room, but here it is when we toured the house before putting an offer on it. 

IMG_1714.JPG
IMG_1715.JPG

Once the room was empty of furniture, we could tell how horrible the carpet was.  Something had happened to discolored it bad - was it green? Was it brown?  You couldn't tell.  And the accent chalkboard wall?  It had neon paint splattered on it.  We used the room as a place to drop junk when we moved in.  And over the last four years, more junk and extra furniture has just rotated in and out of it.

Now that the kids are big enough to go upstairs on their own, it seemed like a good time to give the playroom a makeover.  First on the agenda: adding in some storage for all of the toys.  And a designated spot for the tv too.

Just like I did with for the built-ins in Thomas's room, I sketched out my design on the wall in chalk.  

IMG_4005.JPG

Last May (yes, that's how behind I am on this update!), I met with Cesar, the same carpenter that did the built-ins in our mudroom and in Thomas's room, and got everything squared away for him to build them while we were away at the beach.  I love letting him work while we're away because we leave with nothing on the wall and come back to it finished, and we never have to deal with the mess and sawdust. 

When we left for the beach, the room looked like the picture above, and we came home to it looking like this!

IMG_5496.JPG

I know that's far from looking finished.  With Cesar, he does the carpentry and then we do the painting and finishing.  Then he comes back to hang the doors.  We had one small misunderstanding.  With plans to replace the carpet as soon as these are painted, we wanted him to peel back the carpet to build the unit directly on the sub-floor.  That didn't end up happening but it's ok.  It just means the built-ins sit on an inch of old carpet that will just be under it forever! 

Here was my progress after a full morning of painting.  Cubbies are always the WORST thing to paint. 

IMG_5505.JPG

Finished the primer by the end of the afternoon.

IMG_5506.JPG

I had to do 2-3 coats of paint after the primer to get a good even finish.  The picture above was taken on May 31st, and the finished paint job picture below was taken June 14, about two weeks later.  I worked off and on in the evenings after work.  

IMG_6153.JPG

The nice thing about having the carpet removed and the room empty was that we could spread the doors out on the floor to paint.  

IMG_6154.JPG

We let Cesar know that we were finished painting and he came to hang the doors for us.

IMG_6291.JPG

That middle section is left open for the cable box and any future gaming toys the kids get.  The cords are able to pass through holes drilled in the back.  By the time these pictures were taken, we had also painted the walls grey.  

IMG_6292.JPG

One of my favorite parts of the built-ins, other than the awesome storage they'll provide! - is these fun little boy and girl knobs I found.  I wanted something a little quirky and kid-friendly to use and these were perfect.

IMG_6585.JPG

Since finishing painting, I've had lots of fun decorating those shelves with colorful toys and books!  But you'll have to wait to see that when I reveal the rest of the room.

Now, if you really pay close attention to detail, you might've noticed that in the picture of the doors laying out on the floor, there were three extras.  That's because while Cesar was at our house working on these, we also had him do a tiny upgrade in our master closet.  

This picture below is from the weekend we moved in, so before we did a first round of upgrades.  But it's the only picture I have of the tall set of open shelves there in the middle.  

photo 2.JPG

We were tired of those shelves always looking like a mess, so we had Cesar convert the bottom half of them to drawers.  We have LOVED having this upgrade in our closet. (Excuse the messy piles of clothes waiting to go into the drawers.)

IMG_6290.JPG

So that's the built-ins in the playroom!  I can't wait to show you what we did to cover up that chalkboard wall.  Hopefully I'll have pictures of it soon.  

August Phone Pics

The biggest thing that happened in August 2017 doesn't have a single picture to show for it...I retired from my job of 12 years.  For the last five years, I had been working part time - just three days a week - but knew that an end would eventually come.  With kindergarten rapidly approaching for Katie Wynn and no good option for after school care, we knew that me not working once she started school would be a good solution.  With some leadership changes at work combined with me not feeling fulfilled there anymore and with Mint Tulip steadily growing by the day, we decided now would be just as good a time as any to walk away from my accounting job.  I gave a 3 month notice to help make it through year-end and while there were days that it felt like my last day would never come, when it finally did, I felt pretty sad.  July 31st was my last day to work and I ended up staying past 4:30 in the afternoon.  I guess it's safe to say I had a hard time walking out the door one last time.  Thankfully I had plans with friends afterwards to celebrate to help get me through the evening!  Most of the month was spent with me trying to figure out my new role as a "stay at home Mom" that stays really busy working at her embroidery business with her mom.  

Since we had two weeks between me leaving work and pre-school starting back up for the kids, I had helpers in the sewing room on multiple occasions.  I try to find ways to keep the kids busy so Mom and I can attempt to get work done.  One afternoon, I set Katie Wynn up with some watercolor painting projects, and I love how they turned out!

IMG_7321.JPG
IMG_7322.JPG

One afternoon we drove to the river park to have a picnic.  Both Mimi and Lala joined us!

IMG_8036.JPG
IMG_8040.JPG

And we were able to spend several sweaty afternoons at the playground.

IMG_8433.JPG
IMG_8436.JPG

I could (and probably should?) write a whole post full of pictures going teetee in inappropriate places.

IMG_8044.JPG
IMG_8435.JPG

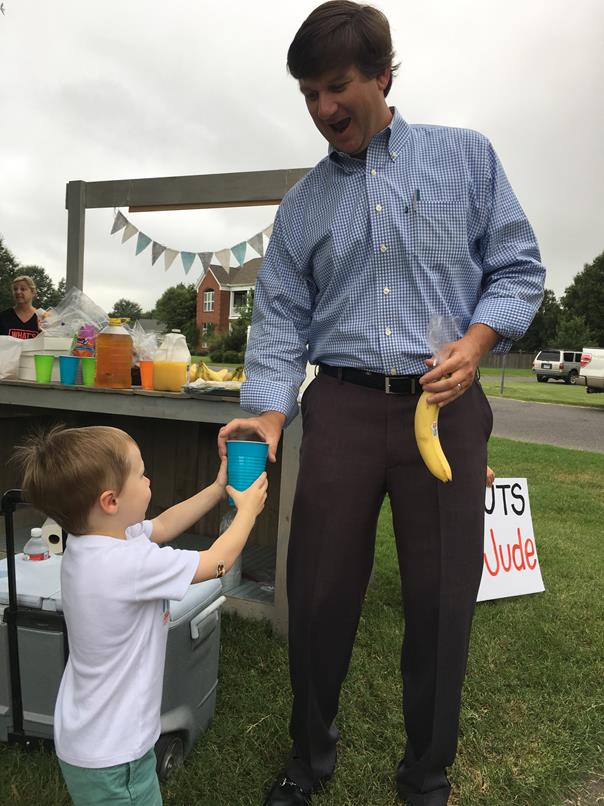
The week before school, we joined up with some of our best buddies and had a donut/muffin/juice stand to benefit the sick kids at St. Jude Children's Research Hospital.  We set up our stand at one of the busiest intersections in our neighborhood between 7:30 and 9:30 and the kids ended up making close to $500 for the hospital!  They seemed to really enjoy doing it too - when they weren't eating all the donuts.  Maybe we'll make it an annual event!

IMG_8081.JPG
IMG_8104.JPG
IMG_8086.JPG
IMG_8094.JPG
IMG_8098.JPG
IMG_8099.JPG

My sister-in-law, Beth, took a counseling job at a new school this year and with it, she got both an office and a classroom.  I offered to help with the bulletin boards in her classroom, something I'd never really done before but it sounded like a fun project.  The biggest "bulletin board" was actually a chalkboard that she wanted to cover, so all the paper had to be taped instead of stapled into it.  And it was huge!  As the school counselor, she would be teaching students the seven habits of leaders and requested a "leader in me" theme bulletin board.  This is what I came up with, and Mom helped me pull it off.  

IMG_8725.JPG
IMG_8721.JPG

The "faces" of the kids are made of a reflective adhesive vinyl, meant to act as a mirror to show their own reflections.  We tried to make kids of all shapes, sizes, and colors.  The words on their shirts are the characteristics of leaders.  And no, they don't have arms.

IMG_8726.JPG
IMG_8727.JPG

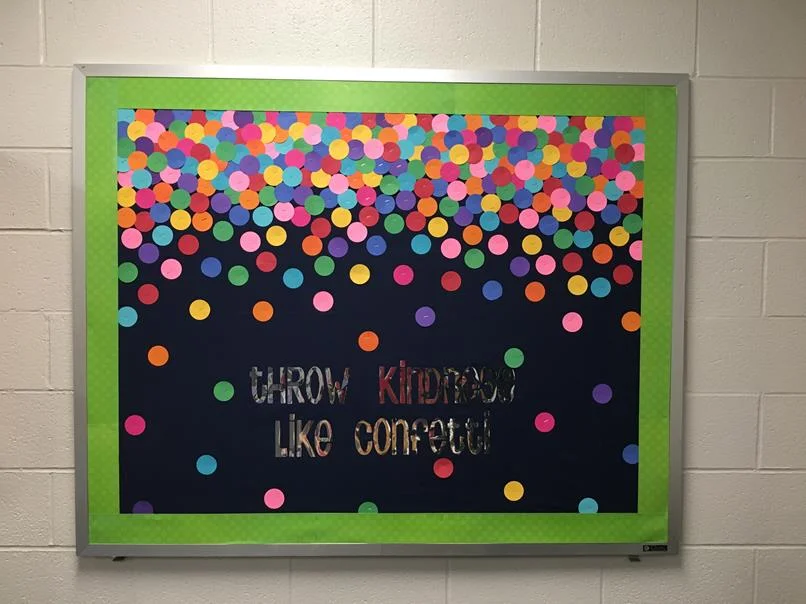
Since that big bulletin board had a lot going on and took a LONG time for us to finish, we kept the one behind her desk sweet and simple, but still full of color!

IMG_8719.JPG

The colors in the confetti look awesome with the fabric we bought to skirt her desk area in. Mom also made matching curtains for her window.  Beth inherited the room from a male coach that didn't do much cleaning or decorating.  Hopefully it feels fresher and cleaner and brighter and is a good place to teach in!

IMG_8399.JPG

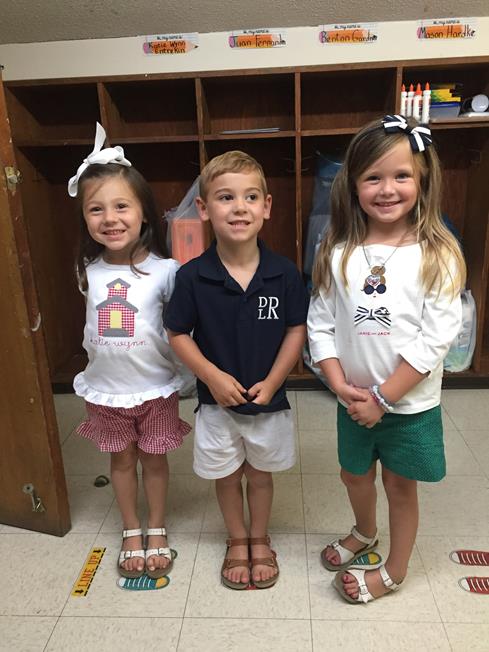
Speaking of school, we had open house at St. Michael's where we learned that Katie Wynn and her three buddies (missing Mason in picture below) would be in the same class again. 

IMG_8424.JPG

Thomas is old enough for pre-school now and he got Mrs. Gladys as his teacher.  That's who Katie Wynn had last year and we absolutely love her!  Thomas was a little bit nervous about meeting her.  

IMG_8420.JPG

We dressed in apple outfits the Sunday before school started and the kids got to take their backpacks to have them blessed for a good school year.

IMG_8444.JPG
IMG_8453.JPG

The big first day was on a Wednesday and everyone was excited to have on their uniforms and new backpacks!

IMG_8563.JPG
IMG_8571.JPG
IMG_8557.JPG
IMG_8581.JPG
IMG_8551.JPG
IMG_8579.JPG

Katie Wynn grew some independence on the way to school and declared that she didn't need me to walk her in.  And that she could just take Thomas to his class.  Uh uh, sister.  No way am I just staying in the car on the first day of school!  I definitely thought I had until at least middle school before this happened??  She compromised by letting me take her picture outside her classroom in the gym.  

IMG_8590.JPG

Thomas was full of tears as I left him in his room and it made me so sad.  I knew he would be fine and Mrs. Gladys would take care of him, but it sure made it hard for me to walk out the door!

IMG_8587.JPG

I peeped into Katie Wynn's classroom to make sure she made it inside ok and she gestured for me to come in.  Probably because everyone else's Mom was there too.  I'm so glad one of the other Mom's asked to take our picture so that she cooperated for us to take one!

IMG_8597.JPG

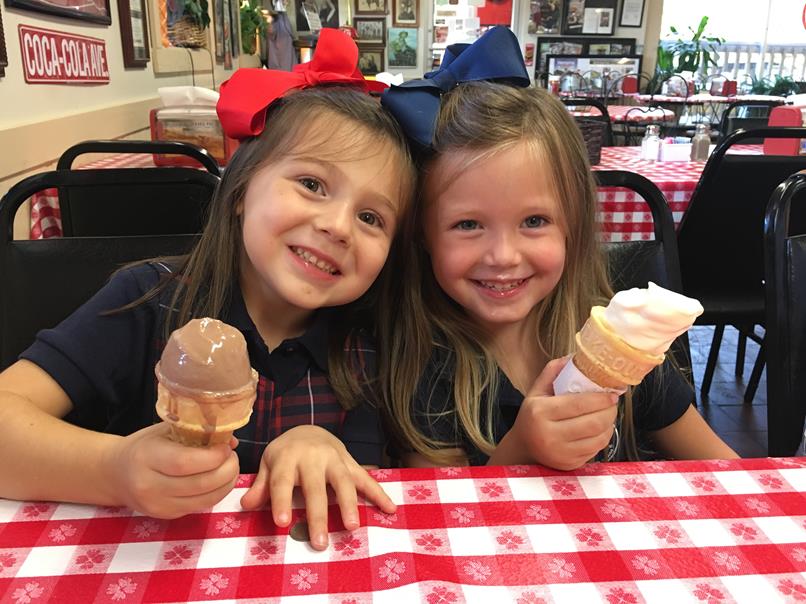
Mrs. Gladys sent me a picture of a smiling, happy Thomas within an hour of me leaving, so it made me feel much better about leaving him.  I was eager to pick them up that afternoon to hear how their days went and they both had great days!  We celebrated with friends and ice cream cones.

IMG_8602.JPG
IMG_8606.JPG

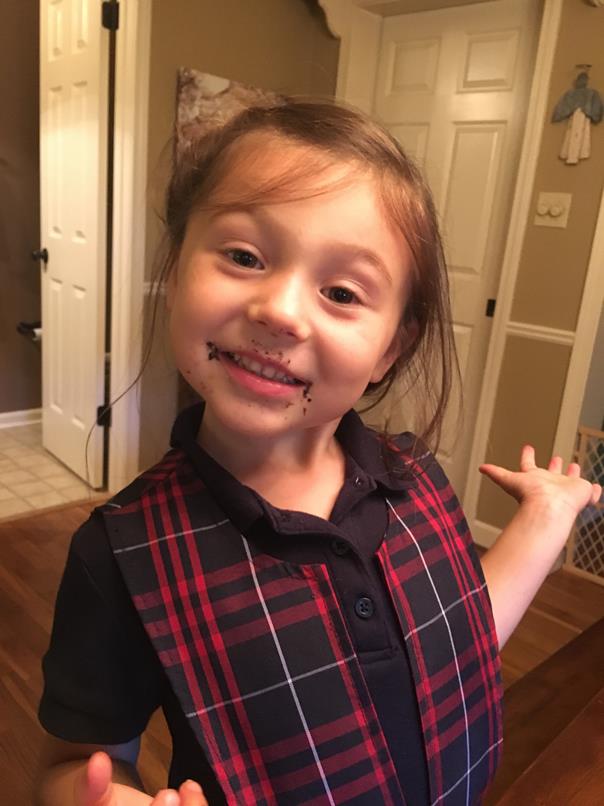
Maybe we did lots of after-school celebrating those first couple of weeks because Katie Wynn had a lot of chocolate mustaches.

IMG_8641.JPG
IMG_8753.JPG

Getting used to pre-school was exhausting for Thomas!  He pretty much fights sleep every day so he has to be really, REALLY tired to fall asleep on the couch.  

IMG_8679.JPG

School started back for the big kids too which means Friday night football games.  Matt took Katie Wynn to the first game while Thomas and I stayed back and rested after his hospital visit.  She loves watching Katie Wynn cheer on the sidelines.

IMG_8860.JPG

The month of August is when I discovered my new love of mowing the yard.  We inherited a riding mower from Matt's parents when they moved into our island house and I had no idea how fun it is to cruise around the yard!  Especially when your wine glass has a lid and can come with you.  :)

I also bought myself a letterboard that has been fun to play with.  It hangs by the back door so I use it to leave messages for anyone coming in.  

IMG_7310.JPG
IMG_8032.JPG

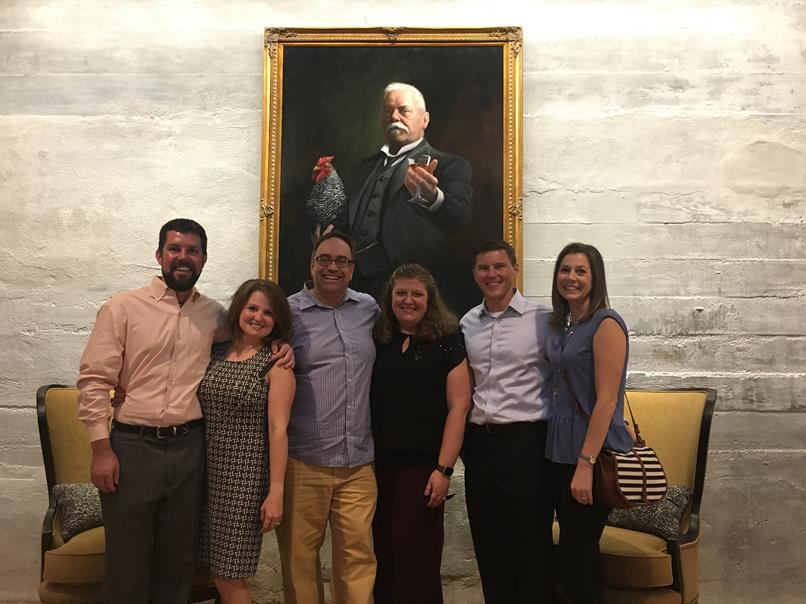
Matt and I had a fun adult night out celebrating our friend Darrin's birthday.  We started at the Old Dominick Distillery for a tour and it was a really cool experience. 

IMG_8877.JPG
IMG_8871.JPG
IMG_8887.JPG
IMG_8875.JPG
IMG_8879.JPG

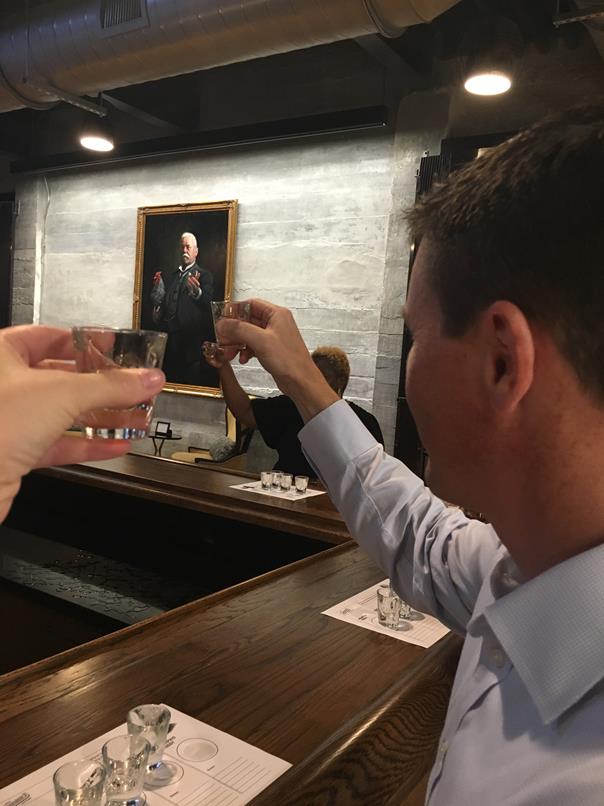
After touring the distillery the offer tasting samples of all the spirits they make there.  We toasted to Old Dominick hanging on the wall.  They also have a rooftop bar and patio for having cocktails and, in our case, taking photos with their props.

IMG_8872.JPG
IMG_8891.JPG

We followed the tour with dinner at Catherine and Mary's.  It was mine and Matt's first time to eat there and the food did not disappoint!  We had good company too.  

IMG_8894.JPG

August brought lots of change - no job for me, new school for Thomas, new class for Katie Wynn - and also lots of firsts - first muffin/juice stand, first hospital visit, first distillery tour, first bulletin board decorating, first day of school - and it all made for a really good month.  Here's hoping for a year's worth of good school days for the kids, and more adult nights out for Mom and Dad!