Wyatt's Room

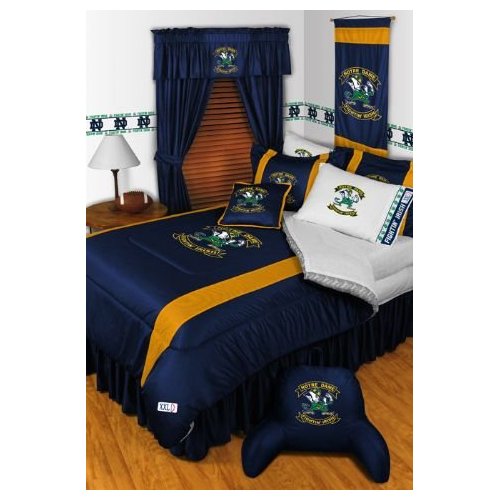
Before getting started on the kids' rooms, I sat down with each of them to talk about ideas they had and what they wanted their rooms to look like.  Every time I talked to Wyatt about his, all I got out of him was Notre Dame, Notre Dame, Notre Dame.  Sport?  Football.  Color scheme?  Navy and gold, of course. I suppose I could've purchased this bedroom set from Amazon and called it a day.

Yea.  No way.  I have no problems with a Notre Dame themed room, but it had to look better than that!

I wanted these rooms to be styled in a way that they would last for several years.  Wyatt is a teenager now (!) so I didn't want it kid-ish.  Plus, we unfortunately don't have a guest room, so when we have visitors they have to stay in their rooms.  I wanted them to look good enough that our guests could enjoy them too.

With all that in mind, I set out to design a navy and gold room that had touches of Notre Dame in it (as opposed to Notre Dame everything like the room pictured above).  I had a red desk that used to live in my apartment years ago that I thought would be perfect in his room too, if I could figure out how to tie in the red.  Luckily, I found the perfect duvet cover at the Pottery Barn outlet that had navy, gold, green, and red in it.  Yay!

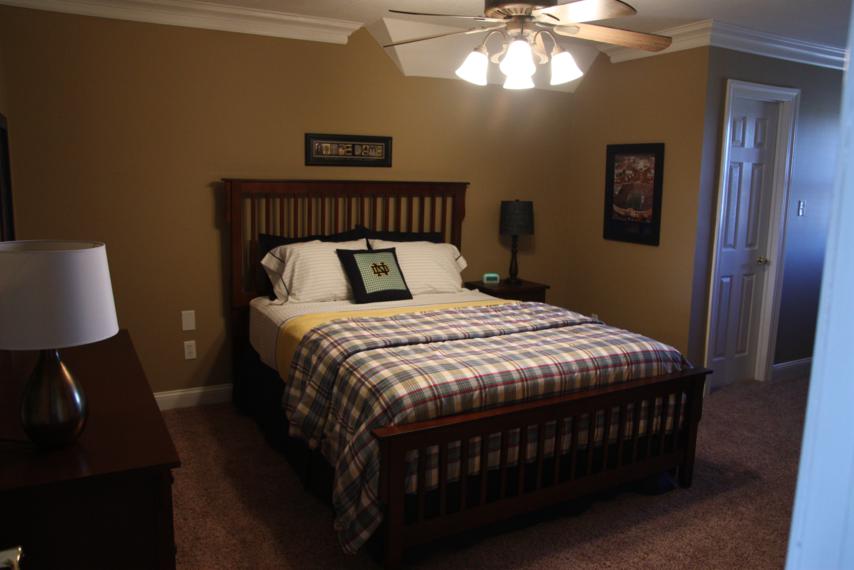
Are you ready?  Here's how his room turned out.

View from the door:

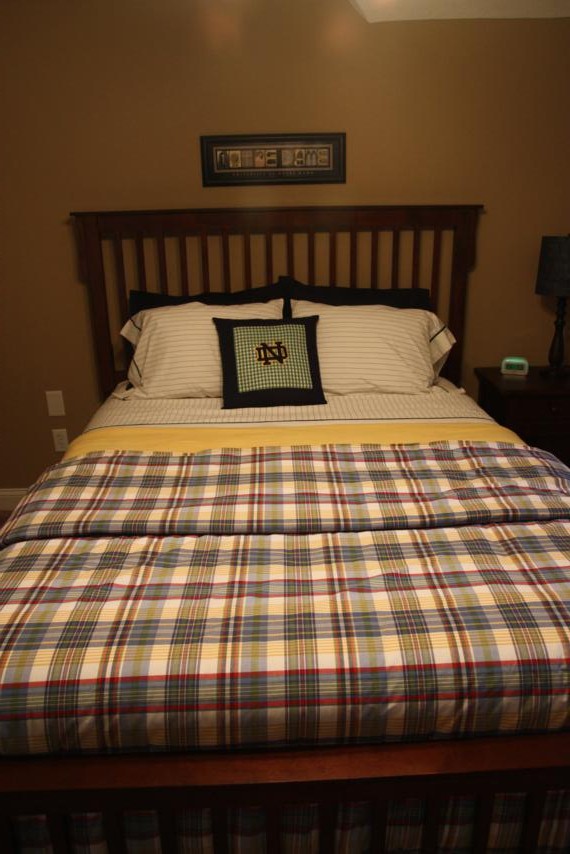
His bedding is mismatched from all different places.  The duvet cover is from Pottery Barn outlet - I think it's actually PB Kids.  I stuffed a down alternative comforter in it that I got at Target.  The yellow blanket is also from Target.

The sheets are Nautica.  I originally found them at TJ Maxx but they only had them in King size.  Luckily I was able to find them online on Nautica's website.  Since the duvet cover didn't have shams with it, my mom made shams out of solid navy fabric - they match the solid navy bedskirt that she also made.

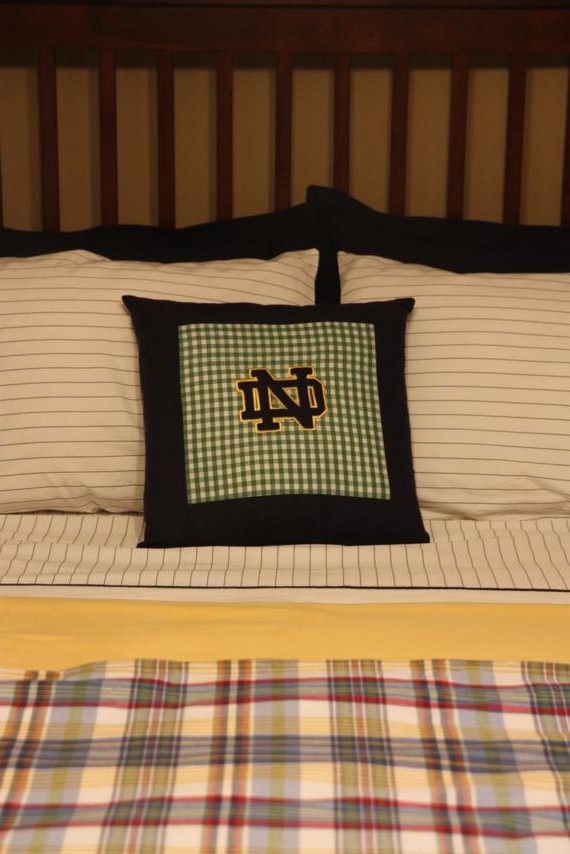
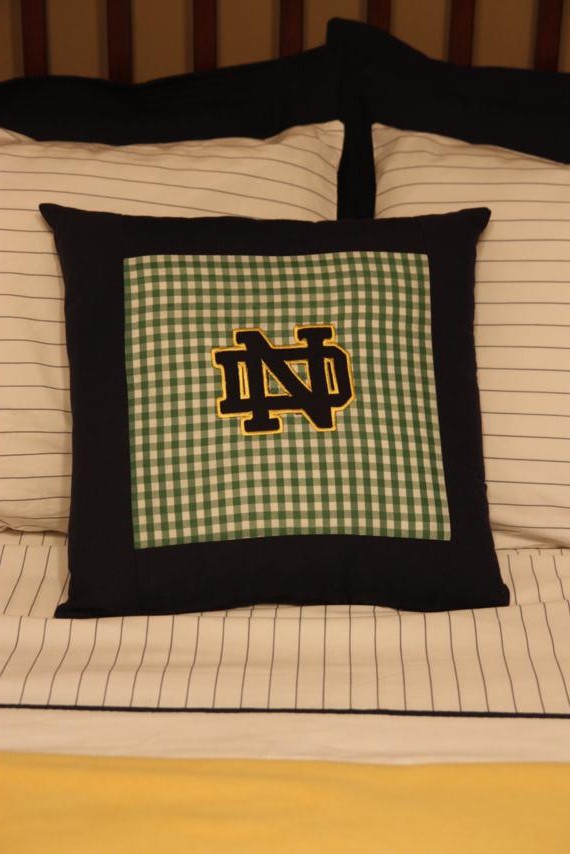
I was able to find some Notre Dame applique logos online that we purchased to use with my mom's embroidery machine.  She used them to make the Notre Dame throw pillow.

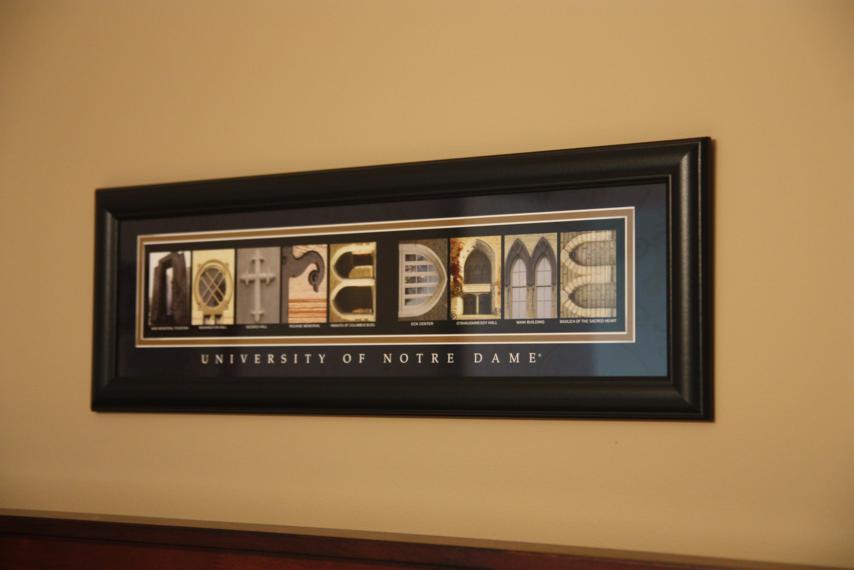
Above the bed is this really cool sign that Doc's parents found.  It spells out Notre Dame using architecture pieces found on ND's campus.

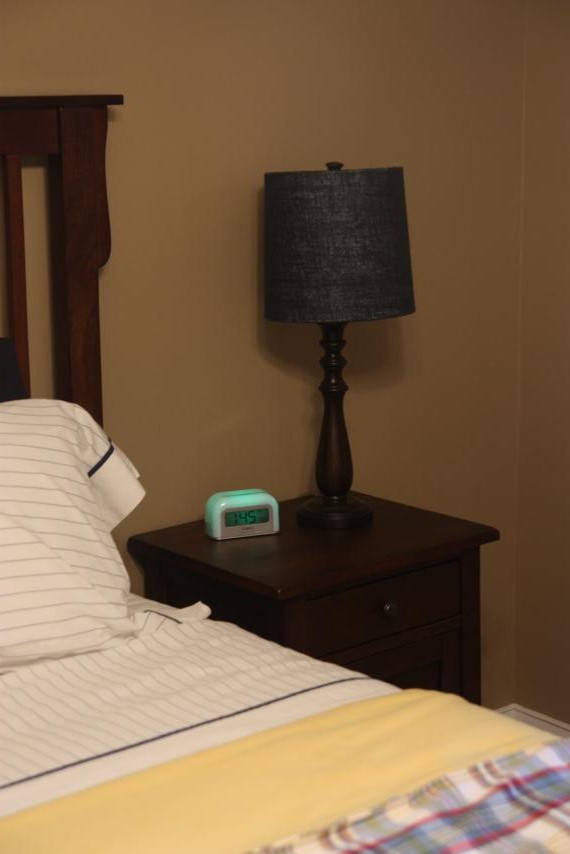
The bedside table is one we already had.  We added a new lamp to it (from Hobby Lobby) and a color-changing alarm clock (Target) and called it done.

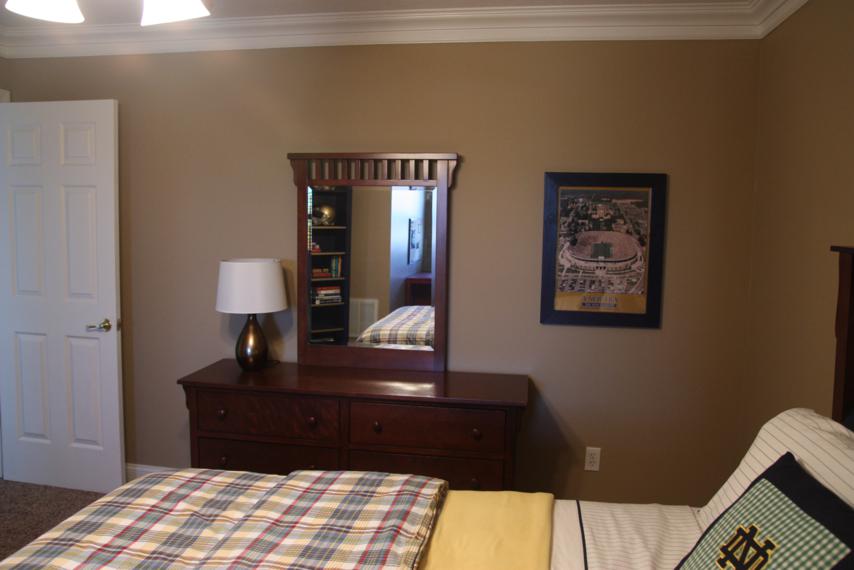
On one wall is the dresser that we already had.  I love that it matches the bed so well - that was a happy accident!  On it is the lamp that used to be in the living room but got a mini update with a new lampshade.

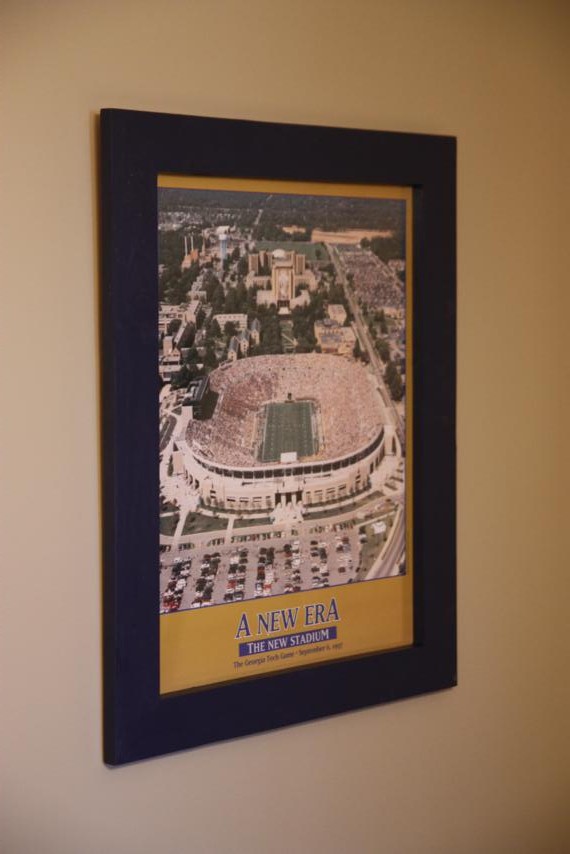
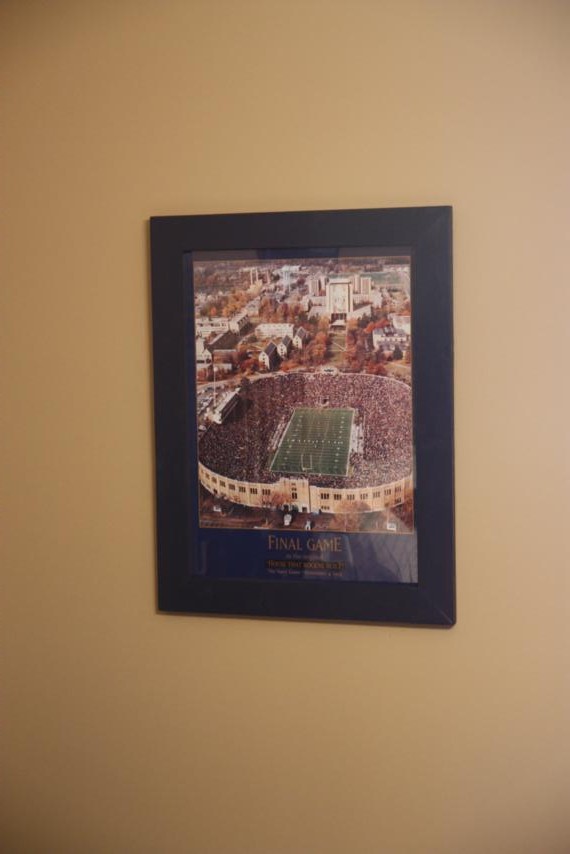
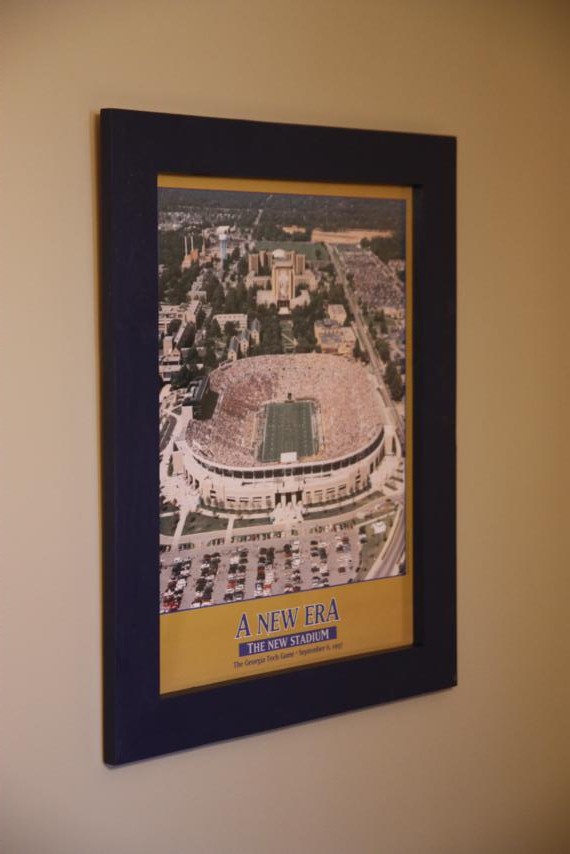
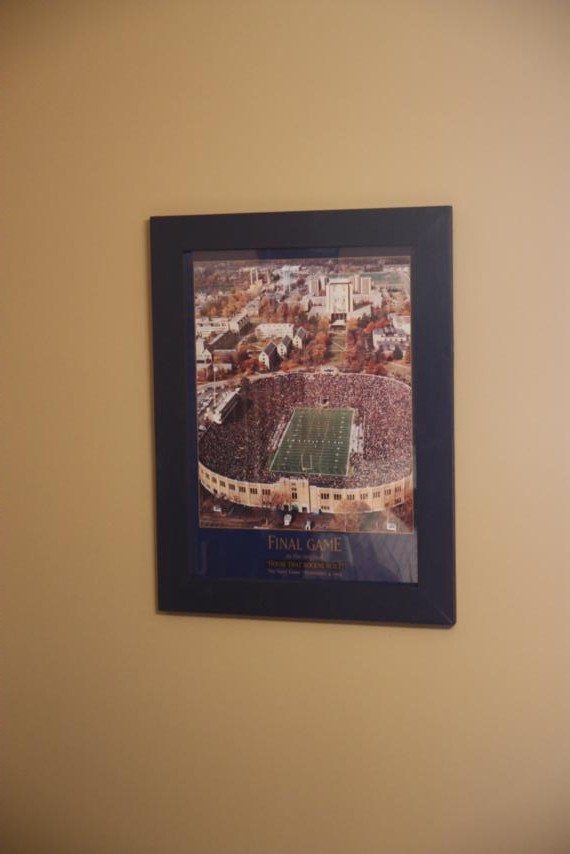
The two stadium posters he already had, but I made some wooden frames for them out of 1x3 pine boards and painted them ND Navy Blue.


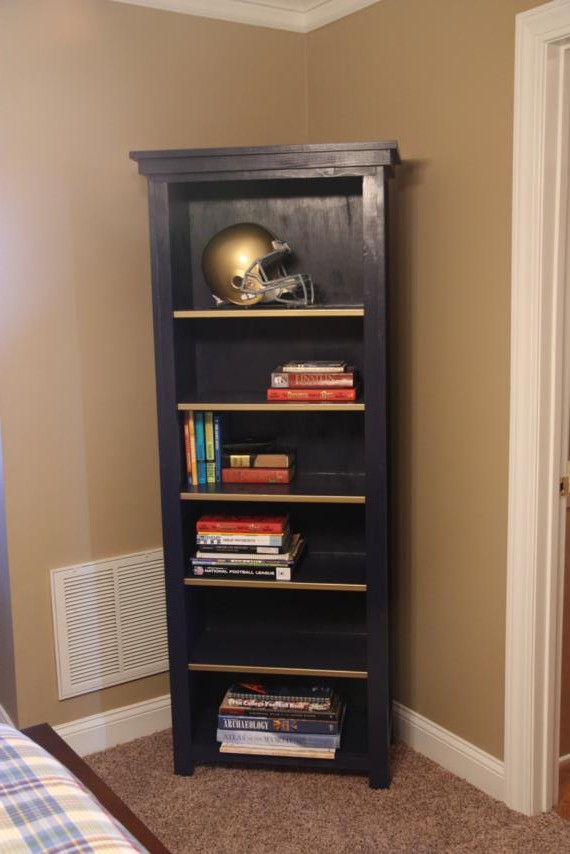
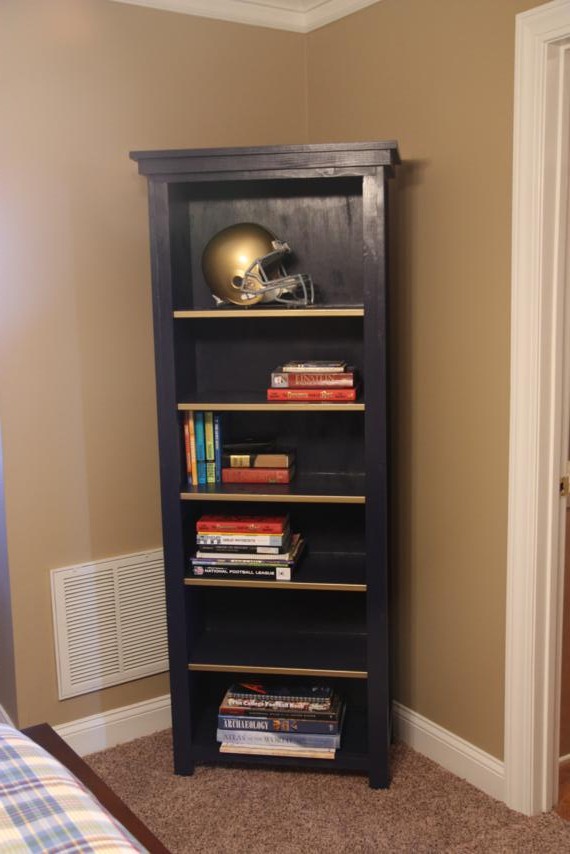
In one corner is the bookshelf we built.  It's also painted ND Navy Blue and has ND Gold trim on each of the shelves.  He already had the  gold ND football helmet, and I think it looks perfect on the shelf.

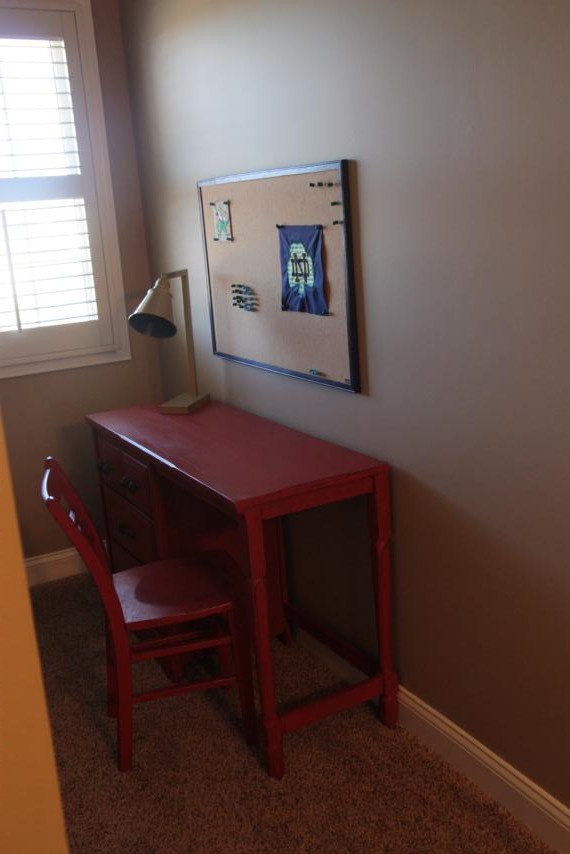
The red desk that I already had found a home down in the dormer.

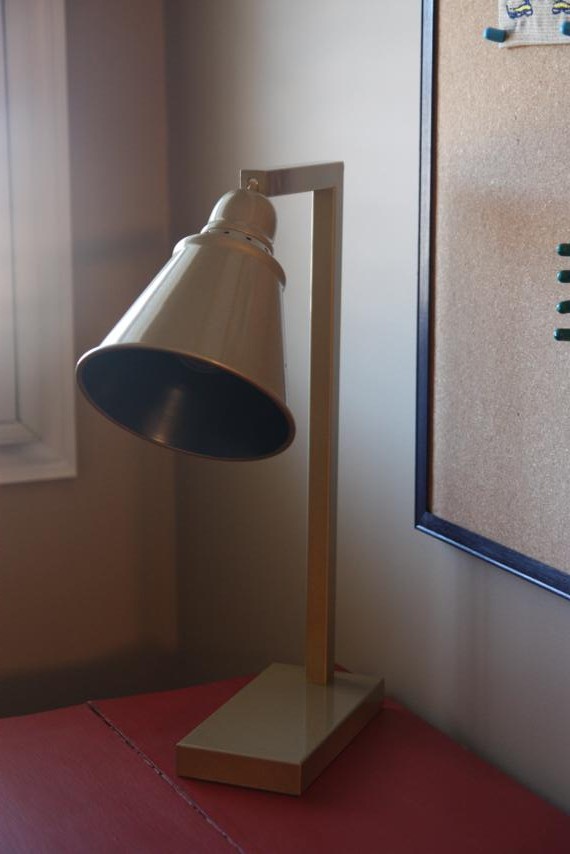
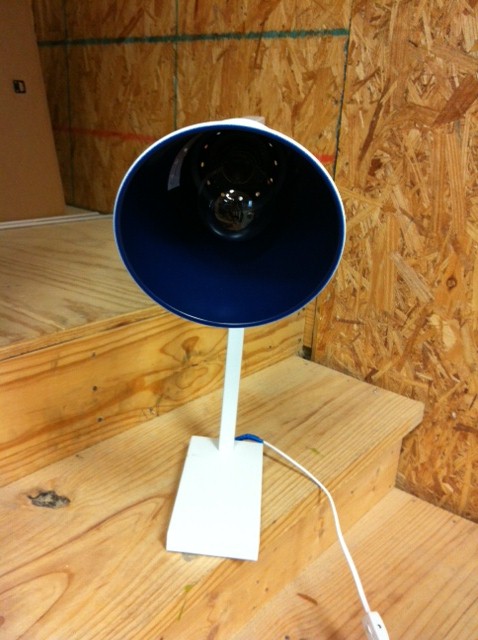
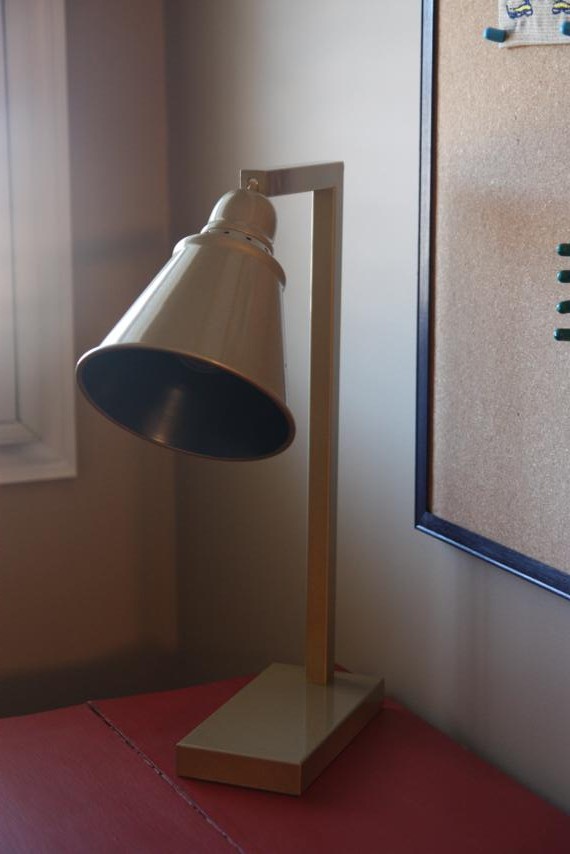
On it sits the little desk lamp that I painted.  I found it at Home Goods and the inside of the globe was already navy blue.  The rest of the lamp was white but I gave it a quick coat of gold spray paint to make it more "Notre Dame."

Above the desk I hung a bulletin board.  I painted the frame of it ND Navy Blue to match the poster frames and the bookshelf.  My mom did a couple more of the logo appliques on scrap fabric so we could have something to pin up on the board.

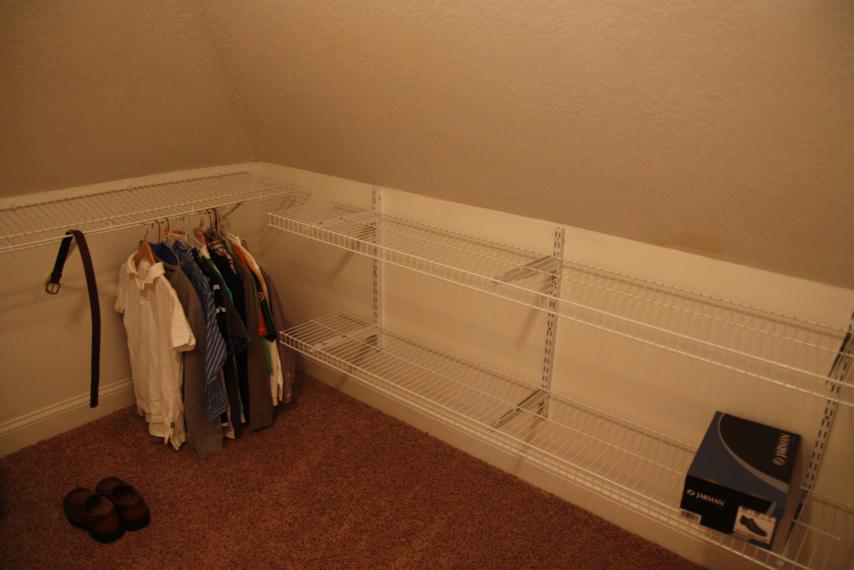
For whatever reason, the previous owners of our house had never installed shelving in the closet in Wyatt's room.  Anna's room has it, but not his.  Doc made a trip to Home Depot to buy wire shelving and hooked him up with some new shelves!

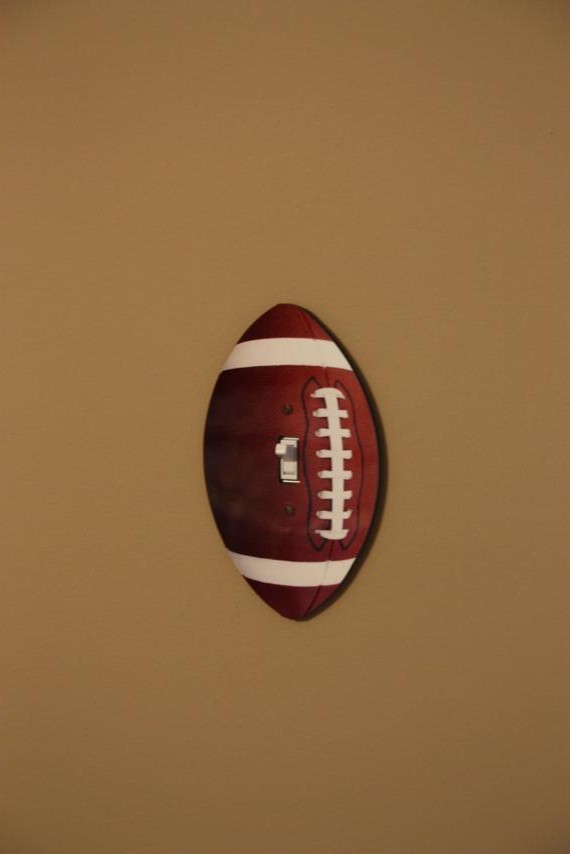
The main light switch to the room got a football switch plate.

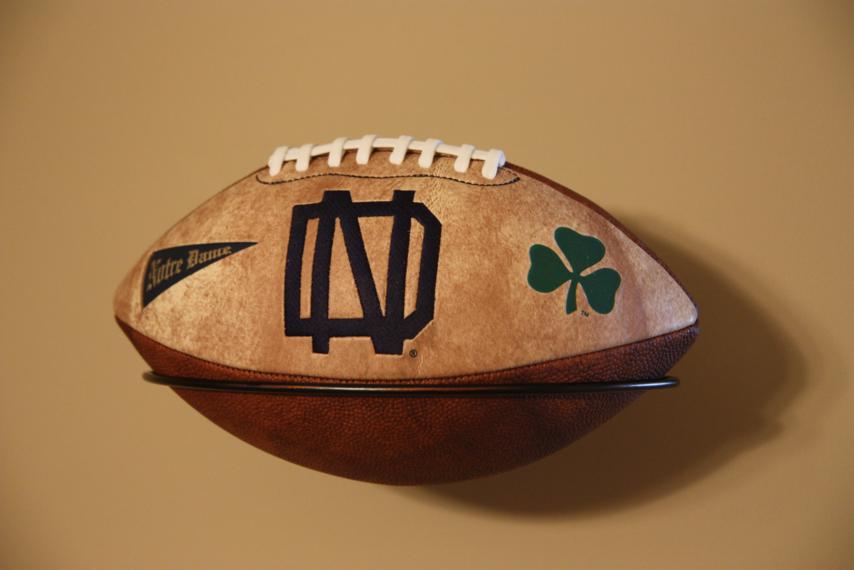
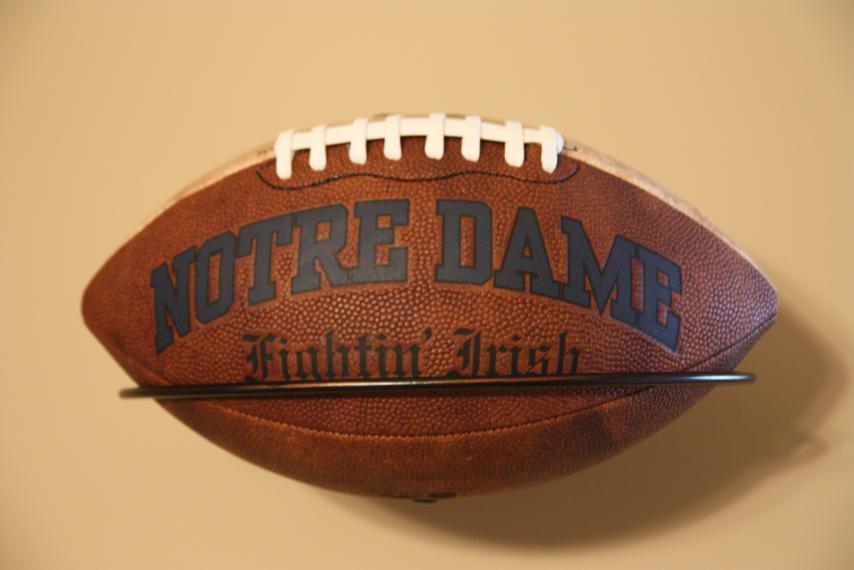
One day, while flipping through a Restoration Hardware Kids catalog, I found these cool wire sports racks to hold balls on the wall.  They have them for baseballs, footballs, basketballs, and soccer balls.  We ordered a football one and Doc's parents found this really cool Notre Dame football to set in it.  It's two-sided so Wyatt can switch it up whenever he wants.

And that's it!  Definitely a Notre Dame room, but a little bit on the more grown up side.  Not too boy-ish.  The best part is that Wyatt really seemed to like it.  Check this room re-do off the list!

Kids' Rooms Before

As I've already mentioned, we just finished wrapping up making over both of the big kids' rooms.  I have tons of photos to show you of each of them, but first I thought I'd show you what we started with so you can see how far we've come! Our old house was three bedroom so technically, there were enough bedrooms for us to all have our own (us in the master and one each for both kids).  But we made the decision early on to have them share one bedroom (they already had bunk beds anyway) so that the third bedroom could be used as a playroom.  Even though they are a boy and girl, it worked out well for them to share since all they did in the room was sleep, and they were only there every other weekend.

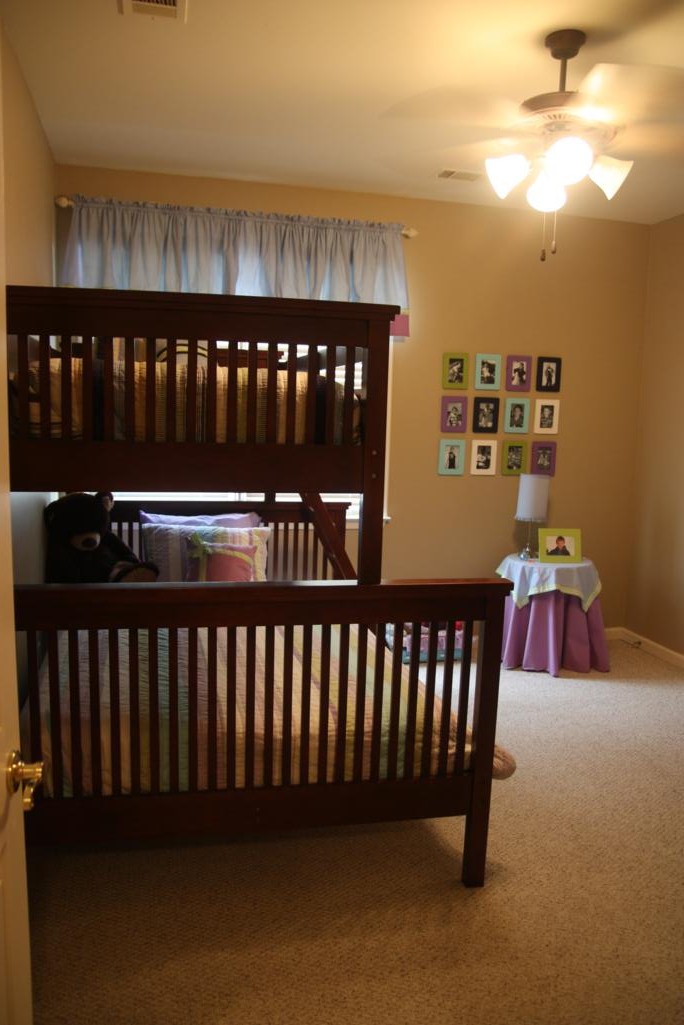
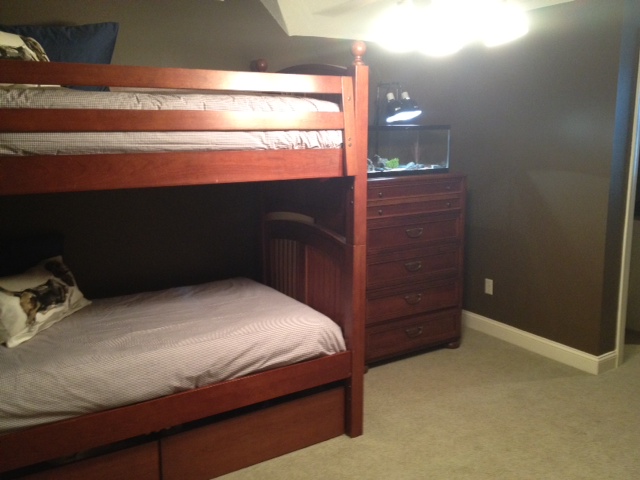
The bunk beds were great since they shared a room, but they were really pretty big and awkward in their room.  Ideally we would've put them in a corner, but there wasn't a corner in the room we could use, so they floated on a wall.  The view from the door of their room was of the end of the bunk beds.

From the bathroom door, you can see how we couldn't push the bunk beds all the way into the corner because of the window.  Also?  Decorating a room for a boy and a girl is really hard.  This bedding was purchased when they were, oh, maybe 6 and 7?

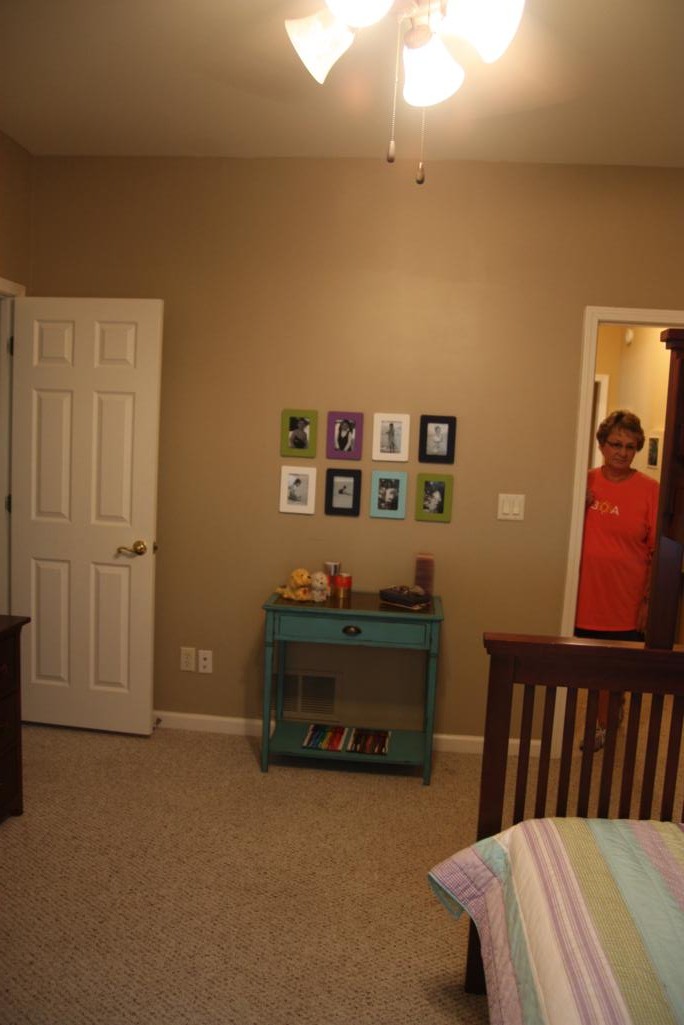
Also in their room was a dresser that matched the bunk beds.

And this little turquoise table.  The frames on the wall were hung several years ago, so the pictures are really outdated.  I tried to paint the frames to tie the colors in their PB Kids comforters together (his was navy and blue, hers was purple and aqua and green).

So that's what we had to move with us to our new house.  In this house, they each have their own room and they're joined by a bathroom.  Luckily, the bunk beds were separable, so we just pulled them apart and plopped them in their individual rooms when we moved in.

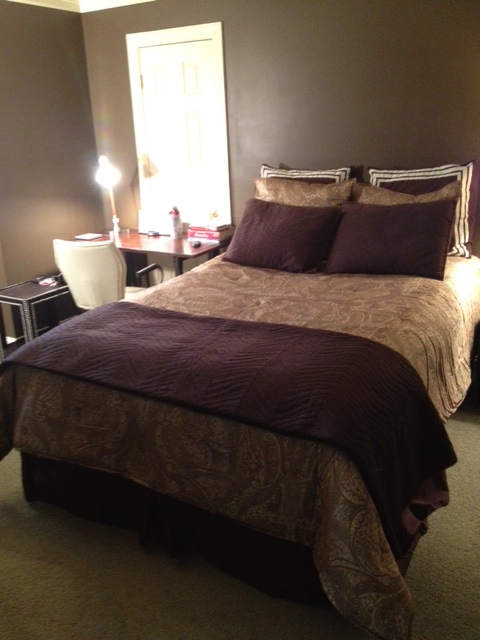
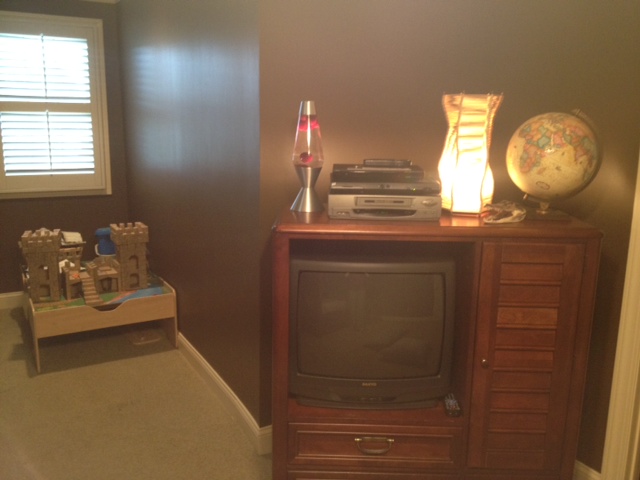
I forgot to take pictures of their rooms at the time, but here are some I took when we toured the house.  (This is the previous owner's stuff, not ours!)  I wanted to show you these so you can see how dark the rooms were.  The walls in both rooms were painted chocolate brown, and each room only has one little window that's down in a dormer so there's not much natural light at all.

The room that became Anna's:

And this is the room that became Wyatt's:

The carpet in these rooms wasn't awful, but it wasn't great either.  We promised them that they'd get new carpet when we got around to doing their rooms.

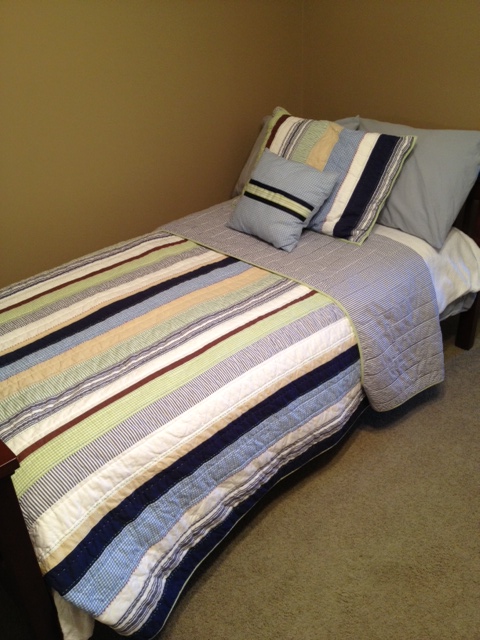
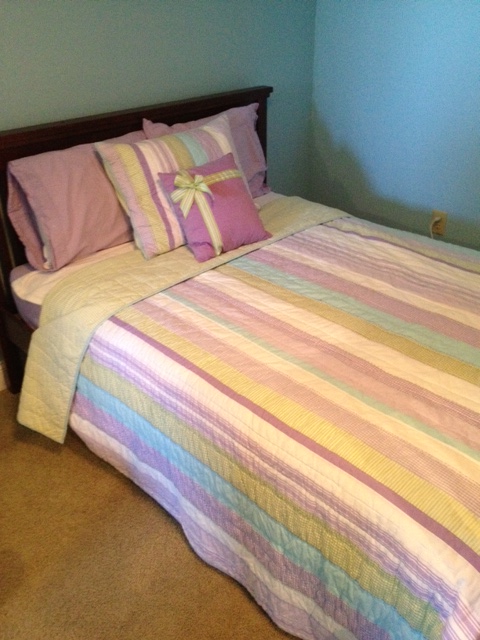
Obviously it would've been awesome if we could've done EVERYTHING between their visits so they saw it all at one time, but since we were hiring out the painting and the carpet, it just didn't all work out that way.  Here are their beds in their rooms after the walls had been painted, but before the carpet had been changed out.  I was actually taking these pictures so I could sell their bedding, but I think my mom has convinced me to keep it for future sleepovers.

The top bunk - Wyatt's - was a twin.  You can see his walls had been painted a khaki color.

The bottom bunk - Anna's - was a full.  Her walls were now turquoise instead of chocolate brown.

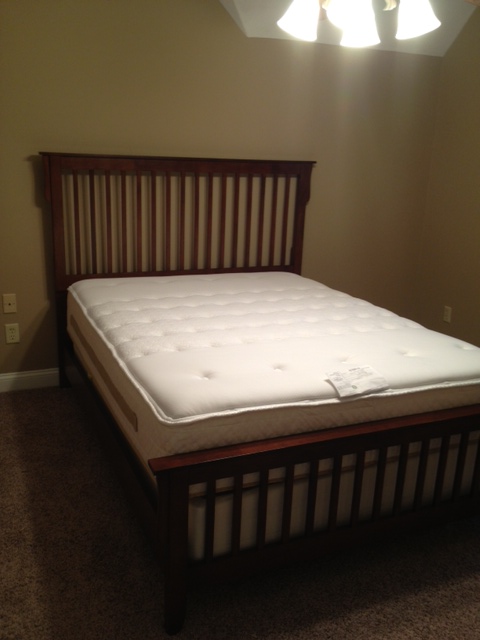
The new carpet and their new beds arrived in the same week.  We bought their beds from Ashley Furniture.  His is a brown slatted bed that actually goes well with the dresser we already had.

She requested white furniture which was harder to find than I thought it would be.  We lucked into finding this bed, though, and I really like it.  It's perfect for a girl's room.

So that's where their rooms were the last time they were at our house before the big reveal.  They got to see the wall colors, the new carpet, and the beds.  I did not put their new bedding on, though.  We made do with random blankets that weekend so that the bedding could stay a surprise.

Now, I'm ready to show you the rooms!  Be back soon with pics of Wyatt's first!

Best Weekend Ever

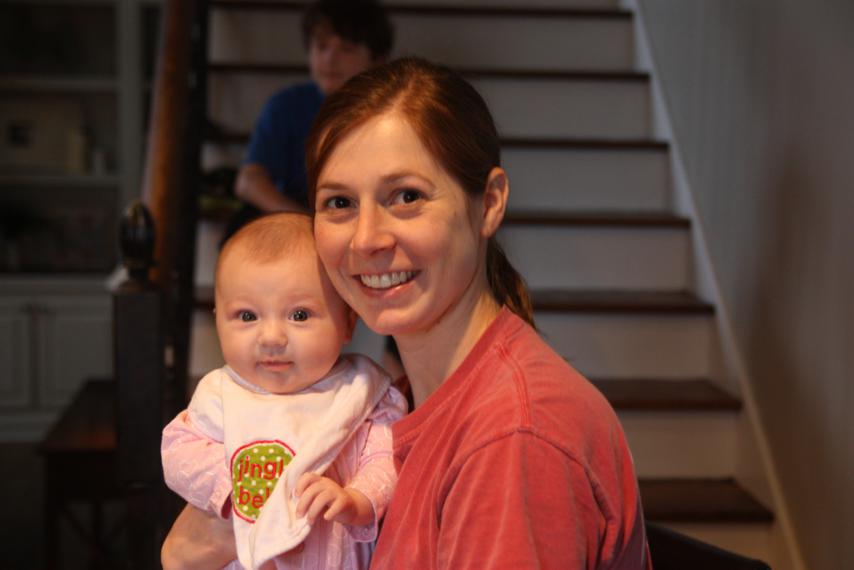
Merry Christmas, friends!  Have your days been full of friends, family, yummy food, fun gifts, good tidings, and holiday cheer?  My wish for you as we celebrate our savior's birthday is that you be surrounded by joy, peace, and love today, tomorrow, and throughout the year.  Let us all be mindful of the reason for the season and be thankful for all our blessings. I can't even begin to tell you how wonderful our Christmas has been this year.  And it's not just because it's our first Christmas with our baby.  We had the big kids at our house for an extended weekend and everything about it was good.  They headed back to their mom's house about mid-day on Christmas Eve, while we attended church and celebrated with my side of the family.  Every part of the last few days has been great, and I want to go ahead and post my pictures while it's all still fresh.  I know I'm skipping a lot of things that have happened lately, but we'll get back to them!  For now, I want to recap on my little girl's first Christmas.

The weekend started Friday morning by dressing my wiggly baby in her First Christmas outfit - complete with her first tutu - courtesy of my friend Allyson.  (Thanks, Allyson!)

The big kids were due to arrive at our house around mid-afternoon and I still hadn't completely finished up their new rooms.  I worked hard that morning to finish up Anna's bookshelf and get everything in place.  I probably hadn't been done more than ten minutes when Doc and the kids arrived home.  Close call!

The room reveals were perfect!  I have tons of pictures - those will have to be posts of their own - of the kids getting to see their rooms for the first time.  I really think they both like them, which makes me happy to no end.  I'm also very glad they're done and we can have some down time!  Anna and Wyatt were excited to show off their new digs and gave Doc's parents the most detailed tours via Skype.  In fact, they were mid-tours when Santa arrived, so Santa's visit was all on Skype too.

One of the things I get asked constantly since having the baby is what the bigger kids think of Katie and how they're adjusting.  I've said from day one that they've been really good about it.  They had good attitudes when we first told them about getting a new sibling, and have been very interested and accepting of her since she arrived.  We have always known that Anna would be easy - she loves the idea of babysitting a baby and is always good around the other little kids.  We had no idea how Wyatt react with her, but it has been the biggest blessing to see how much he likes her.  He still is too nervous to hold her - "I don't want to drop her," he says - but he loves high-fiving her and dancing with her arms.

Anyway, I don't really know what got me going down that path.  I guess because we all hung out in the kitchen together for a while after Santa left.  Anna sat at the bar and gave Katie a bottle.  She's helped feed her before, but I think this is the first time we just handed over the baby with a "Here, feed your sister" and let her have at it.
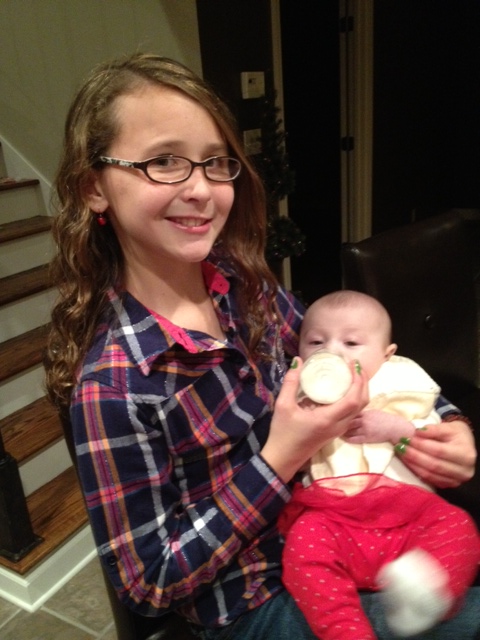
Wyatt was on a kick trying to make his hair look like Katie's beard and also photobombing all my photo attempts.
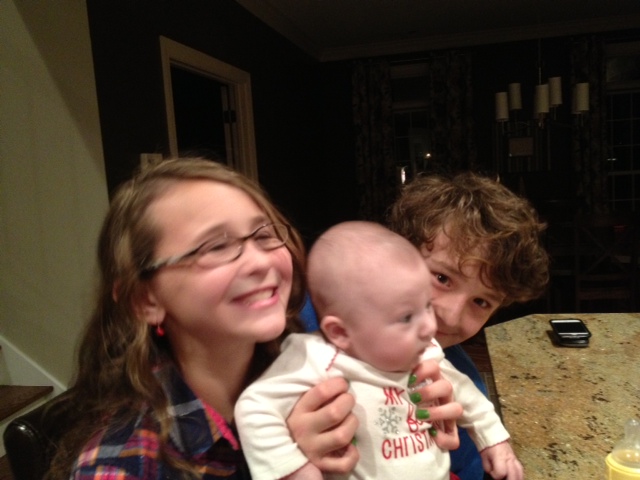
Later that night, both kids were hanging out in their bedrooms and Doc and I finally got a chance to hang out in the living room and just be.  We were so glad we had pulled the room reveals off and that the big kids were happy.  The little kid was pretty happy too, snuggling with her daddy.

Every year, we participate in our church's Hope for the Holidays program by adopting a family to buy gifts for.  This year our adopted family had four children - two boys and two girls - and until Saturday, I still hadn't done the shopping for them.  I usually try to get it done early but Doc and I both thought it would be good to let the kids help this time.  We got up early Saturday to do our shopping and had a good time doing it as a family.  Anna and Wyatt were in charge of picking out age appropriate toys while I tackled clothes.

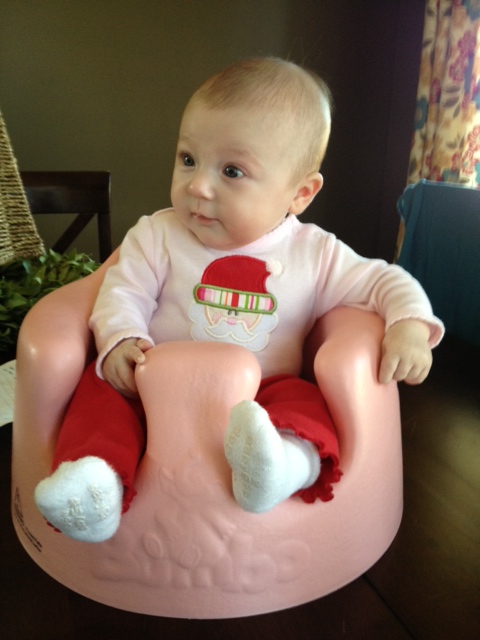
Shopping all morning can work up an appetite!  Miss Katie joined us at the kitchen table for lunch.  You know, just sittin' up.  Like you do.
Saturday afternoon and evening were spent hanging out at the house, wrapping all of the gifts we'd purchased and finishing up on some Christmas projects.  Wyatt got to pick the menu for dinner that night so we enjoyed porkchops from the grill with rice, salad, and rolls.

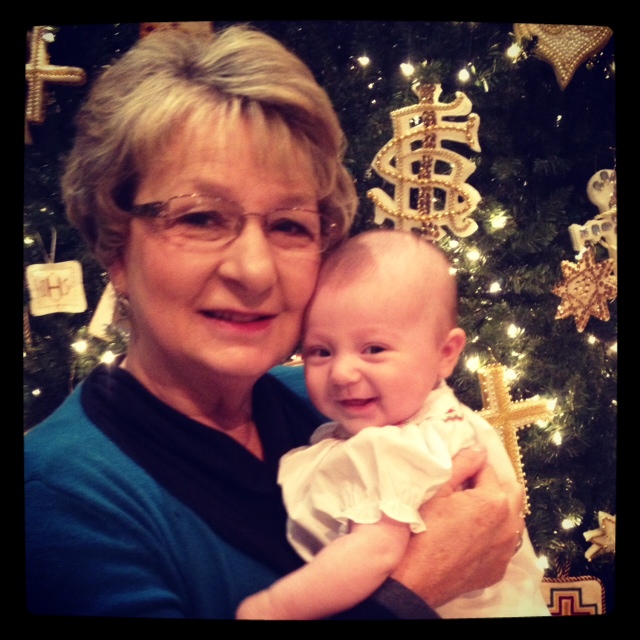
Sunday morning got off to an early start with Doc and I having to be at church early to practice handbells.  We were lined up to playing with the full handbell choir during the service that morning.  While waiting for the others to arrive, I took a few photos with the Christmas decor.  I really wished I could plop Katie down in the middle of these poinsettias...maybe next year when she can sit on her own.

Katie's dress had little Santa Claus's smocked on it (thanks, Emily and Alice, for letting us borrow it!) but that's not the only place Santa made an appearance.  He was also on her little booty!
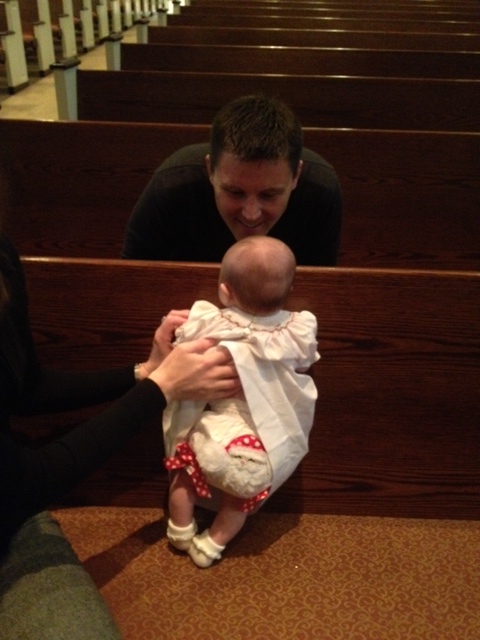
(I'm learning to Instagram.  I know, I'm way behind the times.)
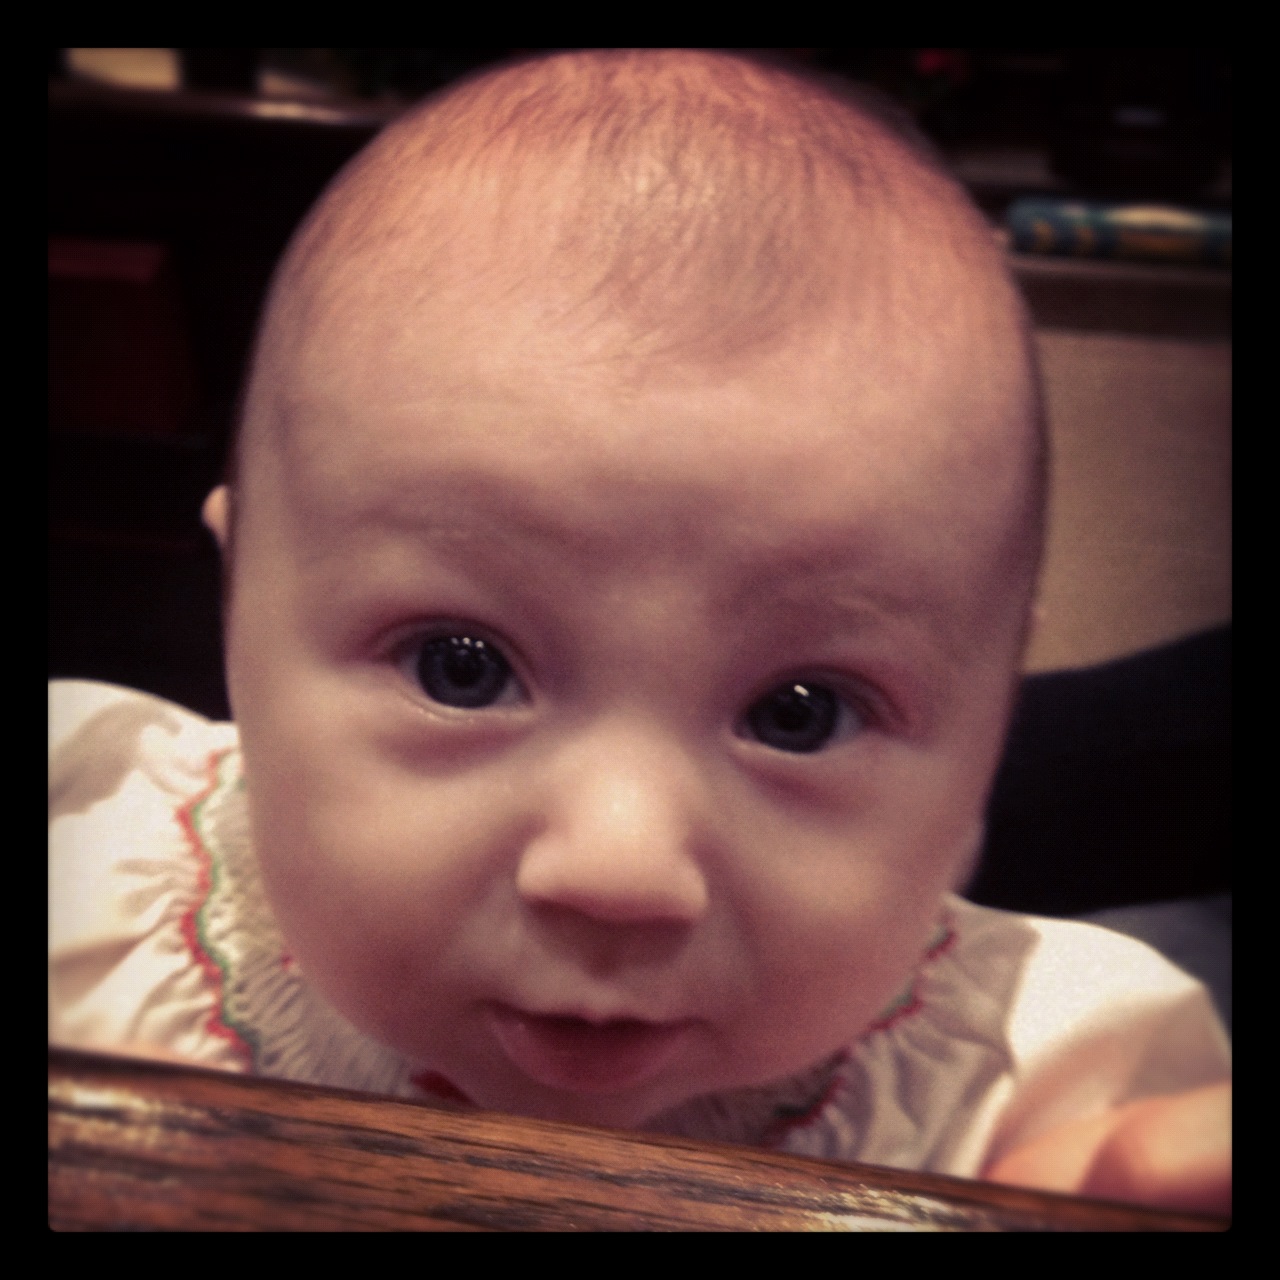
The Chrismon Tree made for a pretty background too.

I'm happy to say that our handbell performance went pretty well.  We played Joy to the World and O Come All Ye Faithful, and hopefully the congregation was able to recognize the songs.

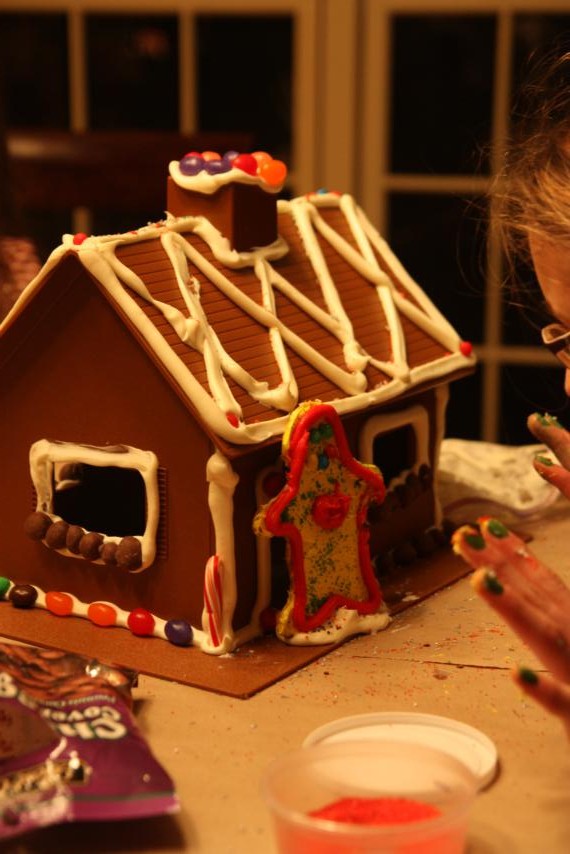
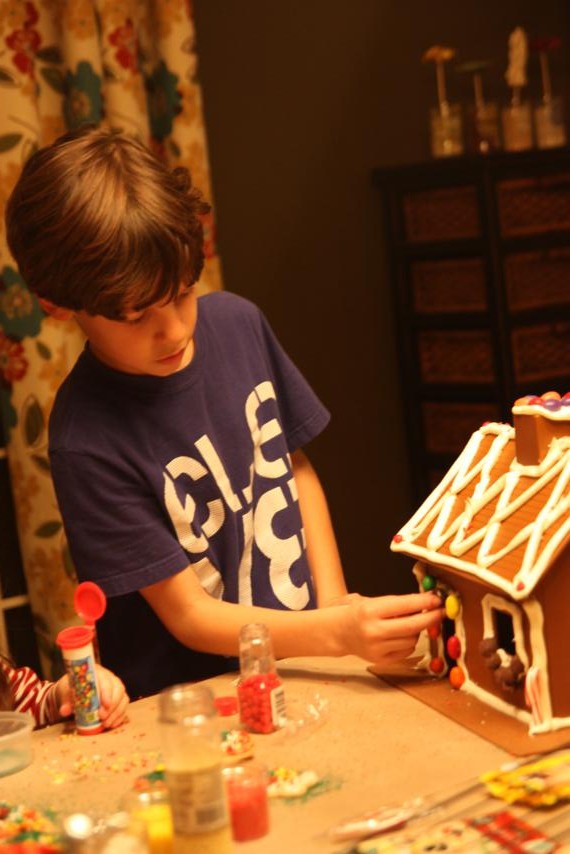
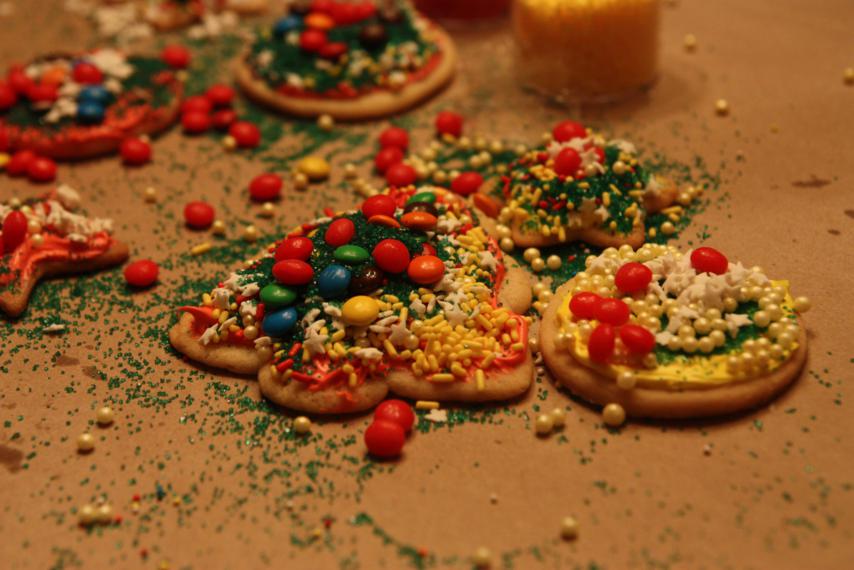
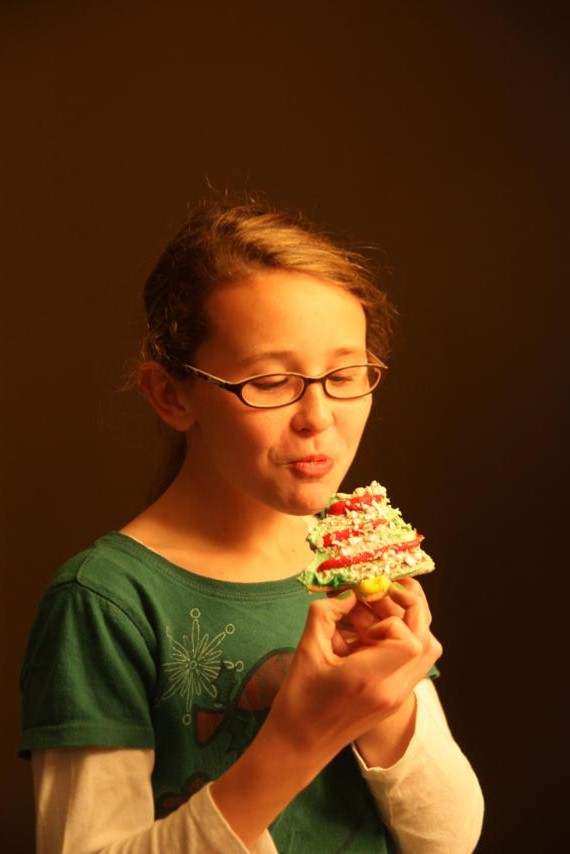
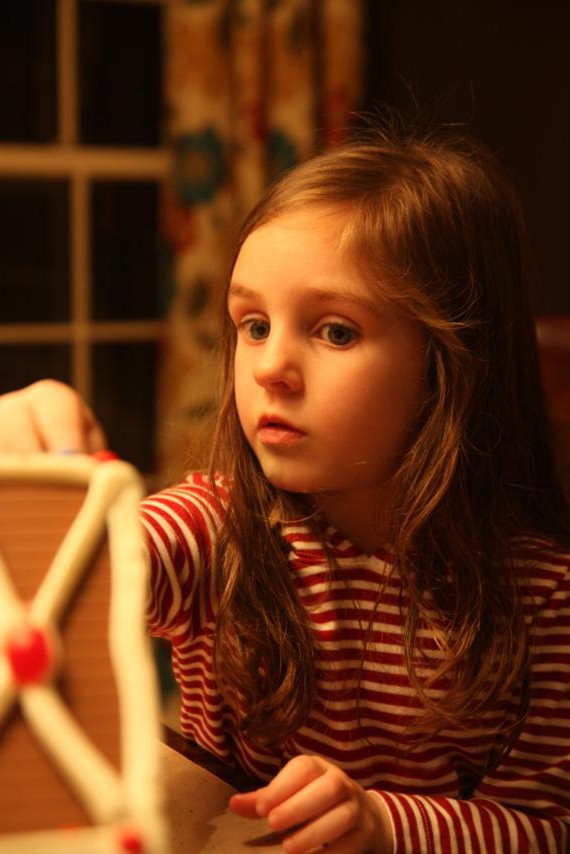
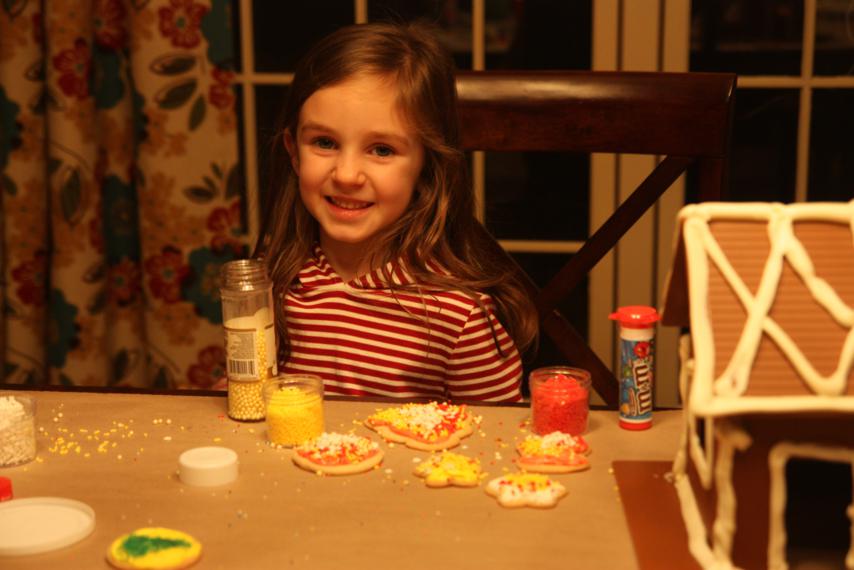
I got the itch to decorate Christmas cookies so we invited Jett and Bren over Sunday night to join us.  What fun!  And what a mess!  We also decorated a gingerbread house.  I took way too many pictures of all the fun...the boys were too cool to participate at first, but eventually got into it!


Katie-bug hung out with her Aunt Beth while I helped with all the decorating.  I love this picture of them!

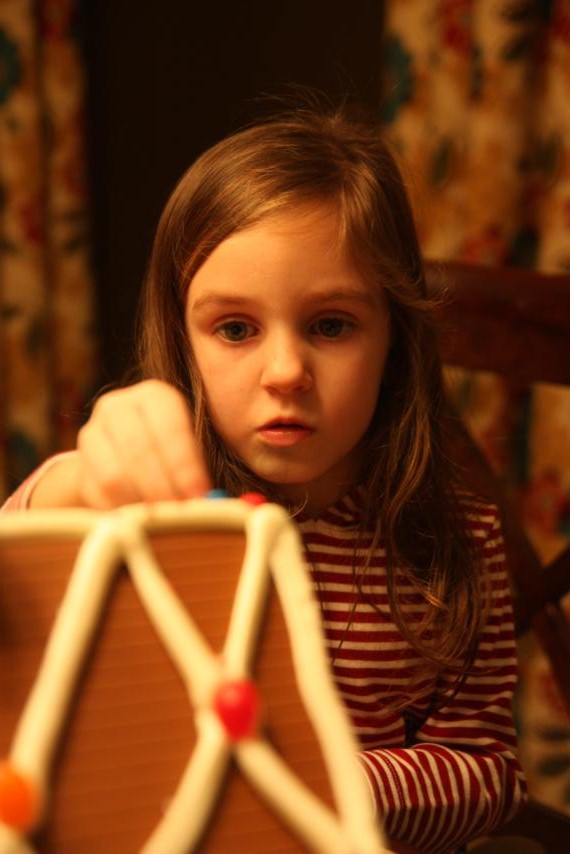
These two pictures of Bren kill me.  Such seriousness when decorating!
  

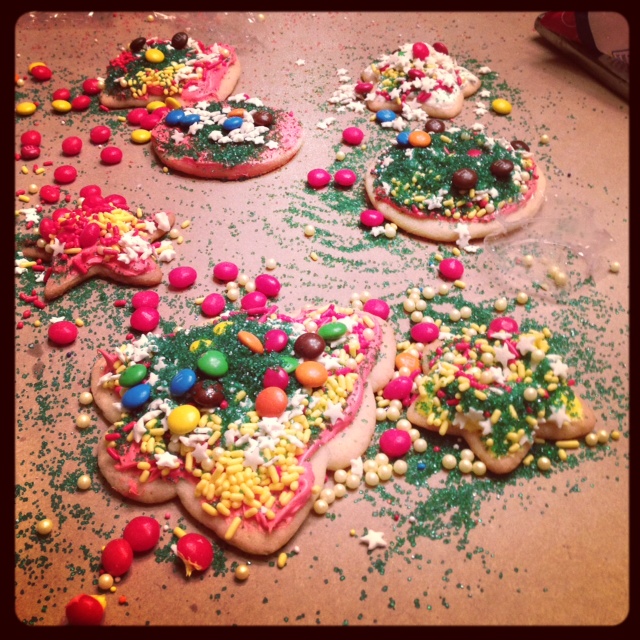
Speaking of serious decorating, did you see Bren's cookies?  Holy sprinkles!  They went straight to the trash after she left...I'm not sure that anyone would've been brave enough to eat them!
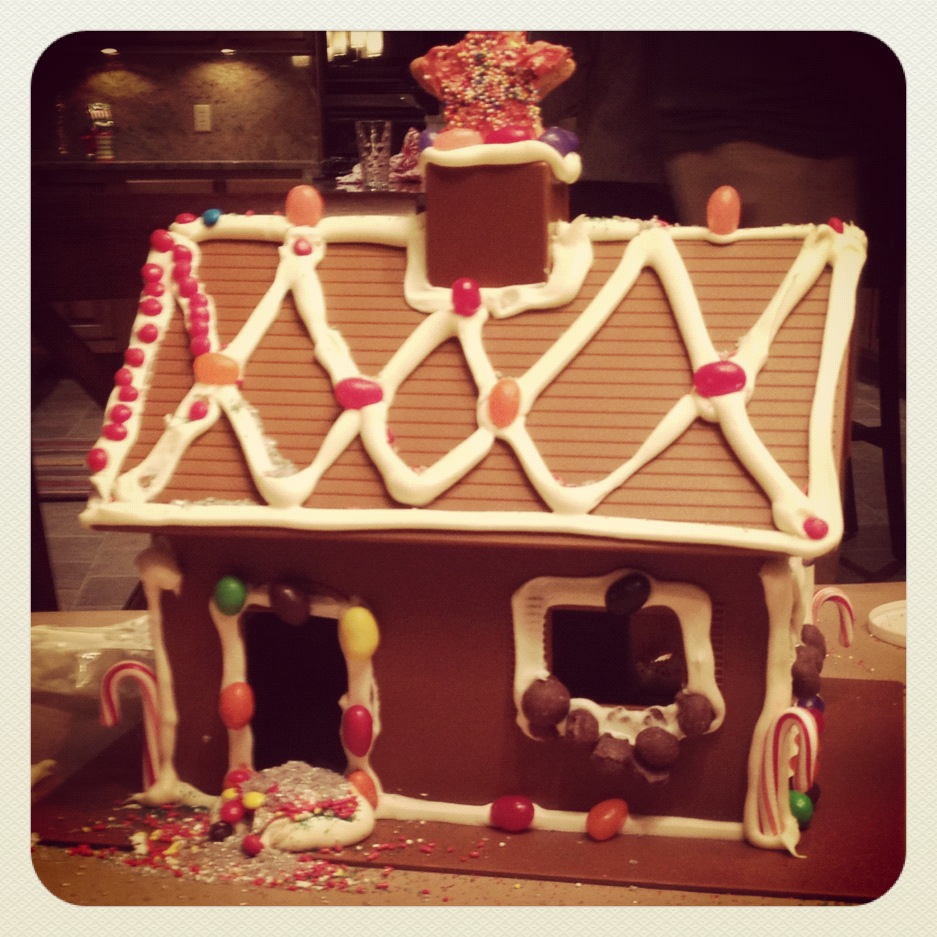
When it was all said and done and the mess had been cleaned up, here's how our finished gingerbread house looked.  I think they did a great job!
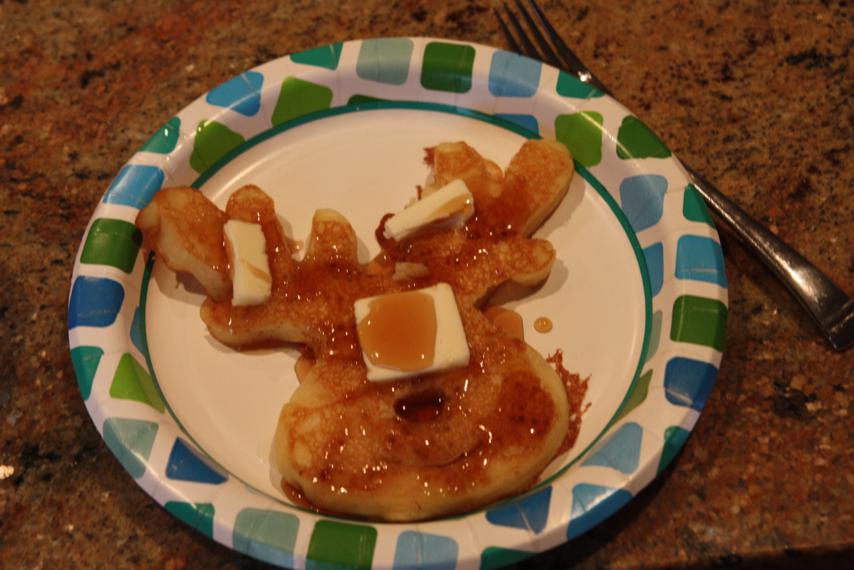
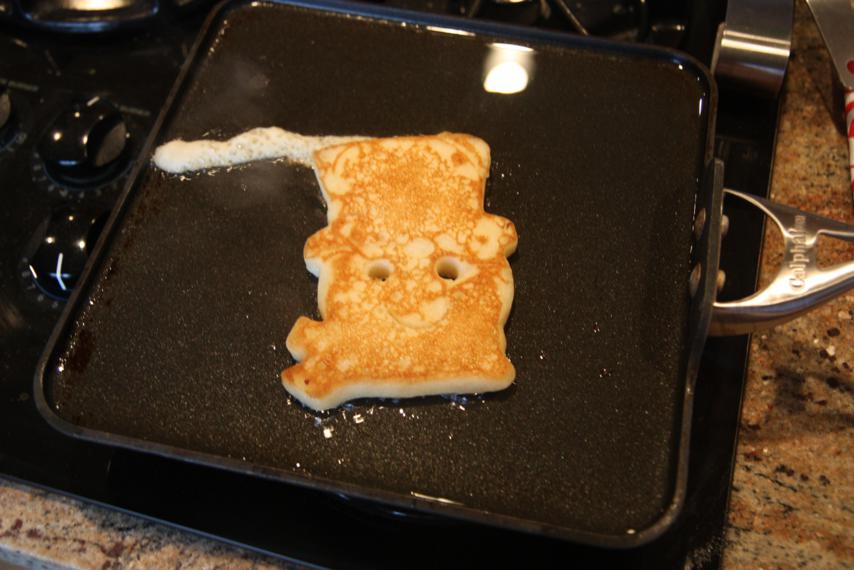
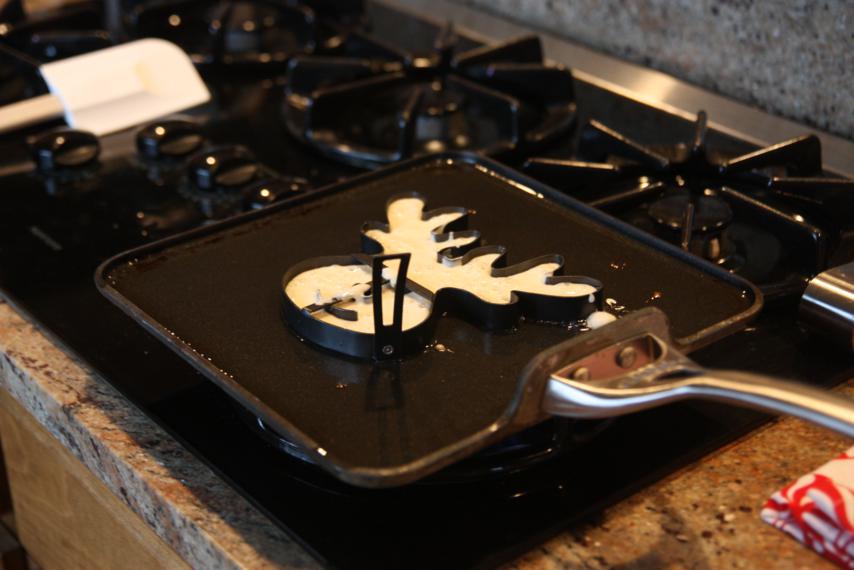
We sent the kids to bed with bellies full of sugar.  Monday morning - Christmas Eve - would arrive soon and that's when we planned to open presents with them.  But before we could get to the gifts, we had to start with a Christmas breakfast.  Who doesn't love festive pancakes?  (Those are reindeer and snowmen, if you can't tell.  There were elves too!)
    

We were rockin' lots of bed-head during breakfast.


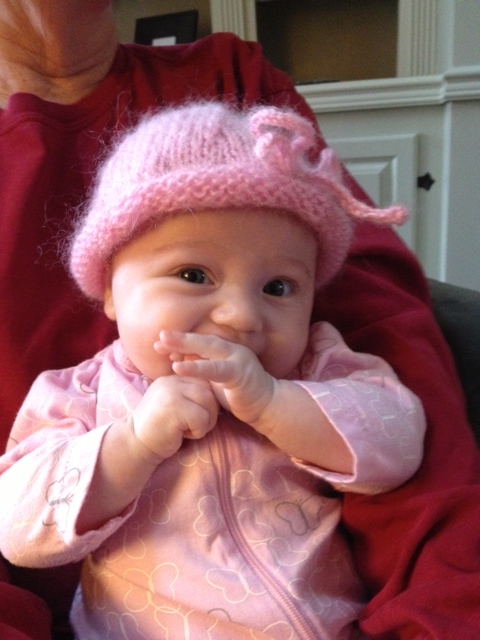
Luckily, we were able to cover up all that crazy hair as soon as we started opening gifts because the first one that everyone opened was a new homemade hat from Doc's mom.
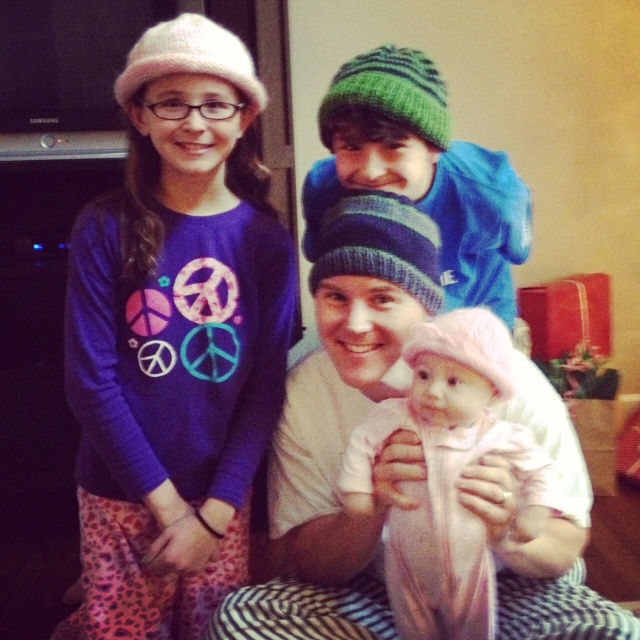
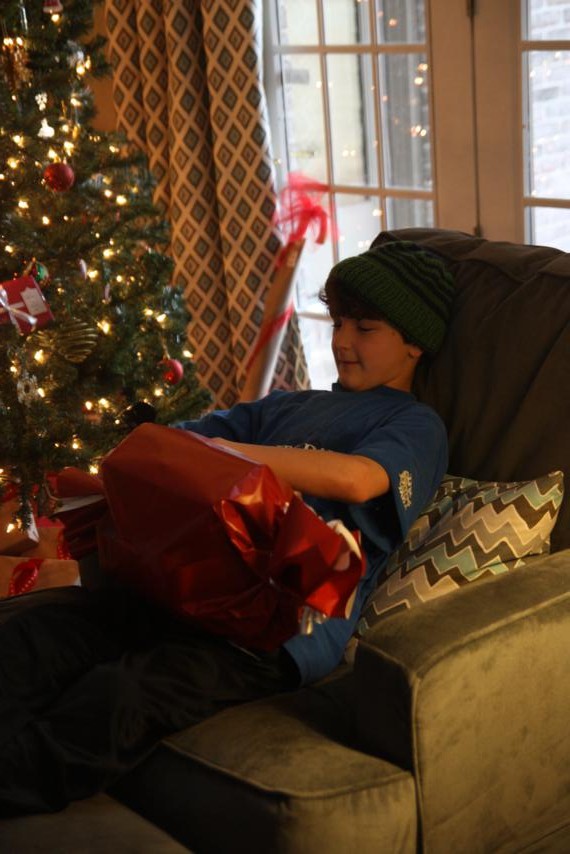
The bulk of the kids' Christmas presents were obviously everything in their new rooms, but we couldn't resist having at least a couple presents for them to open up too.  I mean, opening up church clothes isn't really all that fun, but at least it was something to open up, right?  That got a couple of other goodies, too.
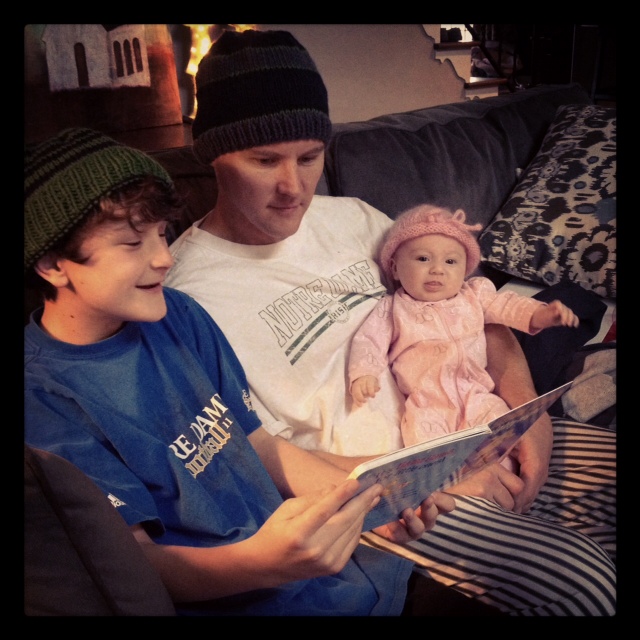
Doc's sister sent everyone a new book, and Wyatt decided he would read Katie her new Llama Llama book.  (Lala, please note that everyone wore their hat all morning!)
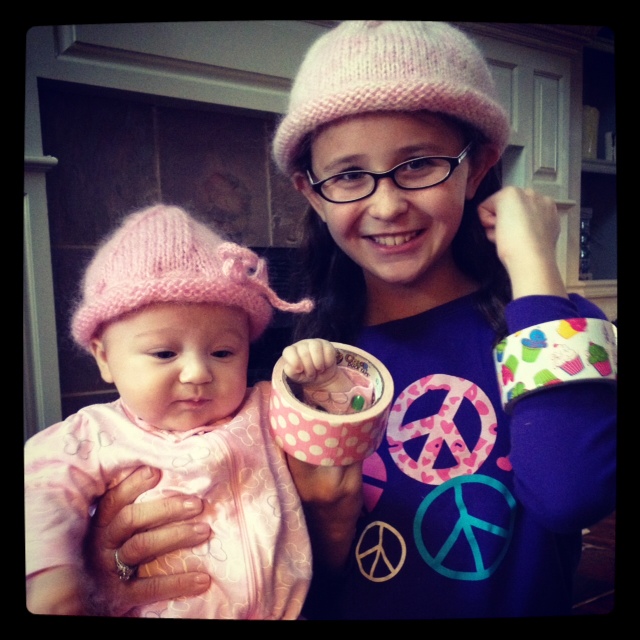
Anna plans on teaching Katie all about the fun things you can do with duct tape.
My little cabbage patch doll!
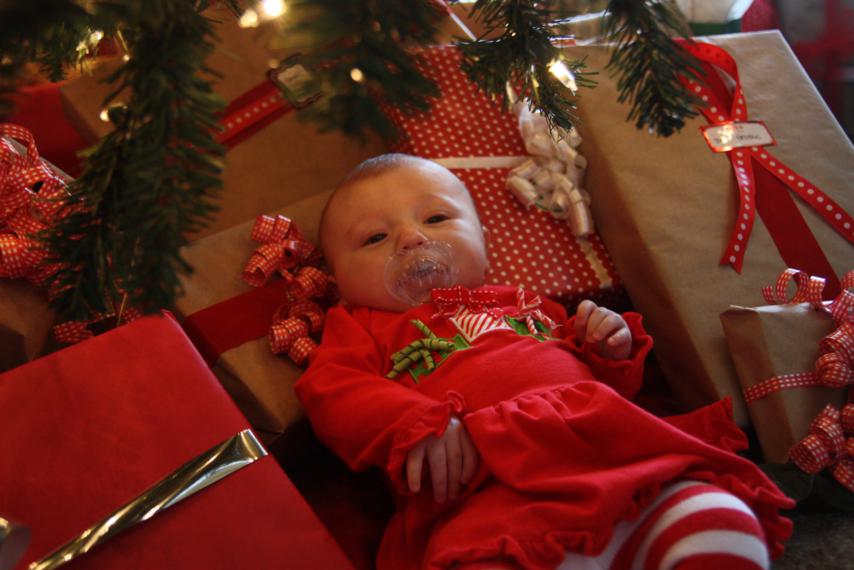
After the presents had been opened and the living room was thoroughly trashed, the big kids had to go back to their mom's house for the rest of Christmas.  Katie and I piddled around the house and got cleaned up for the rest of the day.  You know those really cute pictures of kids under Christmas trees that you see?  It hit me that all the presents were about to be gone from under our tree so I better try to get that picture of Katie while I could.  Yea, it didn't go so well.
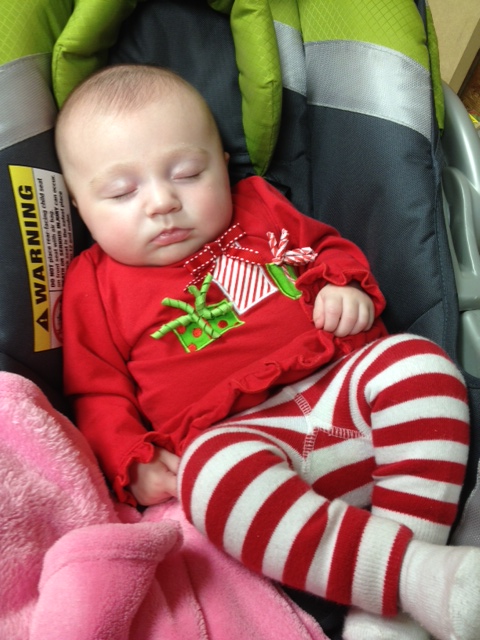
My little bunny was just too tired for pictures and needed a Christmas Eve nap.
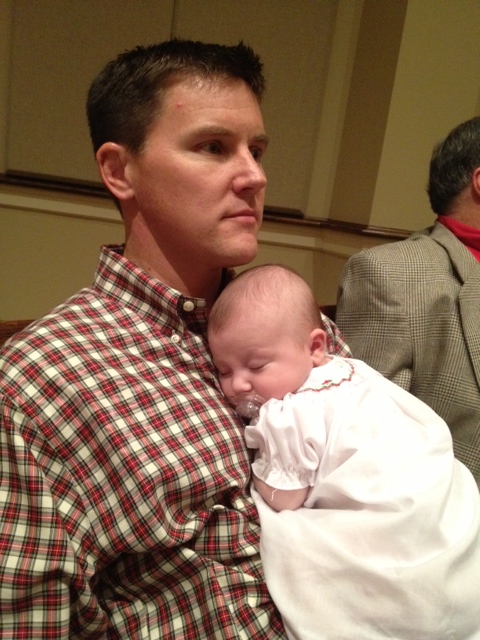
That evening, the Santa Claus dress went back on so we could go back to church for the Christmas Eve service.  As soon as we walked into the church, Katie started screaming and crying.  I have no idea what happened - it was like she got pinched or something - but she did not want to calm down.  I spent the first ten minutes of the service pacing outside the sanctuary trying to comfort her.  Doc finally came out to check on us and was able to get her to quit crying.  Sometimes a girl just needs her daddy, you know?
Our Christmas Eve service always ends with candles while we sing Silent Night, Holy Night.  I was sandwiched between these two cuties during the passing of the light.
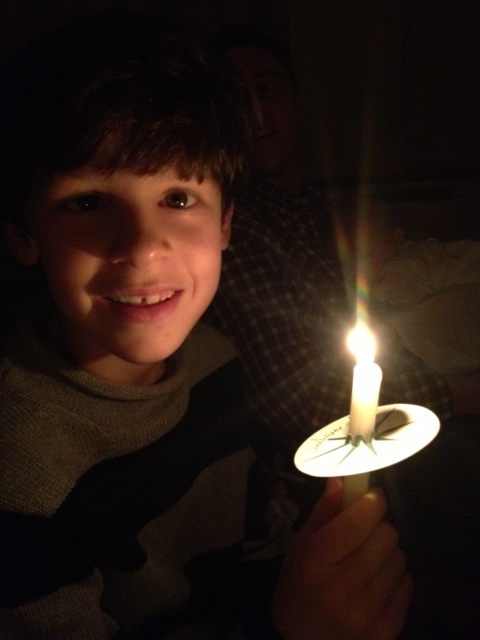
Per tradition, we all gathered at my parents' house after church for a delicious dinner and lots of presents.  For the last few years, Doc has been in charge of cooking the beef tenderloin, and this year he really outdid himself.  He cooked the meat in a salt crust (recipe here) that was absolutely delicious!  He also whipped up a homemade creole mustard to go with it.  Man, it was good!

We tried for a Christmas picture or two while we waited for everyone to arrive.
  

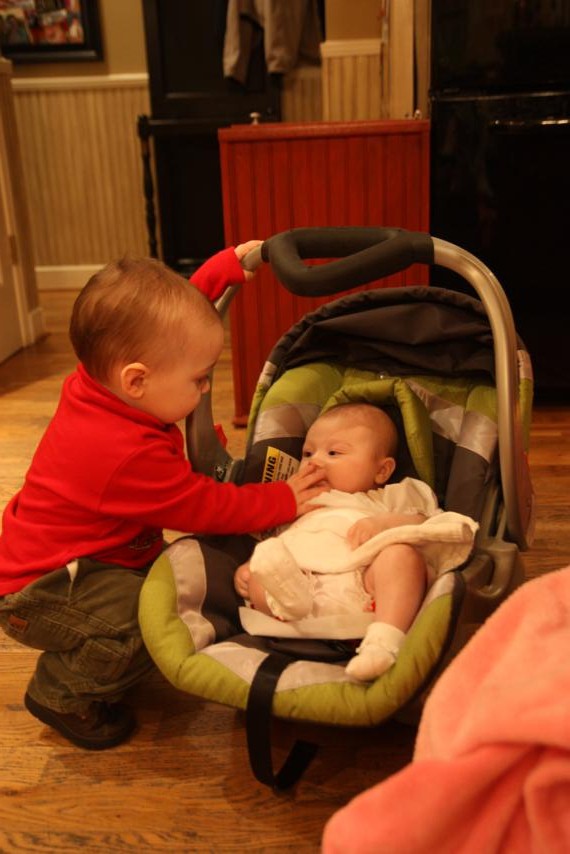
Sweet Ramer has taken a little bit of interest in baby Katie.  I think he's glad to have someone smaller than him...or maybe he just sees a paci to steal!
  

A couple snapshots from dinner.
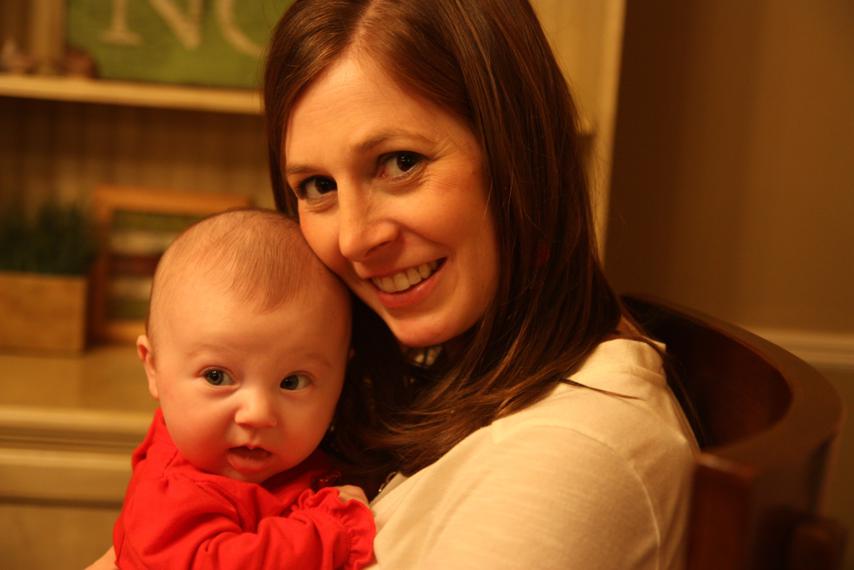
Erin and I tried to take a picture with our babies.  It was a good idea in theory.
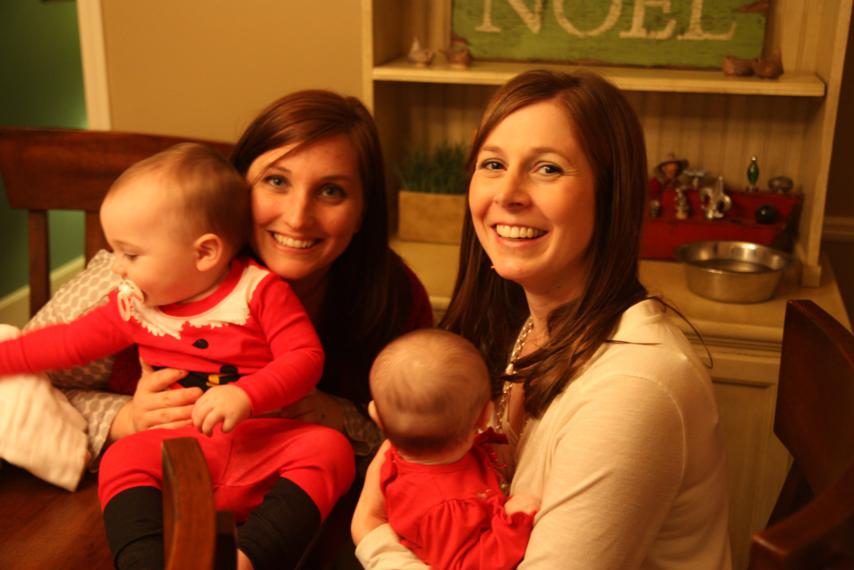
Each year we try to take family pictures before opening presents.  It's getting harder and harder to do with some many excited kids!
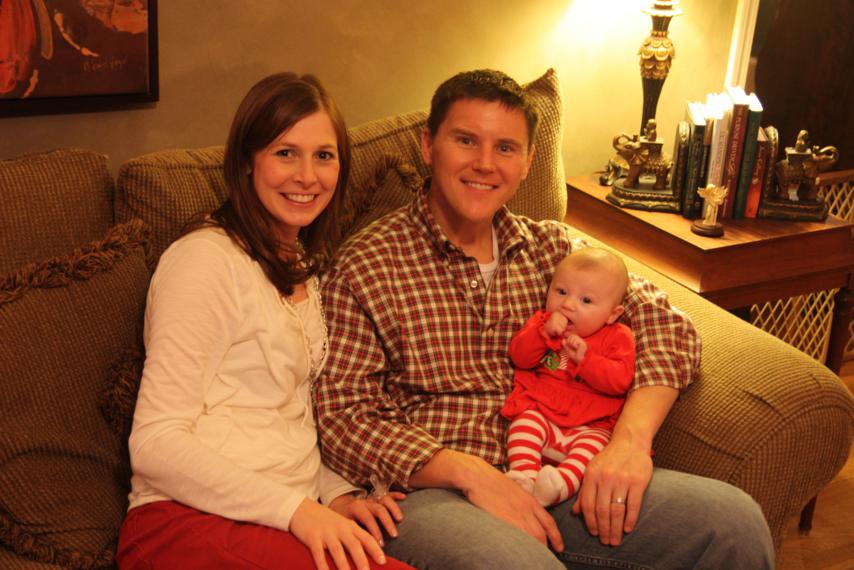
We put all five wiggle worms in one chair for a sweet Christmas picture.  Ha, yeah right!

After I'm sure what felt like hours to those five kids, it was finally time to open presents.  In our family, the gifts get passed out and it's a complete free-for-all.  There is no quiet turn-taking and showing off of gifts.  Instead, it's loud and chaotic and there's shrieking and excitement and paper flies all over and by the time it all settles you can't see a single speck of floor.  I love it and wouldn't have it any other way.



Sometimes, in all the chaos, funny things happen.  Here are two of my favorite stories from this year:

  • Because we've done so much to the house lately, Doc and I agreed we would not really do gifts.  He bought himself a pair of shoes that I wrapped up and put under the tree for him, and I also bought myself a purse, wrapped it myself, wrote the tag myself, and told him he could give it to me to Christmas.  Somehow, in all the craziness, he dug into my pile of gifts and ended up opening my purse...the one gift from him to me.  So, I picked it out, bought it, wrapped it, put it under the tree...and he opened it for me. :)
  • Bren got over-eager in all her unwrapping and grabbed one my brother's gifts.  Admittedly, "Bren" and "Ben" look a LOT alike on a gift tag.  But, ever the polite little 4-year old that she is, when she opened the men's size XL pullover sweater, rather than asking someone about the weird gift, she just pushed it to the side and didn't mention it to anyone.  Bless her little heart, she didn't want to be ungrateful!  We finally realized what happened when we were sorting through boxes...my poor brother had no idea he'd been shorted a gift.
Before we parted ways for the night, I was able to get some good snuggle time on the couch with these lovies.

Bren loves to hold her little cousin.
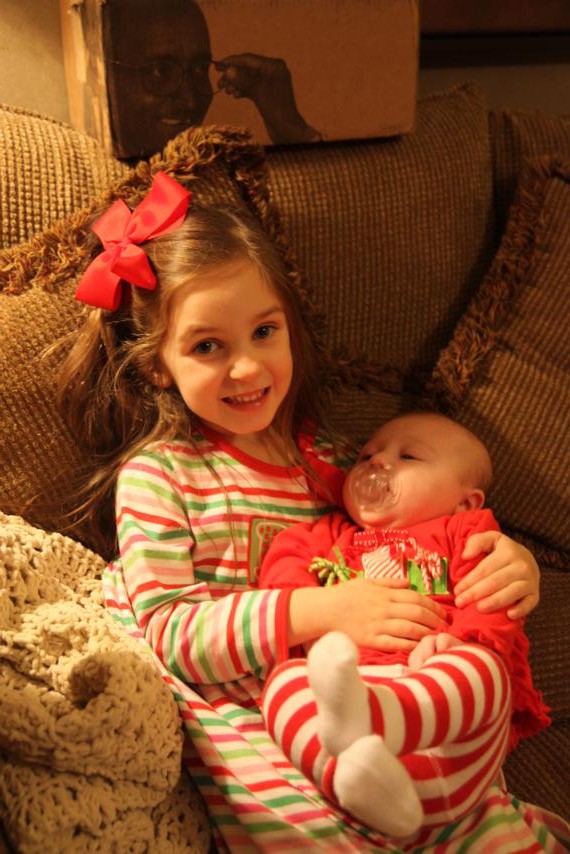
That little girl didn't last much longer, though.  Christmas was exhausting!
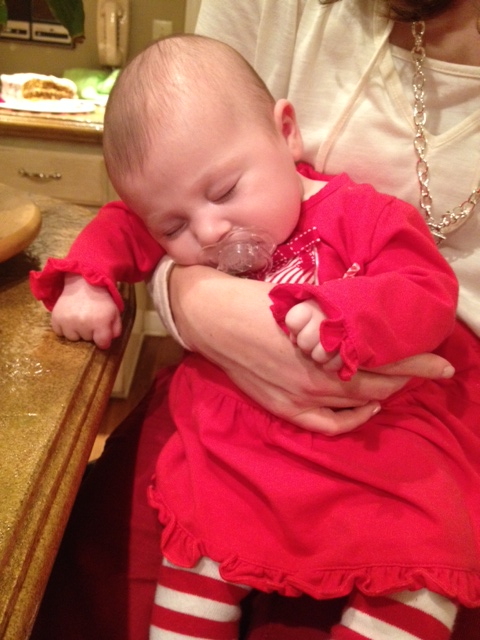
Today was full of more gifts and family time, but unfortunately, I didn't take many pictures.  I guess the kids in the family were all good this year because Santa came and visited all of them.  In fact, we were all spoiled rotten!  (Also?  I'm about to have the best-dressed baby ever thanks to two grandmothers who like to shop!)

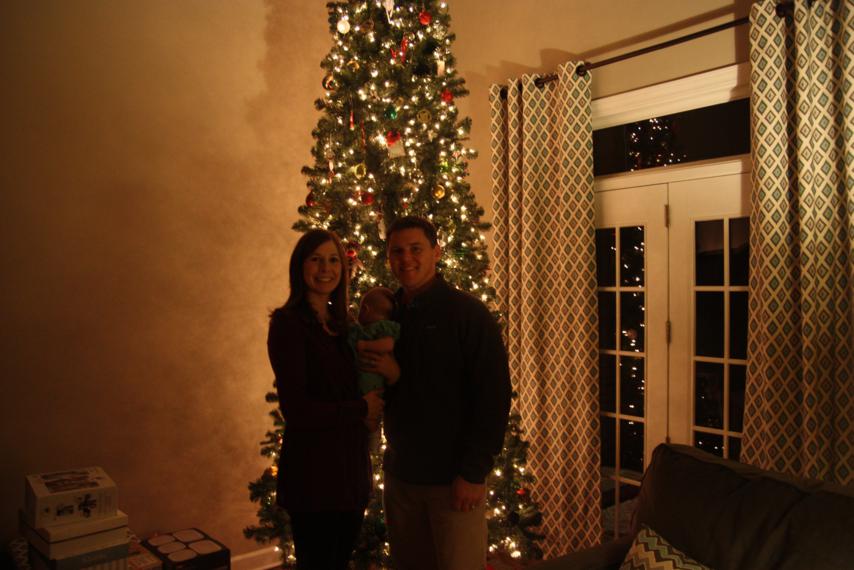
Our Christmas Day ended with a quiet evening at home with just the three of us.  We tried for a photo in front of the tree, but couldn't quite get the camera settings right.  Could've been cute, though!
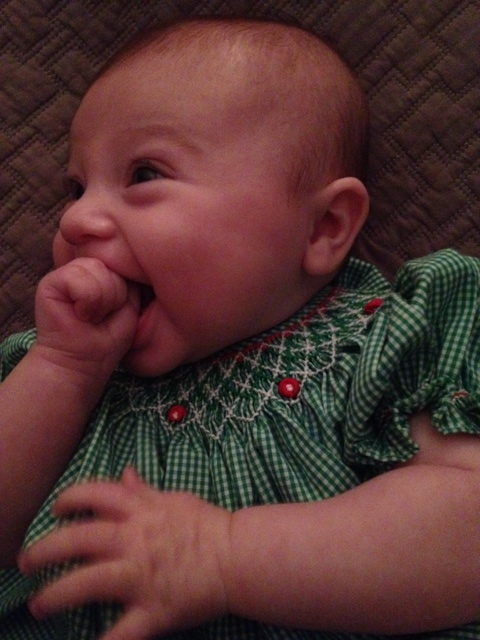
I think Katie Wynn had a really good first Christmas.  But, in her mind, who needs all those toys from Santa when you have a thumb!?!
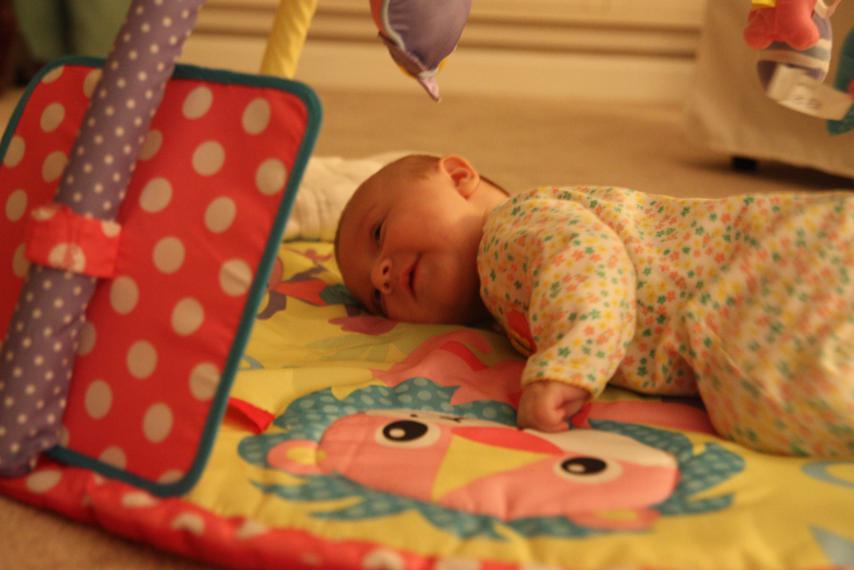
When I started this post (2+ hours ago!), she was happily playing on her mat...and admiring herself in her mirror.
Now she's snuggled in bed and sound asleep.  I'm headed that way myself!

Merry Christmas to all and to all a good night!

Kids' Rooms Projects

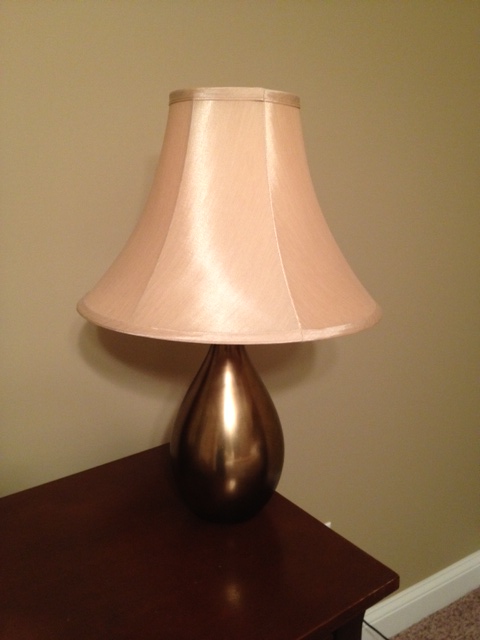
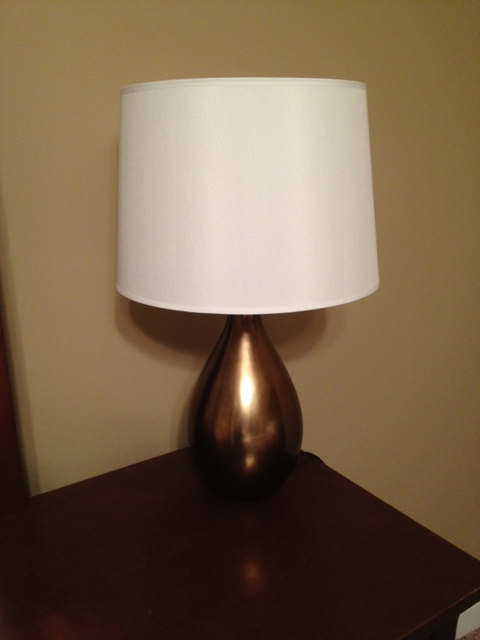
I didn't get much time to blog last week, but I had very good excuses.  (Well, besides being sick as a dog for a few days...)  We spent the last two weeks cranking out lots of projects for the big kids' room makeovers - some quick and easy and others that were pretty time intensive.  Here's a quick rundown of what all we worked on before I show you the big reveals. Let's start with Wyatt's room and go from easiest to hardest.  First, this quick lamp upgrade.  It was so easy I'm not really sure it can even qualify as a "project" we worked on.  The lamp used to live in our living room at our old house and had the gold shade that you see on the left.  I needed one more lamp for his room and the gold worked since it's a Notre Dame color, but the shade not so much.  I picked up a plain white barrel shade at Target one day and plopped it on top.  Instant upgrade and now totally acceptable for a teen boy's room!


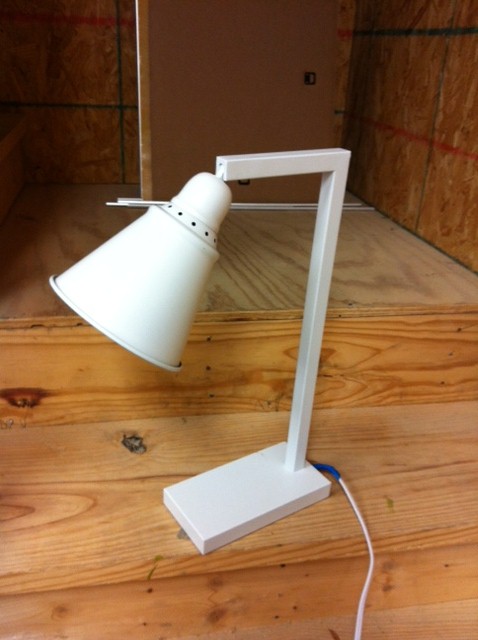
While we're on lamps, here's his desk lamp that I found for a mere 15 bucks at Home Goods (a great place to shop for lamps!).  I liked the shape of it, and I also like that the inside of the shade was navy blue - another Notre Dame color.


It probably would've worked just fine in his room as-is, but I thought painting it gold would make it a little more "Notre Dame" and also tie it in to the other gold lamp from above.  I just taped off the cord and the inside of the shade and hit it with a few coats of gold spray paint.

(In the background of the picture above, you can see the edge of a bulletin board that I painted navy.  I guess that counts as a project since it's something I had to do, but I didn't take pics of it.)

Wyatt already had two Notre Dame posters that I planned on reusing in his new room.  At our old house, we had just stuck them in cheapo poster frames that kept falling apart.  For his new room makeover, we put together some quick wooden frames out of 1x3 pine boards and painted them Notre Dame Navy.  (One poster is of the final game in the original stadium, the other is the new stadium.)


The biggest project for his room was a new bookshelf.  We used the same Anna White plan that we used for the bookshelves in Katie Wynn's room, but made his a little wider than hers.  It got two coats of Notre Dame Navy too.  (Did you know Home Depot has all the official "team colors?"  This is legit Notre Dame Navy here, people.)

The bookshelf looked good navy but I think we really took it up a notch - made it a little more "Notre Dame," if you will - when we added some Notre Dame Gold trim to each of the shelves.  (Sorry for the cut off photos.)

I think that's all the big projects for his room.  Now let's move on to Anna's.

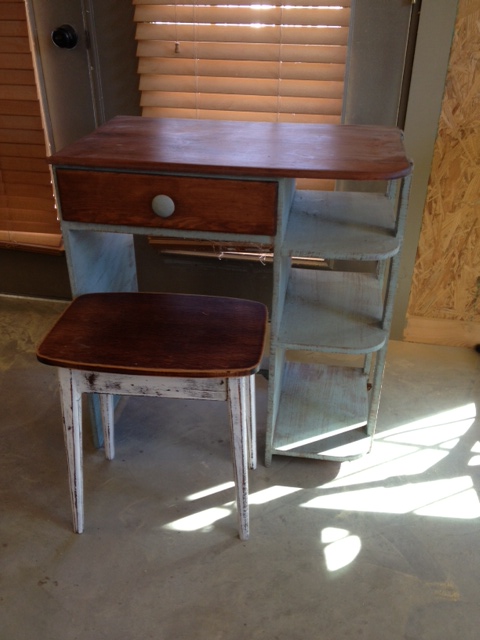
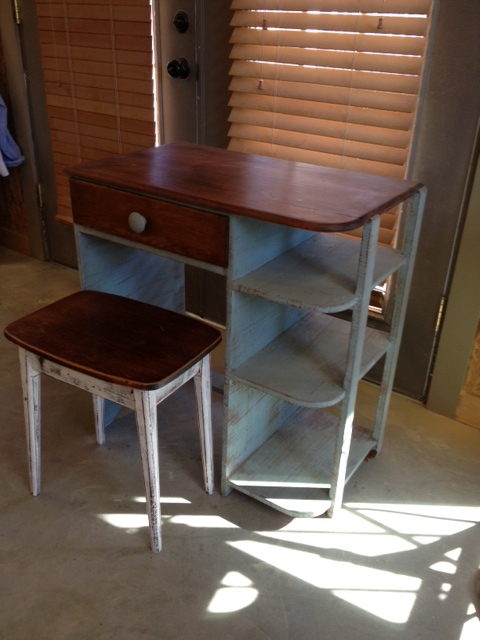
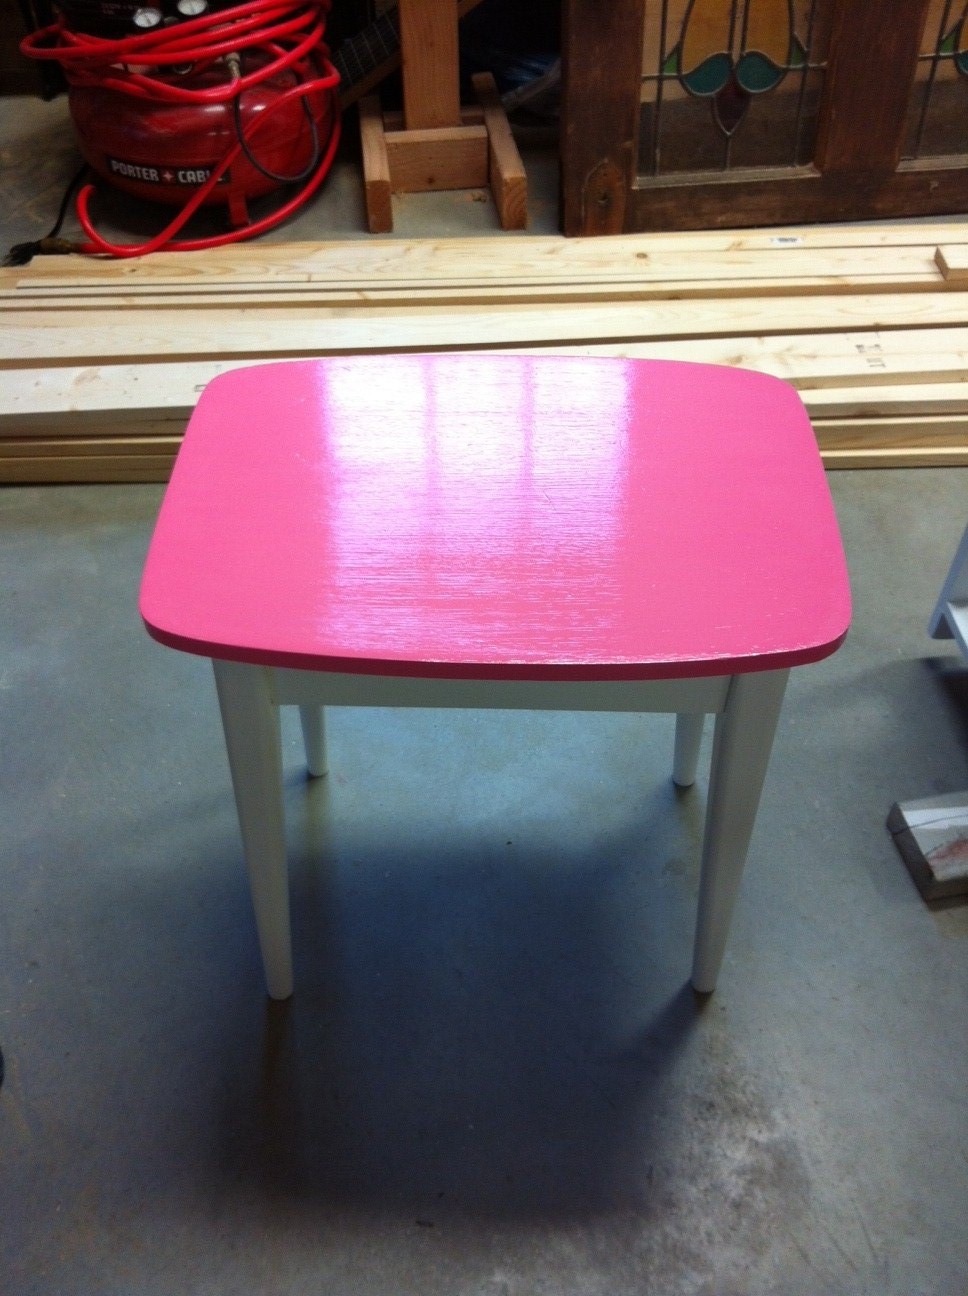
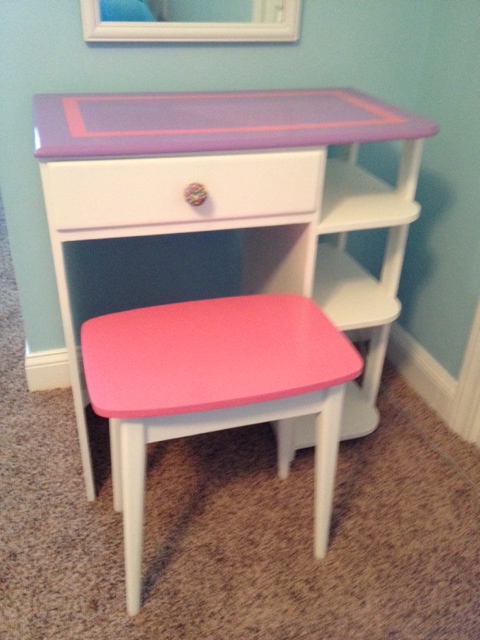
All the existing furniture - their bedside table and dresser from their old shared room - went to Wyatt's room, so she got more new pieces of furniture.  We had purchased this little desk and stool for the beach house last year, but never ended up using it.


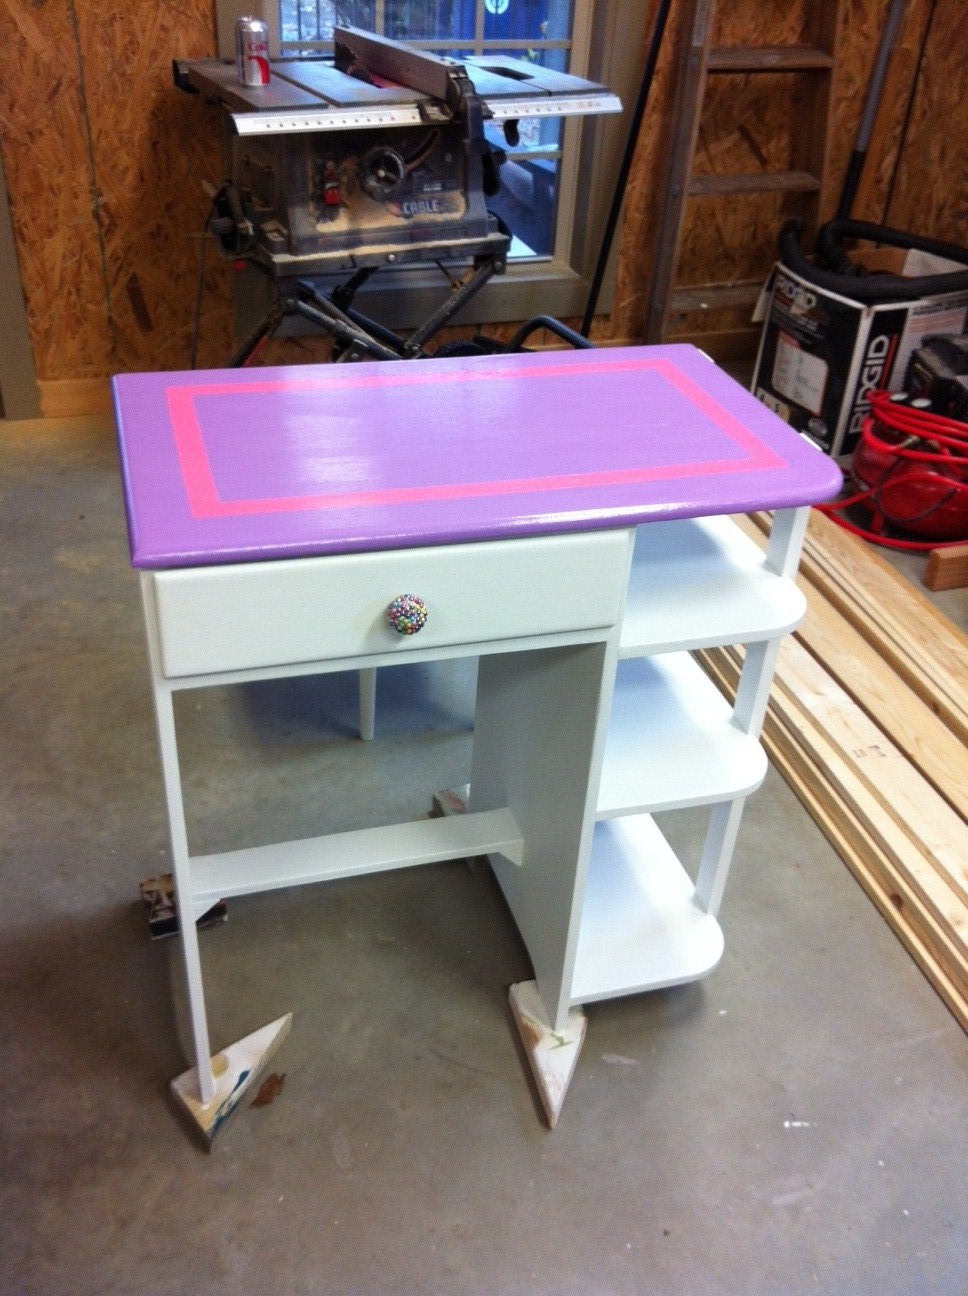
I thought it would make a cute little vanity in her room so I went to town girly-ing it up.  Again, there was no real theme in her room, so going colorful was the name of the game.  I toyed with just doing it solid white, but thought as she gets older and uses it to put makeup on, a white top might get messy.  Final verdict was to paint the top purple and I added an inset square in pink.  The seat of the stool also got painted pink.


To give her a bedside table and some drawers for storage, we ordered yet another Ikea Rast dresser and added some trim to it just like this one from last year.  It got the same paint treatment as the vanity - white base with purple top and pink inset square.

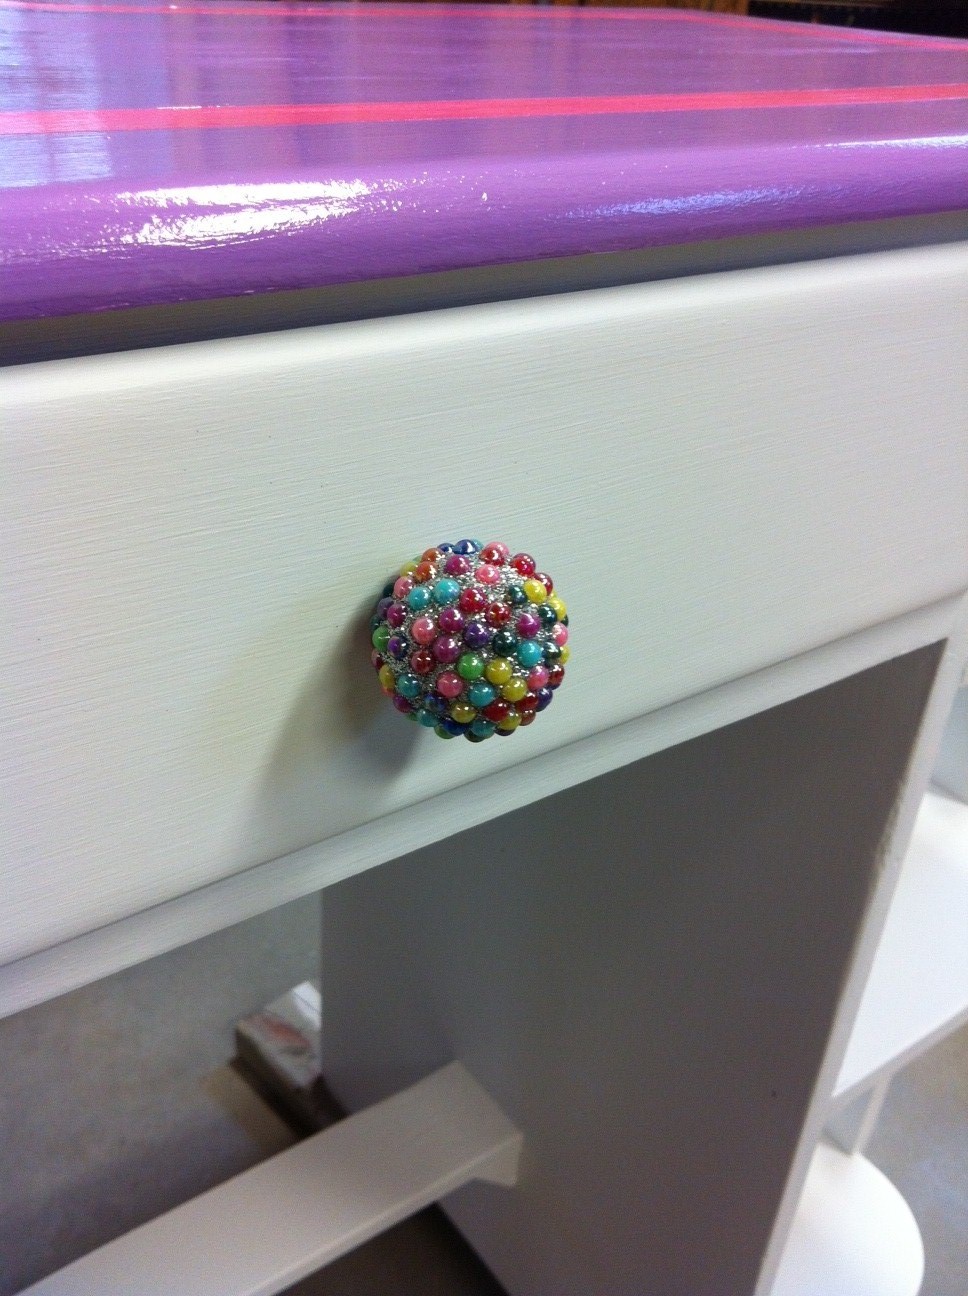
The Rast dresser and the vanity both got outfitted with these colorful and sparkly knobs from Hobby Lobby.

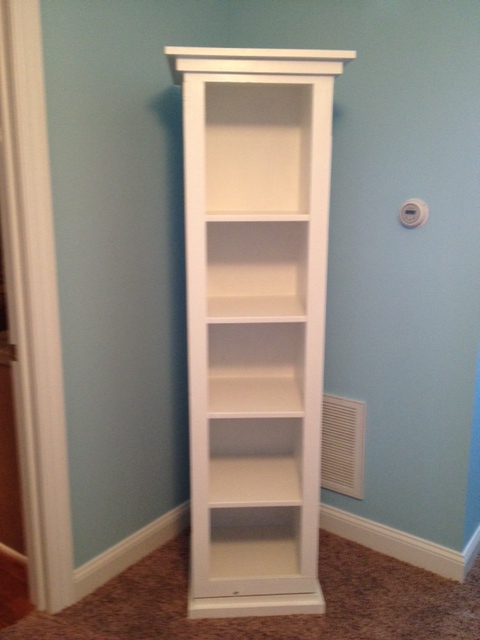
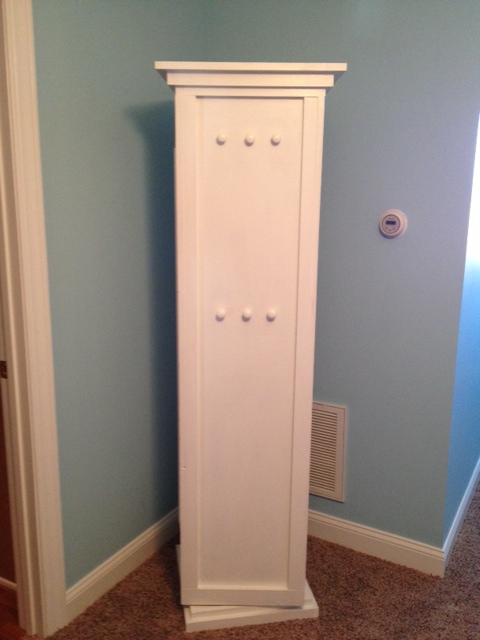
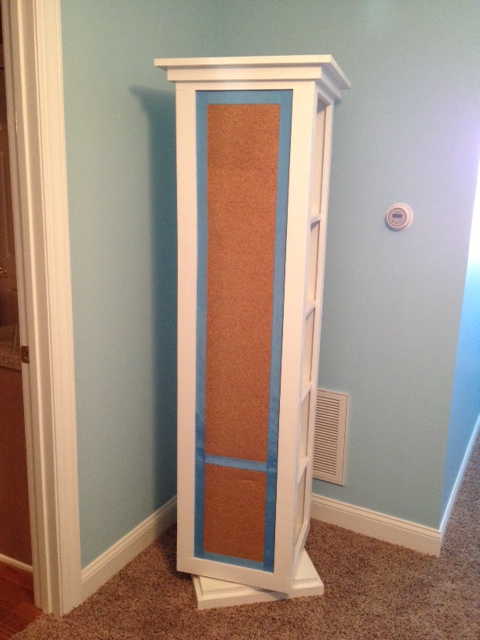
The biggest and coolest project - even though we half-assed (excuse my language) it because we were running out of time - was a rotating bookshelf.  It's a knock off of this one from PB Teen that retails for $599.  We didn't have a plan to go by so we made it up as we went along and, while it turned out fine for Anna's room, it's one project that I would love to have another stab at because I know we could do it SO much better!  Maybe when we have more time and energy...

From the front it looks like a regular bookshelf, but the whole bookshelf is sitting on a base with turntable bearings so that it rotates.  One side has a full-length mirror on it, one side is a corkboard, and the back has six pegs for Anna to hang things on.


The corkboard side is the side I'm most disappointed in.  I was trying to finish that side the morning of the room reveals, and I still had to get it from the shop and to her room and then style it.  I was majorly rushed for time!  My cork edges looked horrible thanks to some warped wood not lining up with my straight edges.  It would've been fine if I could've trimmed it out with a small piece of wood trim, but I didn't have time to cut and paint anything else, so I glued blue ribbon around the edges.  Yea.  Also across the part where I pieced the cork together.  Less than ideal.  And I didn't think about it when I chose the blue ribbon (I was thinking it would match her room) but it kinda just looks like it has painter's tape on it.  Womp, womp.  I finished it up thinking I could redo it later when I had more time...part of me just wants to rip it down and paint that section with chalkboard paint and call it a day, but Anna has already seen it now and says the bulletin board is one of her favorite things.  So guess it stays.

Now you should be caught up on what's been keeping us so busy!  I can't wait for you to see how all these things came together in their new rooms.  They look so good!

Monogram Knife Art

Remember the putty knife art I did after reading Katie Bower's tutorial?  Well, I did it again.  Times three.  Only this time, I did it just a tiny bit different...I added a monogram. We've been busy re-doing the kids' rooms for Christmas - more on that later - and I needed some quick and easy art to go above Anna's bed.  There's no real "theme" to her room other than blue, pink, and purple, so doing something with her monogram seemed like the best idea.  I'll walk you through my steps in case you want to do one for yourself - it was really pretty easy!

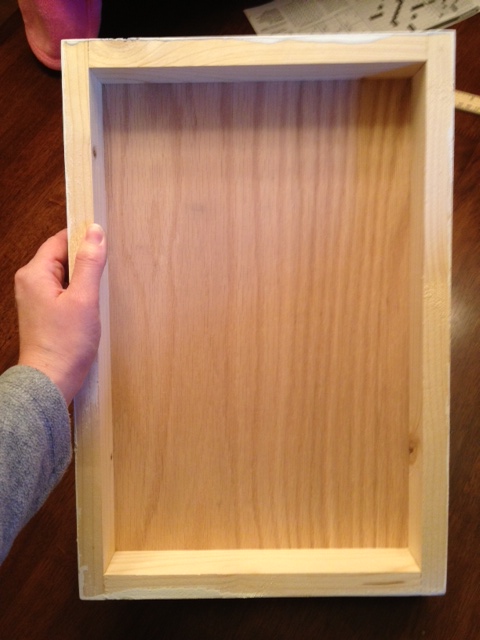
First, I started with three wooden canvases that my dad had already assembled for me.  Since I was doing her monogram, we made the center canvas a little bit bigger than the other two.  To make it out of wood, my dad built a simple frame out of 1x2 pine boards and then nailed a piece of plywood on top.  Easy peasy.

(This is the view from the back.)

Obviously you could just use regular canvases - I just like to use these because I'm cheap and we make them out of our scraps.

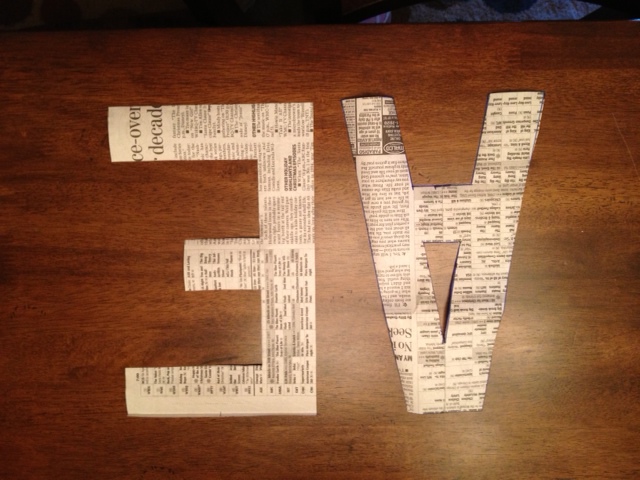
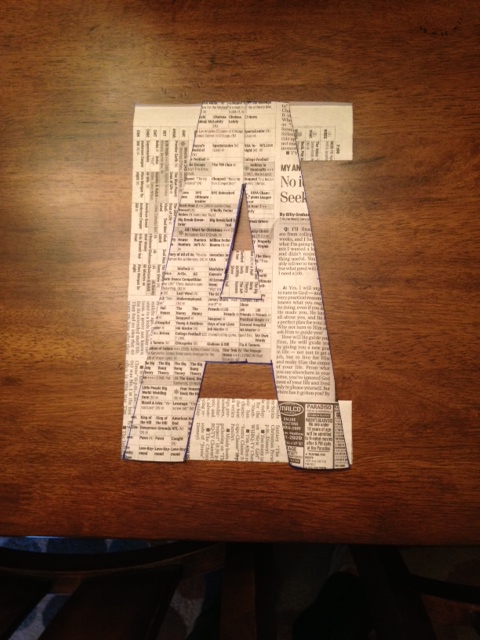
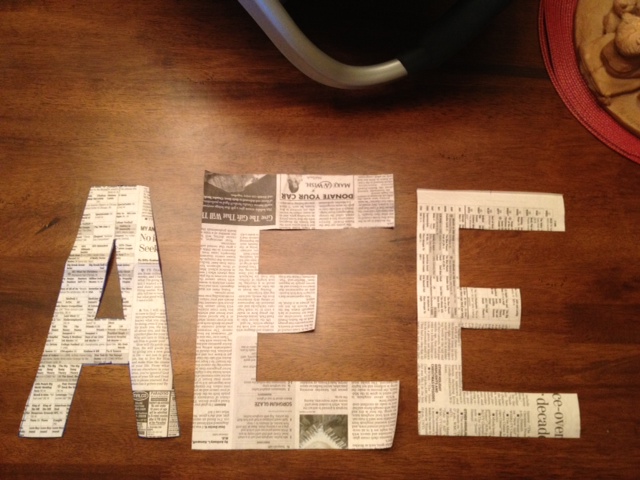
My first step was to paint the fronts and sides solid white so I could have a blank slate.  While that dried, I pulled out an old newspaper to make a template for her initials.  Now, I got really lucky because Anna's initials are AEE - all straight letters.  Not gonna lie, I probably wouldn't even attempt this if she had an S or an O in her monogram, because curves could get tricky.

I'm a bit of a perfectionist when it comes to things like this, so I pulled out an old wooden ruler from grade school to make sure my letters were uniform in size and proportional.  Here are the A and the little E.

I kept thinking the E looked a lot wider than the A even though I'd used the same measurements and it was making me furious.  I stacked them on top of each other to double check, though, and they're exactly the same size.  I guess it's just the shape of the letters that make the E look bigger.

I had to do a bigger E for her last name.  I tried to keep it the same scale as the littler E.  (I actually ended up making it a little bit bigger than this one pictured.)

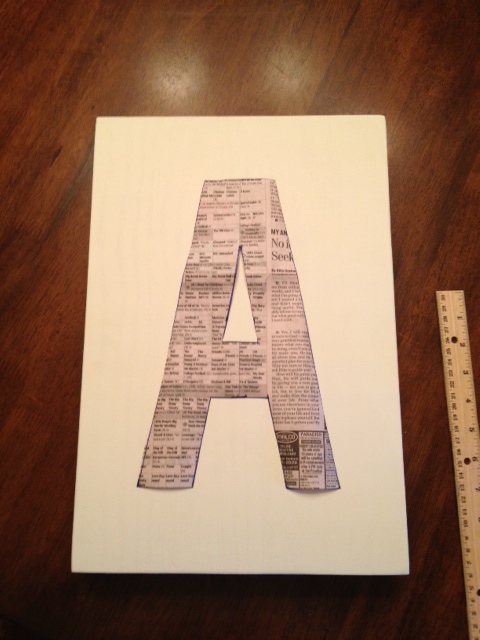
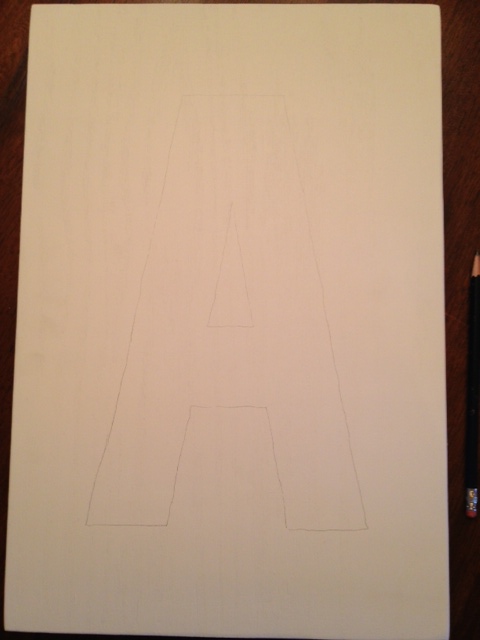
Now, like I said, these were just templates for me to use on my canvas.  I knew I wouldn't be able to paint over them, so I was going to need to trace them and tape them off.  Below you can see how I centered my template onto the canvas and then if you look closely on the right, you can see where I've faintly traced around the A.


Next, I took some heavy duty painter's tape (don't get the cheap stuff for this!) and taped off my A.  I taped on the inside of the pencil lines so that I could try to erase them some.


I had painted the white with a low sheen paint and my lines actually erased off really well.  Not sure how well it would work on a regular canvas since you can't push down as hard.

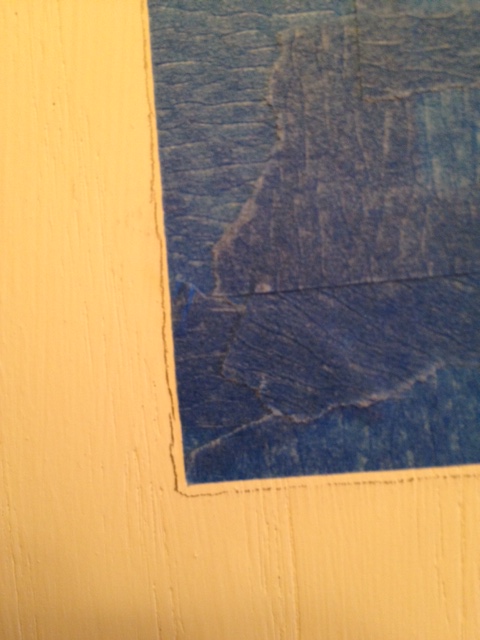
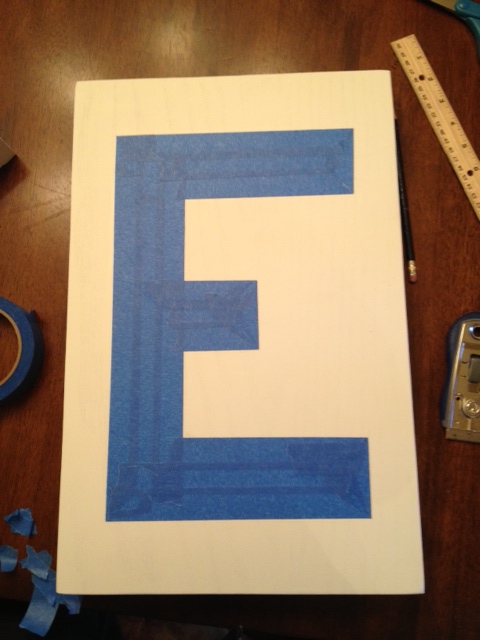
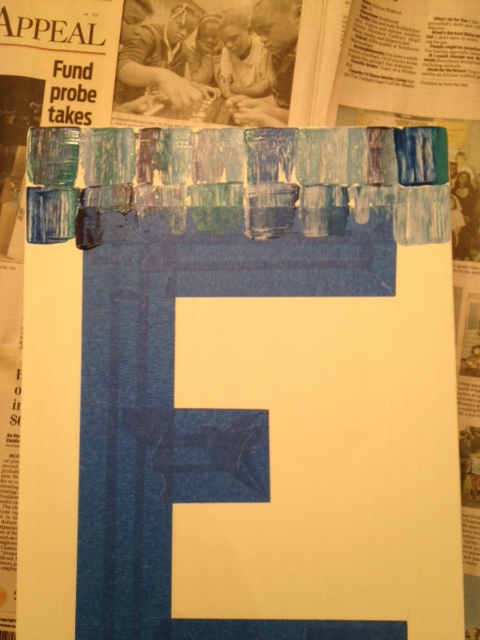
Here is how the E looked after being completely taped off.  Crisp edges and corners were key and took a little patience to do but it really wasn't that bad.  An exacto knife came in handy for the corners - something else that might not work as well on a regular canvas.

I taped off all three letters at one time while I was in the groove.  They didn't take nearly as long to do as I was afraid they might.

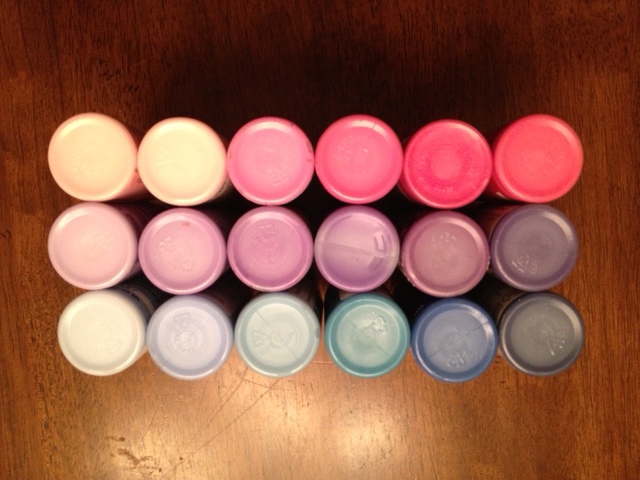
Next up - paint!  I planned to do each letter a different color - one pink, one blue, and one purple.  I had already gathered all my craft paints, making sure to have several shades in each color, from very light to pretty dark.

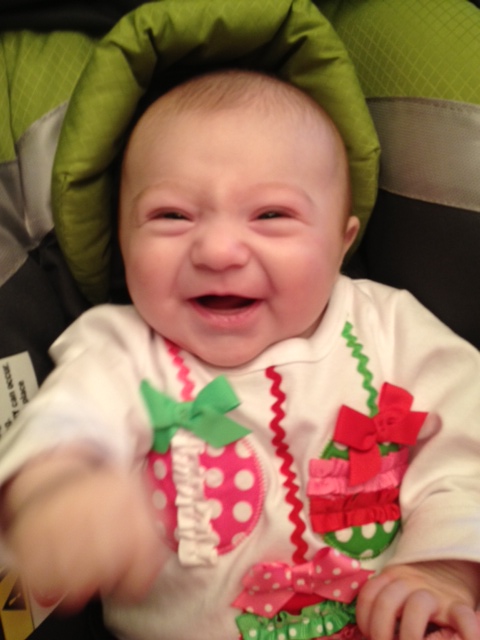
I interrupt this tutorial to bring you a picture of the little lady that was cheering me on during this project!  She was sitting in her carseat up on the kitchen table while I worked...we chatted a lot about what I was doing. :)

Ok, back to it.  Usually when I am using blue, pink, and purple together, I like to put the pink in the middle to separate the blue and purple since they can sometimes be very similar in color.  That's just a weird little quirk about me, I guess.  But this time, I didn't do that.  I knew Anna's walls were going to be blue so I thought it might be better to make the bigger letter in the center blue too.

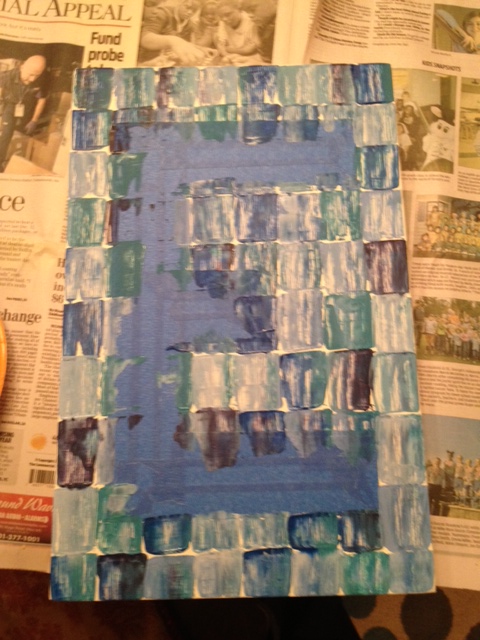
And that's the one I started with...the big E.  I applied the paint exactly like last time, dipping my putty knife in several different shades of blue and then scraping it down onto the canvas.  The only difference is that occasionally I scraped over tape.

Here's how the E looked when I was finished painting.

I think the normal rule is to pull off your painter's tape while the paint is still wet, but because I had globs of wet paint from the scraping application, I decided to let it dry for a few minutes while I did the other two letters.

All three complete...

You better believe I held my breath when pulling off the tape - I had no idea how it would look!  Thankfully, I'm more than pleased with how they turned out!

I did get out my white paint and a tiny paint brush to touch up two tiny spots where the paint bled through.  I'm sure no one else would've noticed, but I'm anal about things like that and it didn't take more than a second to do.

I hope you'll give this a try if you need some easy and unique art.  I think it's perfect for our little tween's room!  But with different colors and maybe a different taped off design, you could do something that would look good in any room.  I'll be back soon with pics of these hanging on her freshly painted blue walls!