Remember the putty knife art I did after reading Katie Bower's tutorial? Well, I did it again. Times three. Only this time, I did it just a tiny bit different...I added a monogram. We've been busy re-doing the kids' rooms for Christmas - more on that later - and I needed some quick and easy art to go above Anna's bed. There's no real "theme" to her room other than blue, pink, and purple, so doing something with her monogram seemed like the best idea. I'll walk you through my steps in case you want to do one for yourself - it was really pretty easy!
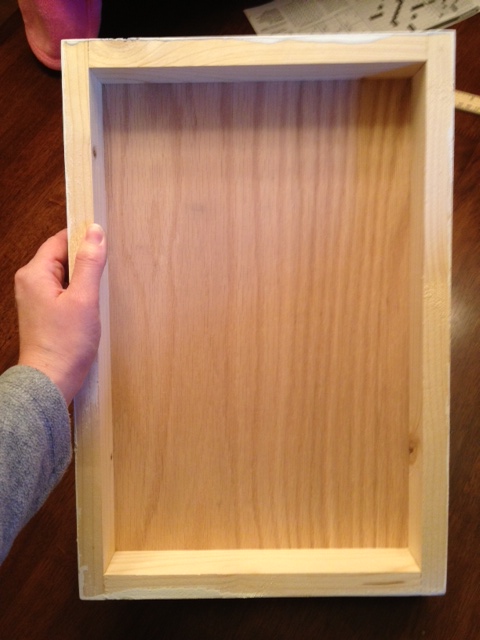
First, I started with three wooden canvases that my dad had already assembled for me. Since I was doing her monogram, we made the center canvas a little bit bigger than the other two. To make it out of wood, my dad built a simple frame out of 1x2 pine boards and then nailed a piece of plywood on top. Easy peasy.
(This is the view from the back.)
Obviously you could just use regular canvases - I just like to use these because I'm cheap and we make them out of our scraps.
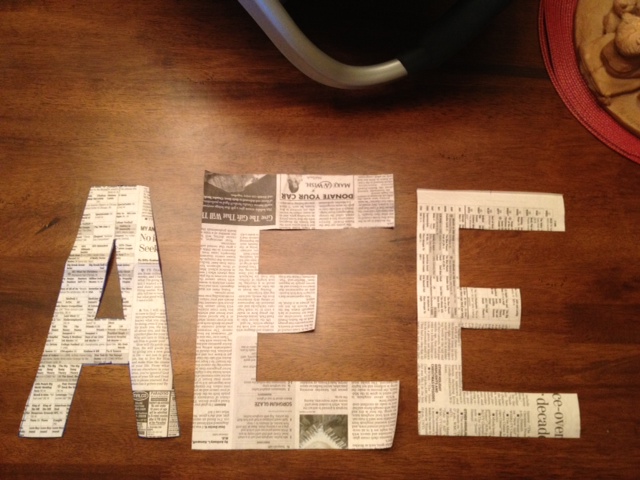
My first step was to paint the fronts and sides solid white so I could have a blank slate. While that dried, I pulled out an old newspaper to make a template for her initials. Now, I got really lucky because Anna's initials are AEE - all straight letters. Not gonna lie, I probably wouldn't even attempt this if she had an S or an O in her monogram, because curves could get tricky.
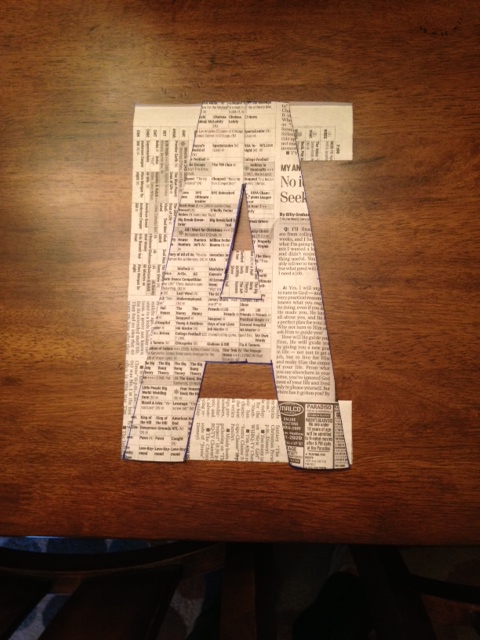
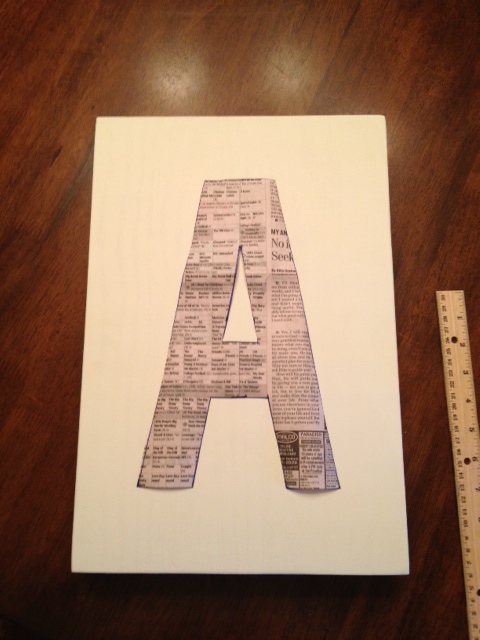
I'm a bit of a perfectionist when it comes to things like this, so I pulled out an old wooden ruler from grade school to make sure my letters were uniform in size and proportional. Here are the A and the little E.
I kept thinking the E looked a lot wider than the A even though I'd used the same measurements and it was making me furious. I stacked them on top of each other to double check, though, and they're exactly the same size. I guess it's just the shape of the letters that make the E look bigger.
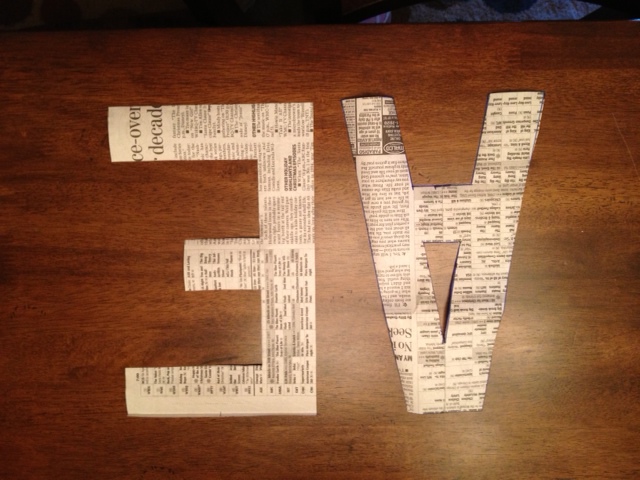
I had to do a bigger E for her last name. I tried to keep it the same scale as the littler E. (I actually ended up making it a little bit bigger than this one pictured.)
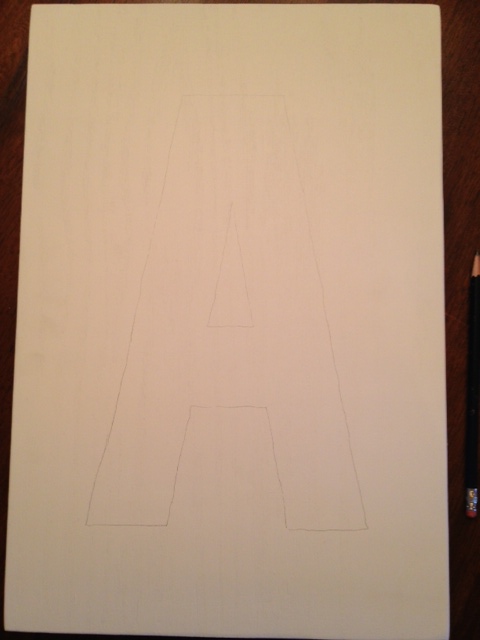
Now, like I said, these were just templates for me to use on my canvas. I knew I wouldn't be able to paint over them, so I was going to need to trace them and tape them off. Below you can see how I centered my template onto the canvas and then if you look closely on the right, you can see where I've faintly traced around the A.
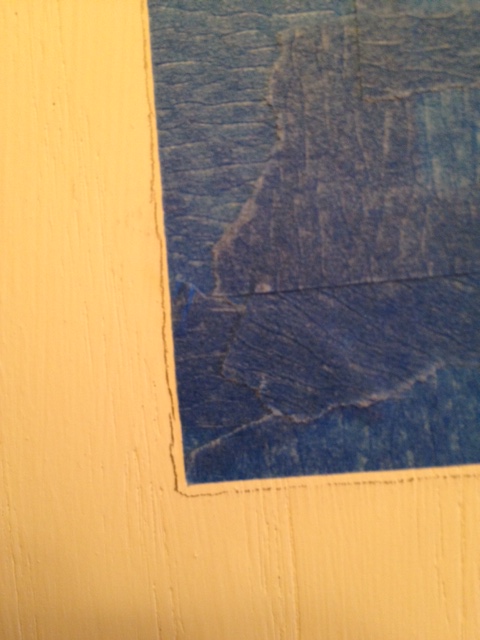
Next, I took some heavy duty painter's tape (don't get the cheap stuff for this!) and taped off my A. I taped on the inside of the pencil lines so that I could try to erase them some.
I had painted the white with a low sheen paint and my lines actually erased off really well. Not sure how well it would work on a regular canvas since you can't push down as hard.
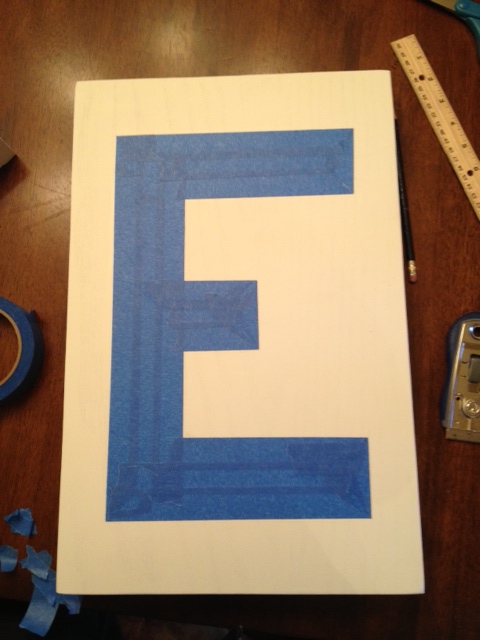
Here is how the E looked after being completely taped off. Crisp edges and corners were key and took a little patience to do but it really wasn't that bad. An exacto knife came in handy for the corners - something else that might not work as well on a regular canvas.
I taped off all three letters at one time while I was in the groove. They didn't take nearly as long to do as I was afraid they might.
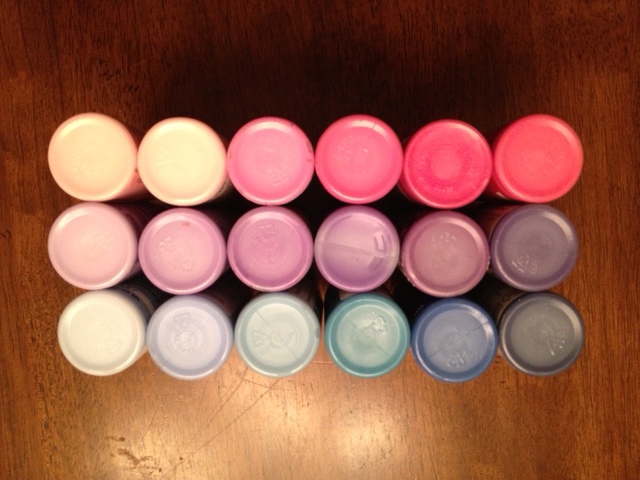
Next up - paint! I planned to do each letter a different color - one pink, one blue, and one purple. I had already gathered all my craft paints, making sure to have several shades in each color, from very light to pretty dark.
I interrupt this tutorial to bring you a picture of the little lady that was cheering me on during this project! She was sitting in her carseat up on the kitchen table while I worked...we chatted a lot about what I was doing. :)
Ok, back to it. Usually when I am using blue, pink, and purple together, I like to put the pink in the middle to separate the blue and purple since they can sometimes be very similar in color. That's just a weird little quirk about me, I guess. But this time, I didn't do that. I knew Anna's walls were going to be blue so I thought it might be better to make the bigger letter in the center blue too.
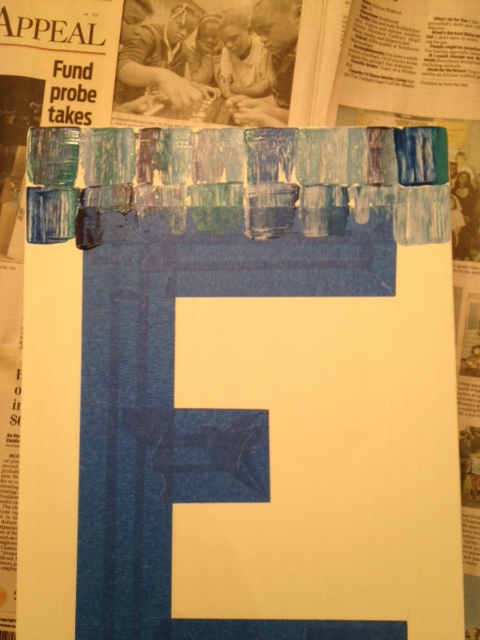
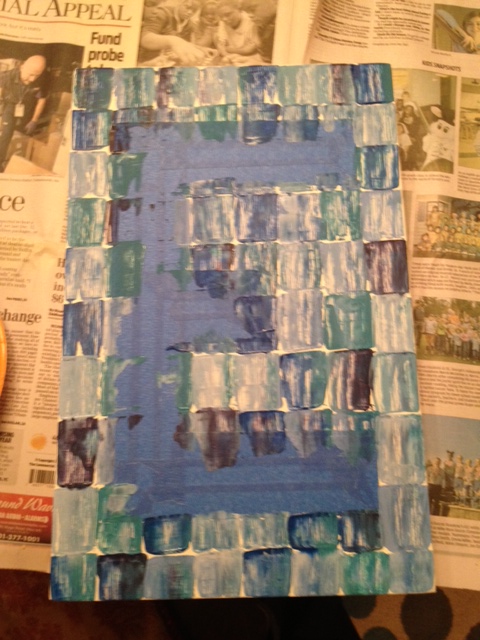
And that's the one I started with...the big E. I applied the paint exactly like last time, dipping my putty knife in several different shades of blue and then scraping it down onto the canvas. The only difference is that occasionally I scraped over tape.
Here's how the E looked when I was finished painting.
I think the normal rule is to pull off your painter's tape while the paint is still wet, but because I had globs of wet paint from the scraping application, I decided to let it dry for a few minutes while I did the other two letters.
All three complete...
You better believe I held my breath when pulling off the tape - I had no idea how it would look! Thankfully, I'm more than pleased with how they turned out!
I did get out my white paint and a tiny paint brush to touch up two tiny spots where the paint bled through. I'm sure no one else would've noticed, but I'm anal about things like that and it didn't take more than a second to do.
I hope you'll give this a try if you need some easy and unique art. I think it's perfect for our little tween's room! But with different colors and maybe a different taped off design, you could do something that would look good in any room. I'll be back soon with pics of these hanging on her freshly painted blue walls!

