One Month

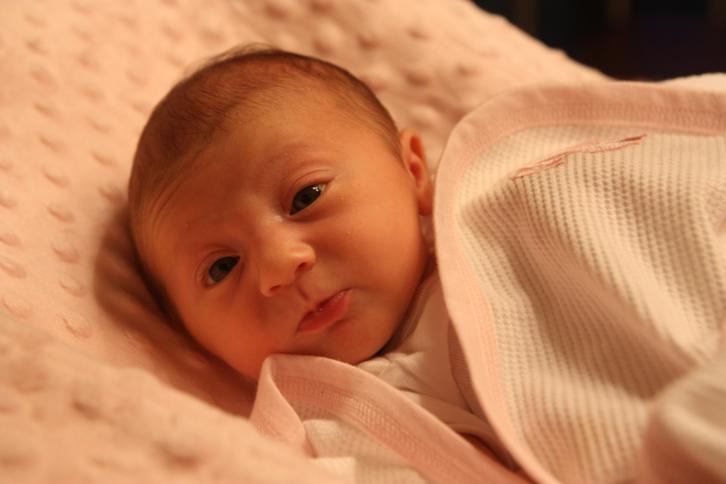
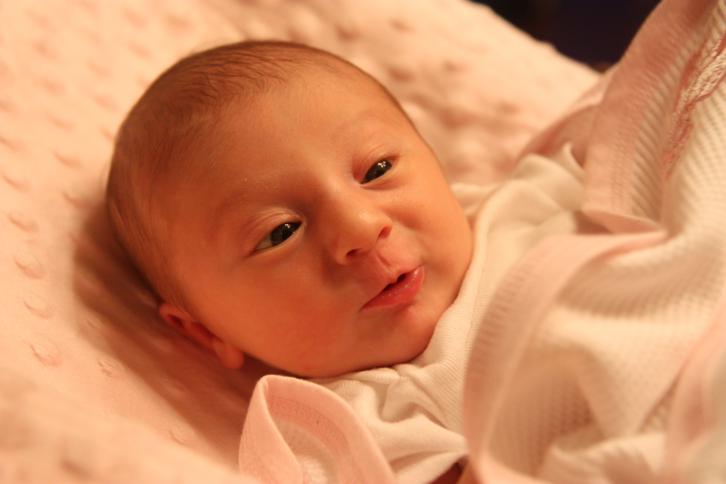
It's hard to believe that exactly one month ago from right now, I was just hours away from meeting my sweet little girl!  On the one hand, it seems like she was born just yesterday.  On the other, it seems like she's always been a part of our family.  We're so happy to have her here and she has really been spoiling us by being such a good little girl.  This week she has started sleeping for 8 hour stretches at night!  This mama feels like a new person! I will be taking official monthly photos, but we haven't gotten around to taken the one month picture yet today.  I still haven't decided exactly how I want to do them yet...better figure it out soon since the day's more than half over, huh?!  Last week I attempted to have a little photo shoot with Katie Wynn.  Way easier said than done!  I got LOTS of outtakes, but luckily, I managed to get a few decent ones too.

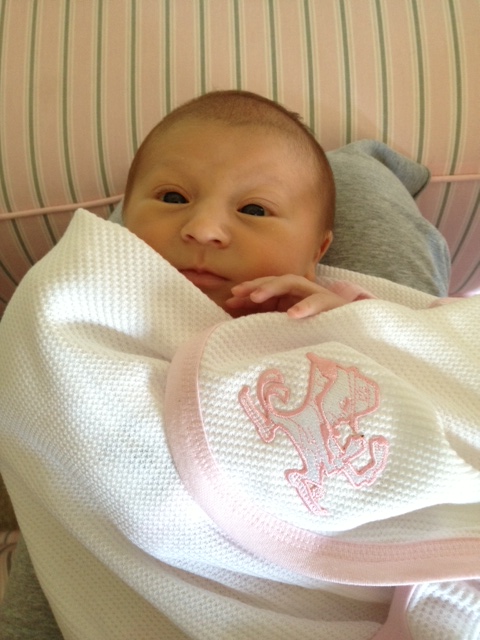
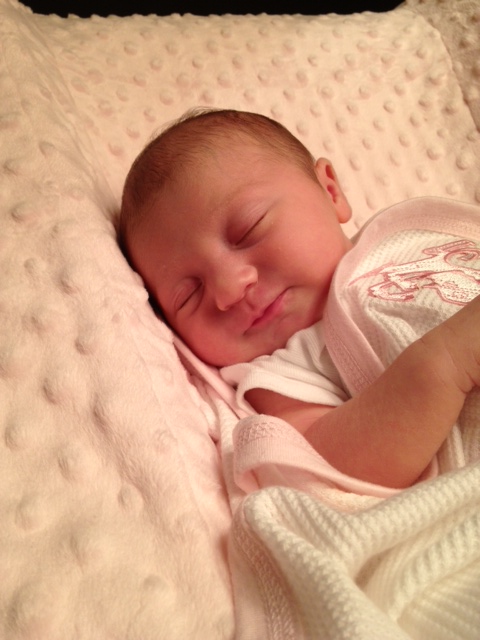
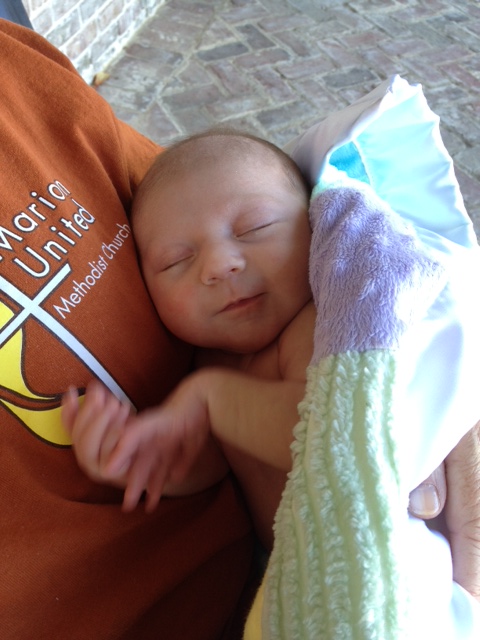
Here's one of my faves.  I just love the look on her face. :)

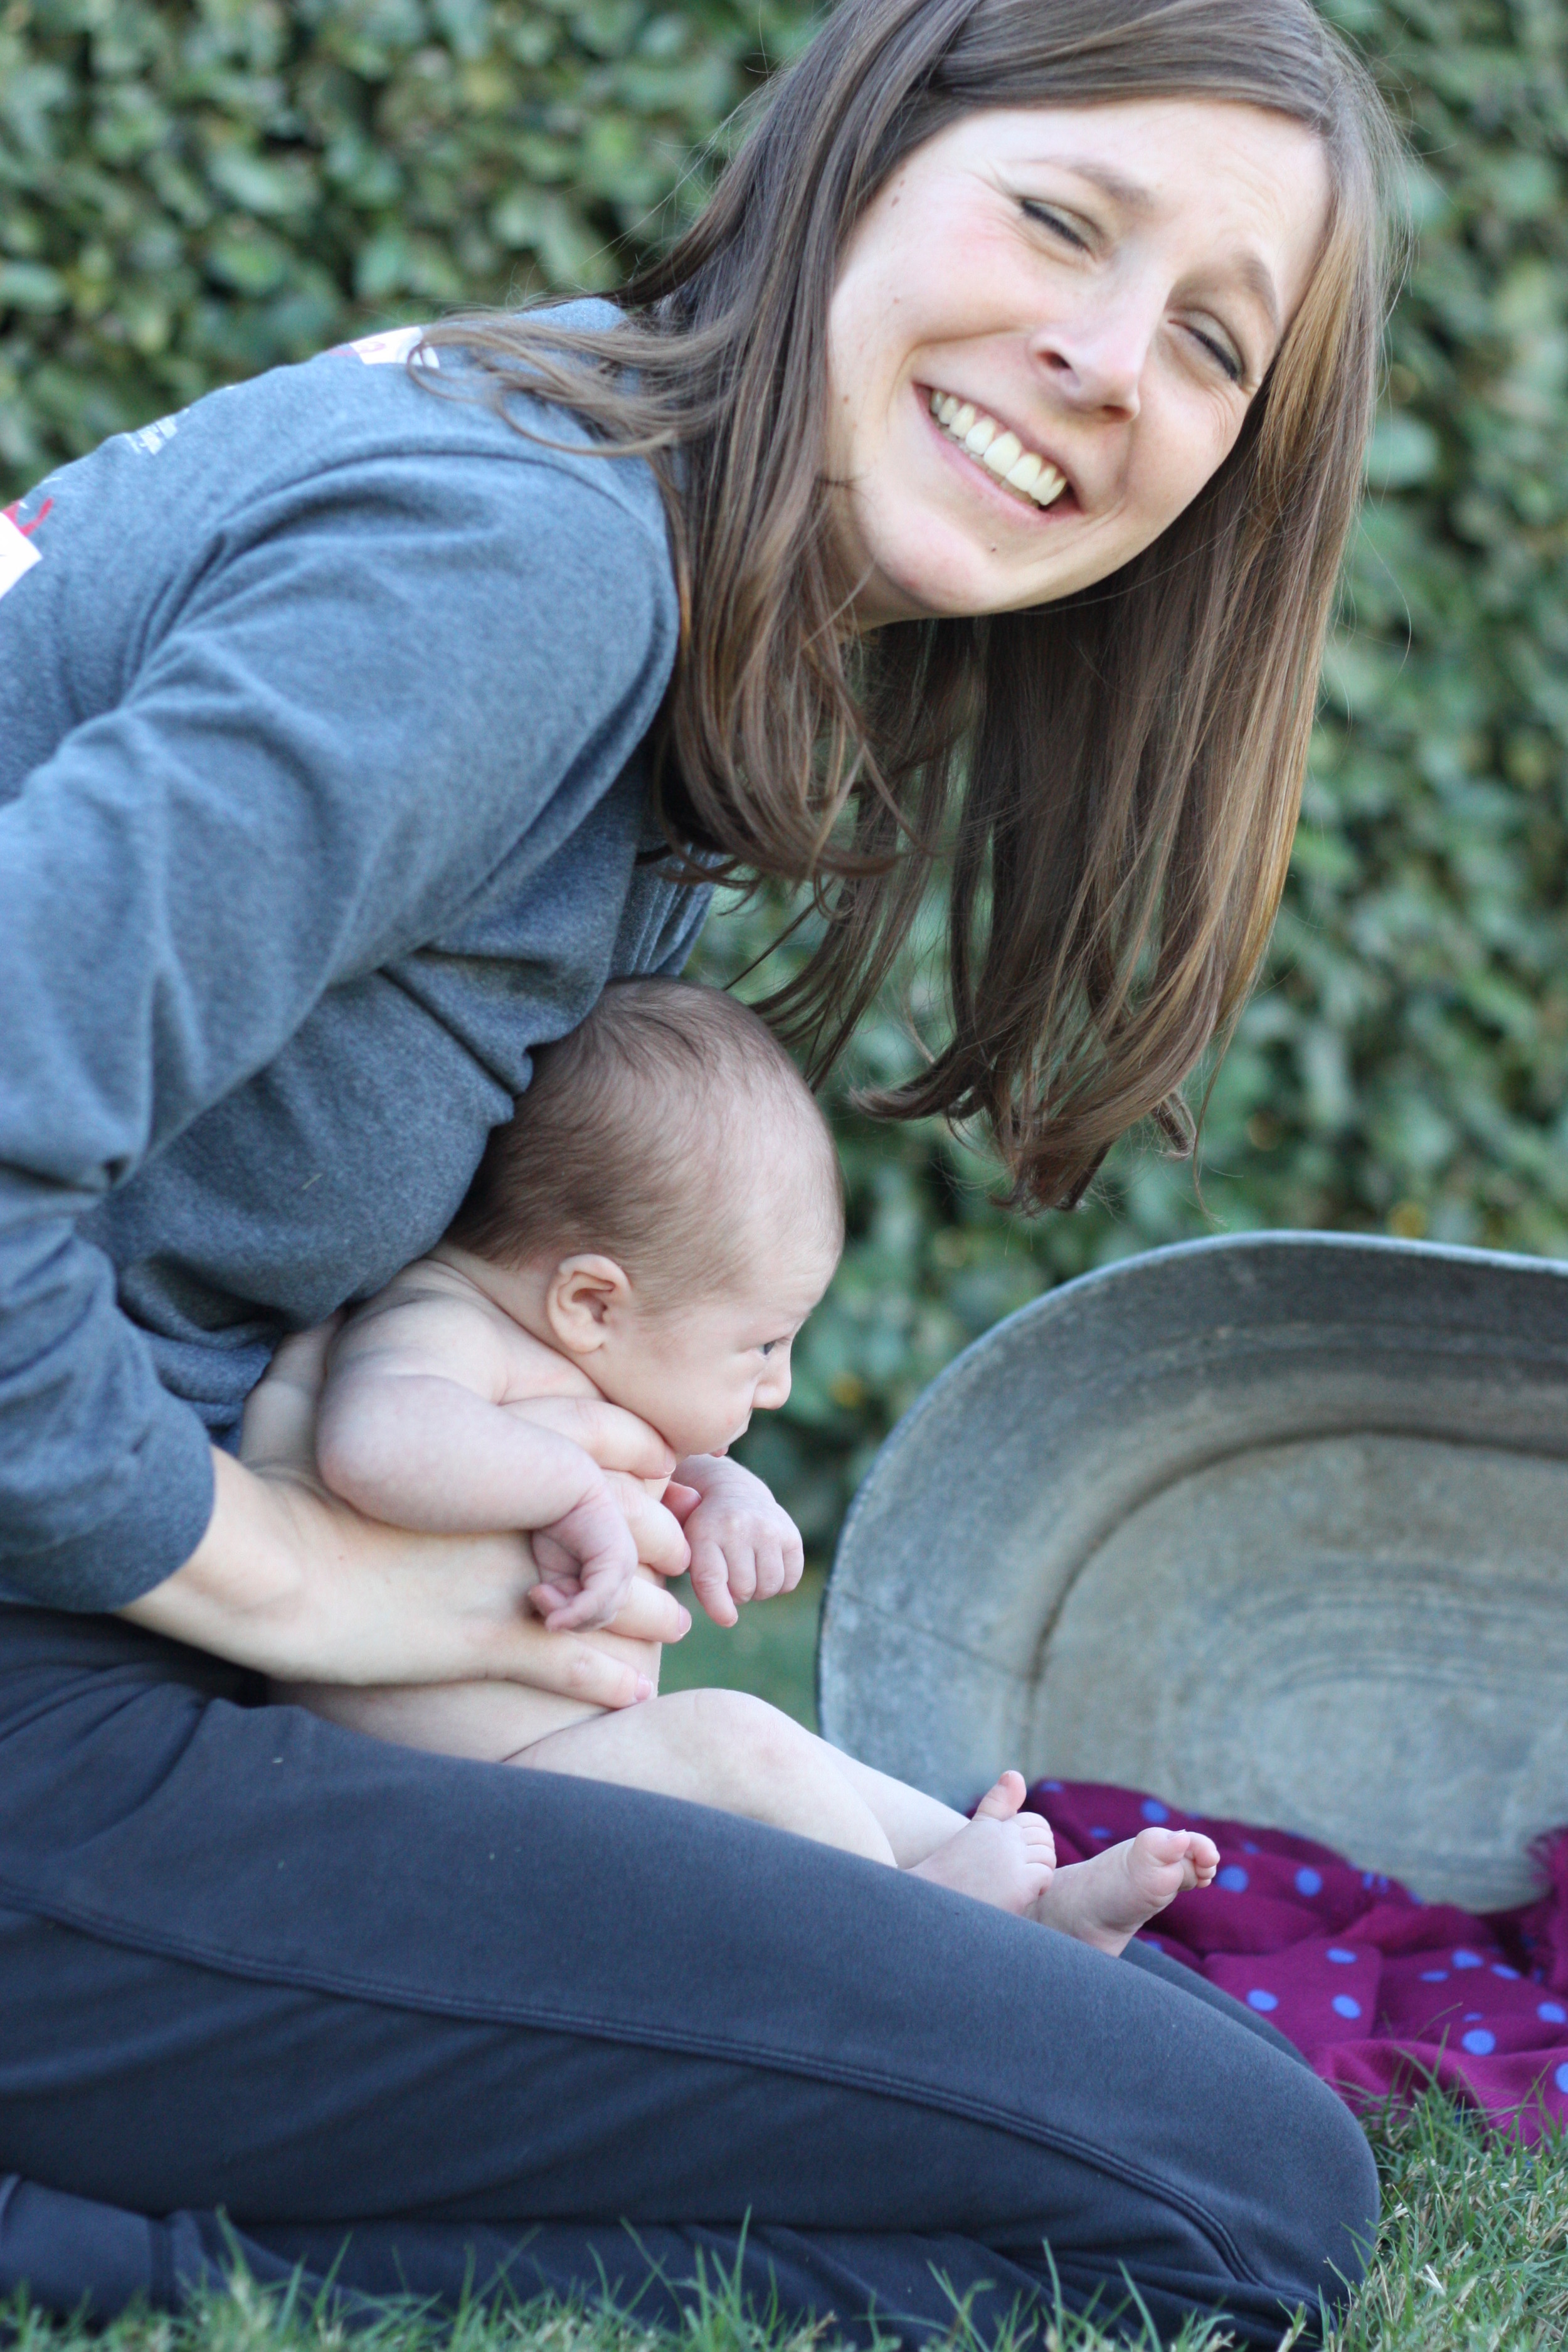
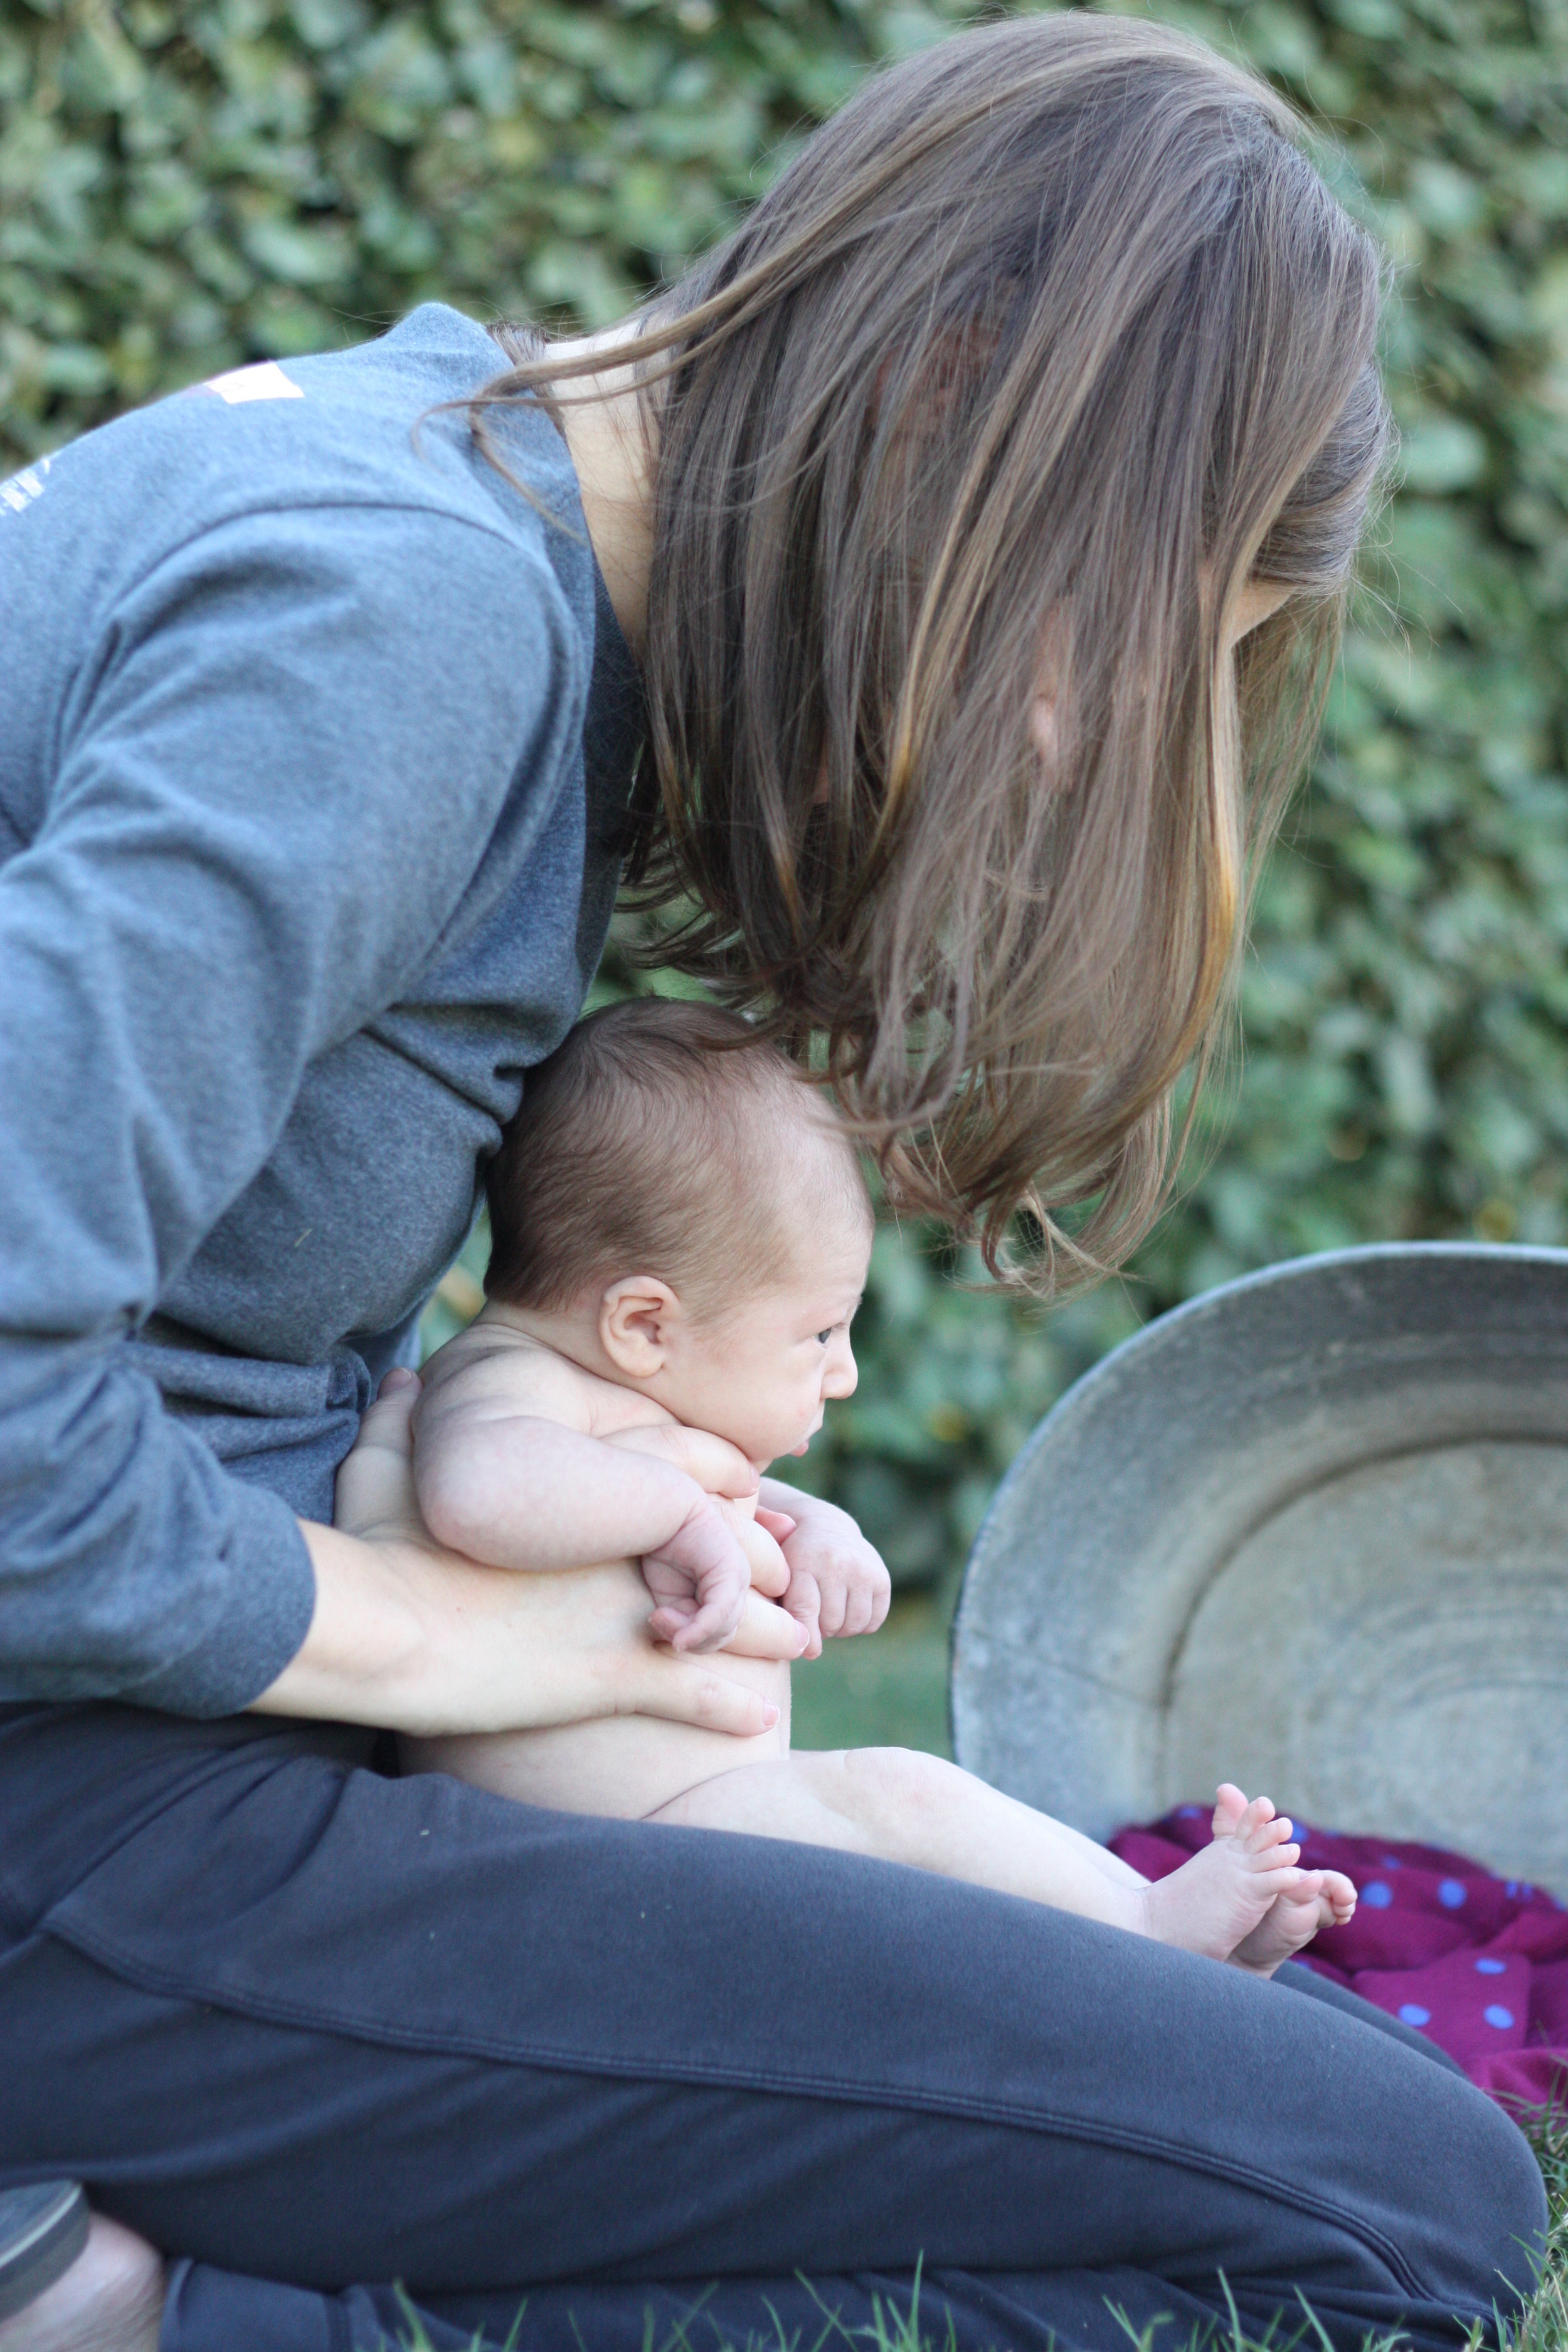
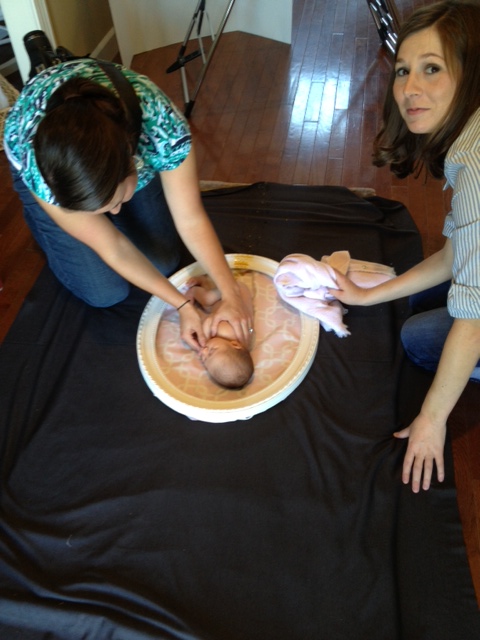
I had my mom come over to help me during the photo shoot so that I could have an extra set of hands.  I definitely could not have done it alone!  We completely undressed her at one point to try to get a cute naked picture with her curled up in a galvanized tin that was laying on its side.  The first thing she did when we layed her in it was roll off into the grass.  Oops!  I quickly scooped her up to calm her back down.  She thanked me for holding her by letting out the loudest toot in my lap, allowing my mom to get the picture below on the left.  I looked down to see if anything came out with that toot (picture on the right) and that's when I saw that she was peeing!

So, dear sweet baby girl, if you ever get to read this, please take this as a sign of how much I truly love you.  Even when realizing you were peeing right in my lap, I did not scream or pass you off to your Mimi.  Instead, we took a picture of my soaked lap (for nostalgia's sake) and carried on with the photo shoot.  Yep, I hung out in your pee for about another hour.

I'm glad we kept snapping pics because I was able to get this cute one too.

And these: "Ah, ah, ah..."

"Choo!"

Baby sneezes are the best. :)

For the photo shoot, I also carved out a big pumpkin for my little pumpkin to sit in.  This is how she felt about that:

She sat in it for long enough that she eventually quit crying, but I wouldn't say we ever got any real smiles.

This one makes me laugh every time.  She looks like she's so excited about gnawing on some pumpkin (which, yes, she did end up doing!).

The crying eventually came back so her Mimi rescued her from the pumpkin and calmed her down.

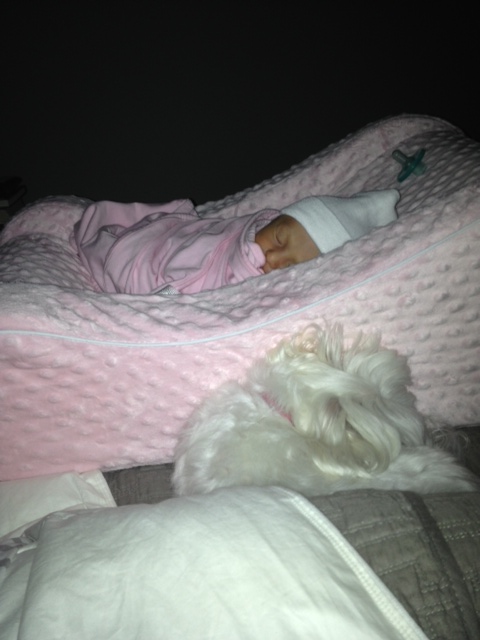
Maybe we'll try to have a monthly photo shoot.  Who knows?  Right now, my girl is celebrating this milestone by taking a nap on her belly in her bassinet.  She's just getting too big!  And it's time for her to eat so I'm about to break the cardinal rule and go wake my sleeping baby...

Lamp Revamp

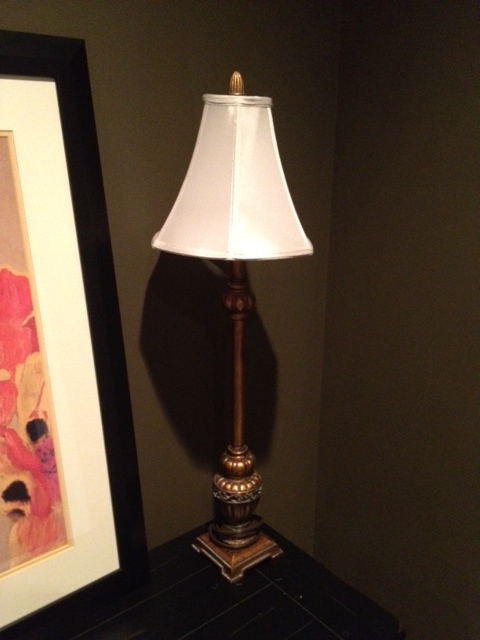
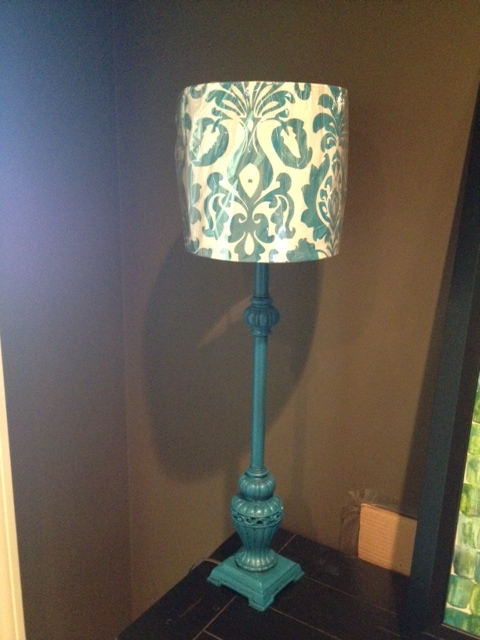
To go with the piece of art that I showed you yesterday, I had two buffet lamps from our old house.  The lamps were in good condition, they were just a little too...gold.  And formal-ish looking.  I was trying to make this space bright and fun and colorful, and obviously these lamps did not fit the bill.  So a little revamp was necessary. Here's how the lamps (purchased from Kirkland's years ago) looked in their original state.

I was kinda thinking turquoise for the base of the lamps, so one day while at Home Depot, I picked up a can of spray paint in "Lagoon."  It sat on the shelf next to the lamps for a week or so because I was too lazy to actually go outside and paint them.  One Saturday, Doc wasn't feeling well and spent the day laying around the house taking it easy.  Finally, around 7:00 that night, he got up and said "Ok, I'm bored and restless.  Do you have a project or something I can work on?"  And that's how he ended up in the backyard spraypainting two lamps turquoise.  In his underwear.  He probably won't ask me for any projects again.

I don't have pictures but the bases of the lamps - after taping off the cords and the tops where the lightbulb goes - each got a coat of spray primer and then two coats of Lagoon.  They seemed a little too bright to me after that so I also wiped on a quick coat of chocolate brown glaze (and then wiped it off so it only stayed in all the grooves).

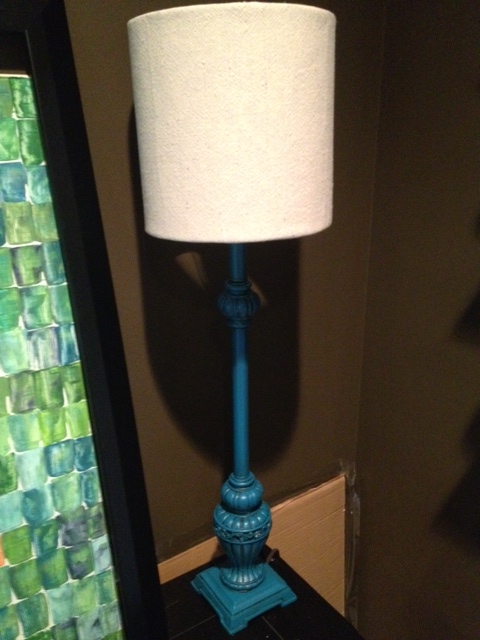
Besides changing the color of the base, I also wanted to change the lampshades to something a little less fancy and a little less gold.  I picked up two solid white shades from Target and thought they'd be perfect.

When I plopped the new shade on top, my initial thought was that they didn't look long enough, but I was just going to let it go for the time being.  That is, until Doc walked by and said "The lampshades look too small."  Crap.  If he noticed, then they must really be too small!  So I kept my eyes open for better fitting shades.

One day while at Garden Ridge, I found the perfect-sized lampshade.  Surprisingly enough, the turquoise color of the design was also a perfect match.  Only problem?  I really didn't want a shade that was patterned like that.

These shades were super cheap so I bought them anyway and devised a plan to make them work.  I wanted them to be solid white and planned to cover them with some fabric we (my mom) already had.

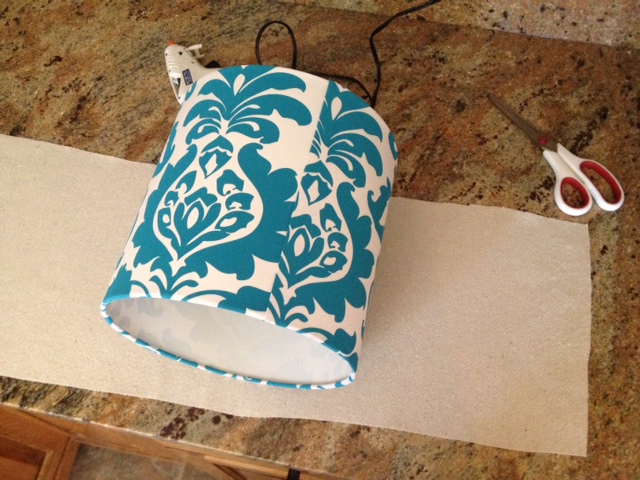
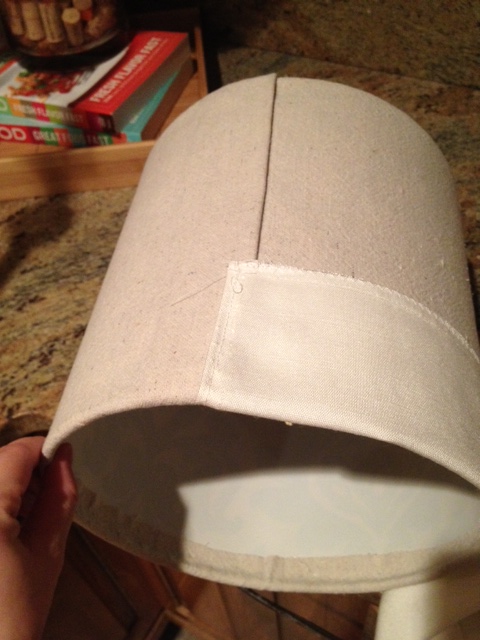
First, though, I completely covered the shades with some scrap material from a drop cloth I already had.  I cut two strips (one for each shade) slightly wider than the height of the shade.  I didn't even bother making my cuts very straight.

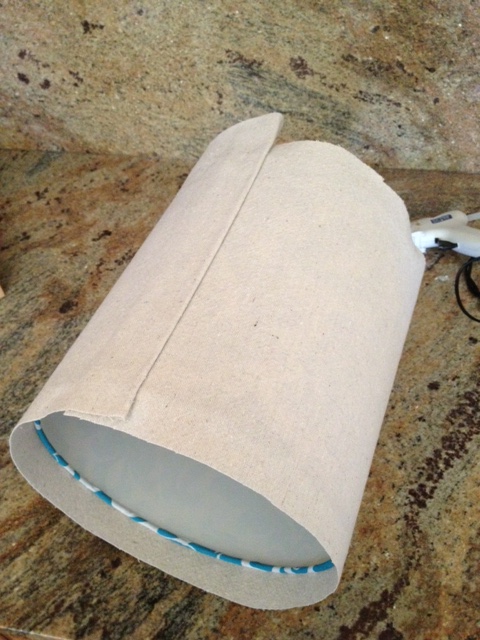
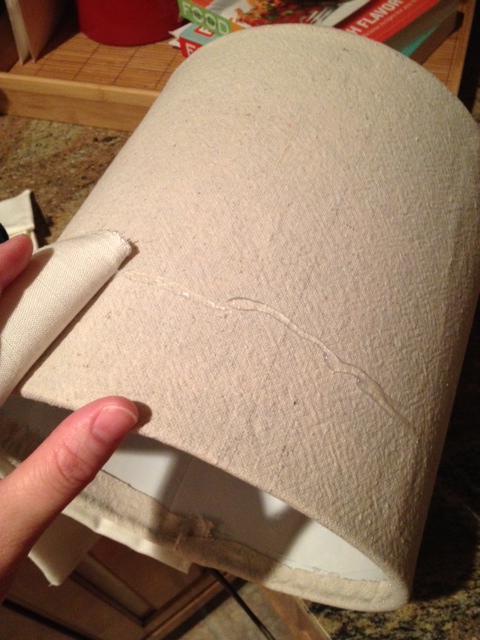
I used my hot glue gun to secure the drop cloth fabric around the shade.  I folded the last edge under so the back seam would look cleaner.

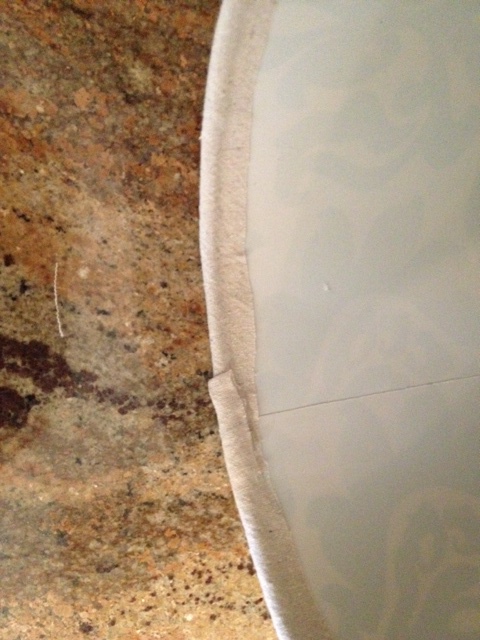
Next, I folded the edges up inside the shade and used more hot glue to hold them in place.

I plopped the freshly covered shade back onto the lamp to see how it was looking.  It really wasn't bad like this...

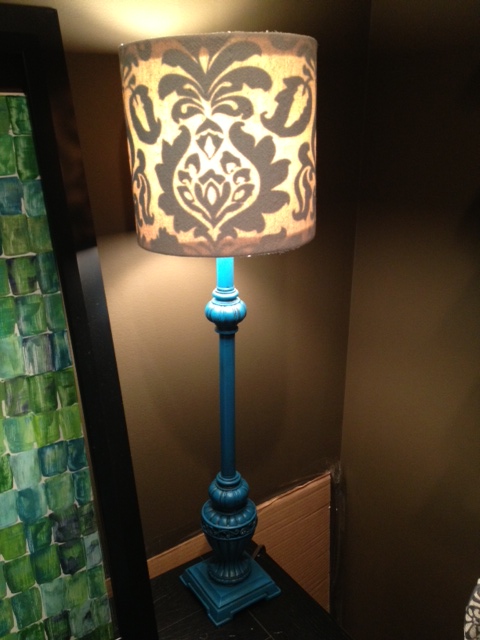
...until I turned on the lamp and the pattern showed through.

I wasn't too concerned because I was already planning on another layer of fabric anyway.  So I moved forward with my plan.

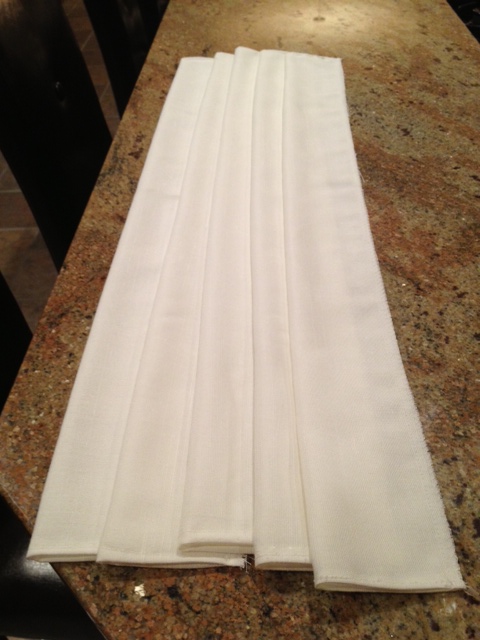
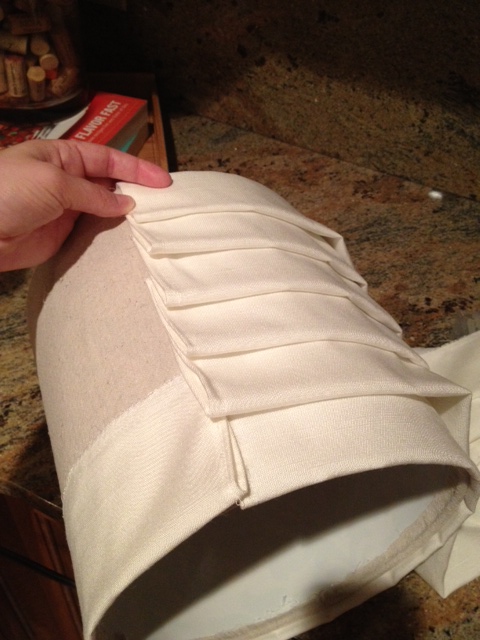
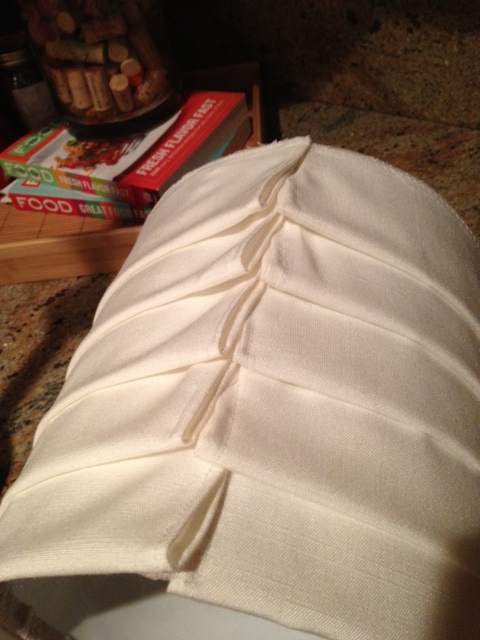
I wanted to add the next layer of fabric in strips made to look kinda like pleats (maybe?).  Using a textured white fabric, I my mom cut six wide strips for each shade and then folded them in half to make a bubbled edge on one side.

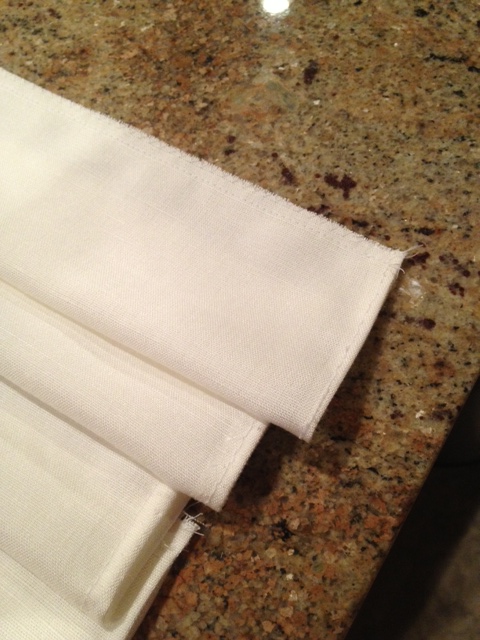
While I tended to the baby, she went the extra mile and hemmed the edges on the ends and quickly sewed the two raw edges together.  If you're not a sewer, this could've been done with hot glue.

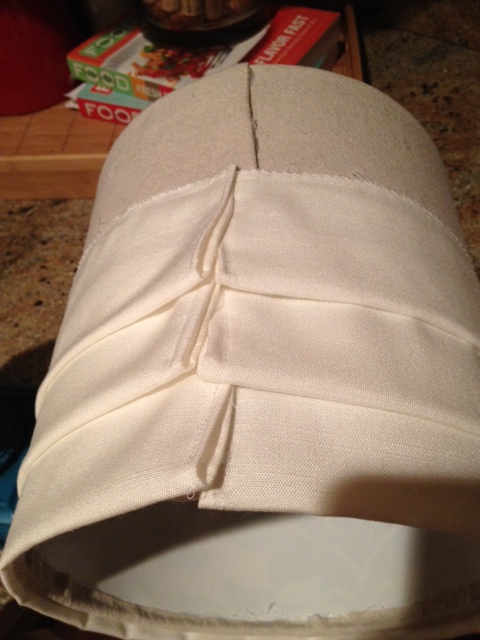
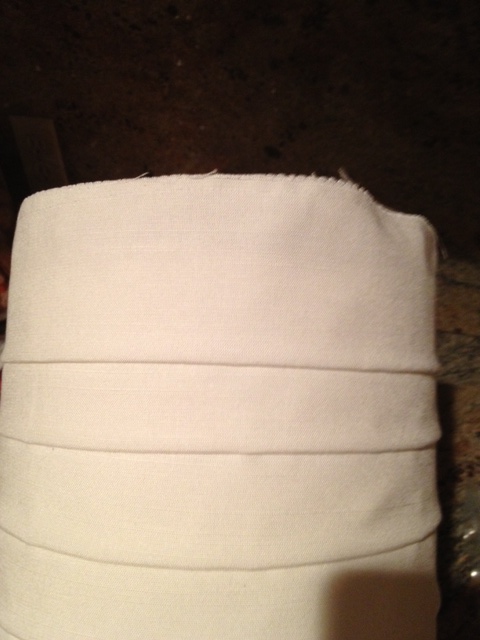
At this point, they were ready to add to the shade.  I started with the bottom edge, placed it so that the bubbled edge barely hung off the bottom of the shade, and glued the top edge down with hot glue.  I started in the back so that my seam would line up with the existing seam in the back.

Once that one was down, it was just a matter of repeating the process 5 more times.  Before gluing the next one down, though, I figured out my spacing.  I didn't measure, just eyeballed it.

As you can tell from the pic below, I didn't stress about my seams lining up perfectly.  As long as they were all near the back, I was fine with it.

The second to last strip was glued right at the top edge of the shade.

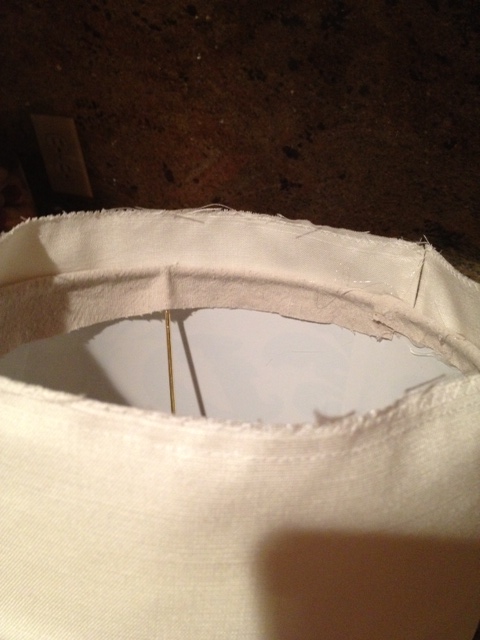
That means to glue on the sixth and final strip, it had to hang off the top edge.

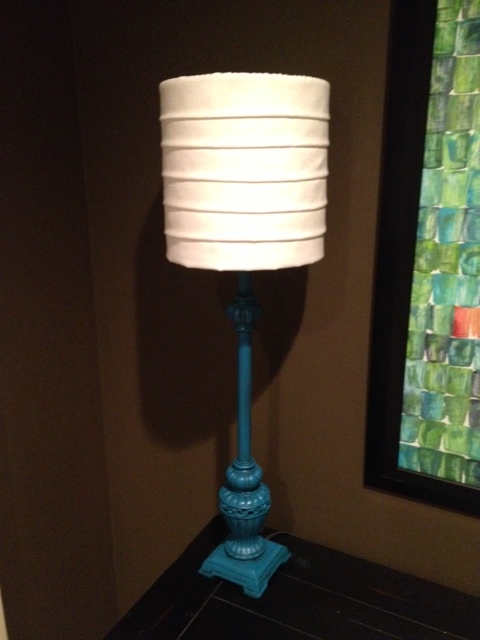
Just like with the drop cloth, I folded the top of the fabric over the edge of the shade and glued it down with hot glue.  And with that, my shade was done!  I plopped it back on top of the lamp base.

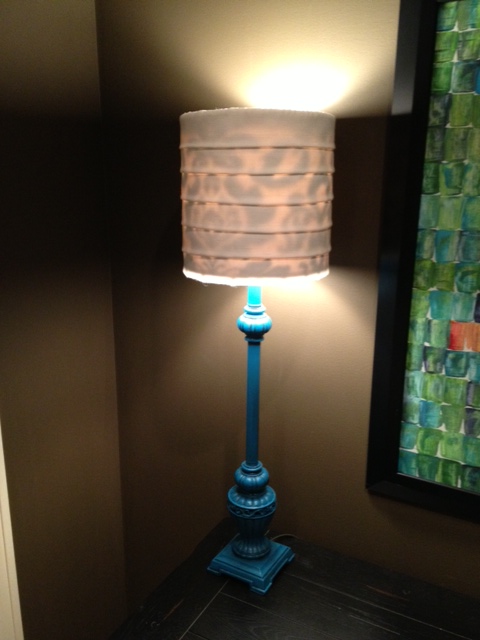
For a low-budget lamp revamp, I was pretty pleased with how it turned out!

There was only one thing left to test.  I held my breath and turned on the lamp...

Whomp, whomp.  That darn pattern!  In hindsight, I guess I should've sprayed the shade white before starting.  Rats.  Live and learn, I guess.  They definitely aren't "forever" lamps, but I'm ok with them being "right now" lamps.  We just won't be turning them on...

Putty Knife Art

We've officially lived in our new house for two months now and I still haven't even shown it to you!  My apologies.  I have big plans to show you pictures of each room - I want to photograph them in their current states so we'll have good "before" pictures.  There's still so much to do in every single room!  But, until I have all the pictures ready, let's talk about some quick and easy art I made... First things first: I cannot take credit at all for the genius idea of this type of art piece.  I 100% copied the idea from Mrs. Katie Bower over at the Bower Power Blog.  She did it first and posted her tutorial, and I pretty much followed it to a T.  I even used the same colors she did, but then I added in some yellow and red for my own twist on things.

So, feel free to go to her blog and follow her instructions, or you can see mine here.

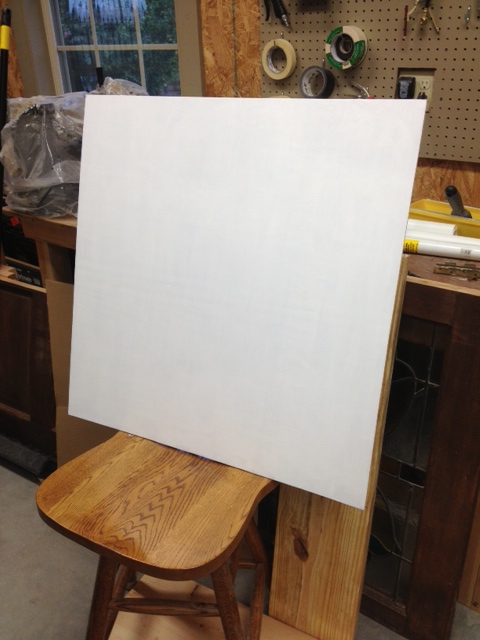
Katie used a canvas, but I didn't have one on hand and didn't want to go spend any money.  Plus, I had a frame already that I wanted this art to go in, so I needed my art to fit it exactly.  So instead of using a canvas, I cut a thin piece of plywood the size I needed.  First step was to paint it solid white.  Anna helped me with this part.

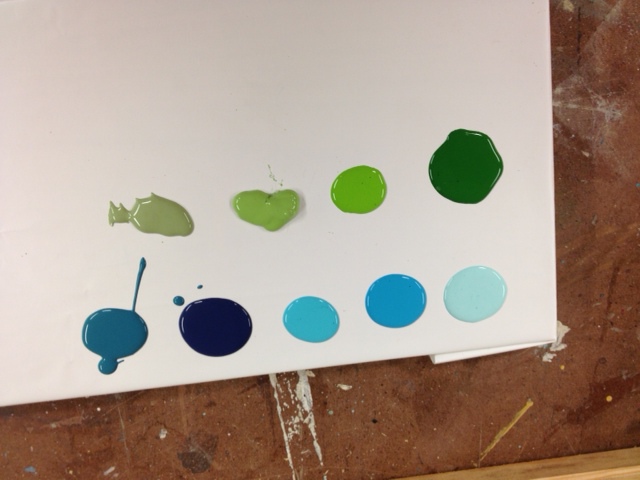
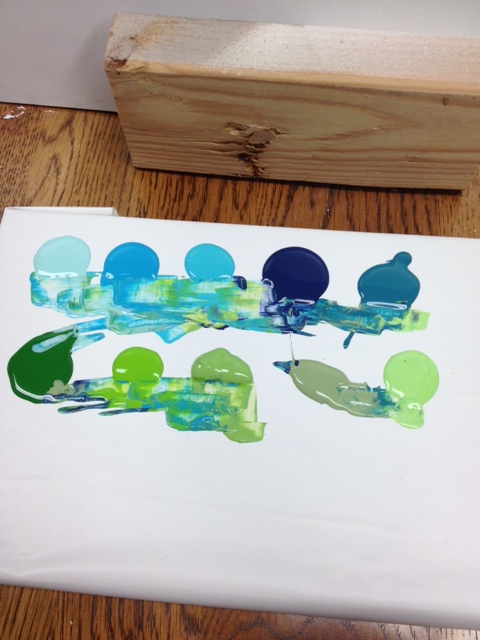
Then I squirted out the paint colors I wanted to use.  I just grabbed several blues and greens in craft paints that I already owned.  My main goal of this project was not to spend any money (and I succeeded!) so I didn't go buy any new colors.  I made sure, though, that I had both light colors and dark colors so there'd be plenty of contrast.

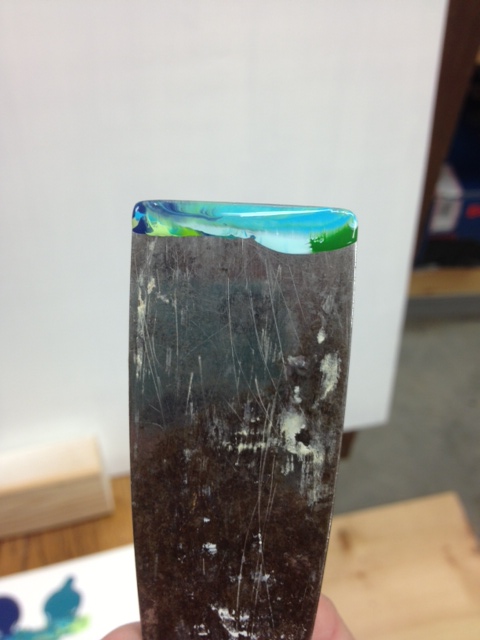
Like Katie, I didn't own a real painter's pallet knife, but I did have a putty knife that I use out in the shop all the time for wood putty-ing projects.  I spent a minute scraping off dried wood putty and then it was ready to go!  I dipped it into several different colors, making sure there was paint all the way across the top of the knife.

There was no rhyme or reason to which colors I chose, I just stuck it in whichever ones felt good.  My paints started blending together like this.

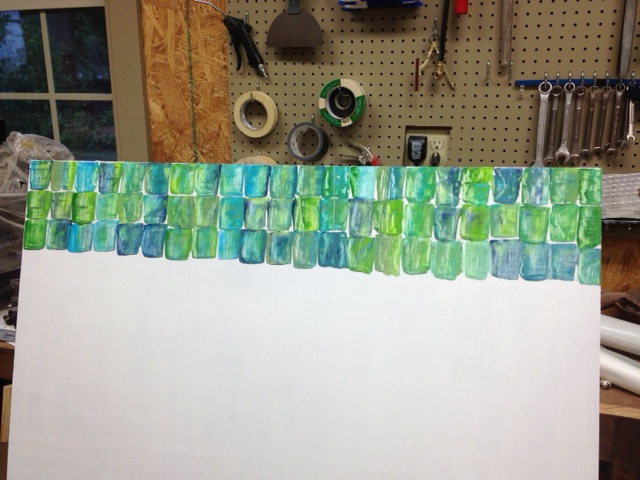
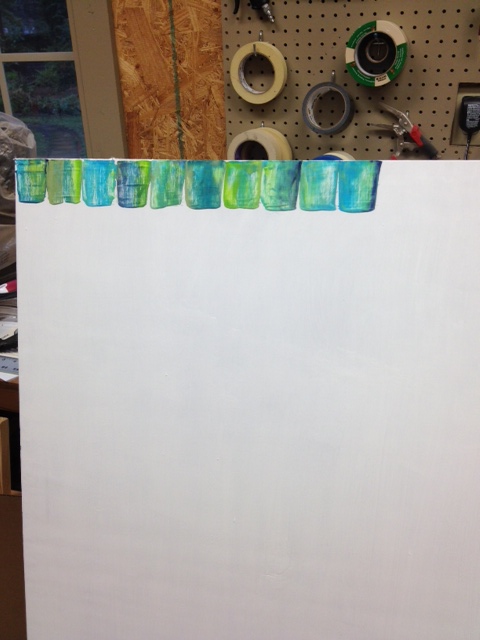
I started in the top left corner of my "canvas" and moved to the right.  It took me a minute to get my groove.  This is probably where a real canvas would probably be a little bit easier to work with, as it would give a little against the putty knife.  On my wood surface, I was scraping a hard flat object against another hard flat object, so if there was a bump on the board or anything like that, I'd end up getting only a partial scrape, if that makes sense at all.  I had to go over it a few times on occasion.  Anyway, all I did was load the paint up on my putty knife, place it on the top of the board, and scrape it down my desired length.  I did not draw a line to keep them straight; I just eyeballed it.

I really liked how the blues and greens were blending together.   After finishing the top row all the way across, I just moved down and repeated the process right below it.

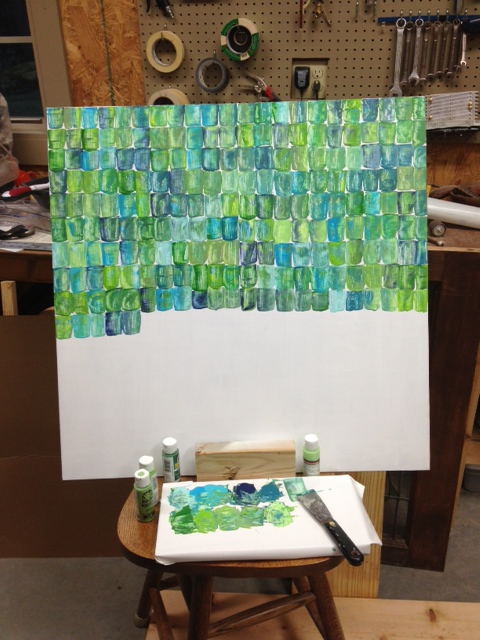
Once I had my groove, this moved really quickly!  I filled up the majority of the board in no time, making sure to dip my knife into different paint color combinations each time.  If I felt like things were getting too green, I dipped in blue for a while, and vice versa.  Sometimes I would have enough paint on my knife to do two scrapes side by side that matched.

Now, here's where I deviated from Katie's tutorial a little and stopped taking step-by-step pictures.  I knew where I was going to be hanging this piece of art and wanted it to tie in more colors than just blues and greens.  I would be using a little bit of red in the area too, so I needed to work that in.

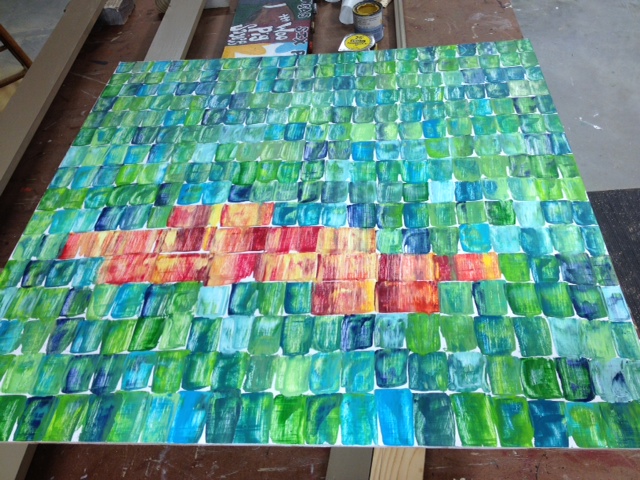
I squirted out several shades of red paint and also added in some yellows and oranges to have something to blend it with.  Rather than cleaning off the putty knife I was using, I grabbed another one we had in the shop.  This one was double the width of the first one (usually used for spackling) and one scrape with it would match the size of two scrapes of the smaller one.  I used the exact same method of dipping it into multiple colors and then just scraping down my desired length.  I worked these colors in in a random shape.  I thought about doing a solid line or two of the red/yellow scrapes, but decided to keep it random.

When it was all done, my canvas looked like this.

Obviously, when I had the red and yellow area filled in the way I wanted it, I just picked back up with the smaller putty knife and the blues and greens and finished the rest of the canvas.  Easy peasy!  It took me about 30 minutes to get the whole thing done.

It looks great in the frame and hanging on the wall.  I have two more projects to show you and then I'll reveal how they all came together in our little entry nook.  Be back soon!

Playing Catch Up

I hate that it's so hard for me to find time to sit in front of the computer these days, because I have so many posts in my head that need to be published!  Earlier tonight I finally pulled all the pictures off my camera that I've taken the last few weeks.  Surprisingly, I haven't taken nearly as many pictures as you would think.  But I do have a few so I'm going to attempt to play catch up with everything that's happened since we've had Katie Wynn at home.  This post may be all over the place as I'm just going to go whereever the pictures take me! Here's what's been hanging on our front door since we made it home from the hospital.

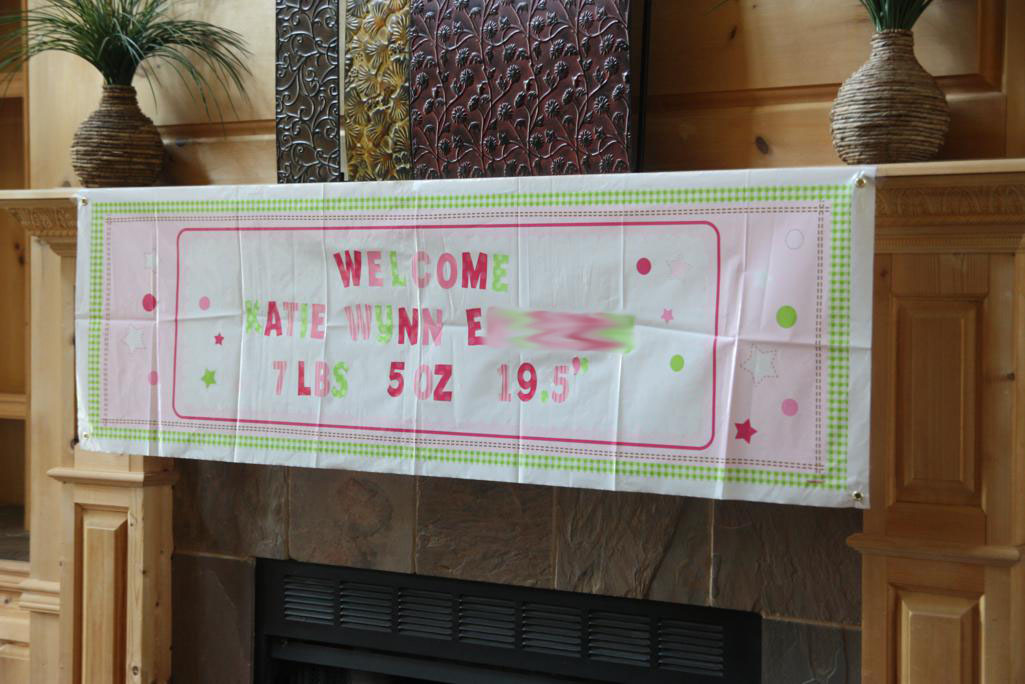
We've also had a banner hanging in our [still undecorated] living room that Jenny and Darrin brought to us in the hospital.

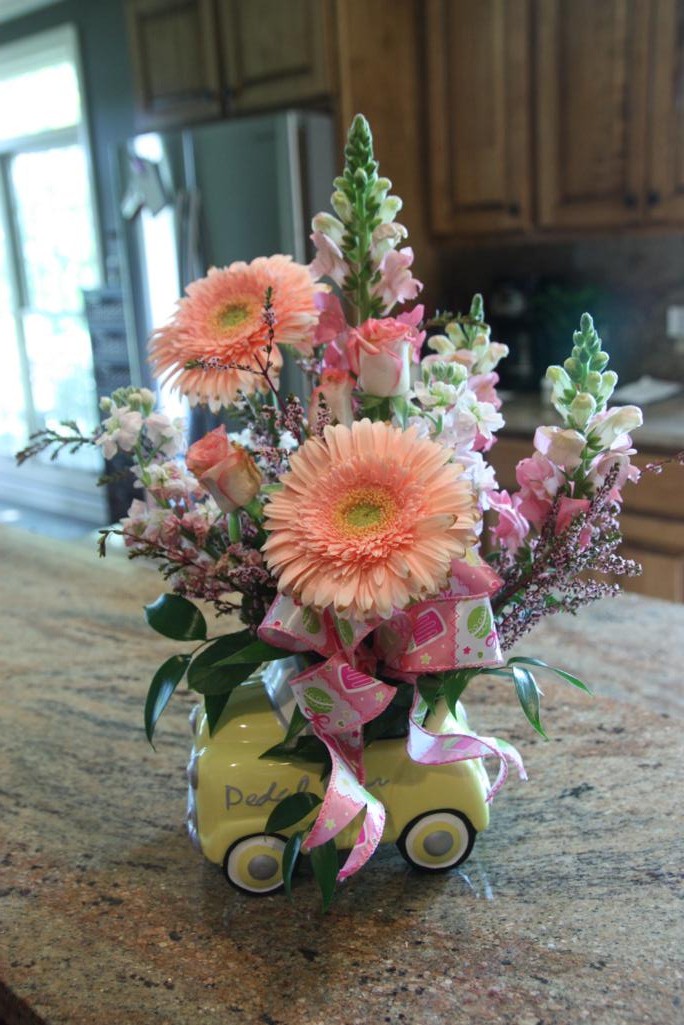
We came home with a slew of flowers that ended up lasting forever!  I loved having all the pink in the house.


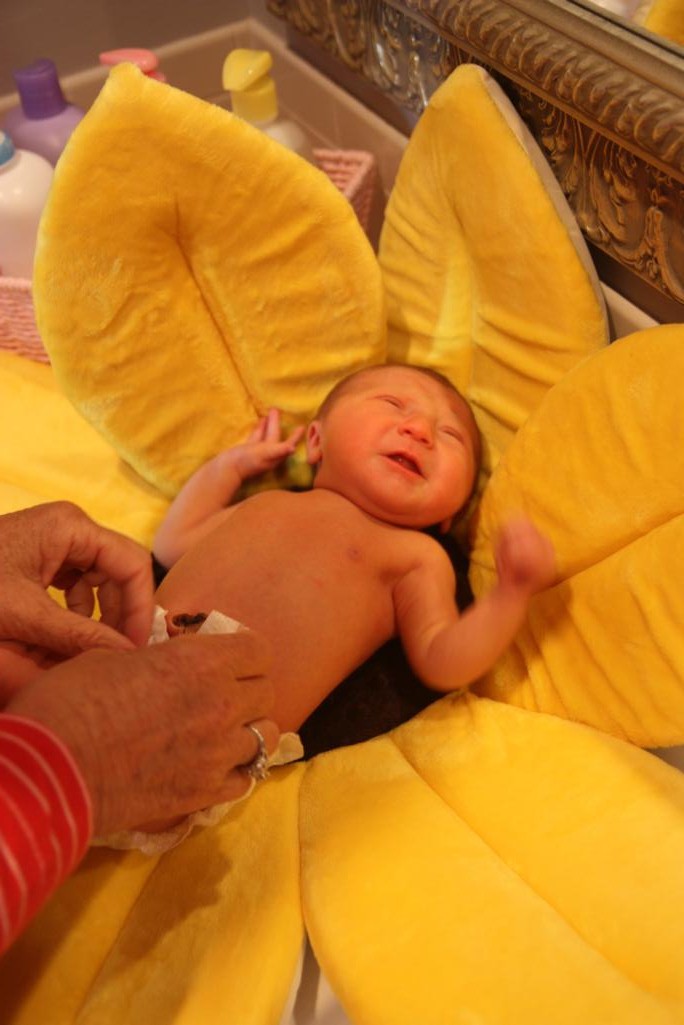
My mom helped me give Katie Wynn her first sponge bath.  She did not like it one bit.

She also does not like to have her clothes changed.  She wails and carries on the whole time.

Her screaming worries Lolli to no end.  She's convinced we're hurting her up on the changing table.

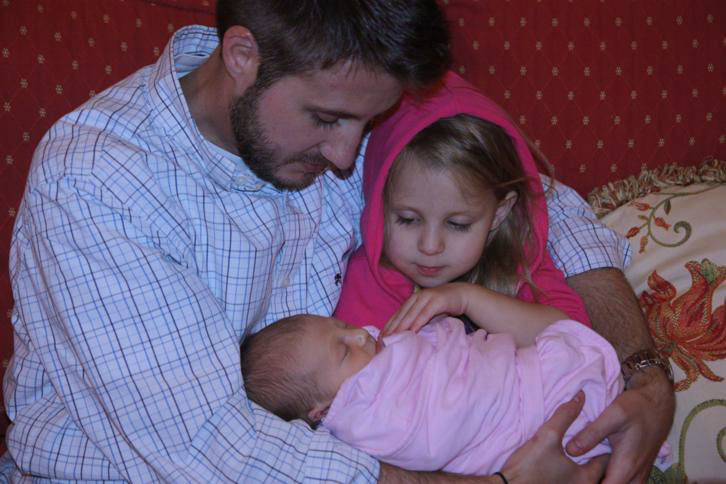
We've only had the big kids at the house for one night since bringing Katie home, and it was a really good night!  Wyatt is still hesitant to hold her (as any 12 year old boy would be) but still seems very interested in her.  He asks lots of questions and I've even caught him playing with her toes!  Anna loves holding the baby and taking care of her.  She helped me give her a bath and lather her up with lotion.  She's going to be a great helper!  Of course, the bath brought on more tears...

It usually only takes a few minutes after the bath and getting dressed before she's back to her sweet self again.

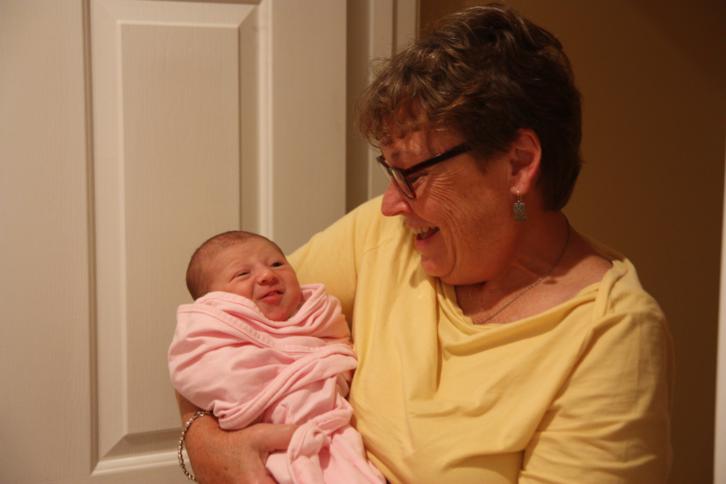
We've had lots of visitors which has been really nice.  We love showing off the baby and having our house full of friends and family.  How sweet is this picture of our friend Matt helping his daughter, Wesley, hold the baby?!  I think Wes is going to be a good big sister one day.

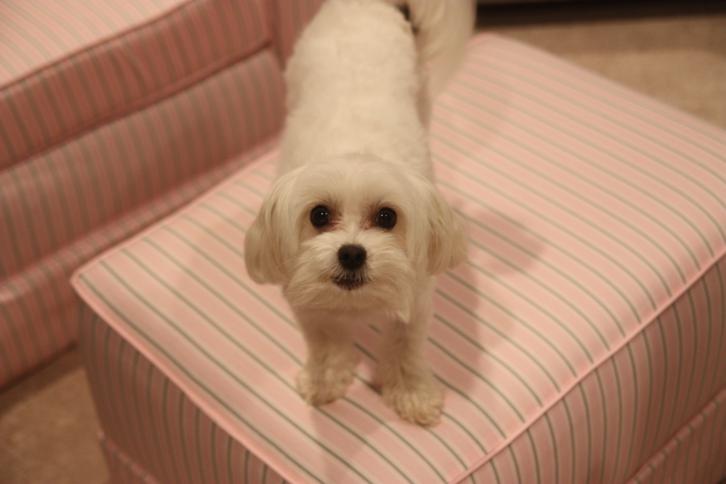
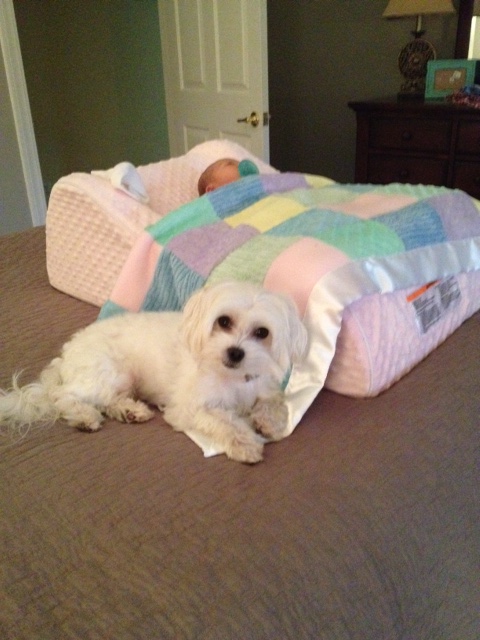
Lolli is slowly adjusting to having the baby in the house.  I think she gets jealous of the attention, but she's also becoming very protective of her little sister!  I often find her laying as close to the baby as she can get.


We had Katie's first set of professional photos taken when she was just nine days old.  A friend of mine from college came and spent the bulk of a day at our house taking pics.  She was so gentle and patient with Katie, even when she used the bathroom on every backdrop!  I've already seen the proofs and they are so, so good.  I can't wait to receive my copies so I can show them off to you!  The picture below is from the middle of the photoshoot.  If you look at the back of the white frame that Katie is laying in, you can see it's yellow.  That's when things got a little explosive.  What you can't really see in the picture is that her poop goes all the way to the back edge of the grey blanket.  That's my girl. :)

One of Doc's customers sent us a gift for Katie Wynn - a cute Notre Dame onesie and blanket.  She's been helping cheer on the Irish ever since.

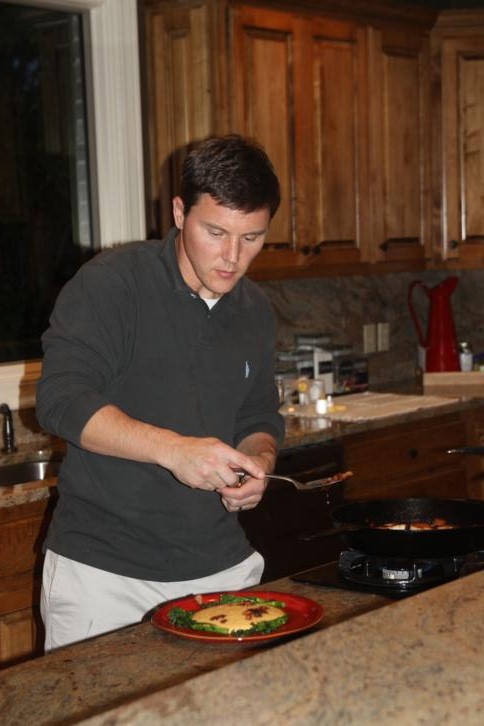
We had a little date night at home one night and Doc prepared a fancy meal.  Here he is slaving away in the kitchen.

The meal was deeeeelicous - scallops and bacon over cheese grits and broccoli.  Yum!!  Scallops was one thing I didn't eat while pregnant, and I was ready to have them again.

We had the cutest centerpiece on the table that night during dinner...

"Did you say scallops for dinner, Mom?"

"Aww, yeah!  I love scallops!"

She didn't end up getting any scallops, but I think she may have had sweet dreams about them while we scarfed 'em down.

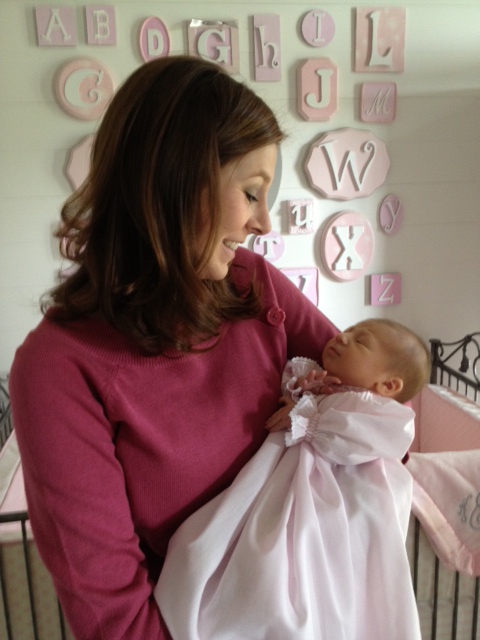
On Katie's two-week birthday she attended her first church service.  She wore the dress I smocked for her as soon as I found out she was a girl.  I wish I had a better picture of her in it because she looked so pretty!  She was a perfect angel during church; she slept right through it and never made a peep.  There was a rosebud on the alter for her and she was able to attend her first Holy Communion.  Obviously she didn't receive any bread or grape juice, but we loved getting to pray with her at the alter railing.

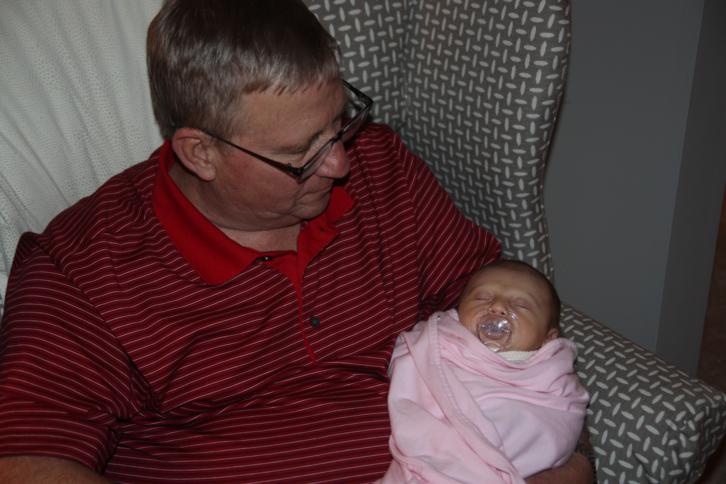
Doc's parents spent the better part of a week with us and we loved having them here!  They were such a huge, huge help to me, and I think they really enjoyed getting to spend time with their granddaughter.  I'm kicking myself now for not taking more pictures while they were here.

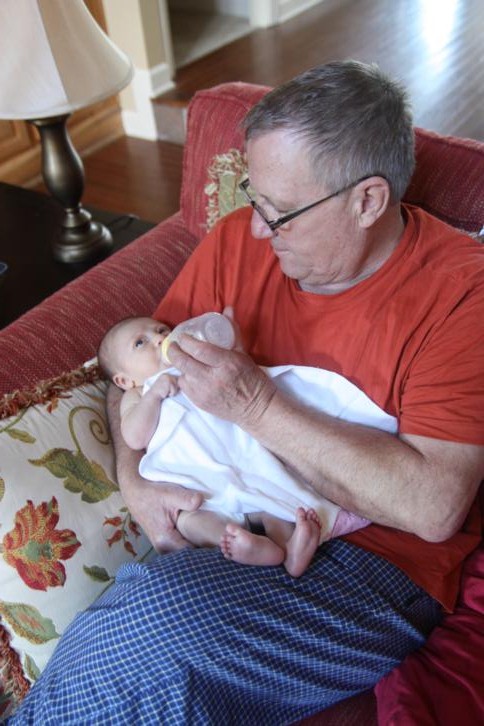
These two bonded over many bottles.  She loves her Poppa!

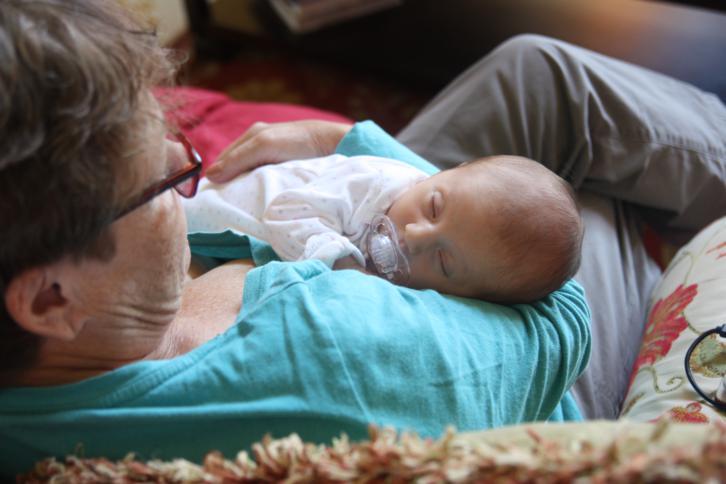
And Lala seemed to have the perfect touch to calm her down and put her right to sleep.

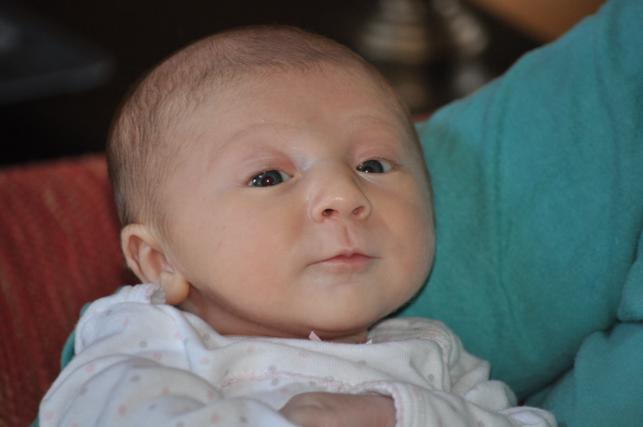
I stole this picture from Lala.  I love it!  I have a feeling I'll be getting this look a lot.

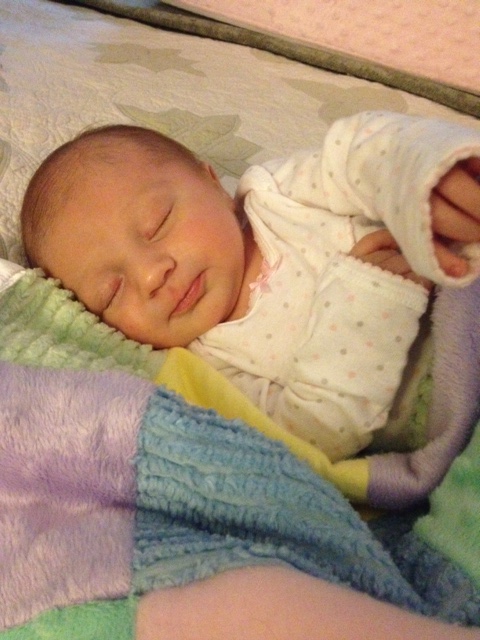
Doc and my dad spent last weekend away on their annual boys' weekend trip.  Katie Wynn and I spent the weekend with my mom at her house.  She got to take a nap on my mom's big bed...something all of the grandkids usually enjoy doing!

The weekend was a little bit stressful because I think she had her first growth spurt.  I felt like I couldn't keep her full!! On her 3-week birthday, she got her first taste of formula.  I'm mixing it with breastmilk right now but I think she'll be having bottles of it by itself very soon.  Look at how full her little cheeks have gotten!

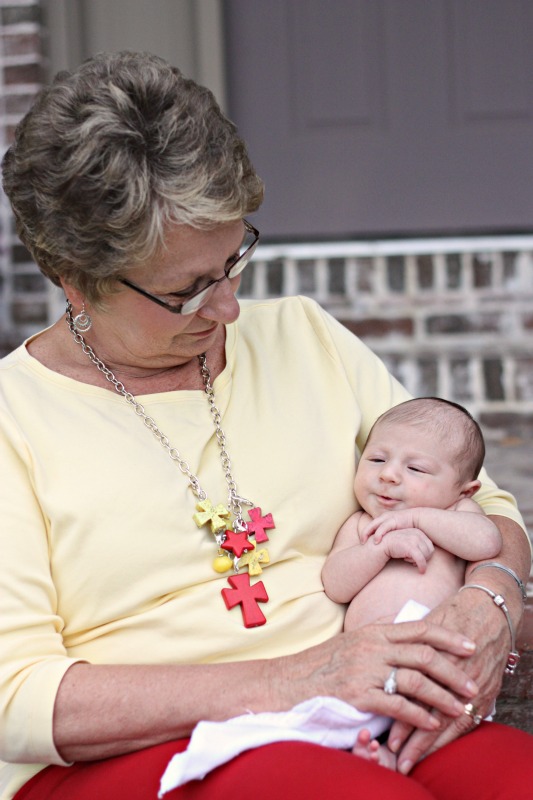
Snuggling with Mimi on the front porch...

We survived our second church service even without the guys there to help hold her.  I was nervous to take her by myself but her Aunt Jenny was there to hold her the whole time!  I tried to get a picture of her in her white dress, but she kept sticking her tongue out at me!

That's all the pictures I have for now.  We attempted a fall photoshoot this afternoon so I have lots of pictures to go through and edit.  I have already narrowed it down from 355 pics to 159...there's still a lot to delete!  Hopefully I'll have those soon.

And for any of you that are totally over all these baby posts, don't you worry - I've knocked out some craft projects that I plan on sharing soon too!

Post Pregnancy

{I started this post over a week ago.  Such is the life of a new mom...} Since our little girl has arrived, this will officially be my last pregnancy post (at least for this child!).  There are just a few last things I want to get jotted down so I can remember the first days after delivery.

  • Let's start with her official stats: Katie Wynn was born at 8:51pm on Sunday, September 23, 2012.  She weighed 7 pounds, 5 ounces and was 19.5 inches long.  Right now her eyes are blue; we'll see if they stay that way.  I was thrilled to see the thin covering of dark hair on her head!  Passed her hearing test and the pediatrician gave her a clean bill of health.
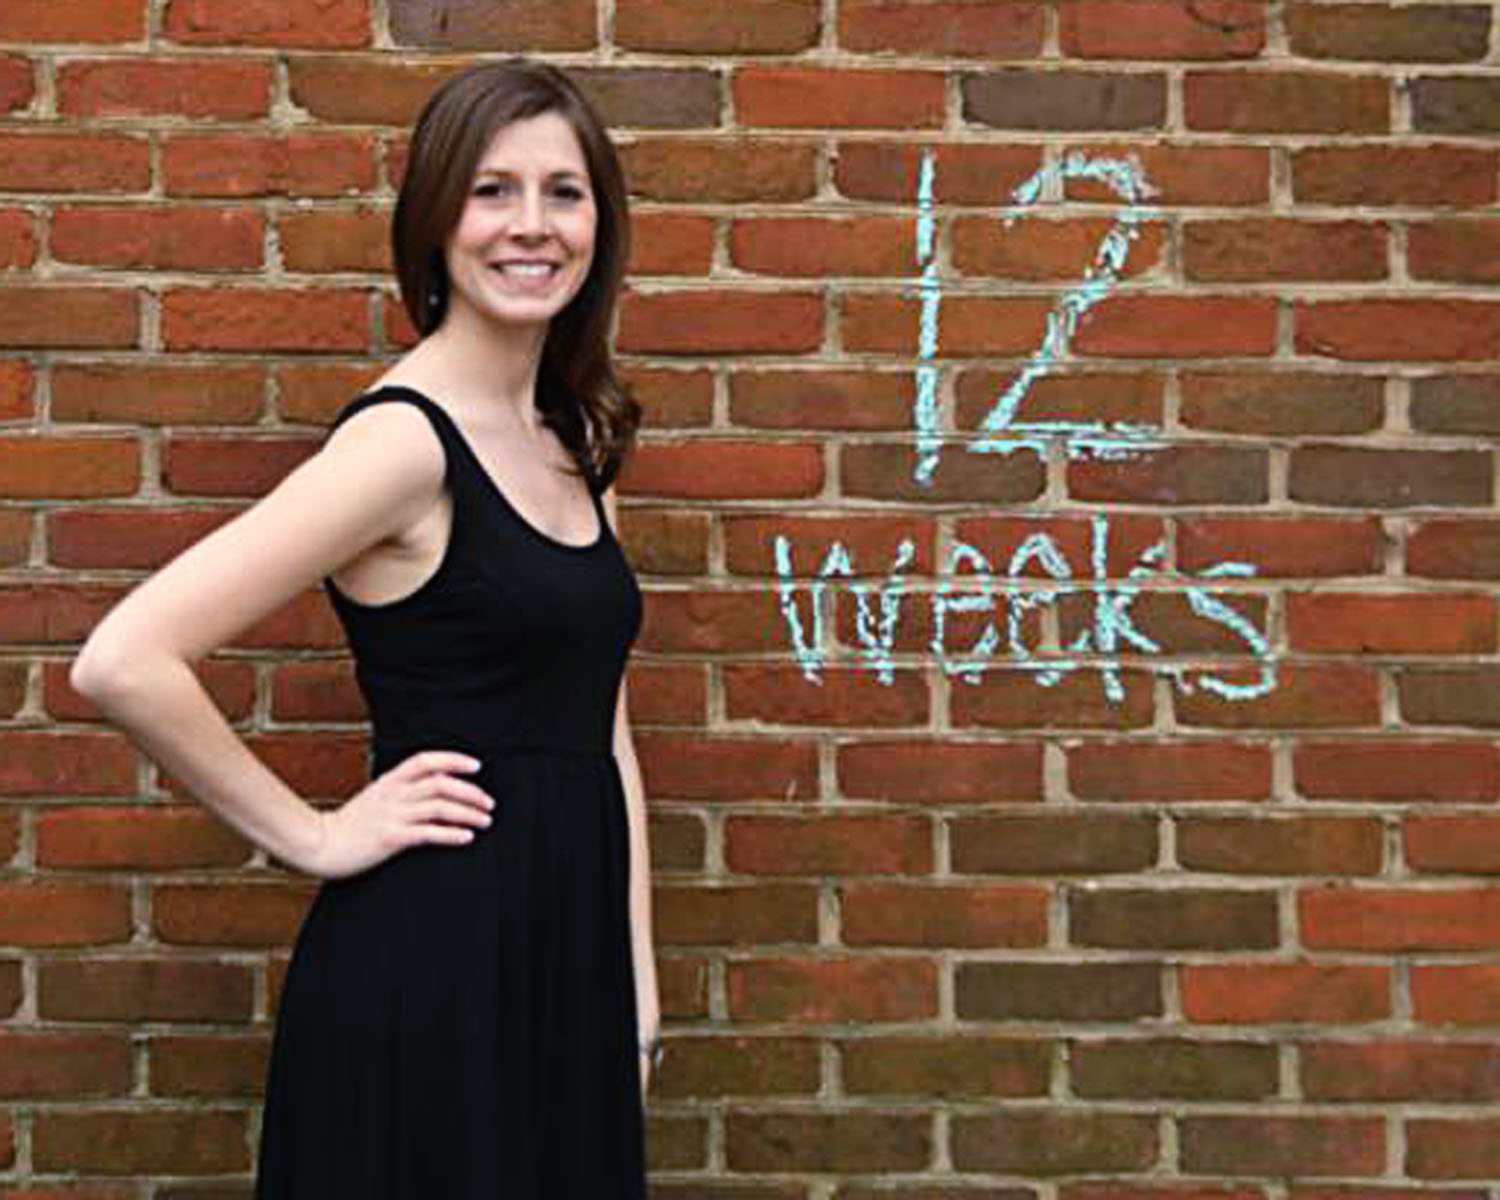
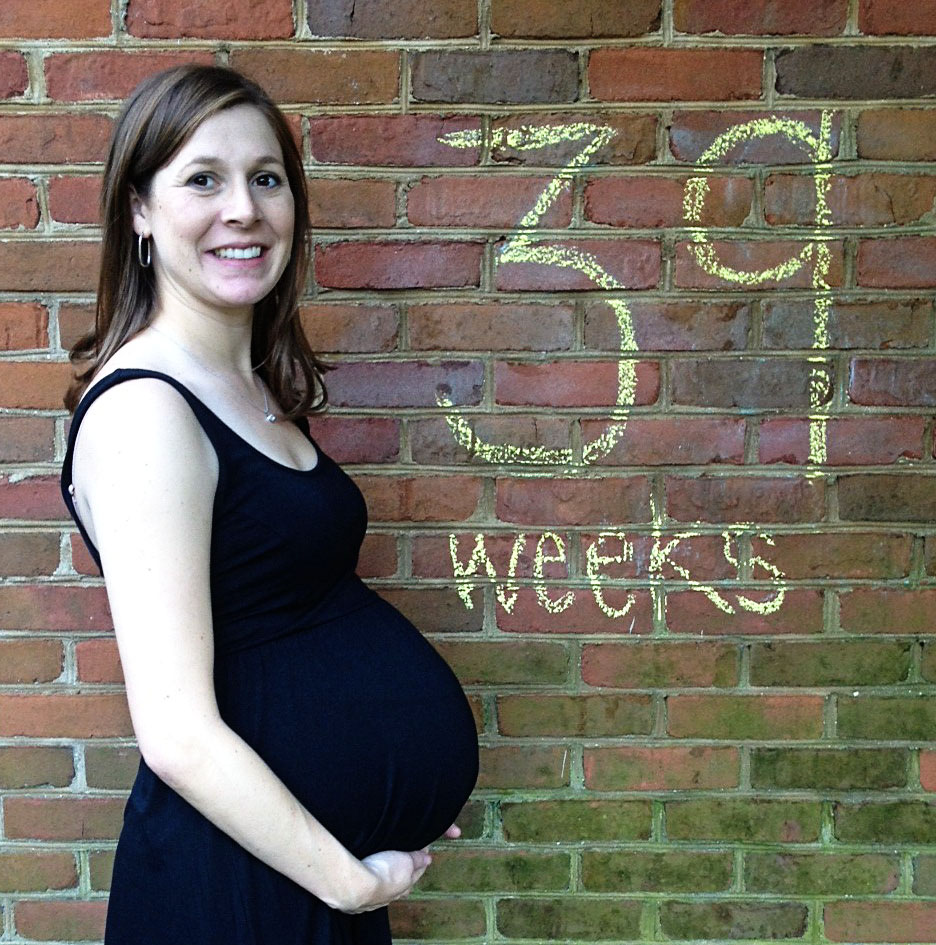
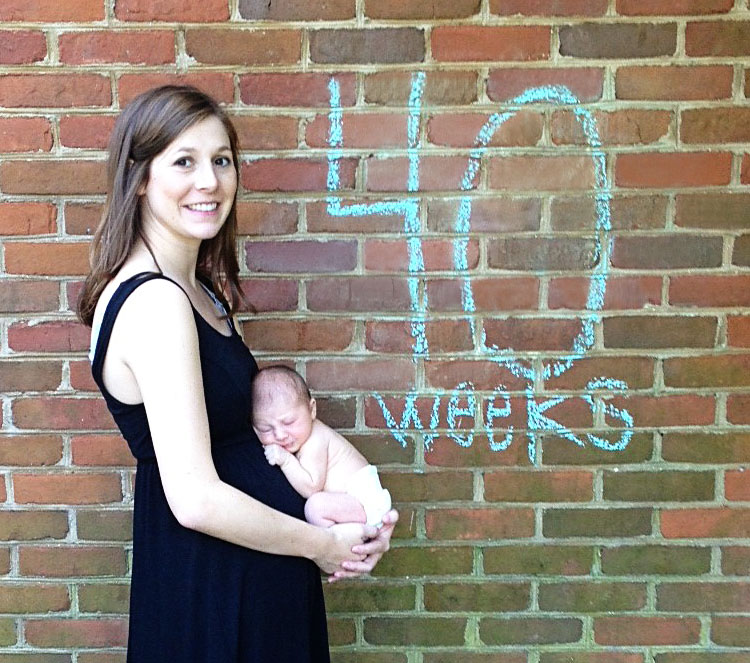
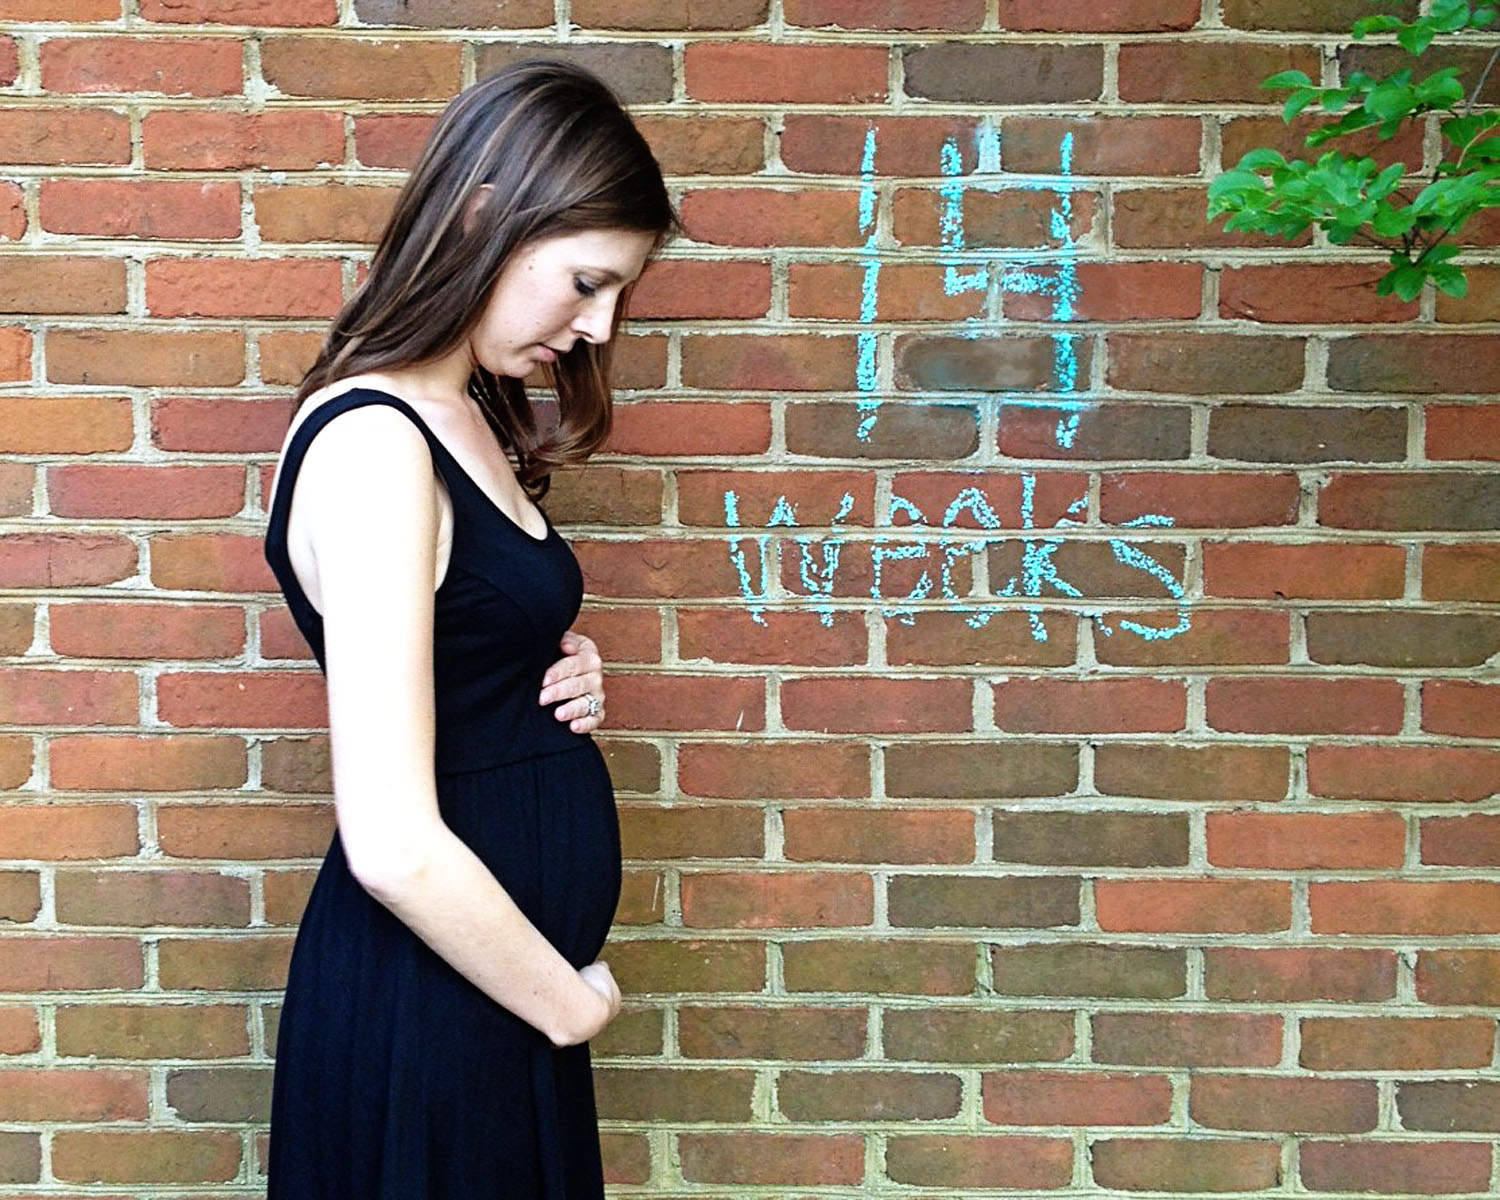
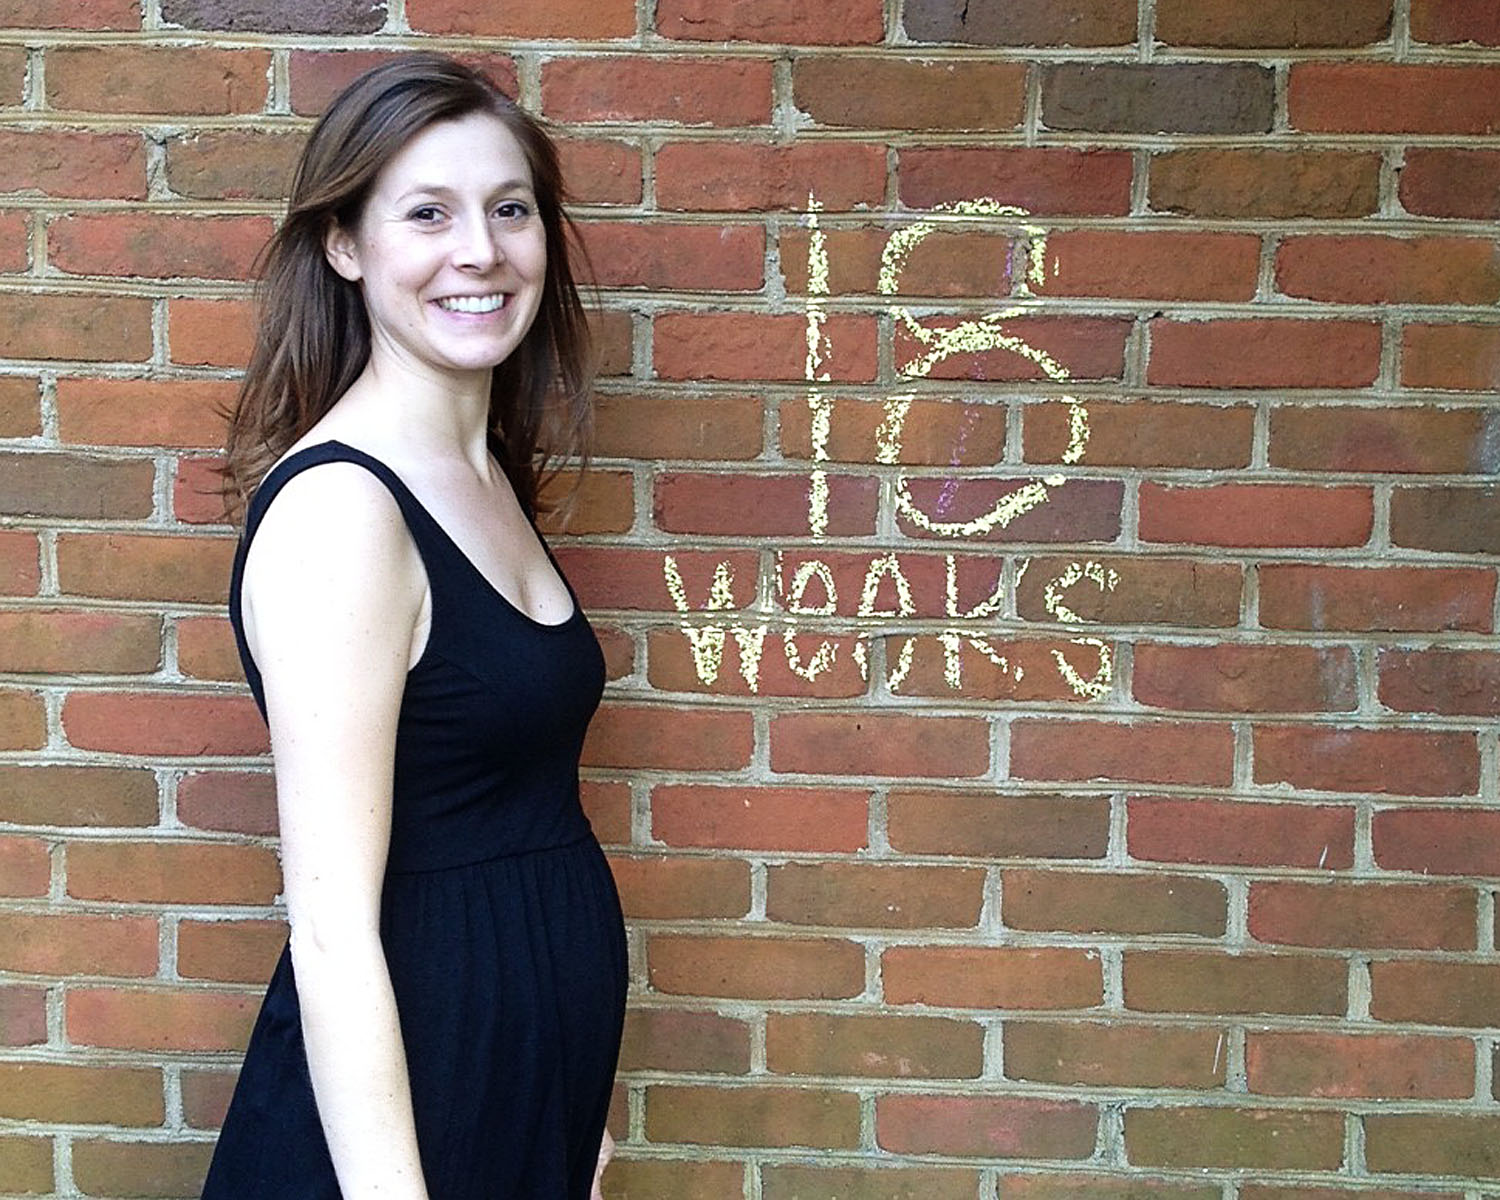
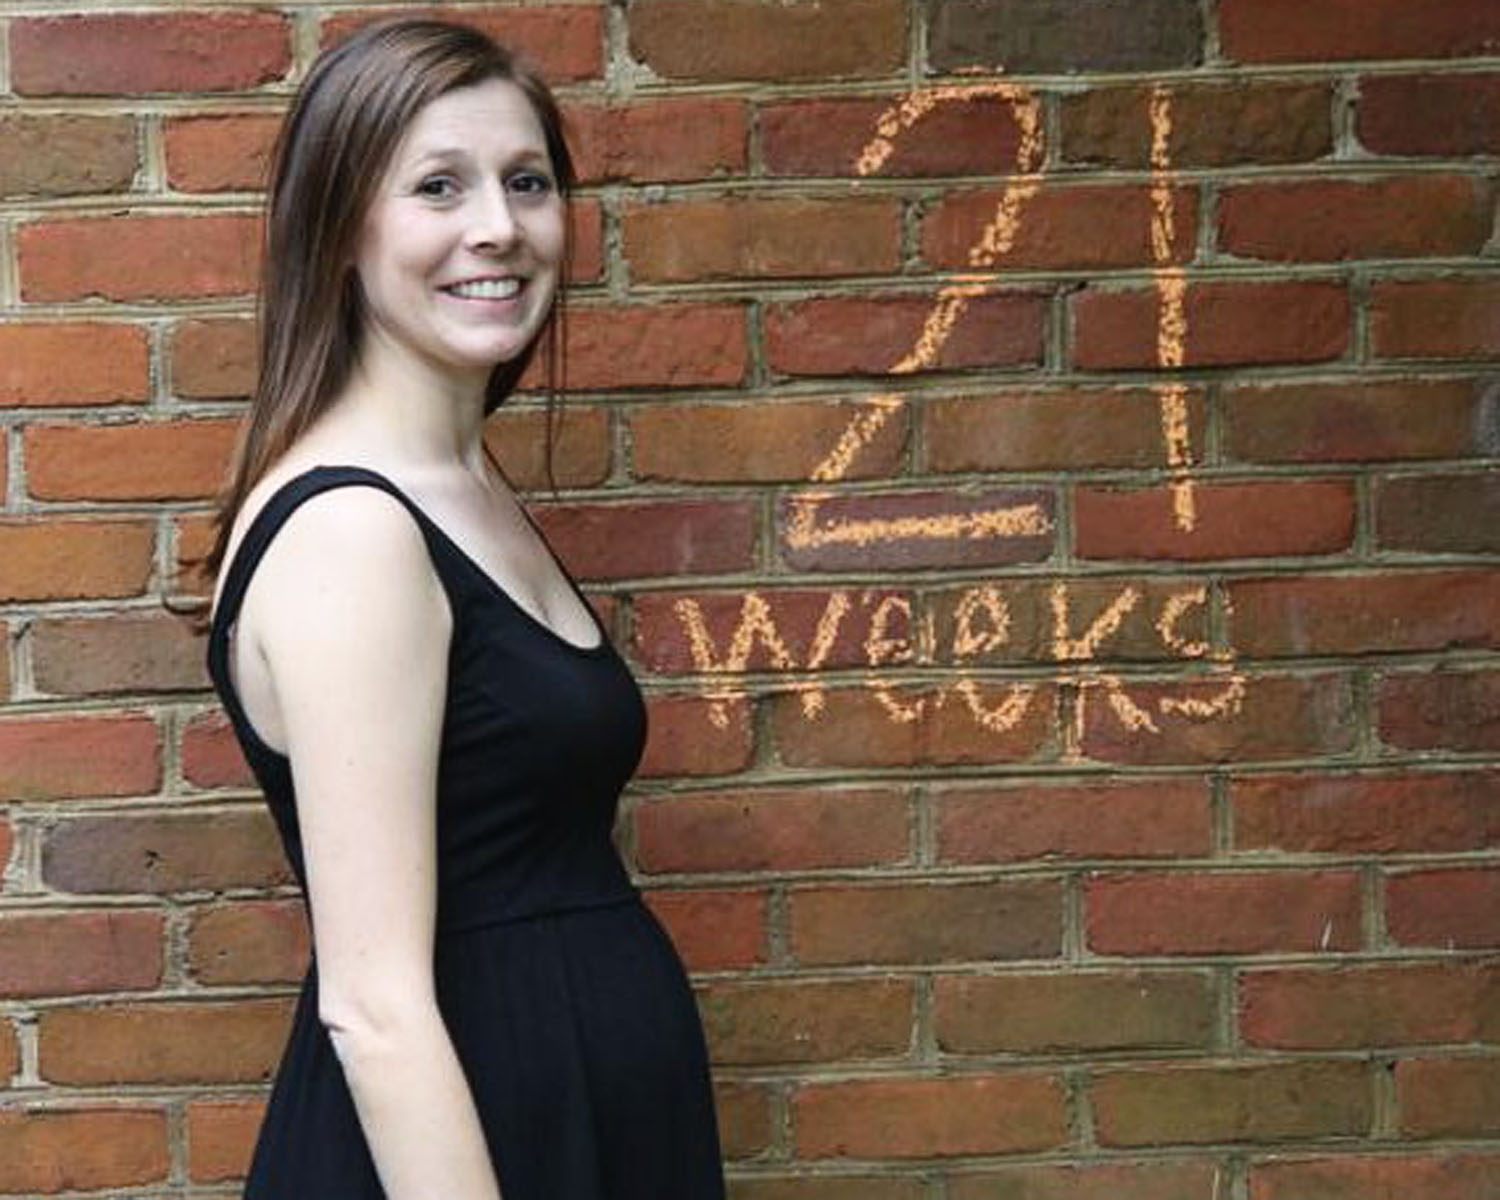
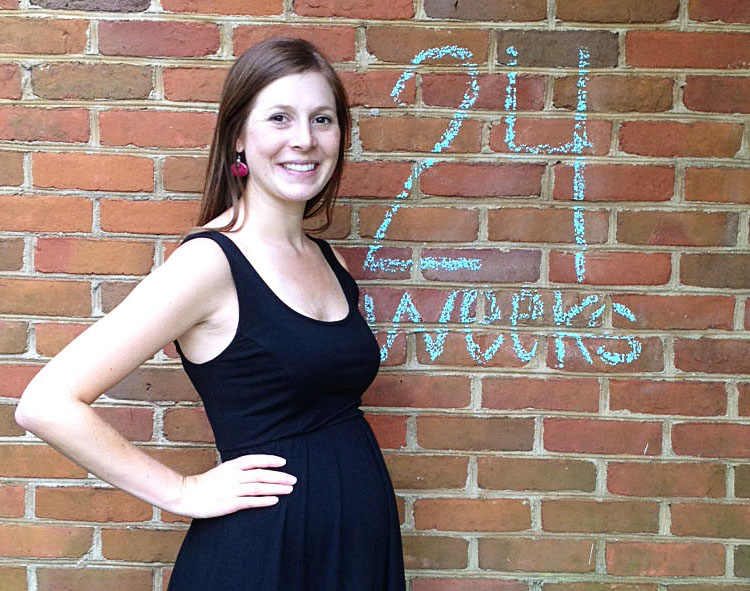
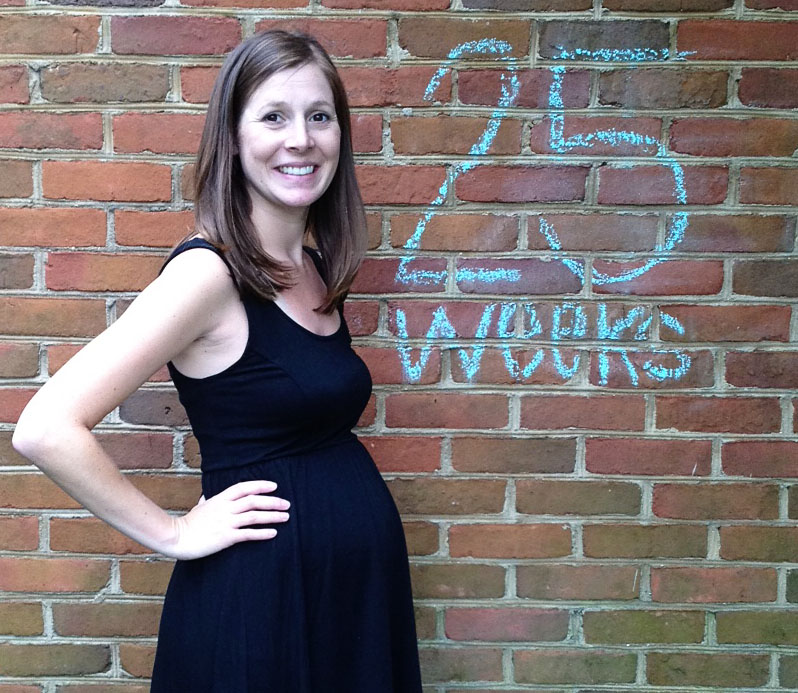
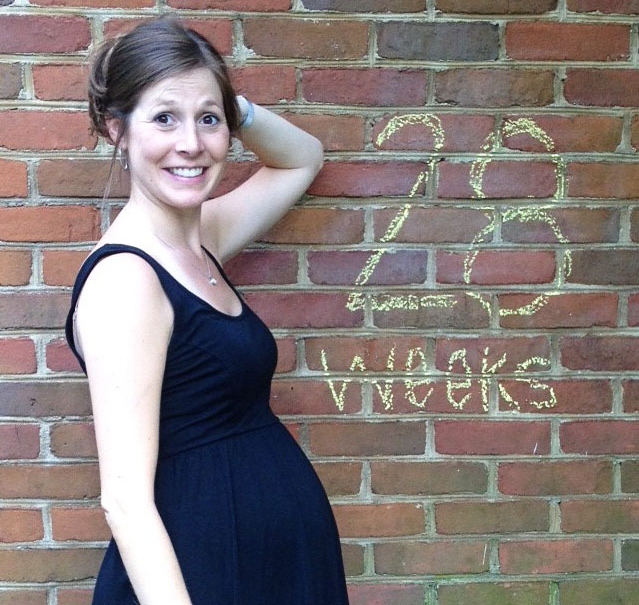
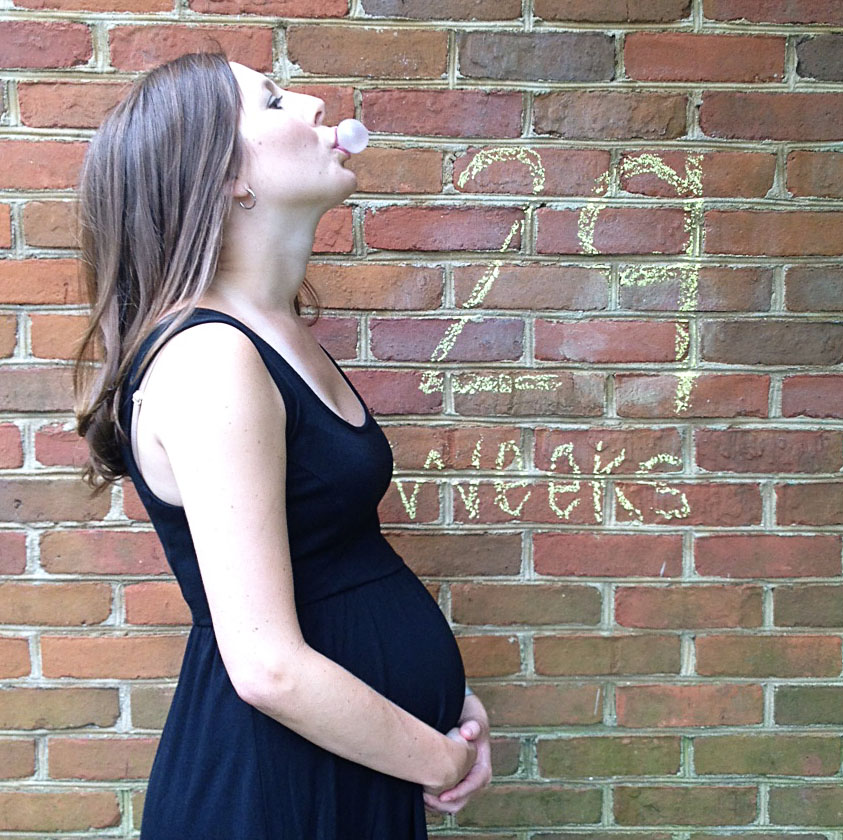
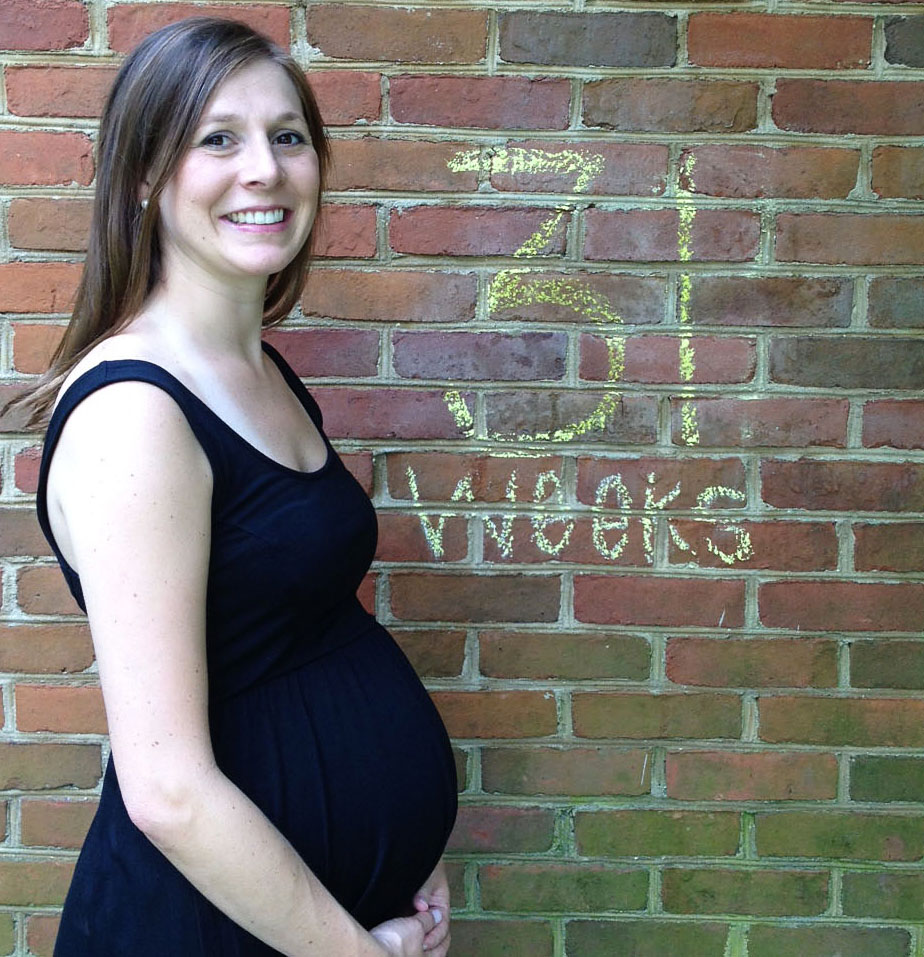
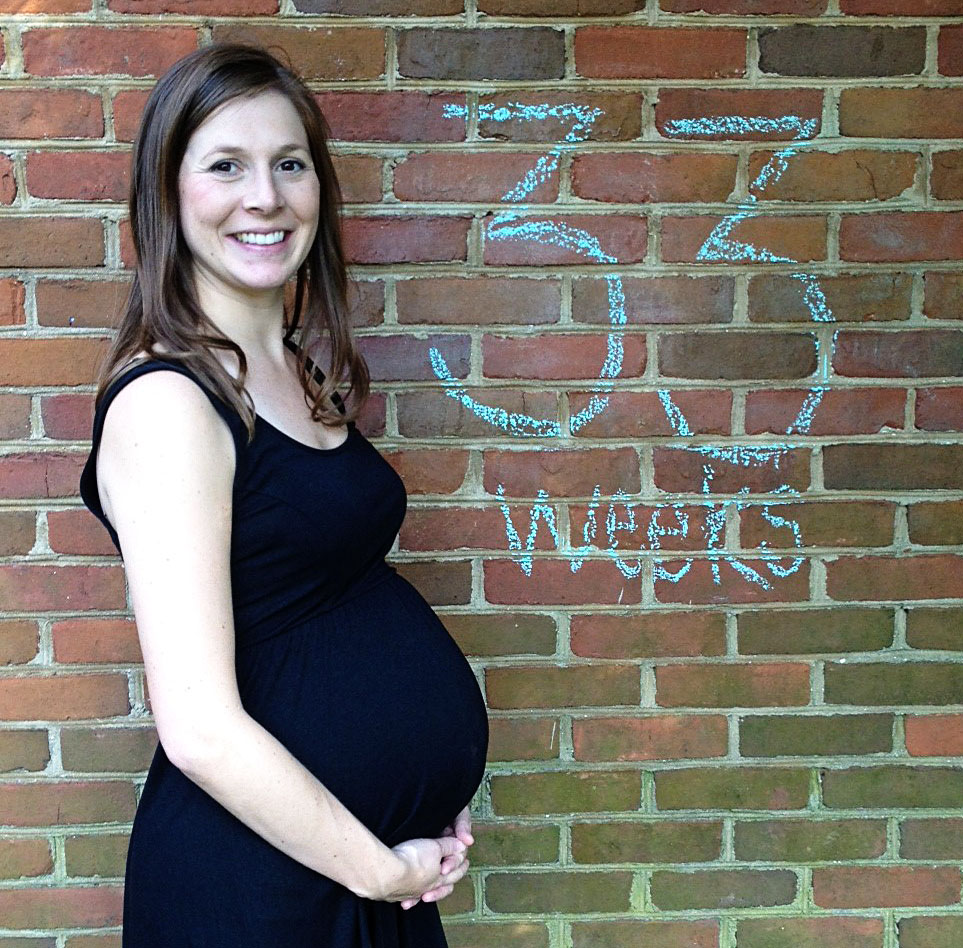
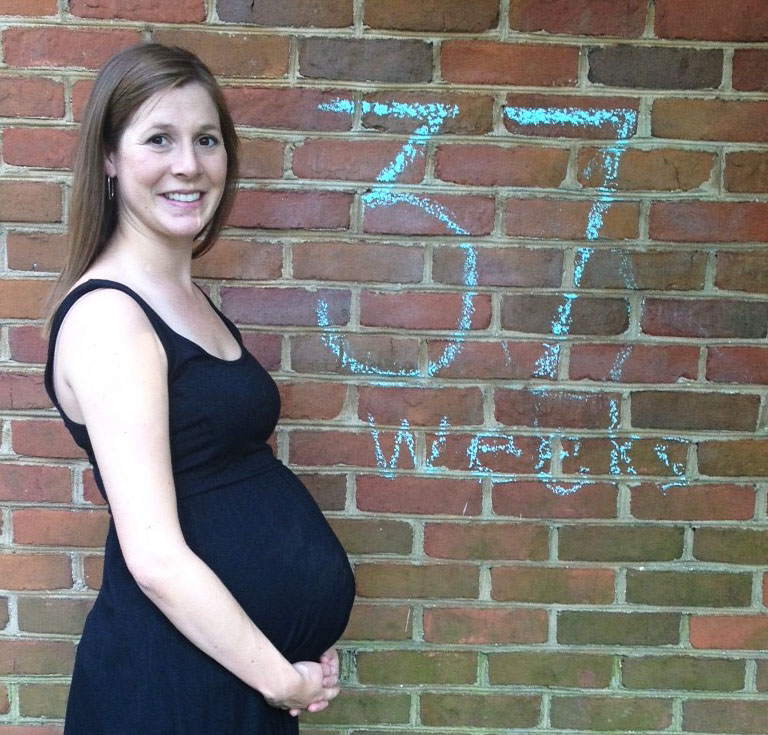
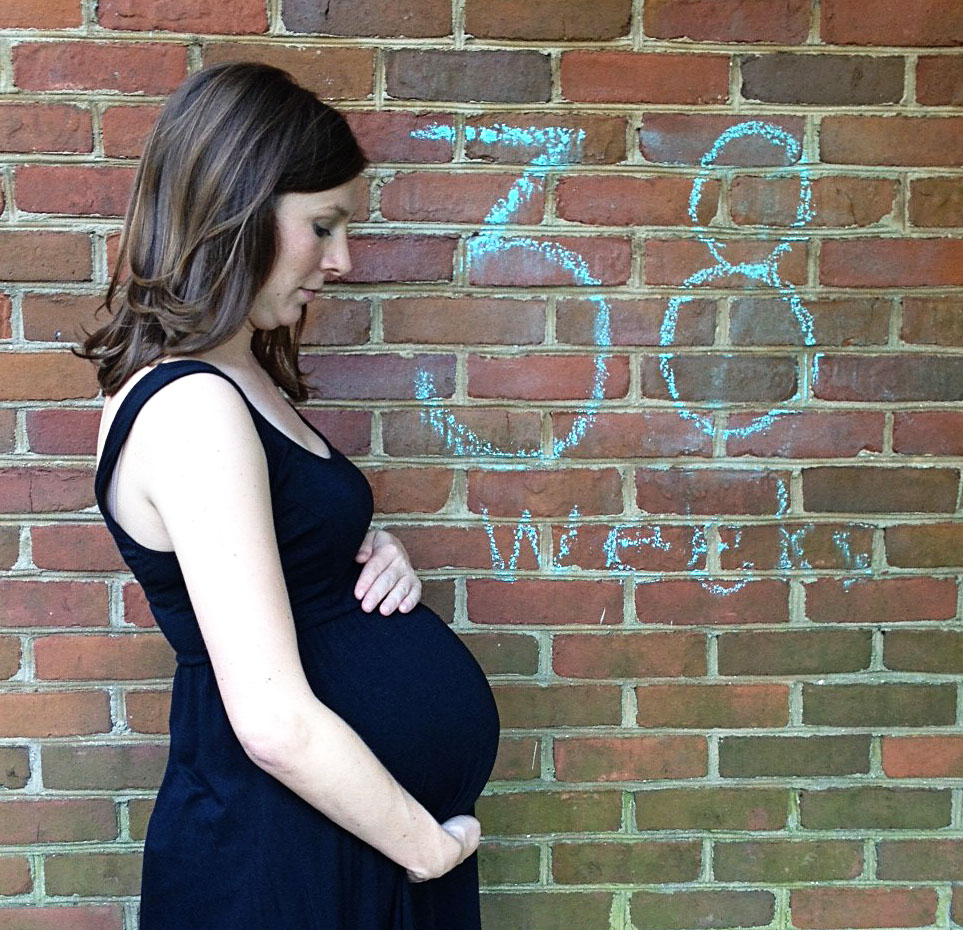
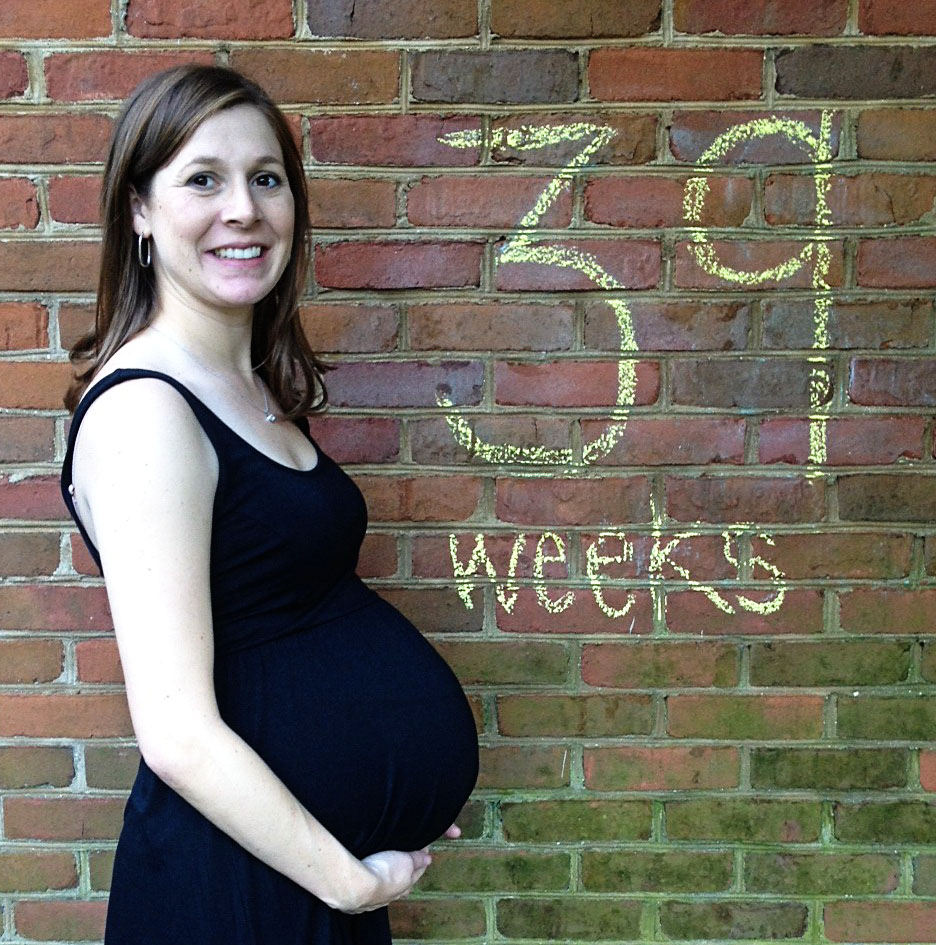
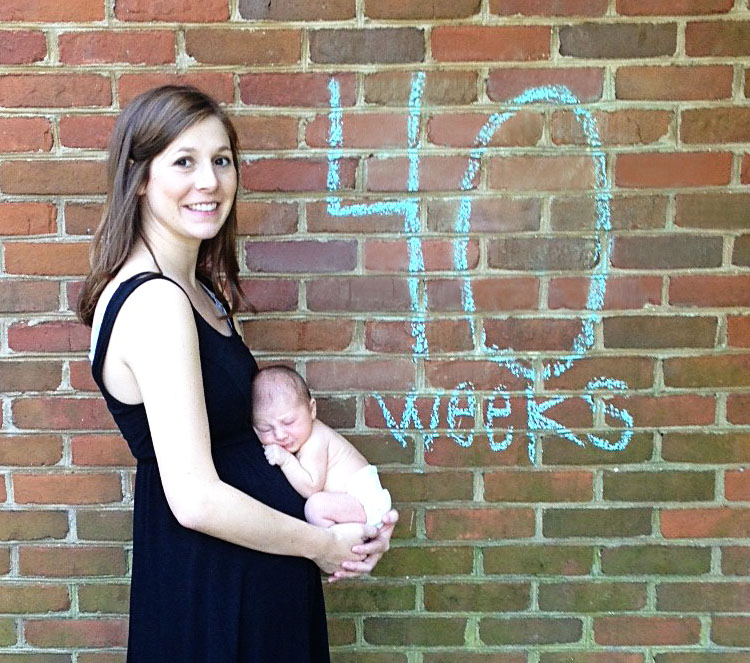
  • I am still completely and utterly amazed that this little person came from my body.  I mean, in less than a year, my body went from this... ...to this... ...and now we have this!  (For this picture to be more accurate, I should have held her upside down!)
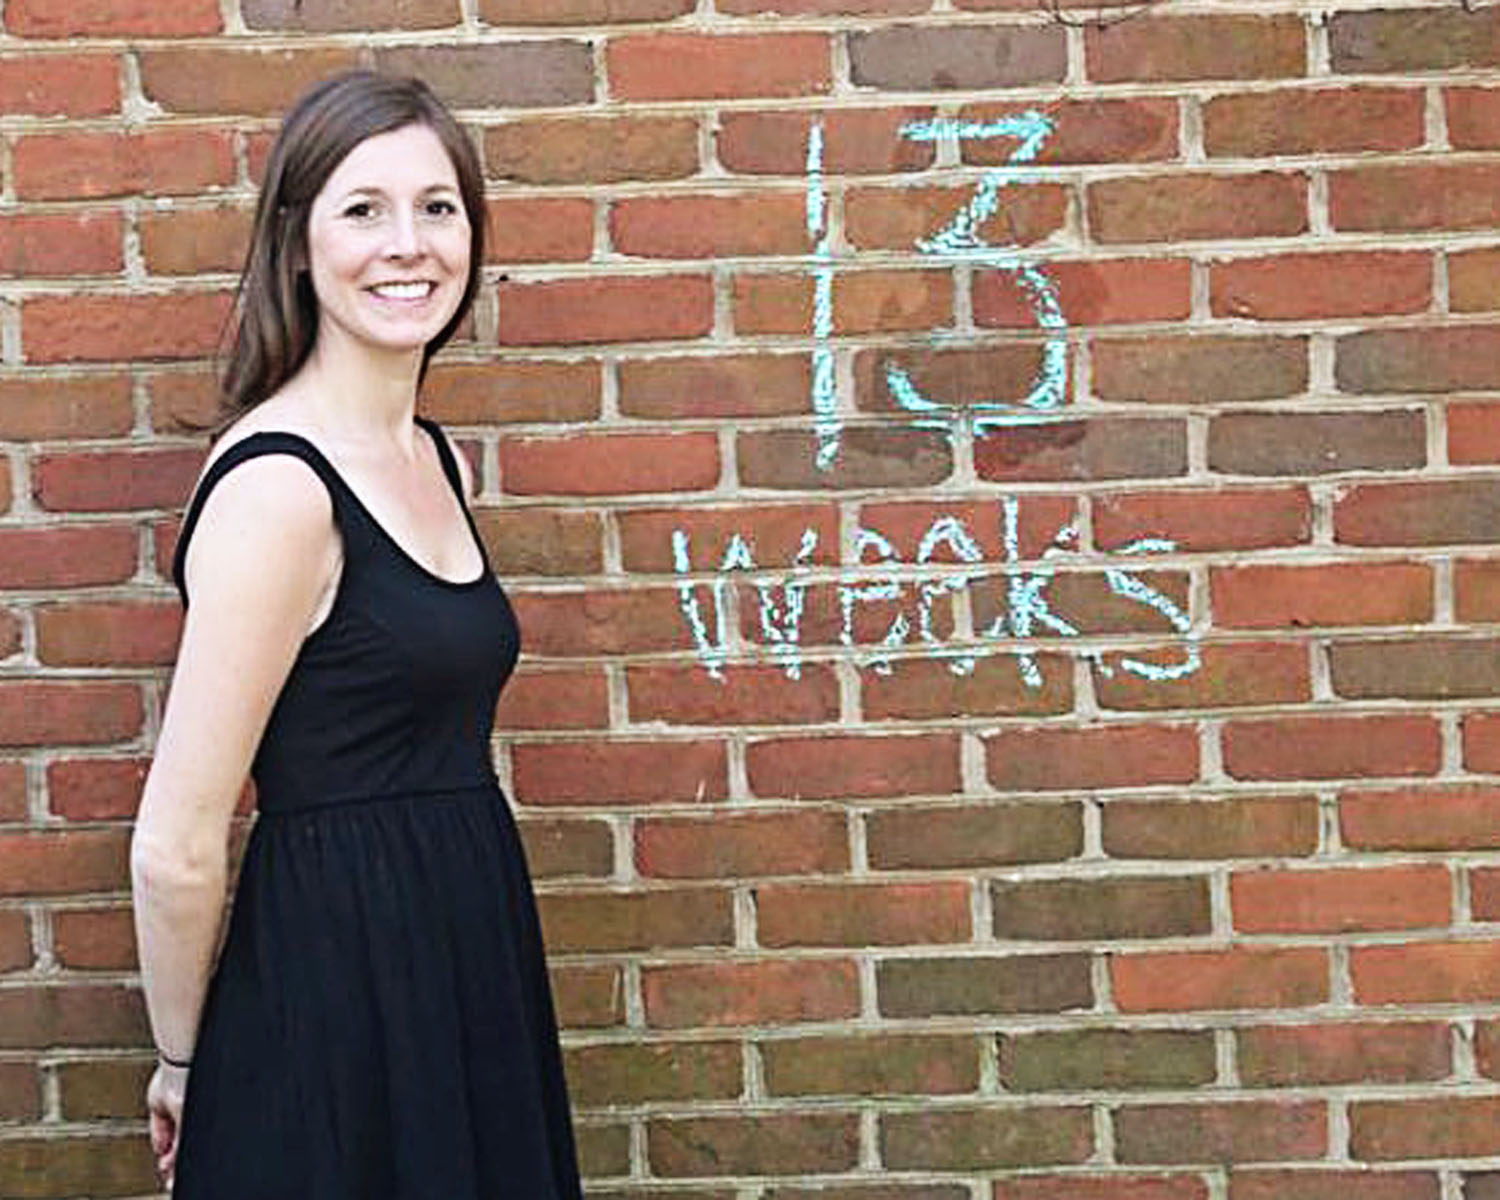
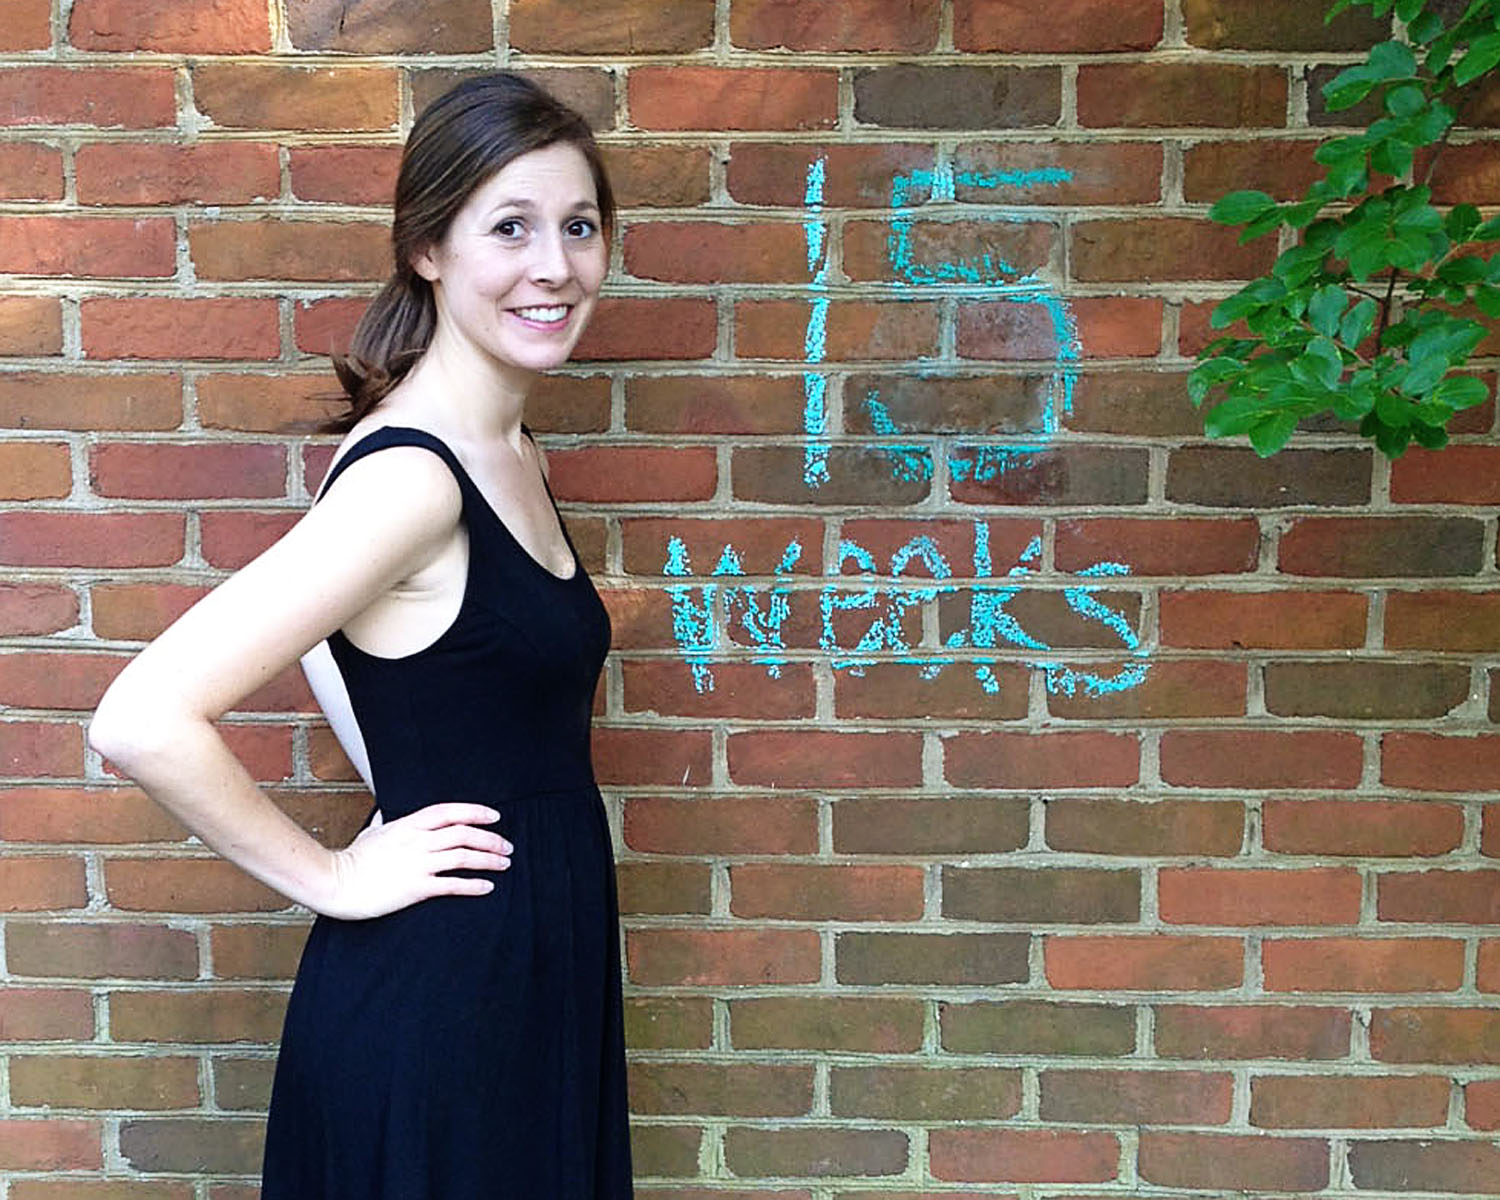
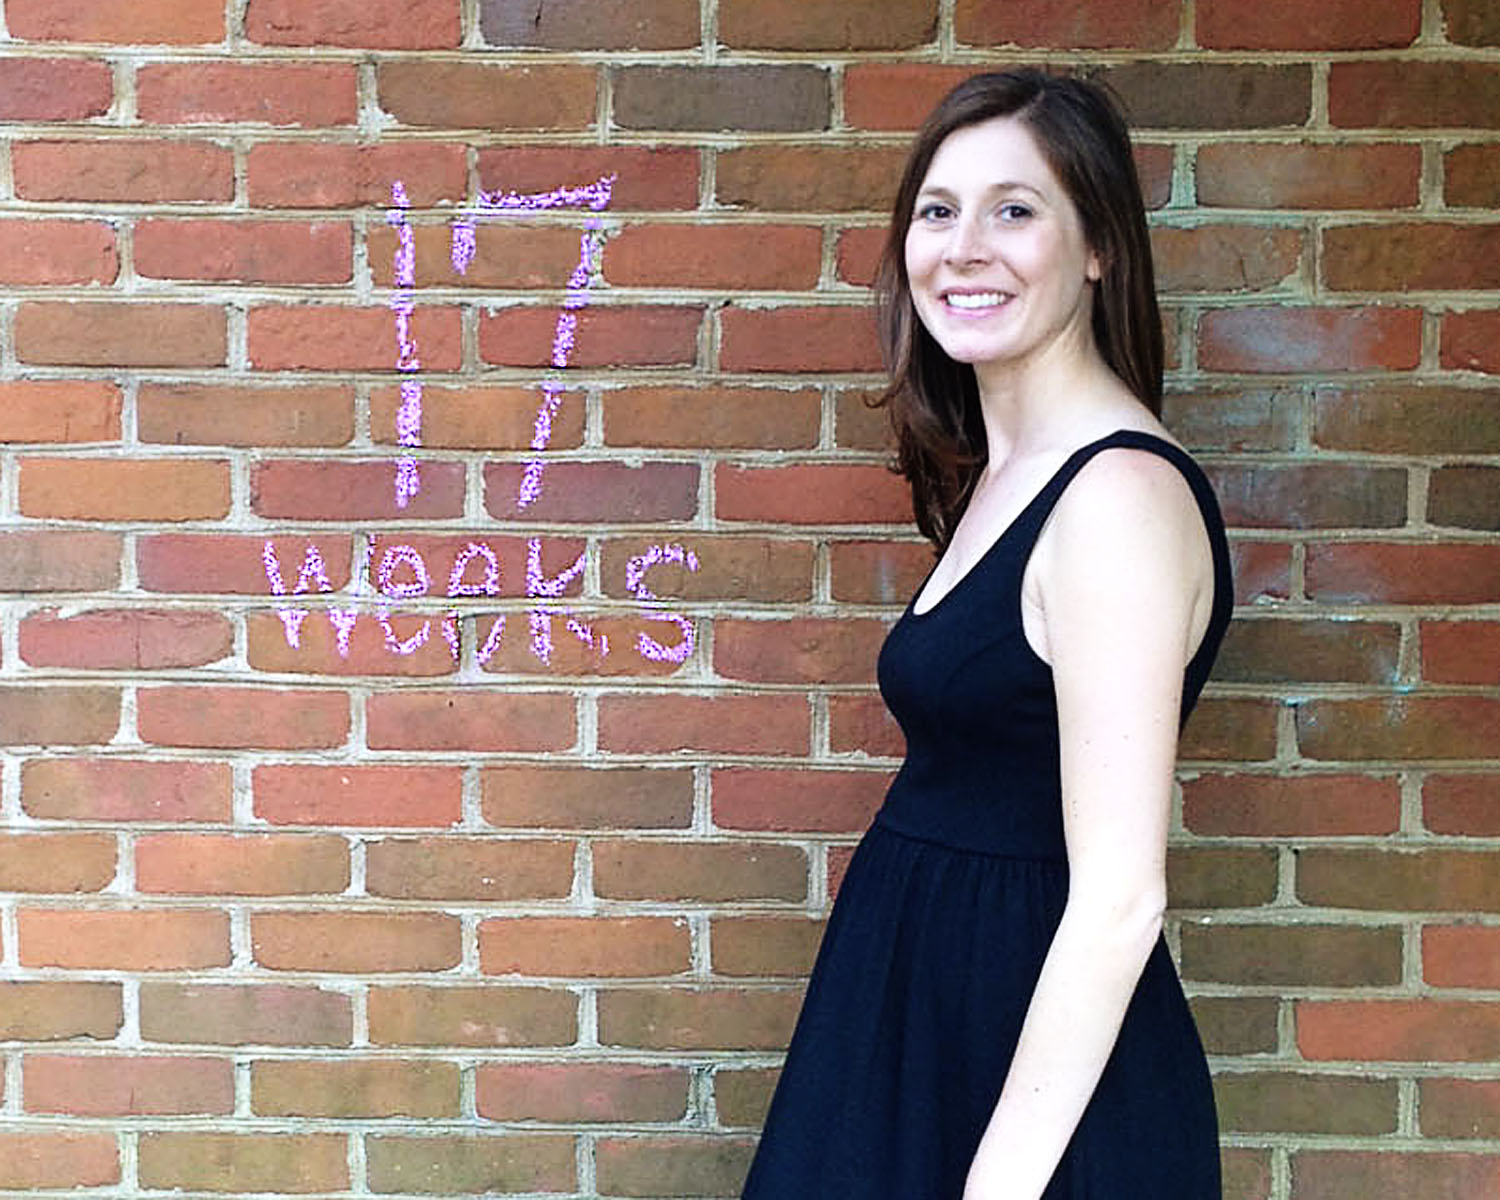
  • I tried hard to take a picture every week, starting at 12 weeks, but I did miss quite a few.  The biggest gap occured when we were packing up and moving.  I just couldn't find time to take my picture!  At any rate, here are all the pics I ended up getting.  (If I was any good at Photoshop, I'd figure out a way to make these look better.  Also?  They were a pain in the rear to take each week.  That's why I've decided to do monthly photos of Katie Wynn for the first year instead of weekly ones.)                          
  • As for how I've felt since coming home, the episiotomy has been a bear to deal with.  I think I was actually more handicapped after delivery than I was when I was a miserable nine-months pregnant.  I knew I would be sore at the hospital, but I had no idea all the pain would come home with me and would last for so long!! Transitioning from sitting to standing and vice versa was pretty much enough to make me cry.  And once I was seated, there was definitely no "scooching" over to make room for someone else beside me.  Bending down was hard too, so if I dropped something I just considered it gone until someone could help me.  Thank goodness for sitz baths!!
  • As if the episiotomy wasn't enough, week two brought on a yeast infection.  Lovely.  Kick me while I'm down, whydontcha.  Thankfully, at two and half weeks post partum, both are almost completely healed/gone and I'm starting to feel like my old self again!
  • I wonder why they don't show you the mesh underwear and life-raft-sized pads you get to wear in any birth/childcare classes.  I was seriously unprepared for the lengthy routine that was required every time I needed to use the restroom.  I'm so thankful my husband was willing to be helpful instead of running in the opposite direction.
  • Breastfeeding was awful the first few days.  She either had zero interest in it or couldn't get latched on correctly (and even when I thought she was latched on, it probably wasn't right).  She lost 14 ounces before her first doctor's visit.  I was in tears and near wit's end when my friend Emily introduced me to the Nipple Shield.  This was such a game changer for us!! I don't know why I had never heard about this magical device before...seriously, why didn't it ever come up in class or with my lactation consultant?  KW took to the Nipple Shield immediately and we haven't had a bad feeding since I started using it.  First trip to Target I made sure to stock up on more!
  • My friend Emily also let me borrow her Medela pump (I bought new tubing and pumps).  I started using it last Friday and I'm pretty much in love with it!  Well, not in love.  It's hard to be in love with a process that requires you to constantly think about your boobs and strip down every three hours, but compared to straight-up nursing, I think this is much better!  I know that's just my opinion and some women really prefer to nurse, but for me, there was nothing "natural" feeling about nursing.  The only thing I felt was my soaking wet shirt.  And my soaking wet baby that constantly smelled like breastmilk.  So currently I'm pumping all day and feeding her from bottles and only nursing her during our two nighttime feedings.  It's amazing how much cleaner and free-er I feel!
  • Yesterday was our two-week checkup and I was thrilled to see that we are back up above birth weight...aww, yeah!!! She weighed 7 lb, 5 oz when she was born and dropped to 6 lb, 7 oz at her first appointment.  We had a weigh-in four days later to make sure she had stabilized and she had put on 8 of the 14 lost ounces (thank you, Nipple Shield).  Yesterday she was up to 7 lb, 10 oz.  So proud of her! (And me!)
  • The umbilical cord is still hanging on.  Ugh.  Yesterday the nurse swabbed silver nitrate all over it, so it's started loosening up quite a bit.  Hopefully we are within days of saying bye-bye to that nasty thing.
  • The Miracle Blanket really is miraculous.  We've already purchased a second one so that we're never without it.  She sleeps so peacefully in it!
  • Speaking of sleep, we have been blessed with a baby who has been doing really well.  We've been going 4 hours between feedings at night and I have to wake her up when it's time to feed.  Since we're above birth weight now, the doctor gave us the go-ahead to let her sleep longer at night.  We're looking forward to some nice 5-6 hour stretches!  Let's hope Katie feels the same way...
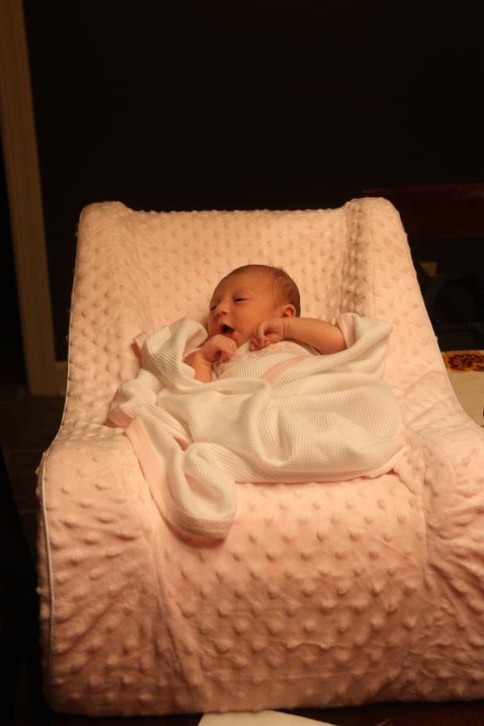
  • Speaking of sleep again, she spends her nights in the Nap Nanny.  This is something we received as a gift from our shower hostesses; I hadn't registered for it since we had the antique bassinet.  Oh my goodness, it has been such a life saver!  We tried putting KW down in the bassinet (in our room) our first night home and she wanted nothing to do with it.  I don't think she liked being completely horizontal.  In the middle of the night, we finally drug the Nap Nanny into our room and she went right to sleep in it.  We haven't even tried to put her back in the bassinet since....if it's not broke, don't fix it, right?
  • Did you know that little girls can send their tee-tee flying just like little boys can?  I learned that the hard way.  Twice.
  • Doc says we are going to be "diaper snobs" and only use Pampers.  I kinda agree, they're pretty good diapers!  And it's awfully handy to have that yellow line that turns blue when the diaper's wet.
  • My girl can burp like a champ.  I'm not sure if I should feel proud or not.
  • Johnson's baby lotion is my weakness.  When she's lathered up in it after her bath, she can do no wrong.  She could probably pee all over me and I wouldn't care...it makes her smell so delicious!

I'm sure there's more to say and remember, but since this has been hanging out in my draft folder for a while already, I'm going to go ahead and hit publish.  Hopefully I'll have another post - with pictures - for you soon!