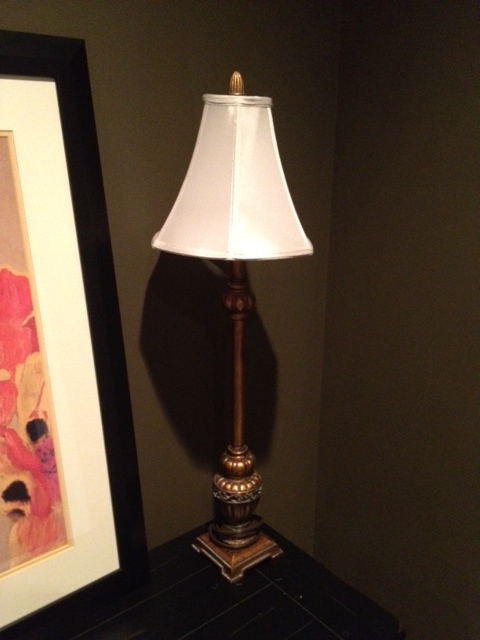
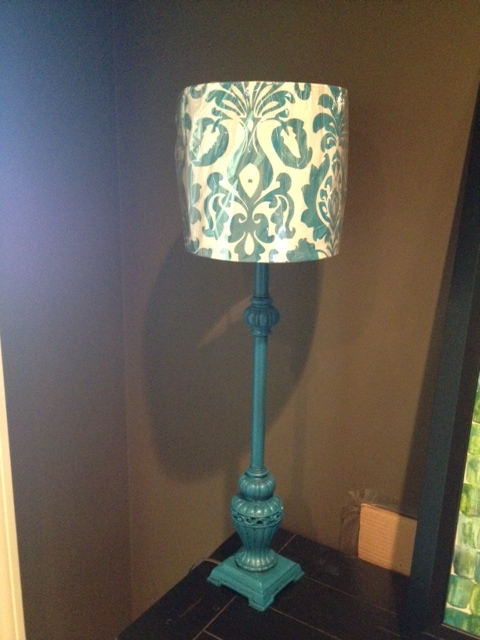
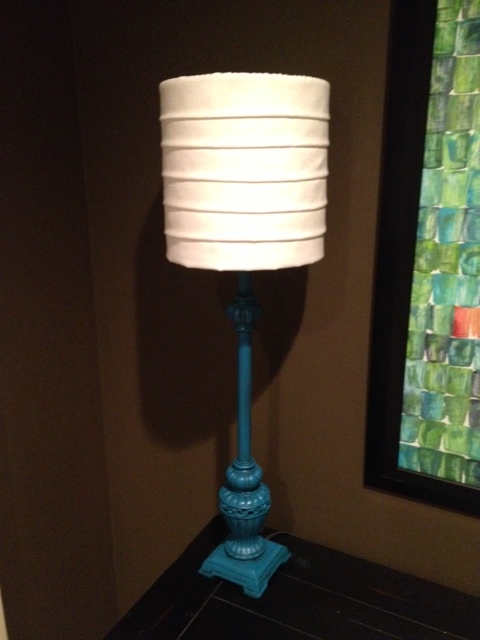
To go with the piece of art that I showed you yesterday, I had two buffet lamps from our old house. The lamps were in good condition, they were just a little too...gold. And formal-ish looking. I was trying to make this space bright and fun and colorful, and obviously these lamps did not fit the bill. So a little revamp was necessary. Here's how the lamps (purchased from Kirkland's years ago) looked in their original state.
I was kinda thinking turquoise for the base of the lamps, so one day while at Home Depot, I picked up a can of spray paint in "Lagoon." It sat on the shelf next to the lamps for a week or so because I was too lazy to actually go outside and paint them. One Saturday, Doc wasn't feeling well and spent the day laying around the house taking it easy. Finally, around 7:00 that night, he got up and said "Ok, I'm bored and restless. Do you have a project or something I can work on?" And that's how he ended up in the backyard spraypainting two lamps turquoise. In his underwear. He probably won't ask me for any projects again.
I don't have pictures but the bases of the lamps - after taping off the cords and the tops where the lightbulb goes - each got a coat of spray primer and then two coats of Lagoon. They seemed a little too bright to me after that so I also wiped on a quick coat of chocolate brown glaze (and then wiped it off so it only stayed in all the grooves).
Besides changing the color of the base, I also wanted to change the lampshades to something a little less fancy and a little less gold. I picked up two solid white shades from Target and thought they'd be perfect.
When I plopped the new shade on top, my initial thought was that they didn't look long enough, but I was just going to let it go for the time being. That is, until Doc walked by and said "The lampshades look too small." Crap. If he noticed, then they must really be too small! So I kept my eyes open for better fitting shades.
One day while at Garden Ridge, I found the perfect-sized lampshade. Surprisingly enough, the turquoise color of the design was also a perfect match. Only problem? I really didn't want a shade that was patterned like that.
These shades were super cheap so I bought them anyway and devised a plan to make them work. I wanted them to be solid white and planned to cover them with some fabric we (my mom) already had.
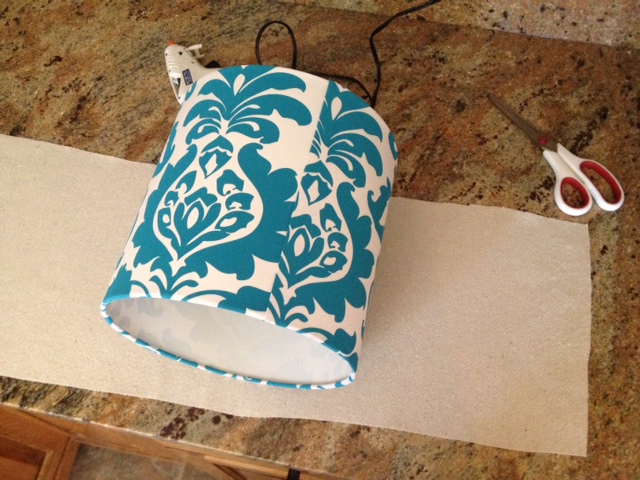
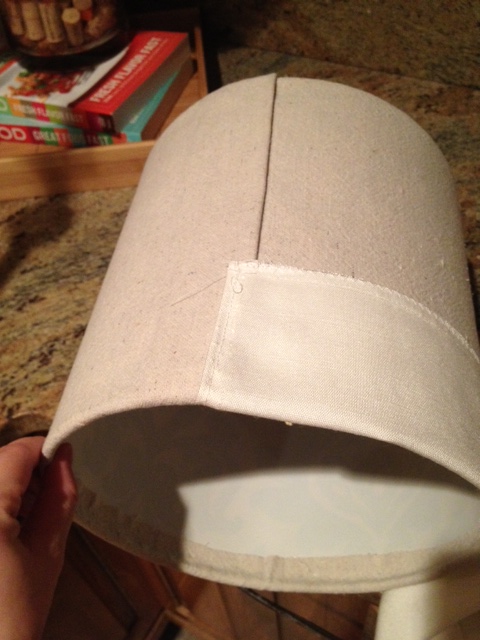
First, though, I completely covered the shades with some scrap material from a drop cloth I already had. I cut two strips (one for each shade) slightly wider than the height of the shade. I didn't even bother making my cuts very straight.
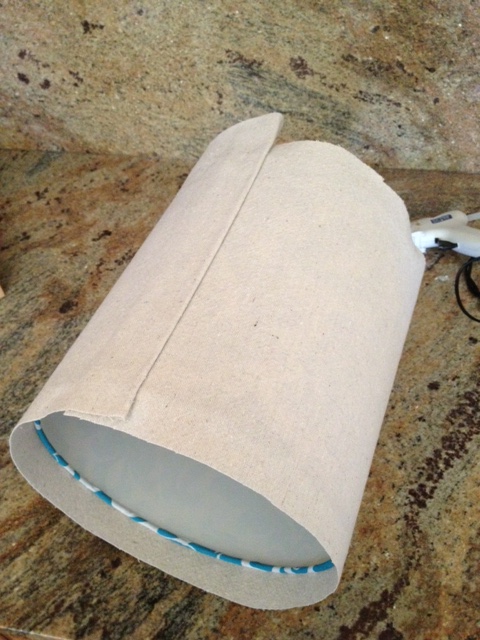
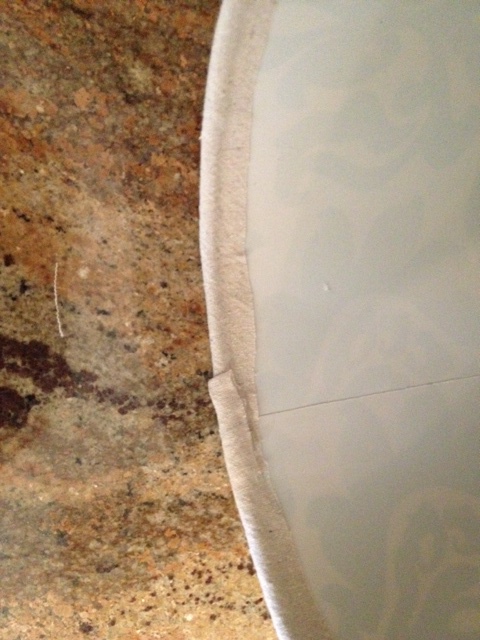
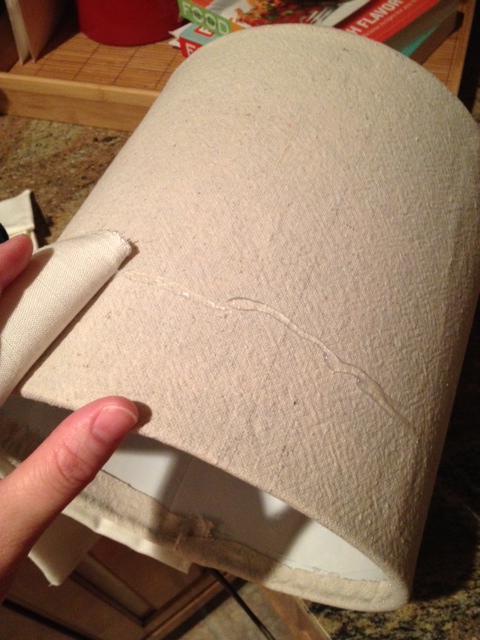
I used my hot glue gun to secure the drop cloth fabric around the shade. I folded the last edge under so the back seam would look cleaner.
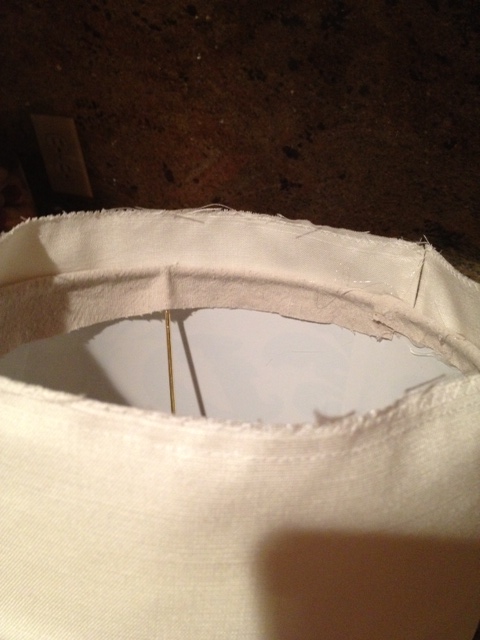
Next, I folded the edges up inside the shade and used more hot glue to hold them in place.
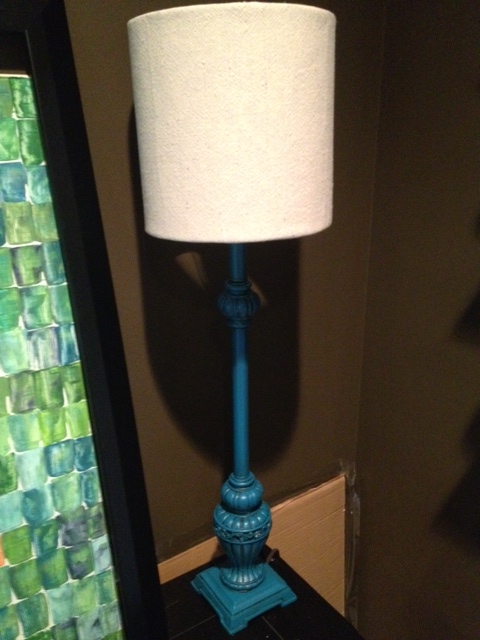
I plopped the freshly covered shade back onto the lamp to see how it was looking. It really wasn't bad like this...
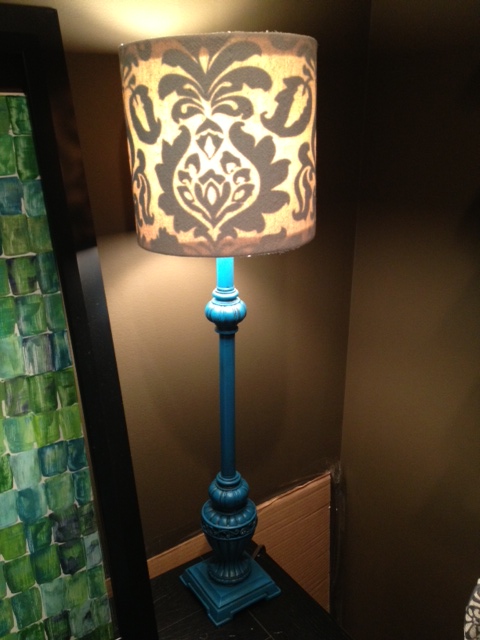
...until I turned on the lamp and the pattern showed through.
I wasn't too concerned because I was already planning on another layer of fabric anyway. So I moved forward with my plan.
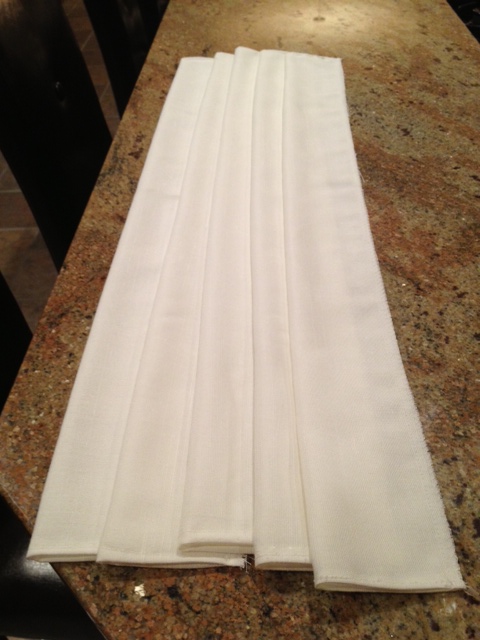
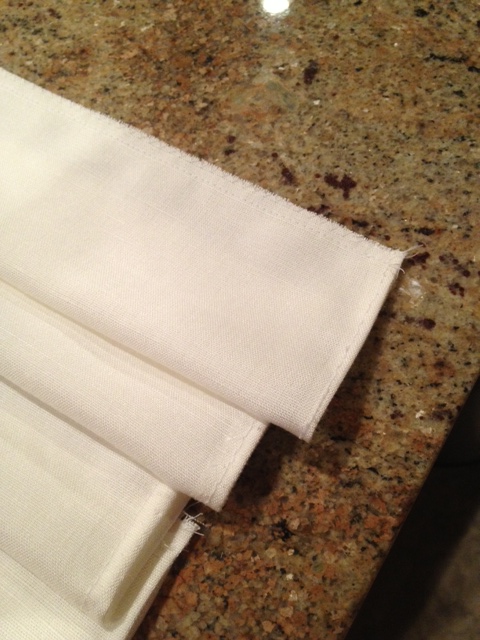
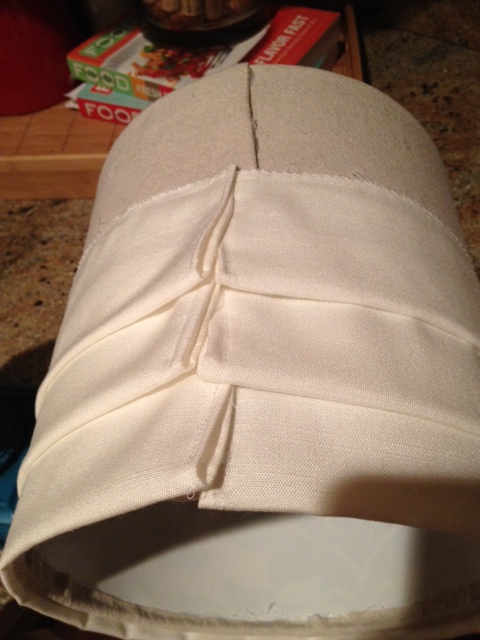
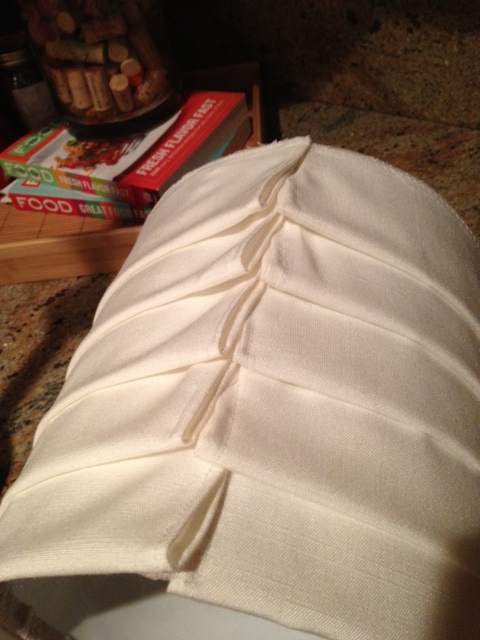
I wanted to add the next layer of fabric in strips made to look kinda like pleats (maybe?). Using a textured white fabric, I my mom cut six wide strips for each shade and then folded them in half to make a bubbled edge on one side.
While I tended to the baby, she went the extra mile and hemmed the edges on the ends and quickly sewed the two raw edges together. If you're not a sewer, this could've been done with hot glue.
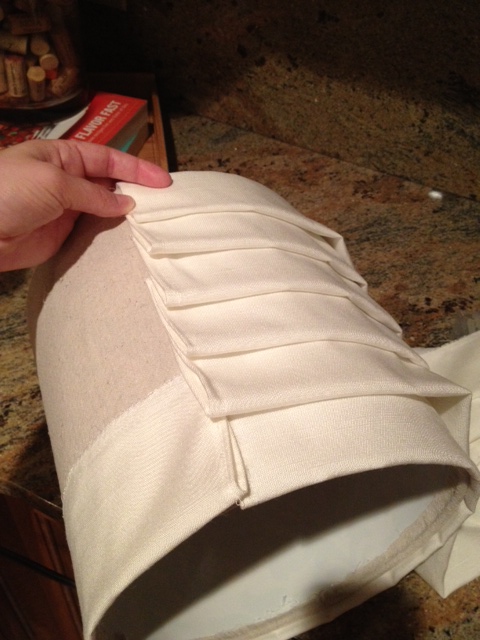
At this point, they were ready to add to the shade. I started with the bottom edge, placed it so that the bubbled edge barely hung off the bottom of the shade, and glued the top edge down with hot glue. I started in the back so that my seam would line up with the existing seam in the back.
Once that one was down, it was just a matter of repeating the process 5 more times. Before gluing the next one down, though, I figured out my spacing. I didn't measure, just eyeballed it.
As you can tell from the pic below, I didn't stress about my seams lining up perfectly. As long as they were all near the back, I was fine with it.
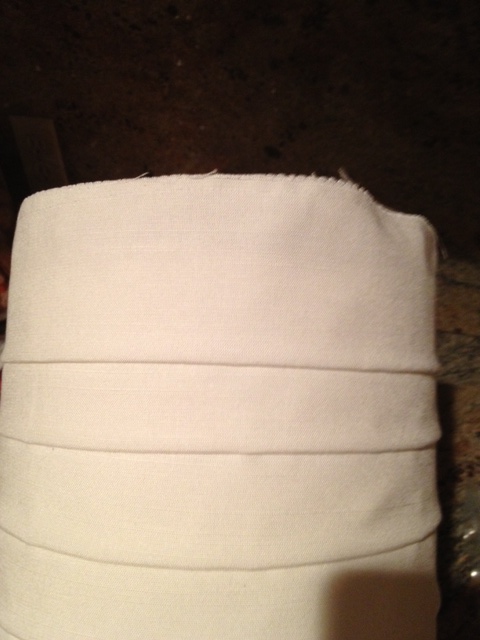
The second to last strip was glued right at the top edge of the shade.
That means to glue on the sixth and final strip, it had to hang off the top edge.
Just like with the drop cloth, I folded the top of the fabric over the edge of the shade and glued it down with hot glue. And with that, my shade was done! I plopped it back on top of the lamp base.
For a low-budget lamp revamp, I was pretty pleased with how it turned out!
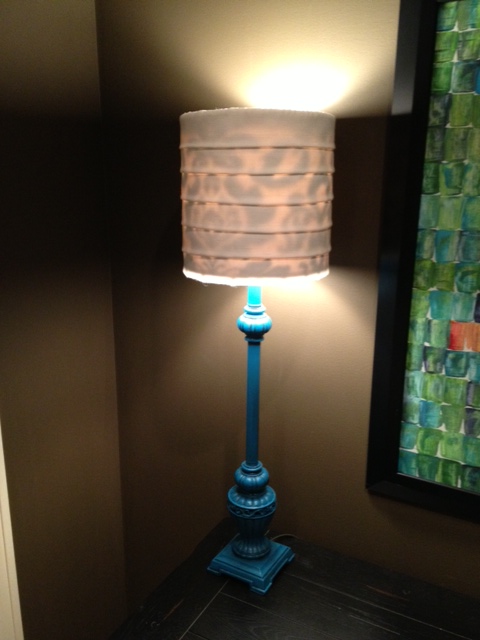
There was only one thing left to test. I held my breath and turned on the lamp...
Whomp, whomp. That darn pattern! In hindsight, I guess I should've sprayed the shade white before starting. Rats. Live and learn, I guess. They definitely aren't "forever" lamps, but I'm ok with them being "right now" lamps. We just won't be turning them on...

