We've officially lived in our new house for two months now and I still haven't even shown it to you! My apologies. I have big plans to show you pictures of each room - I want to photograph them in their current states so we'll have good "before" pictures. There's still so much to do in every single room! But, until I have all the pictures ready, let's talk about some quick and easy art I made... First things first: I cannot take credit at all for the genius idea of this type of art piece. I 100% copied the idea from Mrs. Katie Bower over at the Bower Power Blog. She did it first and posted her tutorial, and I pretty much followed it to a T. I even used the same colors she did, but then I added in some yellow and red for my own twist on things.
So, feel free to go to her blog and follow her instructions, or you can see mine here.
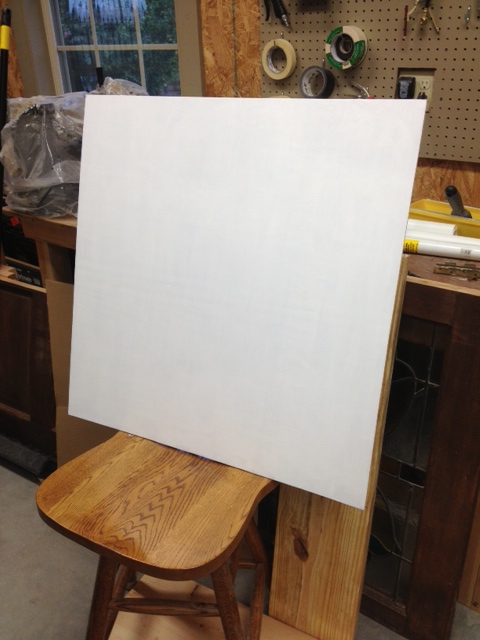
Katie used a canvas, but I didn't have one on hand and didn't want to go spend any money. Plus, I had a frame already that I wanted this art to go in, so I needed my art to fit it exactly. So instead of using a canvas, I cut a thin piece of plywood the size I needed. First step was to paint it solid white. Anna helped me with this part.
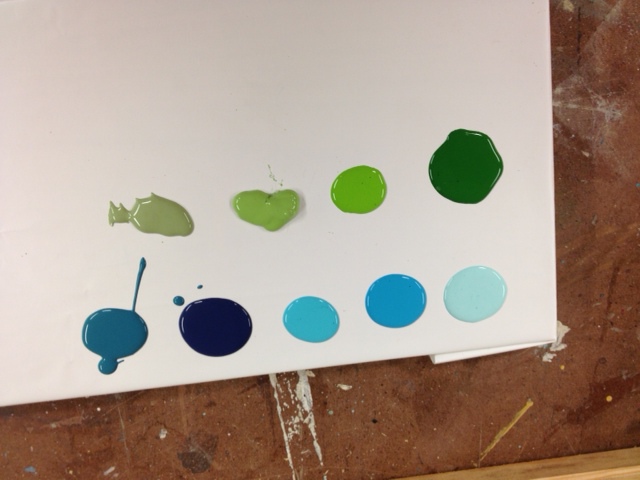
Then I squirted out the paint colors I wanted to use. I just grabbed several blues and greens in craft paints that I already owned. My main goal of this project was not to spend any money (and I succeeded!) so I didn't go buy any new colors. I made sure, though, that I had both light colors and dark colors so there'd be plenty of contrast.
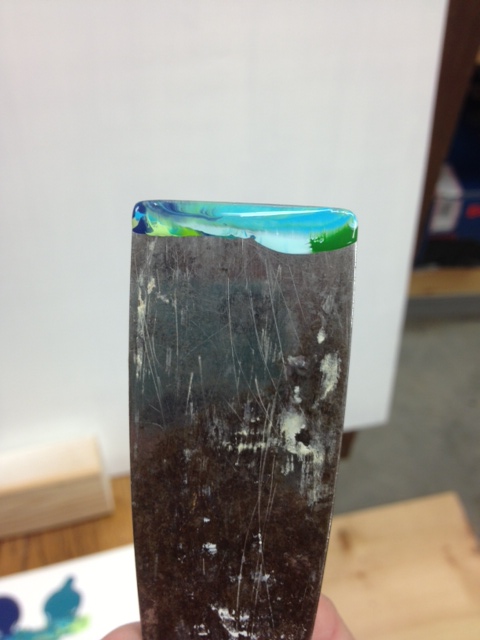
Like Katie, I didn't own a real painter's pallet knife, but I did have a putty knife that I use out in the shop all the time for wood putty-ing projects. I spent a minute scraping off dried wood putty and then it was ready to go! I dipped it into several different colors, making sure there was paint all the way across the top of the knife.
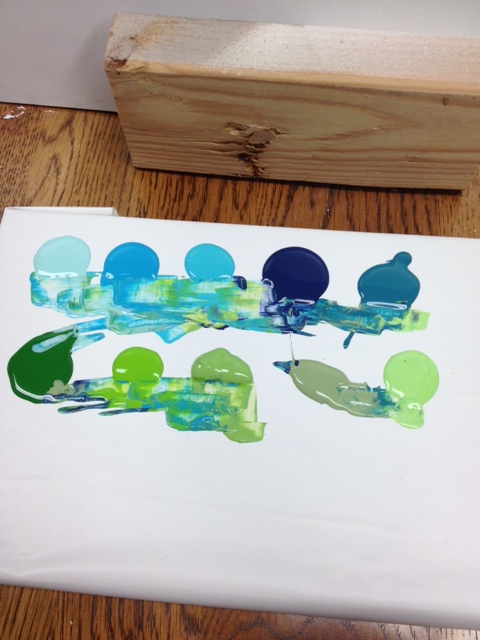
There was no rhyme or reason to which colors I chose, I just stuck it in whichever ones felt good. My paints started blending together like this.
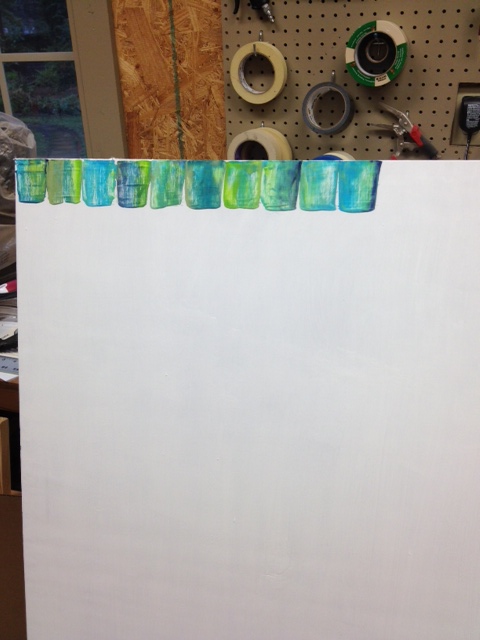
I started in the top left corner of my "canvas" and moved to the right. It took me a minute to get my groove. This is probably where a real canvas would probably be a little bit easier to work with, as it would give a little against the putty knife. On my wood surface, I was scraping a hard flat object against another hard flat object, so if there was a bump on the board or anything like that, I'd end up getting only a partial scrape, if that makes sense at all. I had to go over it a few times on occasion. Anyway, all I did was load the paint up on my putty knife, place it on the top of the board, and scrape it down my desired length. I did not draw a line to keep them straight; I just eyeballed it.
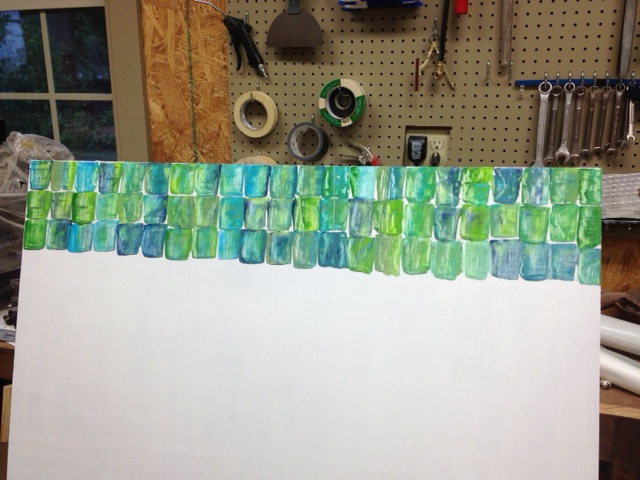
I really liked how the blues and greens were blending together. After finishing the top row all the way across, I just moved down and repeated the process right below it.
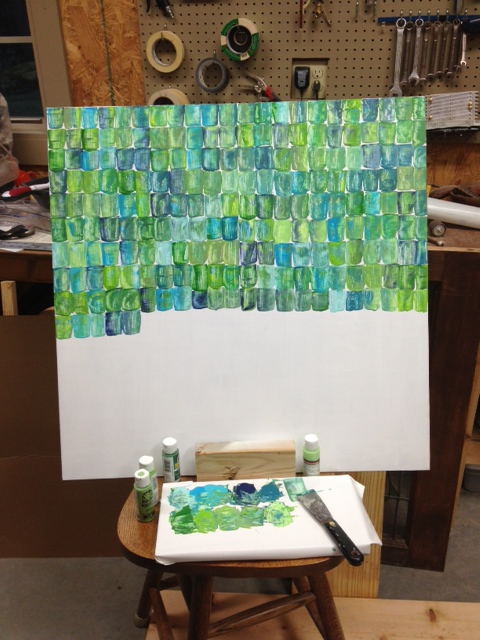
Once I had my groove, this moved really quickly! I filled up the majority of the board in no time, making sure to dip my knife into different paint color combinations each time. If I felt like things were getting too green, I dipped in blue for a while, and vice versa. Sometimes I would have enough paint on my knife to do two scrapes side by side that matched.
Now, here's where I deviated from Katie's tutorial a little and stopped taking step-by-step pictures. I knew where I was going to be hanging this piece of art and wanted it to tie in more colors than just blues and greens. I would be using a little bit of red in the area too, so I needed to work that in.
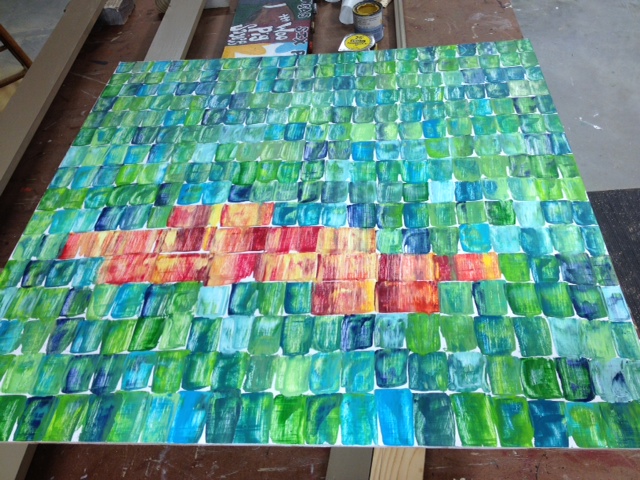
I squirted out several shades of red paint and also added in some yellows and oranges to have something to blend it with. Rather than cleaning off the putty knife I was using, I grabbed another one we had in the shop. This one was double the width of the first one (usually used for spackling) and one scrape with it would match the size of two scrapes of the smaller one. I used the exact same method of dipping it into multiple colors and then just scraping down my desired length. I worked these colors in in a random shape. I thought about doing a solid line or two of the red/yellow scrapes, but decided to keep it random.
When it was all done, my canvas looked like this.
Obviously, when I had the red and yellow area filled in the way I wanted it, I just picked back up with the smaller putty knife and the blues and greens and finished the rest of the canvas. Easy peasy! It took me about 30 minutes to get the whole thing done.
It looks great in the frame and hanging on the wall. I have two more projects to show you and then I'll reveal how they all came together in our little entry nook. Be back soon!

