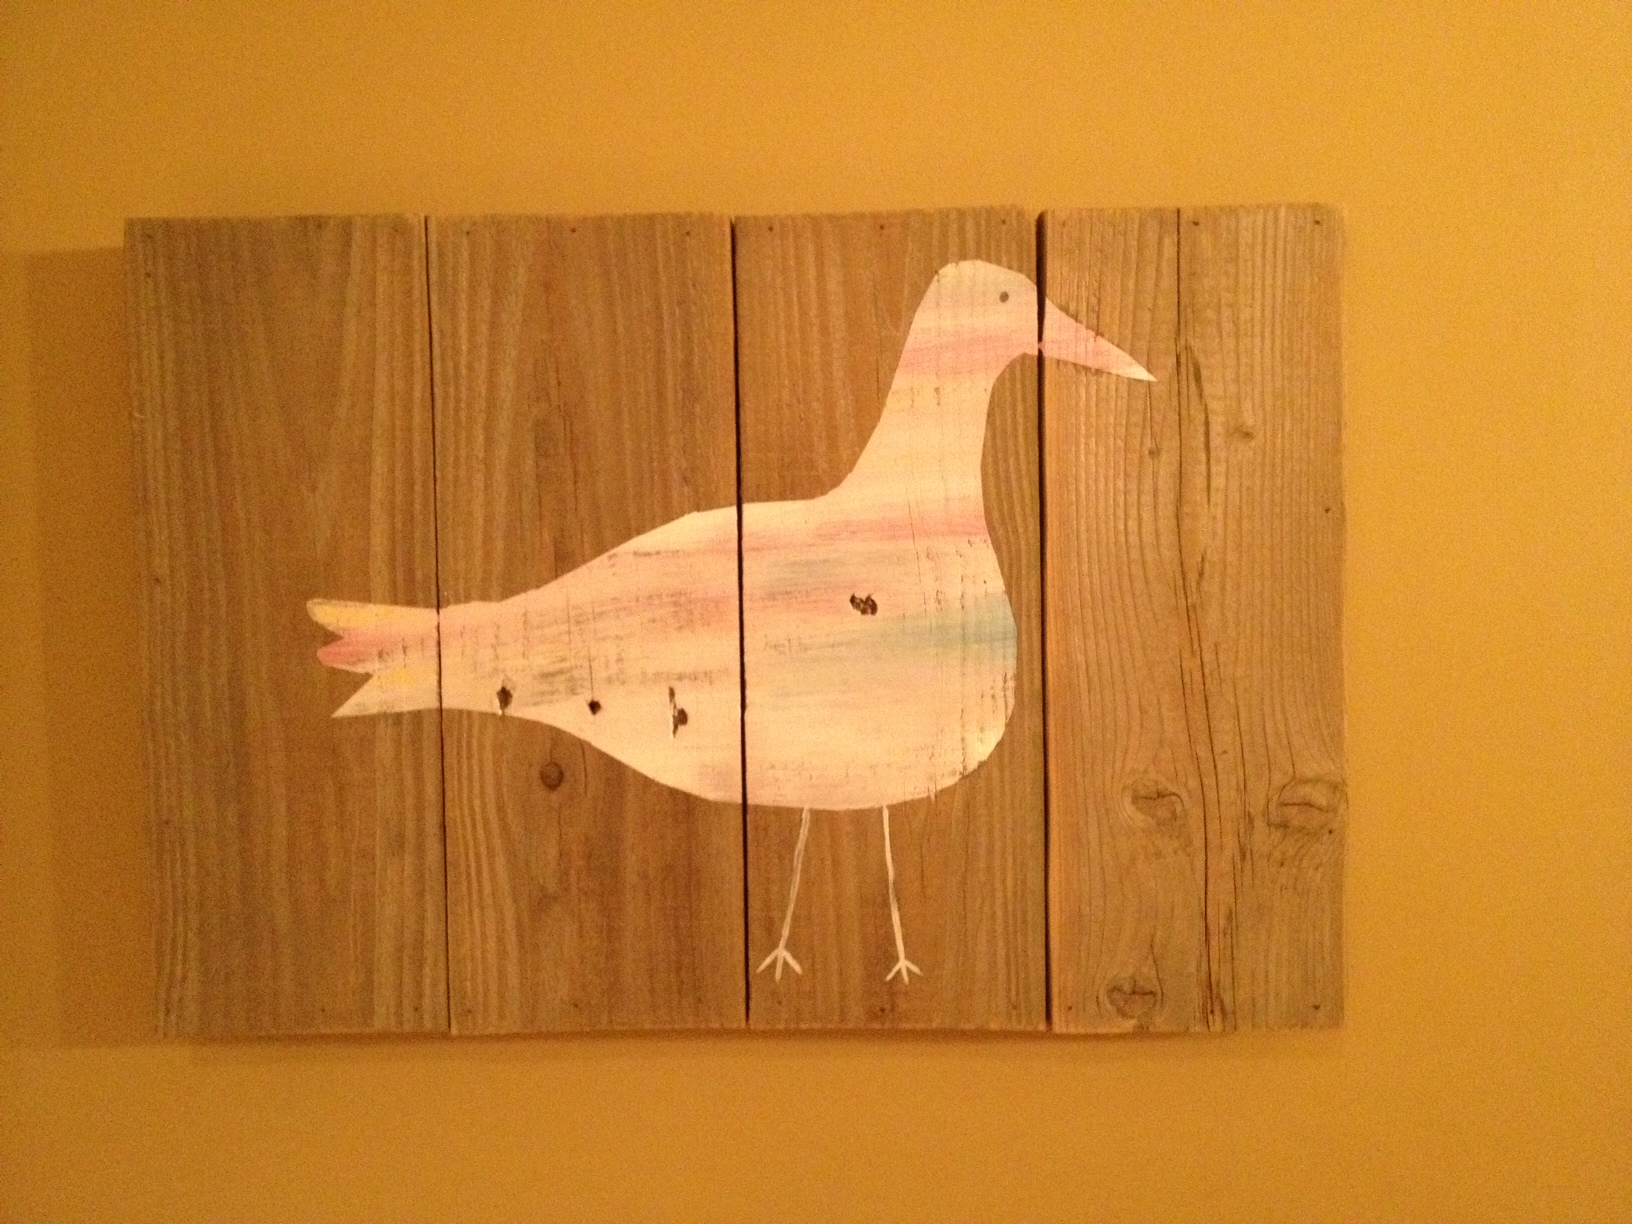
One Last Project

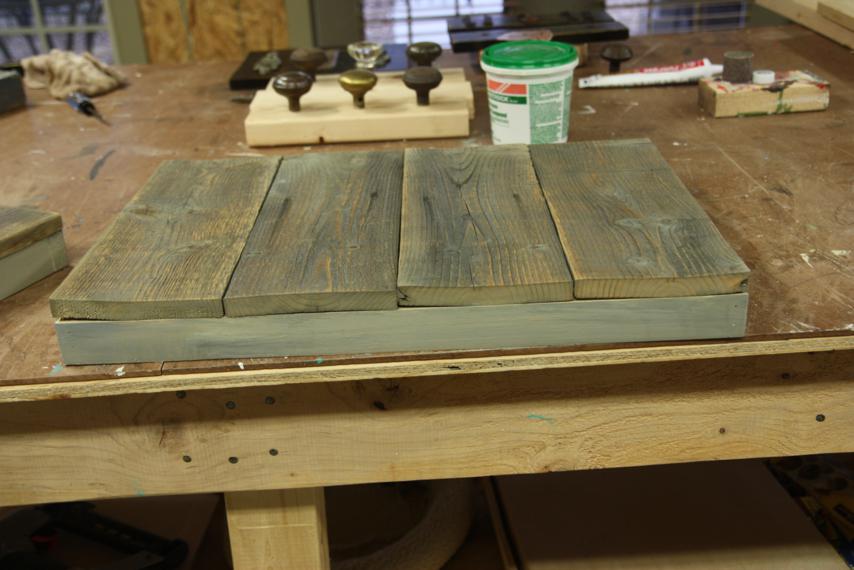
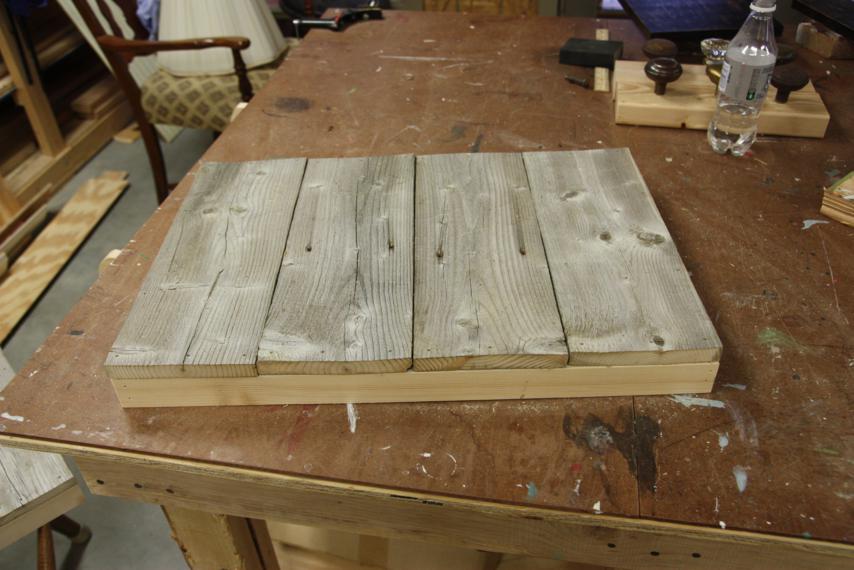
Ok, I have one last beach house project to share and then I promise I'll stop for a while.  With the projects, that is, not the beach house.  I have lots to share on that front!  But first, this project.  I meant to post this last week and just didn't get time to finish it.  Oopsy. Way back - maybe a couple months ago - I made two "canvases" using recycled fence slats.  The slats were from the same pile of old fence that we used to make the lemonade stand and the potting stand.  To make the canvases, I cut 4 slats to equal lengths and then framed them on the back with 1x2s.

I love the look of the naturally weathered slats, but obviously the fresh new wood frame wasn't working with it.  To try to blend it in, I smeared some grey paint on it, trying my best to match the color and look of the old wood.

After that, I also took some grey paint, majorly watered it down, and then washed it over the whole thing - the slats and the sides.  My thinking was that it'd help blend the two woods together a little.

So that was done, and that was the easy part.  Now I had to figure out what to paint on them.  Going into it, I had a good plan.  We had already purchased several buoys to use in the beach house, so I was going to paint some buoys on the canvases and make them real texure-y and colorful.  Problem was that every time I tried to draw the buoys, they just looked like flat squares.  I couldn't get them to look right, and definitely not 3D.  So I tabled the project for a while.

Last week, between cutting holes for grommets, I picked them back up to finish them.  I knew I wanted to keep the weathered look of the fence slats as the background, so I needed some kind of beachy object I could just paint in the center (that wouldn't require a background, so no beach scenes).  I also knew that I wanted the canvases to stay horizontal so that the individual slats were vertical, just in case these ended up getting hung on a wall with horizontal paneling.

The winning object was birds.  Ducks?  Sea gulls?  I don't really know what they are exactly, but they're bird-ish.

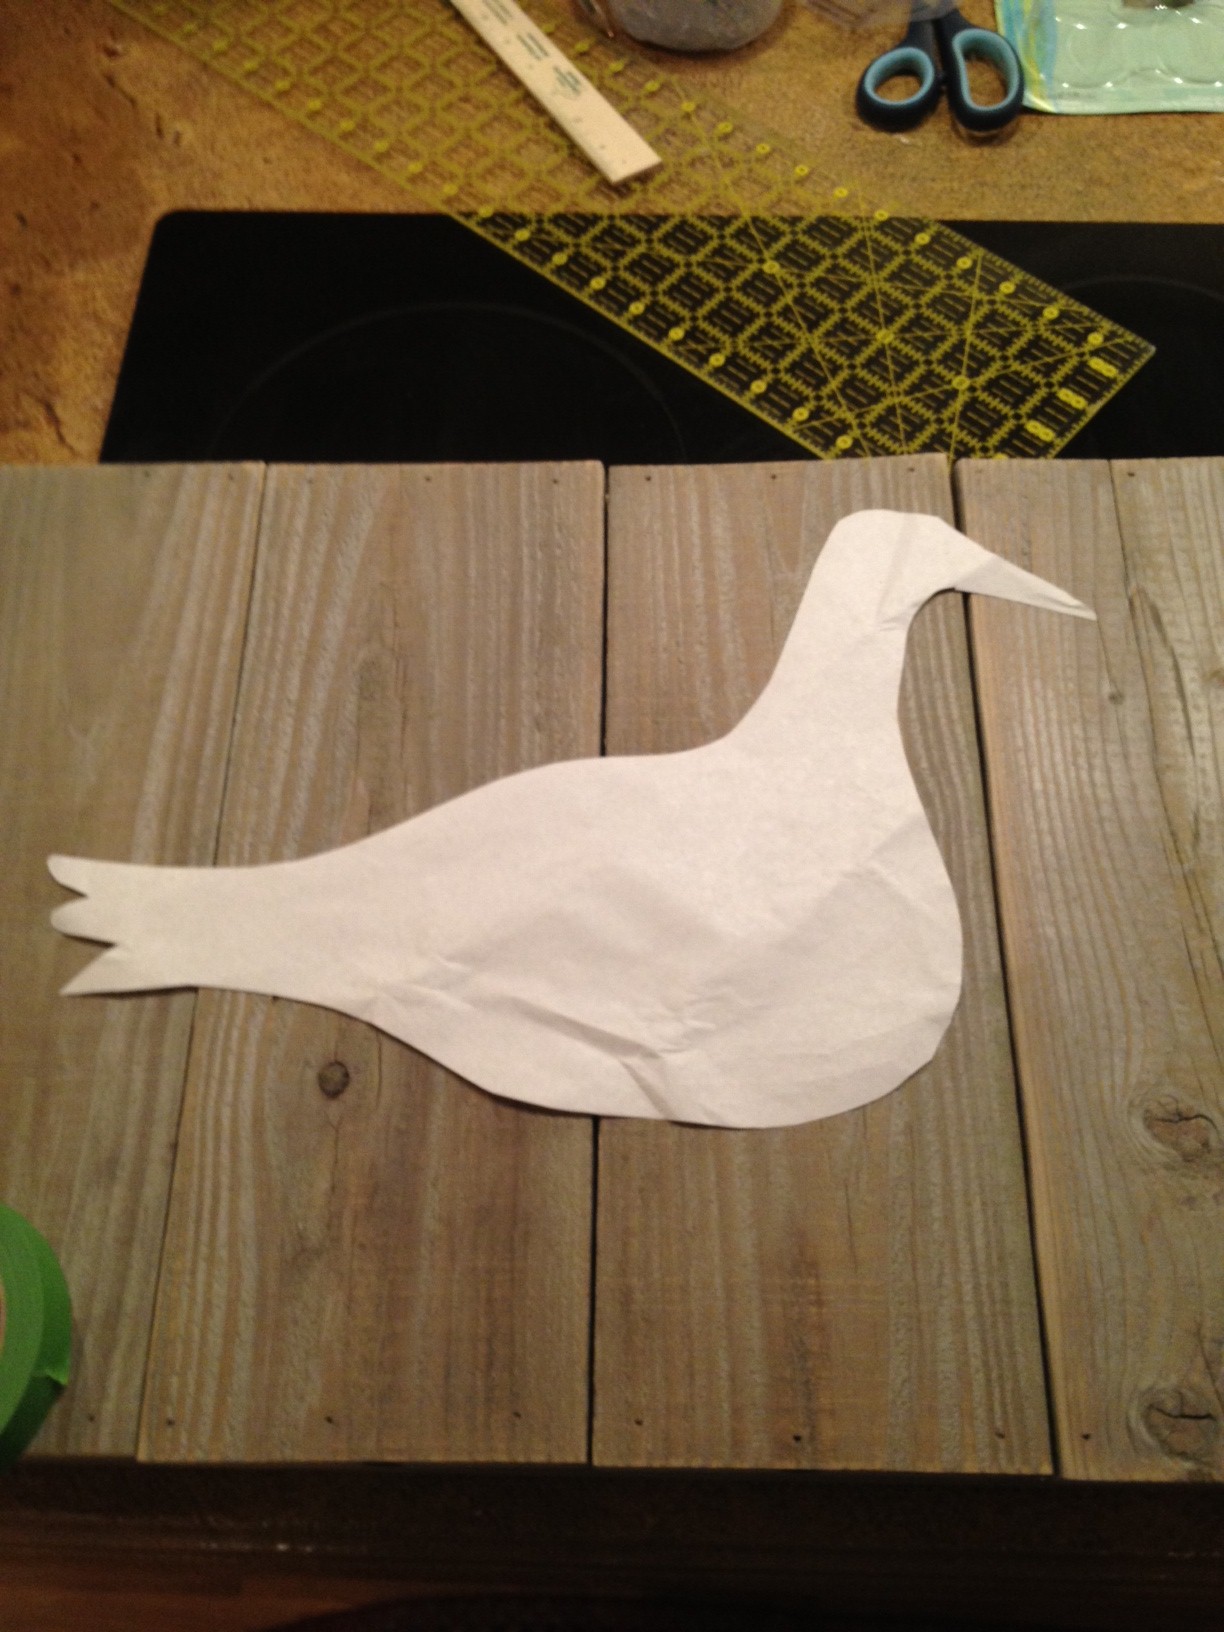
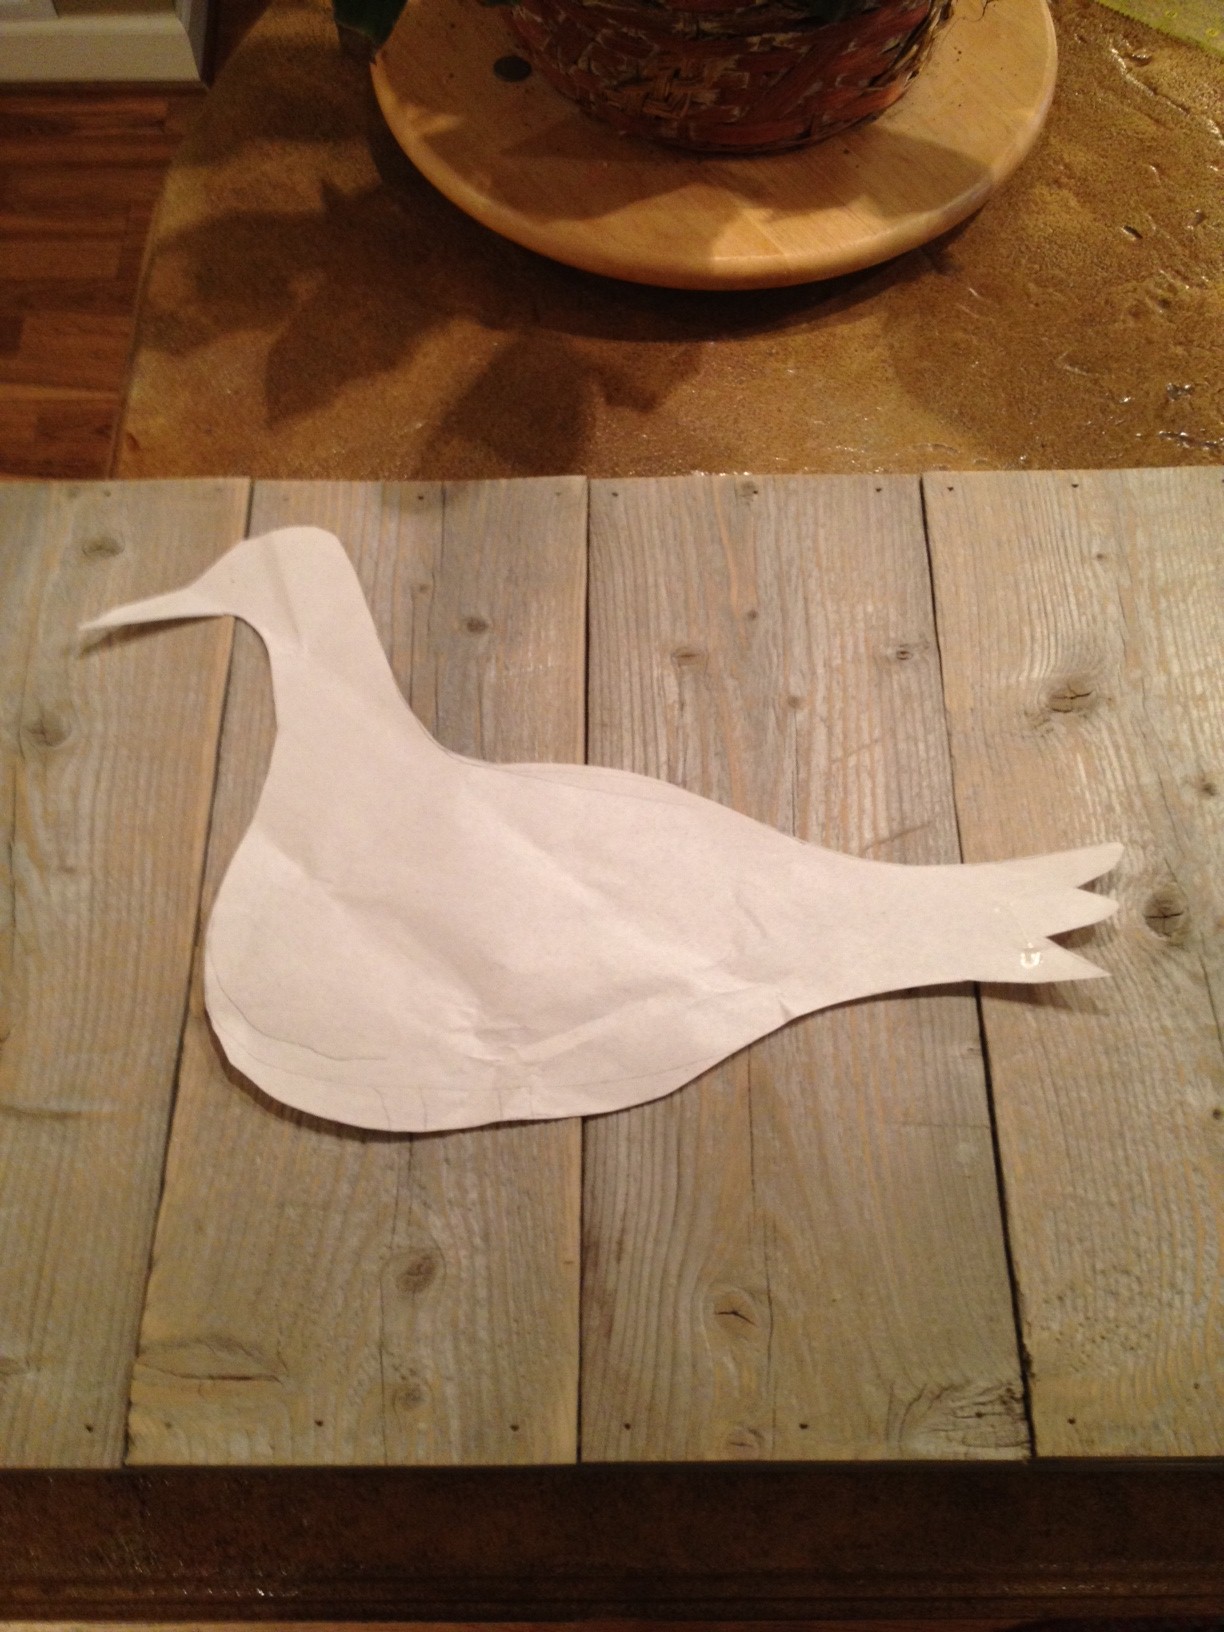
First I drew a stencil out of paper so that I could trace it onto the canvases.

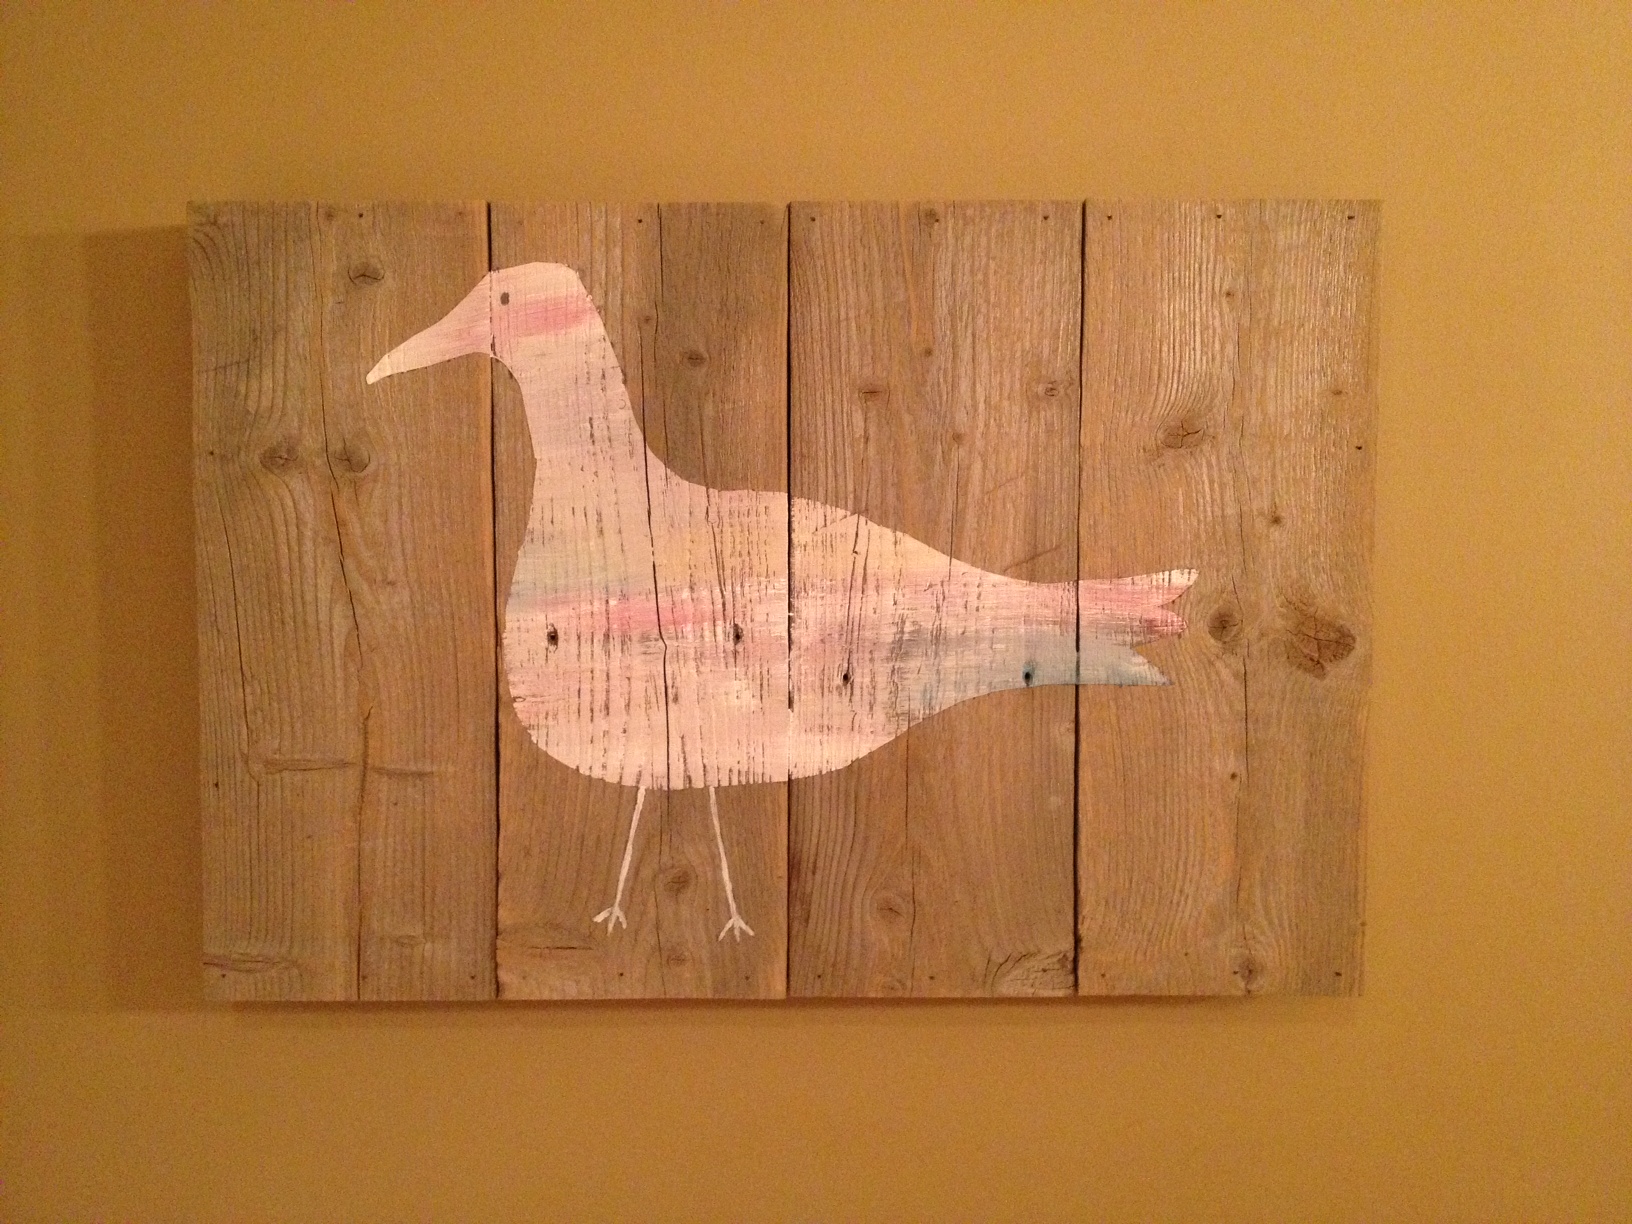
I wanted these two canvases to be so that they could hang together, or on either sides of something (window, piece of furniture) and still go together.  I toyed with doing one big bird on one canvas and two baby birds on the other, but ended up just going with the same bird on both but turned in opposite directions.

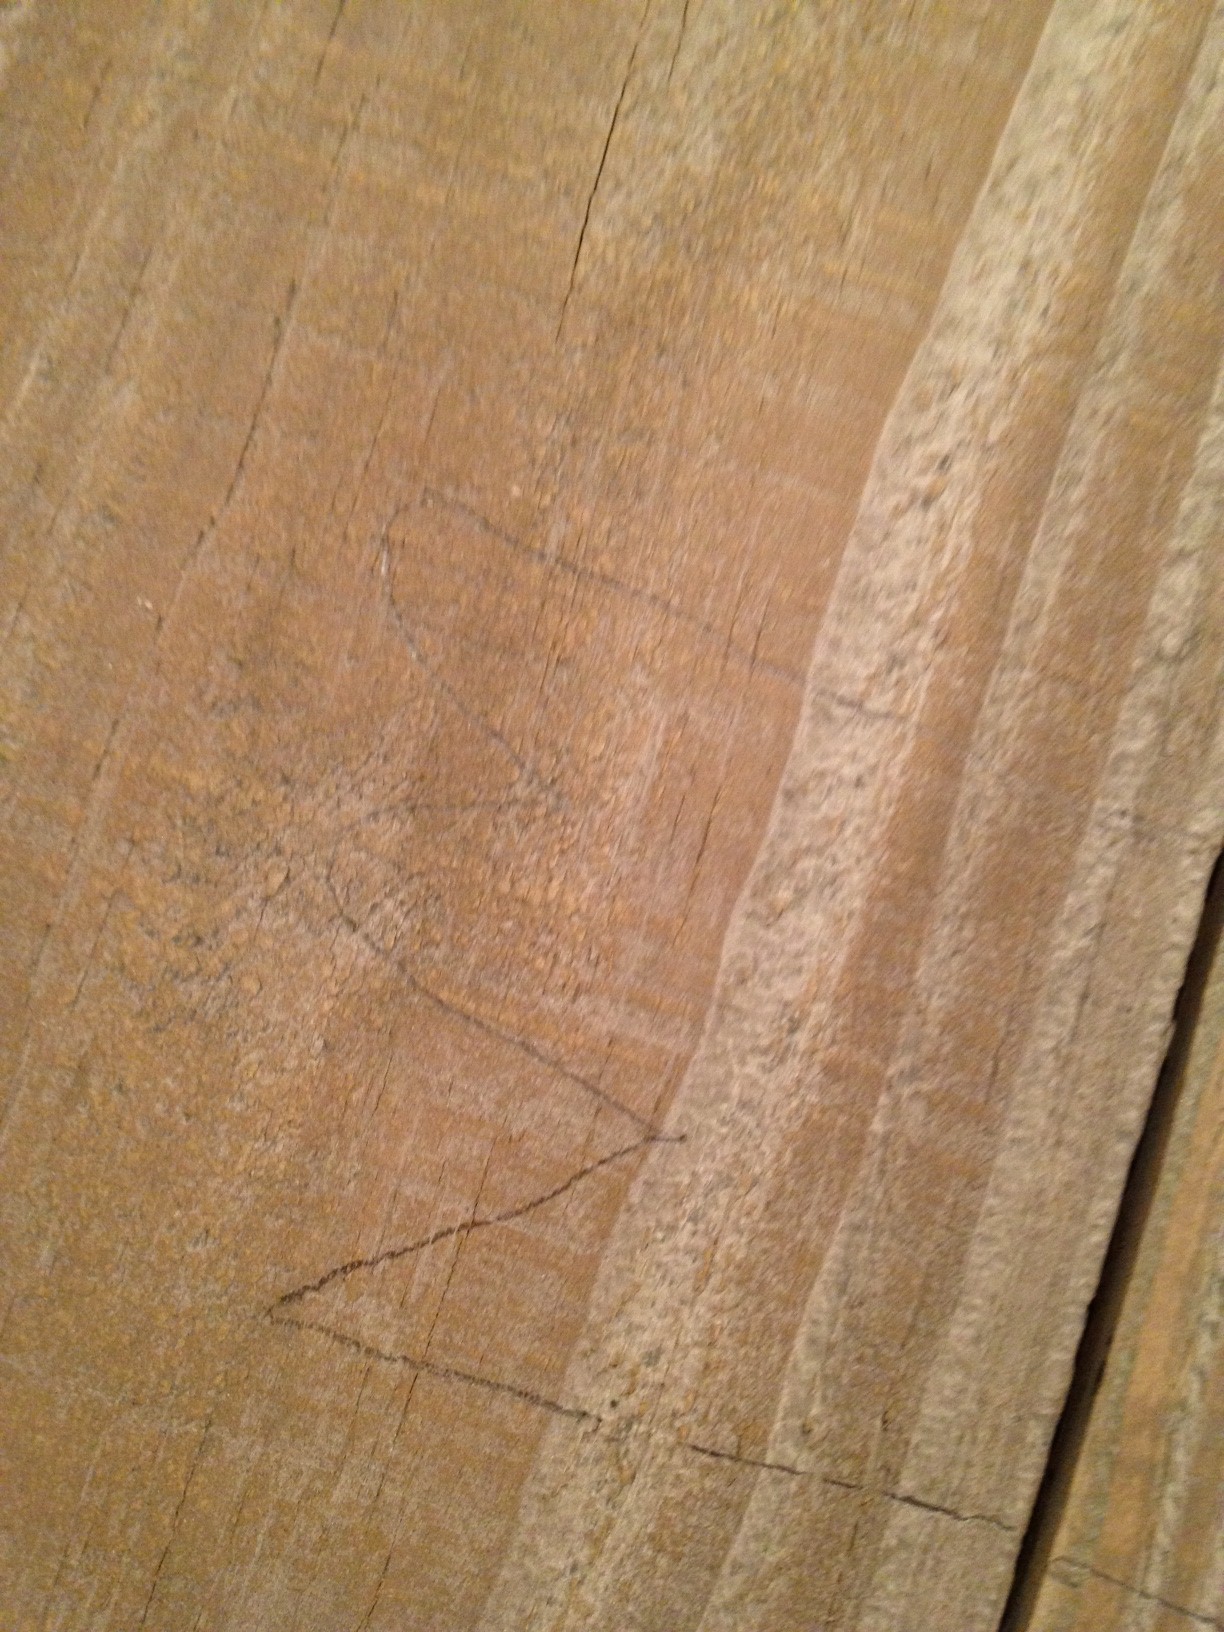
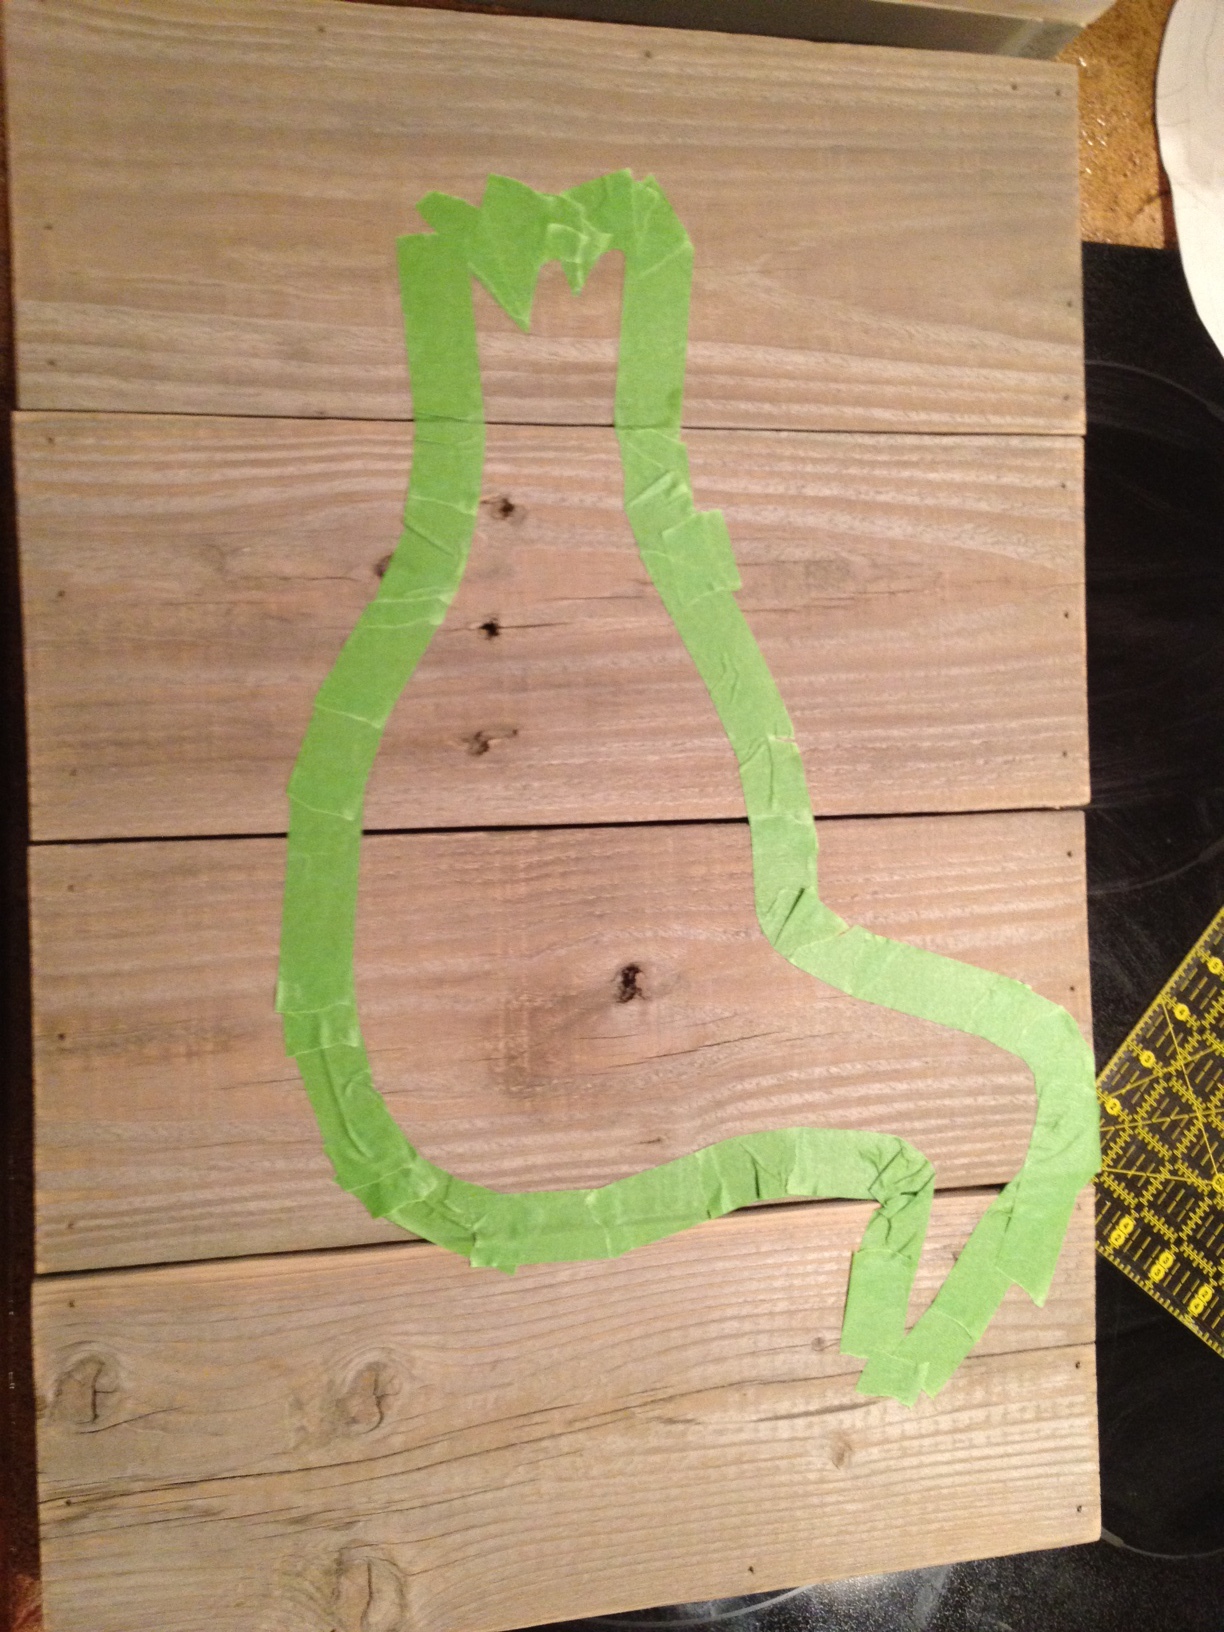
I lightly traced the outlines using a pencil.

And then I had to tape it off.  Taping all the curves and details (tail feathers) was hard!

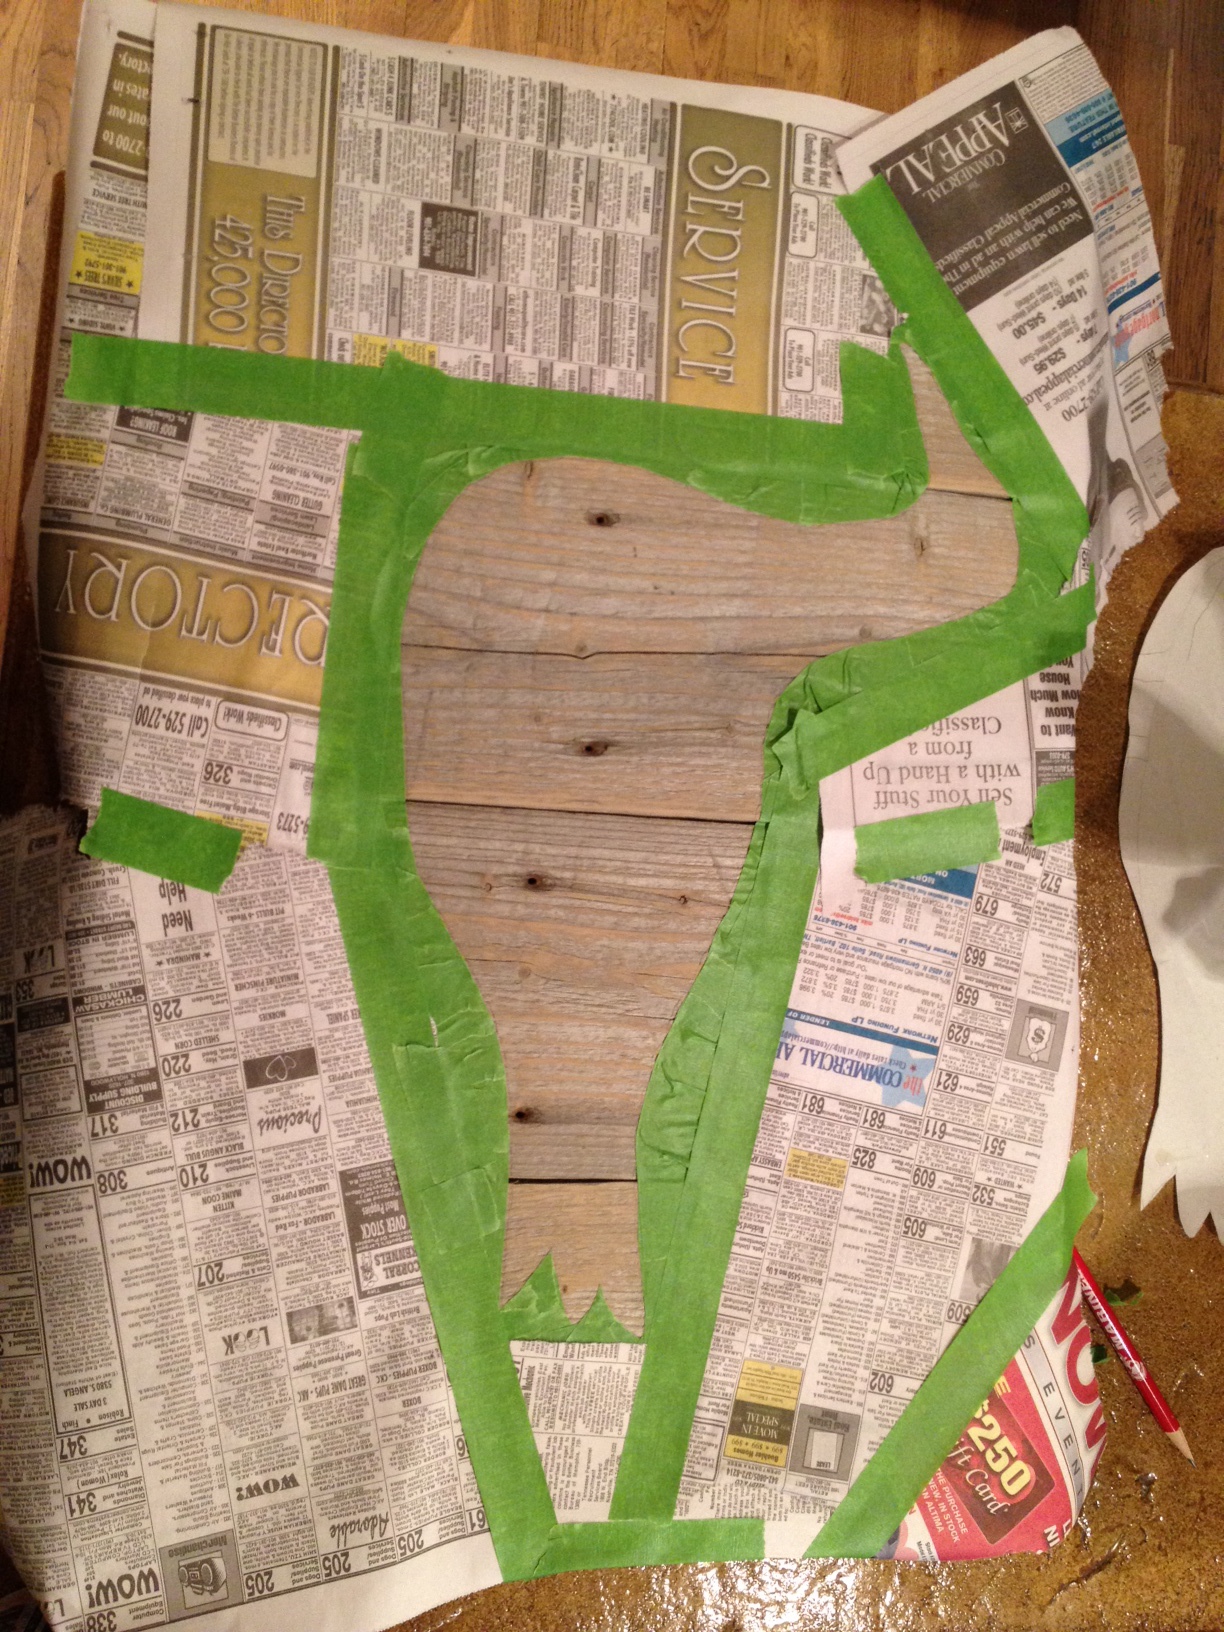
With the outline traced off, I then taped newspaper over the rest of the wood to keep it safe from splatters.

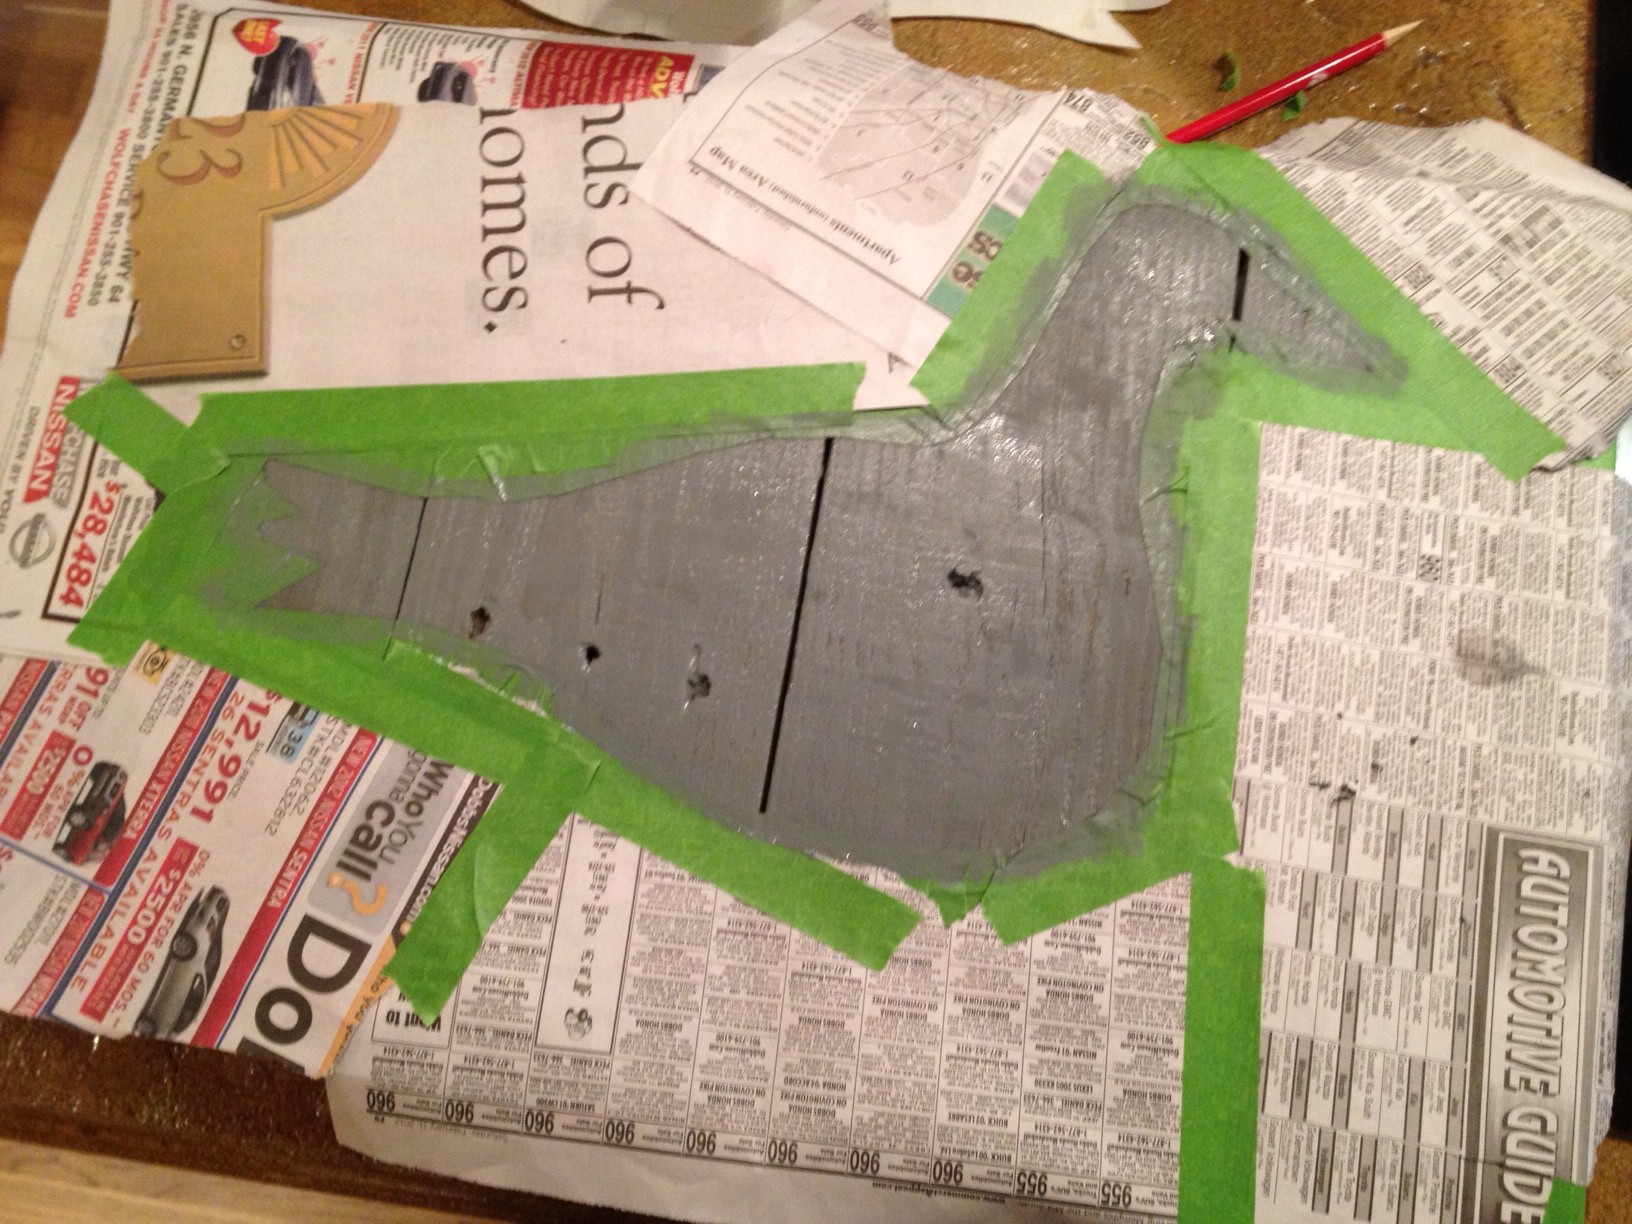
If you've ever watched an HGTV show where they were painting stripes on a wall, you know the first step after taping off is to paint a coat of the original color.  That way, you seal off the taped edges and if there's any bleed through, it's of the color that's already on there and thus won't be noticeable.  Keeping this in mind, my first step was to do a coat of grey that sorta matched the weathered wood background.

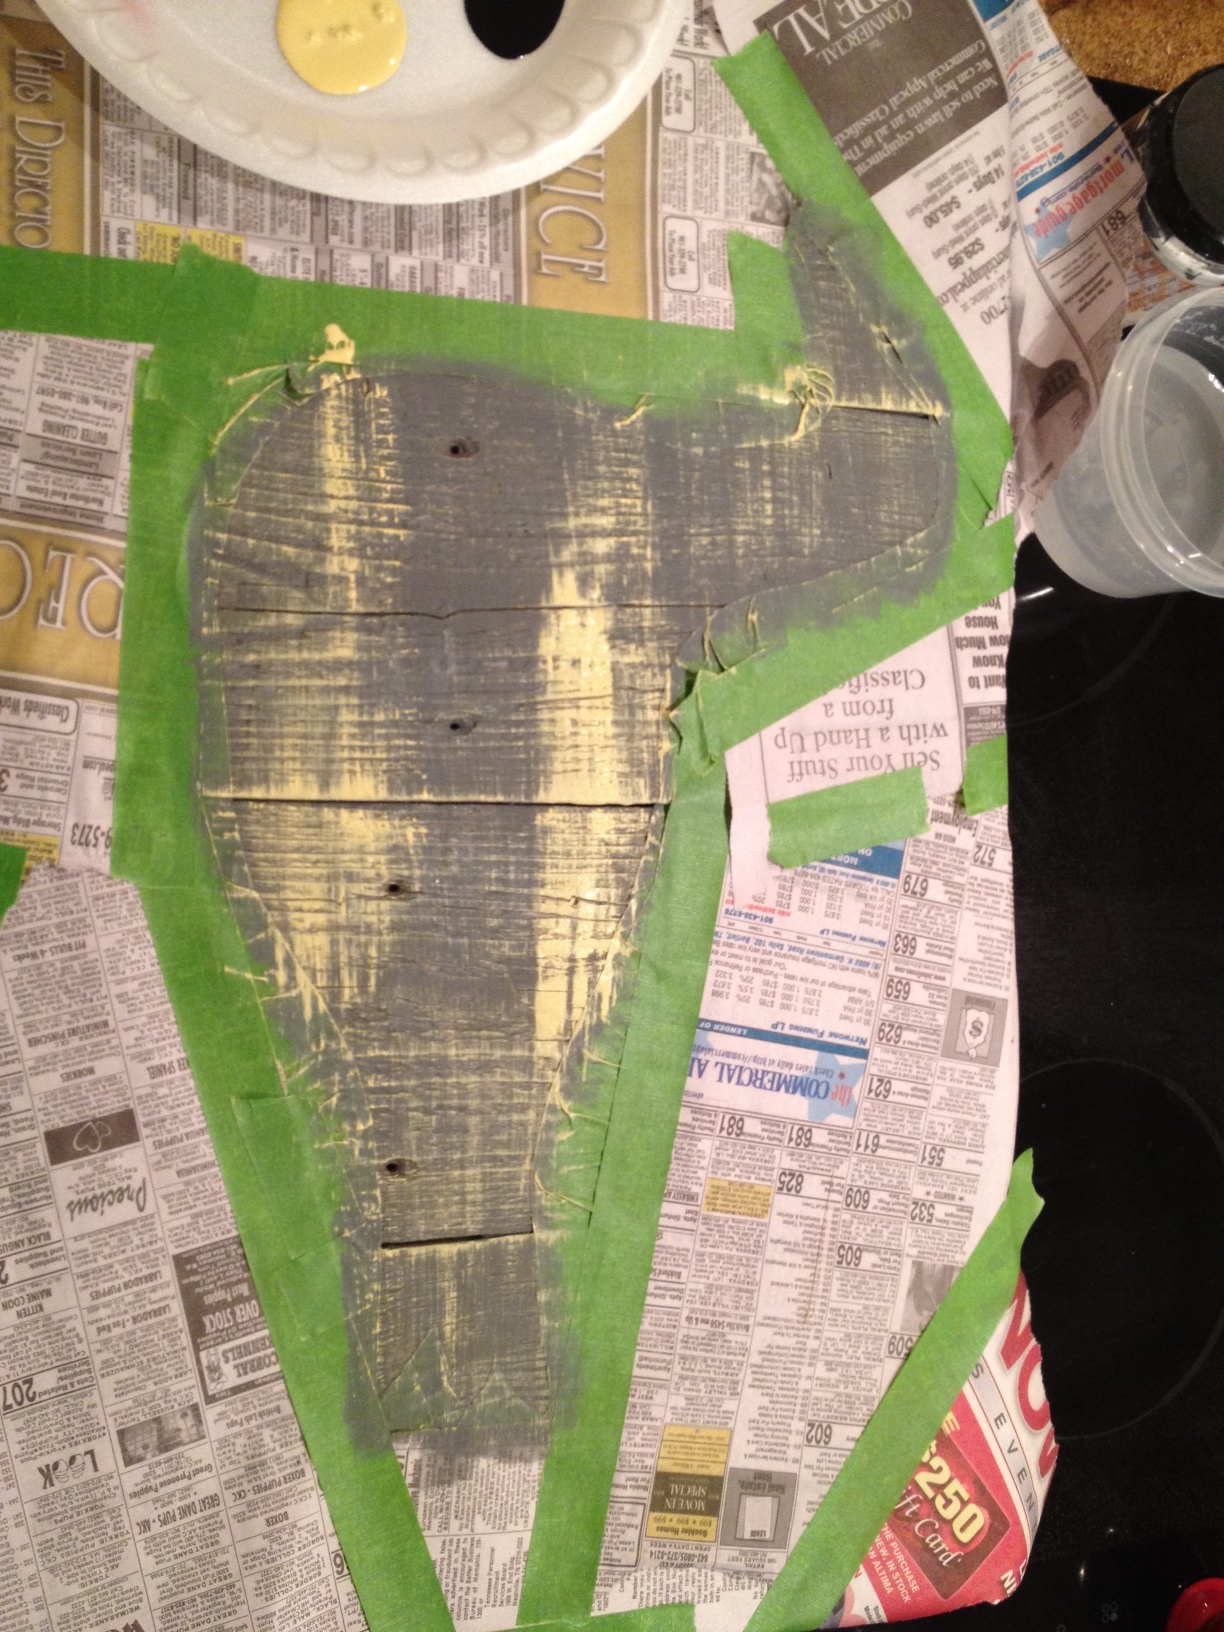
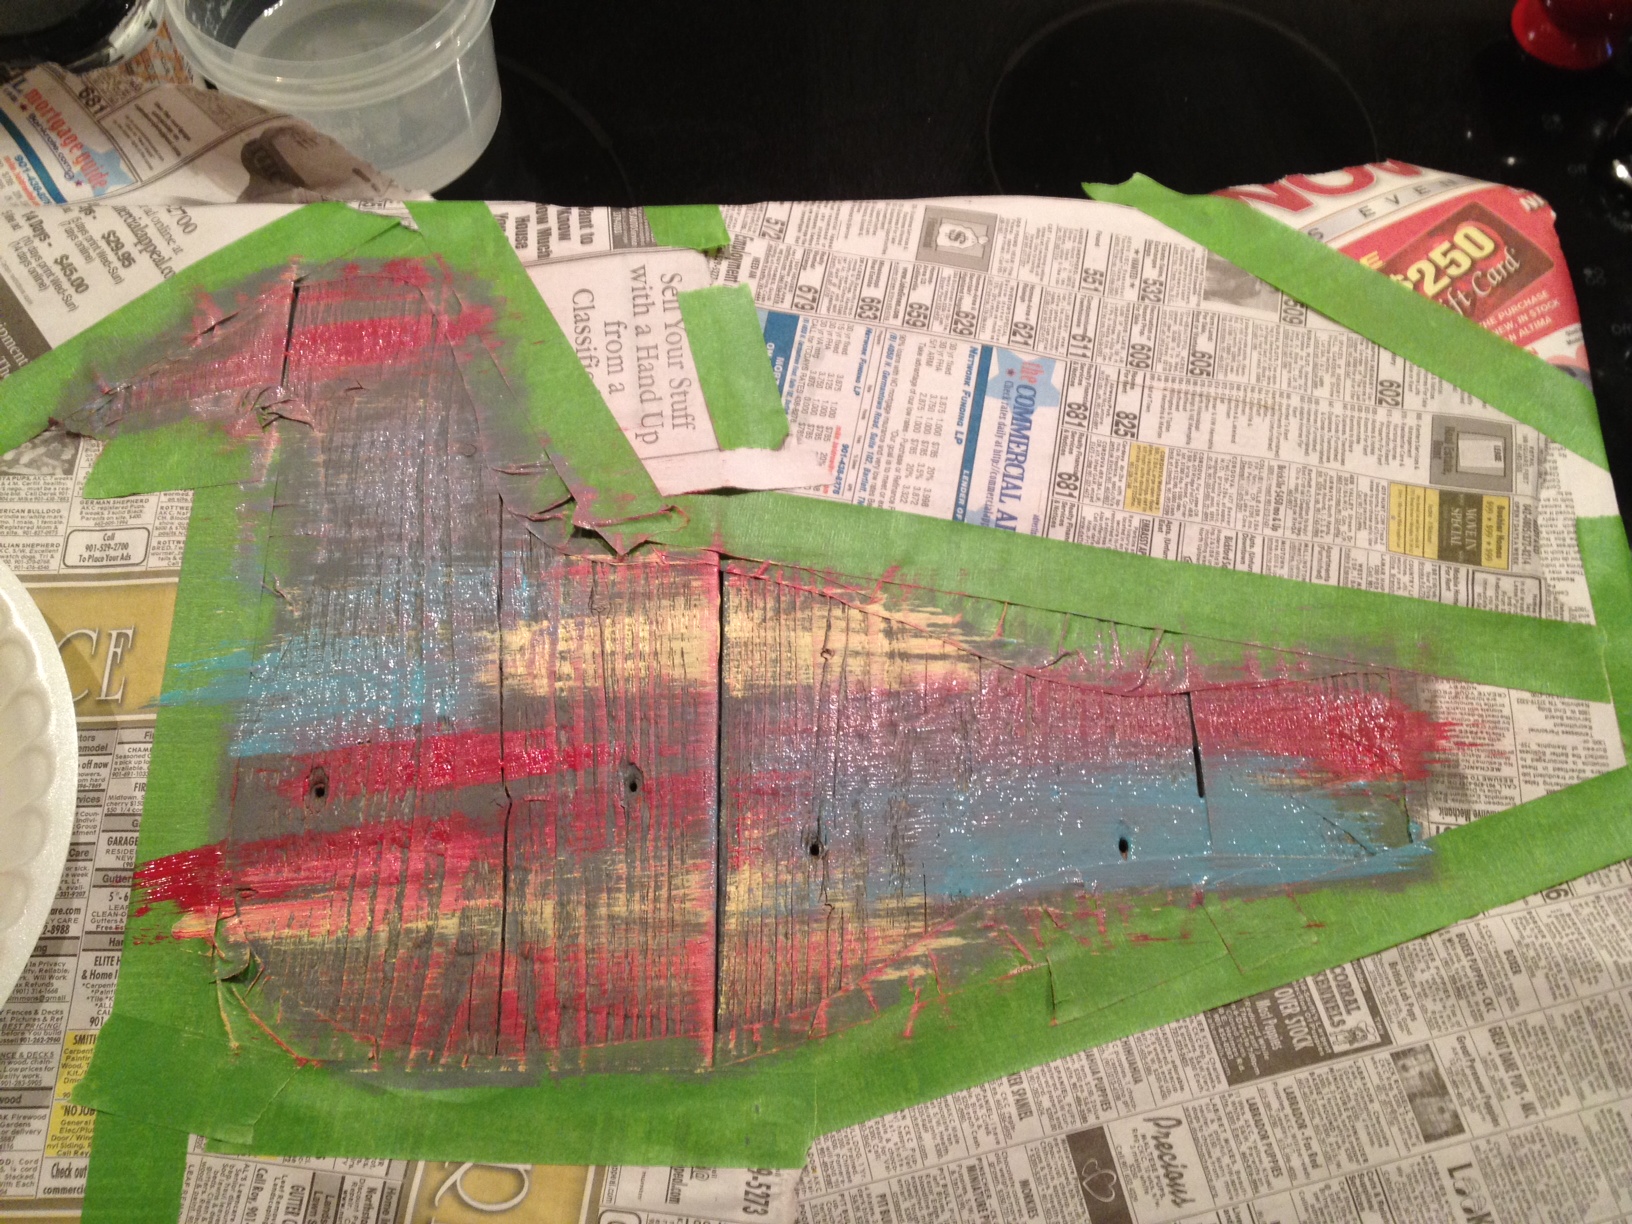
Finally, I was able to start having a little fun.  I slapped on some yellow in random places.

Added a little red.  (Looks like someone went duck huntin'...especially with the holes from the fence nails.)

Thought a little turquoise might help the bloody situation.

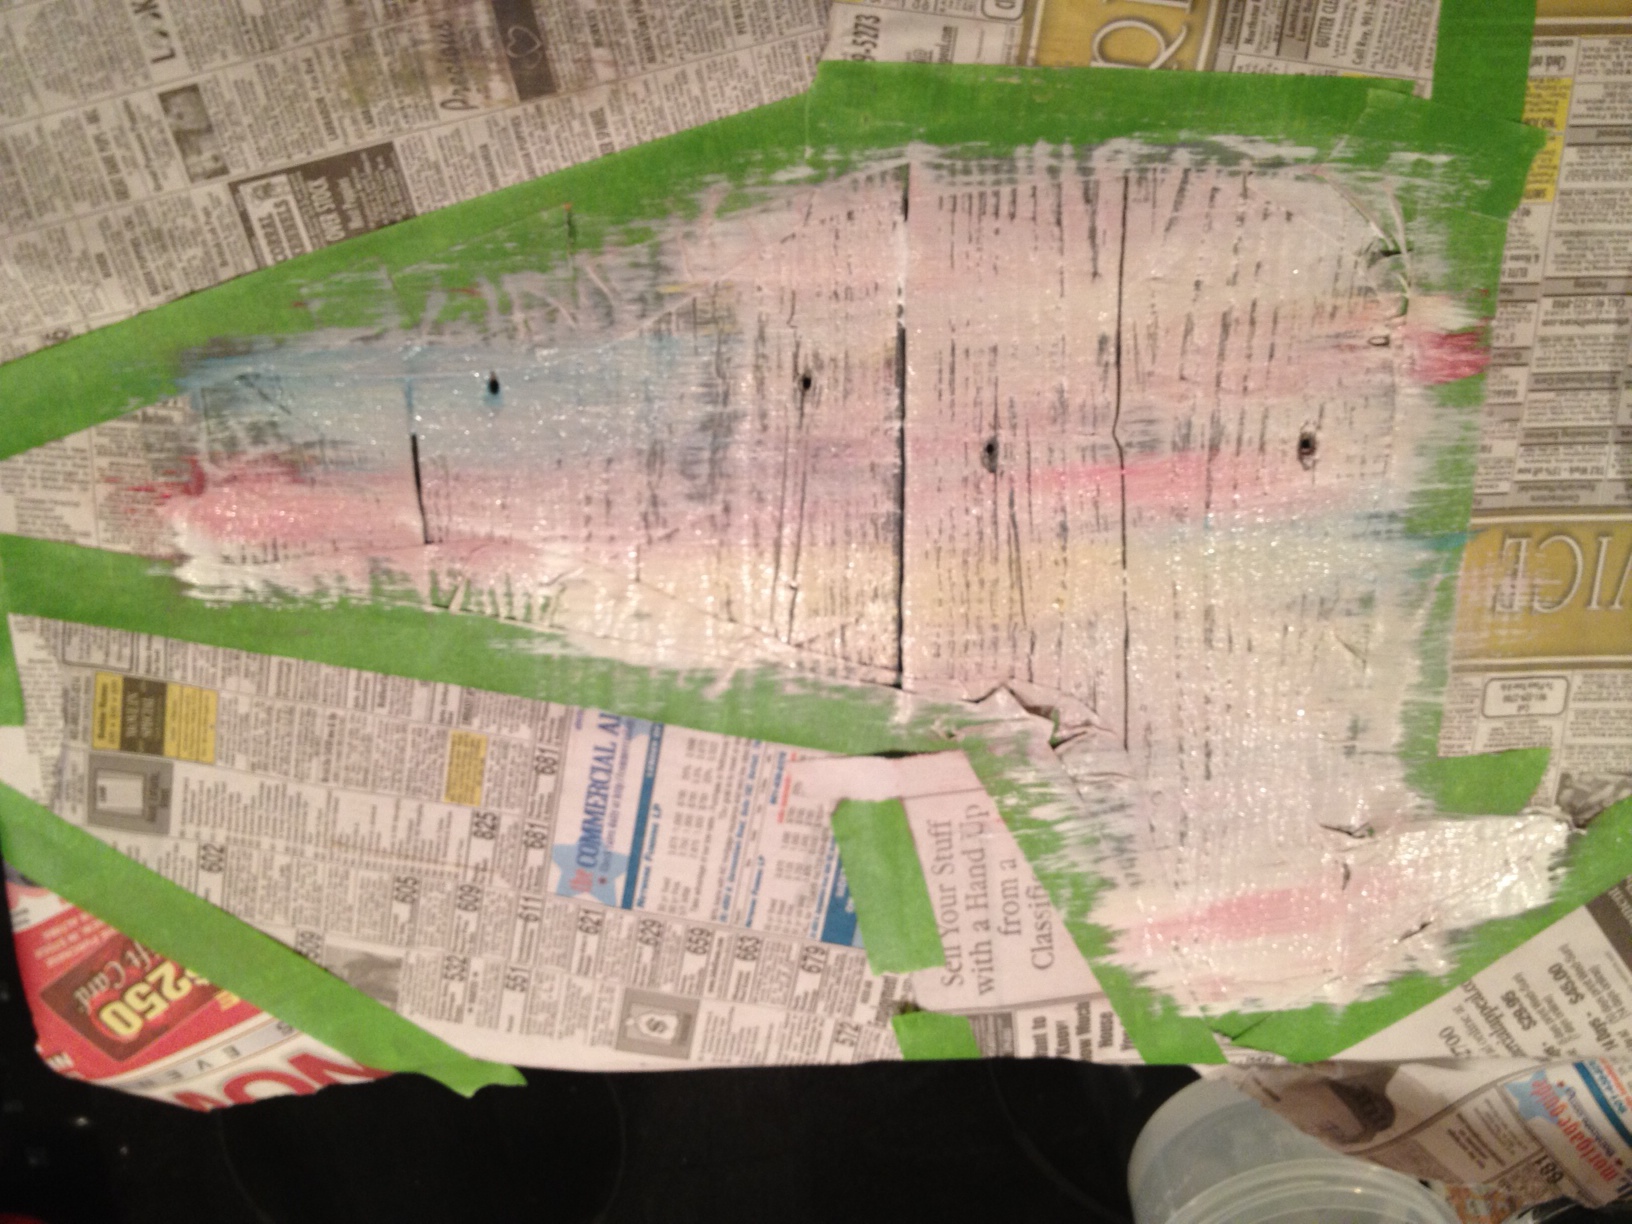
I wanted the bird to be mostly white with these colors peeking through, so I spread a thin coat of white paint over the whole thing.

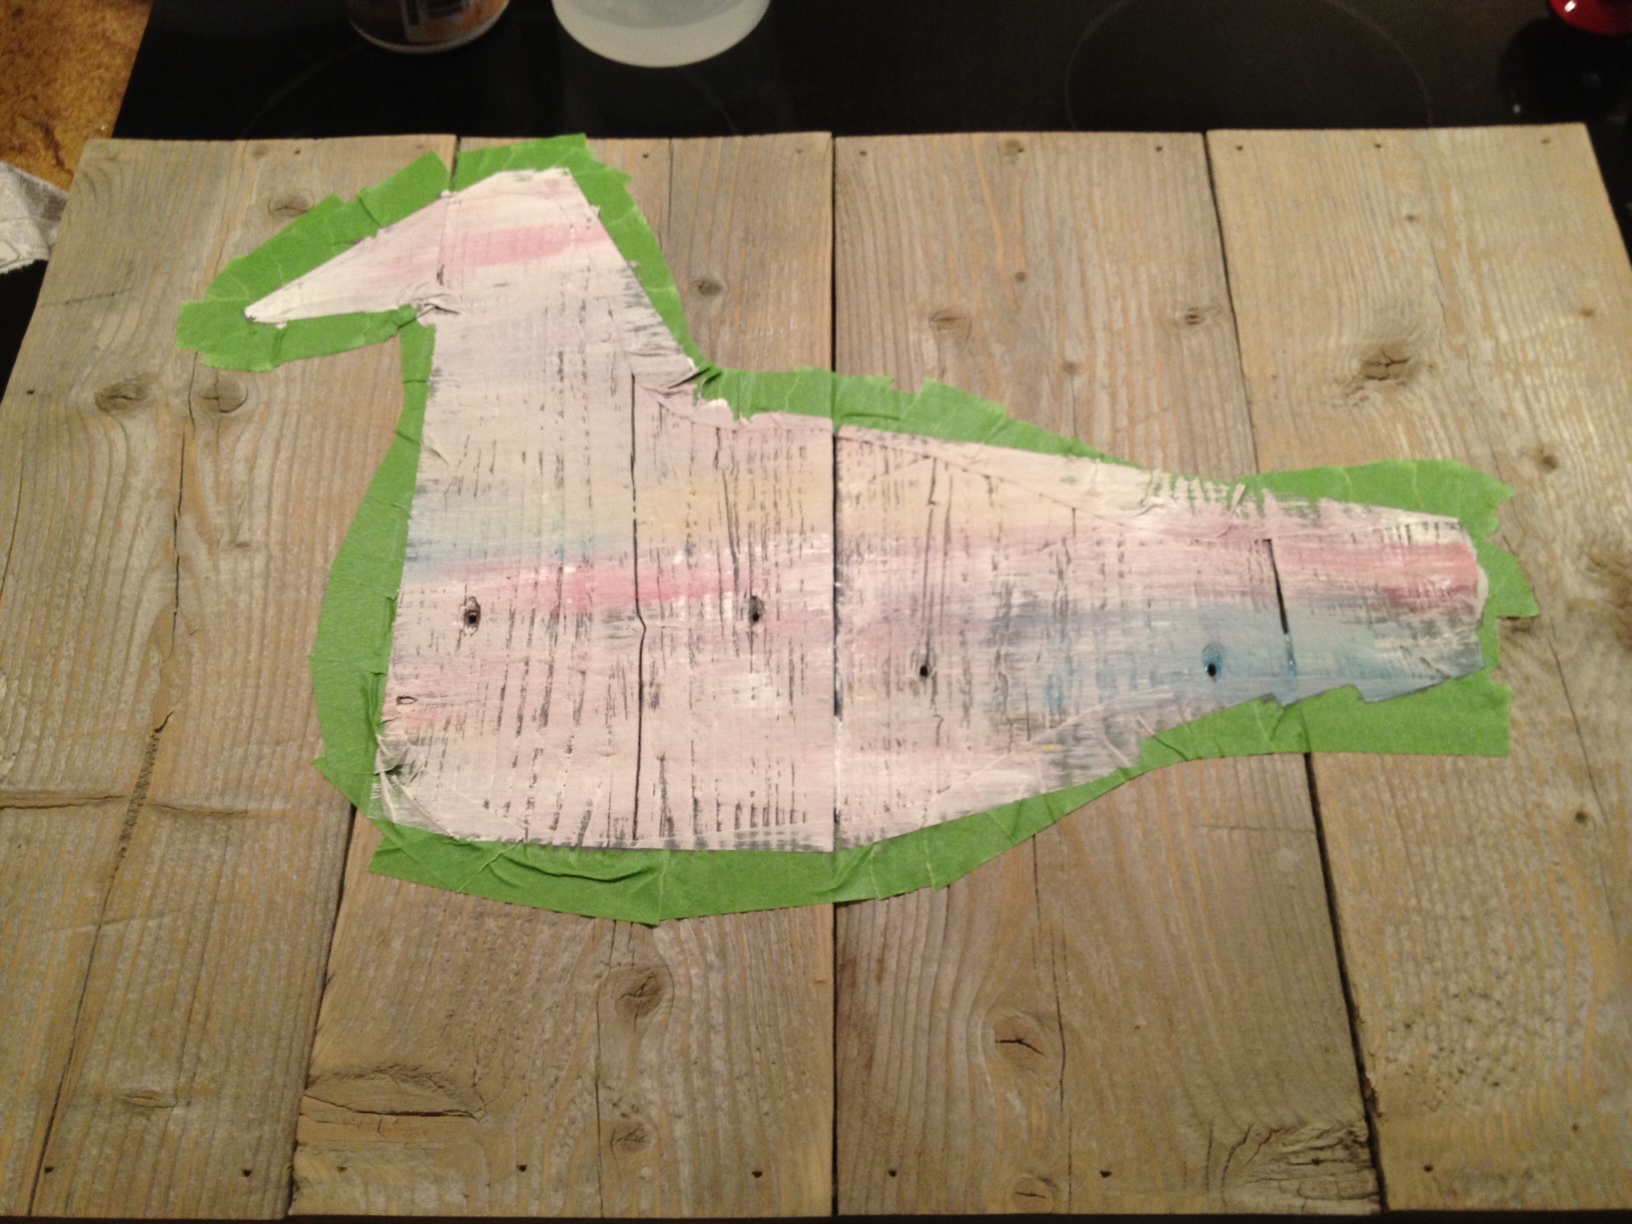
I had no idea how this was going to turn out, but I was done messing with it.  I let the paint dry and then took off the newspaper.

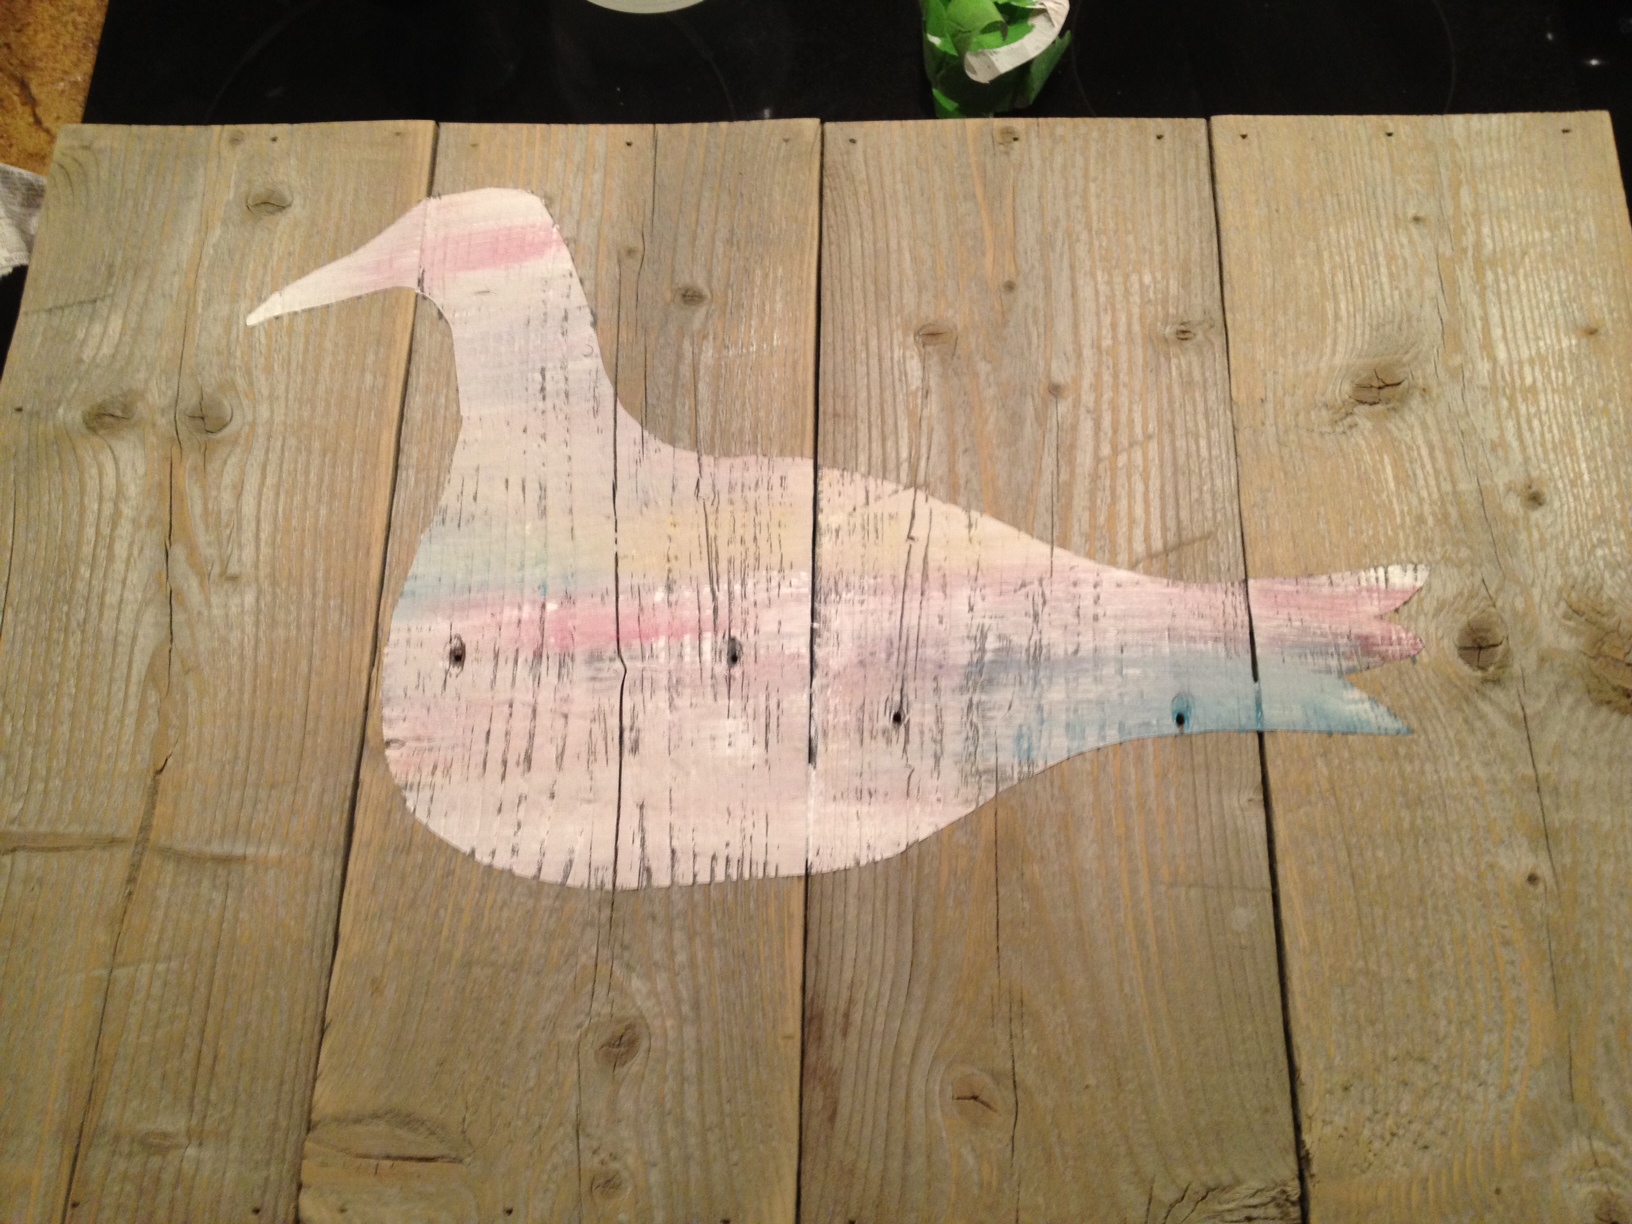
I peeled off the tape outline and was left with two bird bodies!

Every duck/bird/seagull needs some little legs and an eye, so I added those and called it done.

My mom and I named the birds Sunrise and Sunset because that's what we think they look like.  And guess what?  They're already hanging on the wall at the beach house! Yep, so many pictures to share this week, so get ready.

Farmhouse Bedside Table

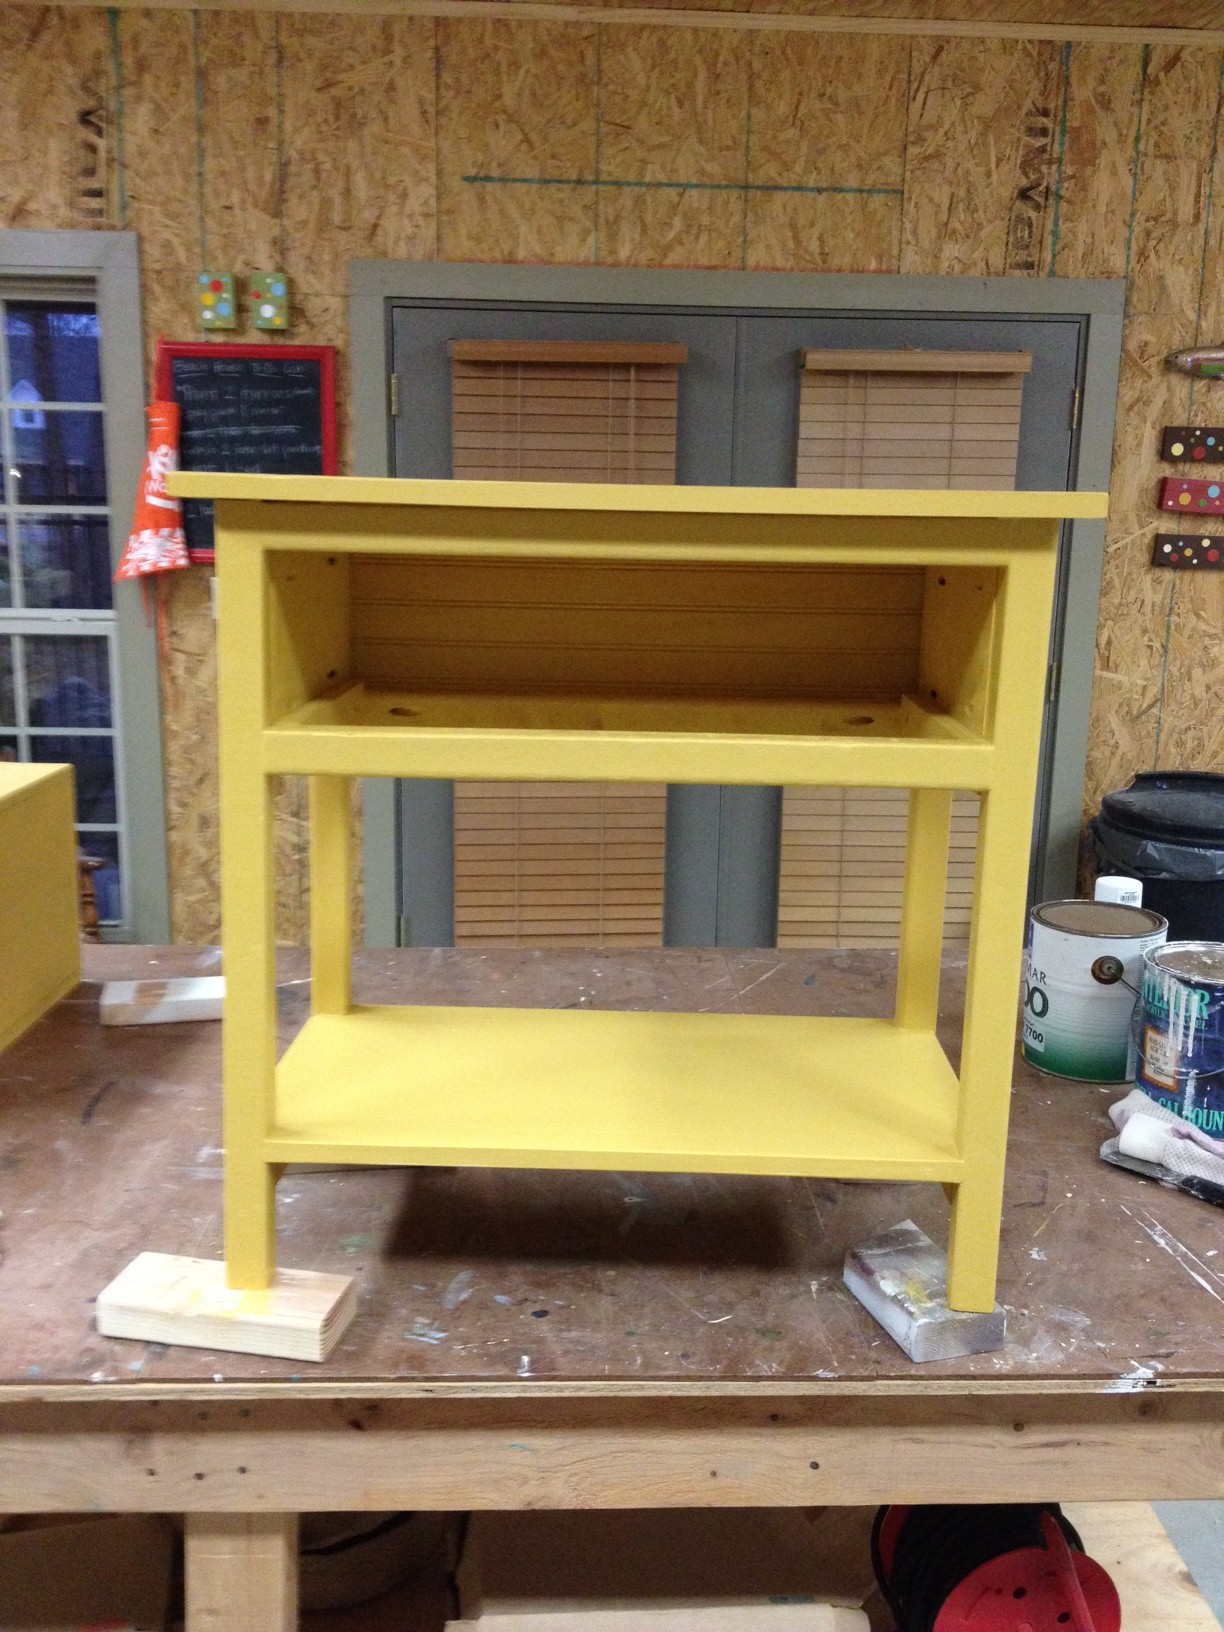
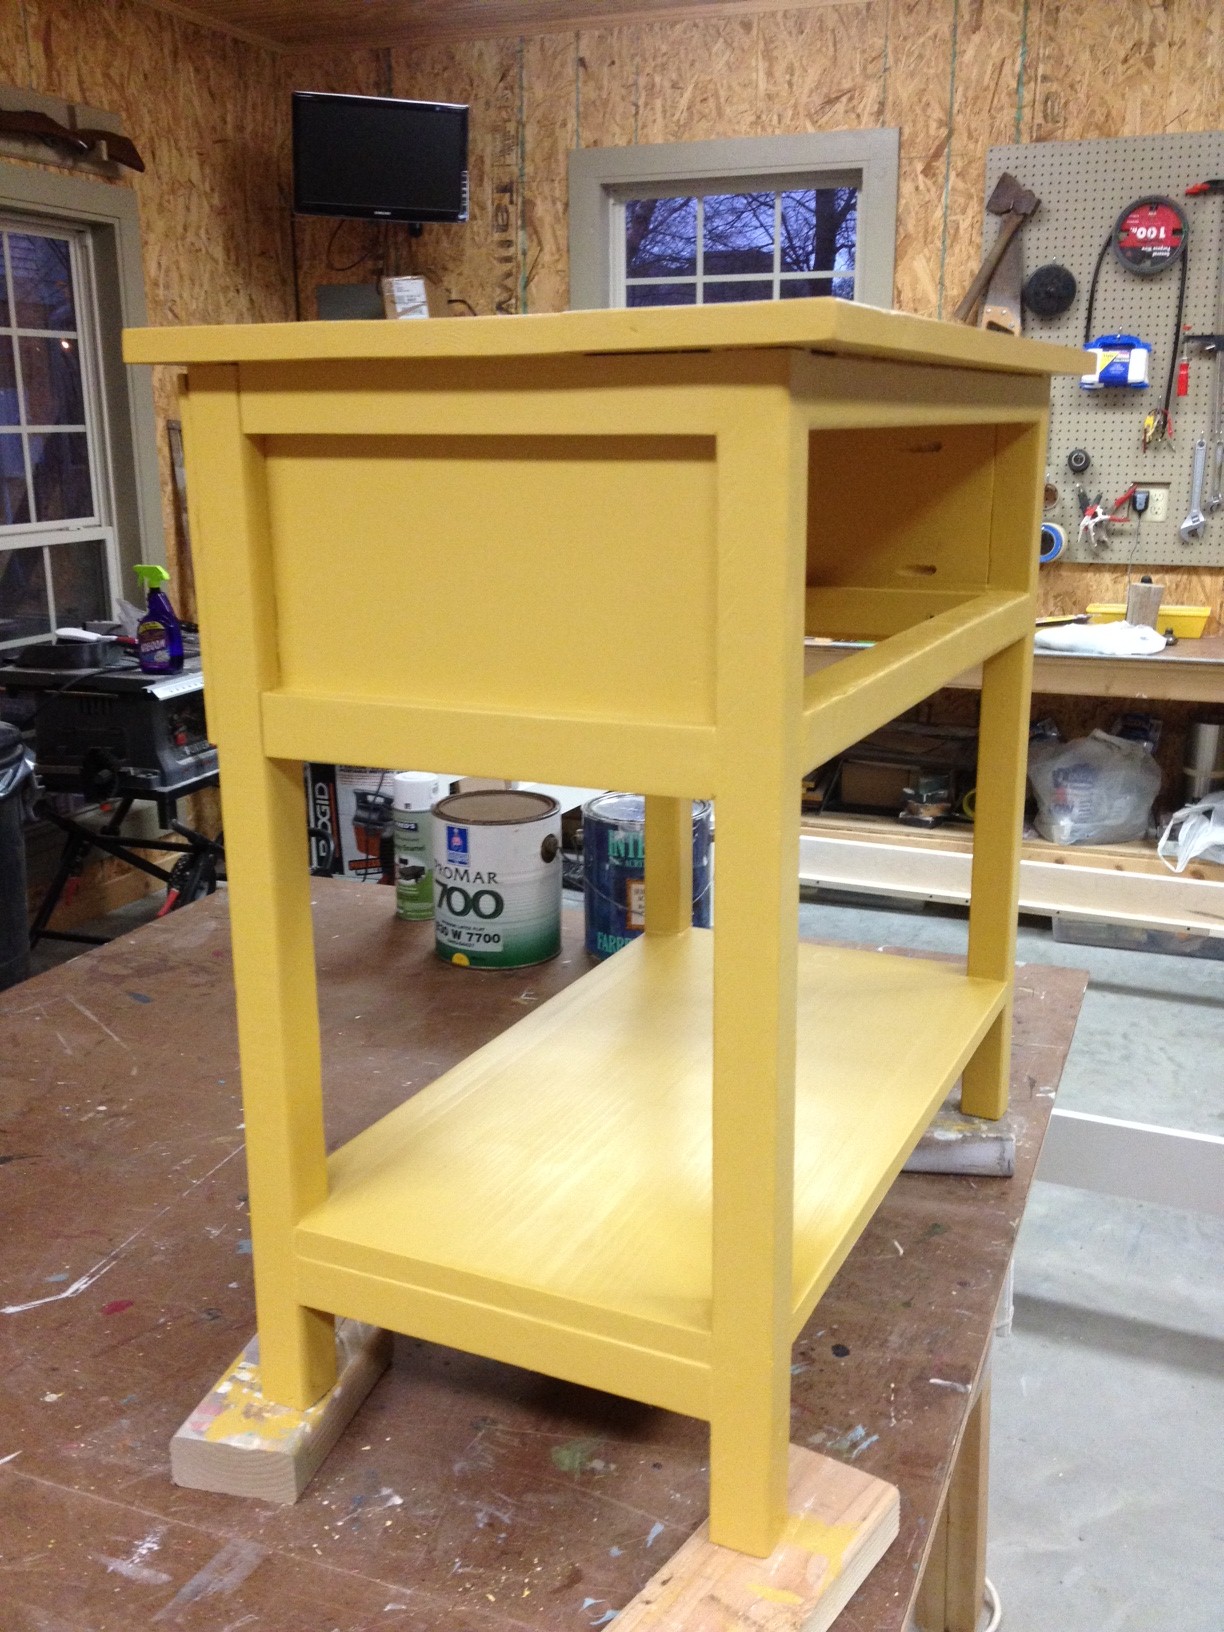
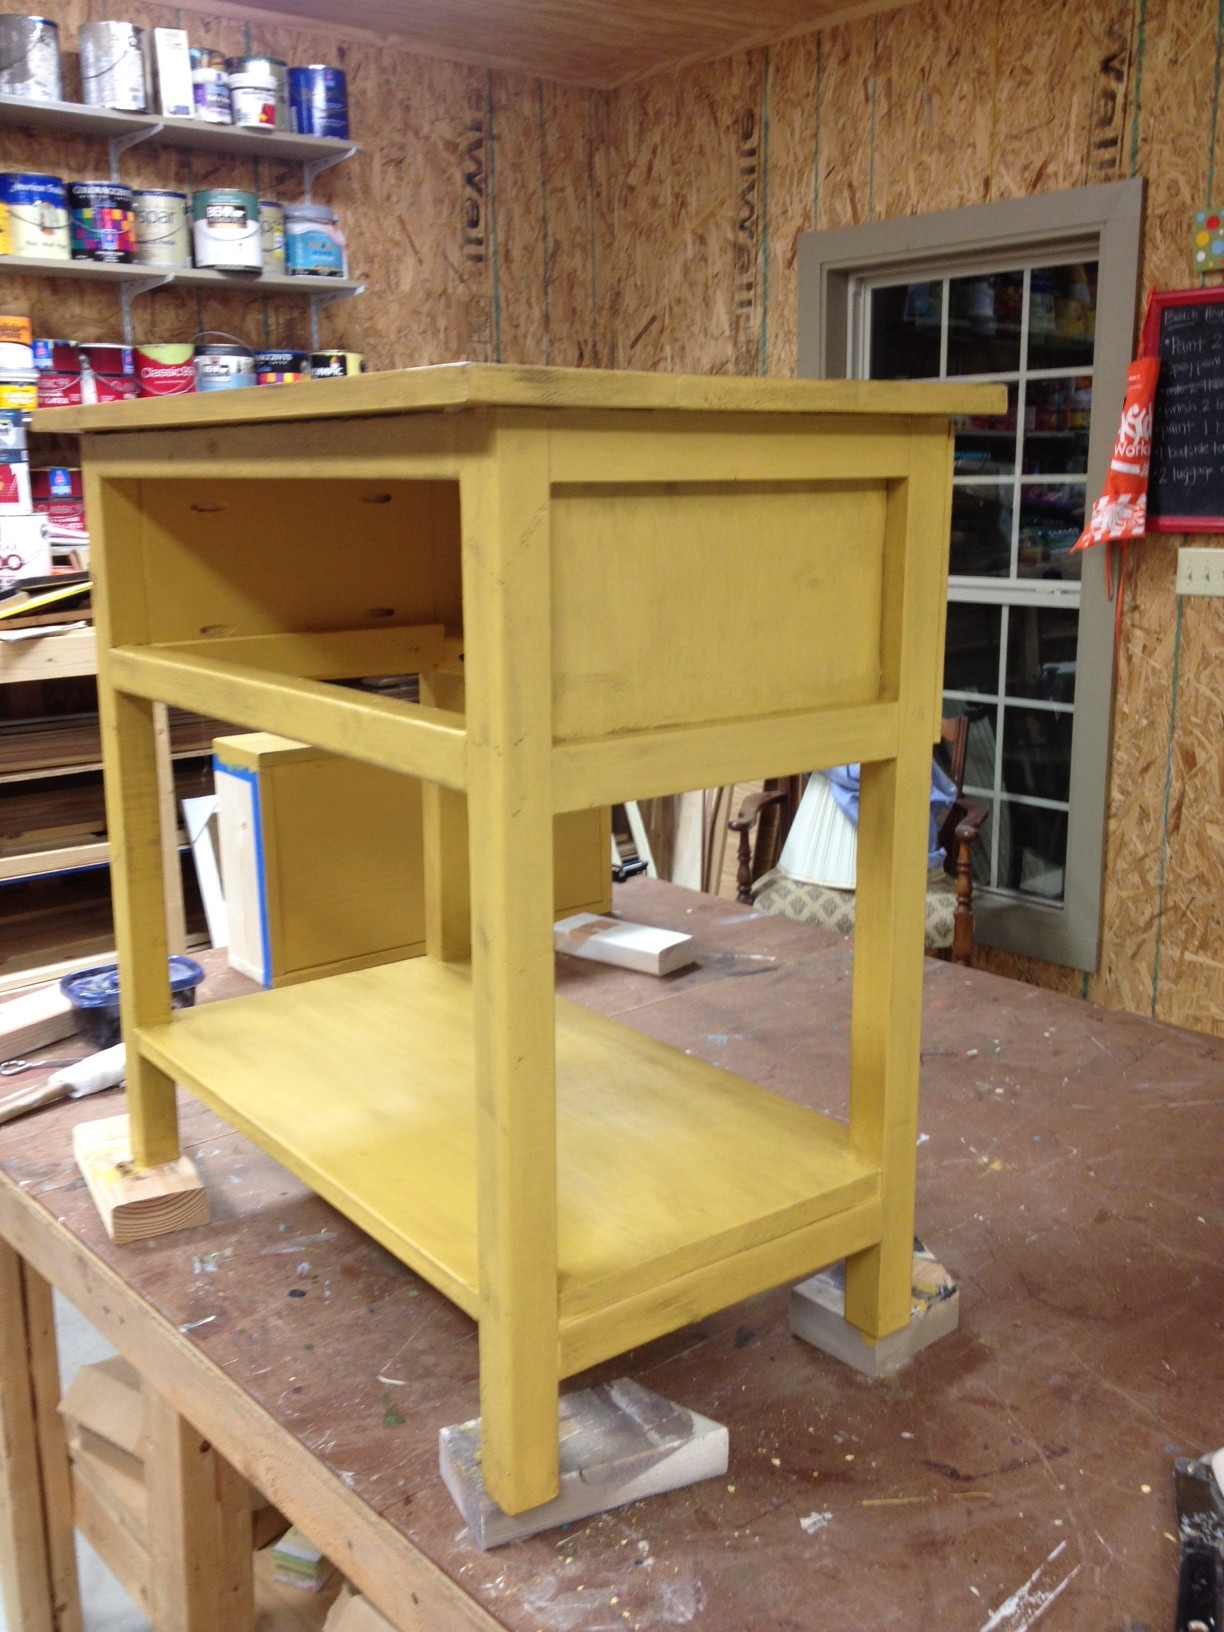
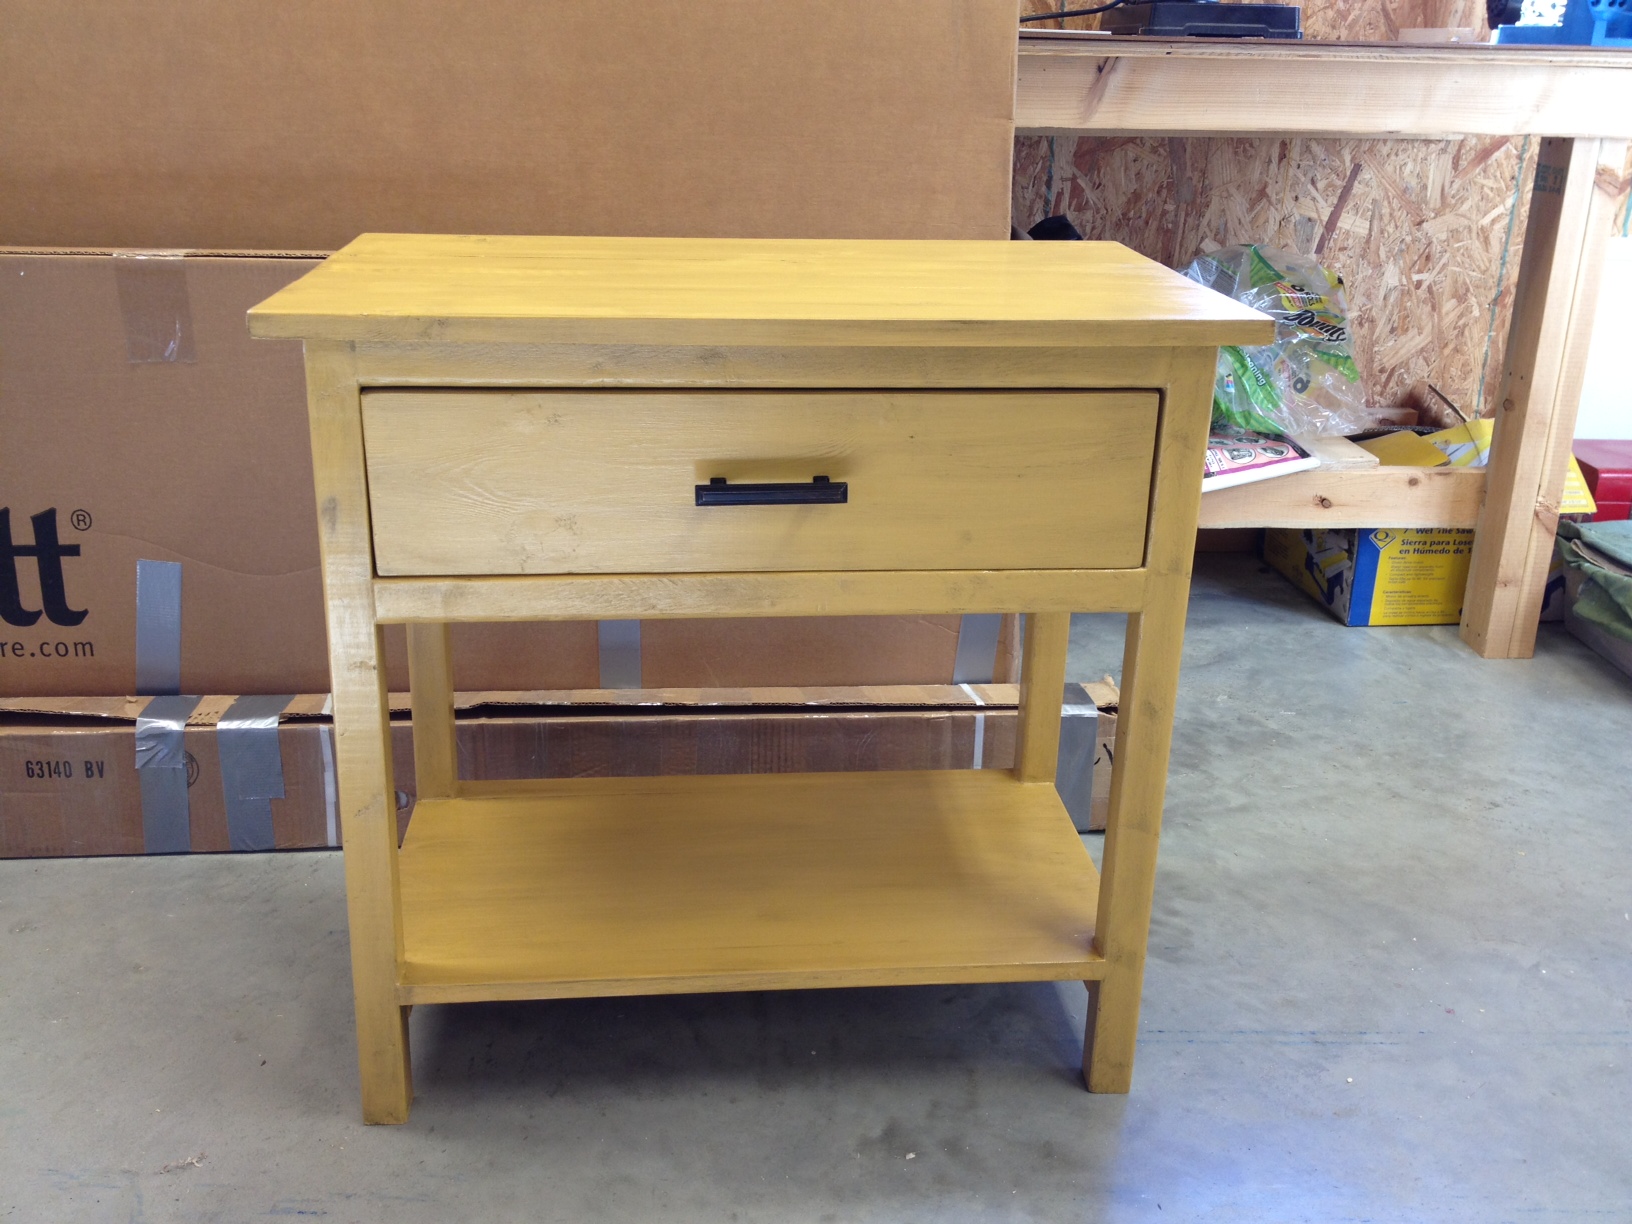
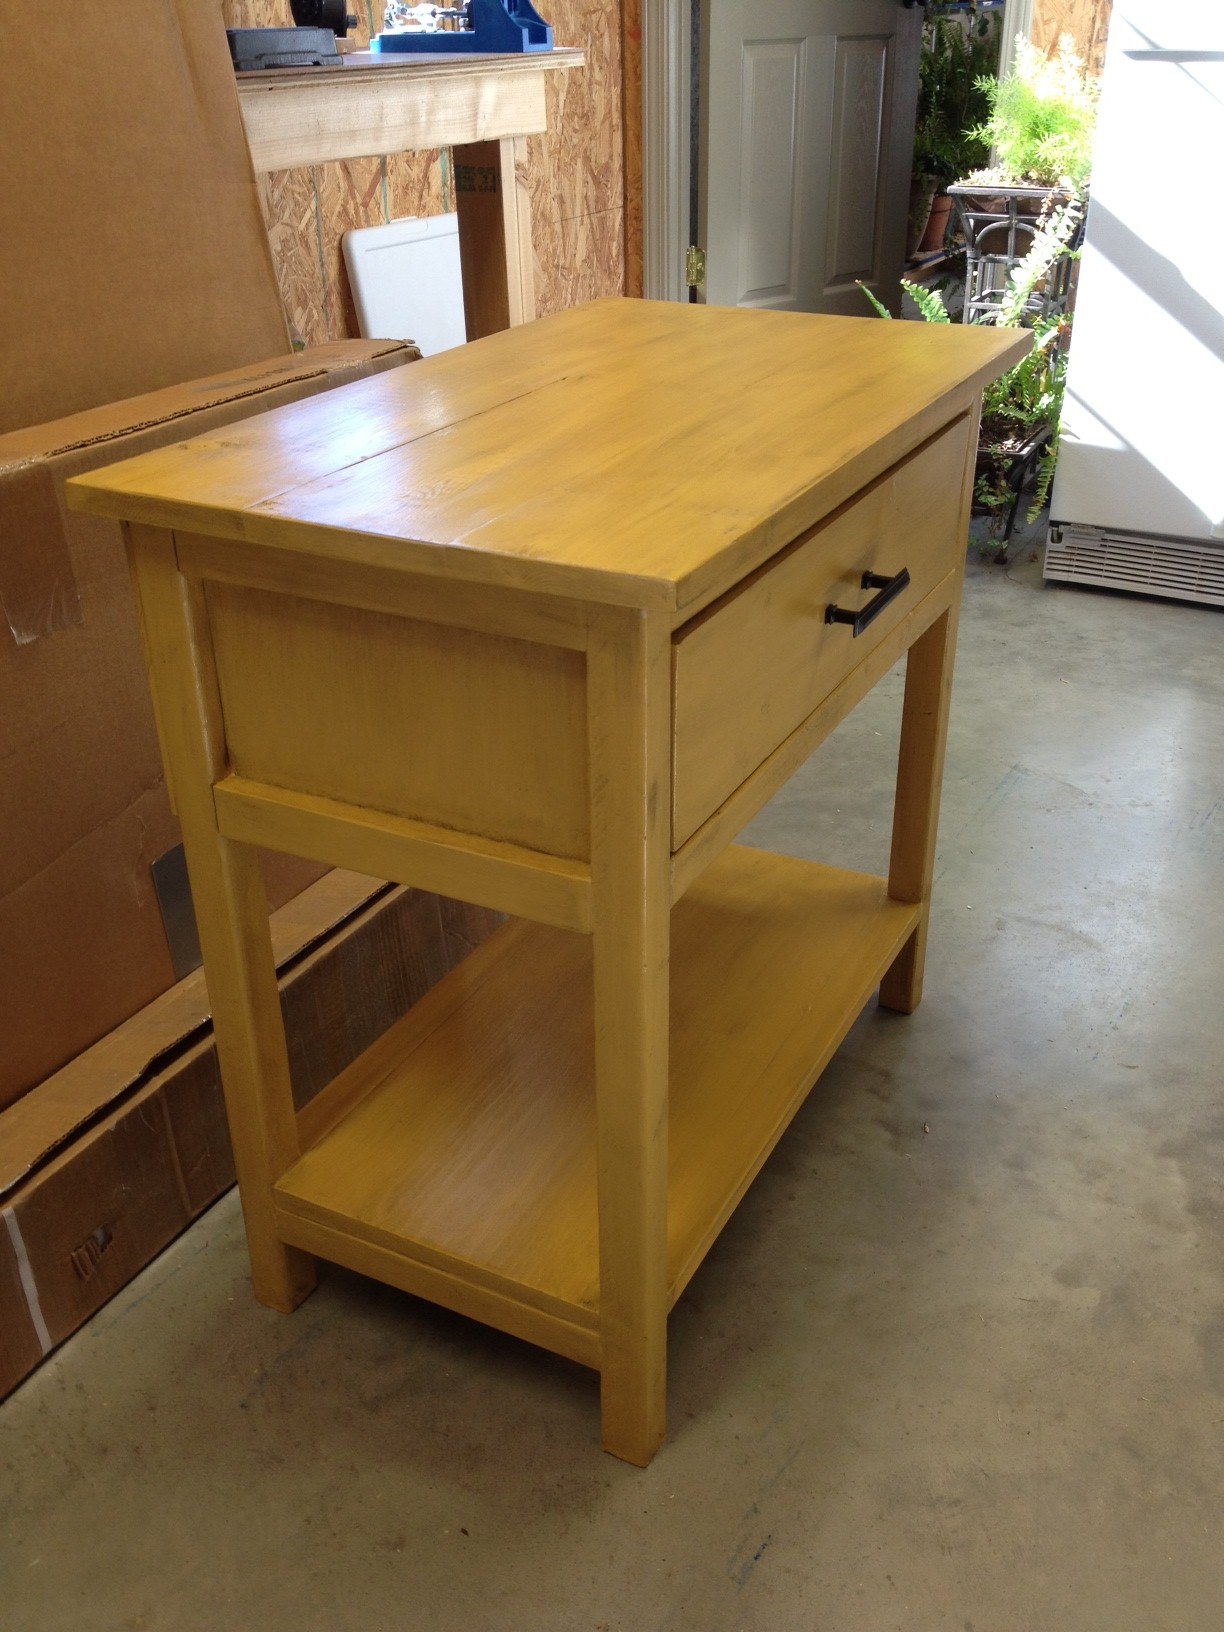
Even after revamping four Ikea Rast tables, we were still left one bedside table short.  Mom and I searched high and low for a yardsale or thrift store table that we could redo, but all to no avail.  And for some reason, this bedside table is just something we didn't want to shell out a lot more cash on.  So, we turned to Ana White and found her plans for a Farmhouse Bedside Table. I'm going to be honest here and tell you that this table is a joke.  Almost a hunk of junk.  Not because of the plans - those are great.  It's a joke because everything that could possibly go wrong while building did.  It was downright laughable by the time we finished.  We started with wood that was less than stellar; it was bowed and twisted and knotted and our 2x2s were more of furring strips than finishing pieces, but we used 'em anyway.  On top of that, it seems like every single scew we put in hit a knot and came out in the wrong spot.  It was a hot mess.  But at this point, we're all in the "oh well, it'll do" mindset so we painted it up just like it was our best piece ever.

I didn't take in-progress pictures because I wasn't even sure we'd finish it.  I think at one point I told my dad to just tear it apart.  But we did complete it and we sanded and puttied and caulked and by the time it got a coat or two of paint on it, it looked okay.  Not great, just okay.

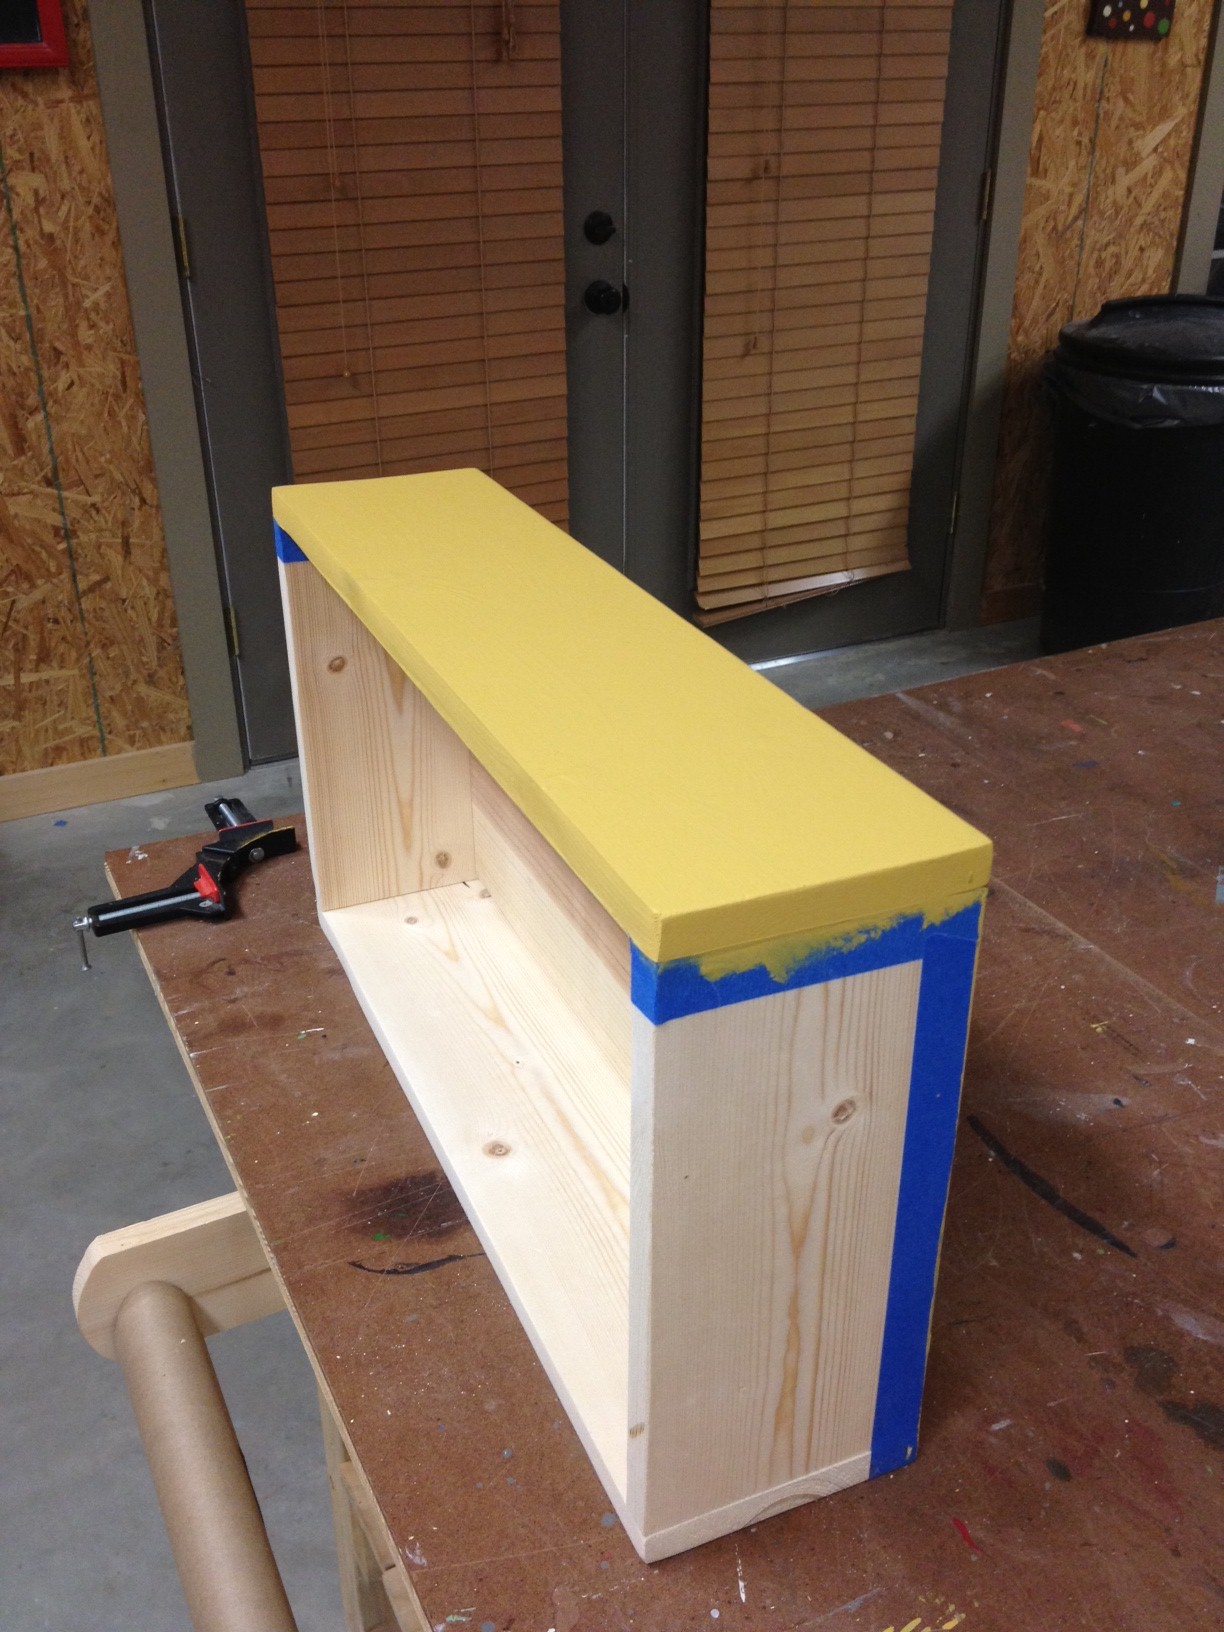
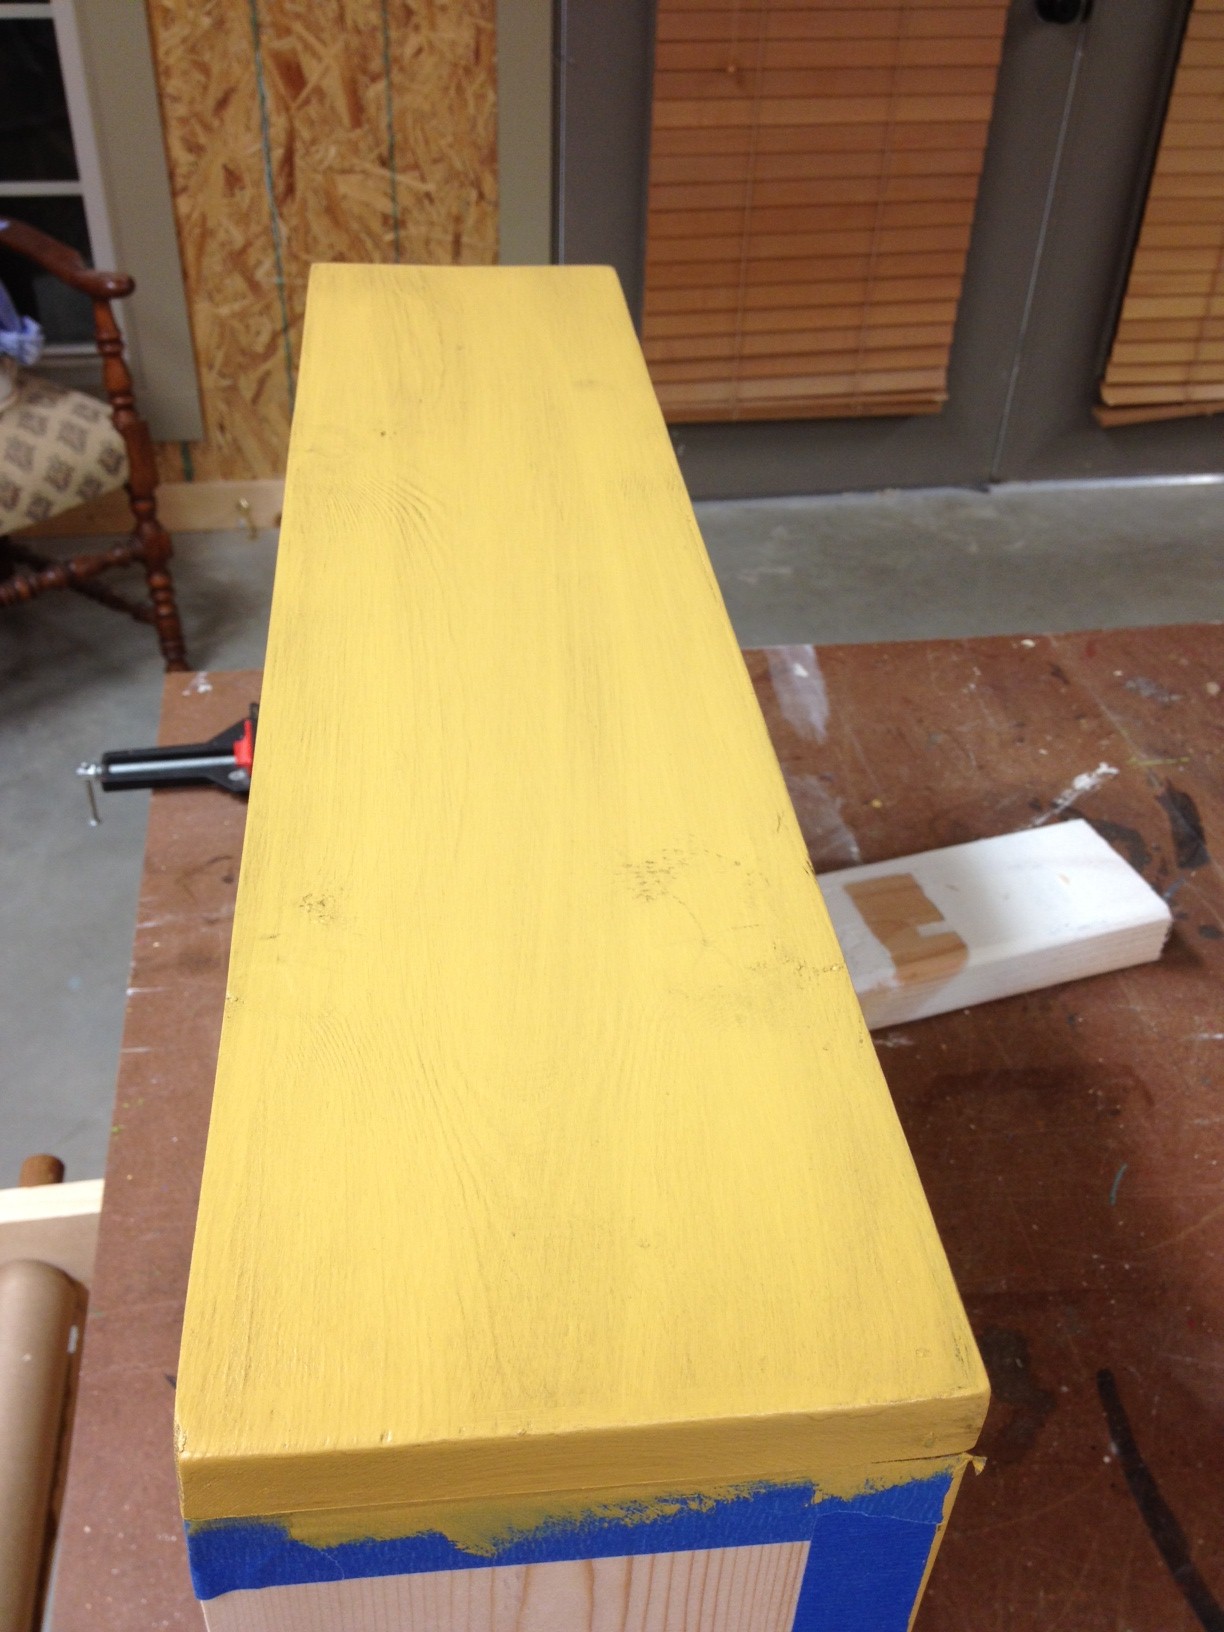
This piece will go in the same room as the yellow dresser, so we painted it the same shade.

Another tricky part about this table is that it has a drawer.  I personally try to avoid them whenever possible because there's no margin for error when it comes to drawers.  They have to be square or they just don't work.  This one really didn't want to work.  It fit fine when we finished building but then the weather changed and the wood expanded and it didn't fit anymore.  We adjusted a few boards and got it to fit, then gave it a paint job and it didn't fit anymore.  Ay yi yi.

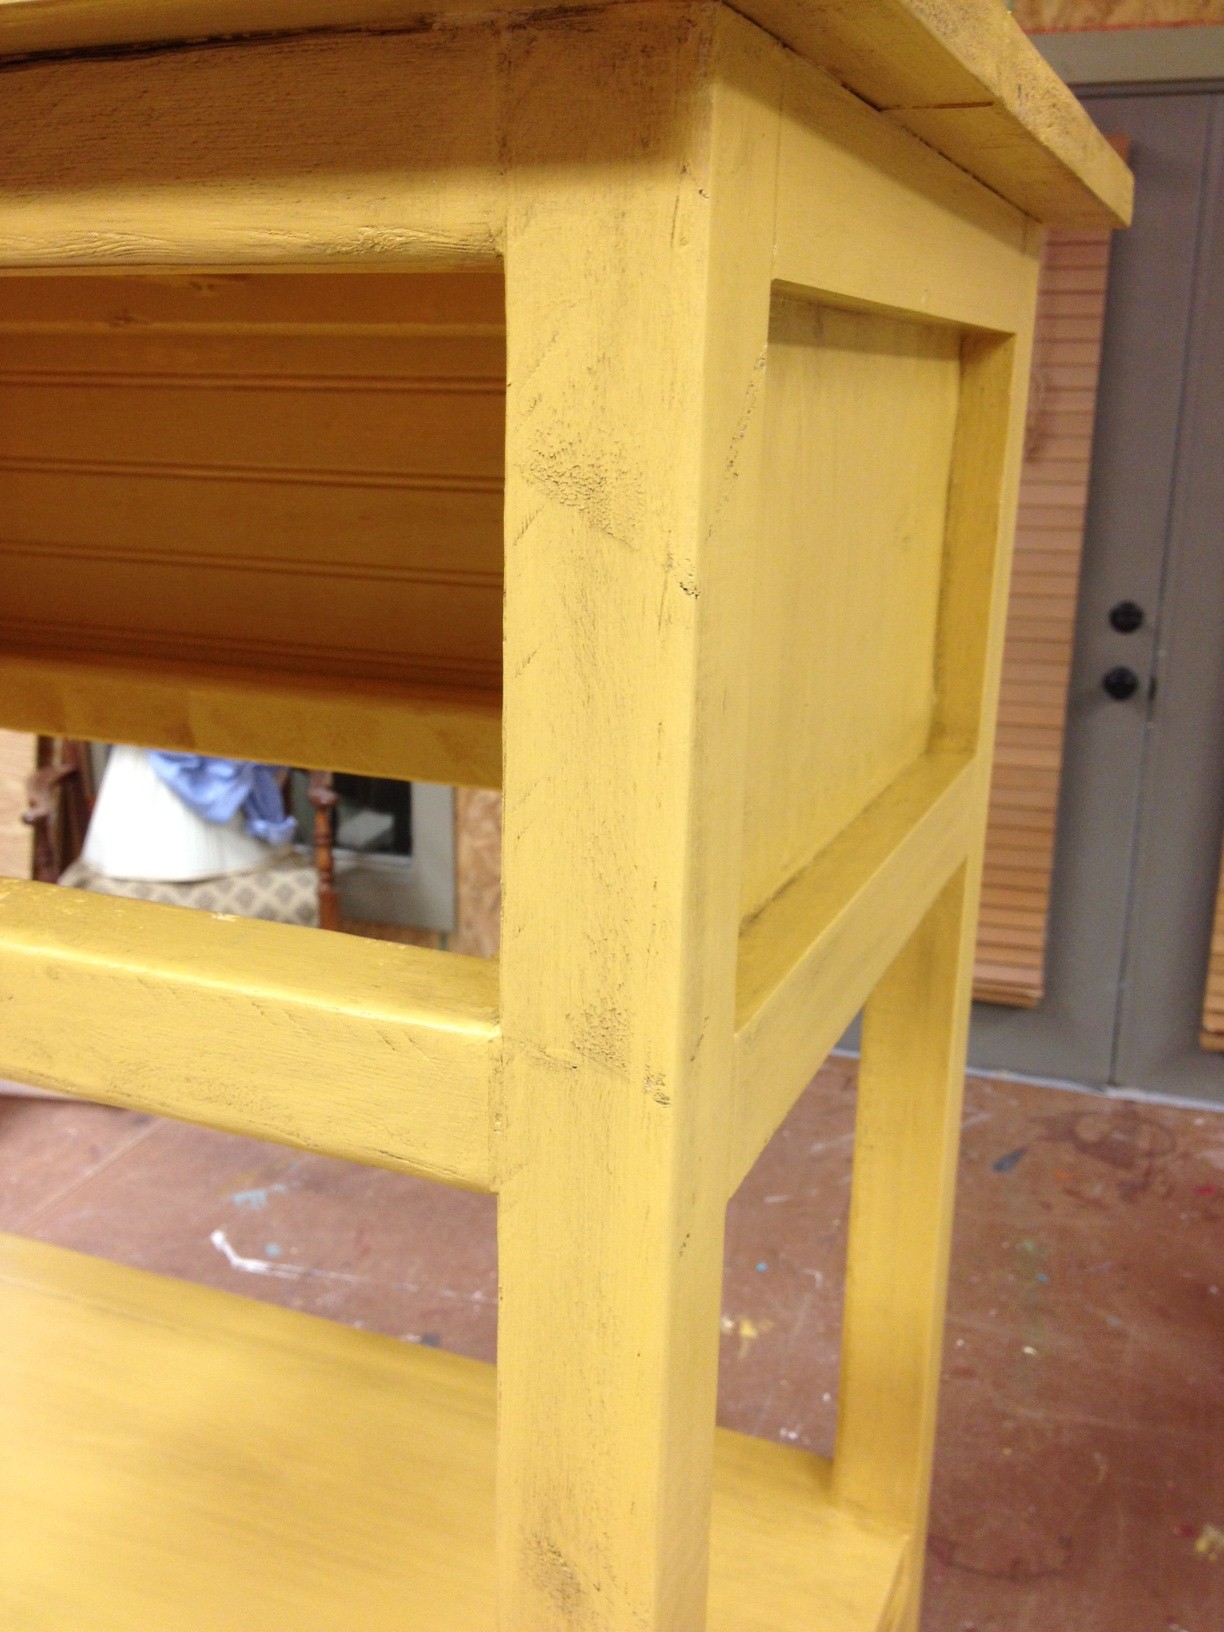
Normally, if I was working on a piece of furniture with few details and crappy wood, I'd sand and distress it instead of adding glaze.  But since I wanted it to match the yellow dresser, adding glaze is what I did.

See how the glaze highlights all the flaws in the wood?  Oh well, it'll do.

We added poly and the same hardware as the other dresser and called it done.

We used a bar of soap to coat the drawer and slats so that it slides in and out easier.  Hopefully it won't expand anymore.  Oh, and if you're thinking the drawer pull looks a little crooked, you'd be absolutely correct.  We have my dad to thank for that.  I leave him alone in the shop for just a few minutes...sigh.

Oh well, it'll do!

Just like with everything else, I'm eager to see it in the room.  Surely it'll look better there, right?

Checkin' In and Grommets

Hello!  It's been a while, huh?  Sorry 'bout that.  Things have been crazy but I just settled in on the couch to watch the Grammys and hopefully get things caught up on this little blog.  My husband is on the couch with me for once.  This is the first Sunday in the past four weeks that he hasn't flown out of town on Sunday afternoon to spend the better part of the week away.  Can I get a hip, hip, hooray?!? I know I keep saying this, but we're in major crunch mode with the beach house.  This weekend we tried to wrap up the last of the projects that we were working on so that this week we can start packing things up.  It's so exciting that this time is finally here!  I do have a couple last projects to share with you this week before bombarding you with pictures of the finished house next week.

This weekend's main goal was to get the curtains finished up.  My mom had finished all the sewing for the bedrooms and was down to just the curtain panels for the living/dining rooms when she broke her finger.  Yep, slammed it right in the car door.  She's down a fingernail and has her right pointer finger in a splint so I was afraid I was going to have to tap in to finish up the sewing.  Luckily, she managed to sew up the last few sides even with her bum hand so I never had to sit behind the sewing machine.  UNluckily, though, she can't really use scissors so after the sewing was done, it was up to just me to finish them up.

Now, for all the bedrooms, once the sewing was done, that meant the curtain panels were complete because we're just hanging them from the little rings that have clips.  Easy peasy.  For the dining/living rooms, we decided to try out grommets.  We've never done curtain panels using grommets before, but my Aunt Kim told us we could do it so we went for it.  The first panel was obviously the hardest since we had to really measure out the placement of each grommet, but after that we could use it as a guide for the other panels.

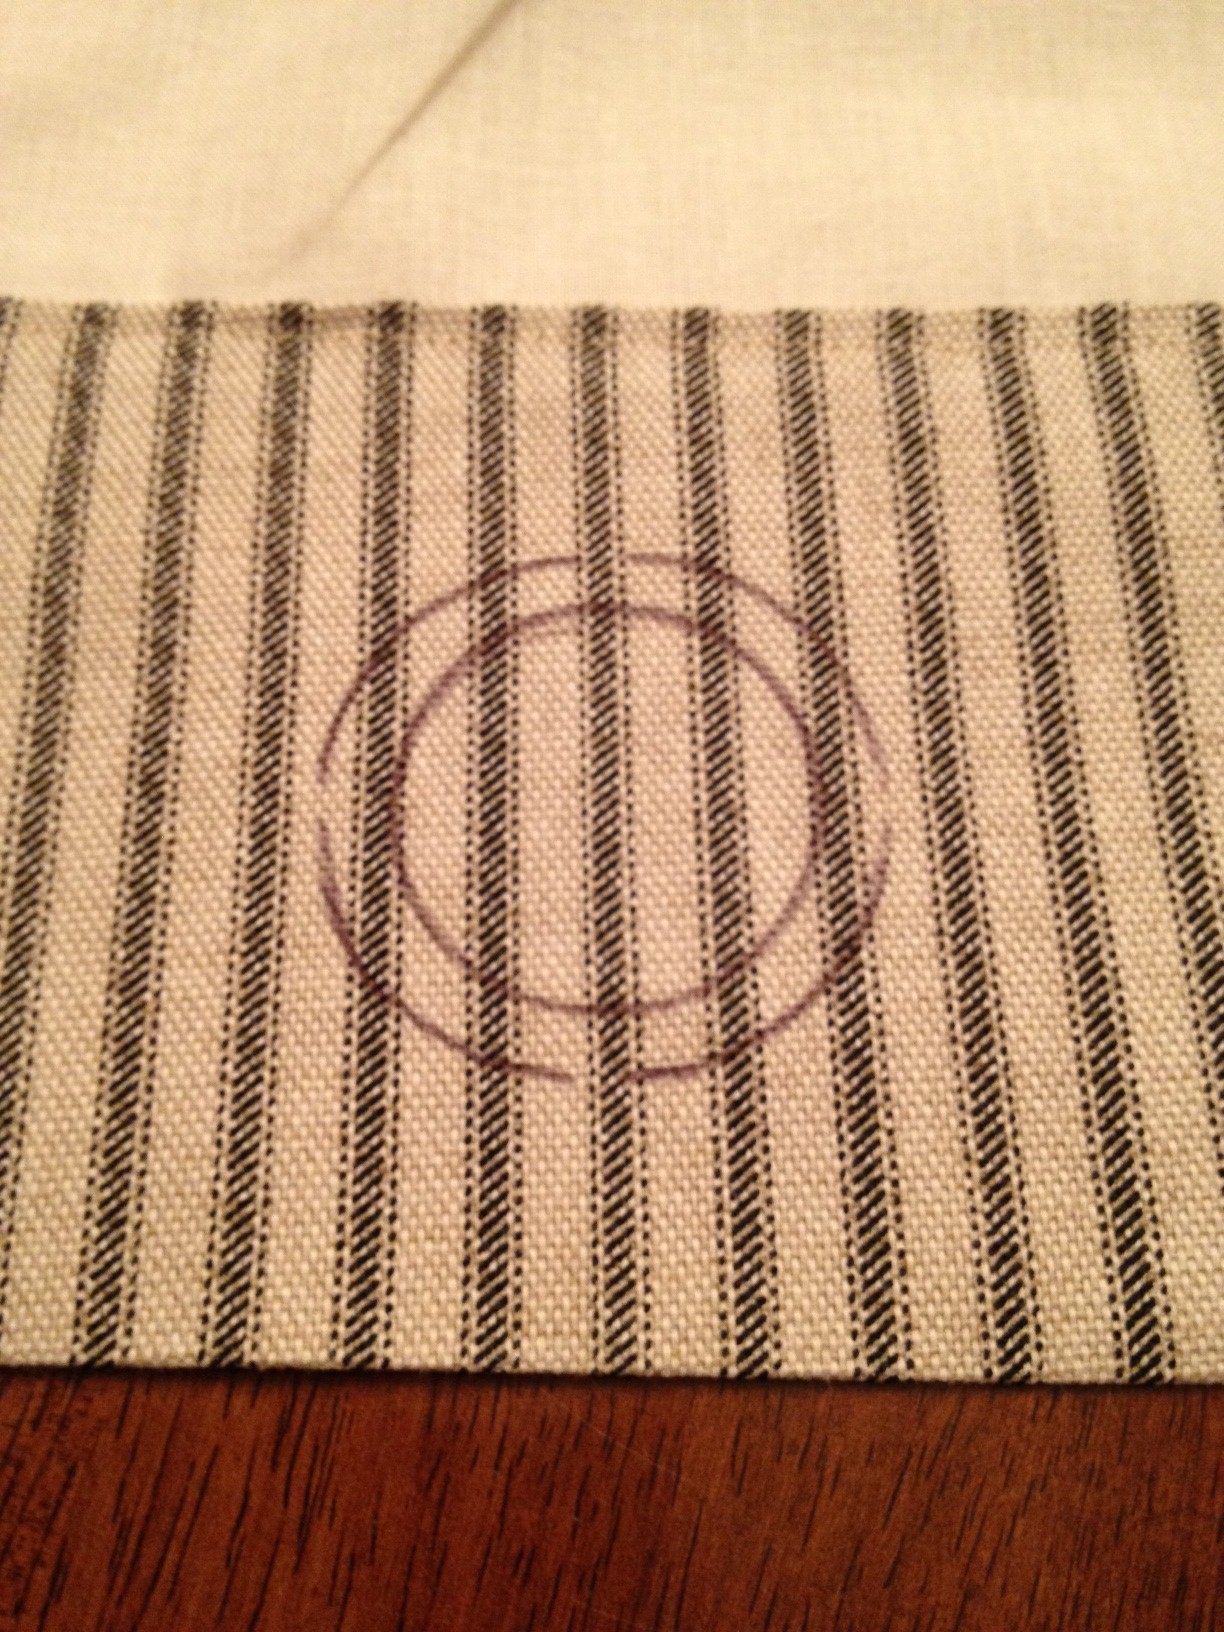
We marked off the placement on the back of the panel.

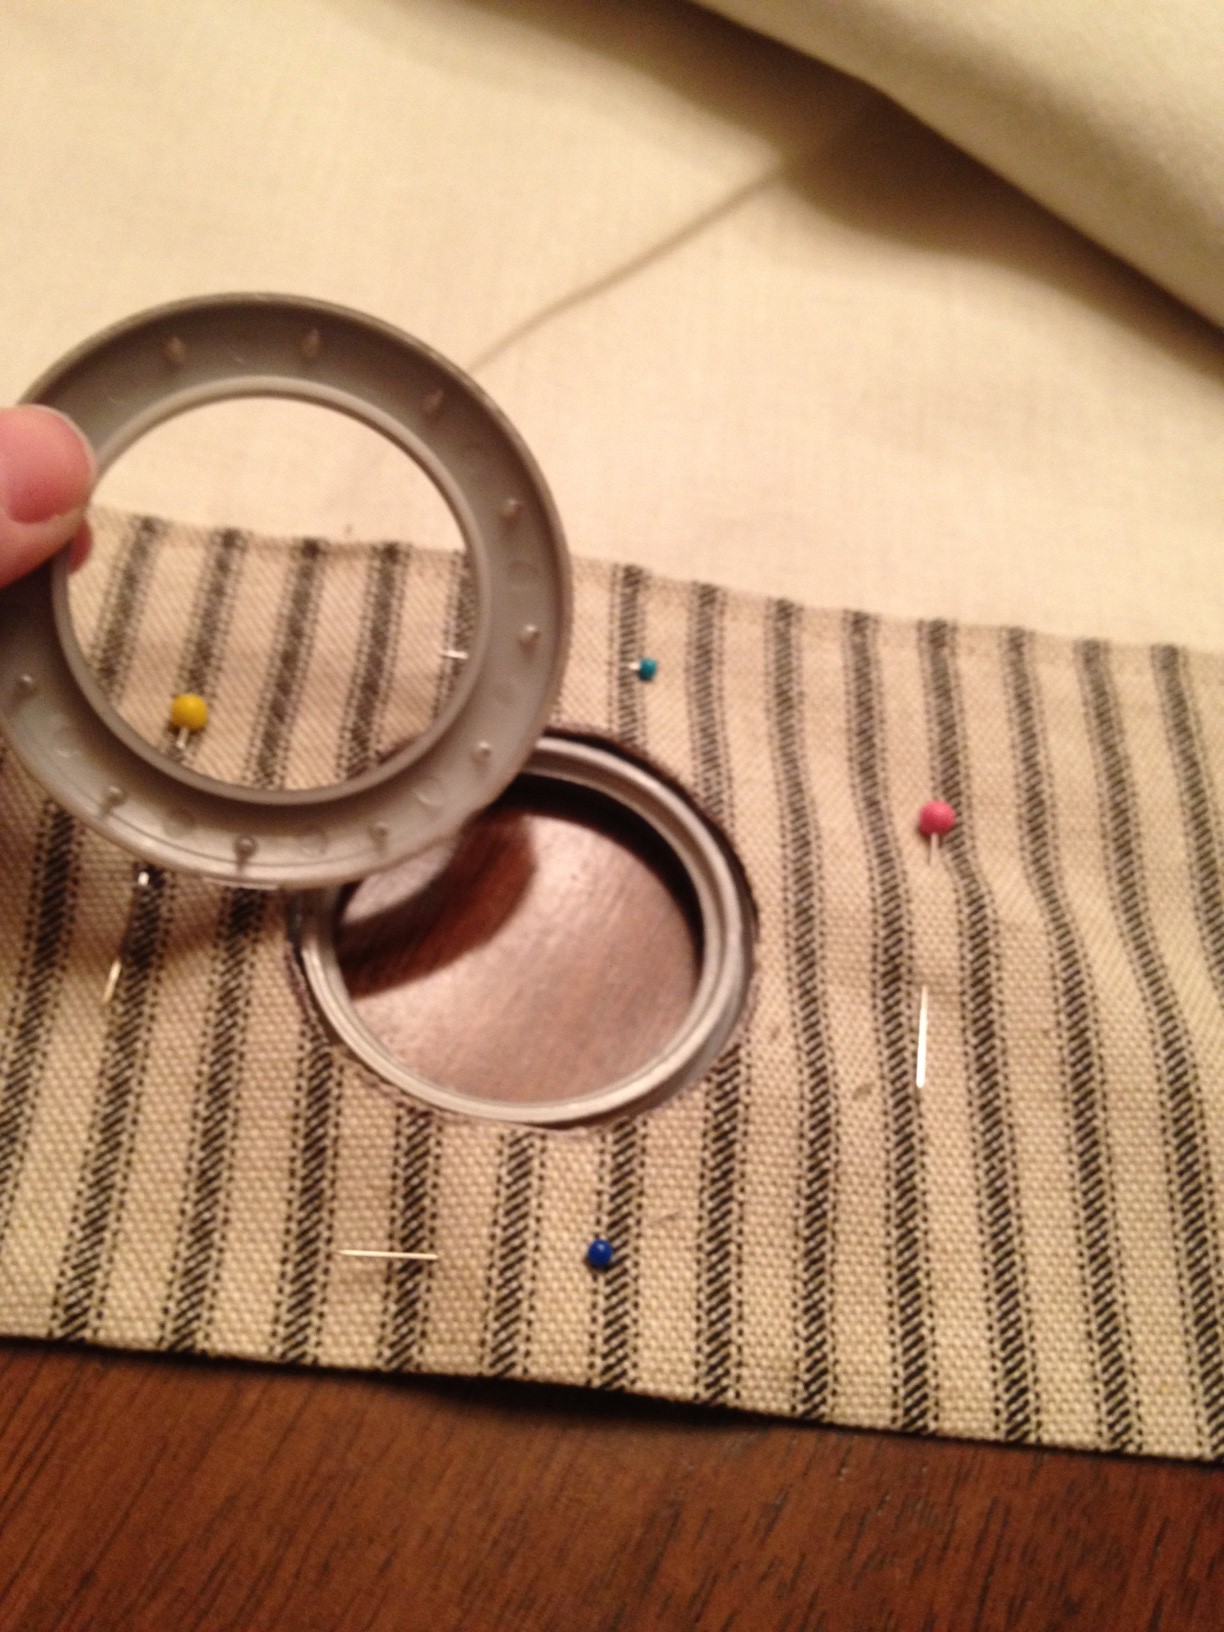
The smaller circle, above, is from the inside of a grommet on the first panel.  The bigger circle is actually the size hole we needed to cut, though, so we just centered our stencil over the smaller hole.

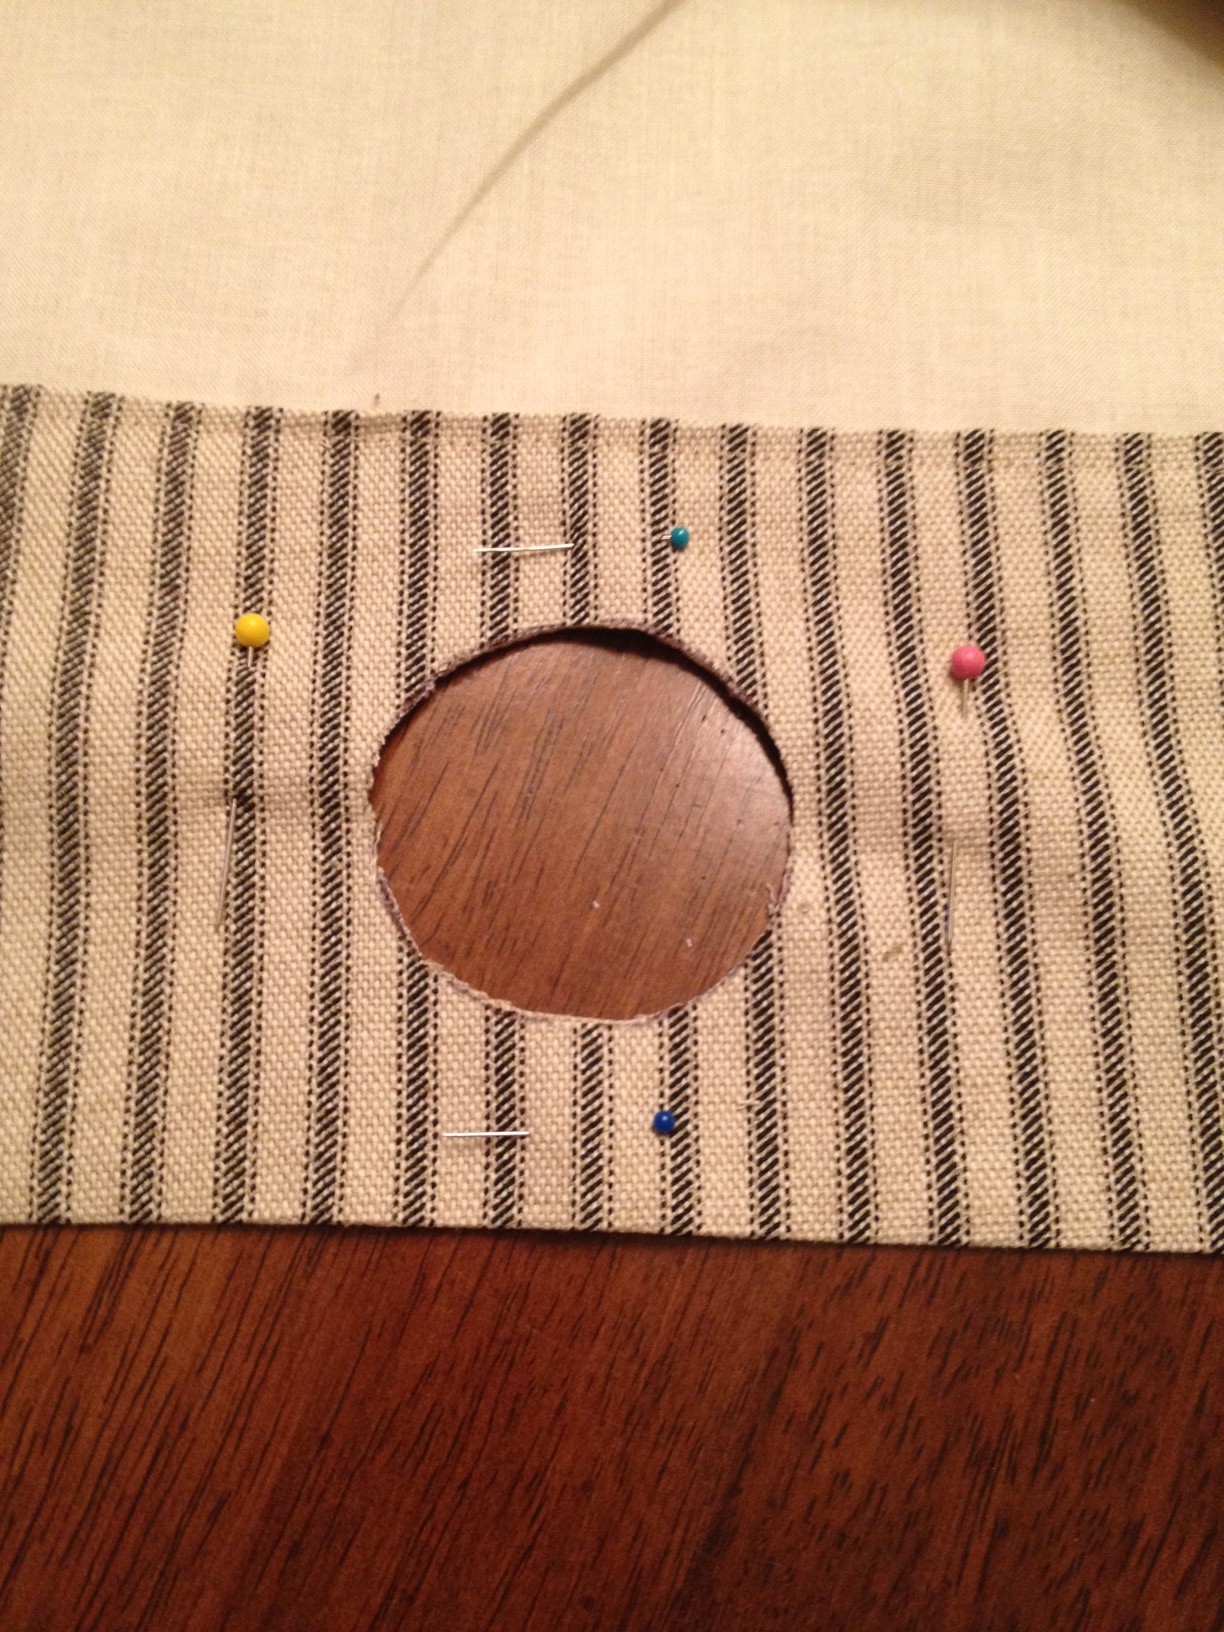
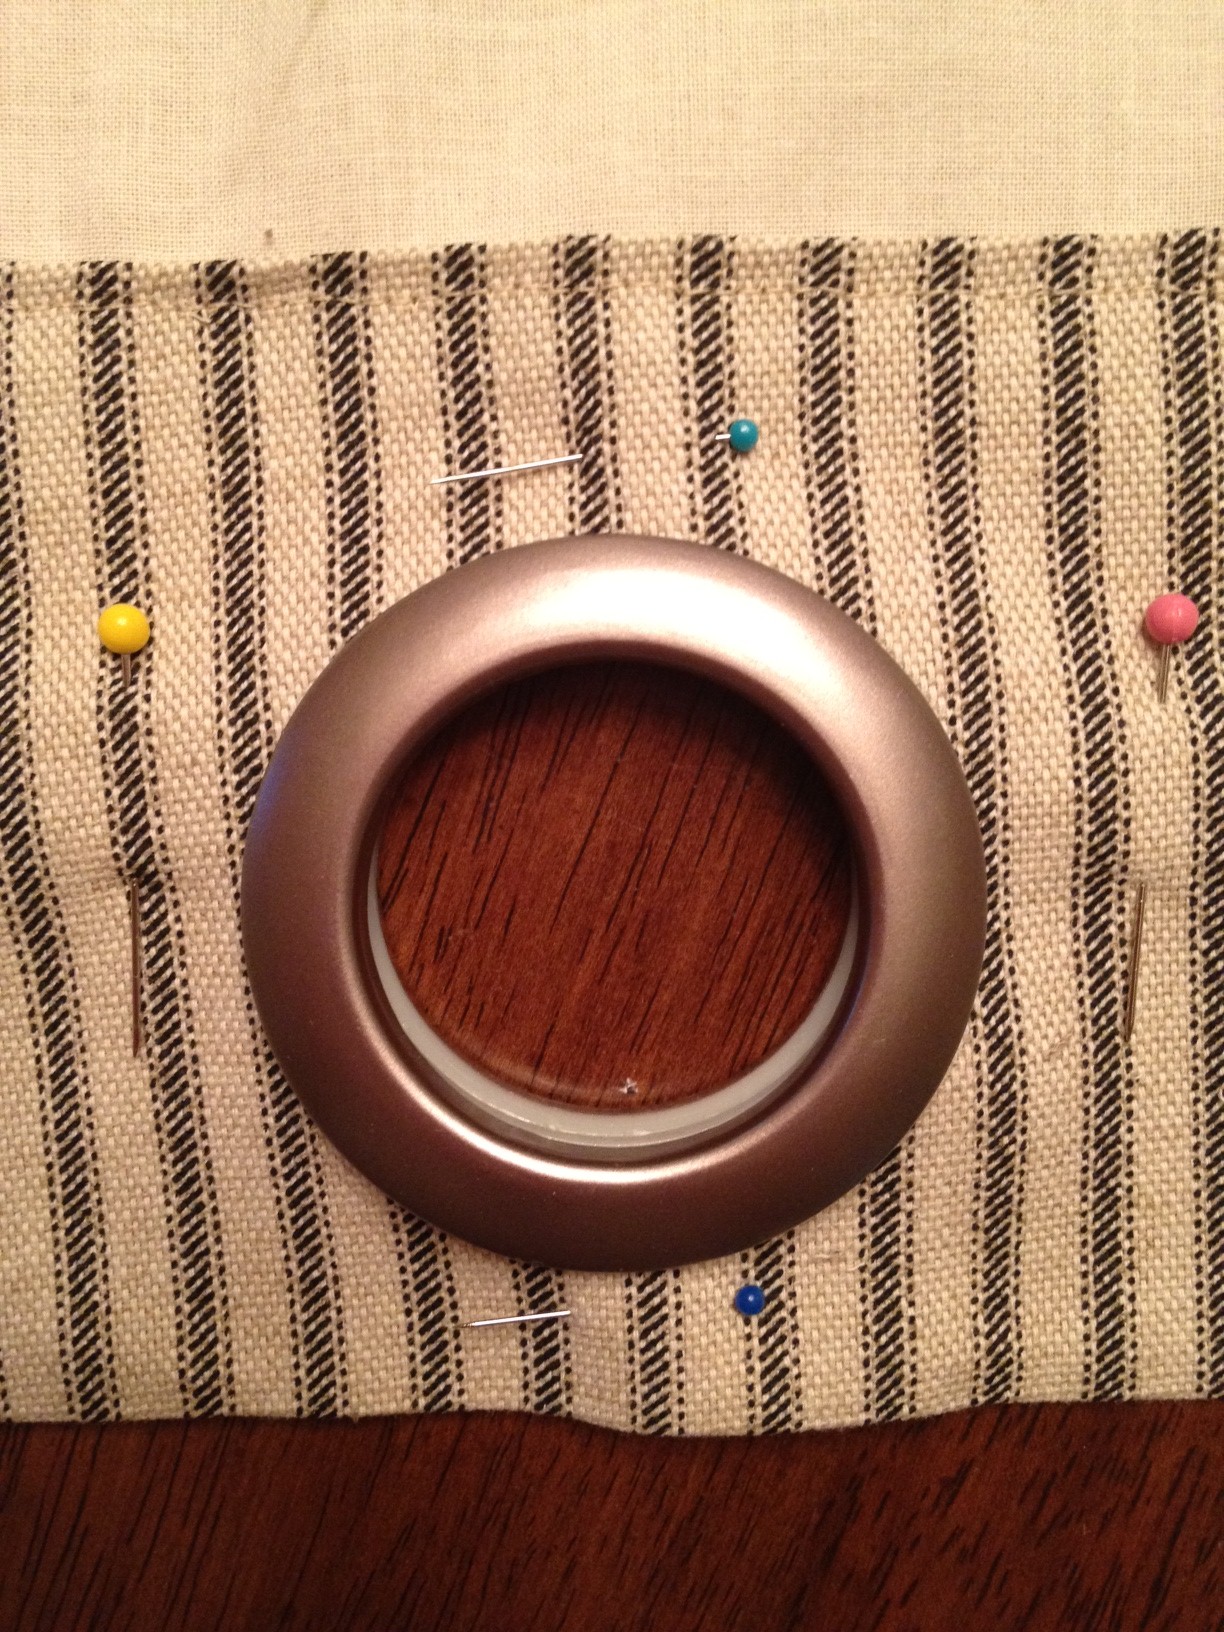
Because I was going to cut the hole out of two layers of fabric, I pinned all around the circle first.  I didn't want things sliding around and getting all wopperjawed while I cut.  Cutting the circle wouldn't have been hard at all if there wasn't so much fabric attached to it!  I couldn't really maneuver it around to cut easily so that was tricky.

Once the hole is cut, the rest is super easy.  We used plastic grommets and didn't have any problems with them at all.  They came in packs of eight and that's how many we put on each panel.  First, I placed the bottom half under the fabric.

The other half of the grommet has little teeth on it that keep the fabric pinned in.

Then it was just a matter of lining them up and snapping them together.  Not gonna lie, I kinda had to throw my body weight into it to get them to snap shut.

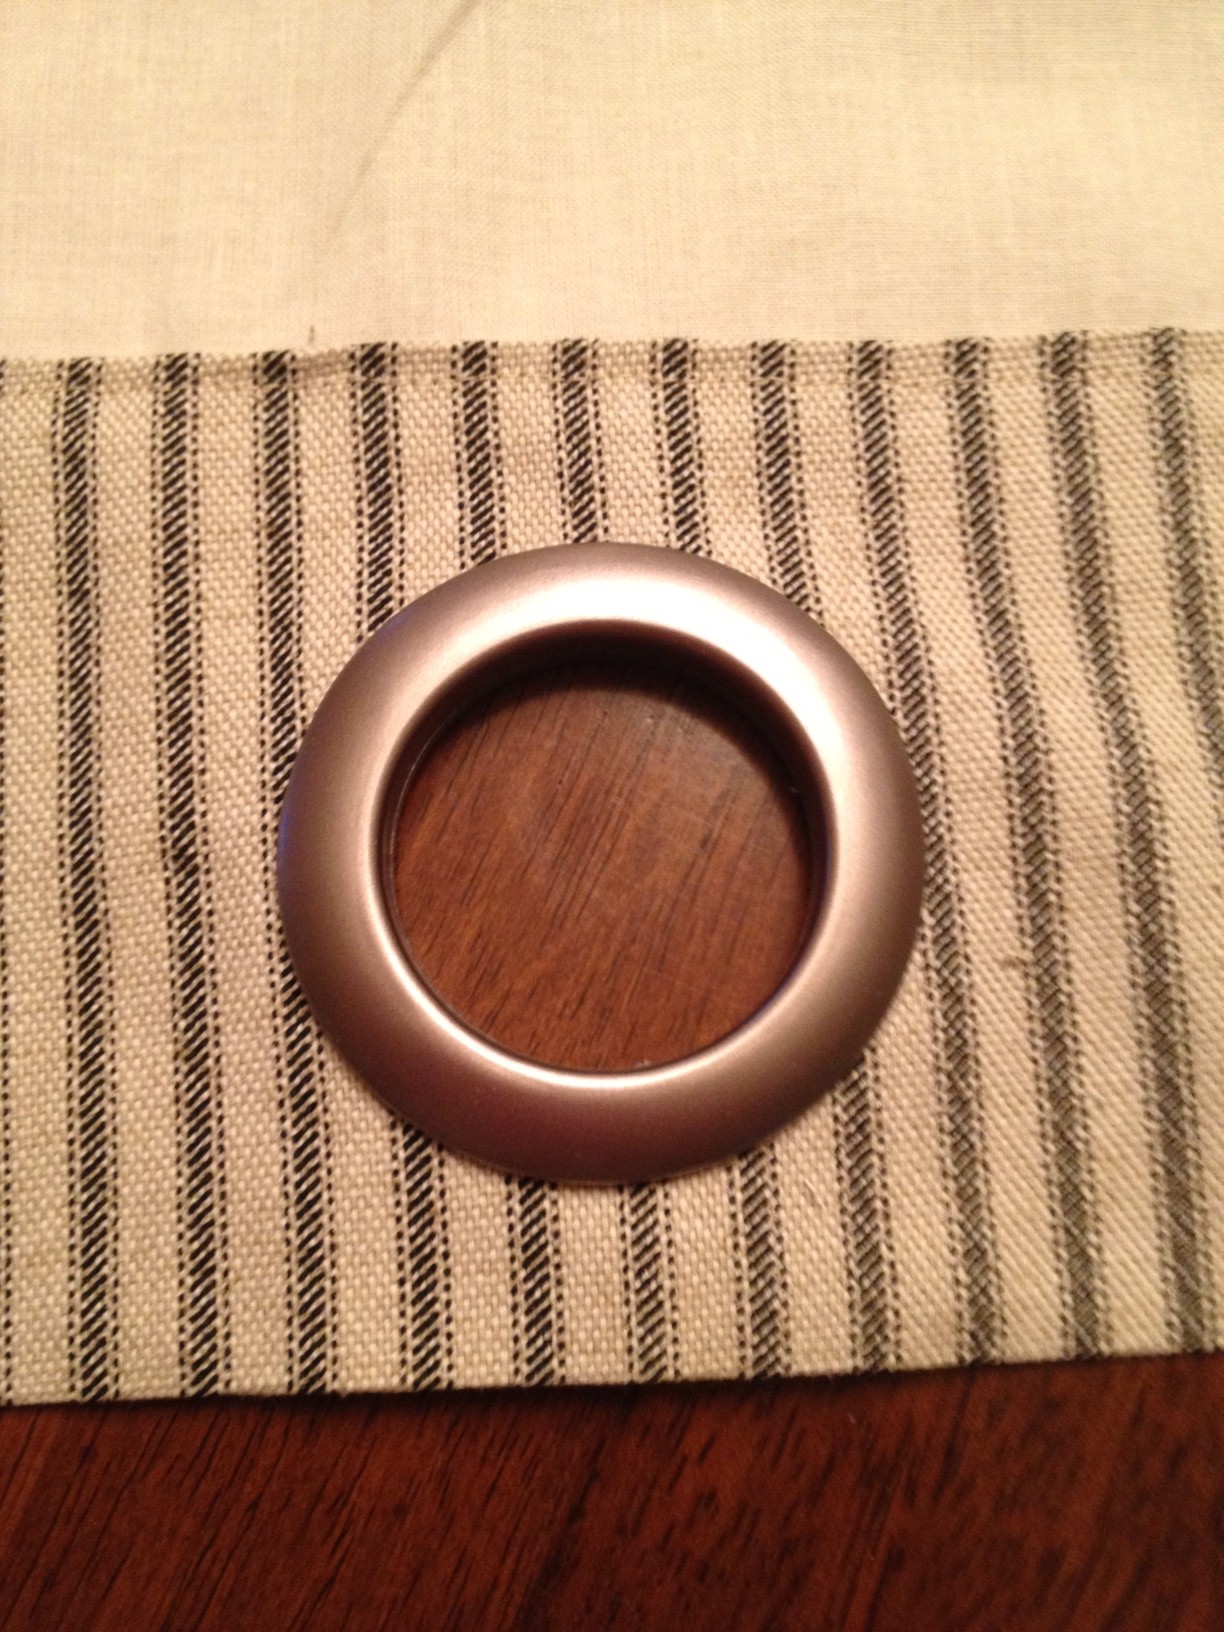
Here's how it looks after snapping it together.

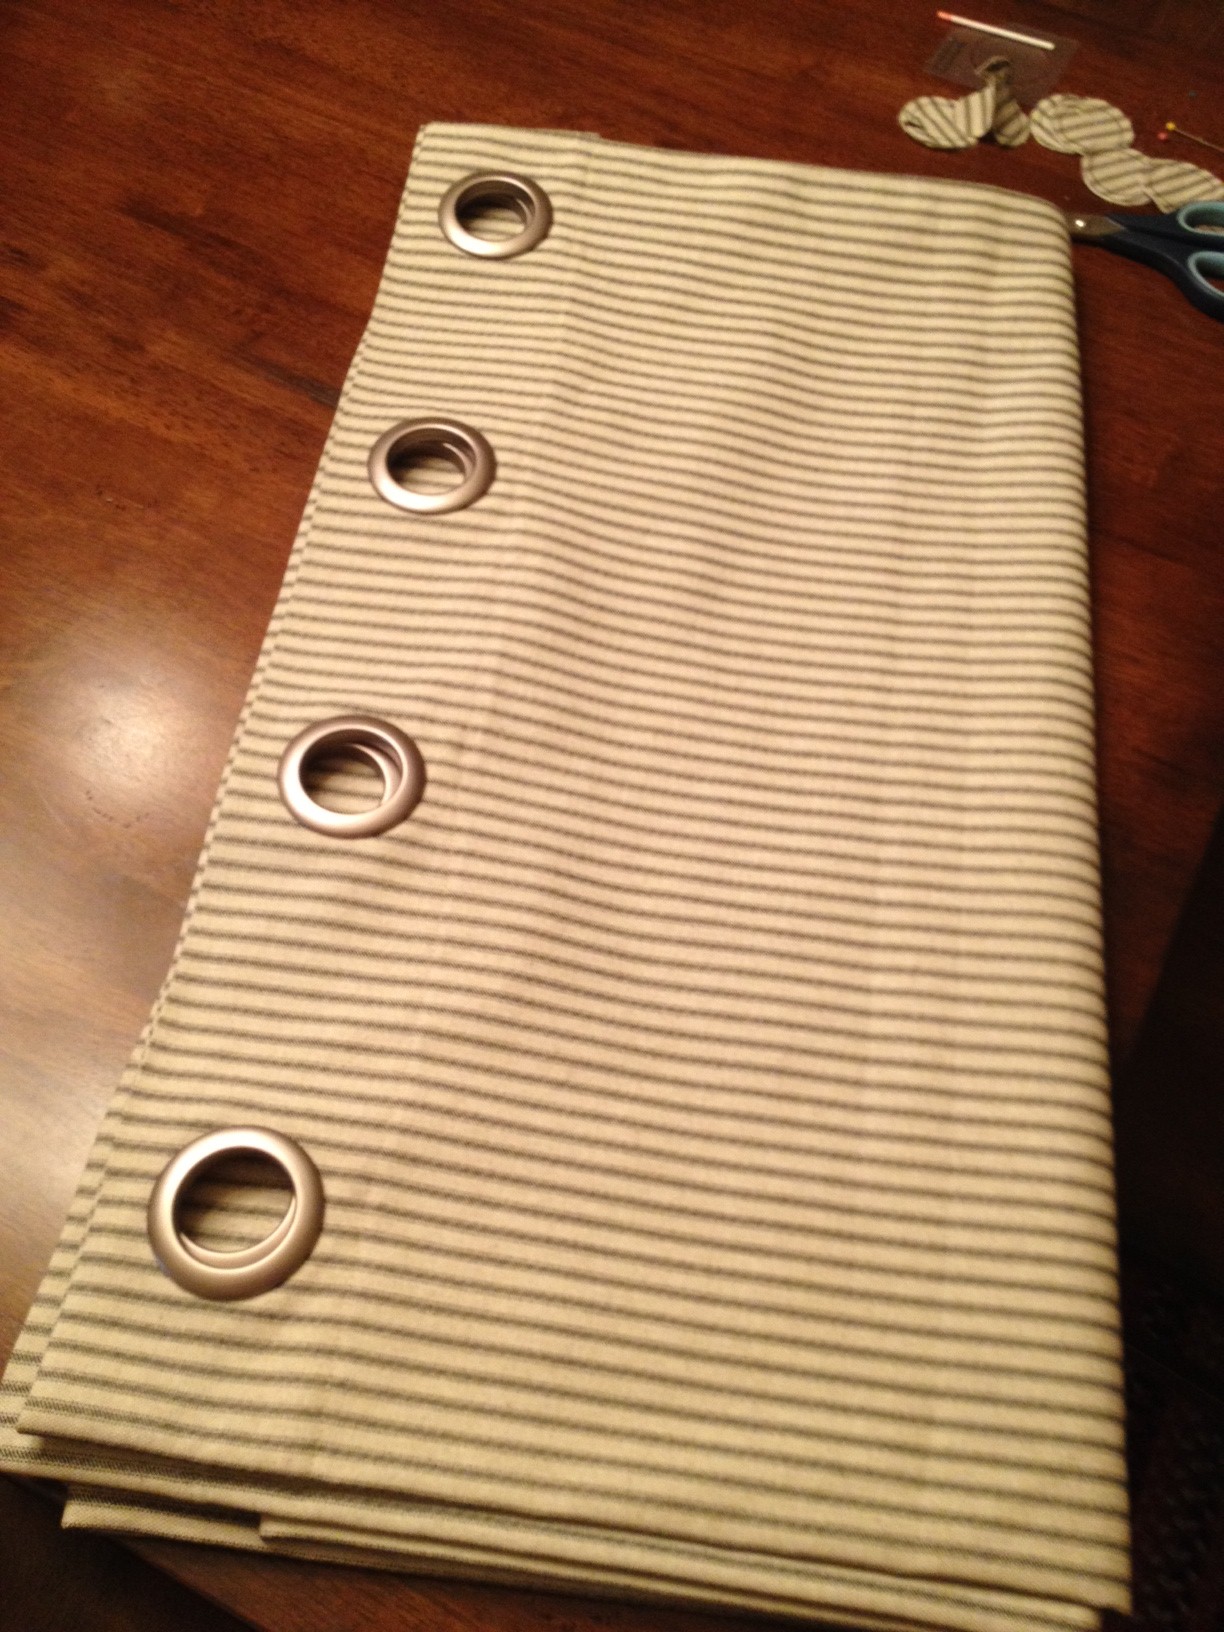
You really can't tell it's plastic.  At least I don't think so.  Here's a completed panel with 8 grommets.  It's folded in half in this picture.

Not a hard process at all, just very time consuming.  Did I mention that there were ten panels?  With 8 grommets each?  Yea, you can do that math...I had to cut EIGHTY holes.  Gah!  It took forever.  Does anyone else think it's weird that my mom broke her finger just in time to miss out on all this fun?  Well played, Mom.  Well played.

For The Walls

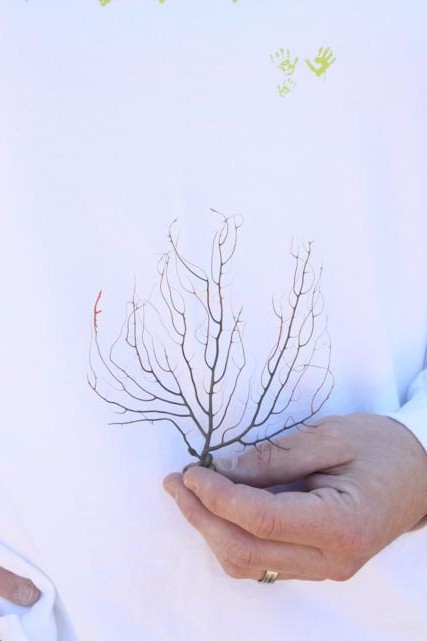
Even though we have all the paintings that Beth cranked out, and even the one I did, we still felt like we might need a few more items to cover the walls.  Not everything could be paintings though, so we had to get creative. For the first project, I used this piece of ocean grass that Doc's mom found on the beach during our trip to Topsail, NC.  I thought it was pretty cool while we were there and ended up bringing it home with me.

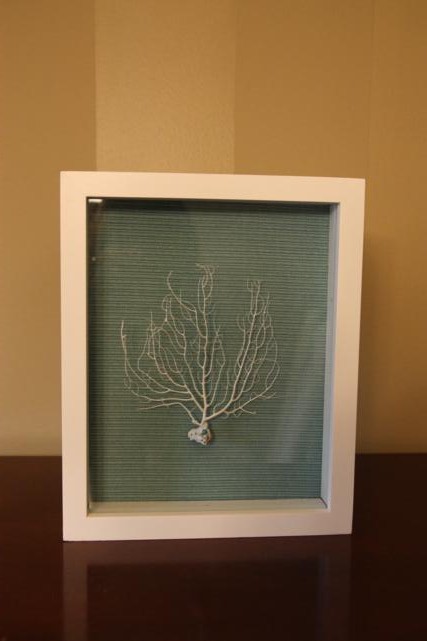
The steps for this one were simple.  First, the ocean grass got spray painted white.  Then, we covered the background of a shadow box (from Hobby Lobby) with the same turquoise fabric that we're using in one of the Jack and Jill bedrooms.  Finally, we tacked the ocean grass in on top of the turquoise background.  Easy peasy.

I also brought home some really cool flat stones that Pat also found on the beach.  We glued them down in another shadow box to having a semi-matching piece of art.  These two may end up in the Jack and Jill bathroom.

While at Hobby Lobby picking up the shadow boxes, I also grabbed a big canvas.  This next wall art was inspired by this one I found on Pinterest.  (I think that one was a knock-off that someone else did too; I'm not sure who gets credit for the original idea.)

I painted the background grey and cut out a bunch of petals out of fabrics that coordinate with our color scheme in the Jack and Jill bedrooms.  I used another flat stone from the beach in Topsail as the center of my fabric, and then mod podged on all my fabric petals to make a big flower.

This last project we actually finished a while back, I just keep forgetting to share it.  This beadboard creation is pretty much just like the one my mom has in her house, except we did the frame white instead of brown.  This will go at the top of the stairs over the fuse box.

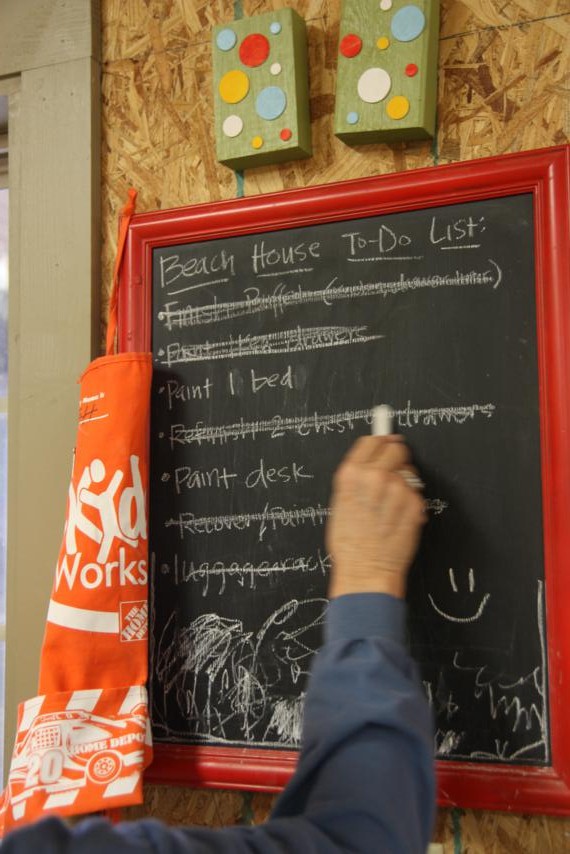
We're getting to scratch lots of things off our Beach House To Do List and it's a good feeling!

Mirror and Other Things

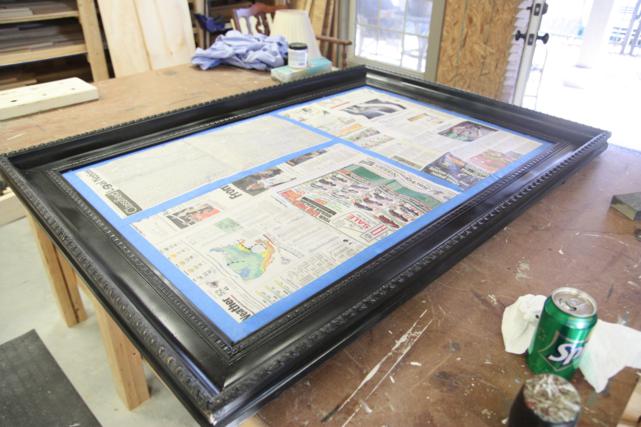
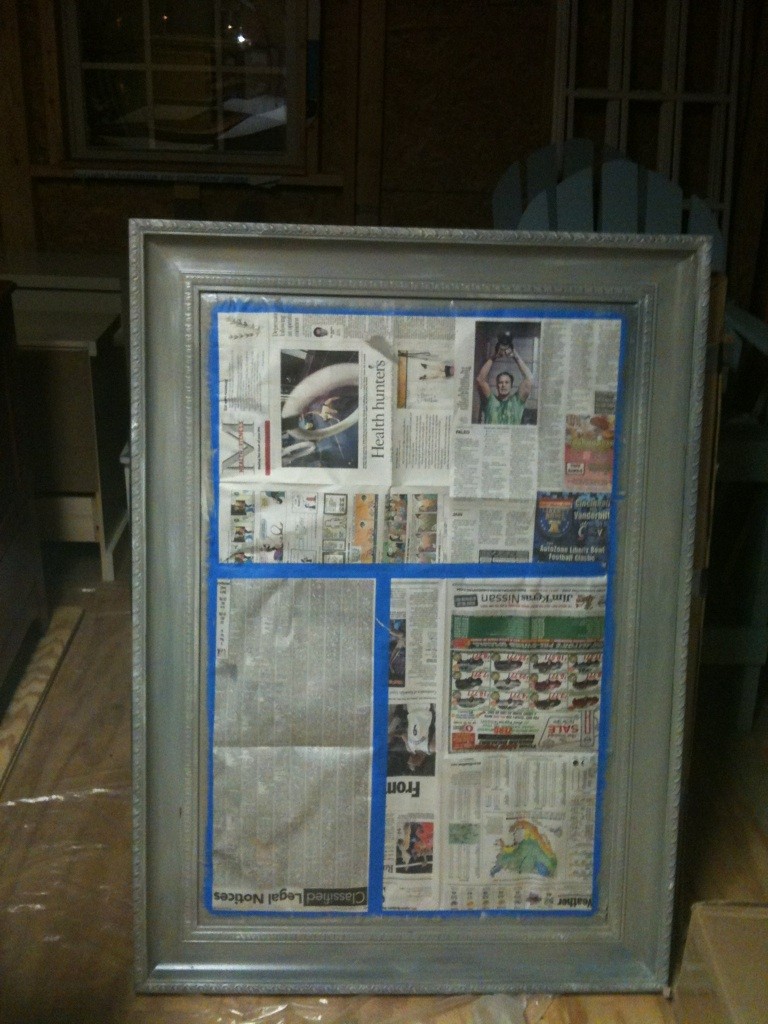
The mirror that I needed your help with is done.  Since I forgot to take pictures of it for that post, here are some now.  This is how it looked when I got it (after I taped off the mirror part to paint).

The edges were really chipped and you could see the original gold peeking through.

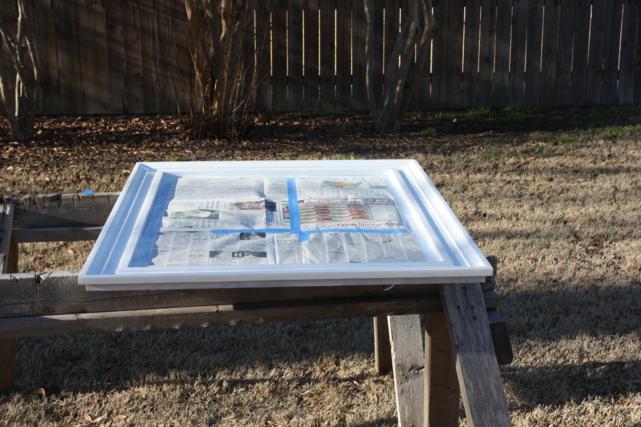
The weather was so nice this past Sunday that I was able to drag the mirror outside to paint.  I didn't take any in-process pictures, but basically I decided to go with a blend of colors.  I filled a plate with white, black, grey, khaki, and yellow paints and had no rhyme or reason with how they went on.  I just dipped my brush, sometimes in two colors at once, and brushed them on.  Sometimes I blended them in, sometimes I didn't.  The end result is mostly grey, but with hints of other colors.

A closer view of one of the edges.  We're going to keep the mirror taped up until we get it moved into the house, so we'll have to wait a while to really see it in its "after" state.

While I was working on this mirror, my brother Nick was also out painting another one.  His started out as stained wood and his job was to paint it solid white.  It's for one of the Jack and Jill bedrooms.

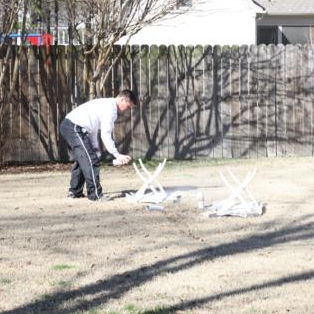
Nick wasn't the only one I put to work.  Doc worked on spray painting a couple of luggage racks that we bought at an estate sale.

(I had my exposure settings on a wonky setting when I took these, that's why they look so blown out.  My bad.)

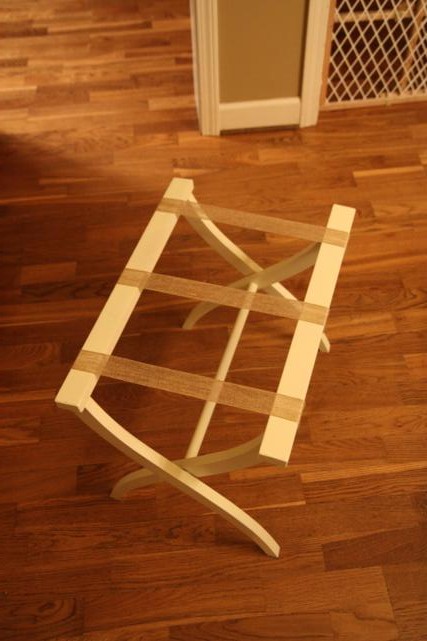
Speaking of the luggage racks, I finished them up last night.  One is now white with grey and white polka dot straps and the other is cream with burlap-y straps.


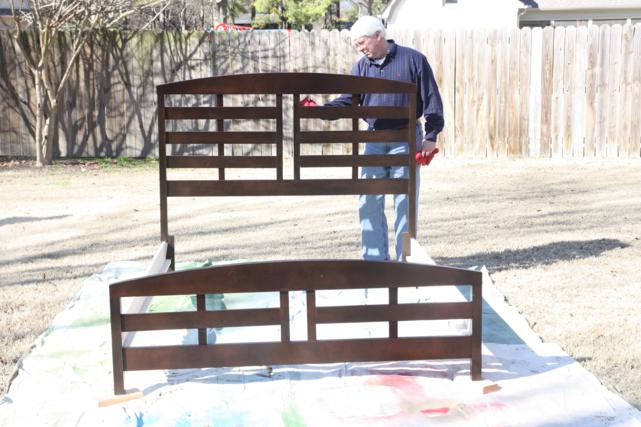
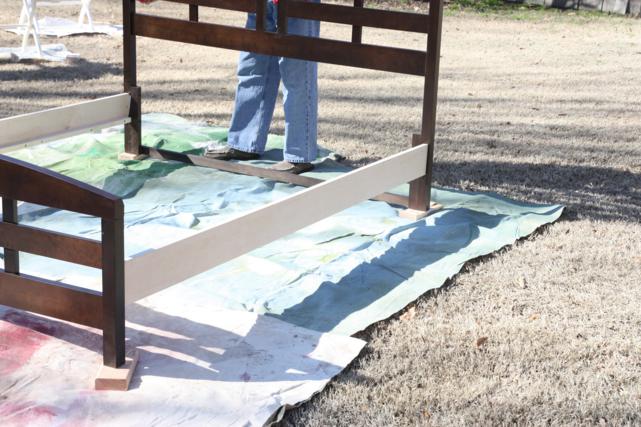
Back to the backyard painting party.  Dad was put on bed duty.  We found this [brand new, not used] headboard and footboard a while back for 200 bones.

Problem #1: a headboard and footboard do not a queen bed make.  But did you know you can just buy side rails off the internet?  Yessir you can.  And with the addition of those, we had a whole bed.  Problem #1 solved.

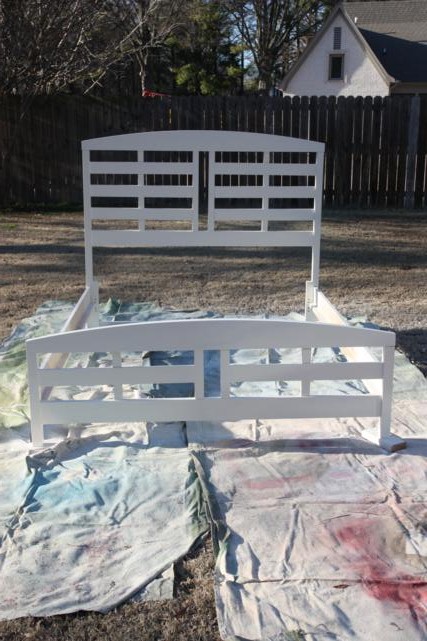
Problem #2: the bed was brown.  We needed it white.  Luckily, Doc was able to pitch in and help Dad with the painting and with that, problem #2 was solved.  (Actually, it's mostly solved.  It still needs one more coat of paint.)

If you ask me, the bed looks better white than it did brown.  Winning!

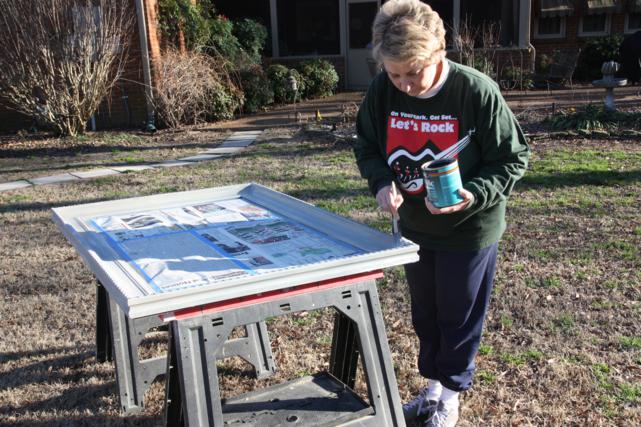
Mom didn't get off the hook either.  She was on polyurethane duty as soon as the mirrors were dry enough.

So it was a long day with all of us hard at work.  Luckily, we had a pretty cute girl cheering us on.

If we manage to get all these painted pieces to Florida without royally scratching them up, it'll be a miracle.  Cross your fingers for us!