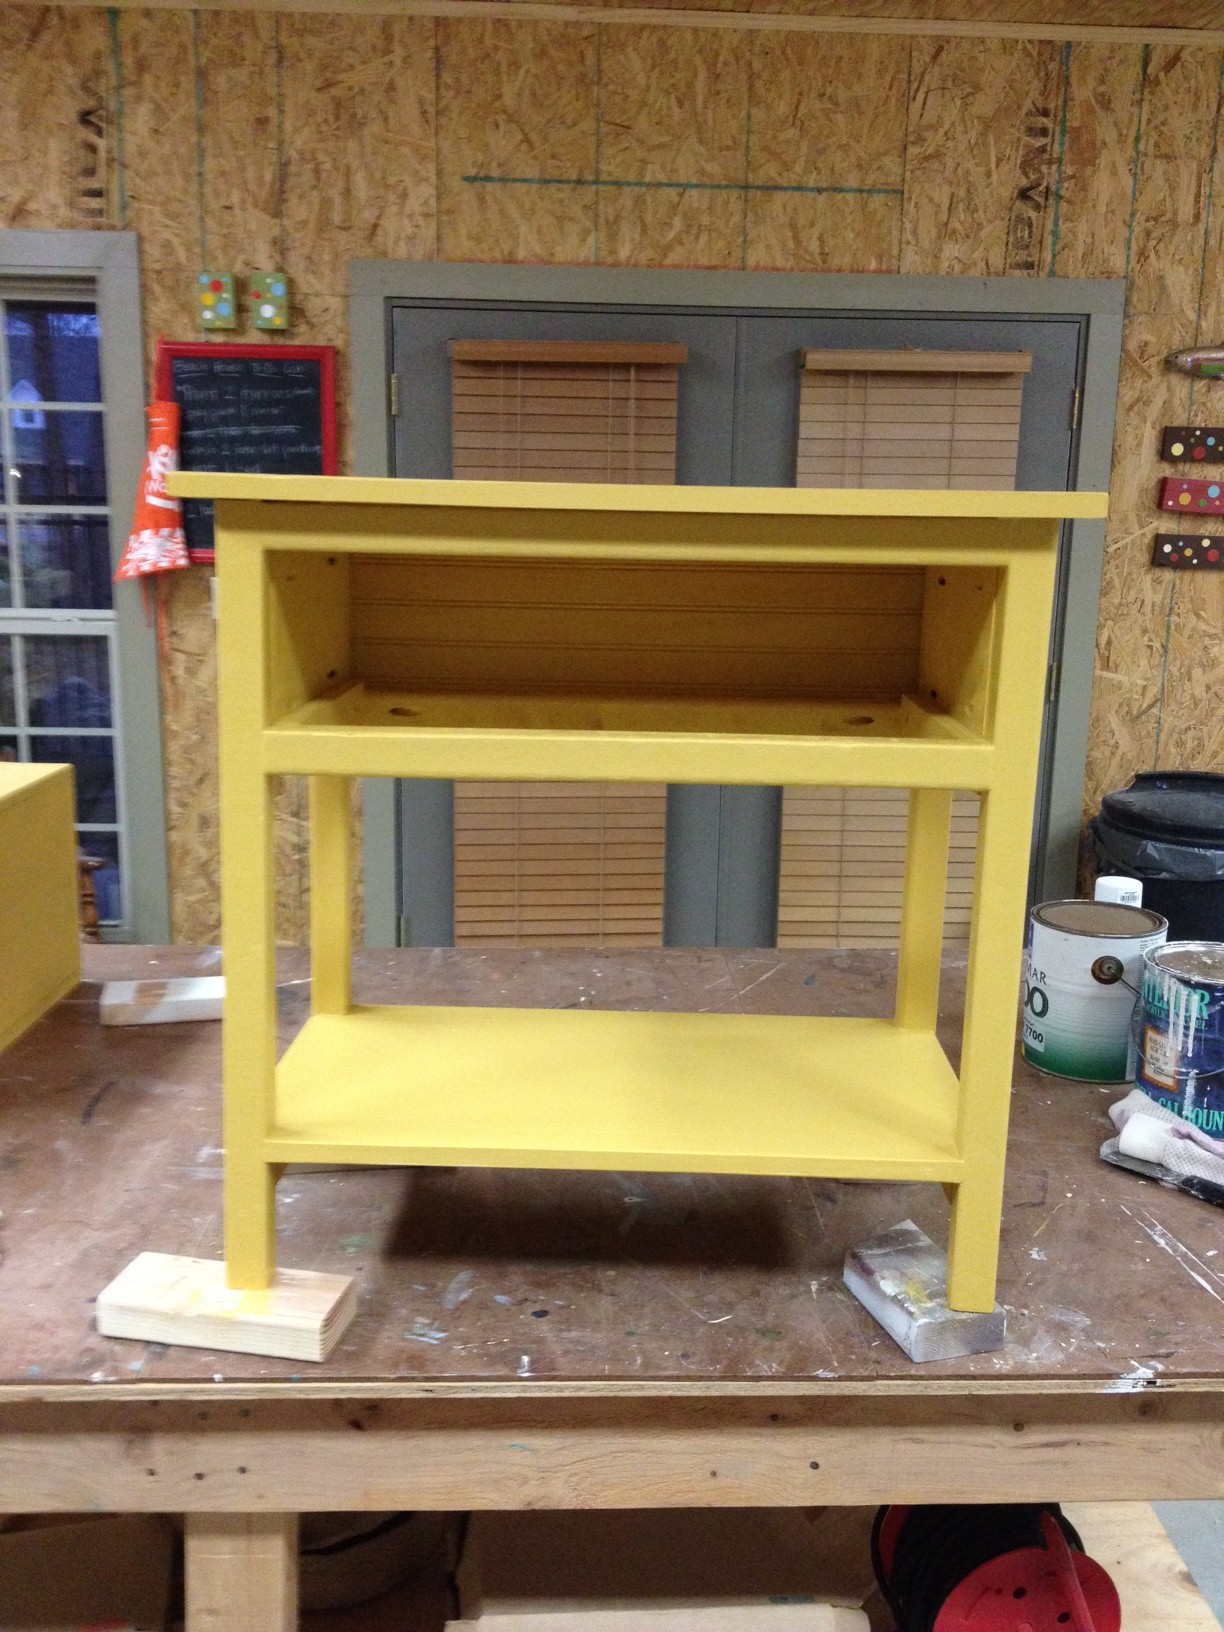
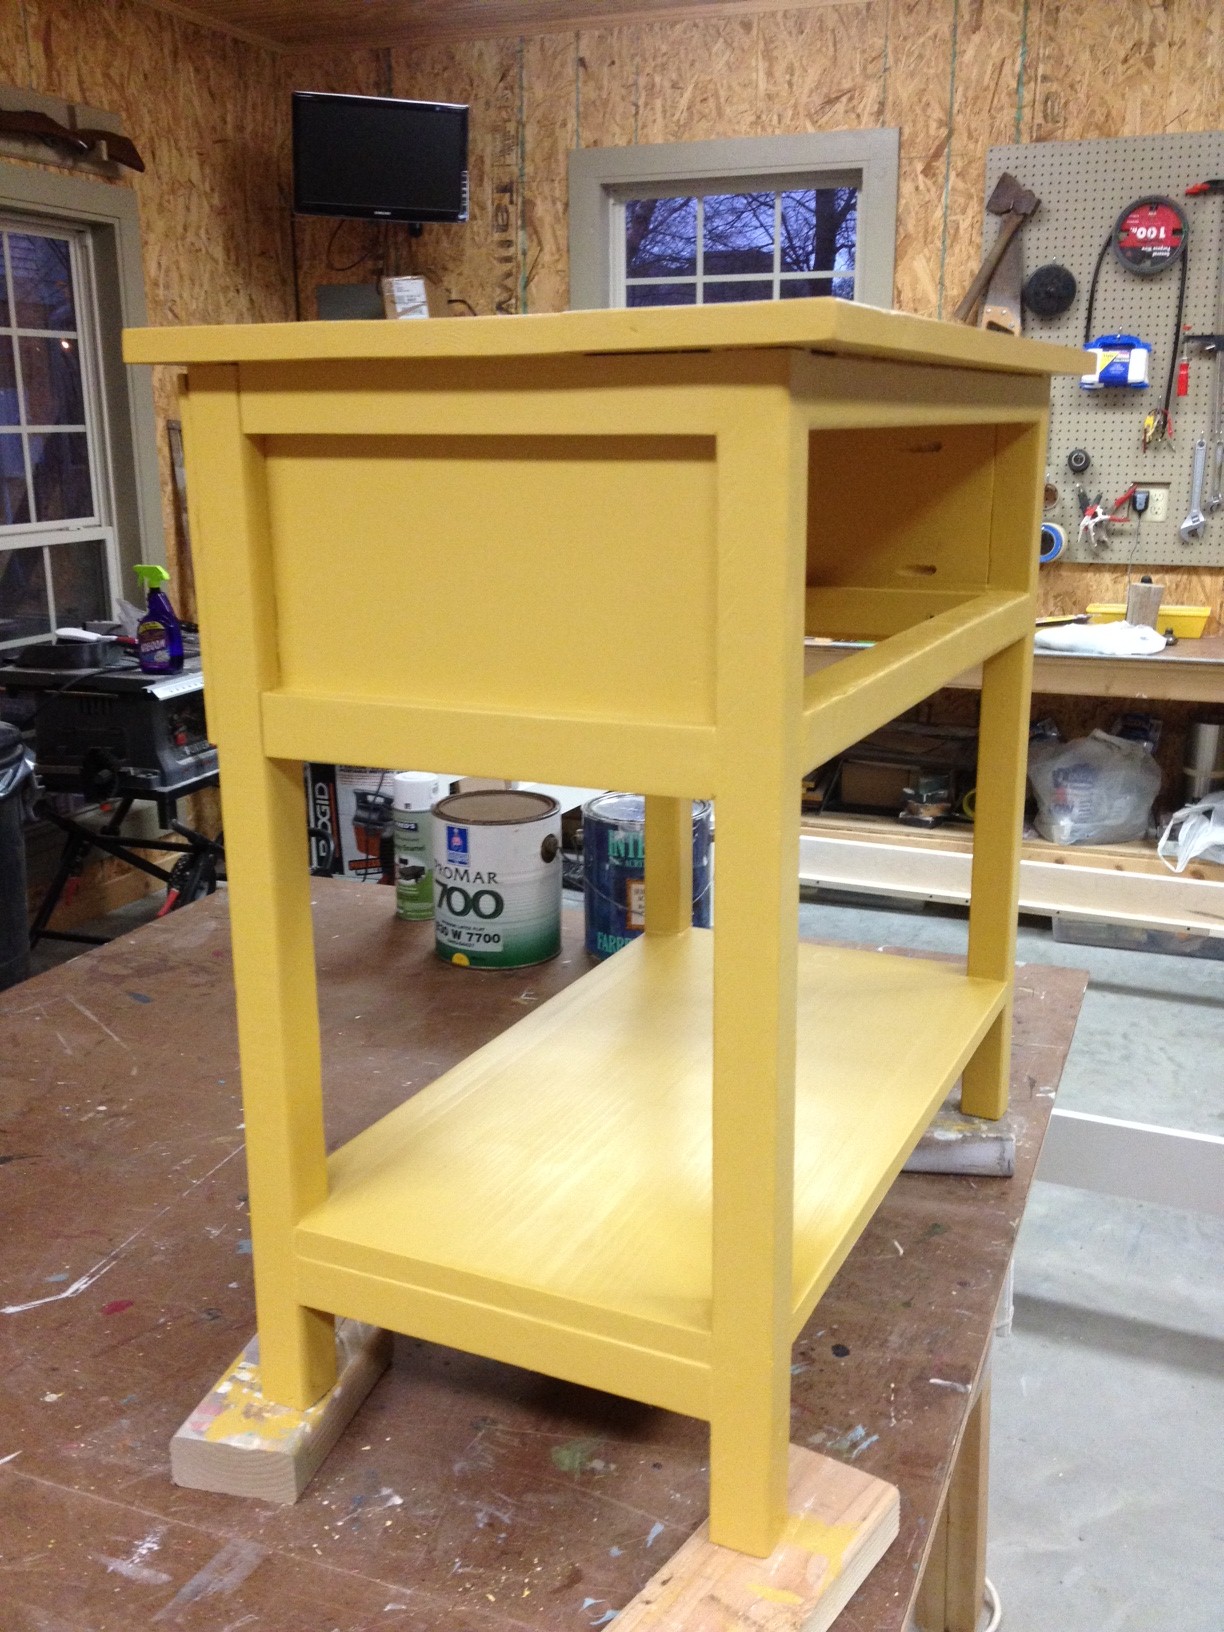
Even after revamping four Ikea Rast tables, we were still left one bedside table short. Mom and I searched high and low for a yardsale or thrift store table that we could redo, but all to no avail. And for some reason, this bedside table is just something we didn't want to shell out a lot more cash on. So, we turned to Ana White and found her plans for a Farmhouse Bedside Table. I'm going to be honest here and tell you that this table is a joke. Almost a hunk of junk. Not because of the plans - those are great. It's a joke because everything that could possibly go wrong while building did. It was downright laughable by the time we finished. We started with wood that was less than stellar; it was bowed and twisted and knotted and our 2x2s were more of furring strips than finishing pieces, but we used 'em anyway. On top of that, it seems like every single scew we put in hit a knot and came out in the wrong spot. It was a hot mess. But at this point, we're all in the "oh well, it'll do" mindset so we painted it up just like it was our best piece ever.
I didn't take in-progress pictures because I wasn't even sure we'd finish it. I think at one point I told my dad to just tear it apart. But we did complete it and we sanded and puttied and caulked and by the time it got a coat or two of paint on it, it looked okay. Not great, just okay.
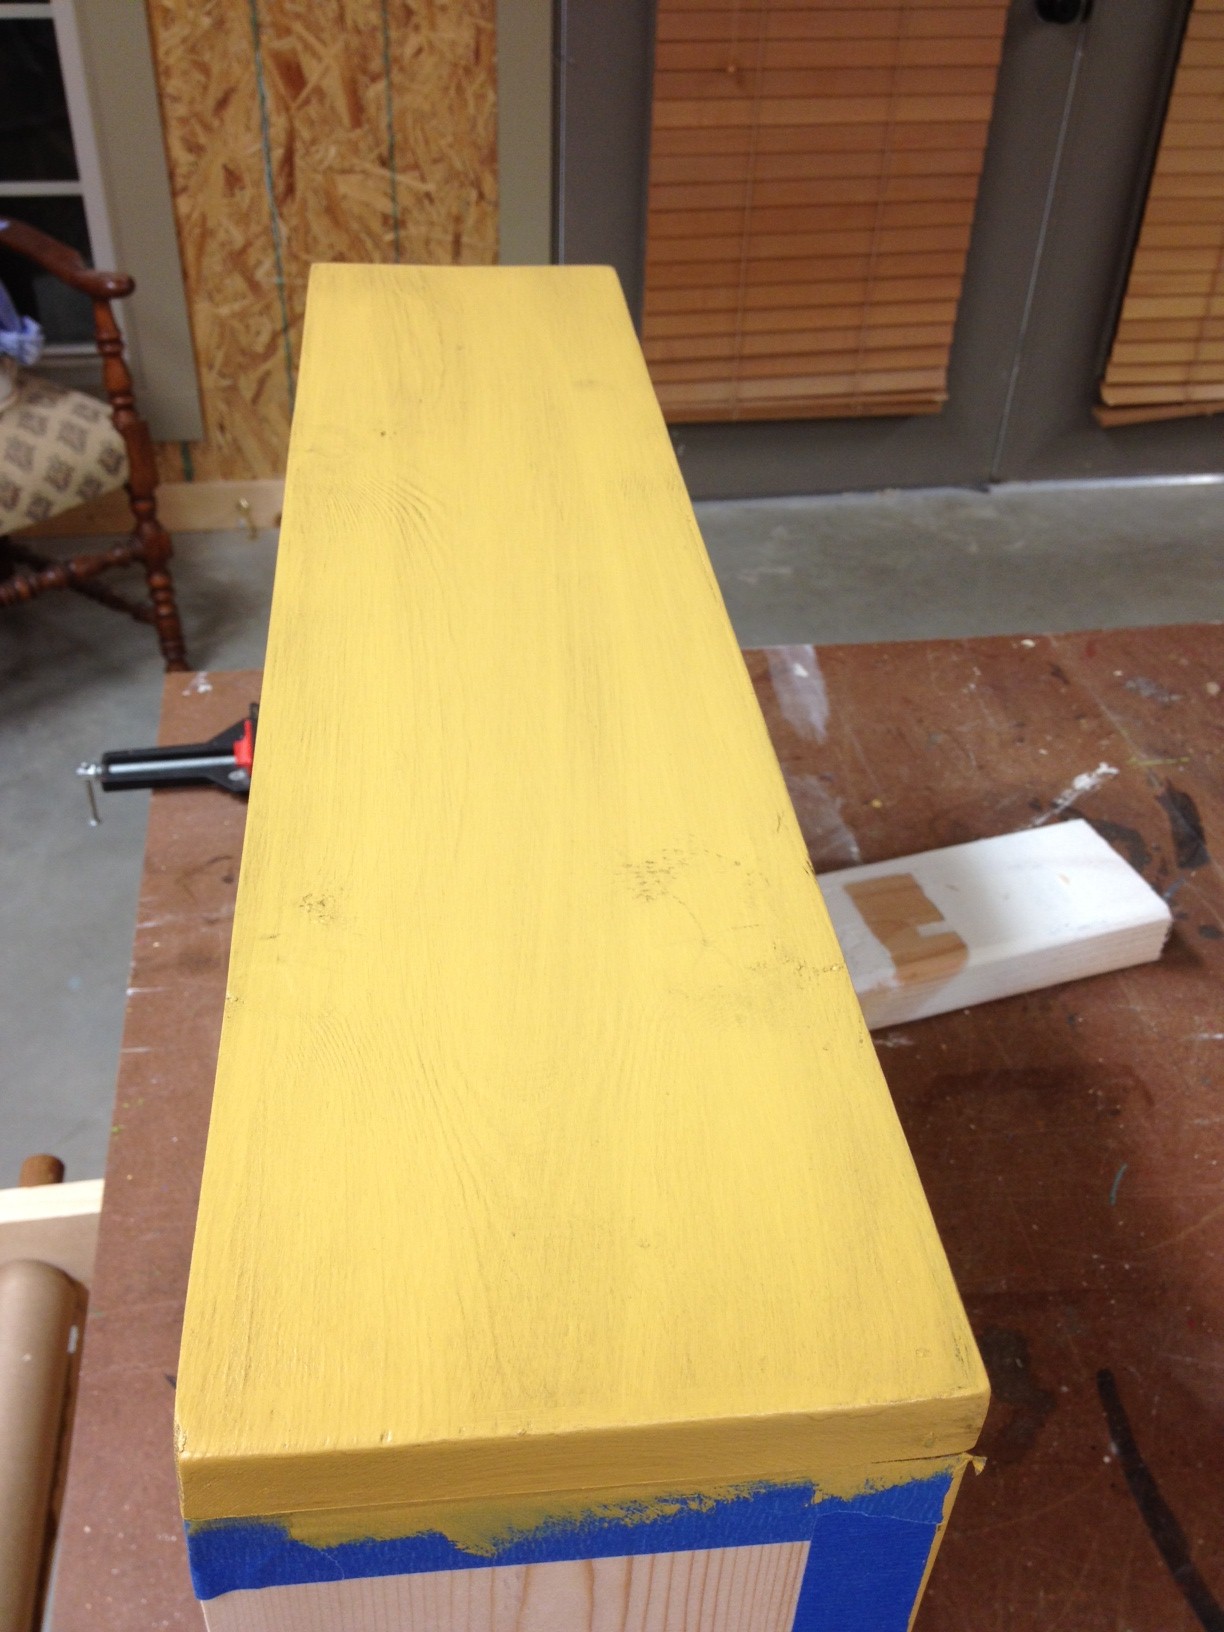
This piece will go in the same room as the yellow dresser, so we painted it the same shade.
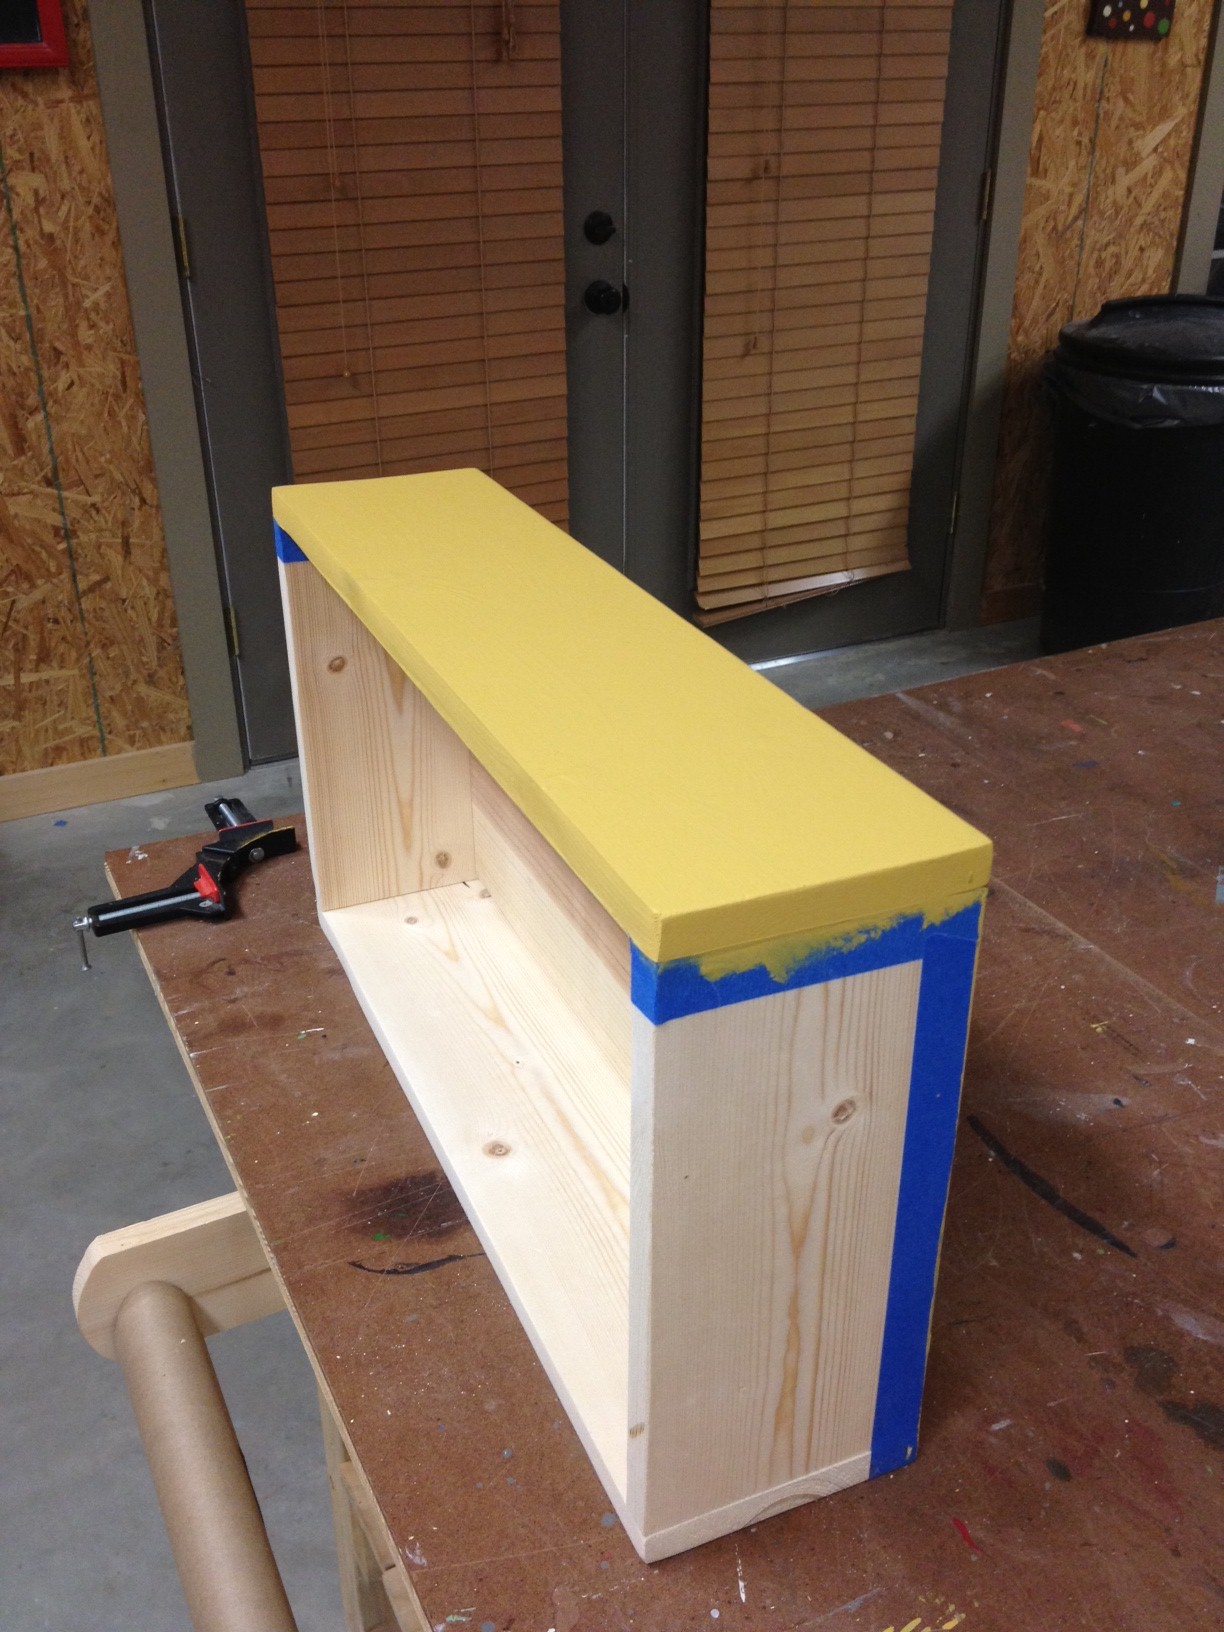
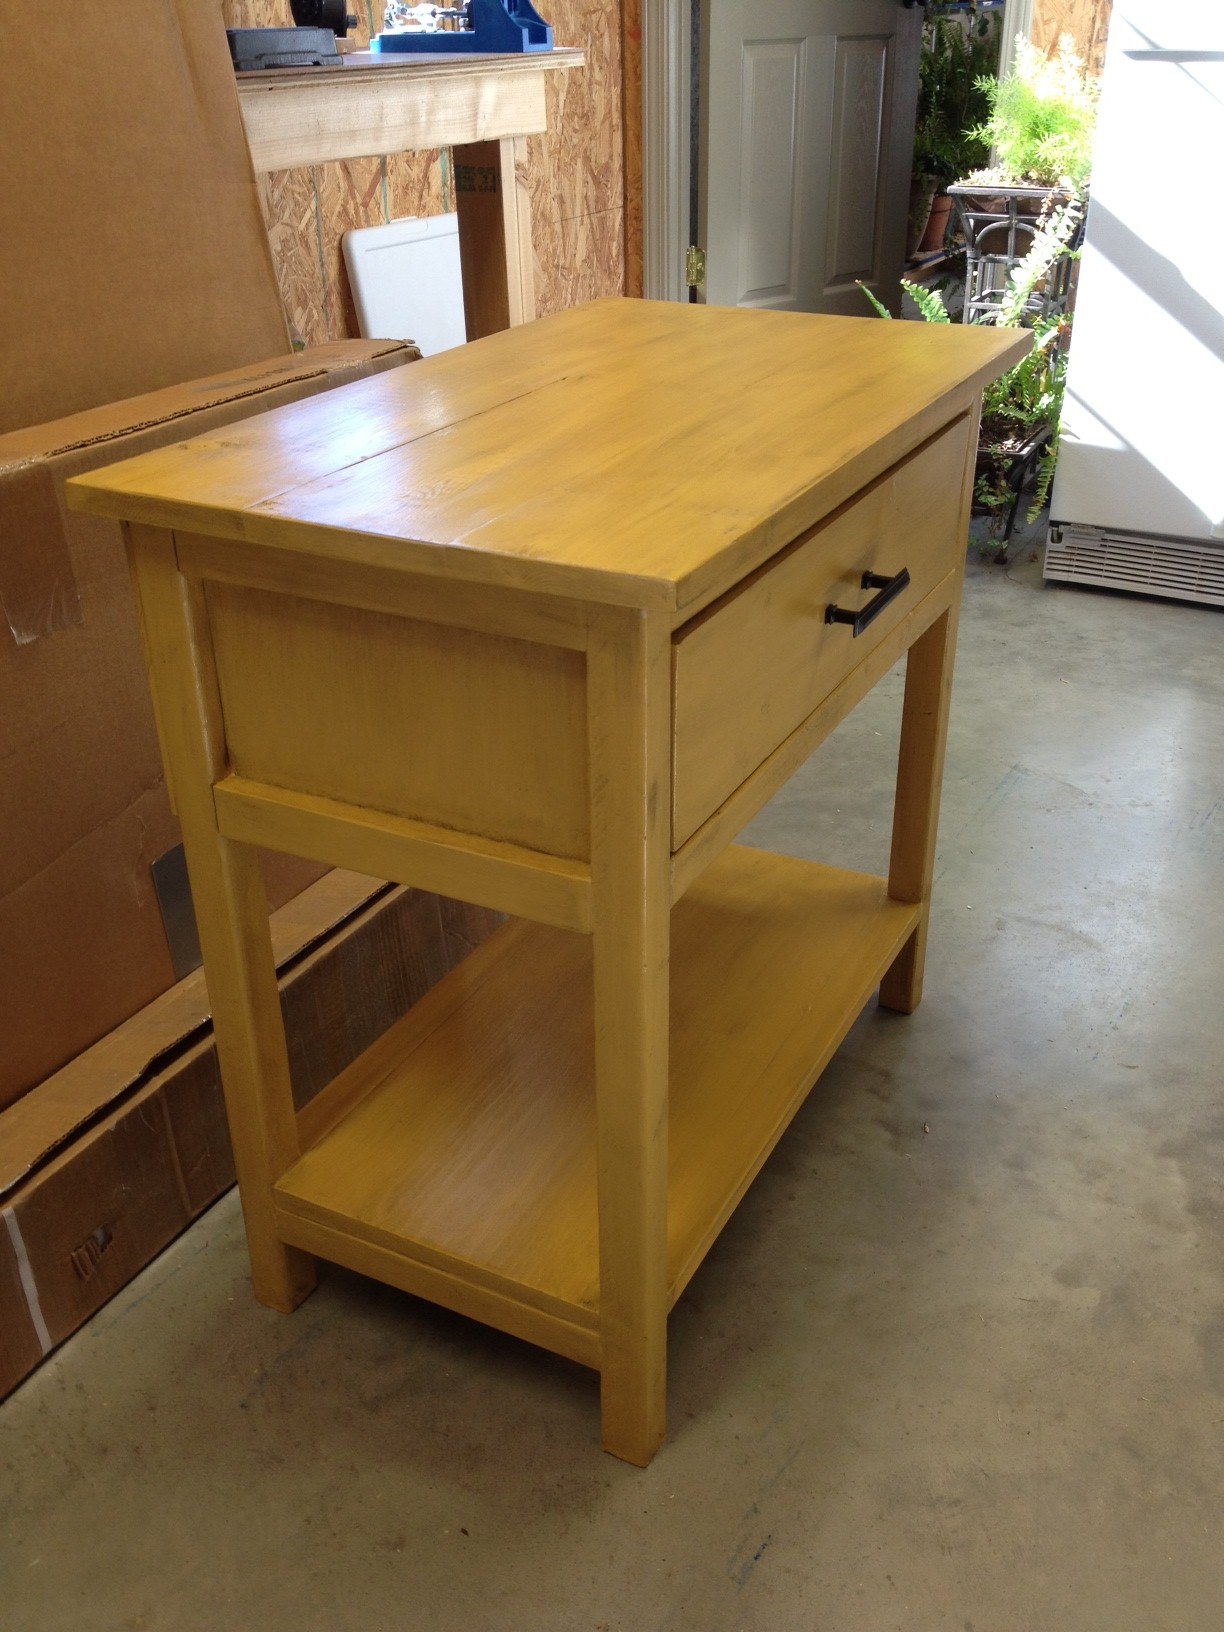
Another tricky part about this table is that it has a drawer. I personally try to avoid them whenever possible because there's no margin for error when it comes to drawers. They have to be square or they just don't work. This one really didn't want to work. It fit fine when we finished building but then the weather changed and the wood expanded and it didn't fit anymore. We adjusted a few boards and got it to fit, then gave it a paint job and it didn't fit anymore. Ay yi yi.
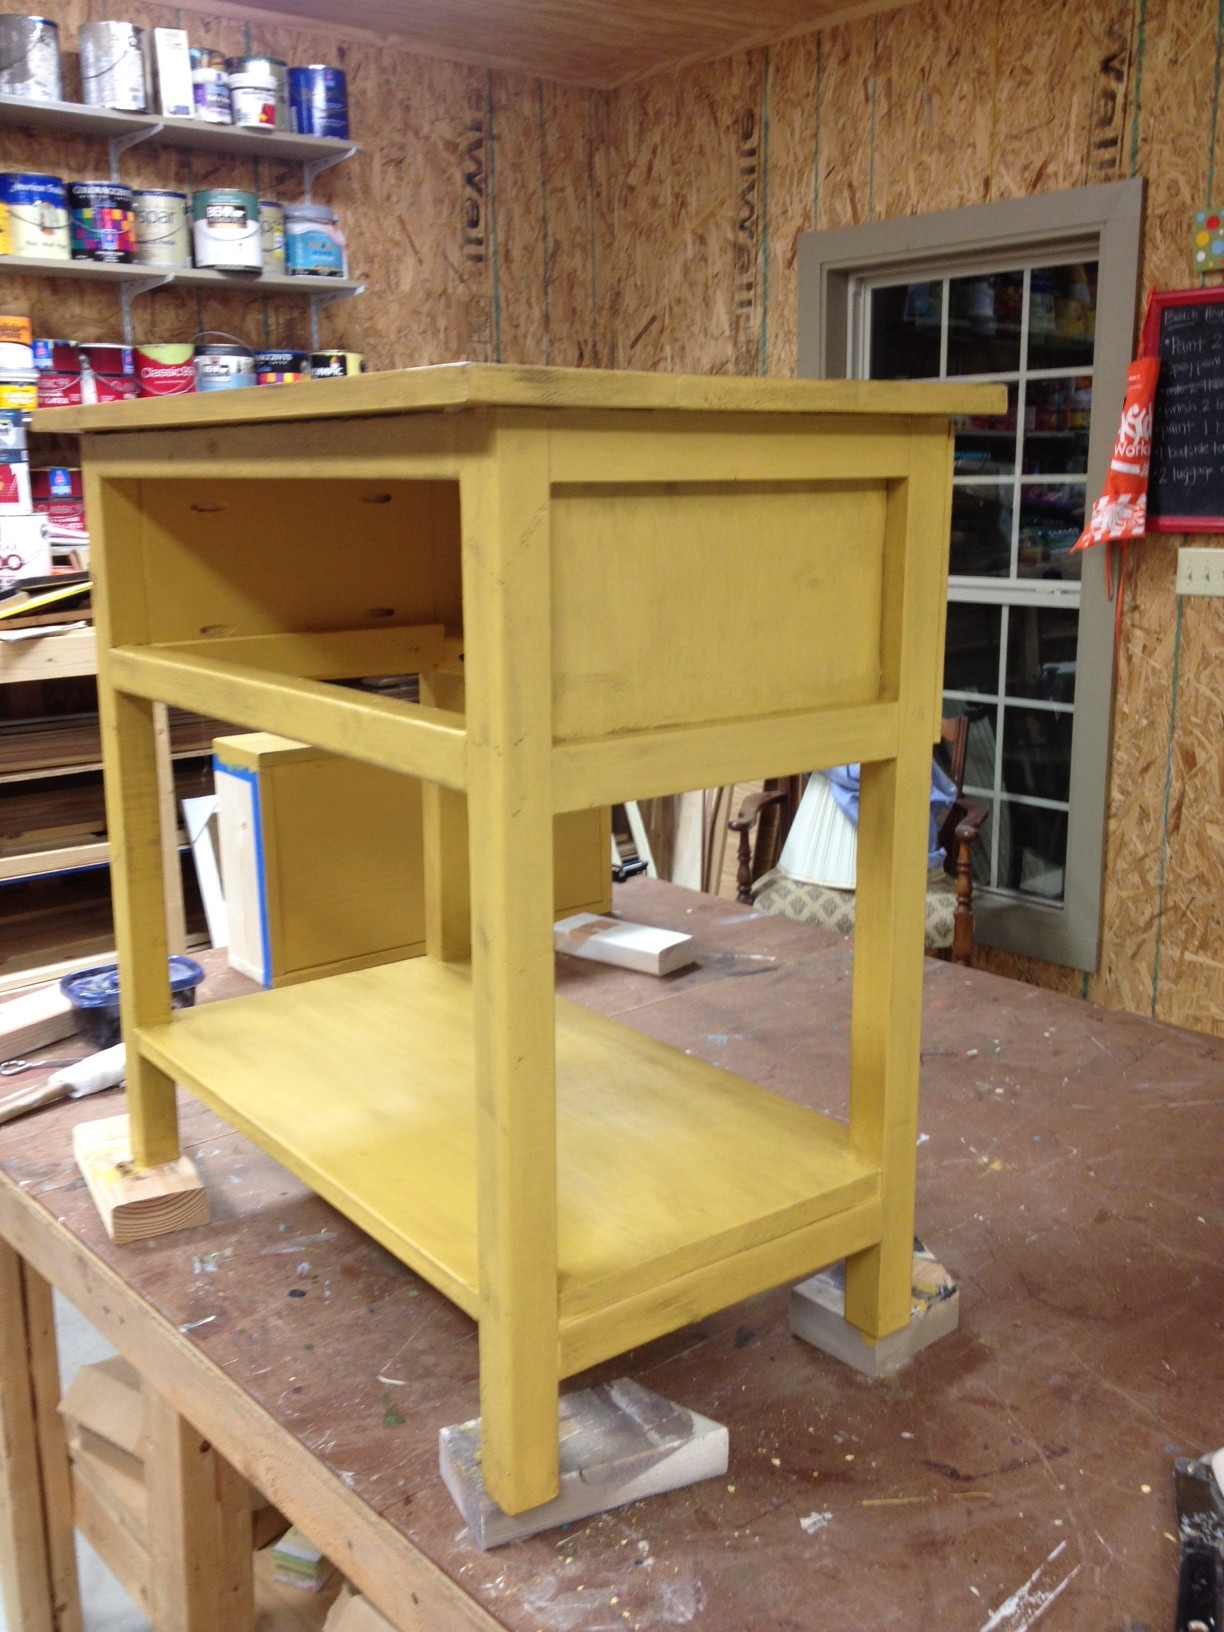
Normally, if I was working on a piece of furniture with few details and crappy wood, I'd sand and distress it instead of adding glaze. But since I wanted it to match the yellow dresser, adding glaze is what I did.
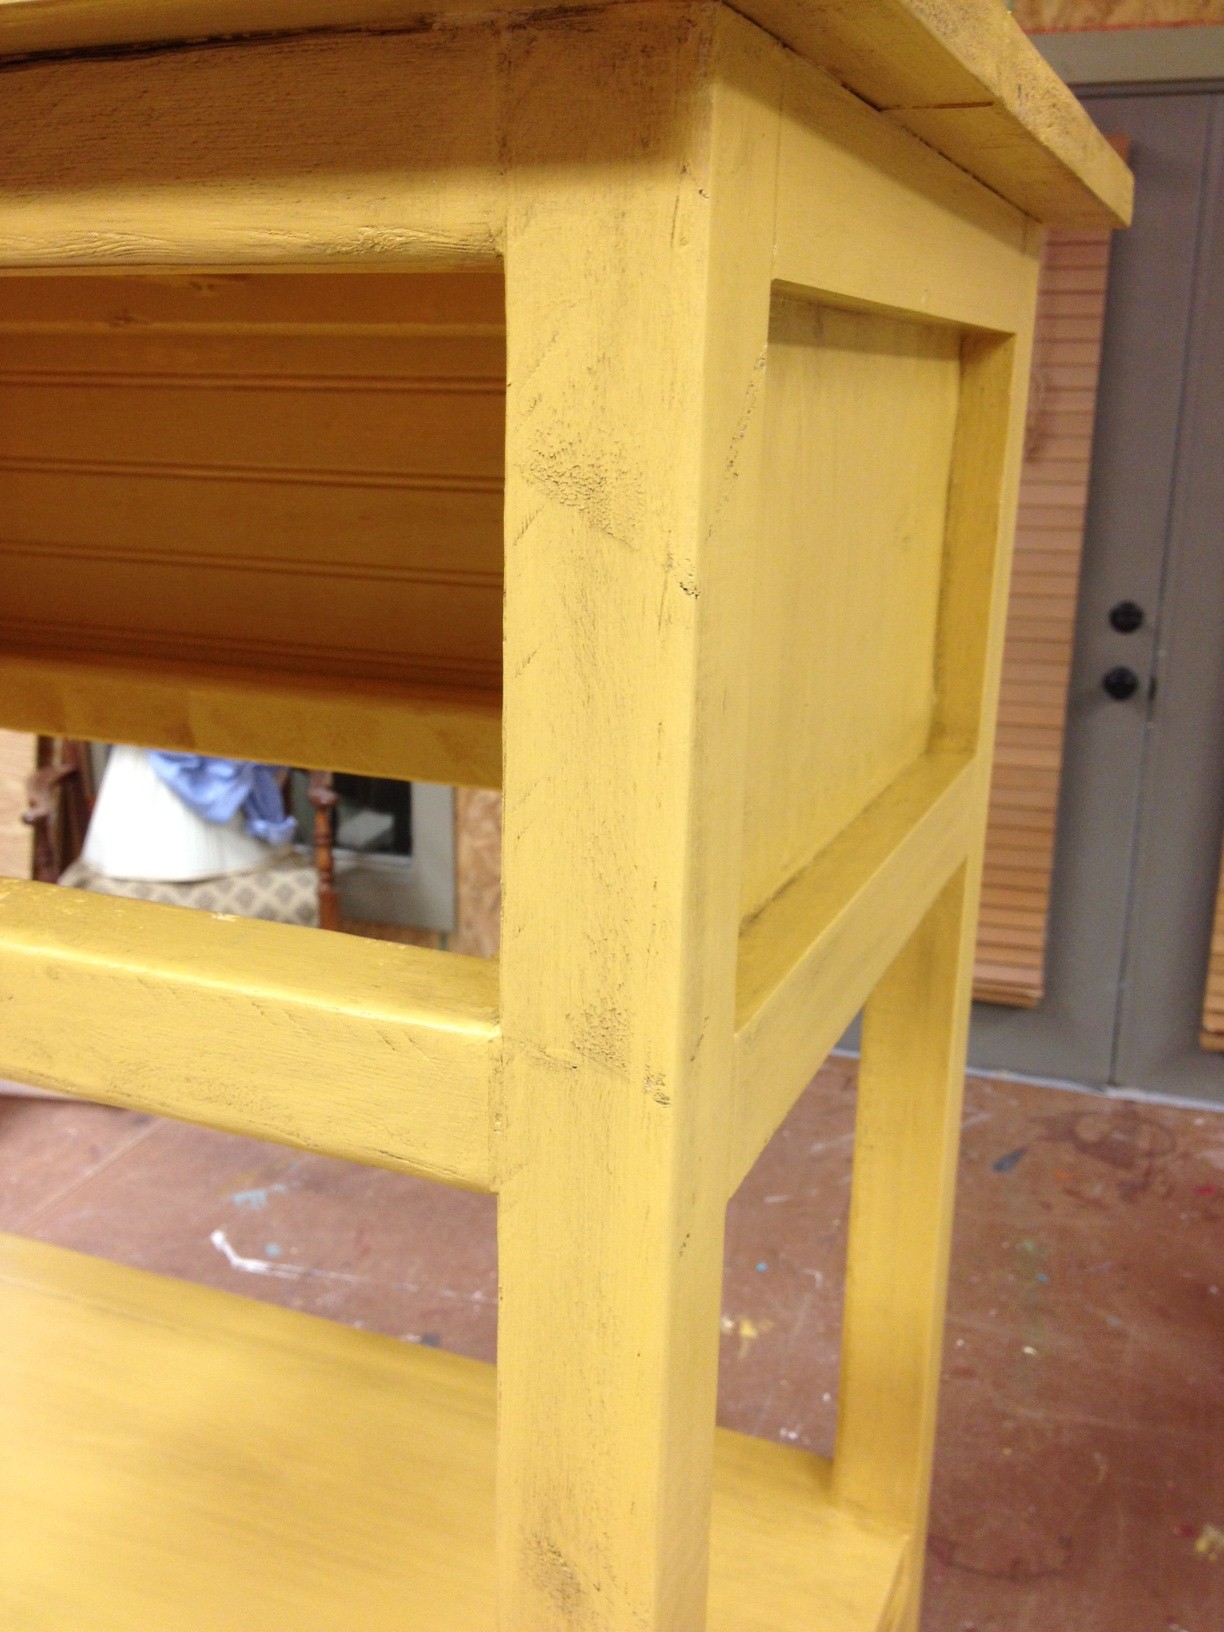
See how the glaze highlights all the flaws in the wood? Oh well, it'll do.
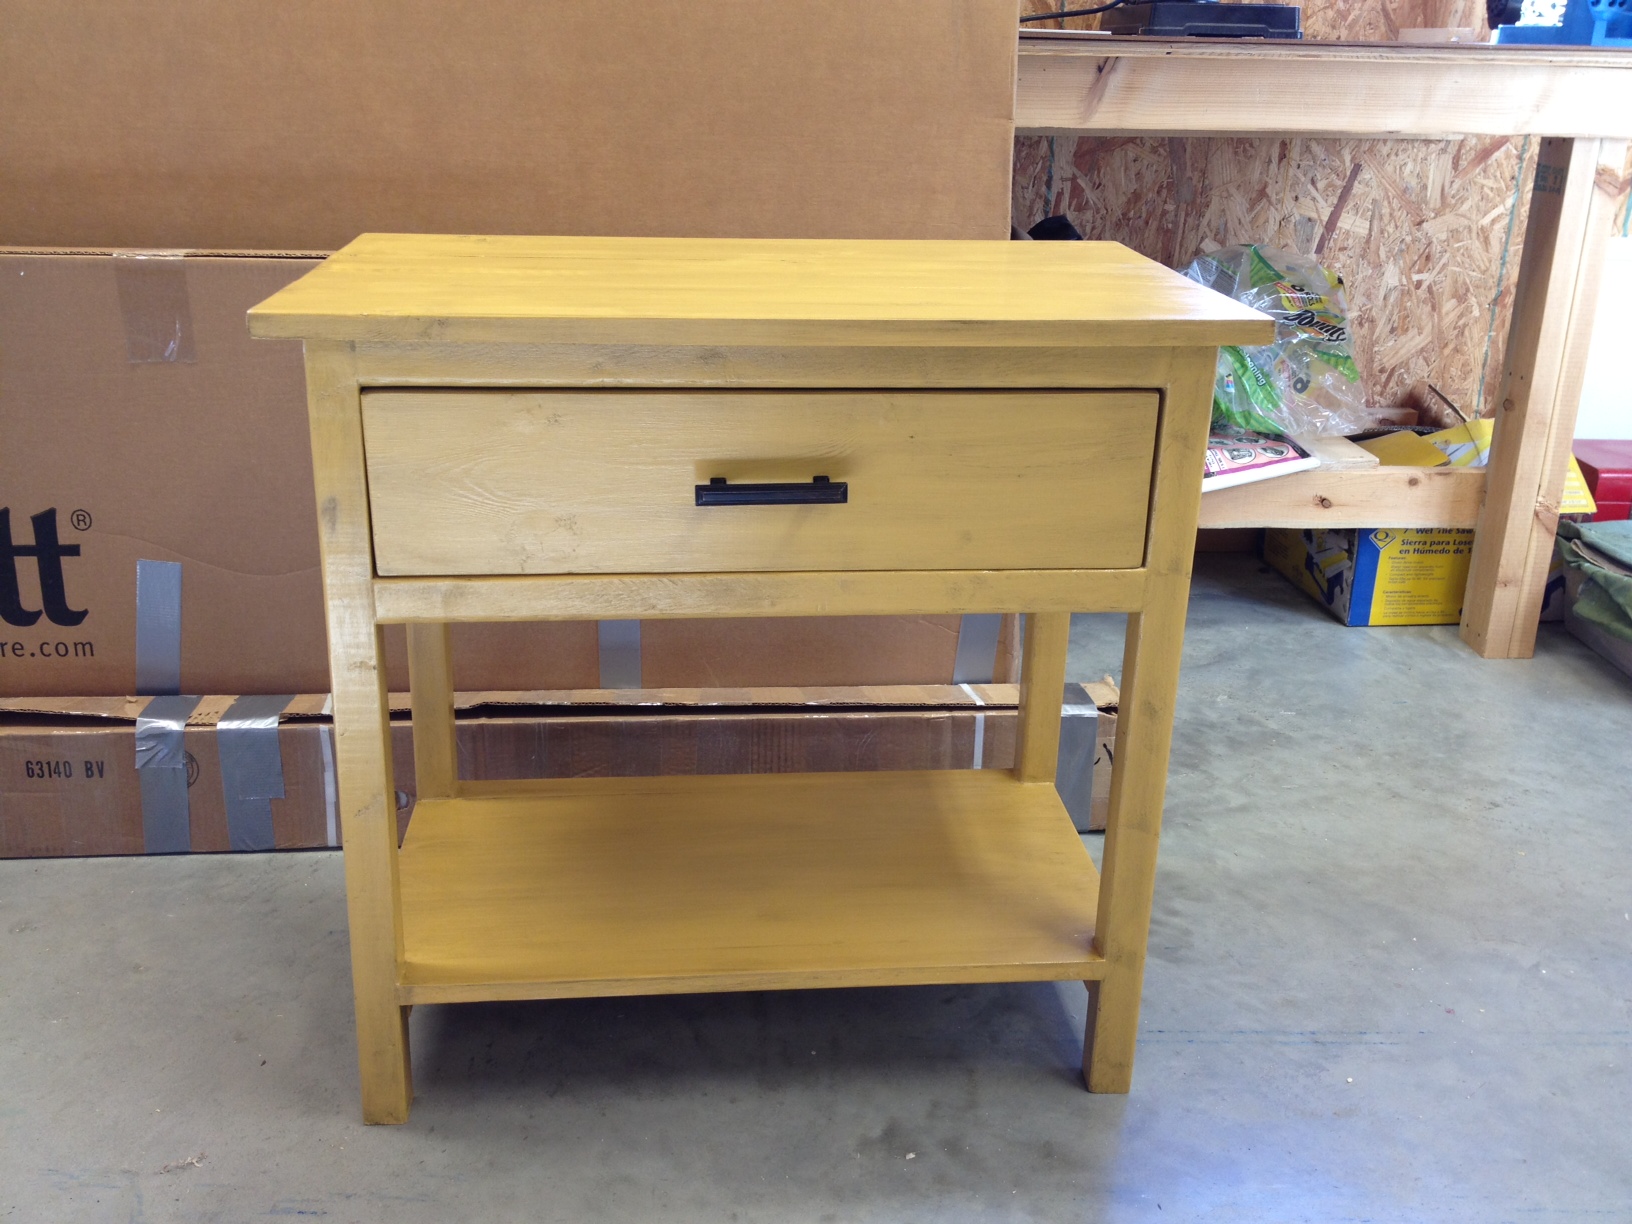
We added poly and the same hardware as the other dresser and called it done.
We used a bar of soap to coat the drawer and slats so that it slides in and out easier. Hopefully it won't expand anymore. Oh, and if you're thinking the drawer pull looks a little crooked, you'd be absolutely correct. We have my dad to thank for that. I leave him alone in the shop for just a few minutes...sigh.
Oh well, it'll do!
Just like with everything else, I'm eager to see it in the room. Surely it'll look better there, right?

