Ikea Rast Hack (Again)

If you missed my last ho-hum Ikea Rast Hack (or have no idea what I'm talking about...), you can see it here. Like I said in the last Rast Hack post, after we saw the sturdiness of the first two we ordered, we immediately placed the order for two more (but unfortunately, not before the price went up five bucks to $34.99 each).  I knew right away which beach house room one of these would go in, so I could start on it immediately.  And this one was not going to be as Plain Jane as the other two.

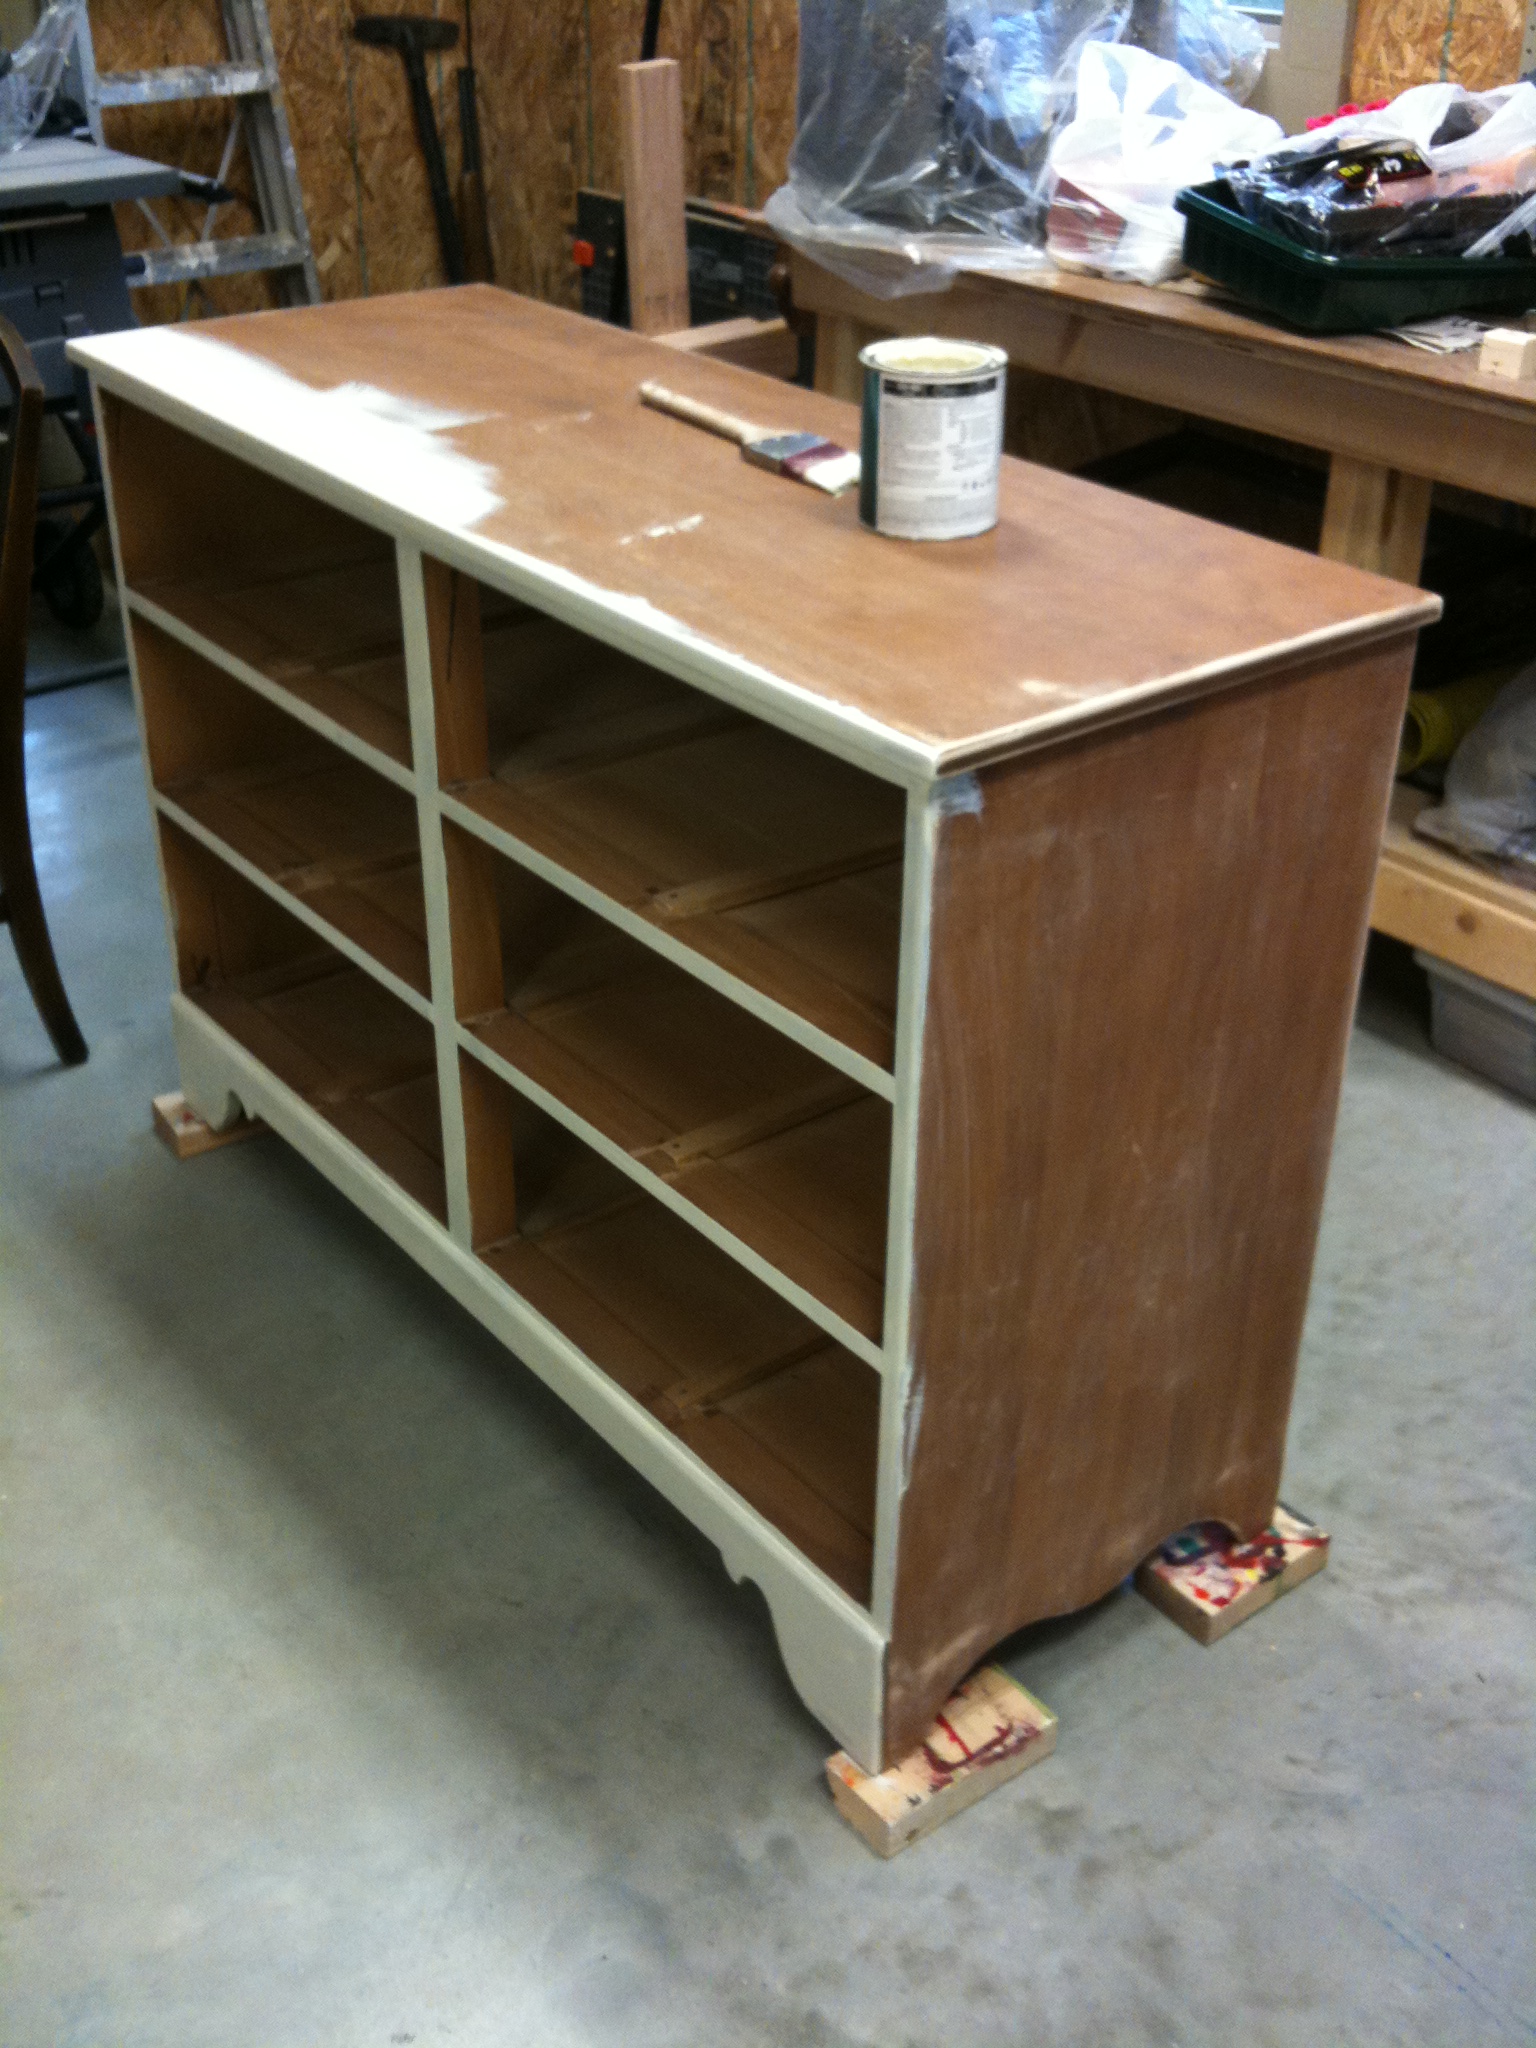
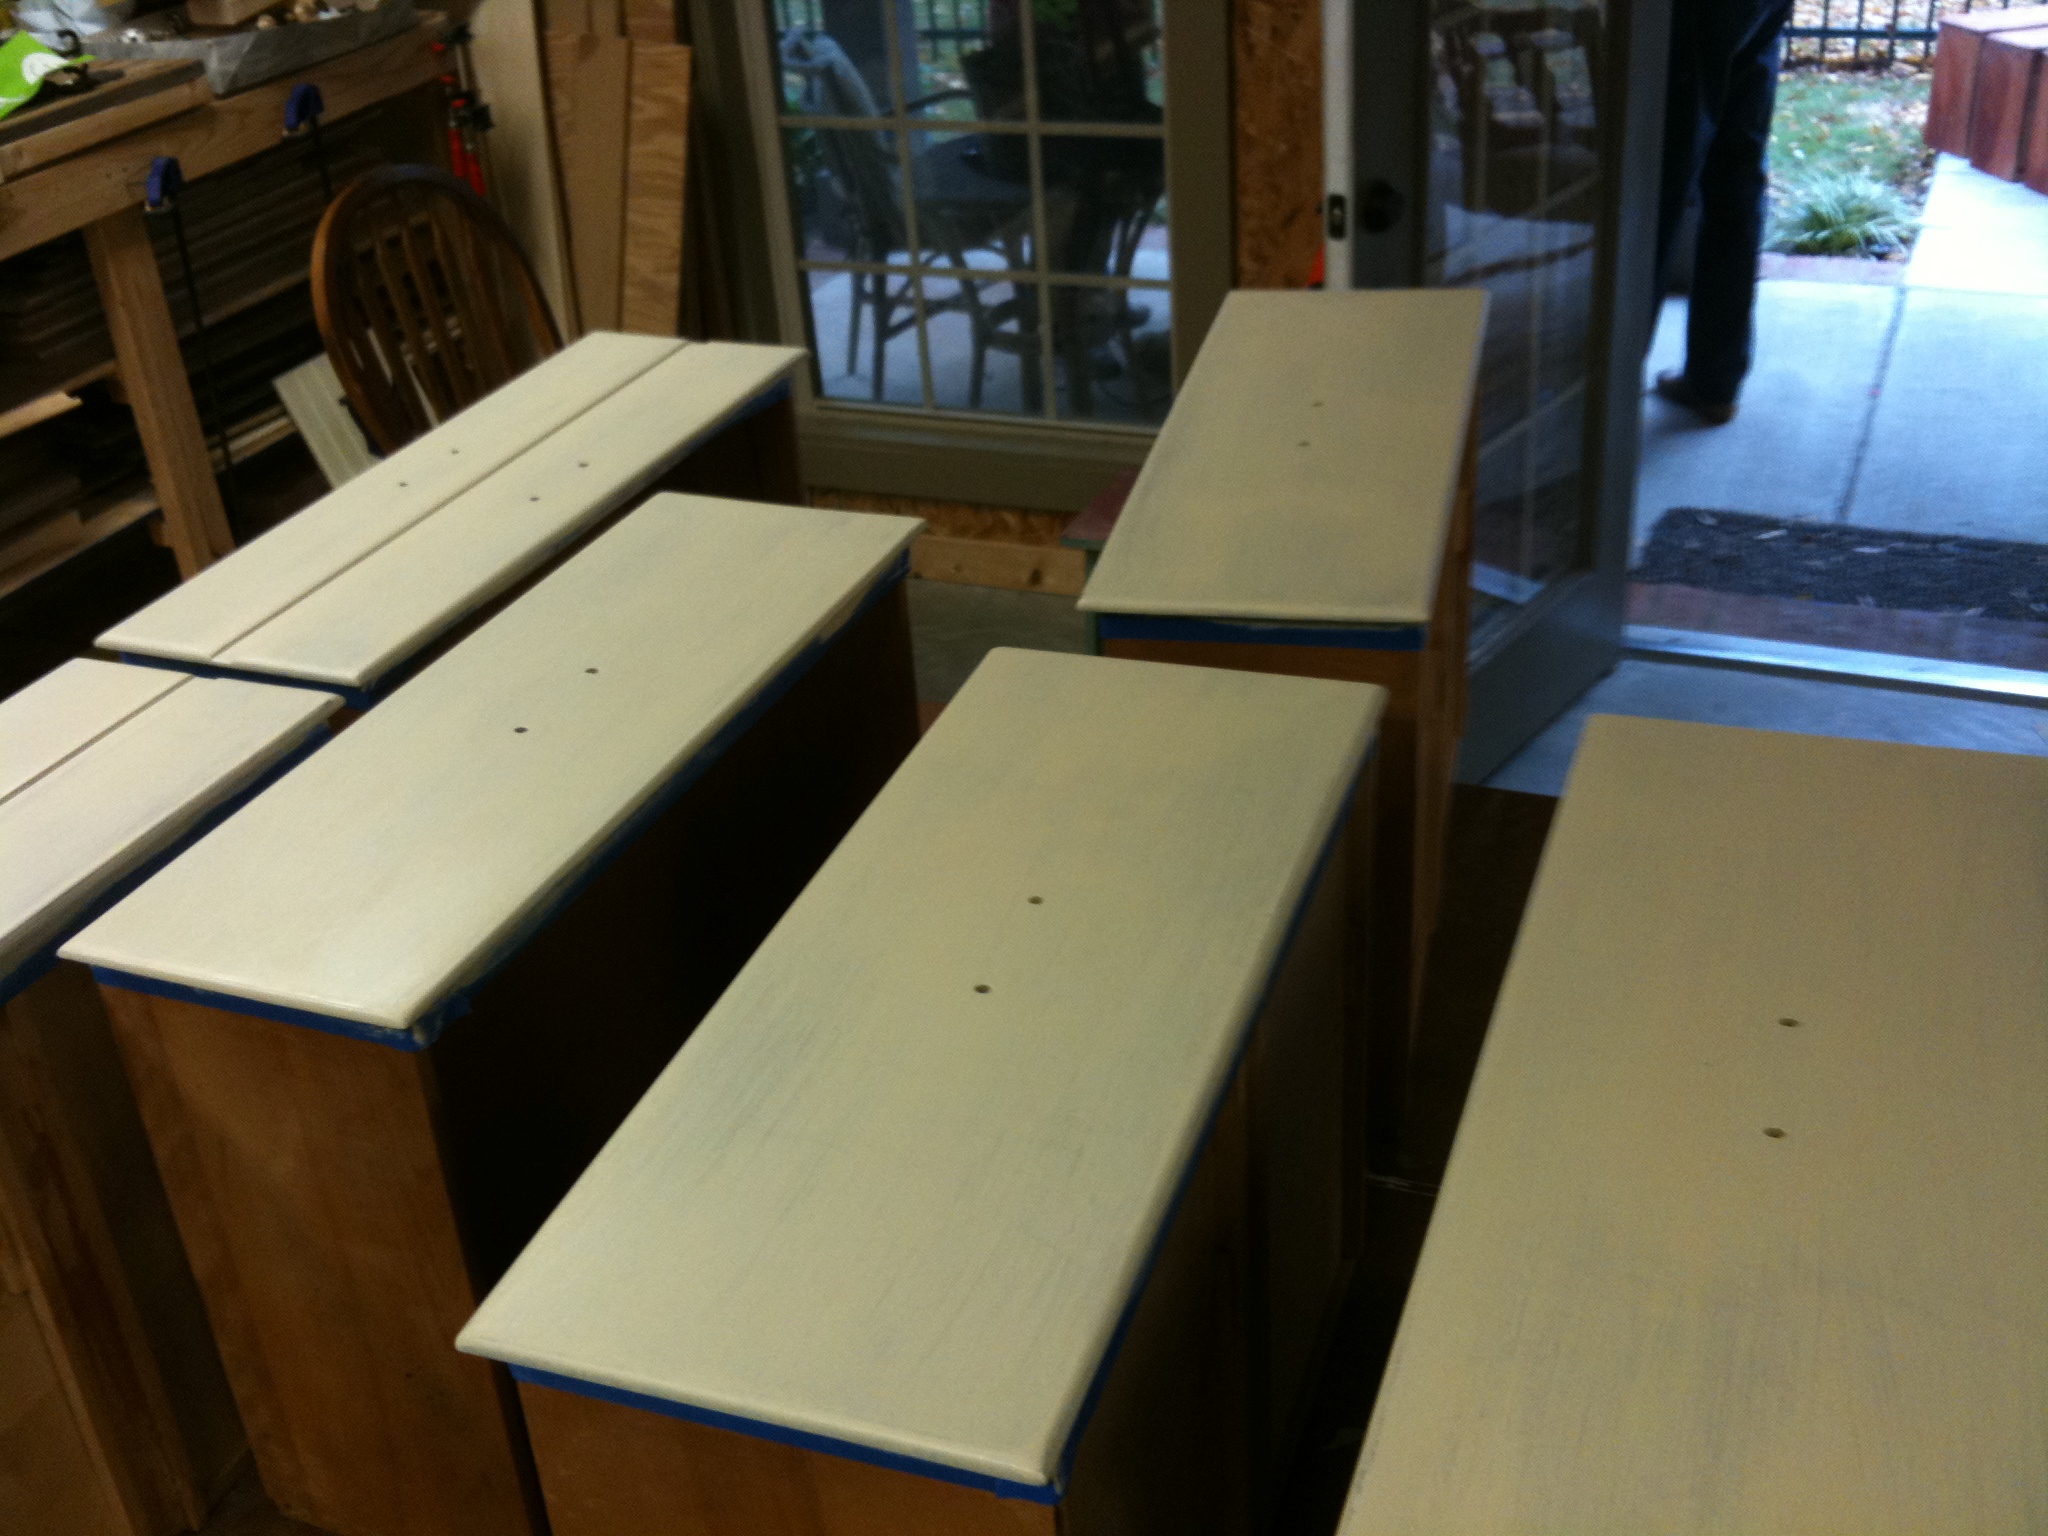
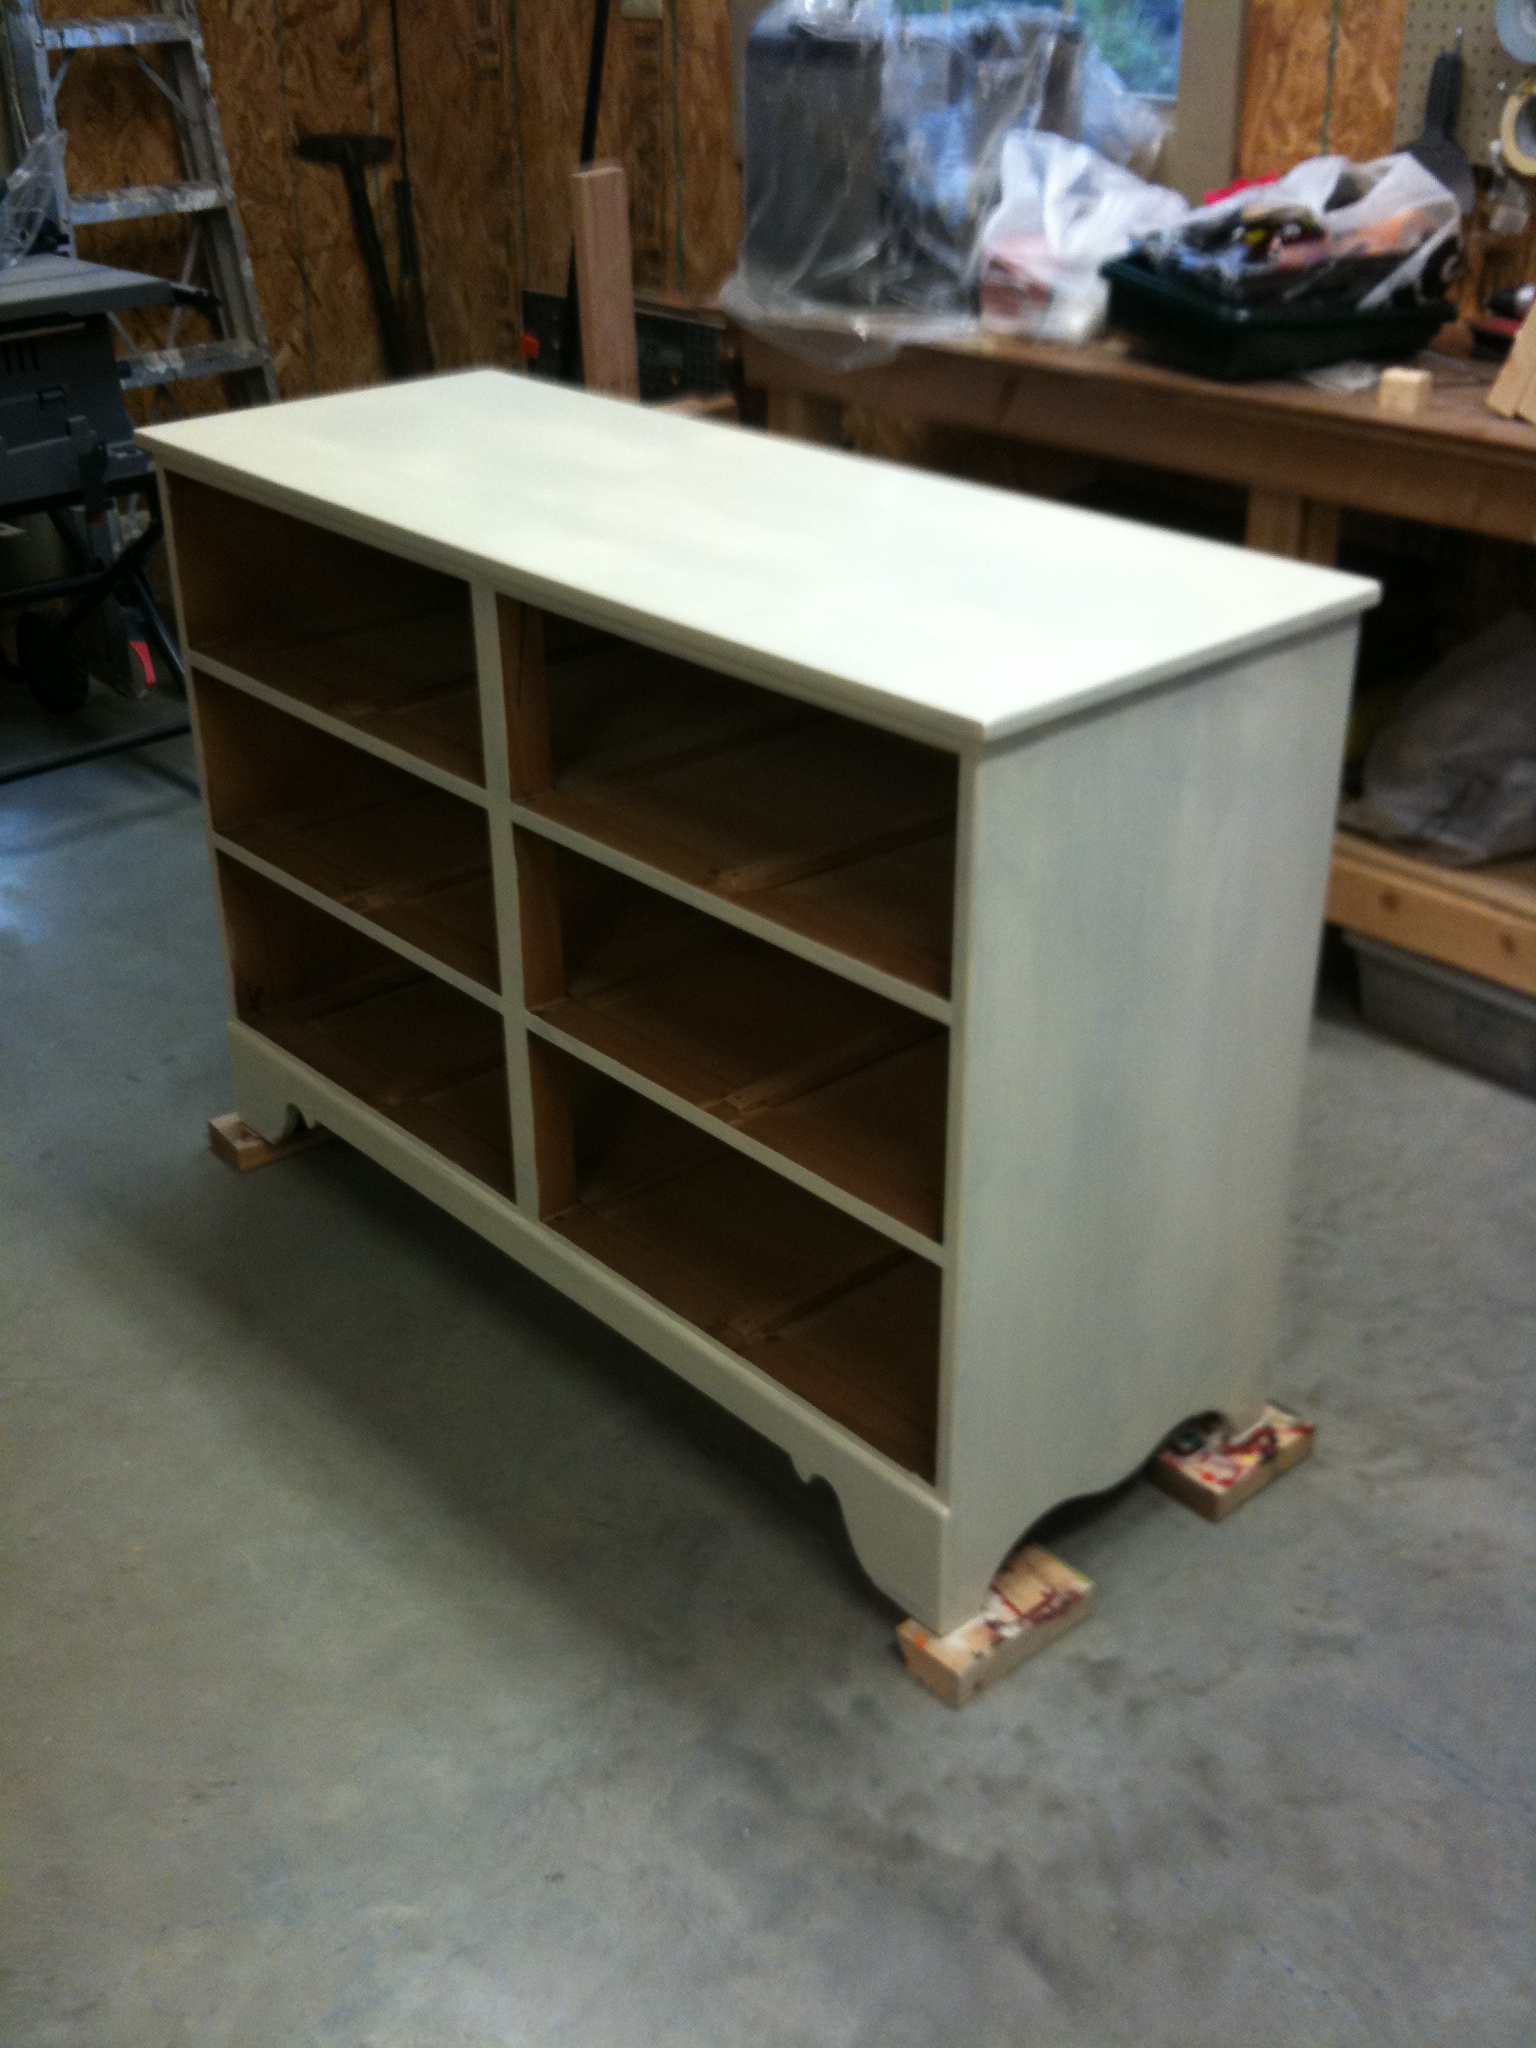
My first step, like always, was to tape off the areas I didn't want to paint, like the inside of the dresser base and the sides of the drawers.  Then I gave this Rast Dresser two good coats of white paint.  I didn't take pictures of this process but I'm sure you can imagine what it looked like.  Picture one small dresser and three drawers all white.  Got it?  Good.

To jazz it up, I pulled out this pack of stencils that my mom gave me for Christmas last year.  It's the Ed Roth Stencil 101 Decor set.

After thumbing through the reusable stencils and holding up to see how'd they look, I finally settled on this pattern of hexagons for my Rast Dresser.  Ignore the blue-green paint...apparently I didn't clean it off the last time I used it.  Oops?

I planned on only stenciling the drawer fronts, not the whole piece of furniture.  And I also knew that I wanted to stencil the three drawers together so that the stencil matched up (as opposed to stenciling each one individually and then the pattern not lining up when they were placed in the dresser).  To do that, I lined my drawers up and taped them together.

This gave me one big blank slate to go crazy with, er stencil.

My stencil was bigger than the height of one drawer front, which meant my pattern would bleed from drawer to drawer.  I was ok with that, but it also meant that instead of lining it up and starting in a corner, I needed to find my center and start there.  I measured to find my midpoint (and then measured again) and lined up one of the hexagons with the middle.  I tried to place my marked midpoint on the drawers in the dead-smack center of the hexagon.

I was more than a little nervous to start stenciling.  I have never been very successful at painting over the stencil - in the past I've ended up just tracing the design and then filling it in with a paint brush.  I was determined to do this right, though, I read as many tips and tutorials as I could find online.  The secret seemed to be in the stencil adhesive, so I grabbed some from Michael's before starting.  I don't remember exactly what it was called, but it was Martha Stewart brand.  I sprayed it on the back of my stencil AND taped down the edges, penciled in my registration marks (so that I could easily line up the next repeat of the stencil), took a deep breath, and went for it.  I used a foam roller with very, very little paint on it and rolled over the stencil multiple times until the pattern was filled in.

The color is Essential Grey from Sherwin Williams and is the color of the walls in the bedroom where this dresser will live.  It seemed like it took forever for this first stencil to dry, but then, since I could work out from it in four different directions, the rest of it flew by.

Aww yeah!  I was supah excited with how this was turning out!

Up close it was not perfect by any means, but none of the edges were bad enough that a few swipes with a small paintbrush couldn't fix.  I'll be honest here - I did fix a few smudged edges, but not all of them.  I can live with a few imperfections, especially since you have to get really close to even see them.

I slapped on a couple of coats of water-based polyurethane before moving onto the hardware.  As far as hardware goes, I wanted plain and simple so that the stenciled pattern could be the star of this show.  Lowe's had a clear knob that ended up being the winner.

And check this out - the shape of the knob is the same hexagon shape as my pattern.  Score!  I love coincedences like that...especially since I didn't even realize they were shaped the same when I picked them out.

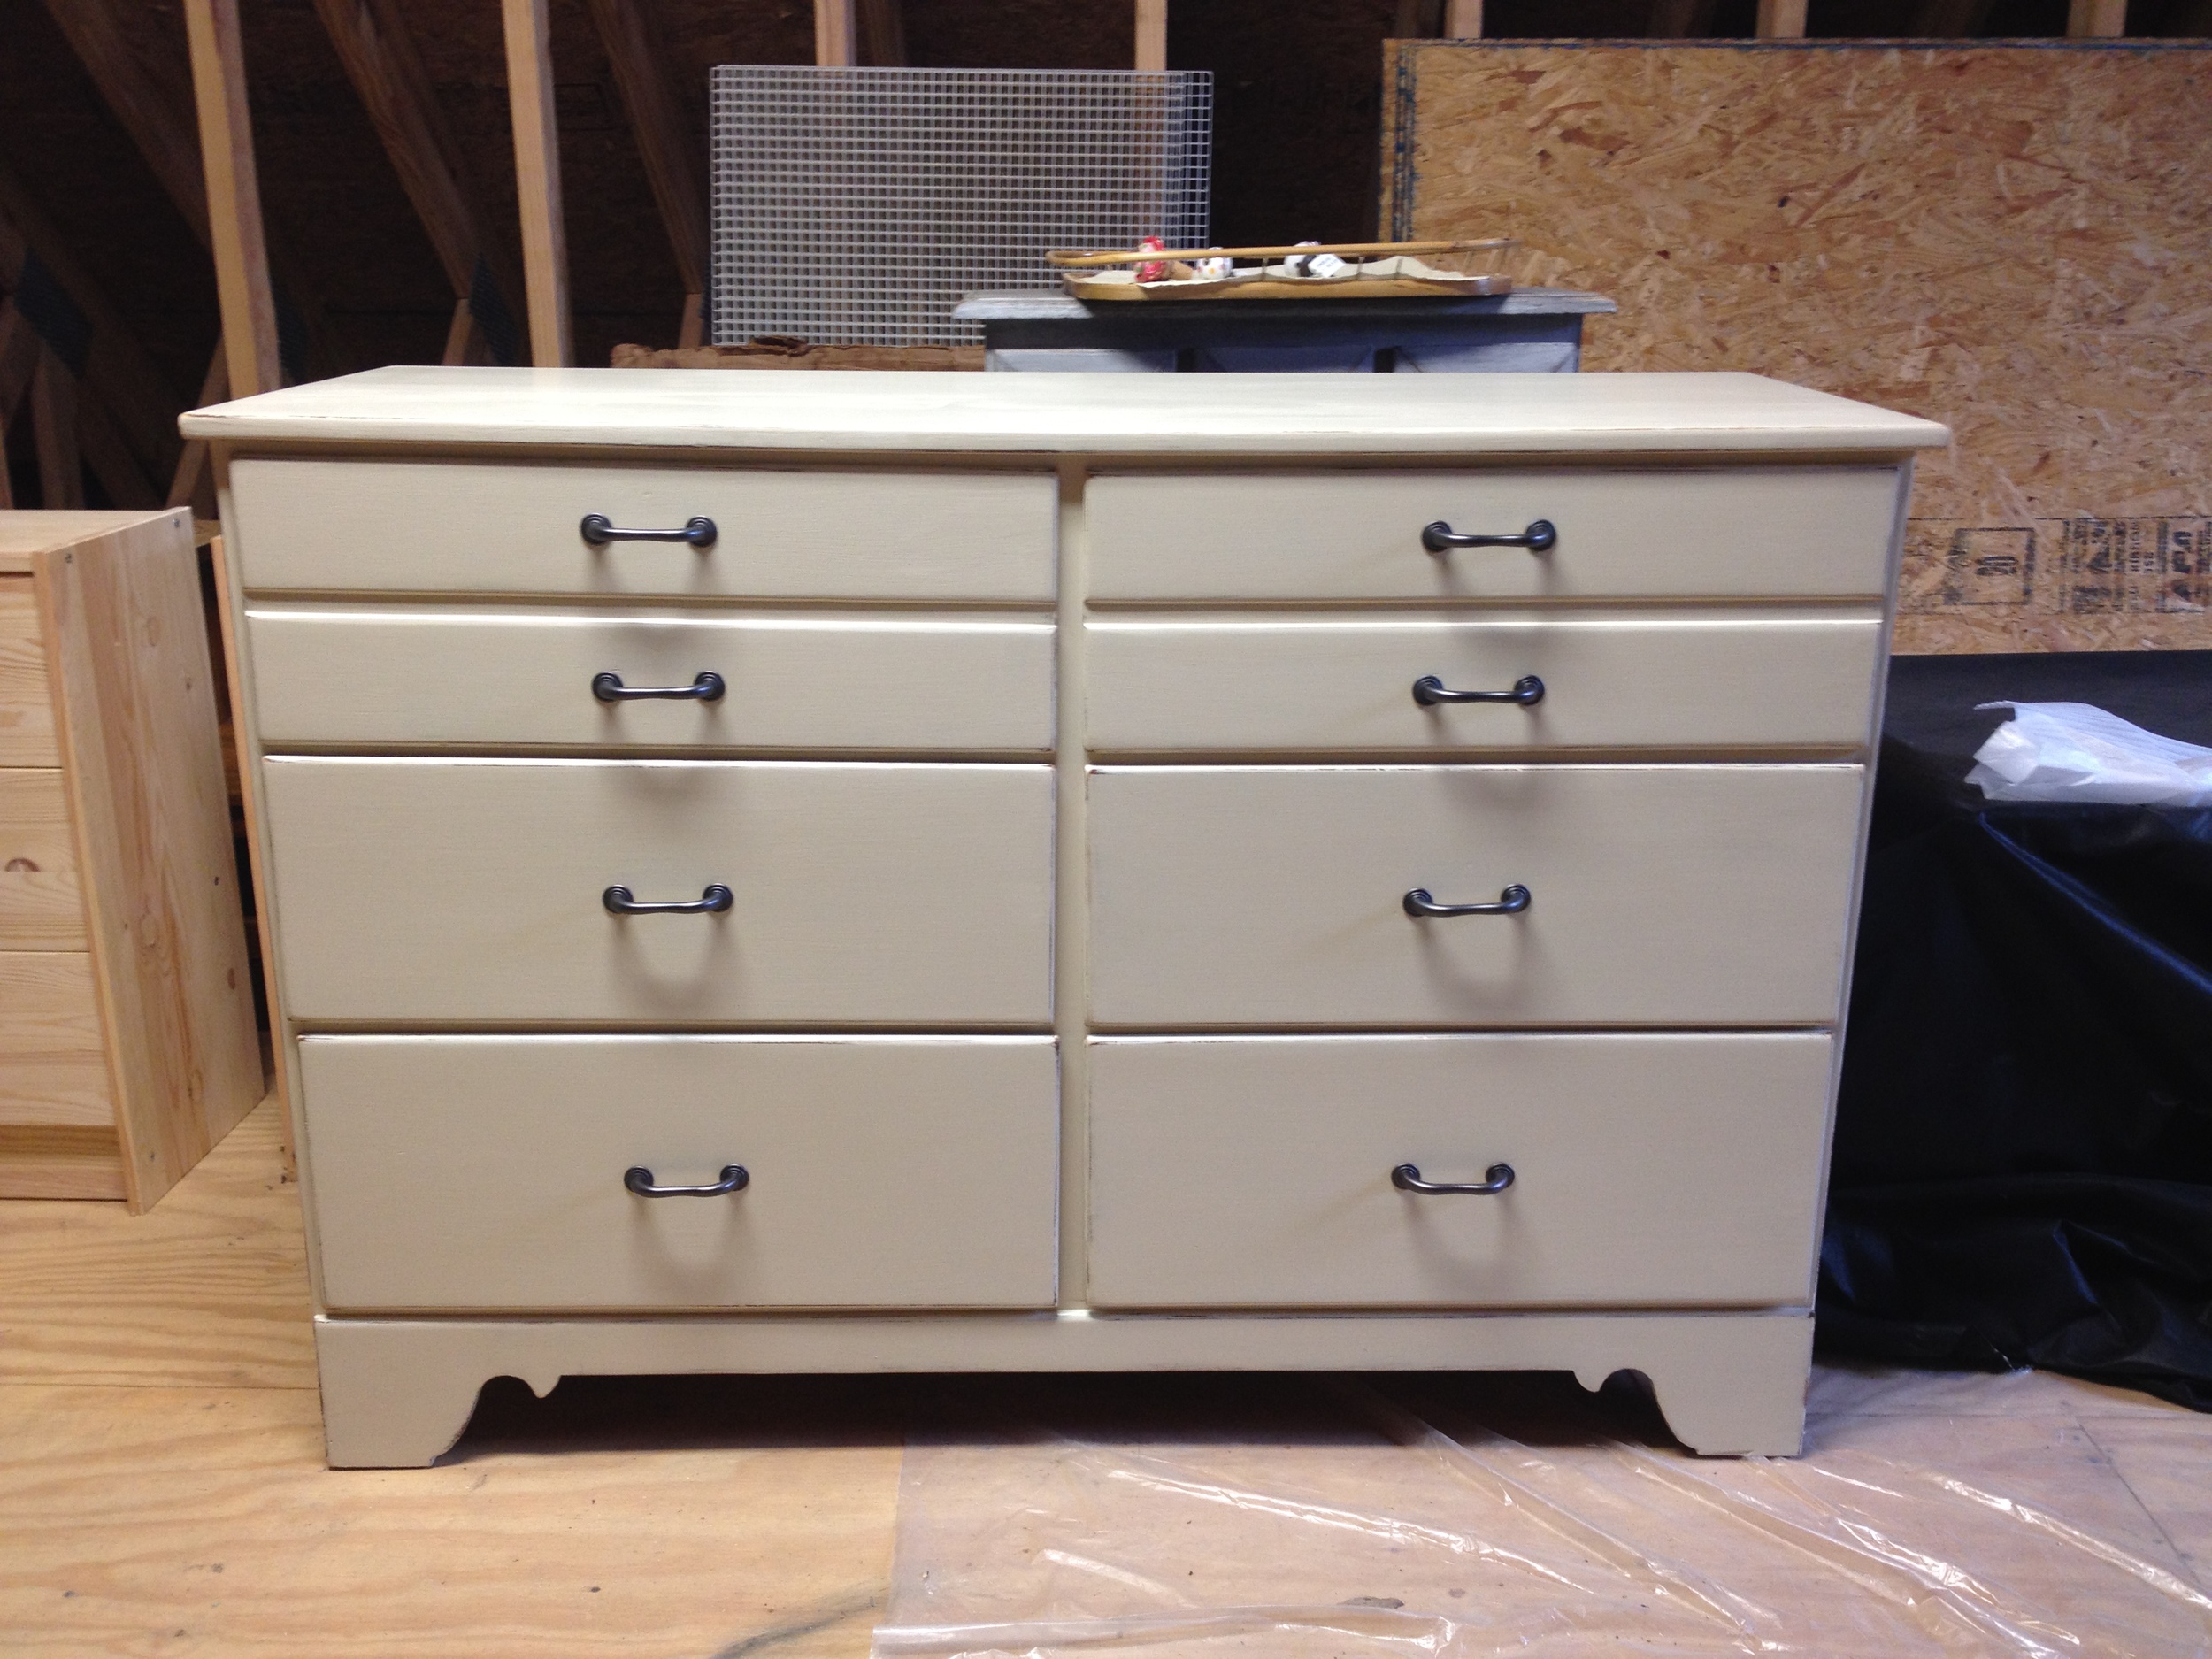
Ready for the full view?  Here'tis!

I know the after shots are always a lot more exciting when they're staged in a room, but since we haven't moved into the beach house yet, we'll have to settle with after shots being in the woodshop.  We'll be able to stage it in a bedroom soon, though!

So with that, we have 3 Ikea Rast Hacks done and 1 more to go.  I haven't even started on it yet and don't have a plan.  Anyone have any good suggestions?

Ikea Rast Hack

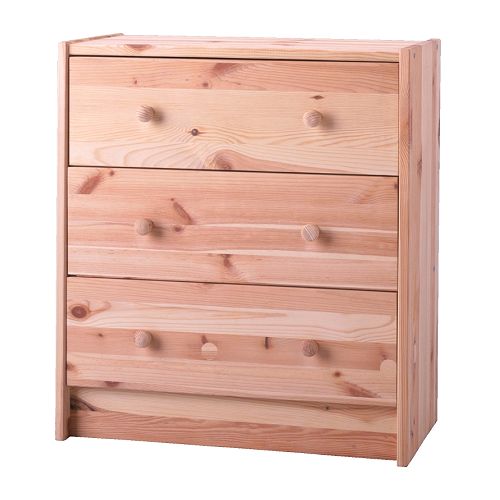
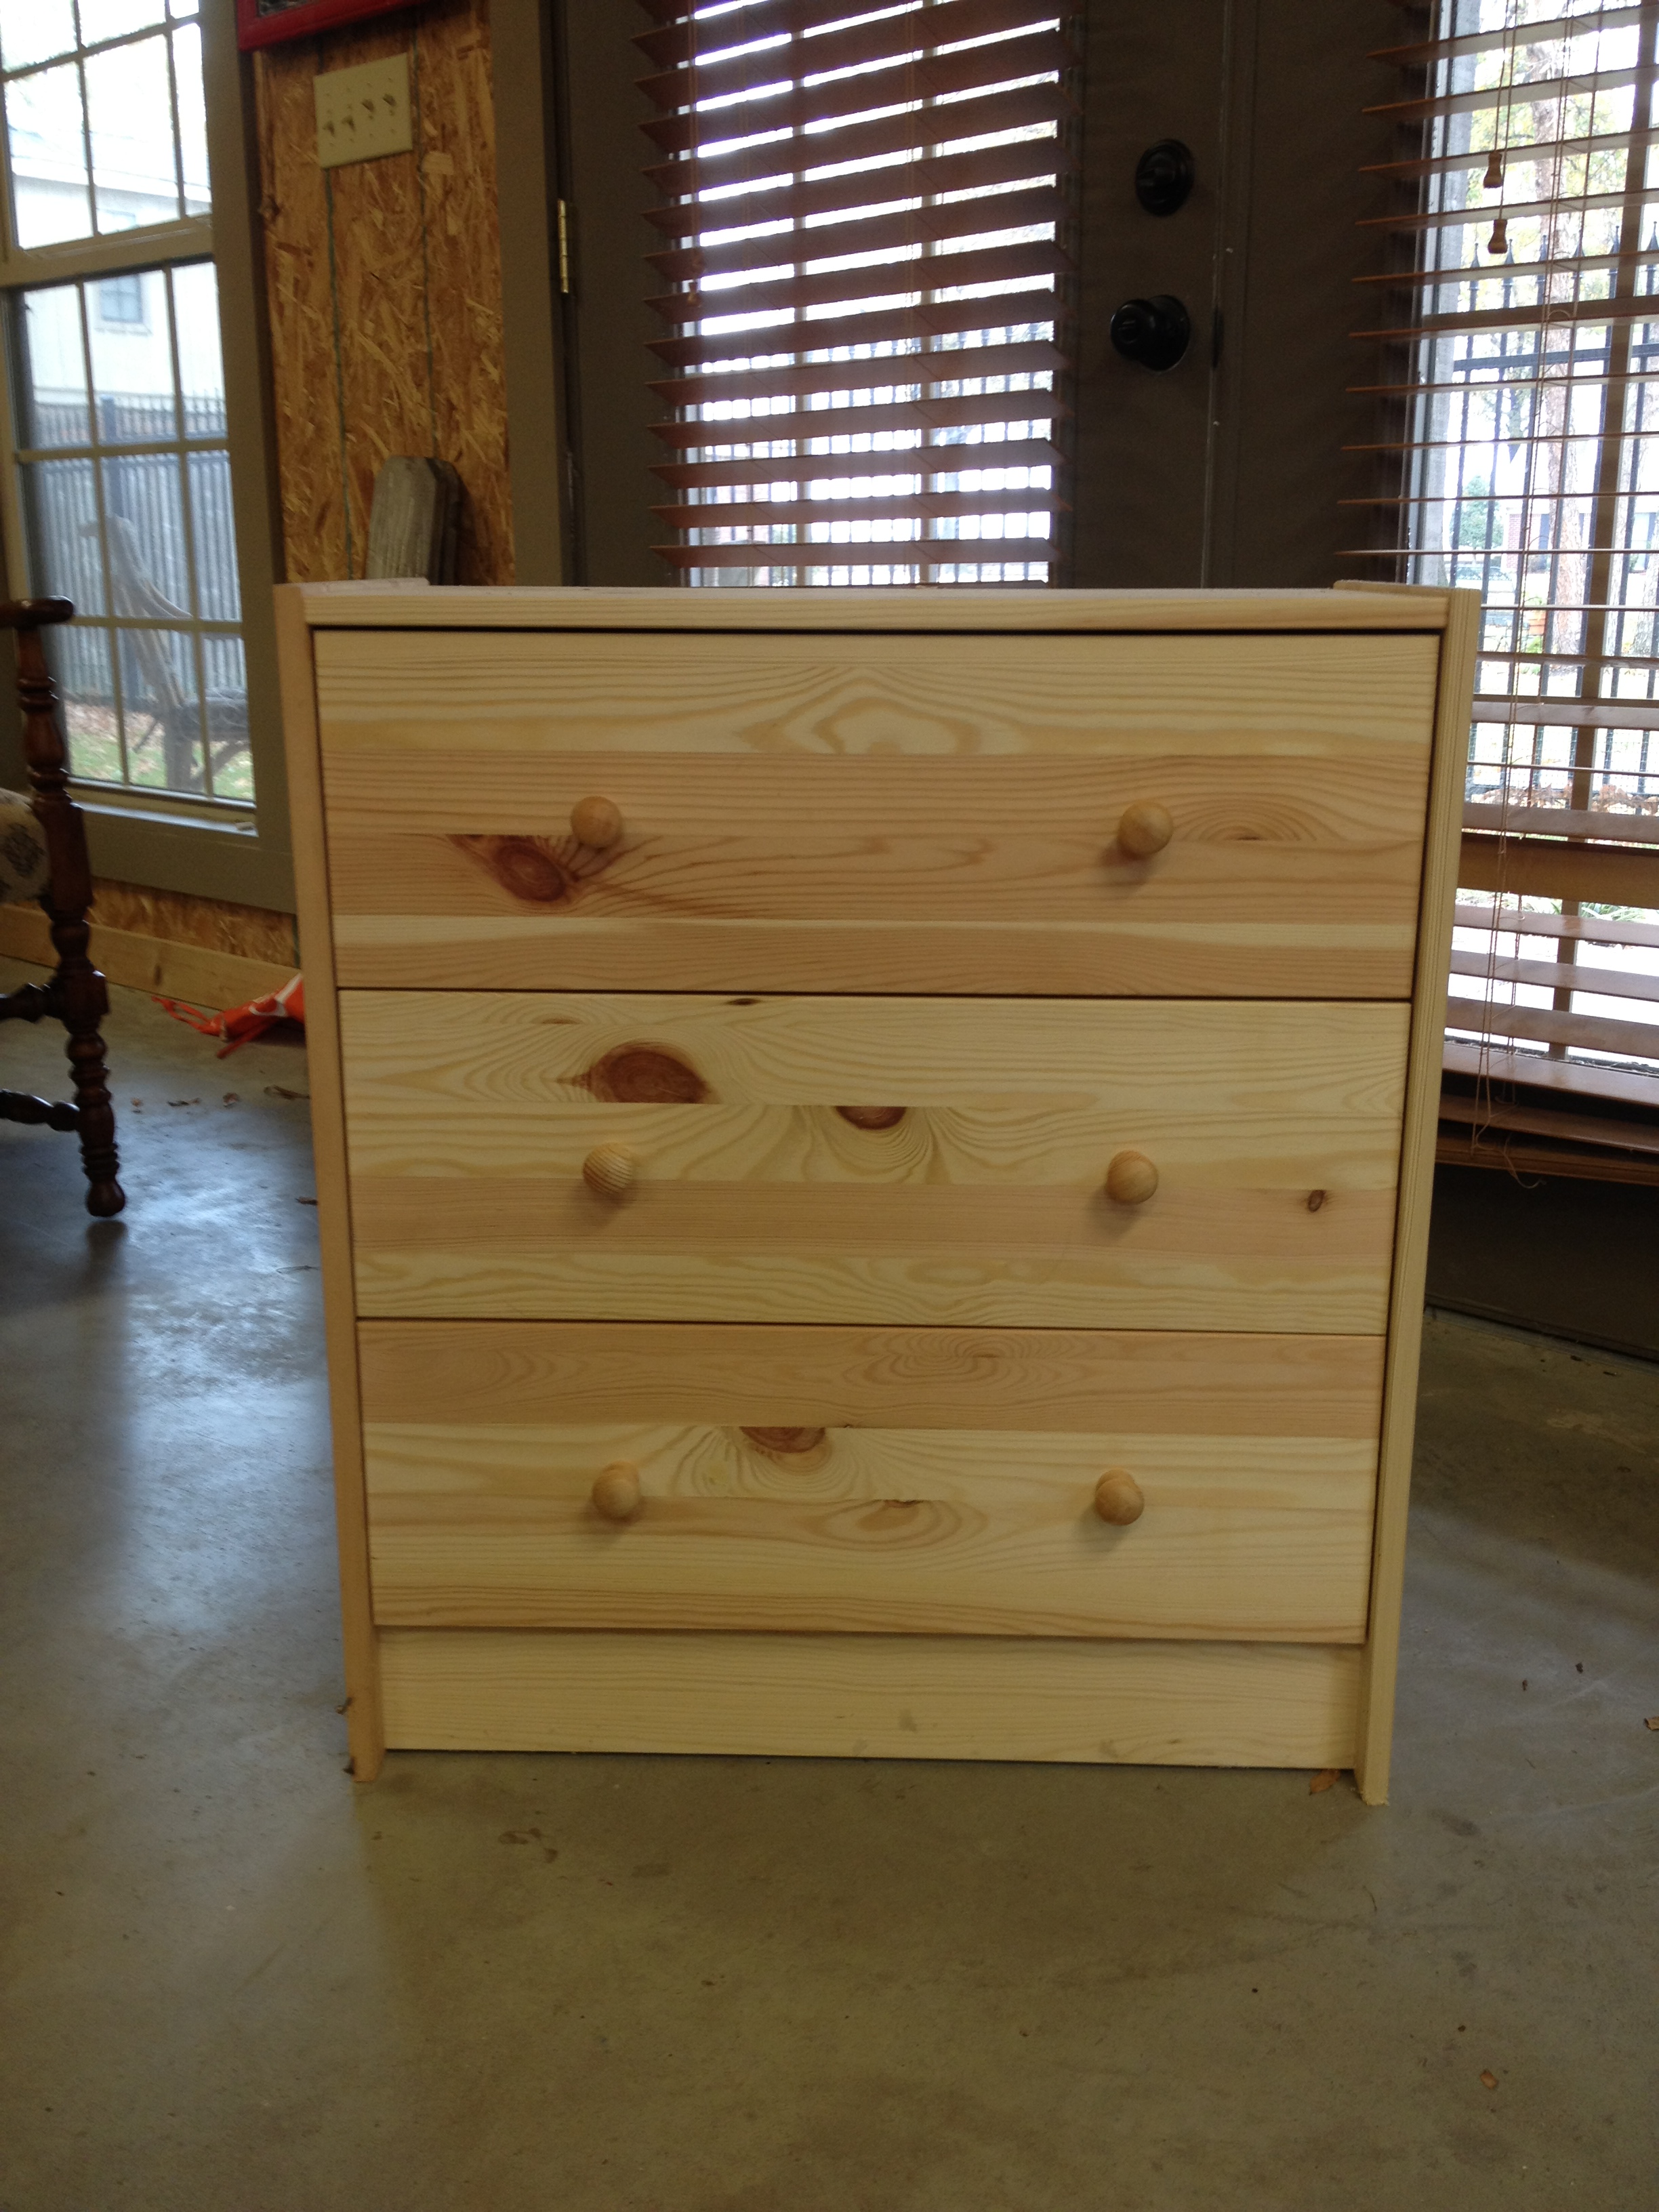
Do you know about the awesomeness that is the Ikea Rast Dresser?  It's the most perfectly-sized little 3-drawer dresser that comes in unfinished solid wood so that you can finish it any way your little heart desires.  And the very best part?  It costs a whopping $34.99.  You can't beat that with a stick! (Actually you can - it used to cost just $29.99.  I usually get upset when prices go up, but even with the $5 increase, it's still a heck of a deal!)

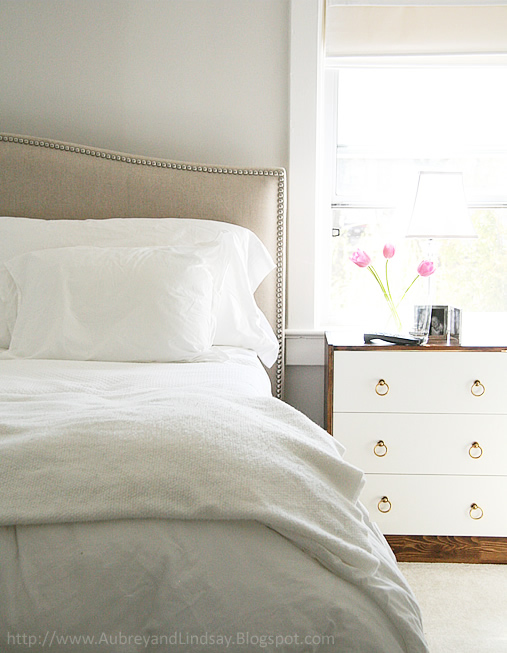
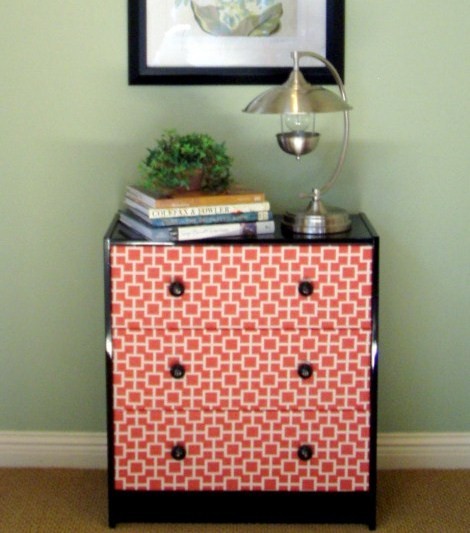
News of this gem of a piece of furniture has been catching on, and pictures of freshly made-over Rast Dressers have been popping up all over blogland. Some people manage to turn these simple little drawers into something that looks like it belongs in a fancy schmancy home decor magazine.  Like this one, for example, from Little House Blog.

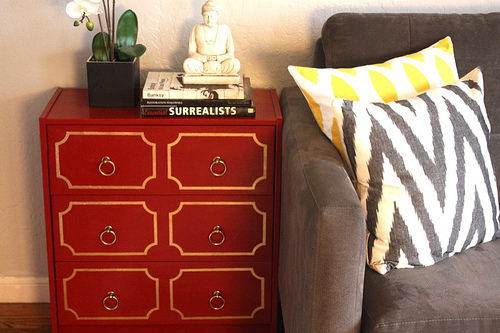
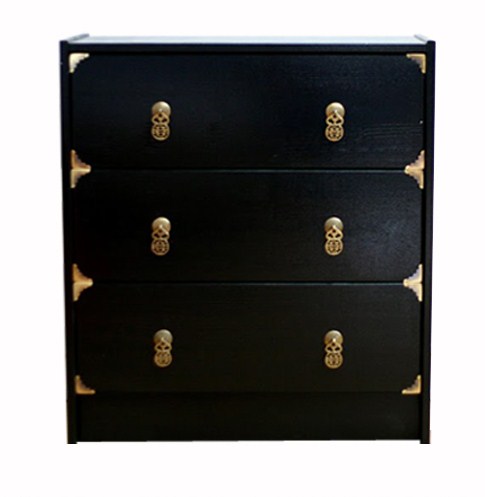
There are so many awesome takes on this project!  Here are some more that I found...

From Nothing But Bonfires:

From Design Manifest:

From Nouveau Stitch:

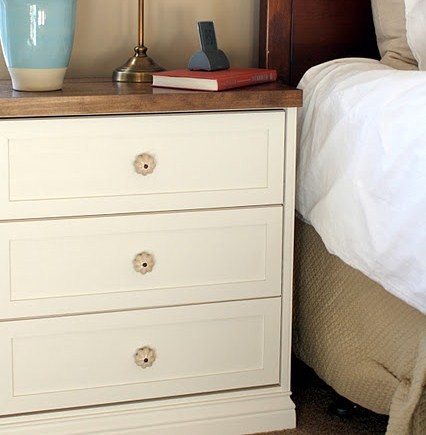
And finally, this one from A Charming Nest that I think is my personal favorite.  Can you believe this started as the same $30 piece of furniture?  Insane!

If you wanna see some more takes on this project, google Ikea Rast Hack and lots of results will pop up.  Or click on this blog to see a few more ways its been done.

So...seeing as how we're in the middle of trying to furnish a whole beach house and could use some bedside tables, I decided I better jump on the Rast Dresser train.  I placed my order a few months ago (back when they cost $29.99 - woot!) and my flat pack box arrived in no time.  Even with shipping, it was still a good deal (but it'd still be nice to have an Idea nearby!).  I had my dad put it together a while ago, but then it just sat.  I was itching to work on it, but we weren't quite sure yet where it would go and therefore couldn't decide on a paint color.

Recently we began nailing down furniture for the rooms and it became clear that we would use this as a bedside table in the master bedroom along with this dresser that I'd already repainted.  I gave it the exact same paint treatment so it'd match the dresser.

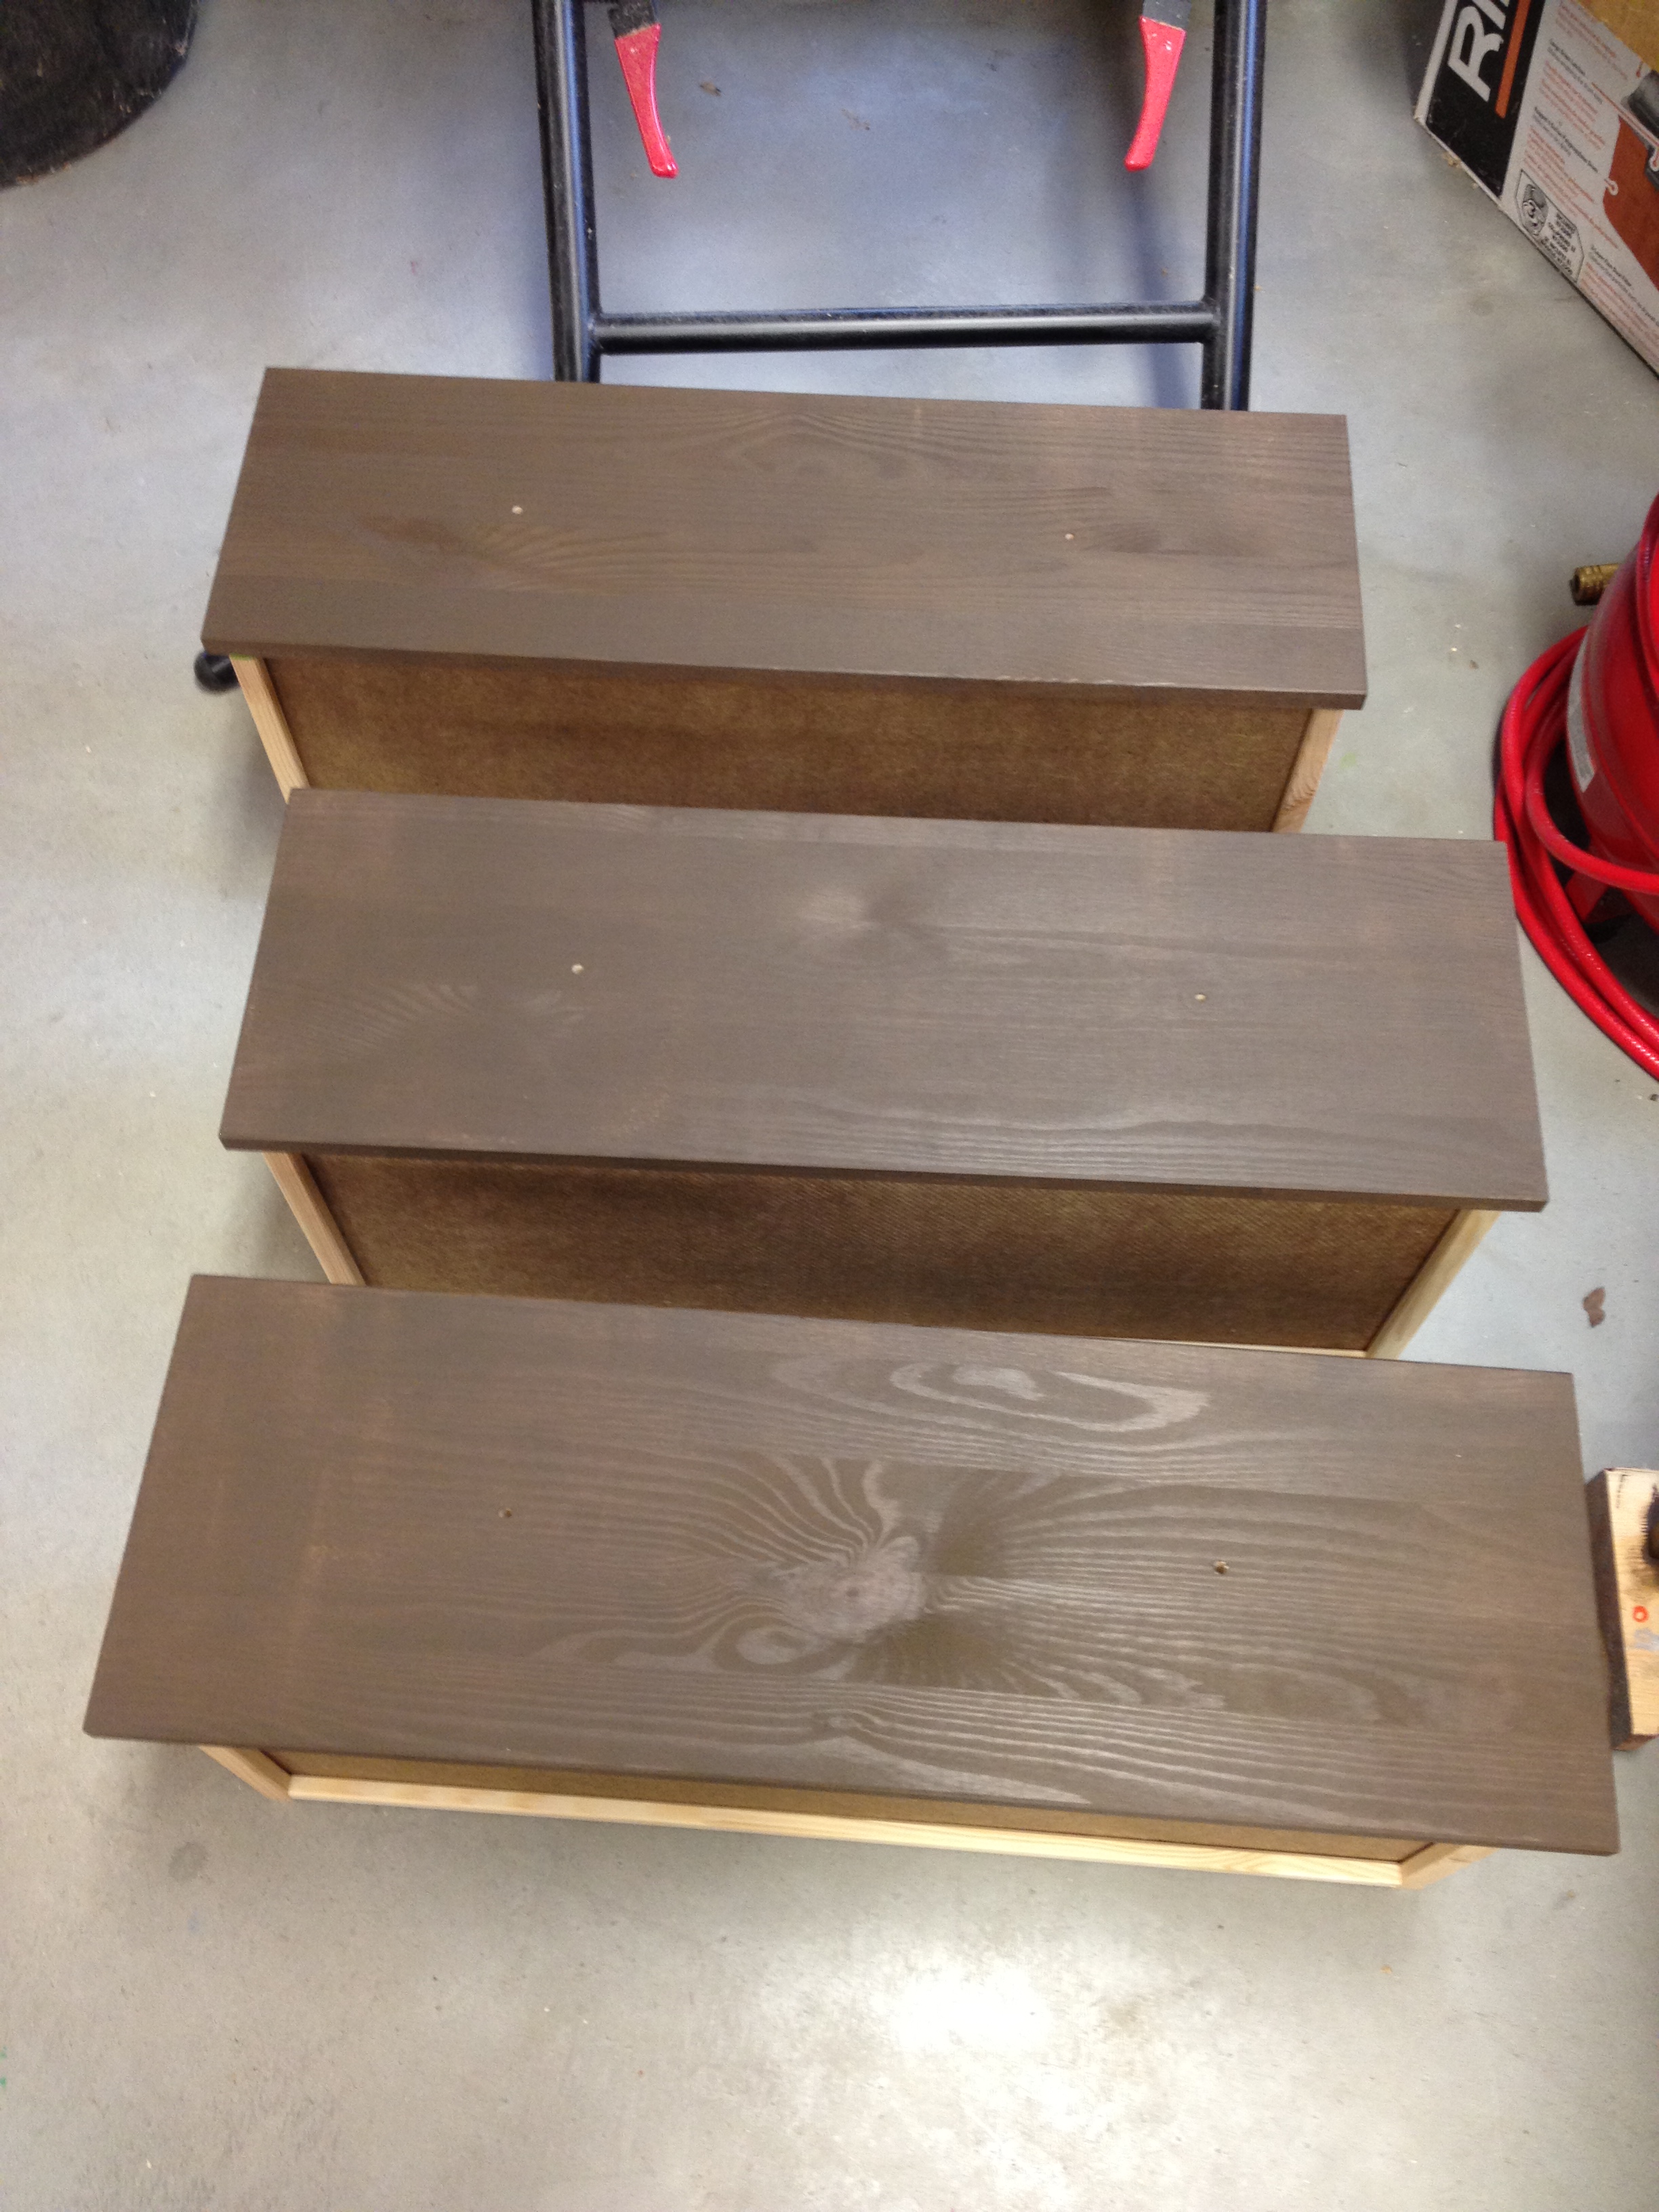
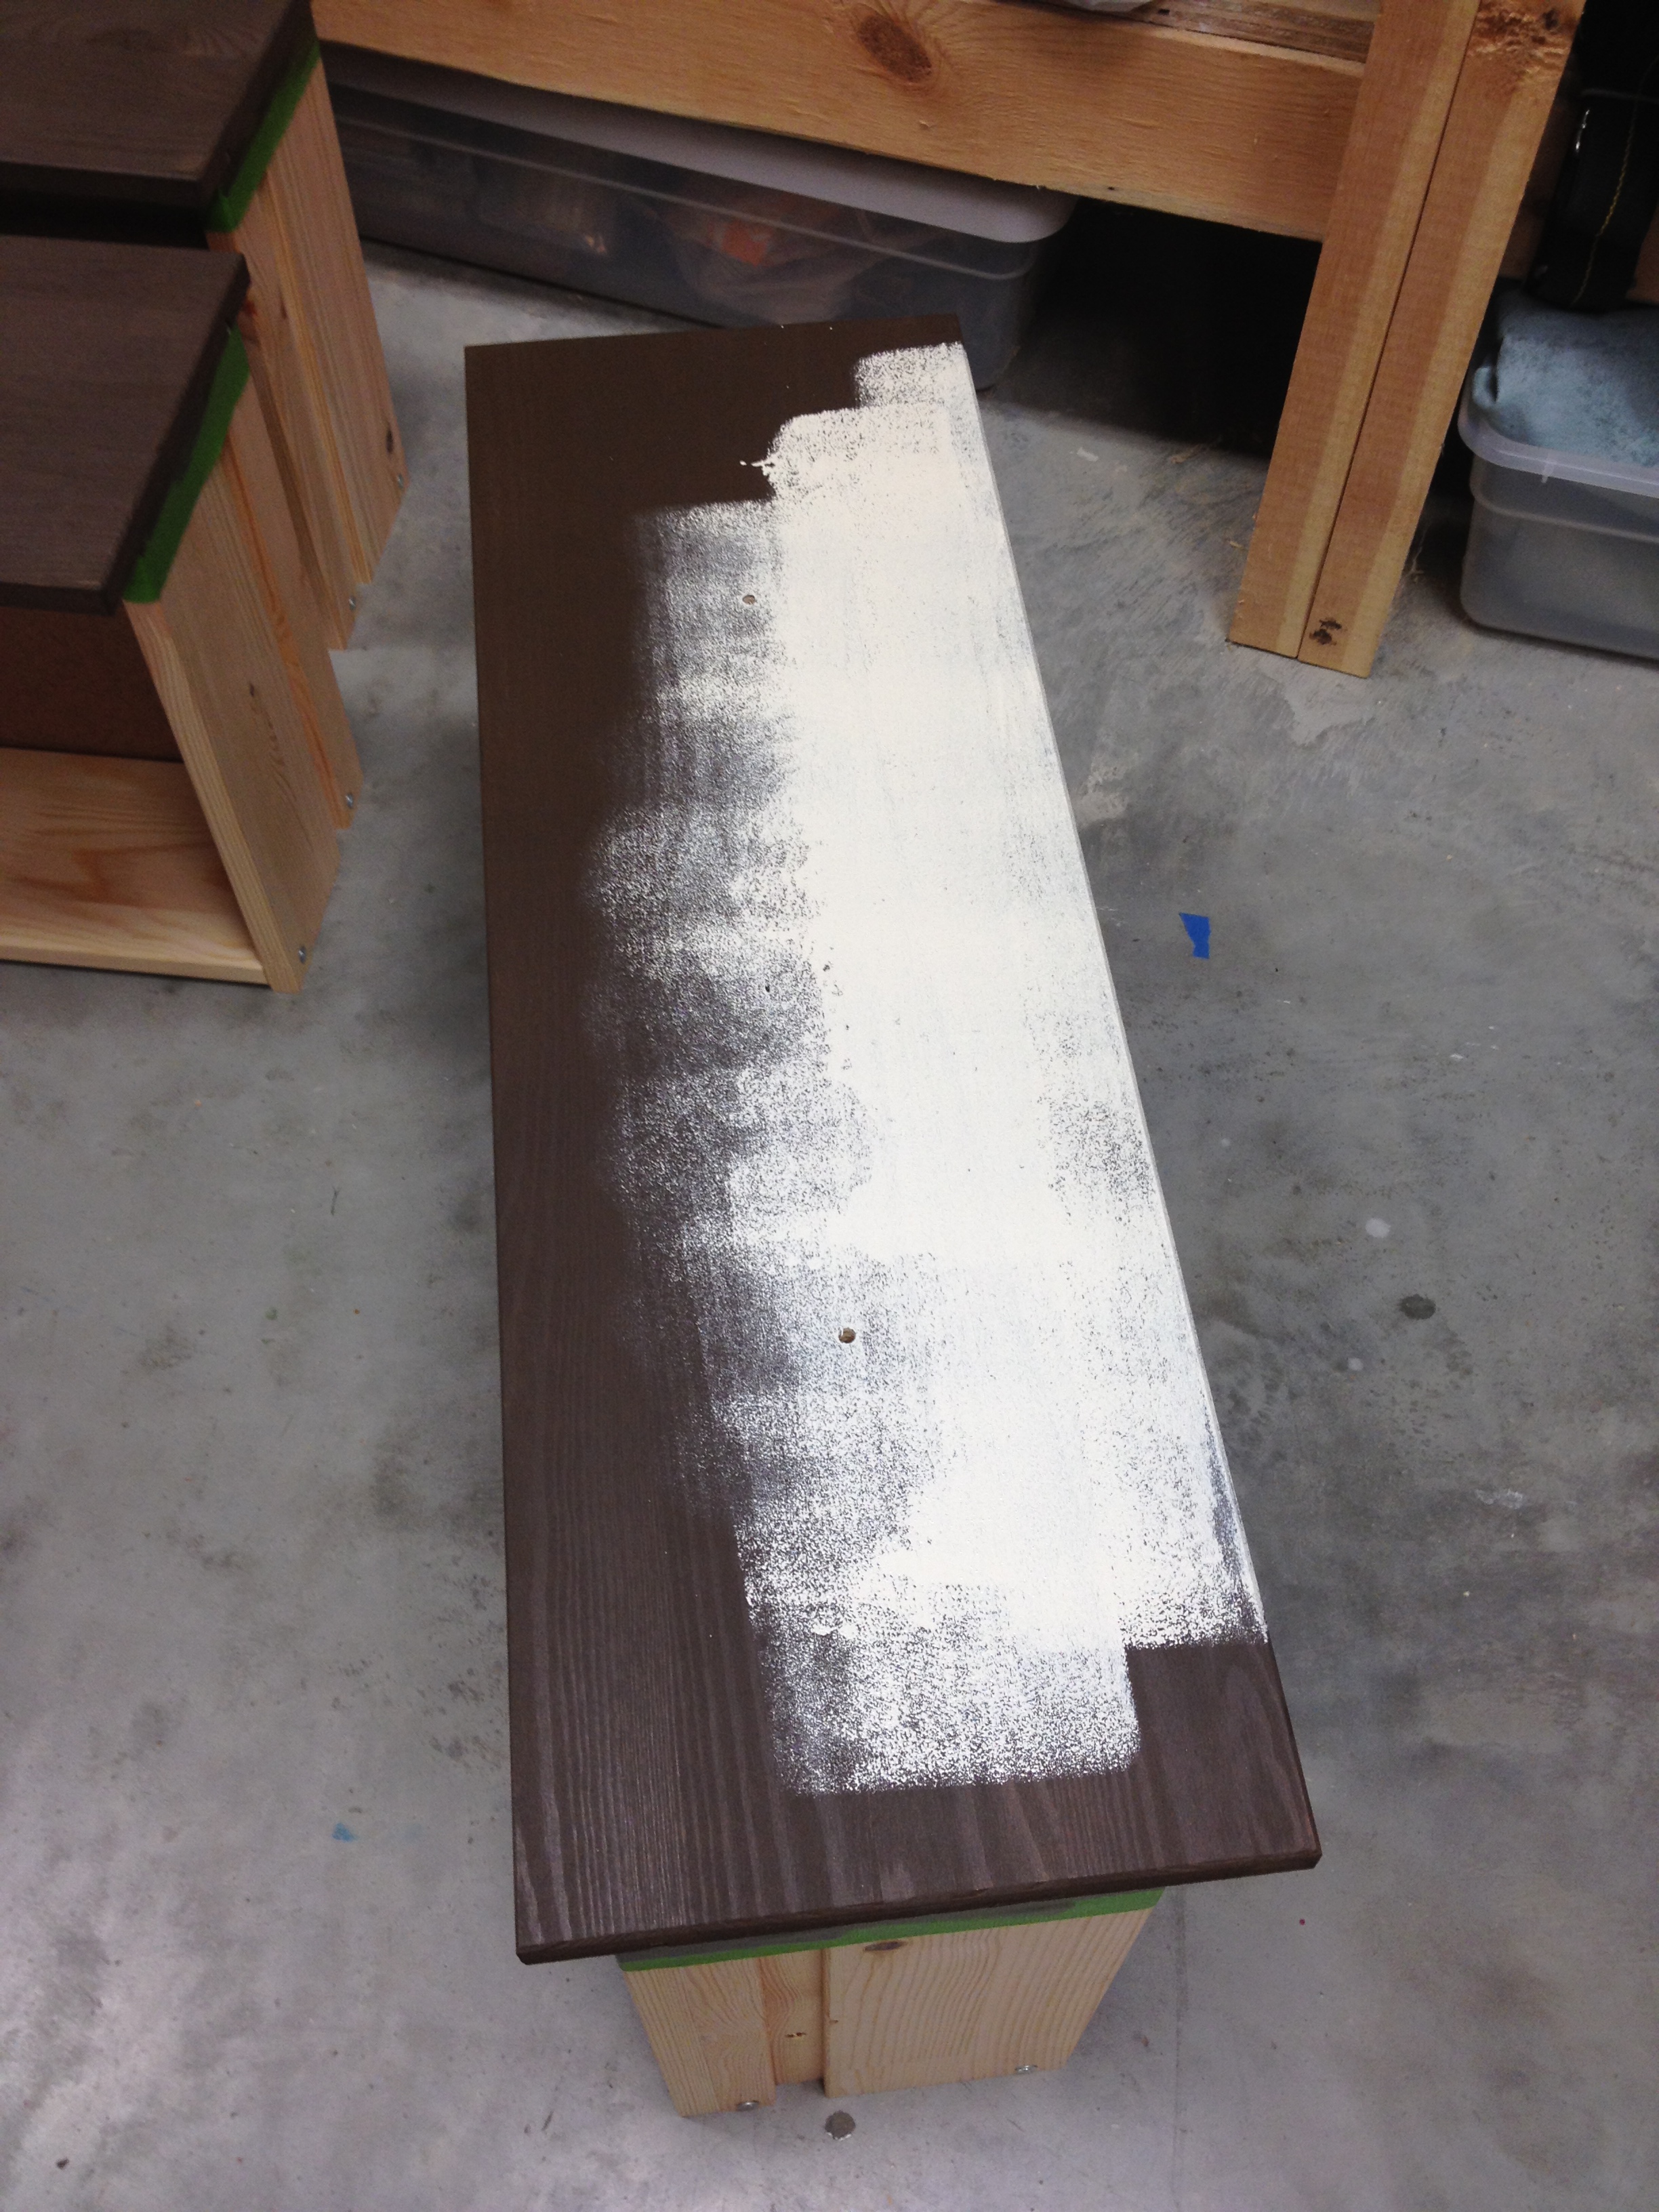
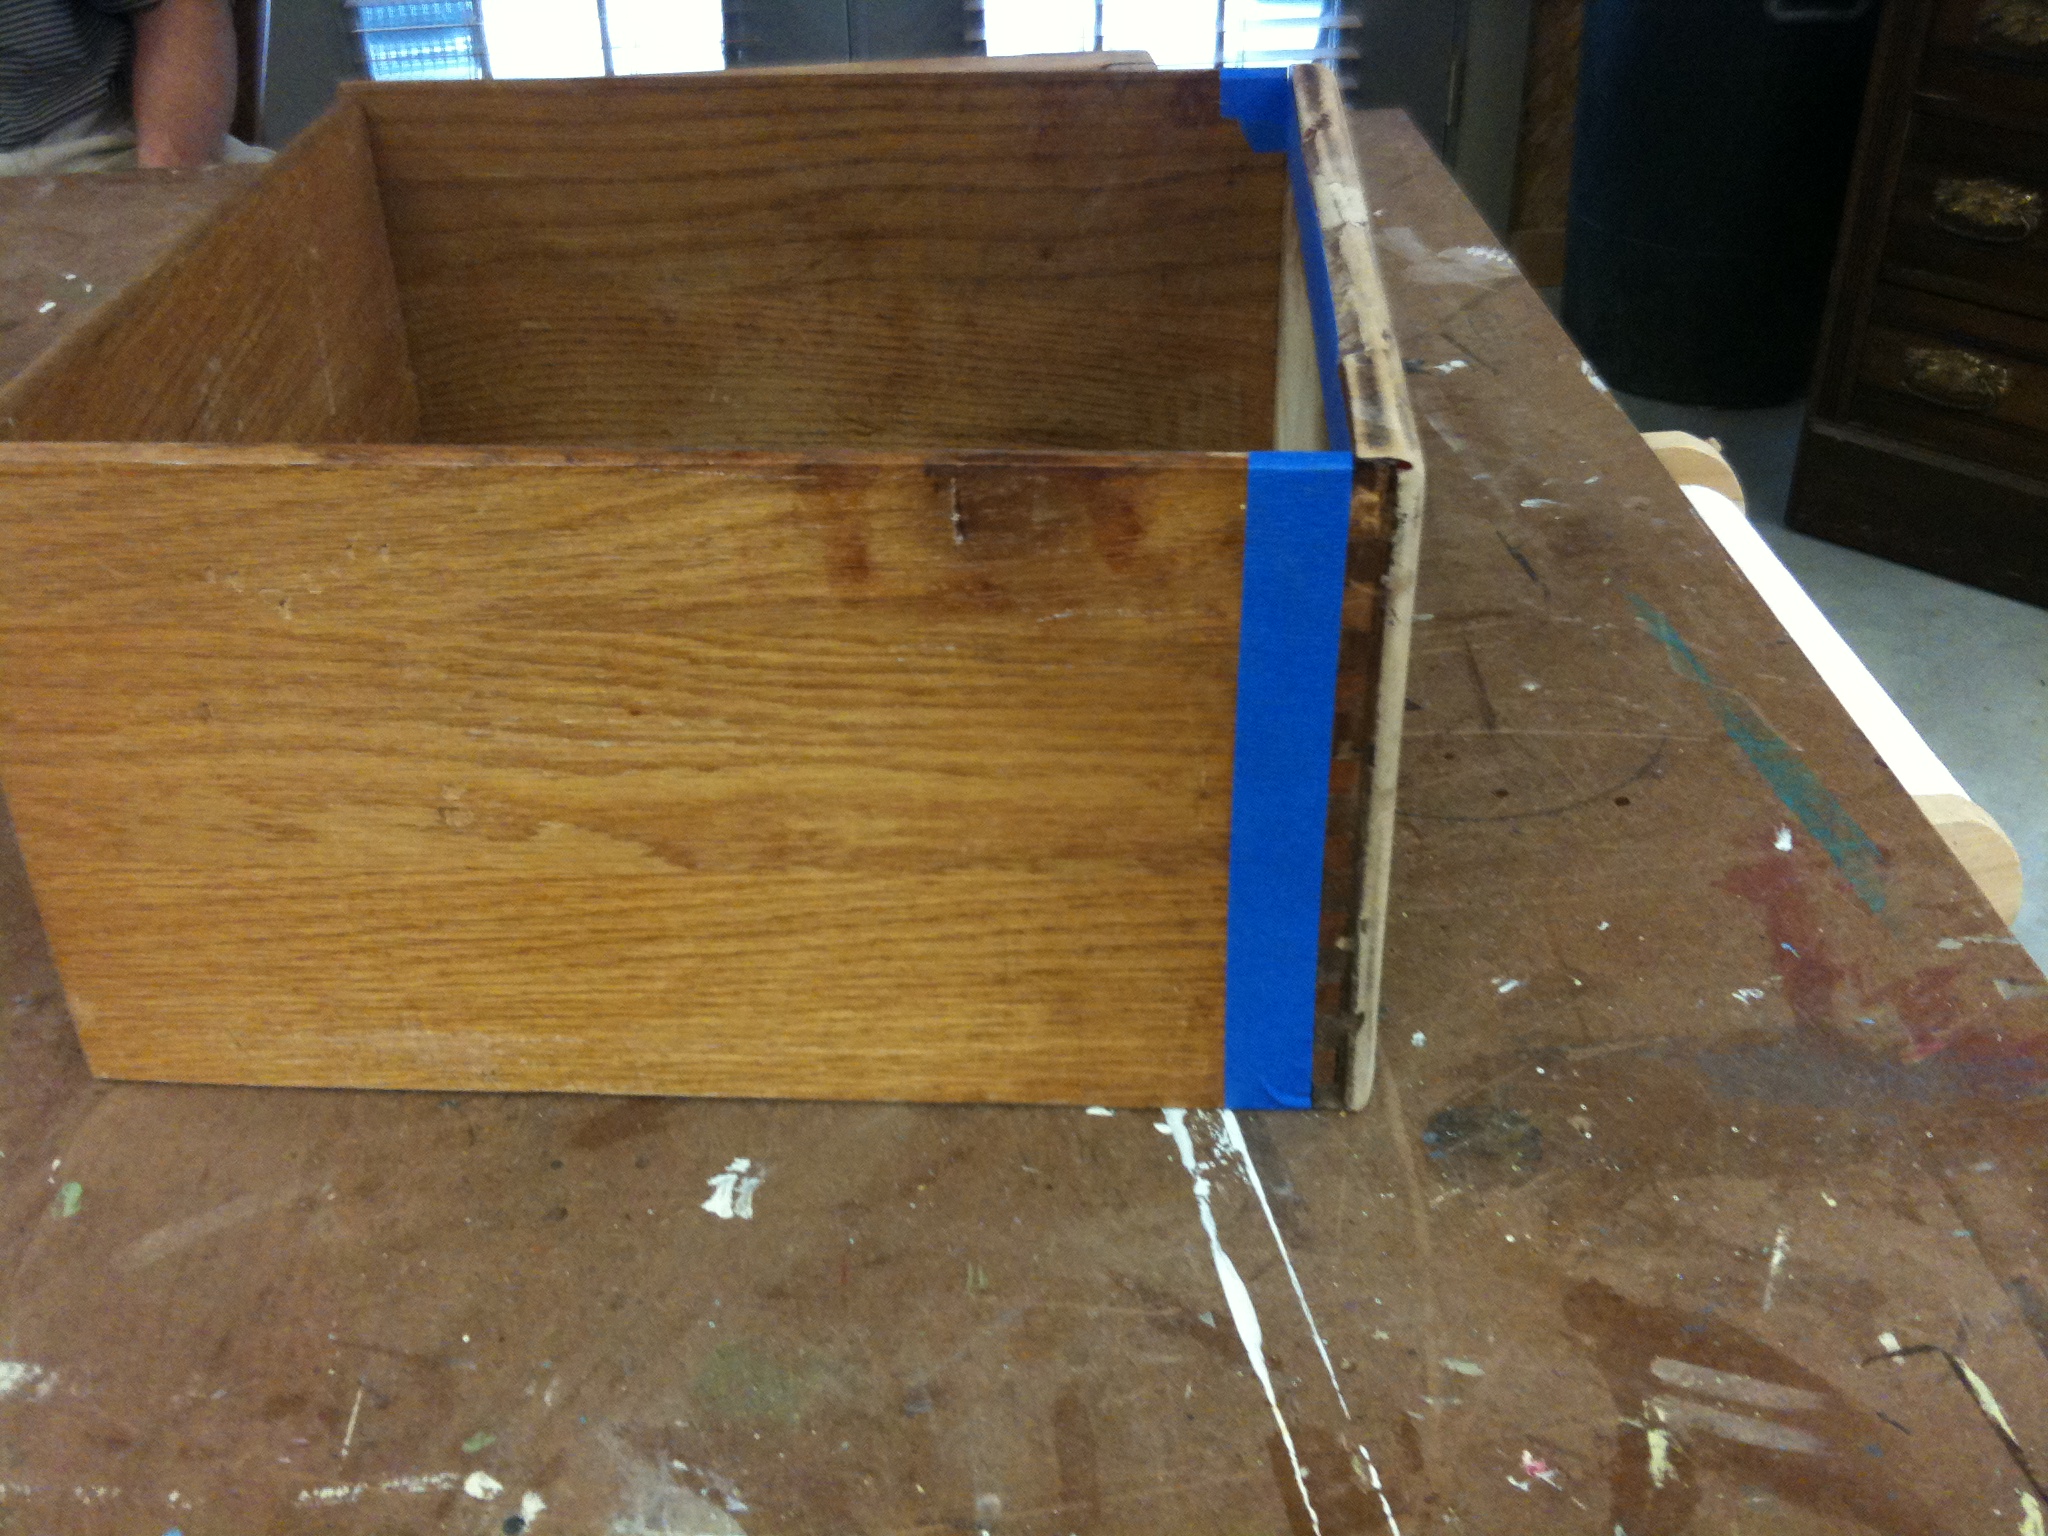
First, a coat of brown, but not before I taped everything off.  Like always, I just wanted to paint the drawer fronts and the outsides of the base.

Then I covered over that with two coats of the cream paint.

Just like with the dresser, I sanded the edges ever so slightly so that some of the brown would peek through.

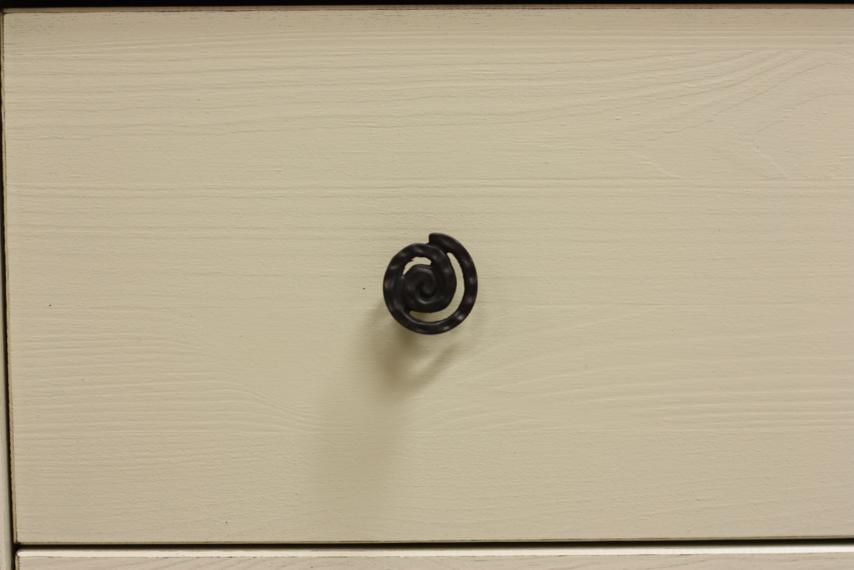
The color was pretty bland so I tried to jazz it up a little with the hardware.  Well, as much as you can jazz it up with hardware that's still neutral in case we redo the room.  I opted for these fun little spiral knobs.

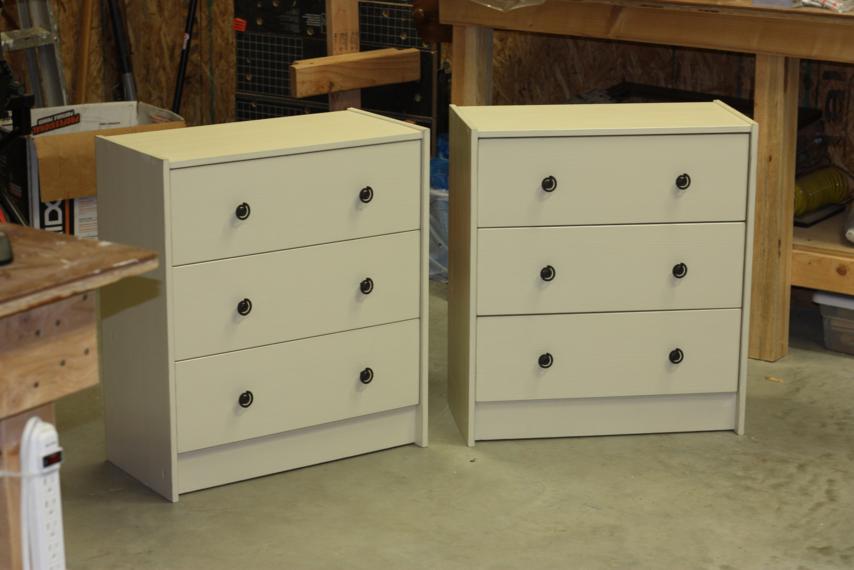
Ready for the end result?  You may need to sit down for this...

I know, I know...BORING!  Try not to yawn in my face, ok?  I wanted to go all out on this, but since it's going to be in a rental house and we don't know how often things will need to be switched, it had to be something plain.  Something safe in case all the bedding and room colors have to change.

Oh wait, I completely left something out...I actually did this whole process twice.  Two bedside tables for the master bedroom.

That really doesn't make it any more exciting, huh?  Then how 'bout I tell you this: after my dad assembled these first two and saw how solid and sturdy they were, we decided to order two more.  That means I'd have two more chances to go crazy on the Ikea Rast Dresser.  And ya wanna know something else?  I've already finished one of them and I totally broke out my pack of stencils to fancy it up.  Can't wait for you to see it!  Pics soon...

Before and After: Buffet

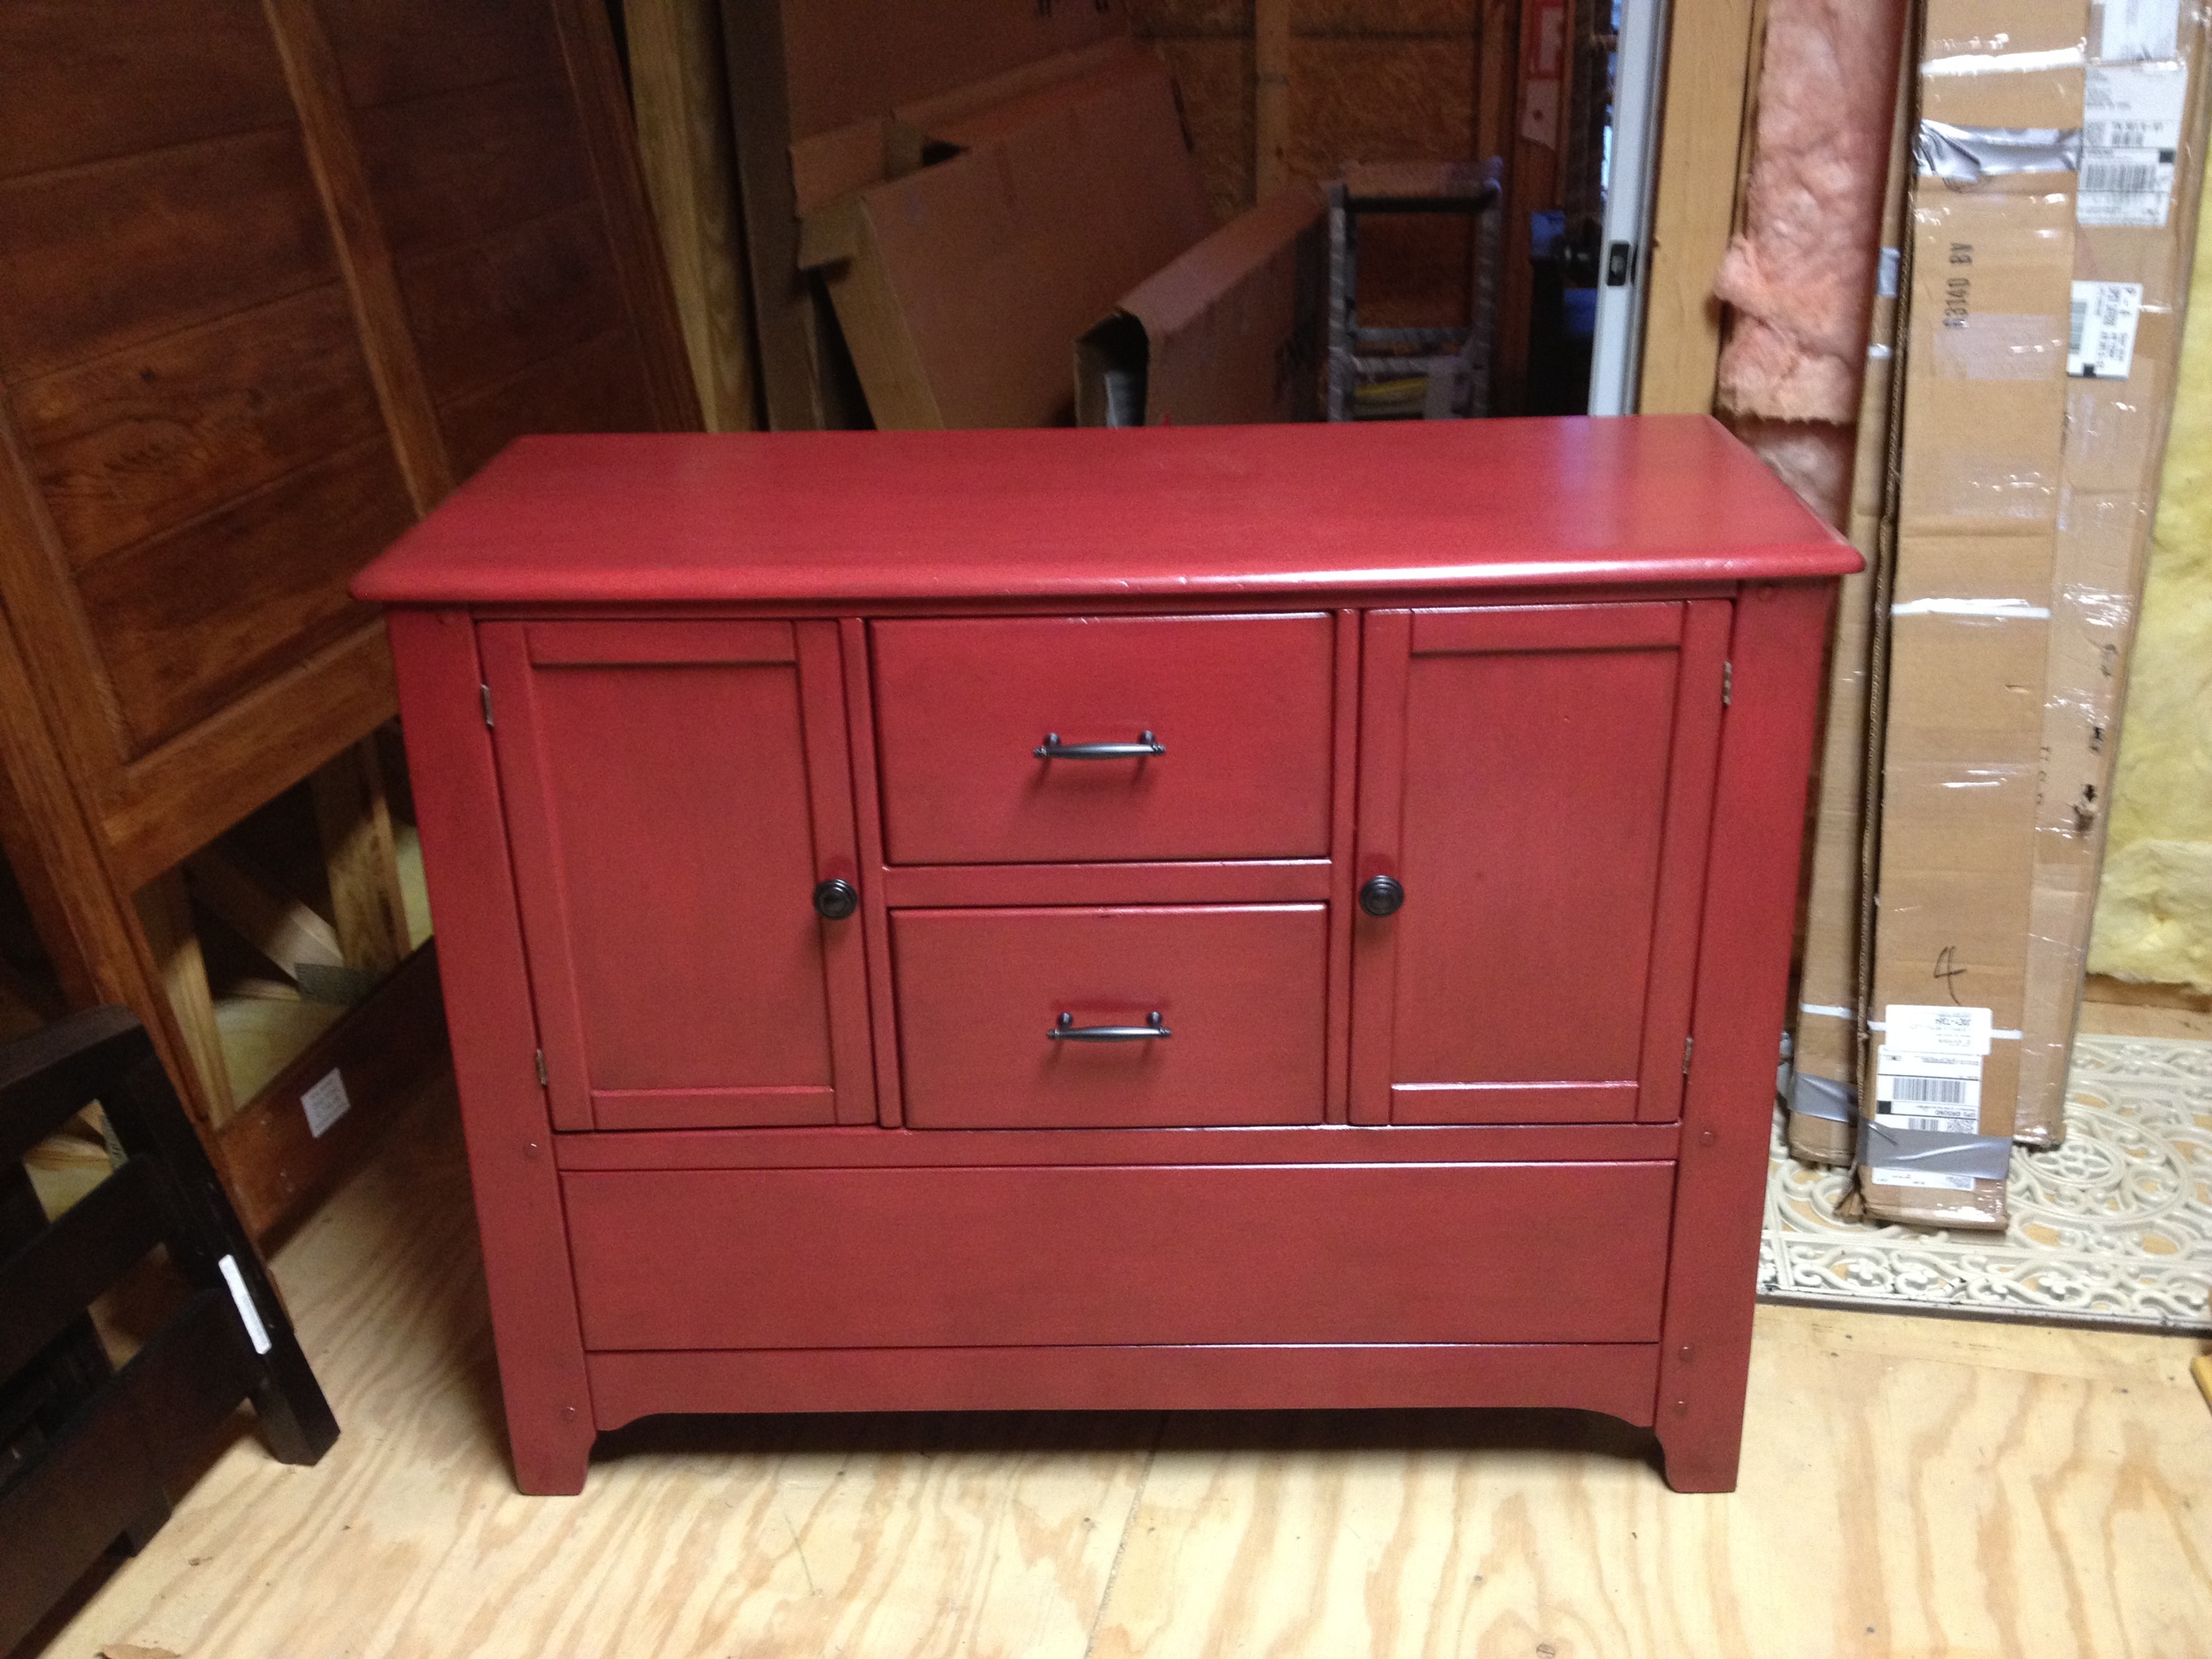
Are you getting tired of these before and after posts?  I hope not, because I still have a few more to go.  Not all of them are completely finished though. This one, the buffet, is a real Cinderella story.  She started out in baaaad shape, but now she's fit for a queen! (Or a beach house, rather...)  We found the ol' hunk of junk at a teeny, tiny consignment shop.  One that was so crammed full of stuff that it was hard to really stand back and look at her.  We gave her a good shake and knocked on the top and sides and decided she was pretty solid and in decent enough shape.  We forked over sixty bucks and brought her home!
Back in the wood shop, we were able to do a better inspection.  First thing we noticed was that big hole at the bottom was not just a decorative space, but instead where a big drawer used to be.  The support slats had been torn off and, obviously, the drawer was missing.

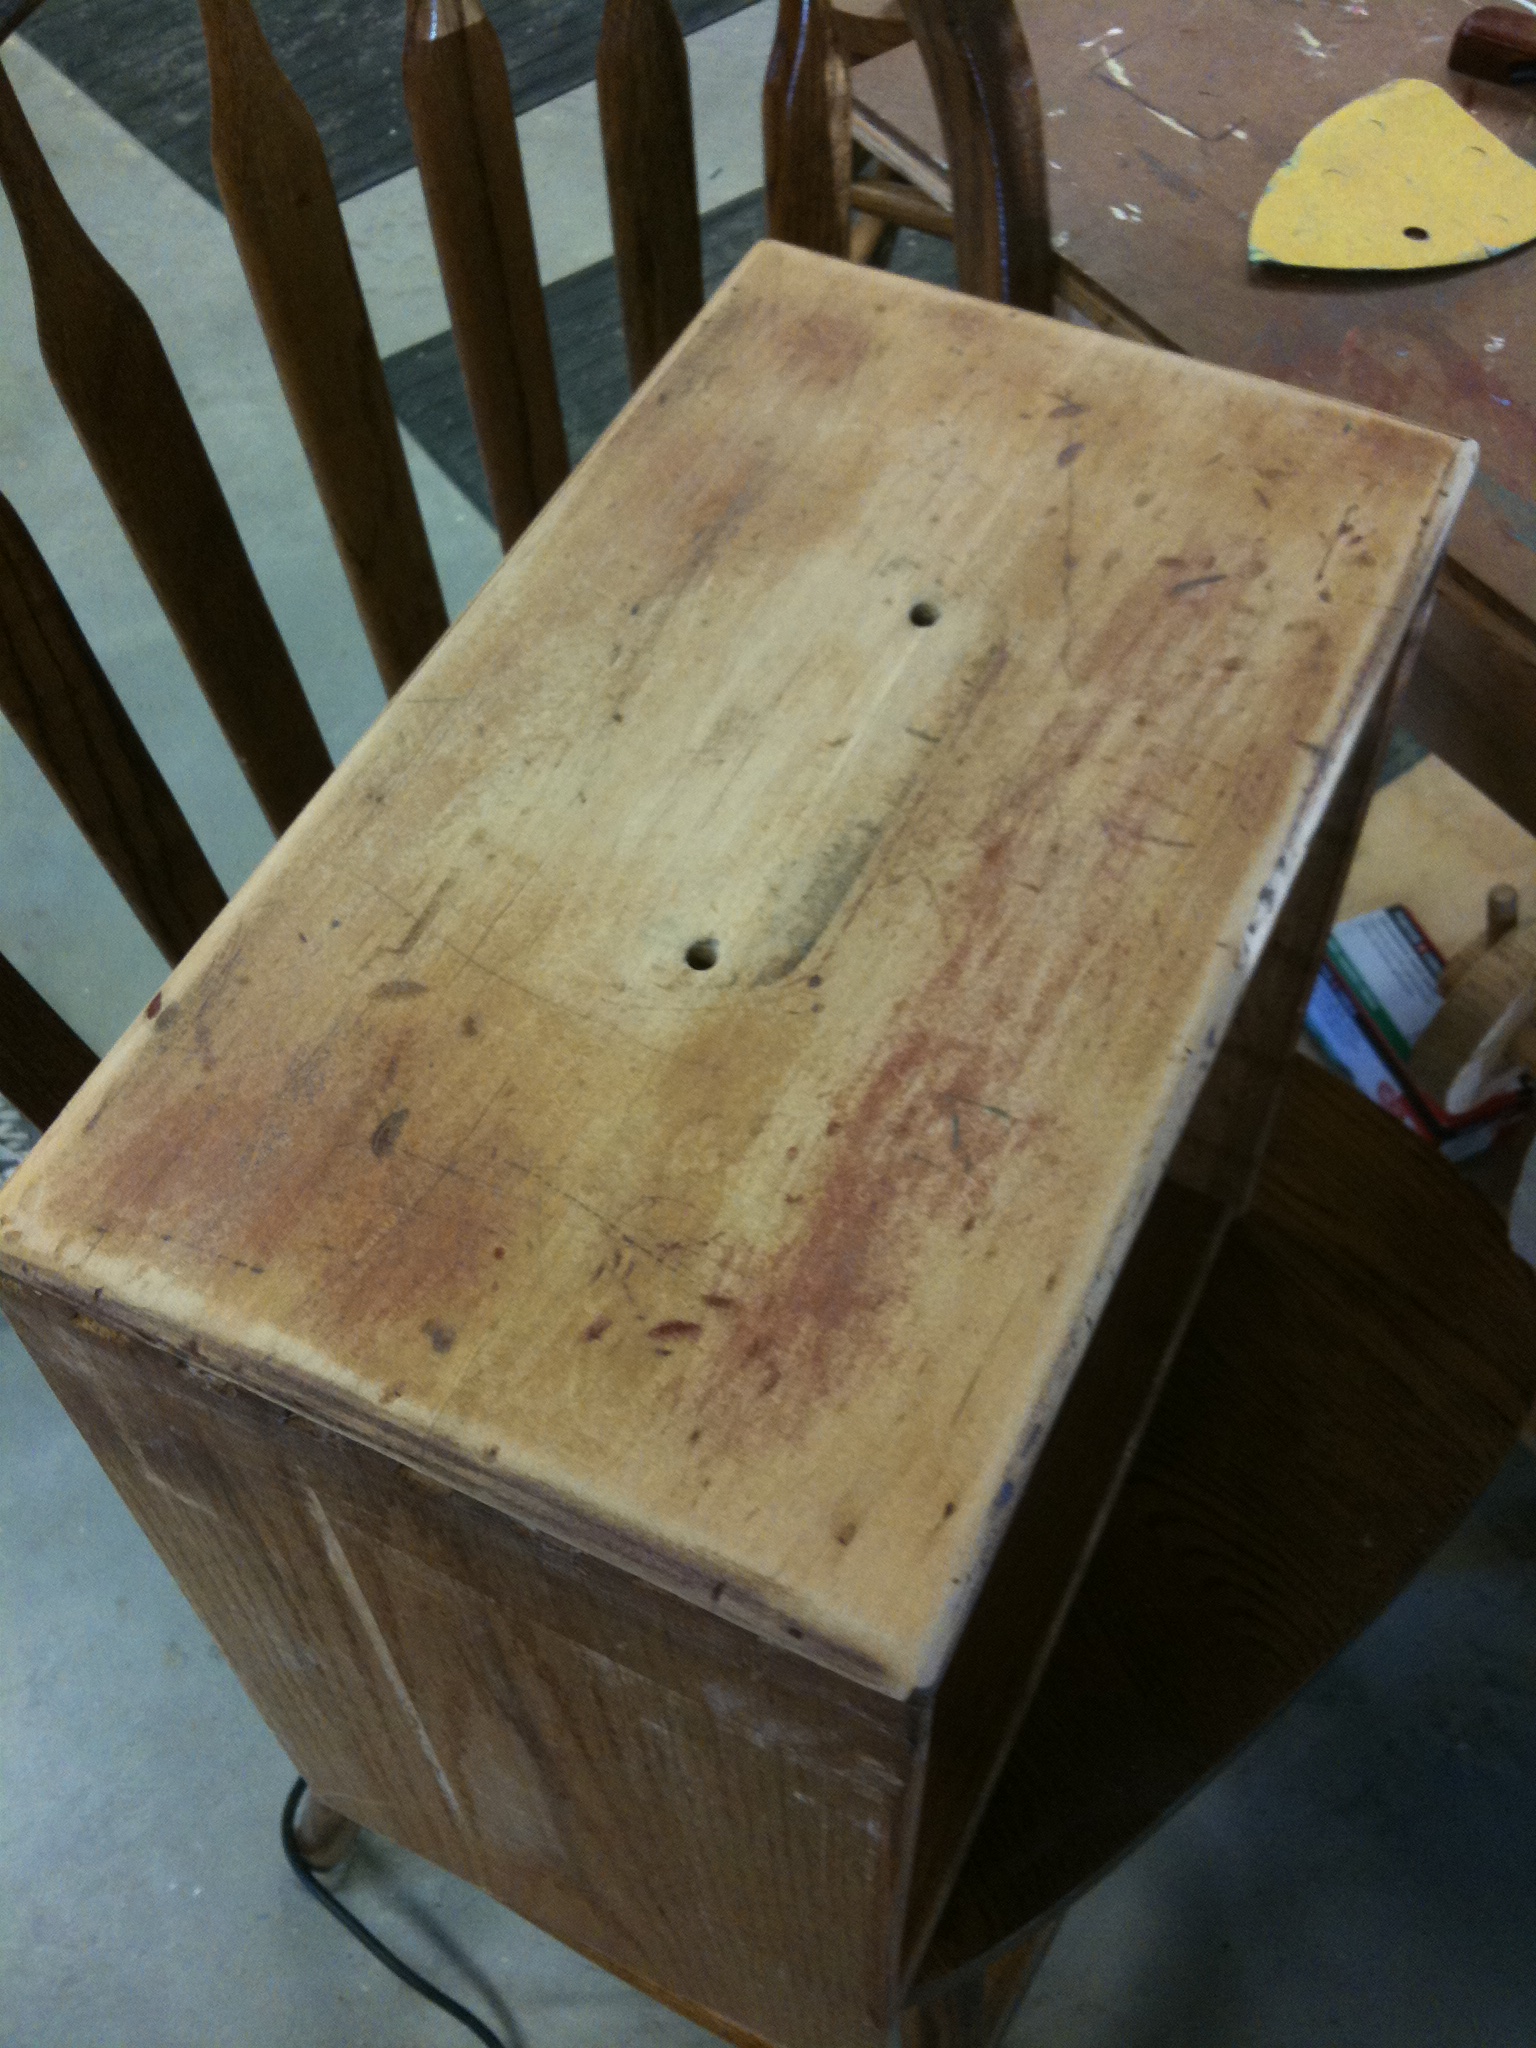
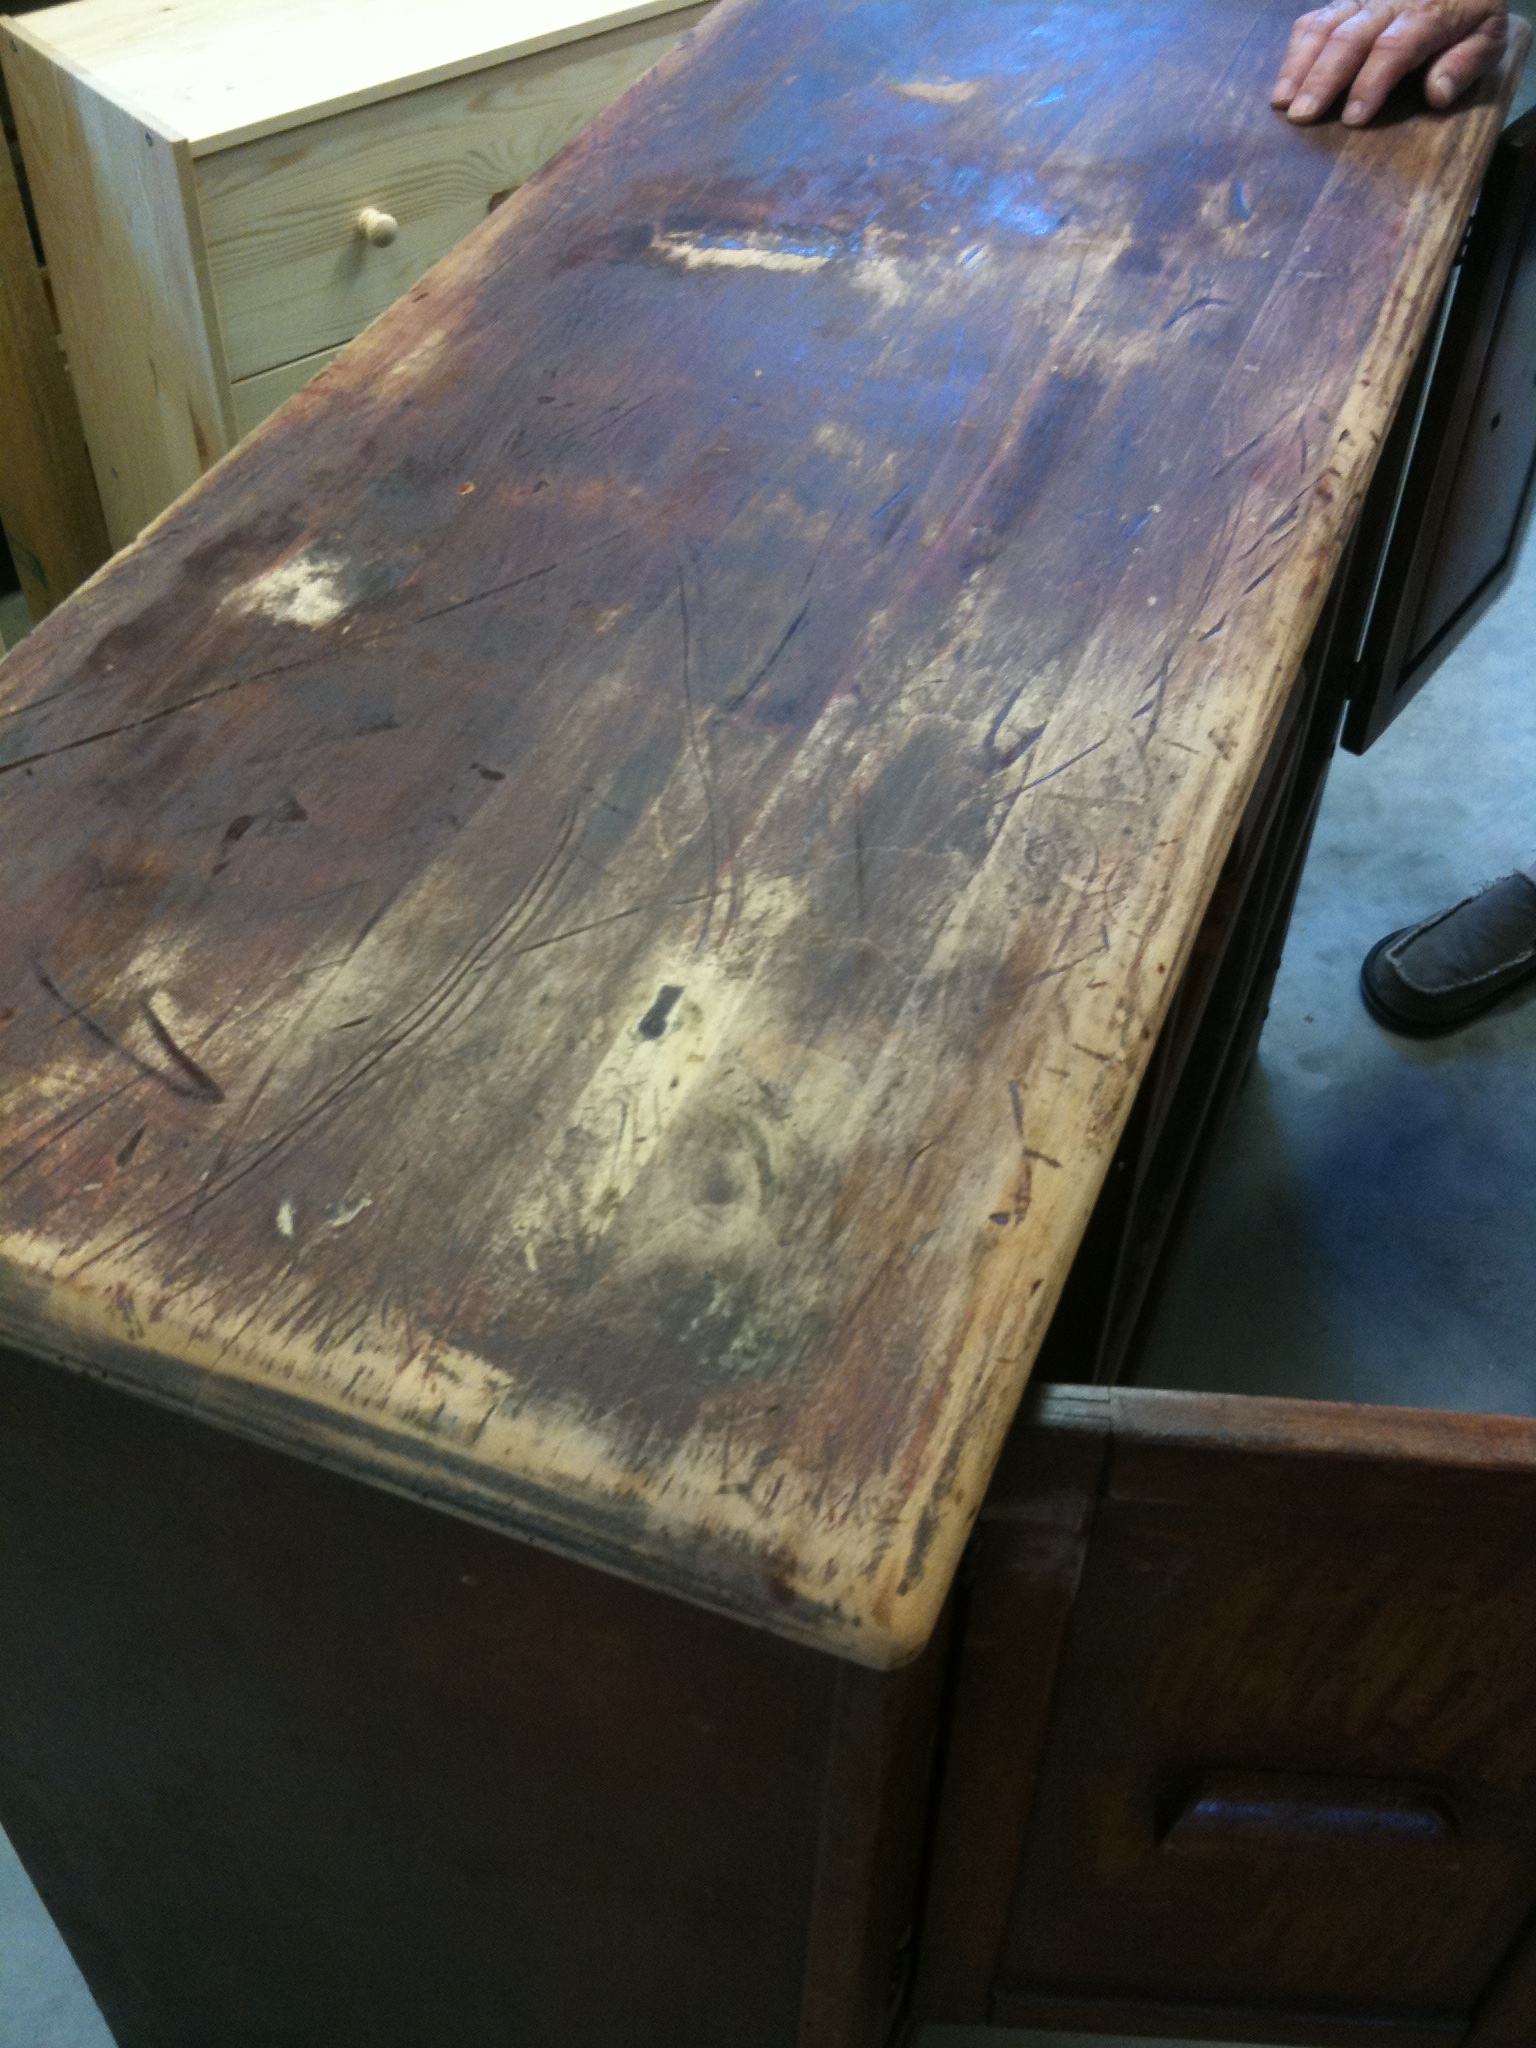
Closer inspection also revealed lots of scratches and carvings.

There was also some kind of weird, bumpy coat over several surfaces.  Kinda like it had a clear coat on it that had gotten too close to heat and bubbled up.  Can you see the splotchiness in the below pic?  It was rough to the touch.
Buyer's remorse crept in, but we decided to move forward and see if we could still clean her up.  First steps were to remove the chunky wooden pulls on both the drawers and doors, and get to sanding.

The doors and drawers sanded down pretty nicely and with minimum effort.

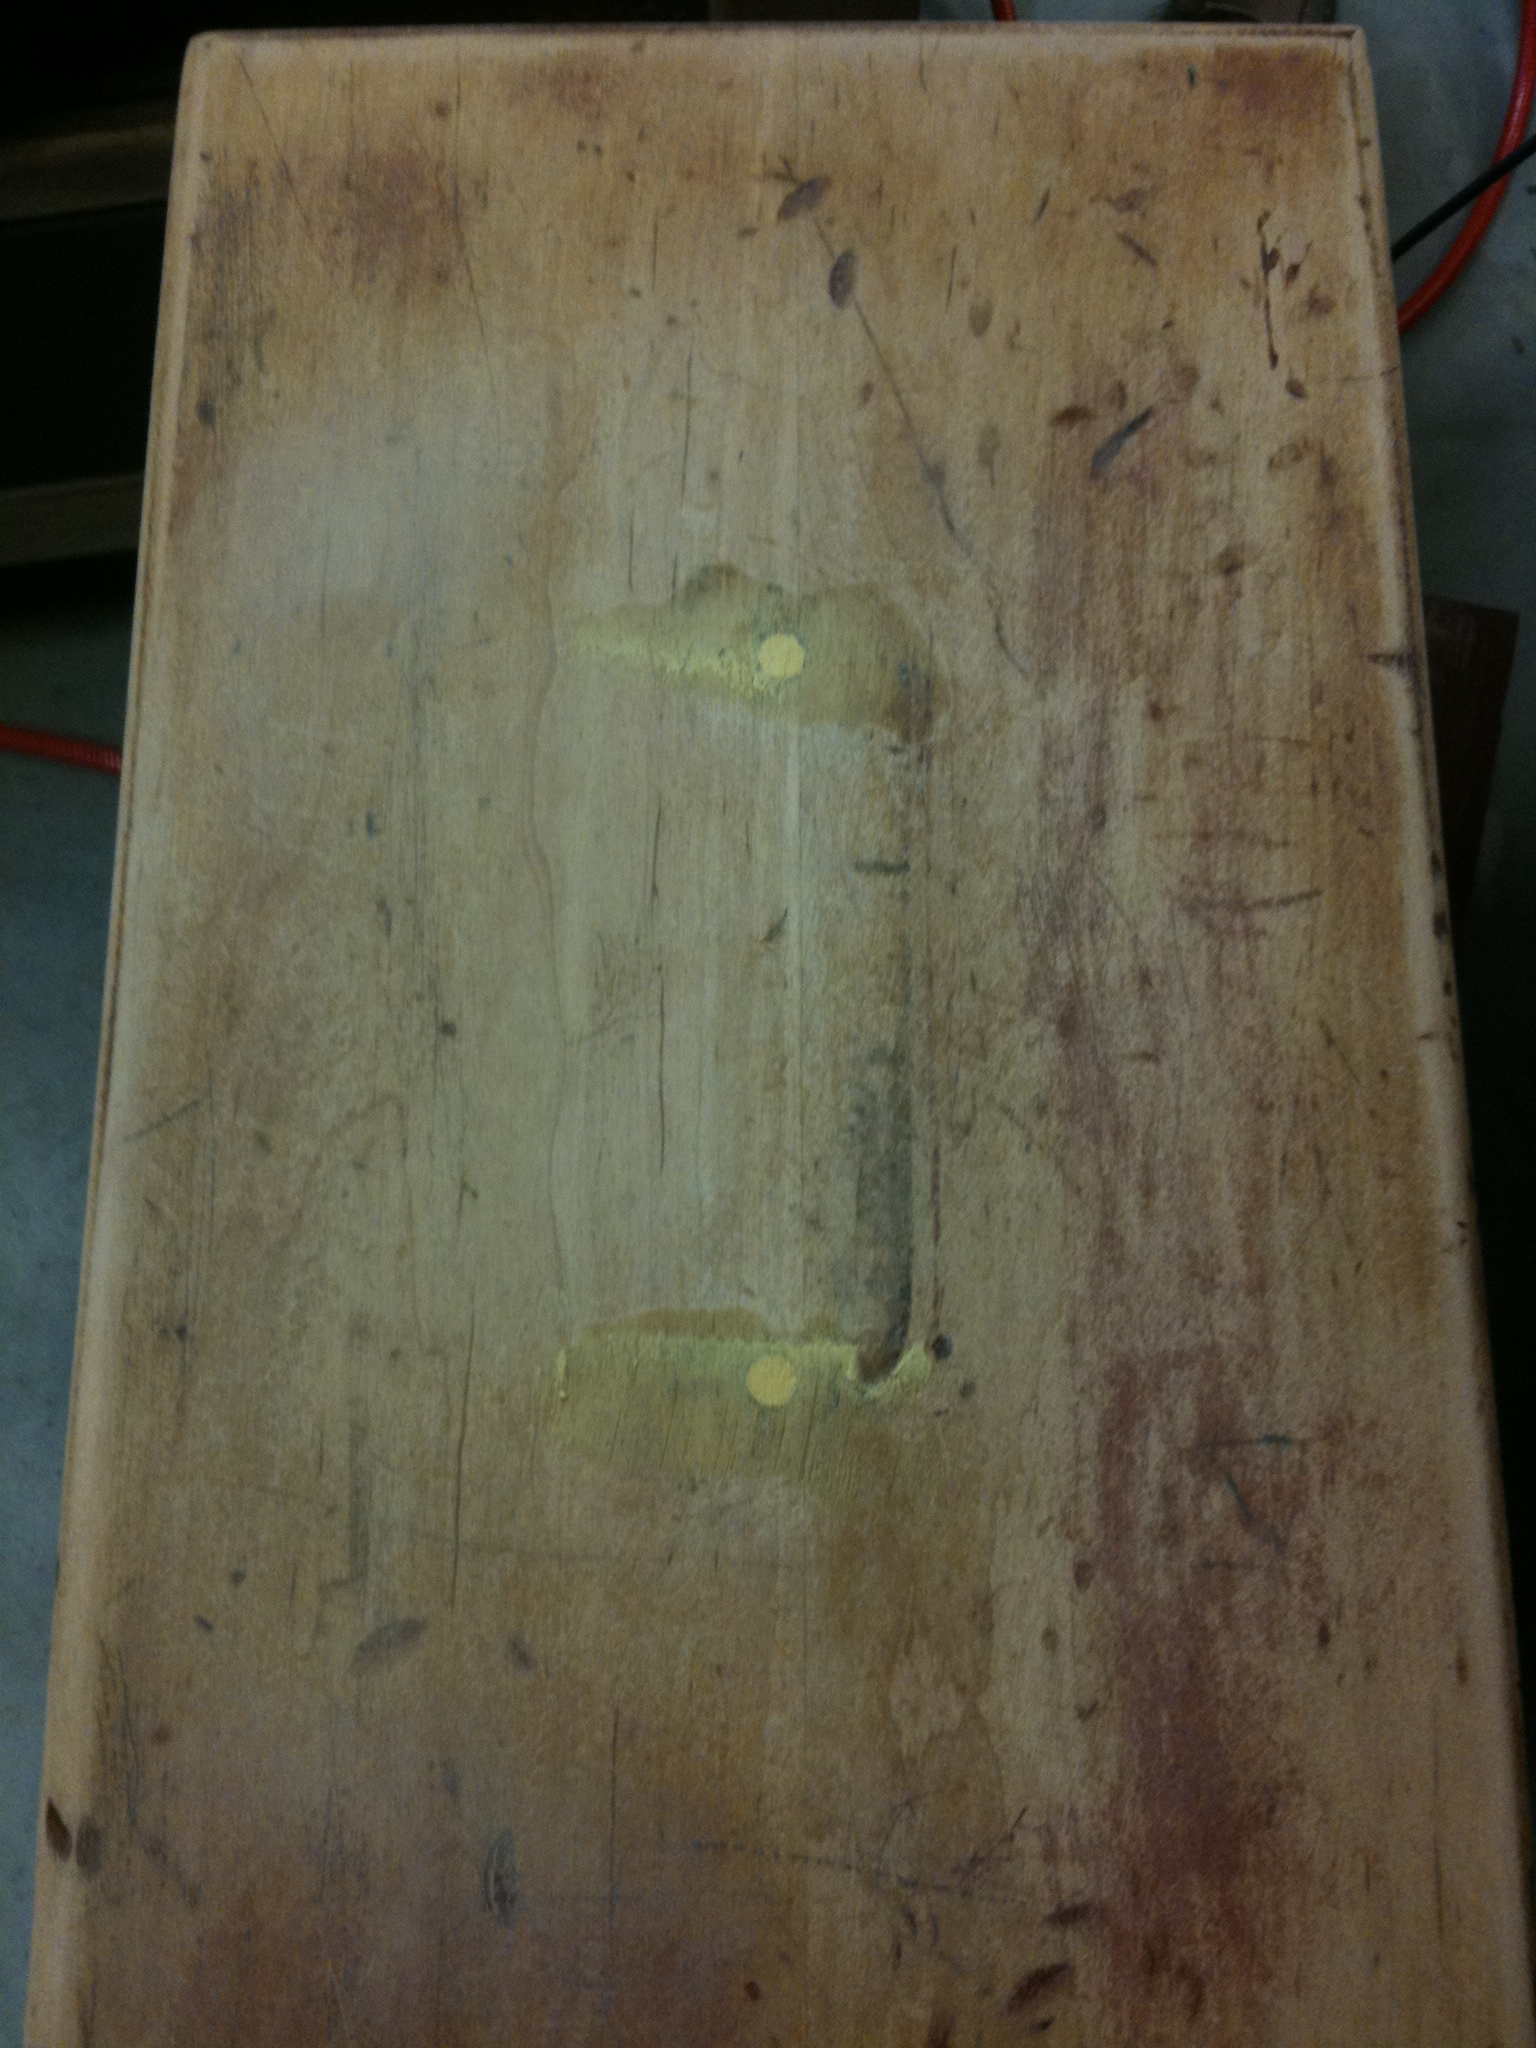
We were 100% sure that those ugly pulls weren't going back on, so we filled the holes with wood putty.

The base of the buffet did not sand down as well.  The more we sanded, the more scratches we found.  Grrr.

Here is the whole base after being sanded.  Notice the empty space at the bottom is gone?  We toyed with building our own drawer to replace the original one, but decided a faux drawer would be much easier.  After cutting a board to the size of the gap, my dad used his router to round the edges to match the edges on the other two drawers.  We secured the board in from the back to avoid visible nail holes.  I painted it chocolate brown before we put it in.  At the time, I wasn't sure how we were going to finish it and I figured it wouldn't hurt to have it a similar color to the rest of the piece.  In hindsight, painting it brown probably wasn't necessary.

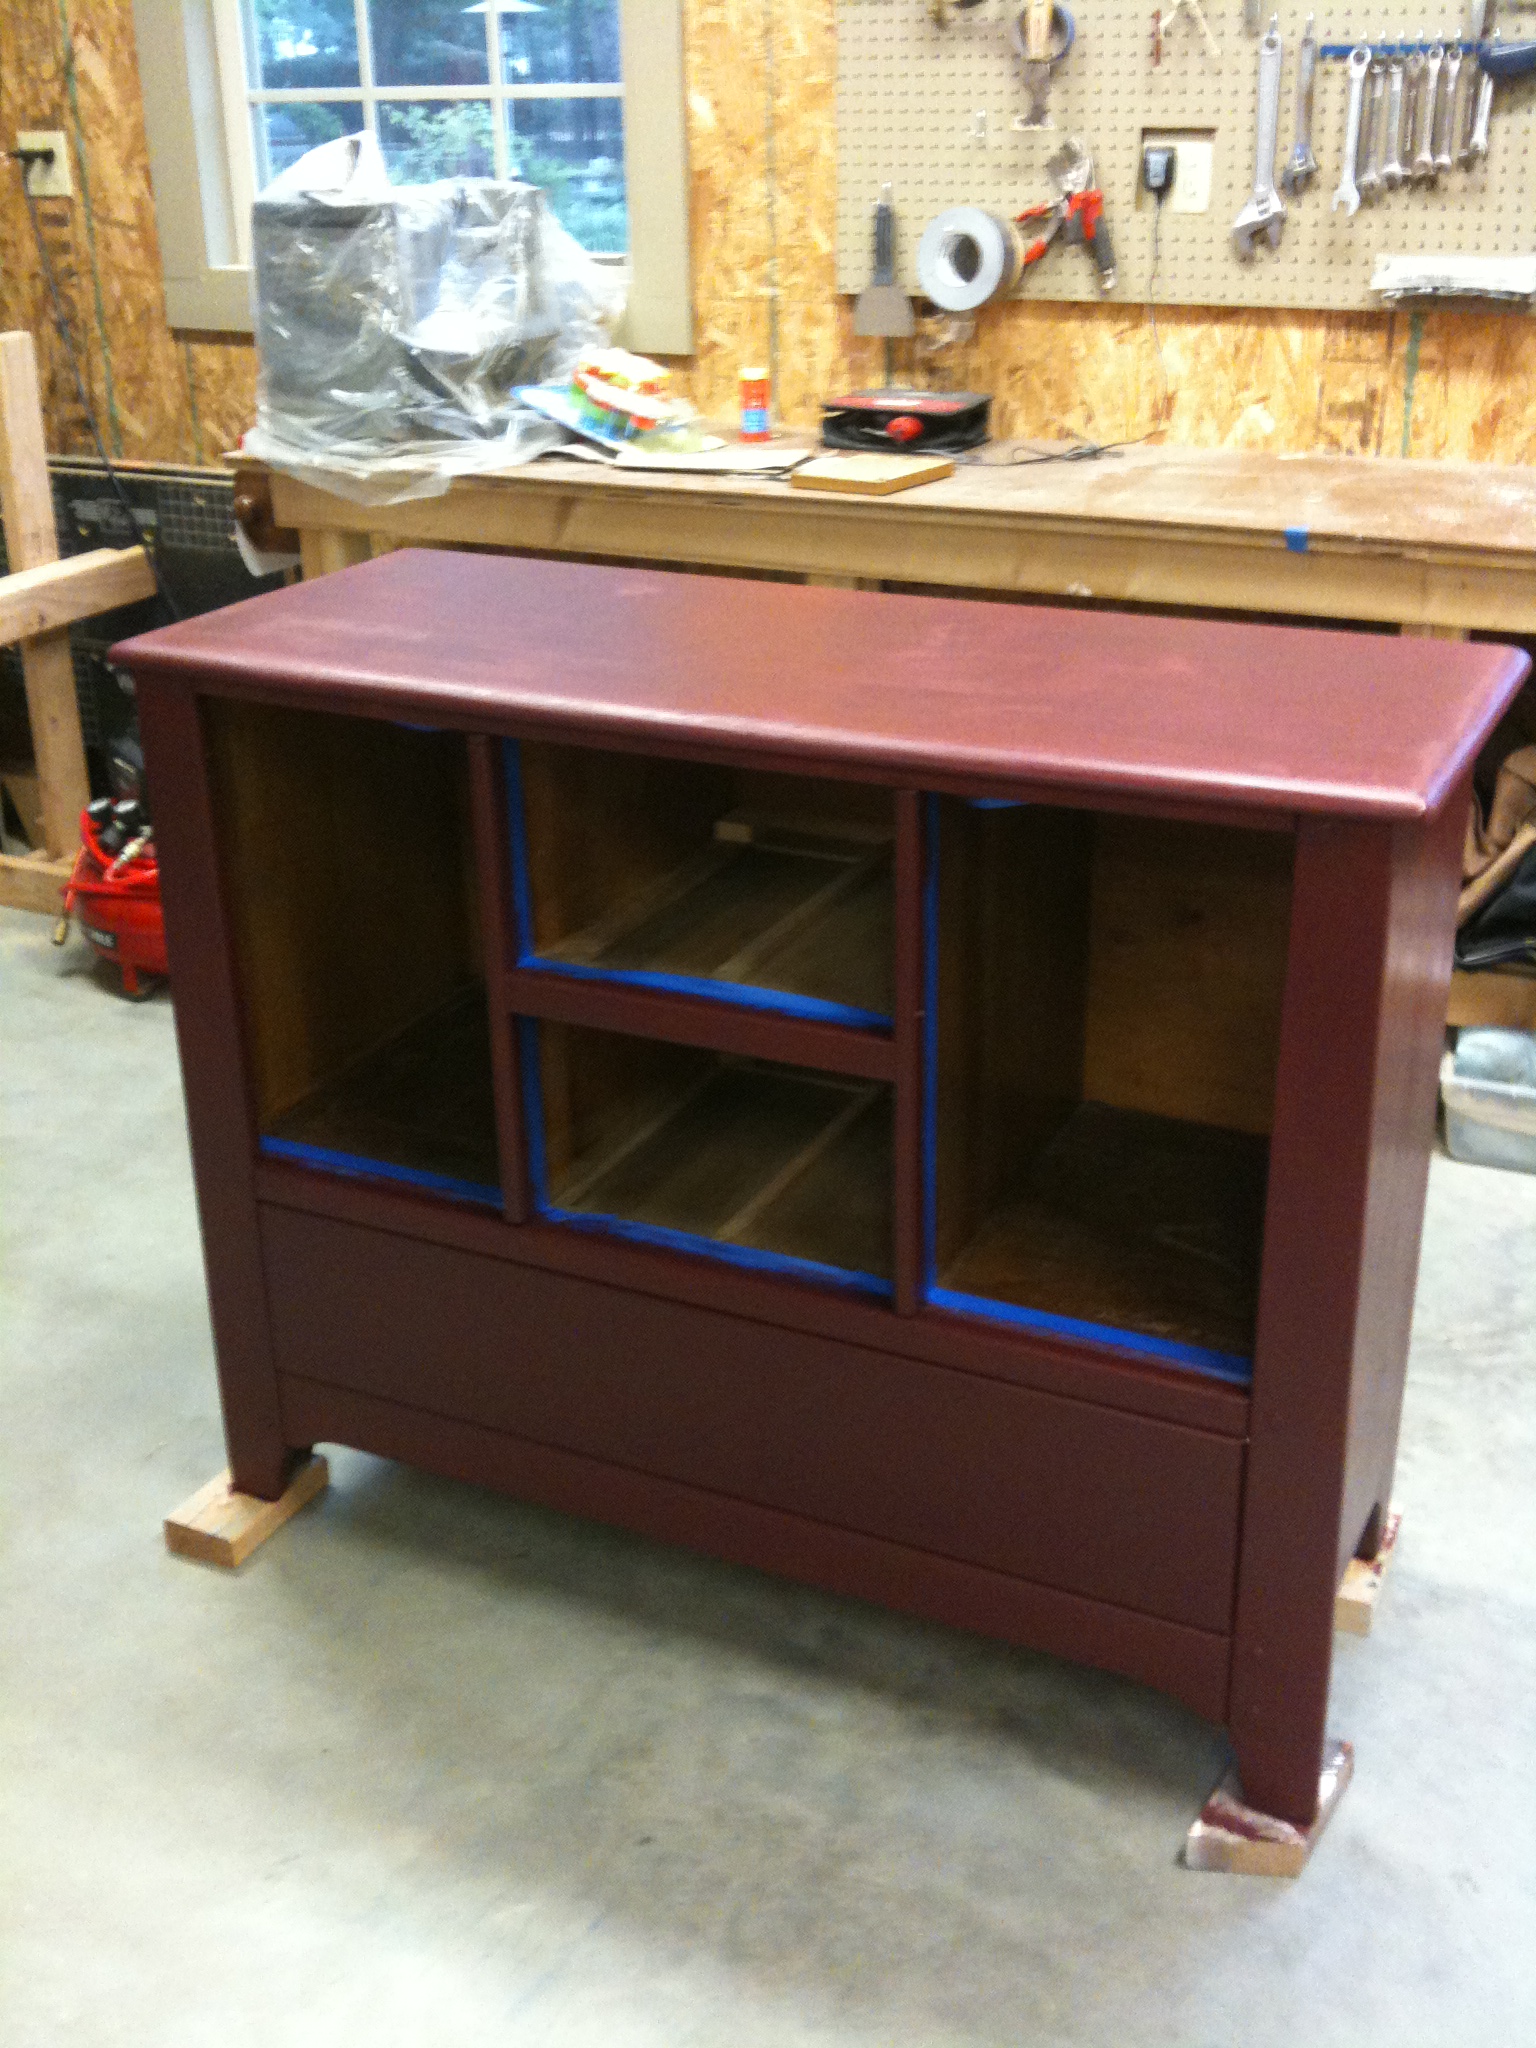
You can also see in the picture above that I taped off the insides before painting.  Just like when painting the dressers, I wanted to leave the insides paint-free to keep the drawers from sticking.  I taped off the edges of the drawers, too, so that I only had to paint the fronts.

The color choice for this piece?  RED!

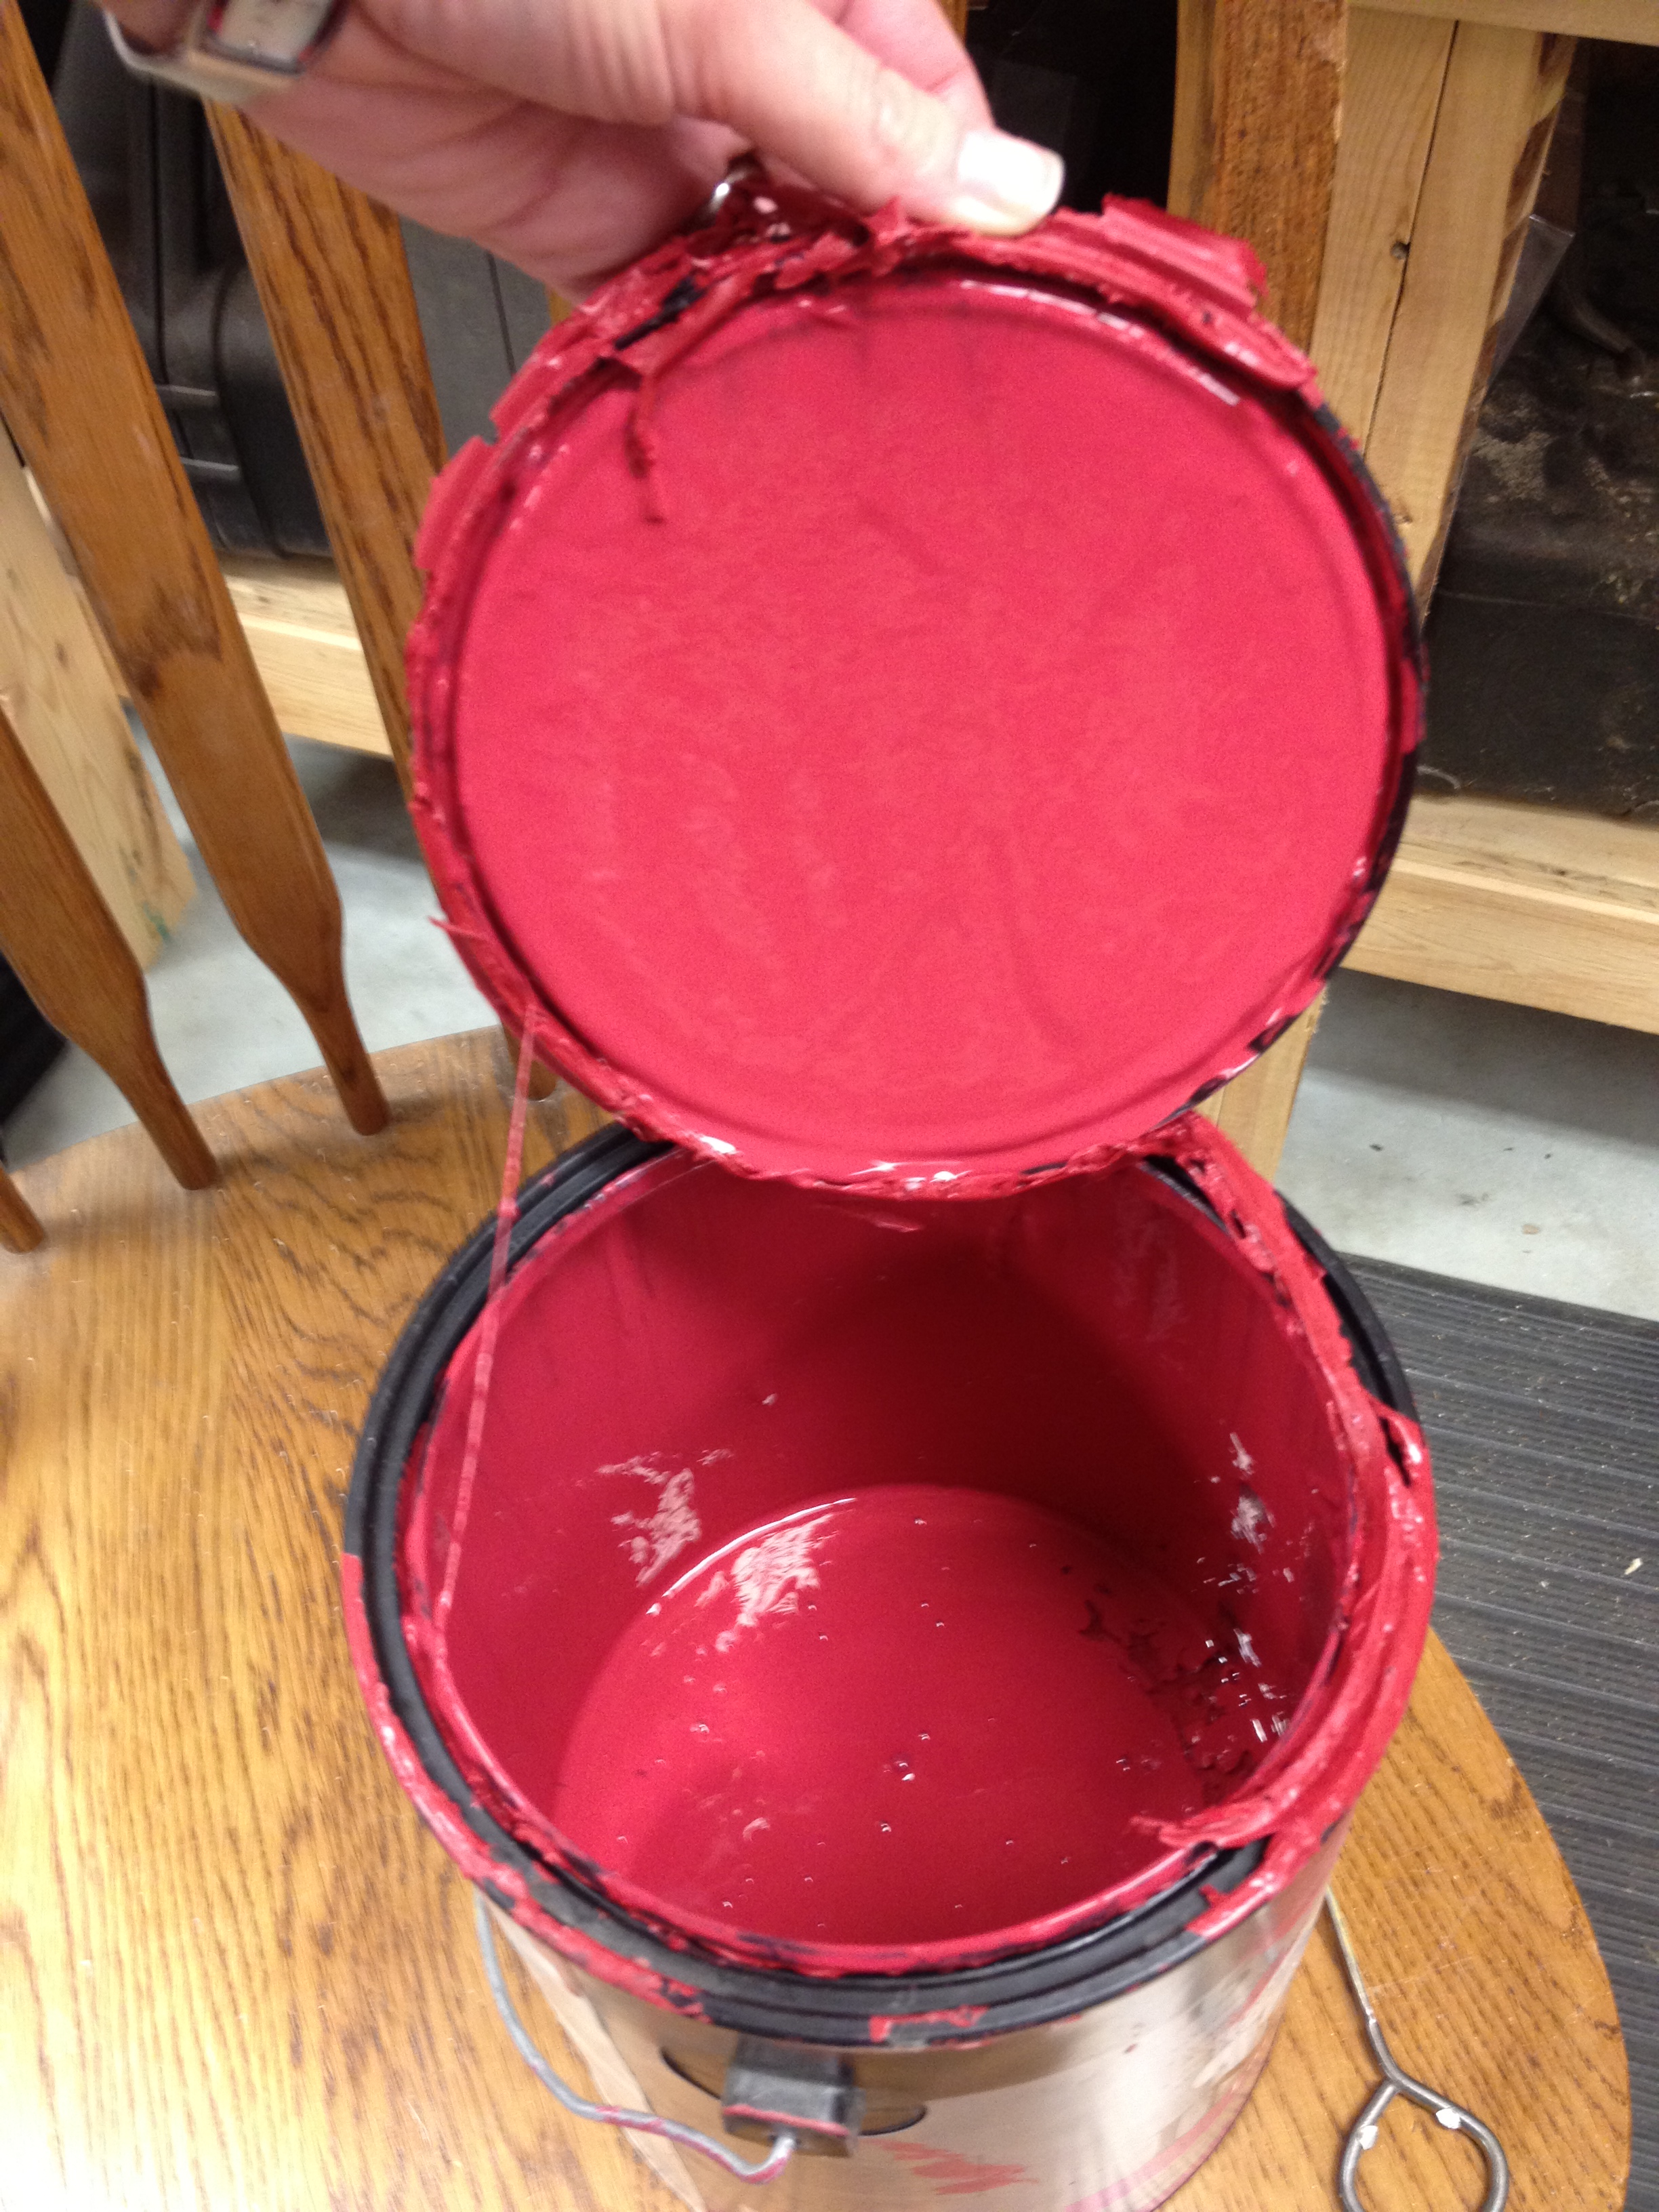
Red is by far the hardest color to paint.  And it never looks good in the can.  I've painted enough things red to keep from freaking out when I open the paint can and it looks bright pink.  It always does, but that is NOT the way it will look after several coats.

Here's a trick I learned a few years ago when painting red: for the first coat, mix the red with a little bit of black.  That way your first coat will be a darker shade that will kinda "ground" your color and keep it from looking too bright in the end.  I've done this lots of times now and it never fails, after the first coat my dad always says, "Why are you painting it purple?"

I knew I was going to end up glazing this piece, but this tip works for distressing too.  If you're painting something red and want to sand down the edges at the end, just tint your first coat of red a little bit darker.  Don't use solid black or solid brown - you'll have to do lots and lots of coats of red to cover it up!

Here's the first coat with black mixed in on one of the doors.  The doors were kinda a pain since both sides had to be done.  I always lay down wax paper when I flip them over so that it doesn't stick if it's still not completely dry.

Red's the hardest color because of how many coats it takes to get a good, even color.  I think I did a total of three red coats (after the first coat with black mixed in).  If I were leaving it plain red without any glaze on it, I might've done a fourth coat just to be sure.

I did not do a good job of taking pictures between coats.  Sorry.  This one below is after all the coats of red and after I had added a coat of glaze.  I did not use the same glazing method as this dresser.  For this one, I used a dry brush and lightly brushed it on.  I did not want it darker in any areas, but instead wanted an even coat.  You probably can't even see the glaze much in this picture.  Mostly, it just toned the bright red down a bit.

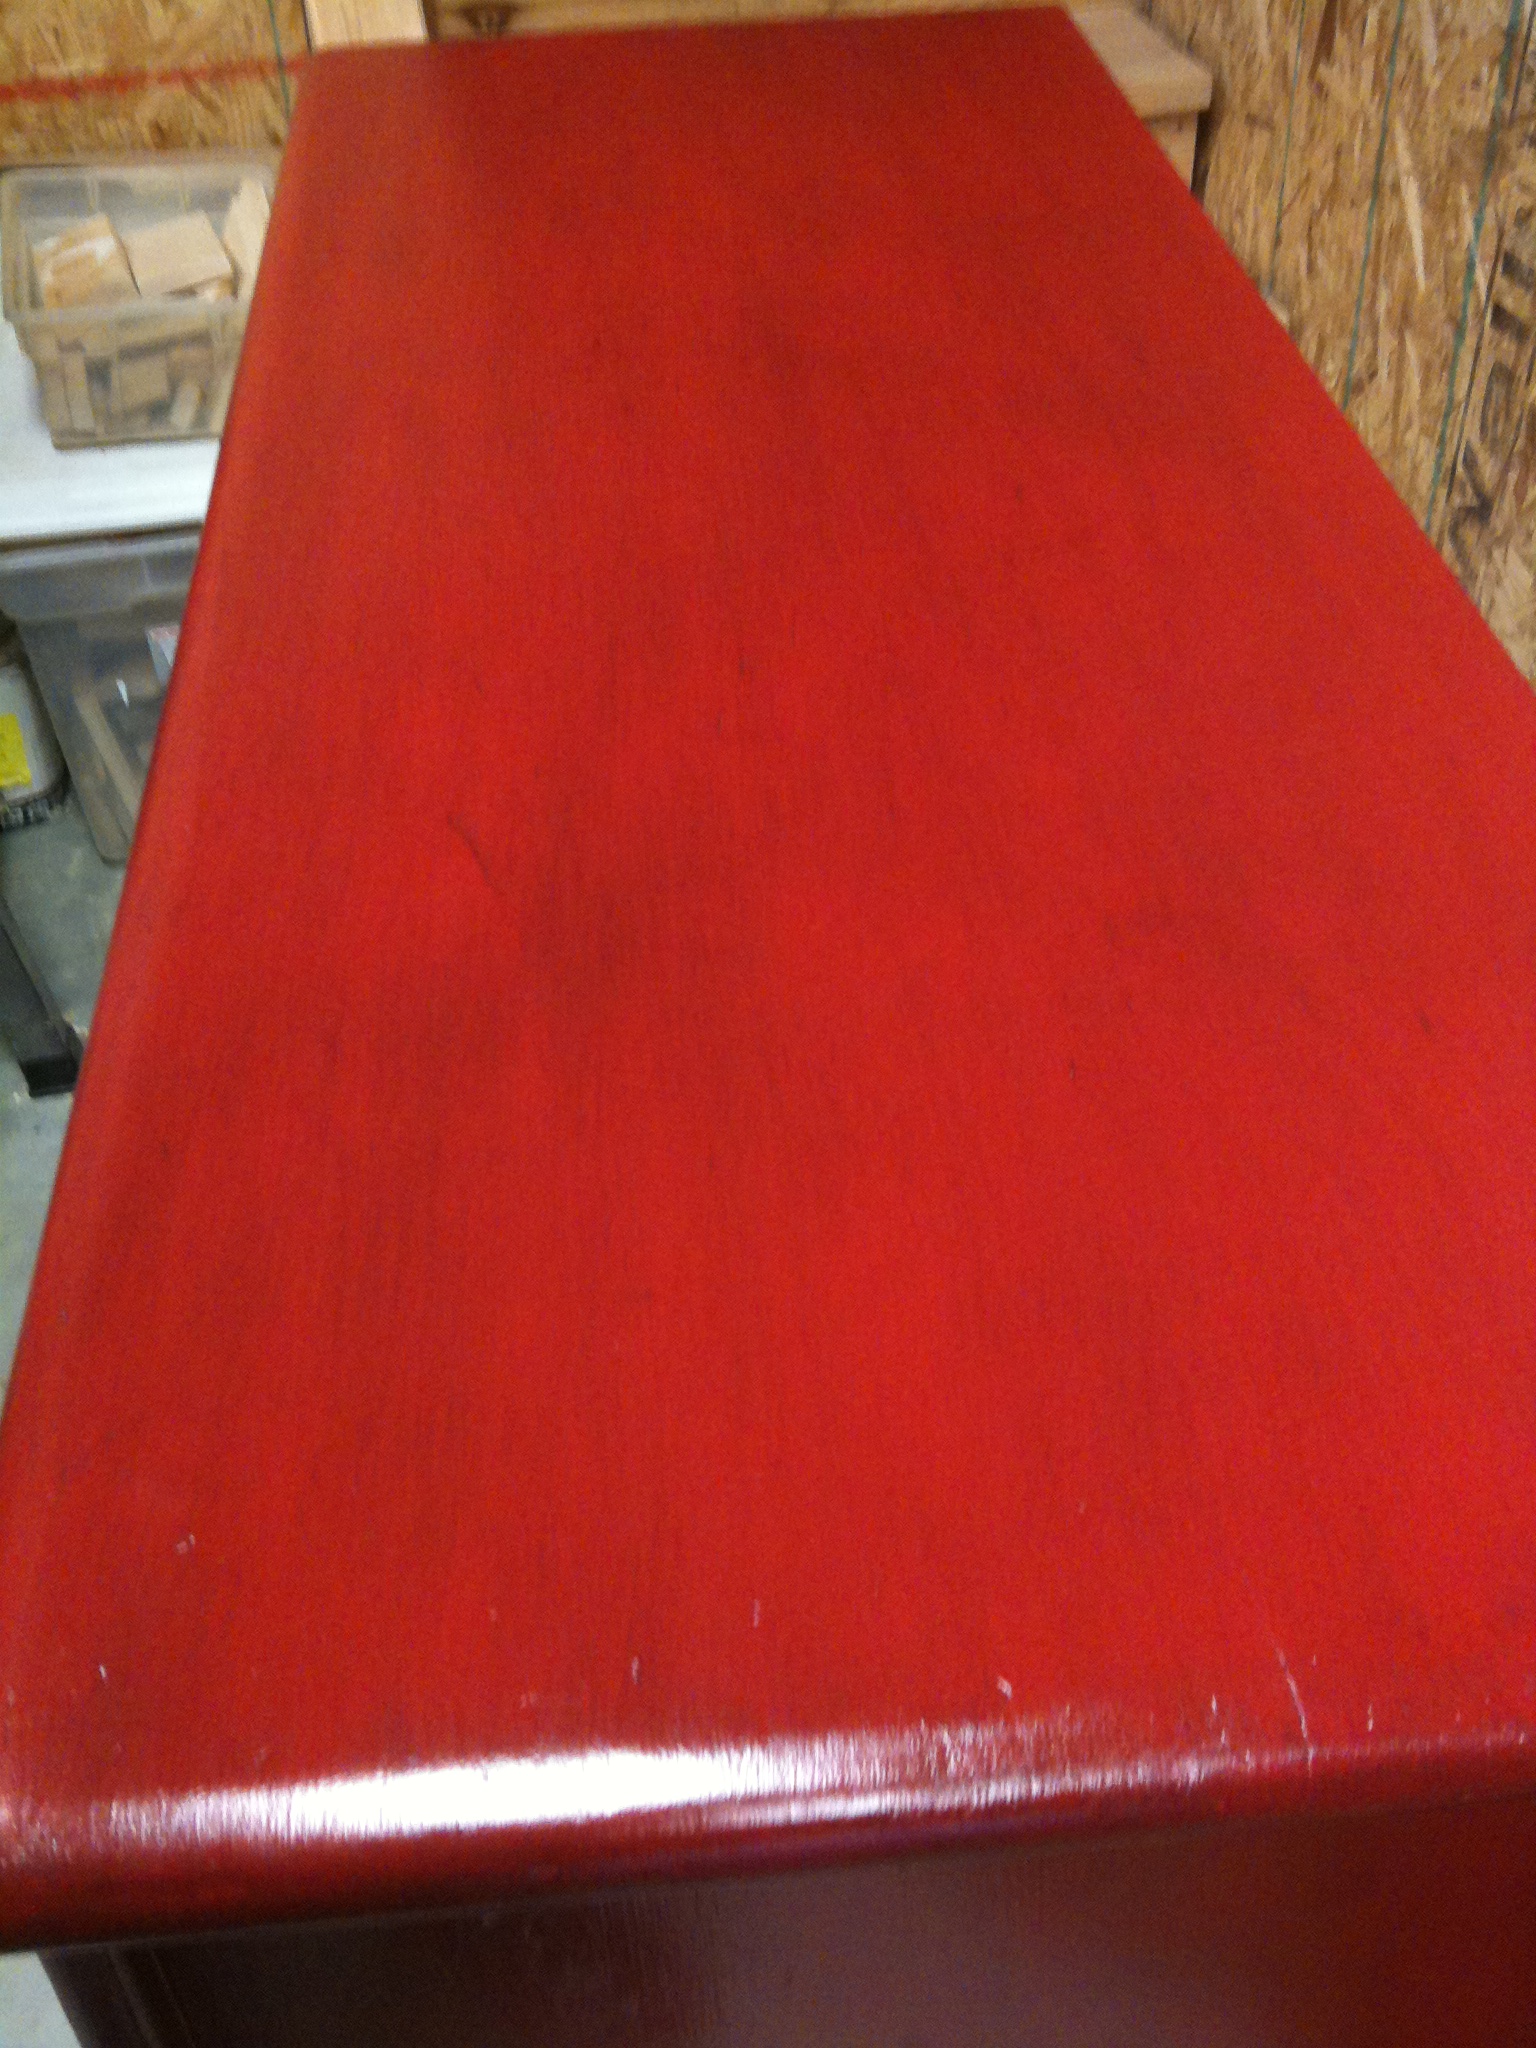
You can see the glaze better on this picture of the top.  Thankfully, after several coats of paint, a lot of the scratches and carvings disappeared.  You can still see some of them, but not nearly as many.

I finished the paint job off with a coat or two of oil-based polyurethane.

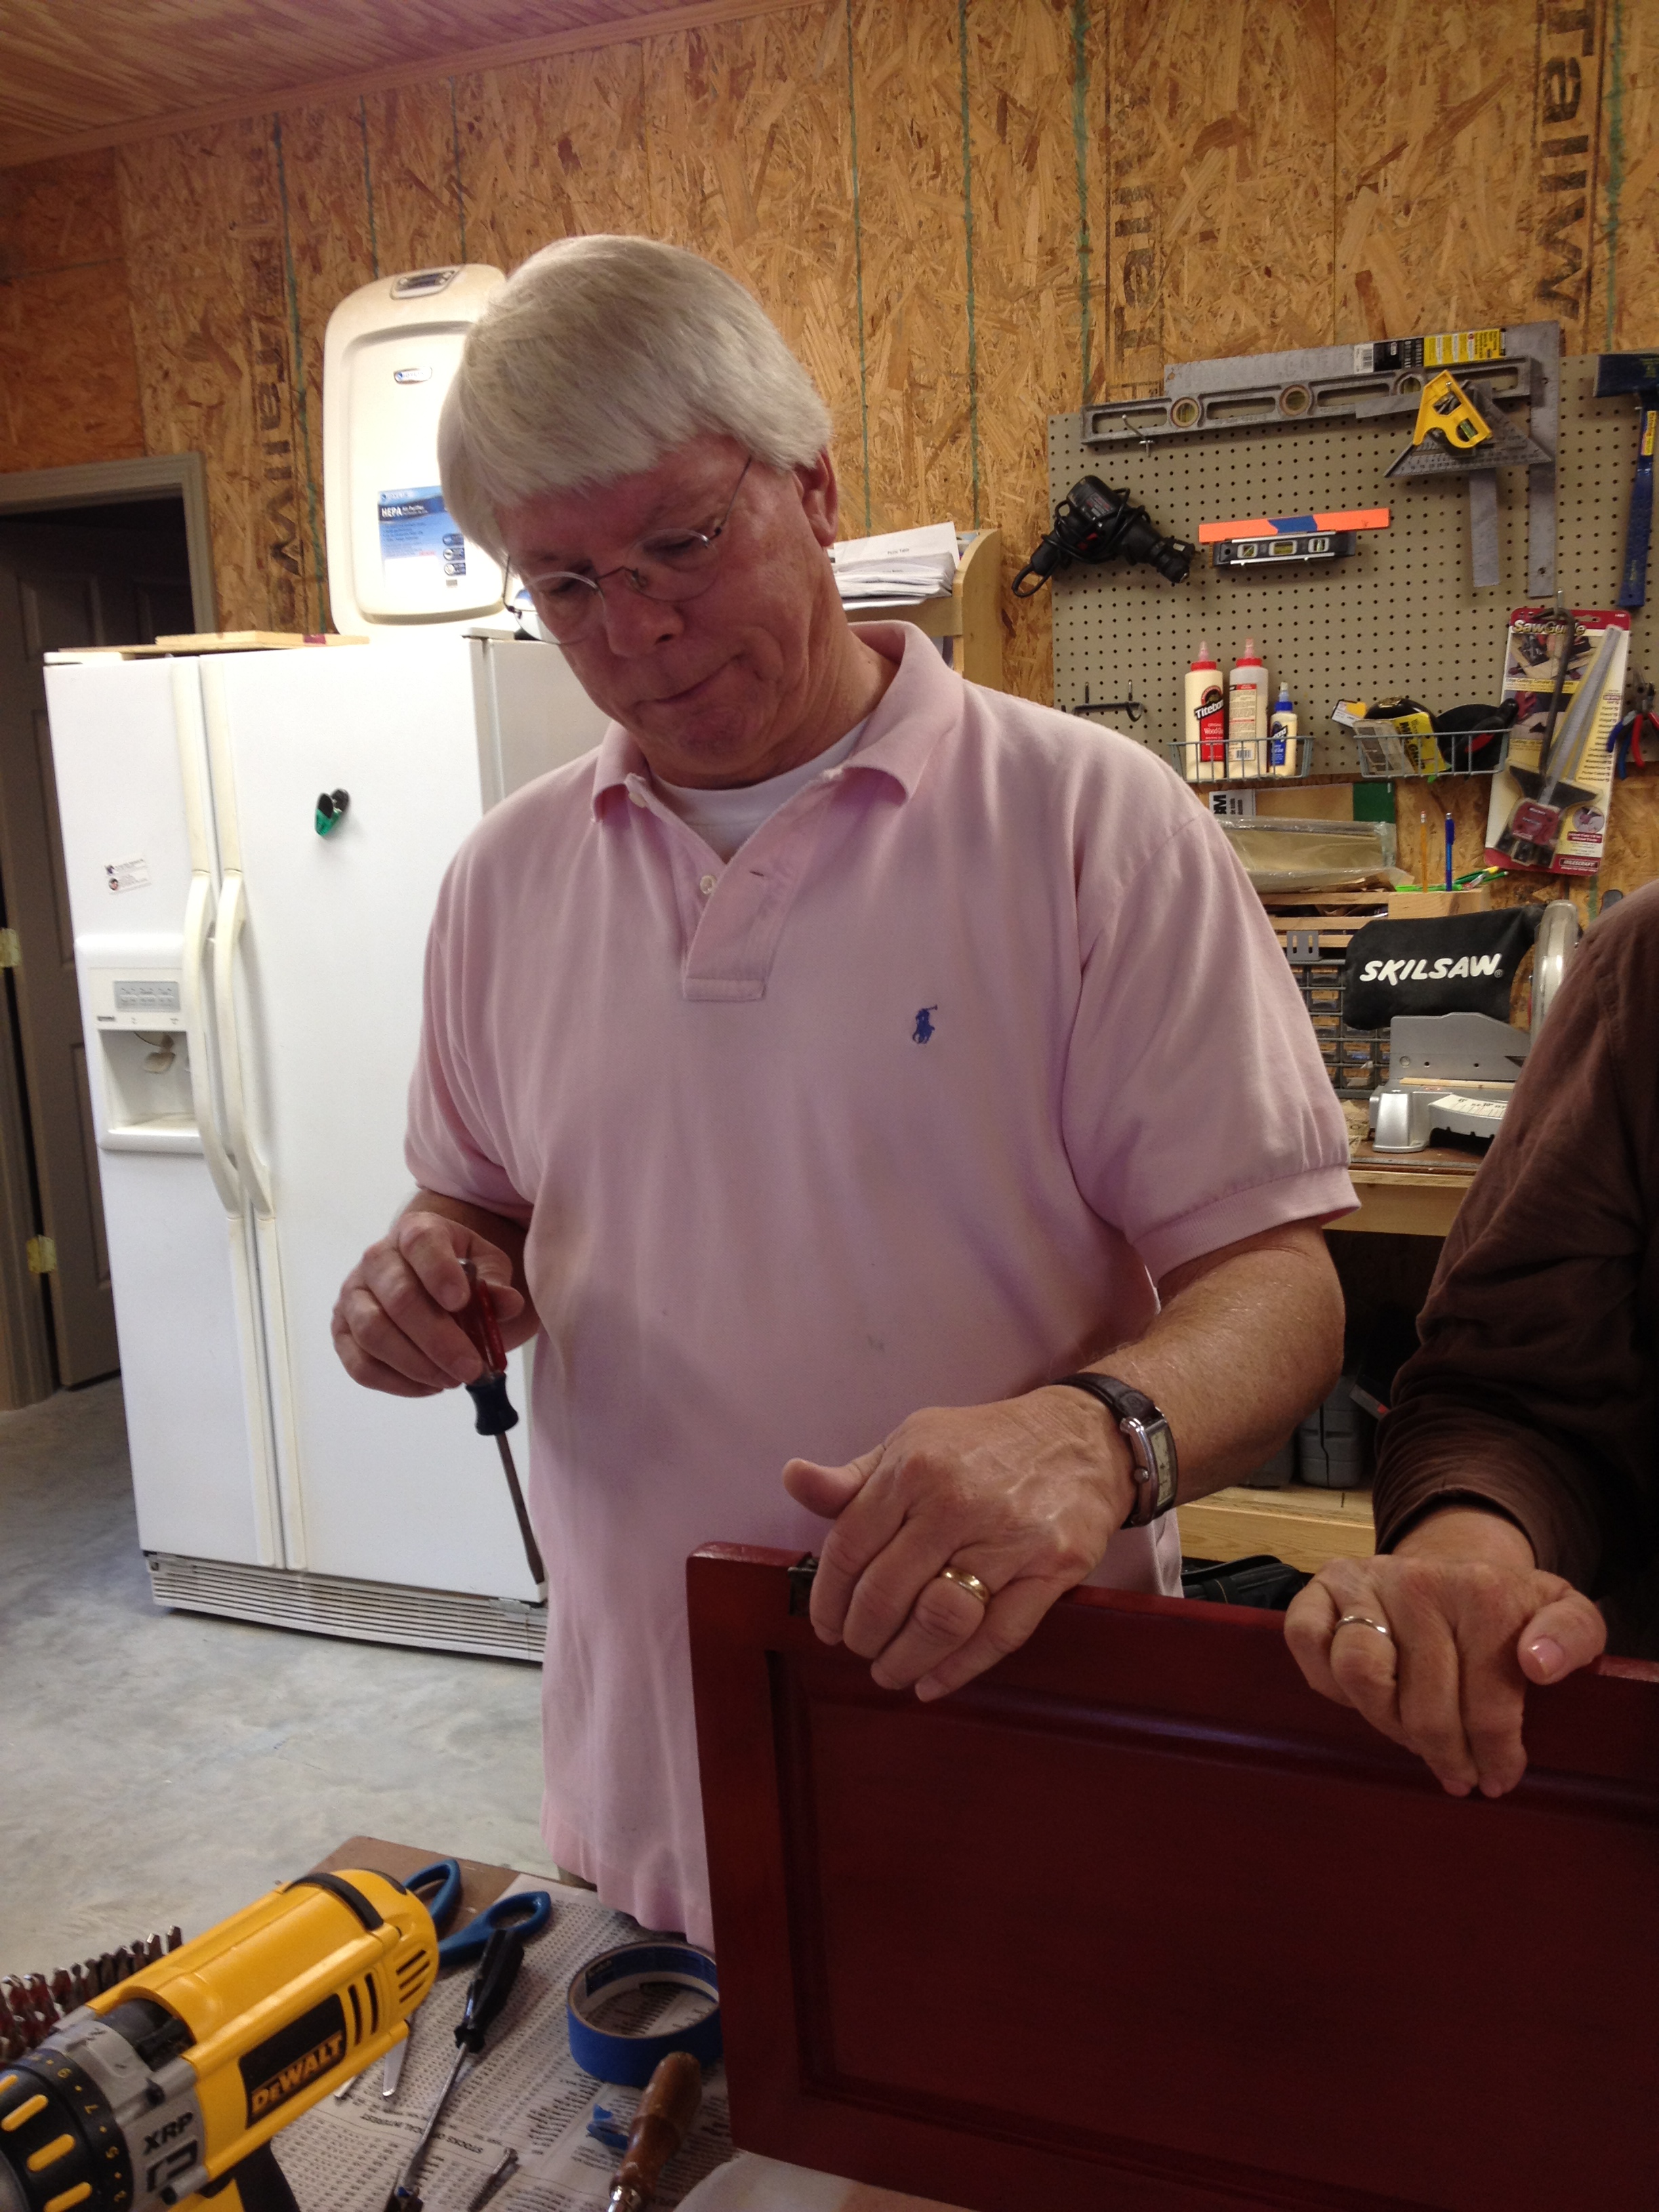
The last steps were new hardware and re-attaching the doors.  If possible, I always try to use the original hinges on something like this, mostly because finding hinges in the right size is usually hard to do.  I put my dad in charge of hinges and attaching the doors.  I'm glad I did because he had a hard time putting them back on!

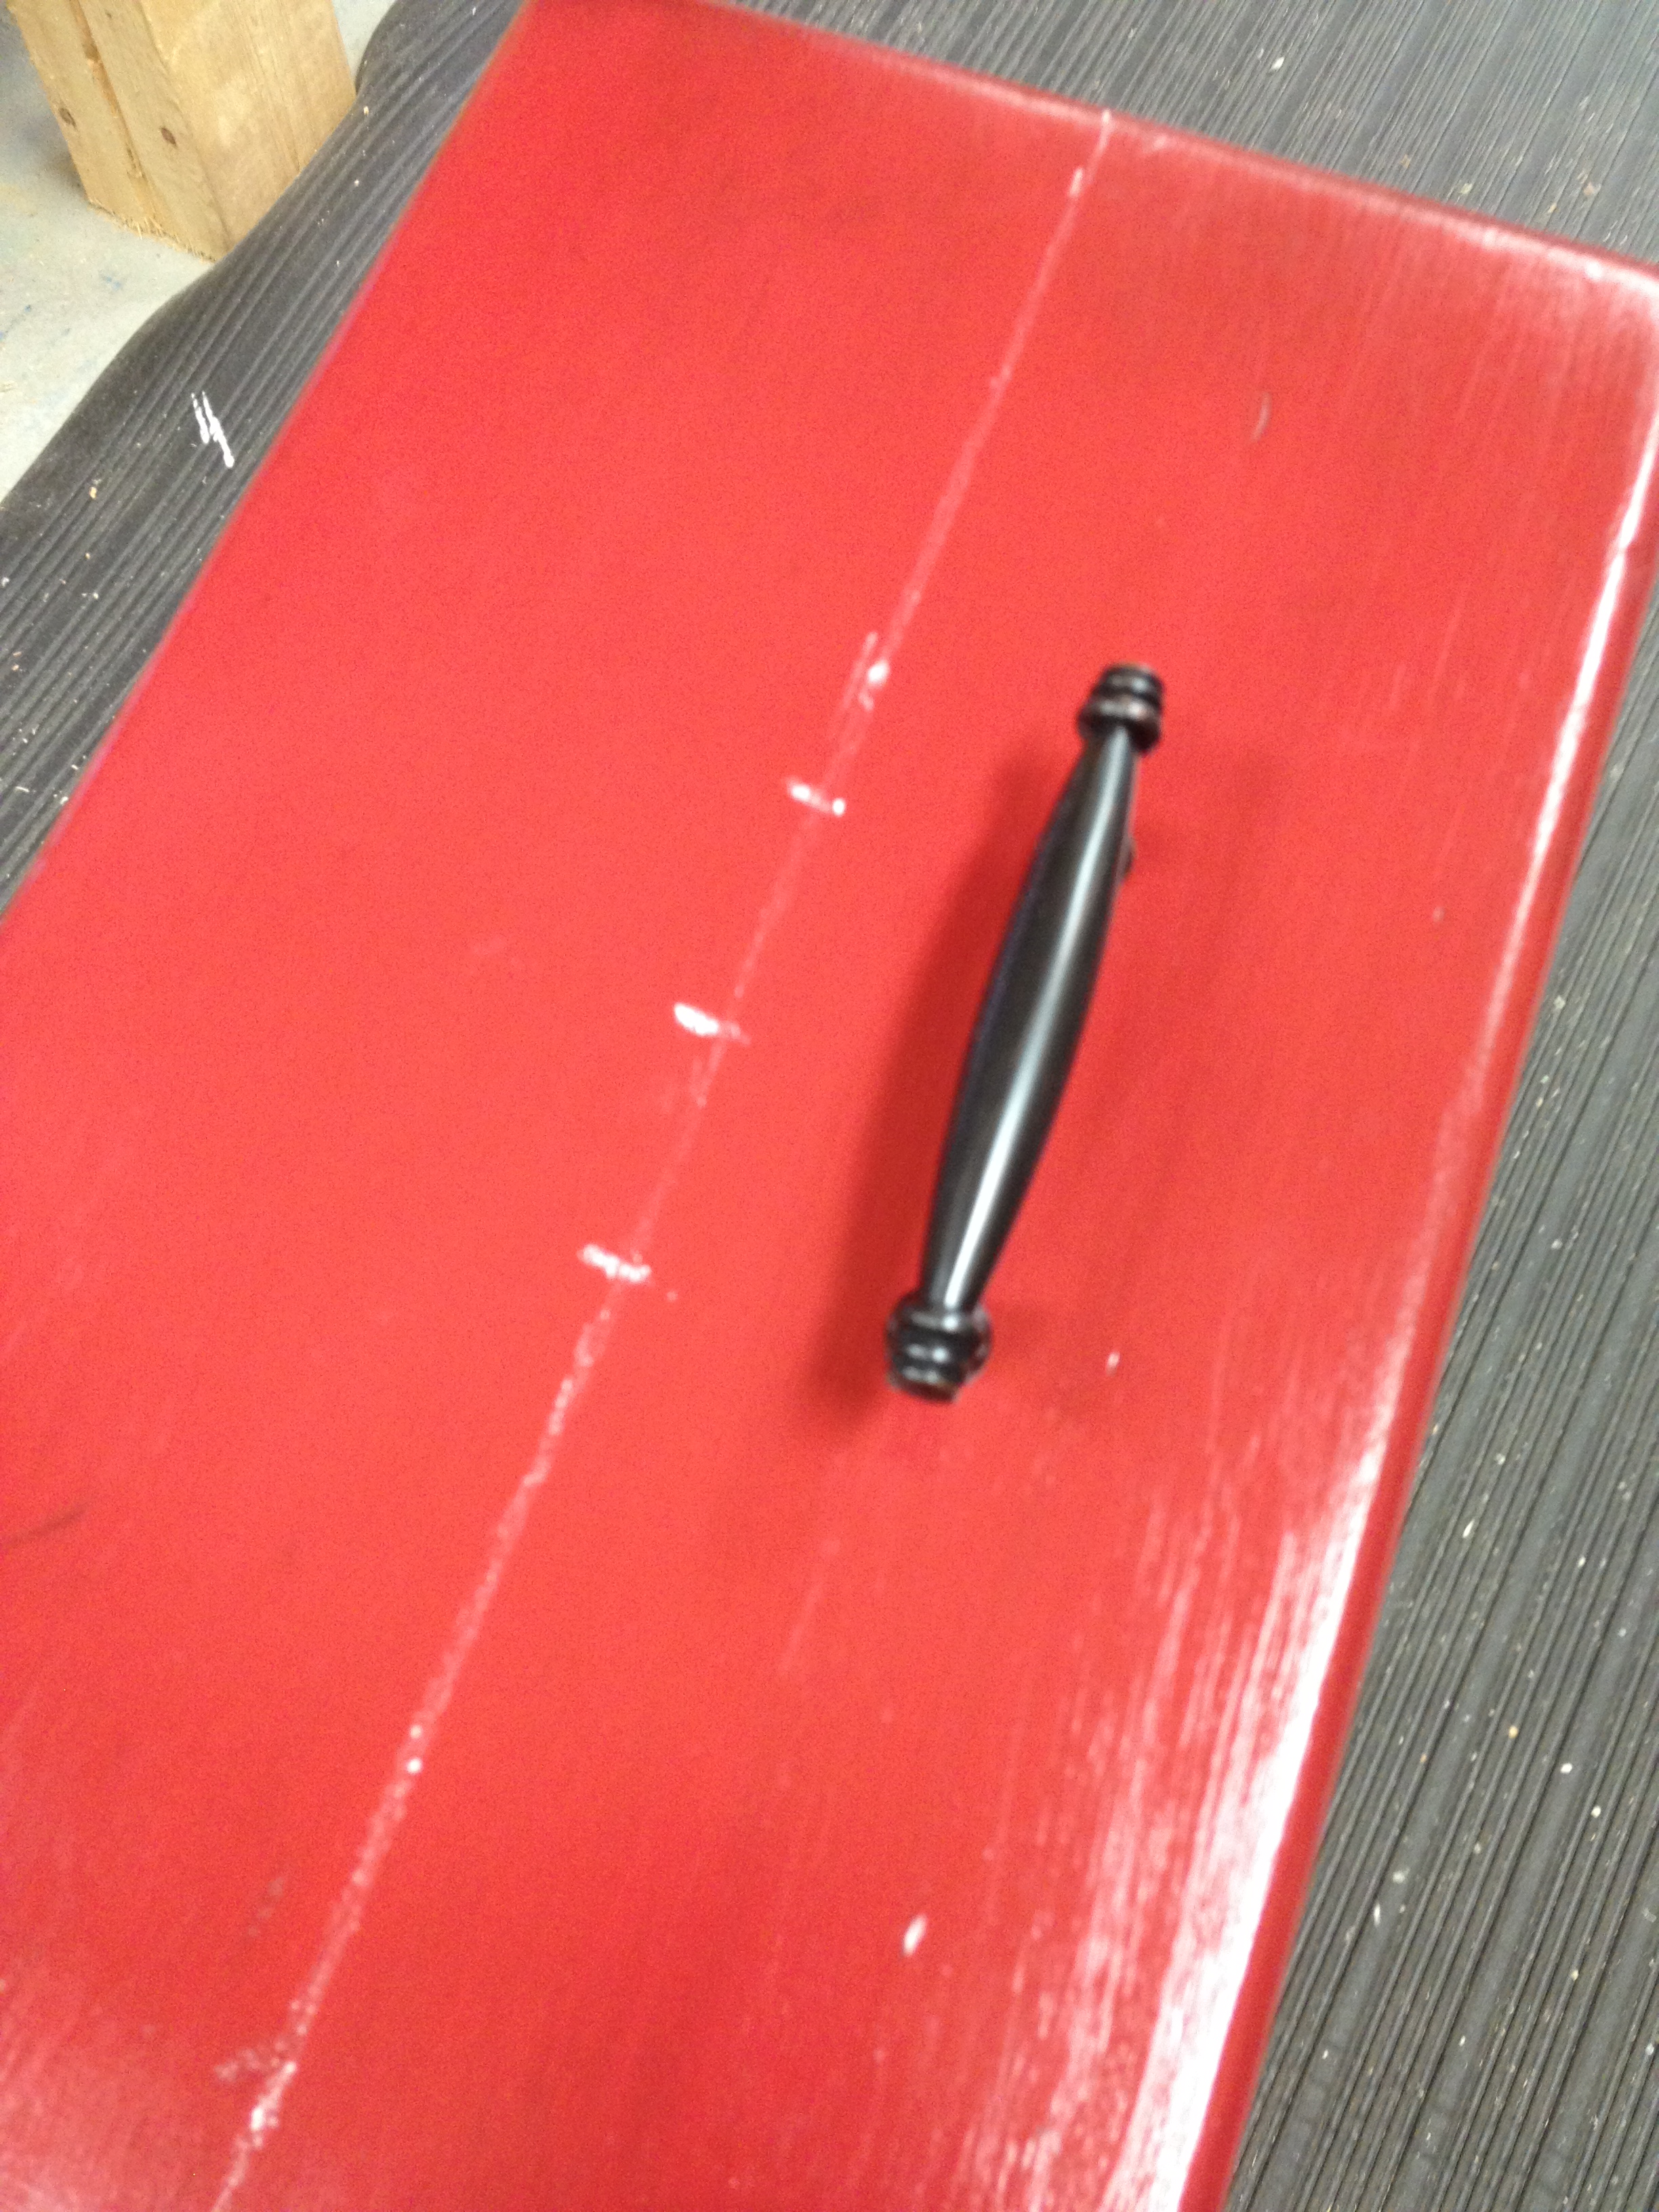
While he worked on the doors, I put new hardware on the drawers.  Because of the streaks of glaze, I couldn't see my pencil marks so I had to switch to using chalk for my measurements.  I don't recommend this.  It's hard to get an accurate line with a piece of chalk!  (Is it just me, or does chalk never write where you think it's going to?)  I got REALLY lucky when the pulls fit on both drawers on the first time.  Phew!

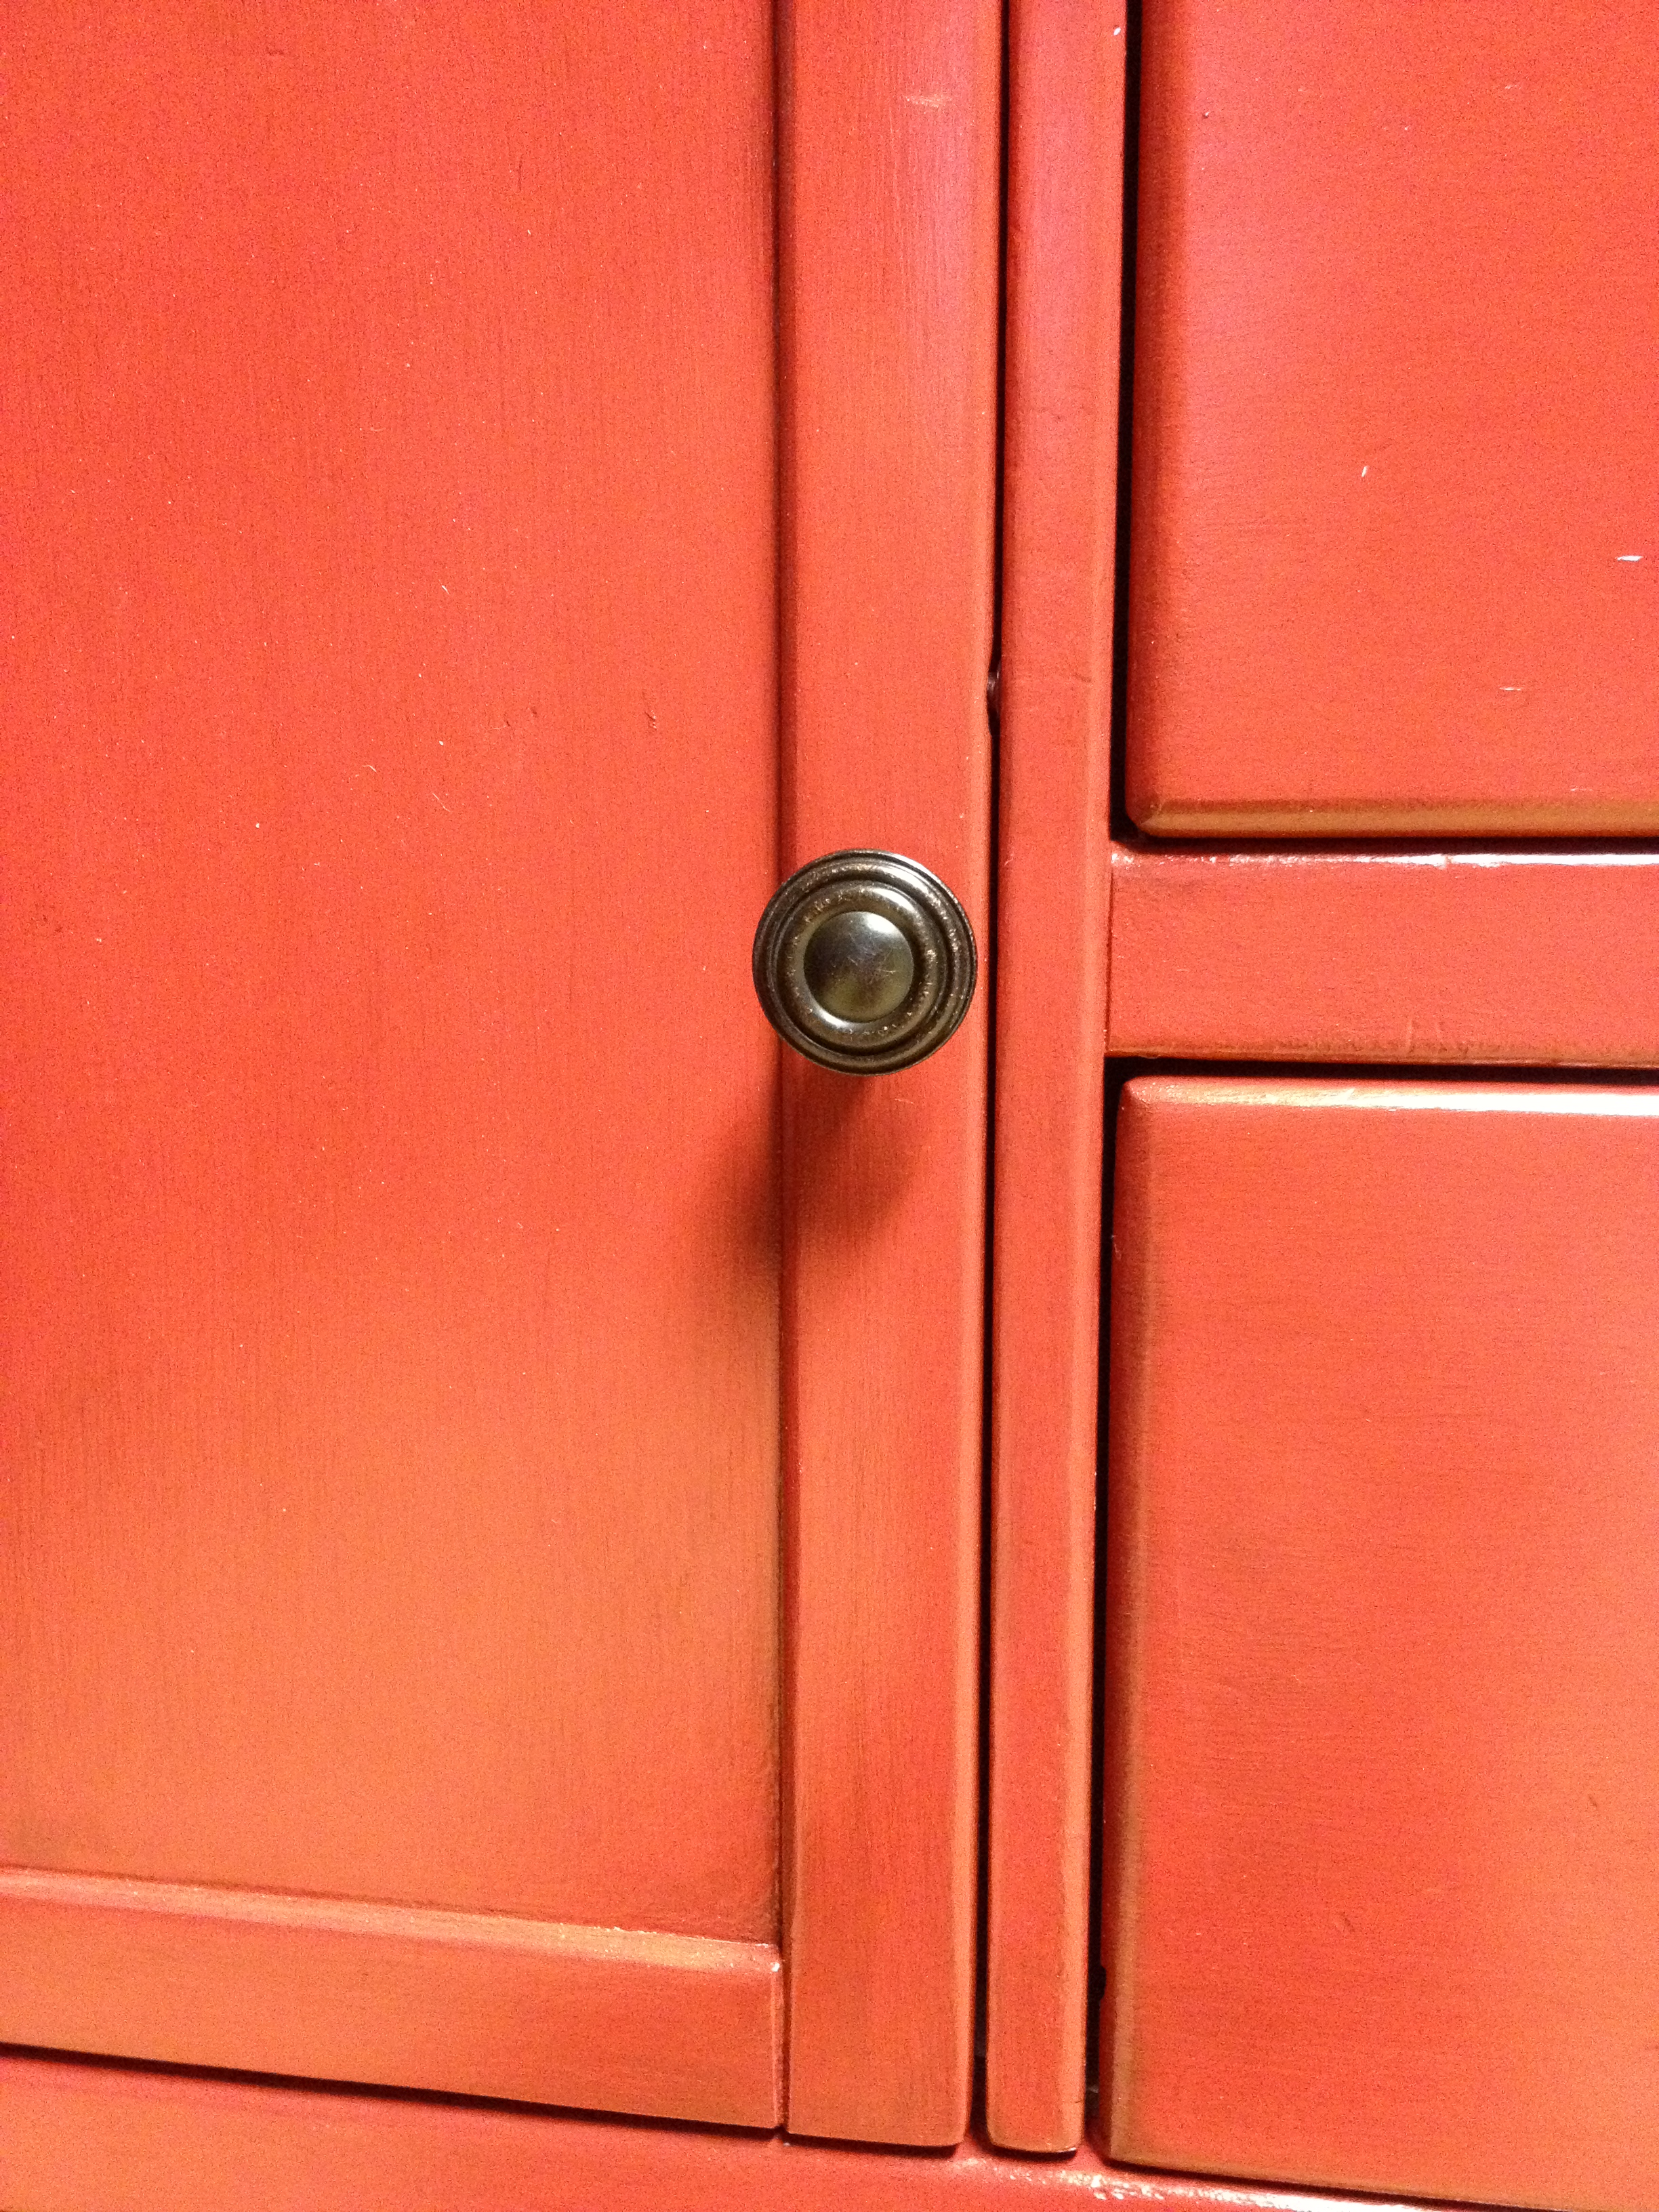
We chose a black metal for the hardware.  The door knobs matched the pulls.

Ok, like usual, before I show you the After, let's revisit the Before.

Here she is!

Before again, this time with doors open.

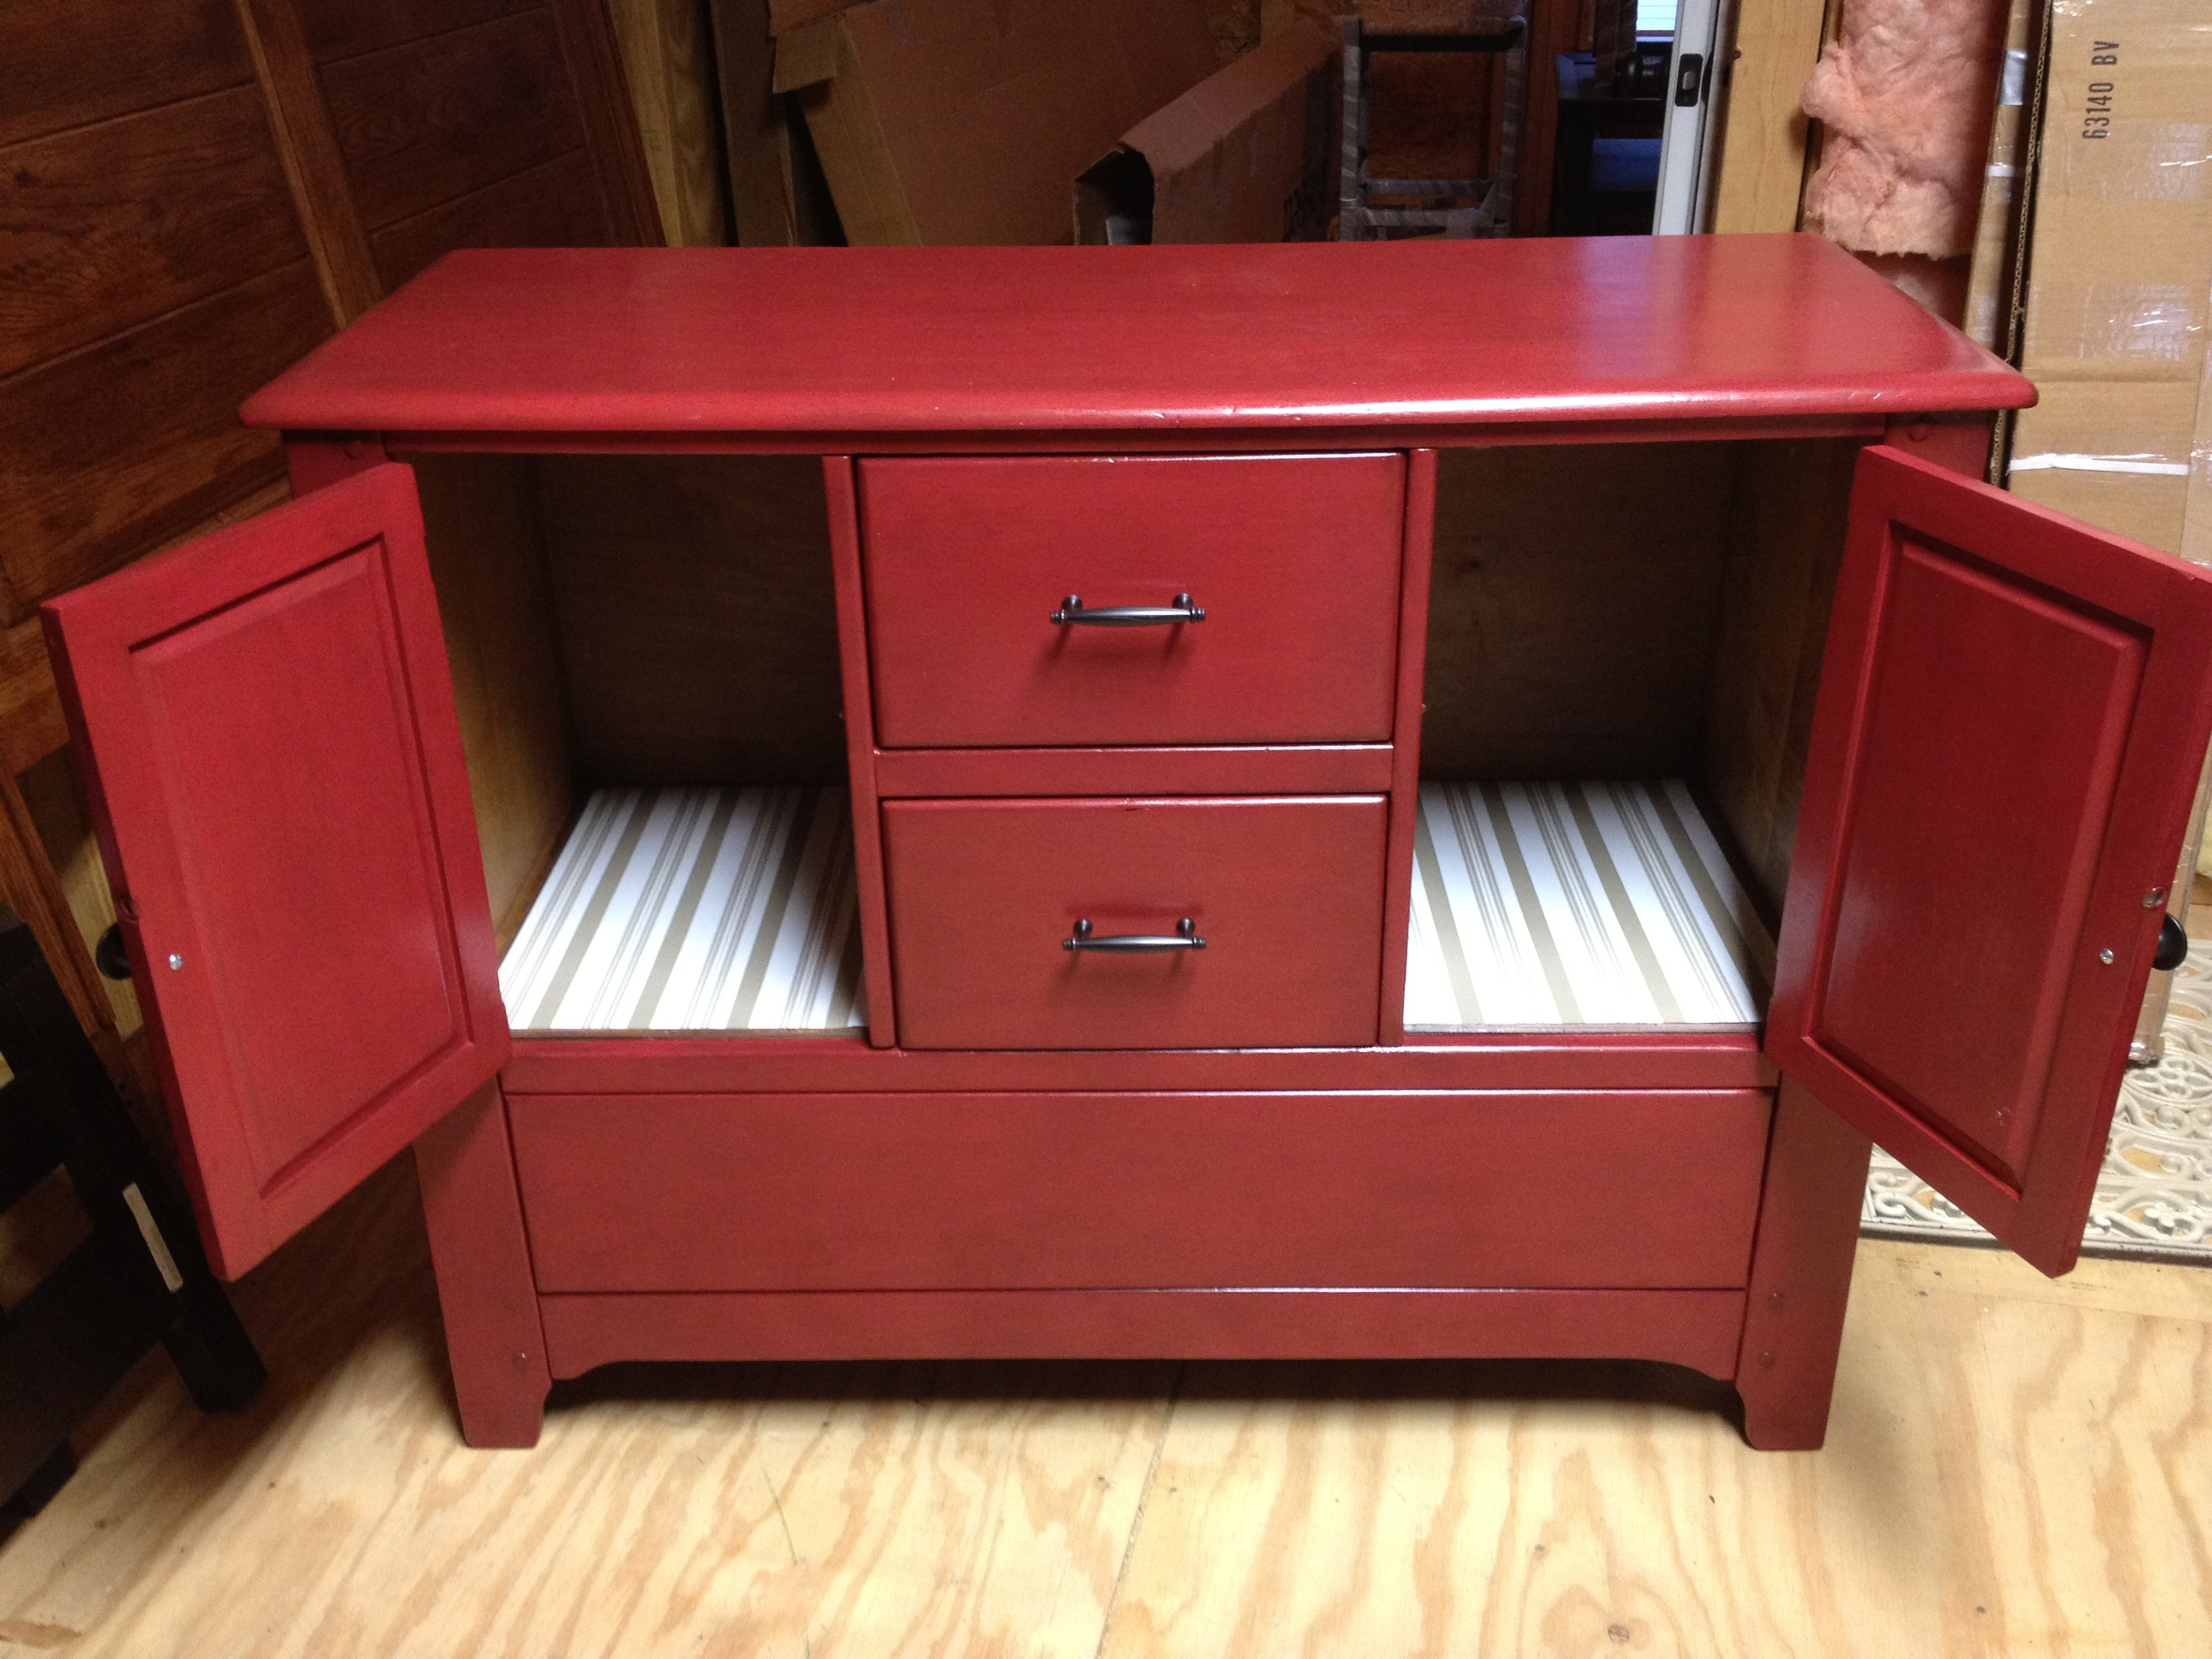
And After, with doors open.

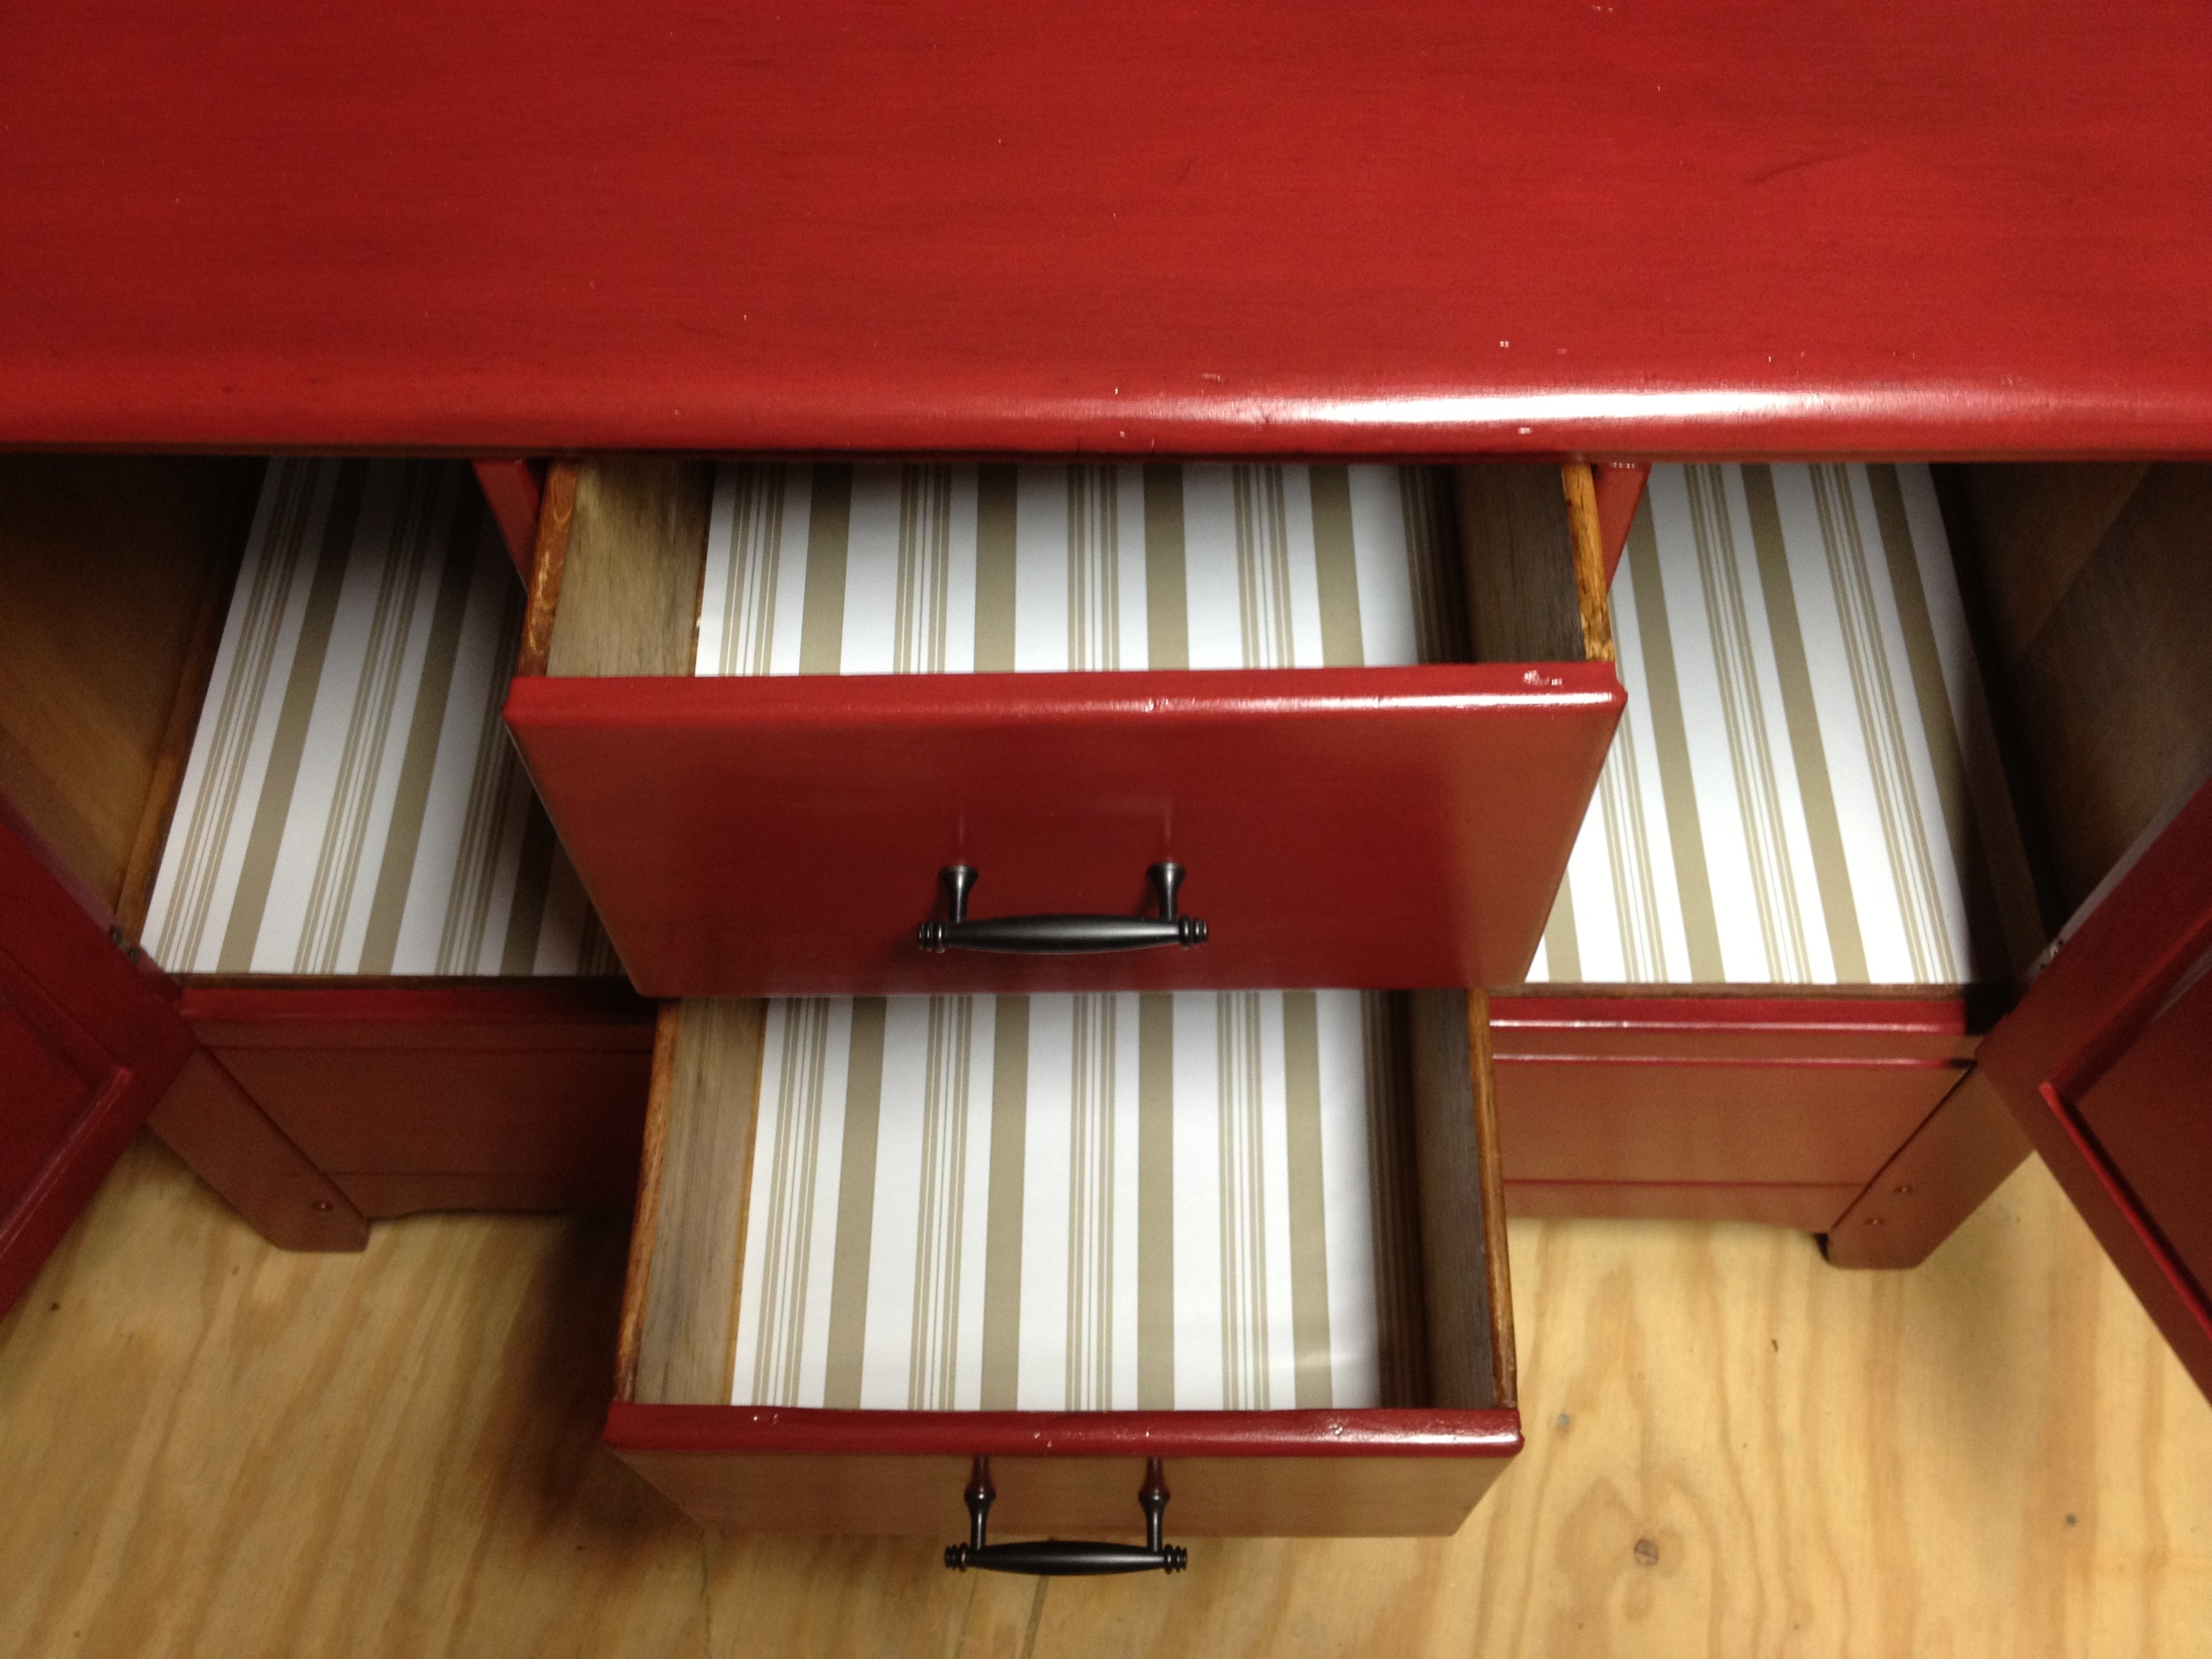
I guess I forgot to mention that I added some contact paper.  That was really my last step.  It's really not that cute.  I found some really cute contact paper online that would've looked great with the red, but I'm too much of a cheapo.  This stripe was a Fred's and I decided it was good enough.  I added it to the drawers too.

For now, my Cinderella buffet is hanging out in the attic with the rest of the beach house furniture.  I can't wait to see her in the dining room, especially since she'll be sitting up against a nice planked wall!

Care to tell me what you think?  Like it?  Know a better way to paint red?  Anyone need four chunky, wooden pulls?  I've got some for you if you do...

Before and After: Dresser #2

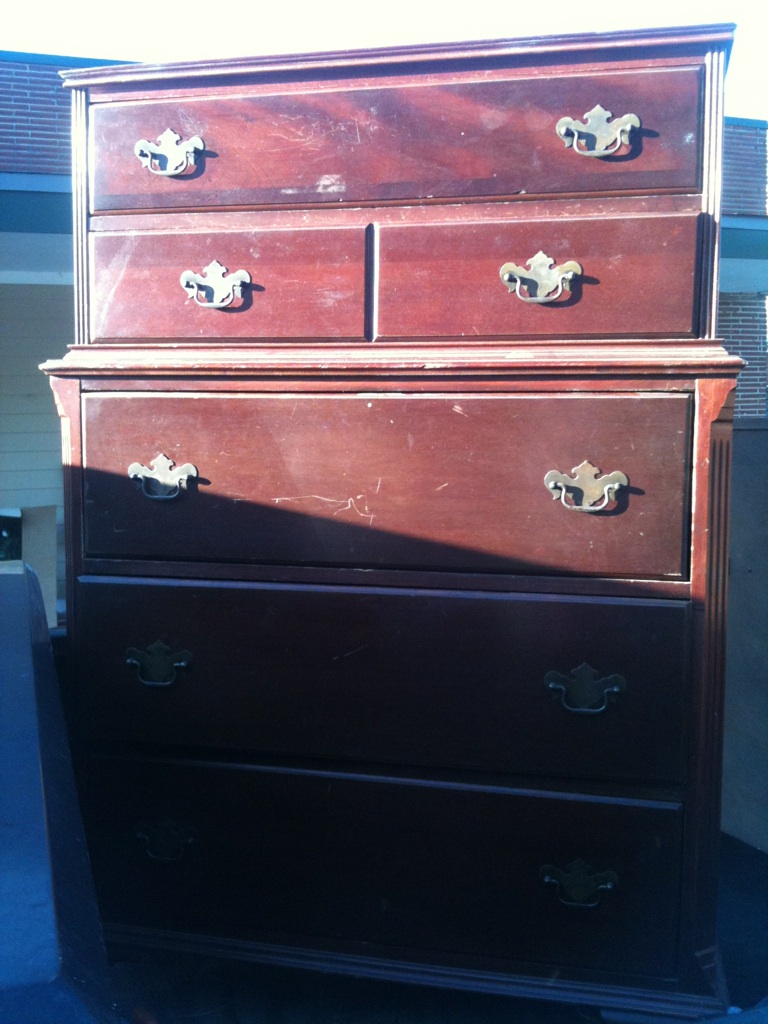
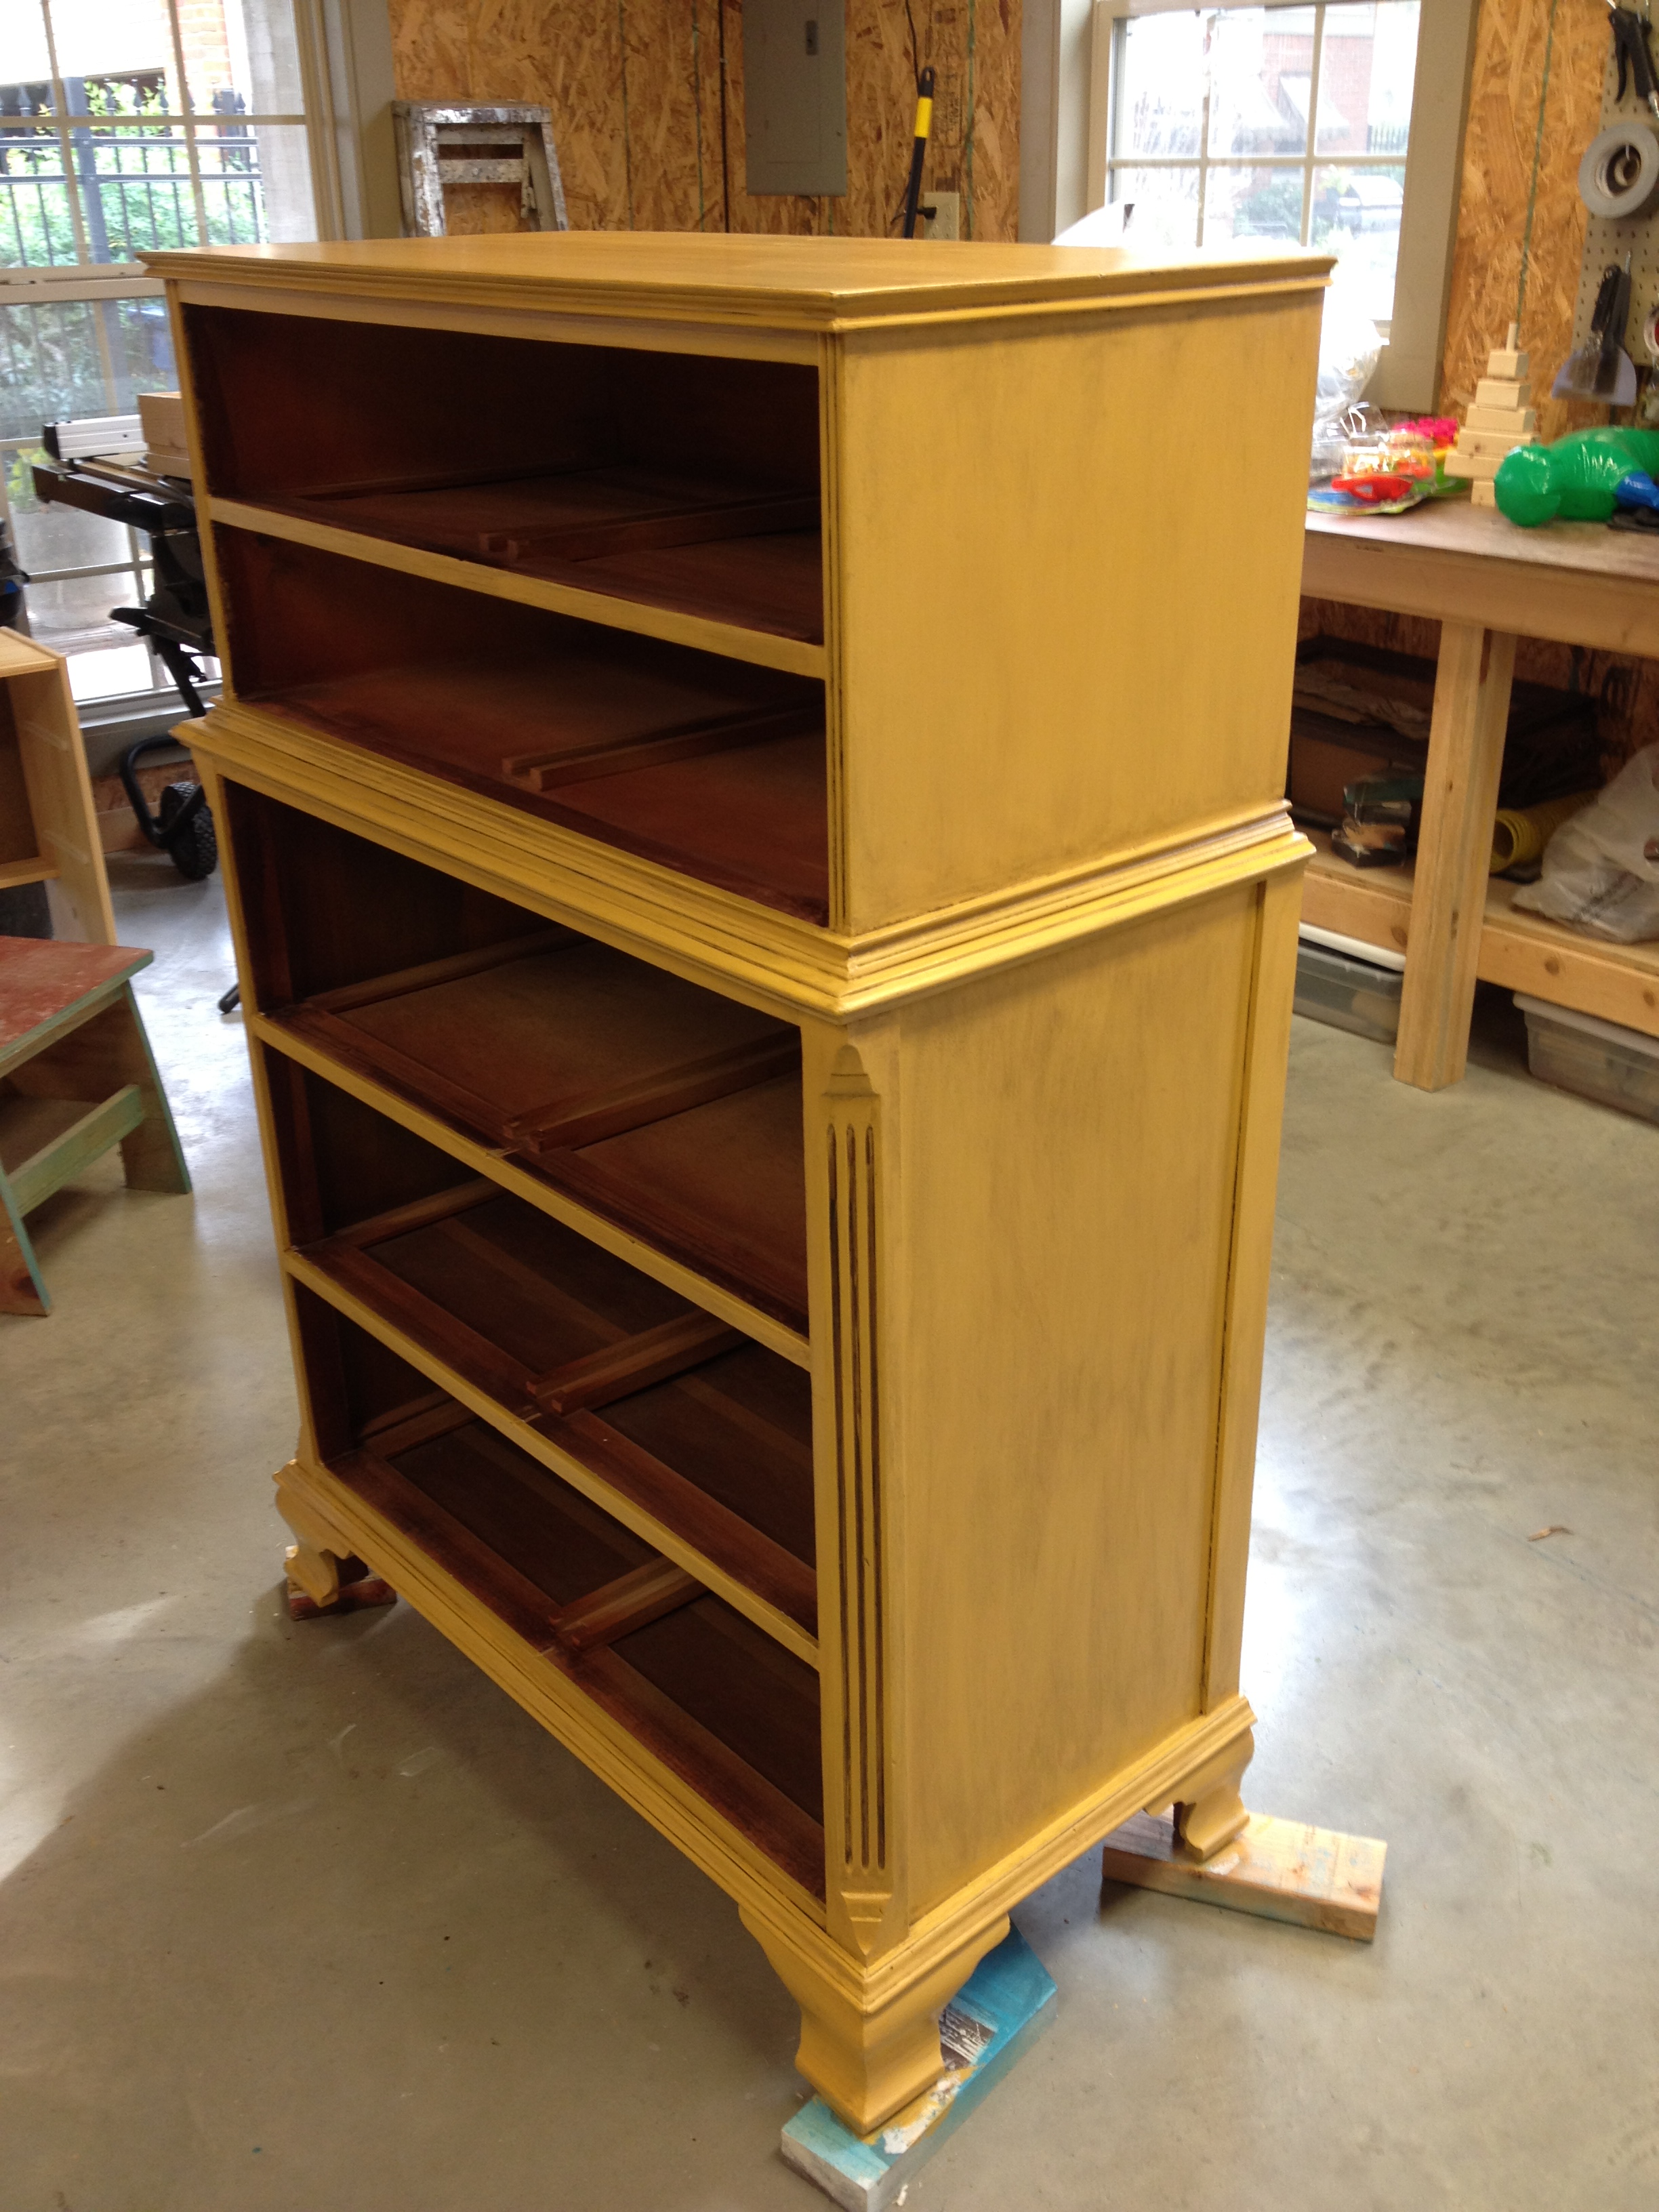
This dresser made me want to pull my hair out.  Here it is, sitting in the sun, at the yard sale when it was purchased.

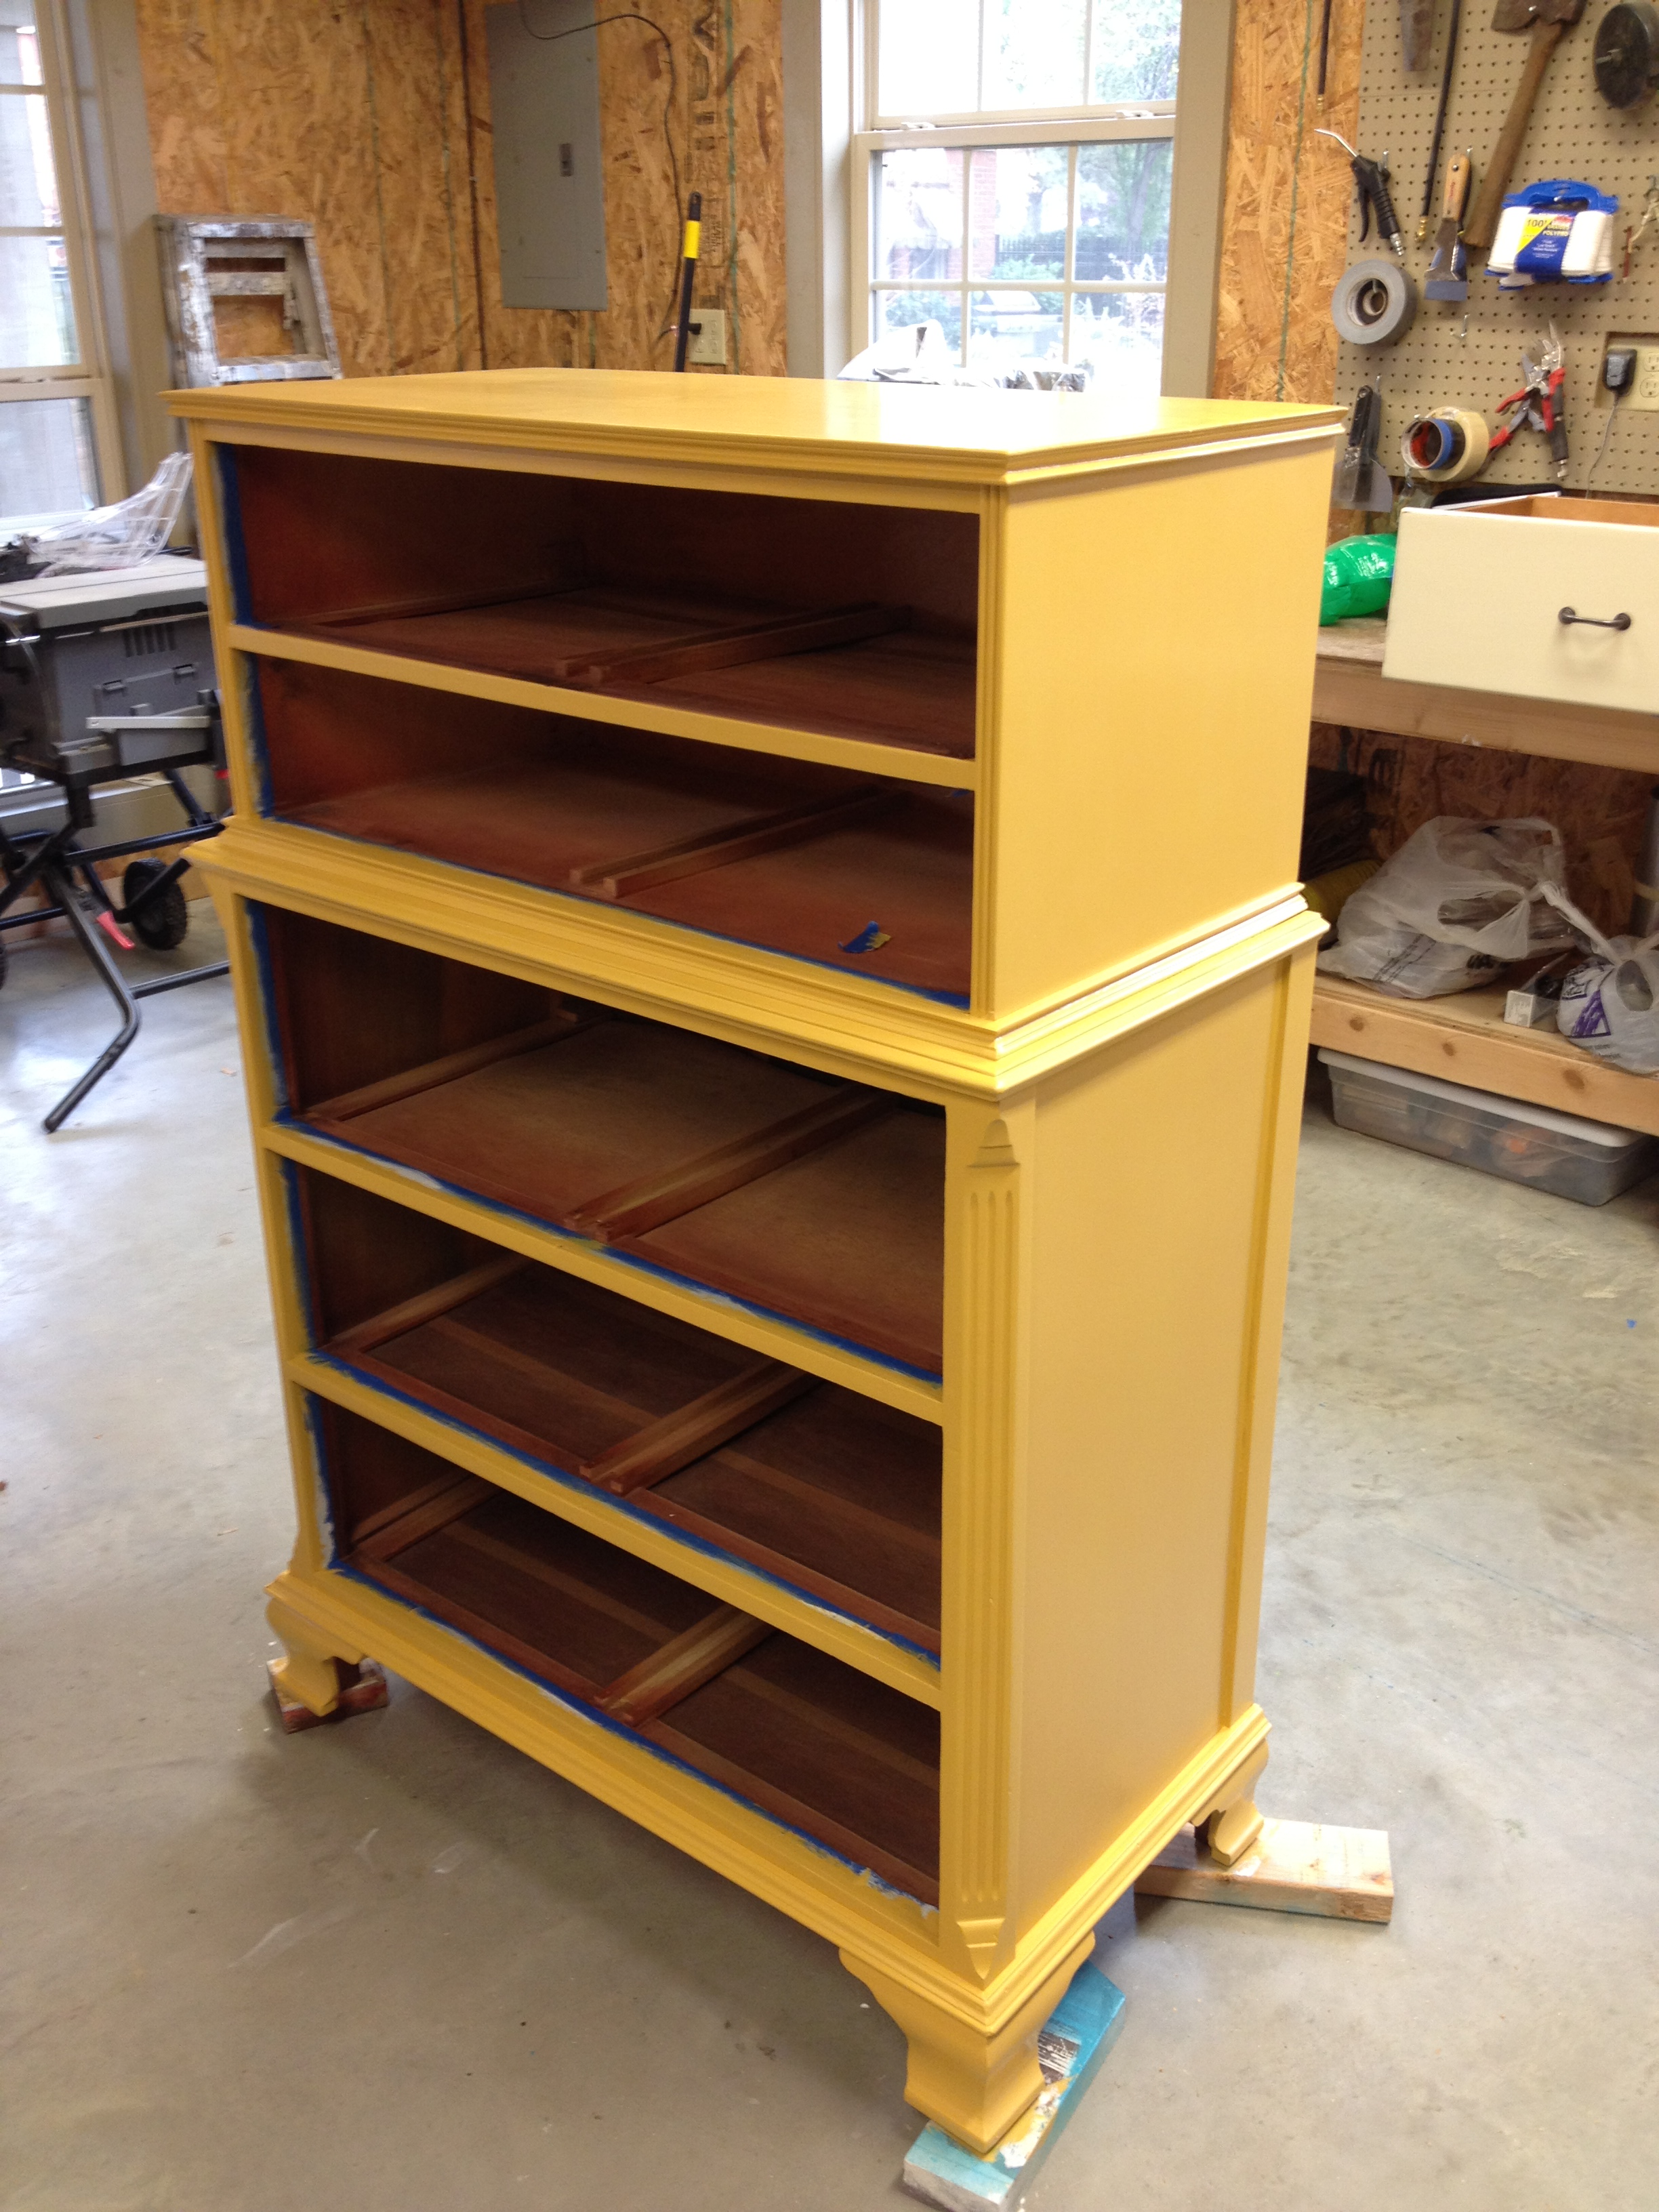
Why did it make me want to pull my hair out?  Because I had to paint it eight times.  Yes, EIGHT.  Gah.  The layers went a little something like this:

1. Mustard Yellow 2. Watery Primer 3. Primer 4. Mustard Yellow 5. Mustard Yellow 6. Dark Brown Glaze 7. Poly 8. Poly

If you've ever painted a piece of furniture, you know those layers are a little weird.  Lemme tell ya what happened.

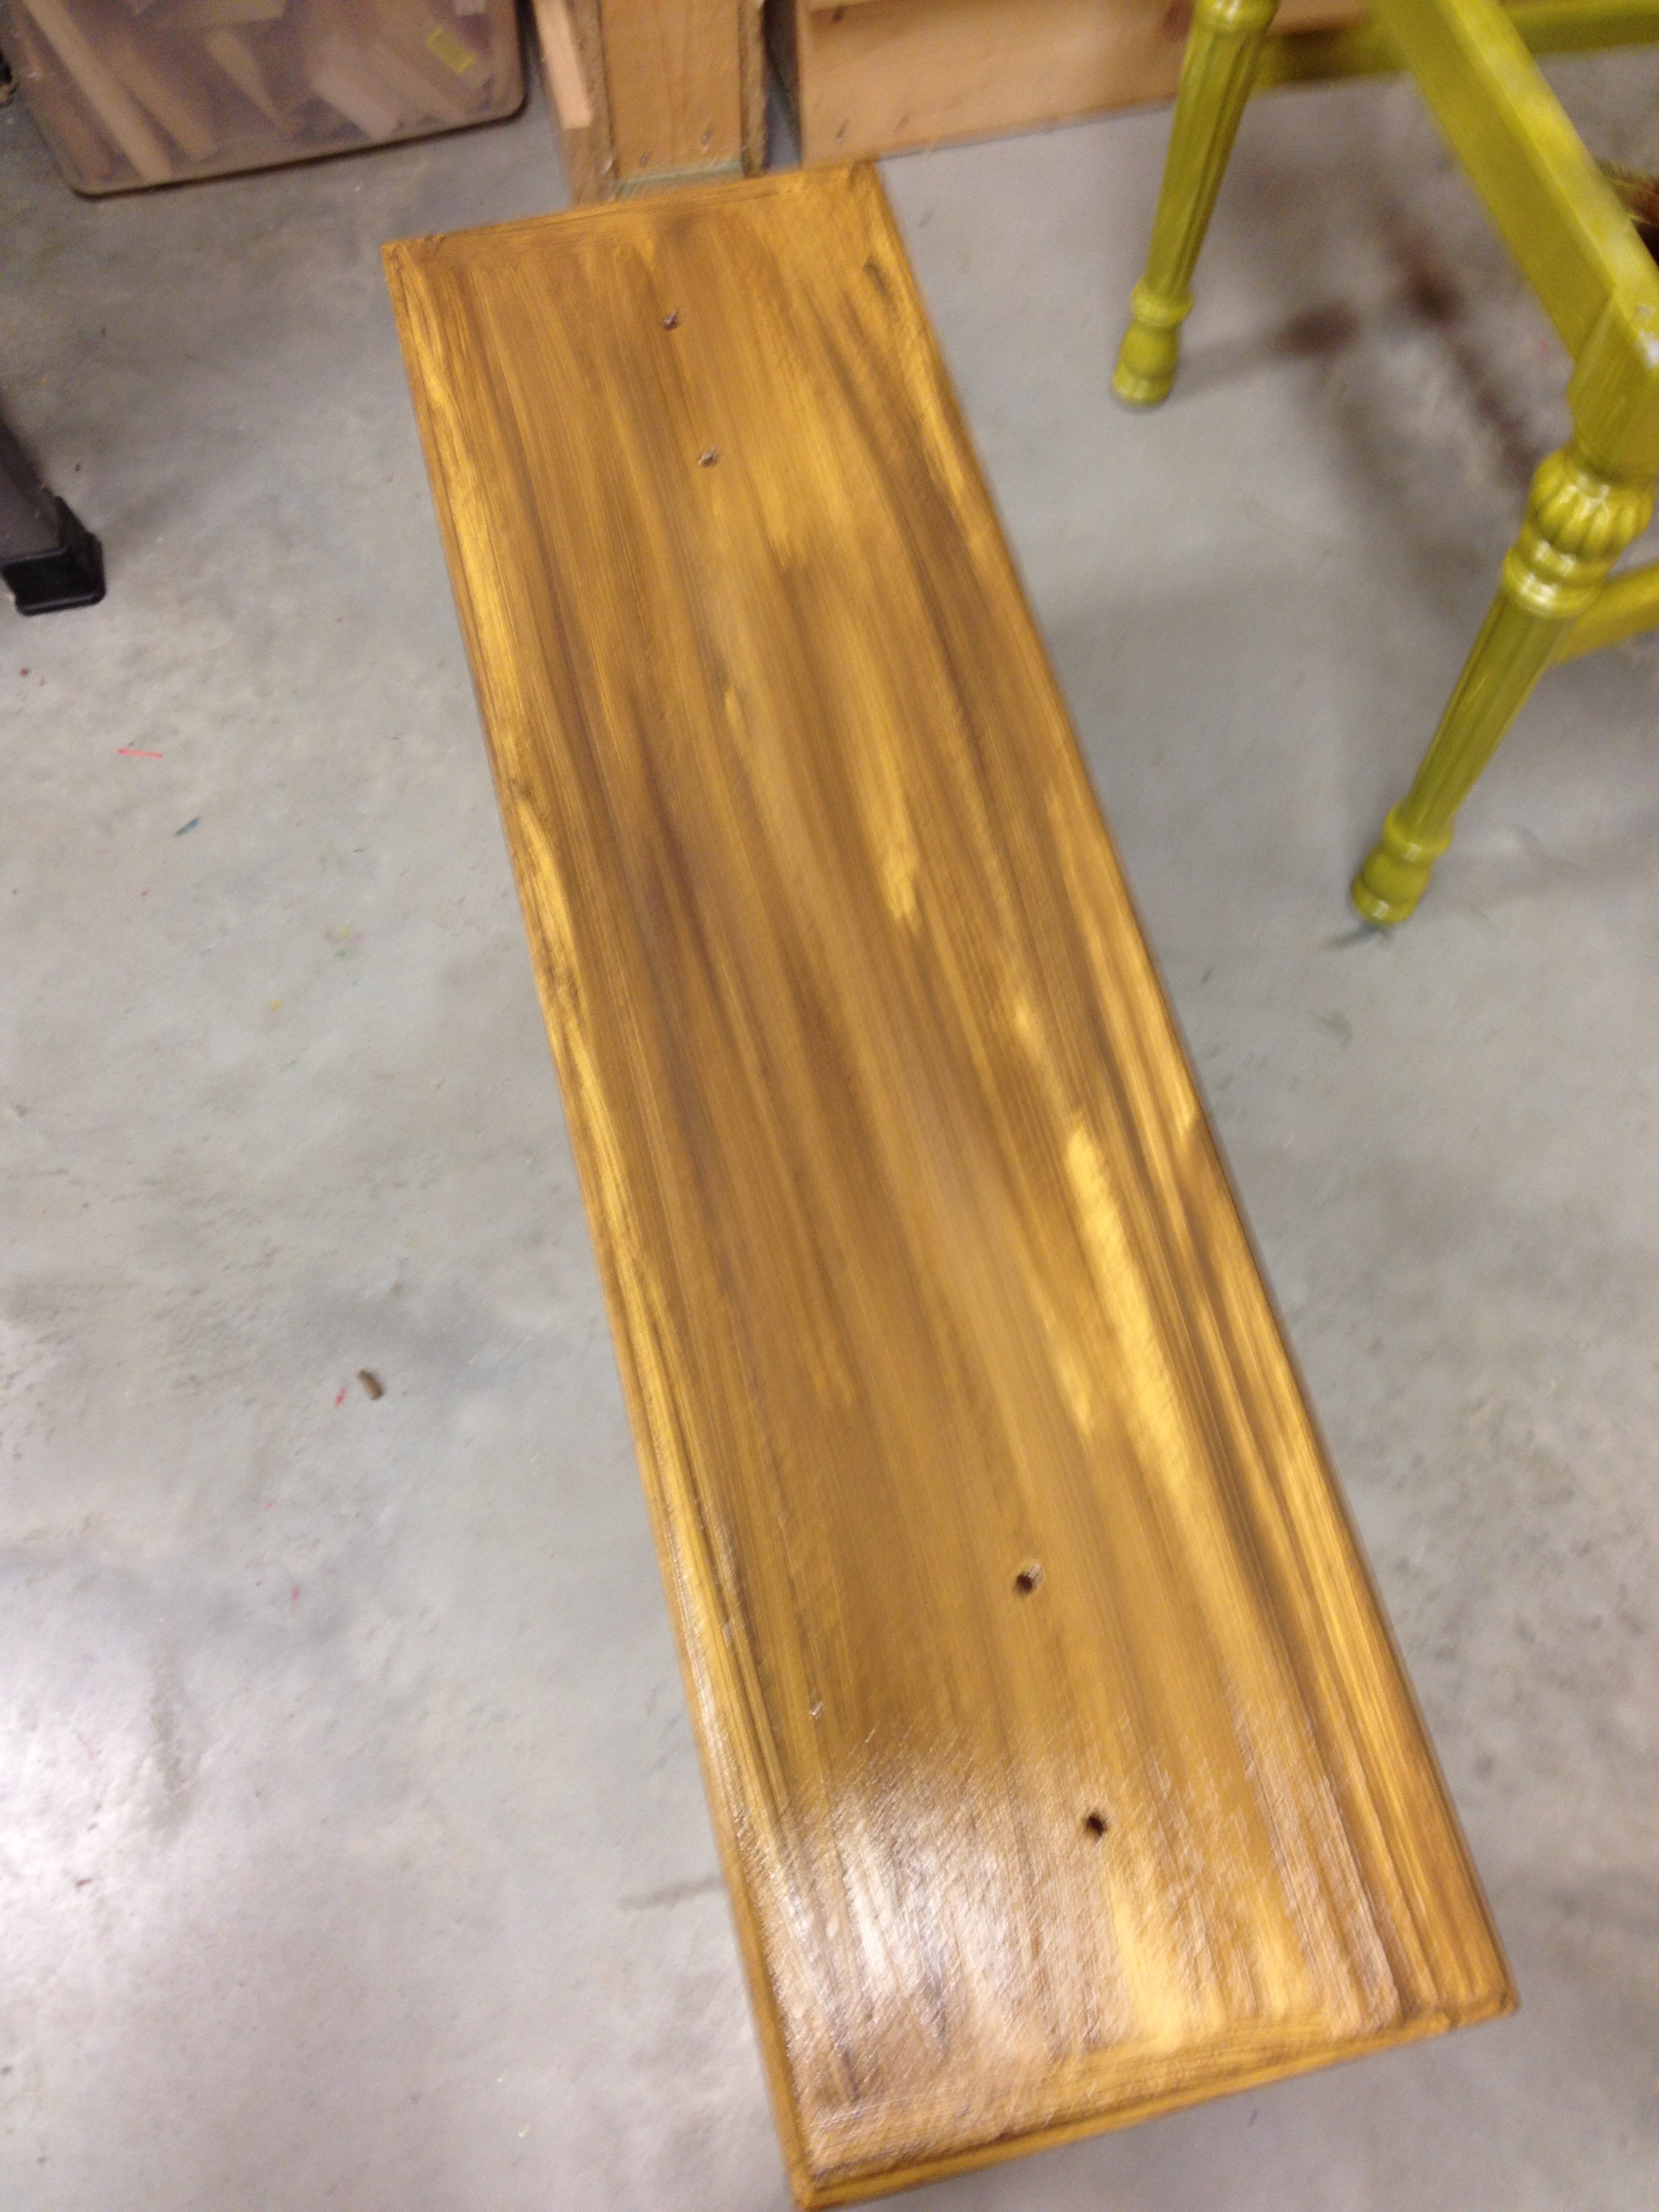
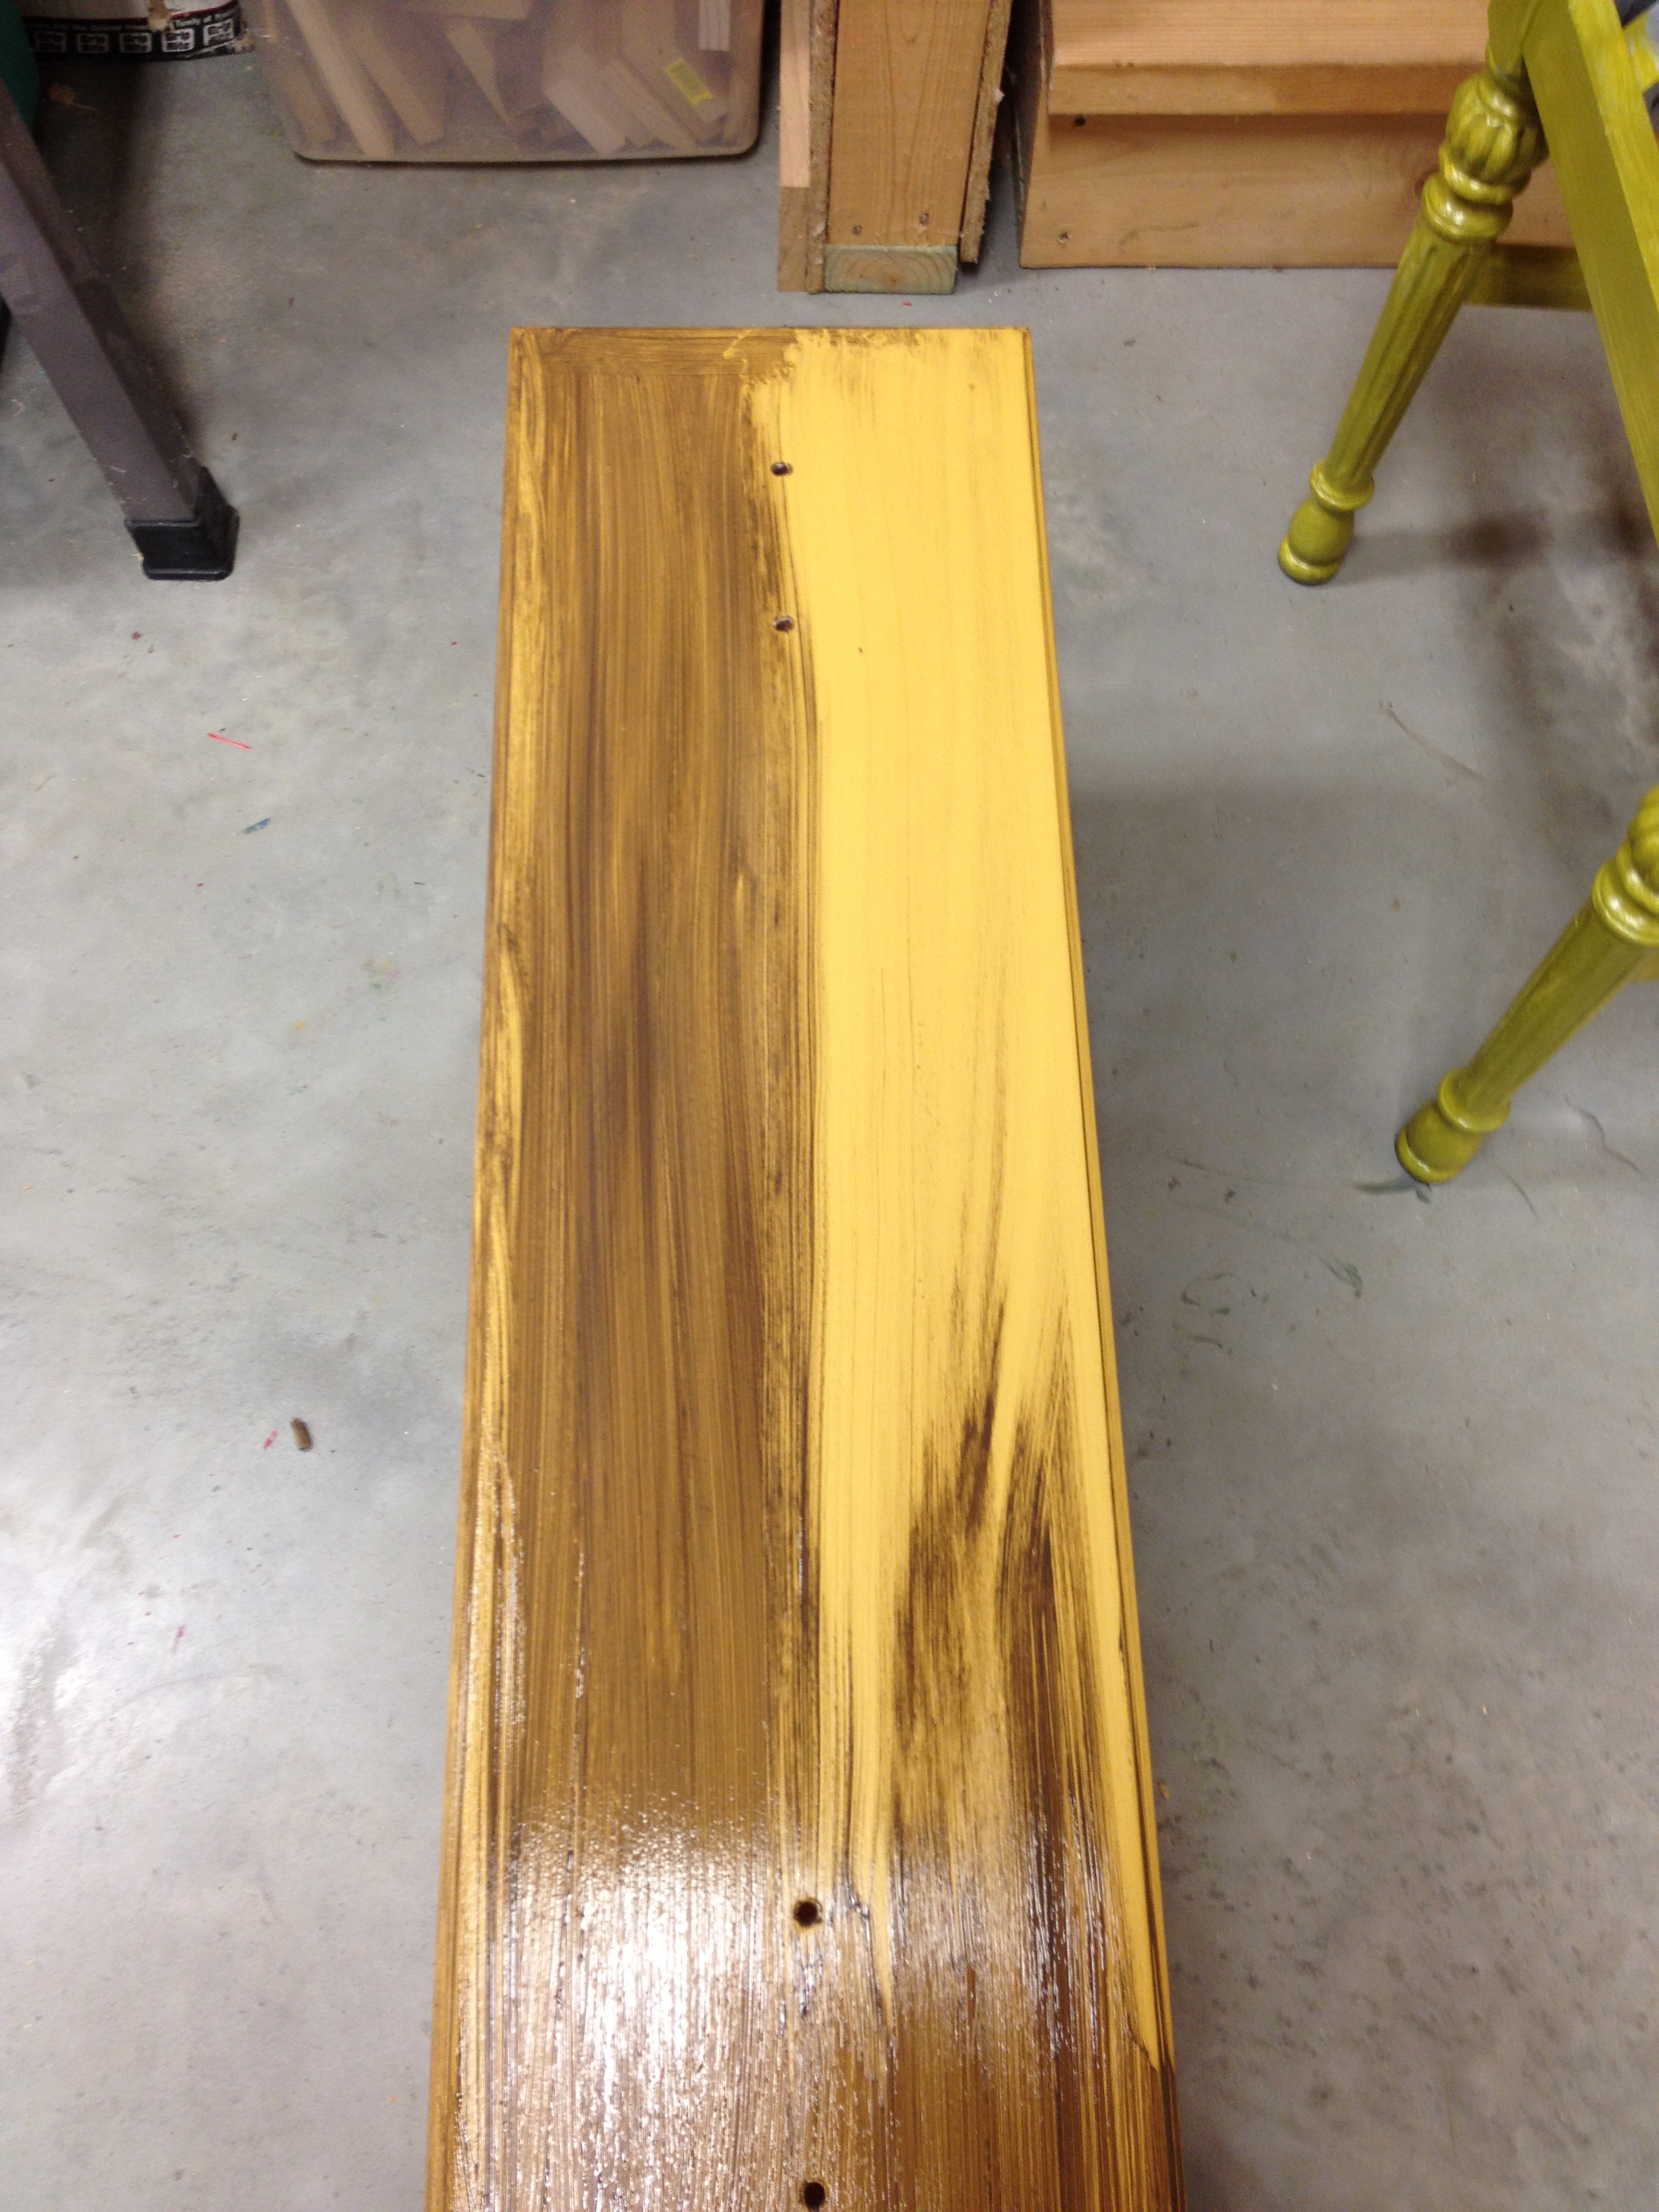
After getting away with no primer on the first dresser, I pressed my luck and, after sanding, jumped straight to the mustard yellow paint.  Big mistake.  You see, this dresser had a nice red stain on it, and that stain crept straight through my yellow paint.  Once the first coat was dry, it practically looked orange.

I tested a second coat of paint on just one drawer to see if it'd cover the stain.  No such luck.  So I backpedaled and broke out the primer.  This picture doesn't really show off the stain seeping through, but trust me, it was there.

Before opening the primer, I gave it a good shakin'.  It looked nice and white so I went to town priming the drawers and the base.  I did notice that it seemed very watery, but I just thought maybe it was a different brand of primer that I was used to.  (I tend to live on the edge and skip the priming step, so I'm not really even sure when the last time I had used primer was.)  As I was just finishing priming it all, my dad walked in and asked me if I'd stirred the paint can.  "I shook it, it's fine."  Leave it to my dad to prove me wrong.  He grabbed a paint stirrer and stuck it in the paint can, and sure enough, all the thick primer was down at the bottom.  D'oh!

So primer coat numero dos went on.

After three coats of paint (1 yellow, 2 primer), I was already over painting this thing.  But I knew it had great potential so I pressed onward.

Back to the yellow paint.  The stain seeped through the primer too but I didn't care anymore. I was ready to go bold.

Two paints of yellow was all I was willing to do at this point.  I was ready to accept the stain coming through and just roll with it, but luckily, after the second coat of yellow, it really wasn't that bad anymore.

Then it was time to jazz it up!

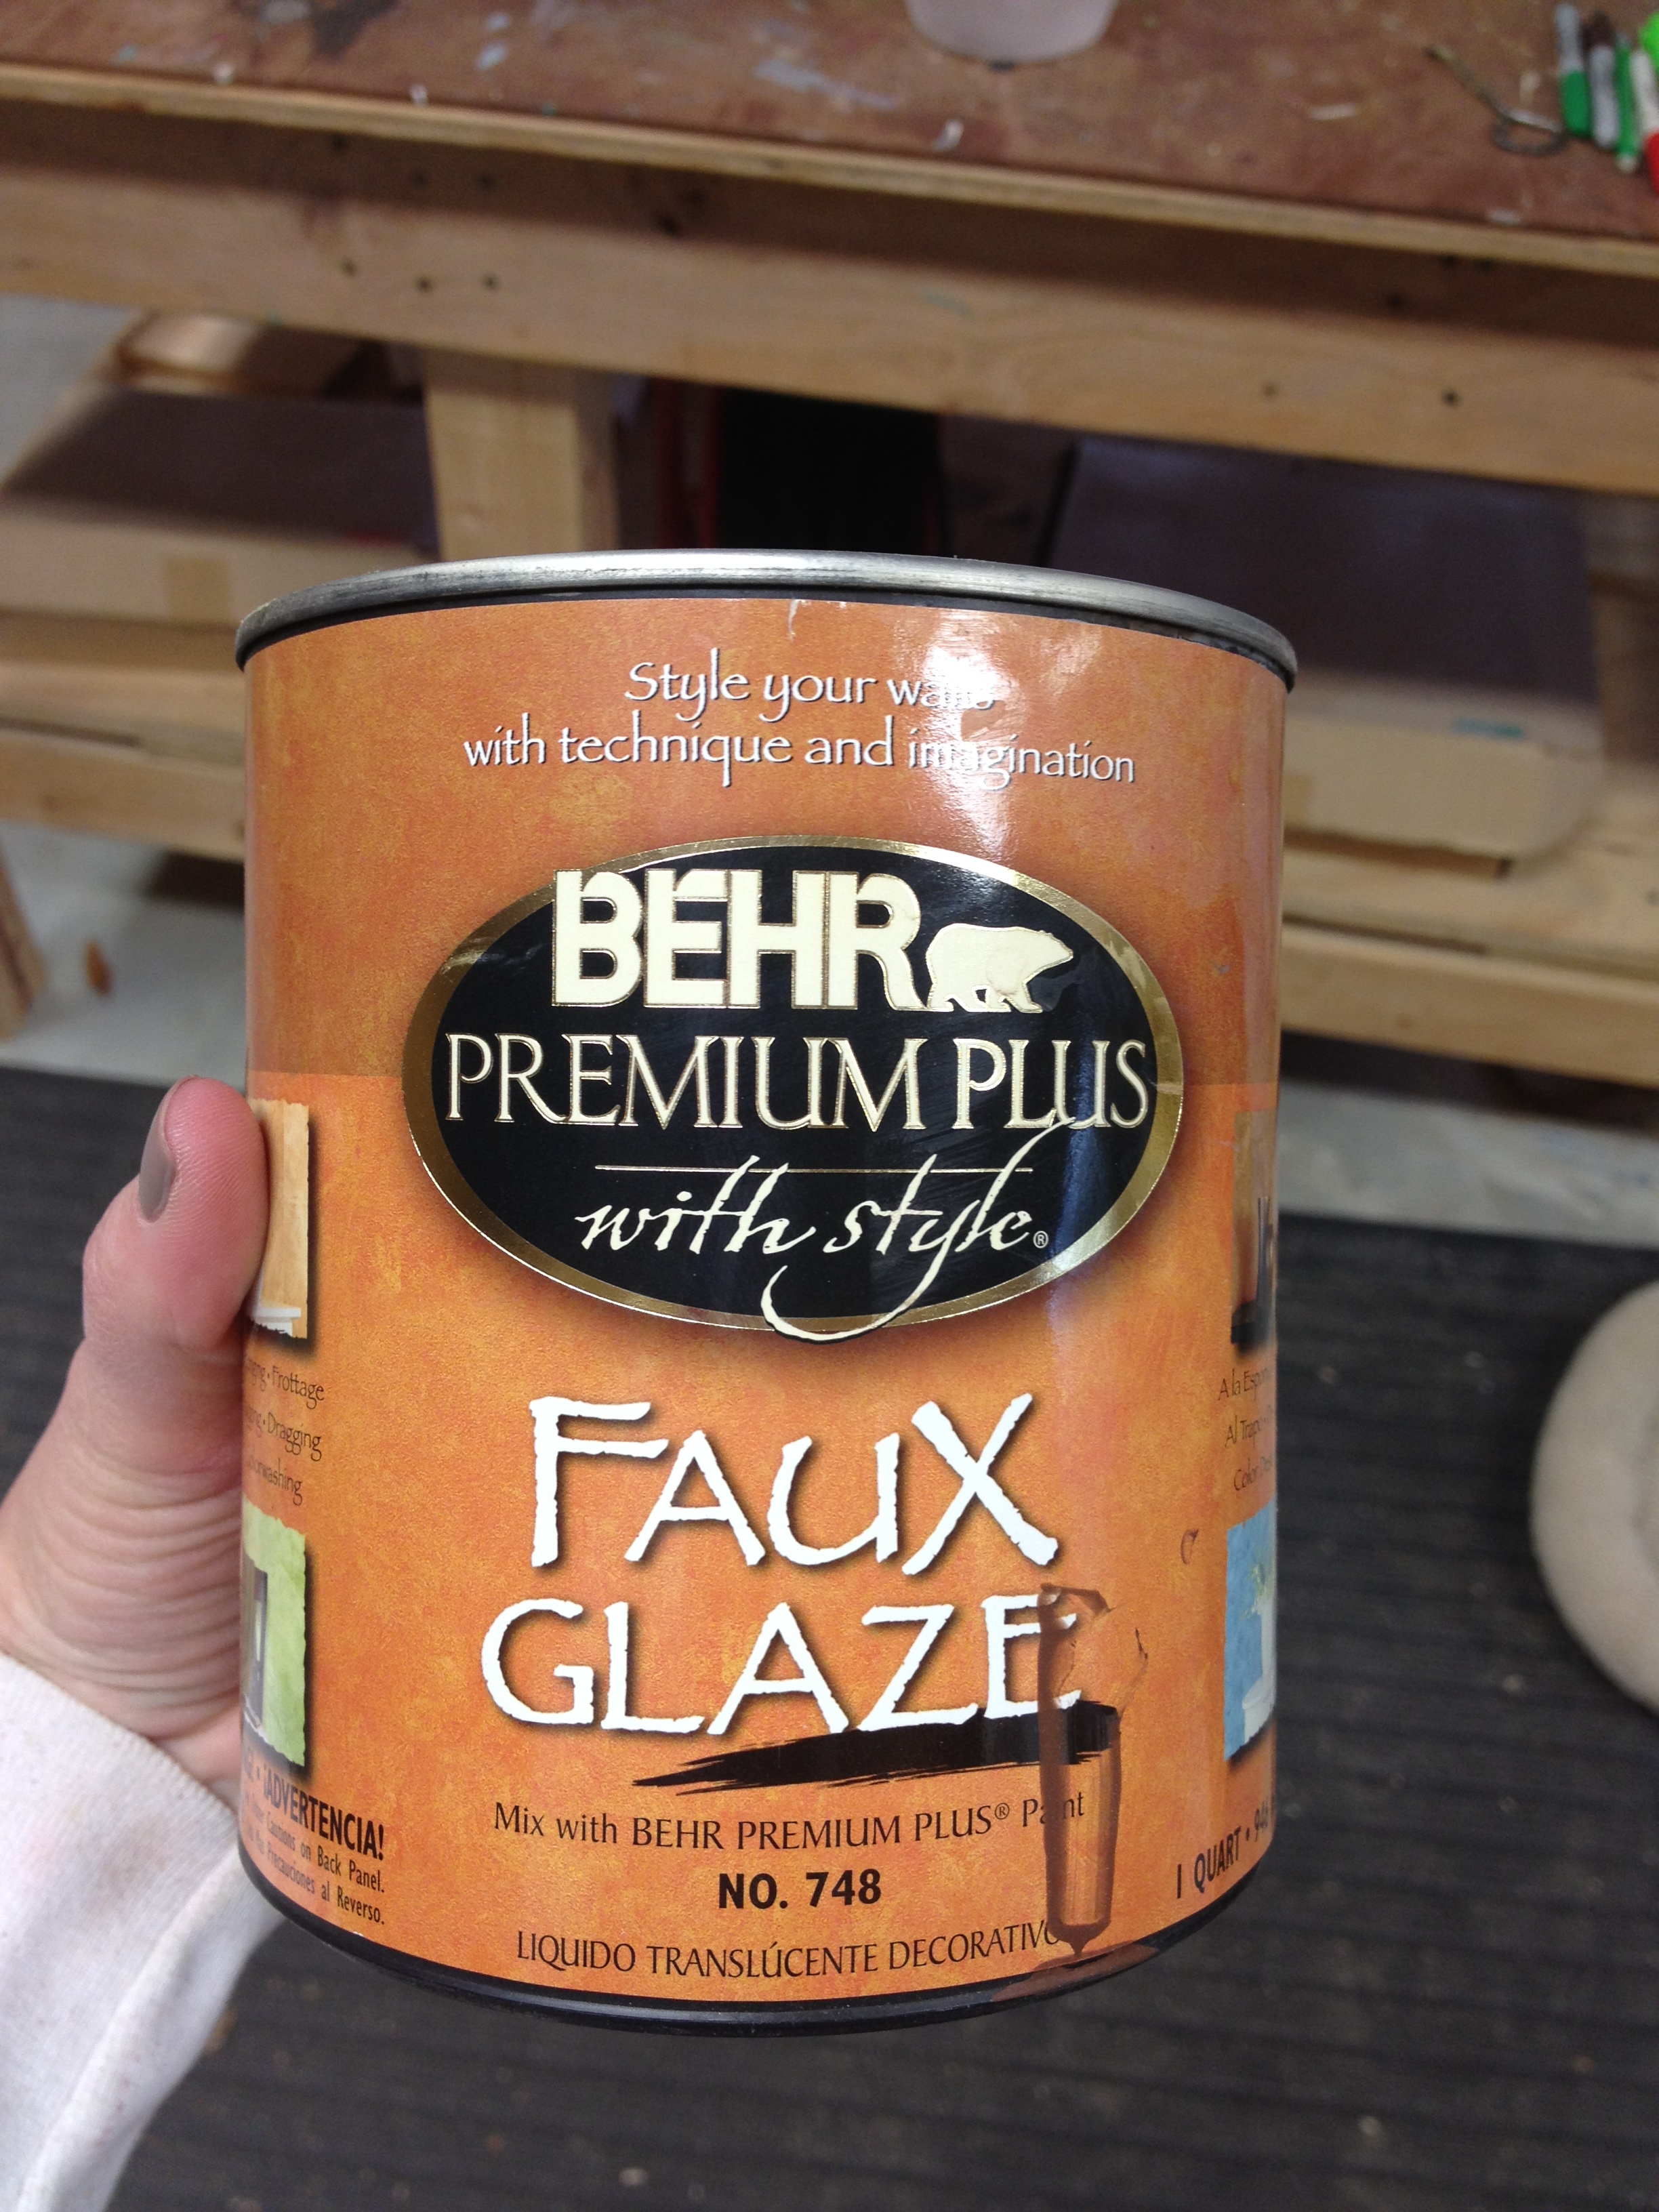
I used this glaze.  It comes without any tint.

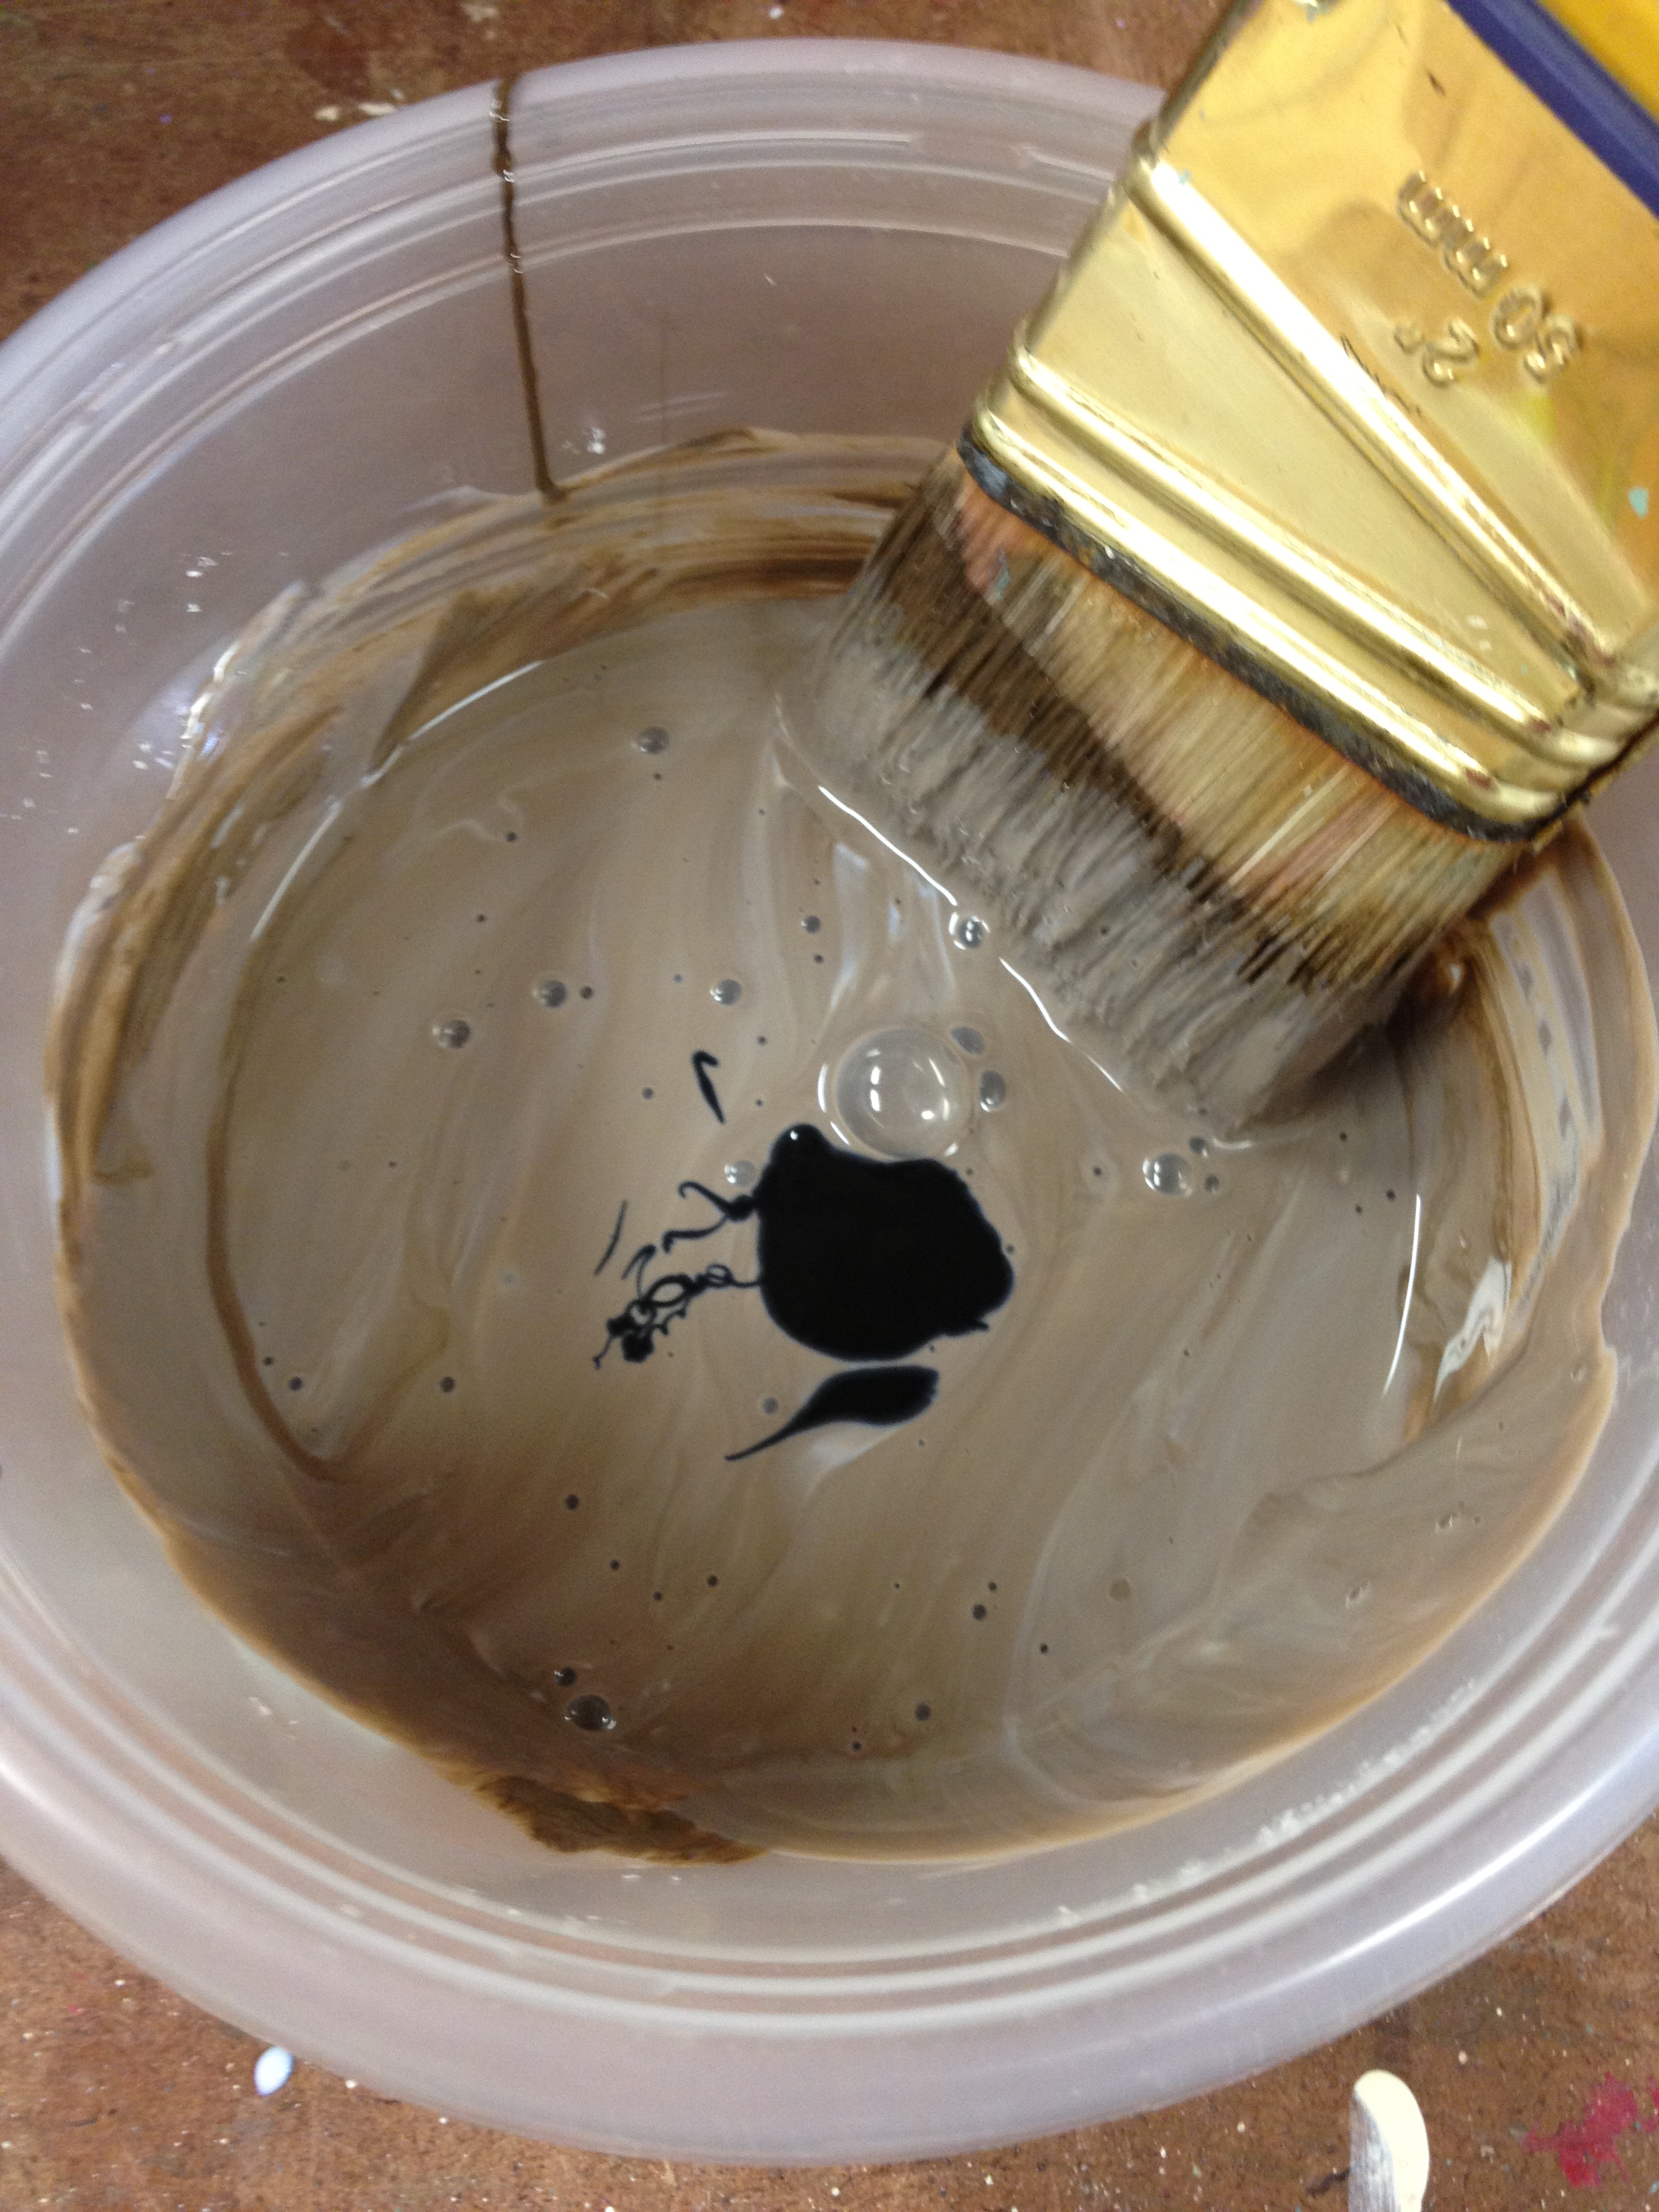
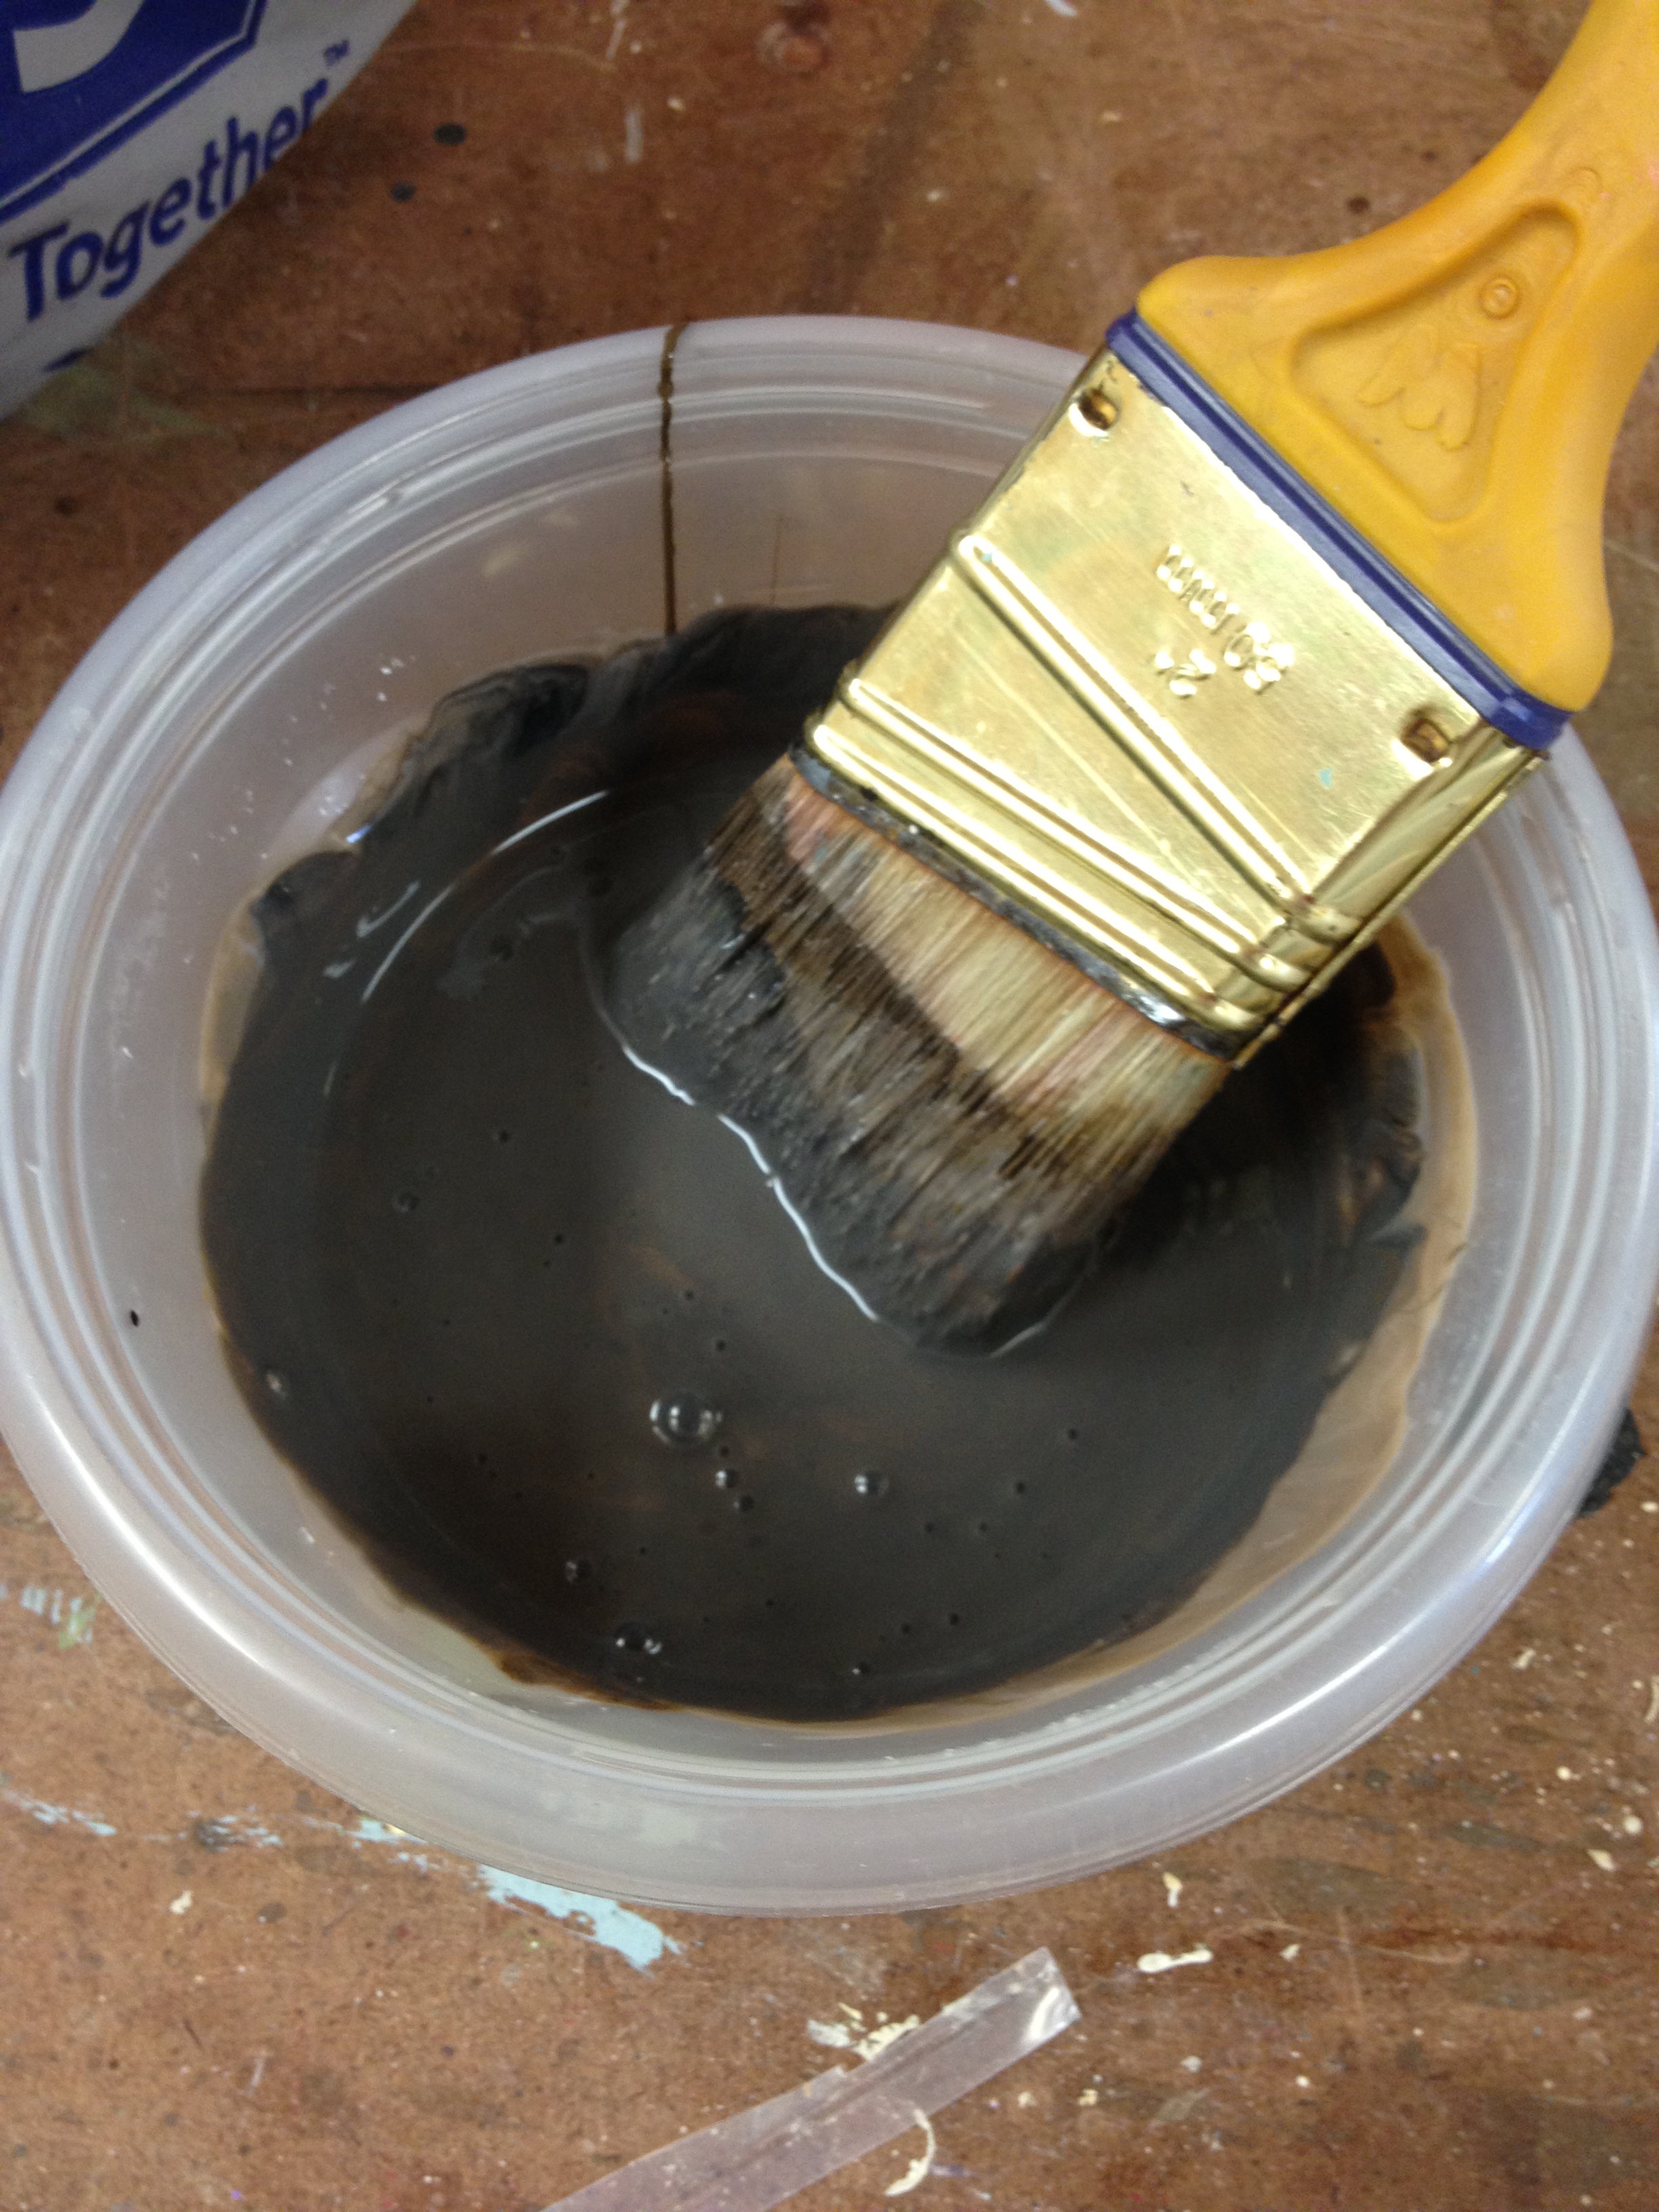
I wanted a dark brown - almost black - glaze.  I first added brown paint but it made it look like a milky brown.

A few drops of black gave me the color I was looking for.

Usually when I add glaze to a piece of furniture, I dry-brush it on.  I start light and gradually add it until it's the color I want.  This time, I tried a different approach.  I loaded up my paintbrush with lots of glaze and smeared it all over the surface (in this case, a drawer front).

I waited approximately 2 seconds (literally just long enough for me to grab a paper towel) and then started wiping it off.

As I went, I found that it was actually easier (and looked better) if I took the paper towels and just wiped side to side, smearing it and wiping it off at the same time, rather than trying to wiped it off in sections like pictured above.  If it got too dry to wipe off, I used a damp paper towel.  And if I ended up wiping too much off, I just brushed more glaze on and started over.  It was a fast process and I tried not to be too picky about the way it looked.  I wanted the glaze to be darker in any grooves (like the edge of the drawers) but other than that, I just rolled with whatever happened.

The base of the chest of drawers was a little bit harder, only because of the larger surface areas.  I wanted to do the large areas all at one time to try to keep it consistent and avoid any overlap that might occur if I did it in sections.  Obviously, the larger the surface, the quicker I had to work so the glaze wouldn't get too dry.  It's not perfect - there are definitely a few streaks that I could do without - but I think it turned out ok.

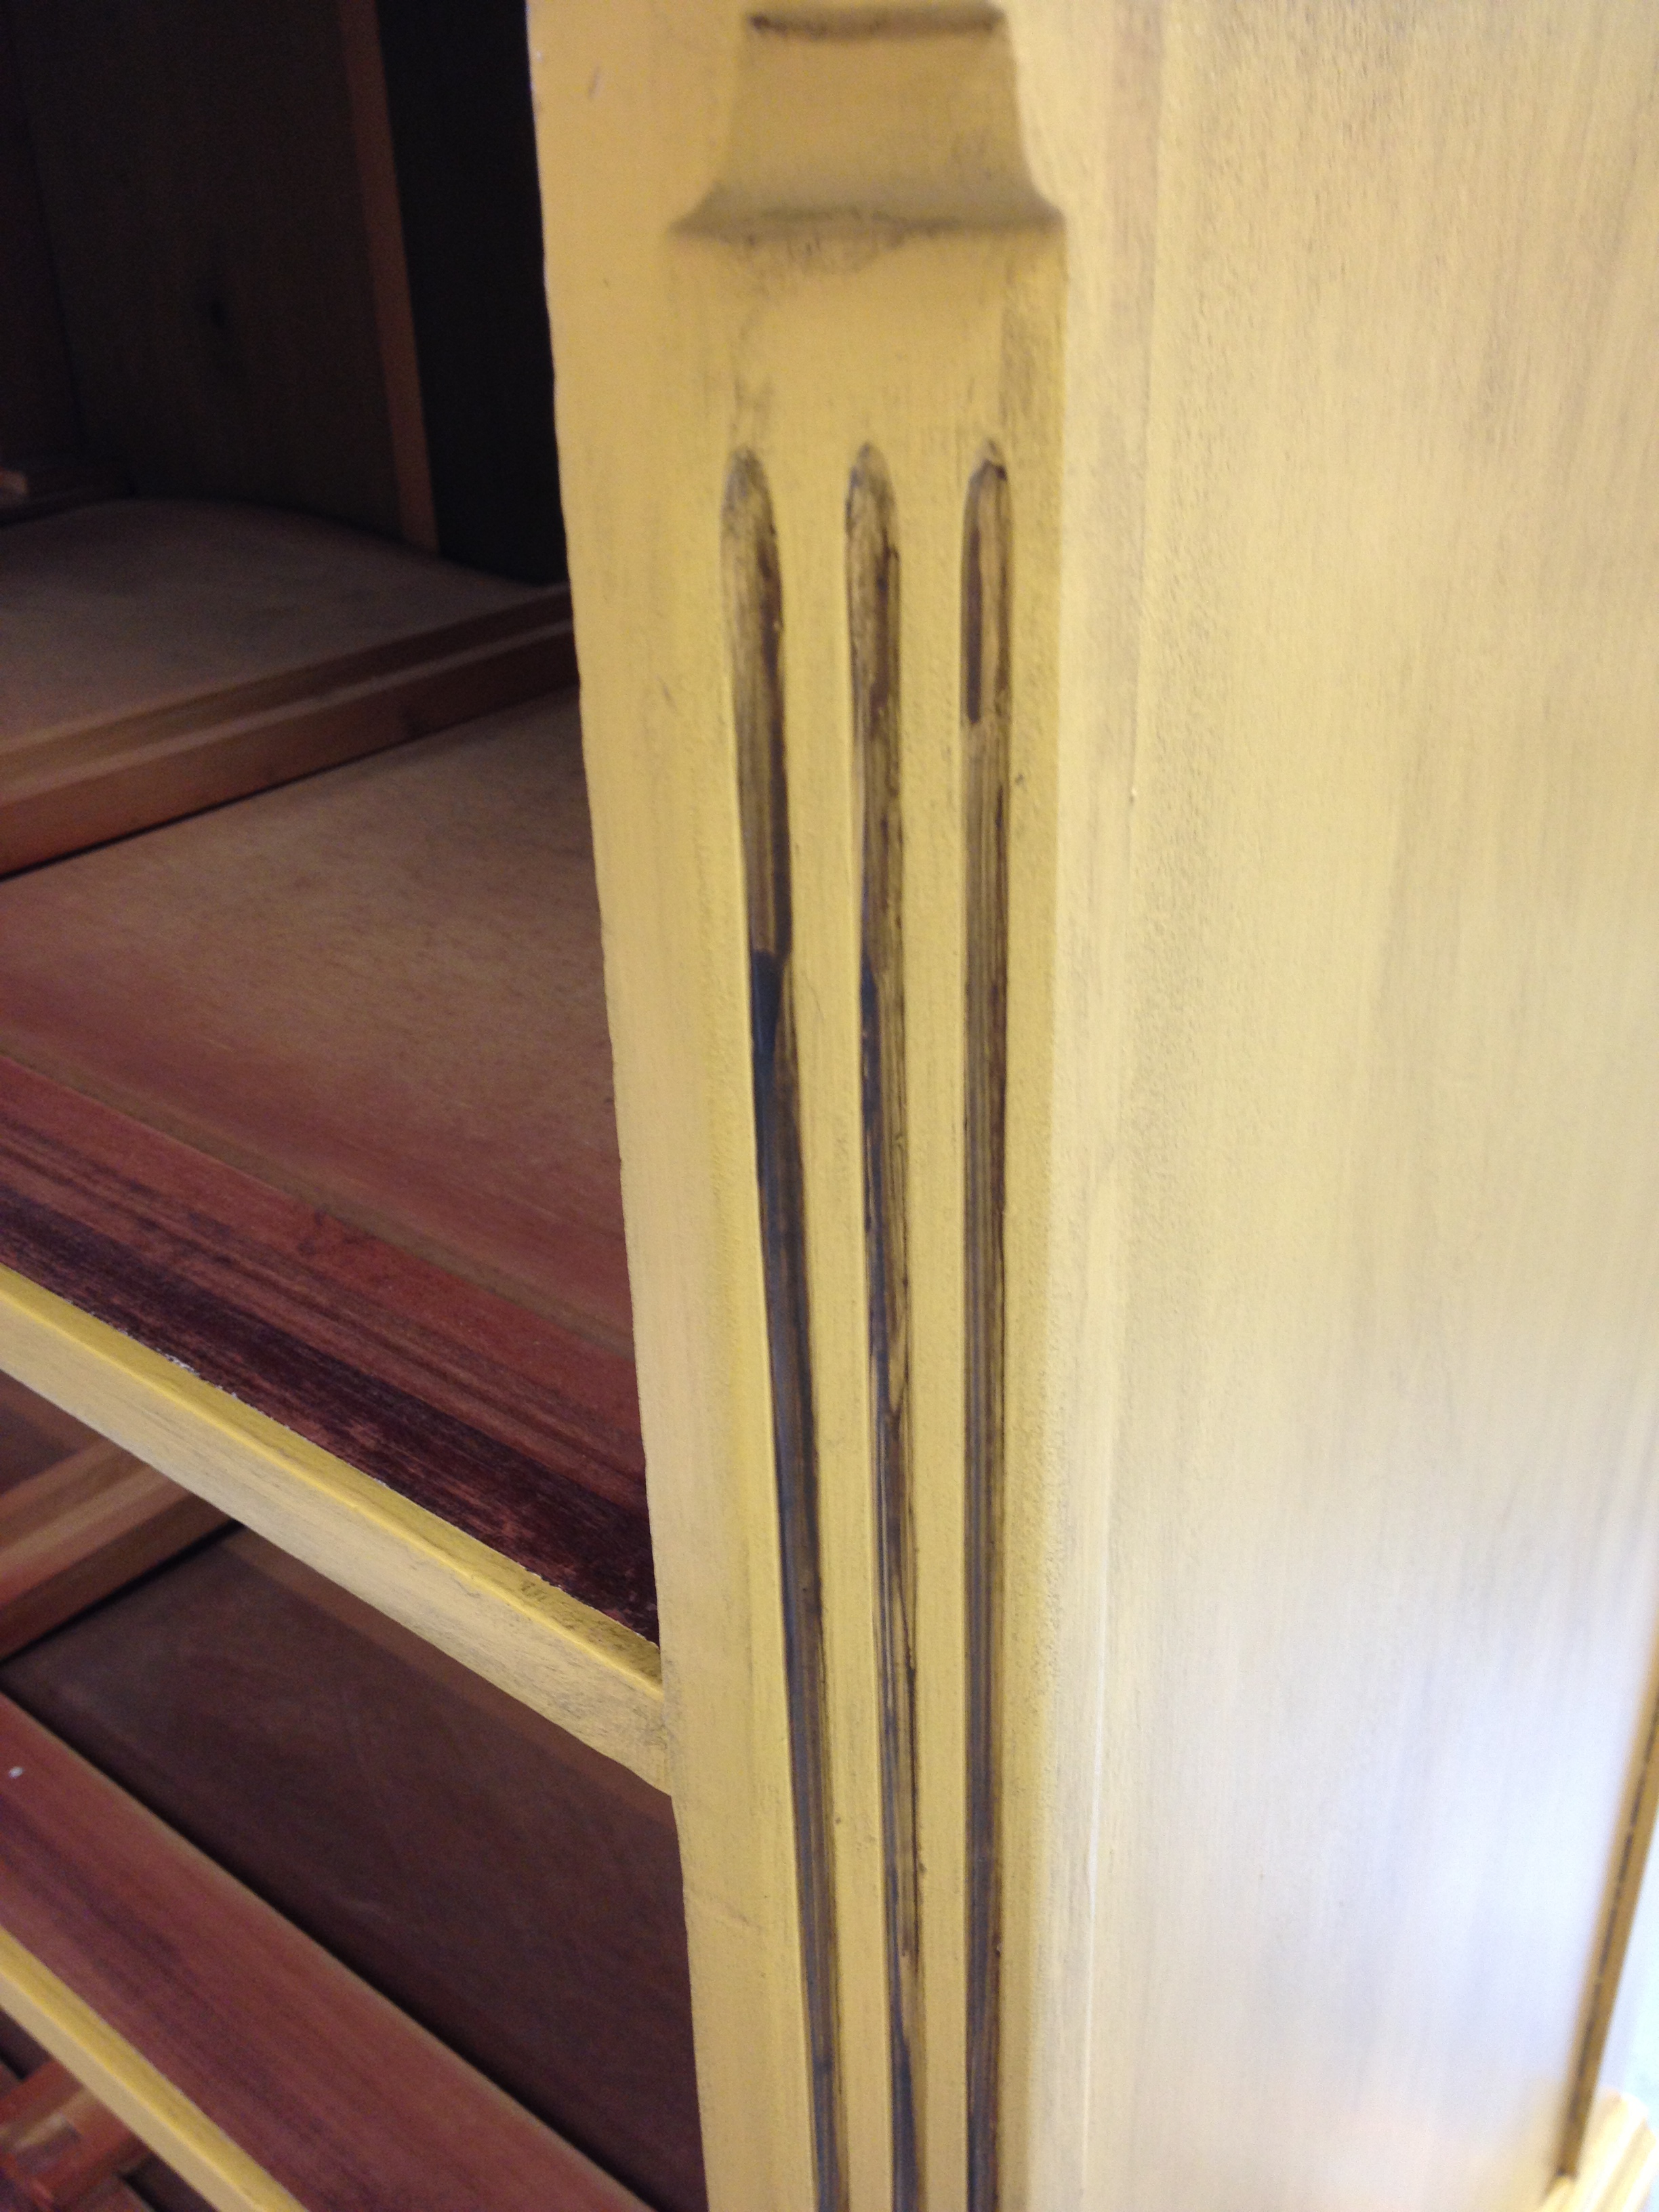
Like the drawers, I wanted the glaze to be darker in any grooves.

After the glaze it was time for polyurethane.  I used water-based again this time, mostly because it dries so fast.  Normally I'm laze and only do one coat of poly but I did two this time.  I figured after painting the darn thing 7 times already, one more time wouldn't hurt me.

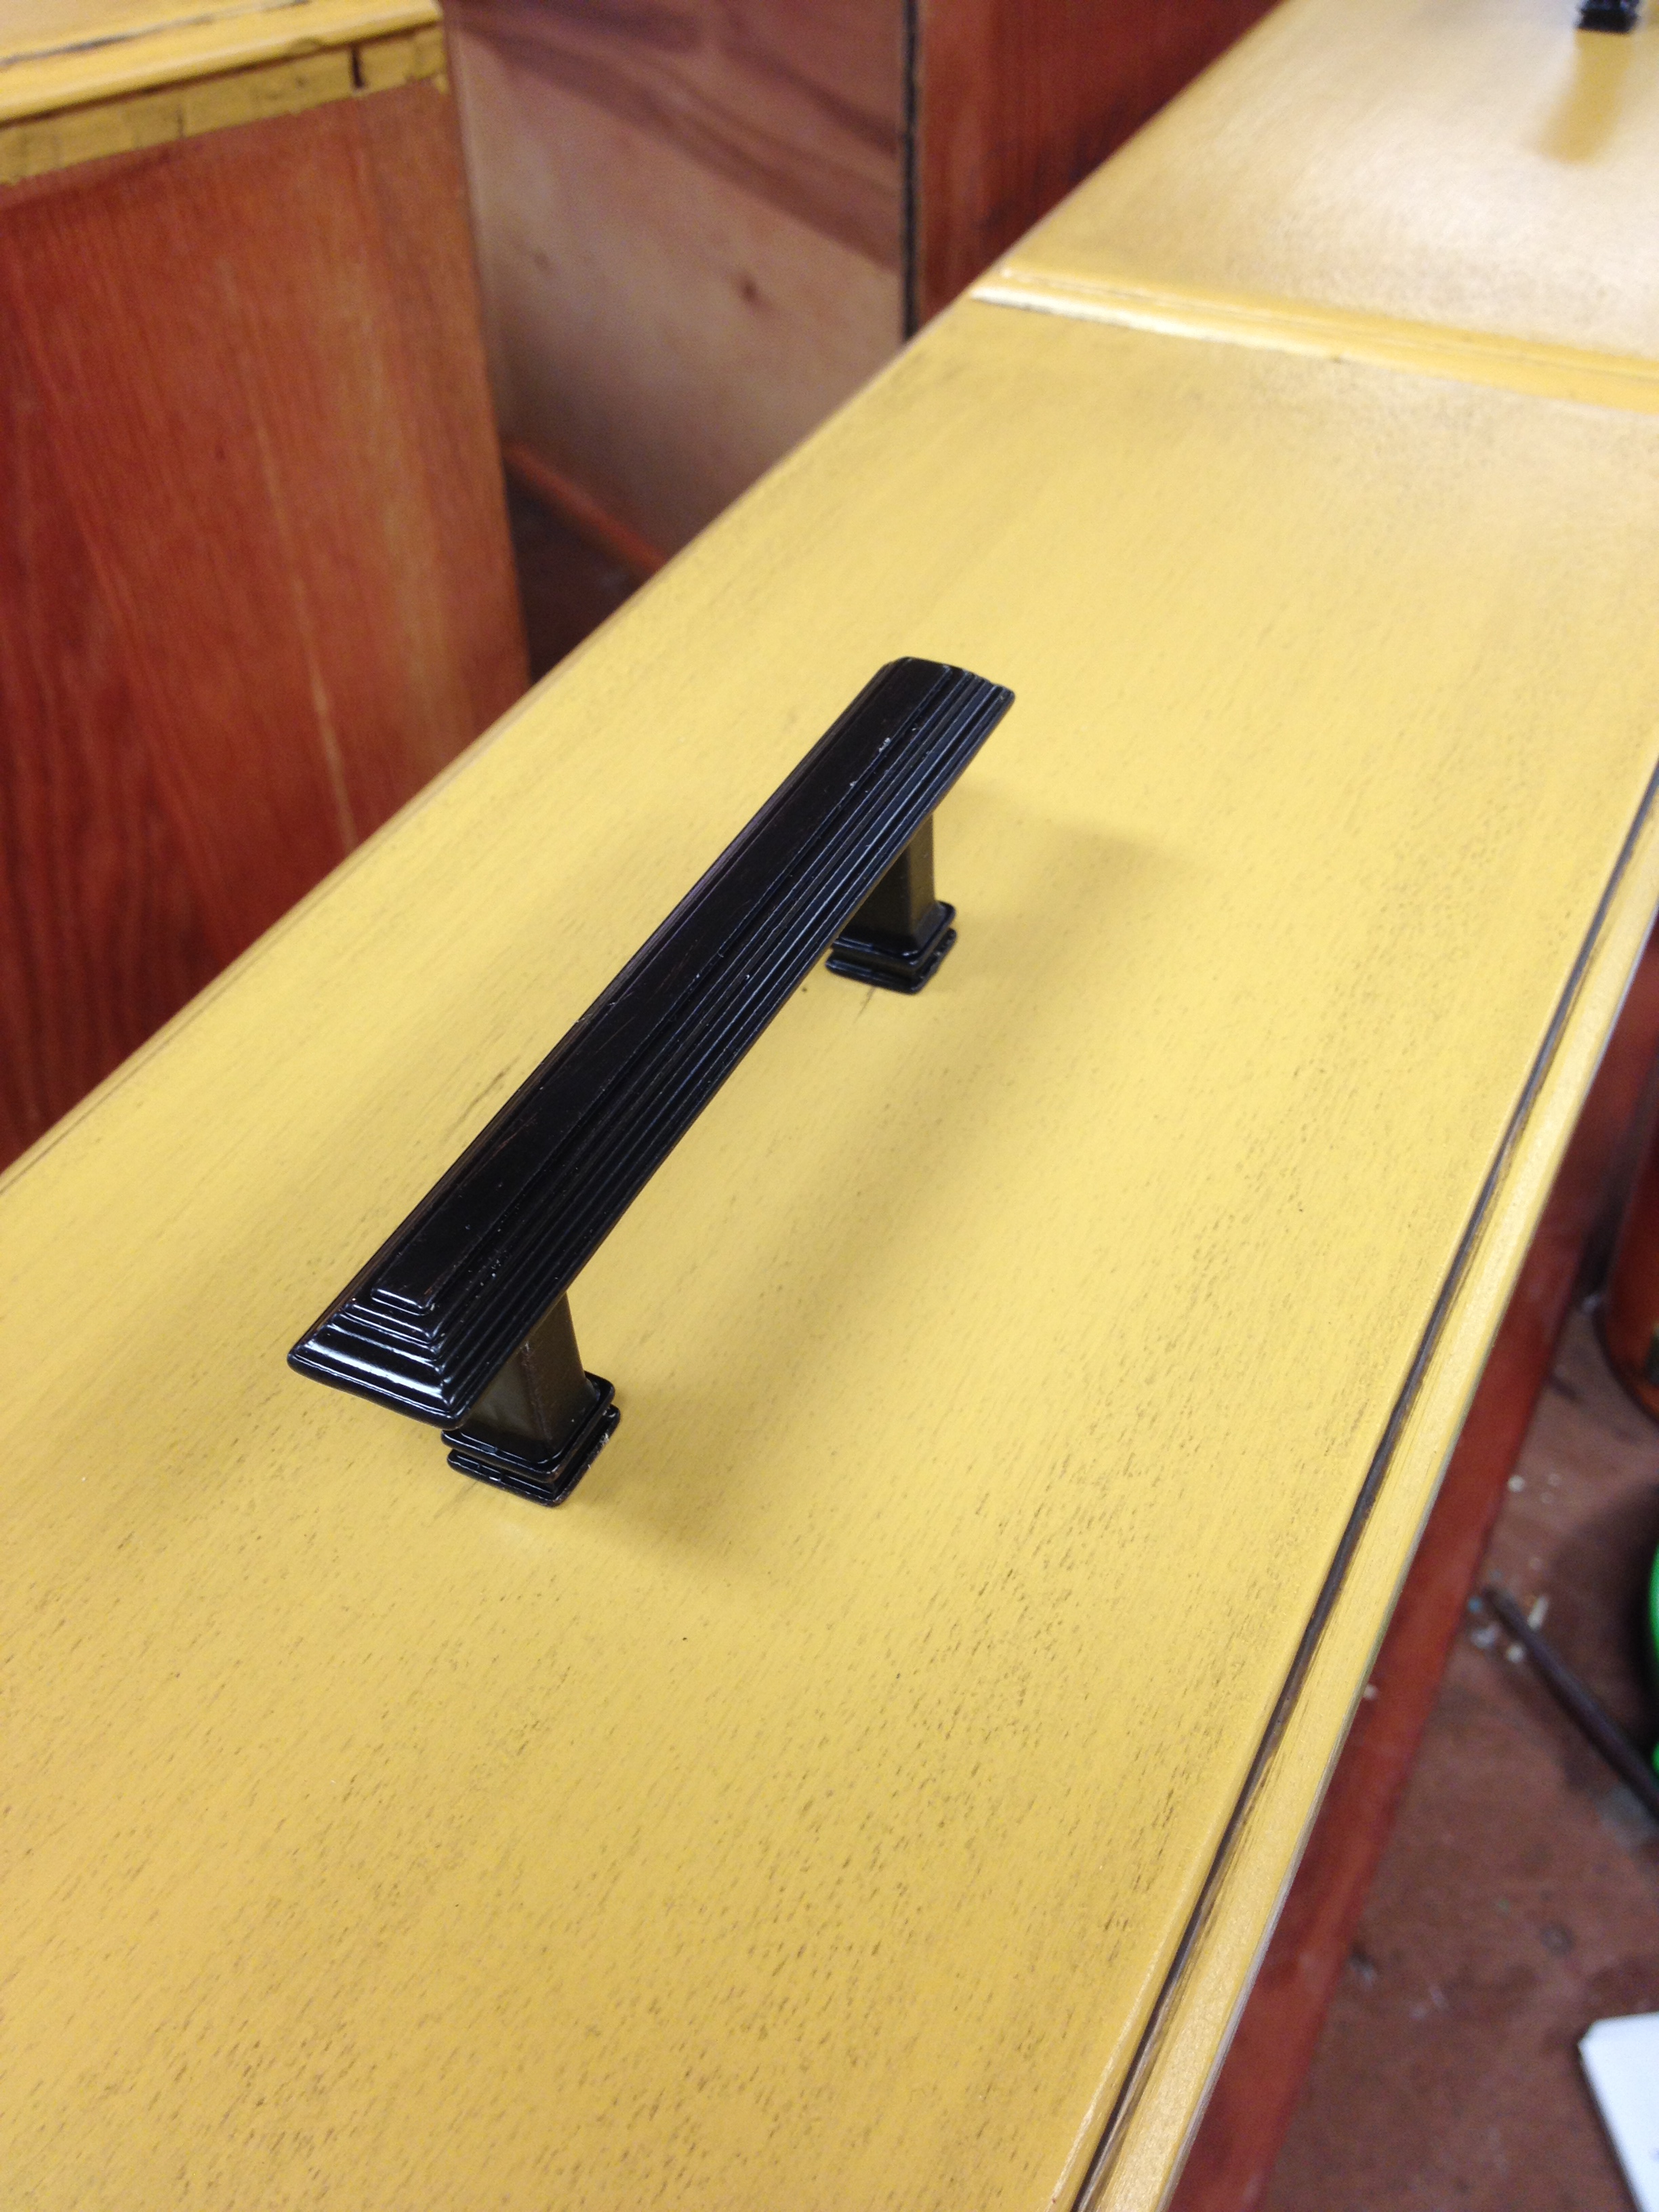
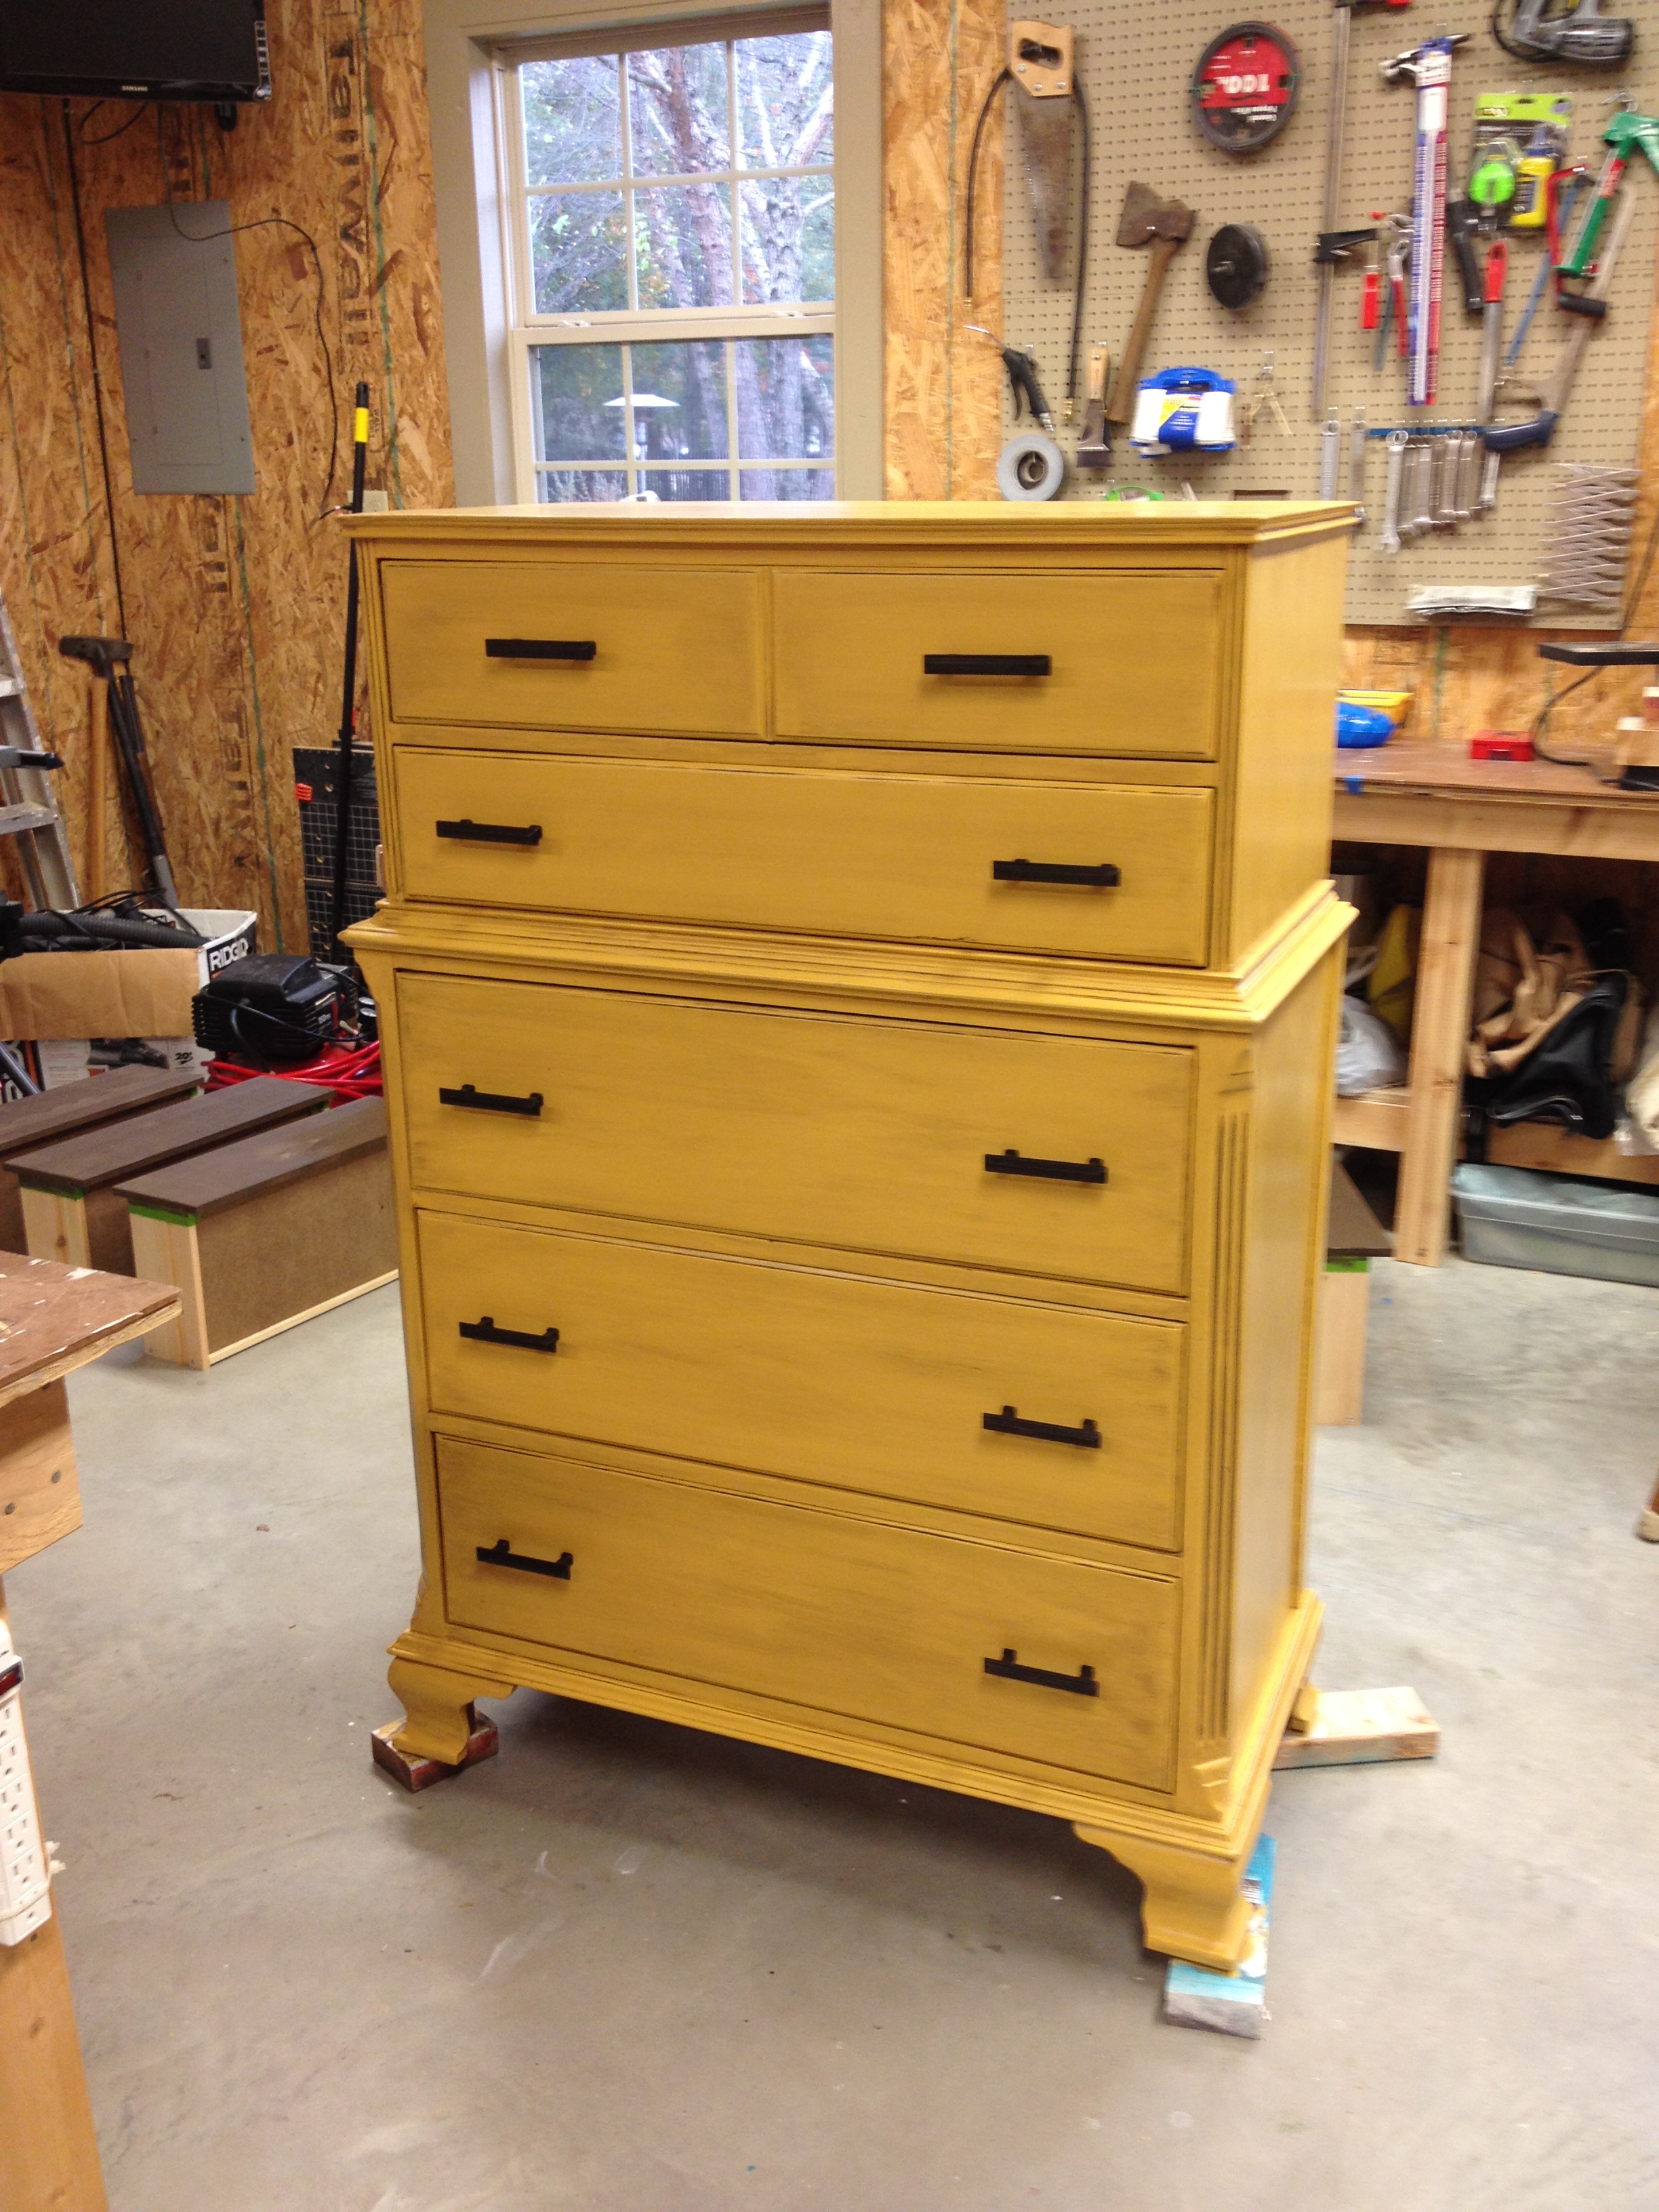
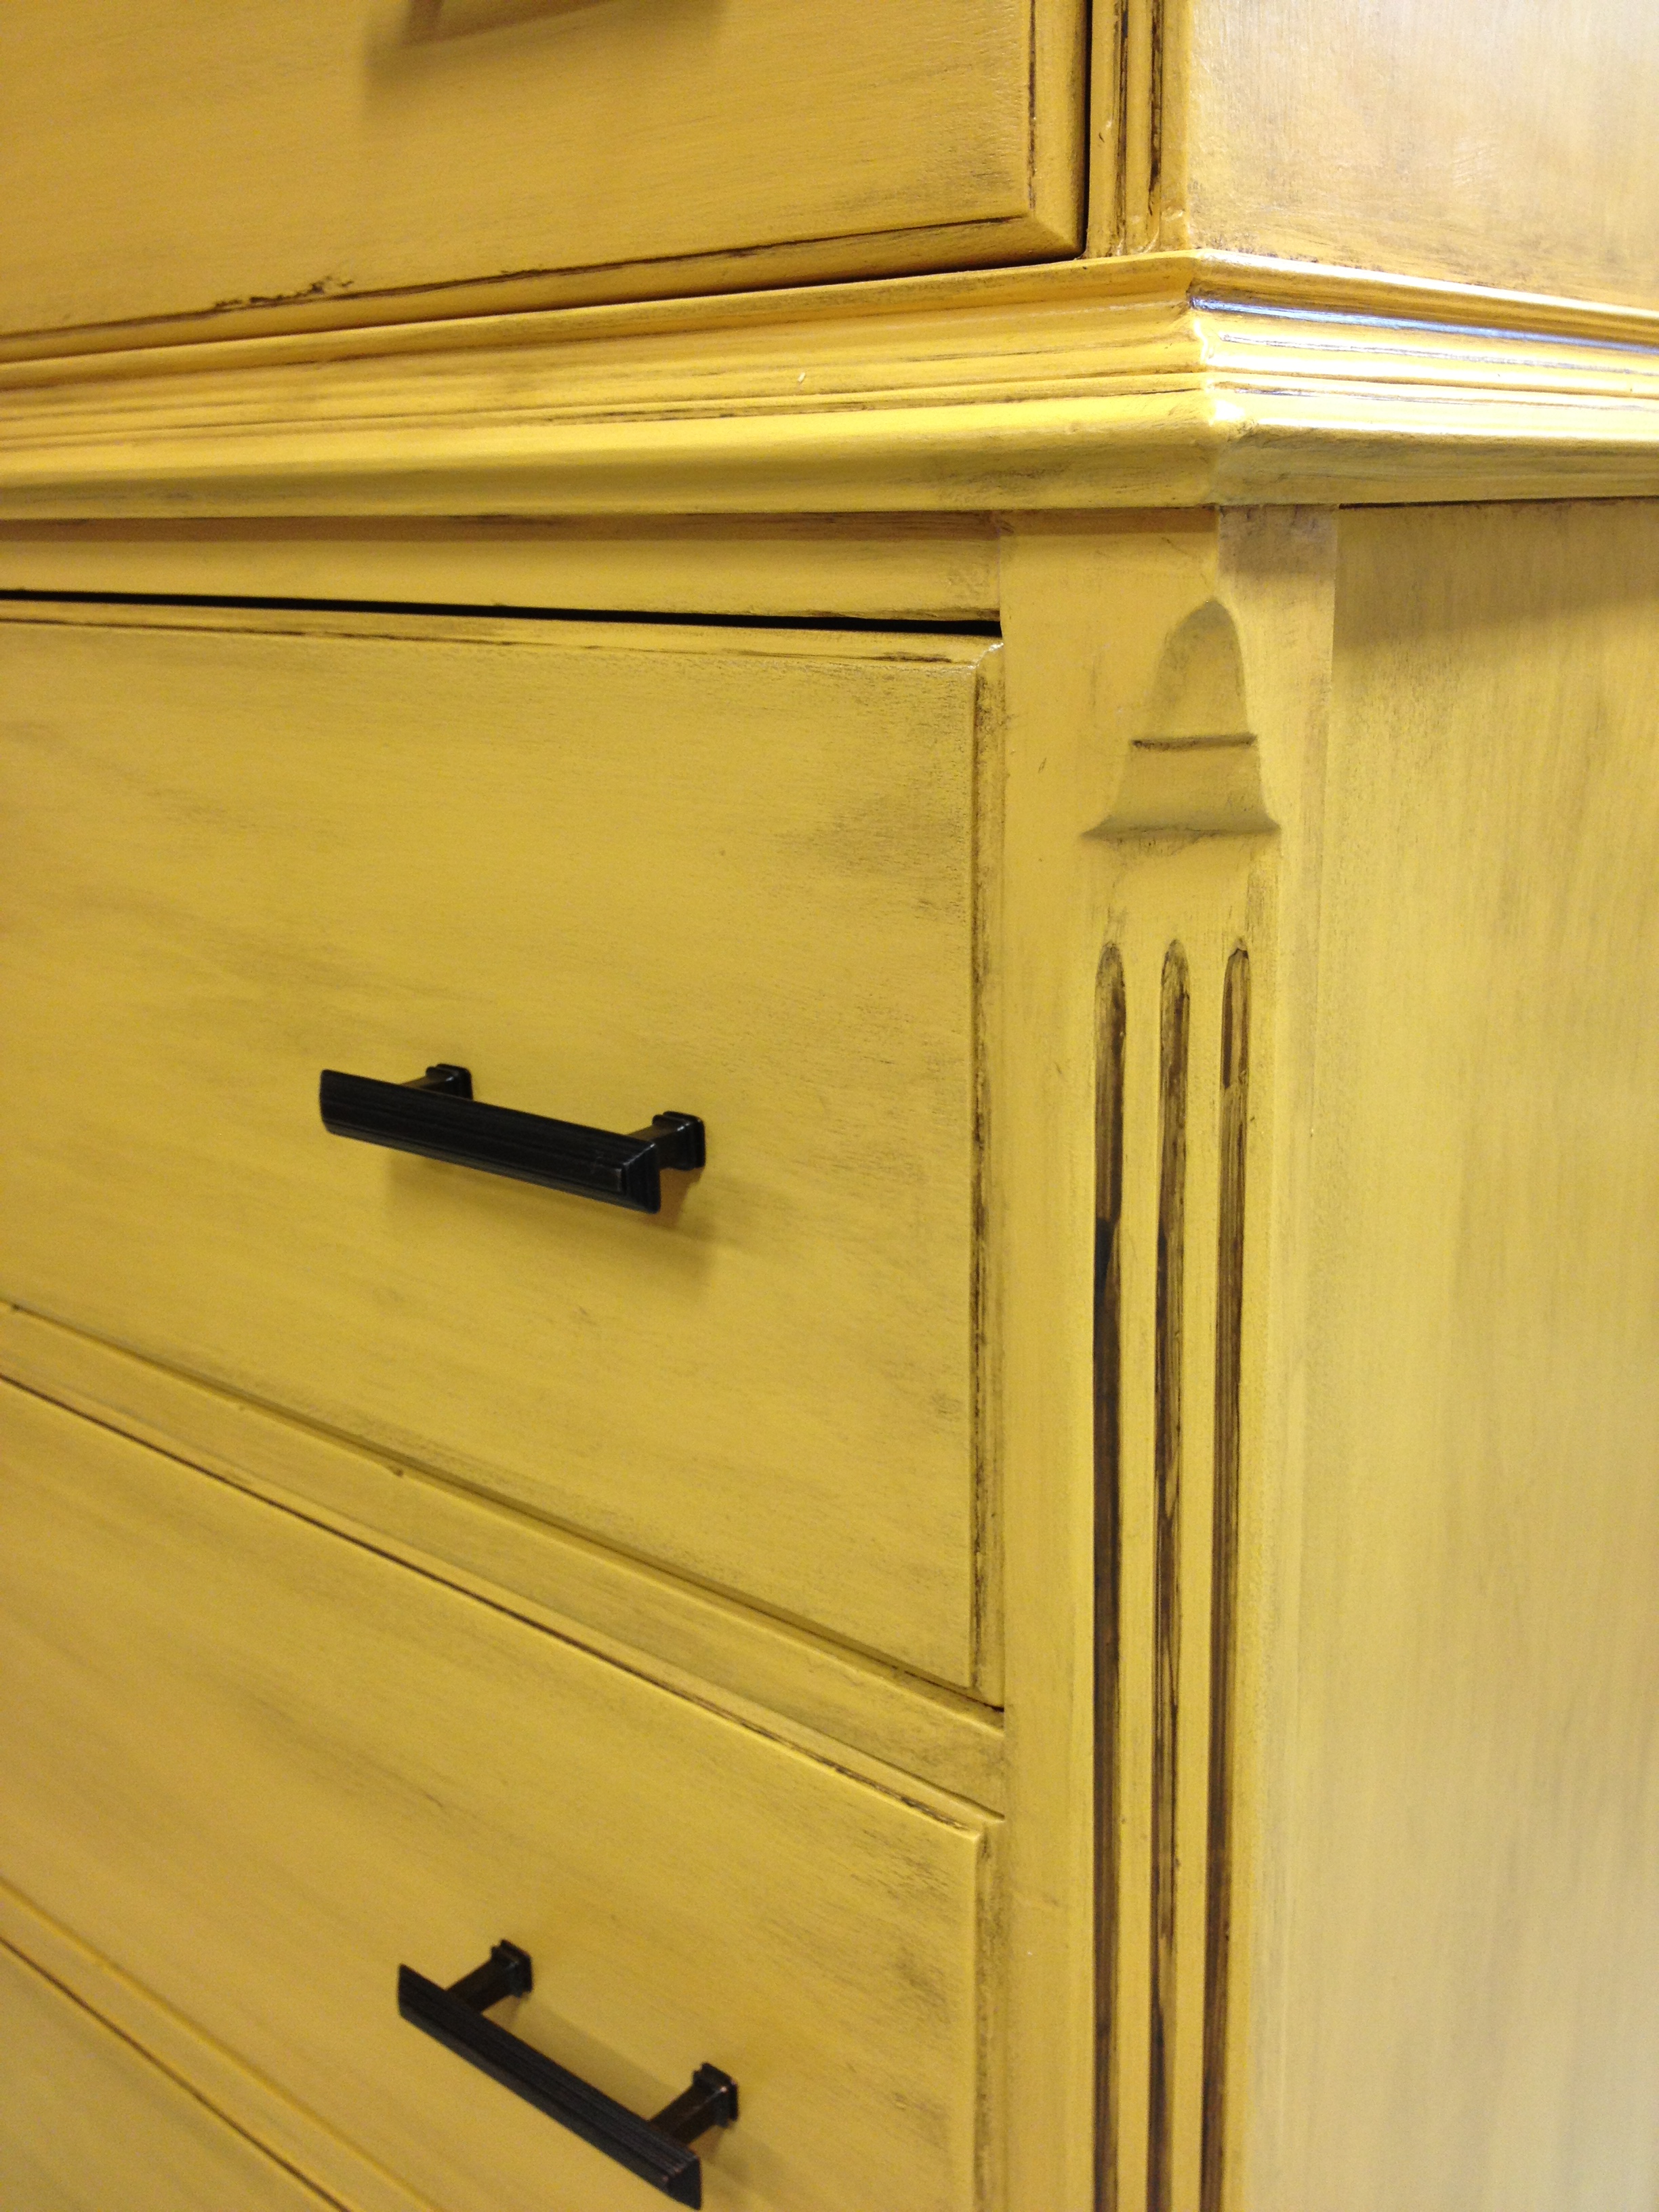
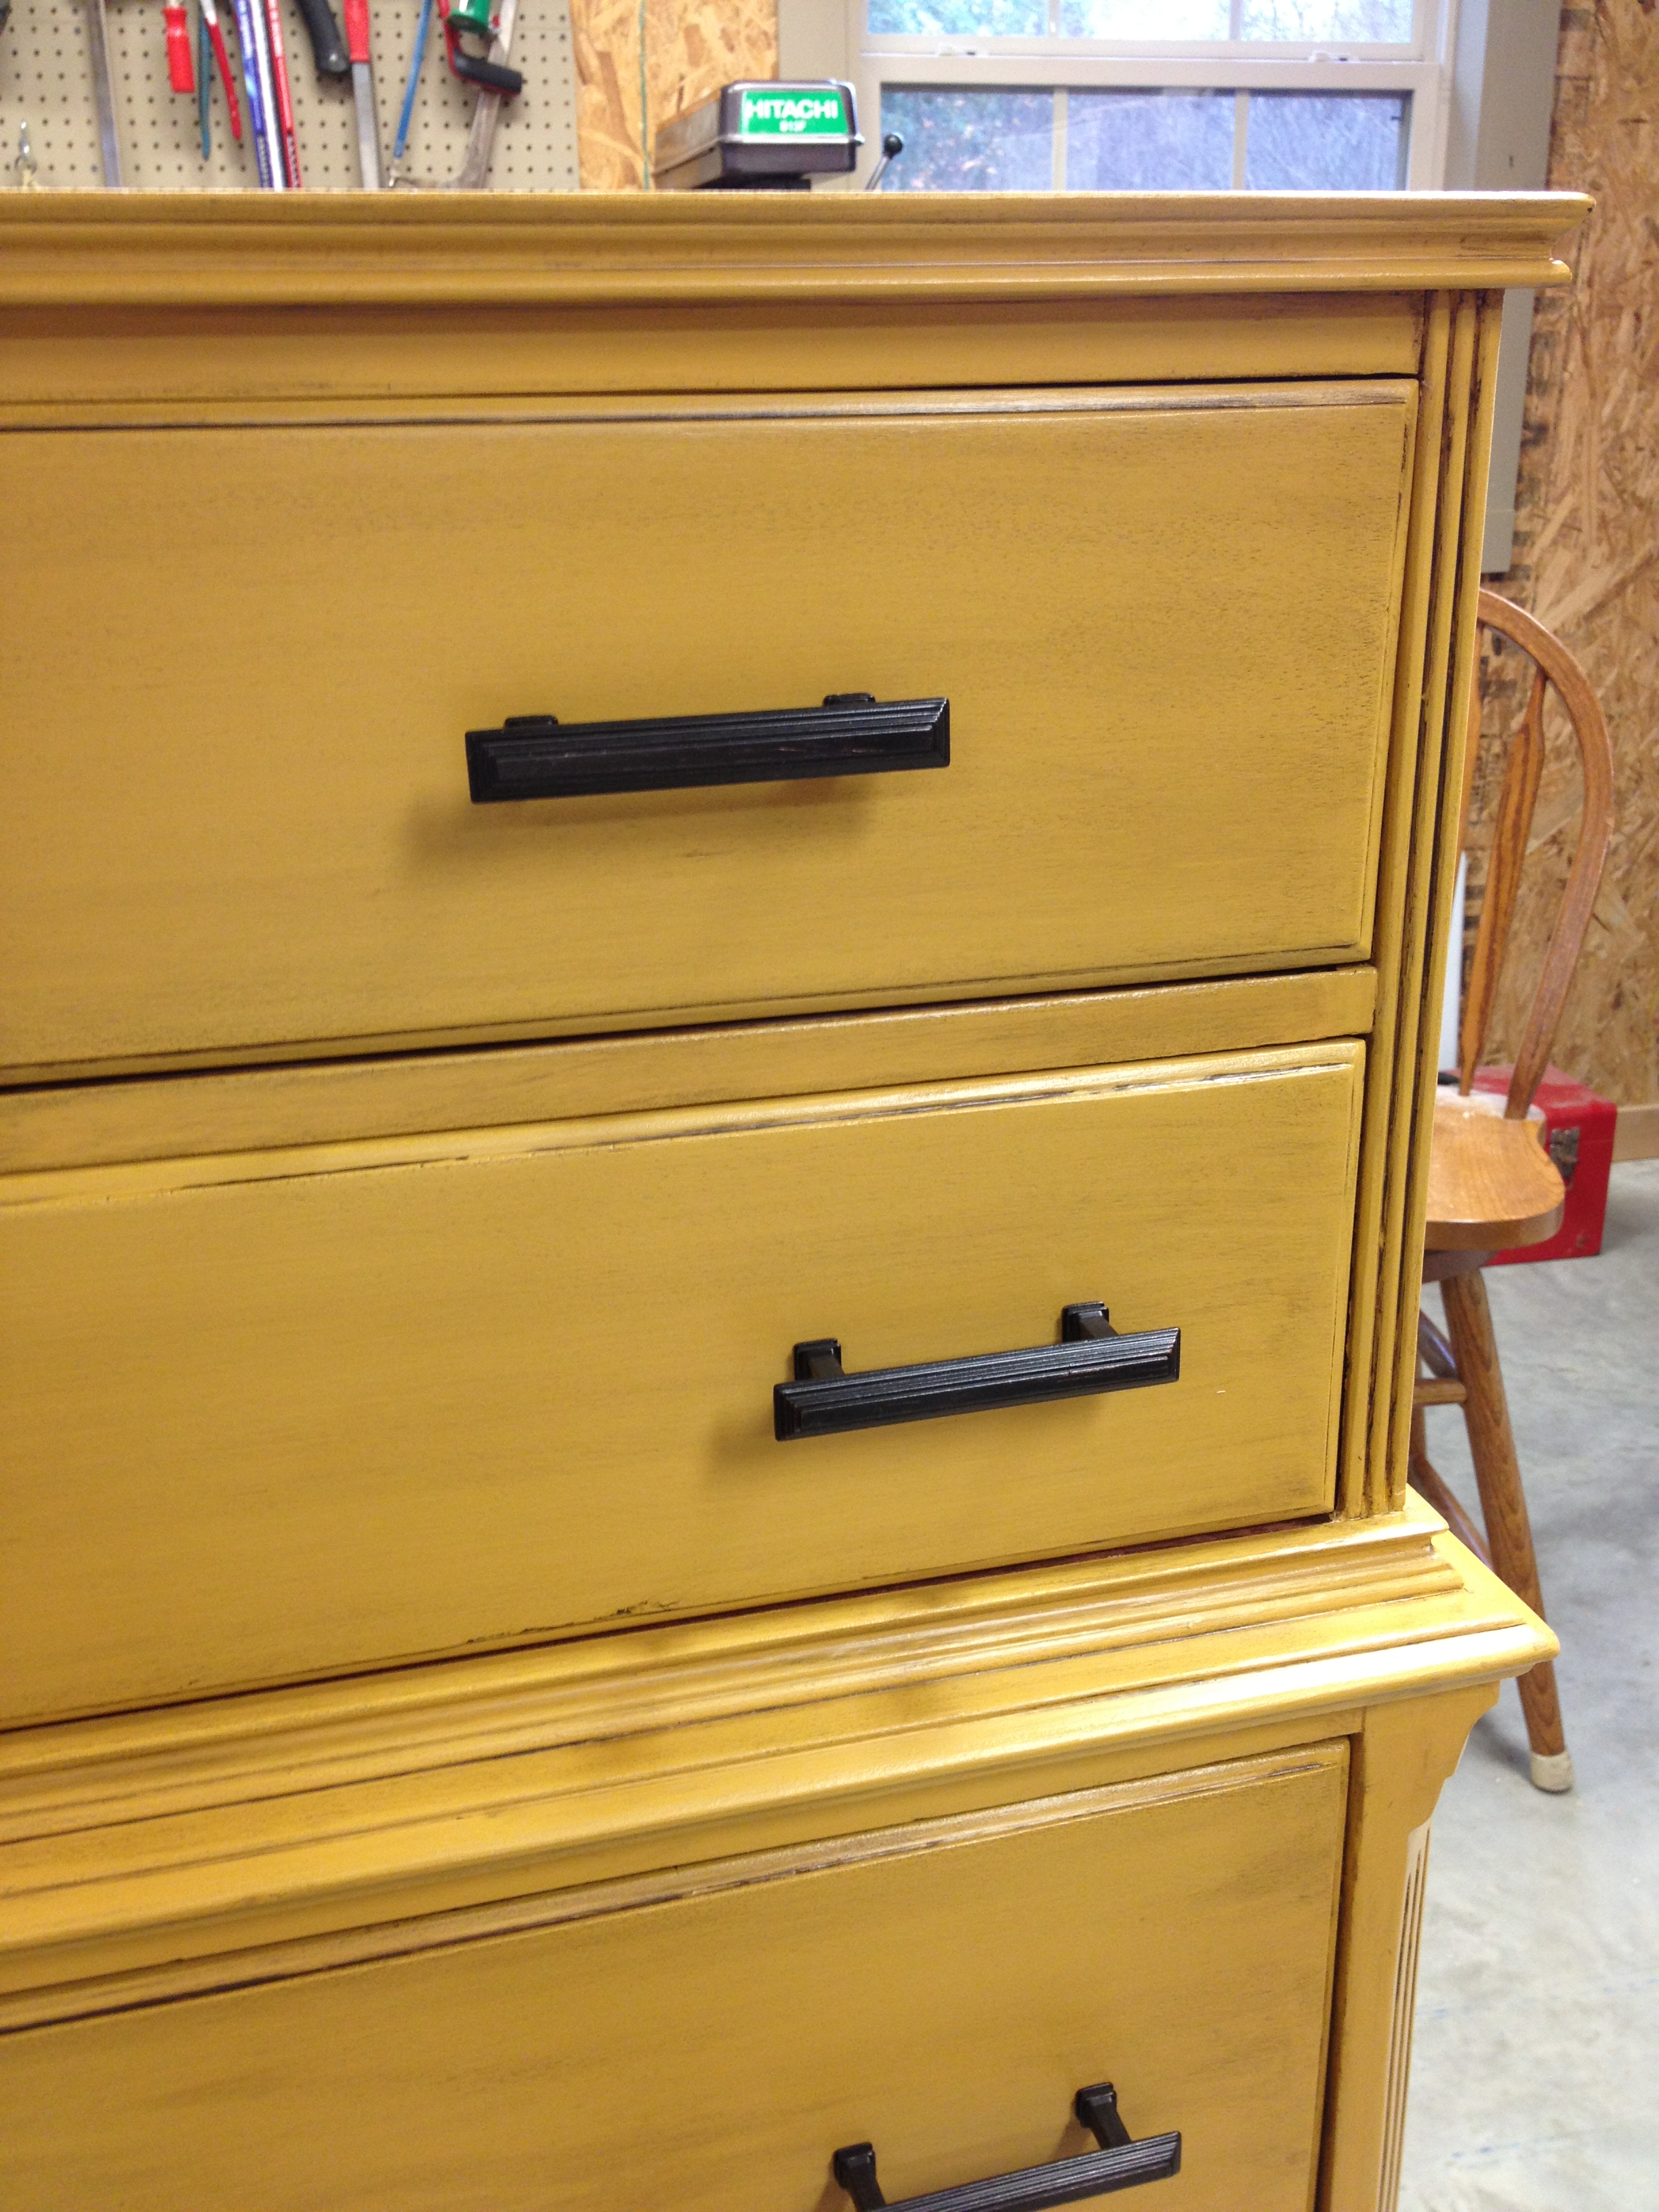
The hardware on this piece was a cinch to replace.  All of the holes were the same distance apart (3 inches) on all the drawers, so that made picking out something new much easier.  I love the drawer pulls we chose, I think the square edges match the overall shape of the dresser, and the little grooves kinda mimic the grooves on the side of it.

Ready to see the after?  Hold on, let's check out the Before again.

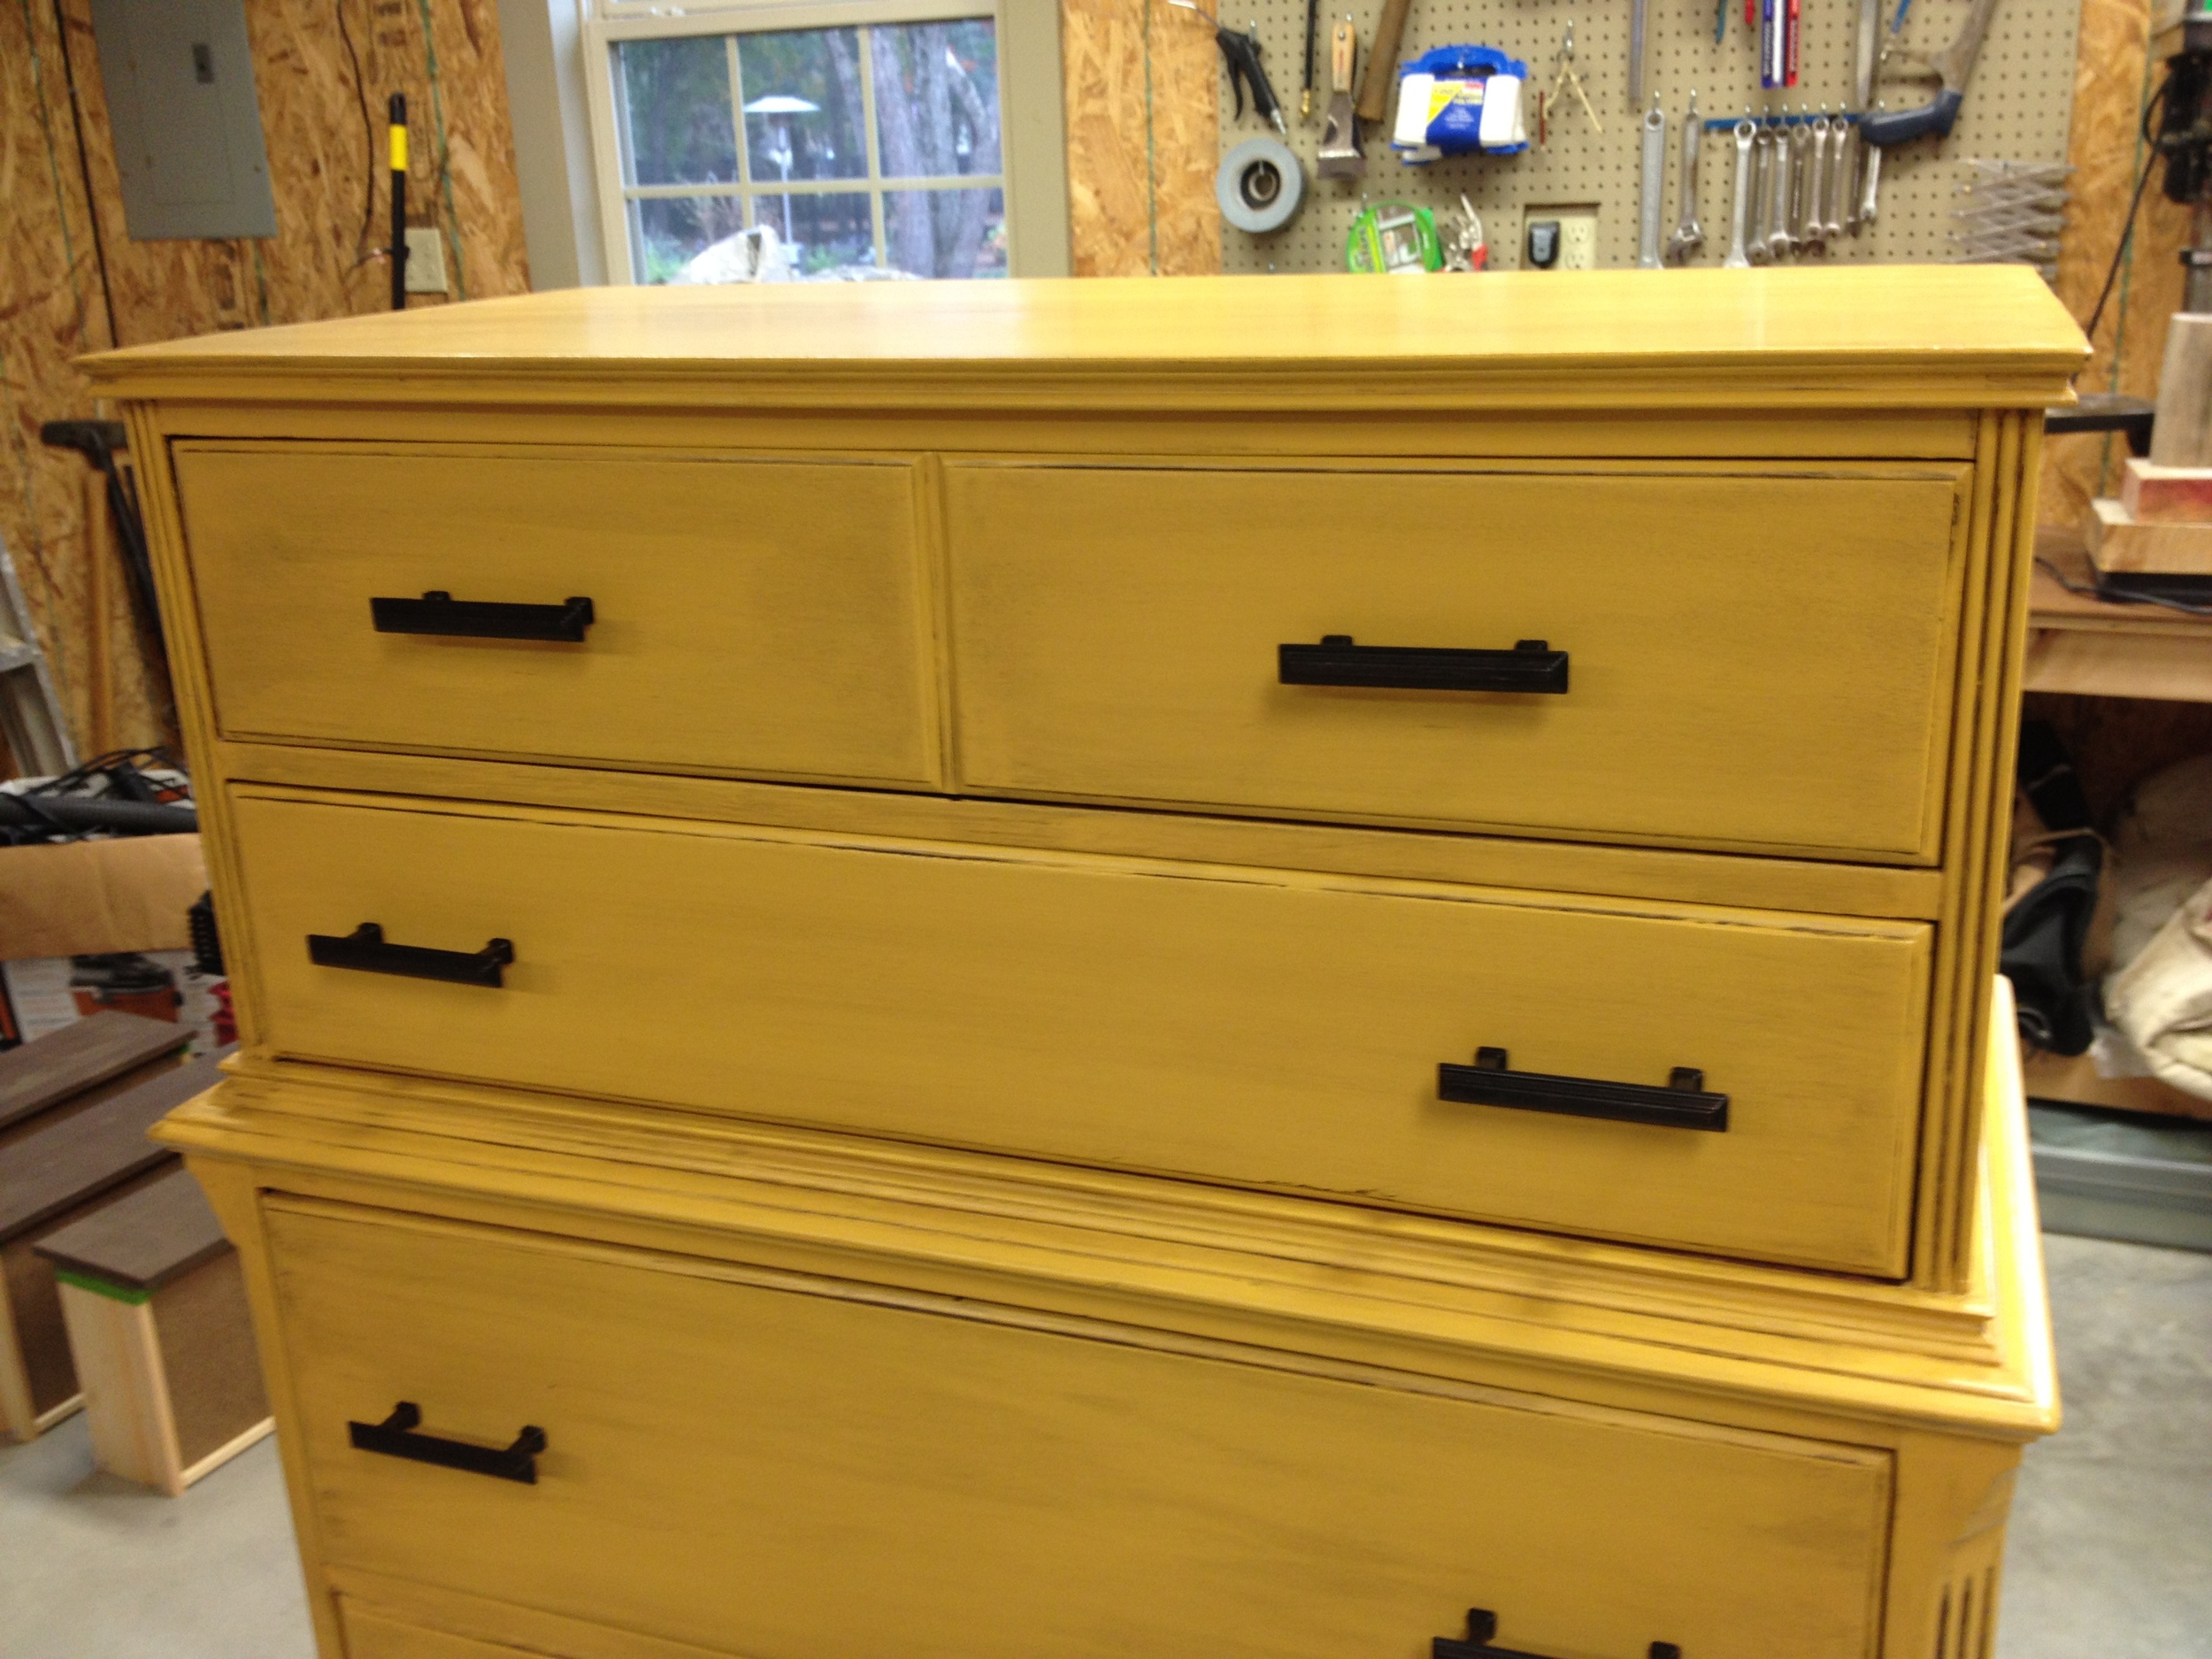
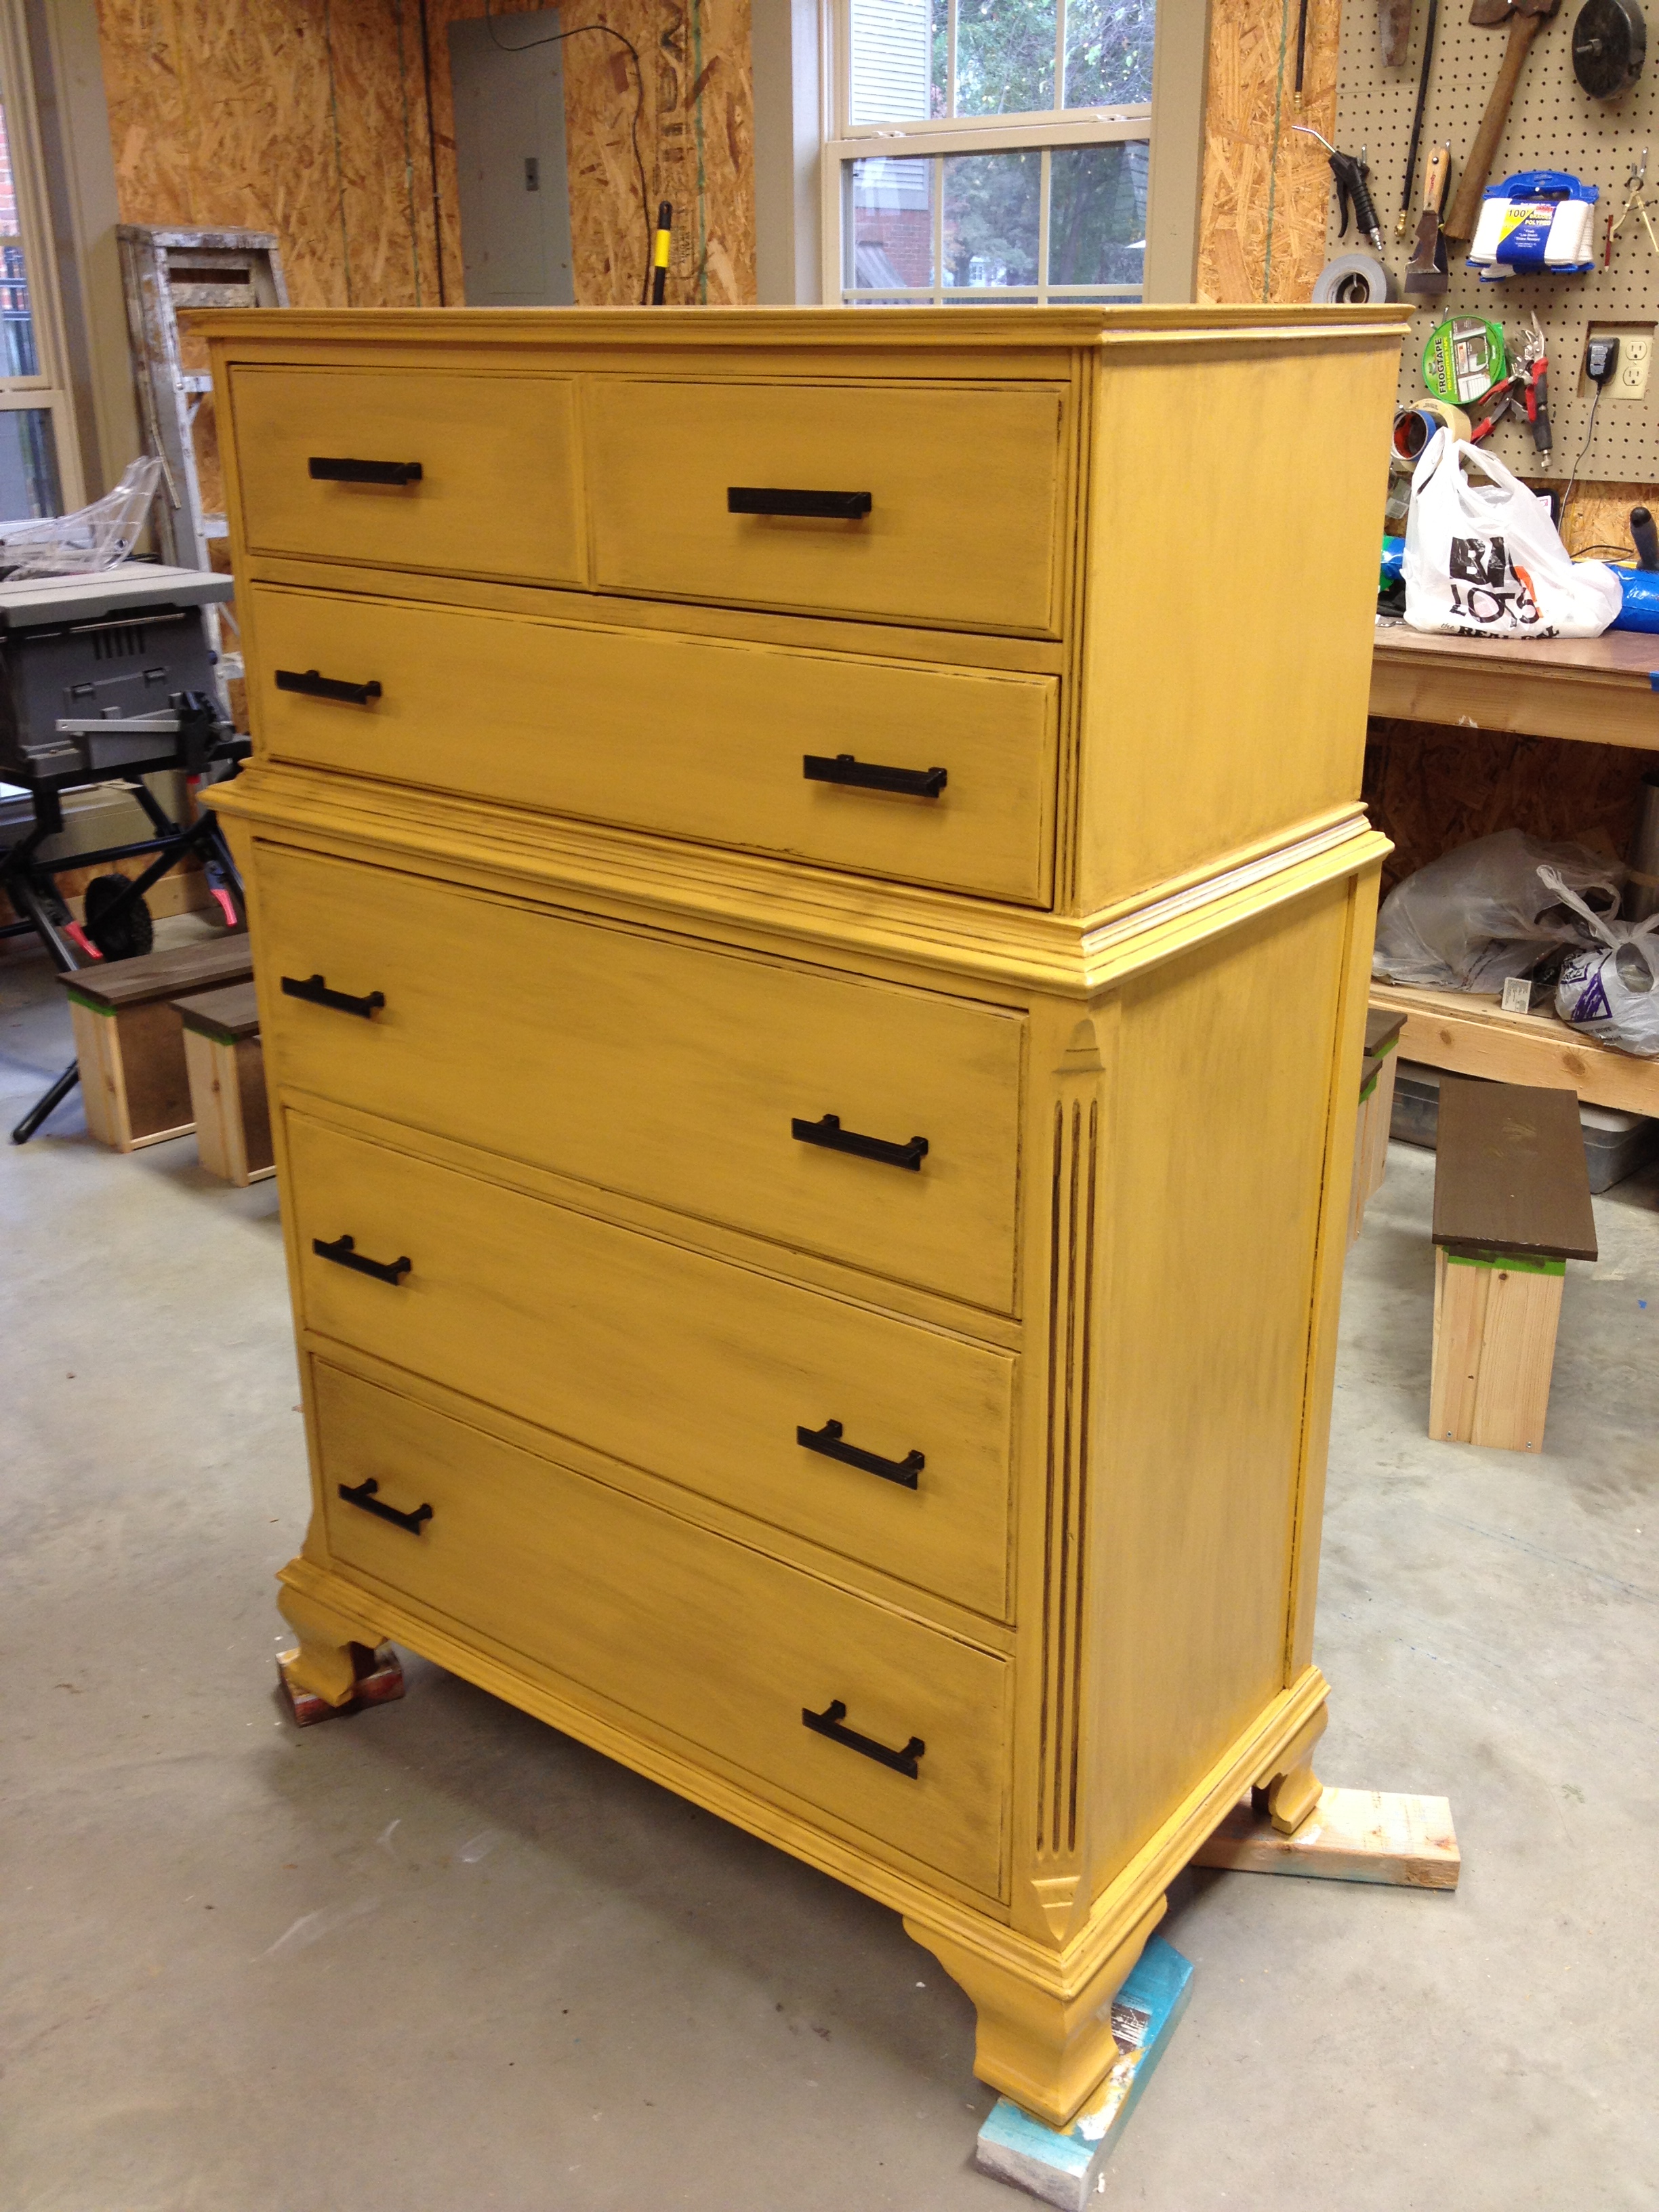
And now, the after.  Ta-daaa!

Swoon.  This one makes my heart go pitter patter!  Here are some more shots.

I love this one so much I wish I could keep it for my house.

So what do you think?  Like the yellow or is it too bold?  Was I able to bring it back to life?  Do tell.

Before and After: Dresser #1

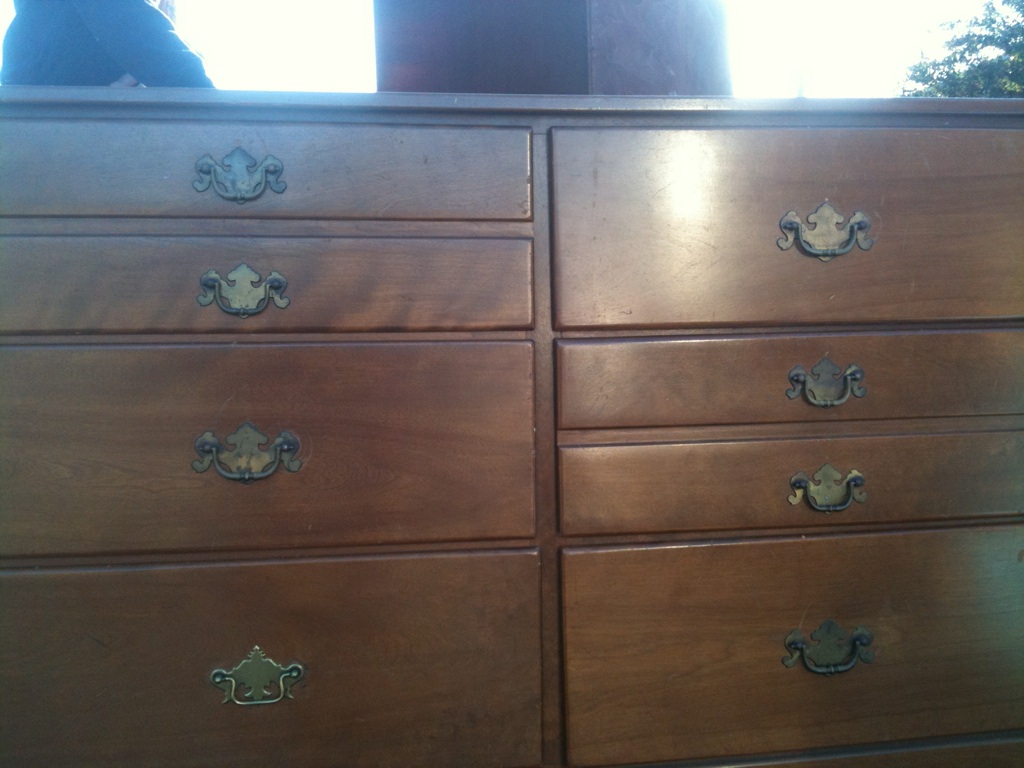
With the beach house quickly nearing completion, we are no doubt scrambling trying to get all of our furniture ready for move-in day.  On my to-do list the past week has been to refinish two dressers that we'll use in the bedrooms.  My mom found these at the yard sale that my church had.  Apparently they've been hiding in the attic of the church parsonage for some time.  I'm glad this is the year they decided to sell them because any other year we would've passed them by!  The best part is that they are both solid wood and in GREAT condition.  I think we ended up paying $80 total for both of them. I finished them both up this past weekend, but right now I'm just going to show you the one we'll be putting in the master bedroom.  I forgot to take a true "before" picture, but I did find this one on my phone from when my mom originally texted me a picture to get my approval before purchasing.

She's a beaut, Clark.  Obviously, the drawers are not in the right slots and if you look closely, you'll notice that the drawer pull on the bottom left doesn't match the others.  Didn't bother me since I planned on switching those out anyway.

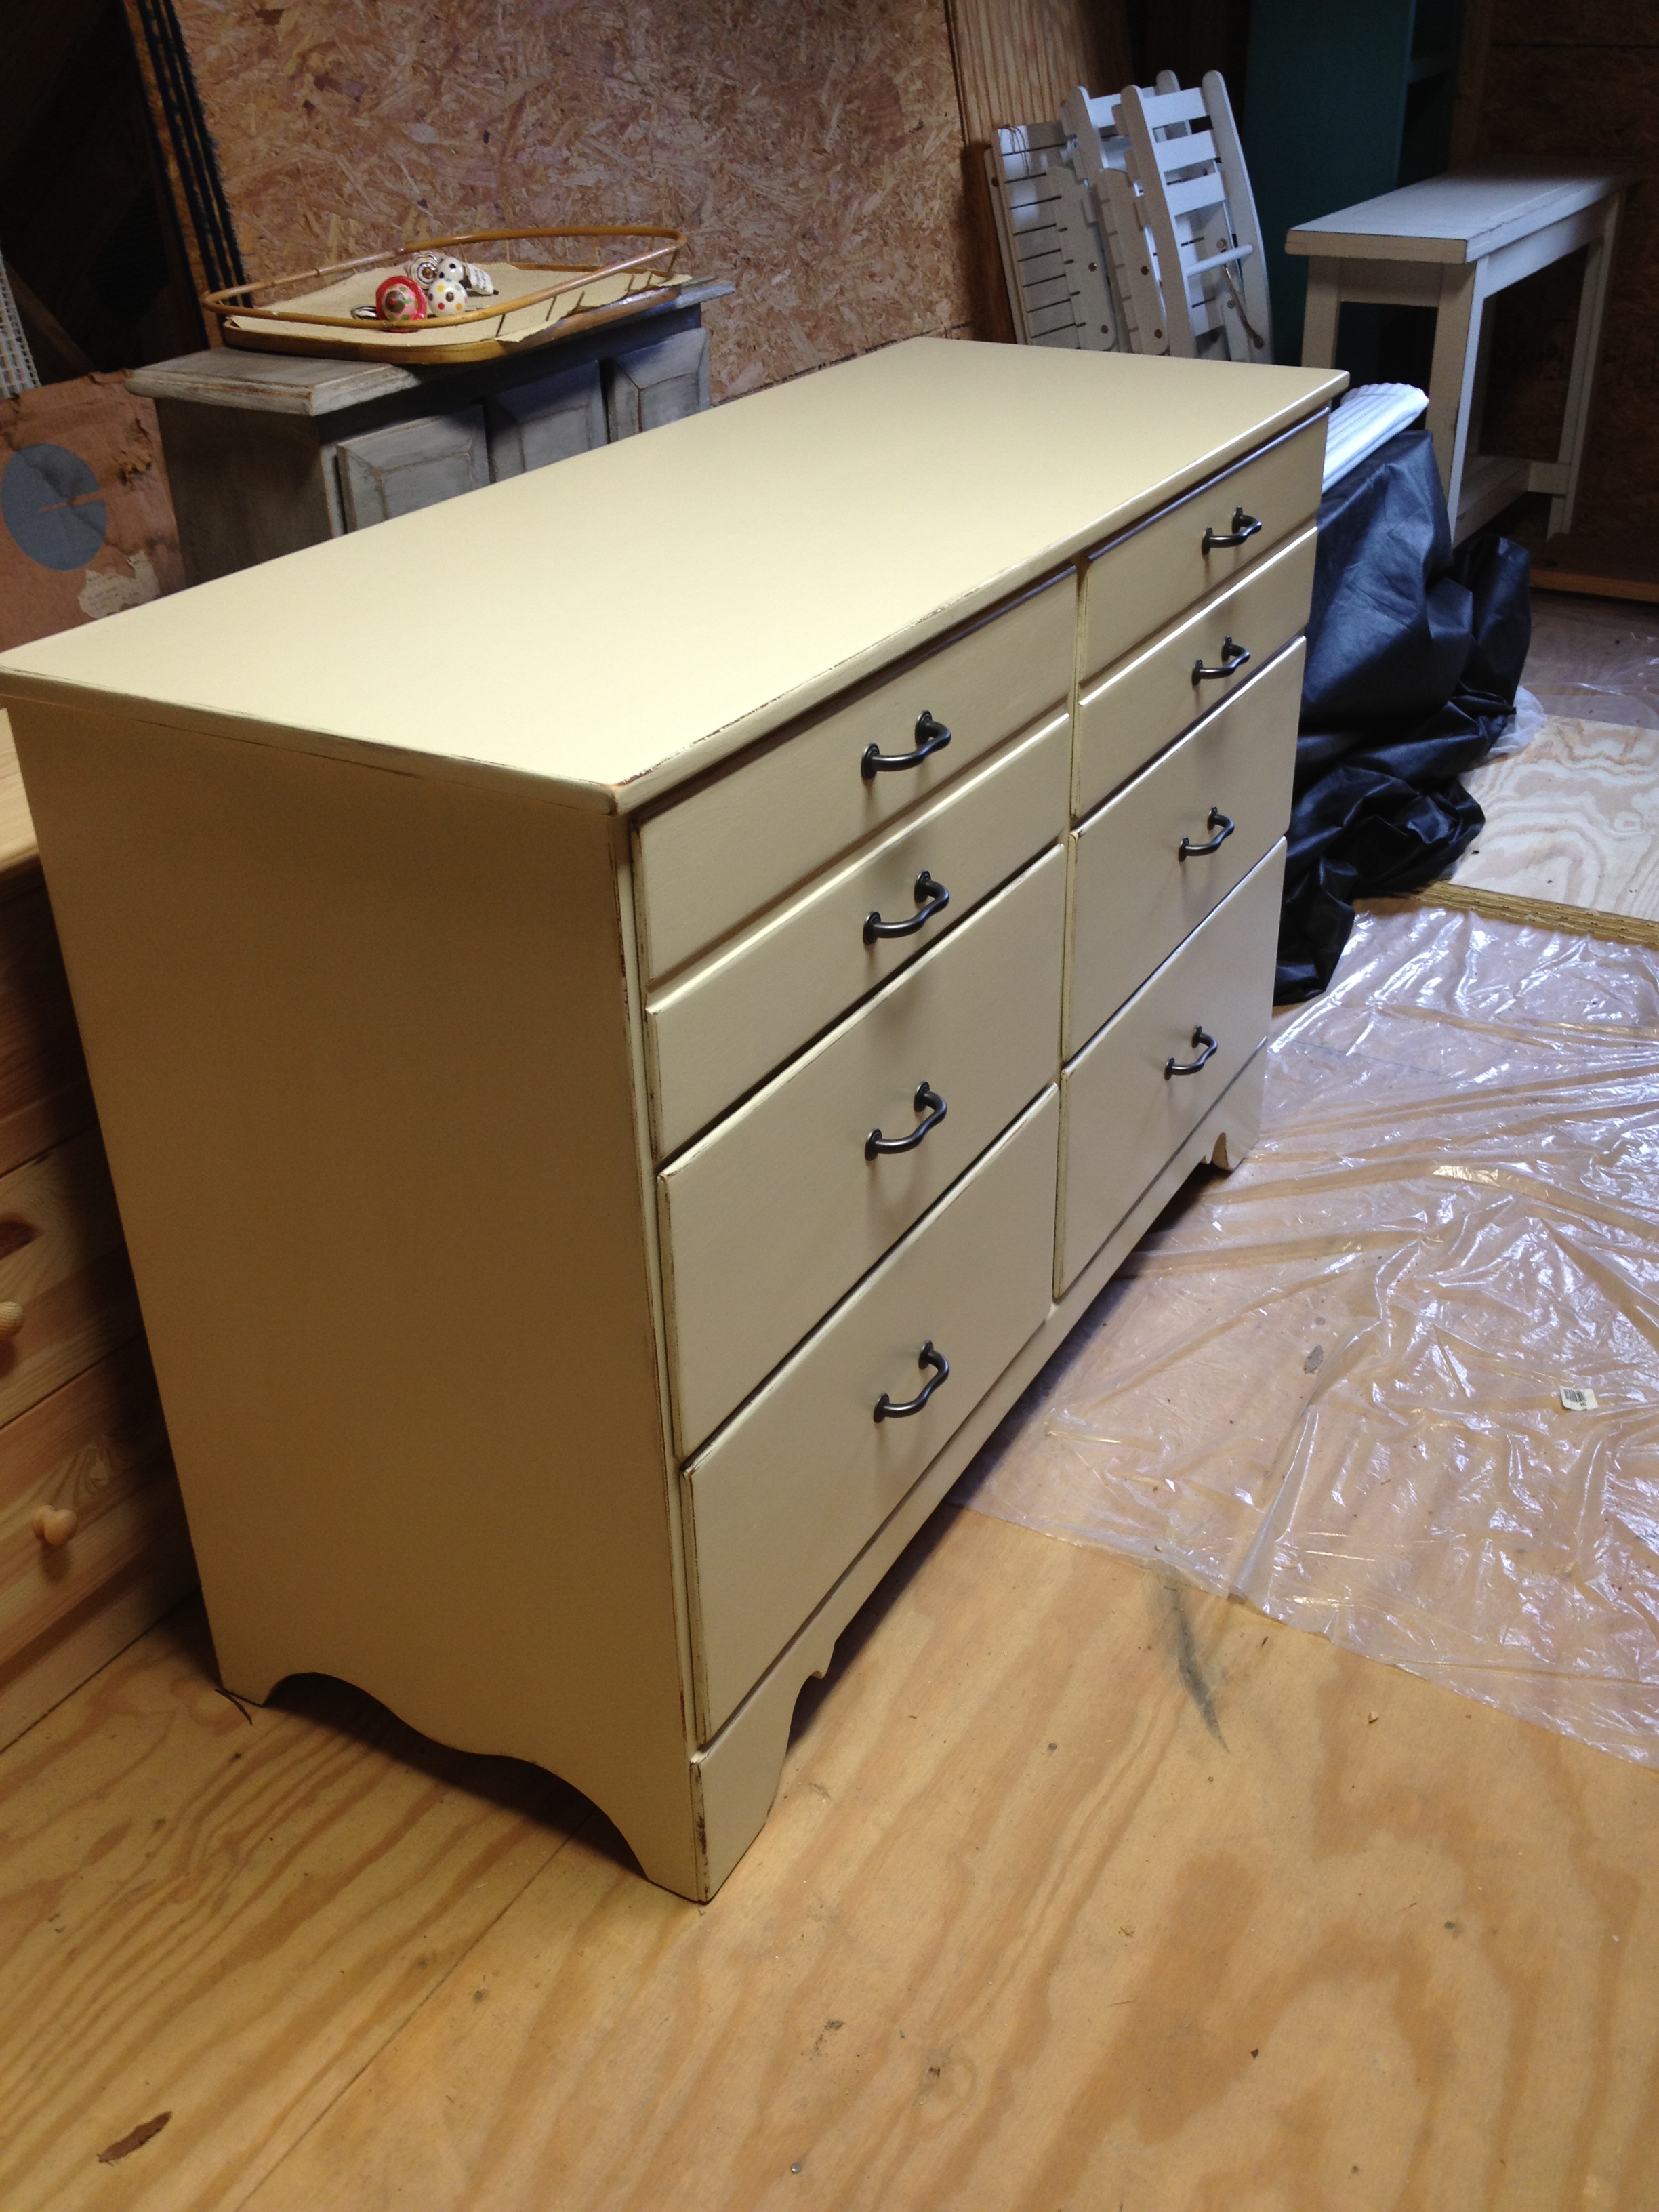
First steps were to remove all the hardware and get to sanding.  With the straight lines of this piece, it would've been a good one to do a fun pattern or something on.  But, since we already have two patterns going on in this room, we decided to keep it plain and simple.  Plus, with the neutral color we chose, if we end up having to change the bedding soon we won't have to repaint this piece.  (With us renting the house, we have no idea how quickly things will have to be replaced from wear and tear.)

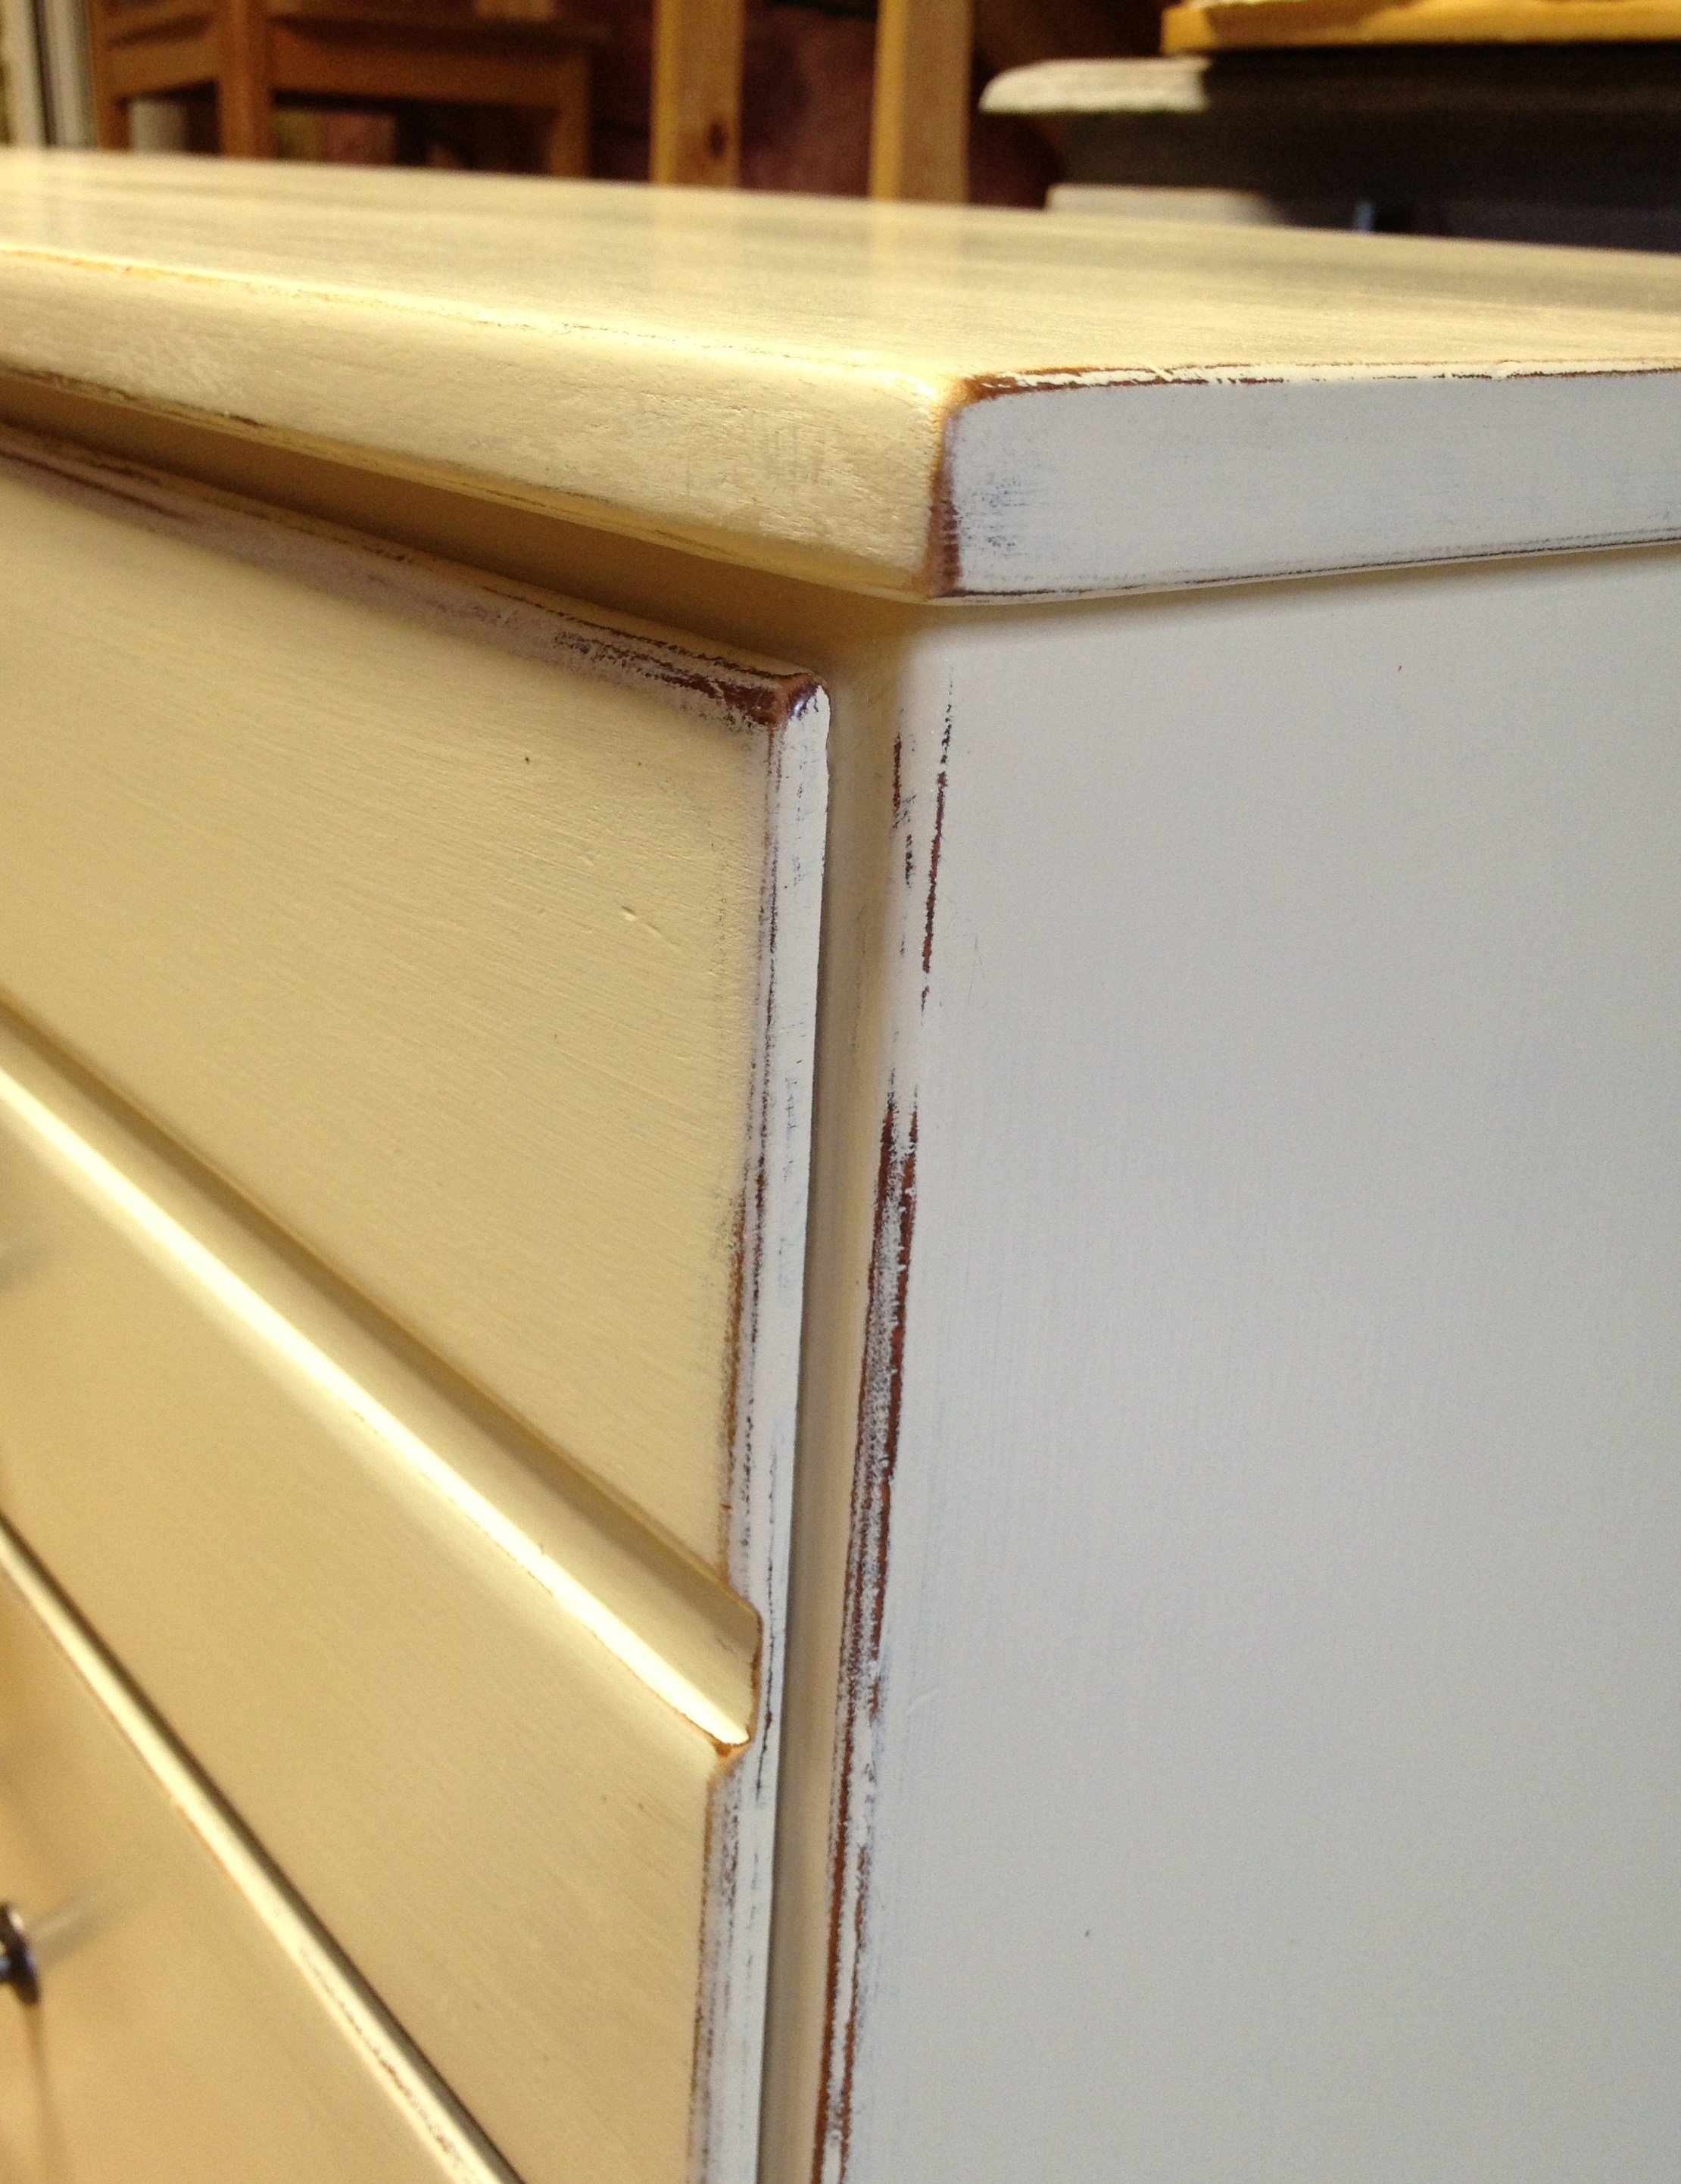
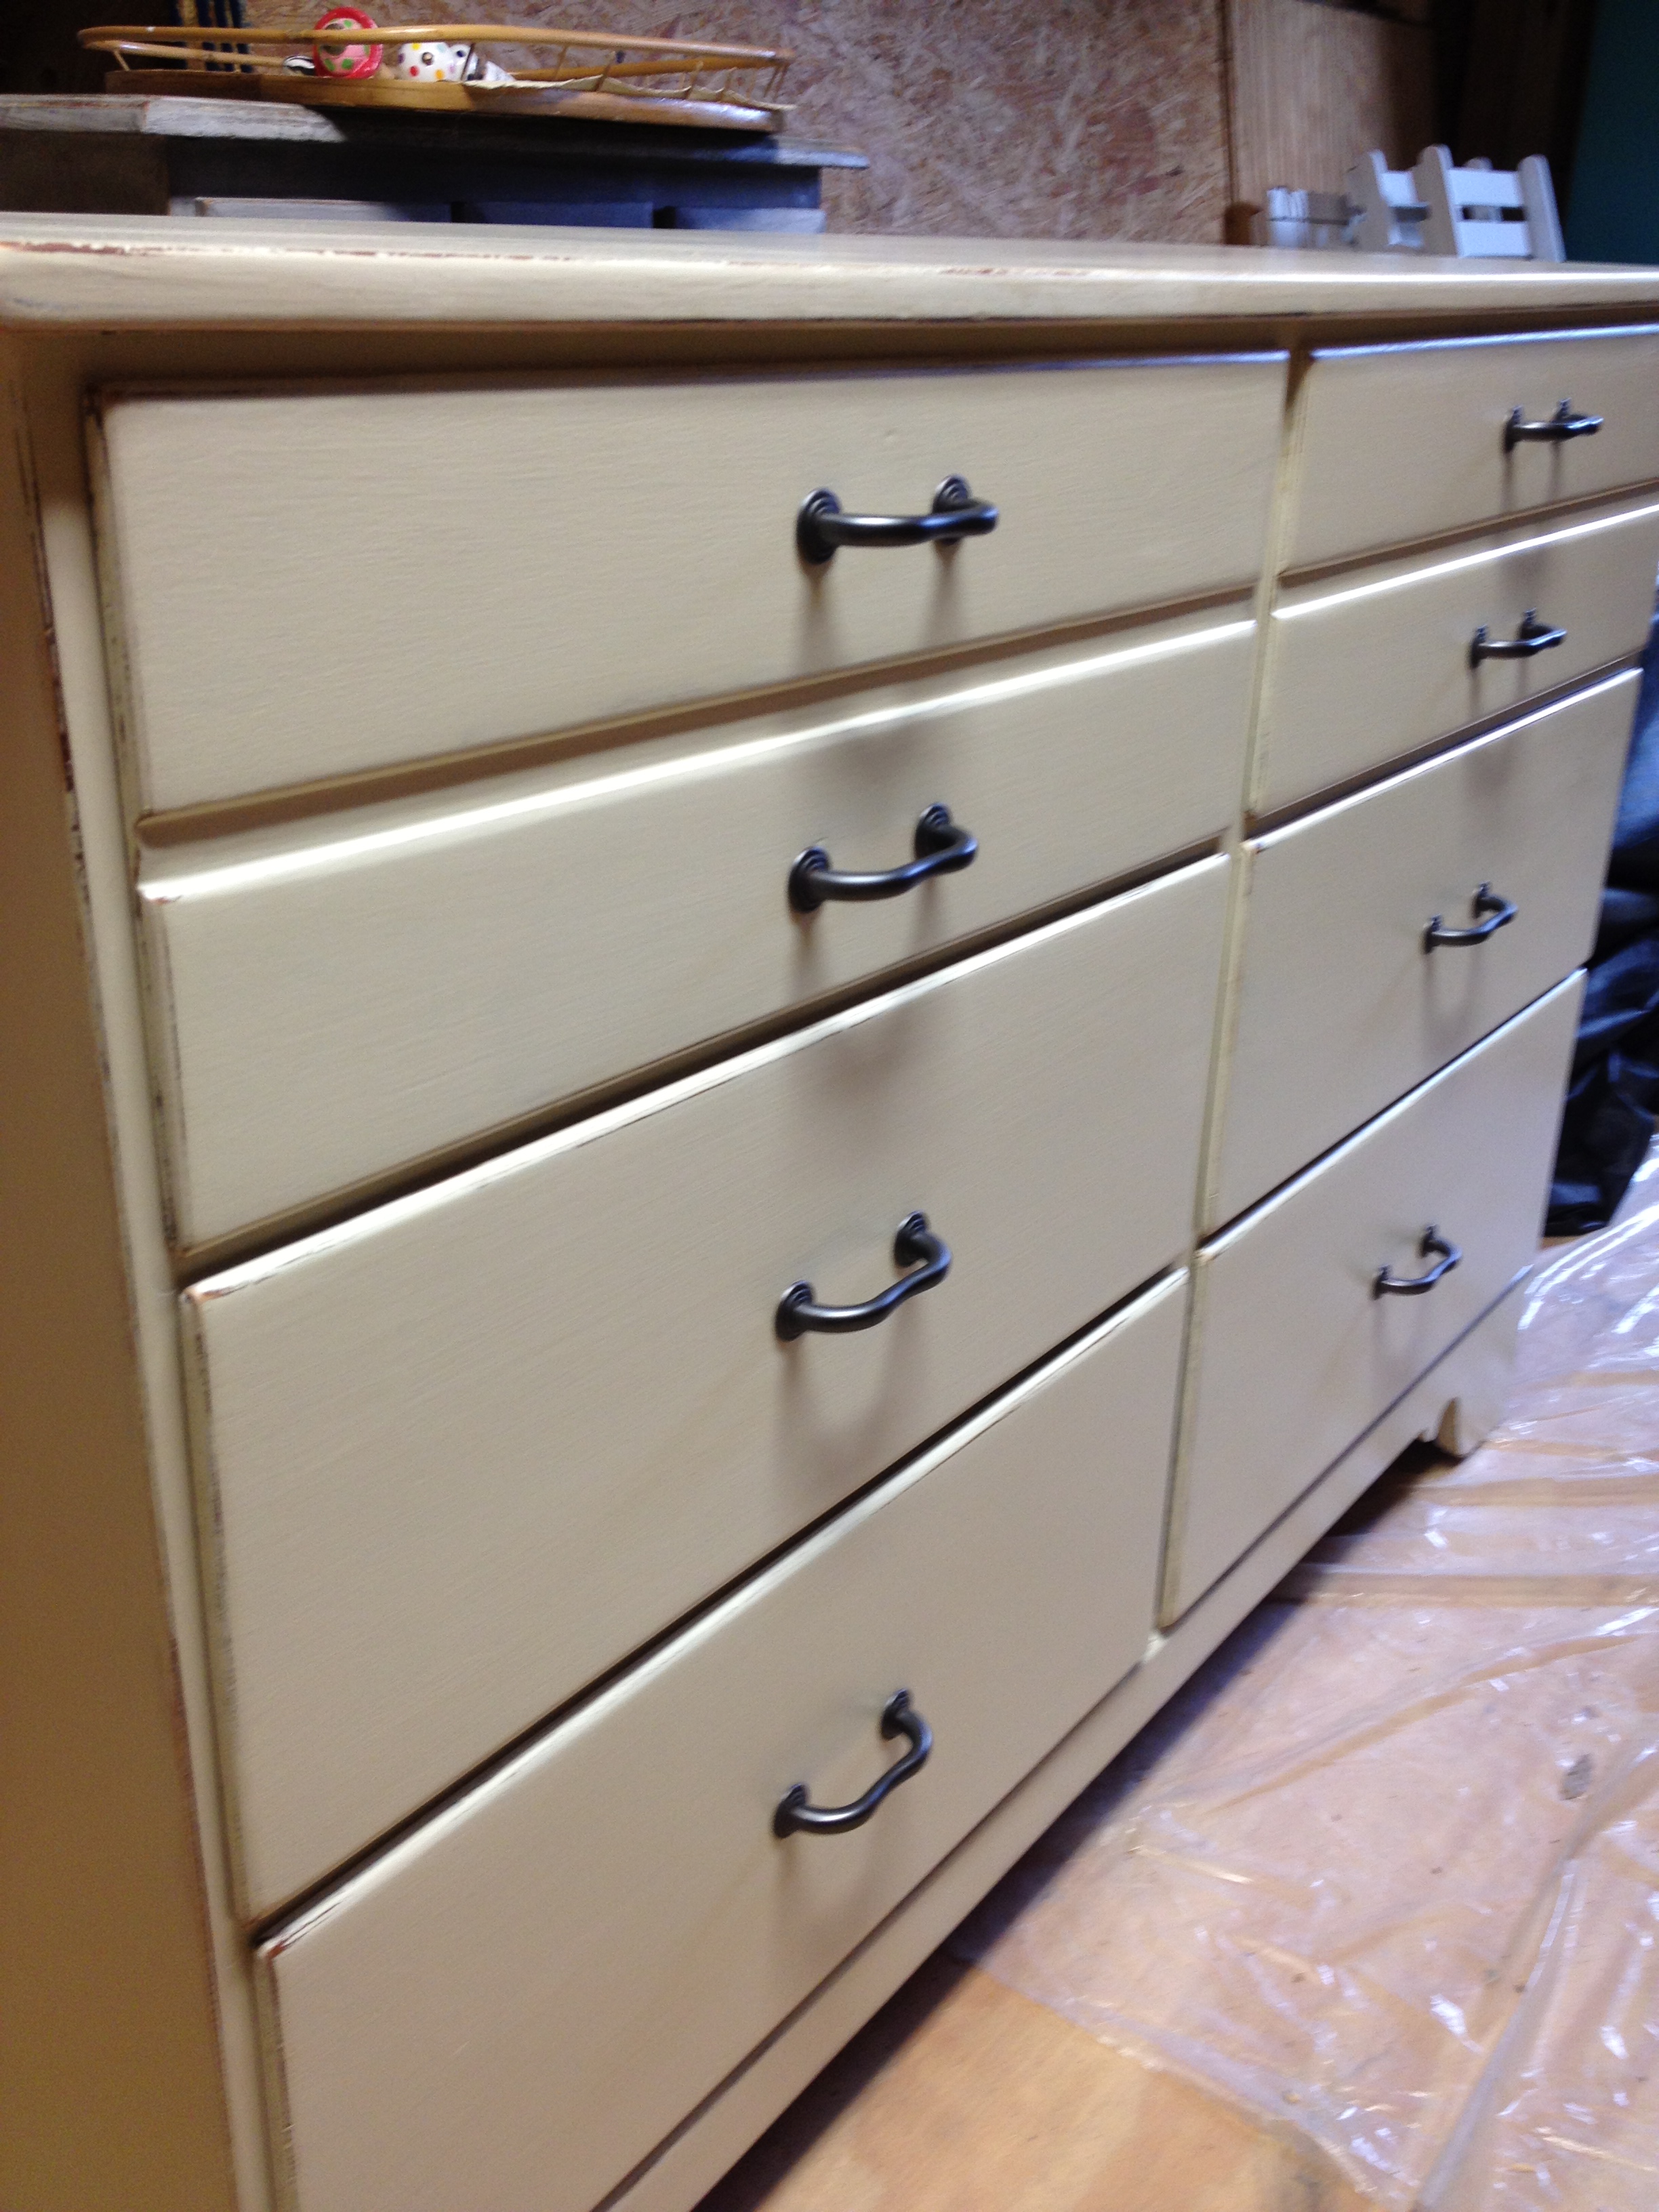
All that said, I decided I still wanted to slightly distress the edges so it wouldn't be too plain.  The brown stain that was already on the dresser would make a good base coat, so I was able to paint my cream color directly over it.  No, I did not prime it.  Luckily this piece took the paint really, really well.

When I paint a piece of furniture with drawers, I prefer not to paint the insides.  I find it helps keep it from sticking.  I just paint the outside of the base and the fronts of the drawers.

Surprisingly, I was able to get away with just two coats of the cream on this piece.  Love it when that happens.

Because I only wanted to lightly distress the edges, I sanded by hand.  The electric sander often takes off too much too fast and before you know it, you've removed most of your paint job.  I used a sanding pad to brush a little of the cream paint off the edges.

A coat of polyurethane finished off the paint job.  For this piece, I used water-base poly so it wouldn't turn the cream color yellow.

This dresser was sailing along smoothly, so it was only a matter of time before I hit a snag.   The snag came with finding new hardware.  The bottom four drawers needed 3 inch drawer pulls, but the top two drawers (with 2 pulls each) needed pulls that were 64mm.  It's no problem finding pulls in either of those sizes.  The problem is finding pulls in both of those sizes that match.  Neither Lowe's nor Home Depot had anything in both sizes.  I'm sure they exist, but my 38 second online search didn't return any good results and I gave up.

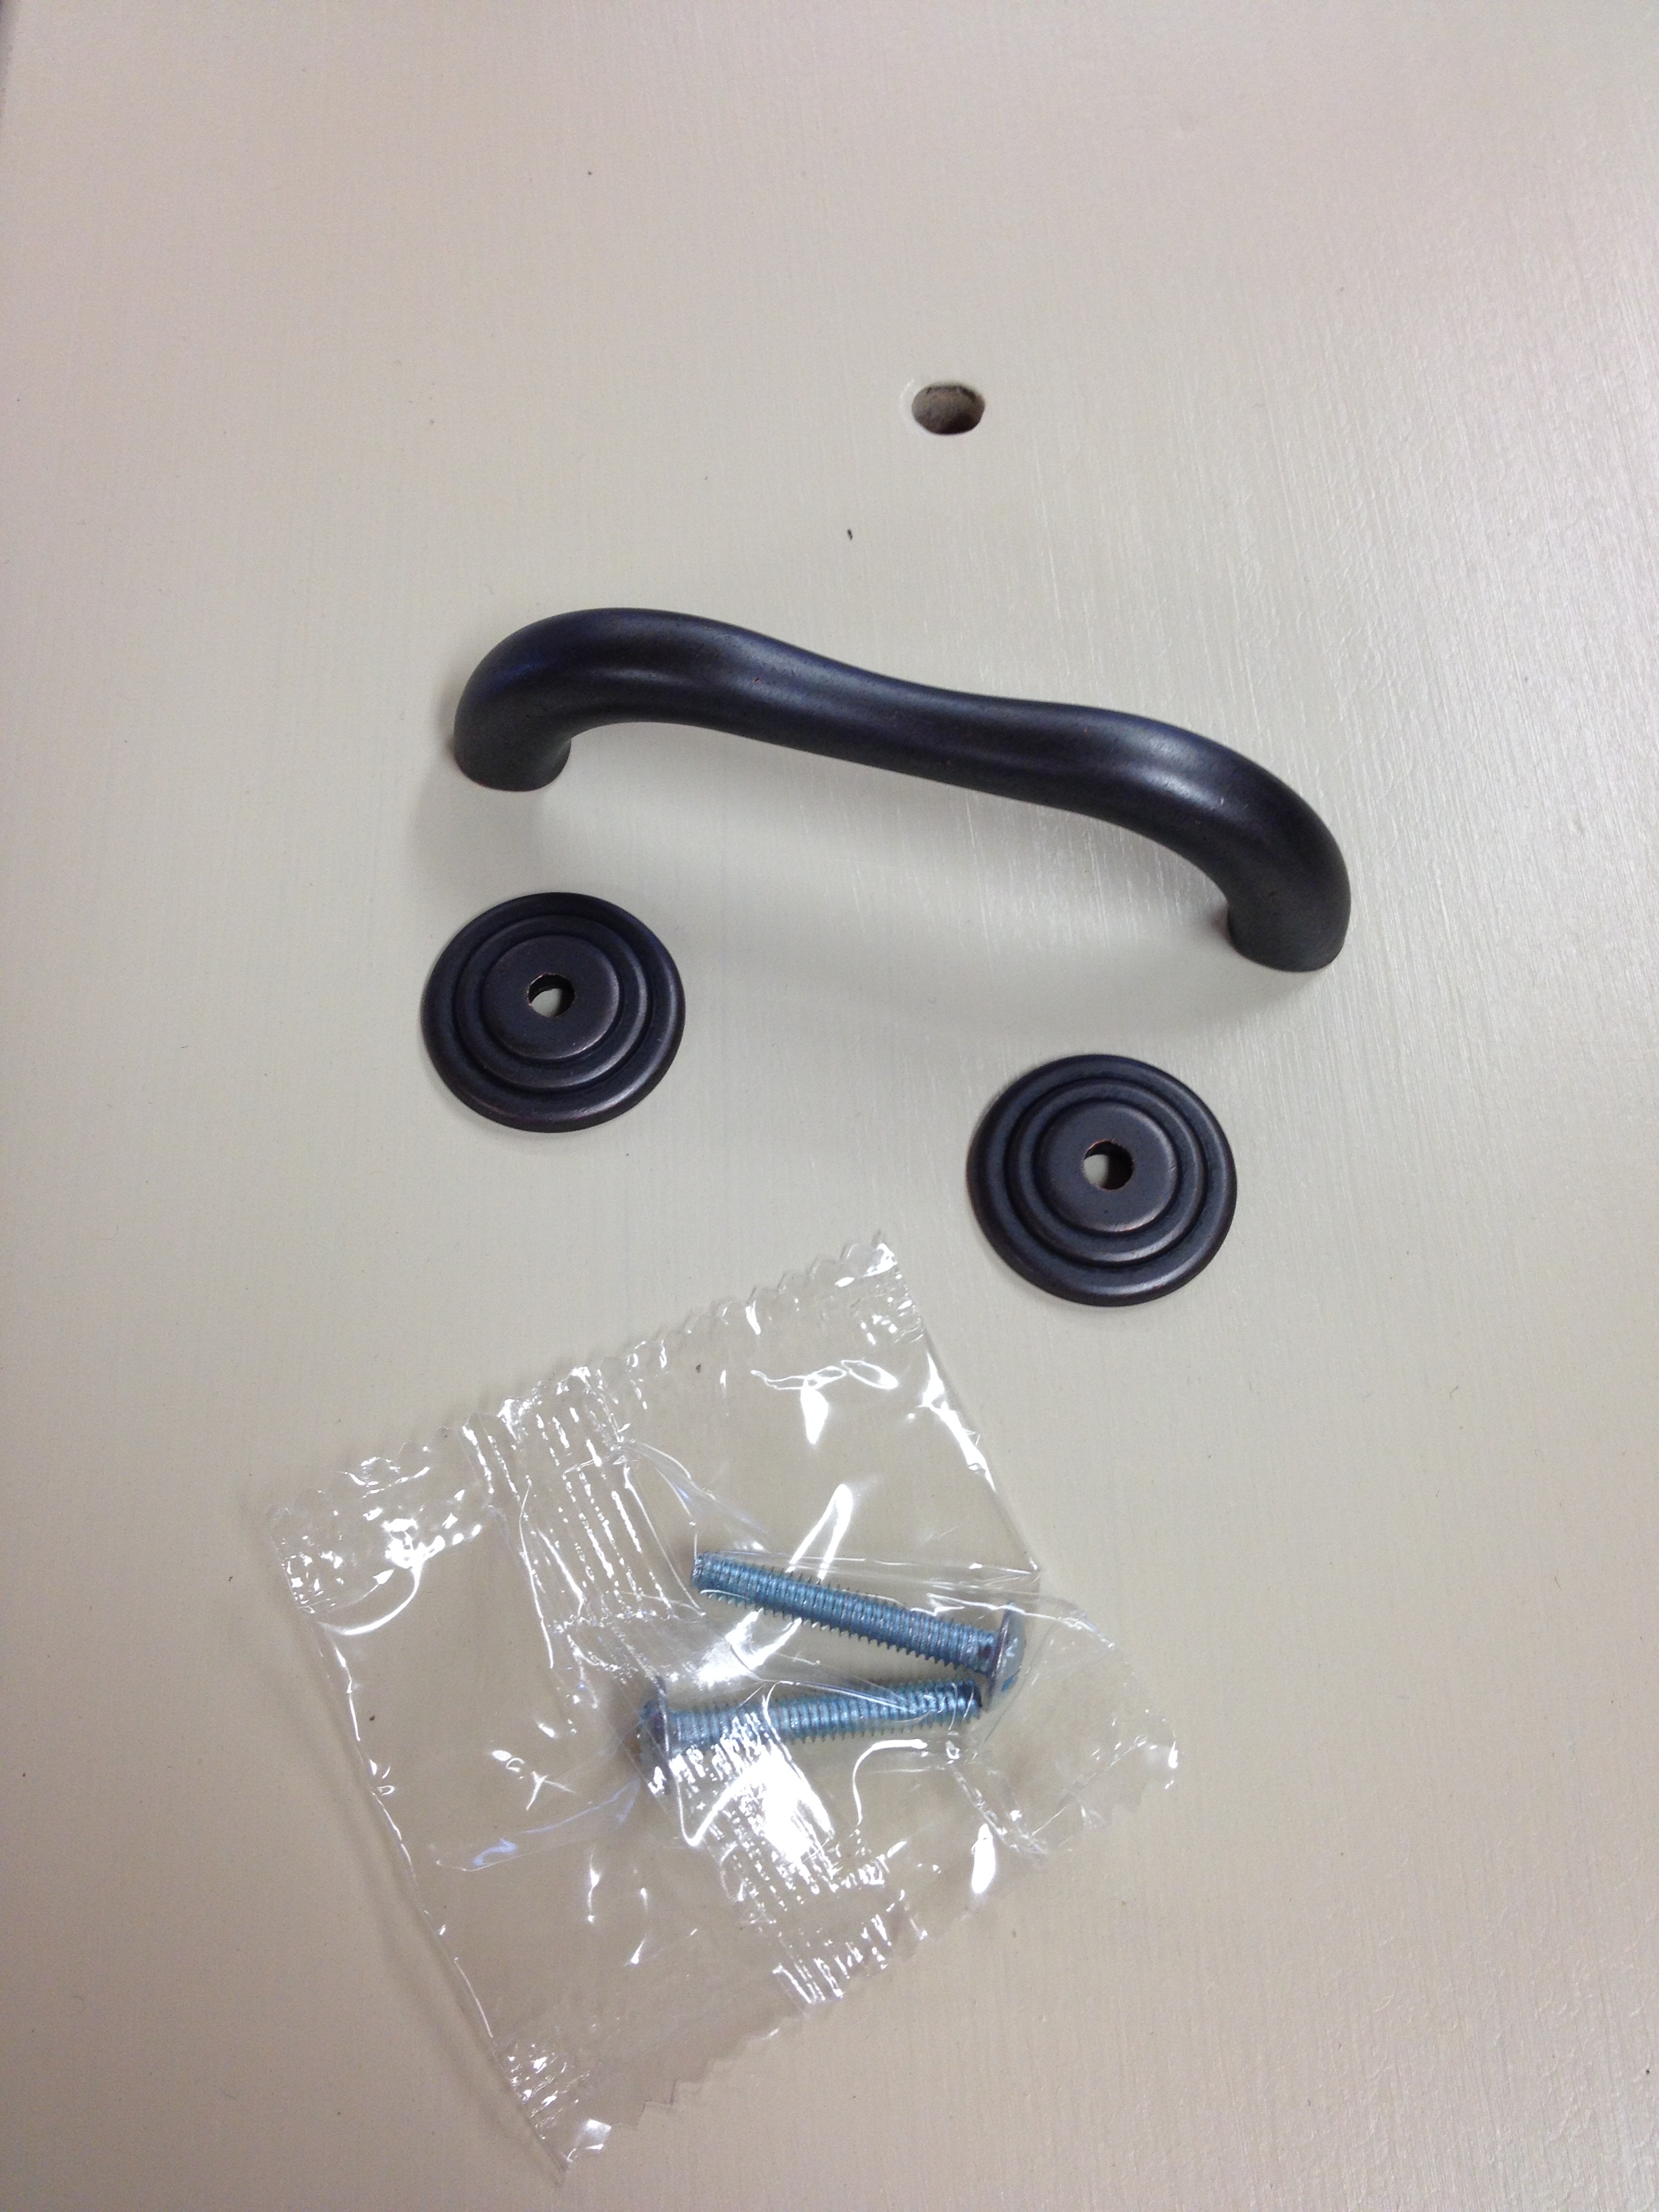
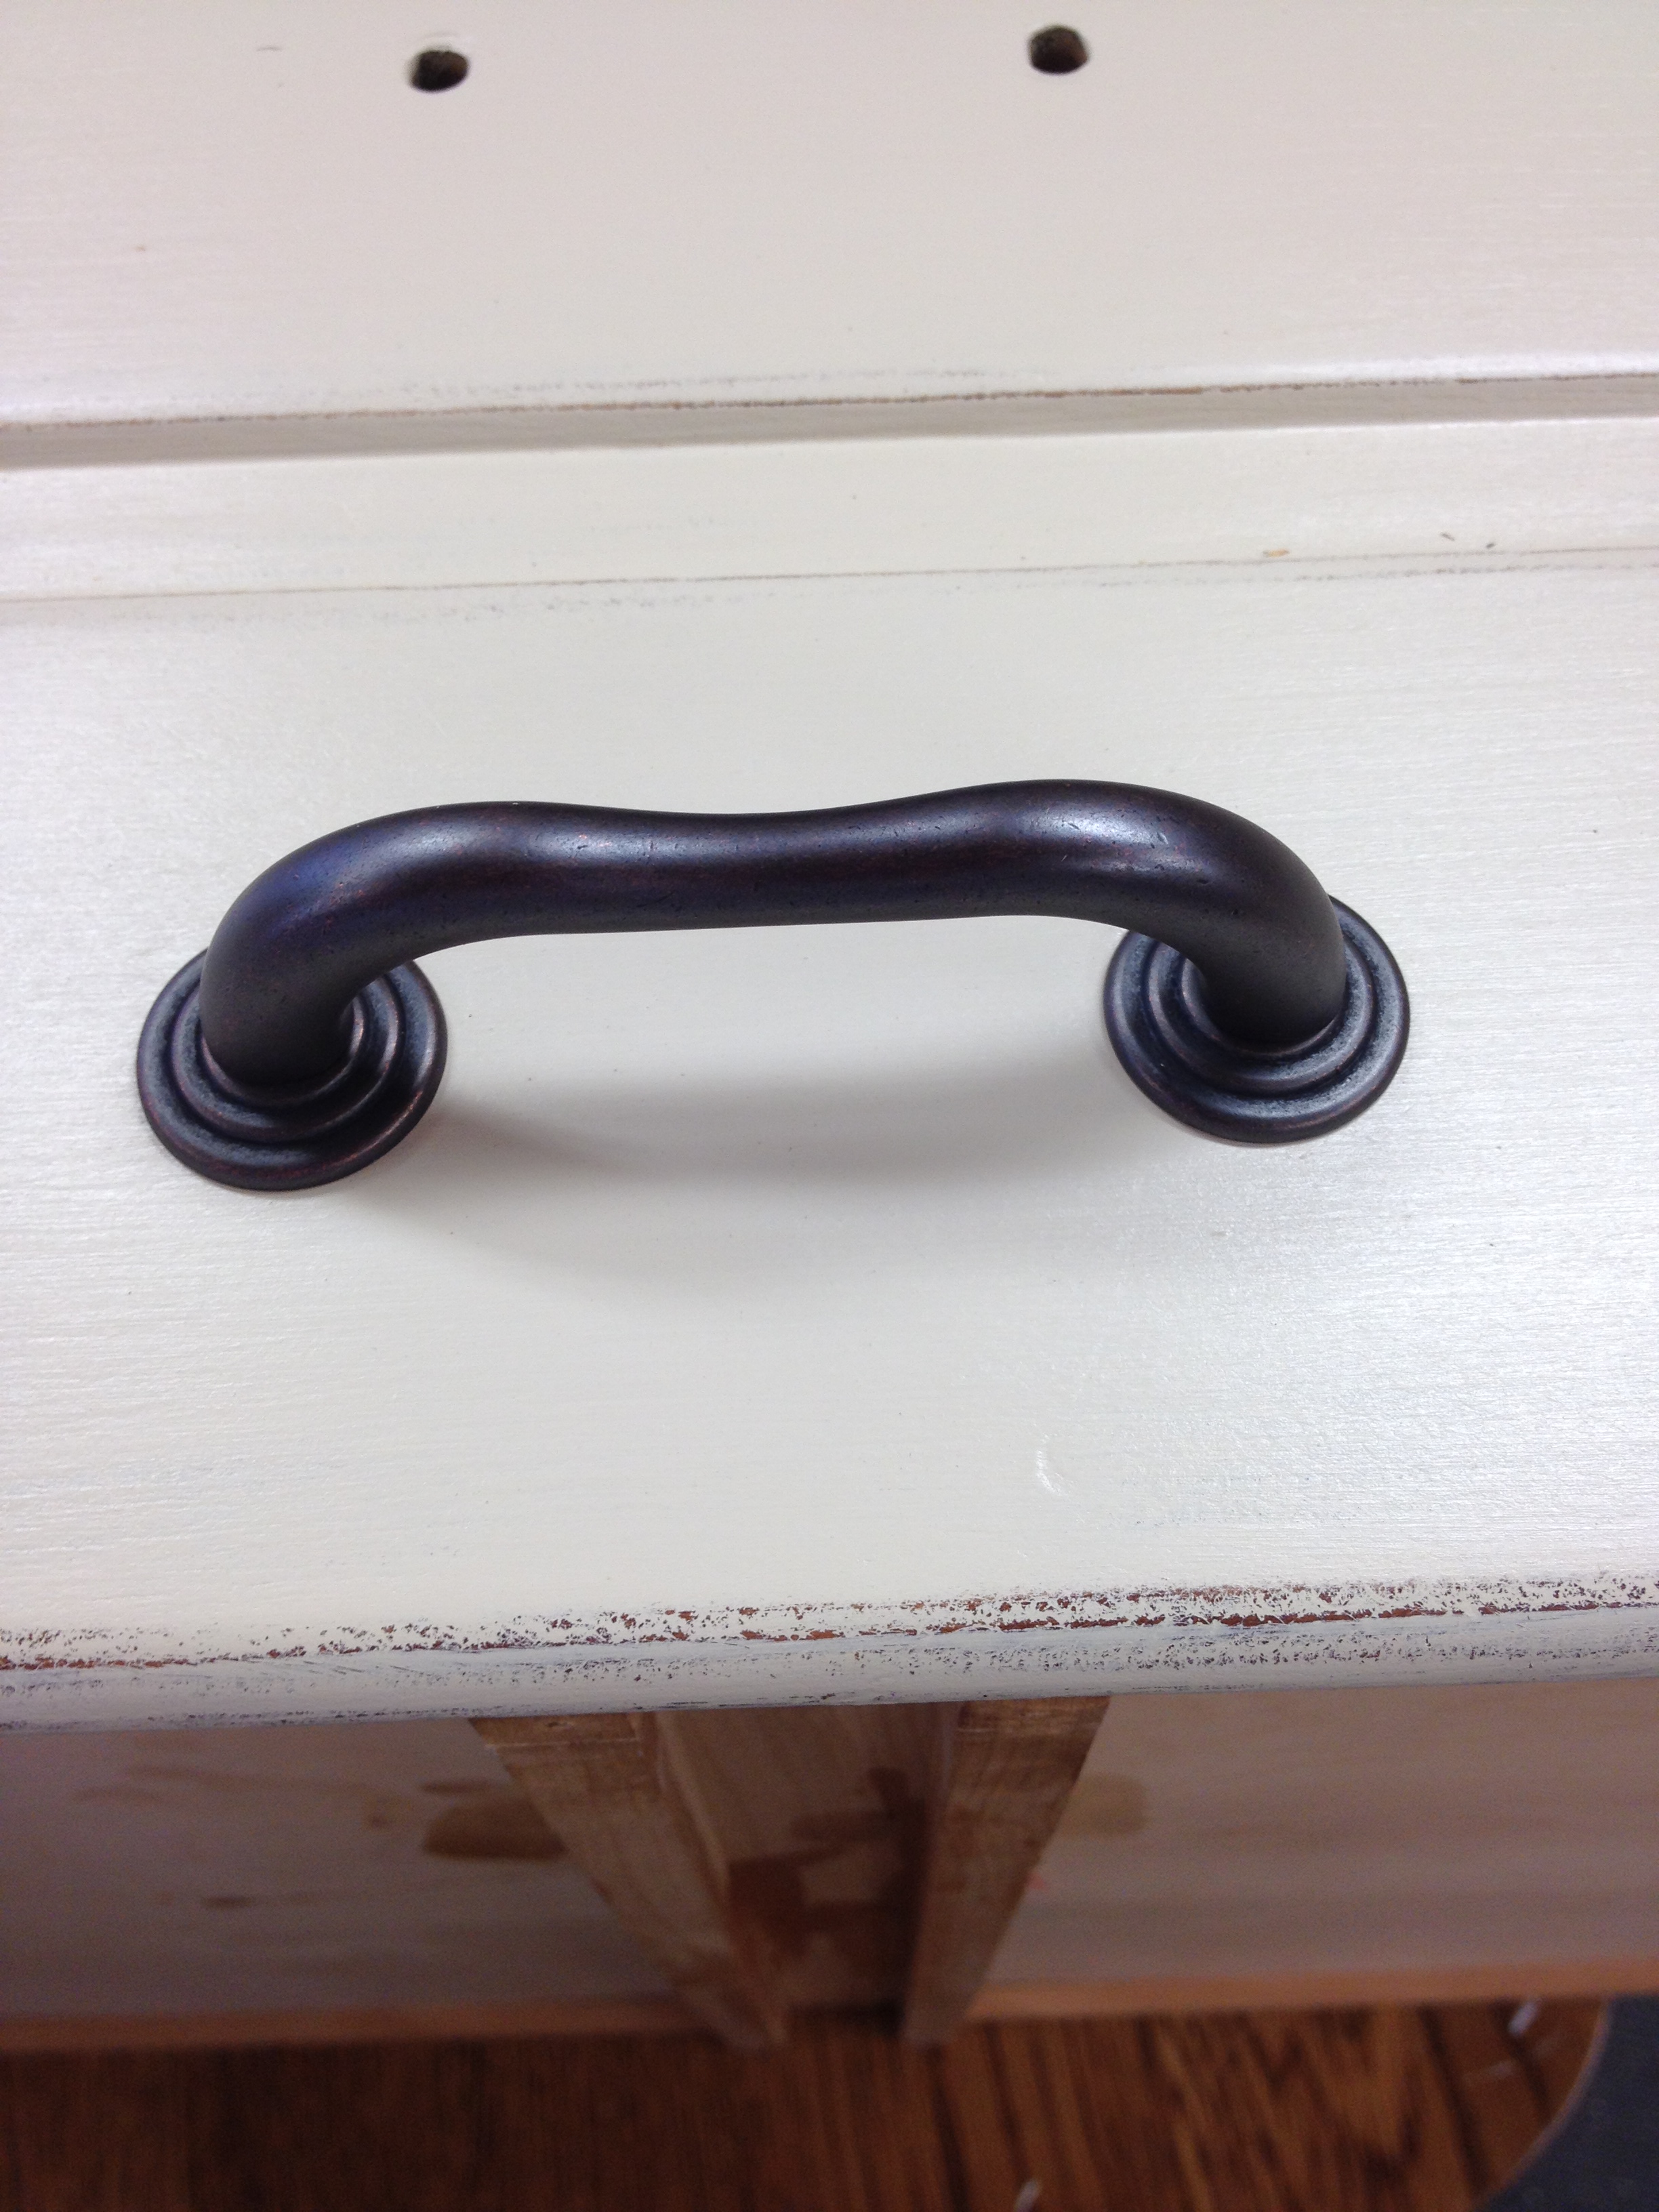
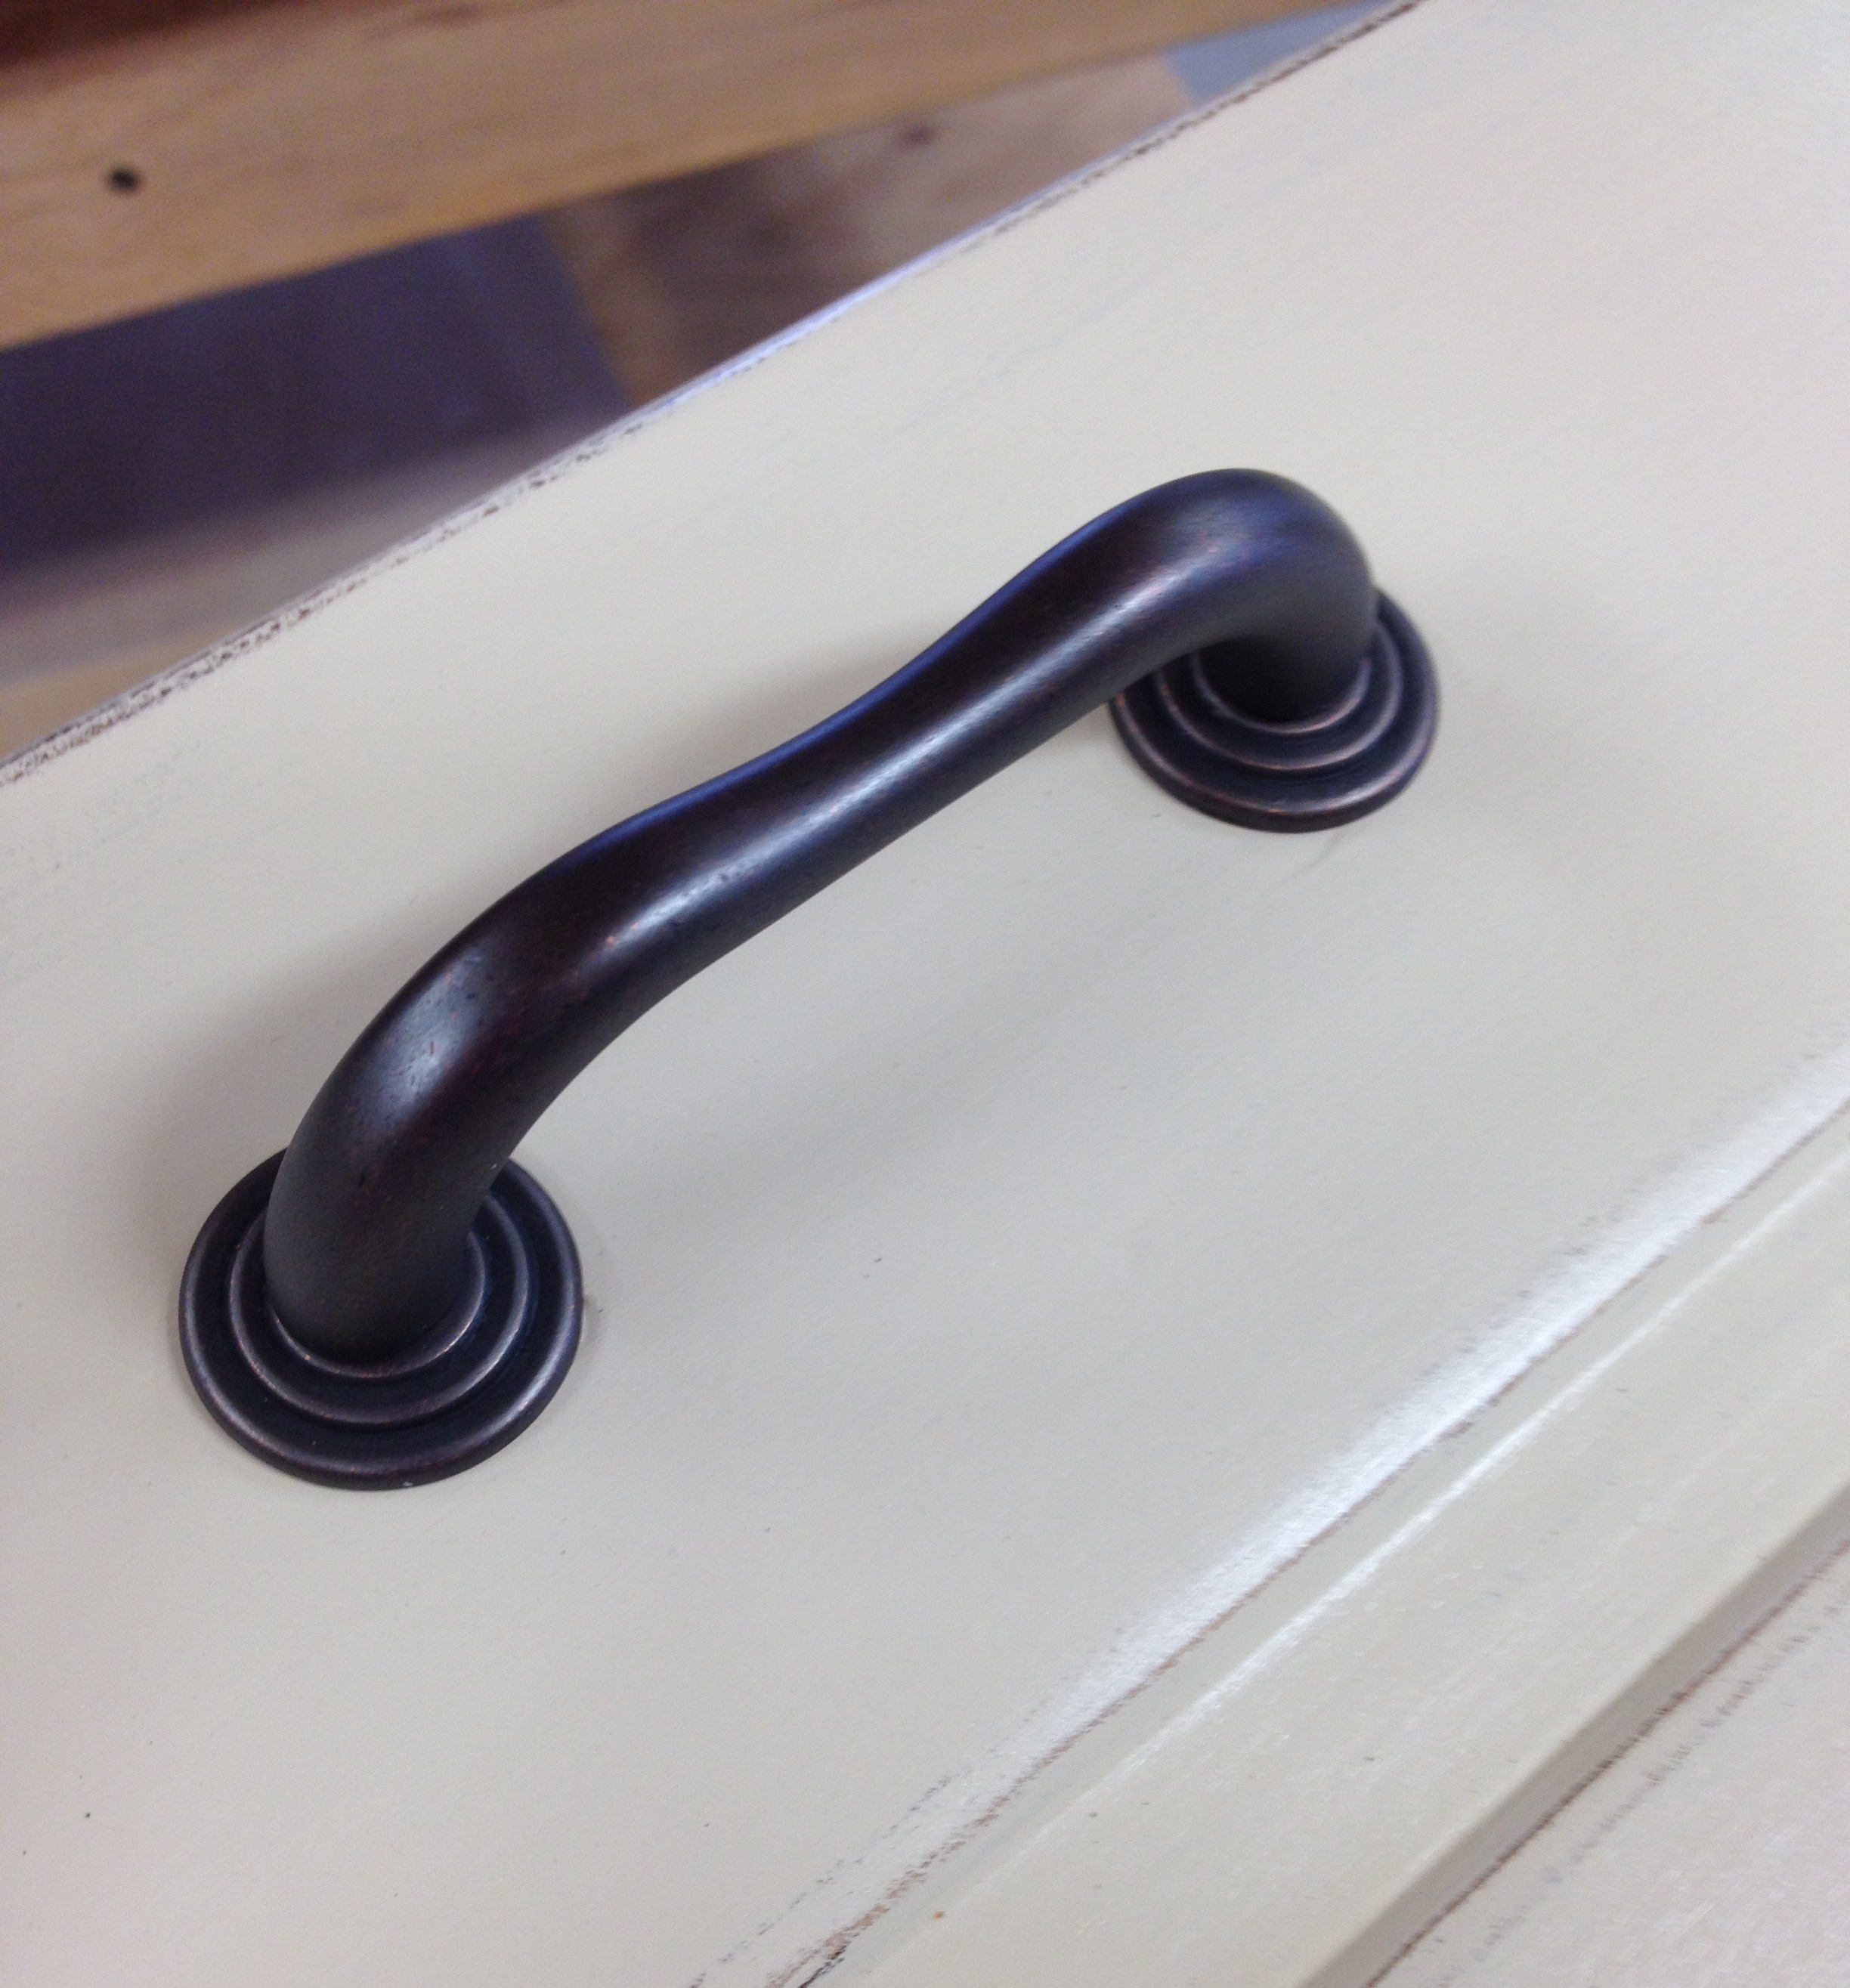
I found this drawer pull at Lowe's and crossed my fingers that it'd be my solution.

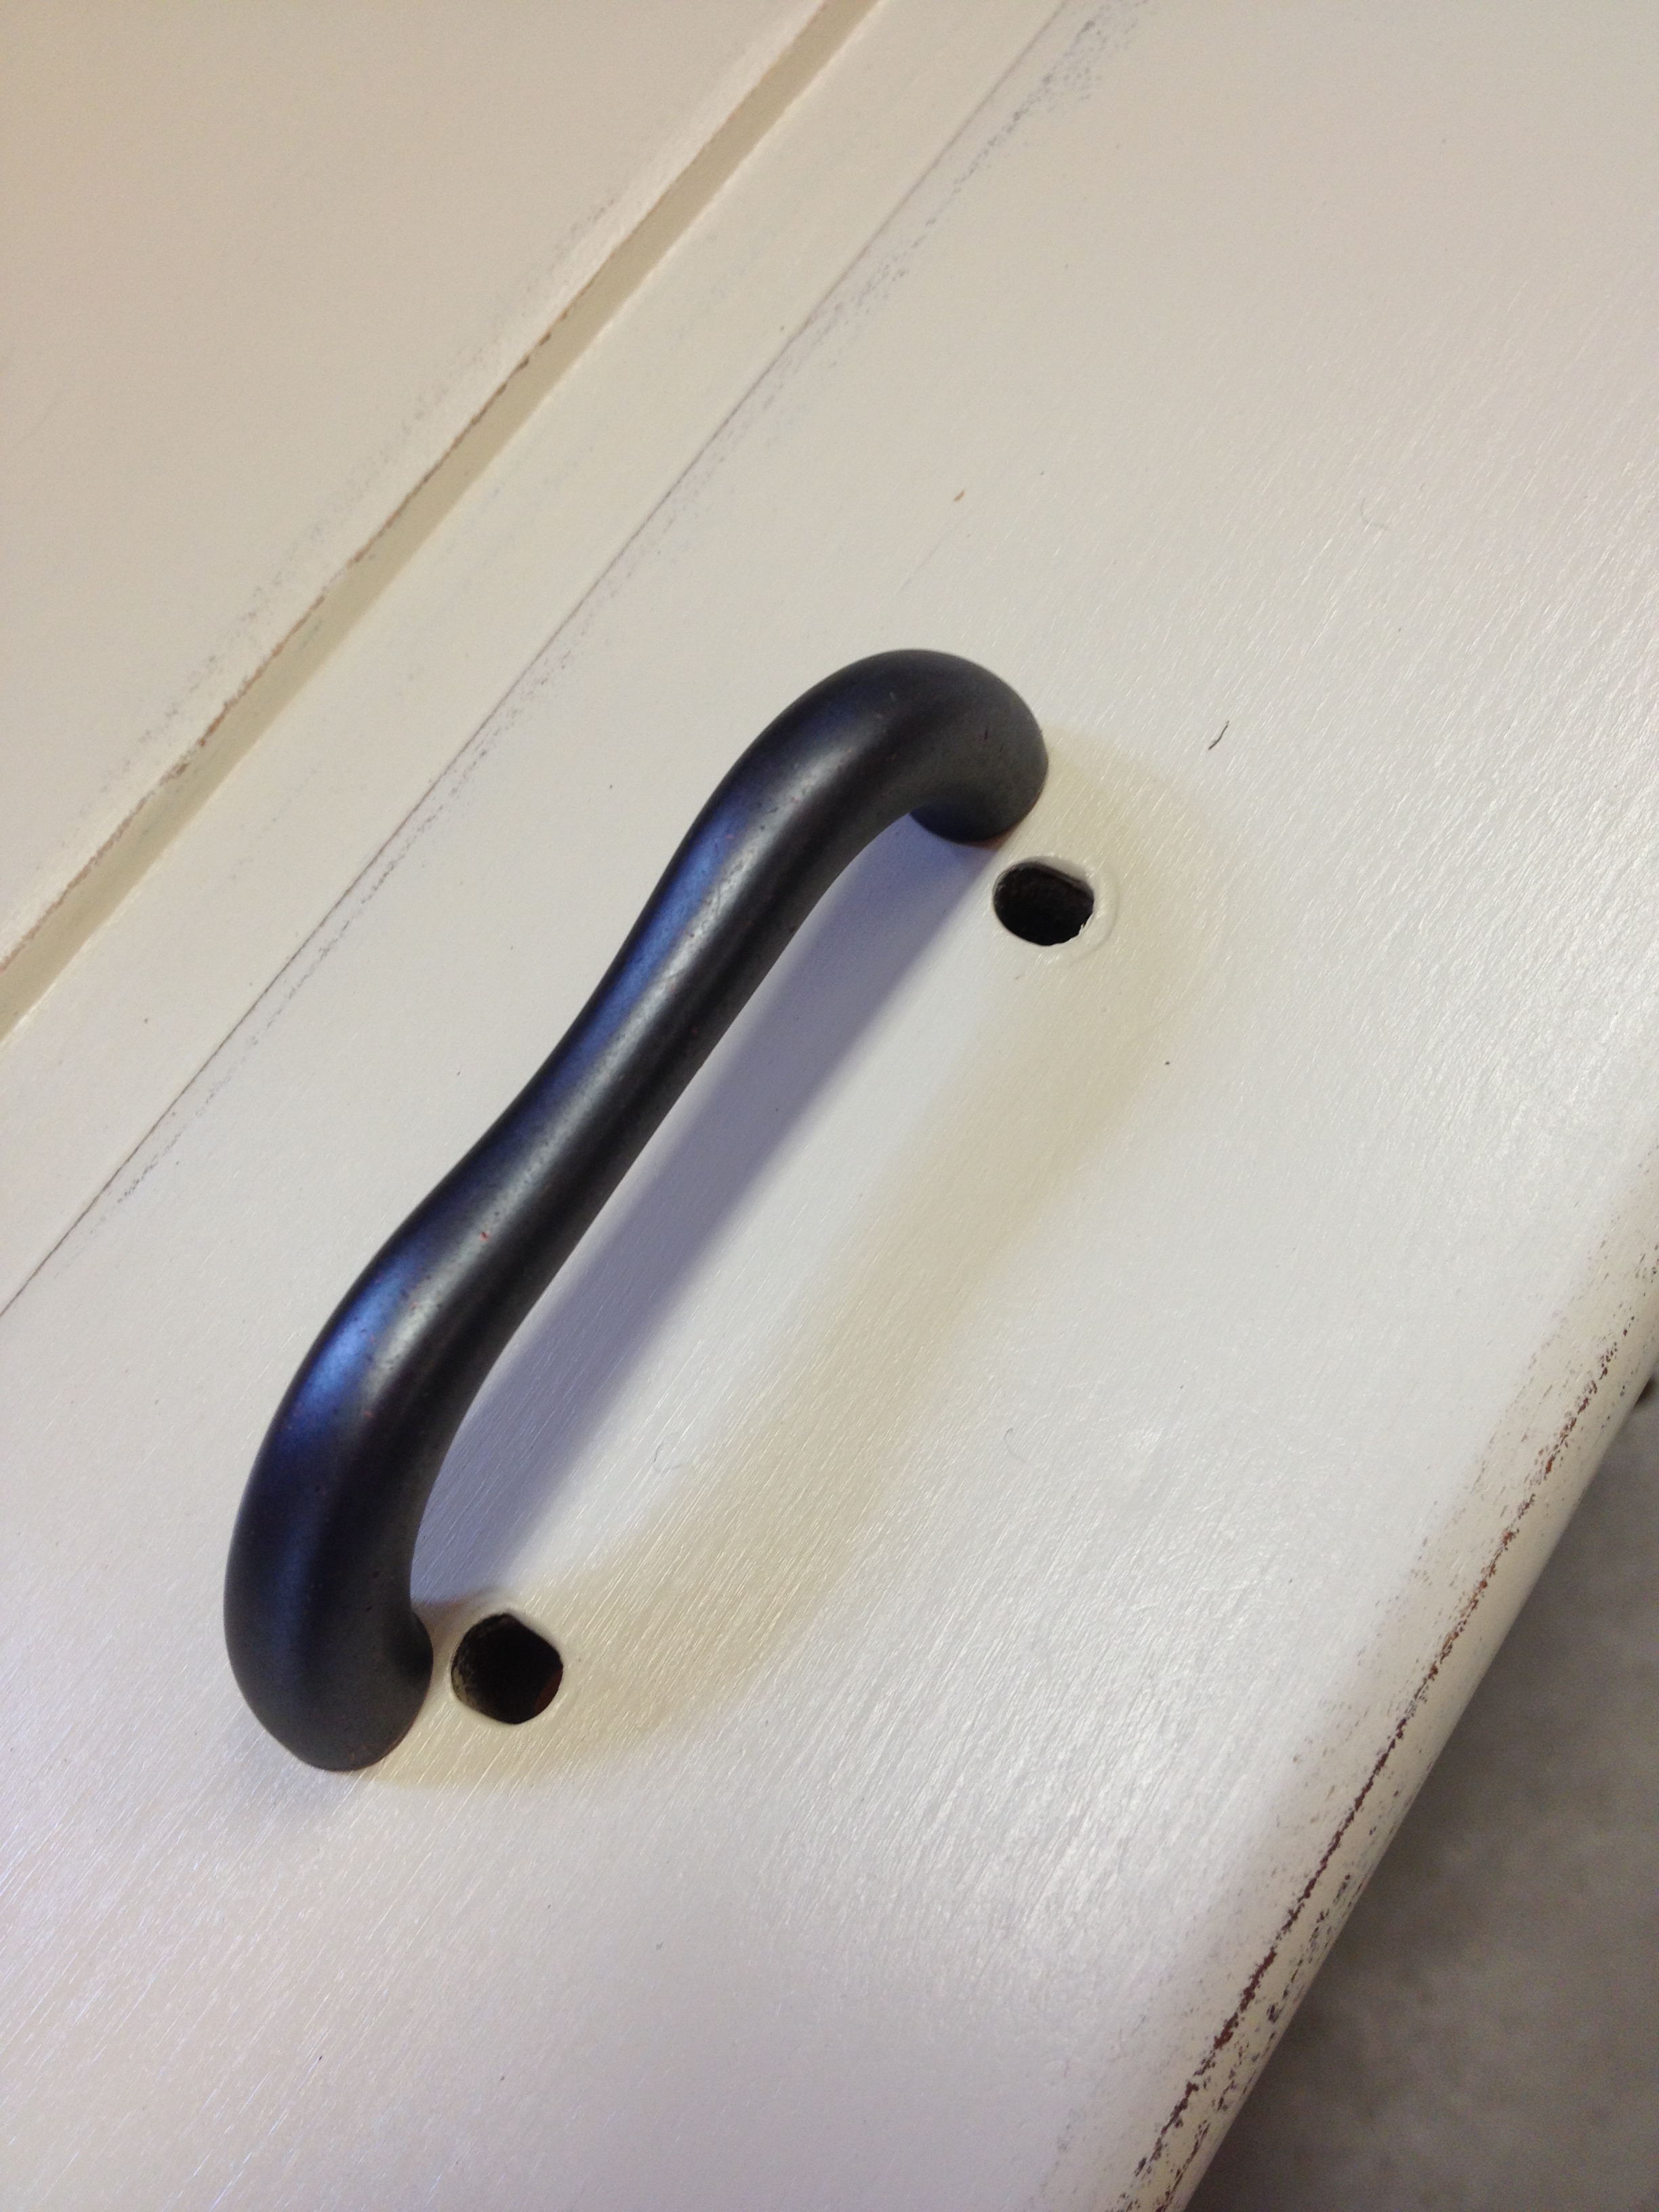
It's a 3 inch pull so it lined up with the holes on the bottom four drawers, no sweat.

Here it is with a set of holes on one of the top drawers.  See how the pull is longer?

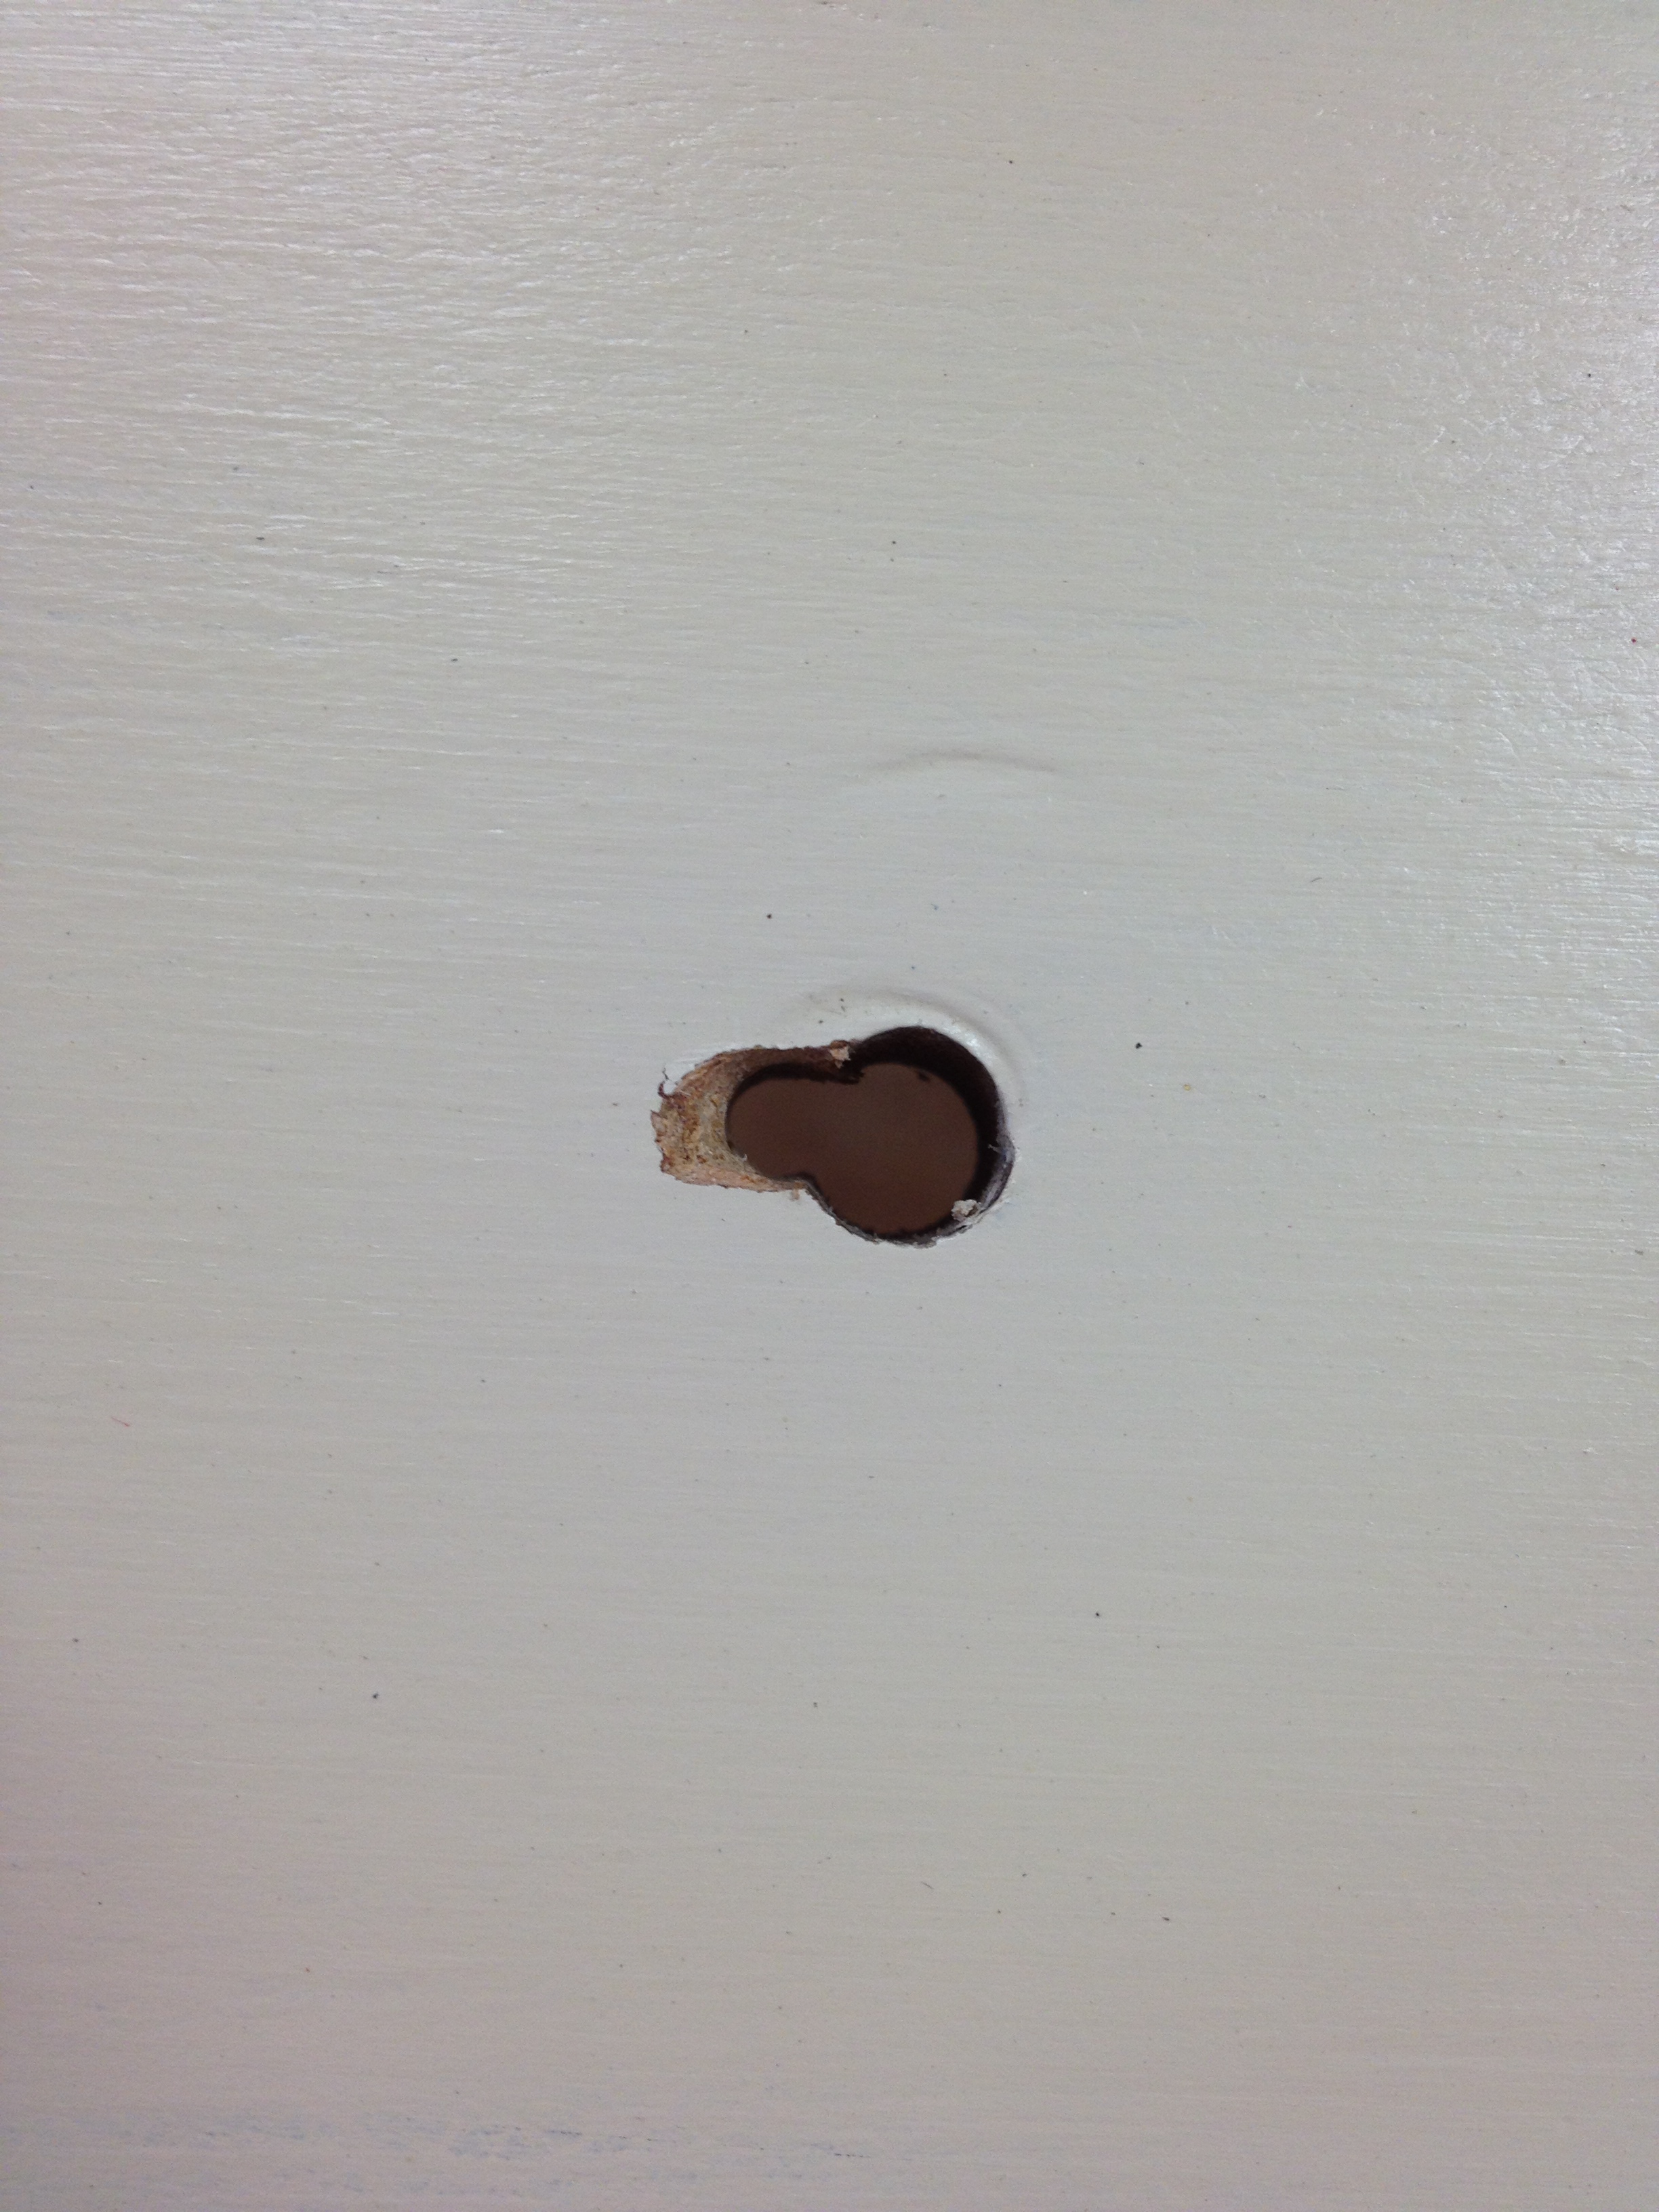
The solution was in the round discs that came with this drawer pull.  My plan was to drill new holes spaced 3 inches apart and then hope, pray, cross my fingers that the disc covered the original holes.

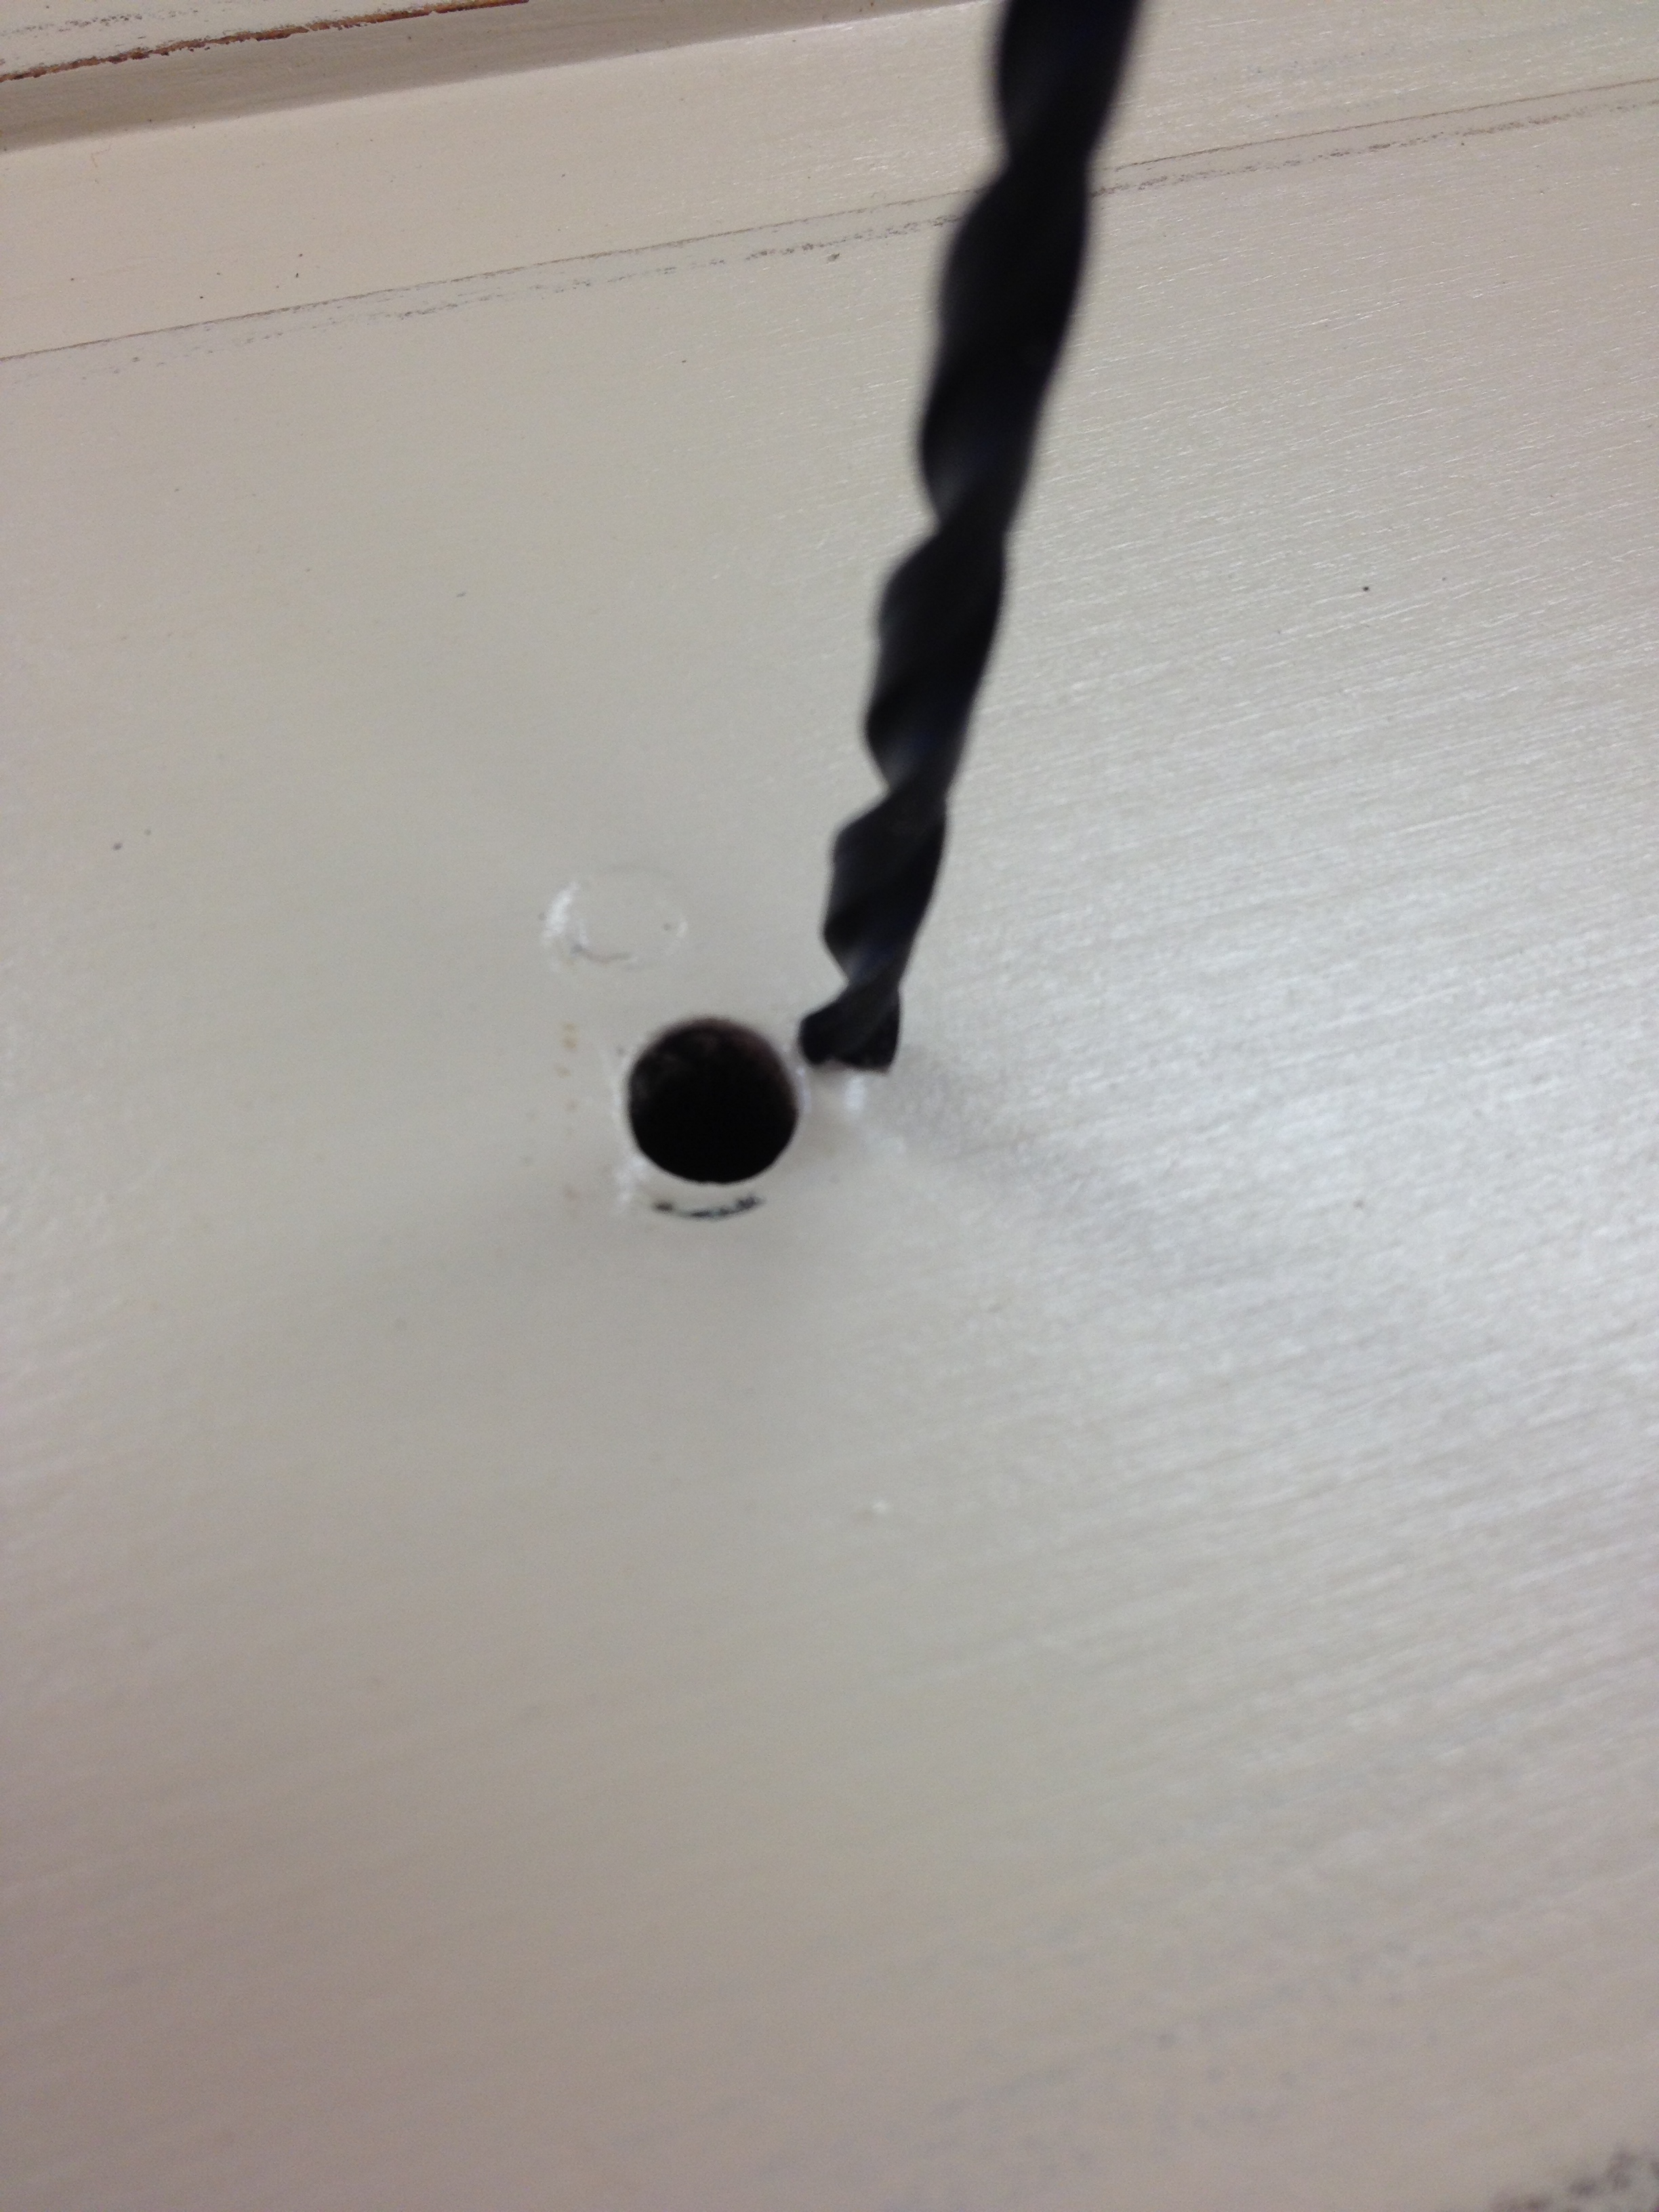
I lined my drill bit up right on the outside of each hole.  I was the only one in the woodshop and you better believe I was muttering under my breath.  "Please don't let me screw this up."

It wasn't pretty and it took a few tries, but eventually I was able to widen the holes.

Moment of truth: would the disc cover the original hole and where I had now chipped the paint?

Shazam!

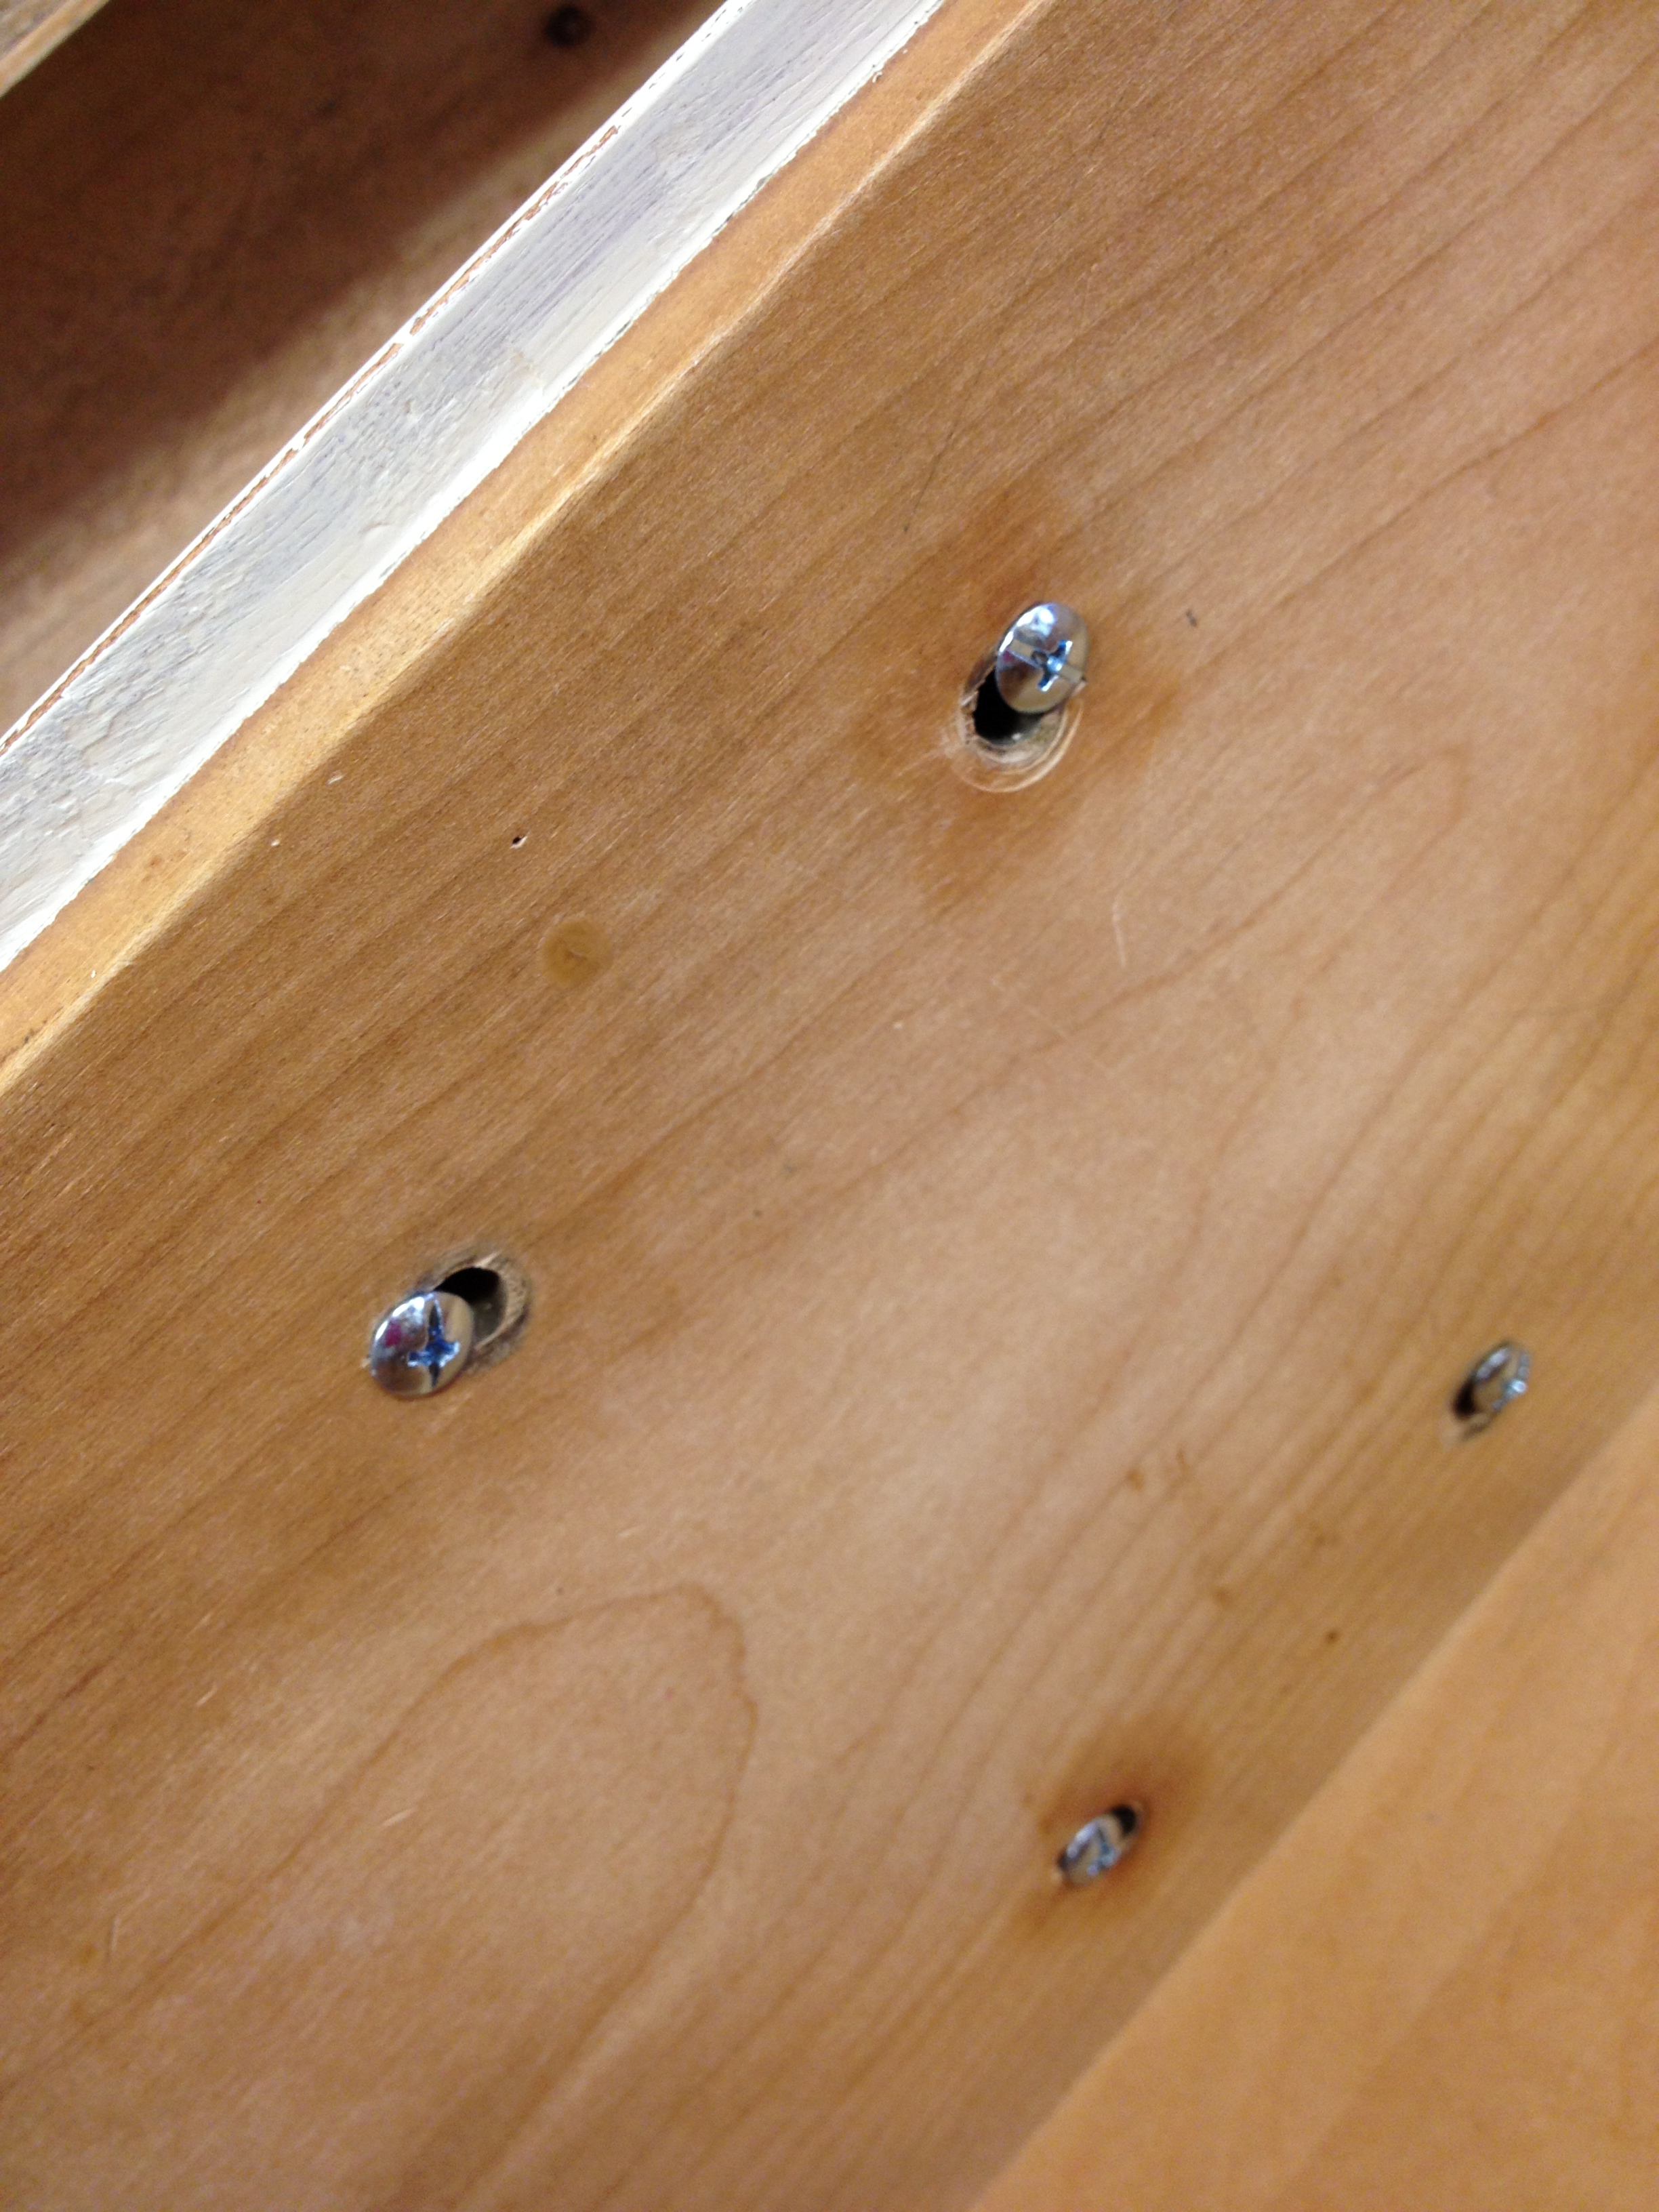
I am so proud of my rig job!  Of course, you can totally tell what I did from the inside of the drawer, but who cares?

Once I saw that worked, I was able to stop holding my breath and realized...the dresser was done!

Before I show you the end result, let's remember what I started with.

And here it is now, sitting in the attic until it finds its home in the beach house.

I said it once and I'll say it again:  She's a beaut, Clark.  A real beaut.