Are you getting tired of these before and after posts? I hope not, because I still have a few more to go. Not all of them are completely finished though. This one, the buffet, is a real Cinderella story. She started out in baaaad shape, but now she's fit for a queen! (Or a beach house, rather...) We found the ol' hunk of junk at a teeny, tiny consignment shop. One that was so crammed full of stuff that it was hard to really stand back and look at her. We gave her a good shake and knocked on the top and sides and decided she was pretty solid and in decent enough shape. We forked over sixty bucks and brought her home!
Back in the wood shop, we were able to do a better inspection. First thing we noticed was that big hole at the bottom was not just a decorative space, but instead where a big drawer used to be. The support slats had been torn off and, obviously, the drawer was missing.
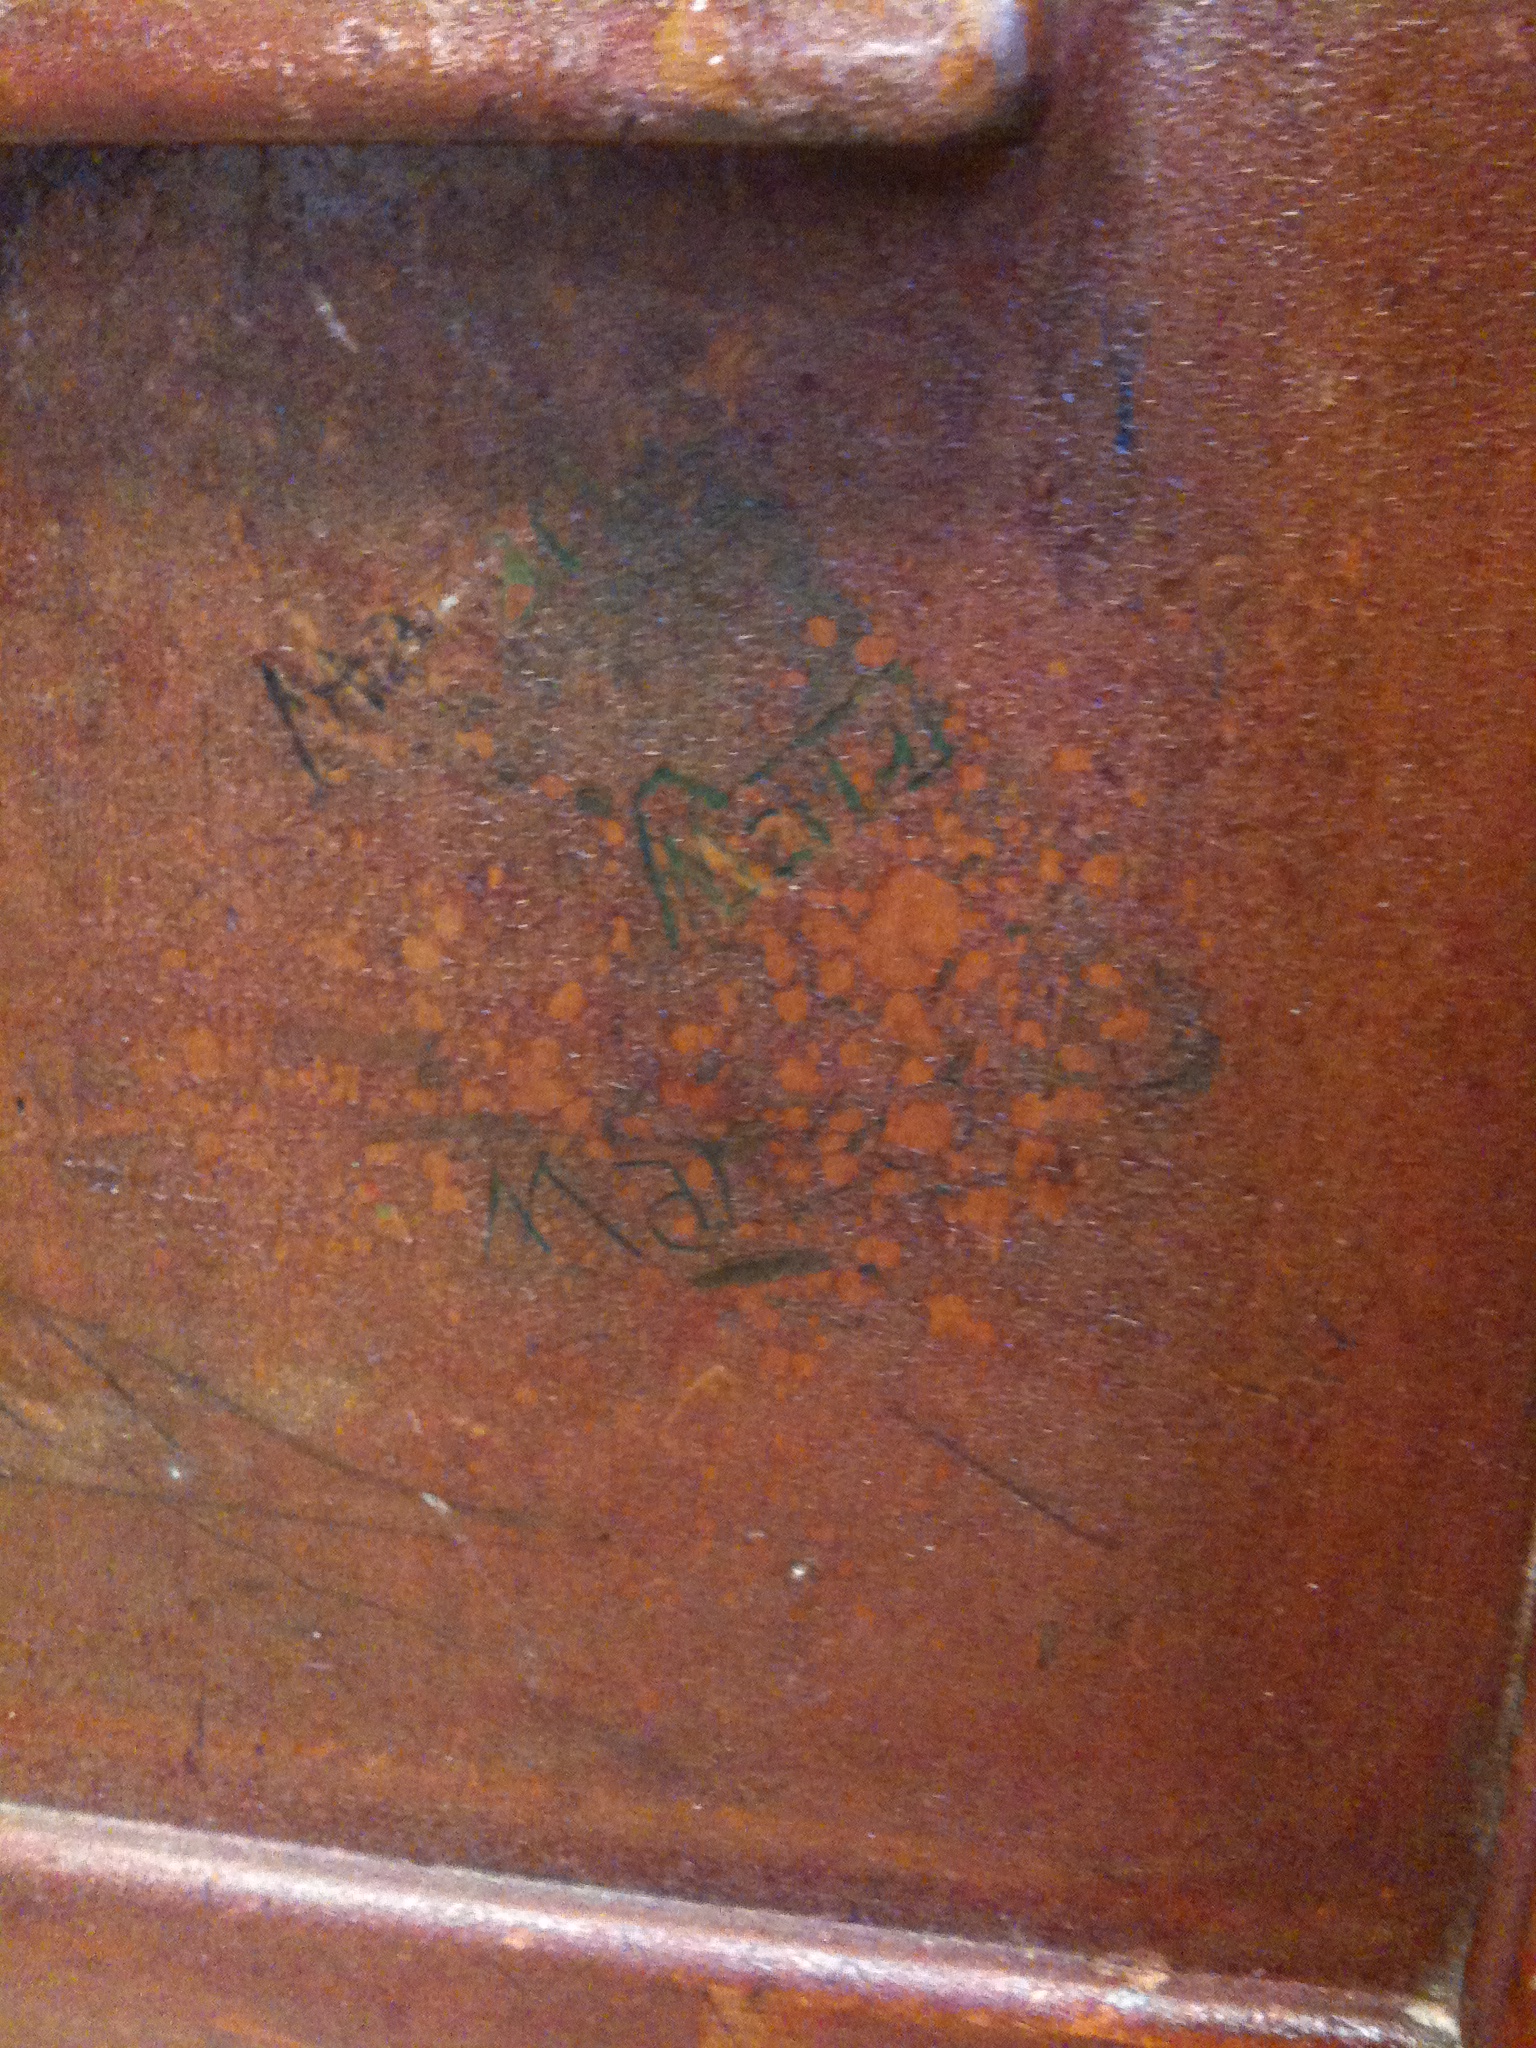
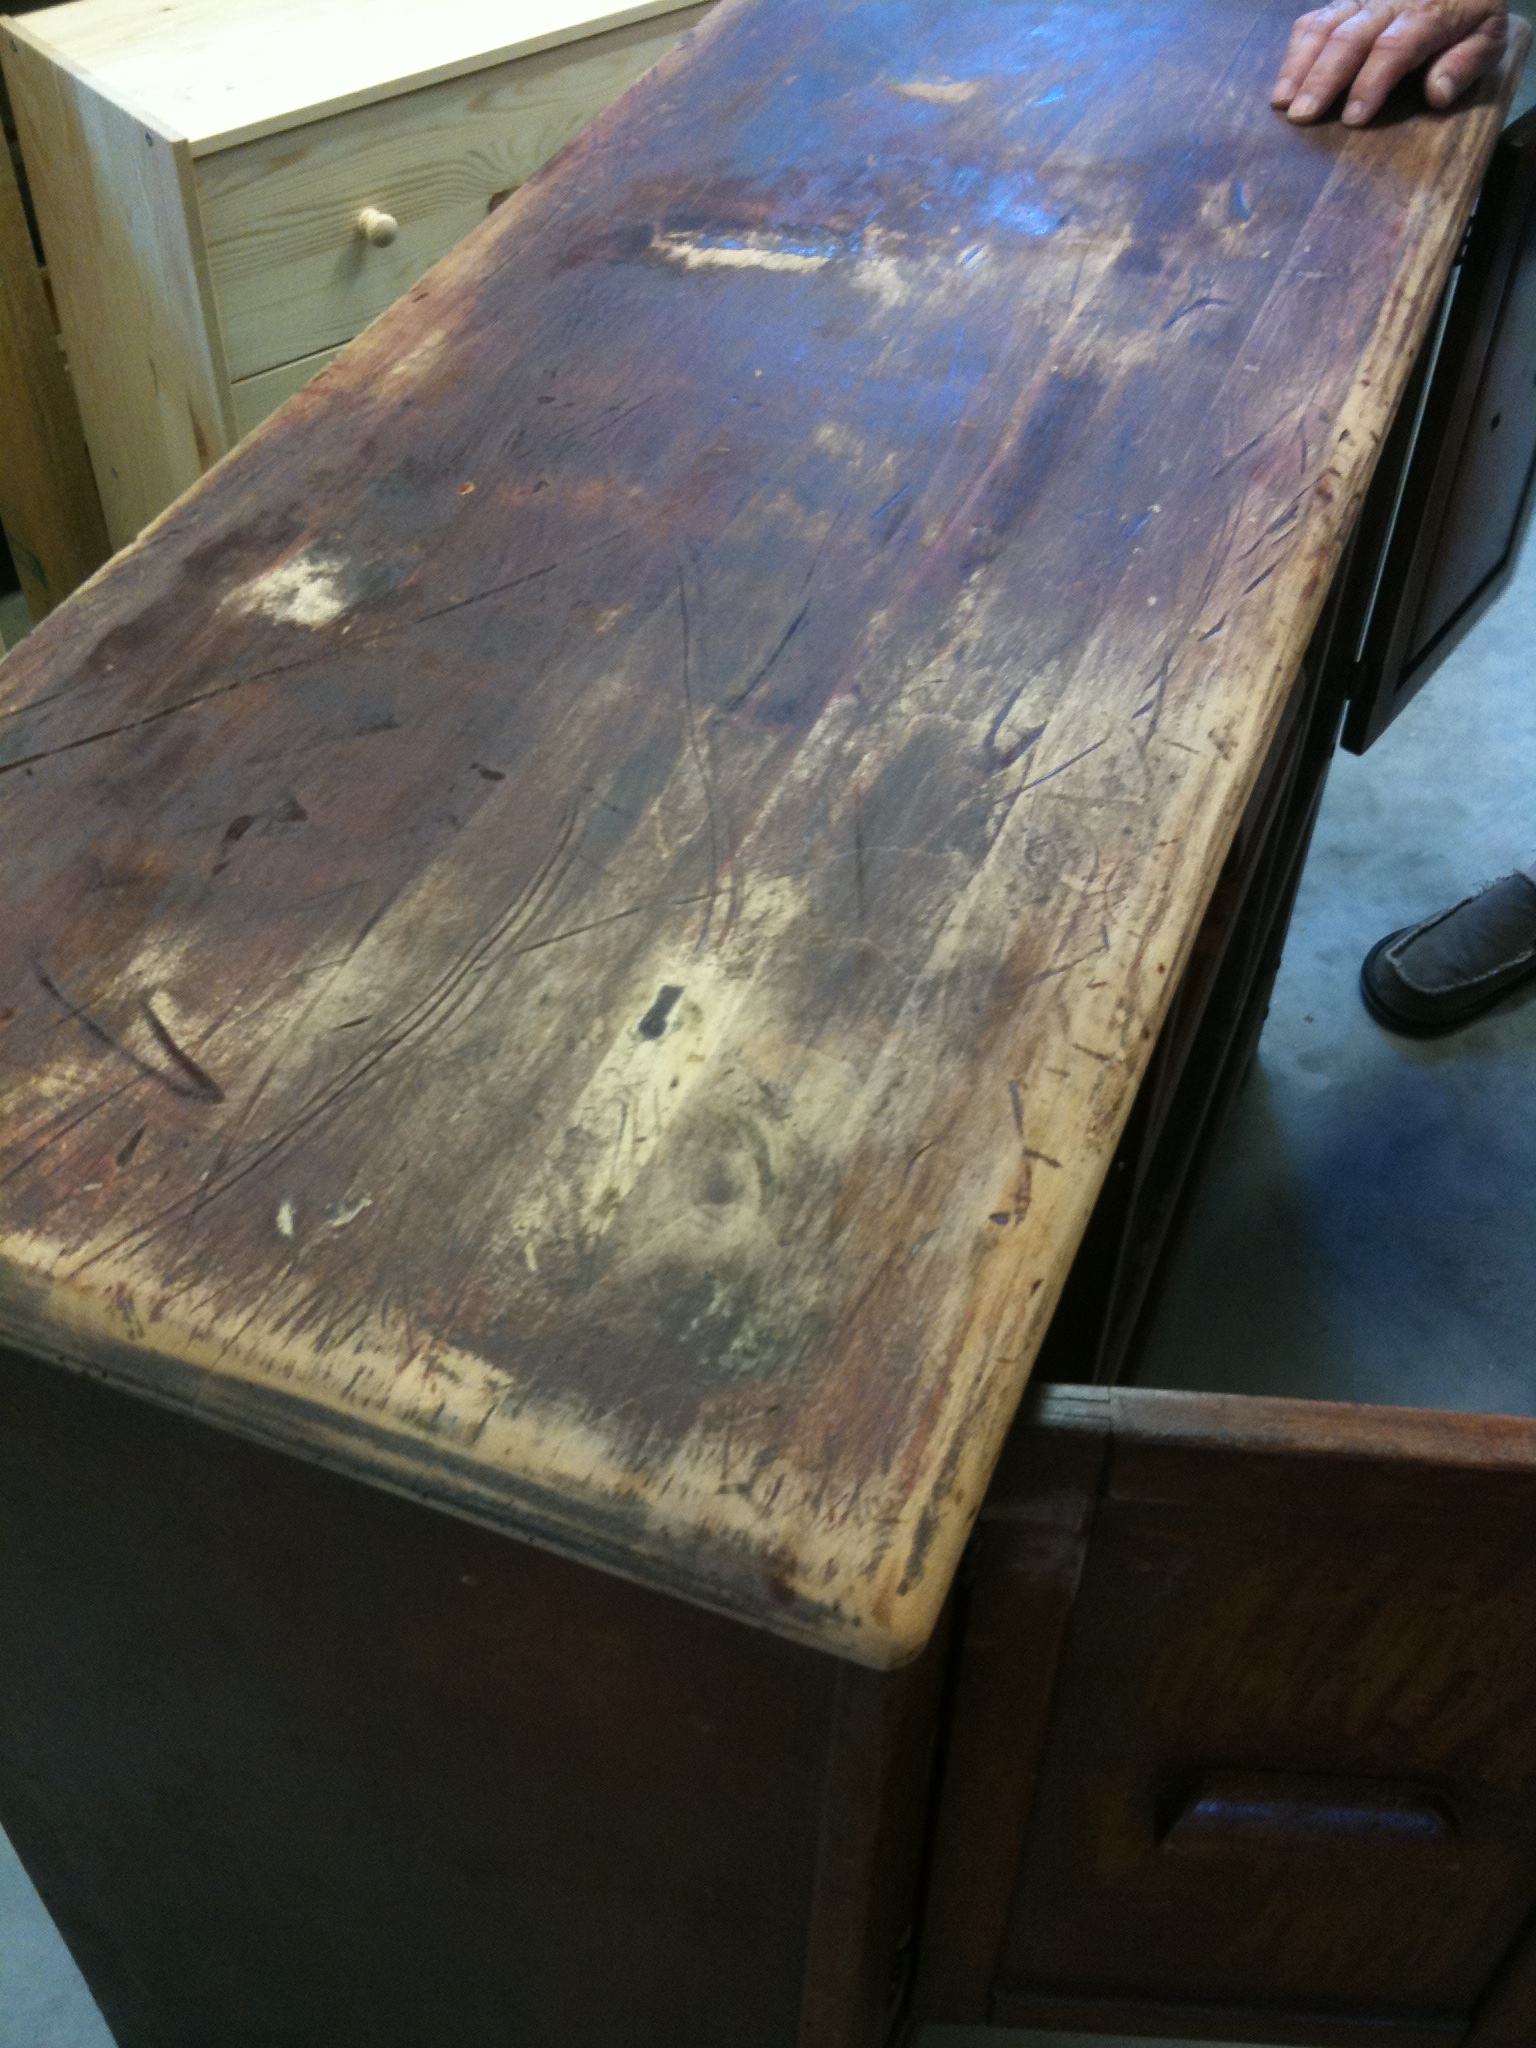
Closer inspection also revealed lots of scratches and carvings.
There was also some kind of weird, bumpy coat over several surfaces. Kinda like it had a clear coat on it that had gotten too close to heat and bubbled up. Can you see the splotchiness in the below pic? It was rough to the touch.
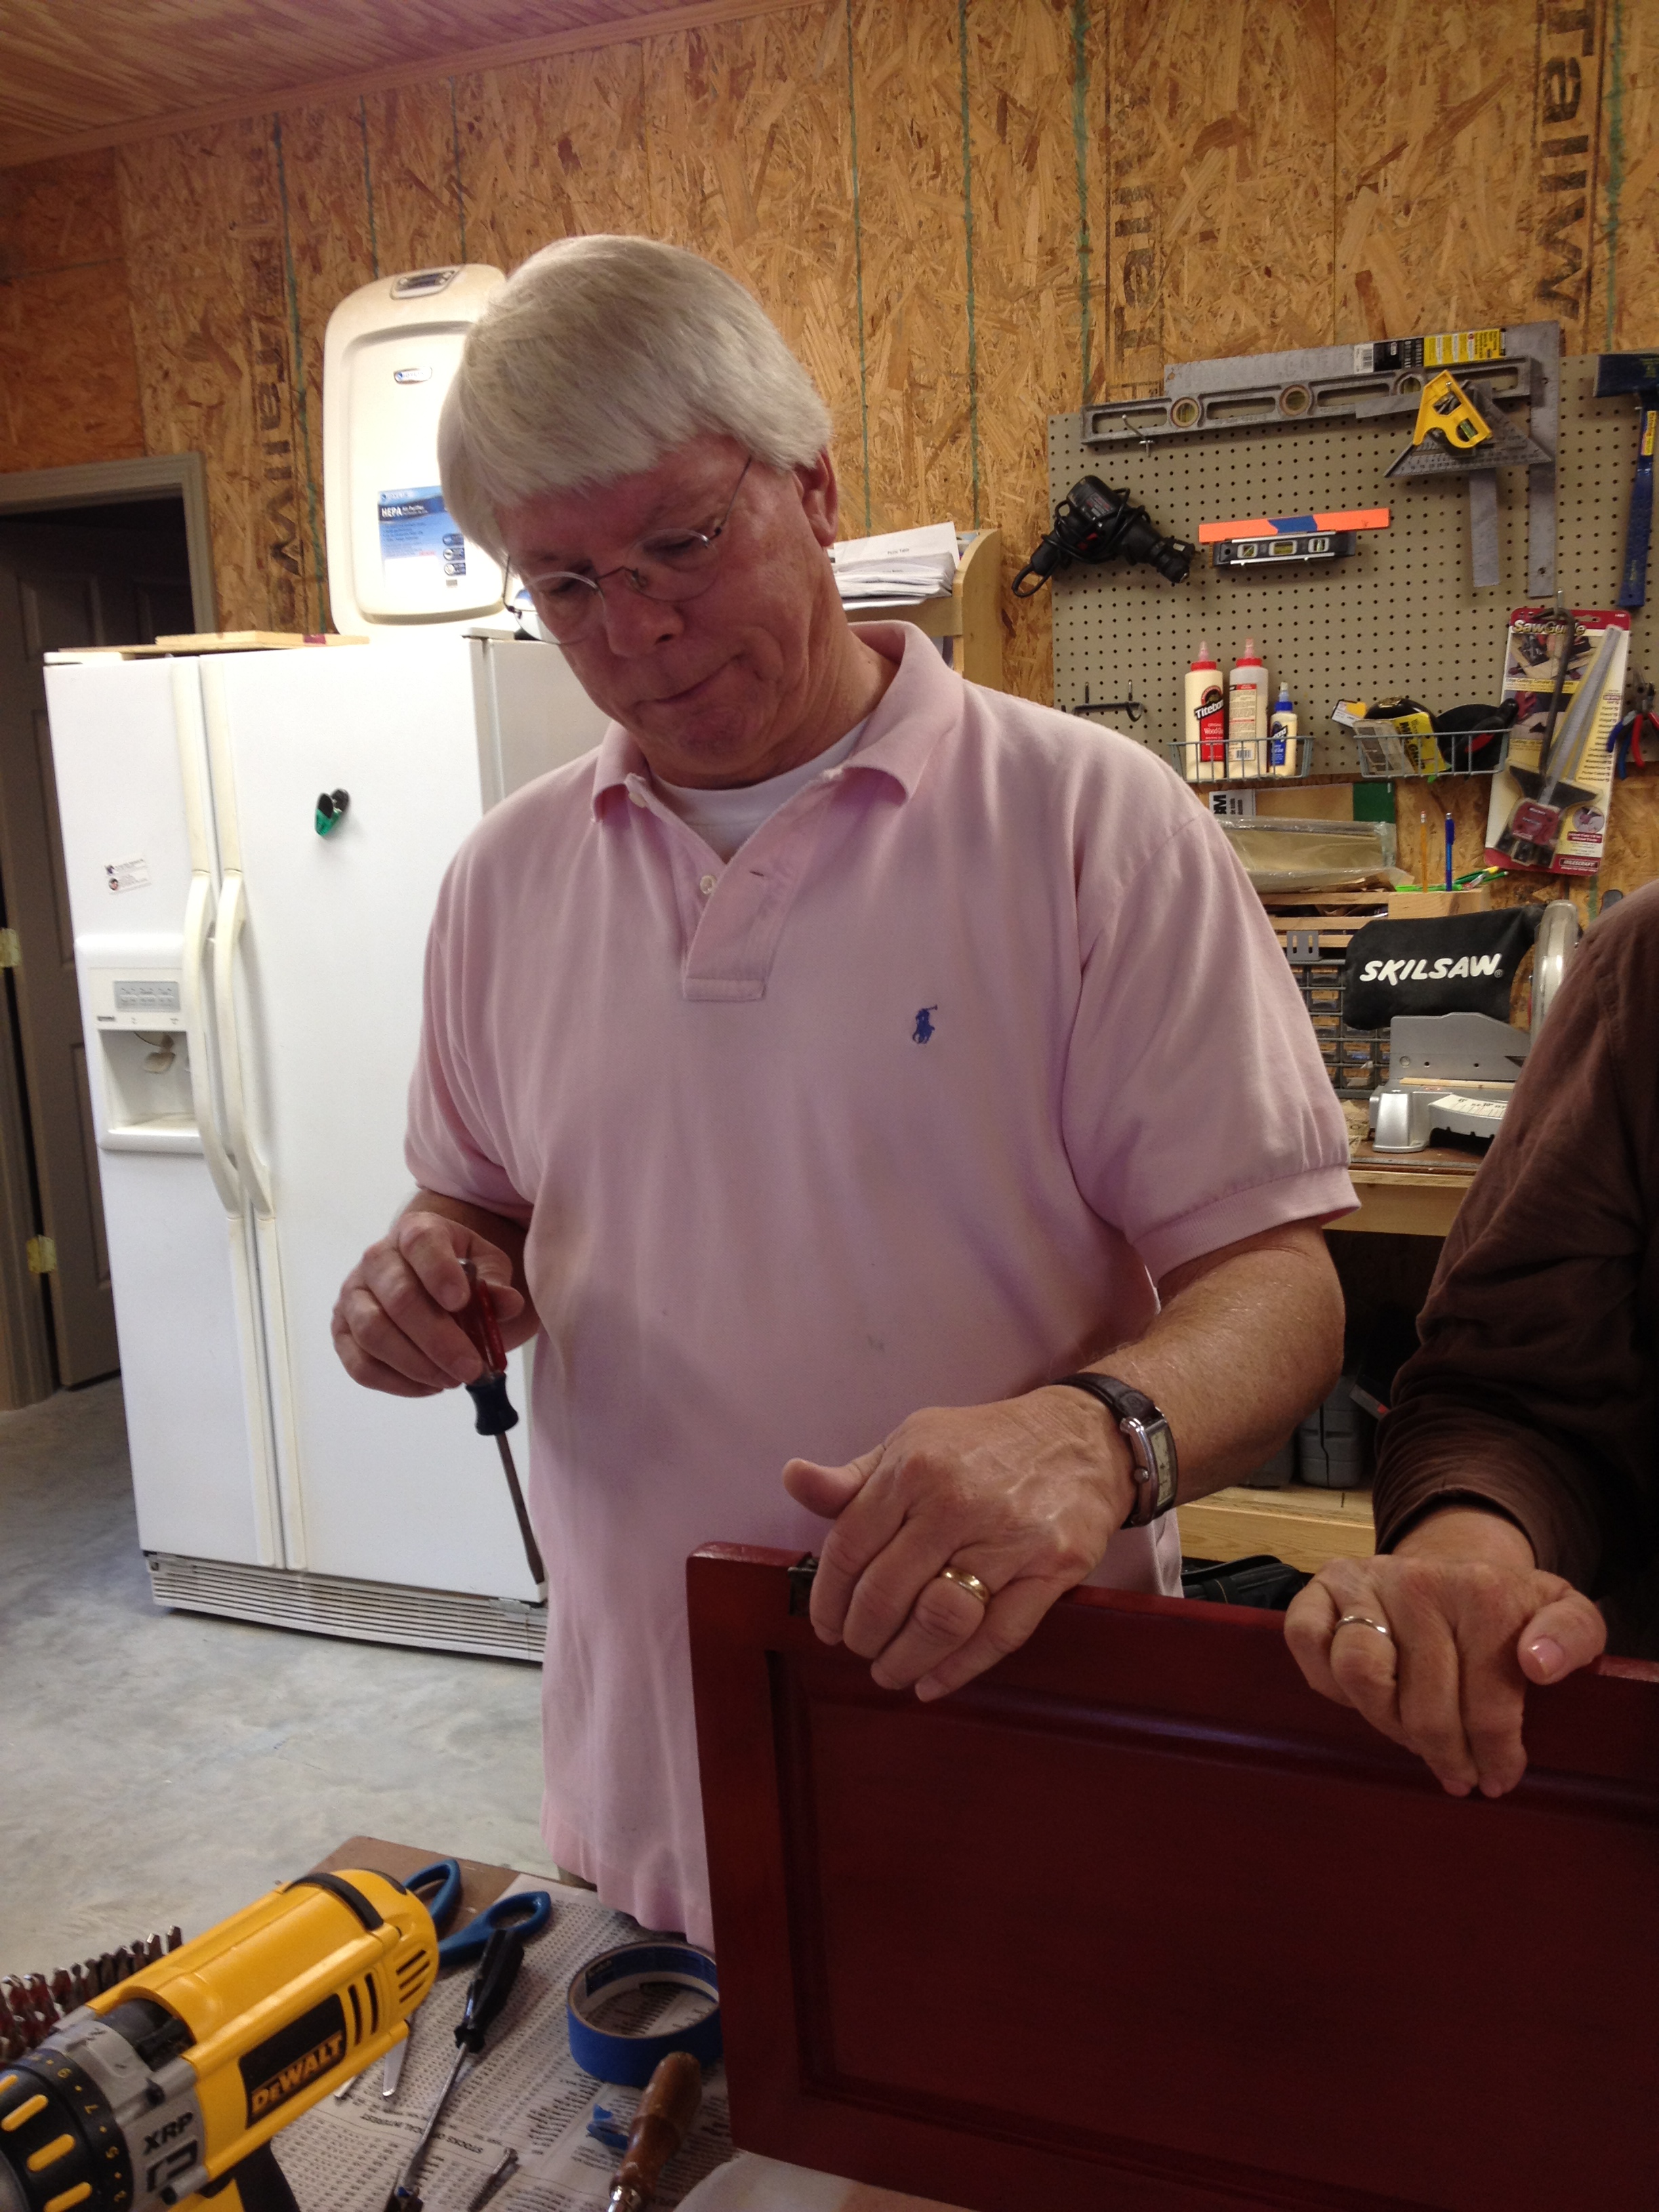
Buyer's remorse crept in, but we decided to move forward and see if we could still clean her up. First steps were to remove the chunky wooden pulls on both the drawers and doors, and get to sanding.
The doors and drawers sanded down pretty nicely and with minimum effort.
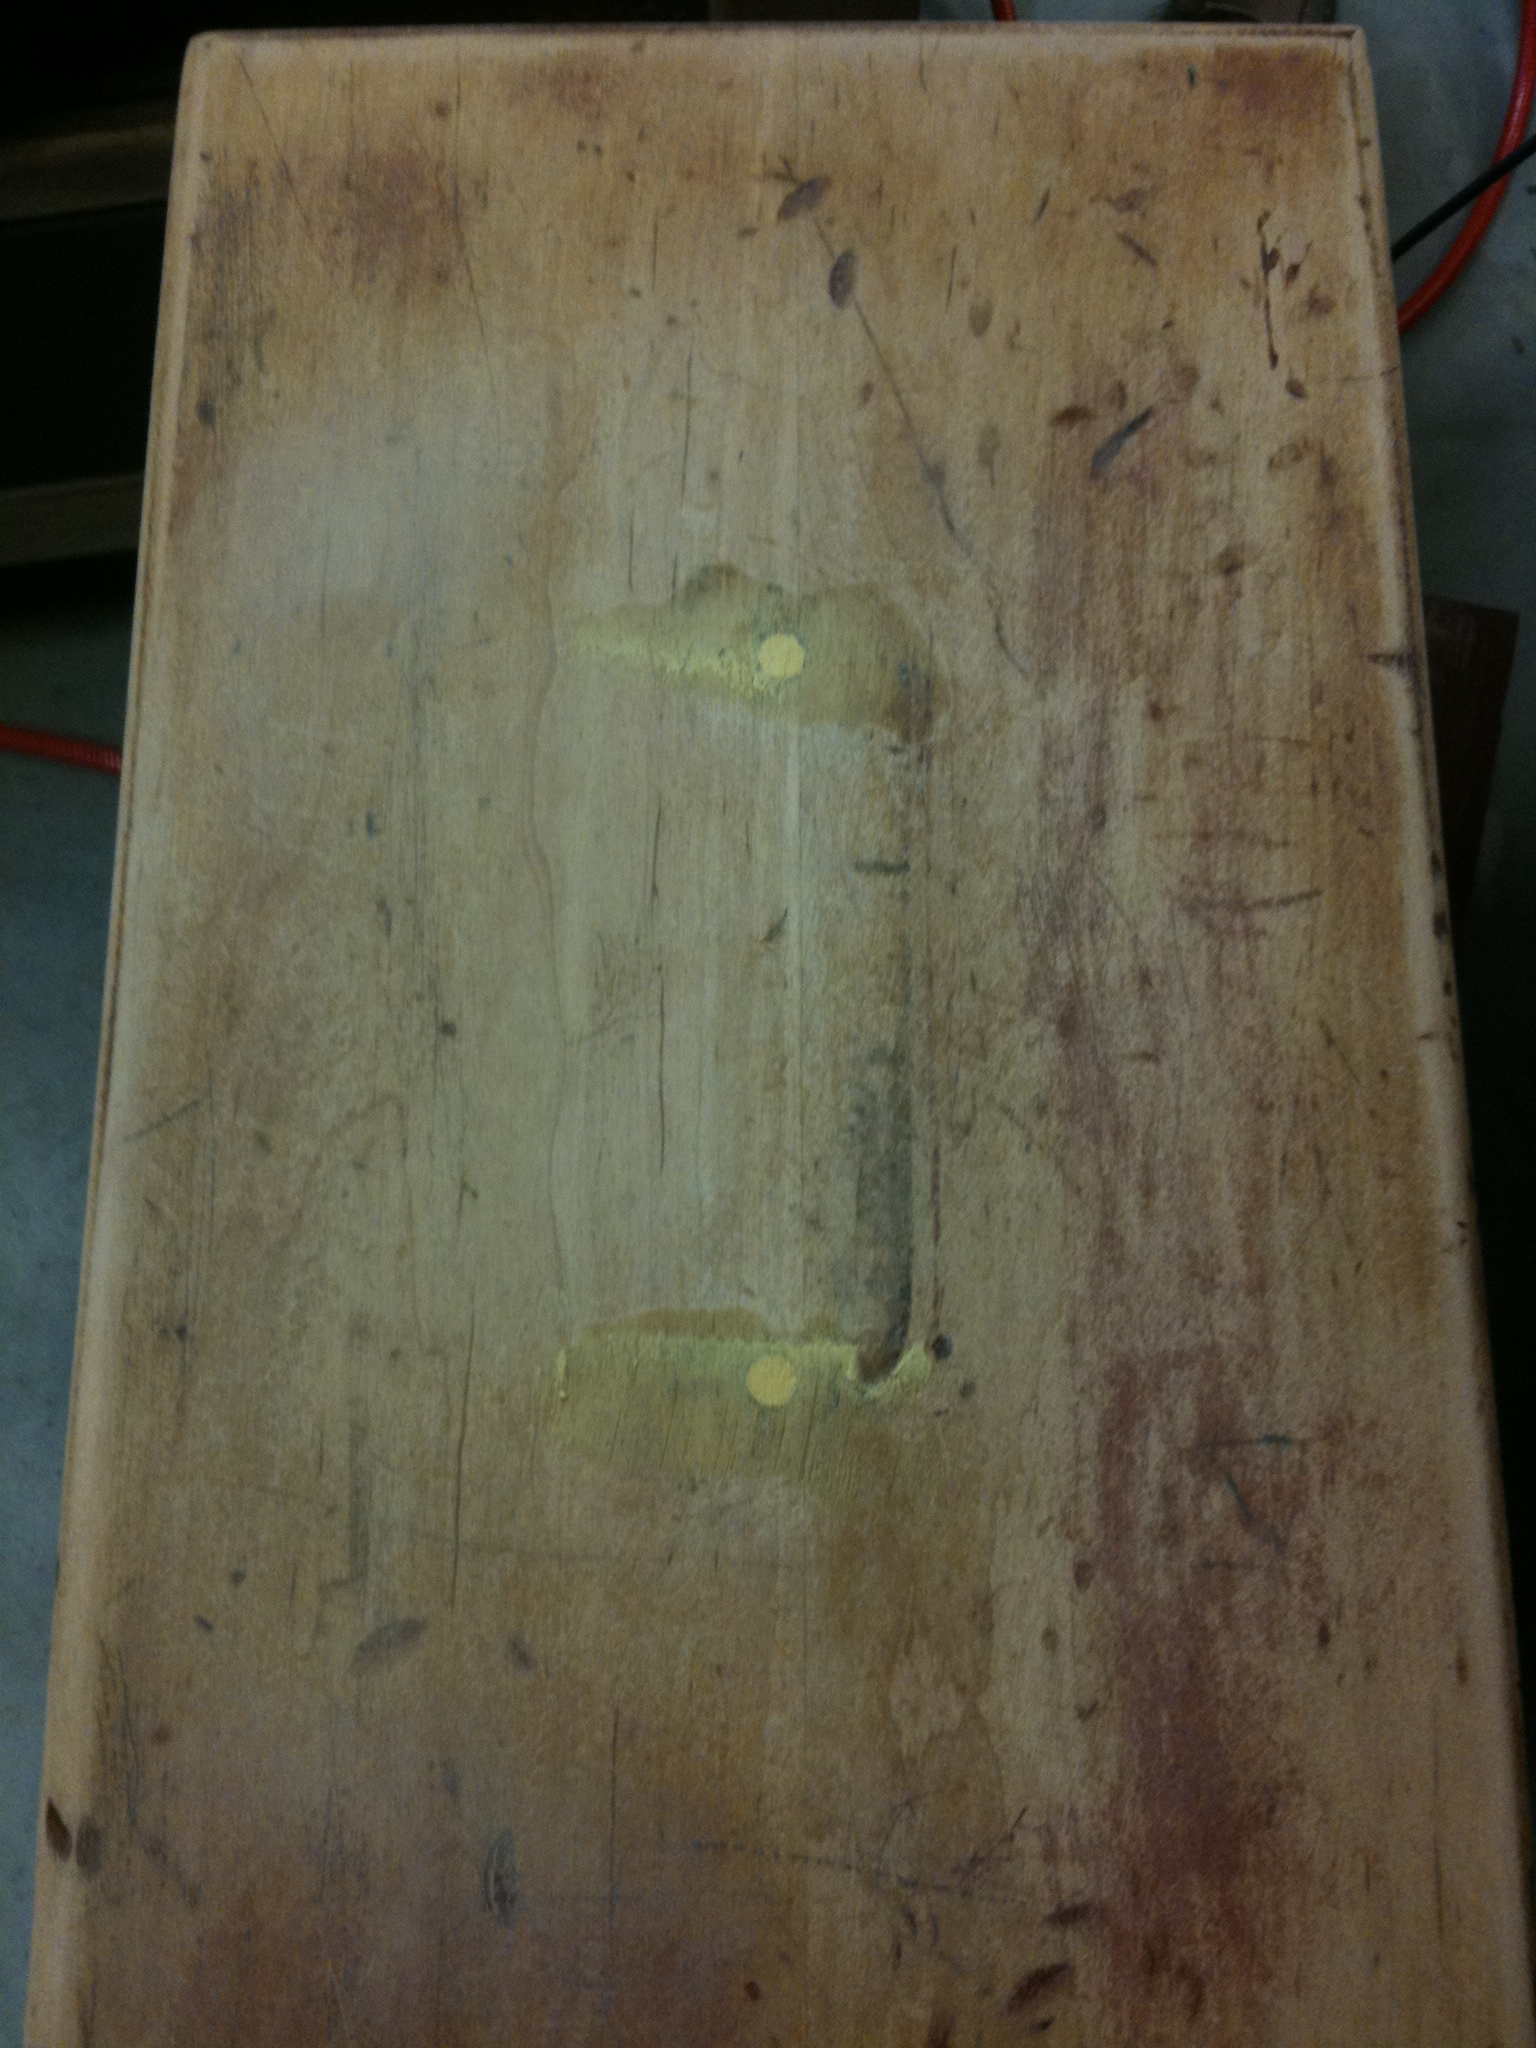
We were 100% sure that those ugly pulls weren't going back on, so we filled the holes with wood putty.
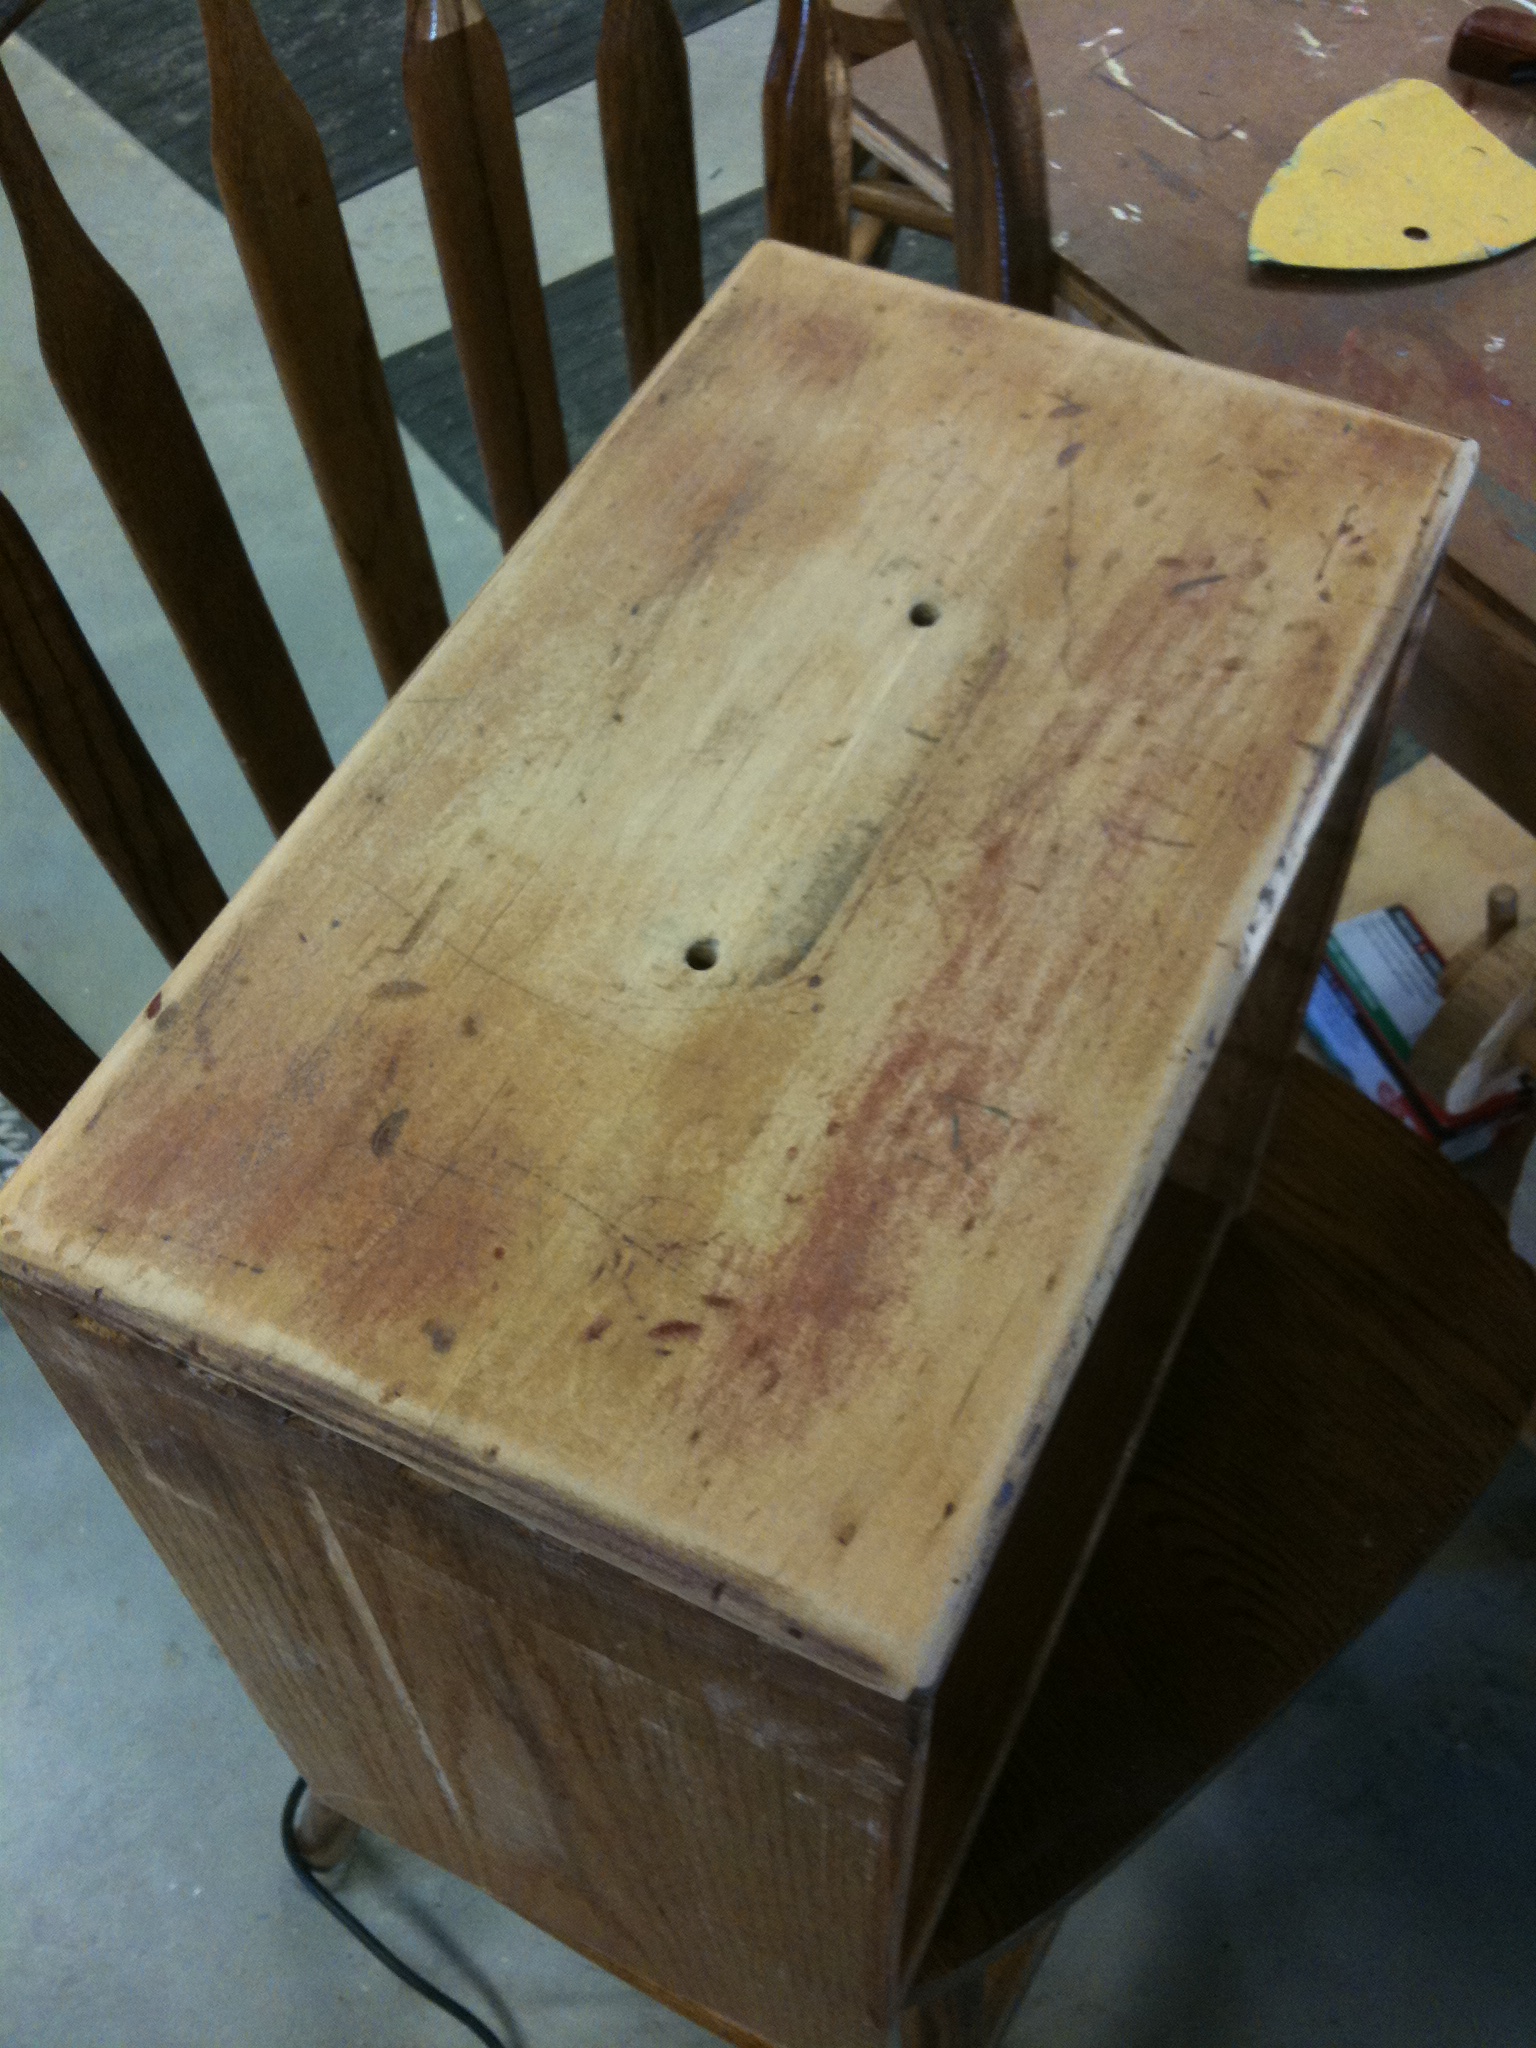
The base of the buffet did not sand down as well. The more we sanded, the more scratches we found. Grrr.
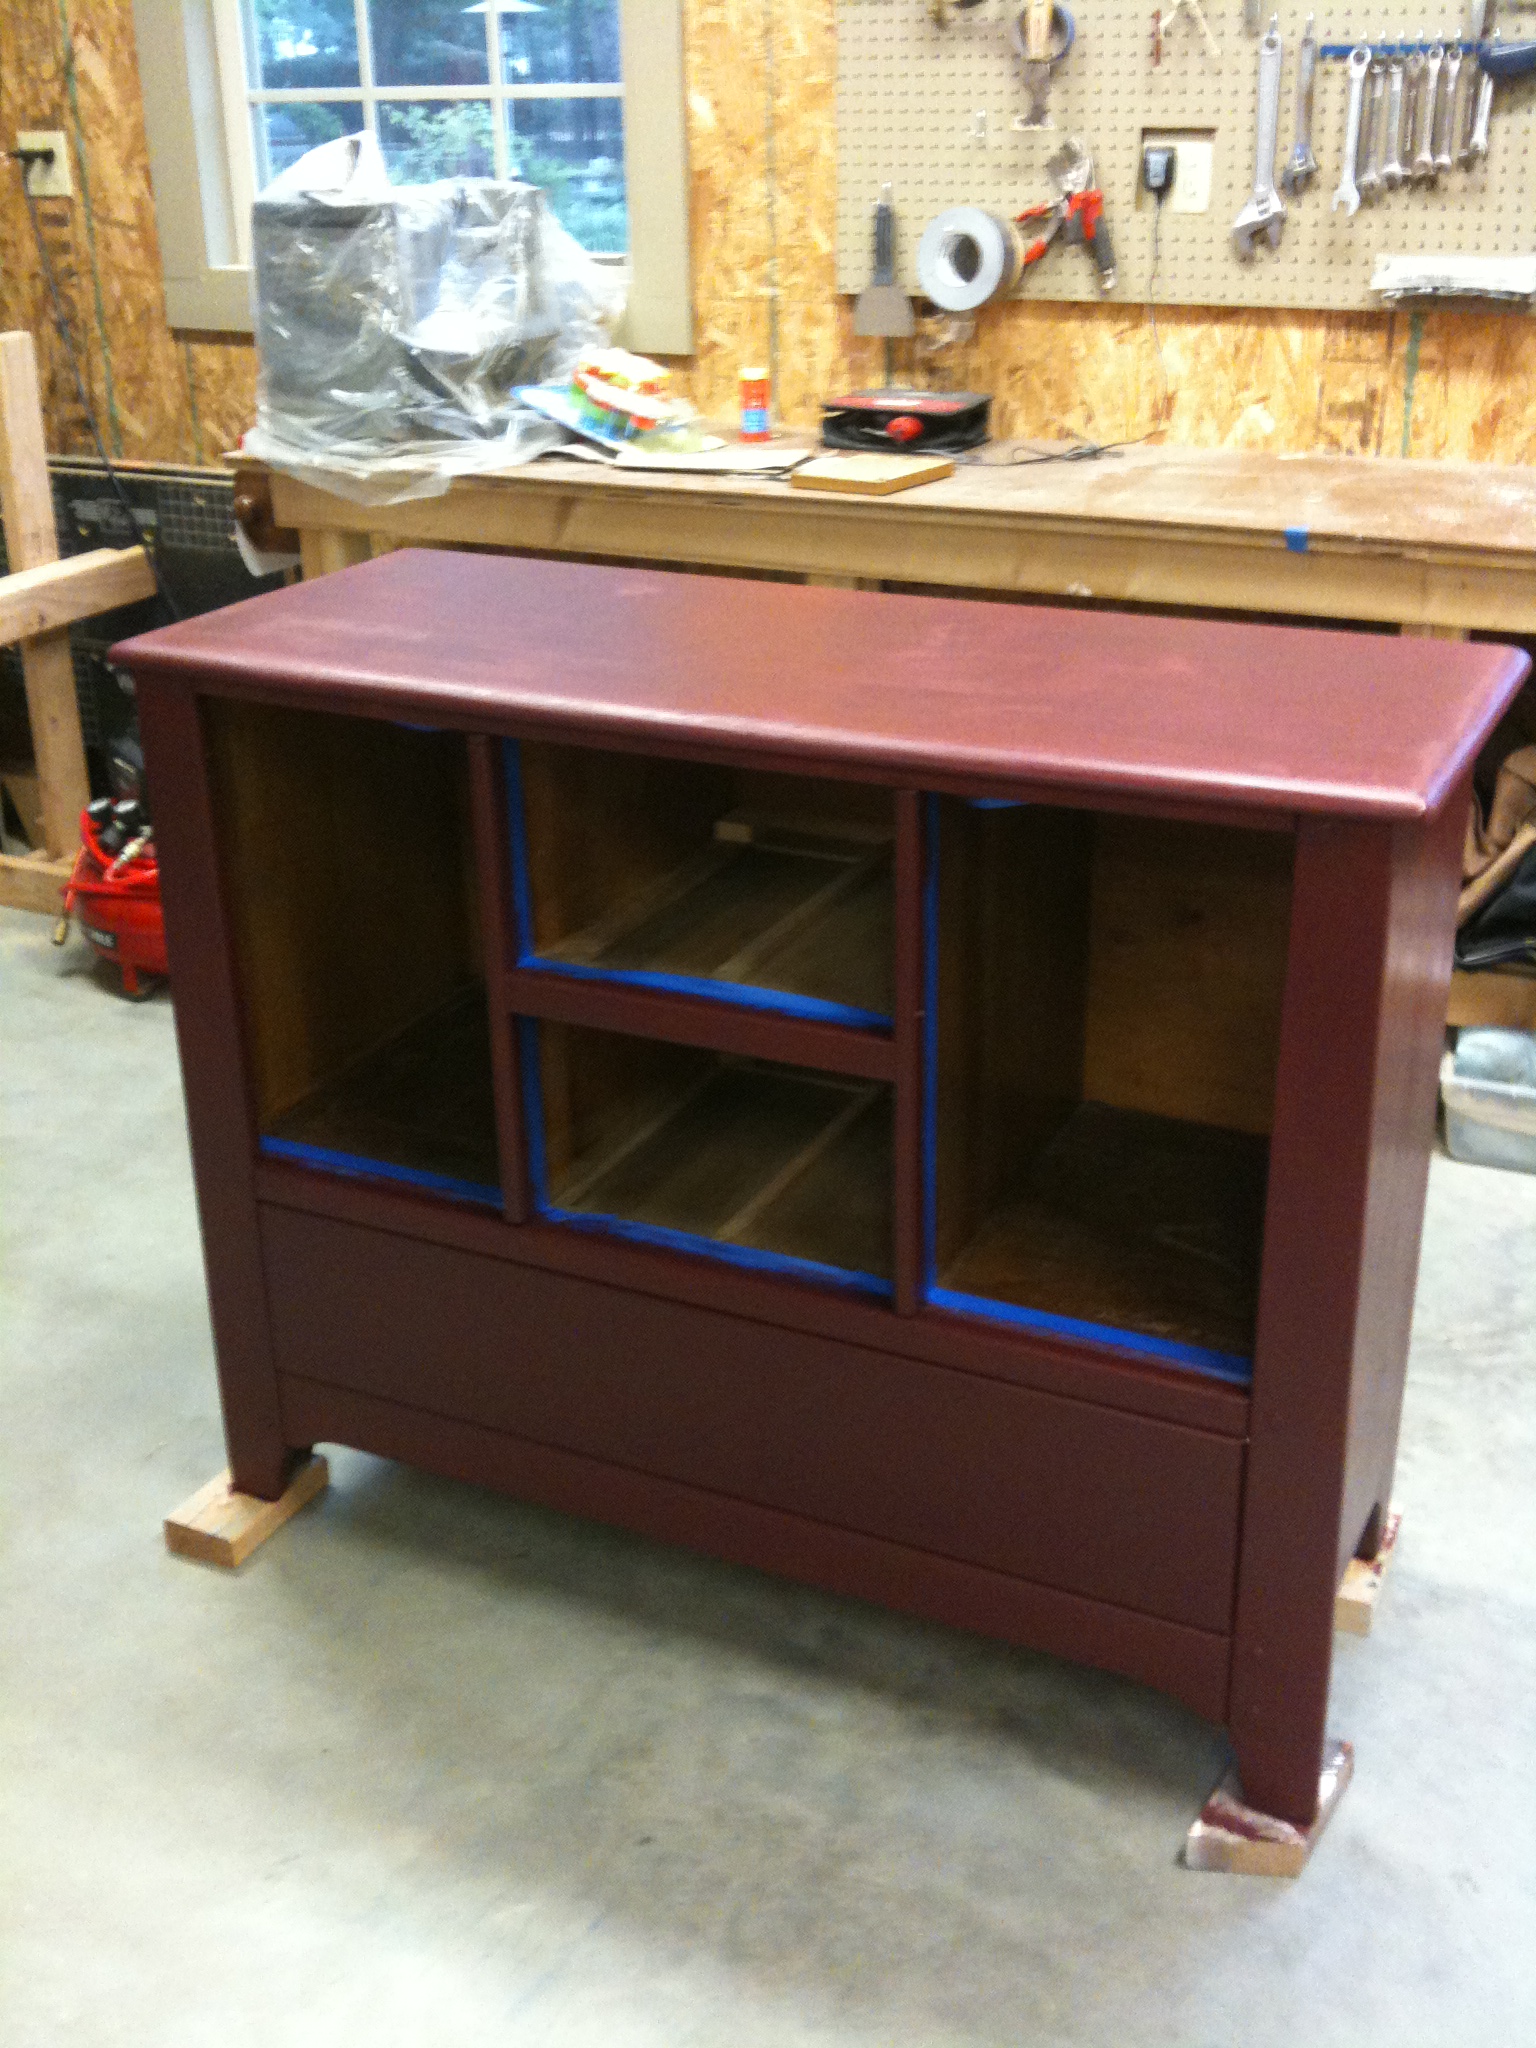
Here is the whole base after being sanded. Notice the empty space at the bottom is gone? We toyed with building our own drawer to replace the original one, but decided a faux drawer would be much easier. After cutting a board to the size of the gap, my dad used his router to round the edges to match the edges on the other two drawers. We secured the board in from the back to avoid visible nail holes. I painted it chocolate brown before we put it in. At the time, I wasn't sure how we were going to finish it and I figured it wouldn't hurt to have it a similar color to the rest of the piece. In hindsight, painting it brown probably wasn't necessary.
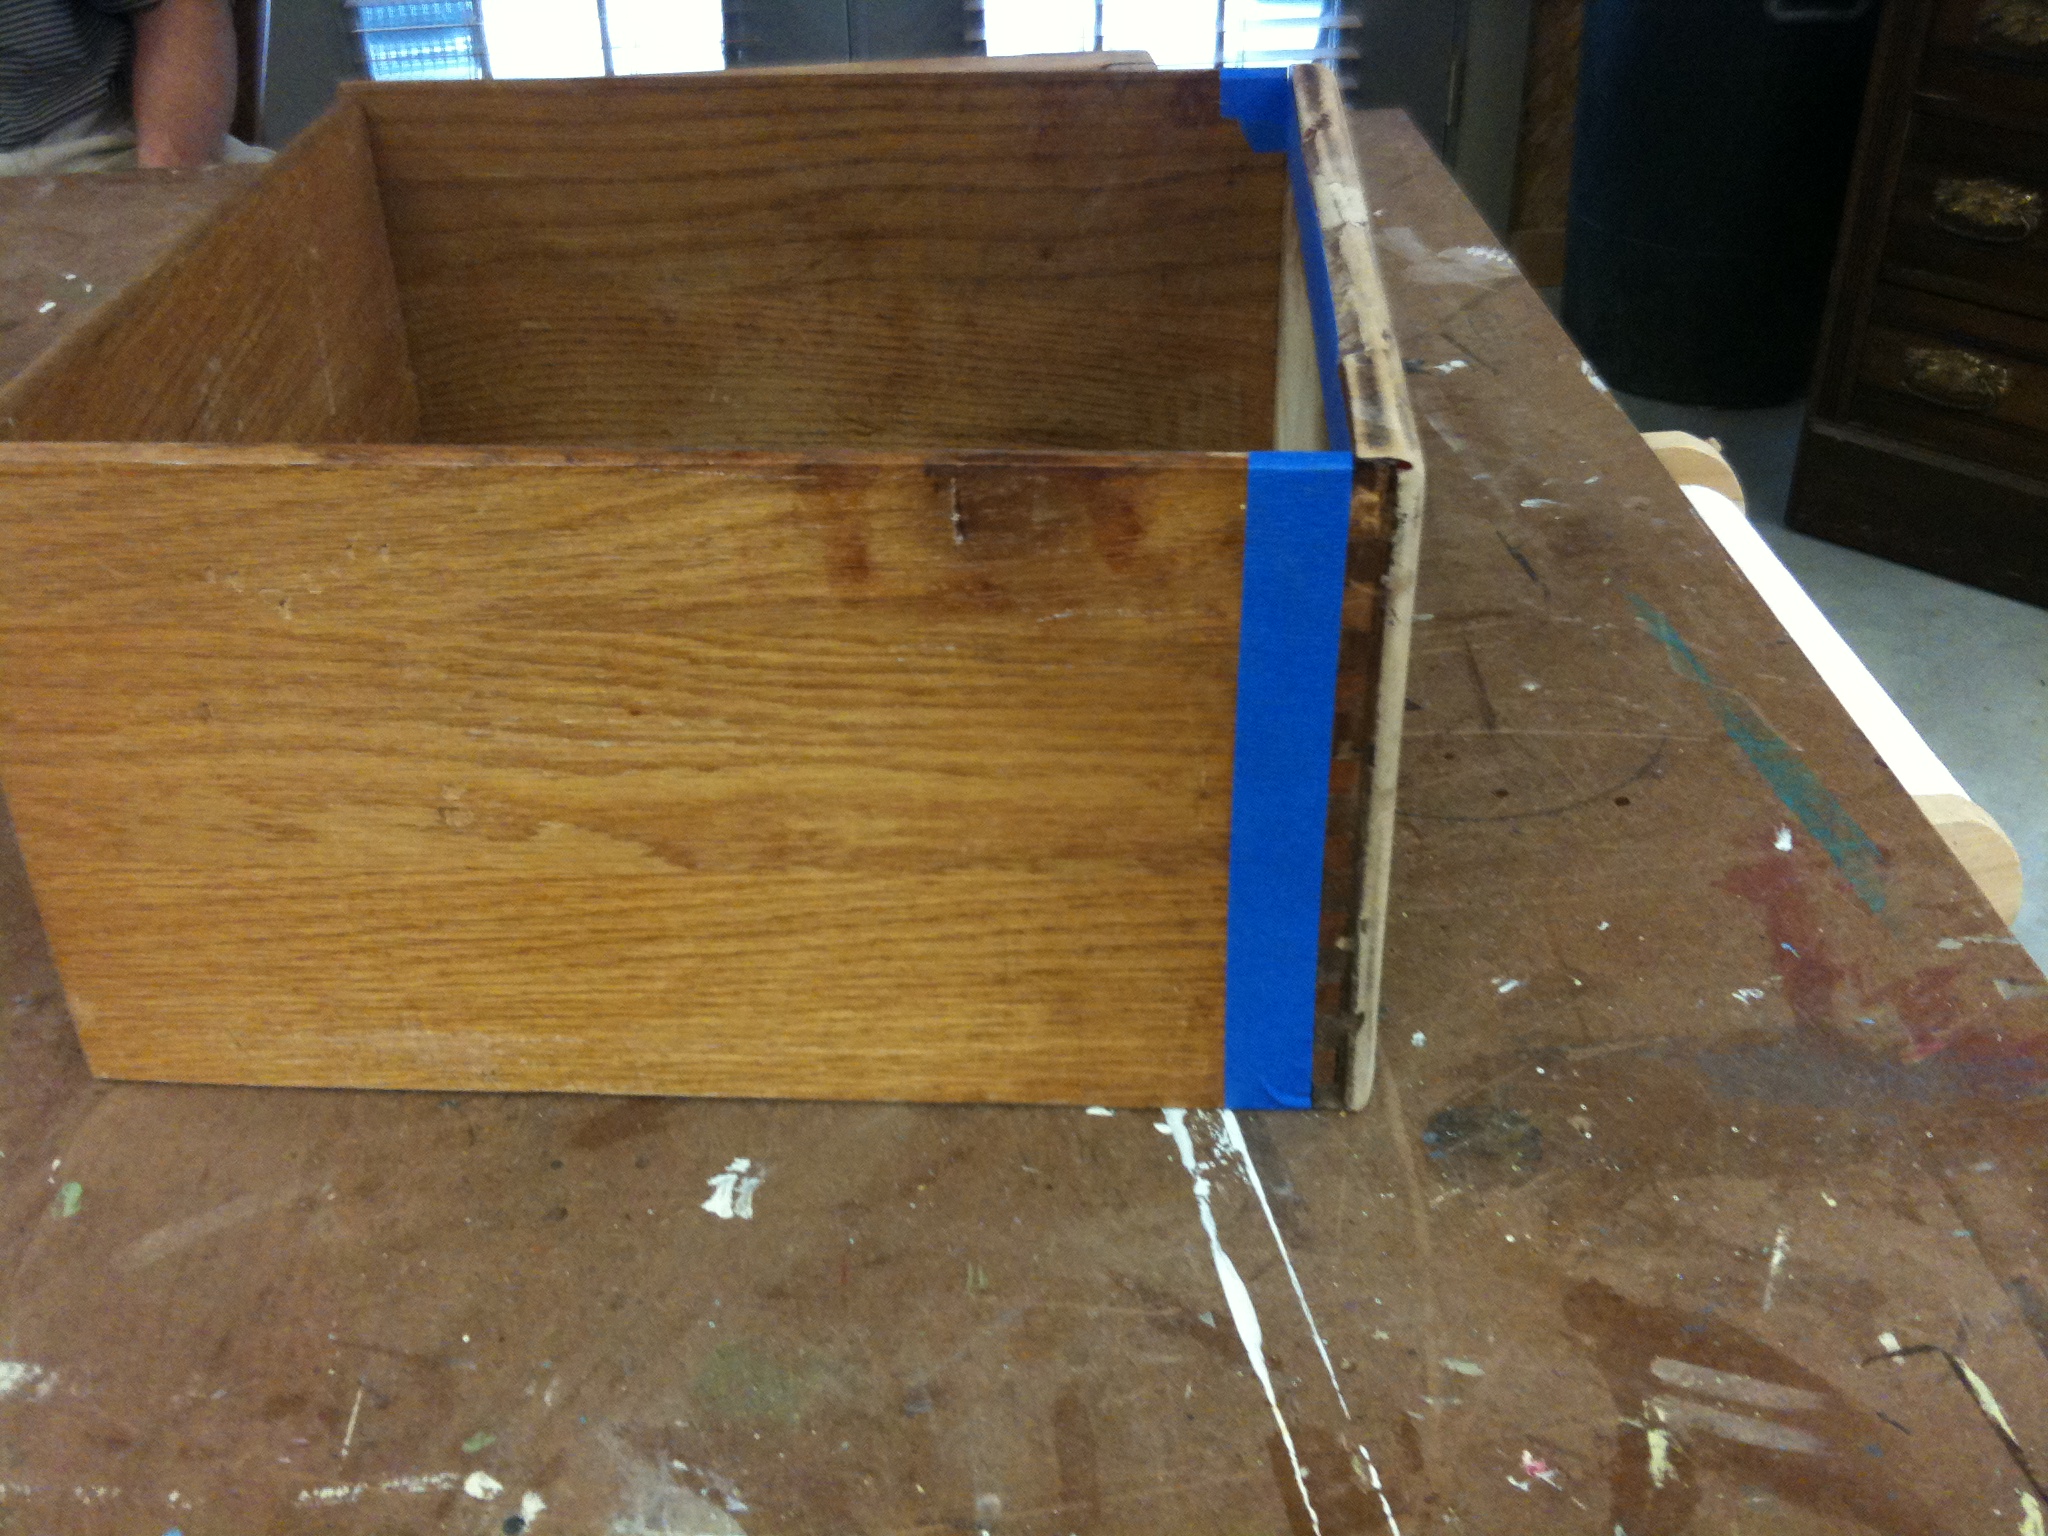
You can also see in the picture above that I taped off the insides before painting. Just like when painting the dressers, I wanted to leave the insides paint-free to keep the drawers from sticking. I taped off the edges of the drawers, too, so that I only had to paint the fronts.
The color choice for this piece? RED!
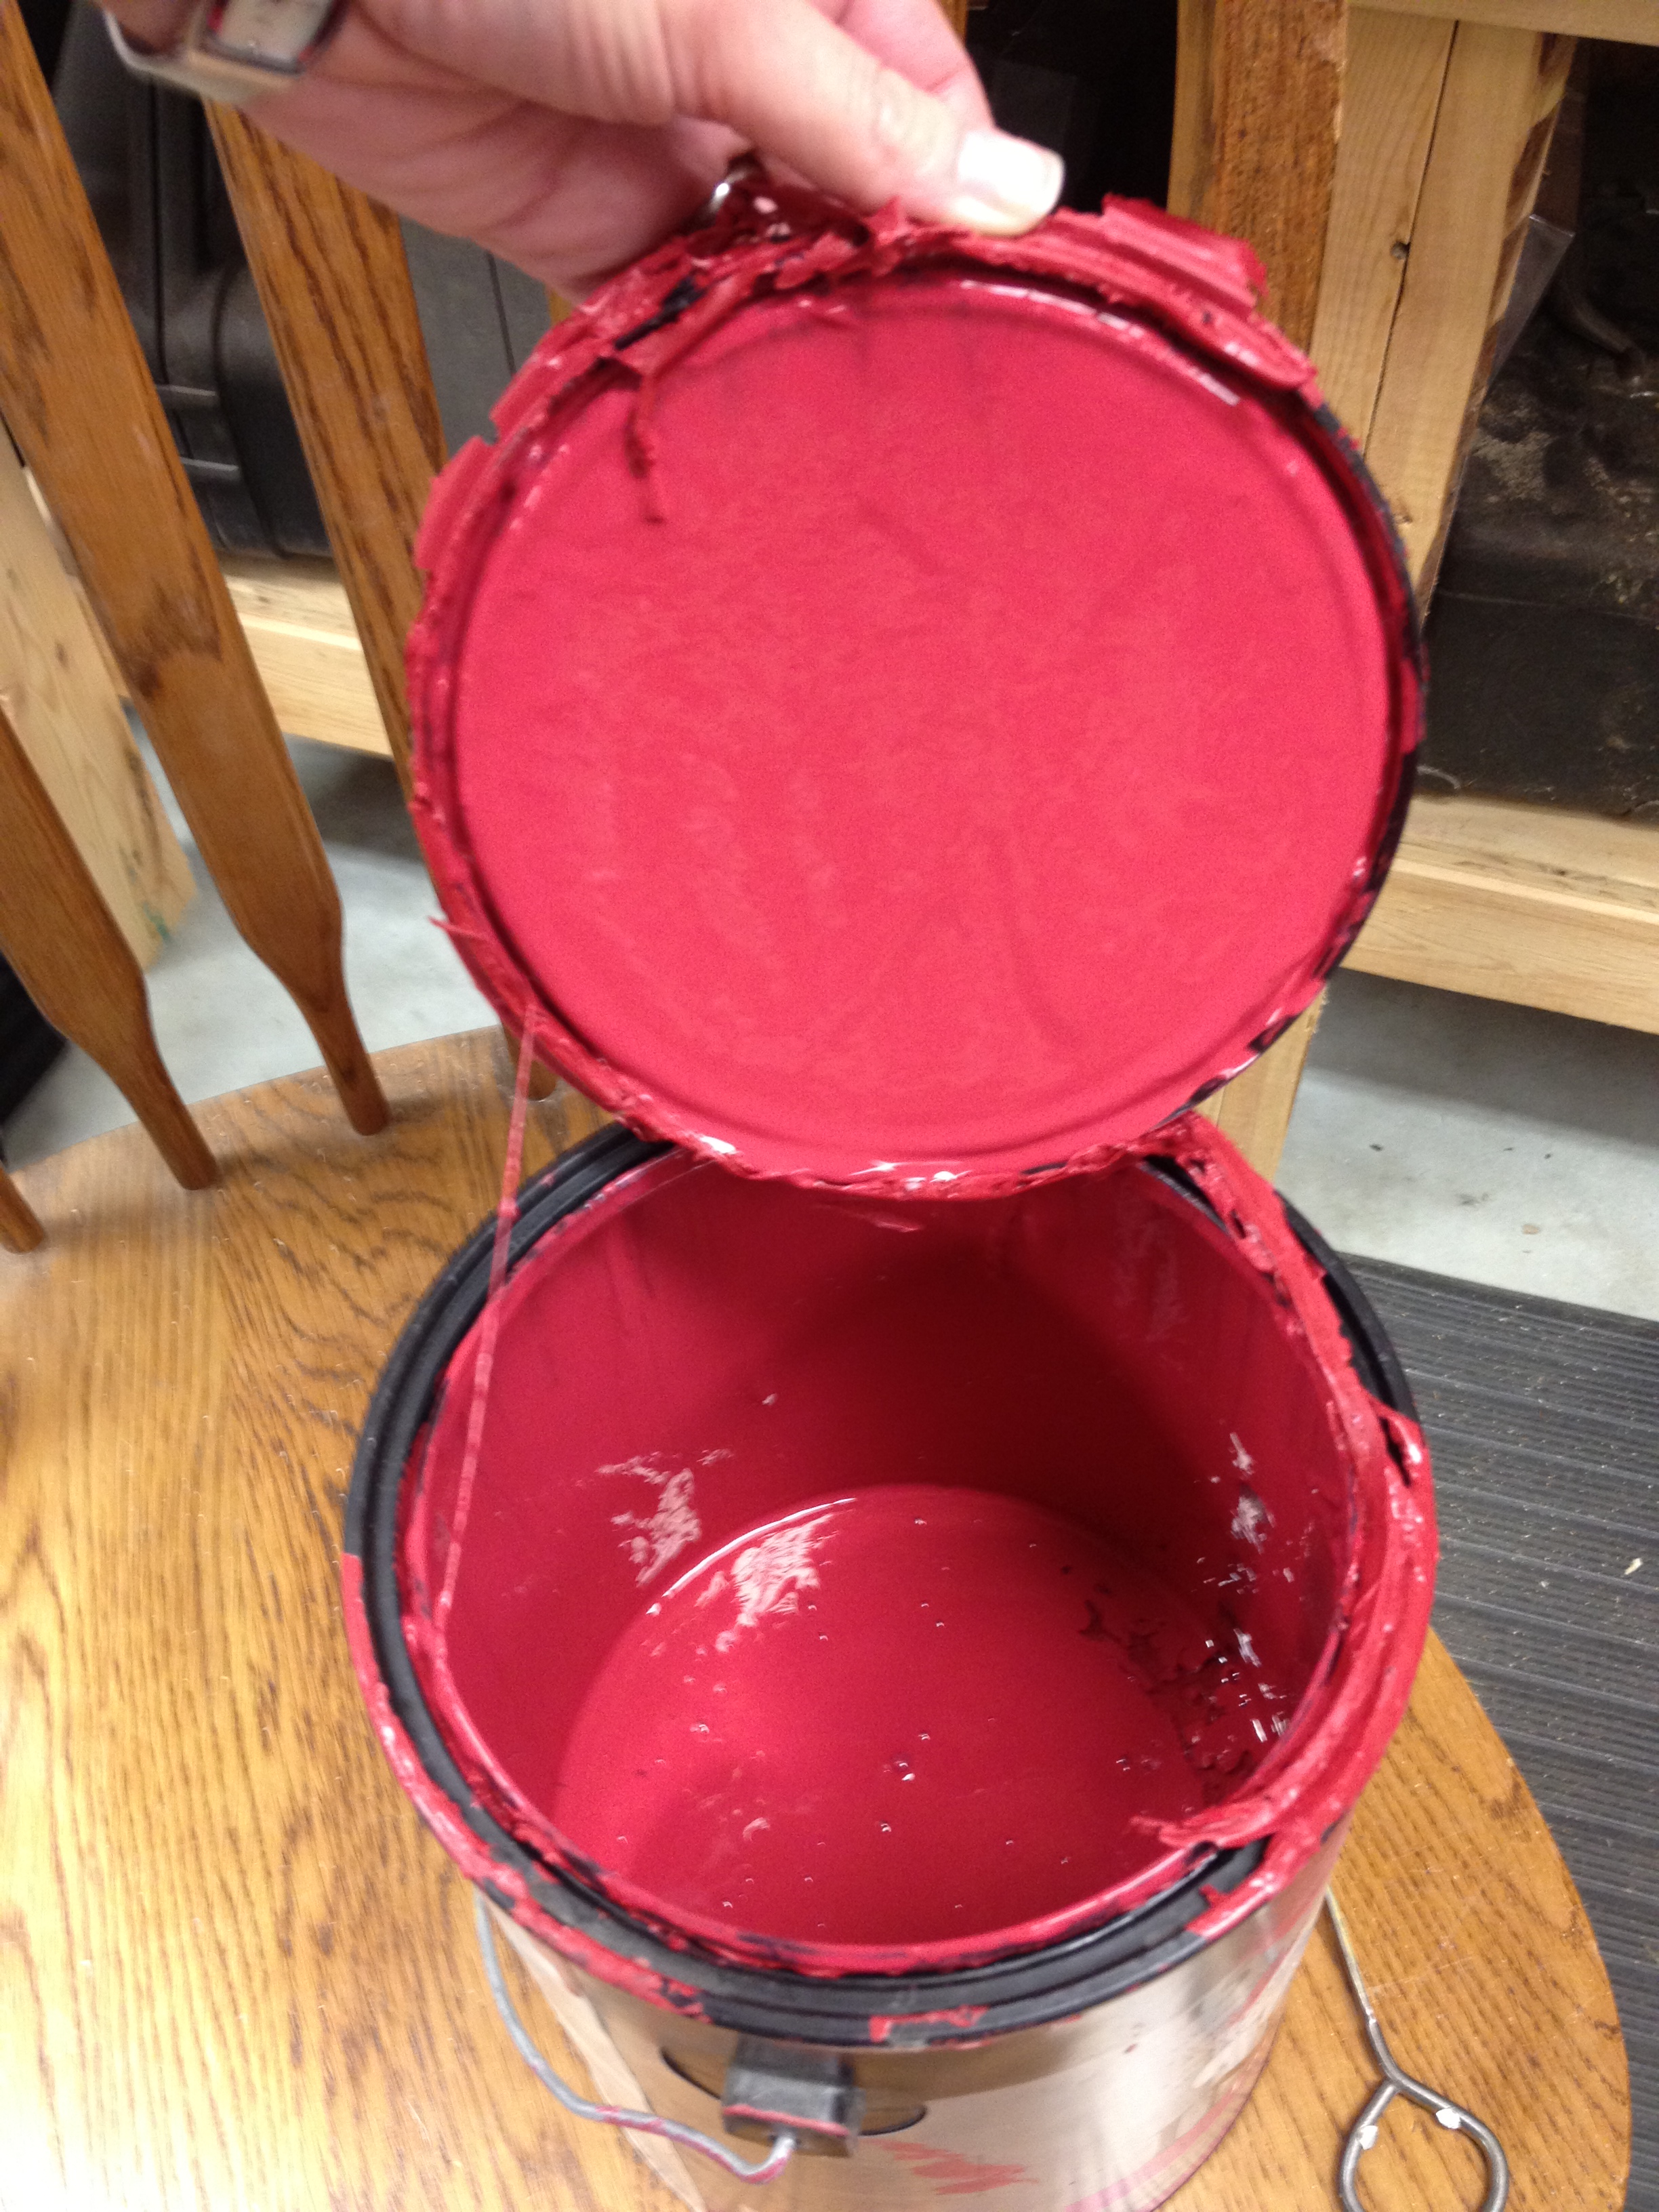
Red is by far the hardest color to paint. And it never looks good in the can. I've painted enough things red to keep from freaking out when I open the paint can and it looks bright pink. It always does, but that is NOT the way it will look after several coats.
Here's a trick I learned a few years ago when painting red: for the first coat, mix the red with a little bit of black. That way your first coat will be a darker shade that will kinda "ground" your color and keep it from looking too bright in the end. I've done this lots of times now and it never fails, after the first coat my dad always says, "Why are you painting it purple?"
I knew I was going to end up glazing this piece, but this tip works for distressing too. If you're painting something red and want to sand down the edges at the end, just tint your first coat of red a little bit darker. Don't use solid black or solid brown - you'll have to do lots and lots of coats of red to cover it up!
Here's the first coat with black mixed in on one of the doors. The doors were kinda a pain since both sides had to be done. I always lay down wax paper when I flip them over so that it doesn't stick if it's still not completely dry.
Red's the hardest color because of how many coats it takes to get a good, even color. I think I did a total of three red coats (after the first coat with black mixed in). If I were leaving it plain red without any glaze on it, I might've done a fourth coat just to be sure.
I did not do a good job of taking pictures between coats. Sorry. This one below is after all the coats of red and after I had added a coat of glaze. I did not use the same glazing method as this dresser. For this one, I used a dry brush and lightly brushed it on. I did not want it darker in any areas, but instead wanted an even coat. You probably can't even see the glaze much in this picture. Mostly, it just toned the bright red down a bit.
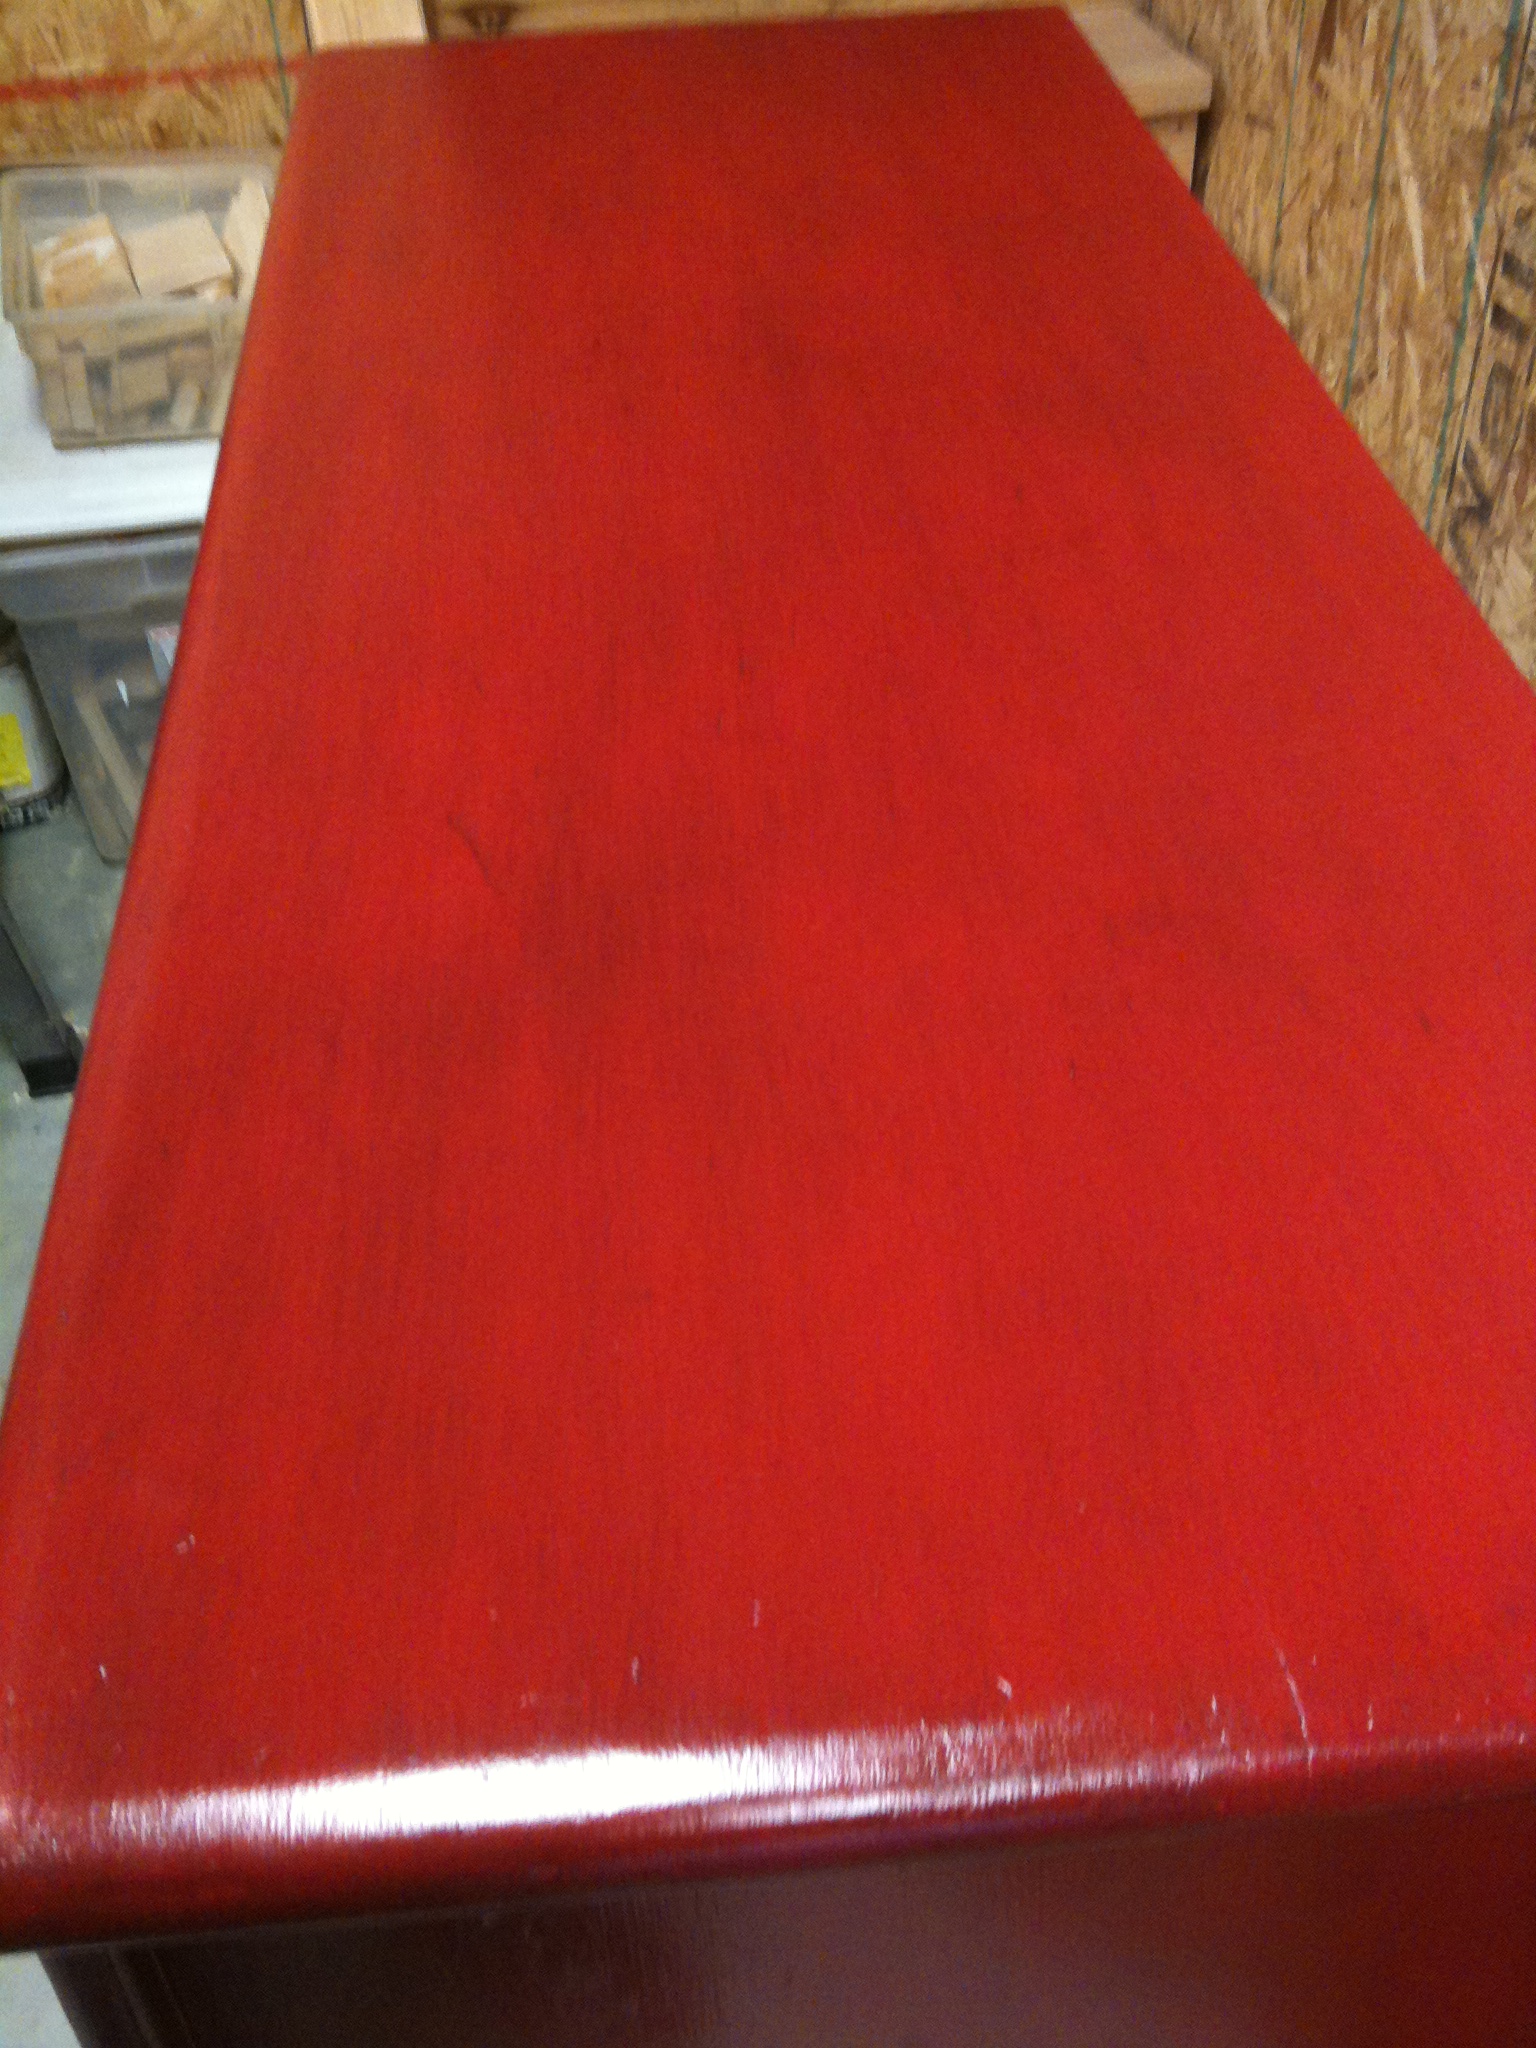
You can see the glaze better on this picture of the top. Thankfully, after several coats of paint, a lot of the scratches and carvings disappeared. You can still see some of them, but not nearly as many.
I finished the paint job off with a coat or two of oil-based polyurethane.
The last steps were new hardware and re-attaching the doors. If possible, I always try to use the original hinges on something like this, mostly because finding hinges in the right size is usually hard to do. I put my dad in charge of hinges and attaching the doors. I'm glad I did because he had a hard time putting them back on!
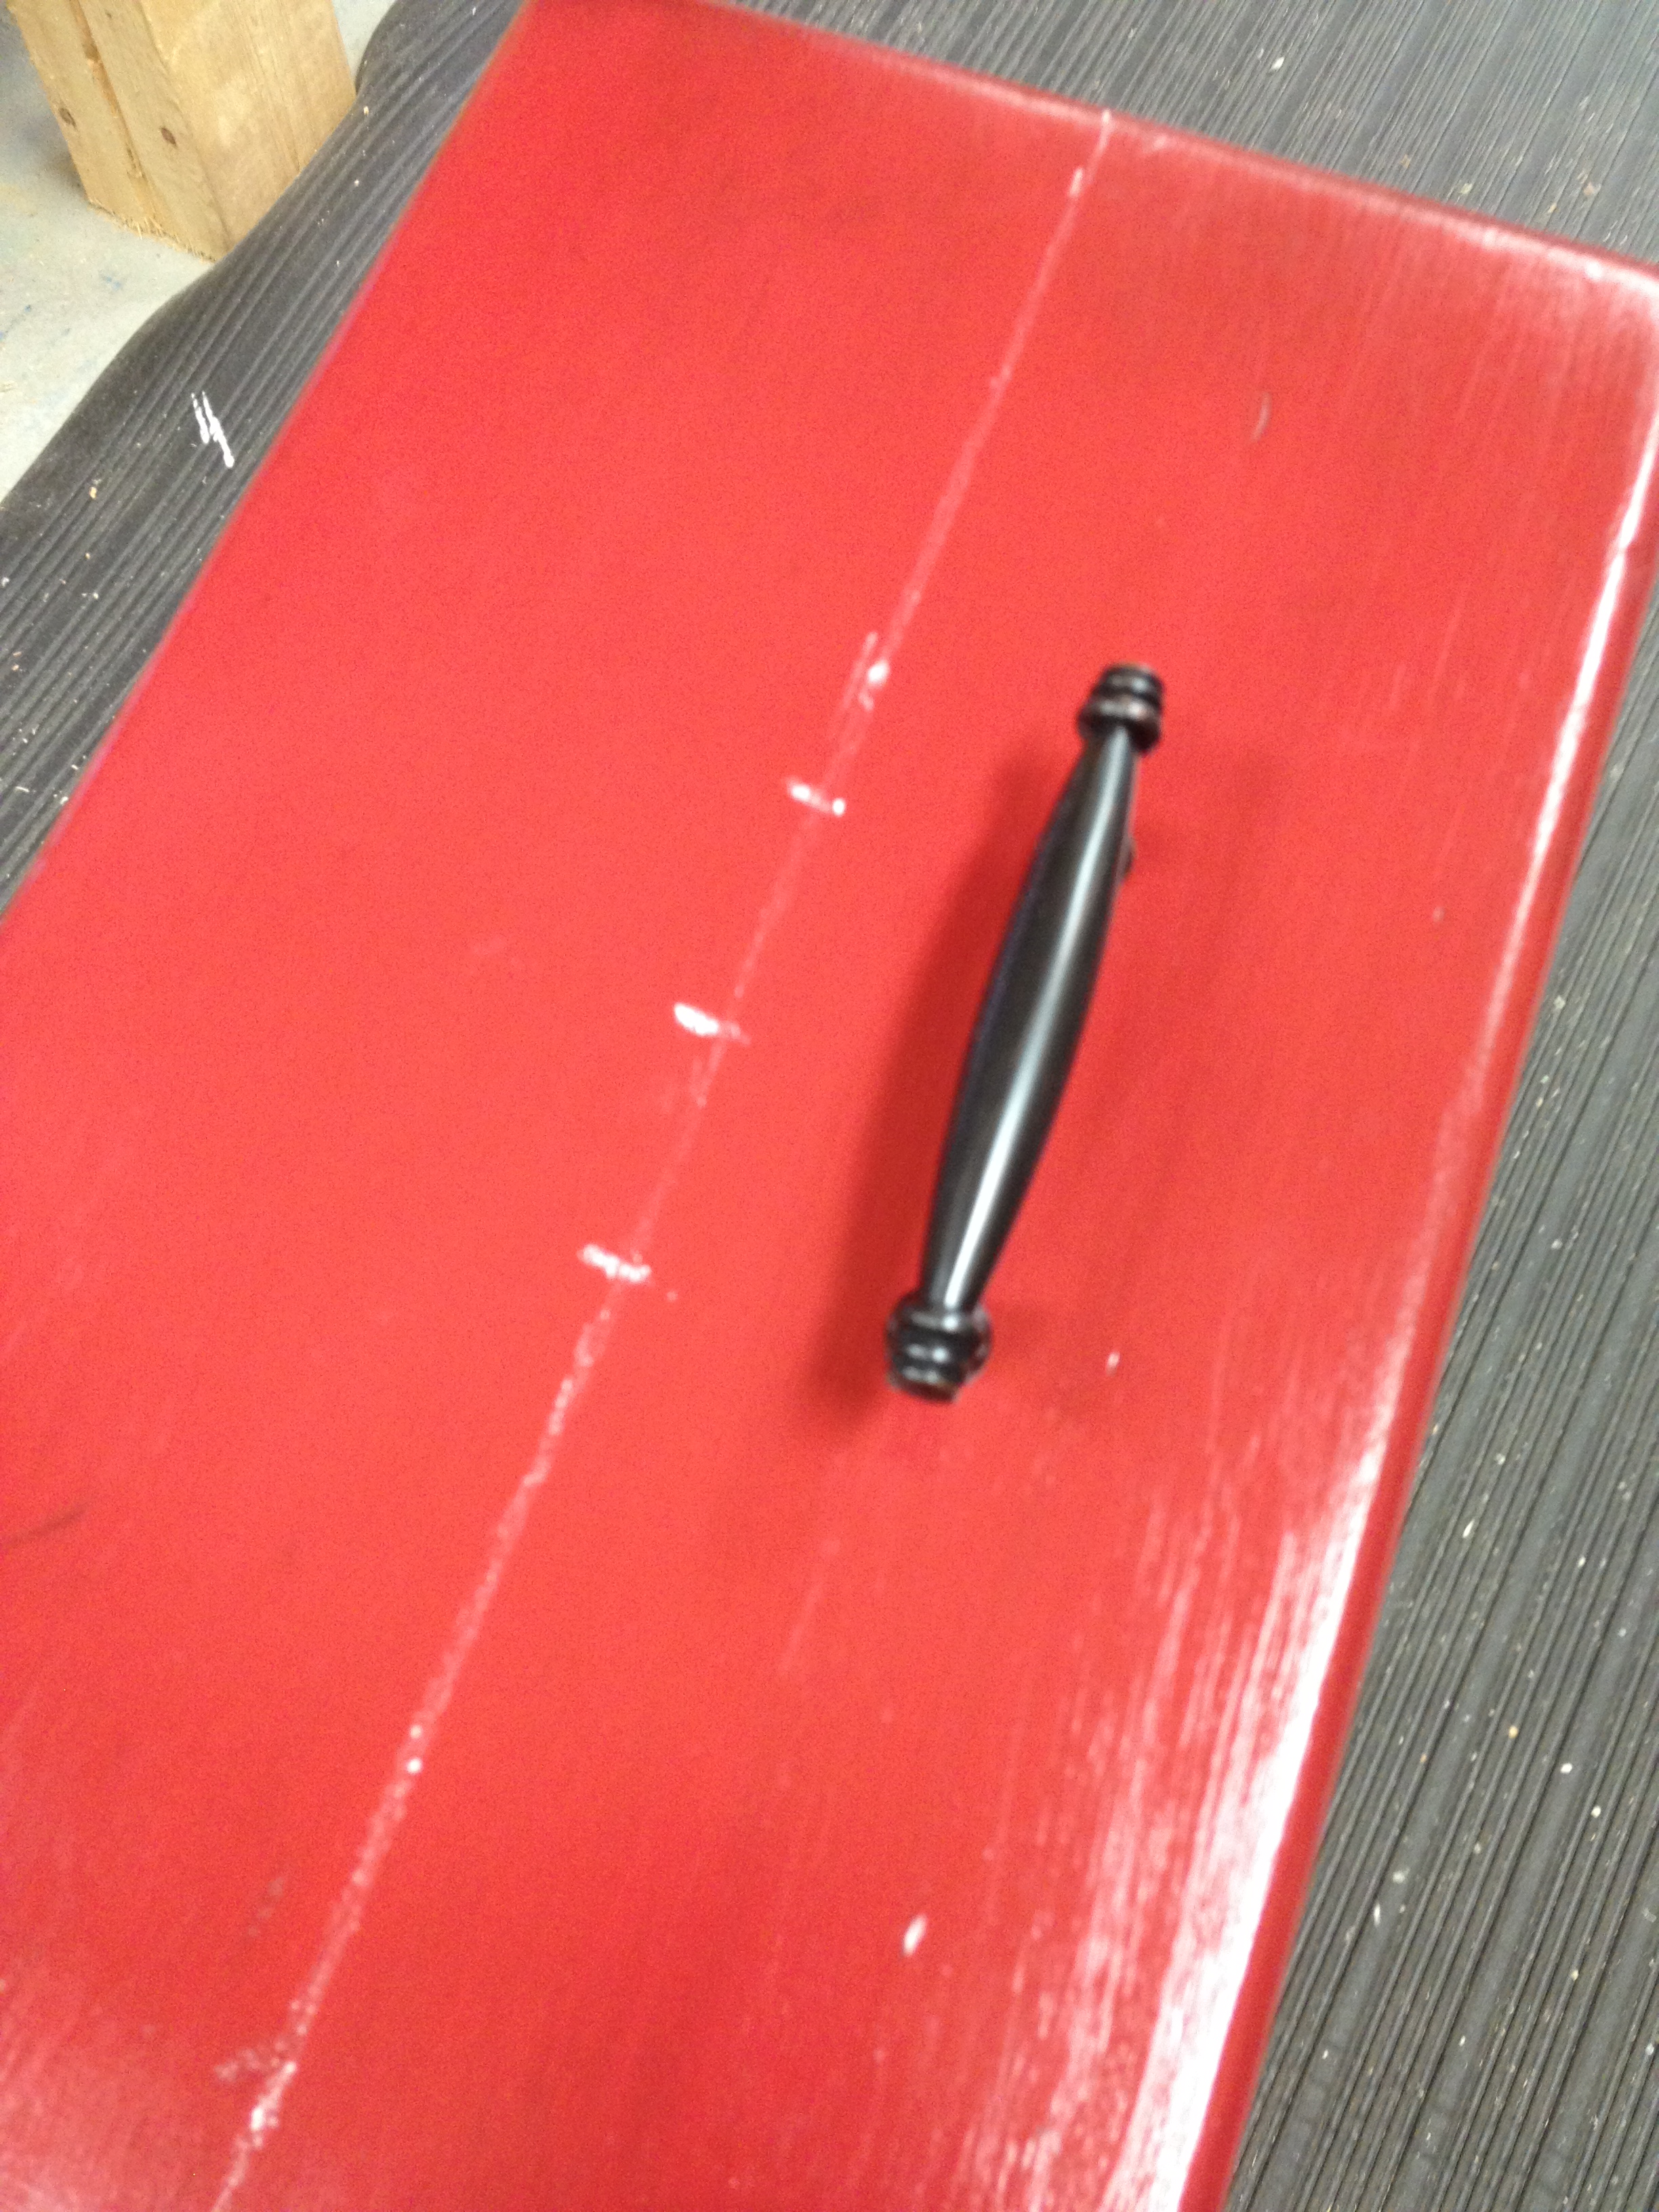
While he worked on the doors, I put new hardware on the drawers. Because of the streaks of glaze, I couldn't see my pencil marks so I had to switch to using chalk for my measurements. I don't recommend this. It's hard to get an accurate line with a piece of chalk! (Is it just me, or does chalk never write where you think it's going to?) I got REALLY lucky when the pulls fit on both drawers on the first time. Phew!
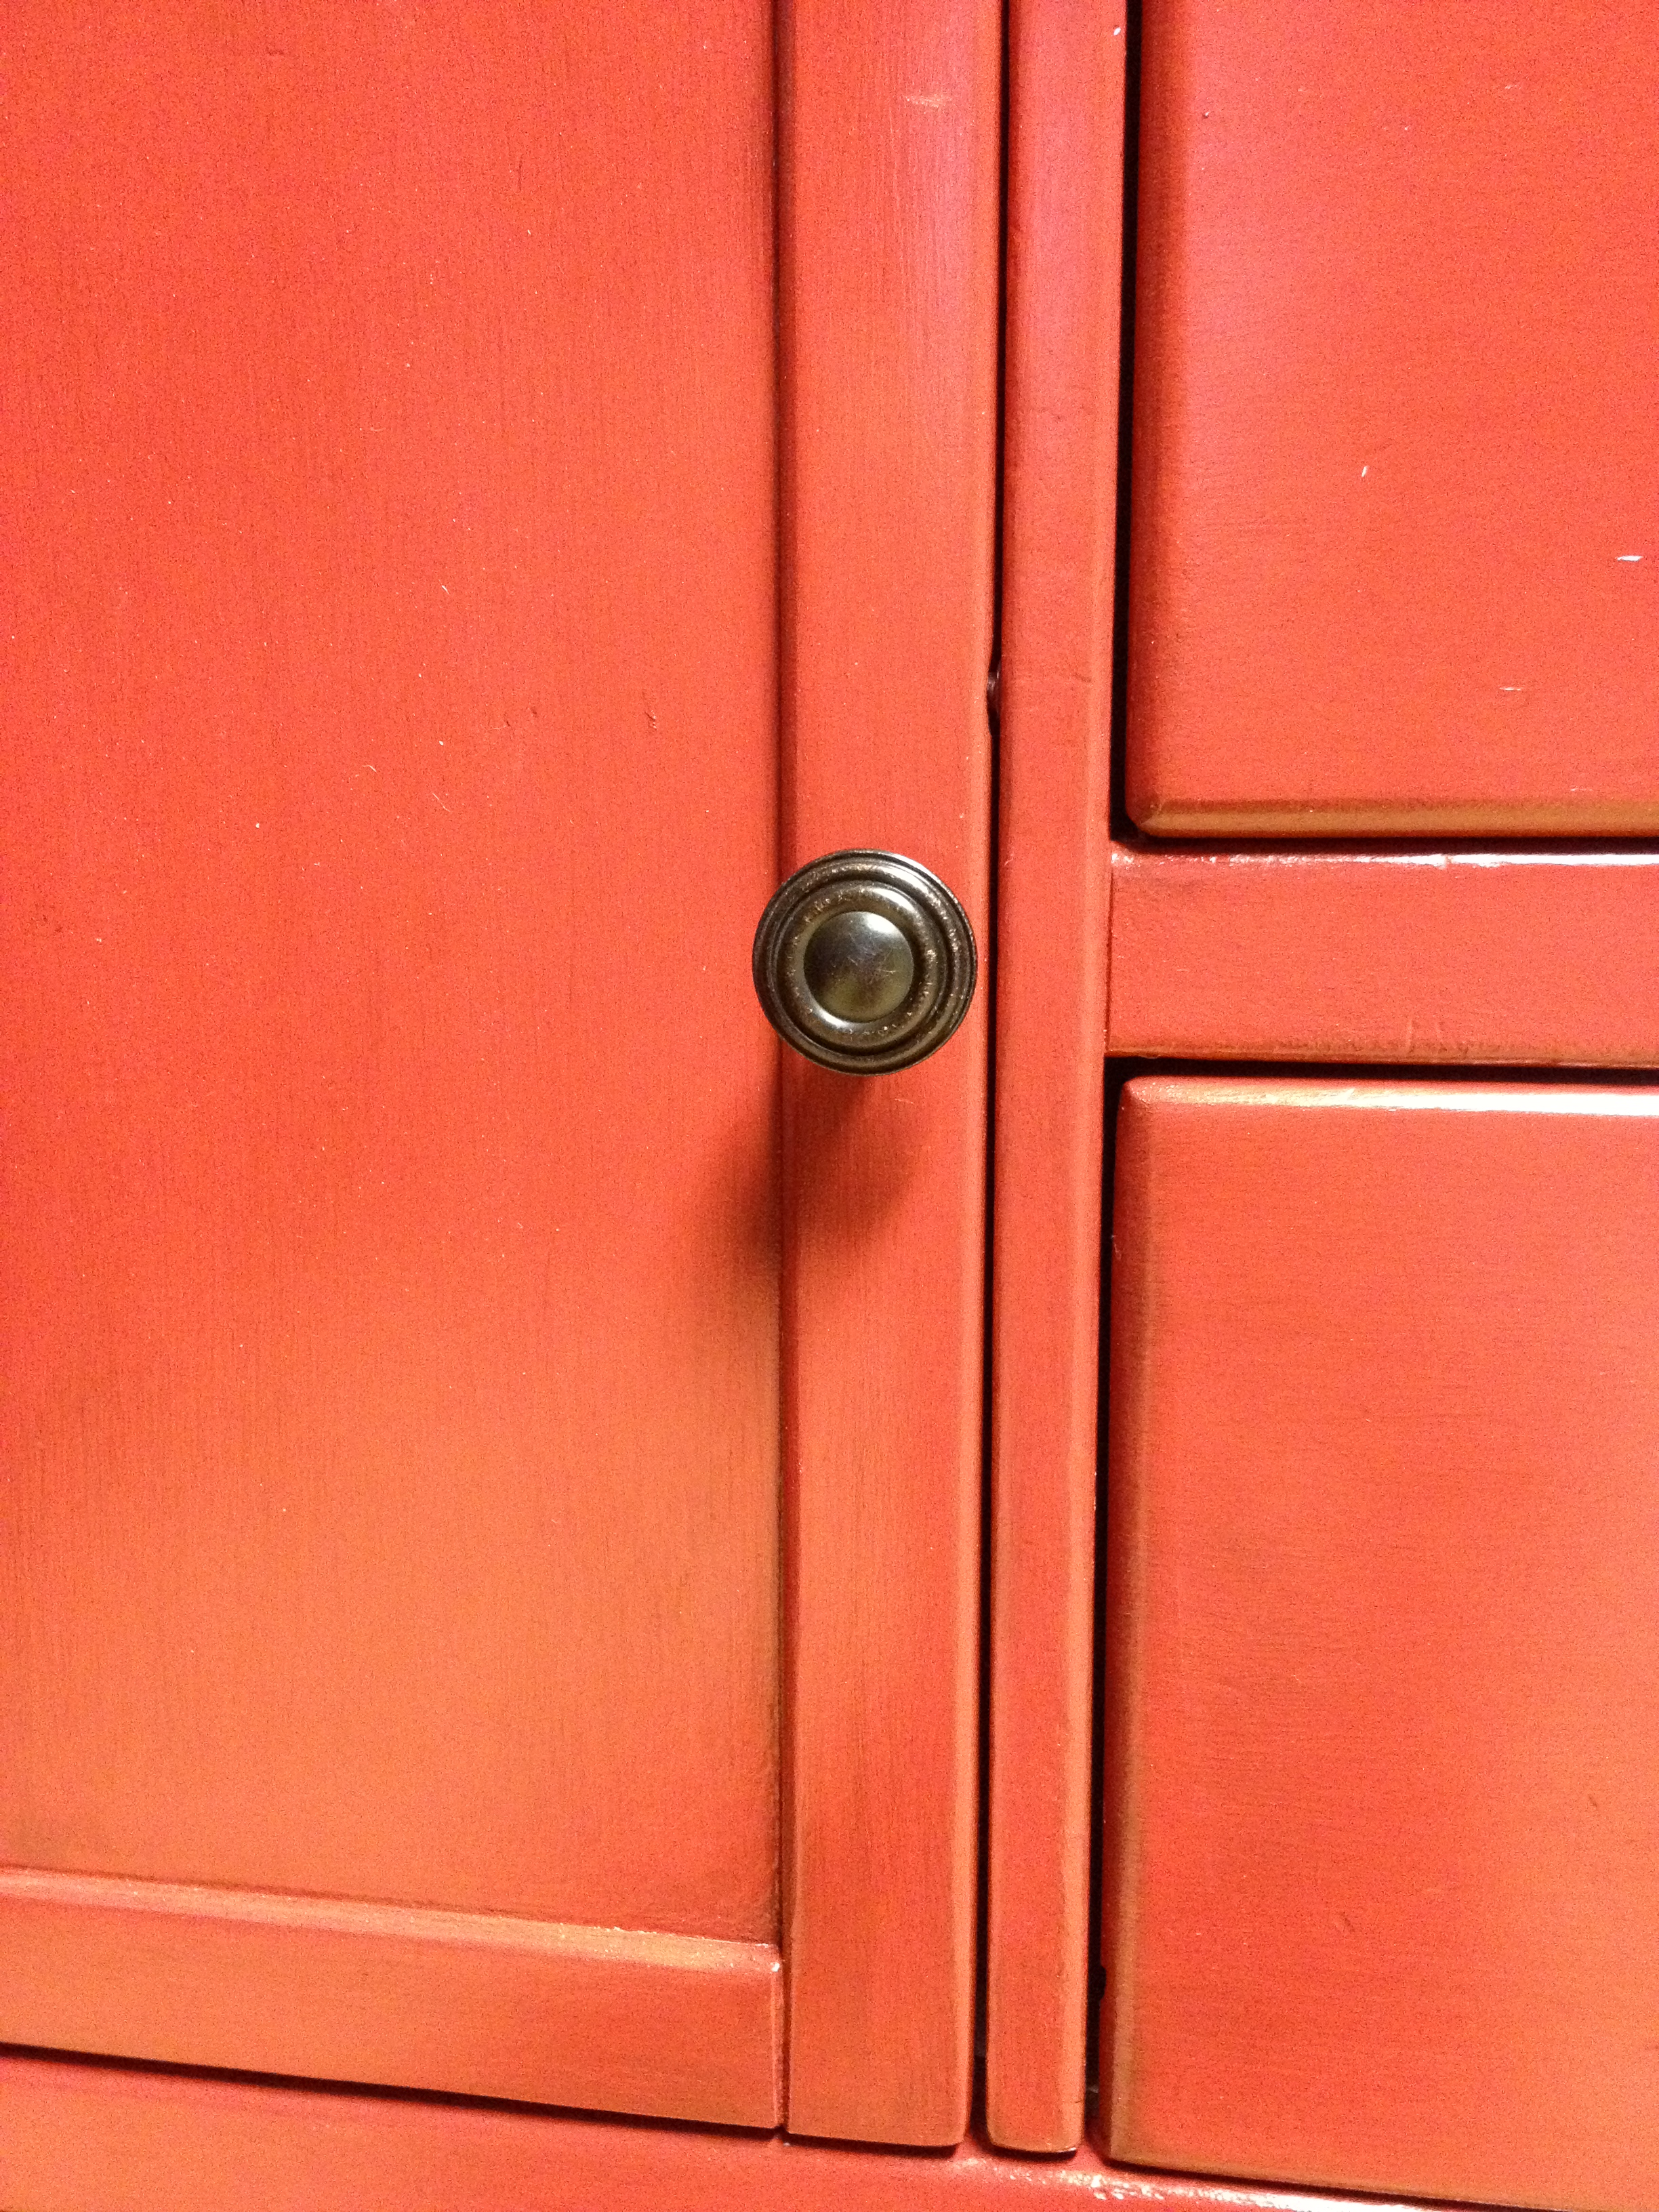
We chose a black metal for the hardware. The door knobs matched the pulls.
Ok, like usual, before I show you the After, let's revisit the Before.
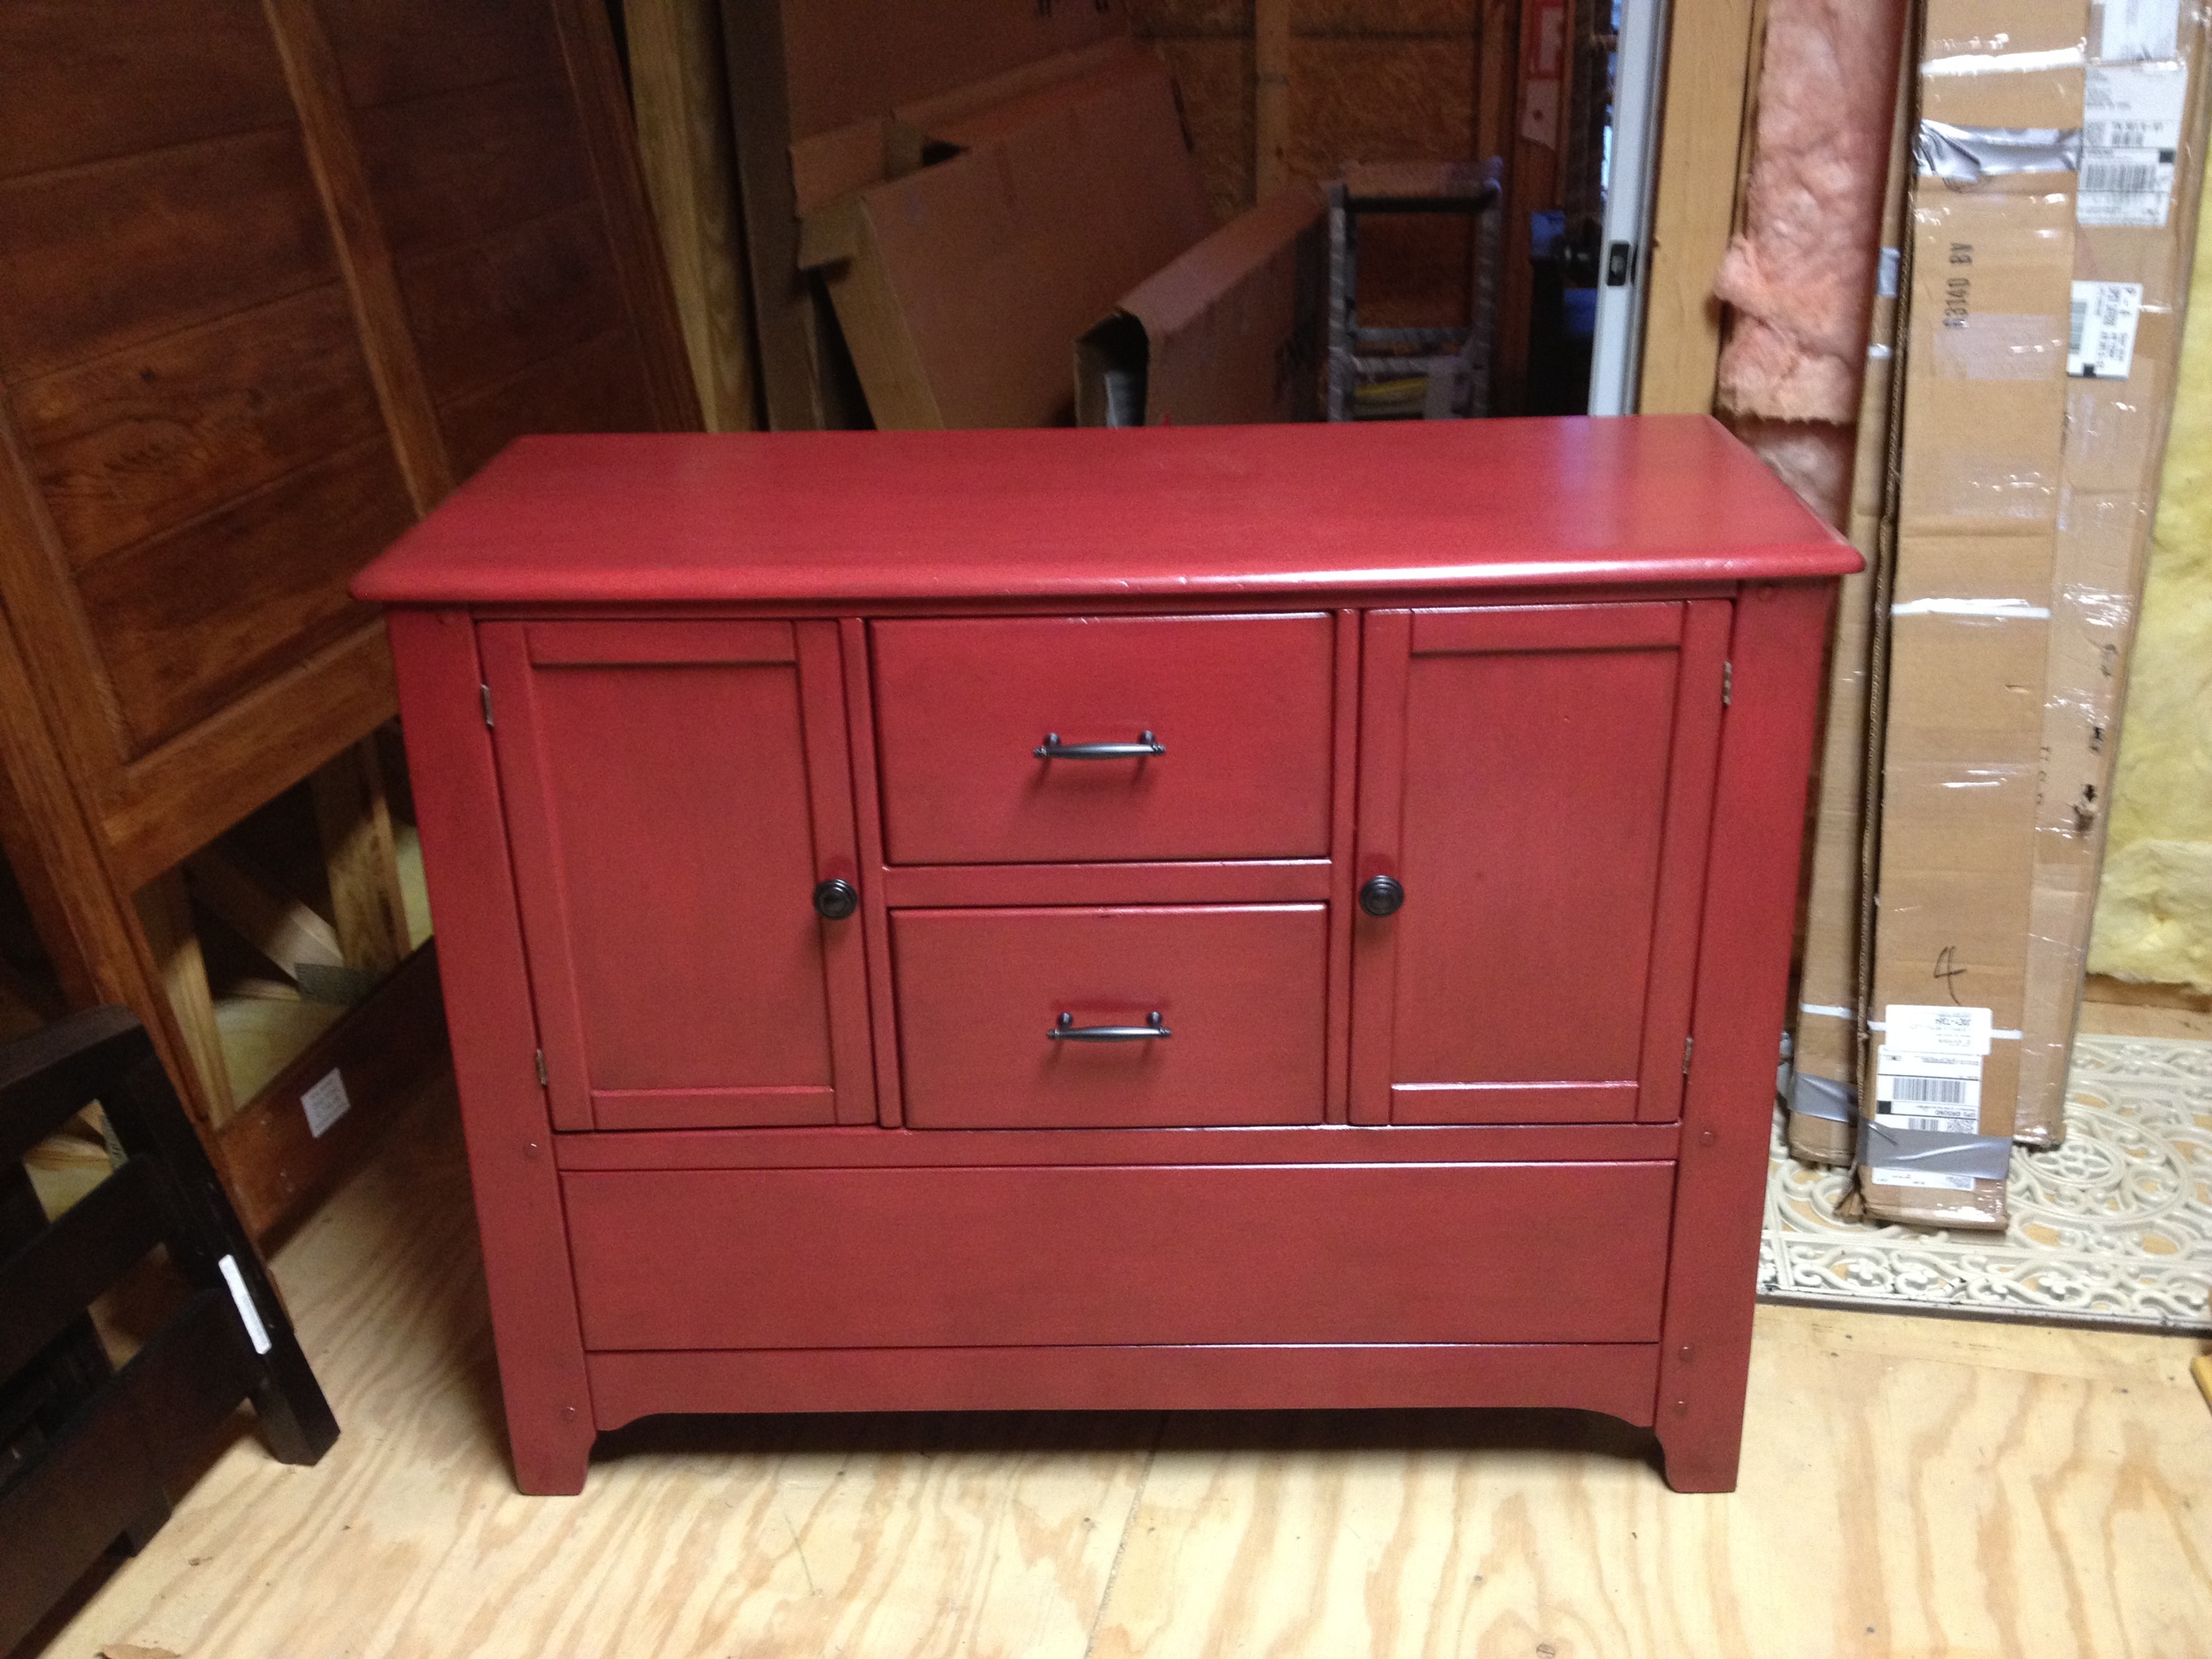
Here she is!
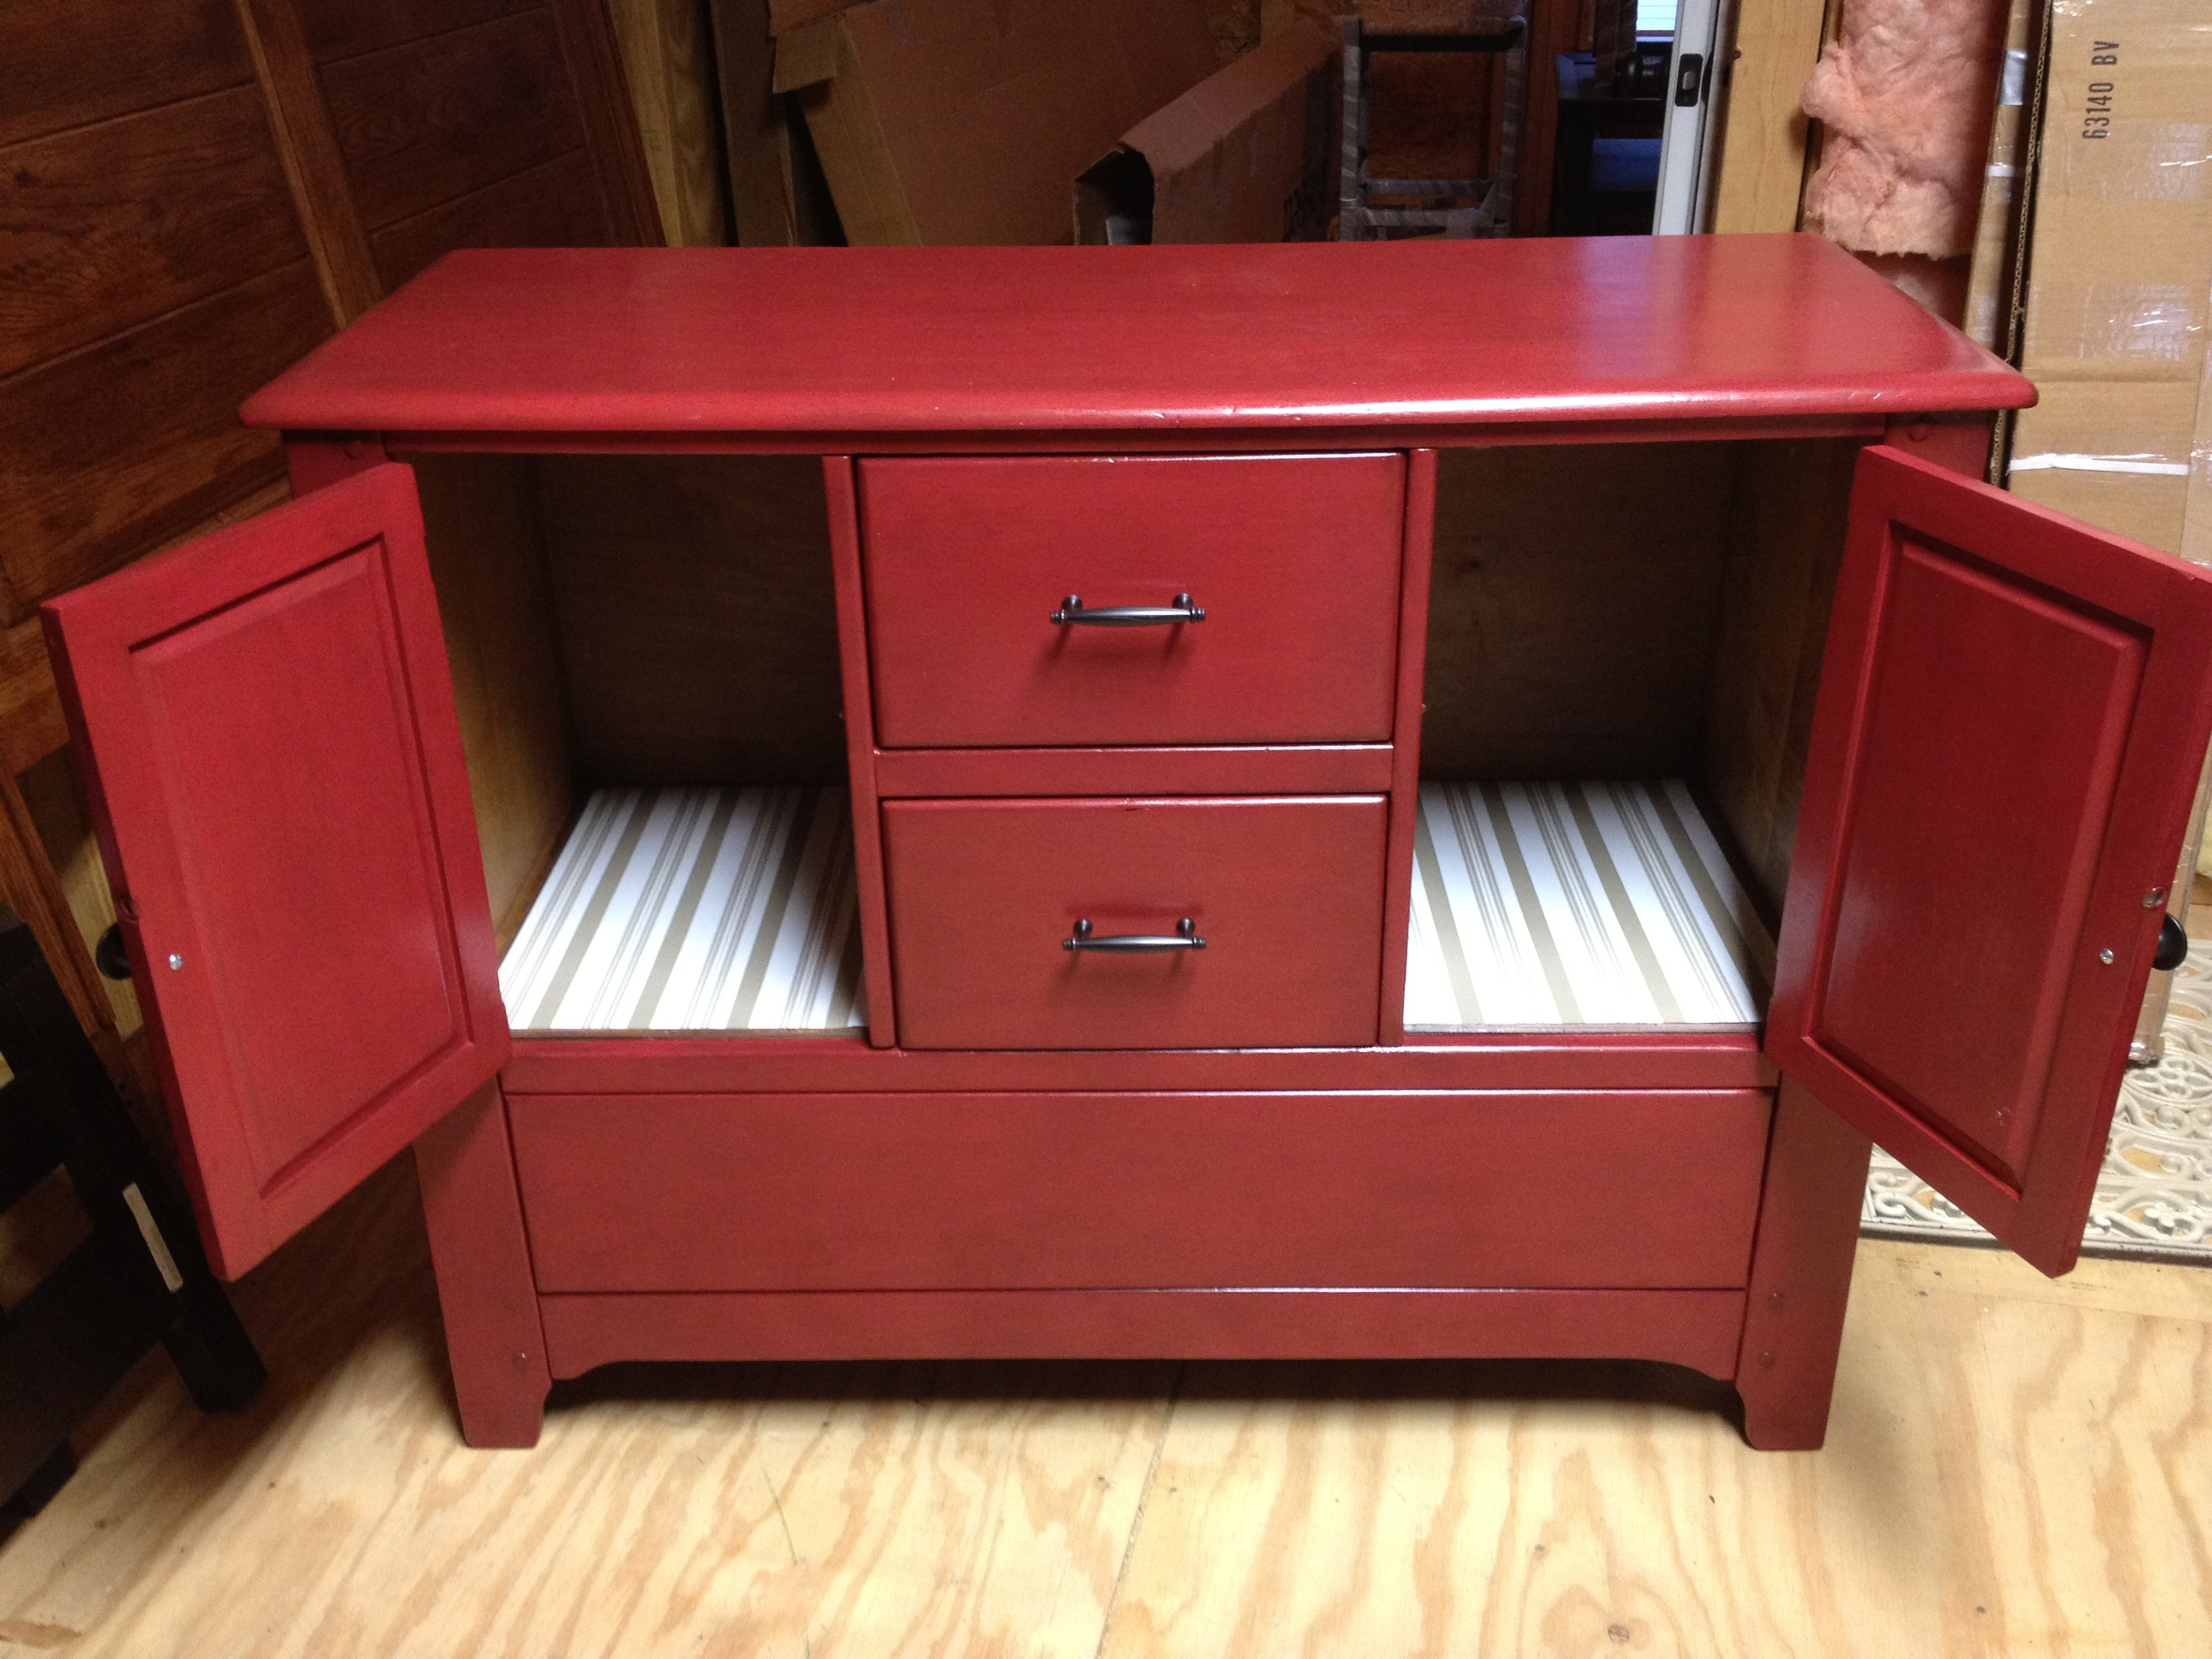
Before again, this time with doors open.
And After, with doors open.
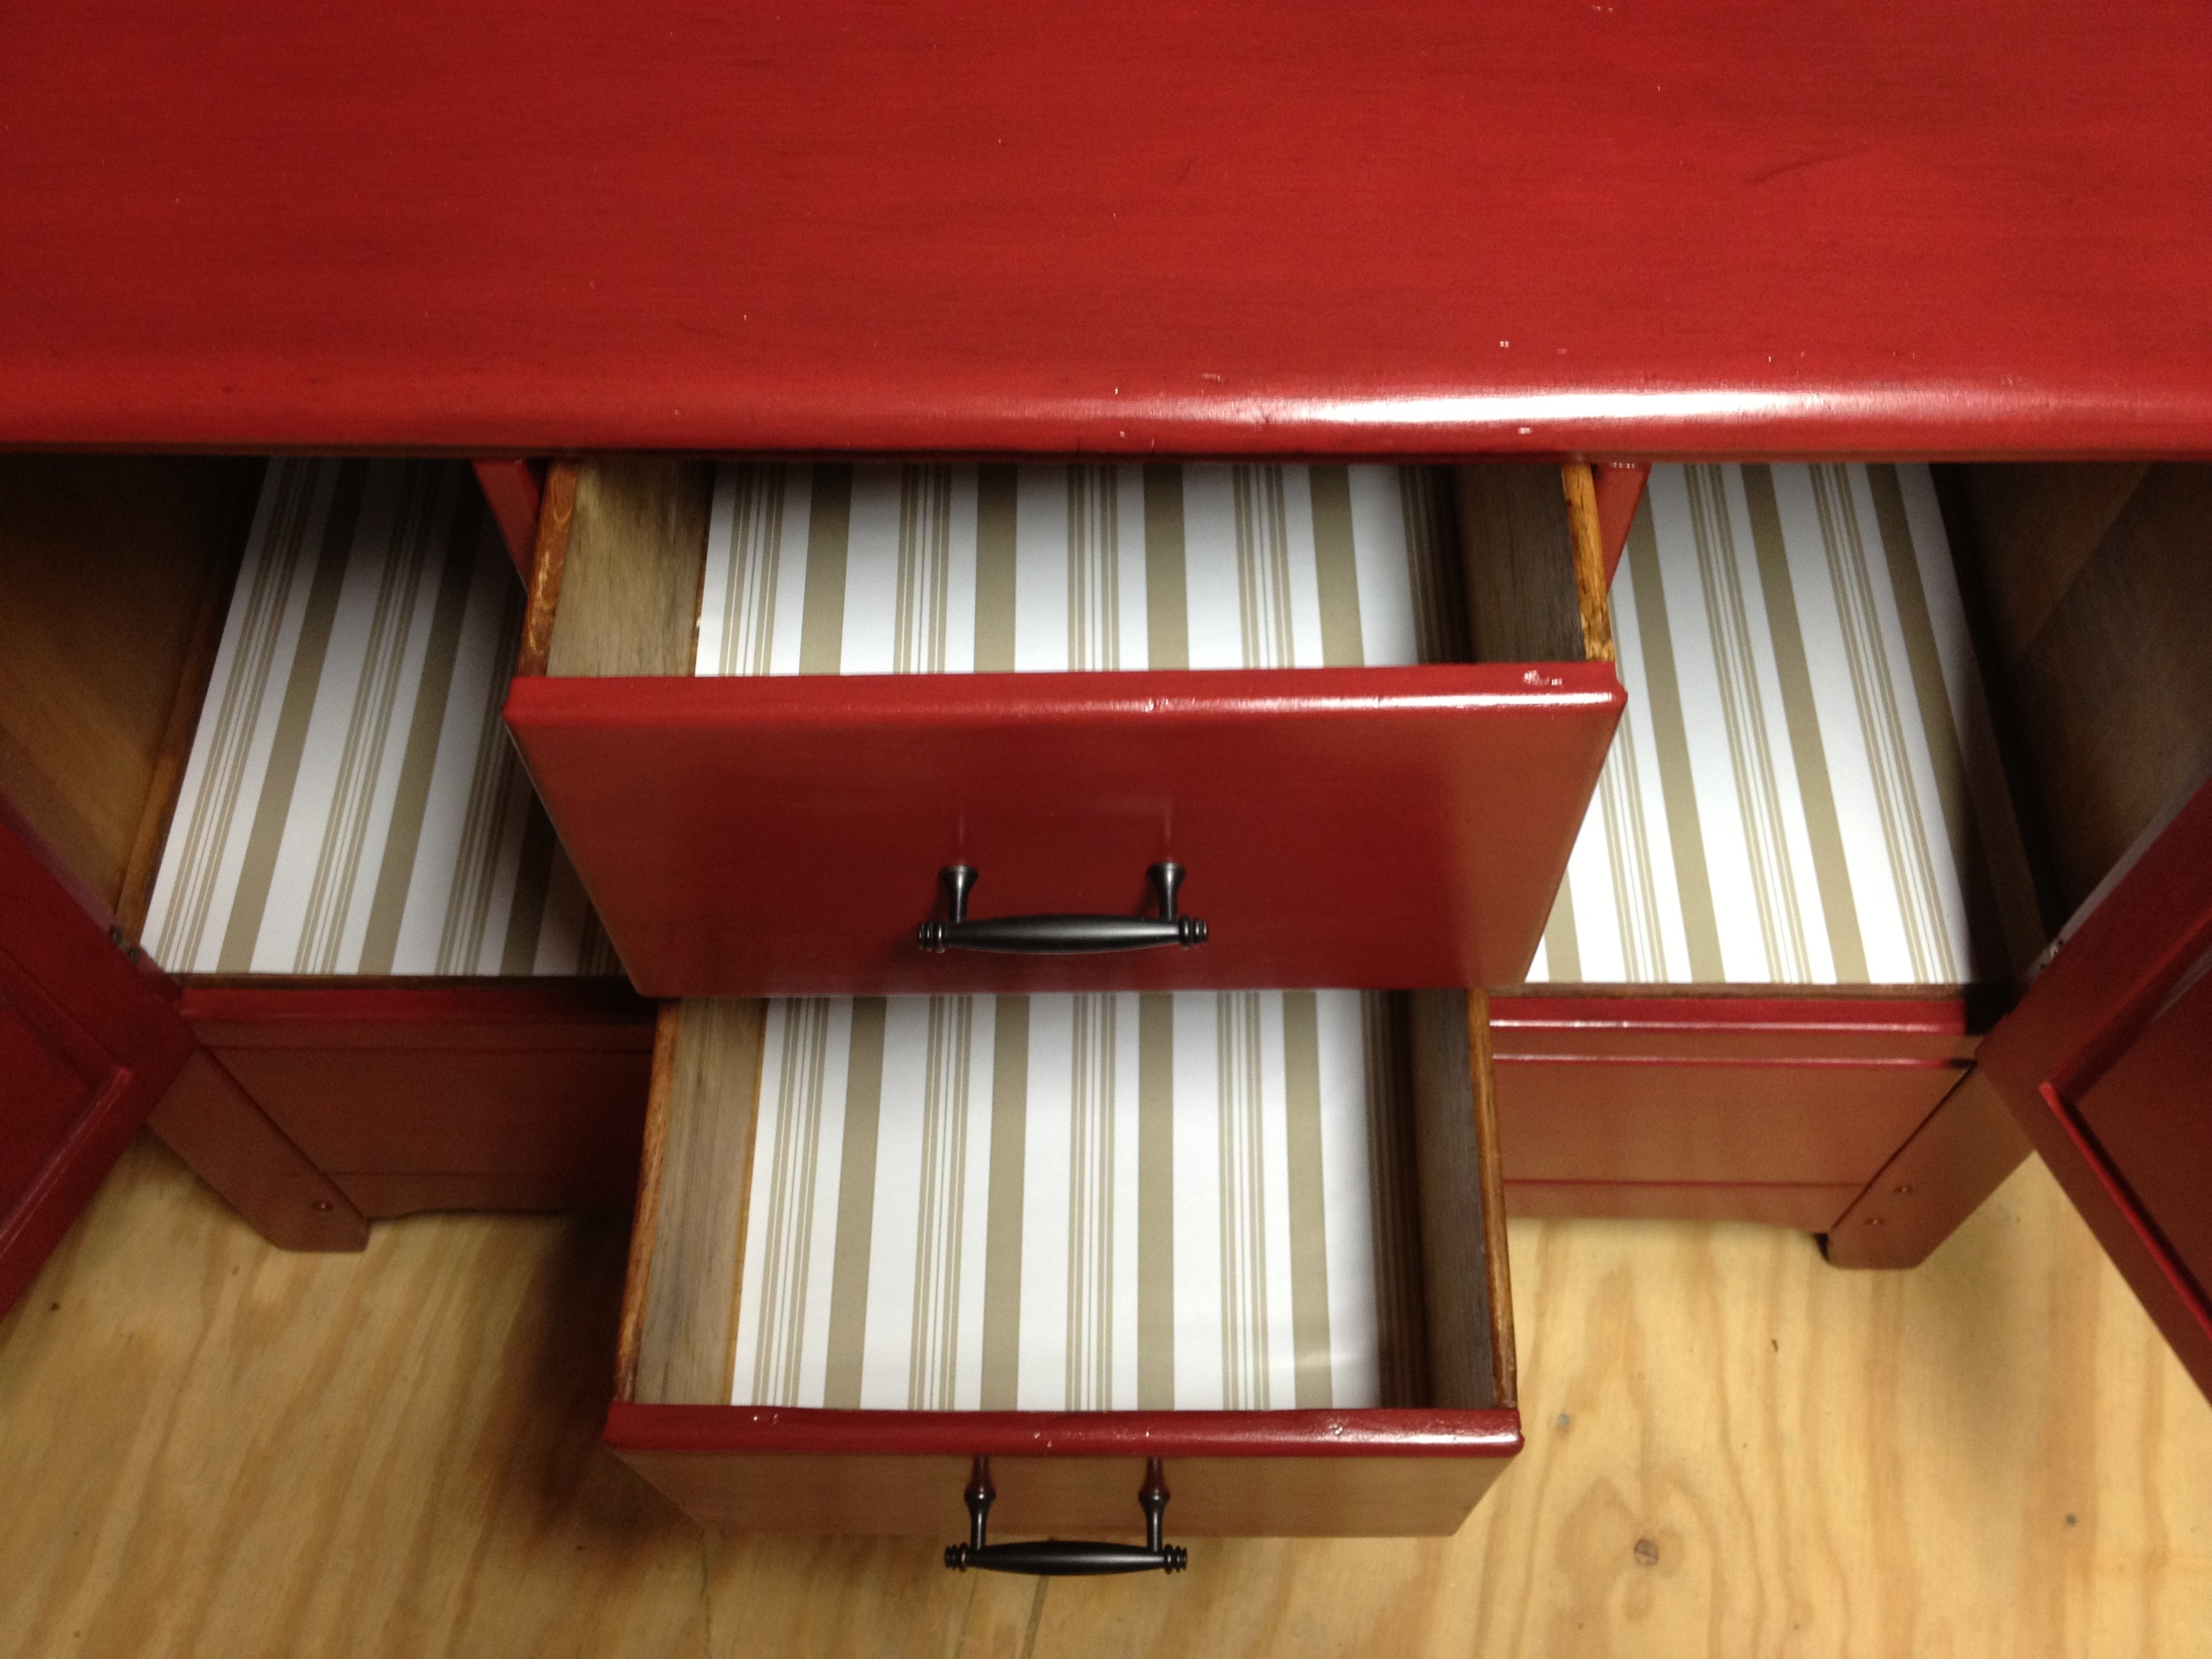
I guess I forgot to mention that I added some contact paper. That was really my last step. It's really not that cute. I found some really cute contact paper online that would've looked great with the red, but I'm too much of a cheapo. This stripe was a Fred's and I decided it was good enough. I added it to the drawers too.
For now, my Cinderella buffet is hanging out in the attic with the rest of the beach house furniture. I can't wait to see her in the dining room, especially since she'll be sitting up against a nice planked wall!
Care to tell me what you think? Like it? Know a better way to paint red? Anyone need four chunky, wooden pulls? I've got some for you if you do...


