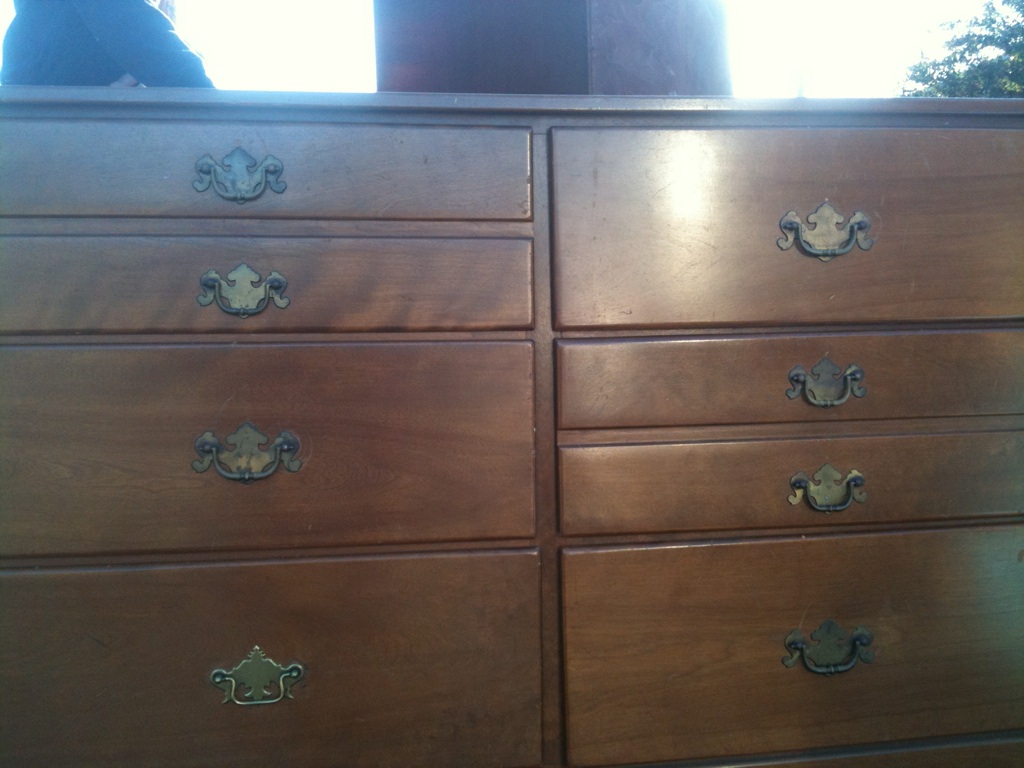
With the beach house quickly nearing completion, we are no doubt scrambling trying to get all of our furniture ready for move-in day. On my to-do list the past week has been to refinish two dressers that we'll use in the bedrooms. My mom found these at the yard sale that my church had. Apparently they've been hiding in the attic of the church parsonage for some time. I'm glad this is the year they decided to sell them because any other year we would've passed them by! The best part is that they are both solid wood and in GREAT condition. I think we ended up paying $80 total for both of them. I finished them both up this past weekend, but right now I'm just going to show you the one we'll be putting in the master bedroom. I forgot to take a true "before" picture, but I did find this one on my phone from when my mom originally texted me a picture to get my approval before purchasing.
She's a beaut, Clark. Obviously, the drawers are not in the right slots and if you look closely, you'll notice that the drawer pull on the bottom left doesn't match the others. Didn't bother me since I planned on switching those out anyway.
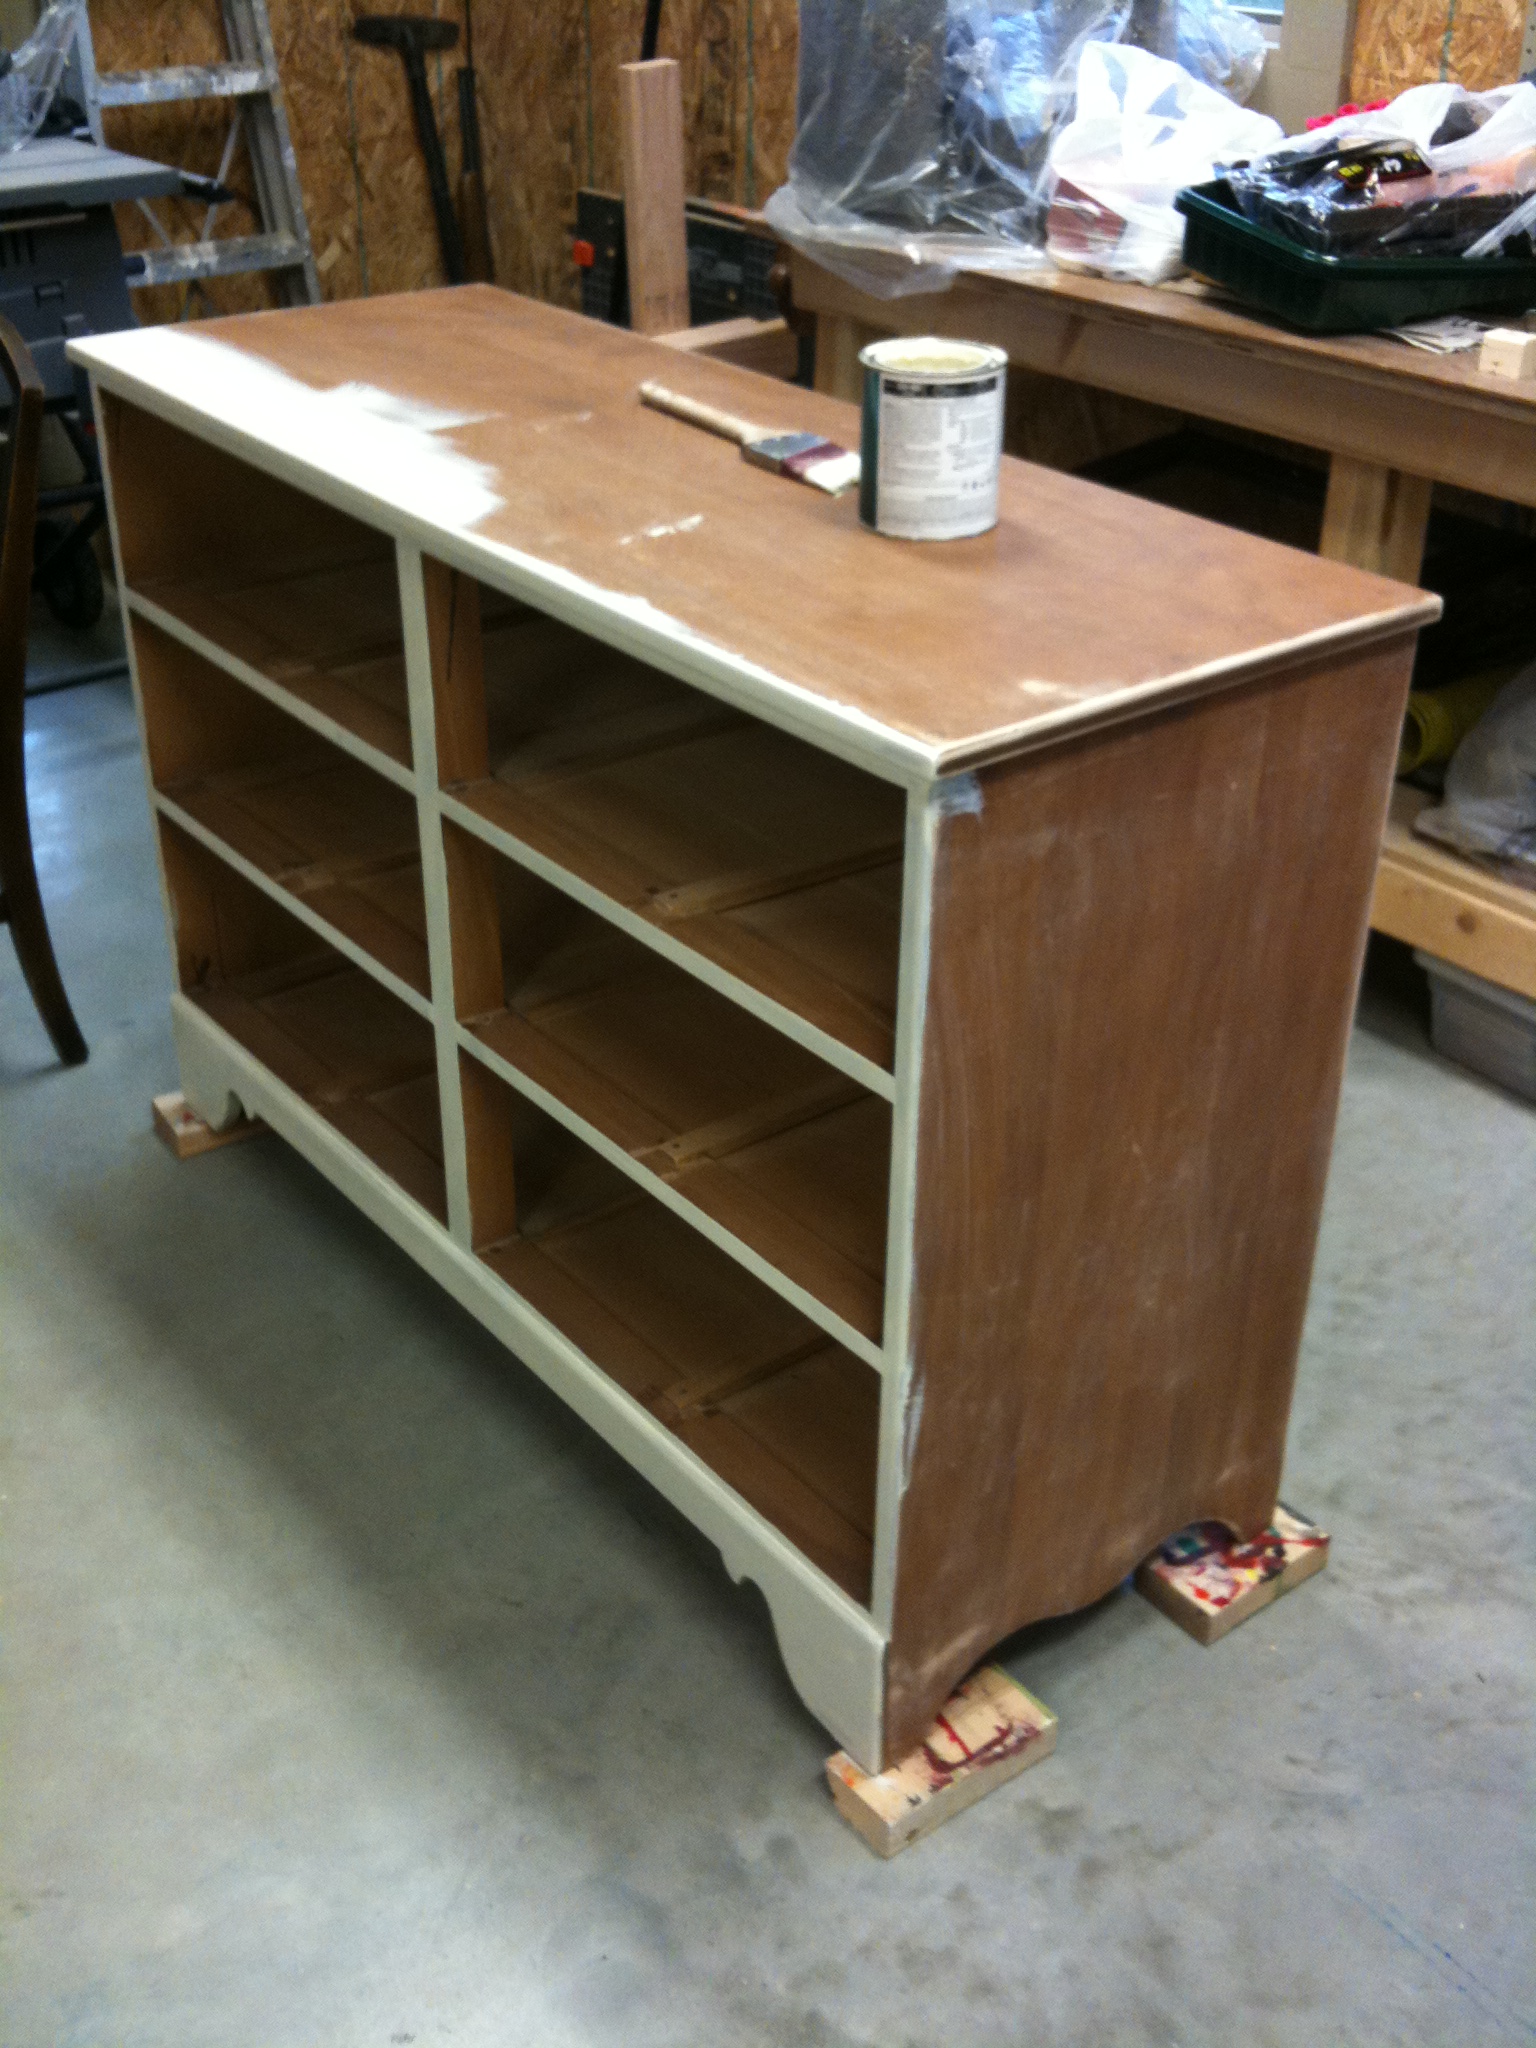
First steps were to remove all the hardware and get to sanding. With the straight lines of this piece, it would've been a good one to do a fun pattern or something on. But, since we already have two patterns going on in this room, we decided to keep it plain and simple. Plus, with the neutral color we chose, if we end up having to change the bedding soon we won't have to repaint this piece. (With us renting the house, we have no idea how quickly things will have to be replaced from wear and tear.)
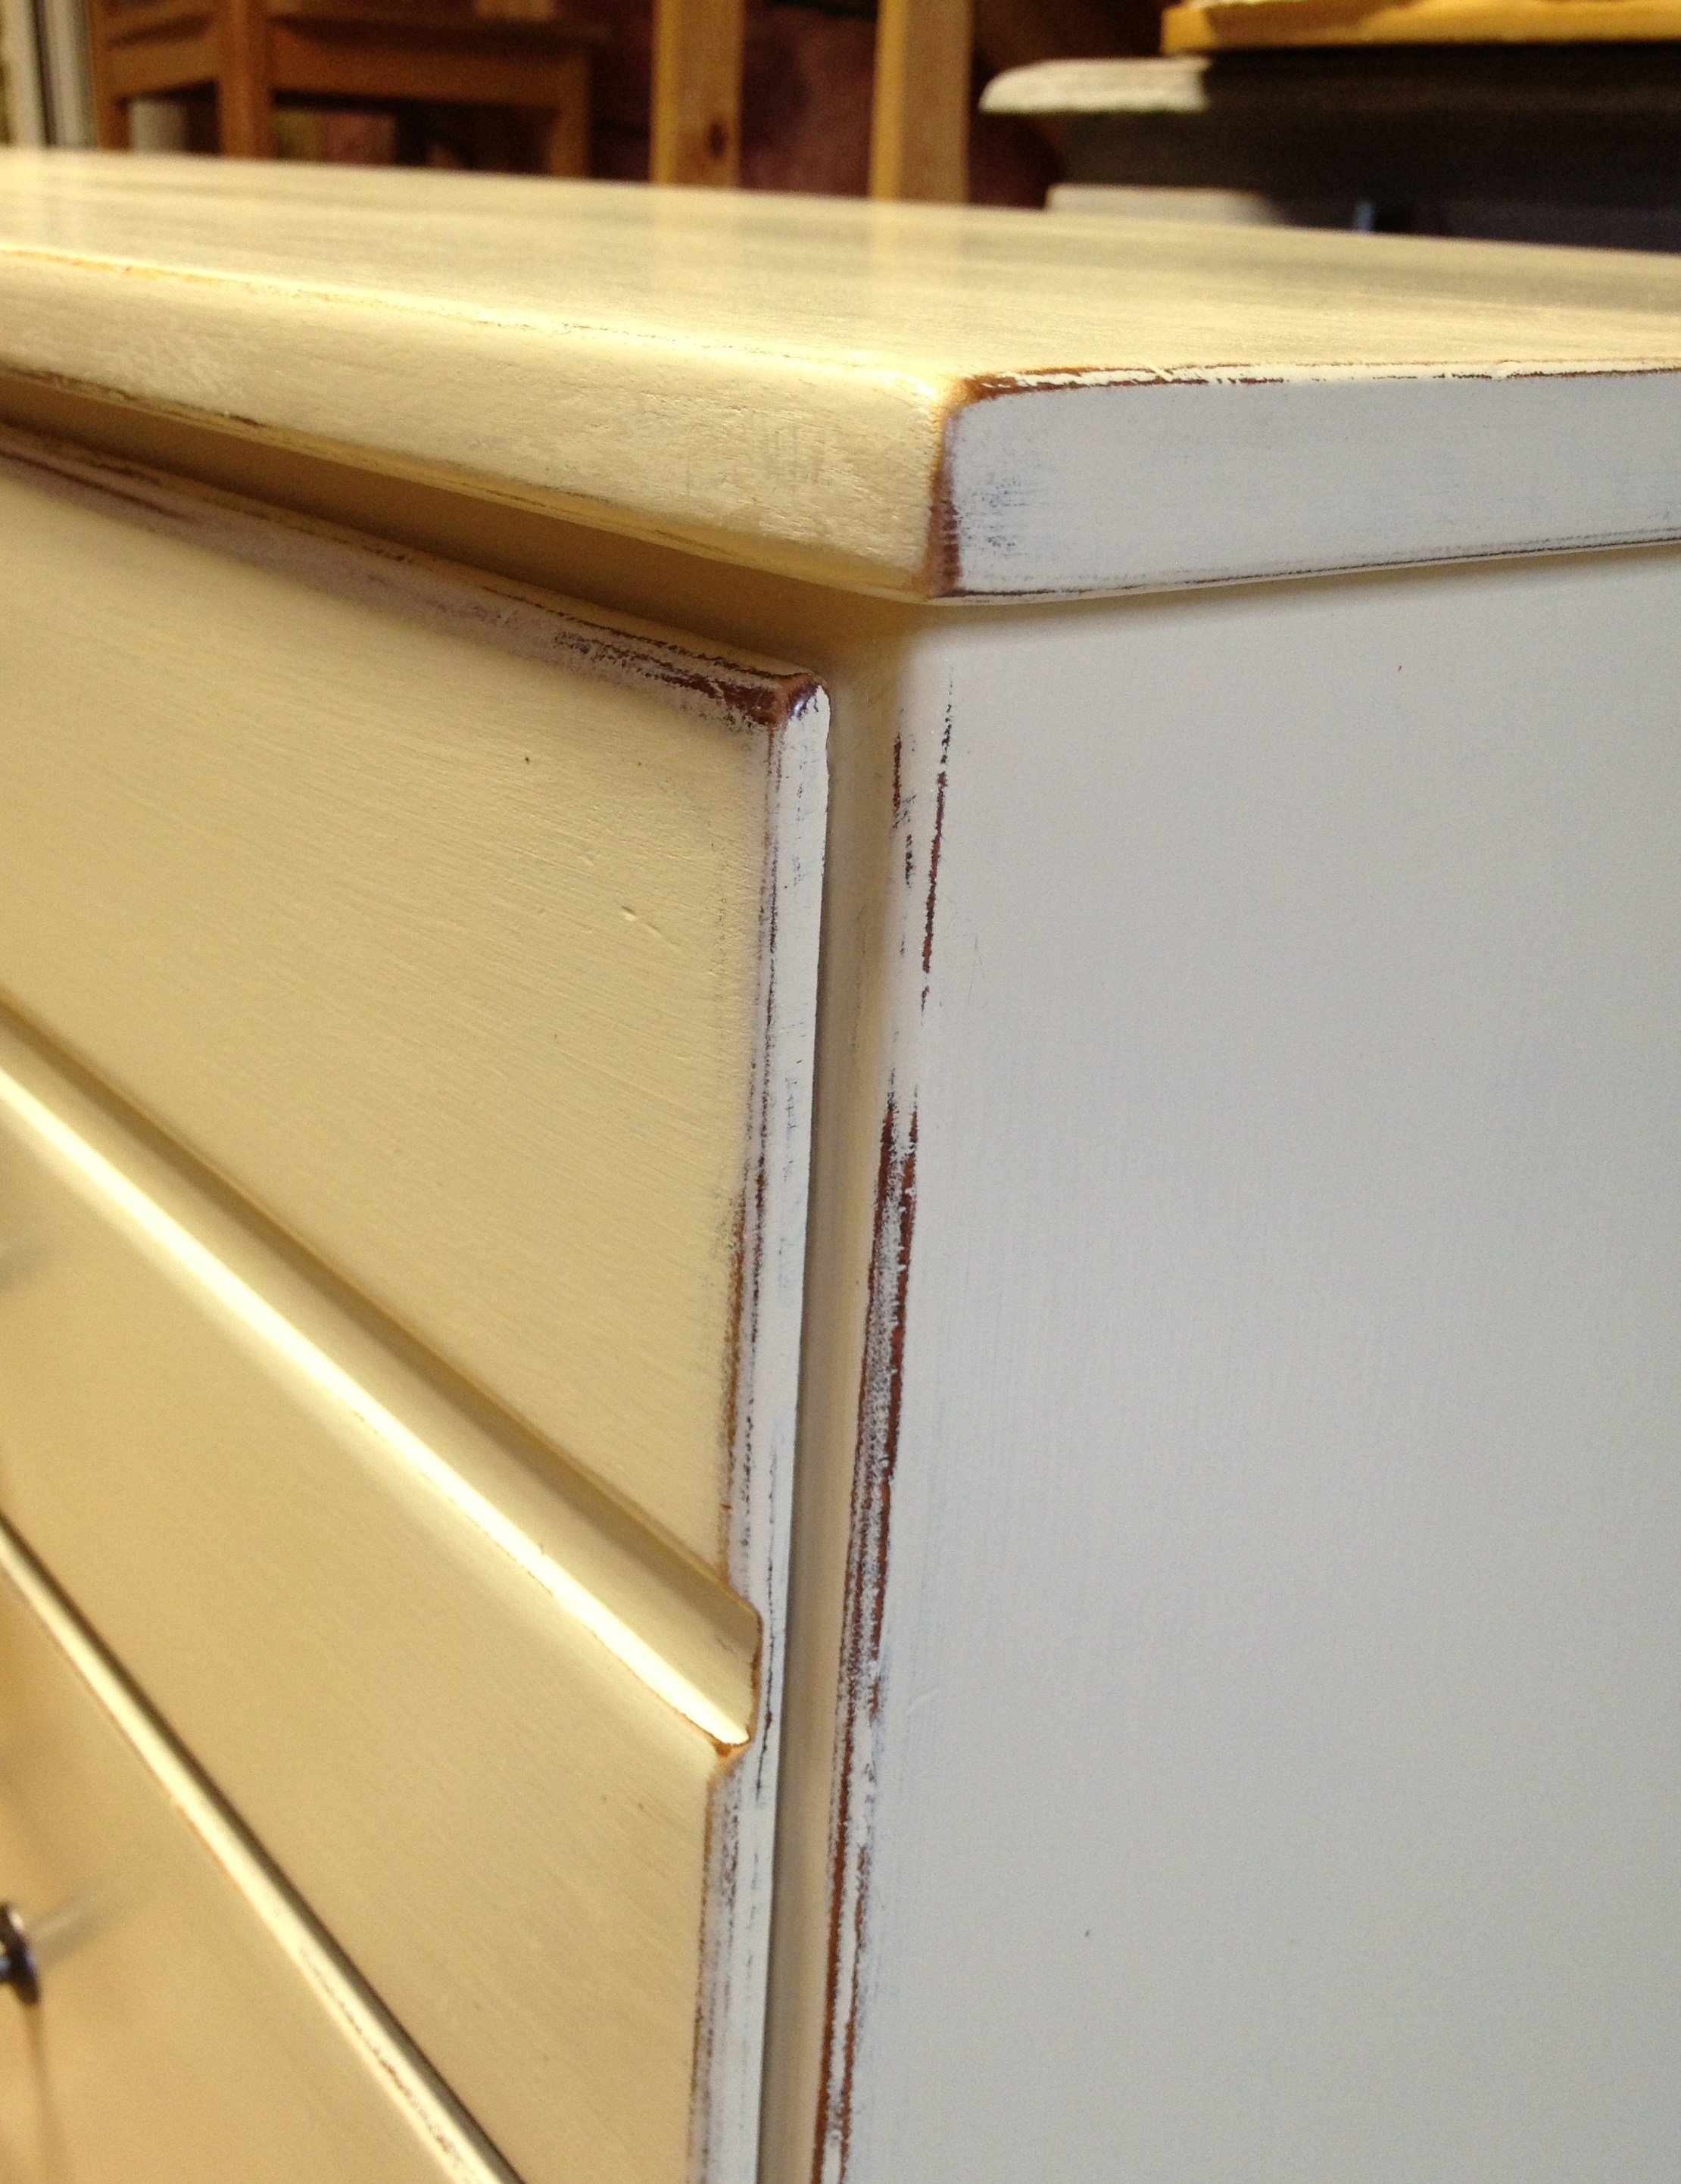
All that said, I decided I still wanted to slightly distress the edges so it wouldn't be too plain. The brown stain that was already on the dresser would make a good base coat, so I was able to paint my cream color directly over it. No, I did not prime it. Luckily this piece took the paint really, really well.
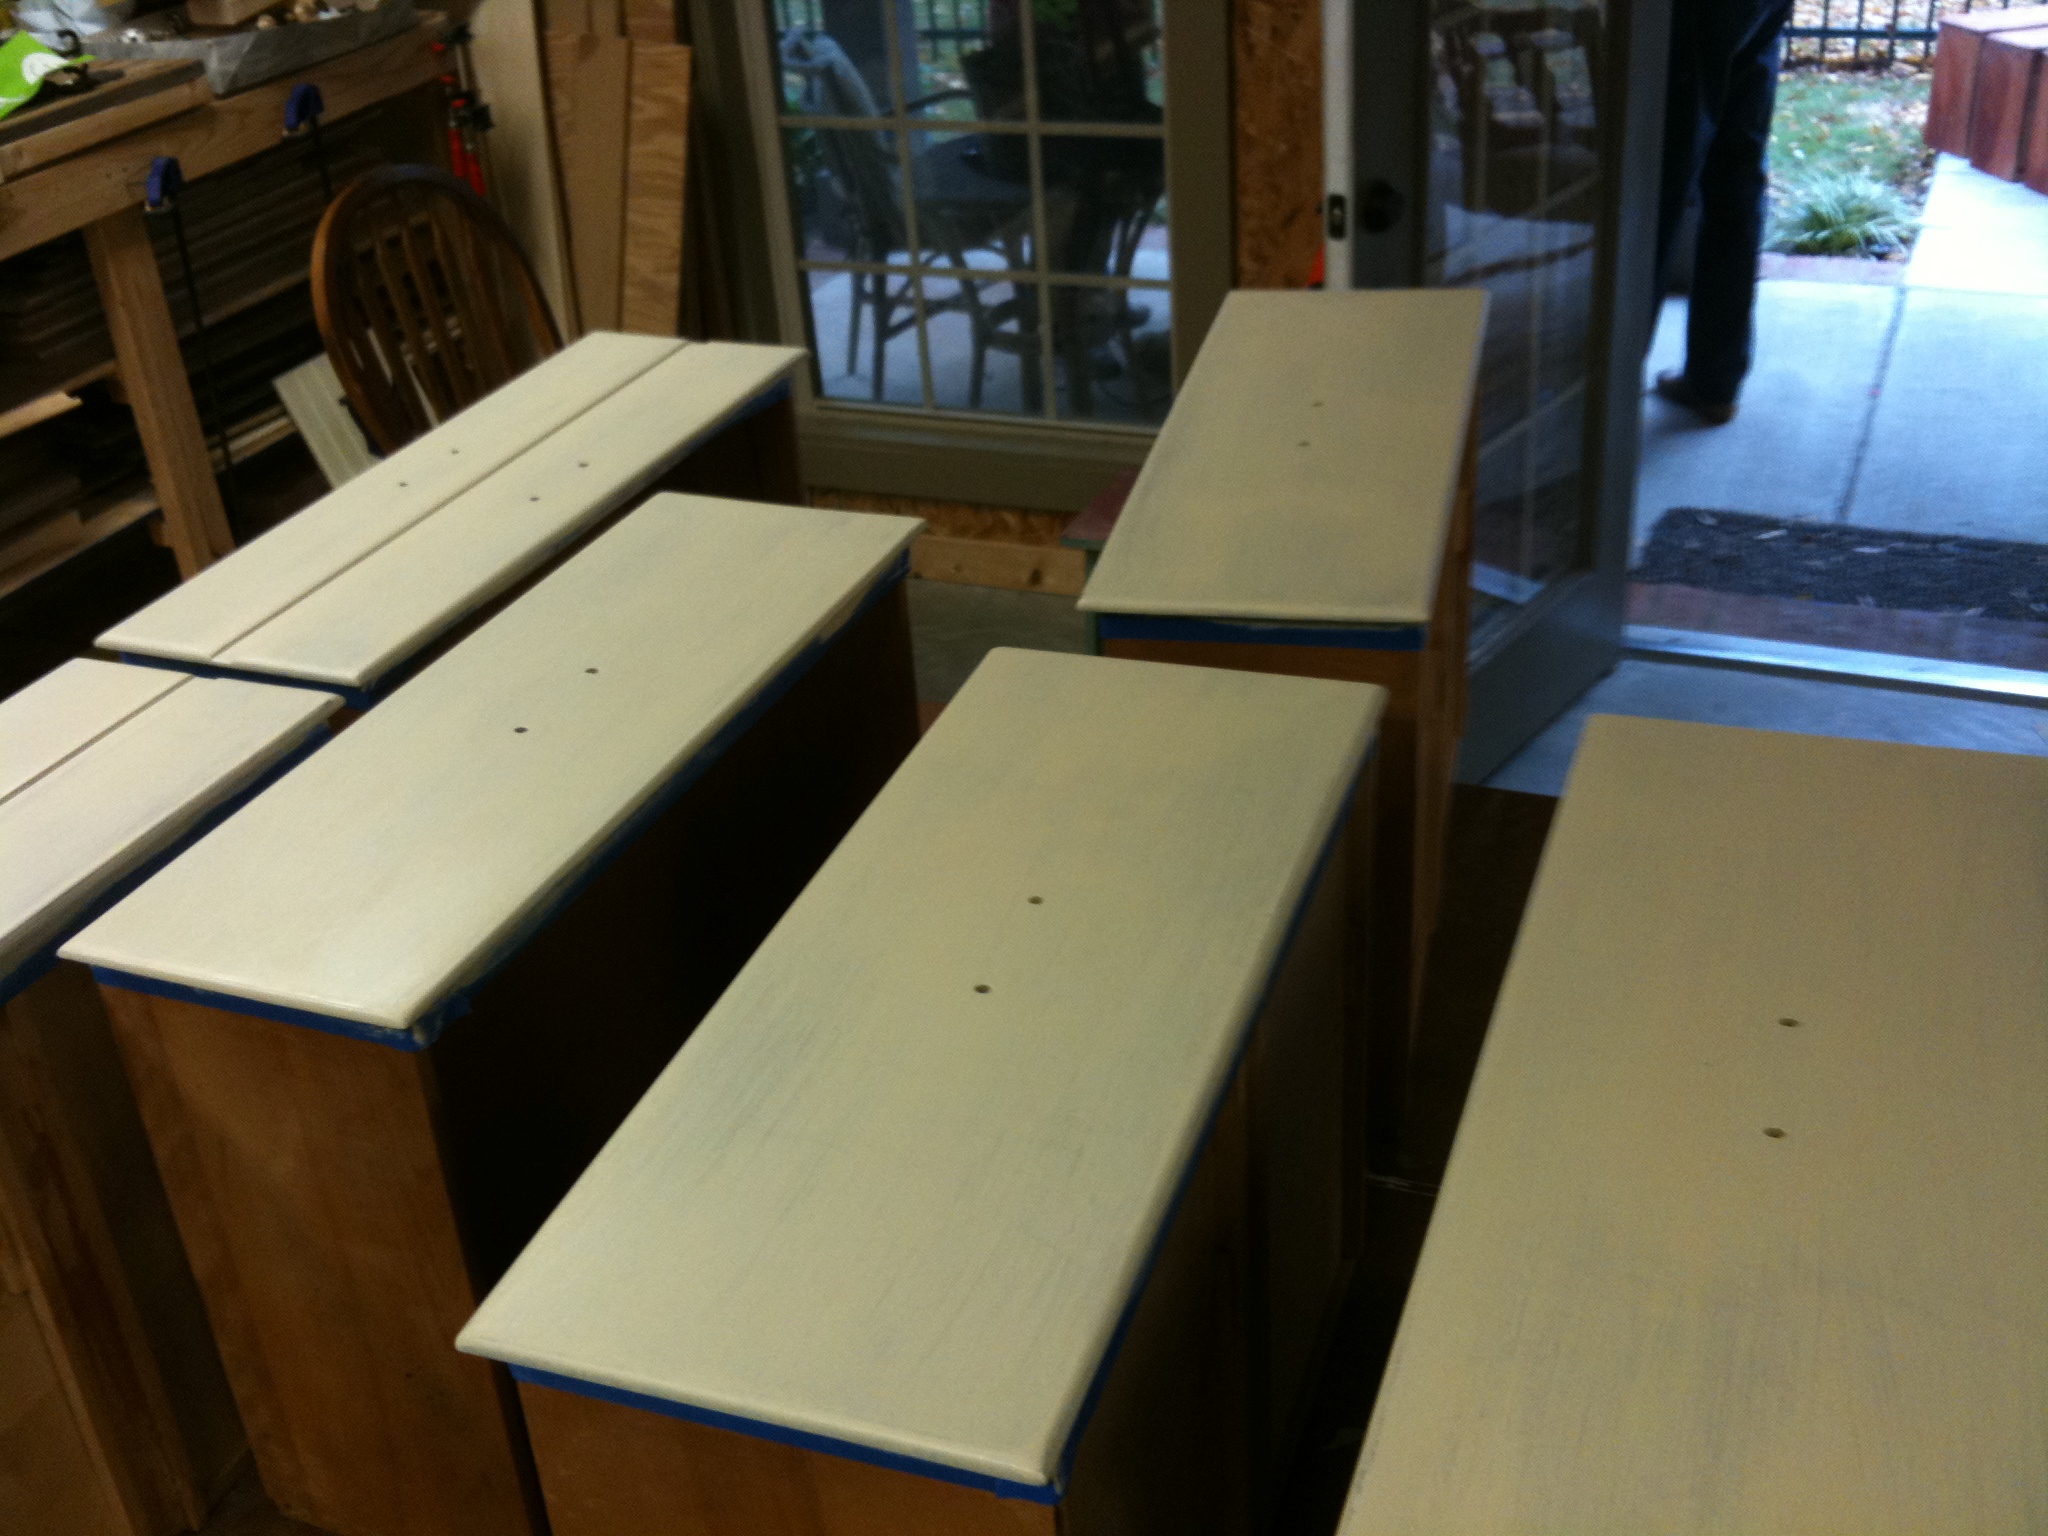
When I paint a piece of furniture with drawers, I prefer not to paint the insides. I find it helps keep it from sticking. I just paint the outside of the base and the fronts of the drawers.
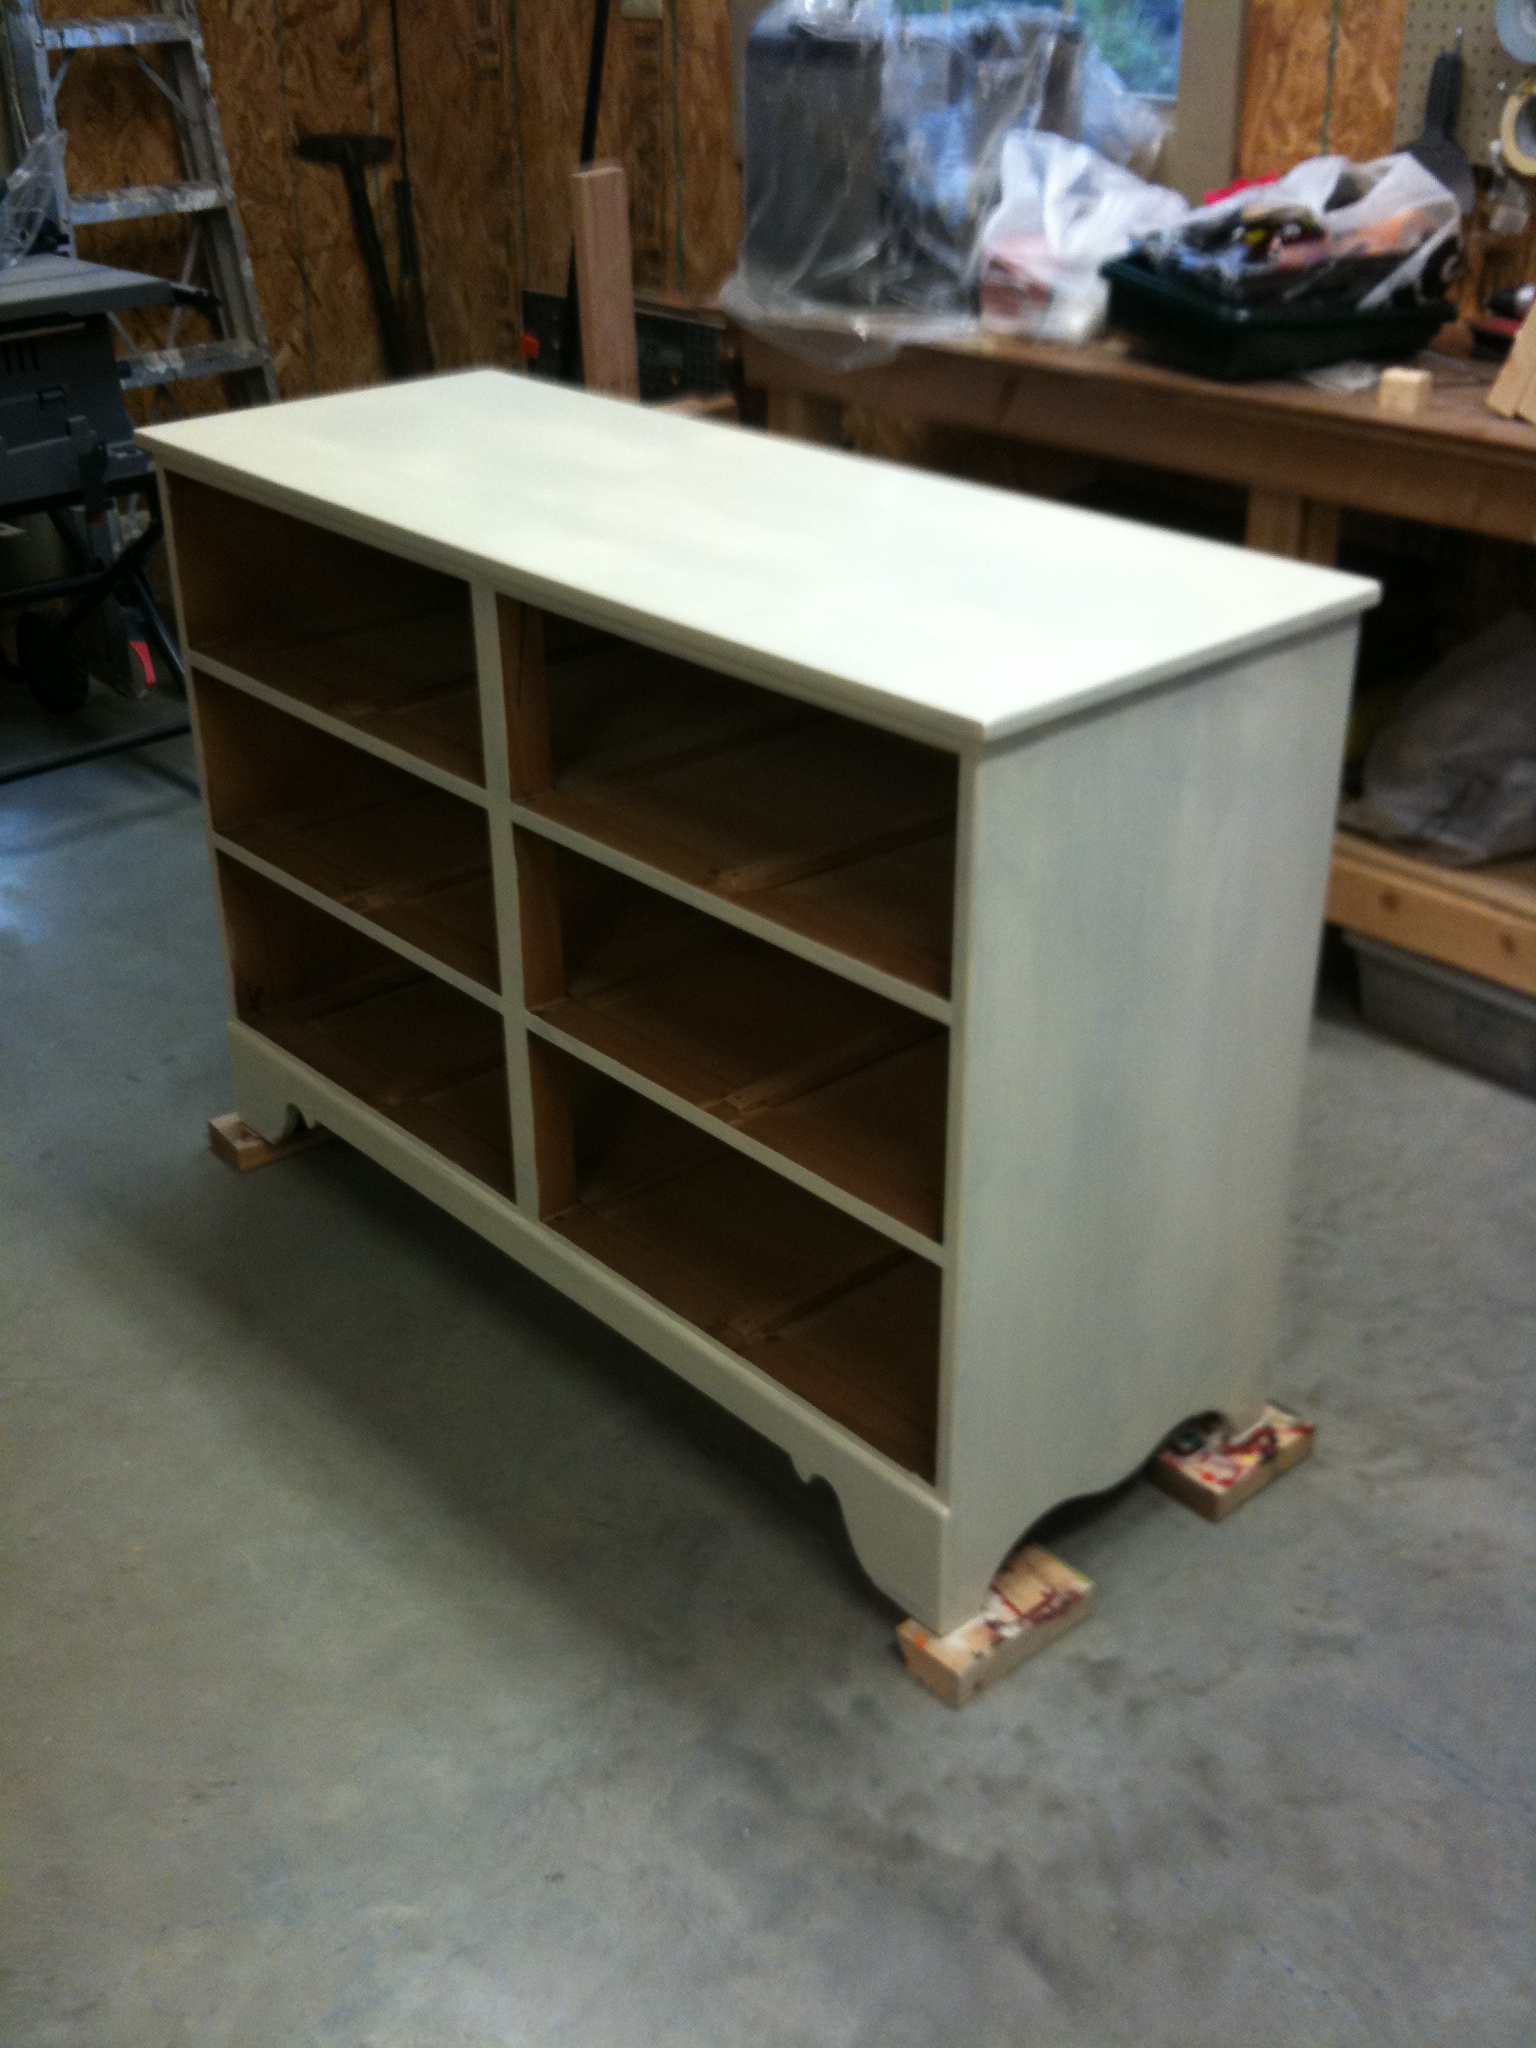
Surprisingly, I was able to get away with just two coats of the cream on this piece. Love it when that happens.
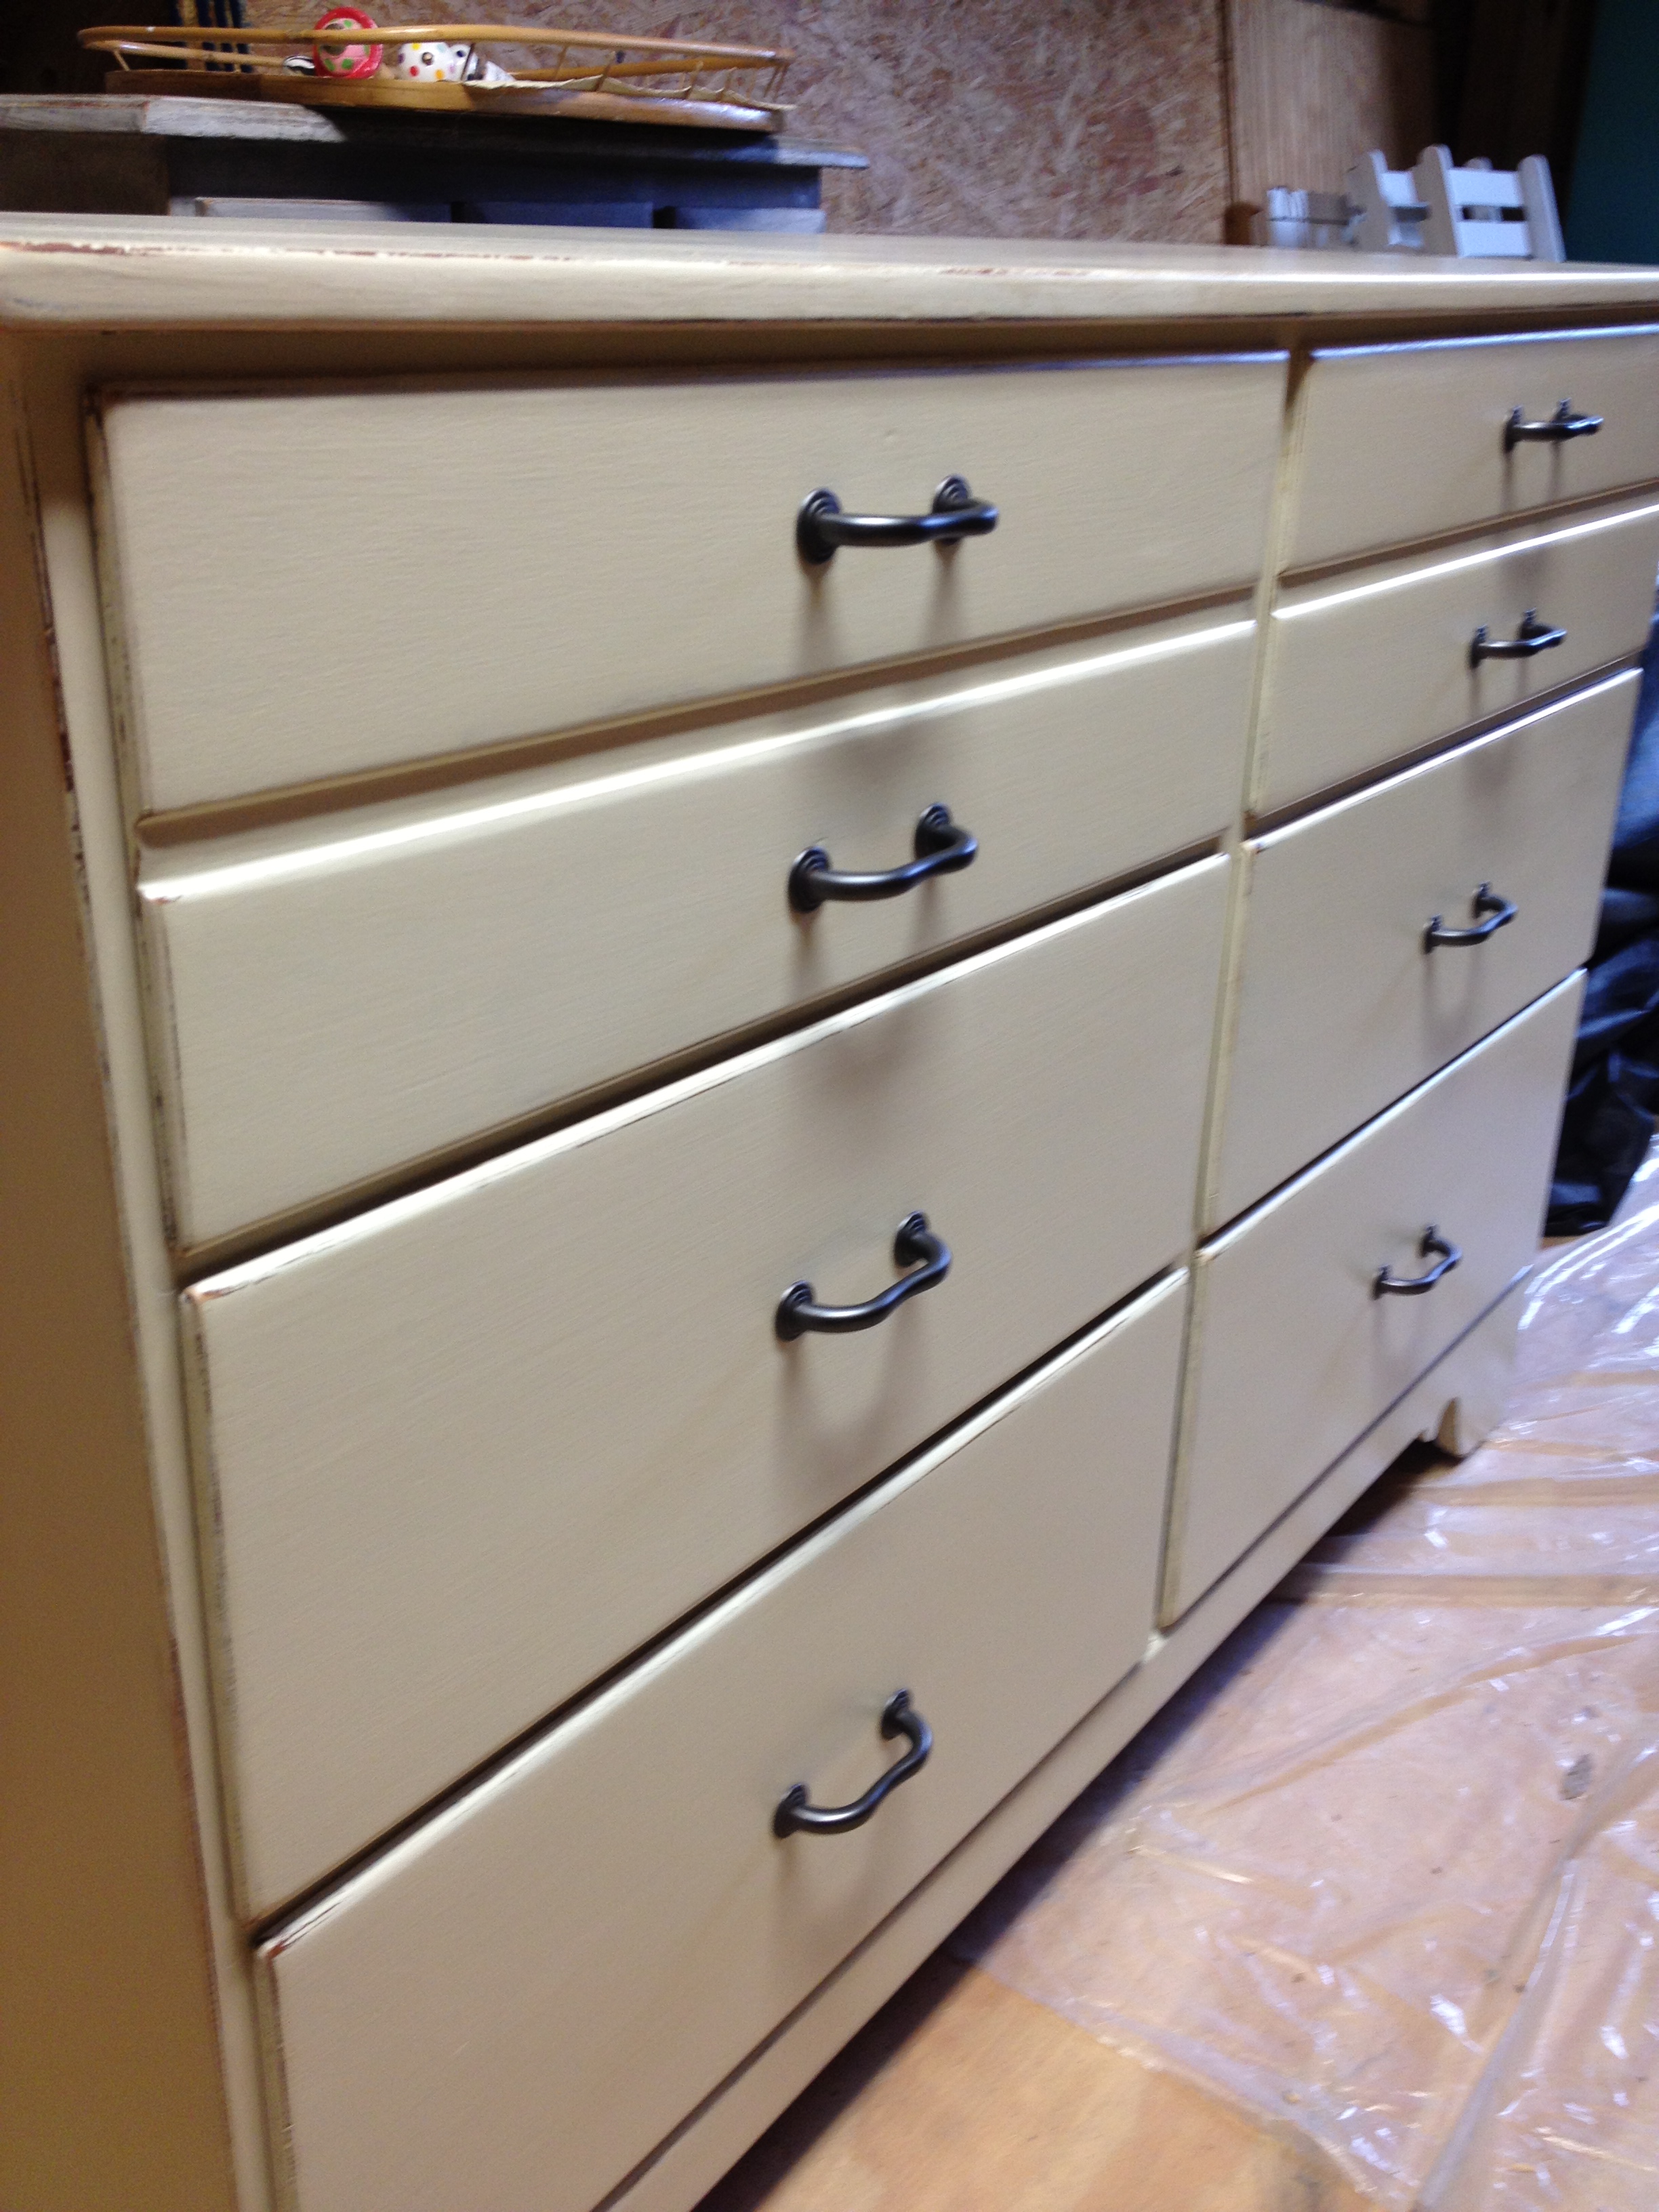
Because I only wanted to lightly distress the edges, I sanded by hand. The electric sander often takes off too much too fast and before you know it, you've removed most of your paint job. I used a sanding pad to brush a little of the cream paint off the edges.
A coat of polyurethane finished off the paint job. For this piece, I used water-base poly so it wouldn't turn the cream color yellow.
This dresser was sailing along smoothly, so it was only a matter of time before I hit a snag. The snag came with finding new hardware. The bottom four drawers needed 3 inch drawer pulls, but the top two drawers (with 2 pulls each) needed pulls that were 64mm. It's no problem finding pulls in either of those sizes. The problem is finding pulls in both of those sizes that match. Neither Lowe's nor Home Depot had anything in both sizes. I'm sure they exist, but my 38 second online search didn't return any good results and I gave up.
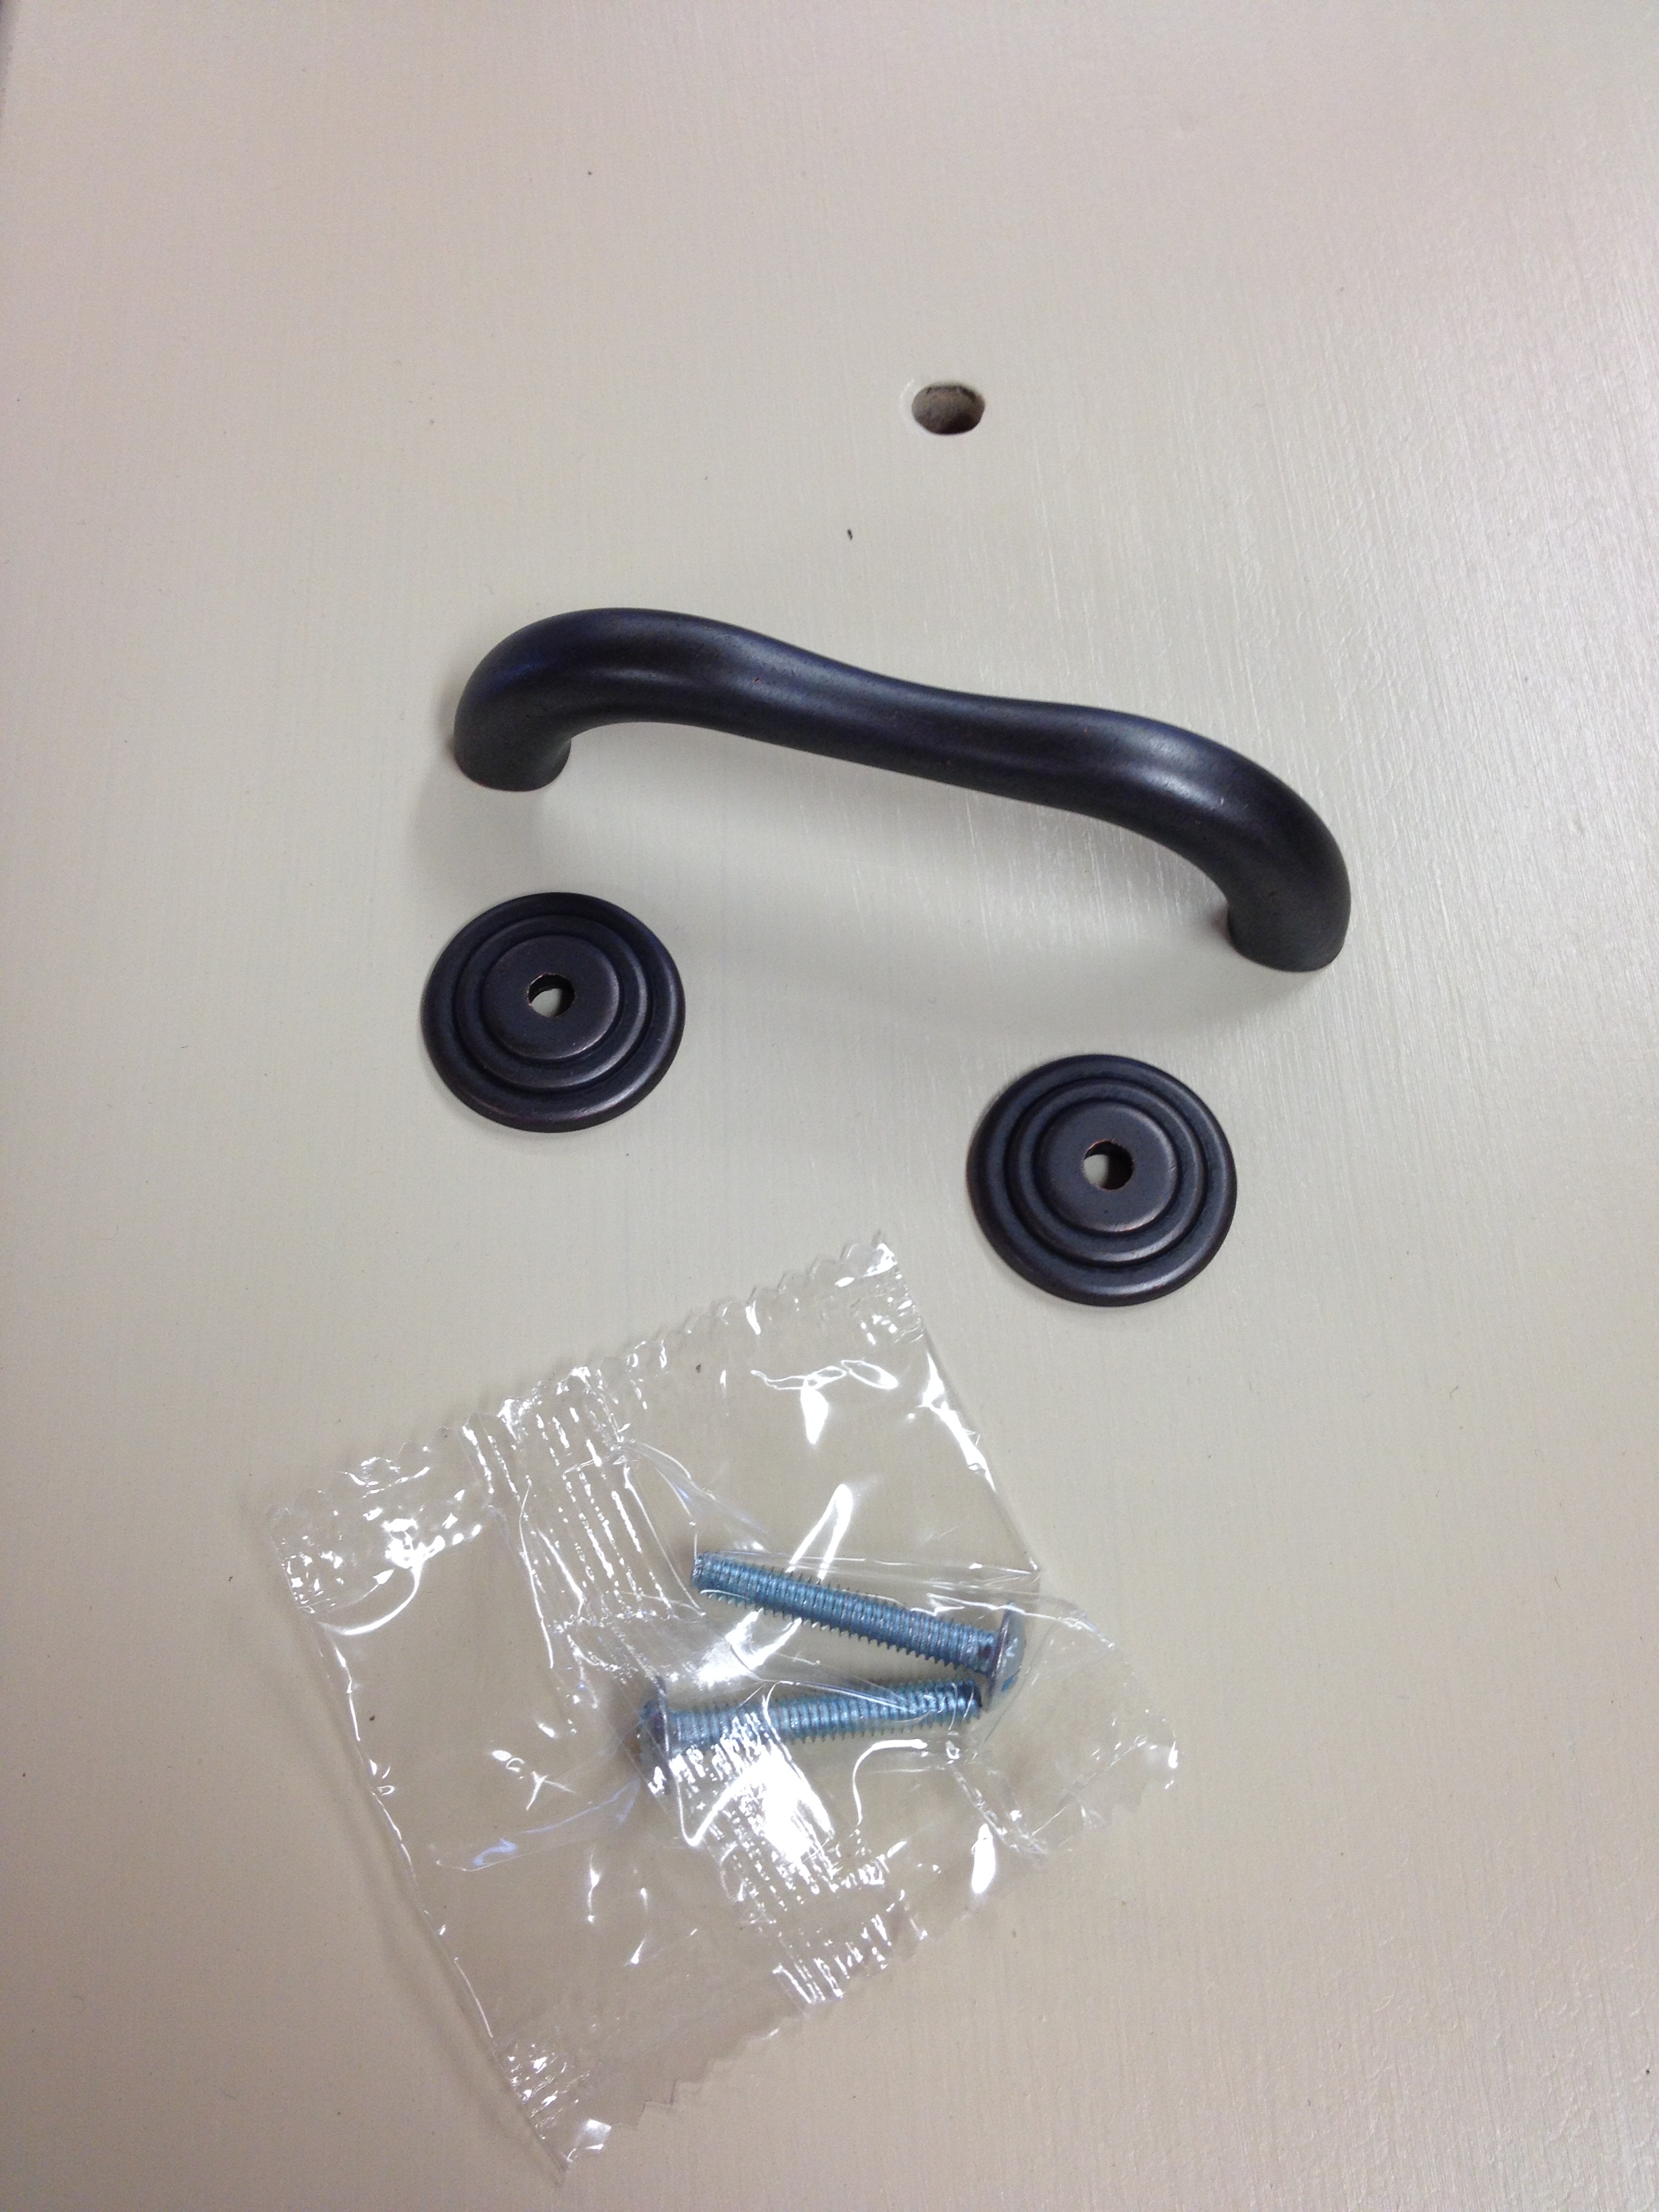
I found this drawer pull at Lowe's and crossed my fingers that it'd be my solution.
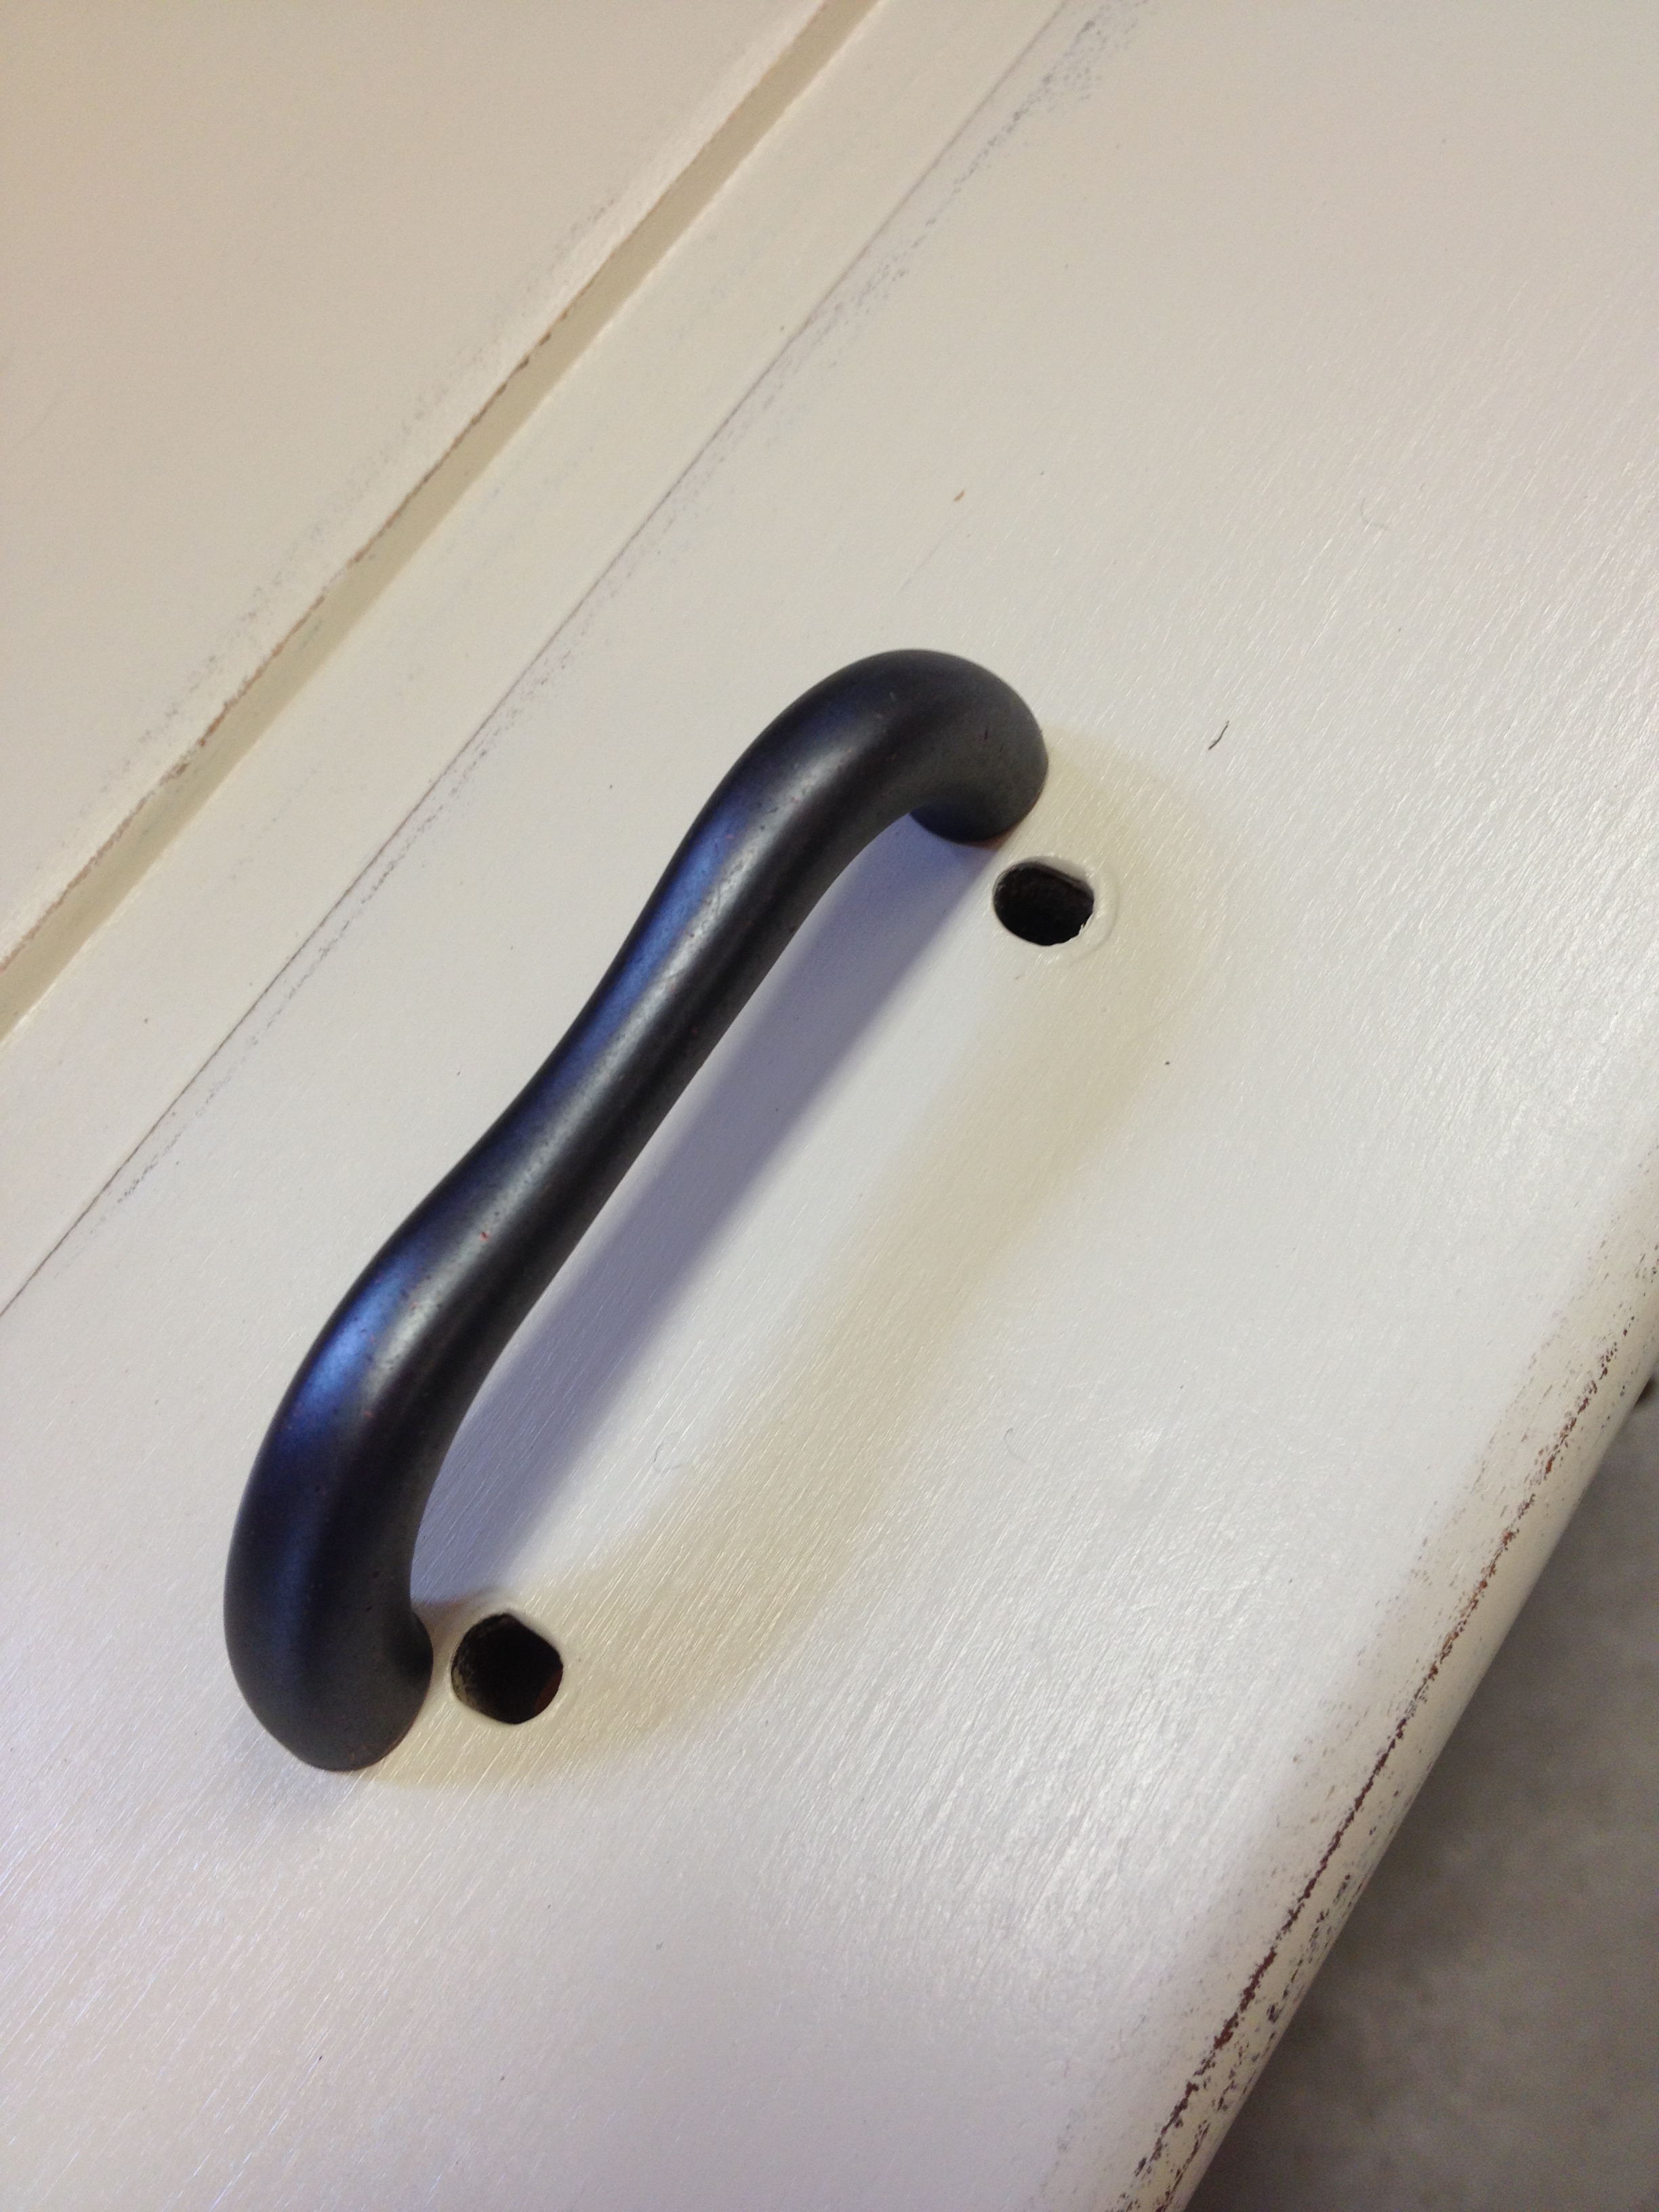
It's a 3 inch pull so it lined up with the holes on the bottom four drawers, no sweat.
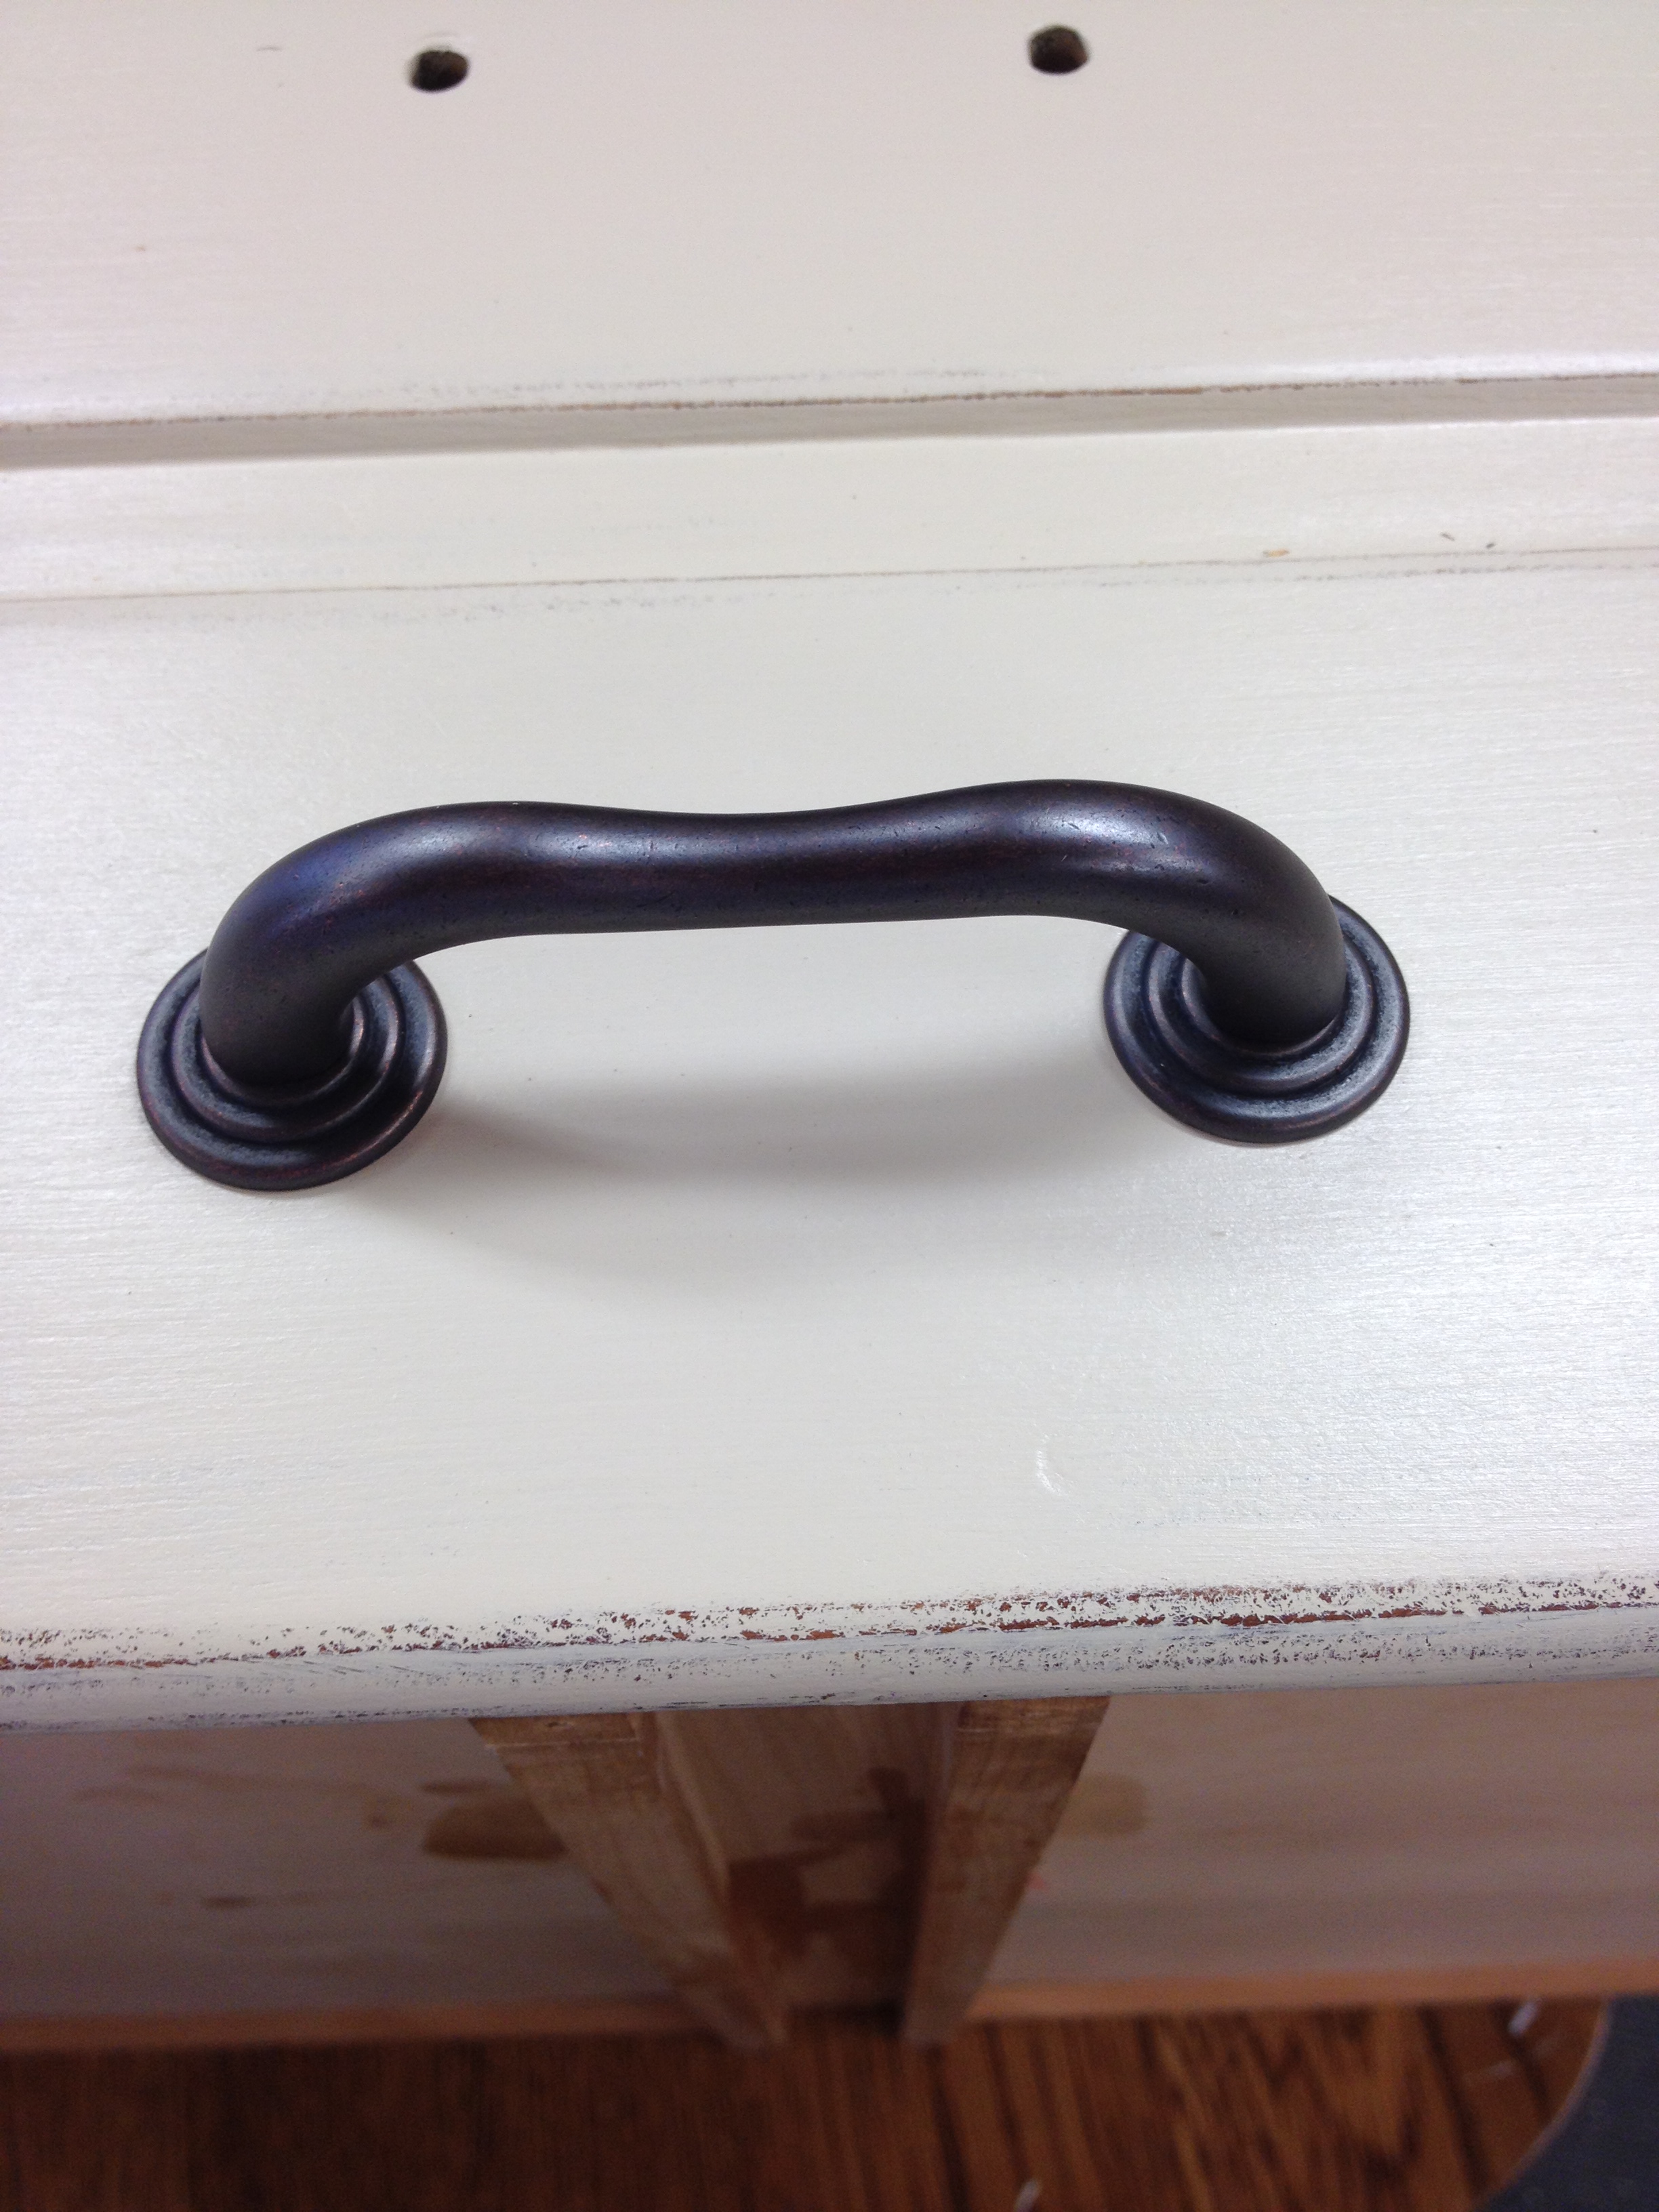
Here it is with a set of holes on one of the top drawers. See how the pull is longer?
The solution was in the round discs that came with this drawer pull. My plan was to drill new holes spaced 3 inches apart and then hope, pray, cross my fingers that the disc covered the original holes.
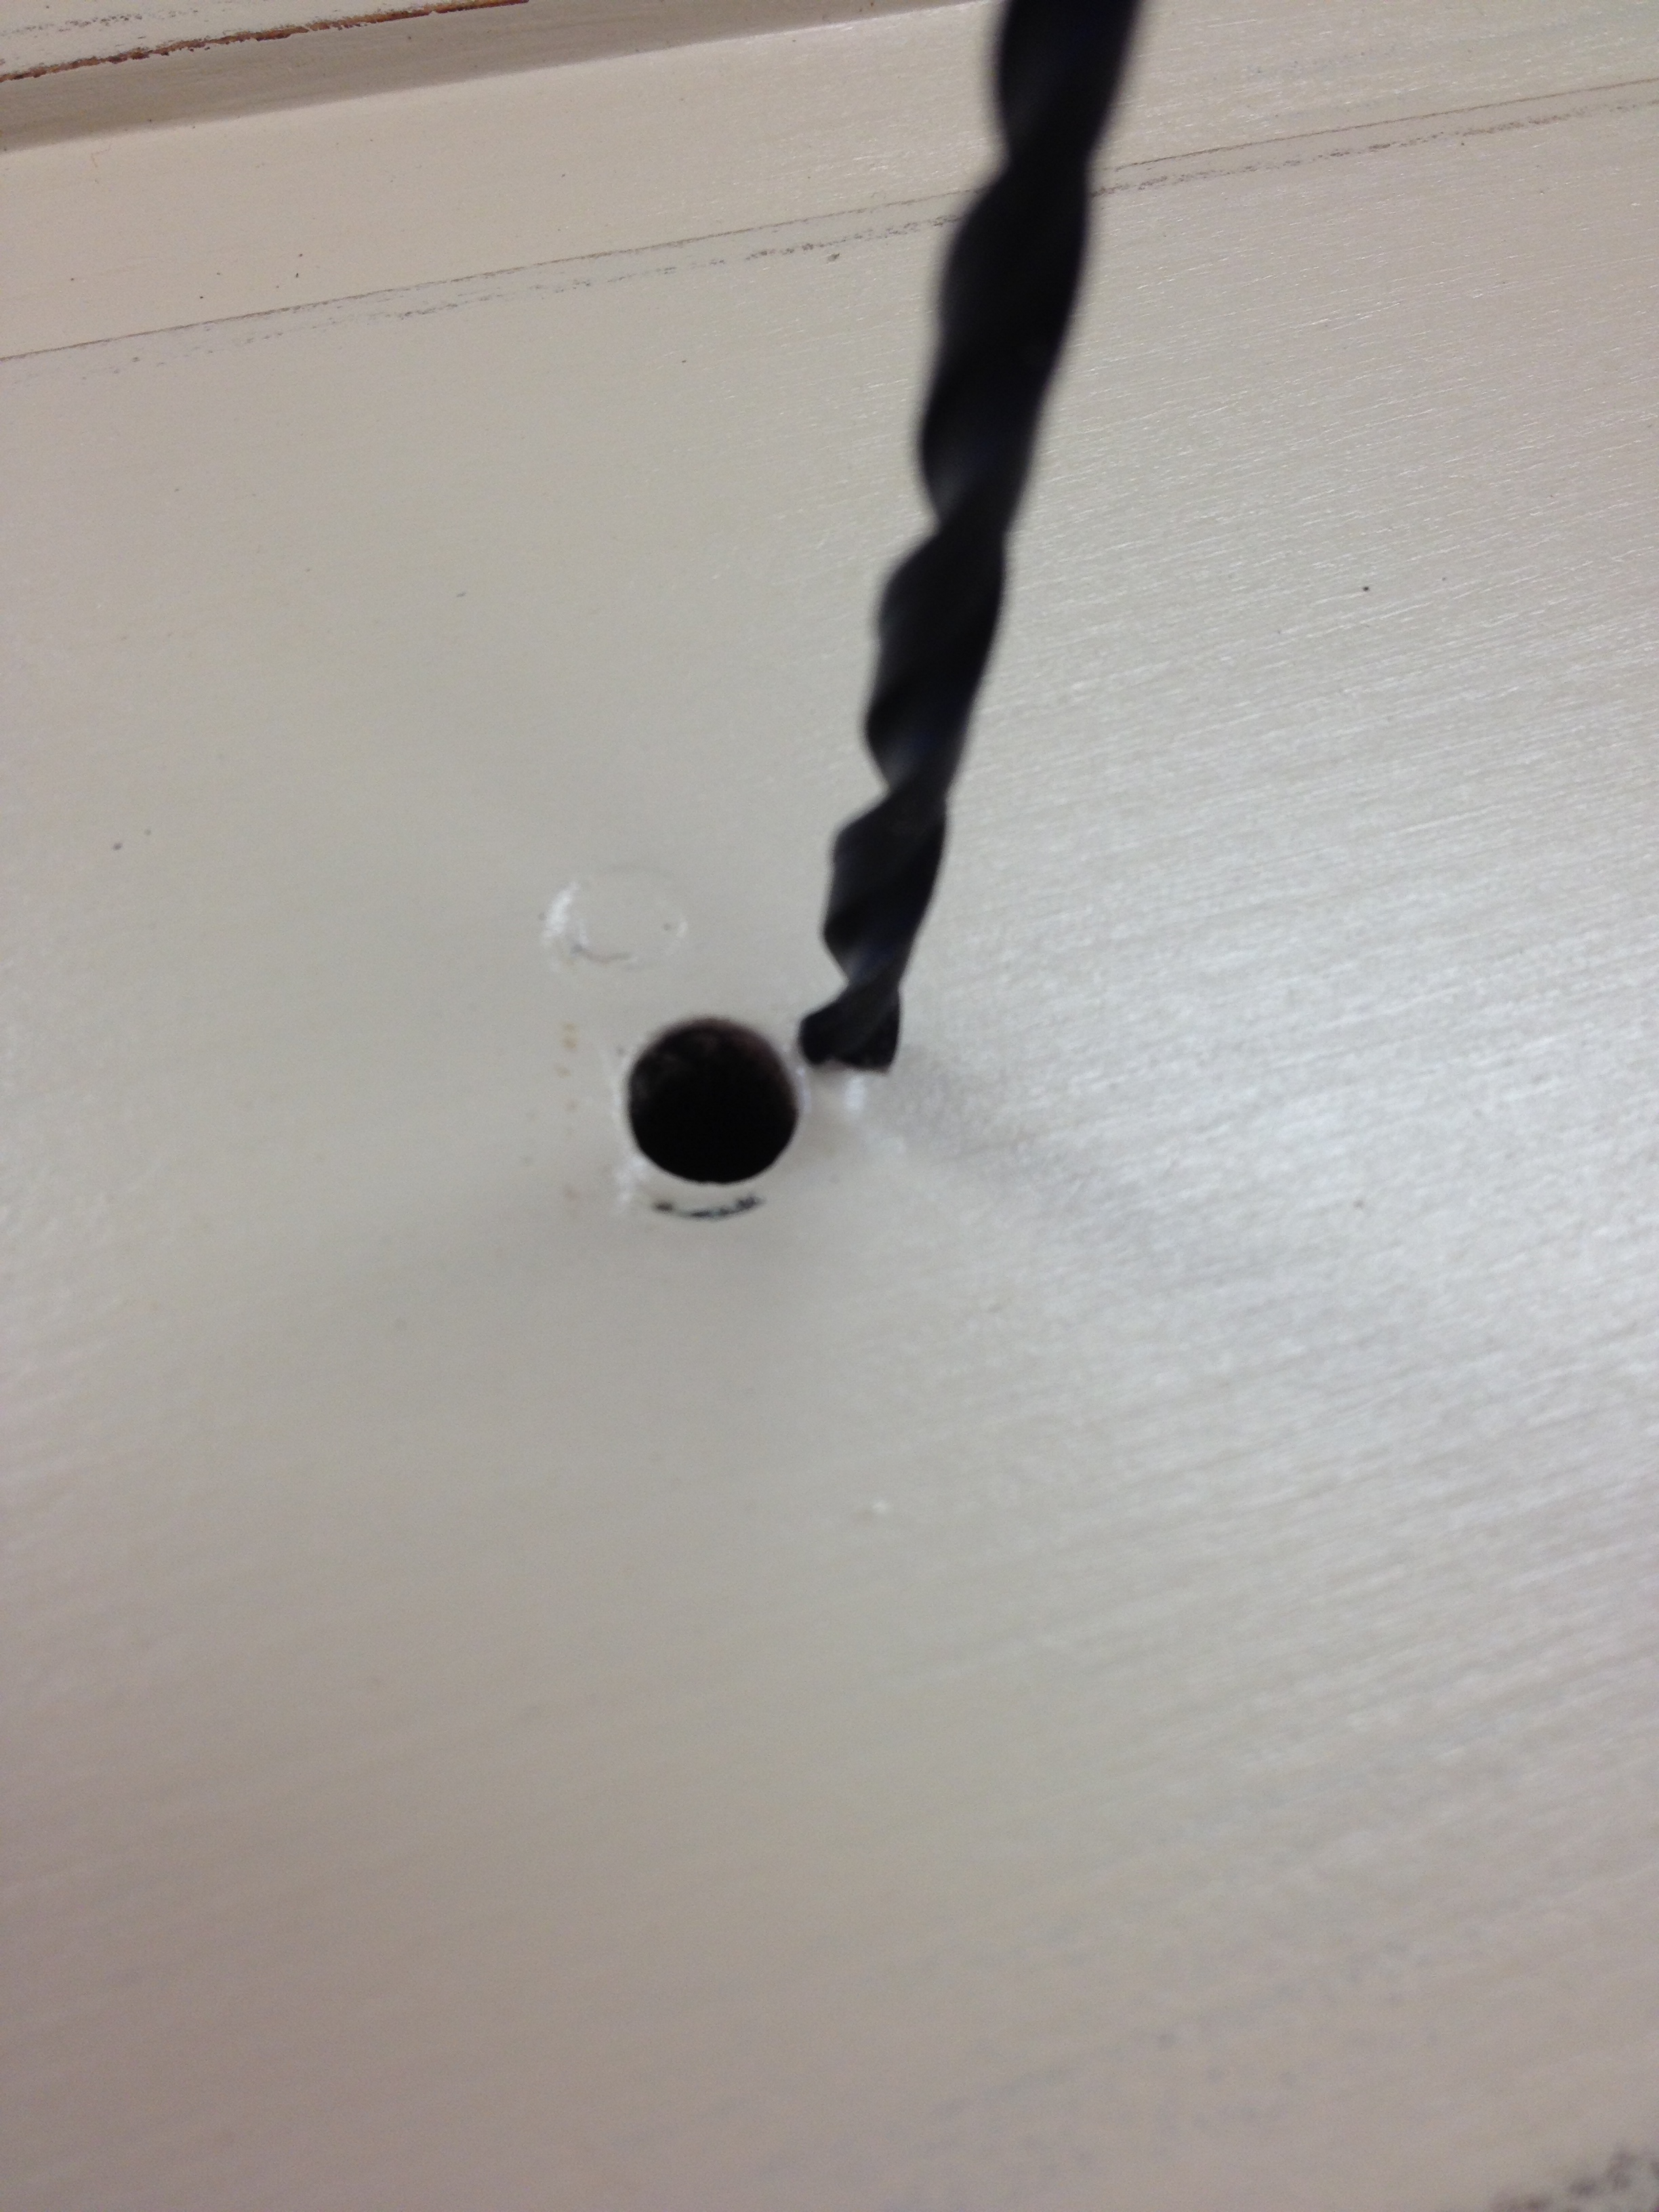
I lined my drill bit up right on the outside of each hole. I was the only one in the woodshop and you better believe I was muttering under my breath. "Please don't let me screw this up."
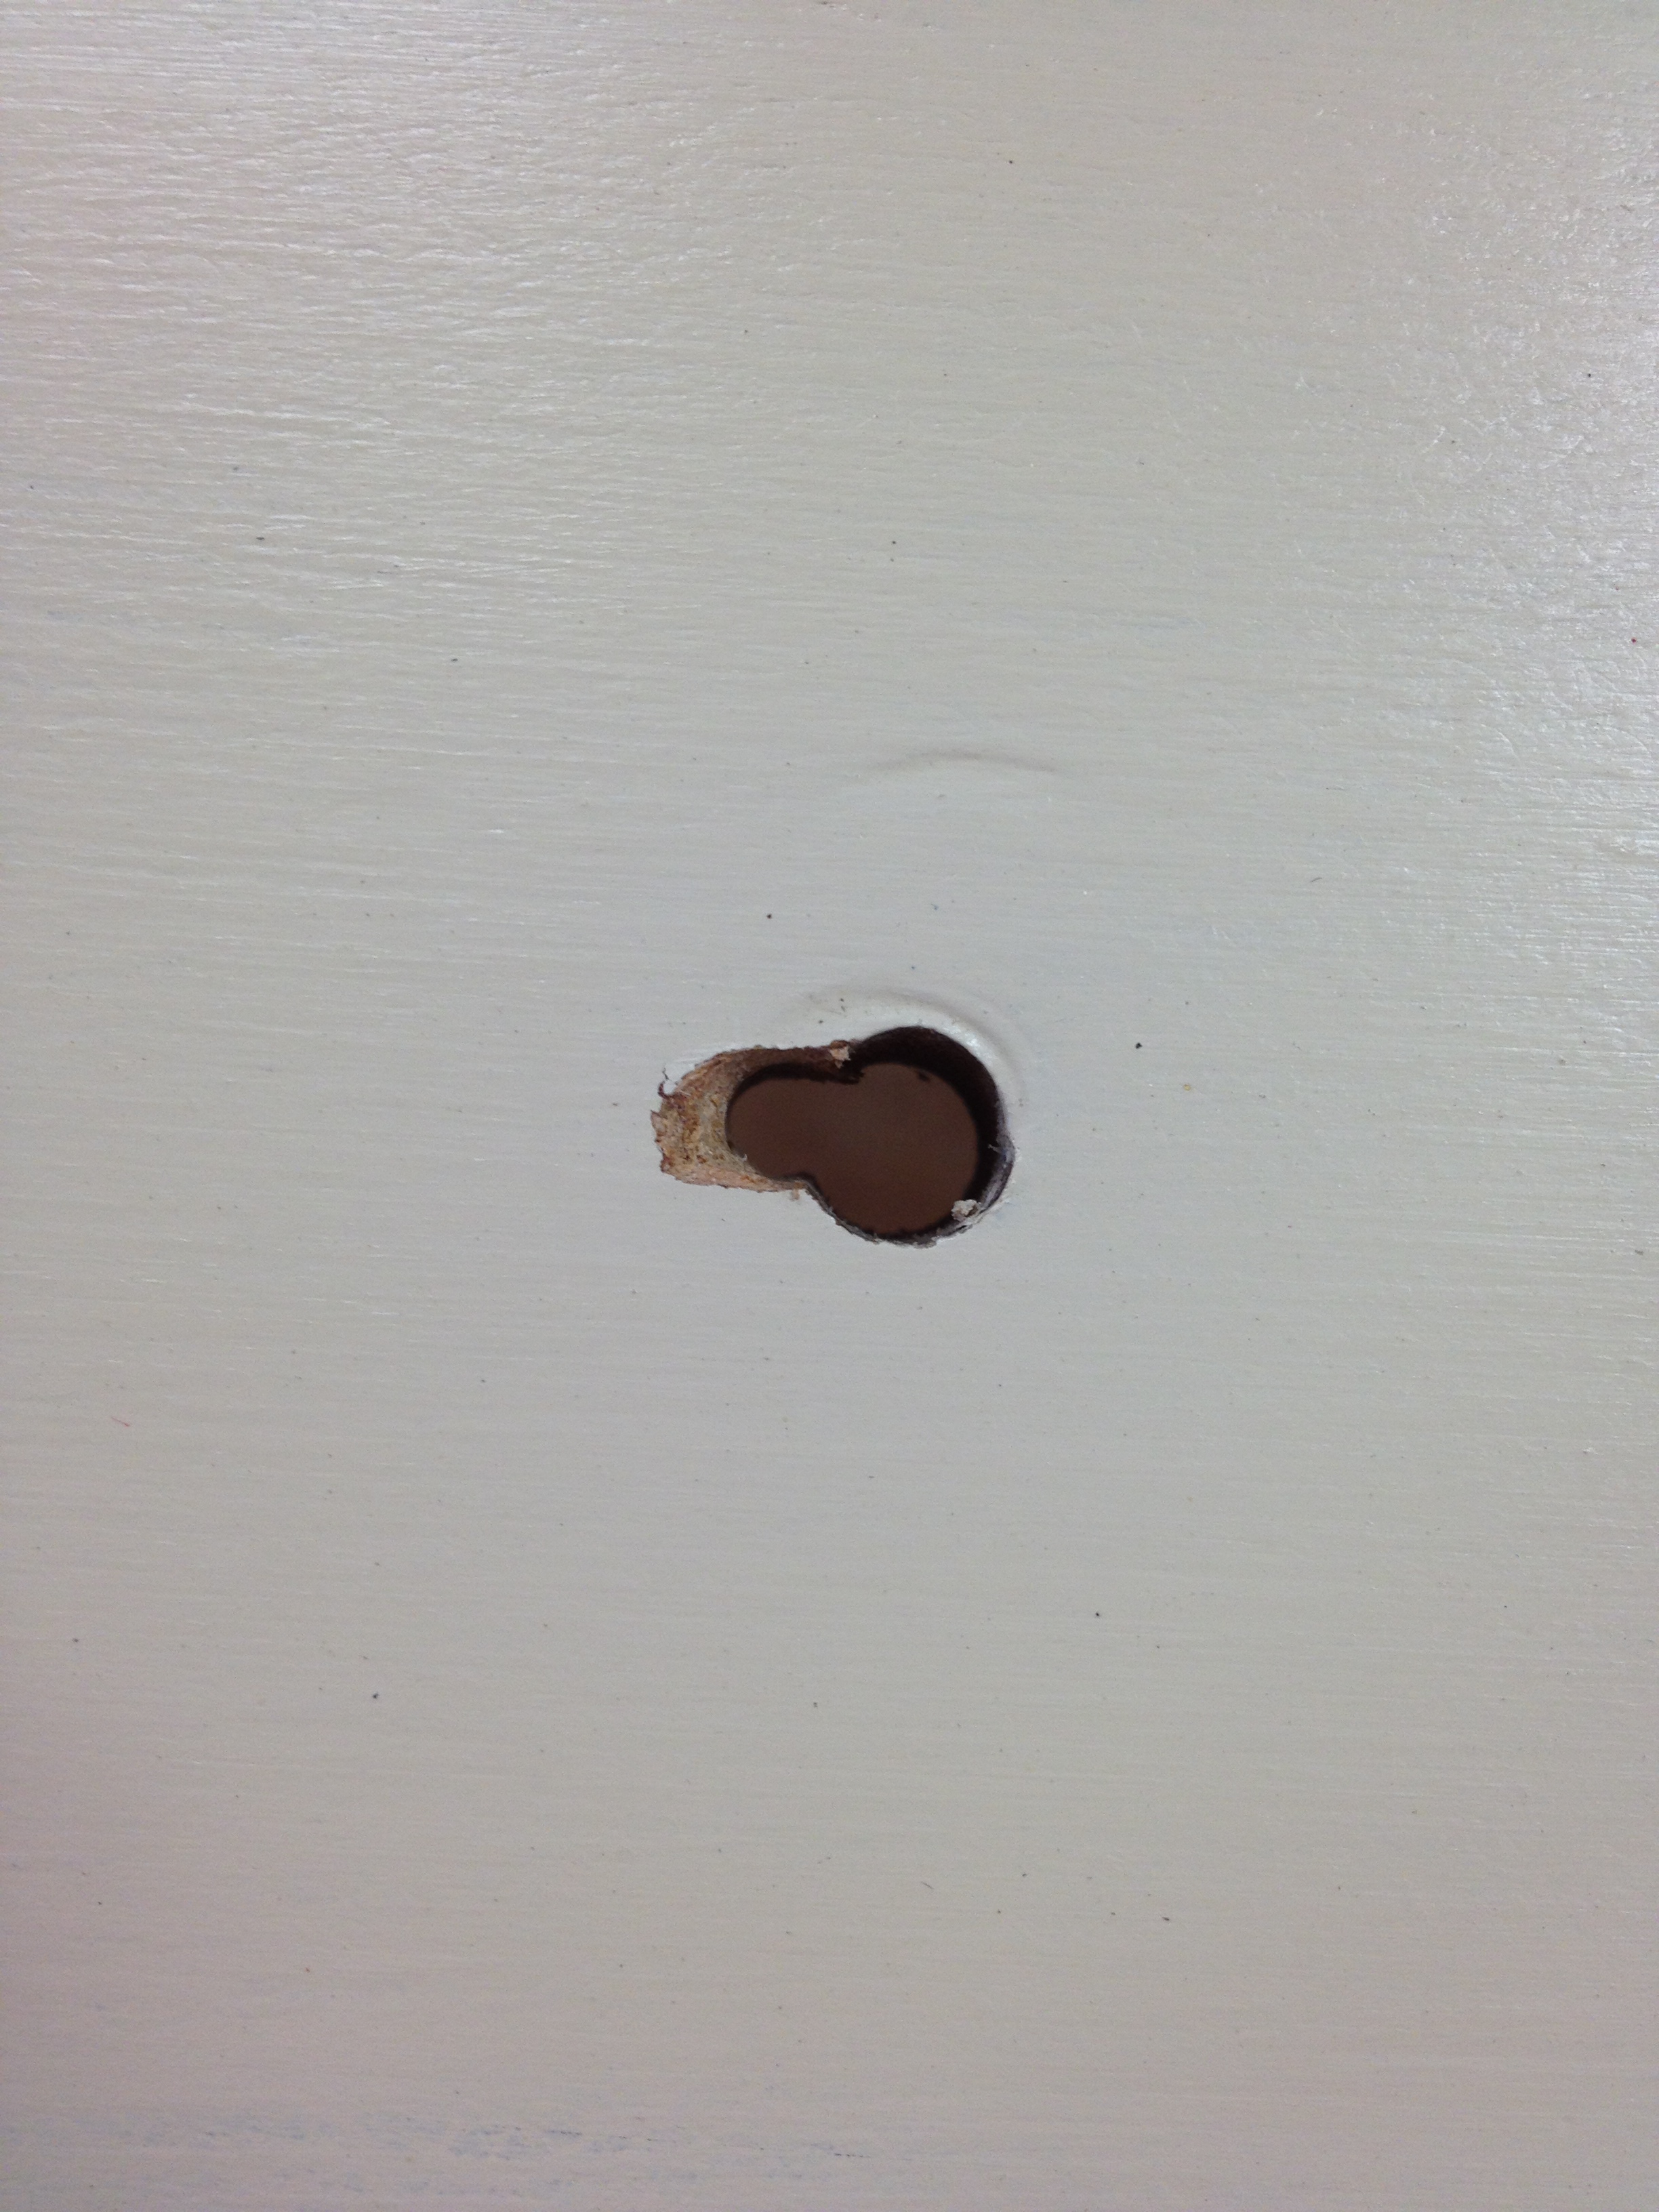
It wasn't pretty and it took a few tries, but eventually I was able to widen the holes.
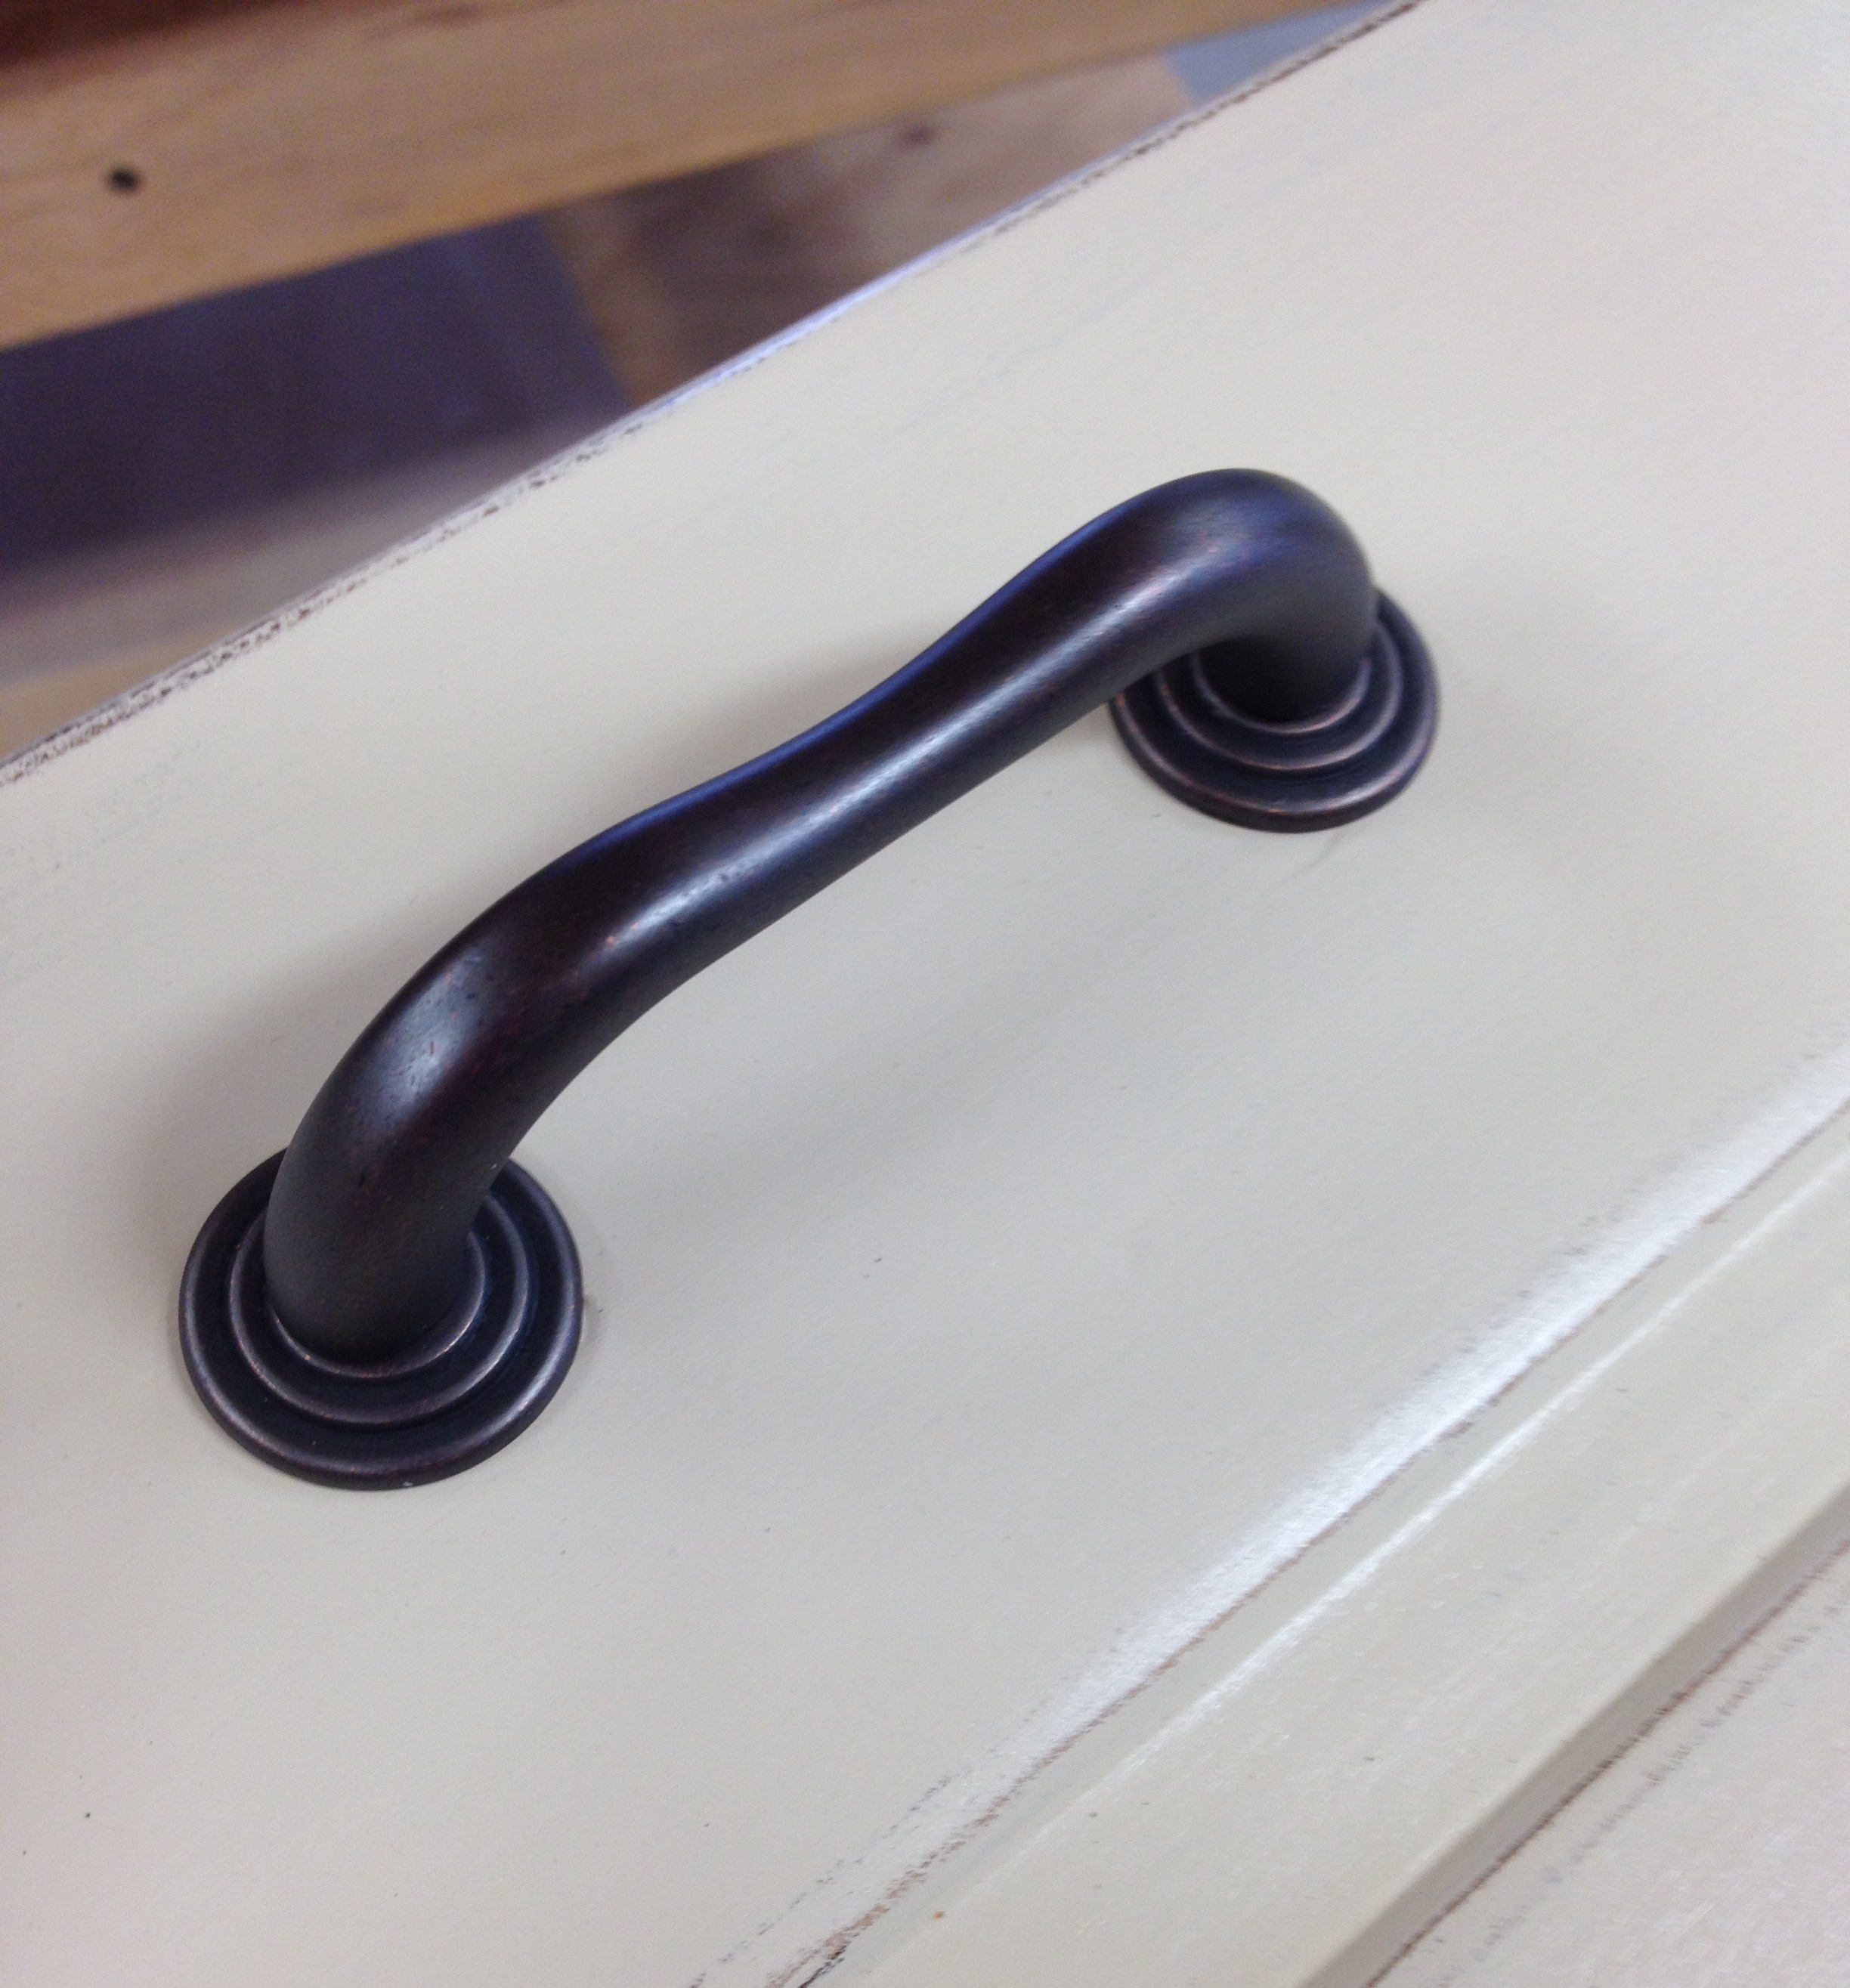
Moment of truth: would the disc cover the original hole and where I had now chipped the paint?
Shazam!
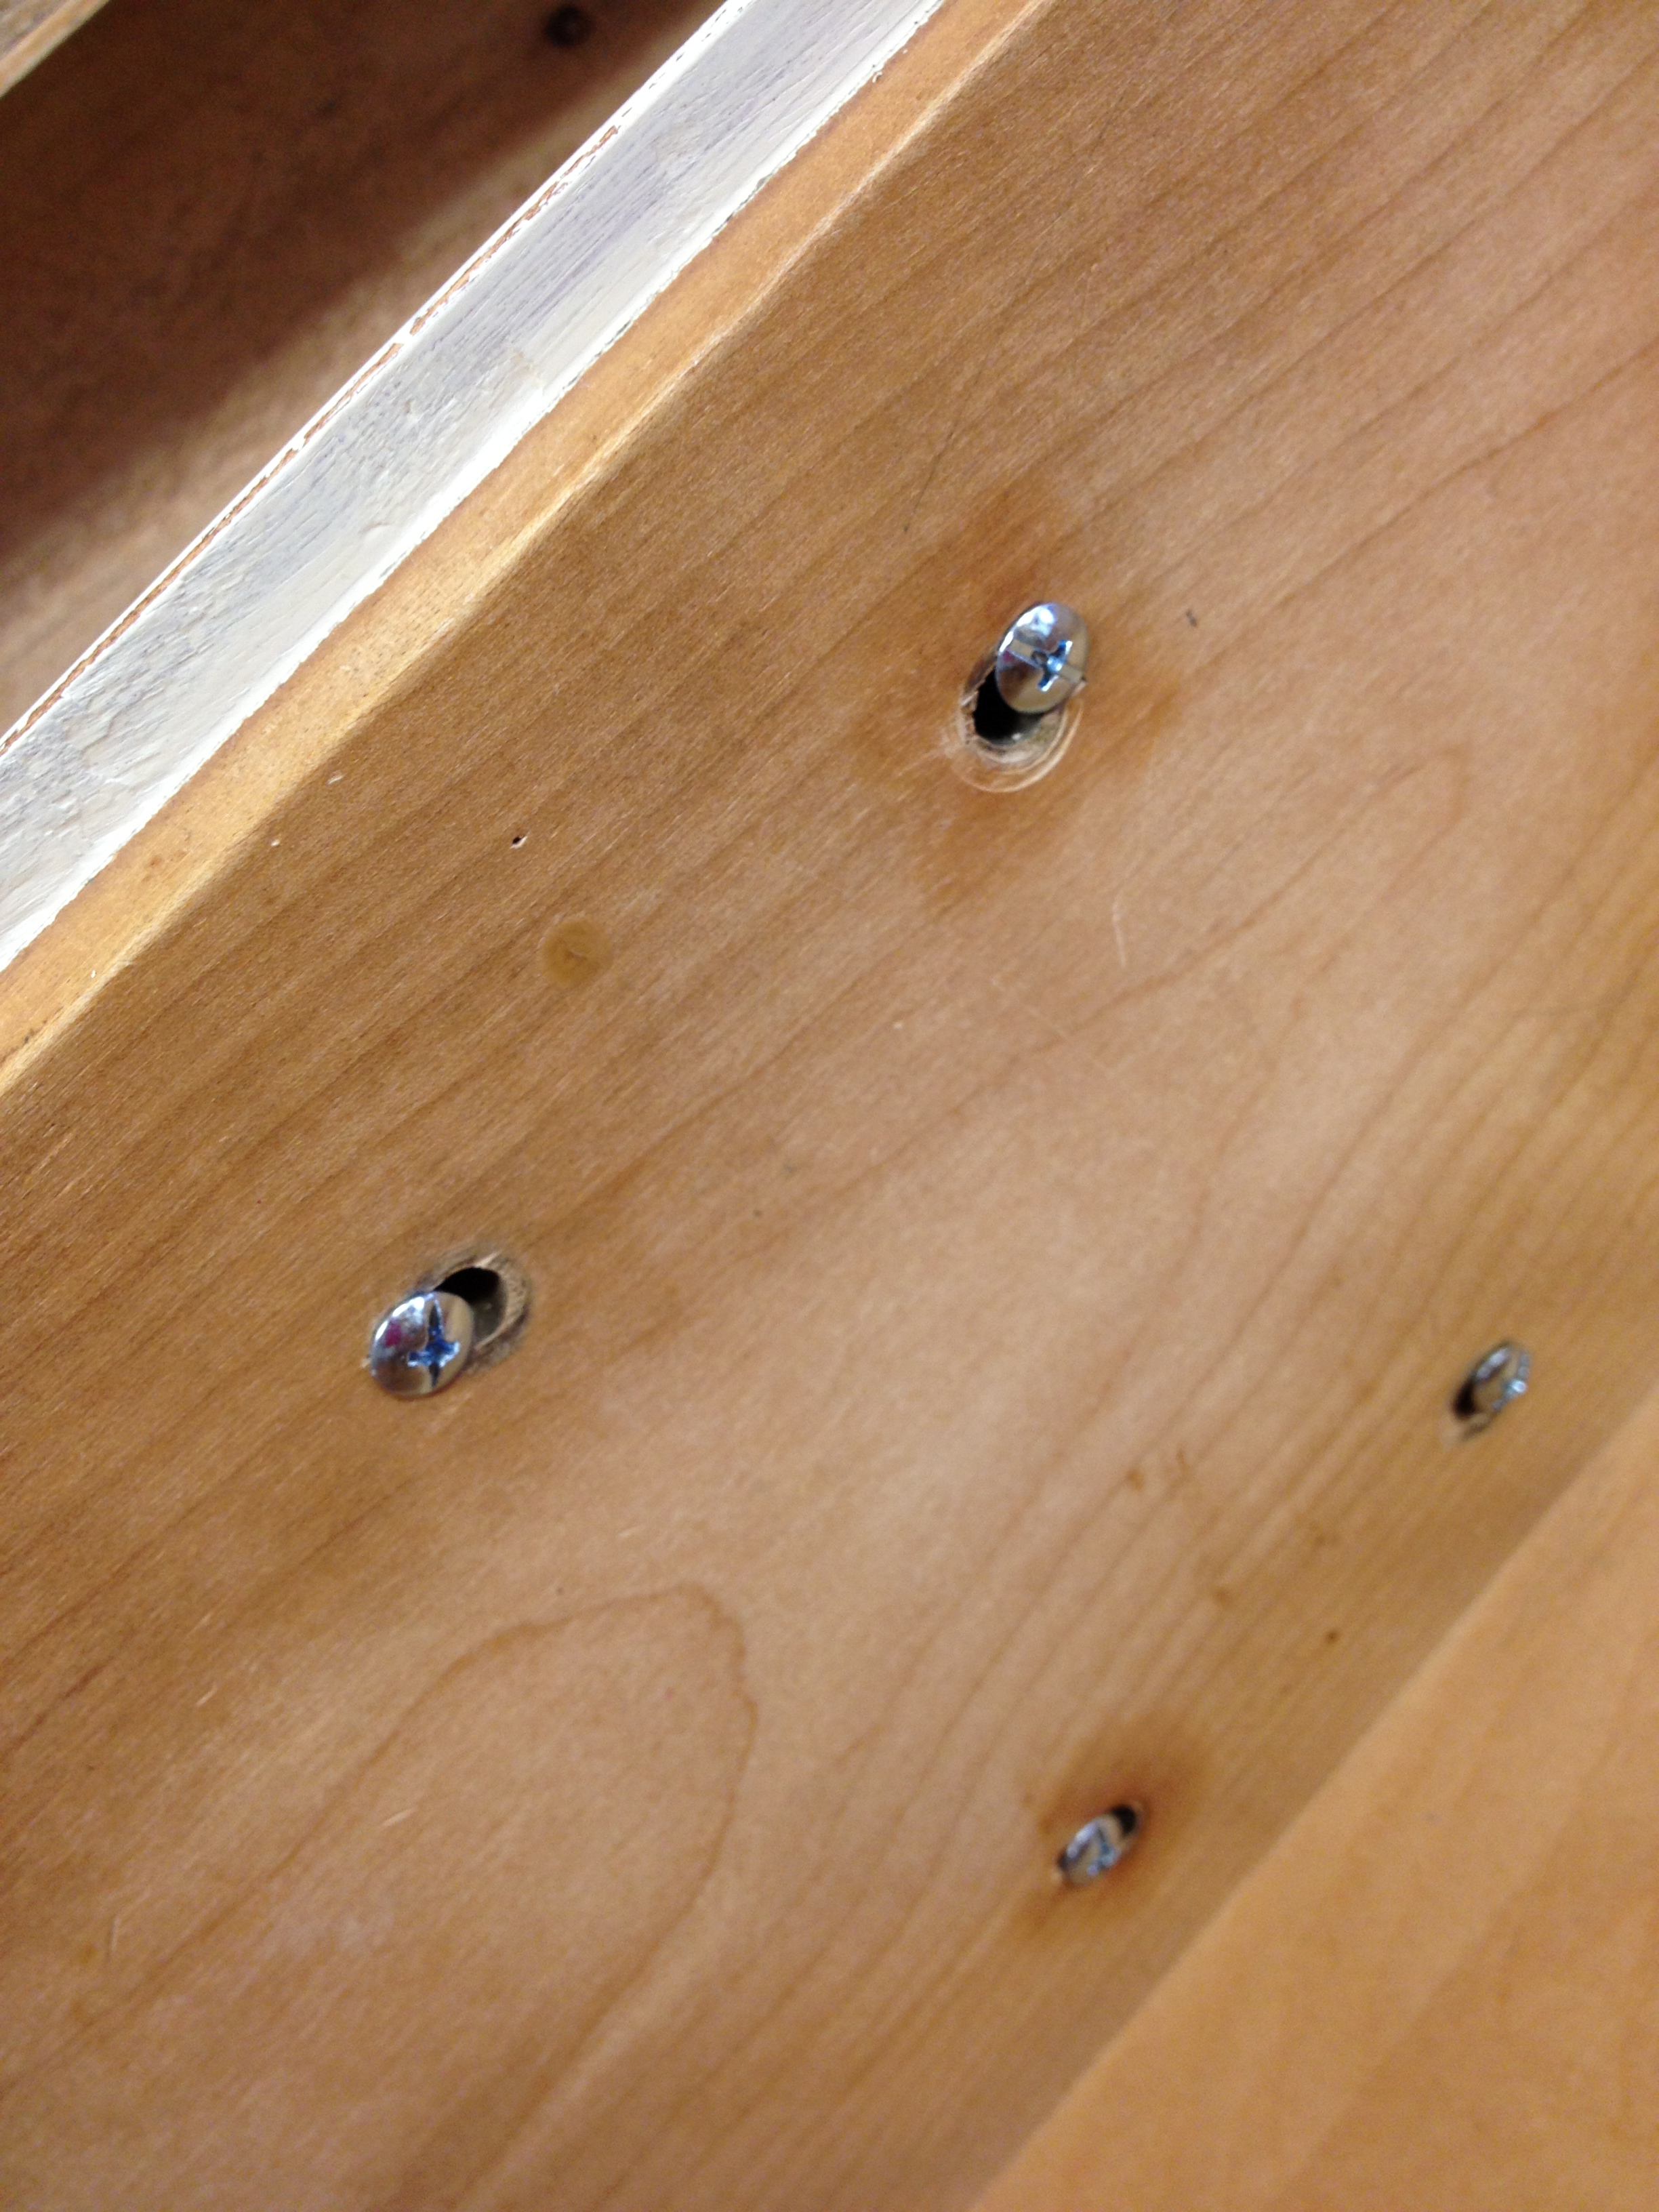
I am so proud of my rig job! Of course, you can totally tell what I did from the inside of the drawer, but who cares?
Once I saw that worked, I was able to stop holding my breath and realized...the dresser was done!
Before I show you the end result, let's remember what I started with.
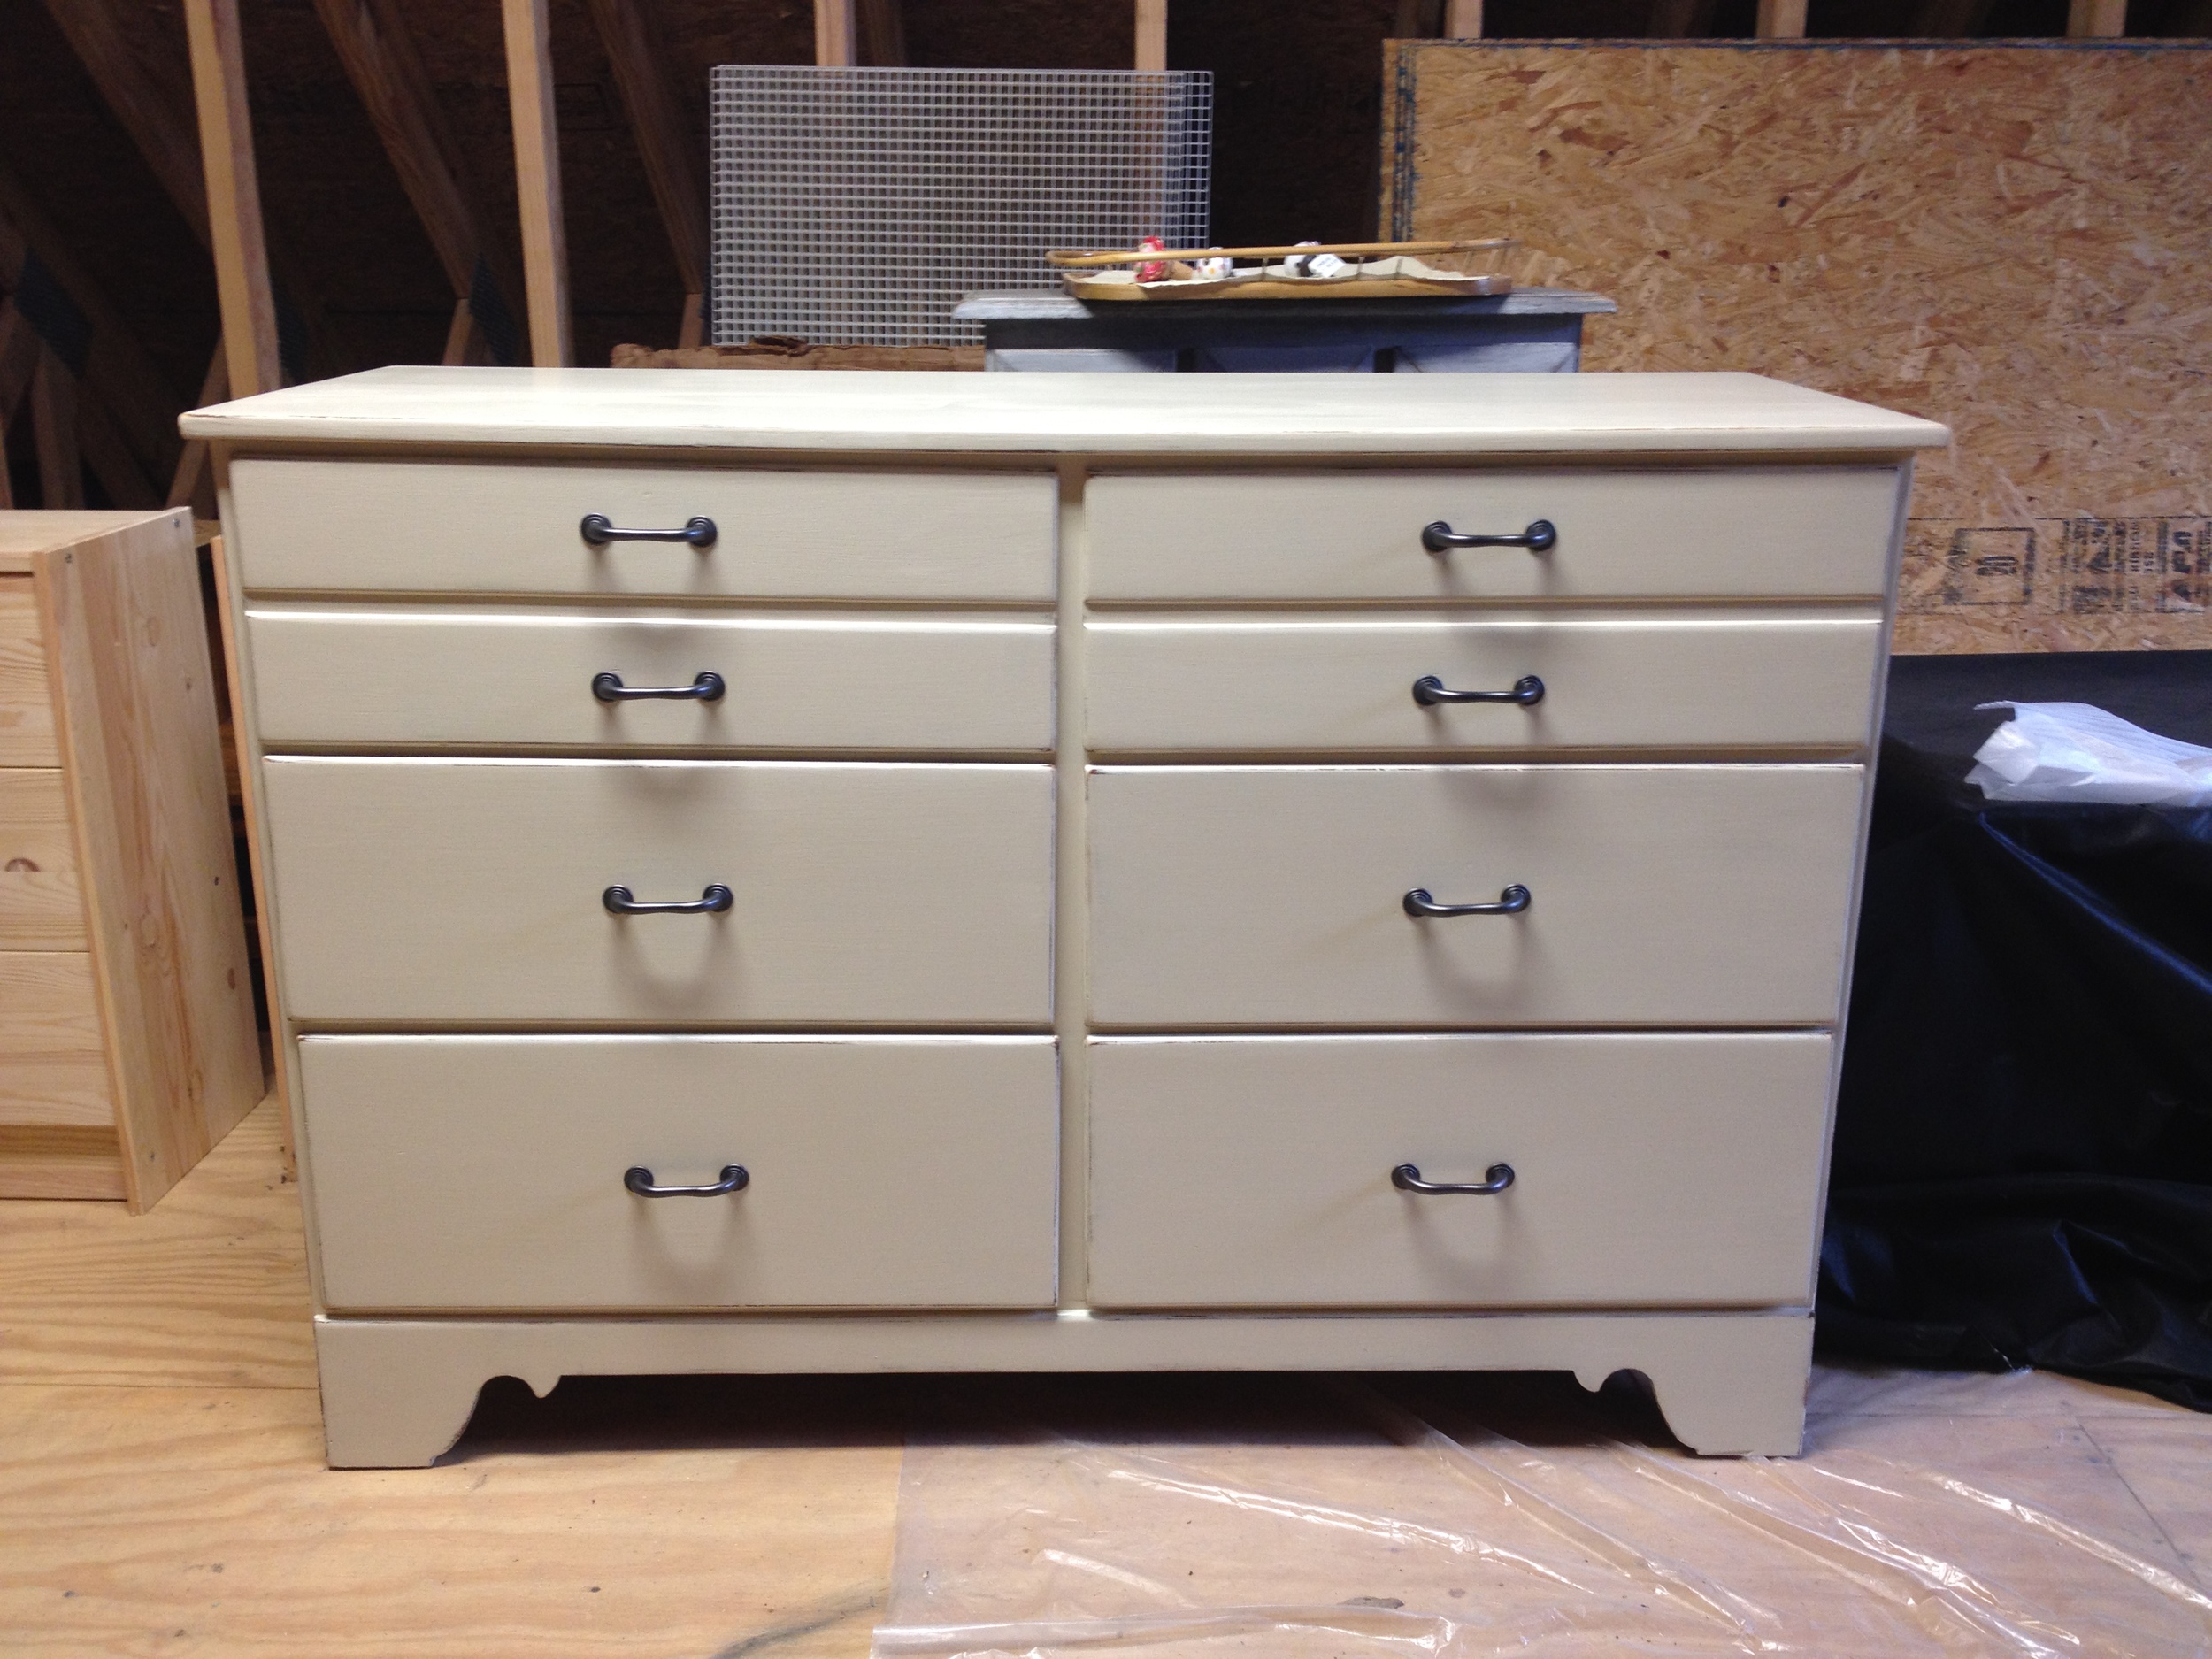
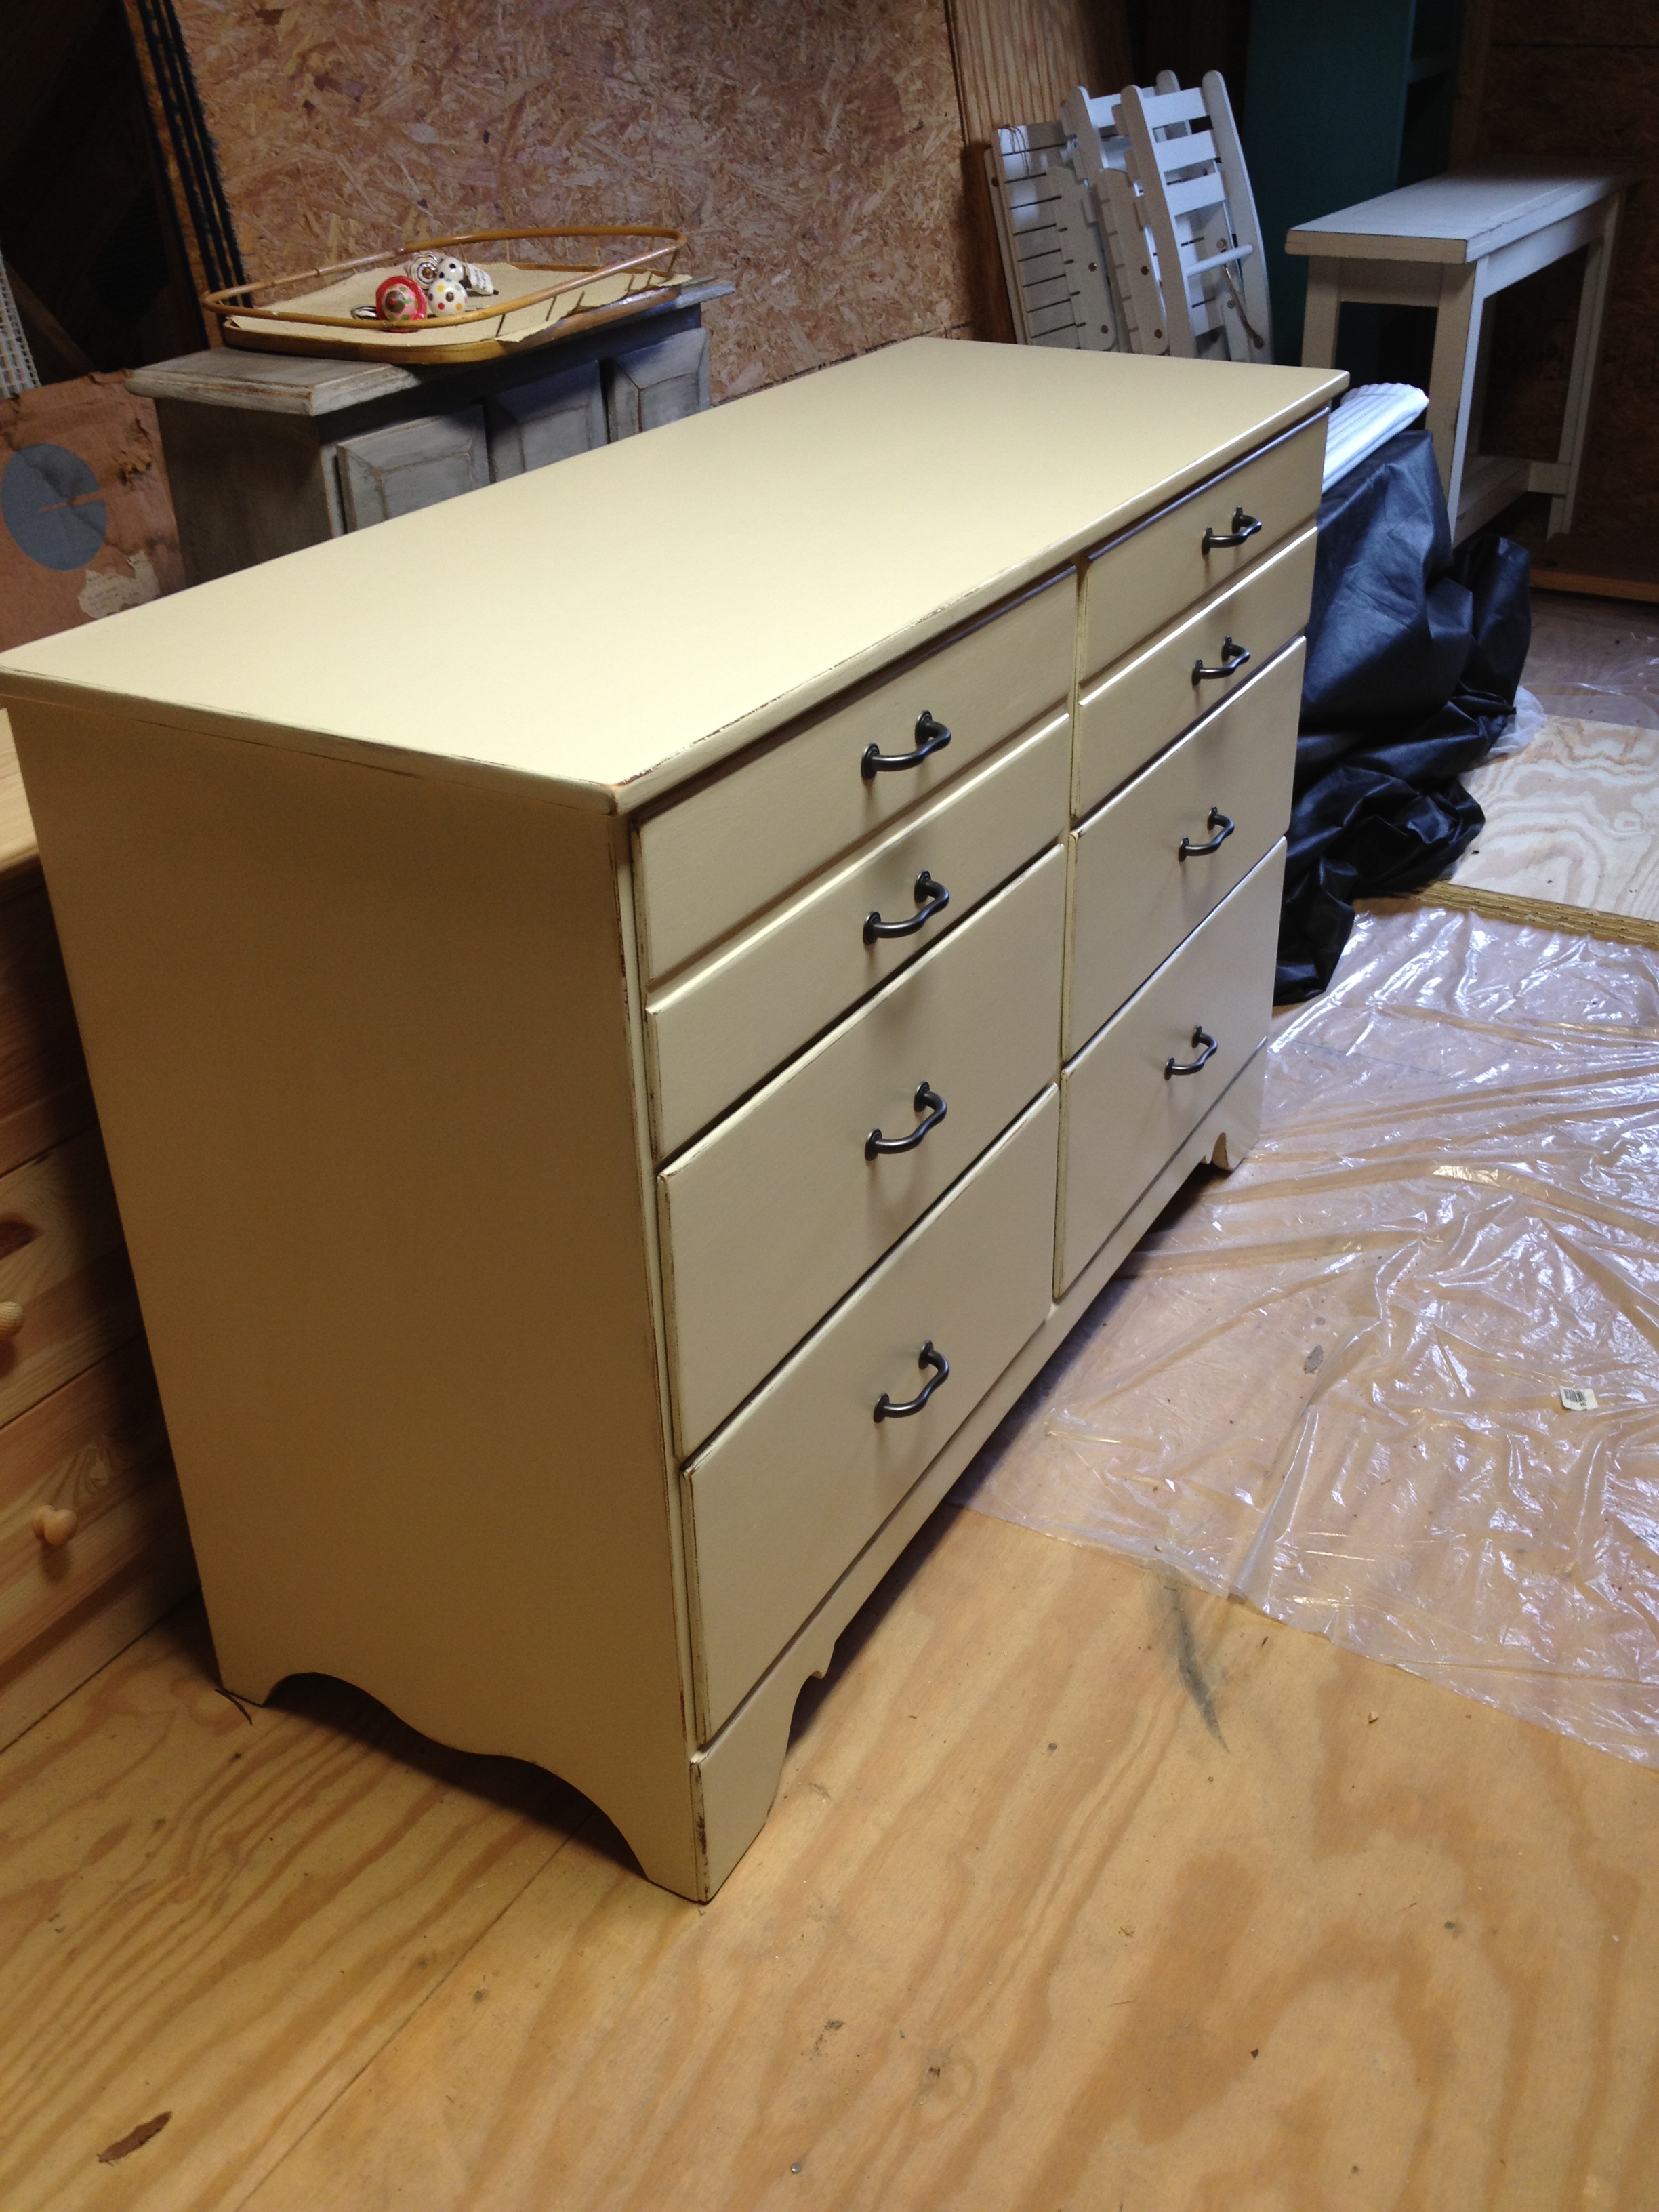
And here it is now, sitting in the attic until it finds its home in the beach house.
I said it once and I'll say it again: She's a beaut, Clark. A real beaut.

