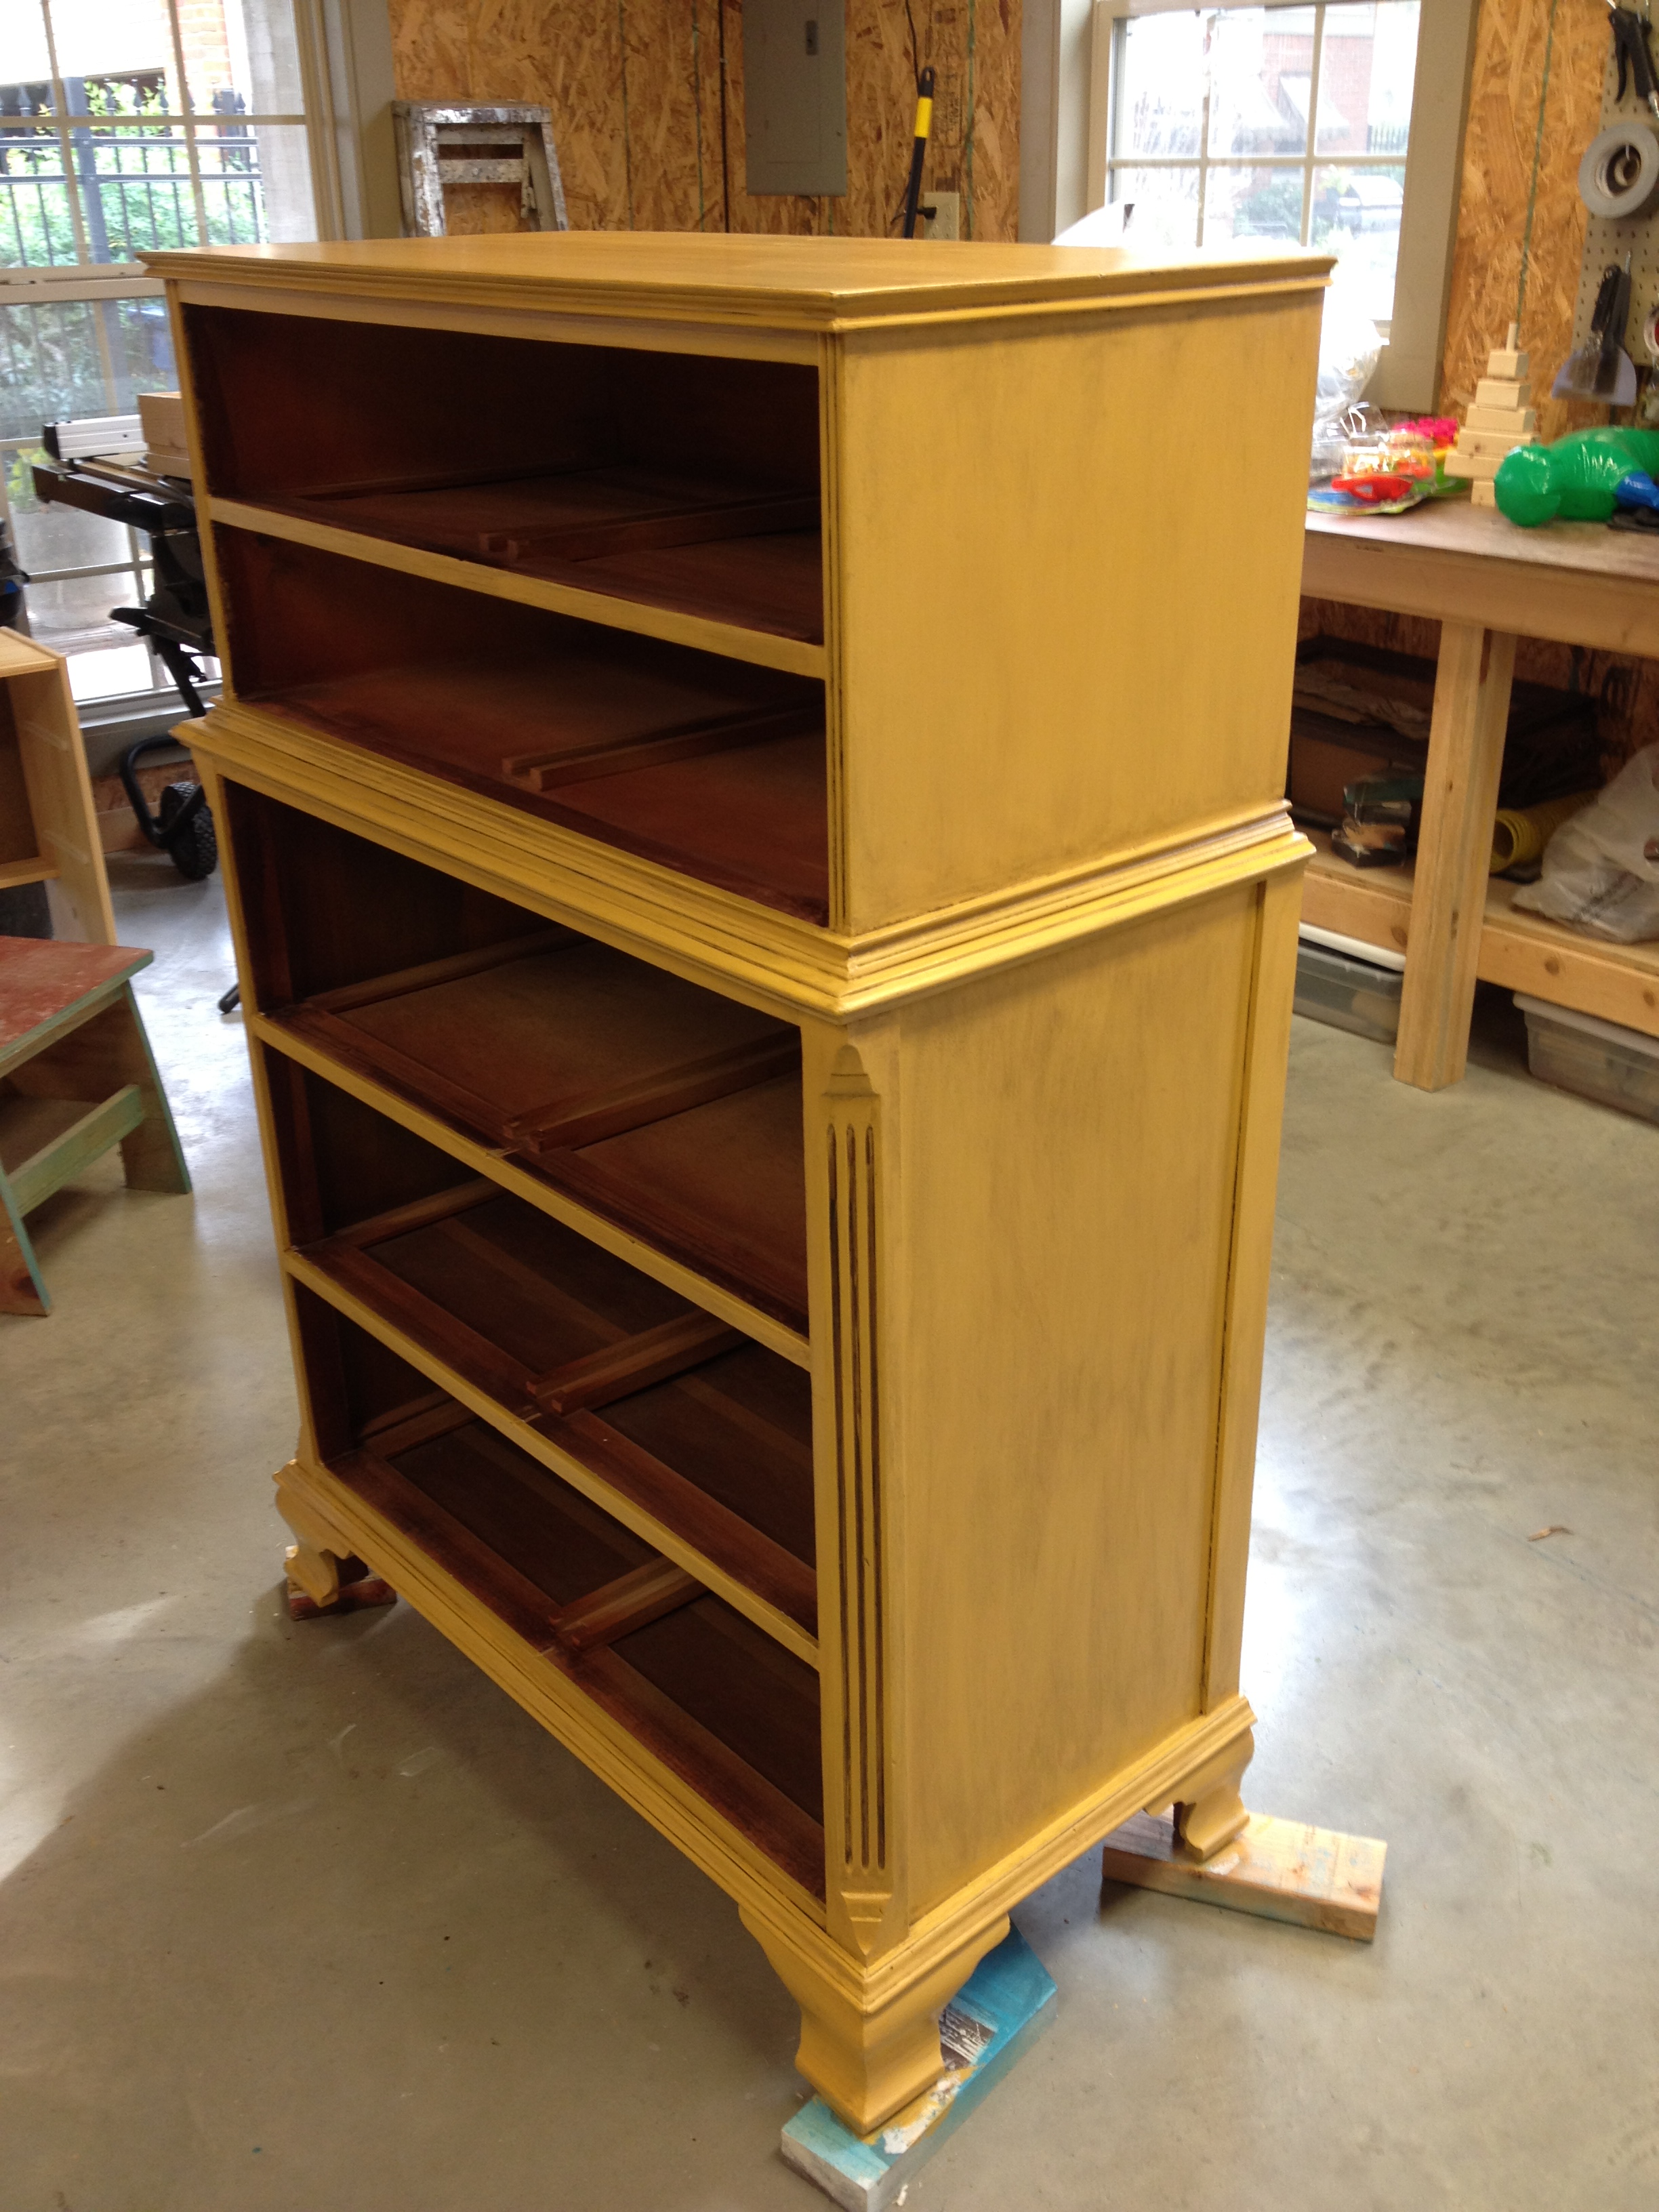
This dresser made me want to pull my hair out. Here it is, sitting in the sun, at the yard sale when it was purchased.
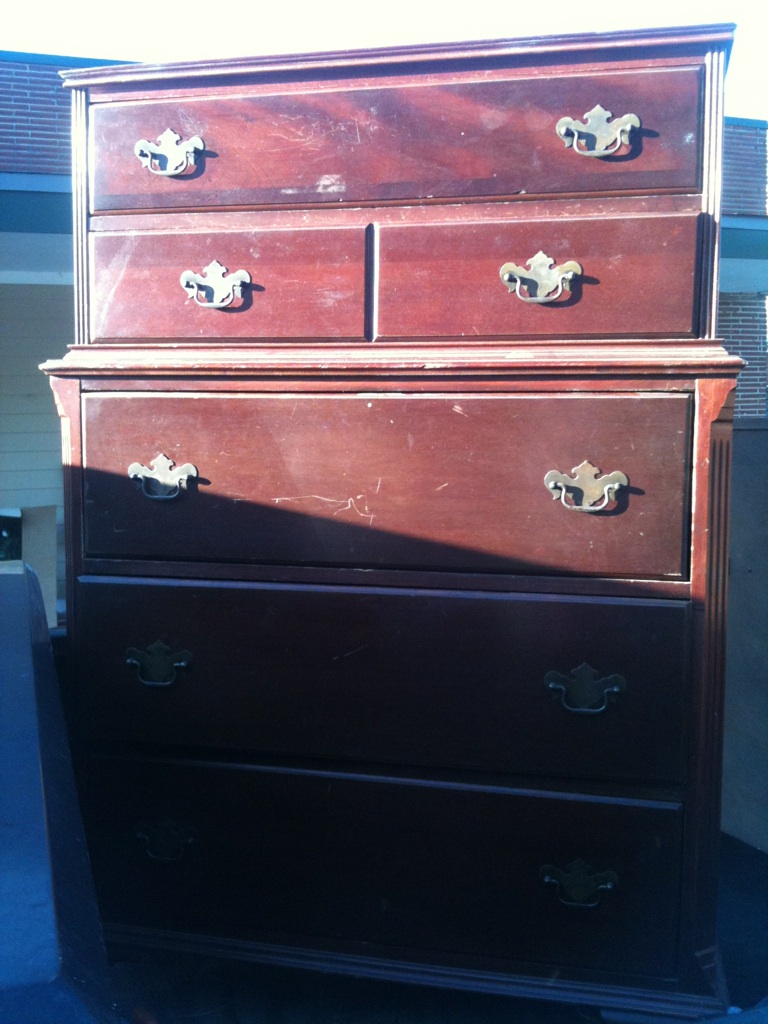
Why did it make me want to pull my hair out? Because I had to paint it eight times. Yes, EIGHT. Gah. The layers went a little something like this:
1. Mustard Yellow 2. Watery Primer 3. Primer 4. Mustard Yellow 5. Mustard Yellow 6. Dark Brown Glaze 7. Poly 8. Poly
If you've ever painted a piece of furniture, you know those layers are a little weird. Lemme tell ya what happened.
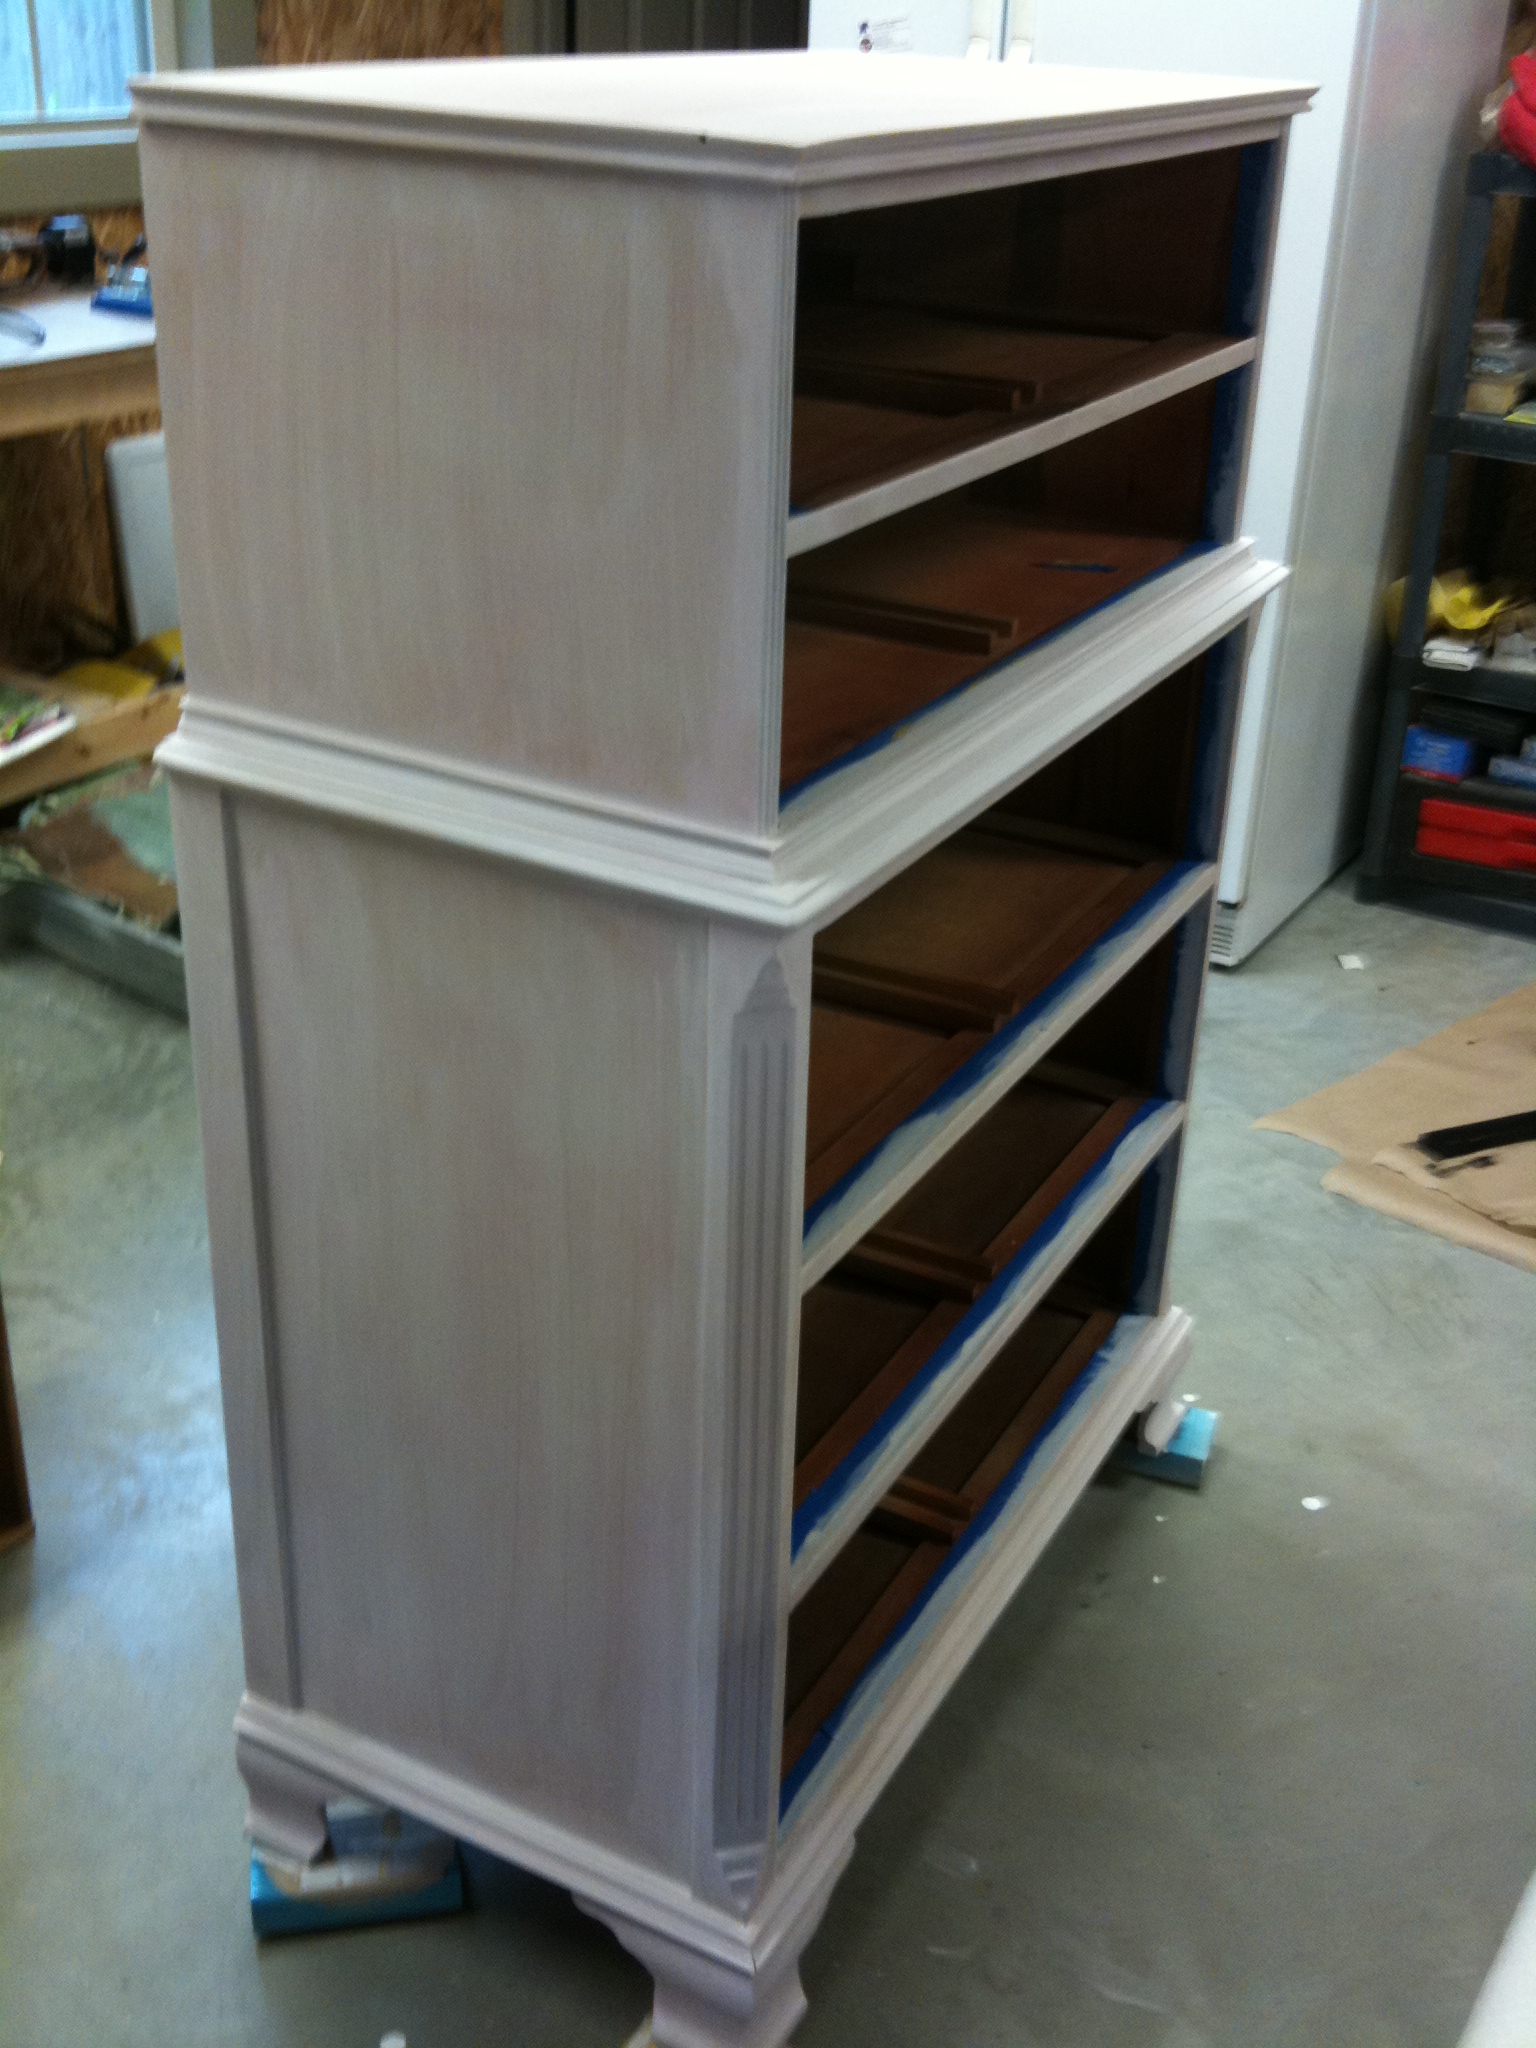
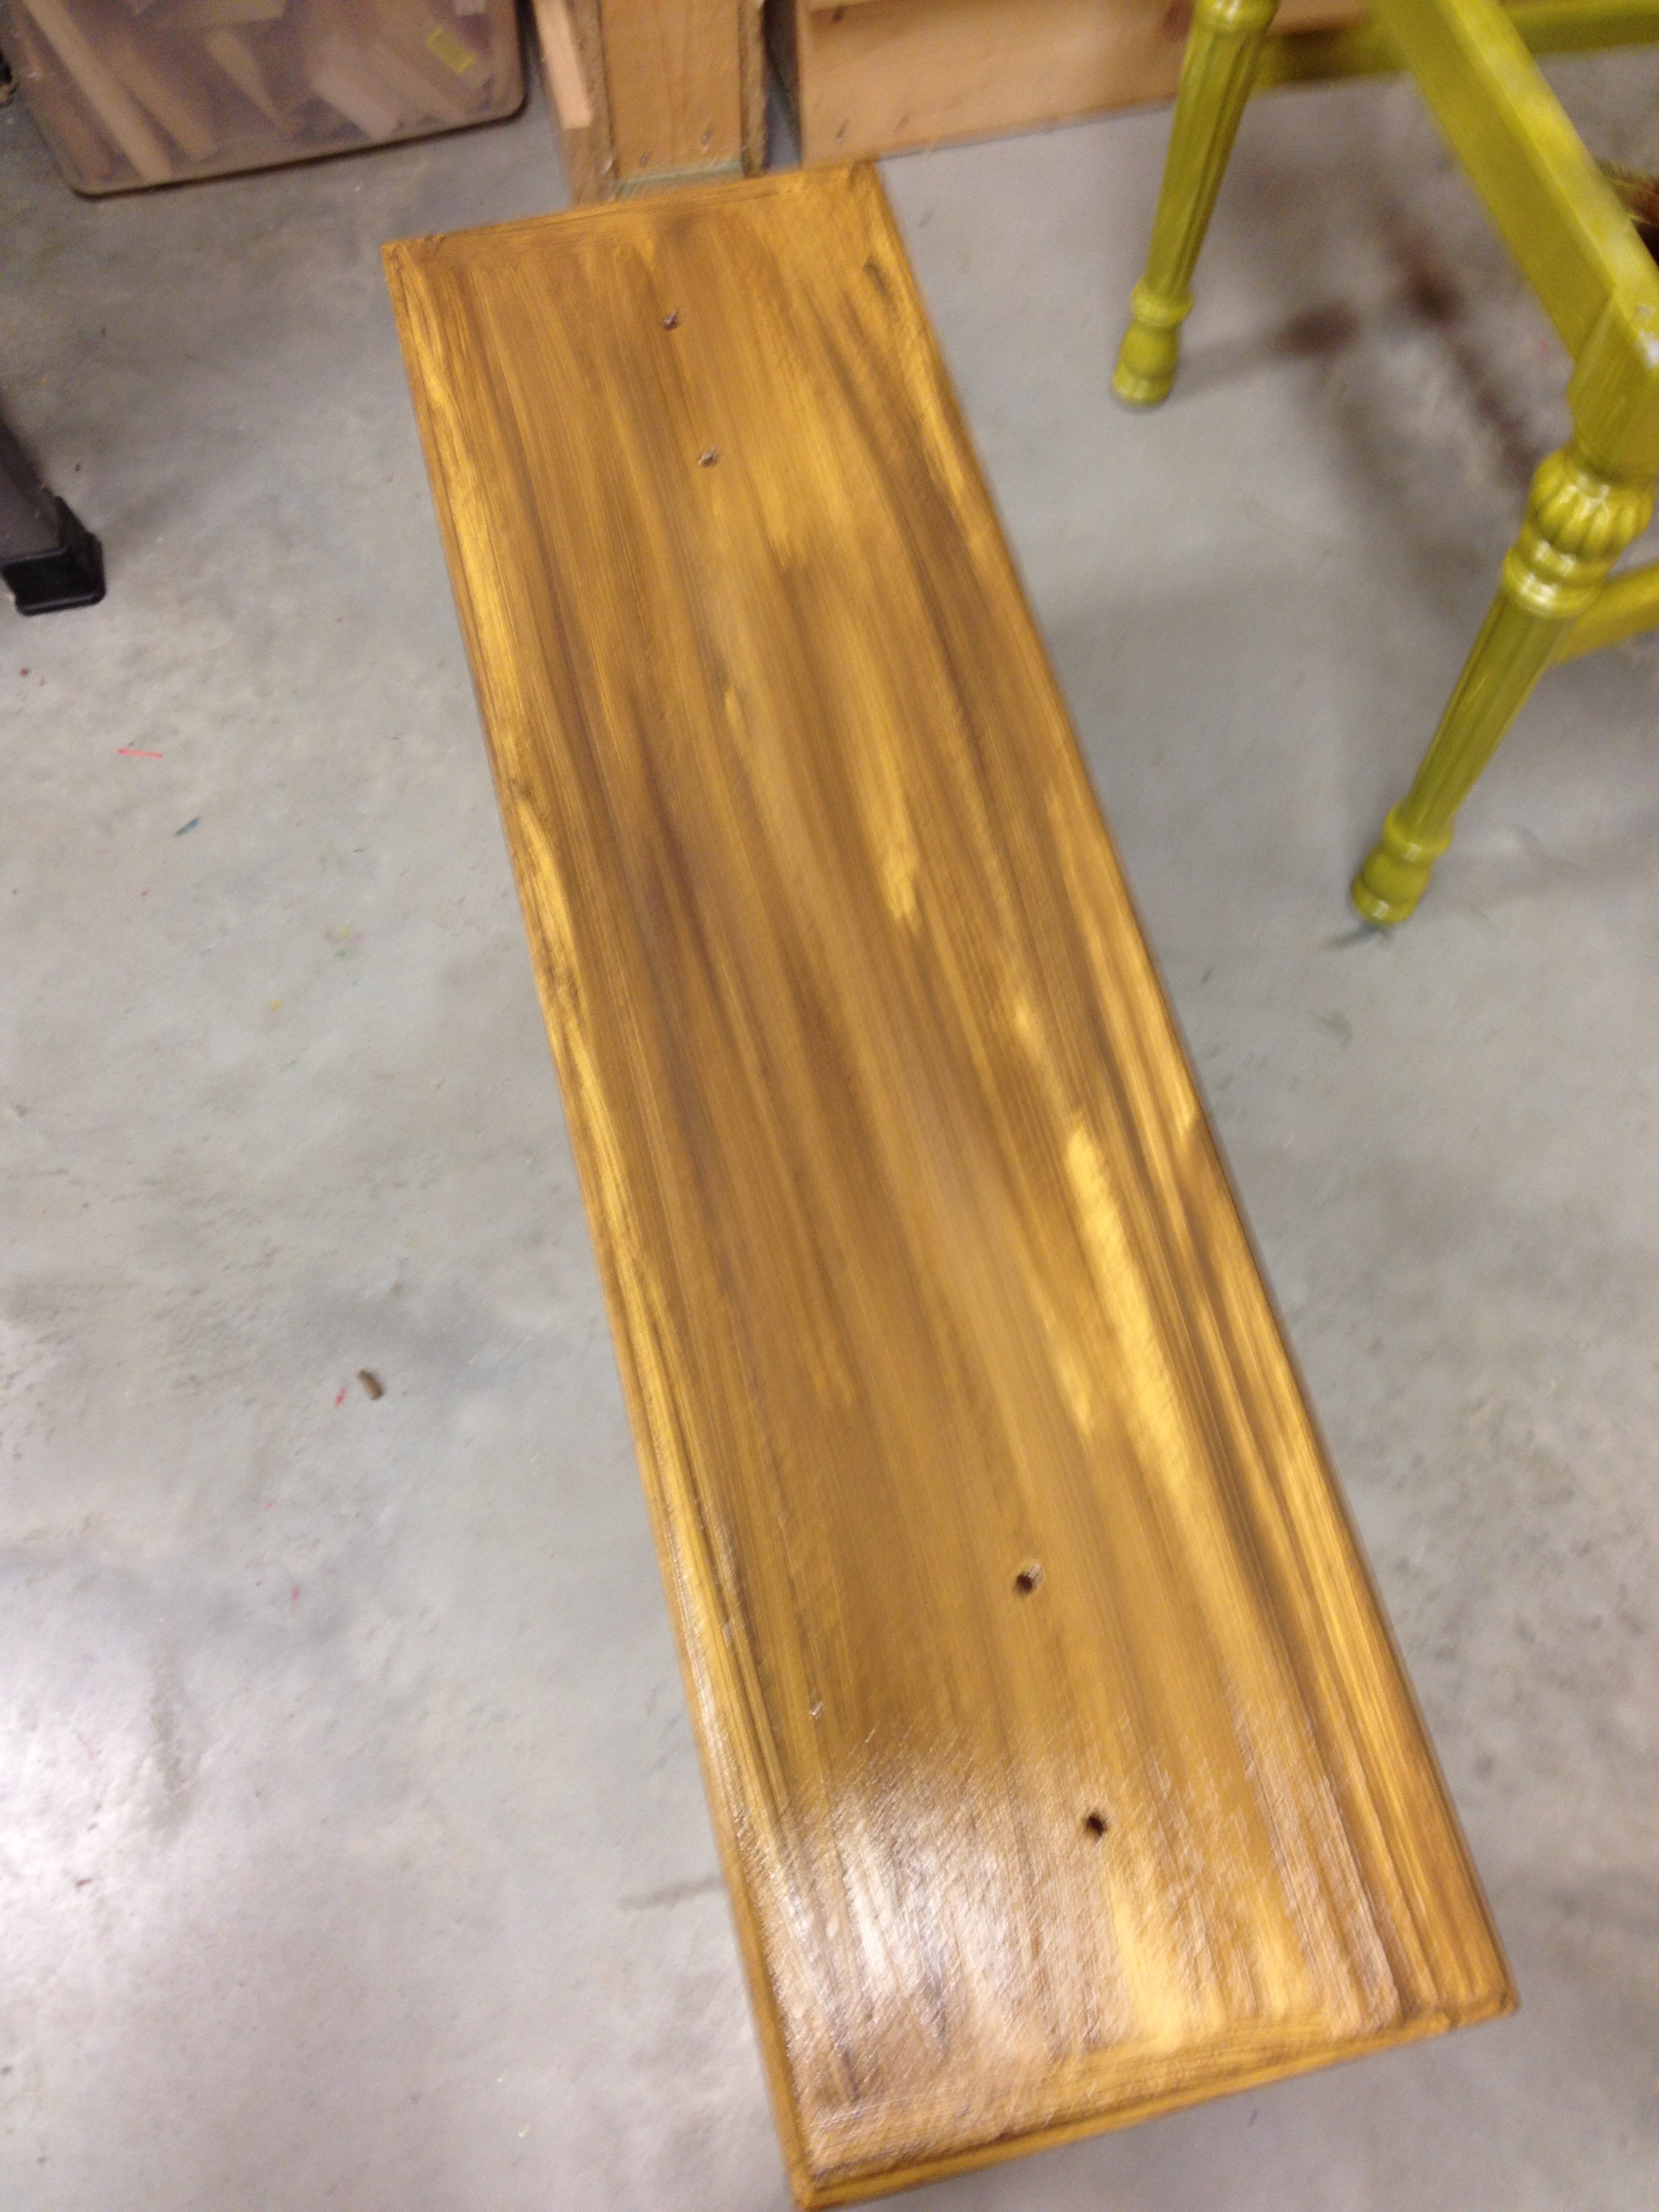
After getting away with no primer on the first dresser, I pressed my luck and, after sanding, jumped straight to the mustard yellow paint. Big mistake. You see, this dresser had a nice red stain on it, and that stain crept straight through my yellow paint. Once the first coat was dry, it practically looked orange.
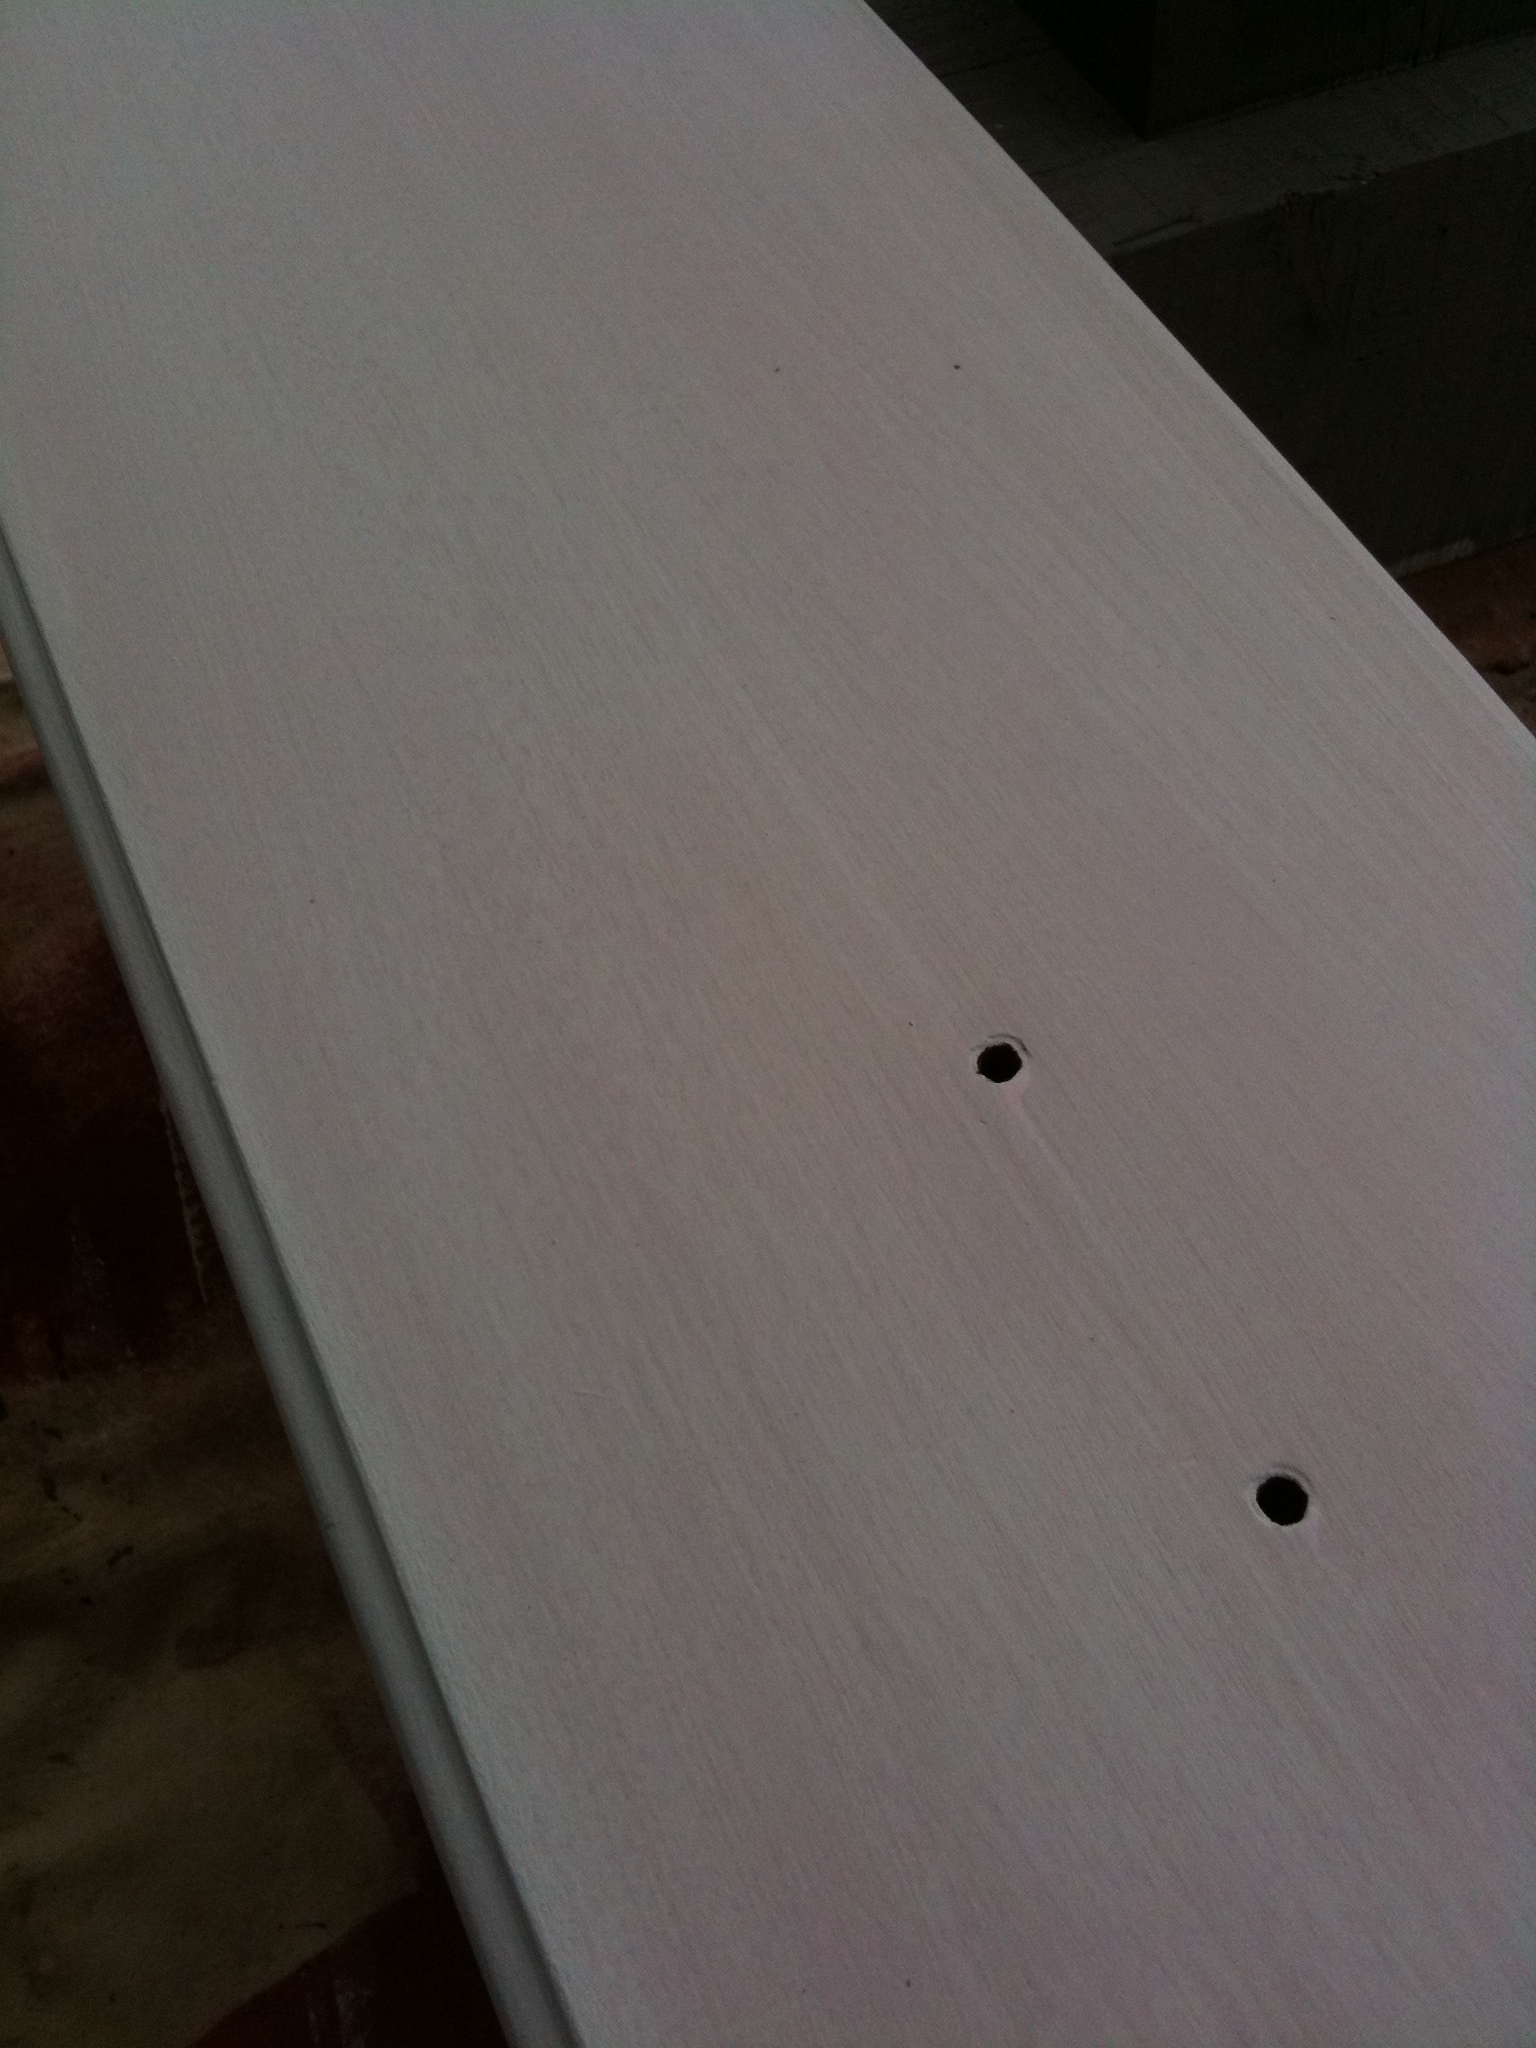
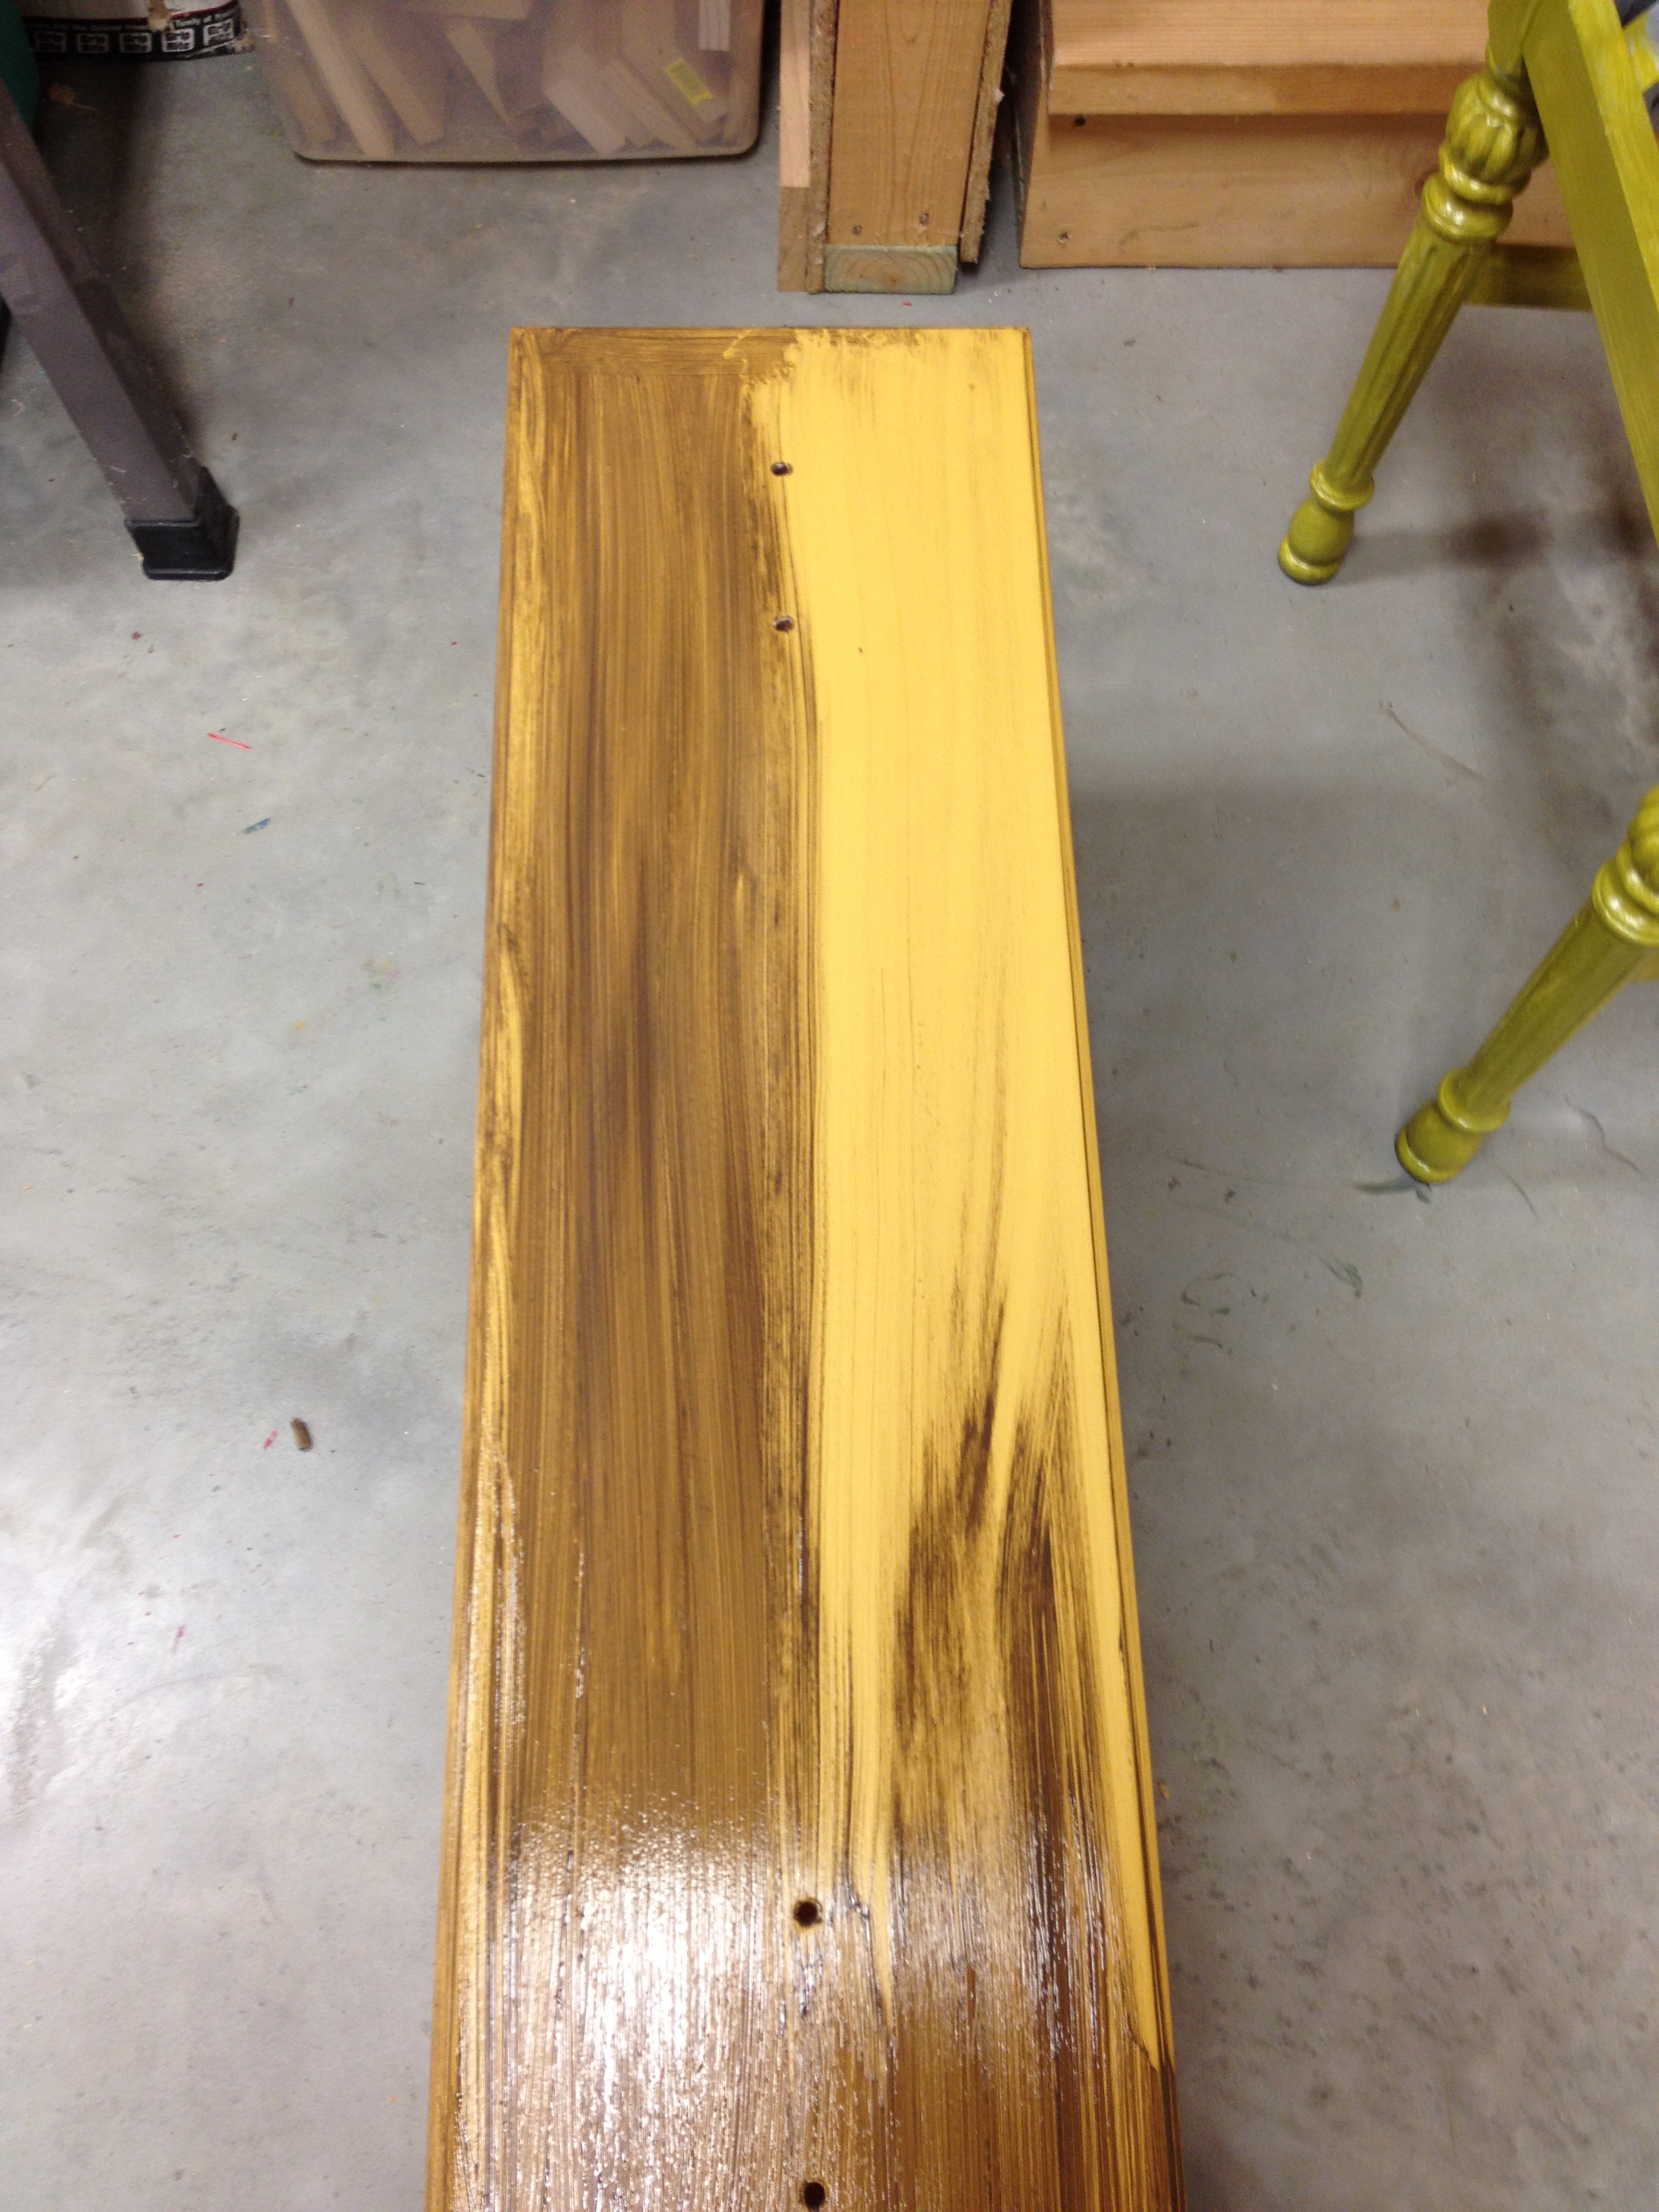
I tested a second coat of paint on just one drawer to see if it'd cover the stain. No such luck. So I backpedaled and broke out the primer. This picture doesn't really show off the stain seeping through, but trust me, it was there.
Before opening the primer, I gave it a good shakin'. It looked nice and white so I went to town priming the drawers and the base. I did notice that it seemed very watery, but I just thought maybe it was a different brand of primer that I was used to. (I tend to live on the edge and skip the priming step, so I'm not really even sure when the last time I had used primer was.) As I was just finishing priming it all, my dad walked in and asked me if I'd stirred the paint can. "I shook it, it's fine." Leave it to my dad to prove me wrong. He grabbed a paint stirrer and stuck it in the paint can, and sure enough, all the thick primer was down at the bottom. D'oh!
So primer coat numero dos went on.
After three coats of paint (1 yellow, 2 primer), I was already over painting this thing. But I knew it had great potential so I pressed onward.
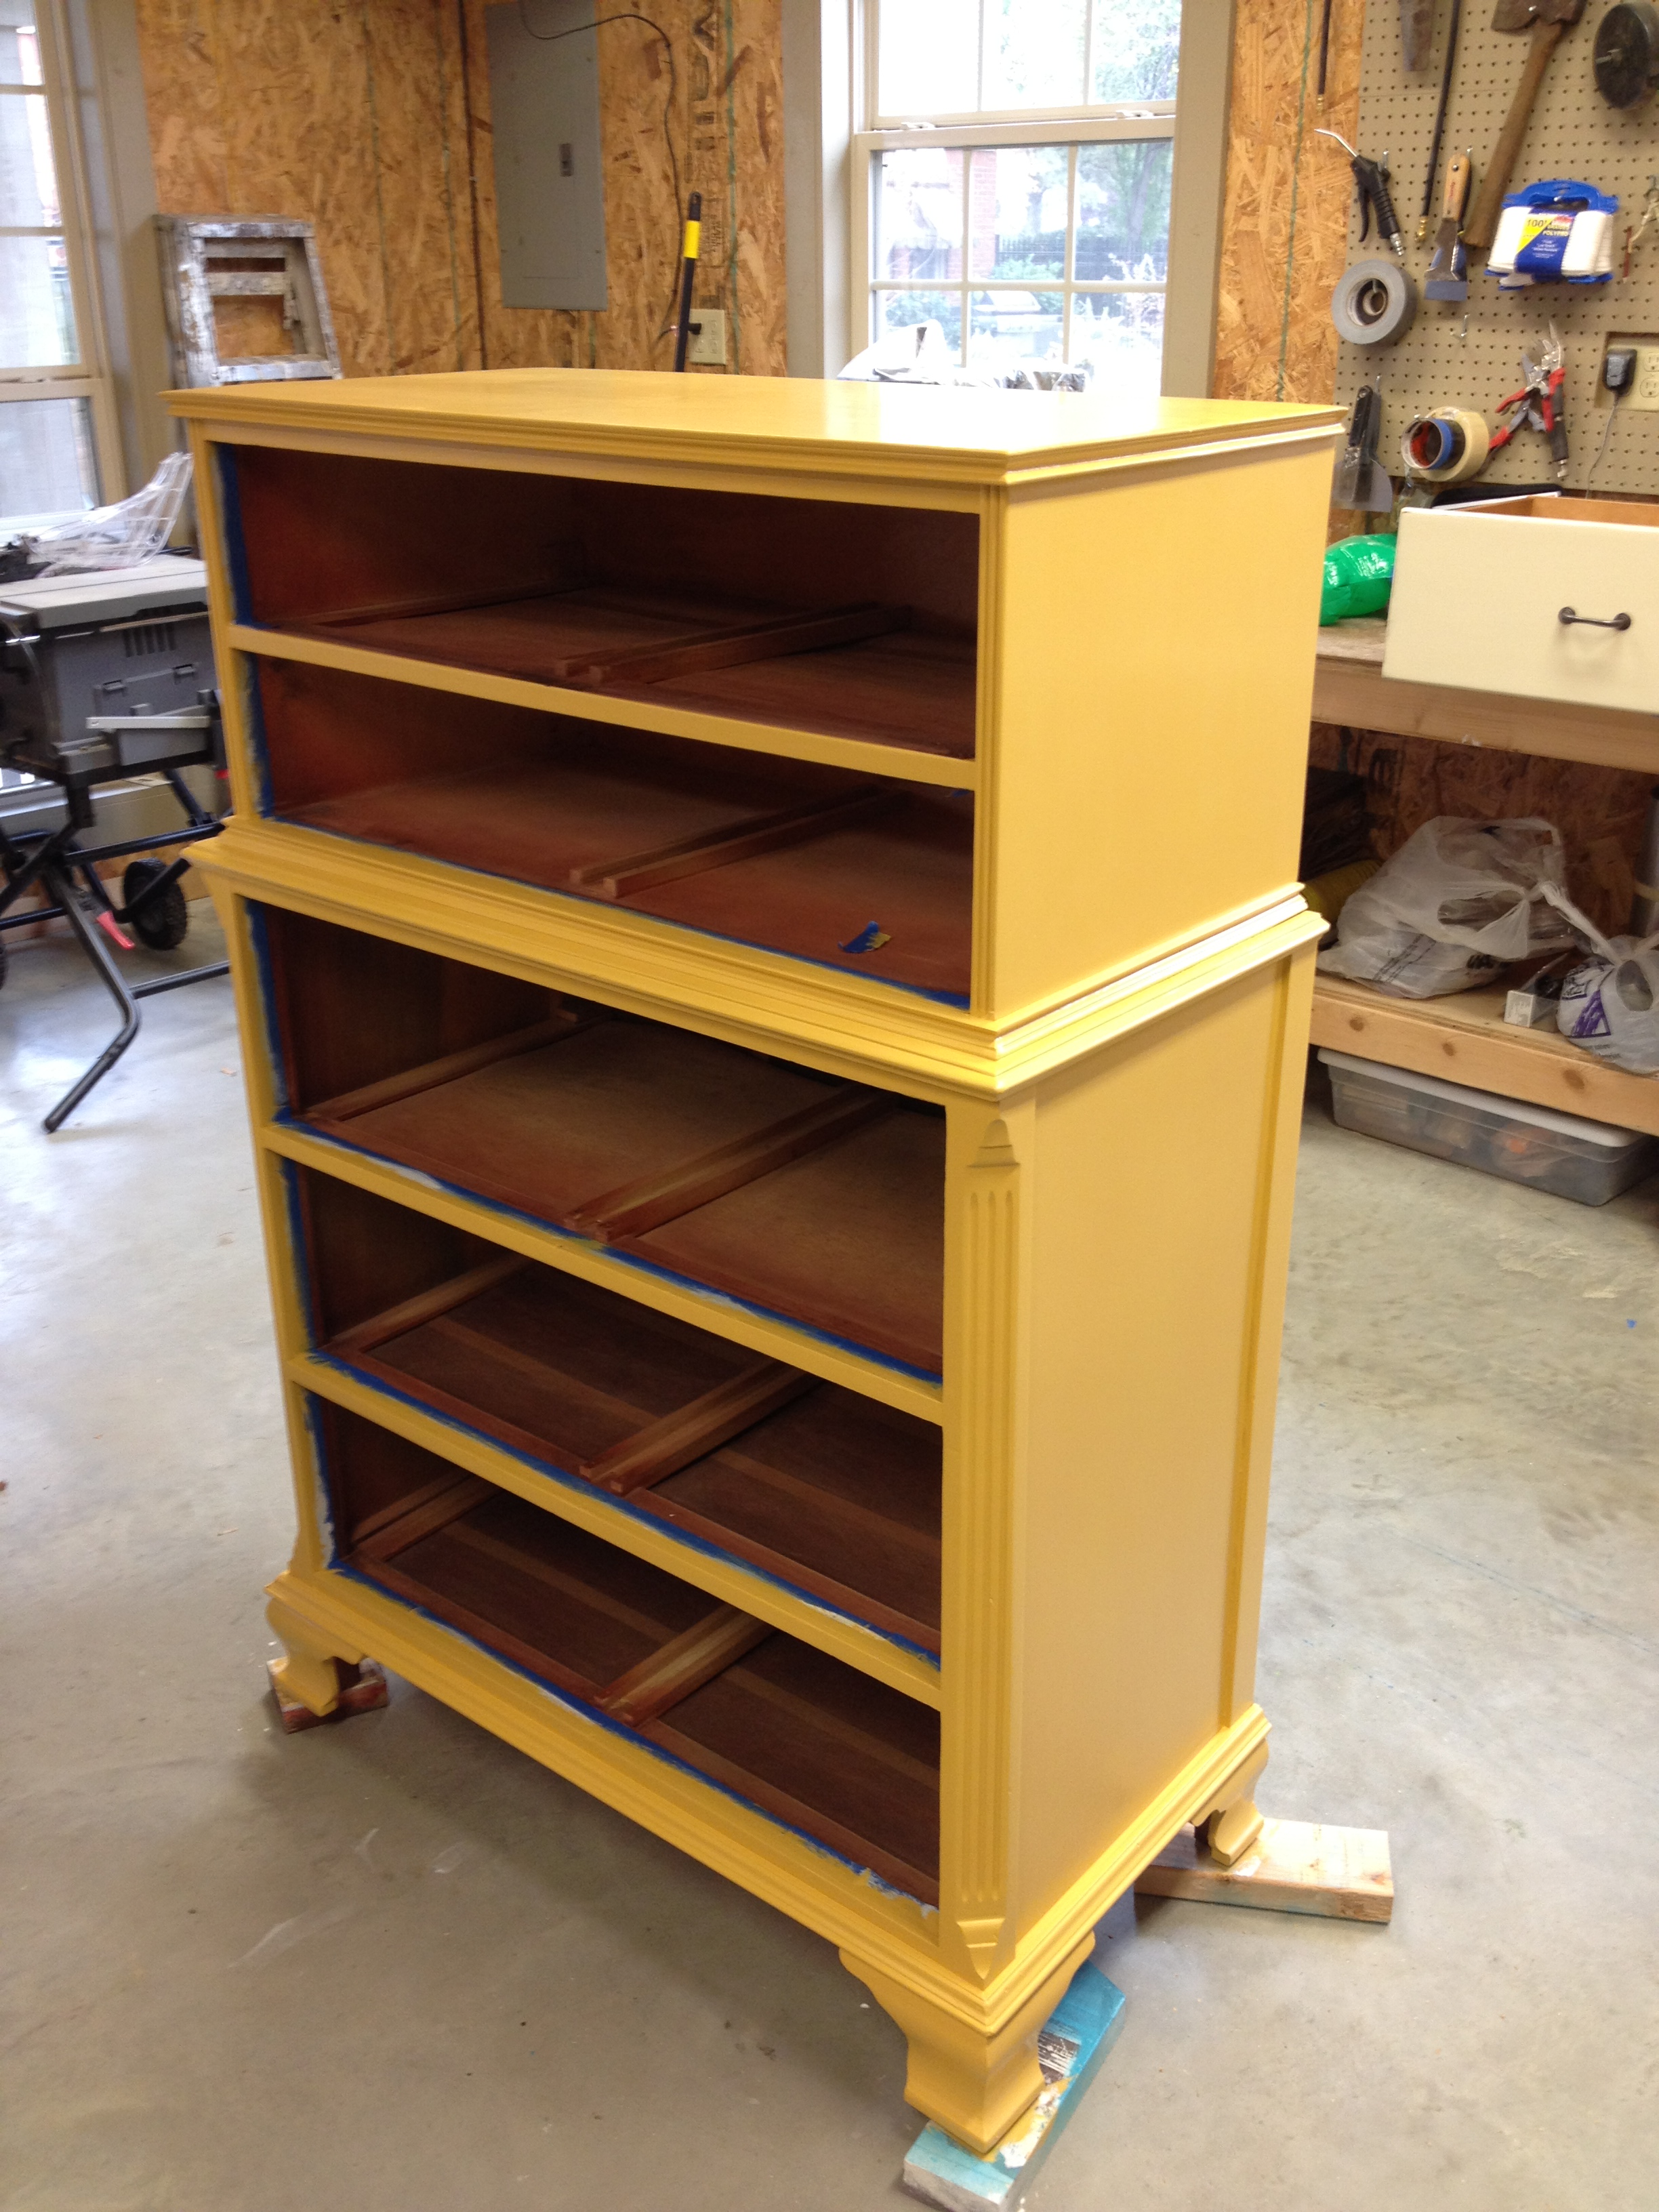
Back to the yellow paint. The stain seeped through the primer too but I didn't care anymore. I was ready to go bold.
Two paints of yellow was all I was willing to do at this point. I was ready to accept the stain coming through and just roll with it, but luckily, after the second coat of yellow, it really wasn't that bad anymore.
Then it was time to jazz it up!
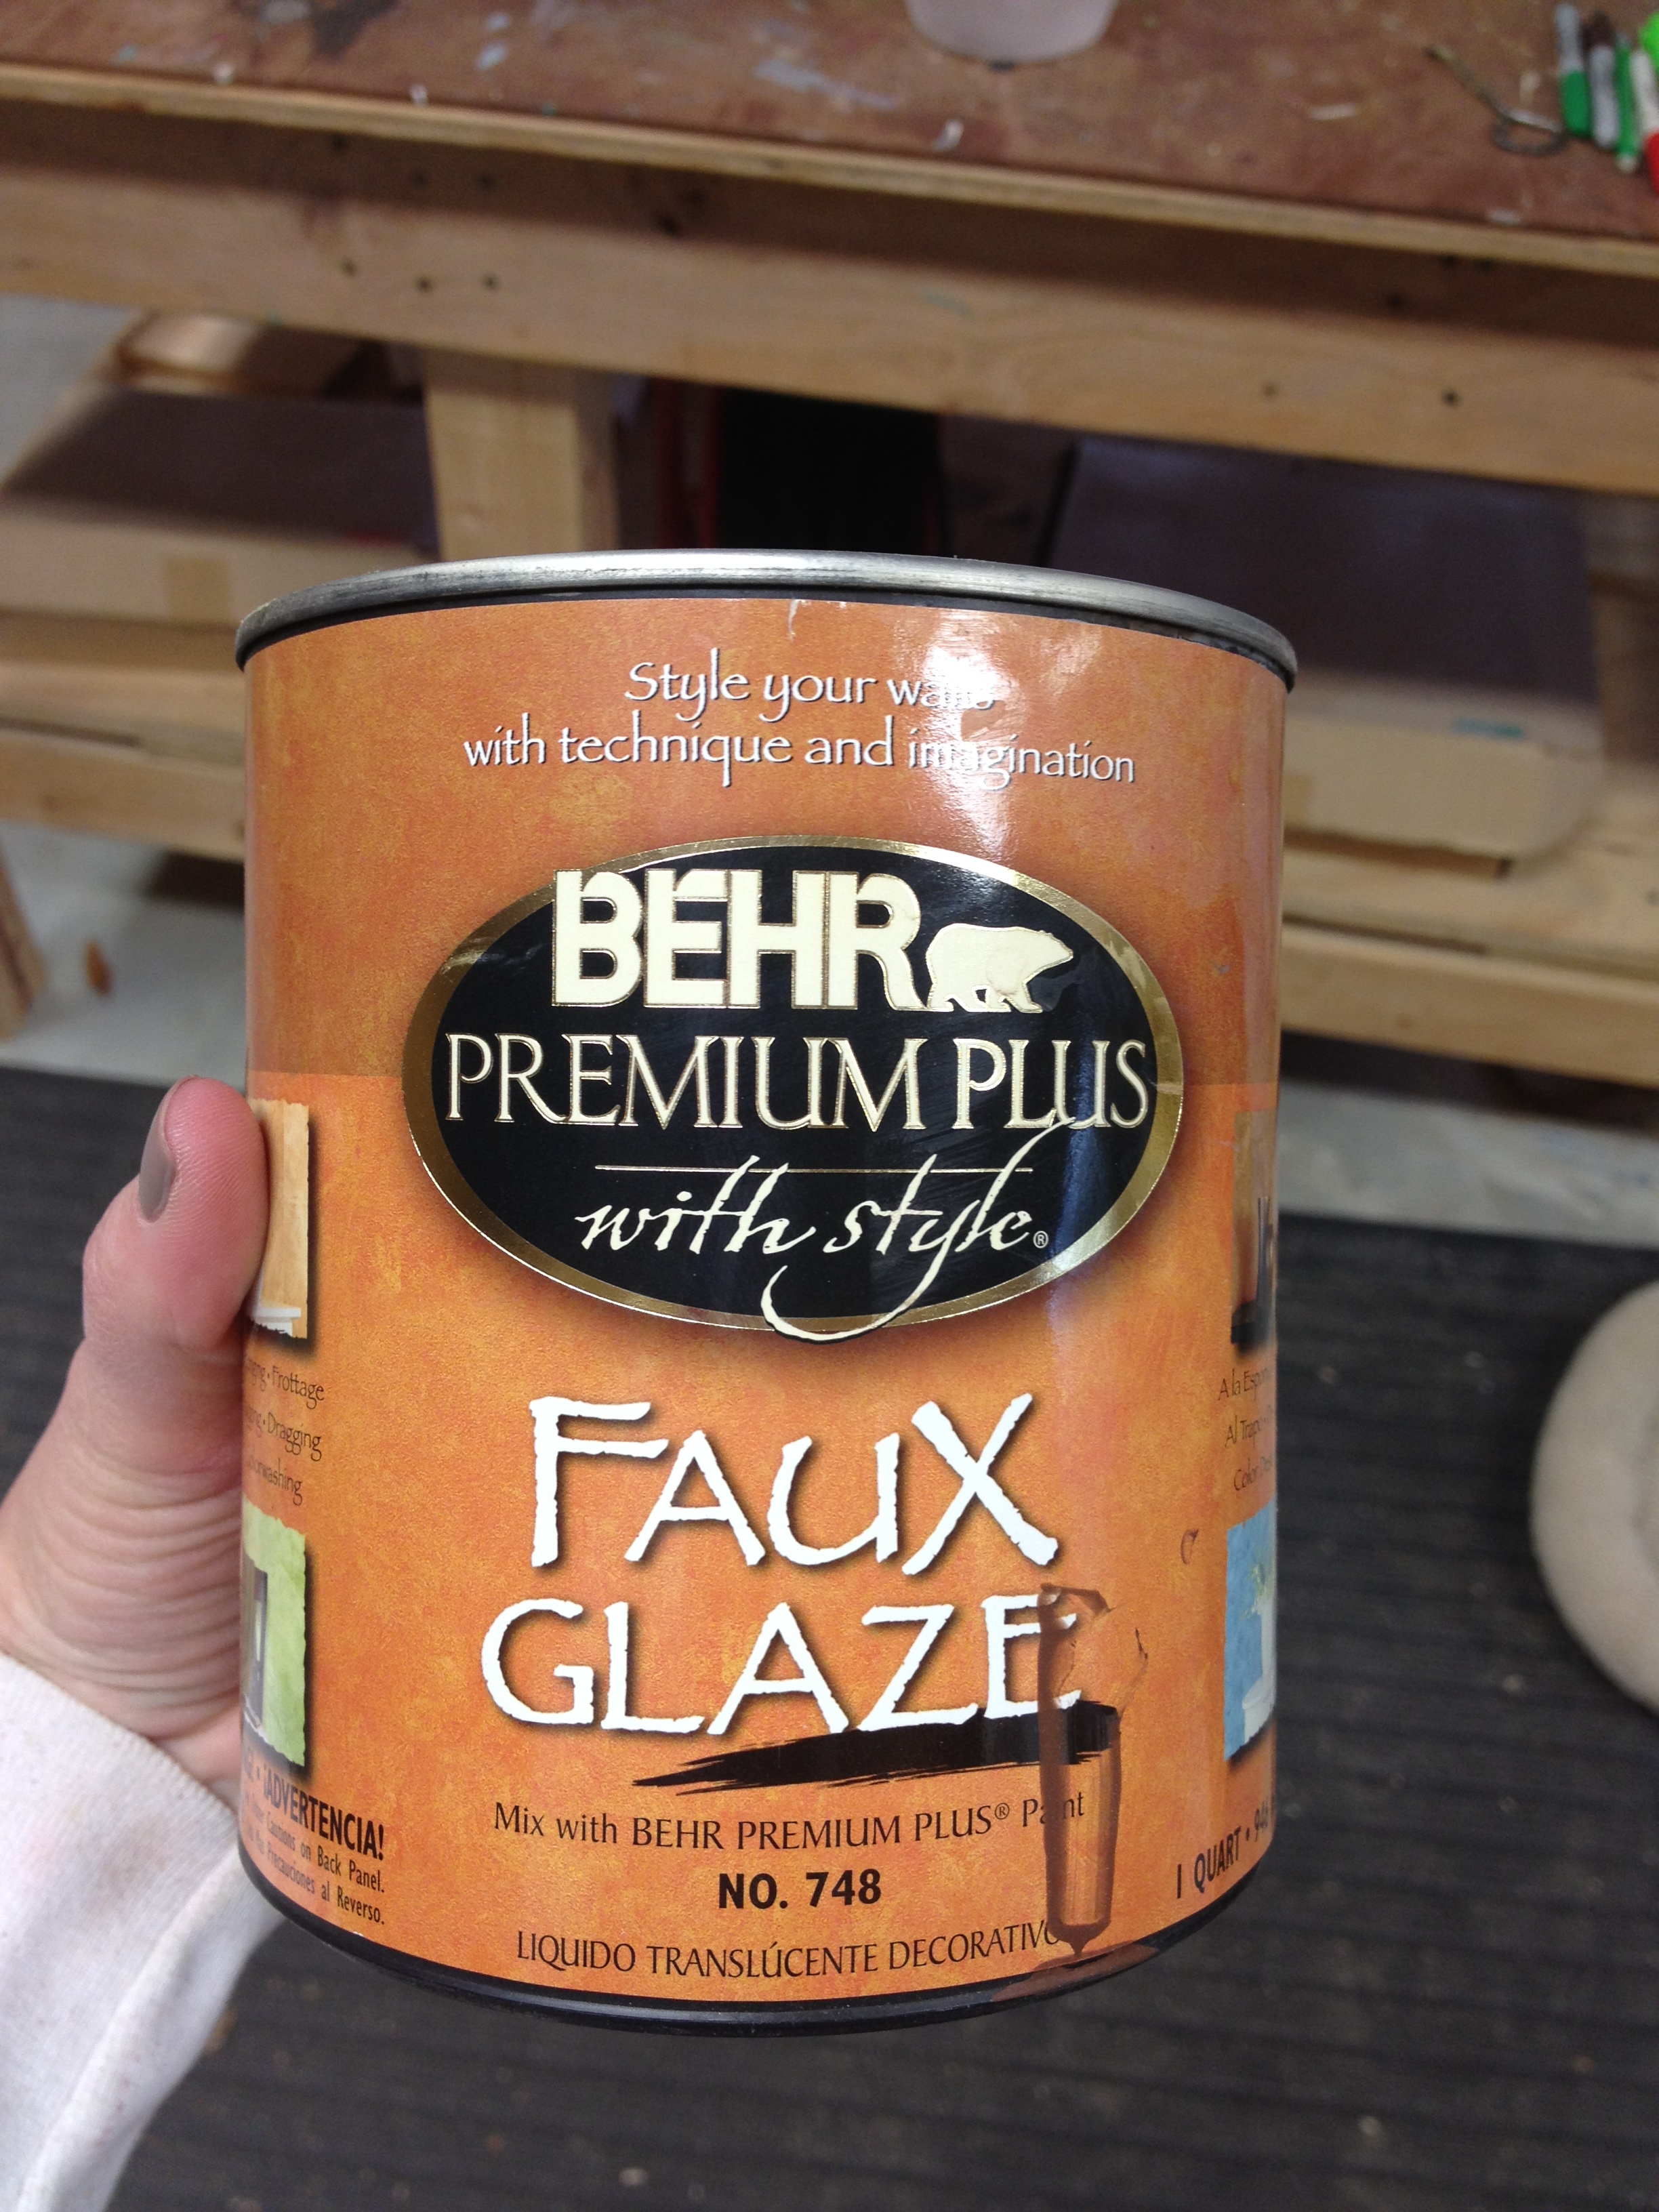
I used this glaze. It comes without any tint.
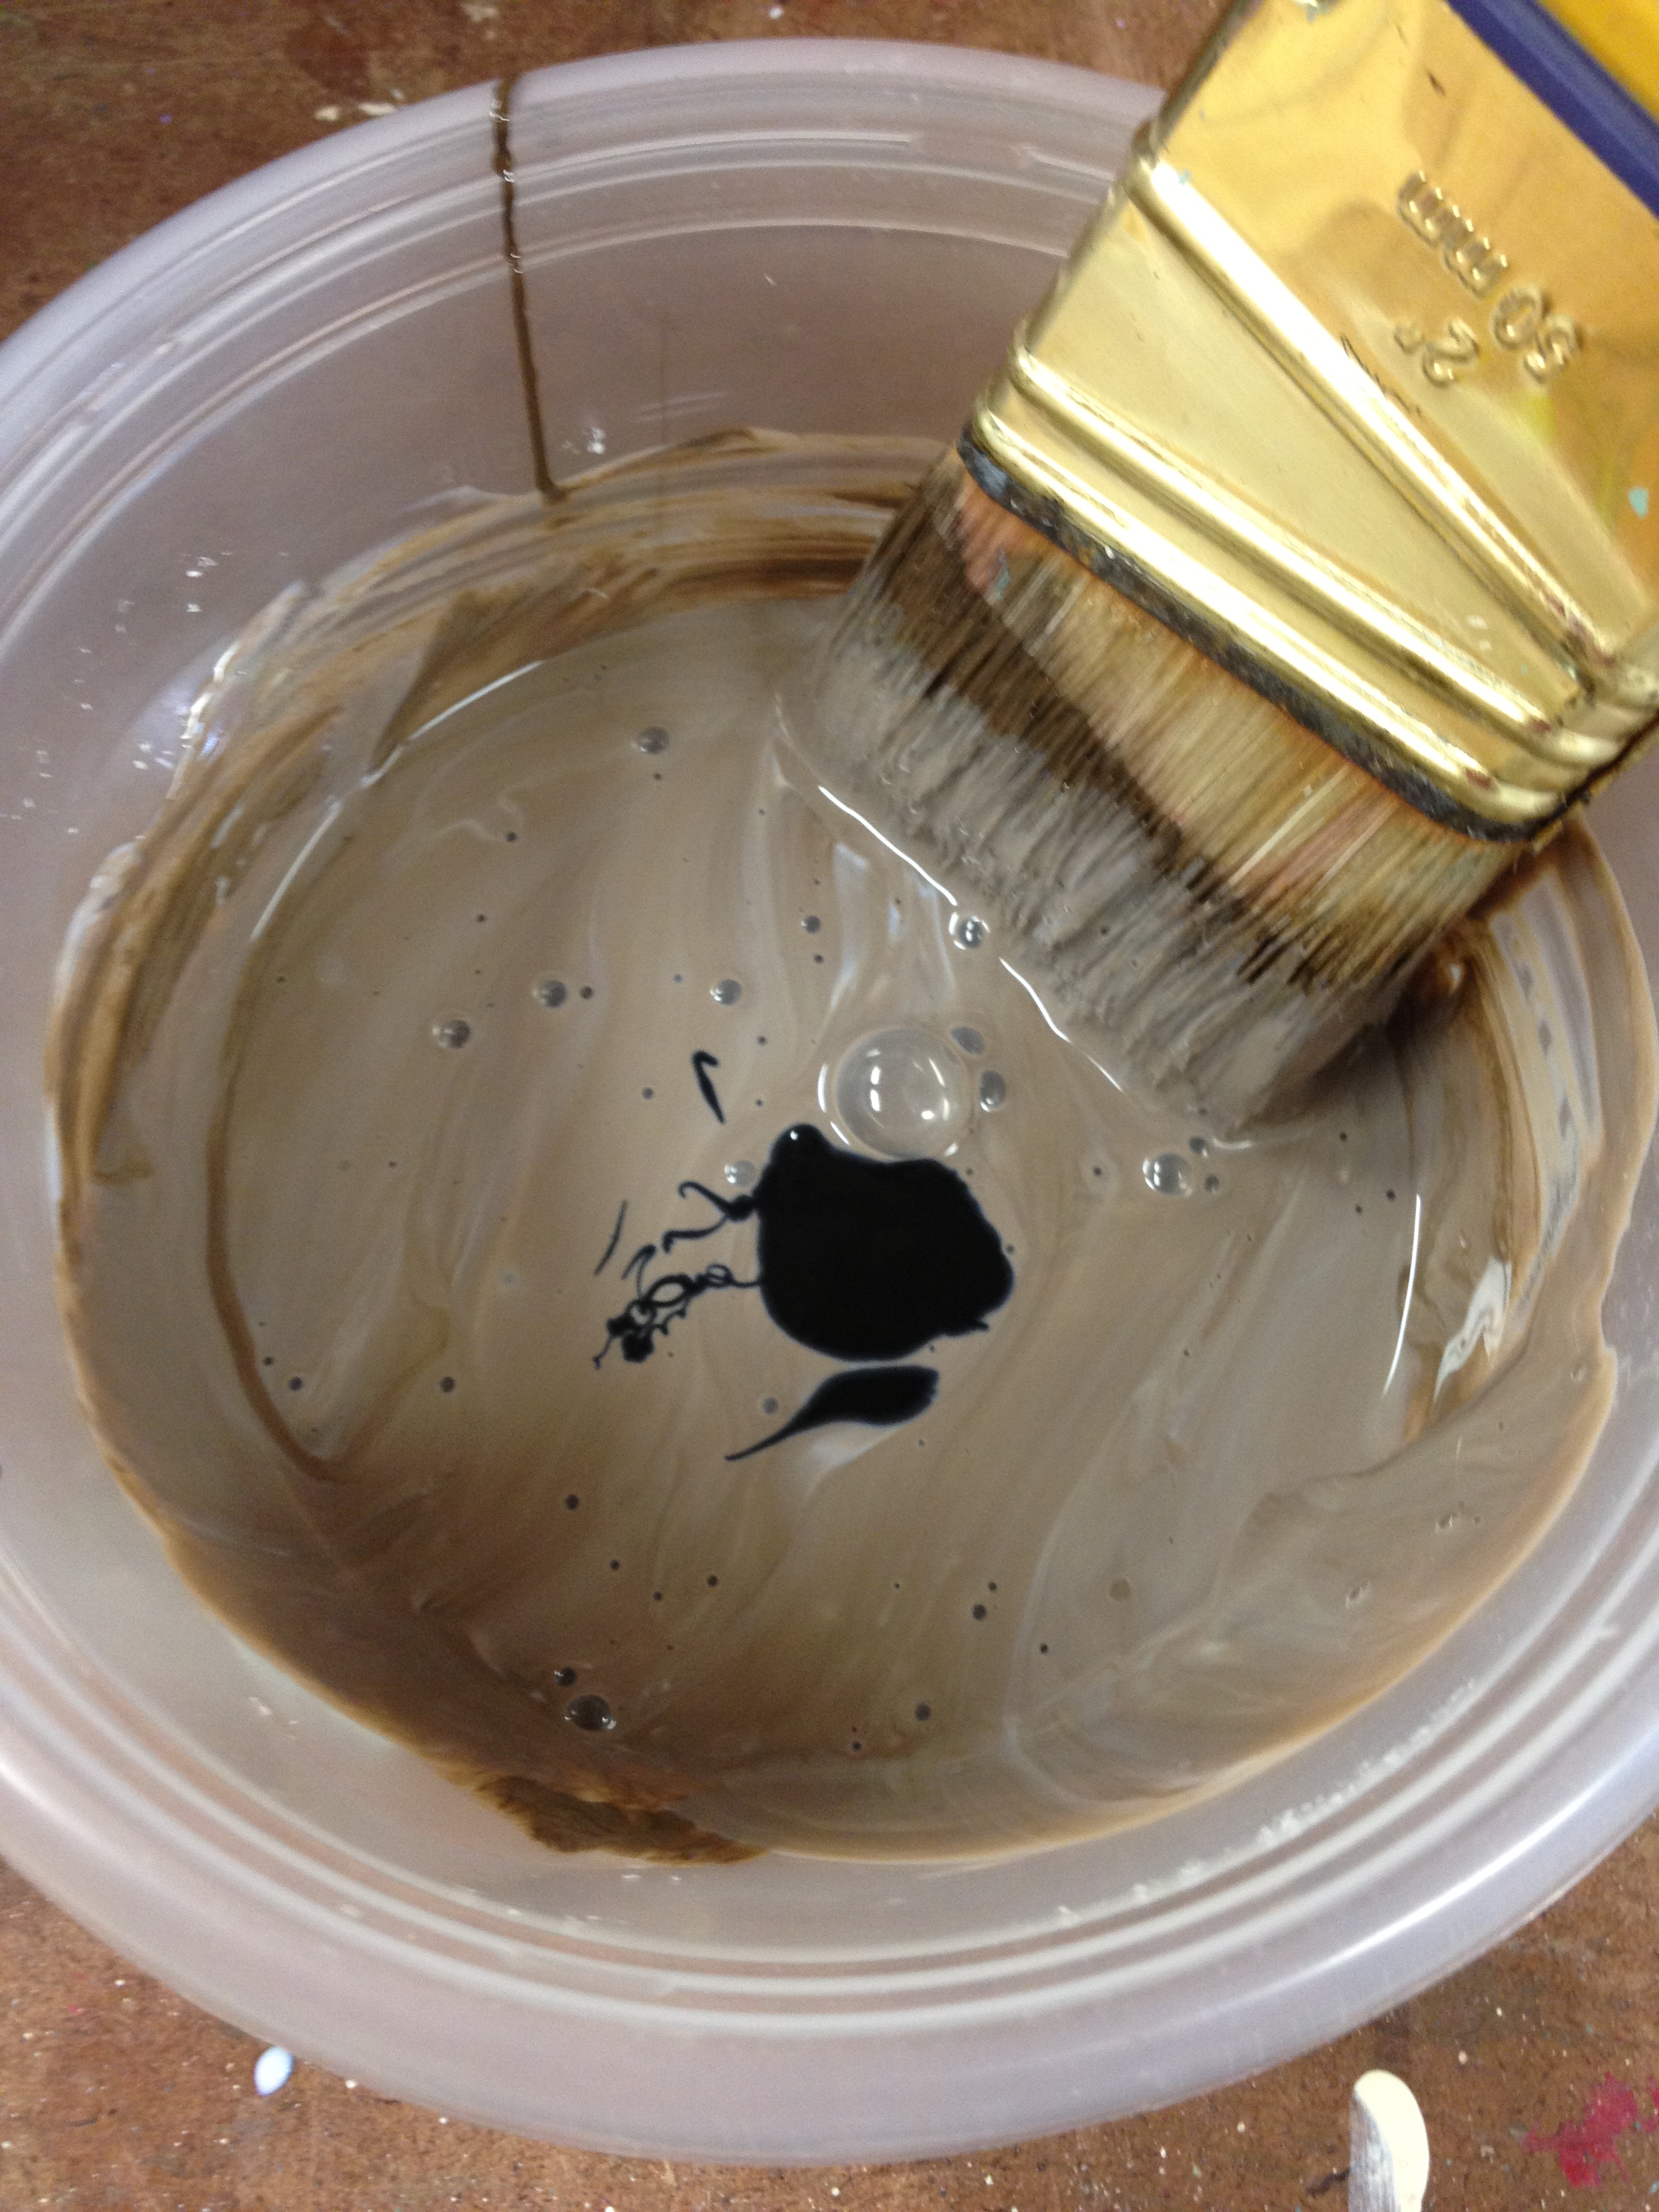
I wanted a dark brown - almost black - glaze. I first added brown paint but it made it look like a milky brown.
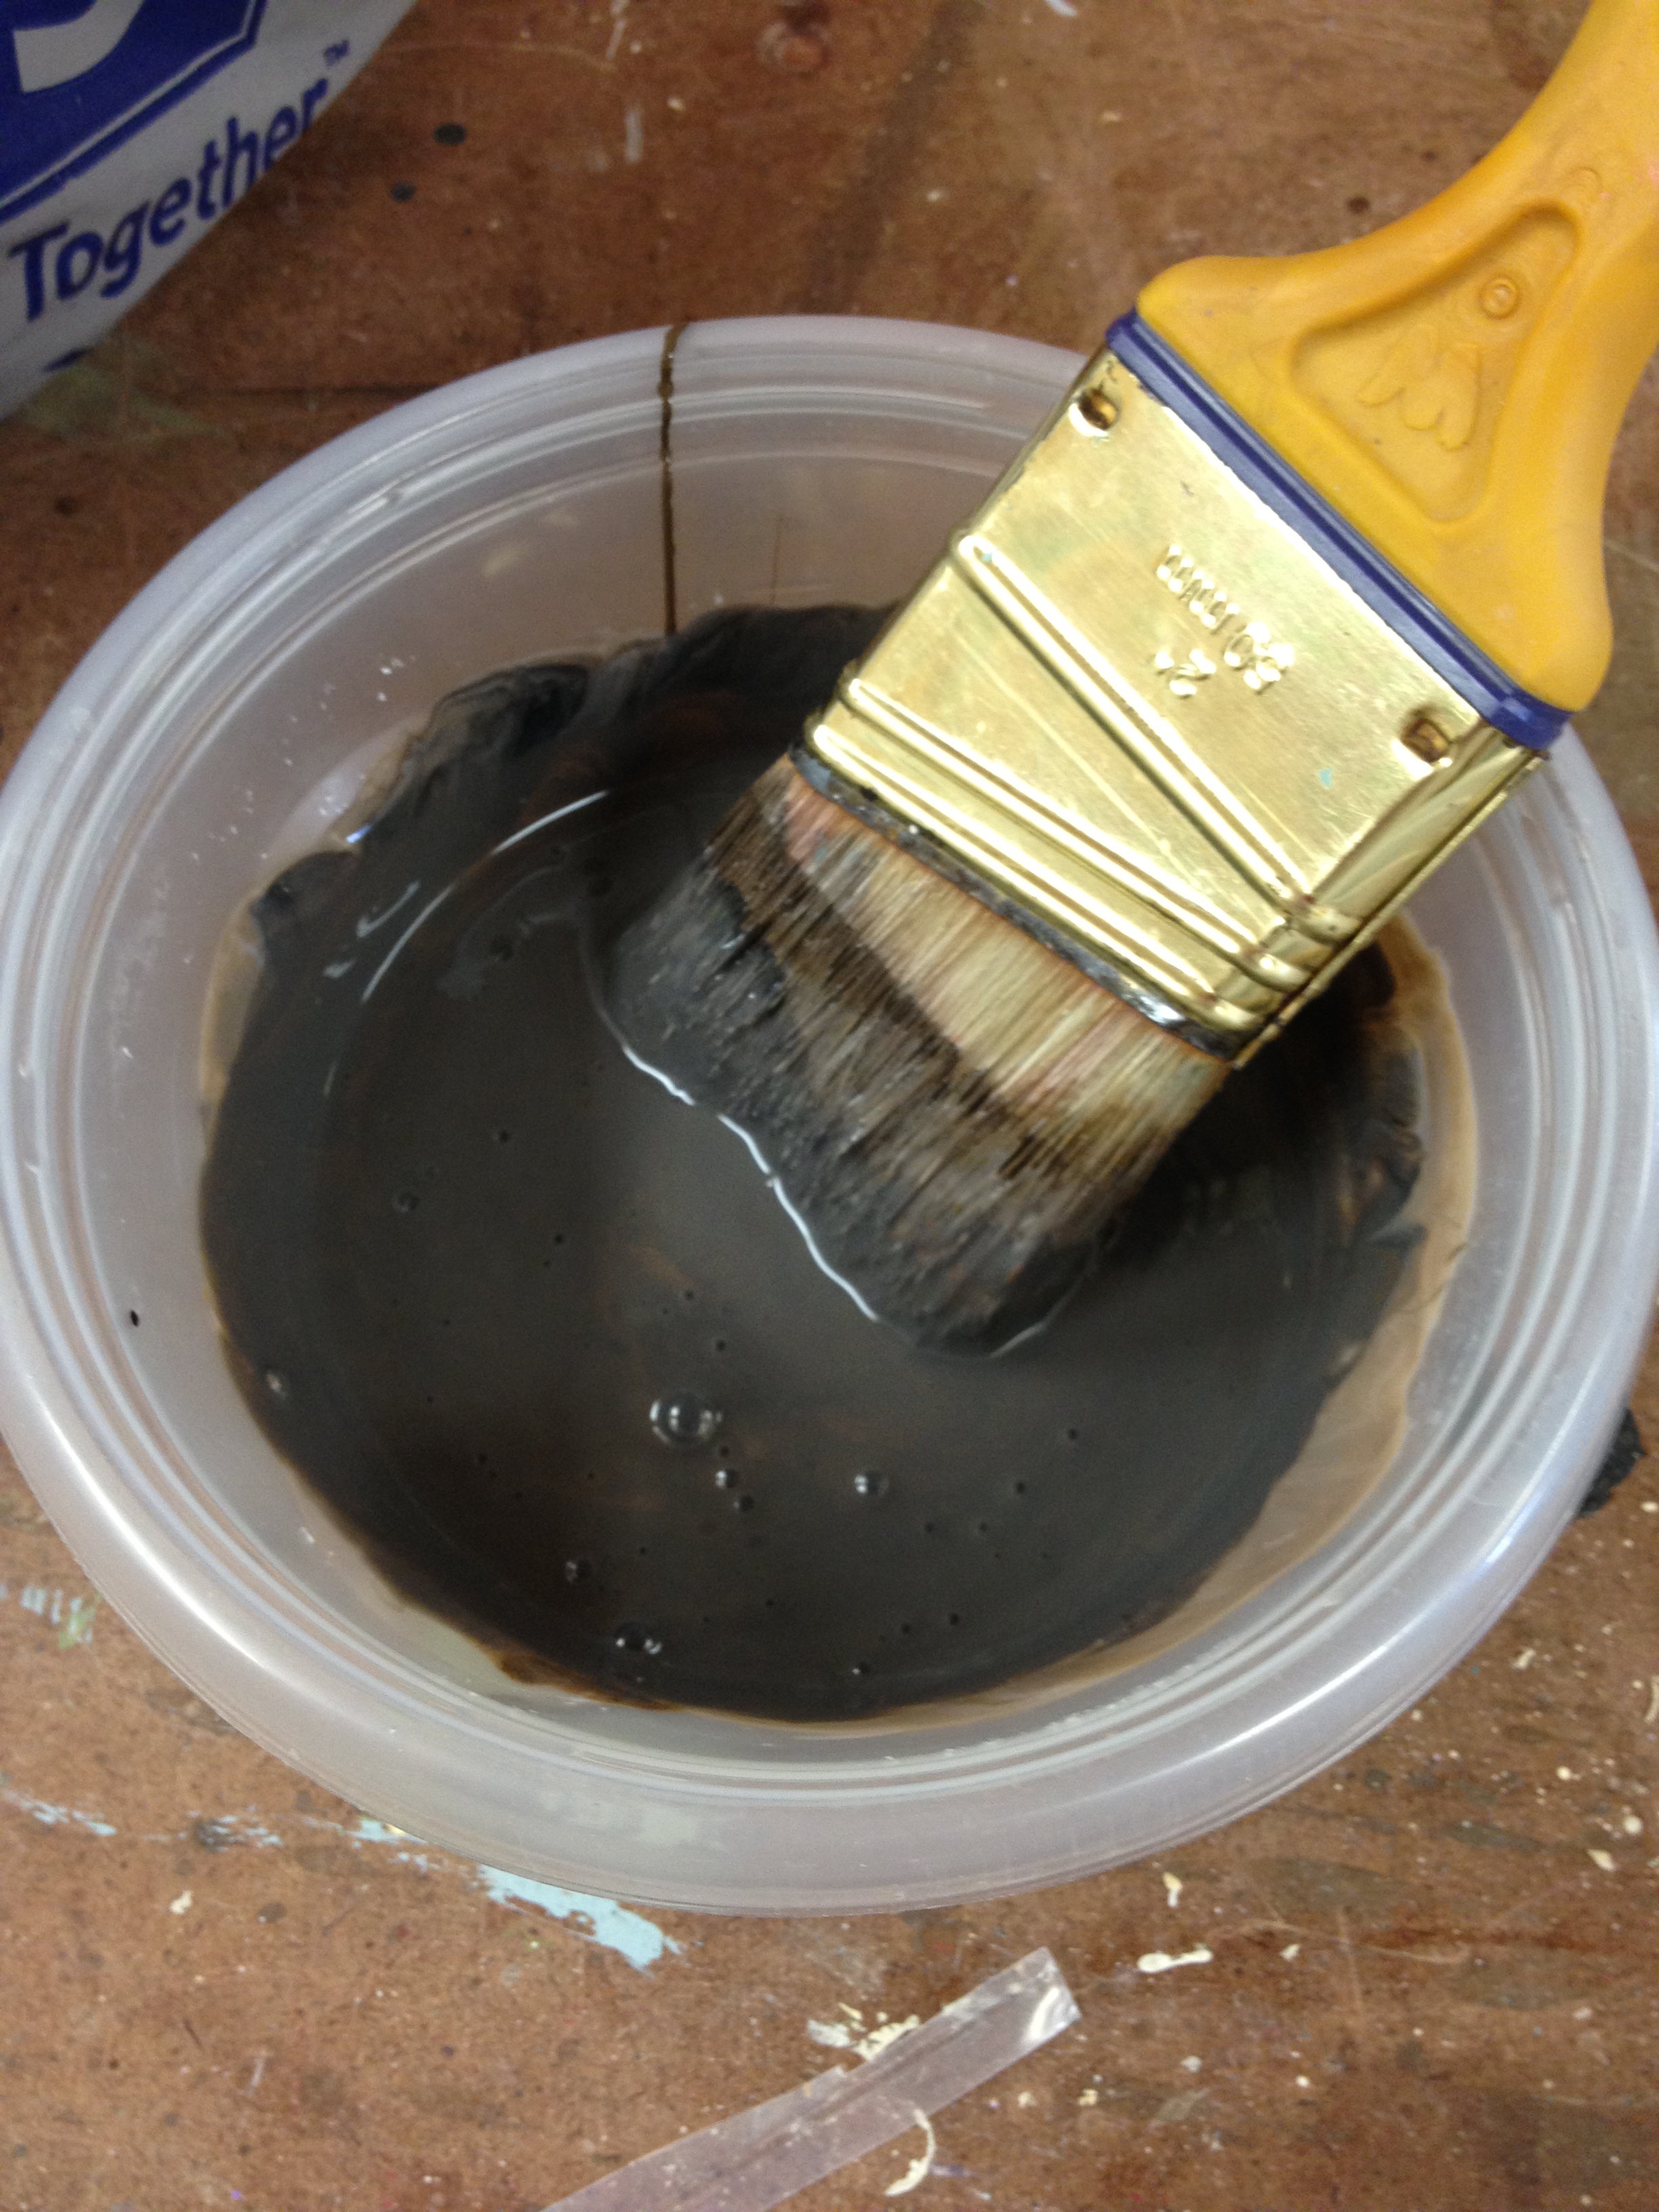
A few drops of black gave me the color I was looking for.
Usually when I add glaze to a piece of furniture, I dry-brush it on. I start light and gradually add it until it's the color I want. This time, I tried a different approach. I loaded up my paintbrush with lots of glaze and smeared it all over the surface (in this case, a drawer front).
I waited approximately 2 seconds (literally just long enough for me to grab a paper towel) and then started wiping it off.
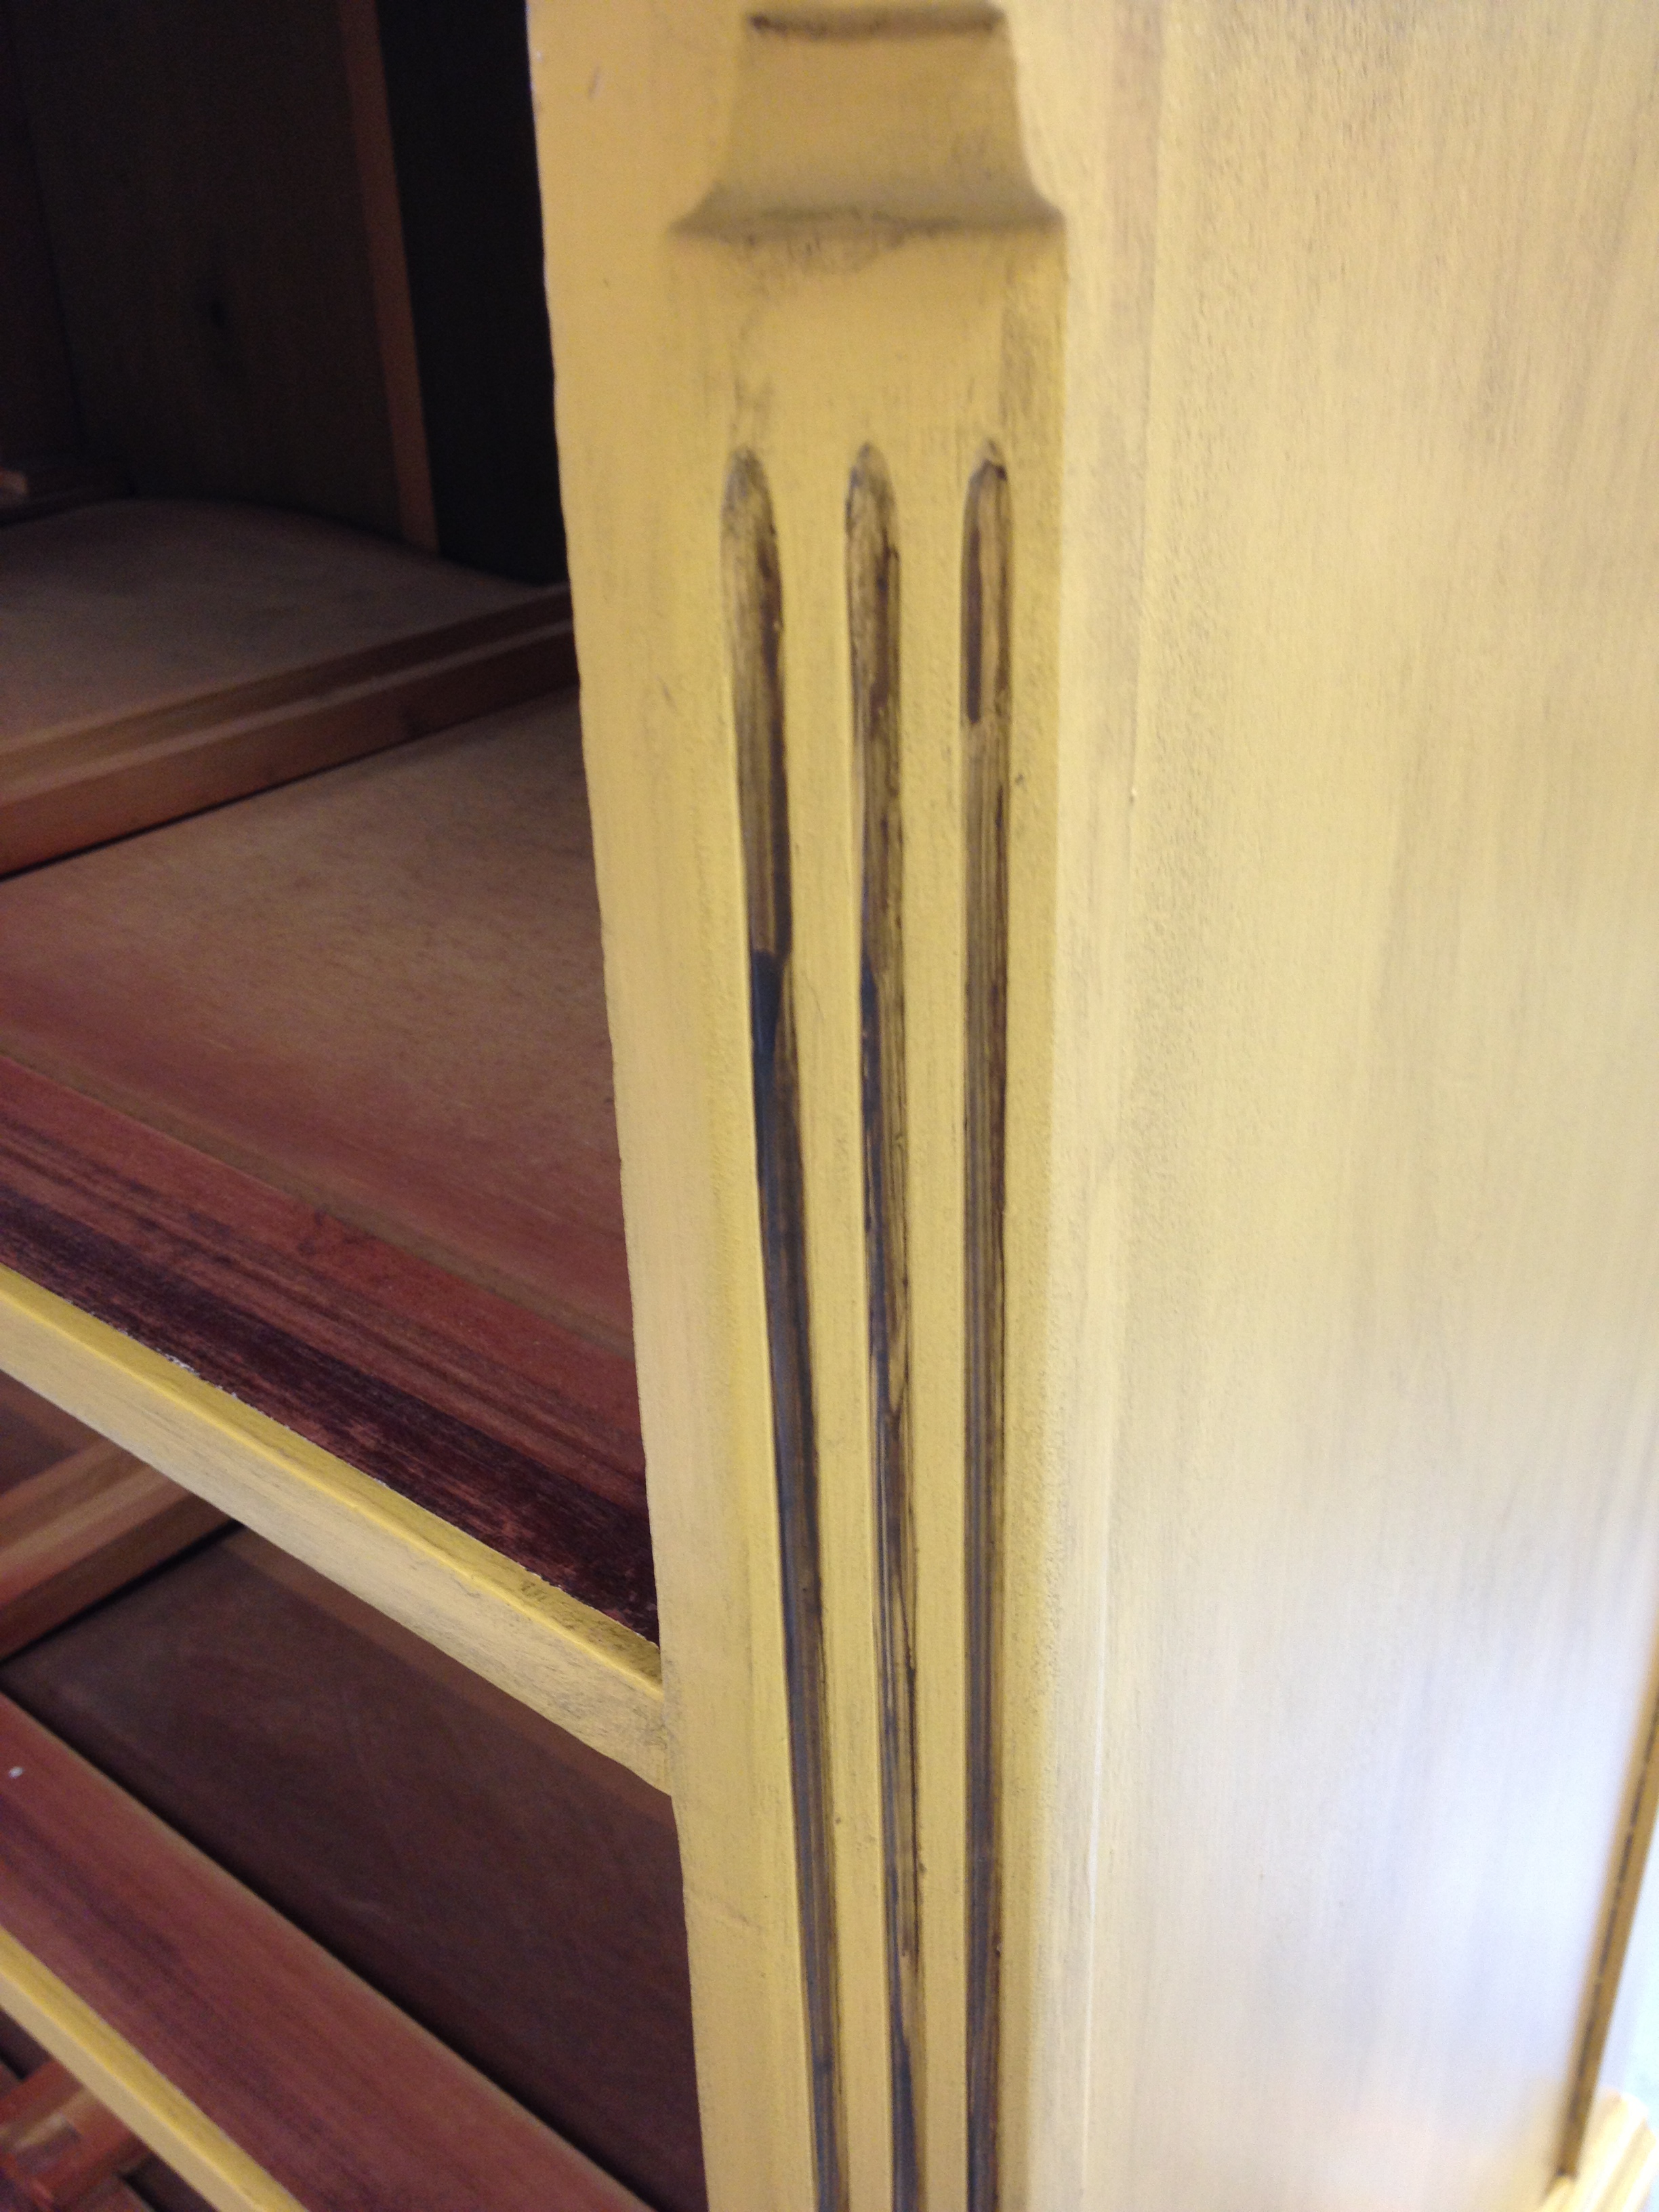
As I went, I found that it was actually easier (and looked better) if I took the paper towels and just wiped side to side, smearing it and wiping it off at the same time, rather than trying to wiped it off in sections like pictured above. If it got too dry to wipe off, I used a damp paper towel. And if I ended up wiping too much off, I just brushed more glaze on and started over. It was a fast process and I tried not to be too picky about the way it looked. I wanted the glaze to be darker in any grooves (like the edge of the drawers) but other than that, I just rolled with whatever happened.
The base of the chest of drawers was a little bit harder, only because of the larger surface areas. I wanted to do the large areas all at one time to try to keep it consistent and avoid any overlap that might occur if I did it in sections. Obviously, the larger the surface, the quicker I had to work so the glaze wouldn't get too dry. It's not perfect - there are definitely a few streaks that I could do without - but I think it turned out ok.
Like the drawers, I wanted the glaze to be darker in any grooves.
After the glaze it was time for polyurethane. I used water-based again this time, mostly because it dries so fast. Normally I'm laze and only do one coat of poly but I did two this time. I figured after painting the darn thing 7 times already, one more time wouldn't hurt me.
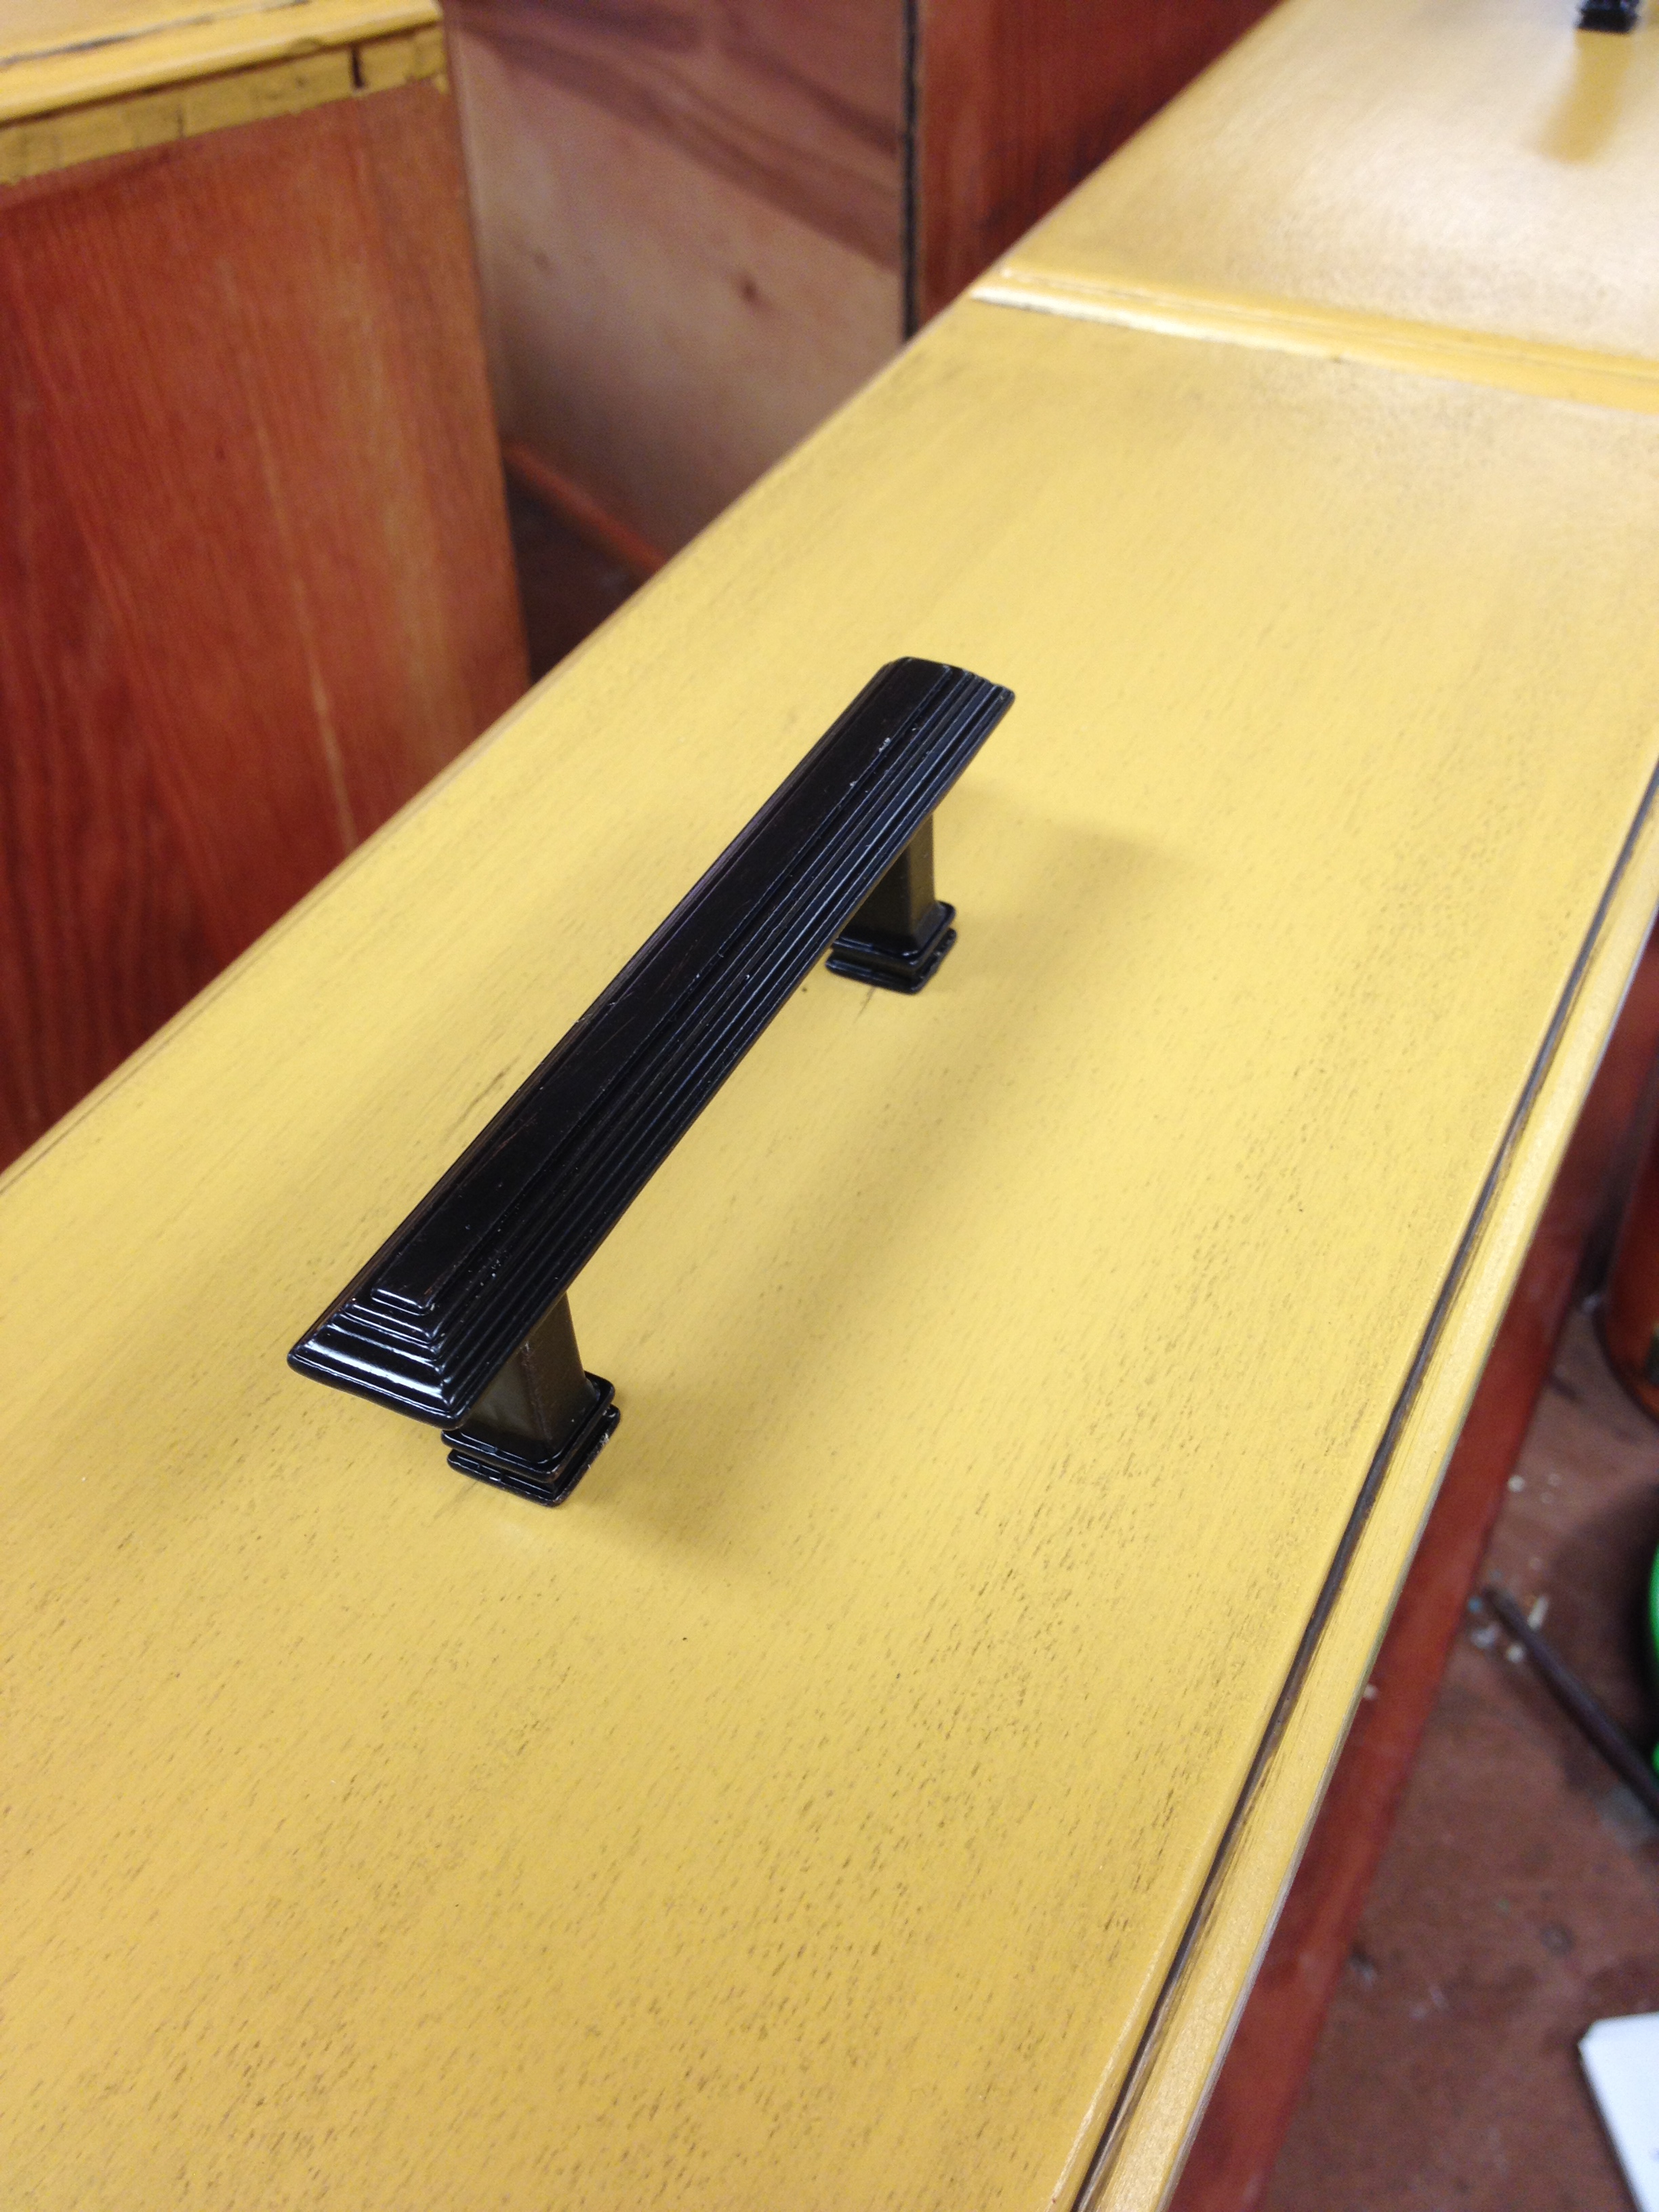
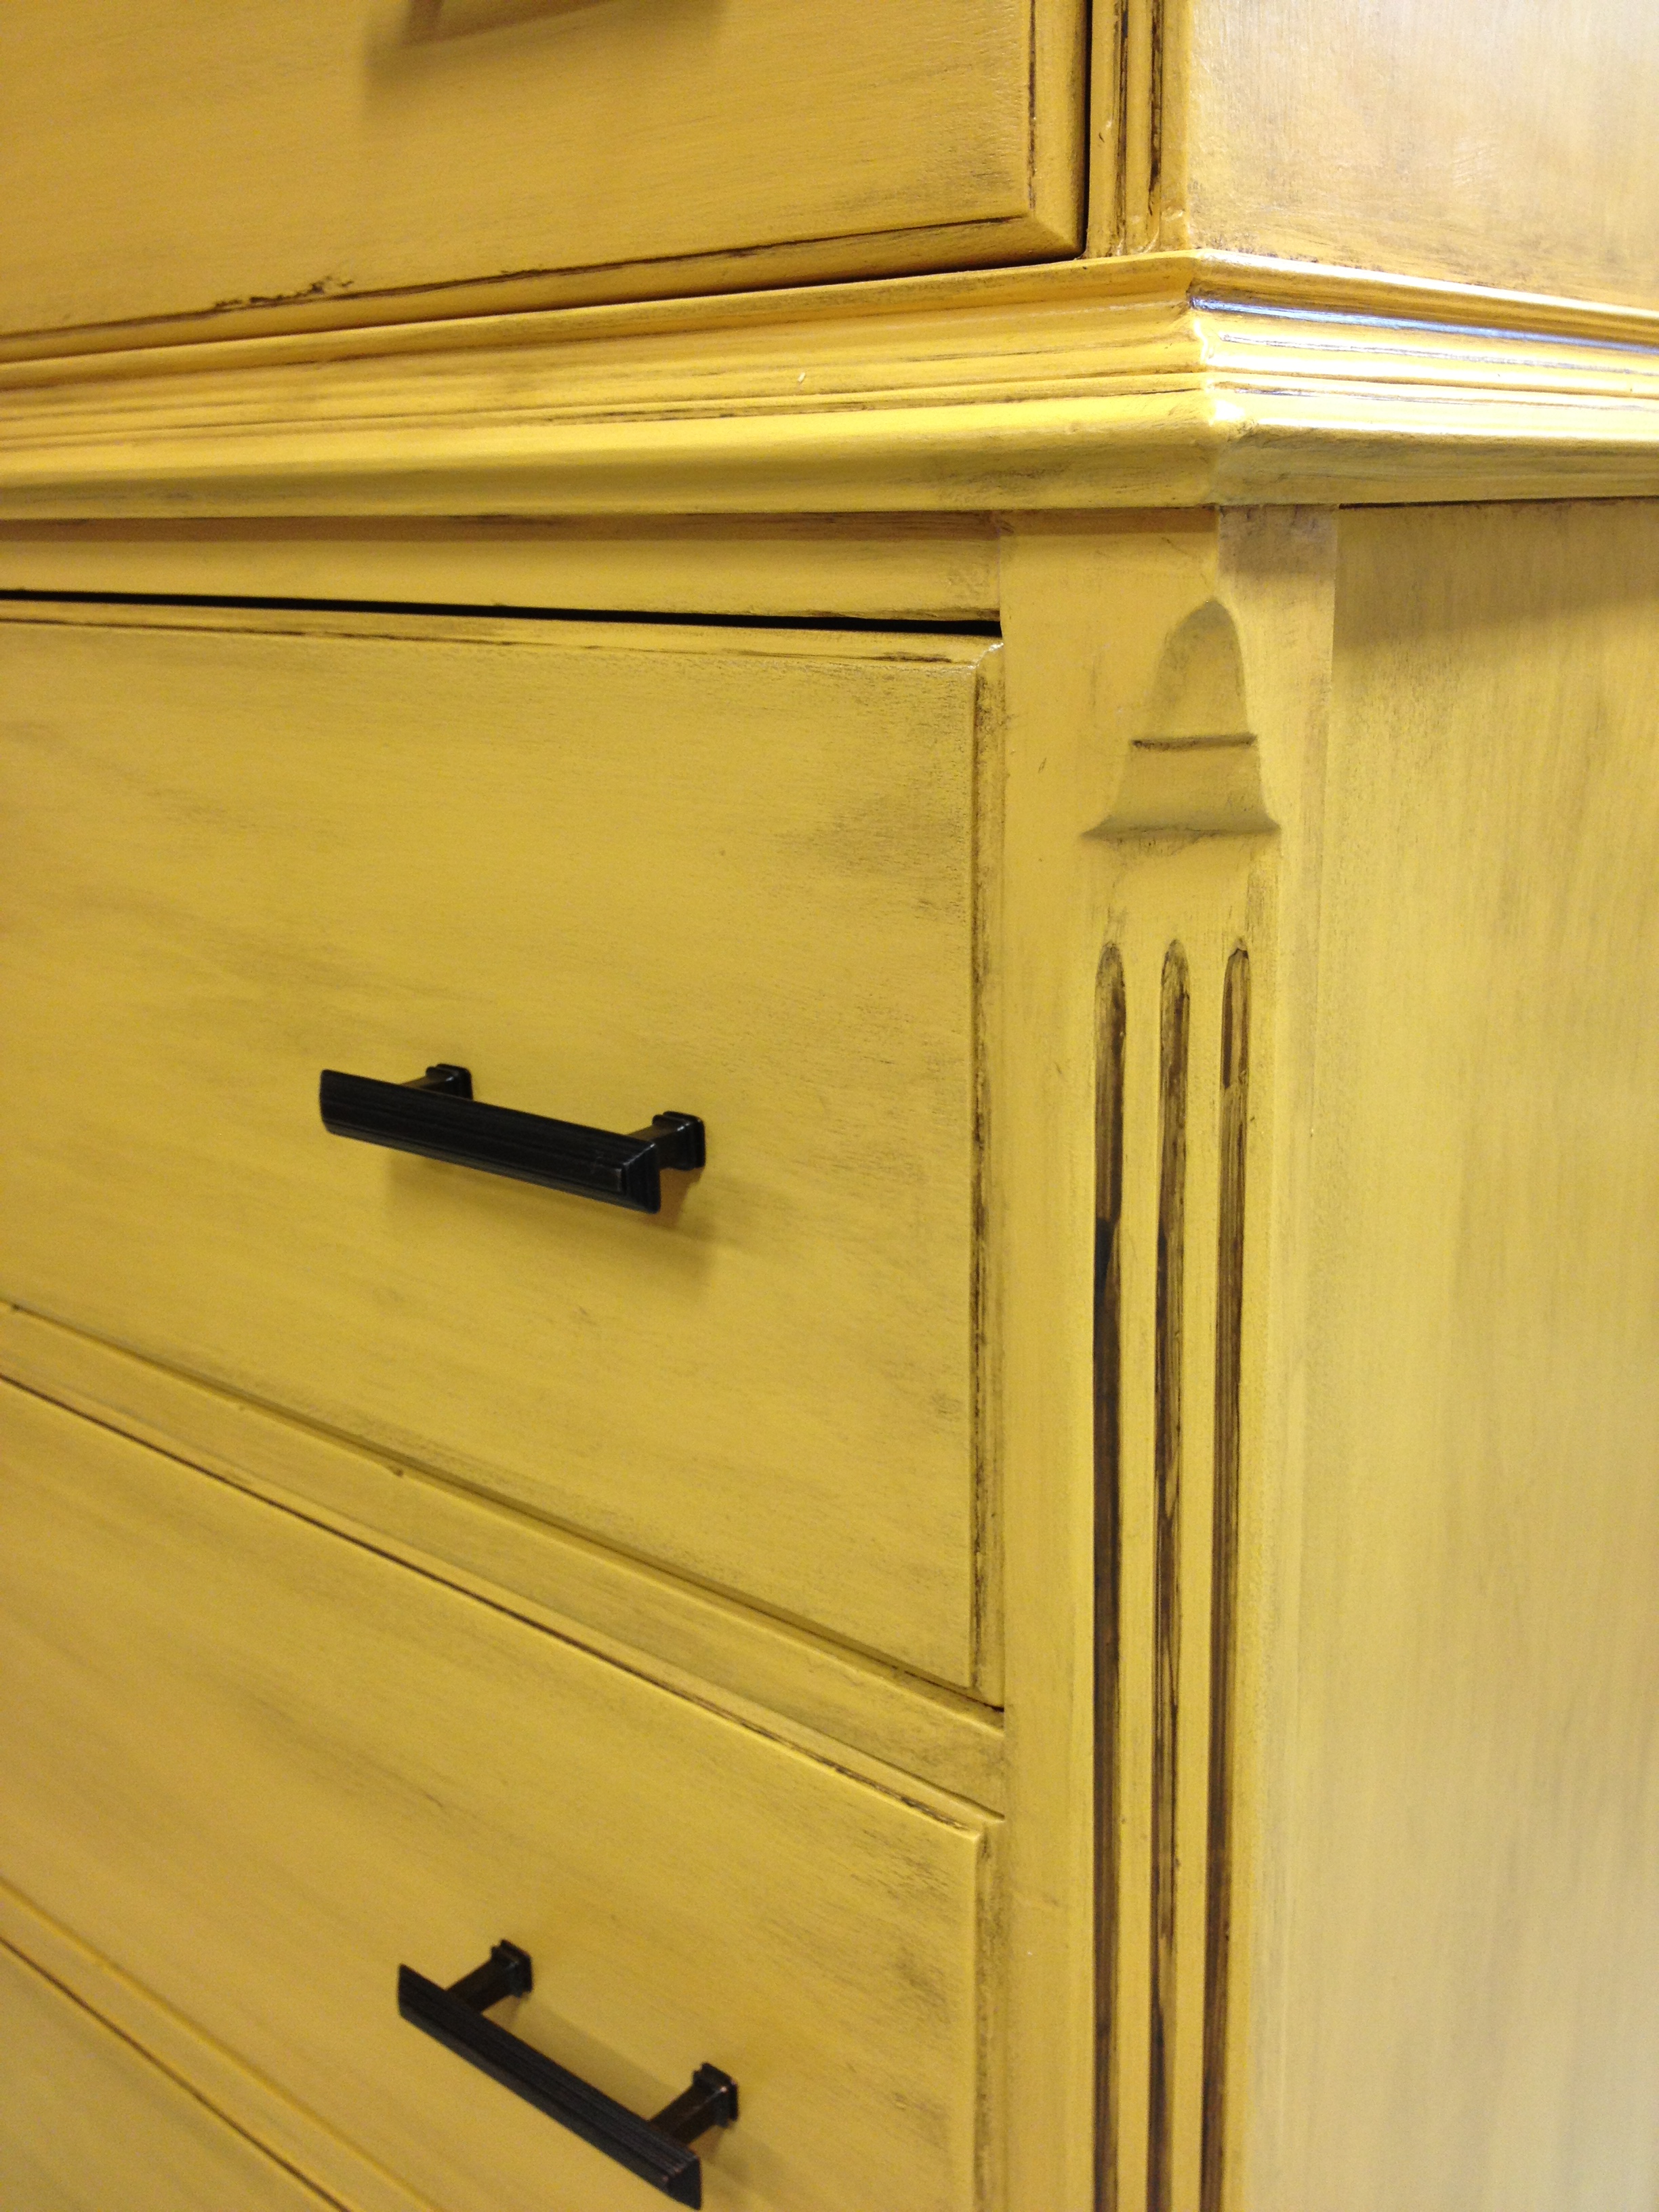
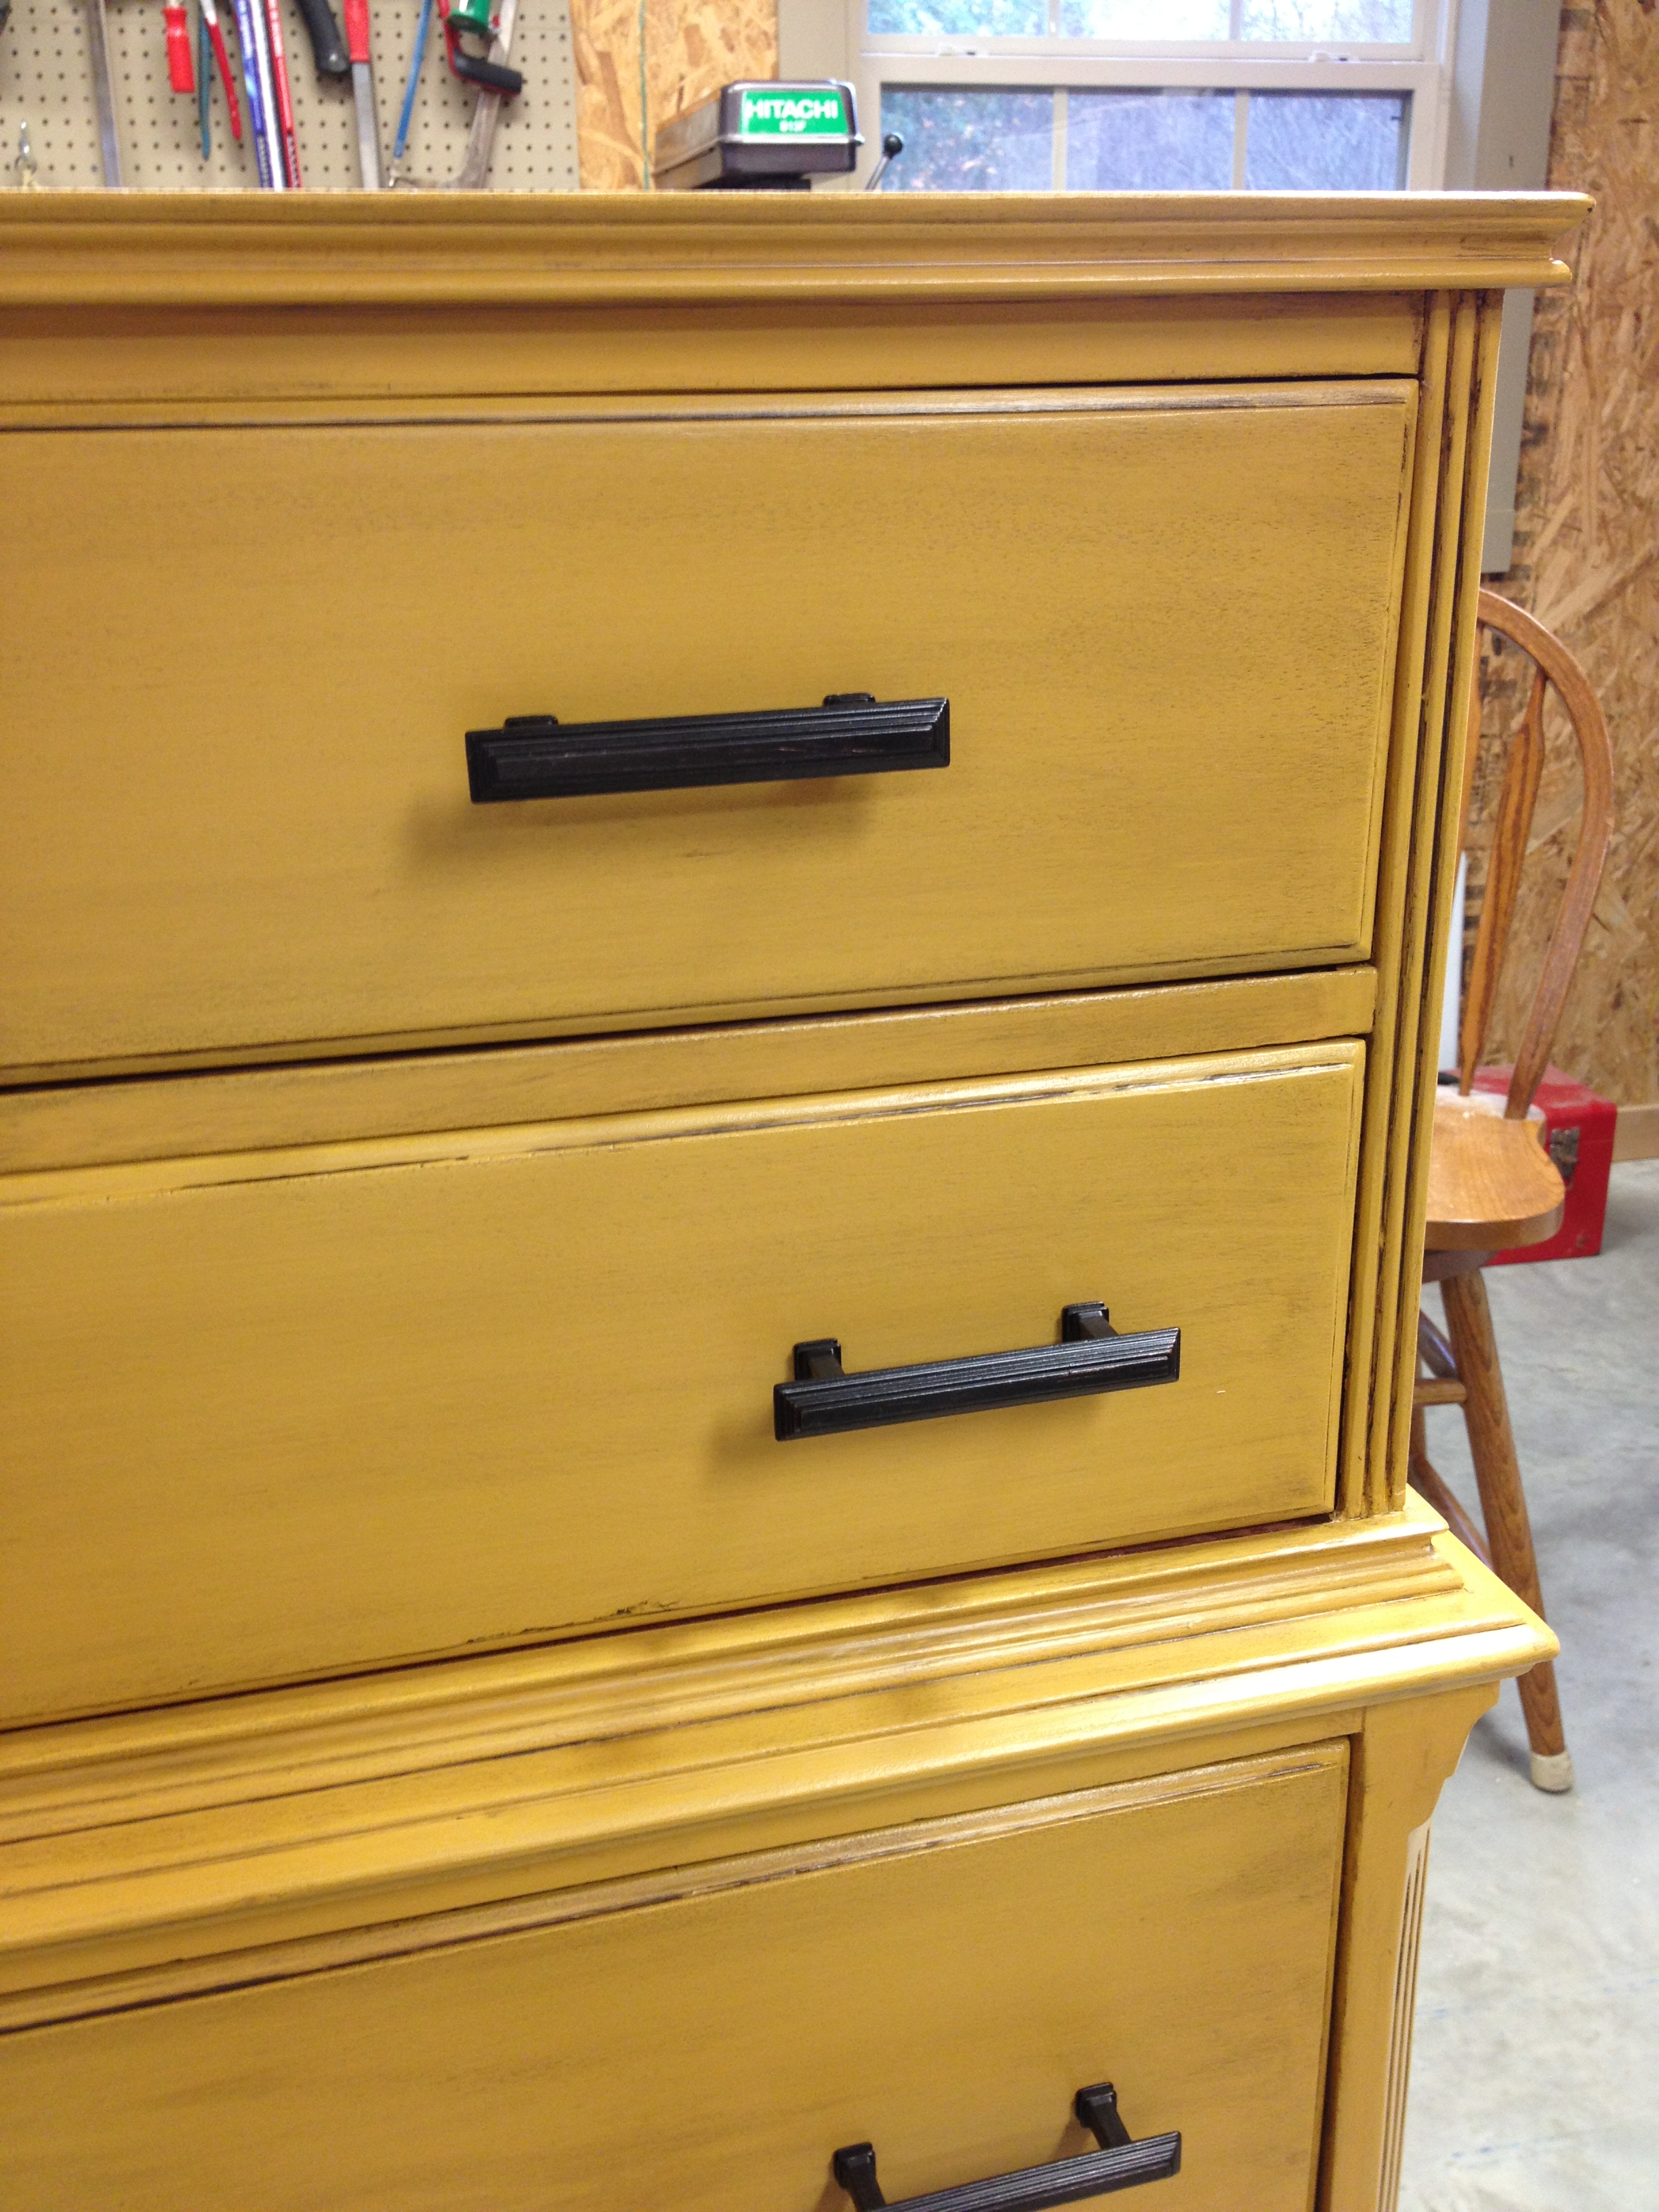
The hardware on this piece was a cinch to replace. All of the holes were the same distance apart (3 inches) on all the drawers, so that made picking out something new much easier. I love the drawer pulls we chose, I think the square edges match the overall shape of the dresser, and the little grooves kinda mimic the grooves on the side of it.
Ready to see the after? Hold on, let's check out the Before again.
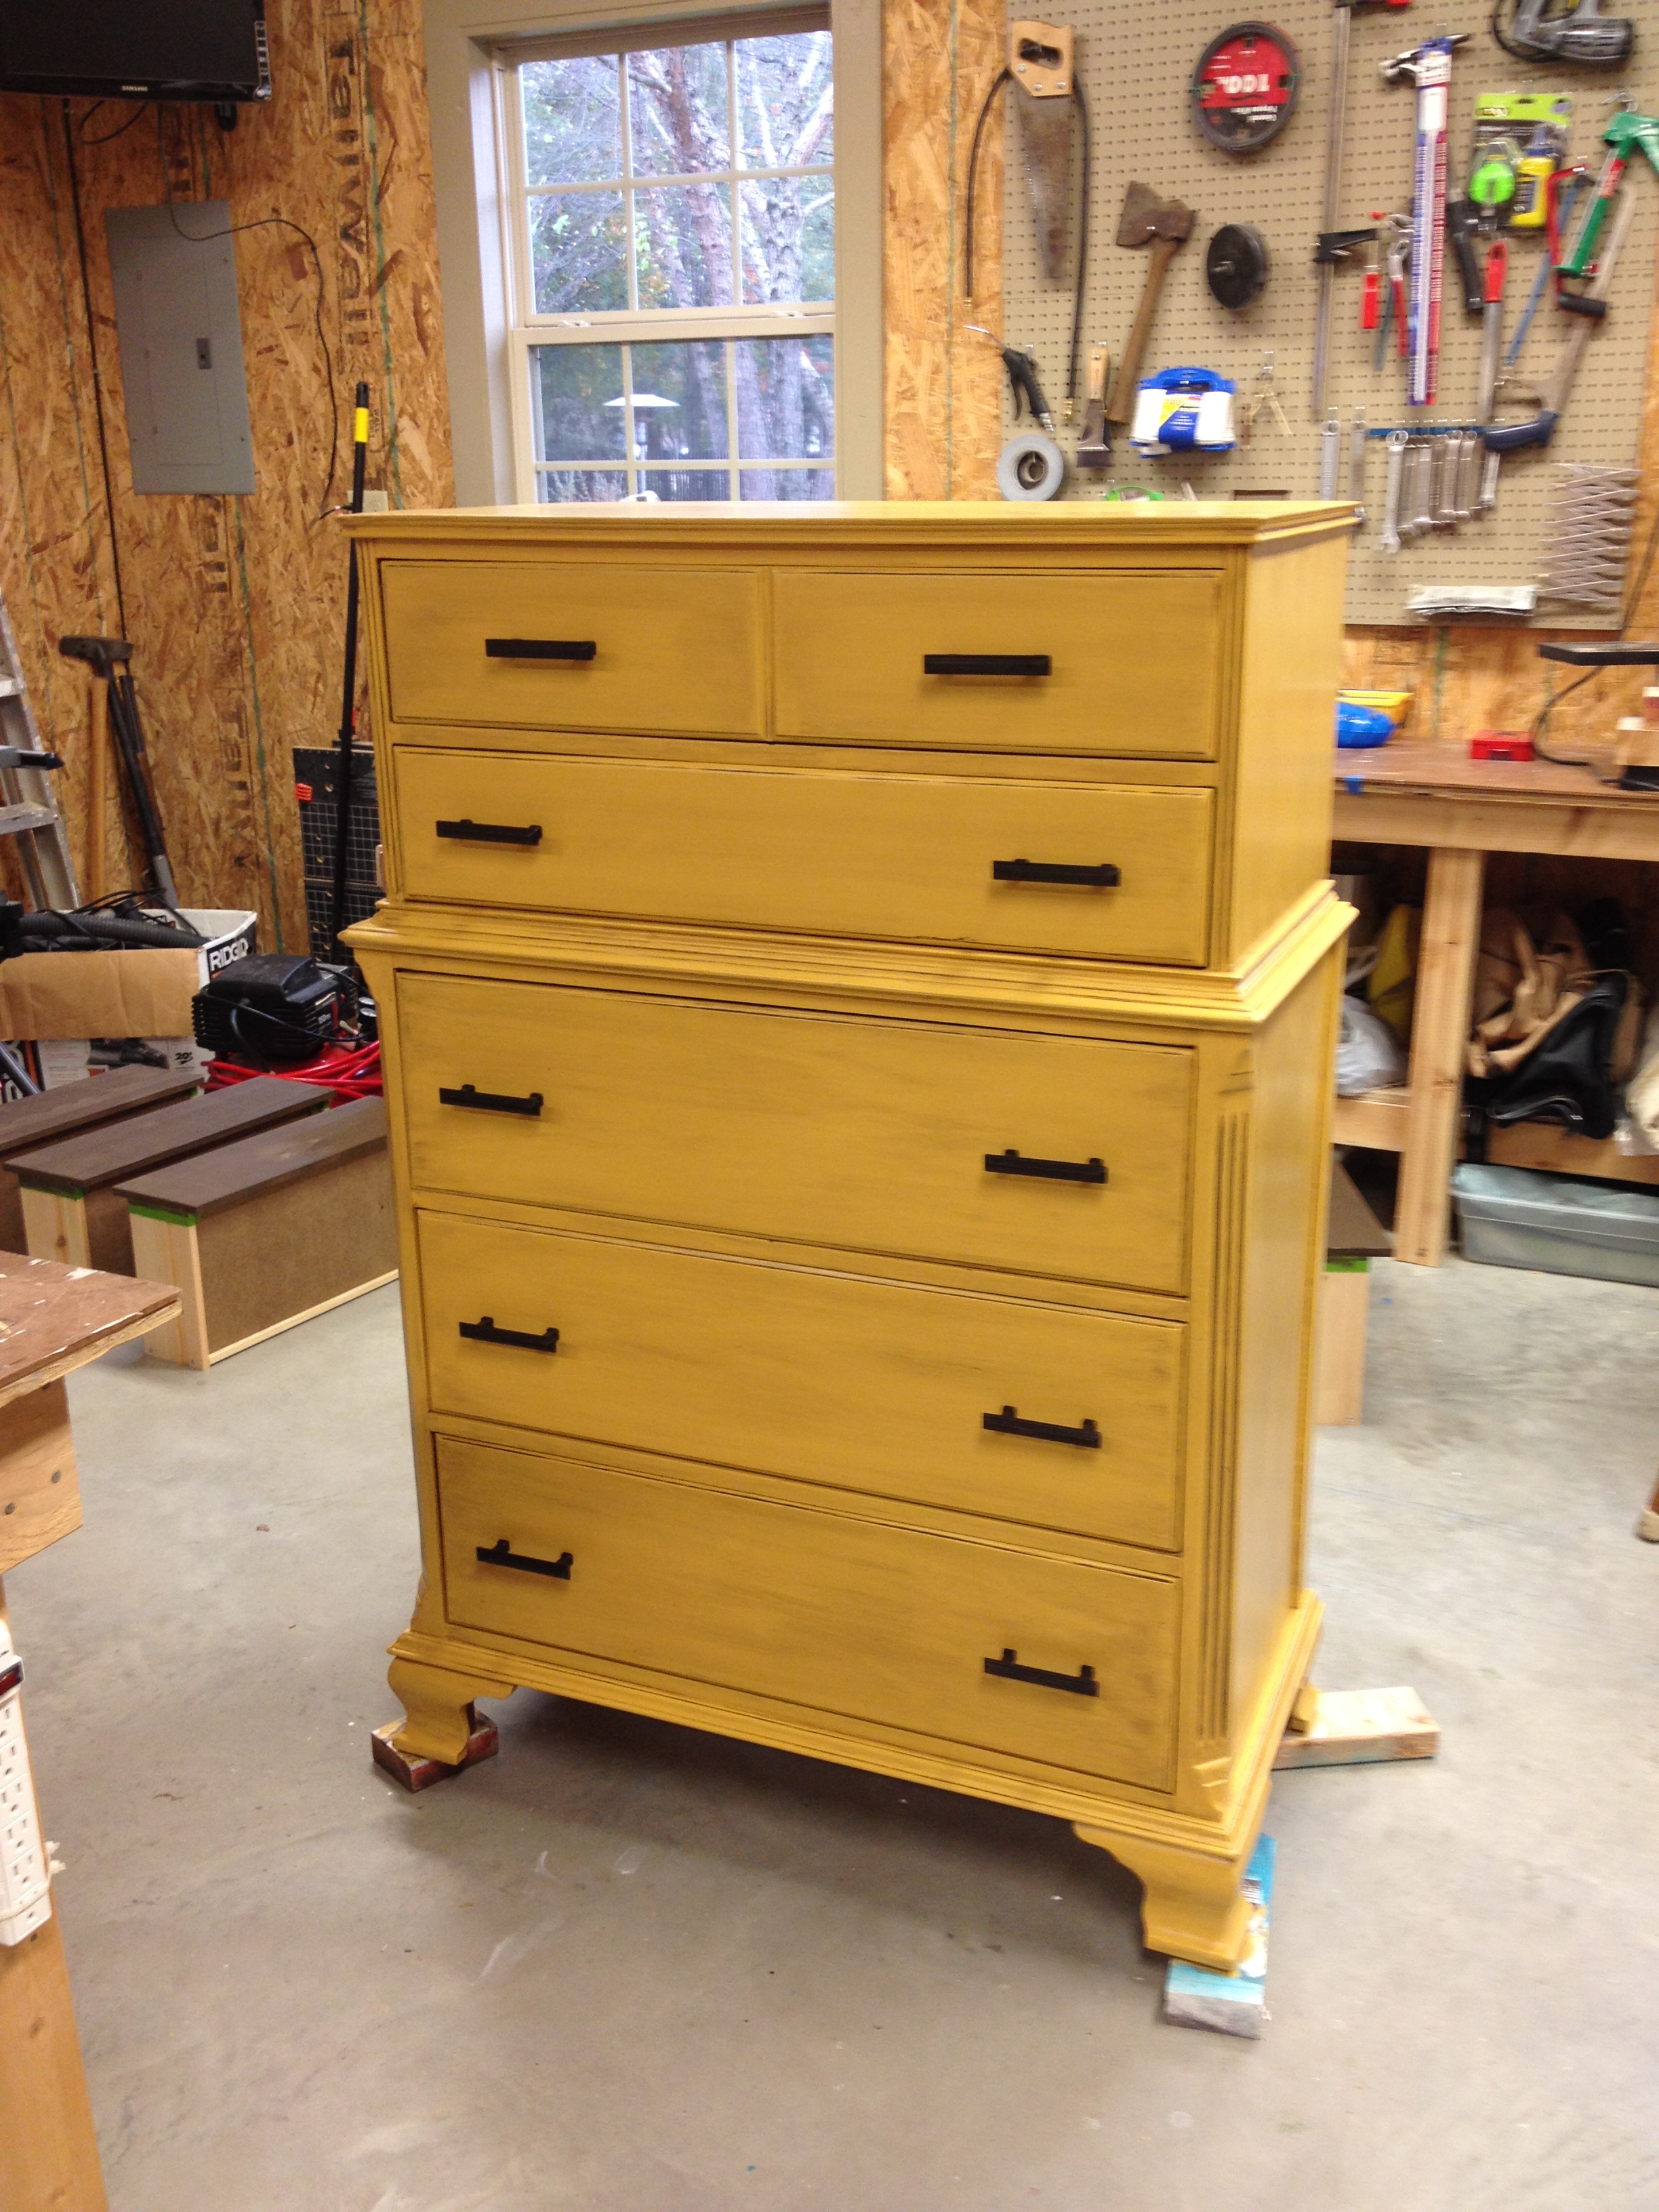
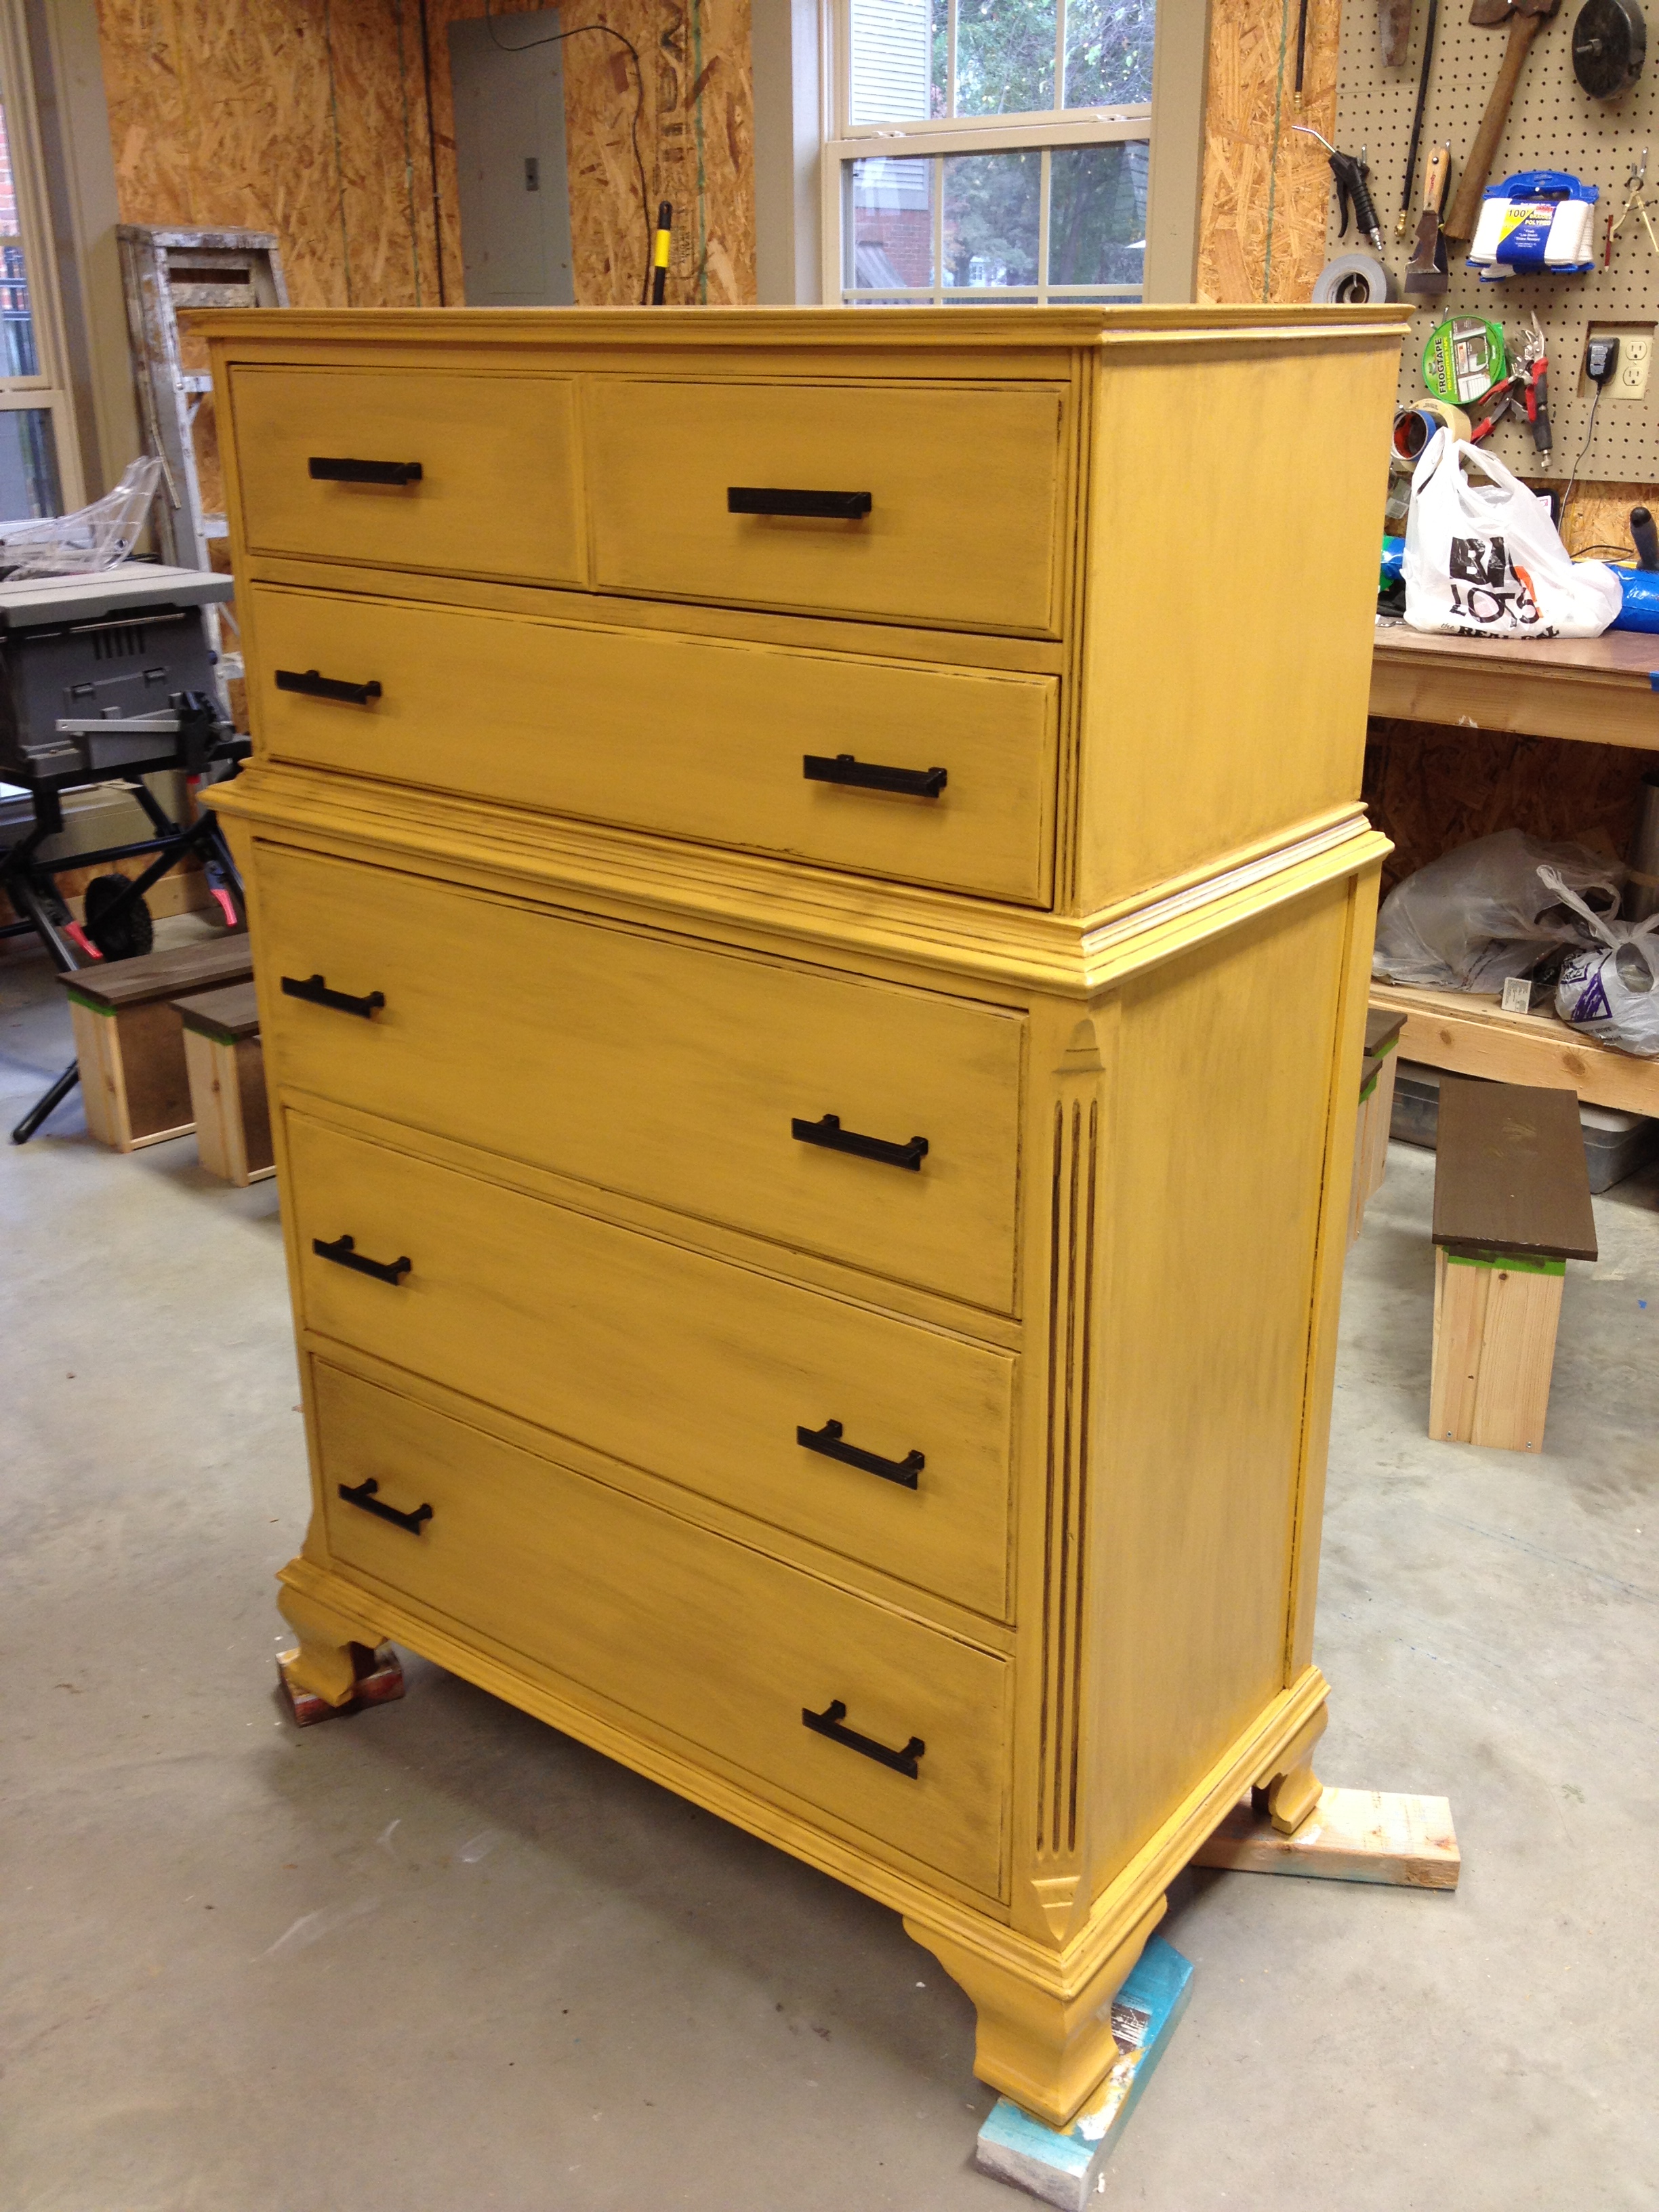
And now, the after. Ta-daaa!
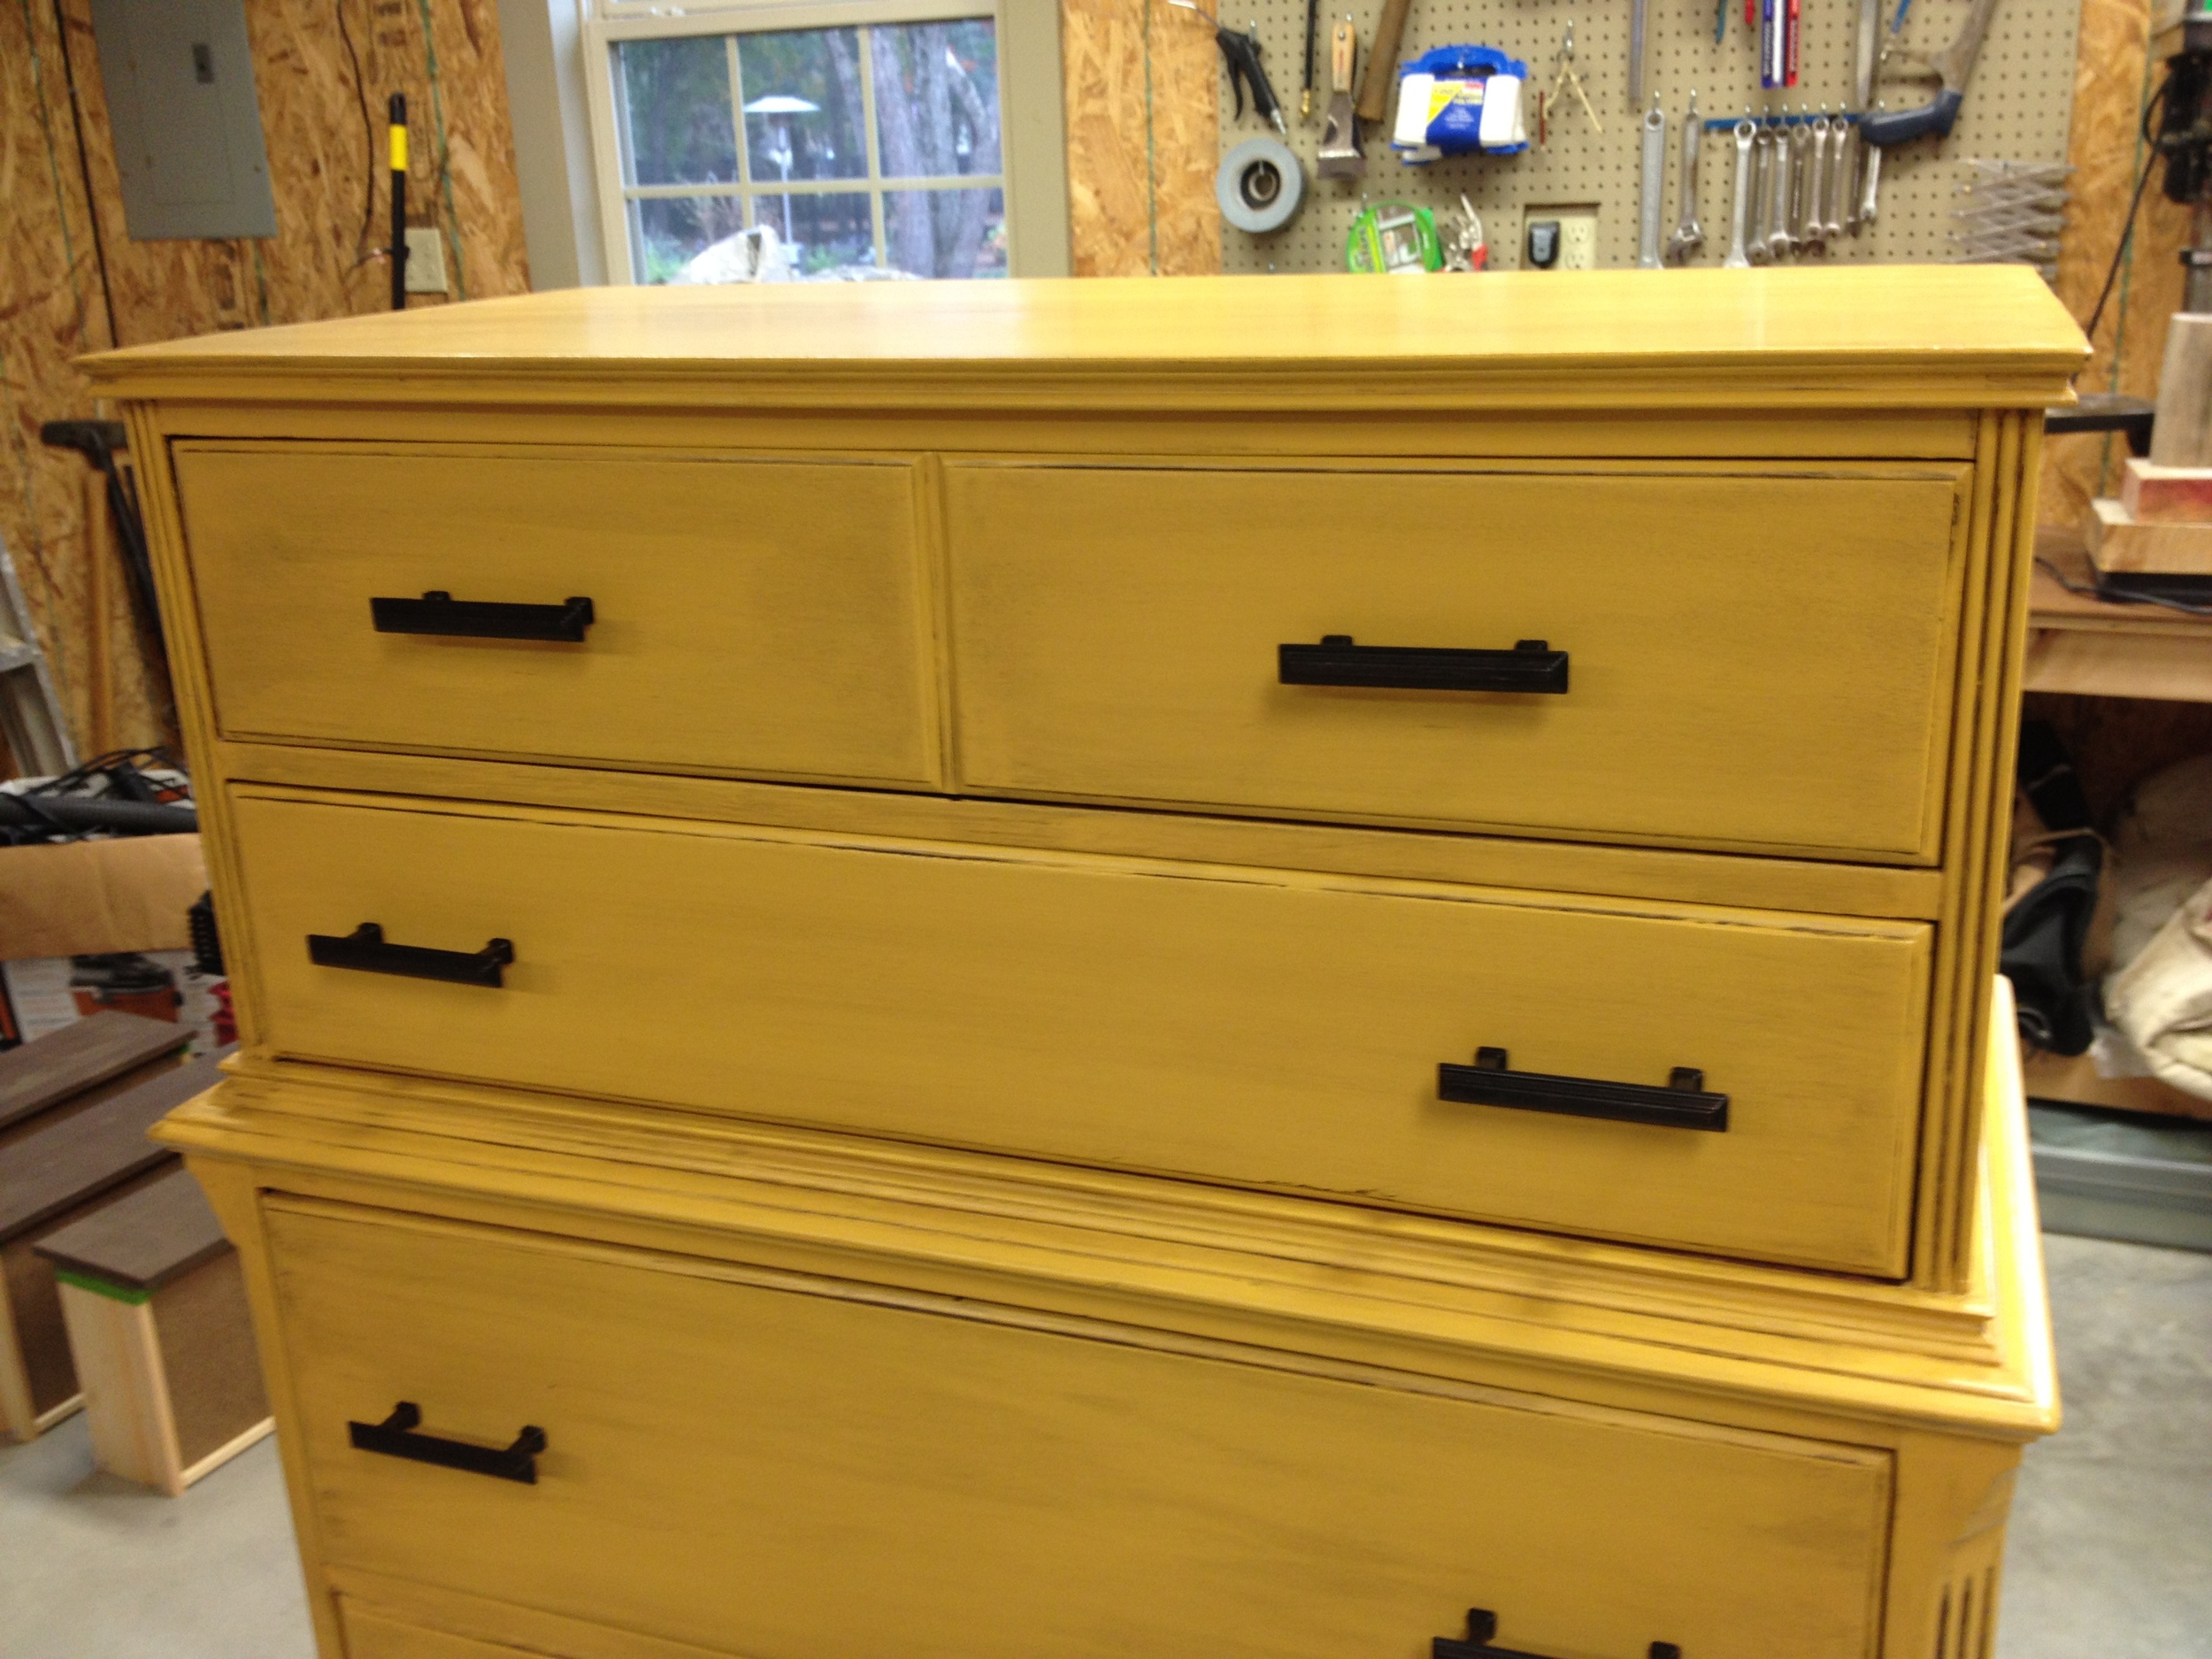
Swoon. This one makes my heart go pitter patter! Here are some more shots.
I love this one so much I wish I could keep it for my house.
So what do you think? Like the yellow or is it too bold? Was I able to bring it back to life? Do tell.


