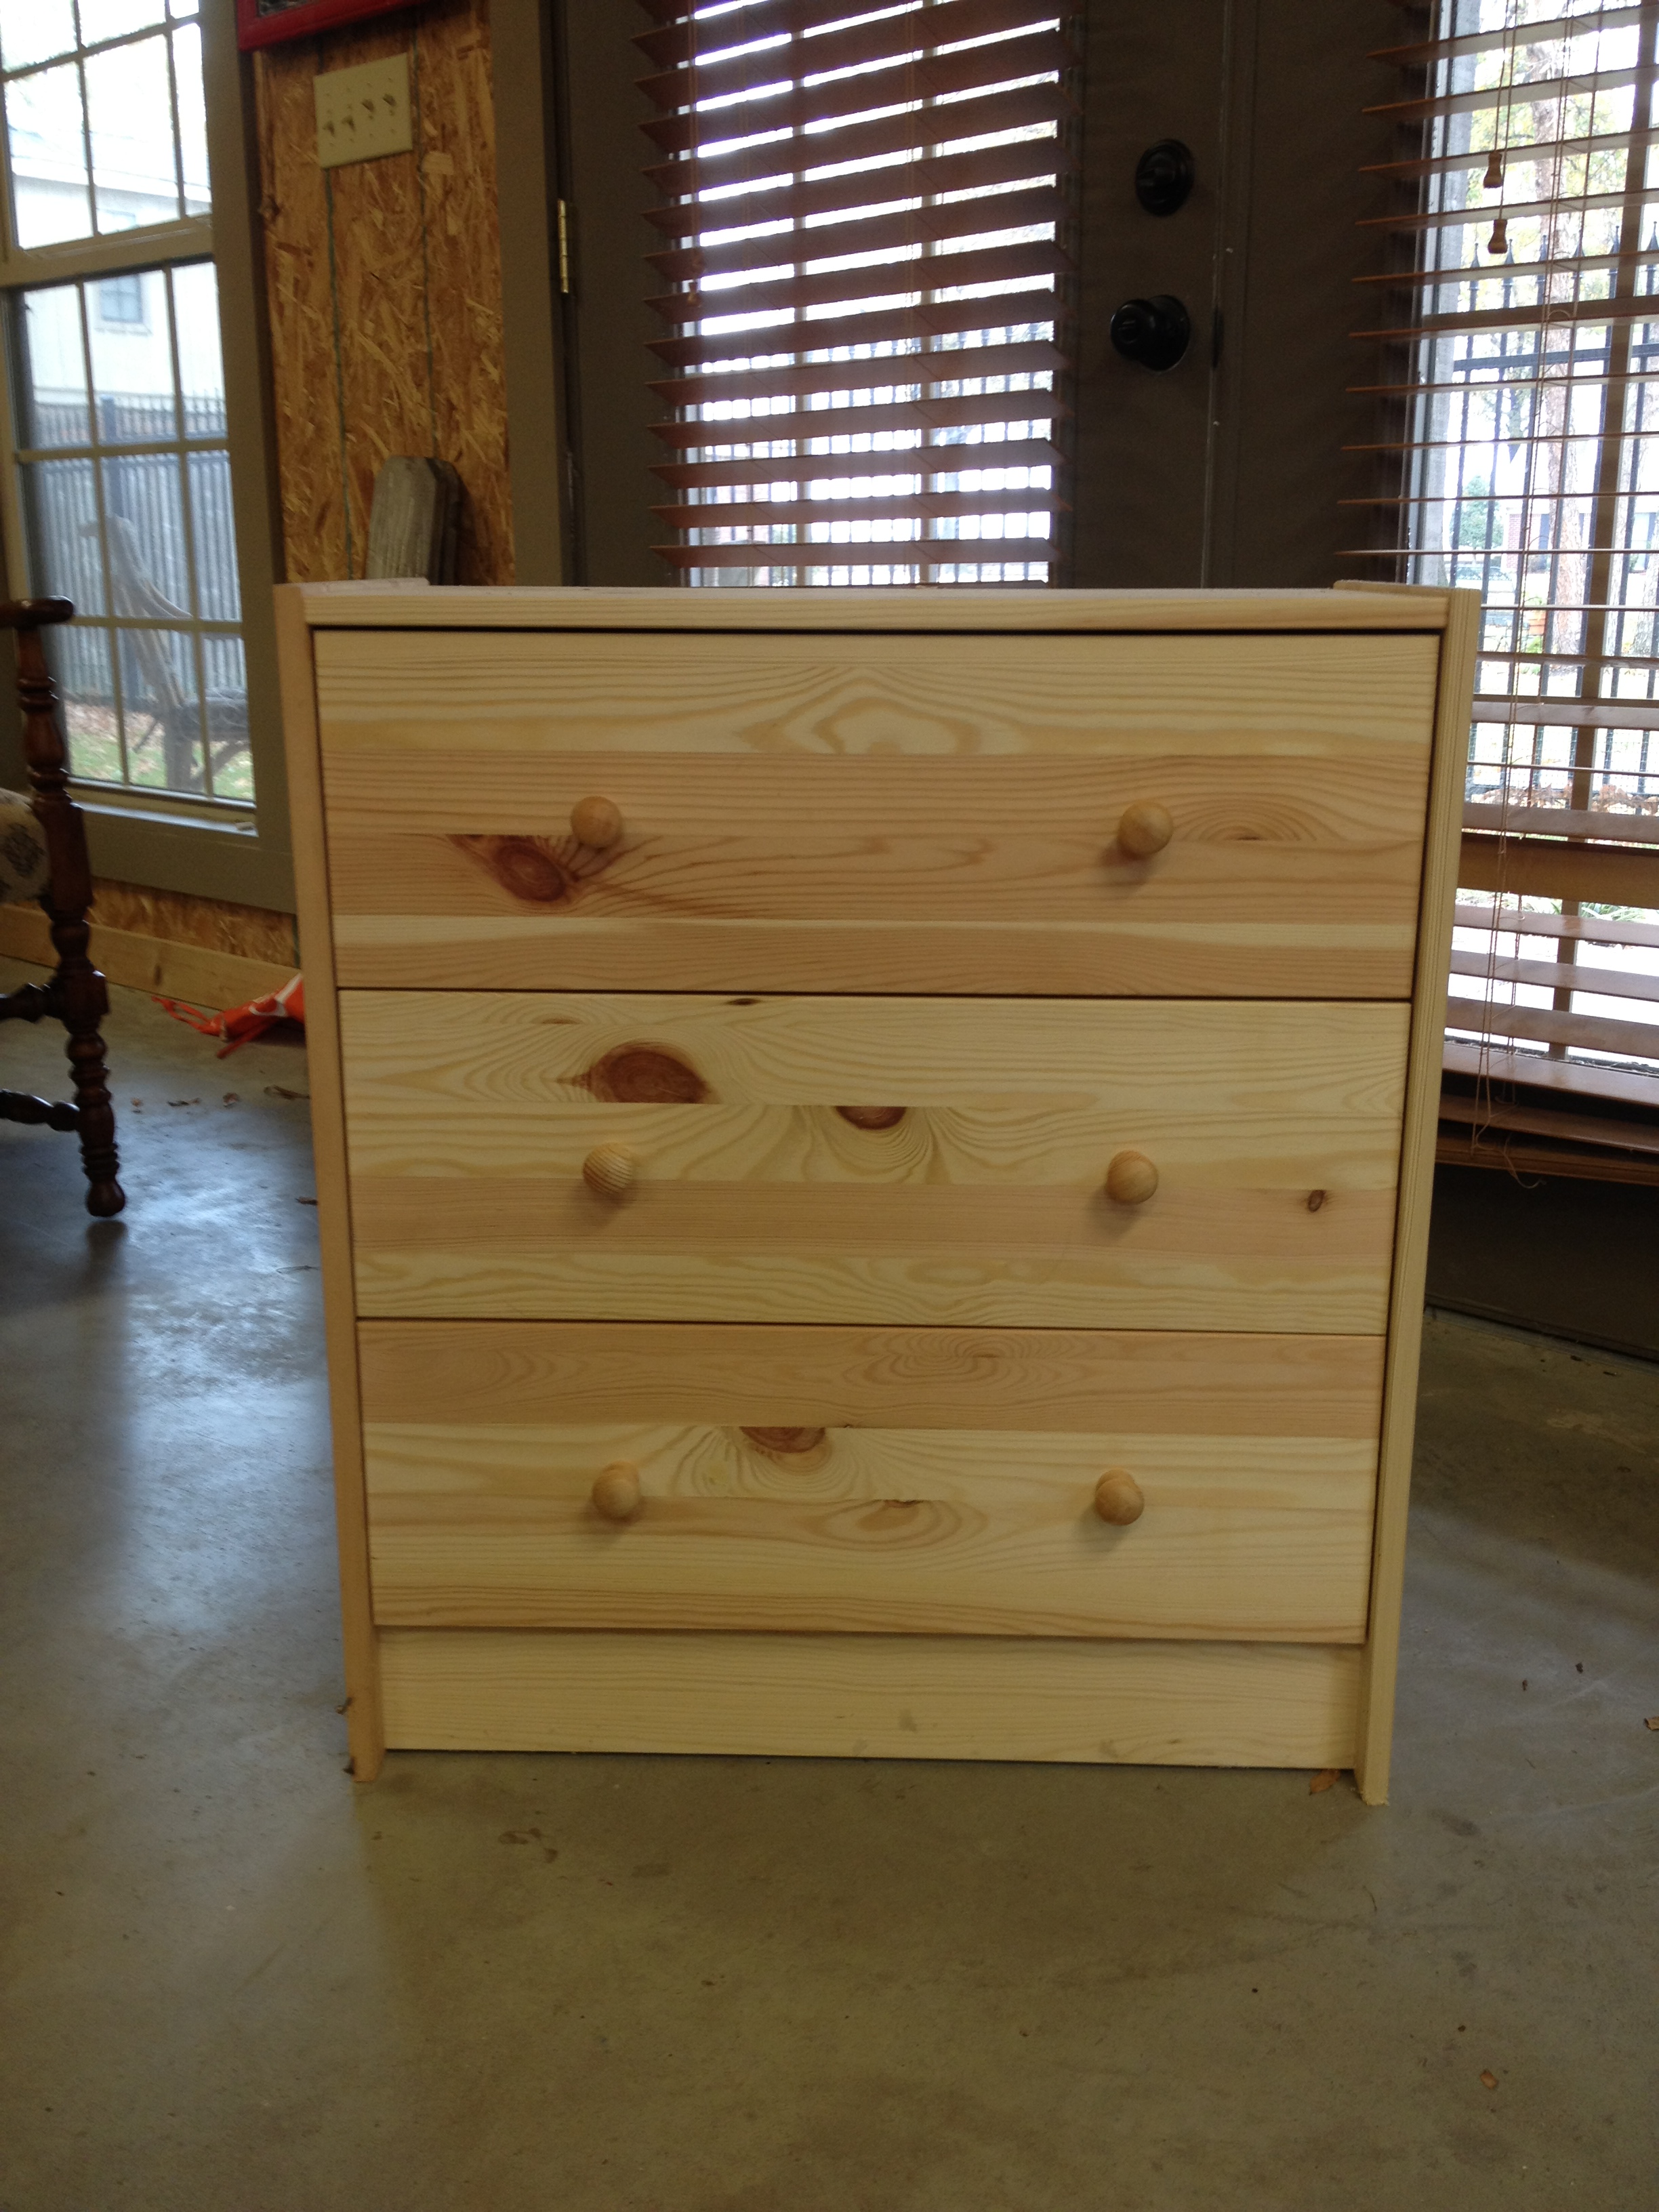
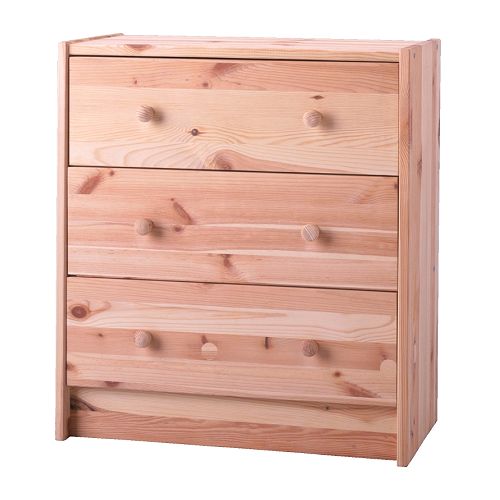
Do you know about the awesomeness that is the Ikea Rast Dresser? It's the most perfectly-sized little 3-drawer dresser that comes in unfinished solid wood so that you can finish it any way your little heart desires. And the very best part? It costs a whopping $34.99. You can't beat that with a stick! (Actually you can - it used to cost just $29.99. I usually get upset when prices go up, but even with the $5 increase, it's still a heck of a deal!)
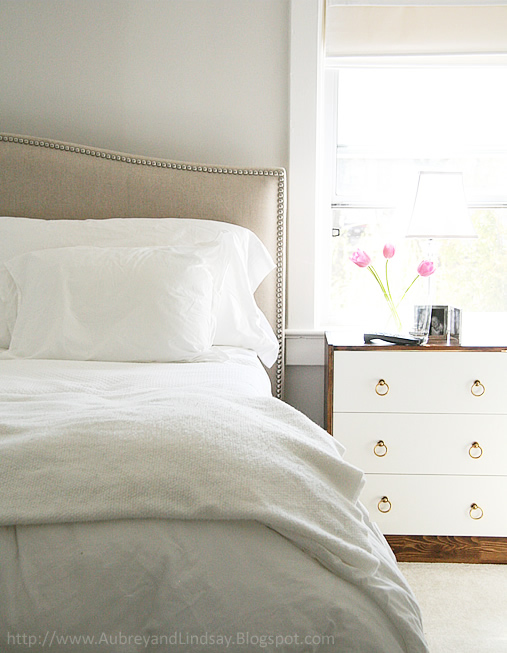
News of this gem of a piece of furniture has been catching on, and pictures of freshly made-over Rast Dressers have been popping up all over blogland. Some people manage to turn these simple little drawers into something that looks like it belongs in a fancy schmancy home decor magazine. Like this one, for example, from Little House Blog.
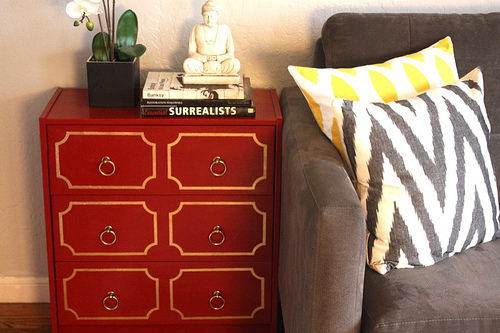
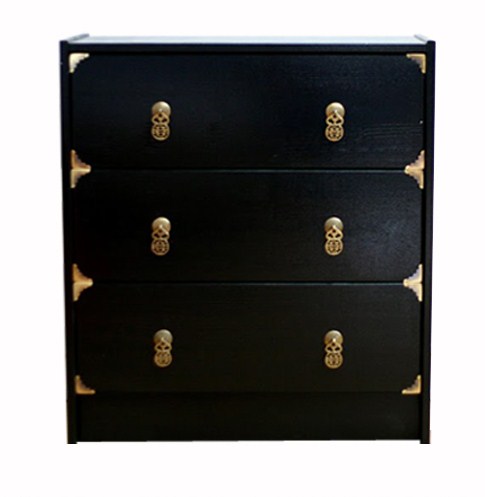
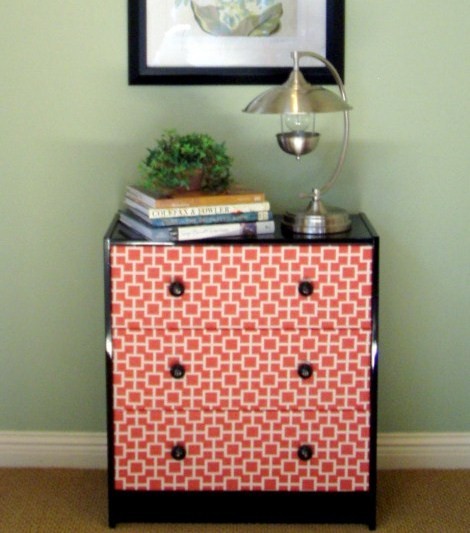
There are so many awesome takes on this project! Here are some more that I found...
From Nothing But Bonfires:
From Design Manifest:
From Nouveau Stitch:
And finally, this one from A Charming Nest that I think is my personal favorite. Can you believe this started as the same $30 piece of furniture? Insane!
If you wanna see some more takes on this project, google Ikea Rast Hack and lots of results will pop up. Or click on this blog to see a few more ways its been done.
So...seeing as how we're in the middle of trying to furnish a whole beach house and could use some bedside tables, I decided I better jump on the Rast Dresser train. I placed my order a few months ago (back when they cost $29.99 - woot!) and my flat pack box arrived in no time. Even with shipping, it was still a good deal (but it'd still be nice to have an Idea nearby!). I had my dad put it together a while ago, but then it just sat. I was itching to work on it, but we weren't quite sure yet where it would go and therefore couldn't decide on a paint color.
Recently we began nailing down furniture for the rooms and it became clear that we would use this as a bedside table in the master bedroom along with this dresser that I'd already repainted. I gave it the exact same paint treatment so it'd match the dresser.
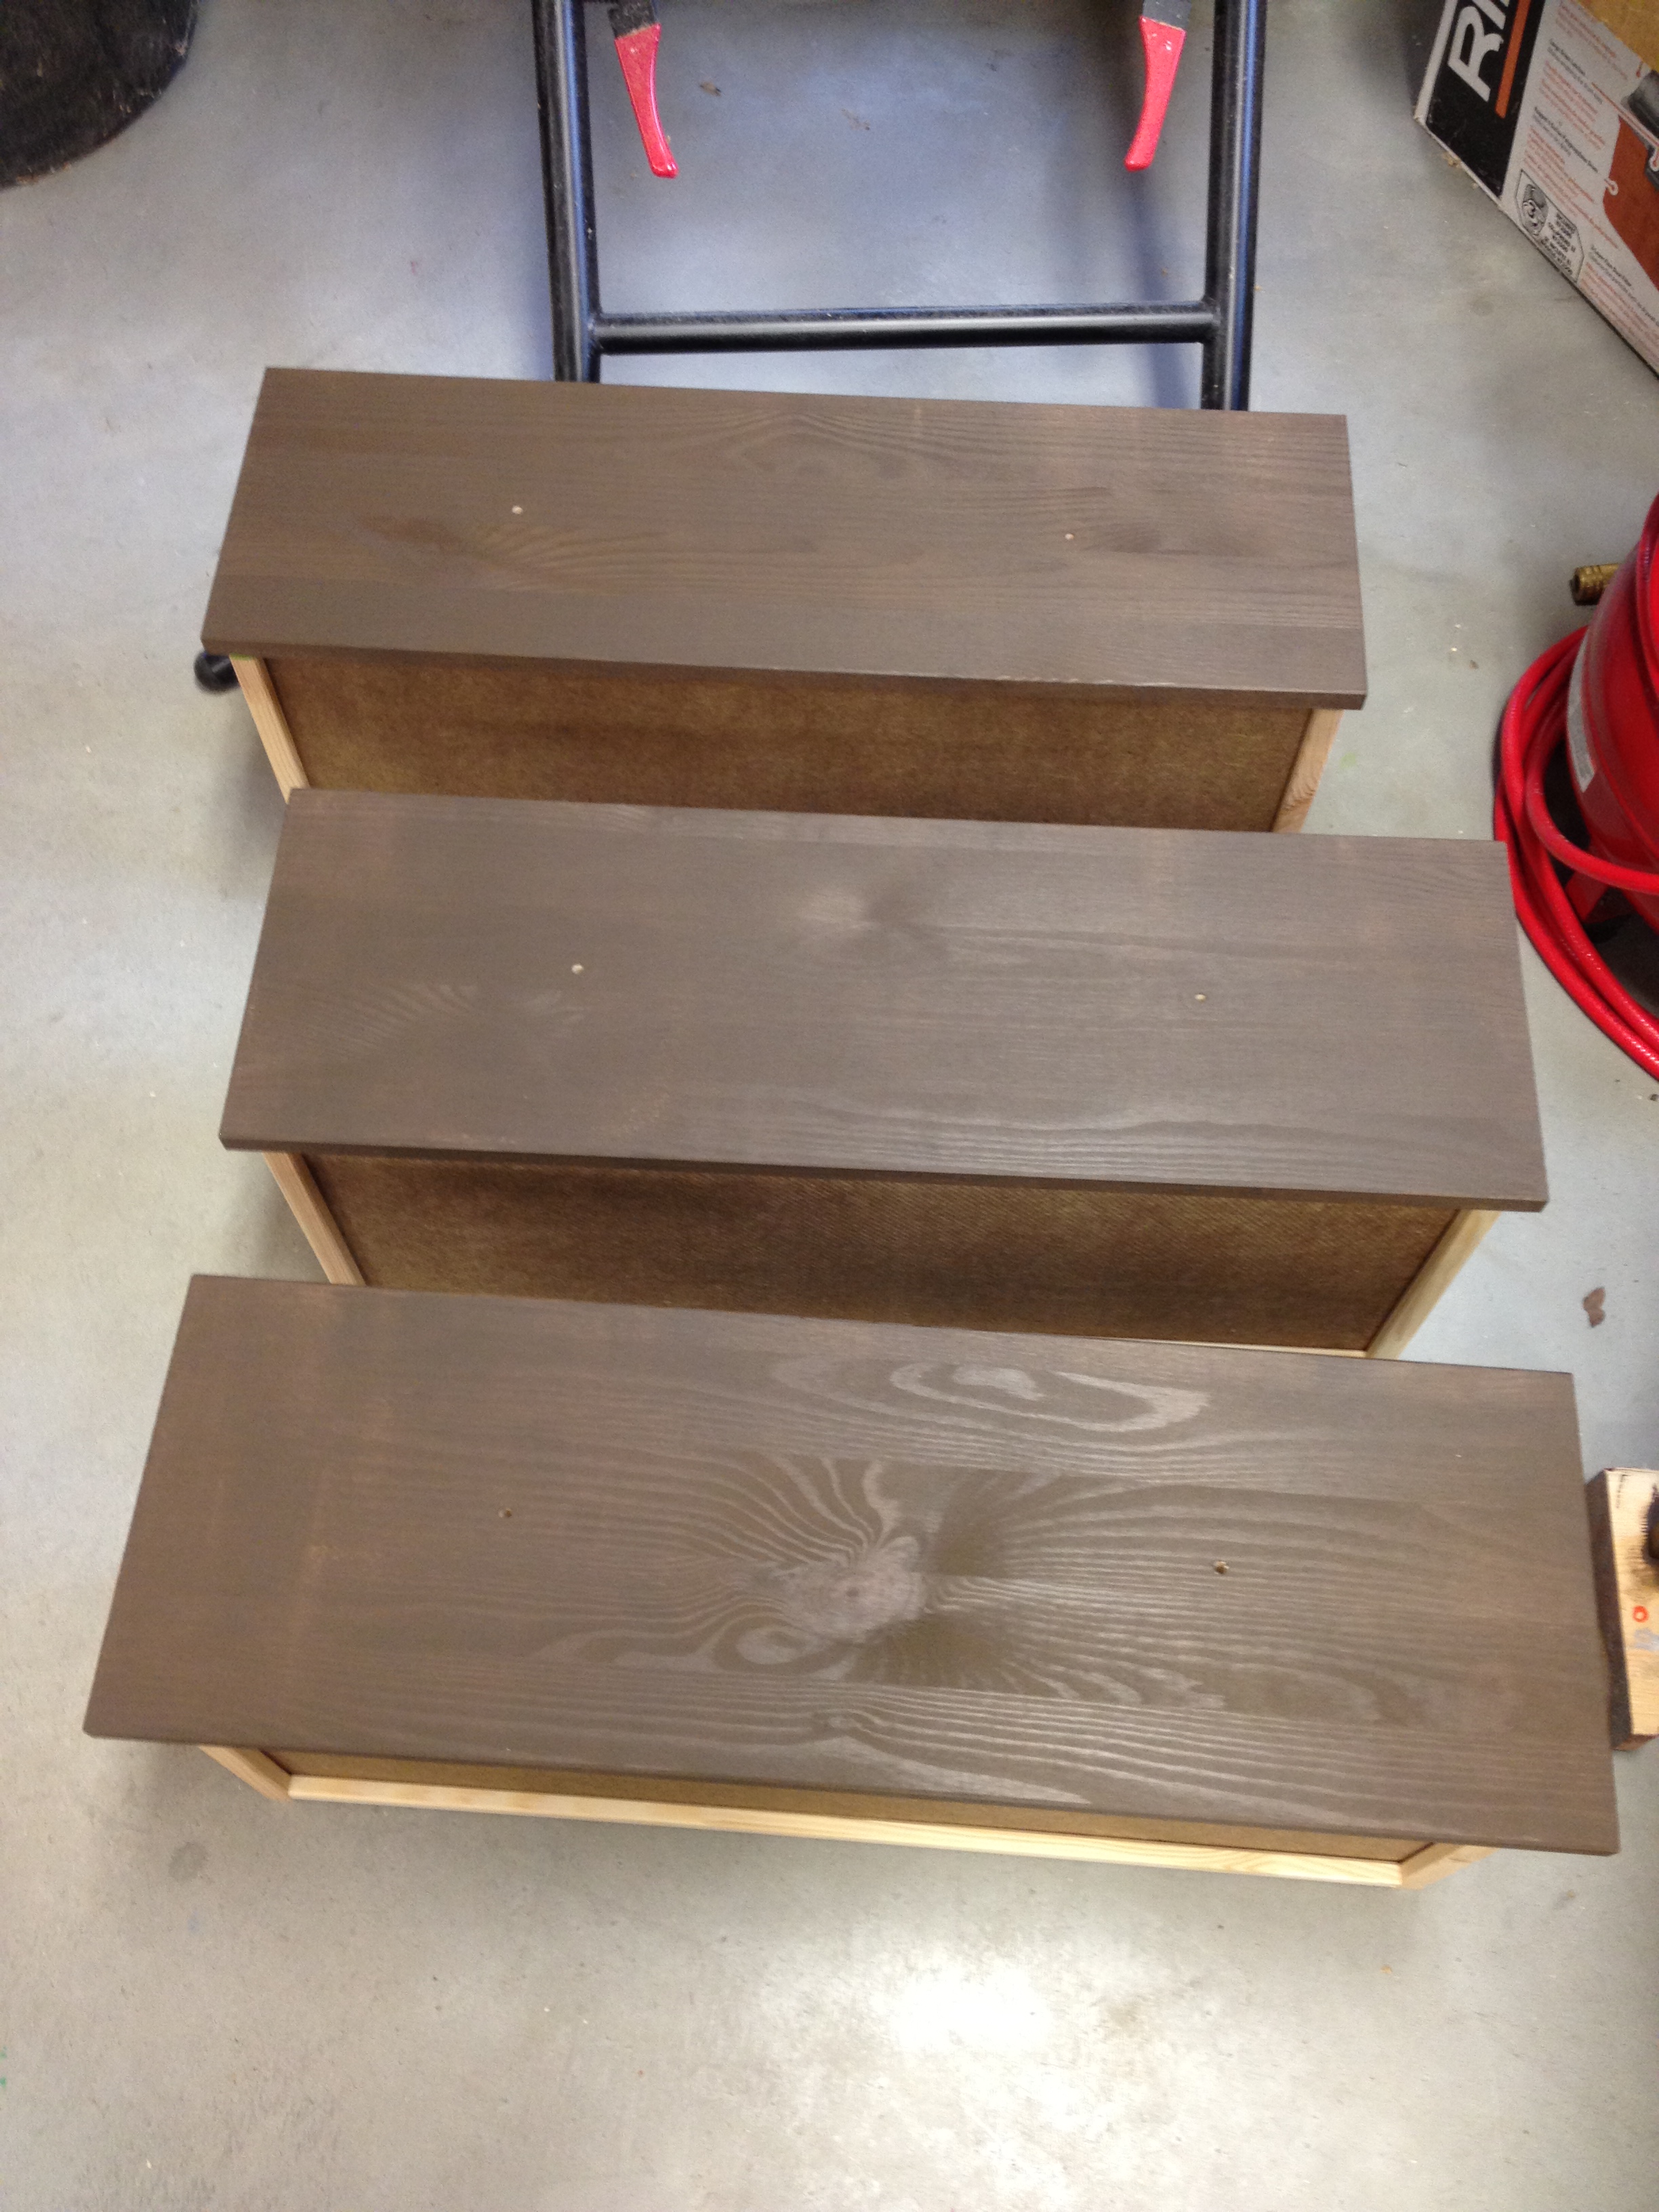
First, a coat of brown, but not before I taped everything off. Like always, I just wanted to paint the drawer fronts and the outsides of the base.
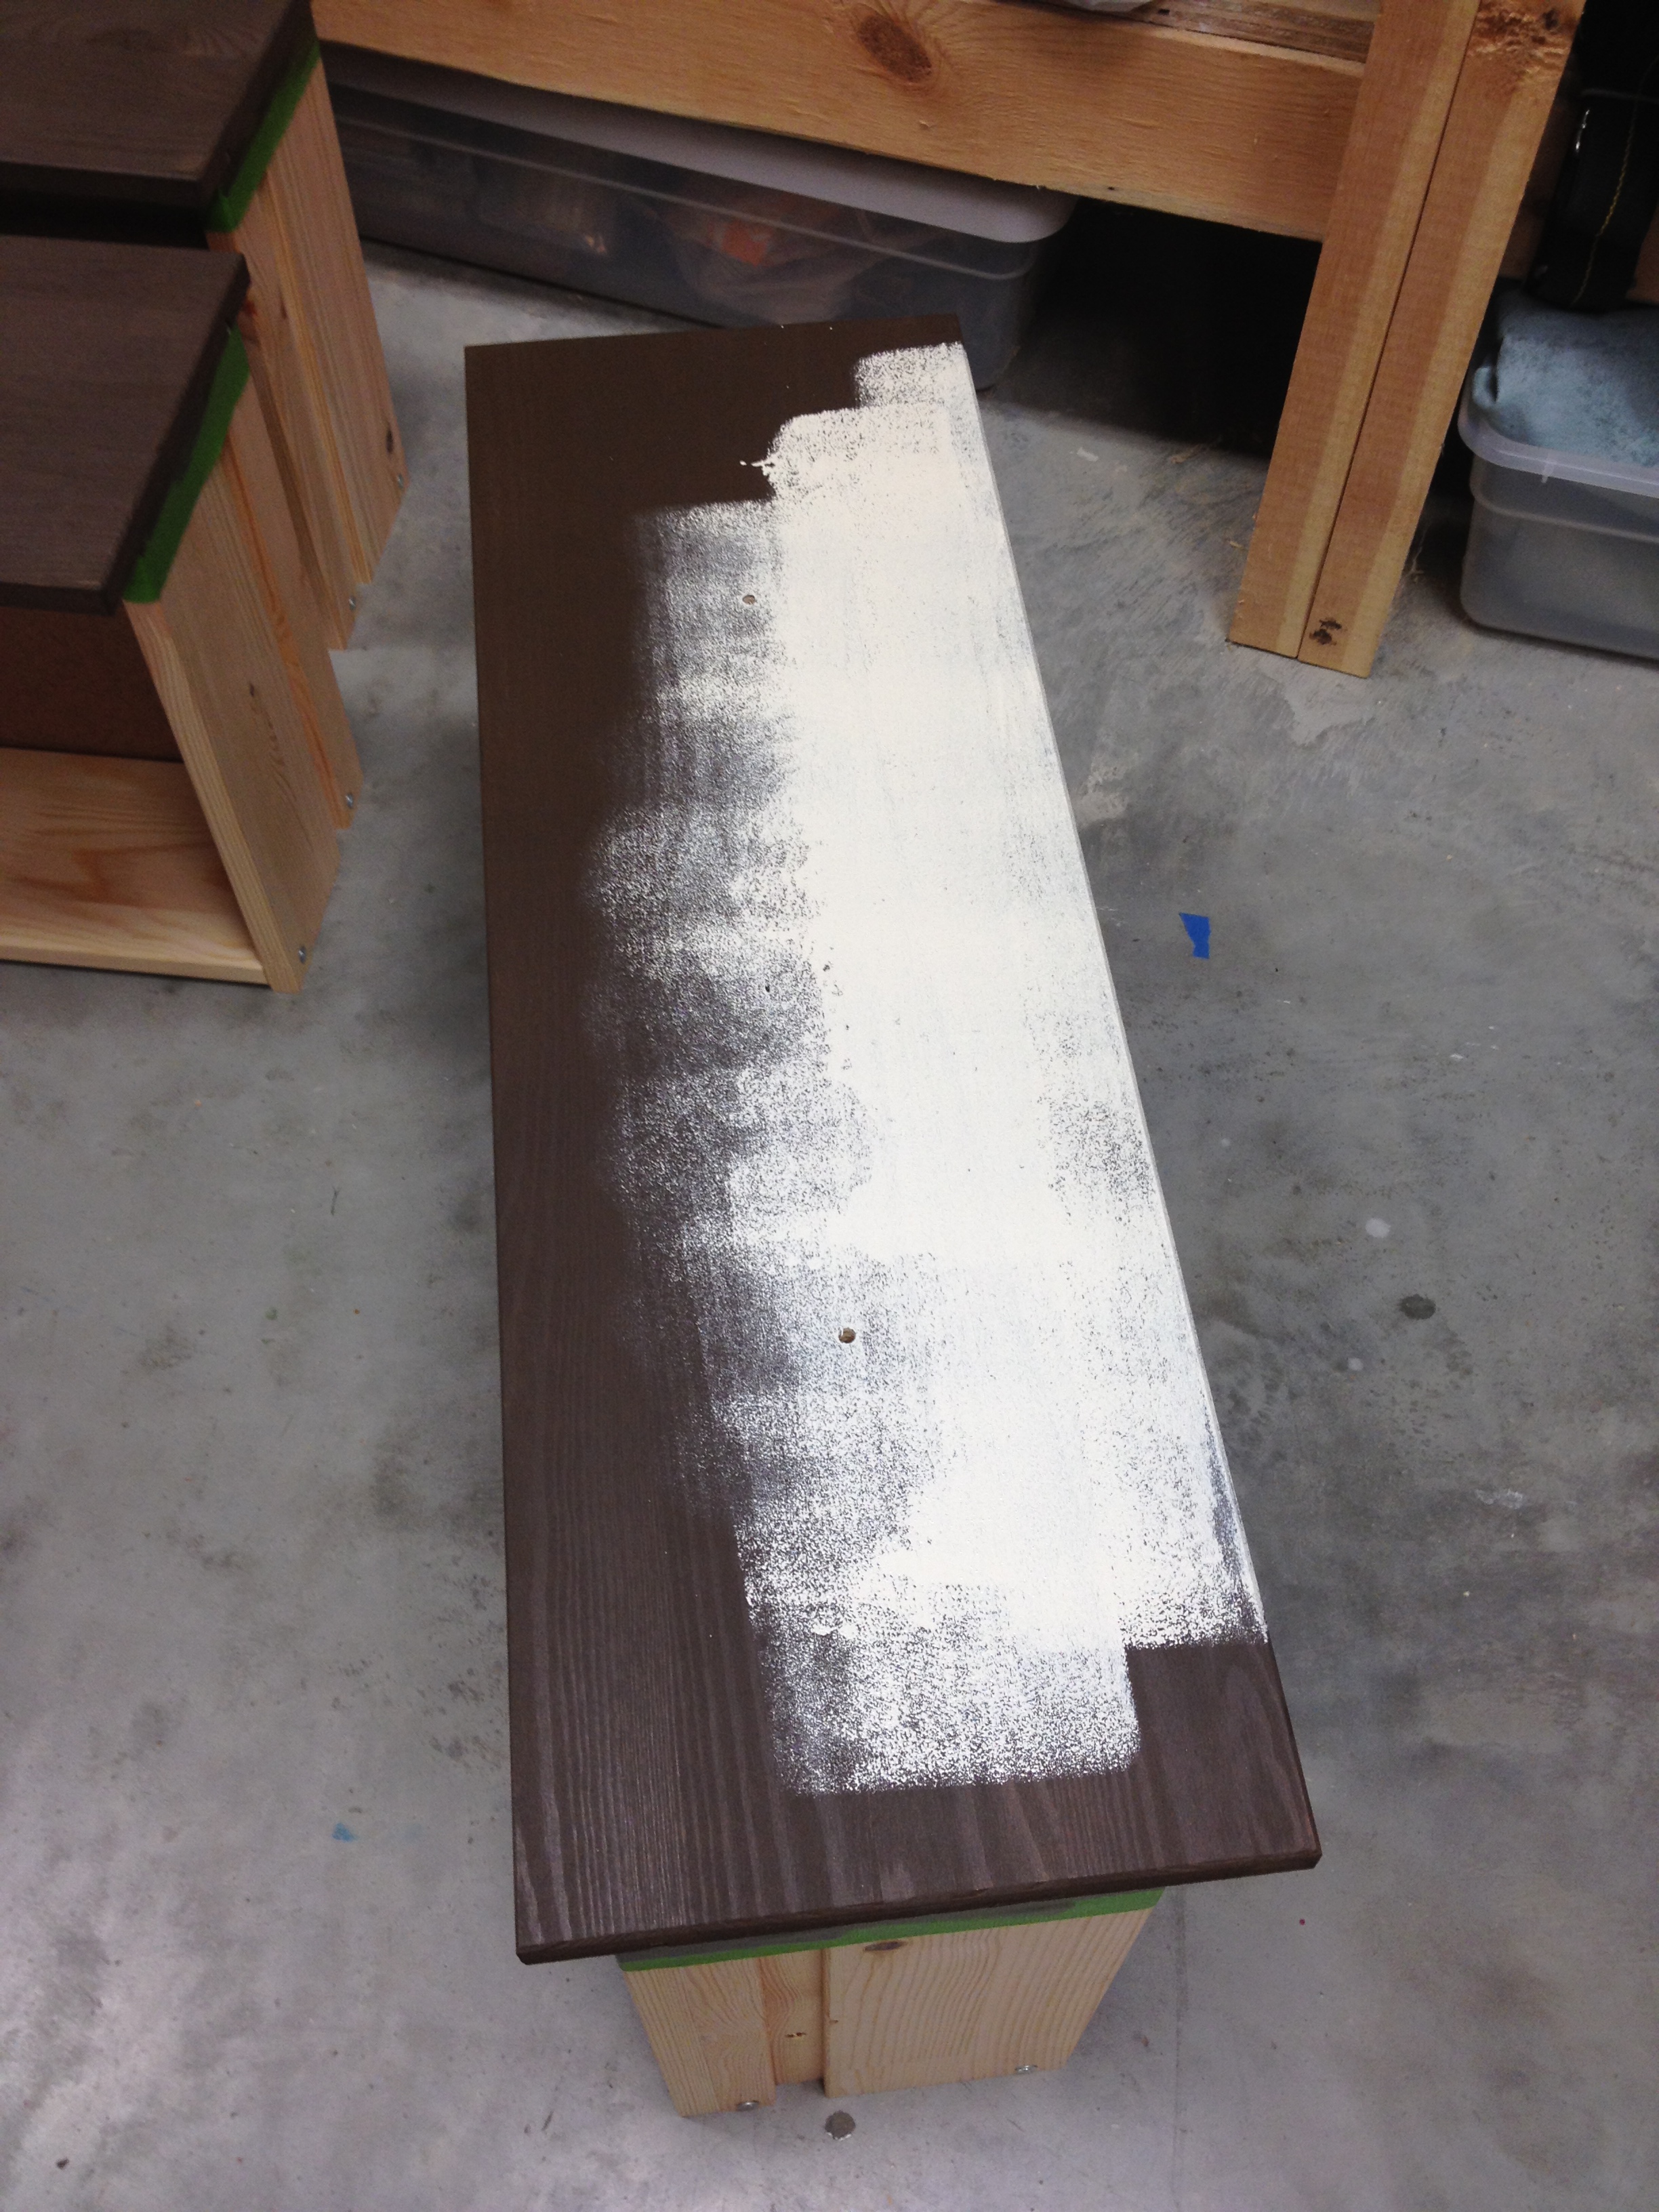
Then I covered over that with two coats of the cream paint.
Just like with the dresser, I sanded the edges ever so slightly so that some of the brown would peek through.
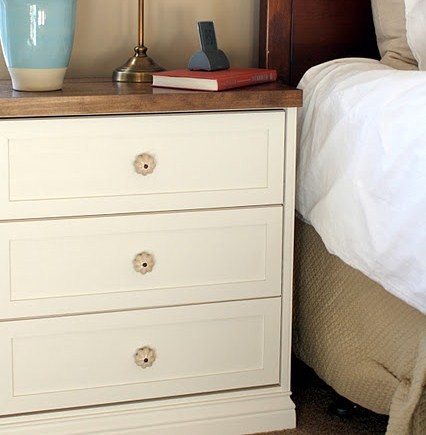
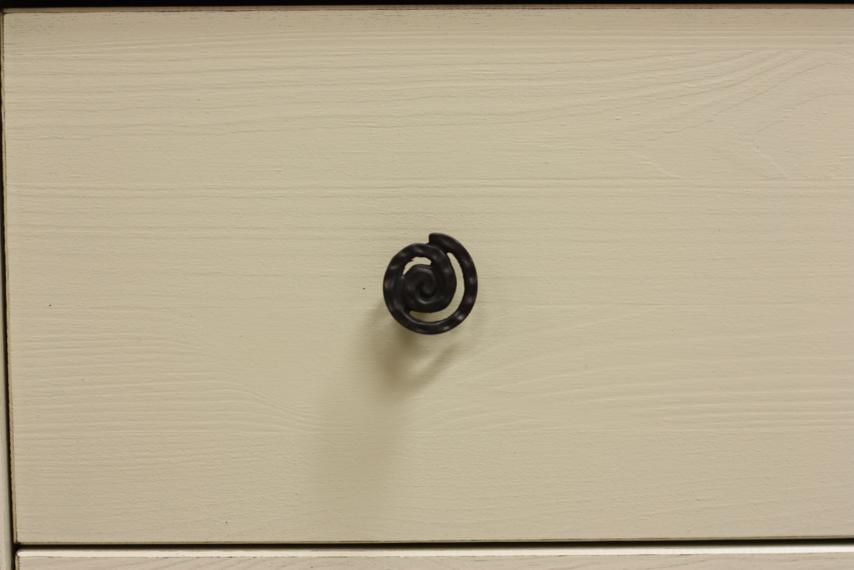
The color was pretty bland so I tried to jazz it up a little with the hardware. Well, as much as you can jazz it up with hardware that's still neutral in case we redo the room. I opted for these fun little spiral knobs.
Ready for the end result? You may need to sit down for this...
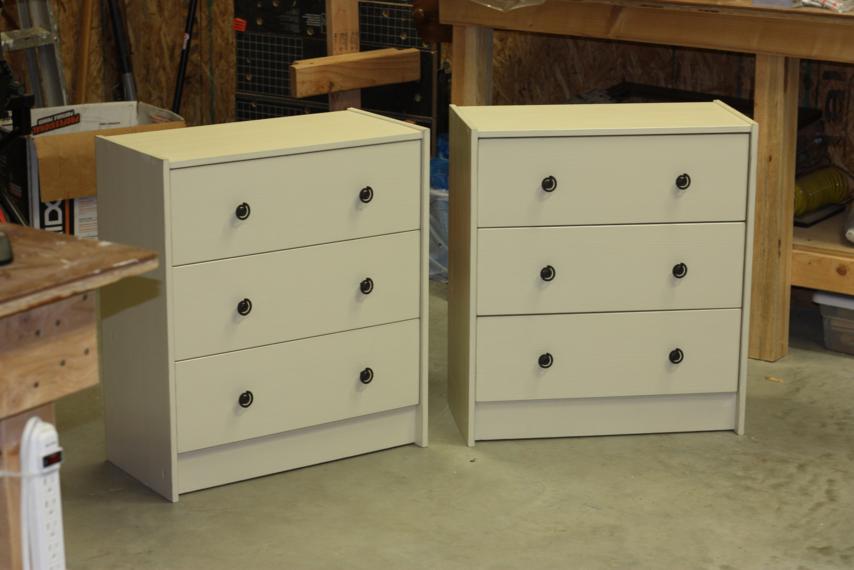
I know, I know...BORING! Try not to yawn in my face, ok? I wanted to go all out on this, but since it's going to be in a rental house and we don't know how often things will need to be switched, it had to be something plain. Something safe in case all the bedding and room colors have to change.
Oh wait, I completely left something out...I actually did this whole process twice. Two bedside tables for the master bedroom.
That really doesn't make it any more exciting, huh? Then how 'bout I tell you this: after my dad assembled these first two and saw how solid and sturdy they were, we decided to order two more. That means I'd have two more chances to go crazy on the Ikea Rast Dresser. And ya wanna know something else? I've already finished one of them and I totally broke out my pack of stencils to fancy it up. Can't wait for you to see it! Pics soon...

