Closet Makeover

Last week, we finally finished a closet makeover that was started the week we moved into this house!  It was a very loooooong, drawn out makeover, but I am so glad to have it all done now.  It was more than worth the time (and money, ugh) that it took to get it the way it is now. It's funny that we've spent so much time and energy making over our closet when we still have a completely empty dining room, but considering we use our closet every single day and would probably have only had maybe 2 meals in our dining room by now, it just made sense to focus on the closet first.

Phase One of the closet makeover was very unexpected.  We knew when we closed on the house that we would maybe add some shelving, but we didn't realize we would be doing renovations on it during our first week in the house.  Here's what happened...

Our hanging clothes were the very last things to be moved from our old house to this one.  I wanted to keep them all on hangers and I didn't want the movers messing with them and throwing them in a truck.  So after all the big stuff was unloaded and in the house, Doc loaded up all our clothes in his car and brought them over.  With my brother helping him unload them, it became very obvious very quickly that there was not going to be enough room for all of our clothes.

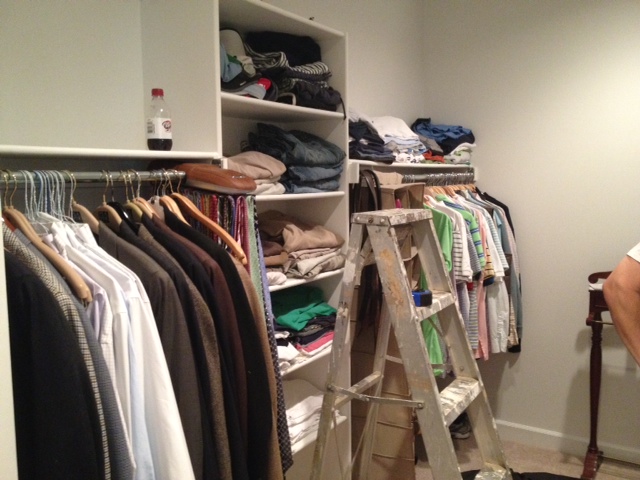
We'll call the left side of the closet "Doc's" side.  See those two hanging bars?  They were about, oh I dunno, shoulder level, maybe?  And above them?  Nothing but wasted space!

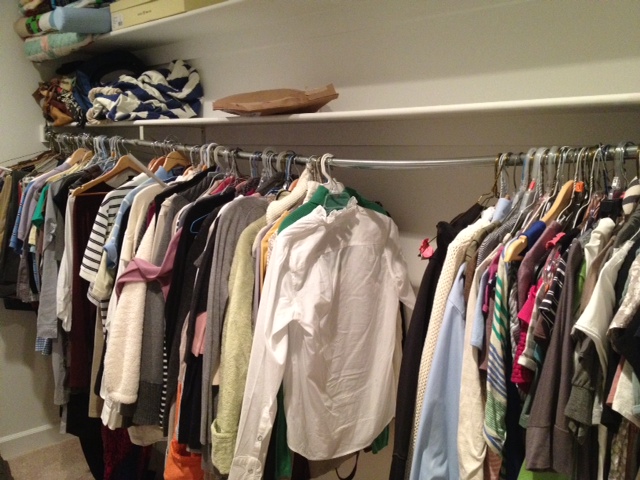
And check out what's going on on my side...that hanging bar's about to snap in two from the weight of my clothes, and they weren't even all on there yet!

So at about 4:00 one Sunday afternoon, we decided we needed to work on the closet ASAP.  We loaded into the car and headed to Home Depot - an hour round trip without counting our shopping time.  By dinner time, we had all of our supplies, had already stopped by my Dad's shop to cut and route the edges of all the boards, and had a coat of primer and paint on them.  We were rolling!

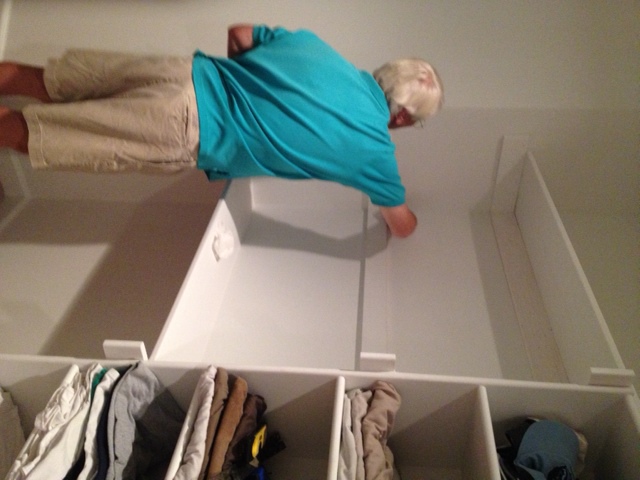
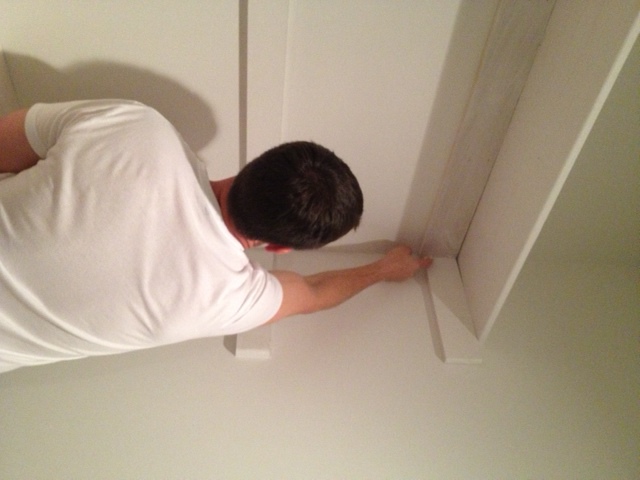
My side of the closet was easy.  We just added more supports to hold up the bar with the weight of all the clothes.  Doc's side was a lot more involved.  See how there are kinda three shelf levels in the picture below?  The middle one that my Dad is scraping glue off of is where the one hanging bar originally was.  We couldn't rip those support boards off the wall without tearing the sheetrock, so they stayed put.  The shelves below and above it are the two new ones we added.  This way, there would be two levels of hanging clothes instead of just one.

I think I frustrated the guys by making them caulk and paint.  They argued that once clothes were added they'd never be seen.  But, I was 8 months pregnant at the time and they knew what was best for them and did it my way. :)

Apparently I did not feel the need to take an after picture of this phase, but just imagine all of our clothes finally up off of our bedroom floor and hanging in the closet where they belong.  We were thrilled with our new additional hanging bars.

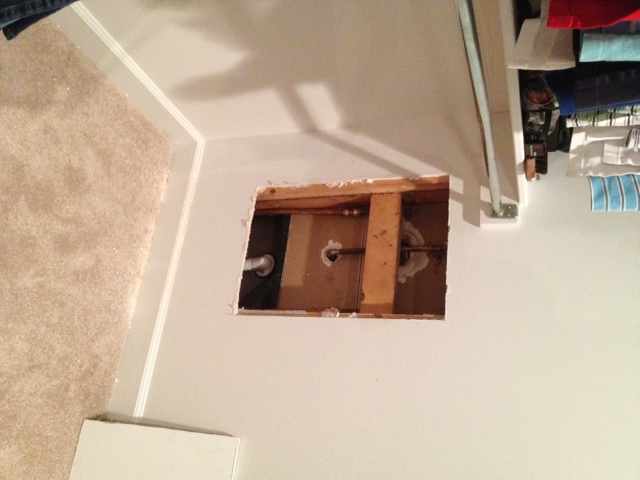
About a month passed, we welcomed our baby girl, and I decided we needed to finish changing out the fixtures in her bathroom.  They were all gold when we moved in, and I wanted them silver.  Doc and Dad had already switched out everything except for the shower fixtures.  This is where things got tricky because we had an outdated piece.  I won't bore you with the details, but I will say that I know way more about push-button diverters then I ever imagined I would.  Anyway, the solution was that we needed to have some plumbing work done if we wanted to switch to silver.  And rather than letting the plumber go to town busting up the tile in her shower, I requested that they go through the back.  That meant our closet got partially emptied out again so that this hole could be cut out of the wall.

Thankfully the hubs was able to patch the hole up in a way that will still allow us access to the plumbing in the future should we ever need it.

With Katie Wynn's bathroom done and me still on maternity leave, I was ready to move on to the next project.  Enter Shoe Shrine, Take One.  The back wall of the closet was the perfect spot to put some custom shoe shelving, so we drew up a plan and got to work.  I ordered some MDF and had it delivered and we got to cutting, priming, and painting.  It was so huge that it had be to assembled inside the closet.

I can't even tell you how sad it was for me right when I took this picture.  As much as we talked about the plan beforehand, we still didn't think through some key parts.  We were excited to get it up and because of that, cut some critical corners.  It was designed to be two pieces - a wider part at the bottom that created a bench to sit on and a skinnier part on top for regular shoe storage.  The shelves in the bottom section were also removable to my boots could slide in in the winter.  The problem was that it was extremely heavy and very unsturdy.  Even with it being bolted to the wall, it felt like it'd probably just pull the sheetrock down with it.  So, while I really, really wanted to be excited about it, all I could think about was my baby girl trying to climb up it one day and it crashing down on top of her.  In tears, I told the boys to take it down.

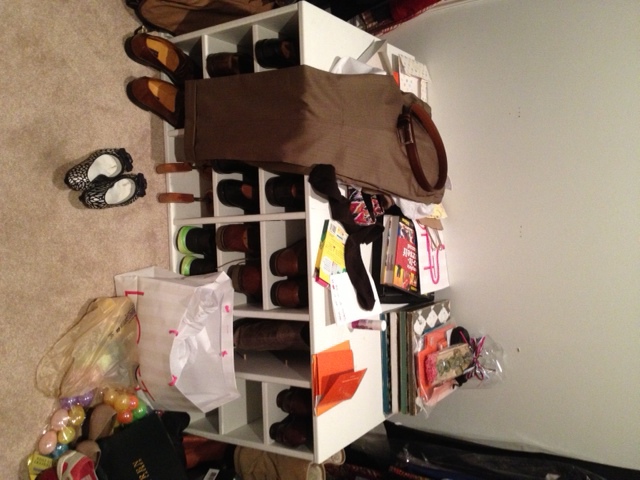
We felt really defeated at that point.  We'd just wasted a whole lot of time (and a lot of money) on something that was now sitting unassembled in our garage.  Except for the bottom portion.  We never got around to taking it apart so it continued to sit in our closet and became a flat surface where we piled everything.  (Doc did actually use it to hold his shoes, though.)

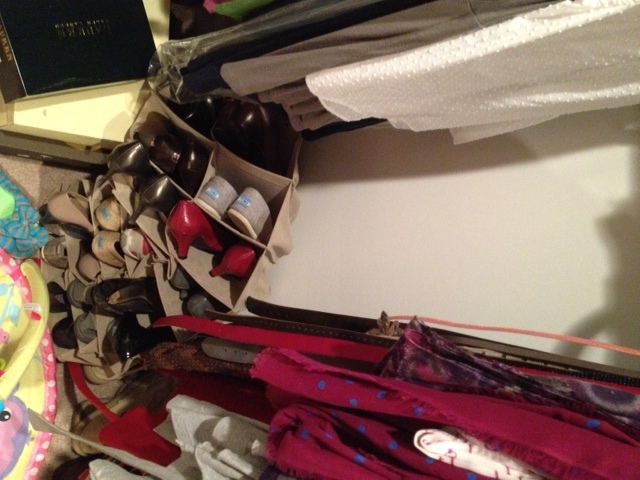
I returned to work and life went on.  And then about a month ago I walked into the closet one morning and saw that my hanging shoe rack had finally given up and torn apart.  My shoes were in a heap on the floor.

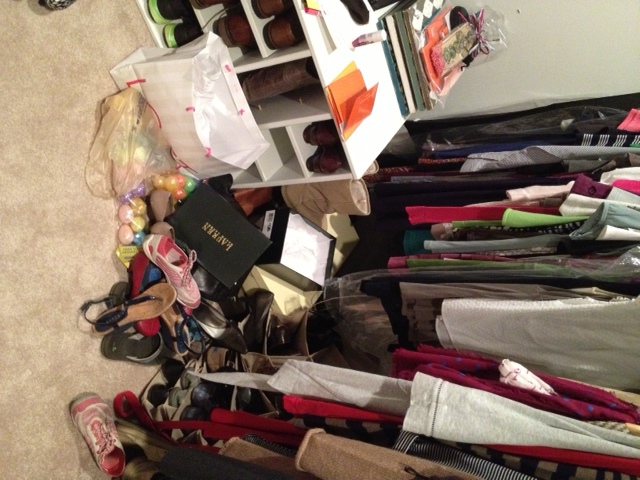
The closet was becoming a huge mess.

We knew this meant it was time to revisit the shoe shrine.  This time, though, we'd really, really think through everything and do it the right way.  Thankfully, Ana White had already drawn up some plans for a shoe shrine that we could adapt for our closet.

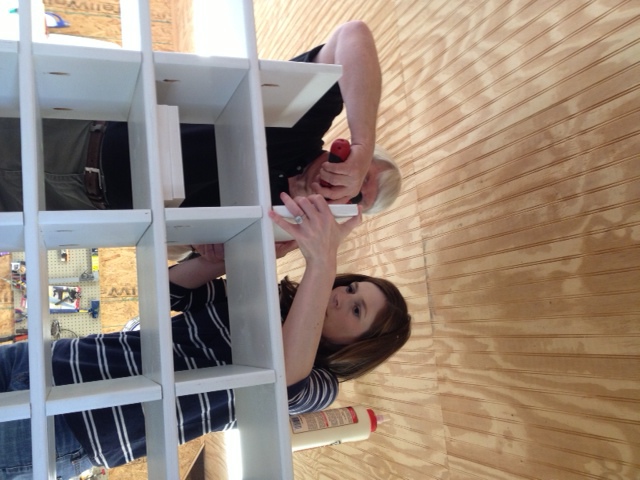
Doc and my dad spent a Saturday morning cutting and routing all the pieces we would use.  I spent one of my days off work priming and painting every side of every board.  And then the following Saturday, my dad and I got busy assembling.

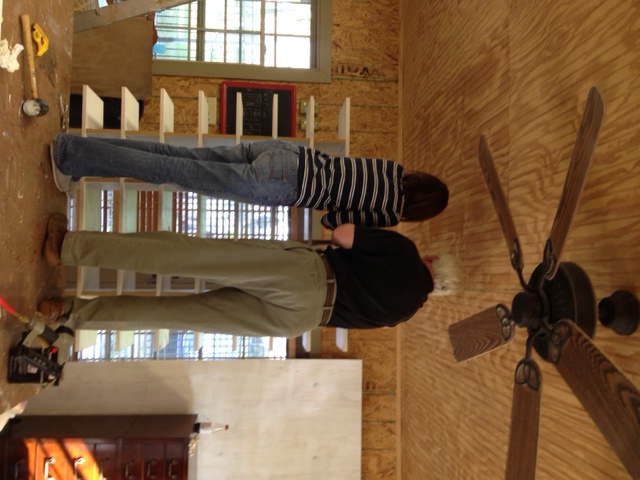
This time the Shoe Shrine would be one big piece, instead of two separate pieces.  At eight feet tall, we had to climb up on the table to finish putting the top of it together!

What I don't have a picture of is the hour or so that we worked while I was wearing Katie Wynn in the Baby Ergo.  You gotta do what you gotta do when there's no sitter around.

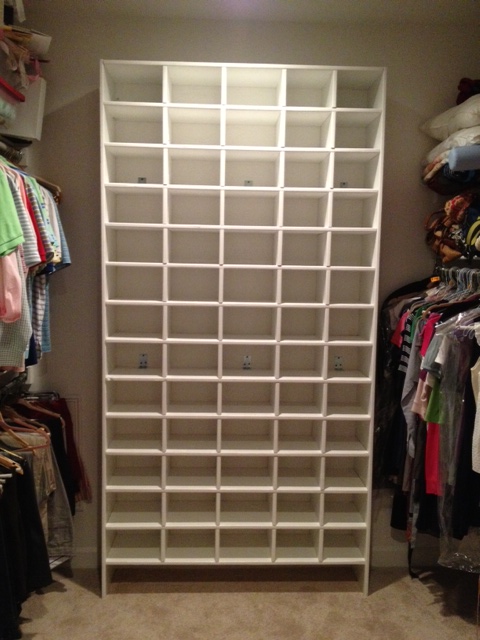
The Ana White plan was for a unit that was three shelves wide.  We made ours five shelves wide instead.  We also adjusted the size of the cubbies to fit our shoes better.  There are three columns that are wider to accomodate for Doc's bigger shoes and two columns that are smaller for mine. (Don't worry ladies, this does not mean I get less storage.  My shoes fit in the bigger cubbies too.)

It was tricky to transport and get into the house, but my two favorite guys were able to get it in there!  For Shoe Shrine, Take Two we didn't cut any corners.  We even went above and beyond and glued and screwed every single piece of wood multiple times.  Then we bolted it to the wall in nine different places.  This thing is not going anywhere!

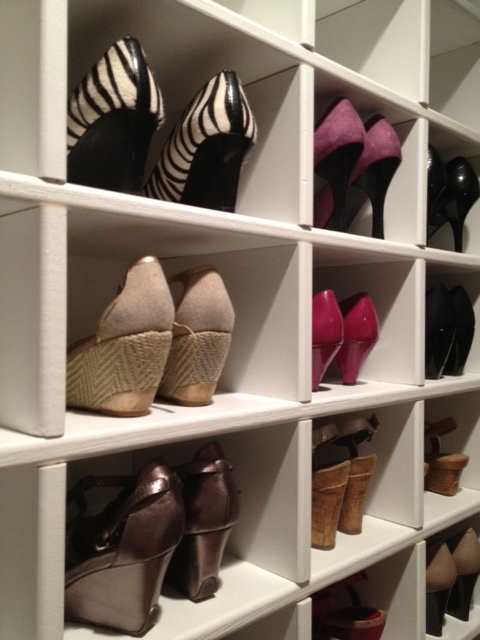
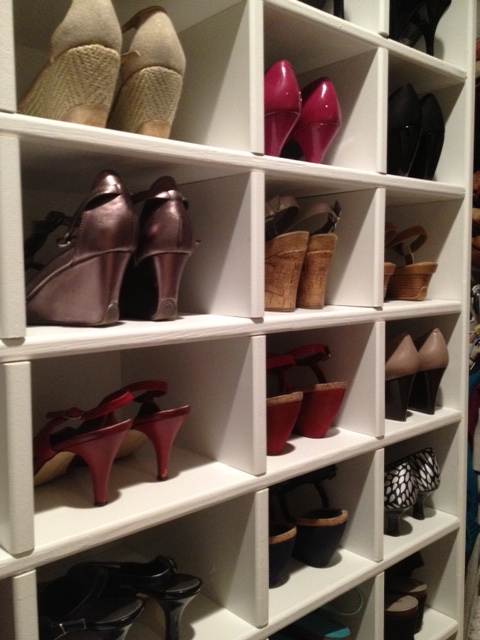
That's sixty-five cubbies just waiting to be filled with shoes.  Awww, yeah!!  This girl was happy, happy, happy!

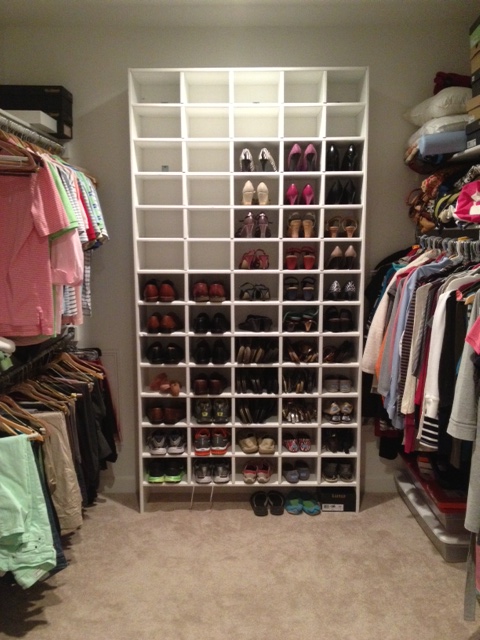
Oh look, after all the summer shoes have been put in, there are still empty cubbies.  Sounds like I need to do some shopping! :)

Sometimes I go in the closet just so I can look at it.  It makes me really happy.

It's come a long way since the day we moved in.  I'm so glad our clothes finally fit on all the hanging racks, there are no holes in the sheetrock, and our shoes are up off the floor.  It feels huge now too!  Which is a good thing since Katie Wynn spends a lot of time playing on the floor in there (we put her there while we're getting ready so we can watch her from the bathroom). 

Now I'm on the hunt for a cute bench that I can redo to set in front of the Shoe Shrine.  Doc wants somewhere he can sit to put on his shoes and I'd like to be able to use it to reach the higher cubbies.  And I guess at somepoint I need to clean out all the shelves at the top that are overflowing with stuff but, ugh, that can wait for another day.  For now, I'm just gonna keep drooling over my shoe storage!

Wrap-Tastic

  Ever since we moved into our new house, I've been searching for the perfect spot to store all of my wrapping paper and ribbons.  At the old house, I stored them in two long, skinny tupperware containers under our bed.  I guess the carpet in our master bedroom is more plush in this house (causing the bed to sit lower) because they won't fit under there now!  For months, the two storage containers have been on the very top shelf in our closet, and every time I have to wrap a present I have to drag out a stool and climb up to retrieve all of my supplies.  Such a pain!

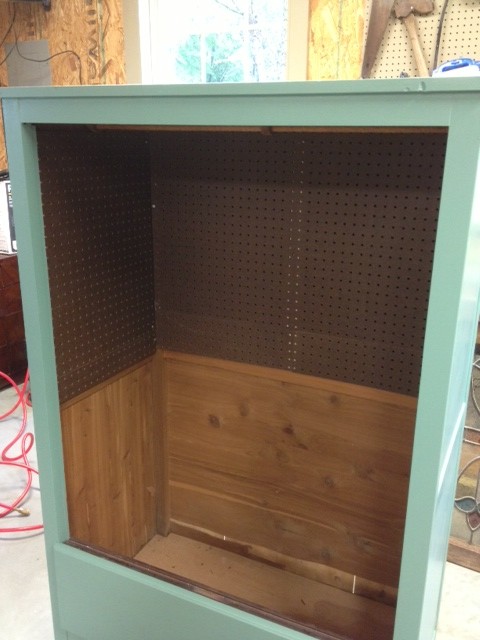
So when my friend Emily said she was getting rid of this wardrobe that they were no longer using, I quickly volunteered to take it off her hands.  Can't beat a free piece of furniture!  Especially since I already had a plan for it.
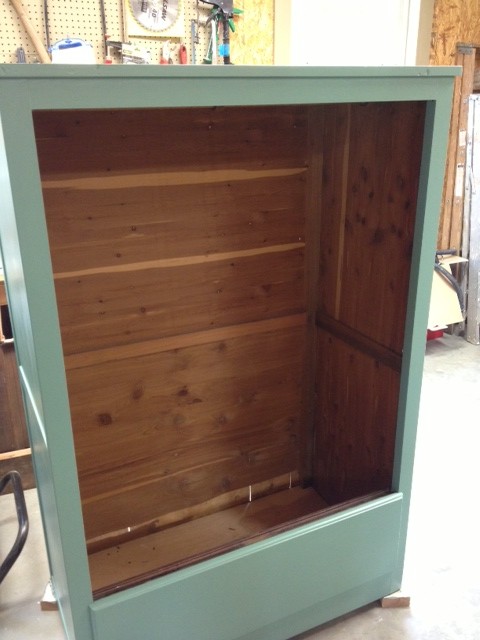
They had purchased it at a second-hand store years ago and it was still in really good condition.  We replaced the bottom shelf but other than that, it was pretty structurally sound.  It came with two doors but I had already removed them before I snapped my before picture.  Oops.

My original plan was to give it a quick sanding before slapping on a couple coats of paint and then distressing it so the brown stain would show through.  The problem with that was that it was stained a deep red-brown and the stain bled through my paint.  Darn you, cherry stain!
So I had to back up and break out the primer.  I hate priming things, but sometimes you just gotta do it. 

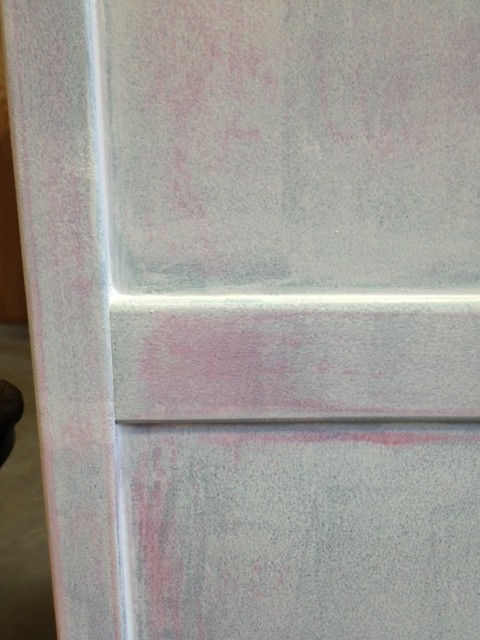
In the picture below, you can see how bad the stain was seeping through.  This was after just one coat of primer.  We ended up having to do three coats and still weren't sure if we'd blocked it enough.

I already had my paint color on hand.  It's some that I had color matched to our curtains back when we moved in, so it doesn't have a real name.  Kinda blue-greenish, maybe?  Thankfully, after two coats of it, there was no more sign of red stain!  Hooray!

Painting was the quick and easy part.  The next part was trickier - figuring out how it could become the perfect wrapping paper storage wardrobe.

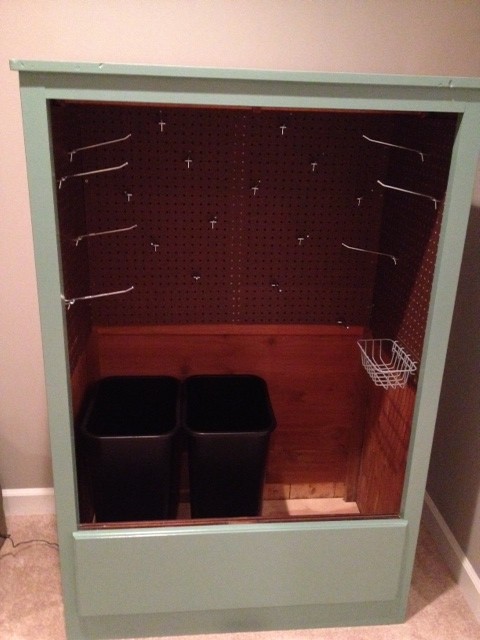
I decided to add peg board to the top half of the inside.  This was only hard because we couldn't screw through the back and sides since they'd show on the outside.  With my Dad's help, we managed to get the peg board attached securely without damaging the exterior.

I hit up Lowe's to purchase the rest of the supplies to outfit the inside.  I bought two black garbage cans, one wire basket that could hang on the peg board, and twenty long pegs.

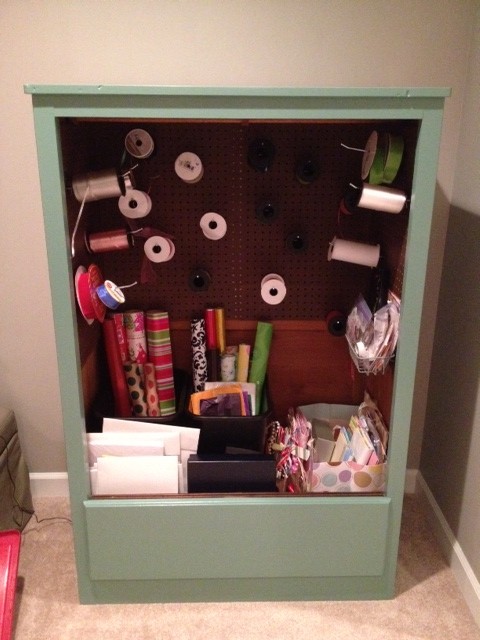
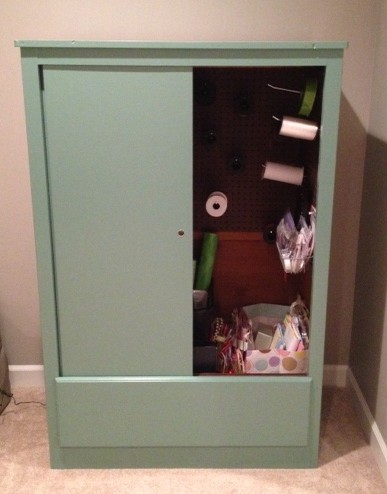
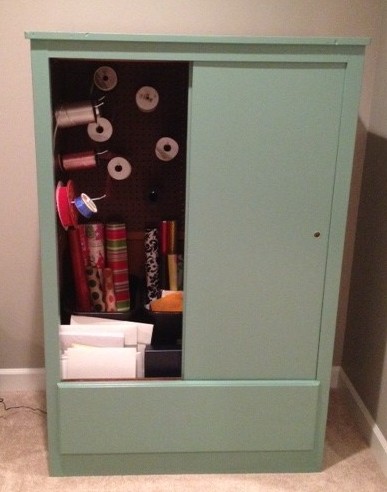
Then came my favorite part: filling it up with all of my supplies!  The 20 long pegs now hold all of my different ribbons and the wire basket holds tape, scissors (if I could find them), and gift tags.  One garbage can is just for Christmas wrapping paper while the other one holds all other wrapping paper as well as tissue paper.  Gift bags are organized by occasion and size on the right side and gift boxes are stacked in front.  I hope I can actually keep it this clean and organized!

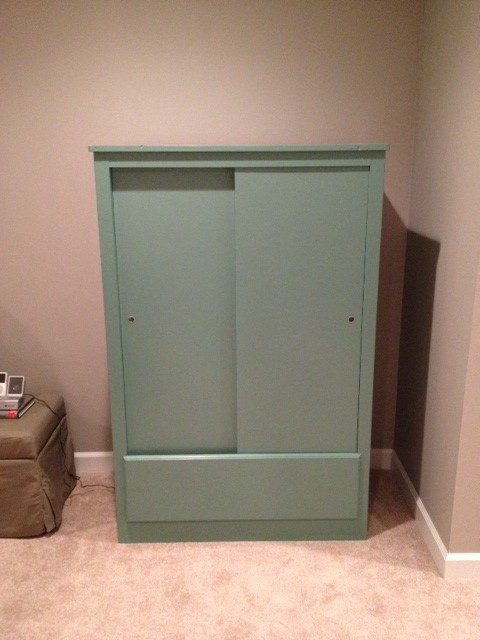
The very last step was just putting the doors back on.  Rather than being hinged, these doors sit in a track and slide from side to side.

I can still easily access everything I need...

...from either side.  I've already wrapped two gifts with my freshly organized supplies and it was great!

Total cost of this wrap-tastic storage wardrobe was only about $40, and that was just for the pegs and garbage cans at Lowe's since we already had paint, primer, and the furniture was free!  Can't beat that.  Now I just need to find some fun stuff to go on top of it so it doesn't look so plain sitting in the corner of our room.  Guess I'll have to go shopping...

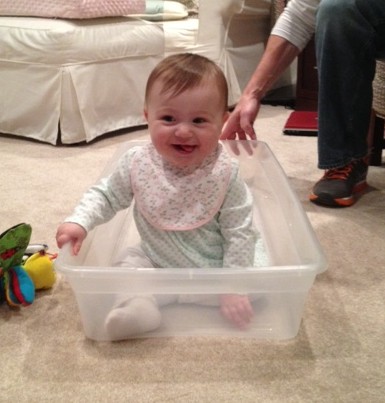
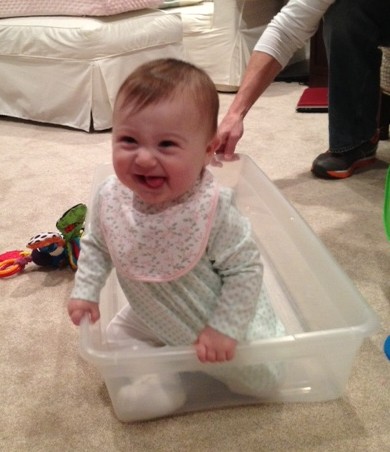
I'm not the only one that's thrilled with this new setup.  The now-empty storage tubs that used to hold all my wrapping supplies quickly became Katie Wynn's new favorite toy!

She spent the better part of Sunday afternoon cruising around the carpet in her tupperware "boat."  Love that sweet girl and her silly face!

If you're like me and in desperate need of a place to store all of those wrapping tidbits, might I suggest looking for a wardrobe?  It was super easy to convert!  I think I may be way more excited about this than a normal person should be.

Kids' Rooms Projects

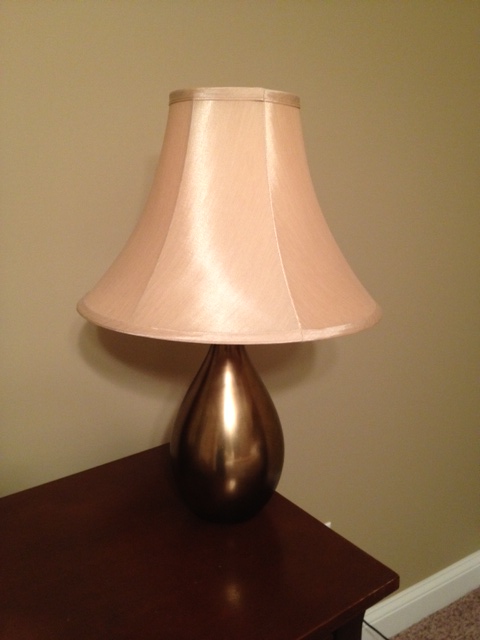
I didn't get much time to blog last week, but I had very good excuses.  (Well, besides being sick as a dog for a few days...)  We spent the last two weeks cranking out lots of projects for the big kids' room makeovers - some quick and easy and others that were pretty time intensive.  Here's a quick rundown of what all we worked on before I show you the big reveals. Let's start with Wyatt's room and go from easiest to hardest.  First, this quick lamp upgrade.  It was so easy I'm not really sure it can even qualify as a "project" we worked on.  The lamp used to live in our living room at our old house and had the gold shade that you see on the left.  I needed one more lamp for his room and the gold worked since it's a Notre Dame color, but the shade not so much.  I picked up a plain white barrel shade at Target one day and plopped it on top.  Instant upgrade and now totally acceptable for a teen boy's room!


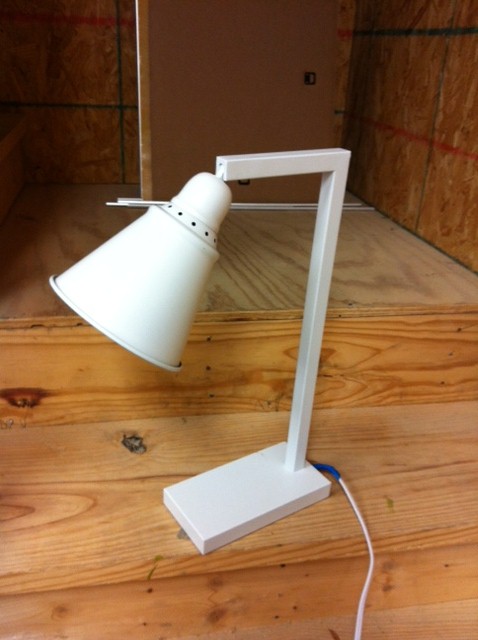
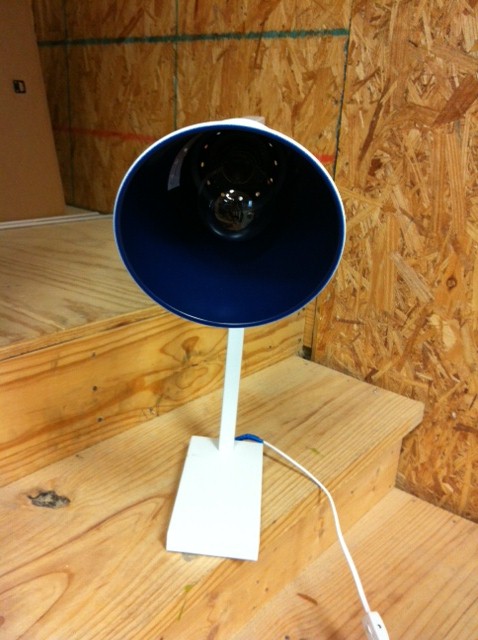
While we're on lamps, here's his desk lamp that I found for a mere 15 bucks at Home Goods (a great place to shop for lamps!).  I liked the shape of it, and I also like that the inside of the shade was navy blue - another Notre Dame color.


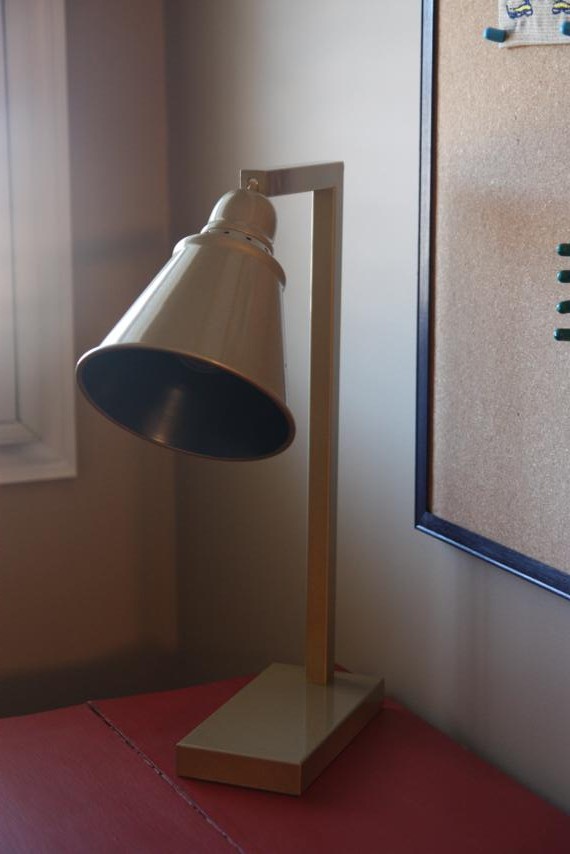
It probably would've worked just fine in his room as-is, but I thought painting it gold would make it a little more "Notre Dame" and also tie it in to the other gold lamp from above.  I just taped off the cord and the inside of the shade and hit it with a few coats of gold spray paint.

(In the background of the picture above, you can see the edge of a bulletin board that I painted navy.  I guess that counts as a project since it's something I had to do, but I didn't take pics of it.)

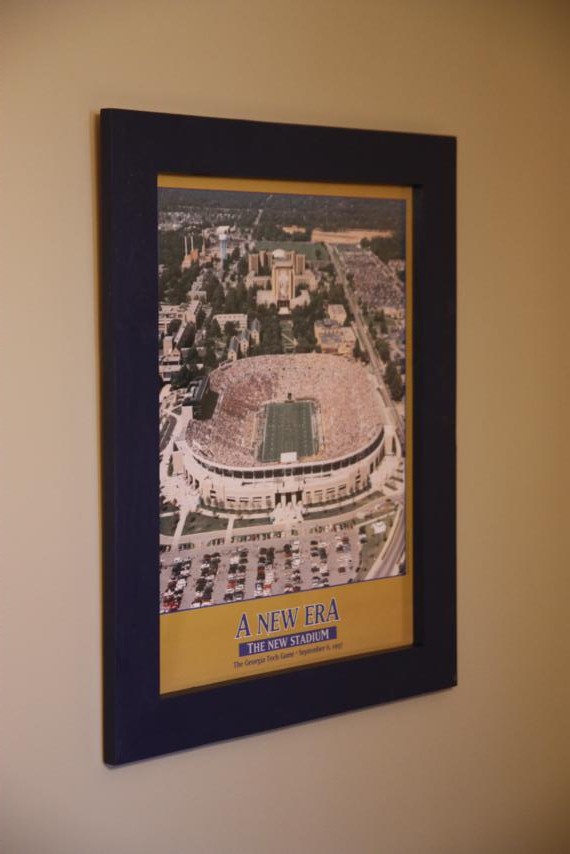
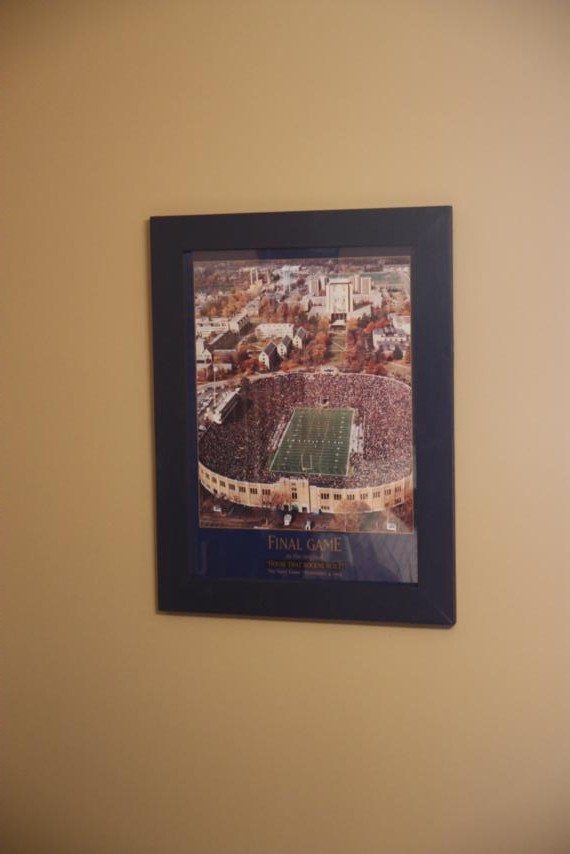
Wyatt already had two Notre Dame posters that I planned on reusing in his new room.  At our old house, we had just stuck them in cheapo poster frames that kept falling apart.  For his new room makeover, we put together some quick wooden frames out of 1x3 pine boards and painted them Notre Dame Navy.  (One poster is of the final game in the original stadium, the other is the new stadium.)


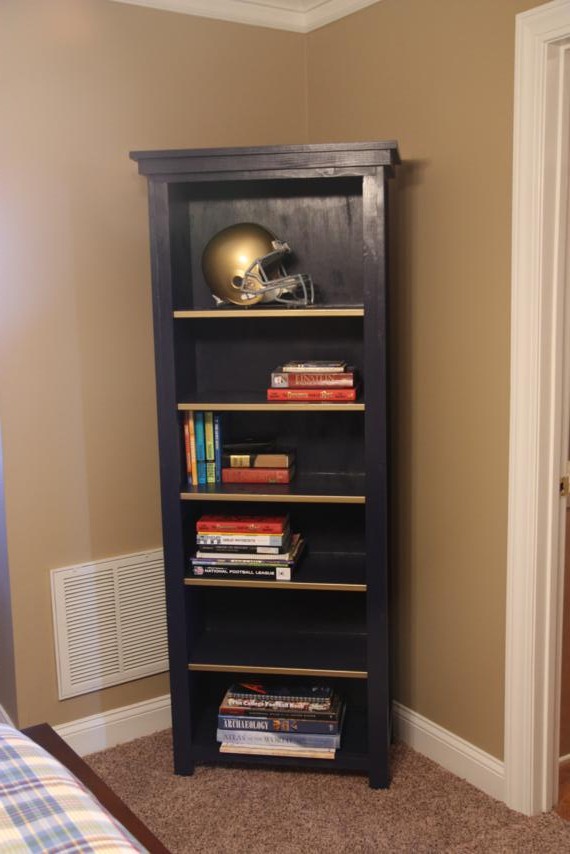
The biggest project for his room was a new bookshelf.  We used the same Anna White plan that we used for the bookshelves in Katie Wynn's room, but made his a little wider than hers.  It got two coats of Notre Dame Navy too.  (Did you know Home Depot has all the official "team colors?"  This is legit Notre Dame Navy here, people.)

The bookshelf looked good navy but I think we really took it up a notch - made it a little more "Notre Dame," if you will - when we added some Notre Dame Gold trim to each of the shelves.  (Sorry for the cut off photos.)

I think that's all the big projects for his room.  Now let's move on to Anna's.

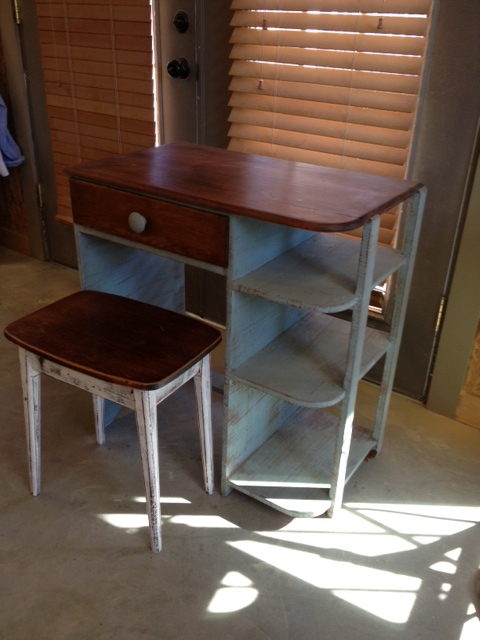
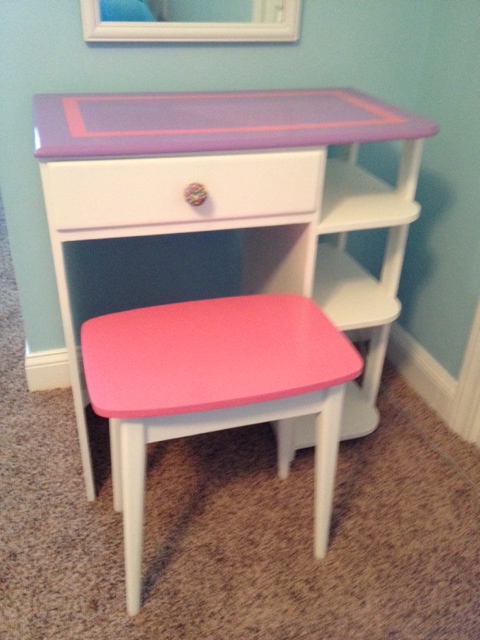
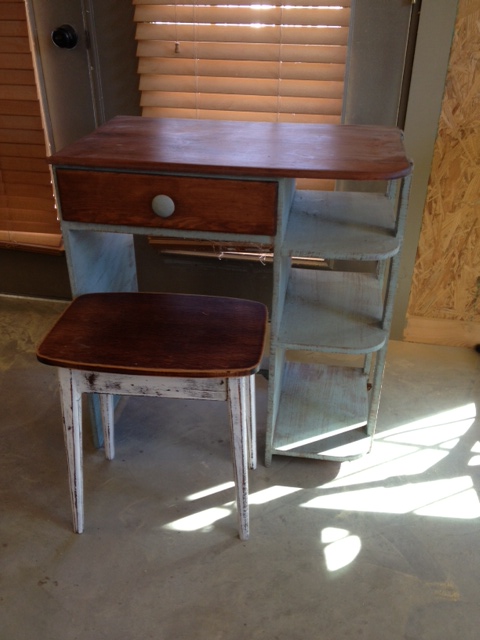
All the existing furniture - their bedside table and dresser from their old shared room - went to Wyatt's room, so she got more new pieces of furniture.  We had purchased this little desk and stool for the beach house last year, but never ended up using it.


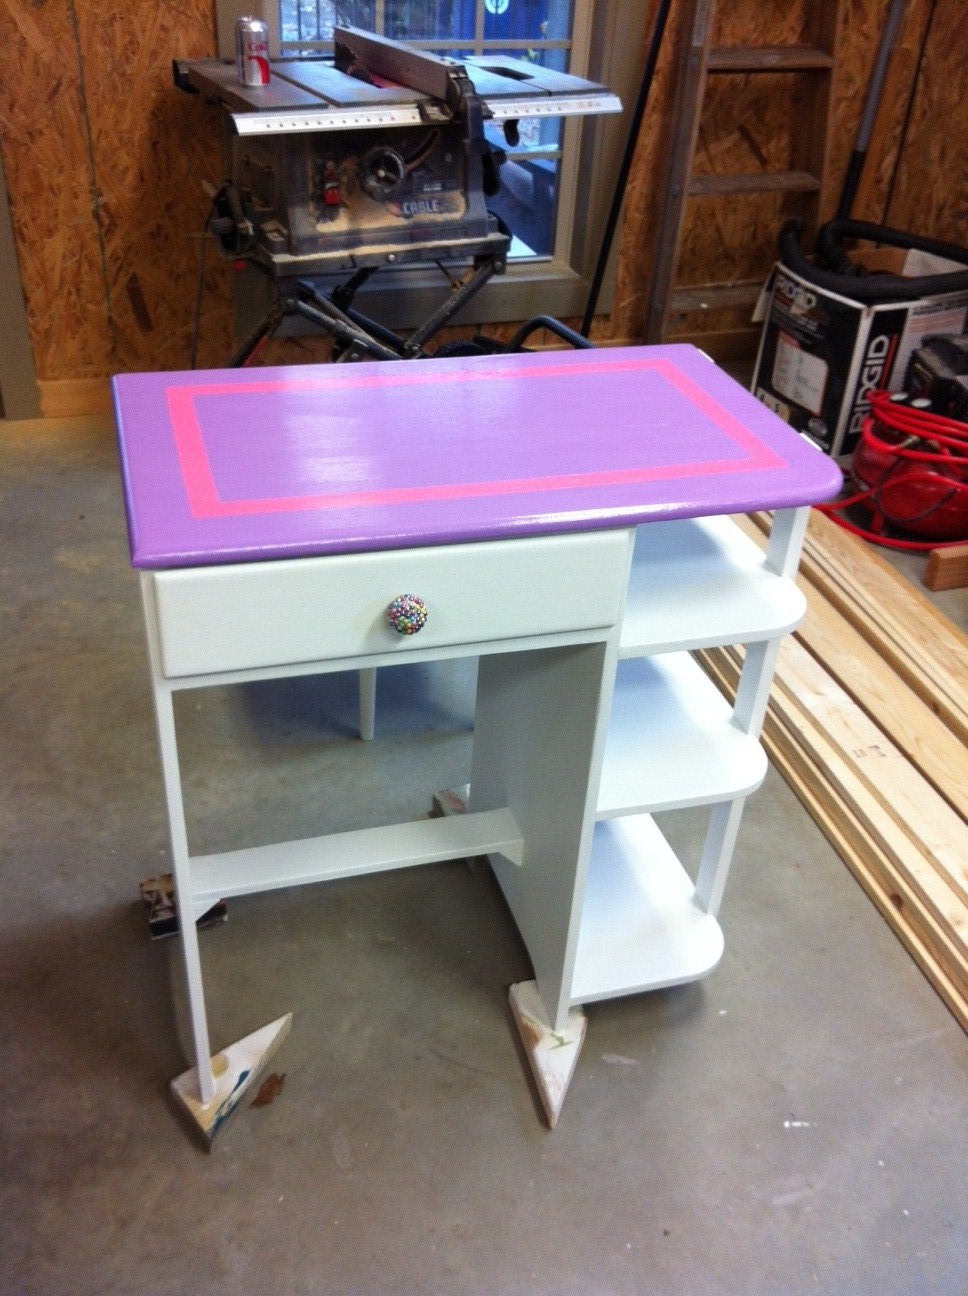
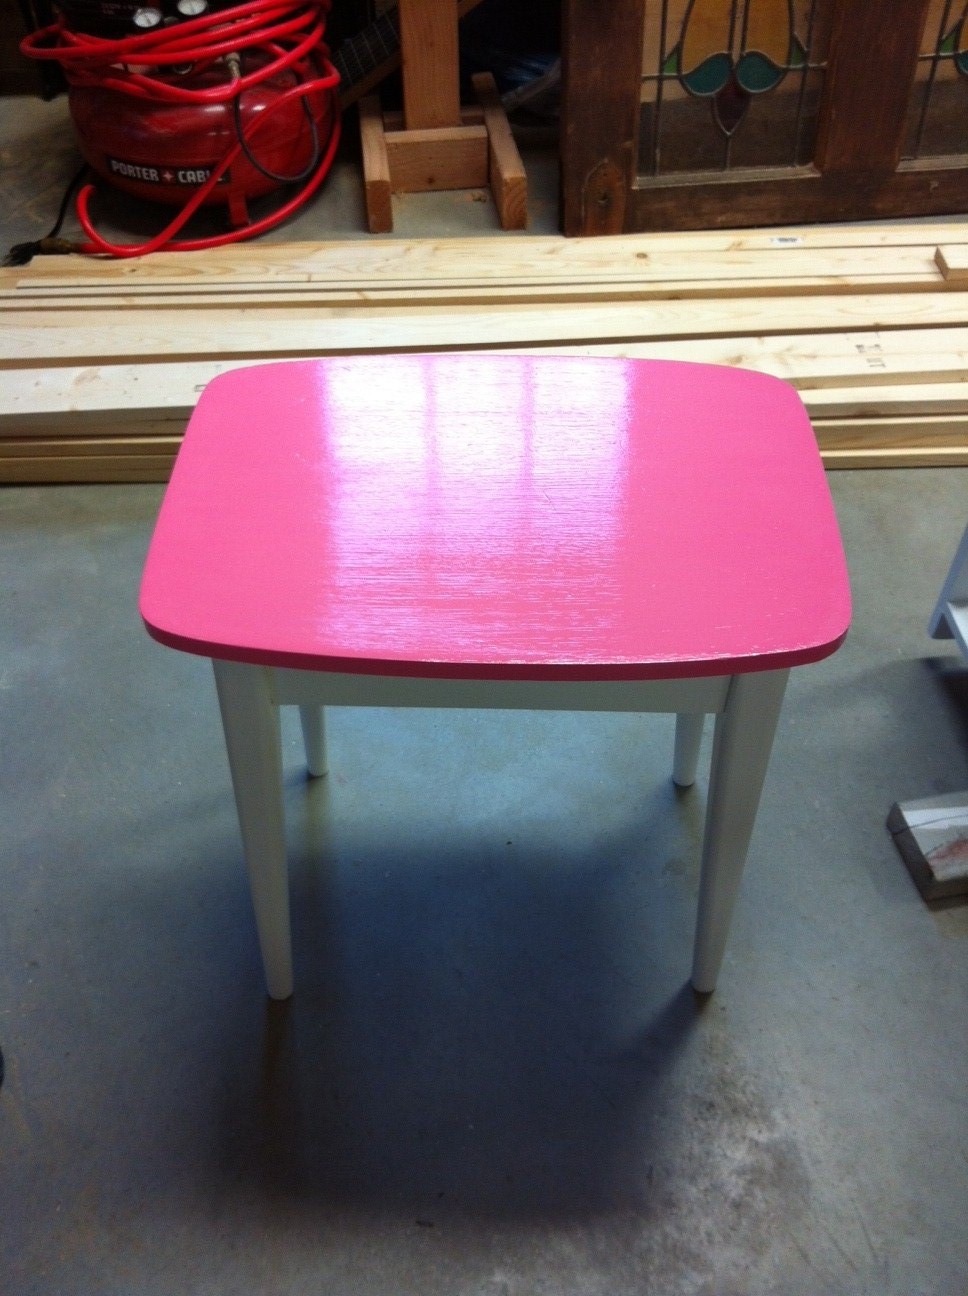
I thought it would make a cute little vanity in her room so I went to town girly-ing it up.  Again, there was no real theme in her room, so going colorful was the name of the game.  I toyed with just doing it solid white, but thought as she gets older and uses it to put makeup on, a white top might get messy.  Final verdict was to paint the top purple and I added an inset square in pink.  The seat of the stool also got painted pink.


To give her a bedside table and some drawers for storage, we ordered yet another Ikea Rast dresser and added some trim to it just like this one from last year.  It got the same paint treatment as the vanity - white base with purple top and pink inset square.

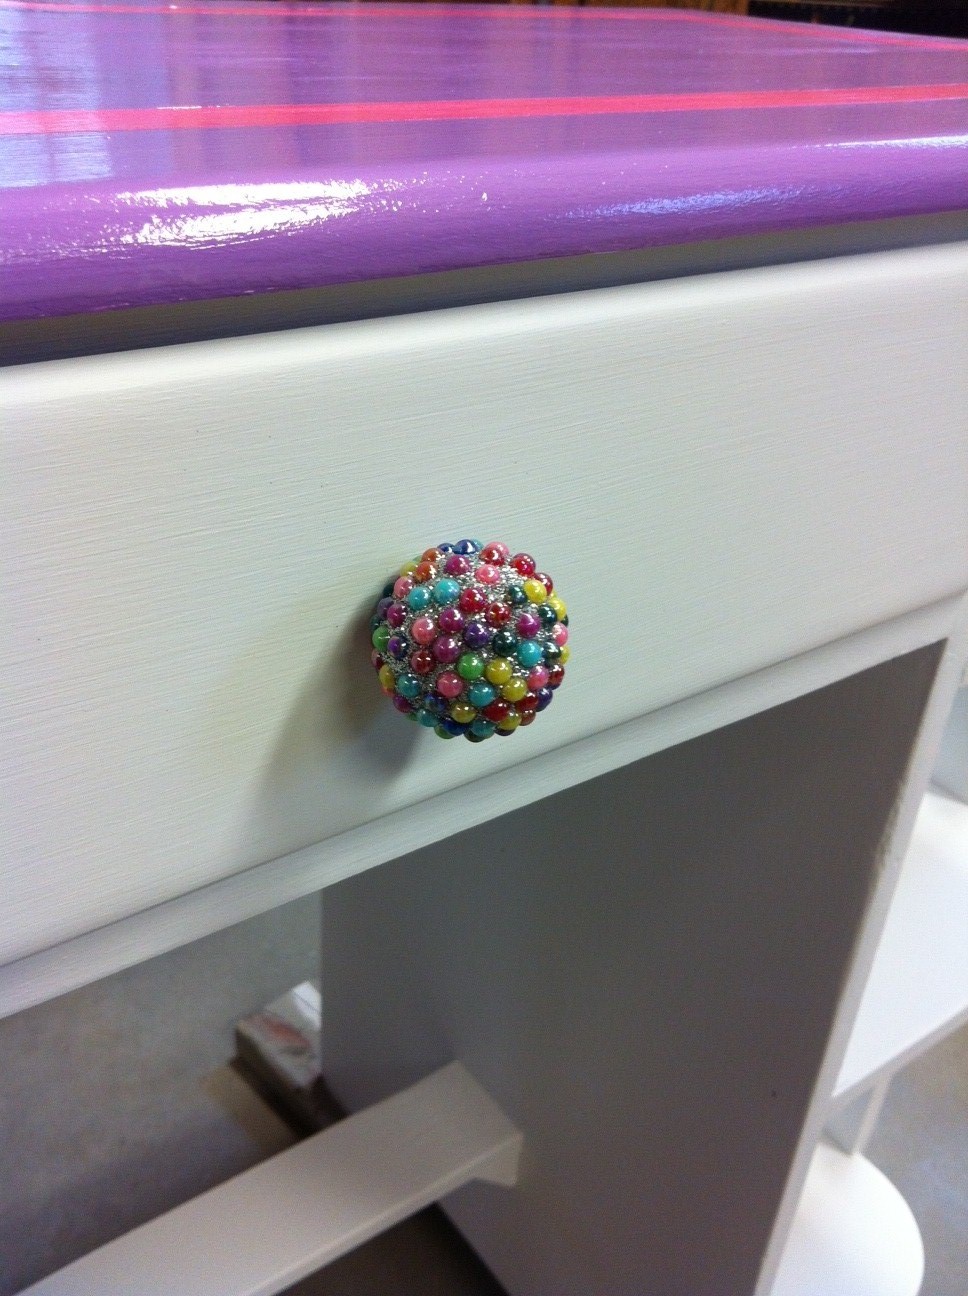
The Rast dresser and the vanity both got outfitted with these colorful and sparkly knobs from Hobby Lobby.

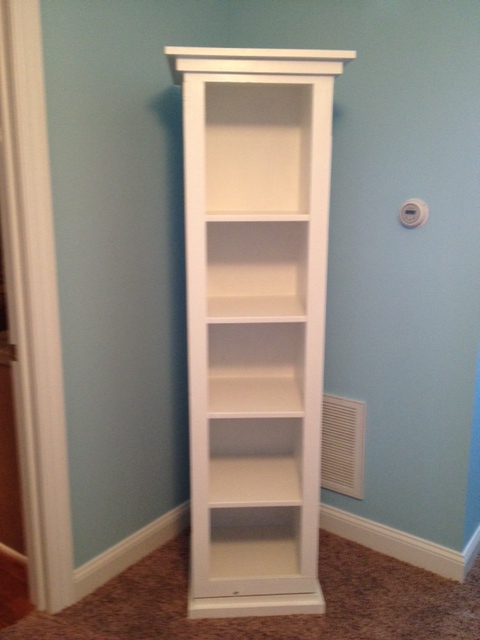
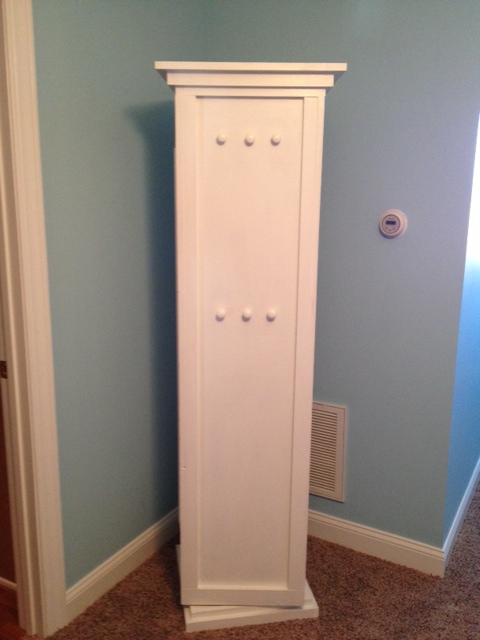
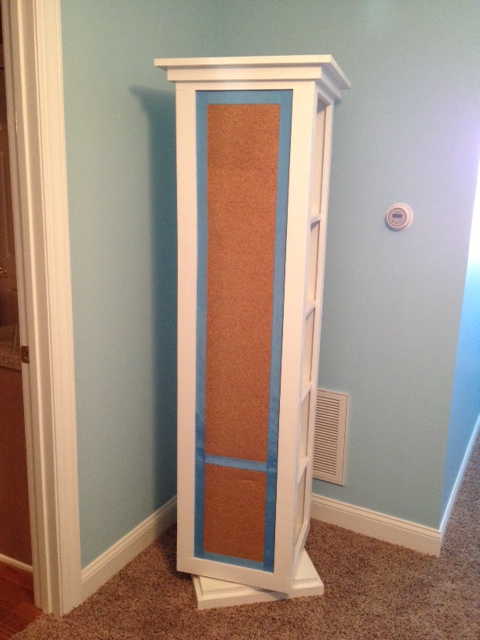
The biggest and coolest project - even though we half-assed (excuse my language) it because we were running out of time - was a rotating bookshelf.  It's a knock off of this one from PB Teen that retails for $599.  We didn't have a plan to go by so we made it up as we went along and, while it turned out fine for Anna's room, it's one project that I would love to have another stab at because I know we could do it SO much better!  Maybe when we have more time and energy...

From the front it looks like a regular bookshelf, but the whole bookshelf is sitting on a base with turntable bearings so that it rotates.  One side has a full-length mirror on it, one side is a corkboard, and the back has six pegs for Anna to hang things on.


The corkboard side is the side I'm most disappointed in.  I was trying to finish that side the morning of the room reveals, and I still had to get it from the shop and to her room and then style it.  I was majorly rushed for time!  My cork edges looked horrible thanks to some warped wood not lining up with my straight edges.  It would've been fine if I could've trimmed it out with a small piece of wood trim, but I didn't have time to cut and paint anything else, so I glued blue ribbon around the edges.  Yea.  Also across the part where I pieced the cork together.  Less than ideal.  And I didn't think about it when I chose the blue ribbon (I was thinking it would match her room) but it kinda just looks like it has painter's tape on it.  Womp, womp.  I finished it up thinking I could redo it later when I had more time...part of me just wants to rip it down and paint that section with chalkboard paint and call it a day, but Anna has already seen it now and says the bulletin board is one of her favorite things.  So guess it stays.

Now you should be caught up on what's been keeping us so busy!  I can't wait for you to see how all these things came together in their new rooms.  They look so good!

Beaded Board Letters

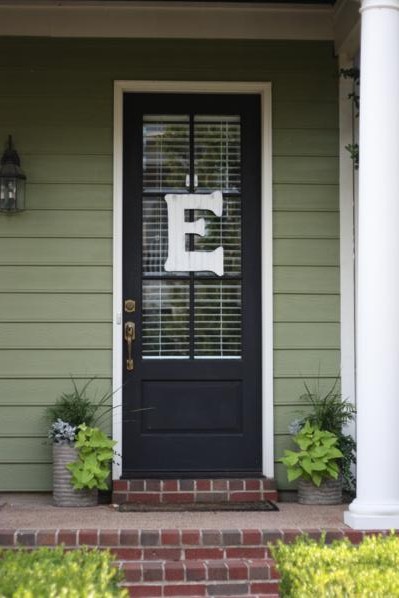
For my last baby shower, I had a really hard time coming up with a good idea for a hostess gift.  Obviously I wanted to give something that my lovely hostesses would like, and hopefully it'd be something they didn't already have.  I figured the easiest way to guarantee that I was giving them something they didn't already have was to give them something I made myself. With about a week to go before the shower, Operation: Homemade Hostess Gifts was launched.  The craft project I decided on was to make personalized door hangers, just like the one I made a while ago for my own door.

The first step of this process was by far the hardest: draw the templates for the letters.  I drew them out on newspaper and had a pretty hard time getting them to look right.  For some reason, the larger a drawing is, the harder it is for me to get it all proportionate and to scale.  Anyone else have that problem?

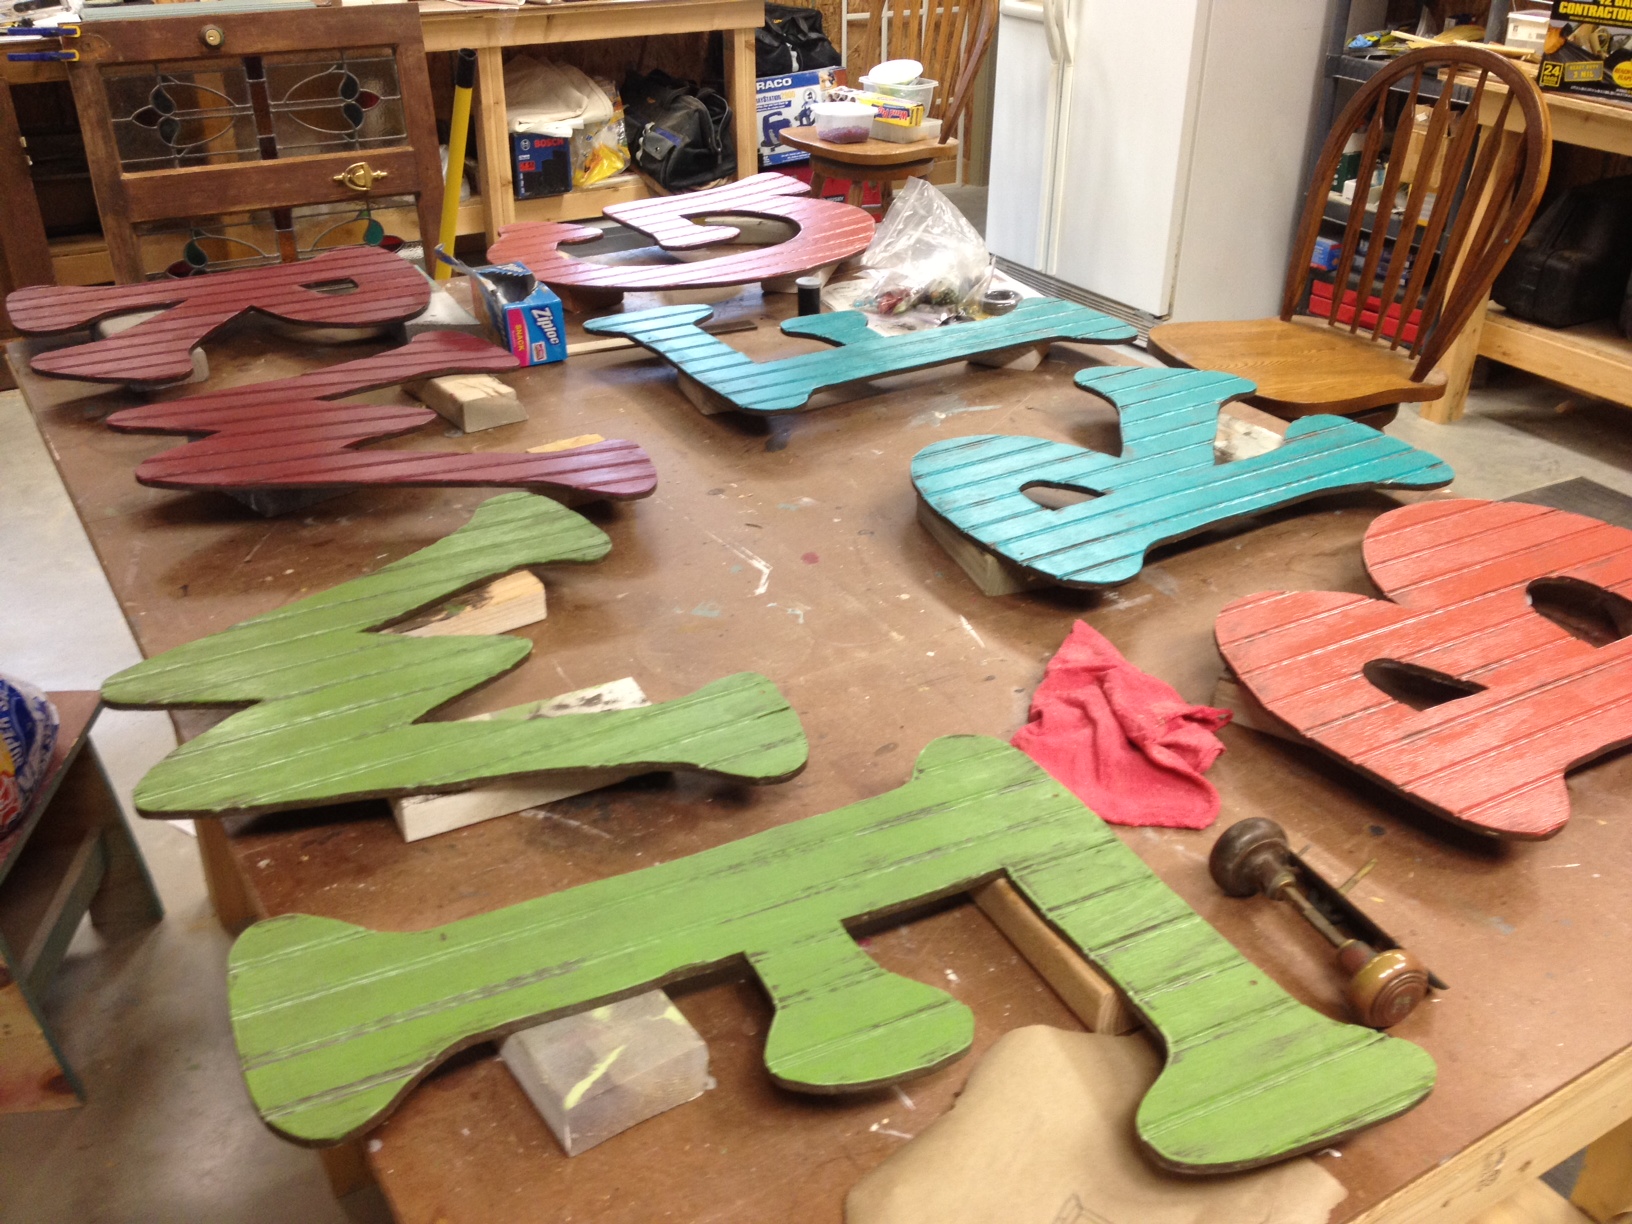
I finally got them all drawn and cut out of newspaper and was able to trace them on scrap pieces of beaded board we already had in the shop.   We used our scroll saw to cut them out, but you could also use a jigsaw if that's all you had.  Here's the G about halfway through getting cut out.

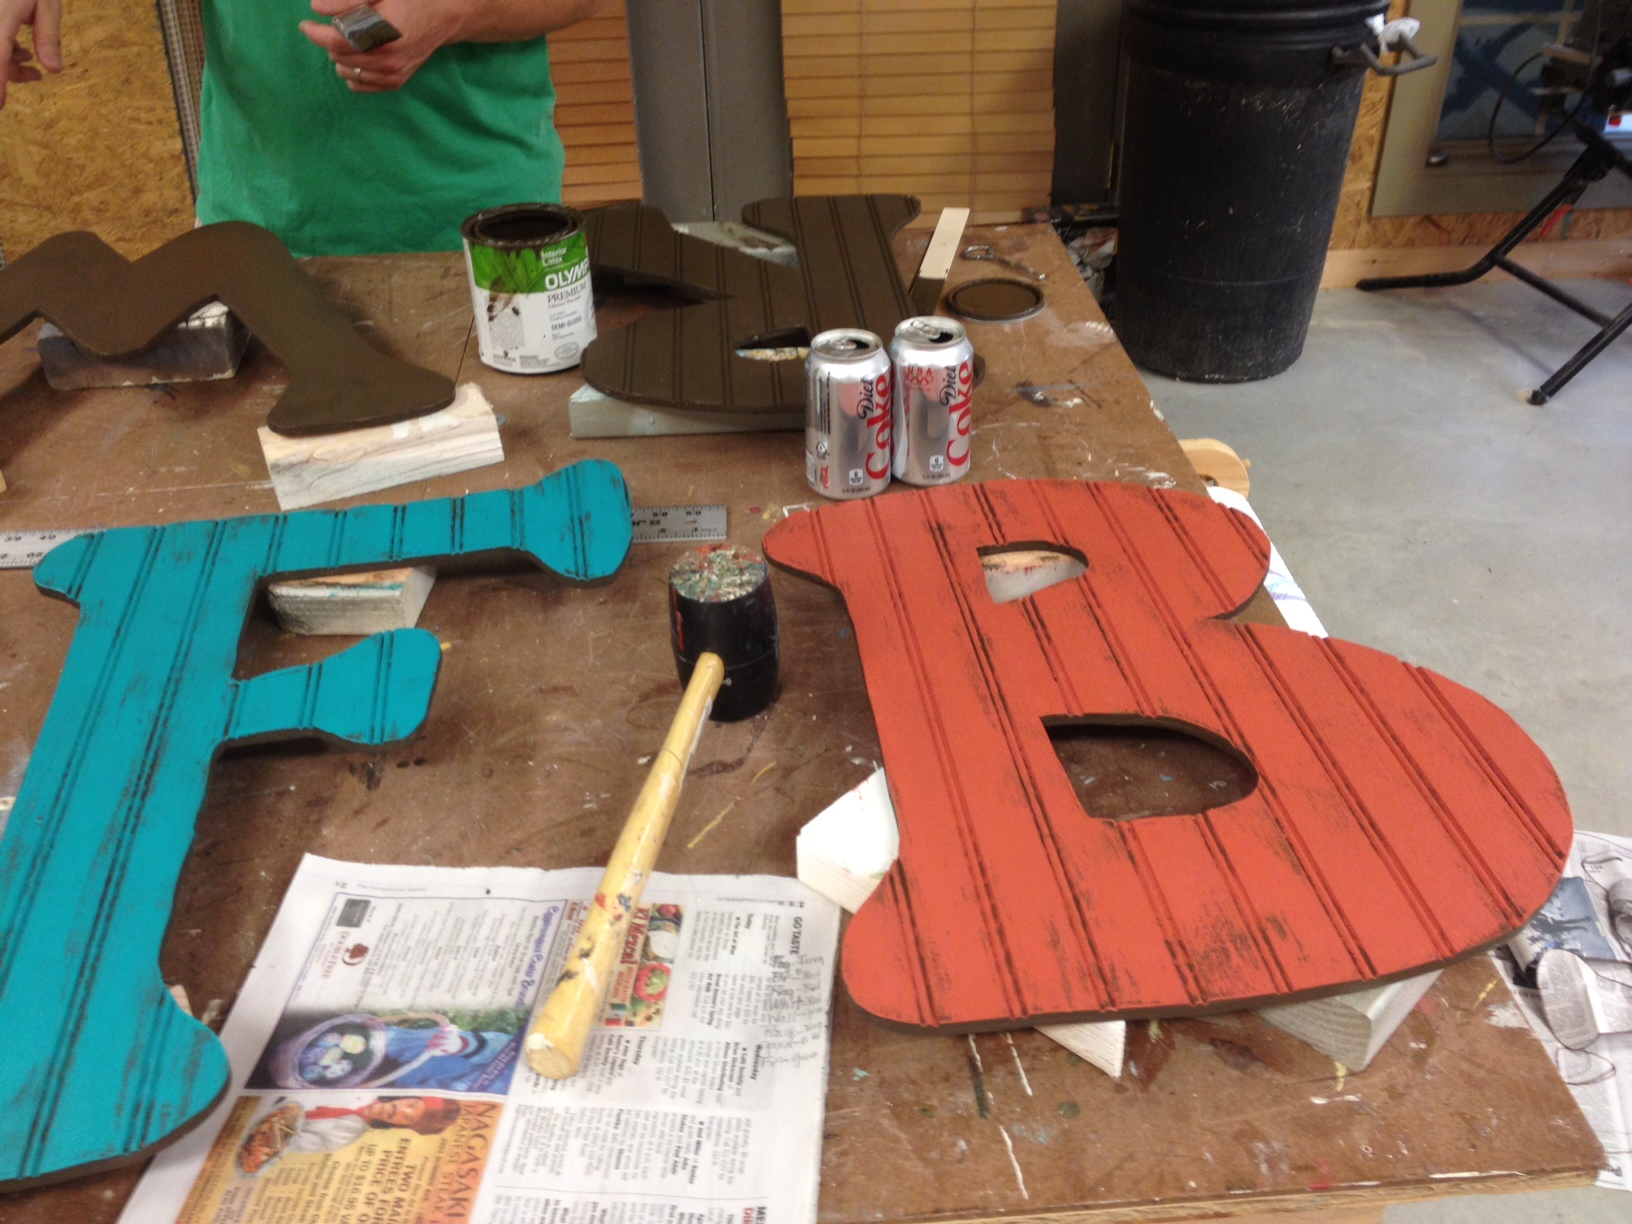
After cutting out all eight letters and sanding the edges down smooth, the next step was to paint them.  I started with a coat of dark chocolate brown on both the fronts and backs of each one.  (I didn't take a picture of this step but you can see them in the background of the picture below.)

For the colors on the front, my mom and I tried to pick the best color for each hostess's house.  We ended up doing 2 each of four different colors.  I did the two turquoise ones first (the backs stayed plain brown).  I brushed the the front color on lightly, being careful not to paint in all the beaded grooves so that they'd still show up.

After the turquoise, I moved on to a fall-ish orange.

The last two colors I used were bright green and red.

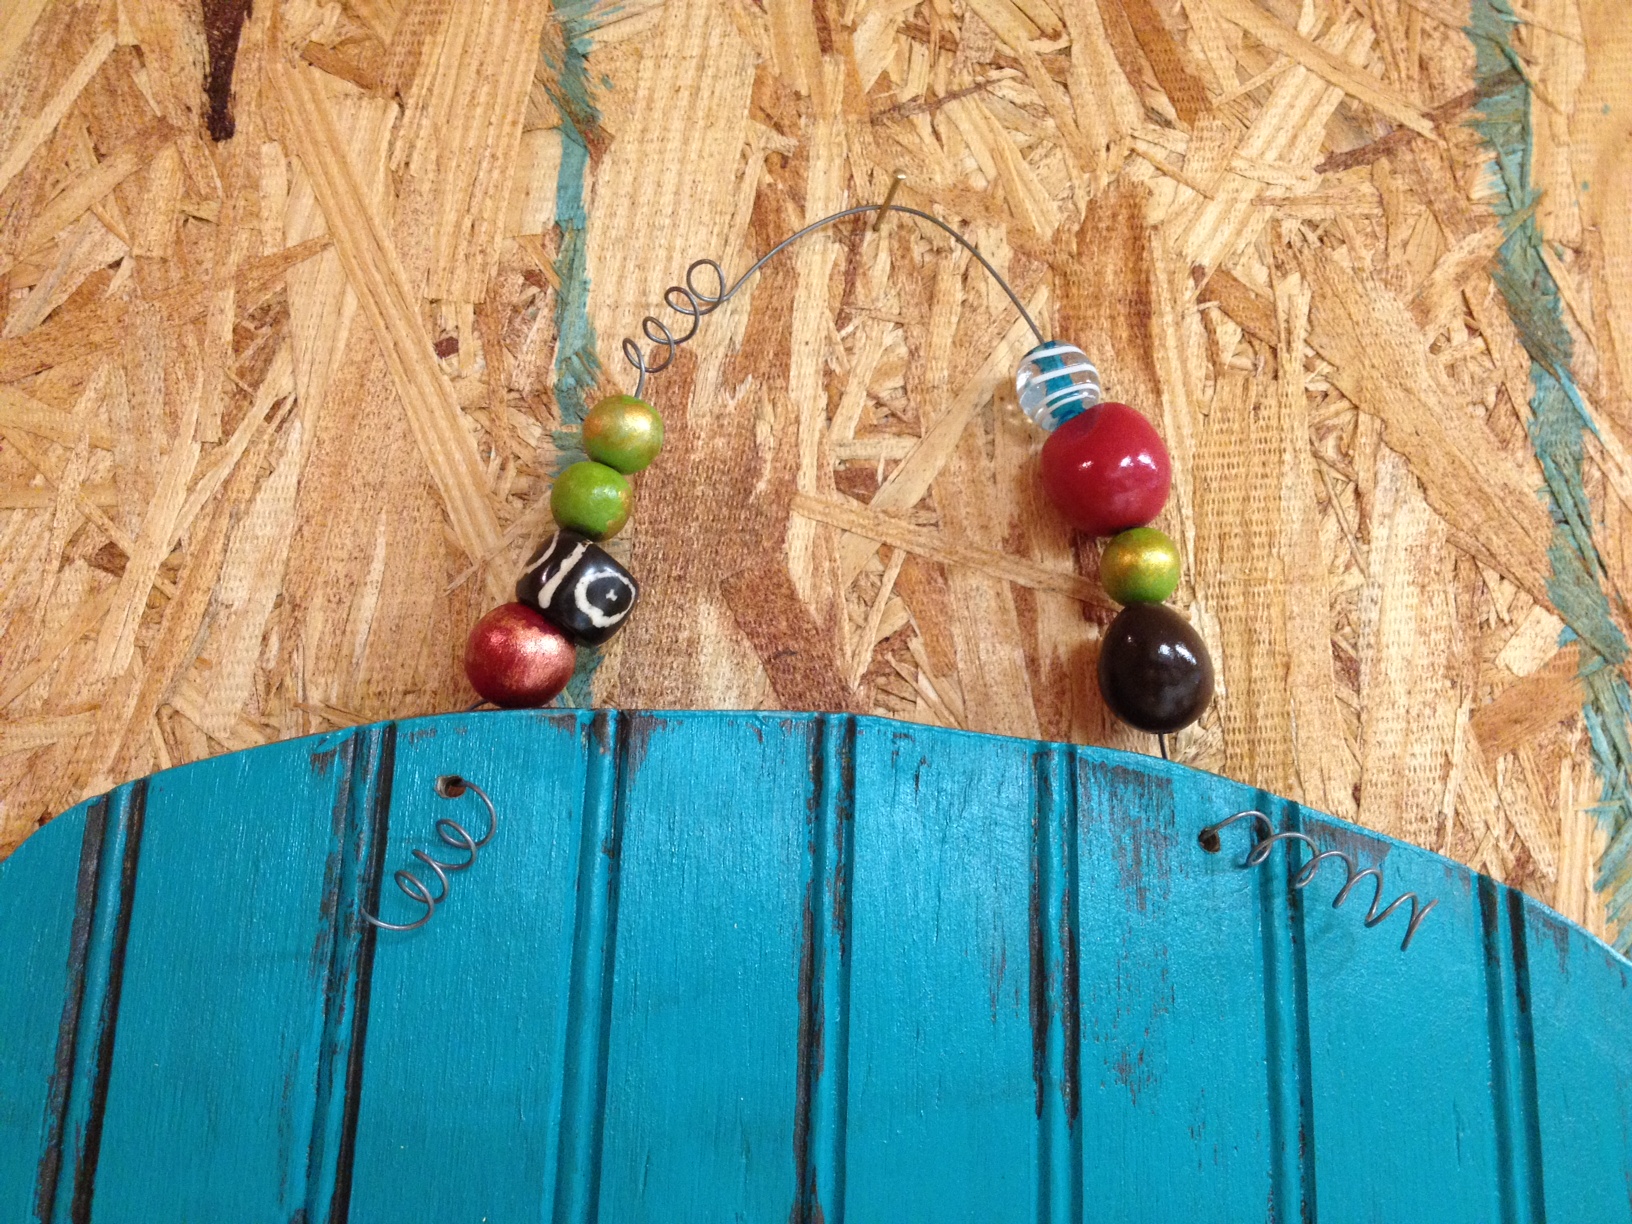
I applied a quick coat of polyurethane before the last step - adding a wire hanger.  The letter I made for my door just has a simple wire hanger, but for these I decided to dress it up a little with some colorful beads.  I also gave the wires a few twists and curly-ques.

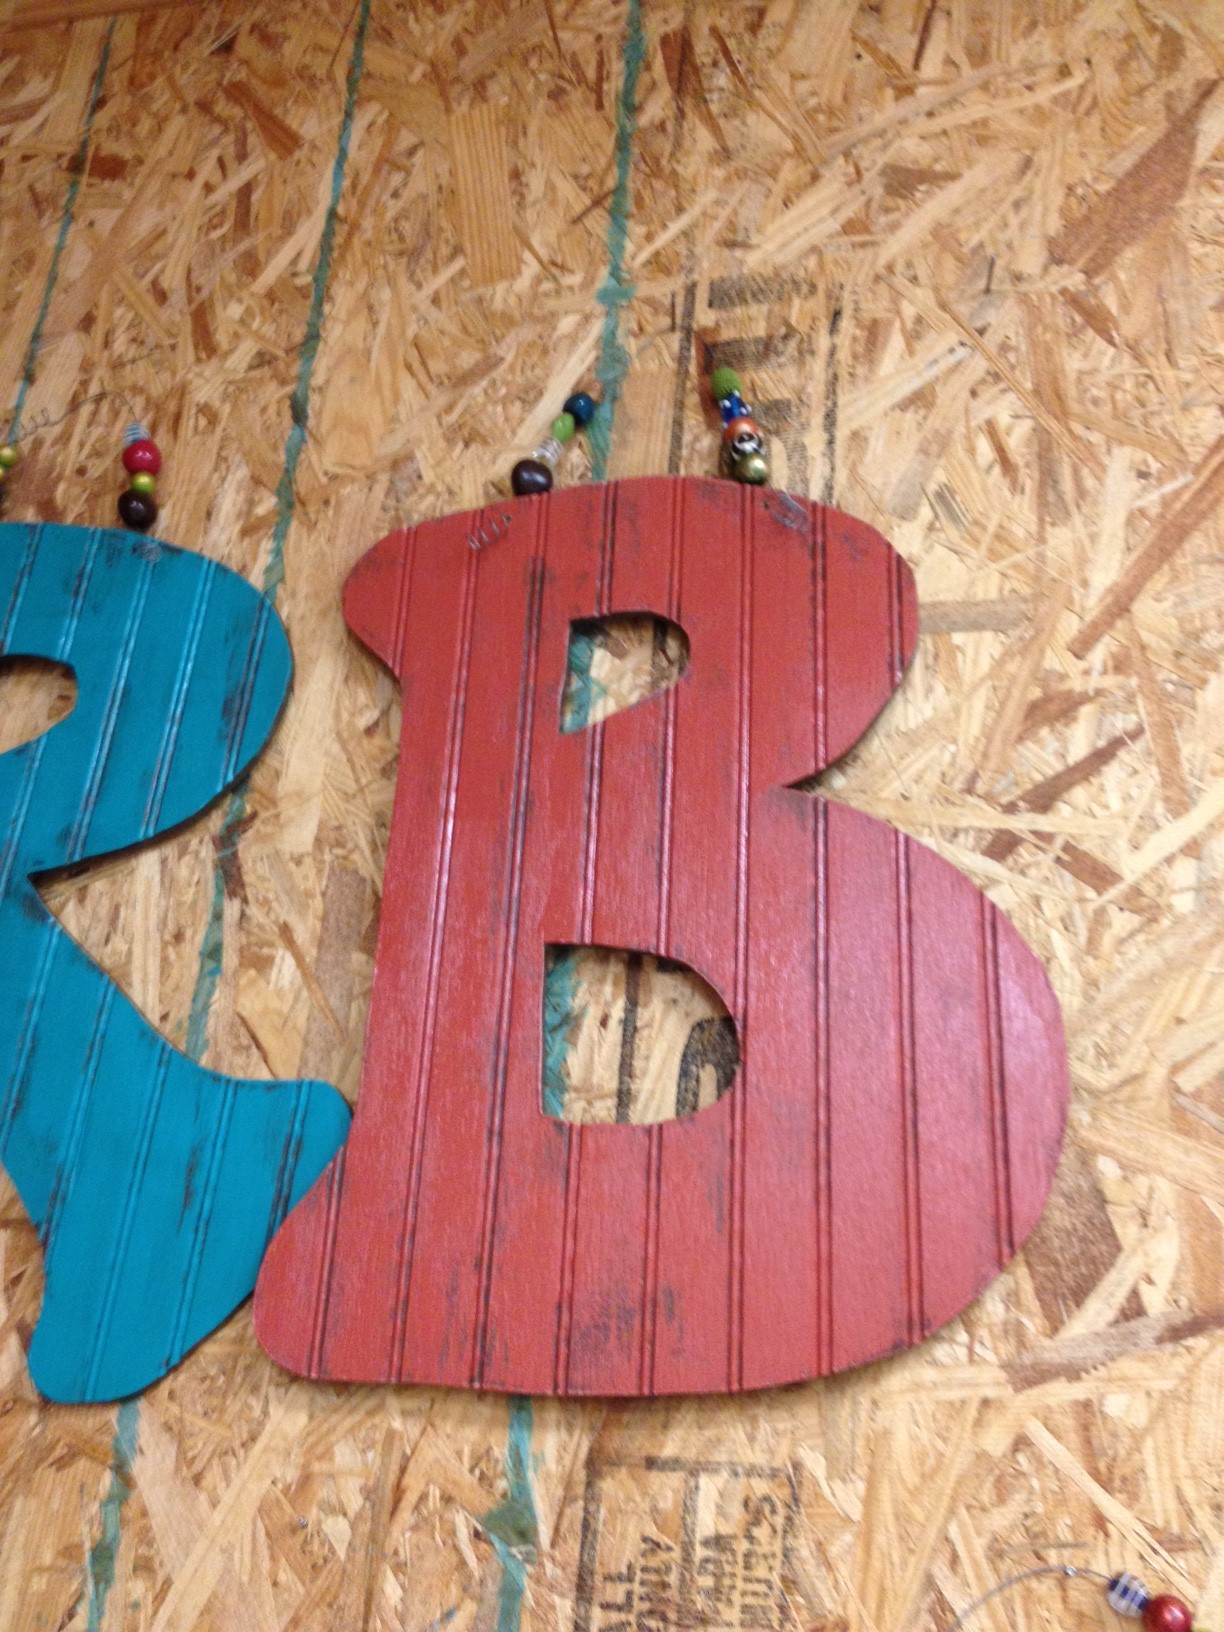
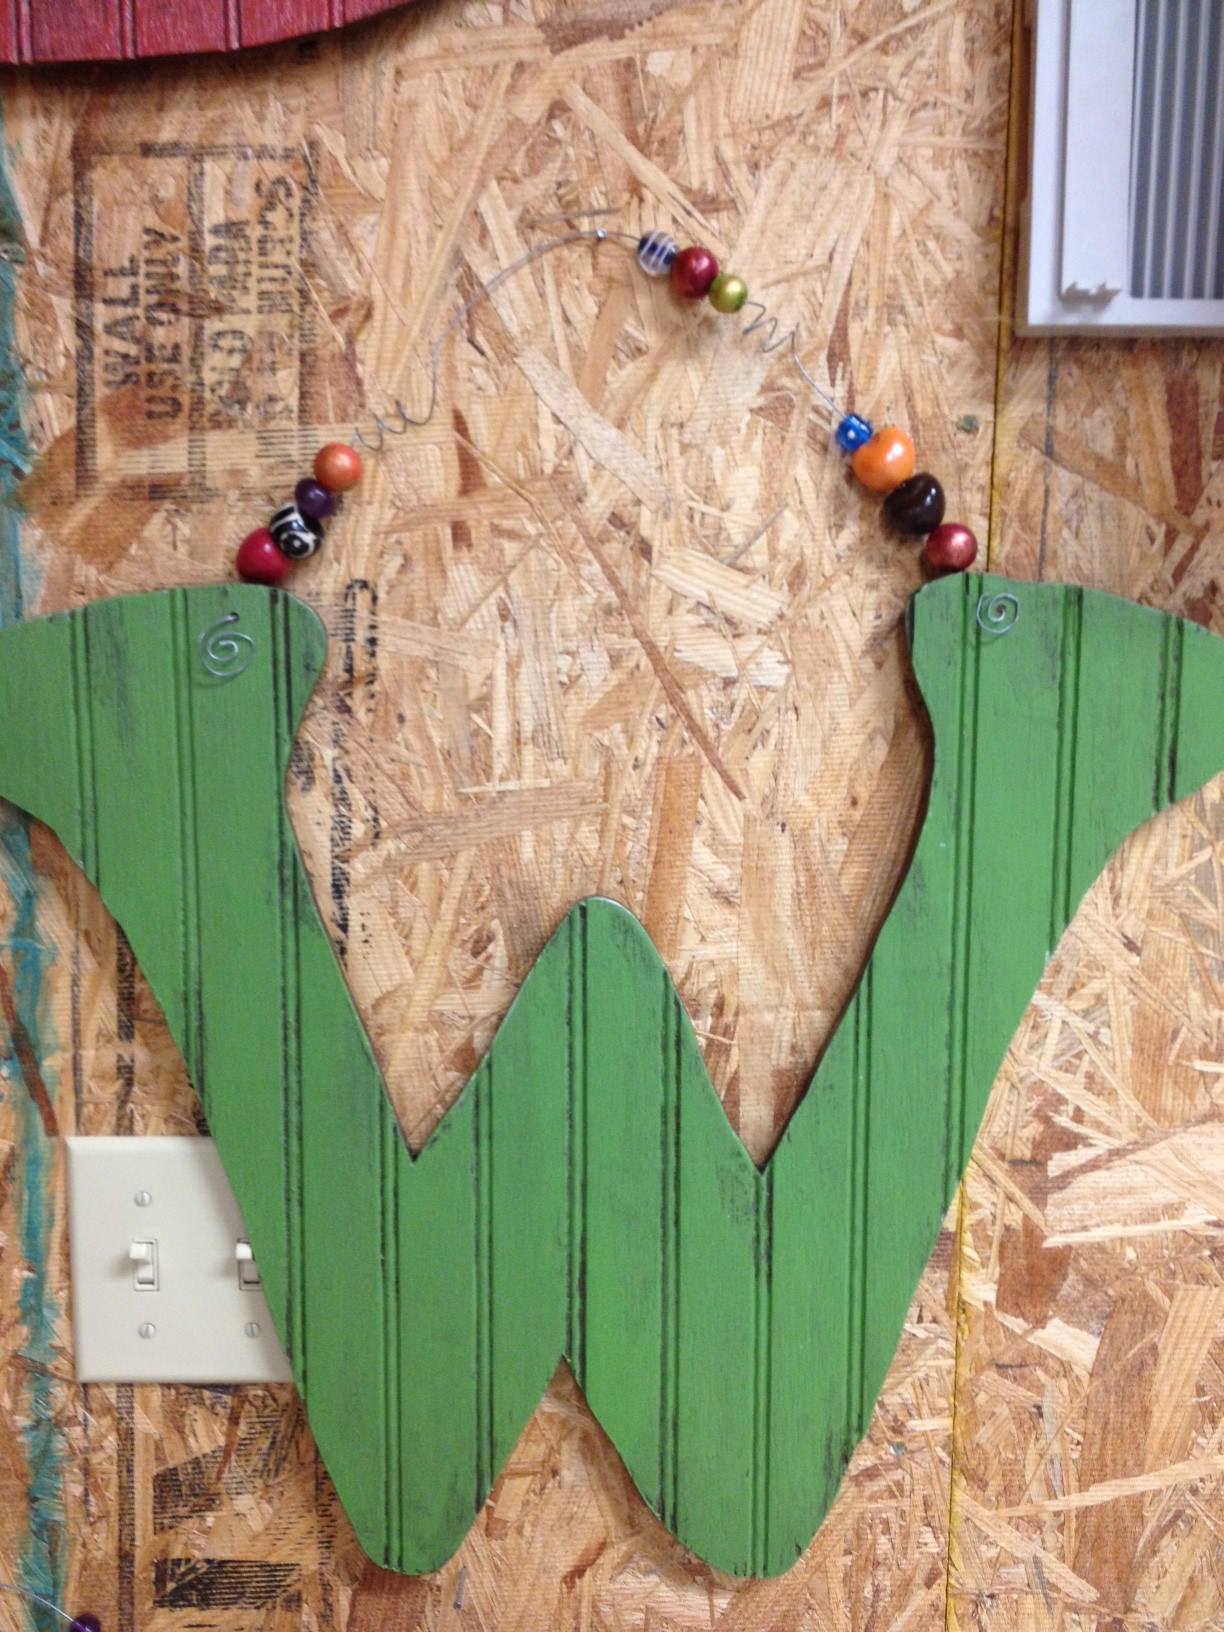
Here are some of the finished projects.  Super easy, but I think they turned out pretty cute!

Of course, I'm sure they'd look even cuter actually hanging on a front door (or a wall!) instead of a plywood wall in a woodshop, but I don't have those pictures.

So there ya go, an easy project that makes a good personalized gift.  Perfect for those friends that already have everything!

Farmhouse Bedside Table

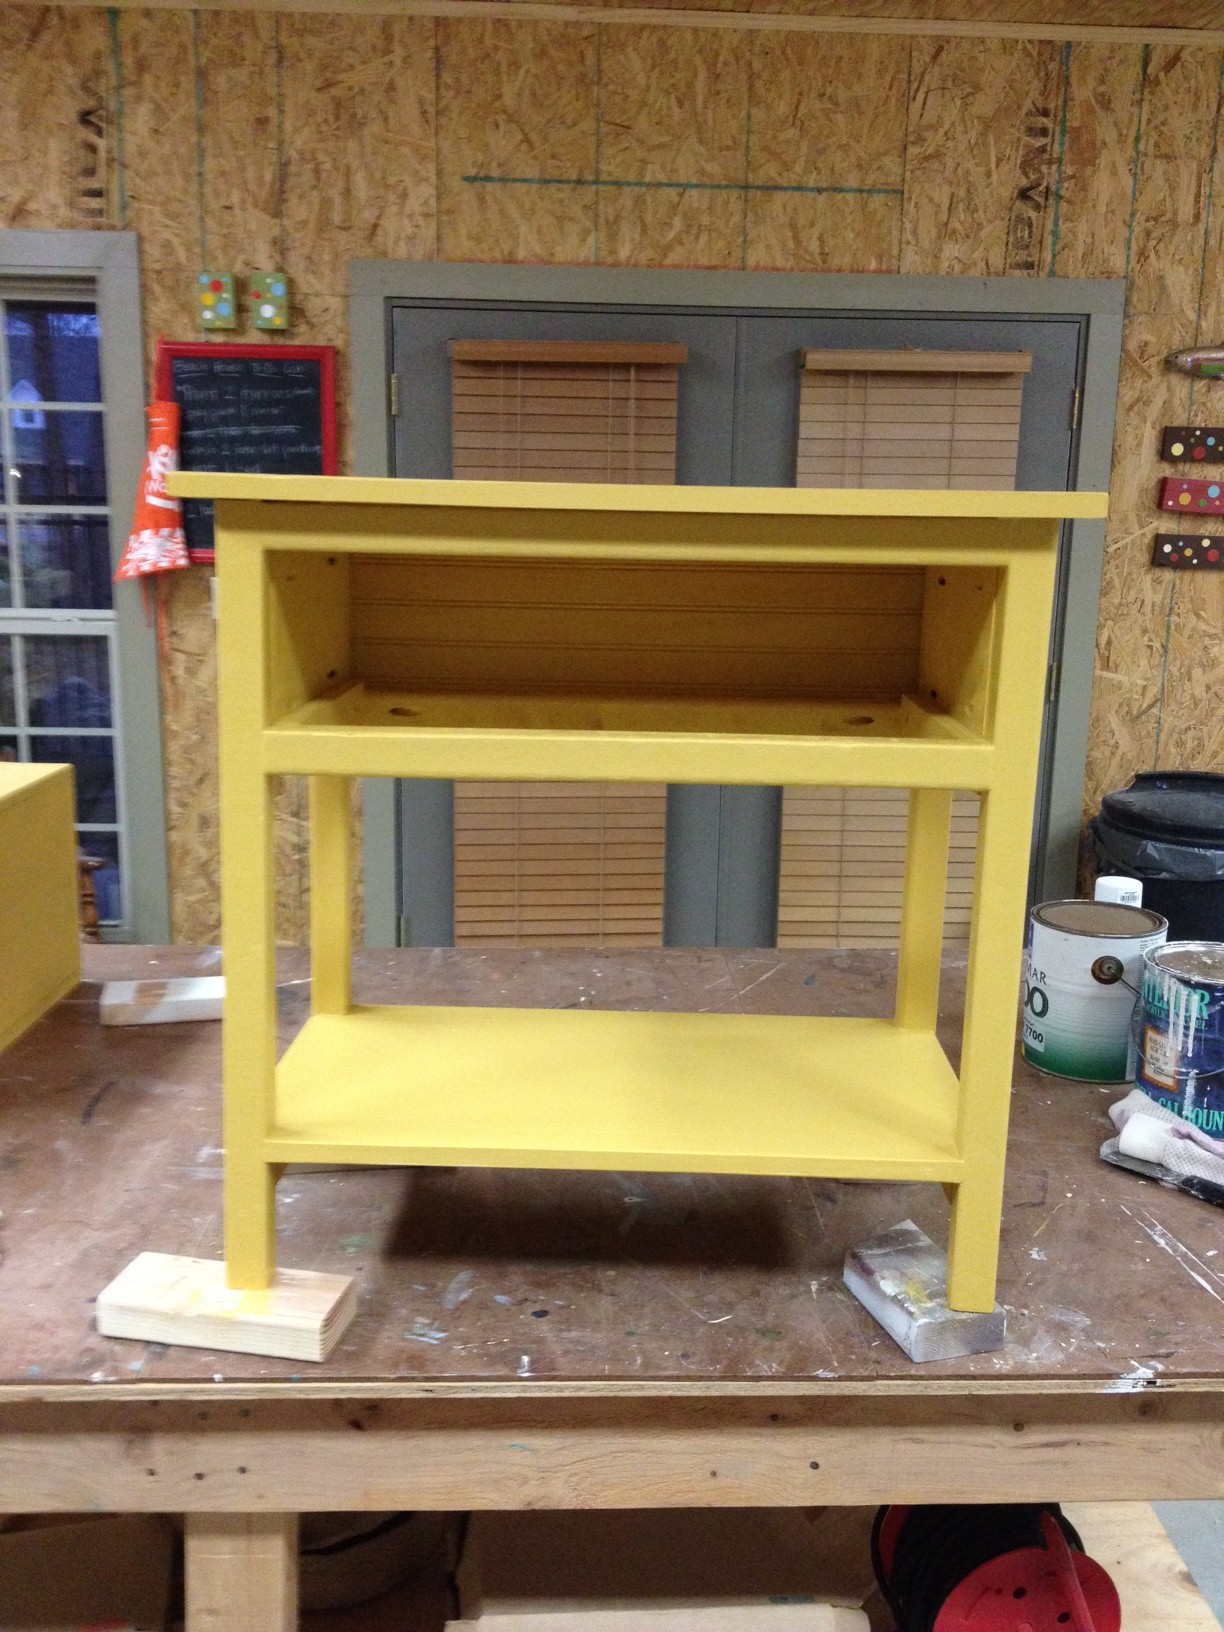
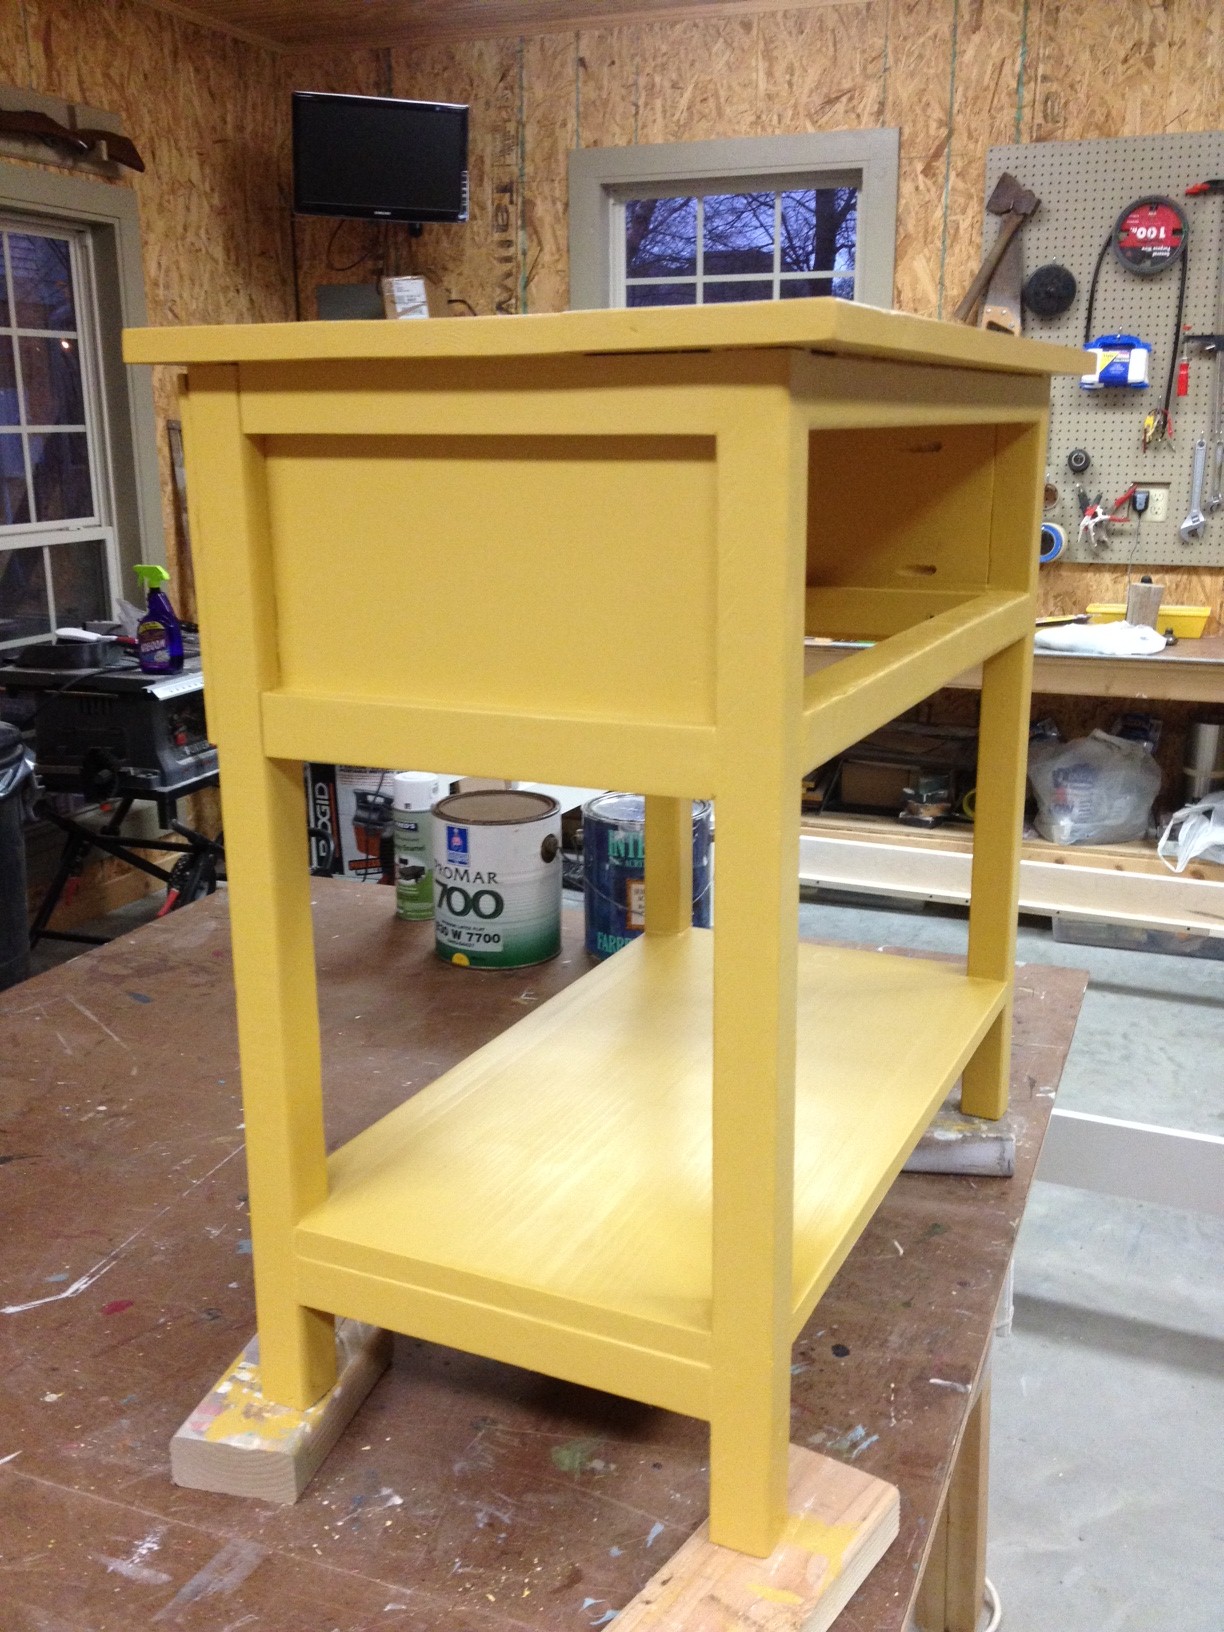
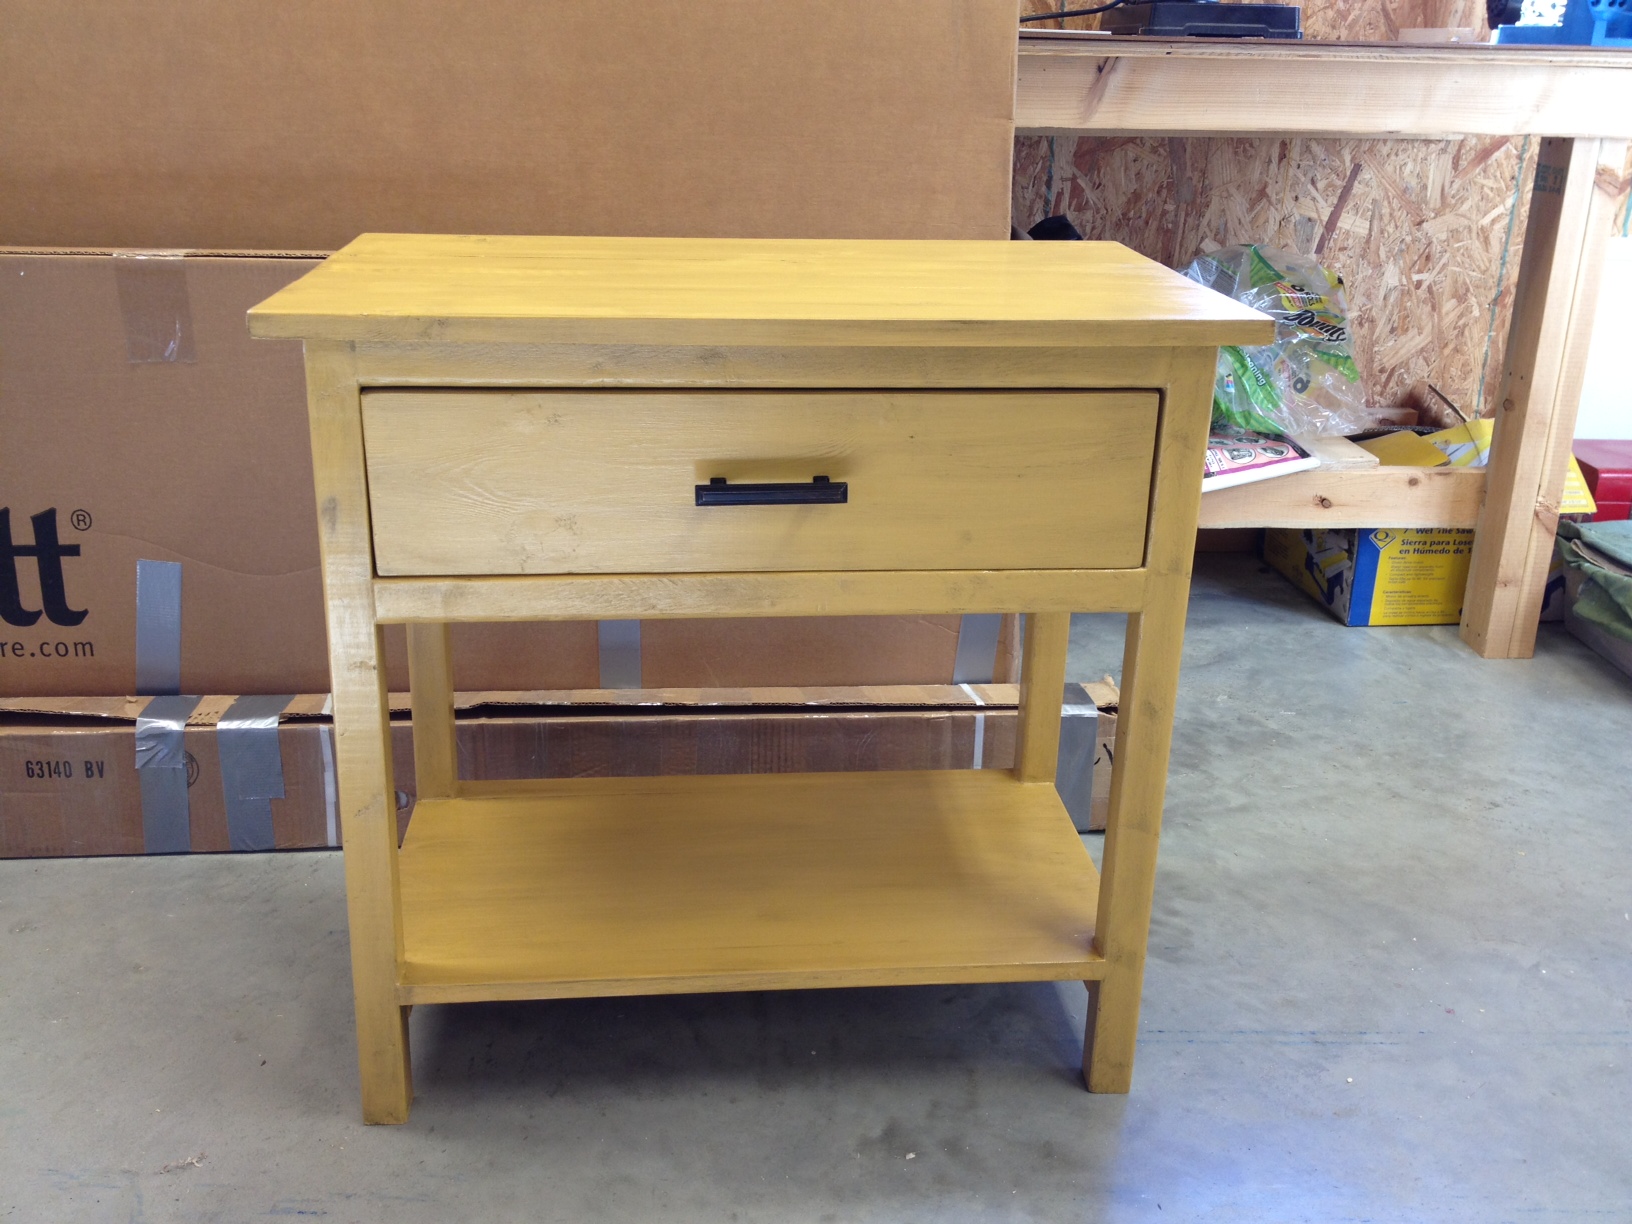
Even after revamping four Ikea Rast tables, we were still left one bedside table short.  Mom and I searched high and low for a yardsale or thrift store table that we could redo, but all to no avail.  And for some reason, this bedside table is just something we didn't want to shell out a lot more cash on.  So, we turned to Ana White and found her plans for a Farmhouse Bedside Table. I'm going to be honest here and tell you that this table is a joke.  Almost a hunk of junk.  Not because of the plans - those are great.  It's a joke because everything that could possibly go wrong while building did.  It was downright laughable by the time we finished.  We started with wood that was less than stellar; it was bowed and twisted and knotted and our 2x2s were more of furring strips than finishing pieces, but we used 'em anyway.  On top of that, it seems like every single scew we put in hit a knot and came out in the wrong spot.  It was a hot mess.  But at this point, we're all in the "oh well, it'll do" mindset so we painted it up just like it was our best piece ever.

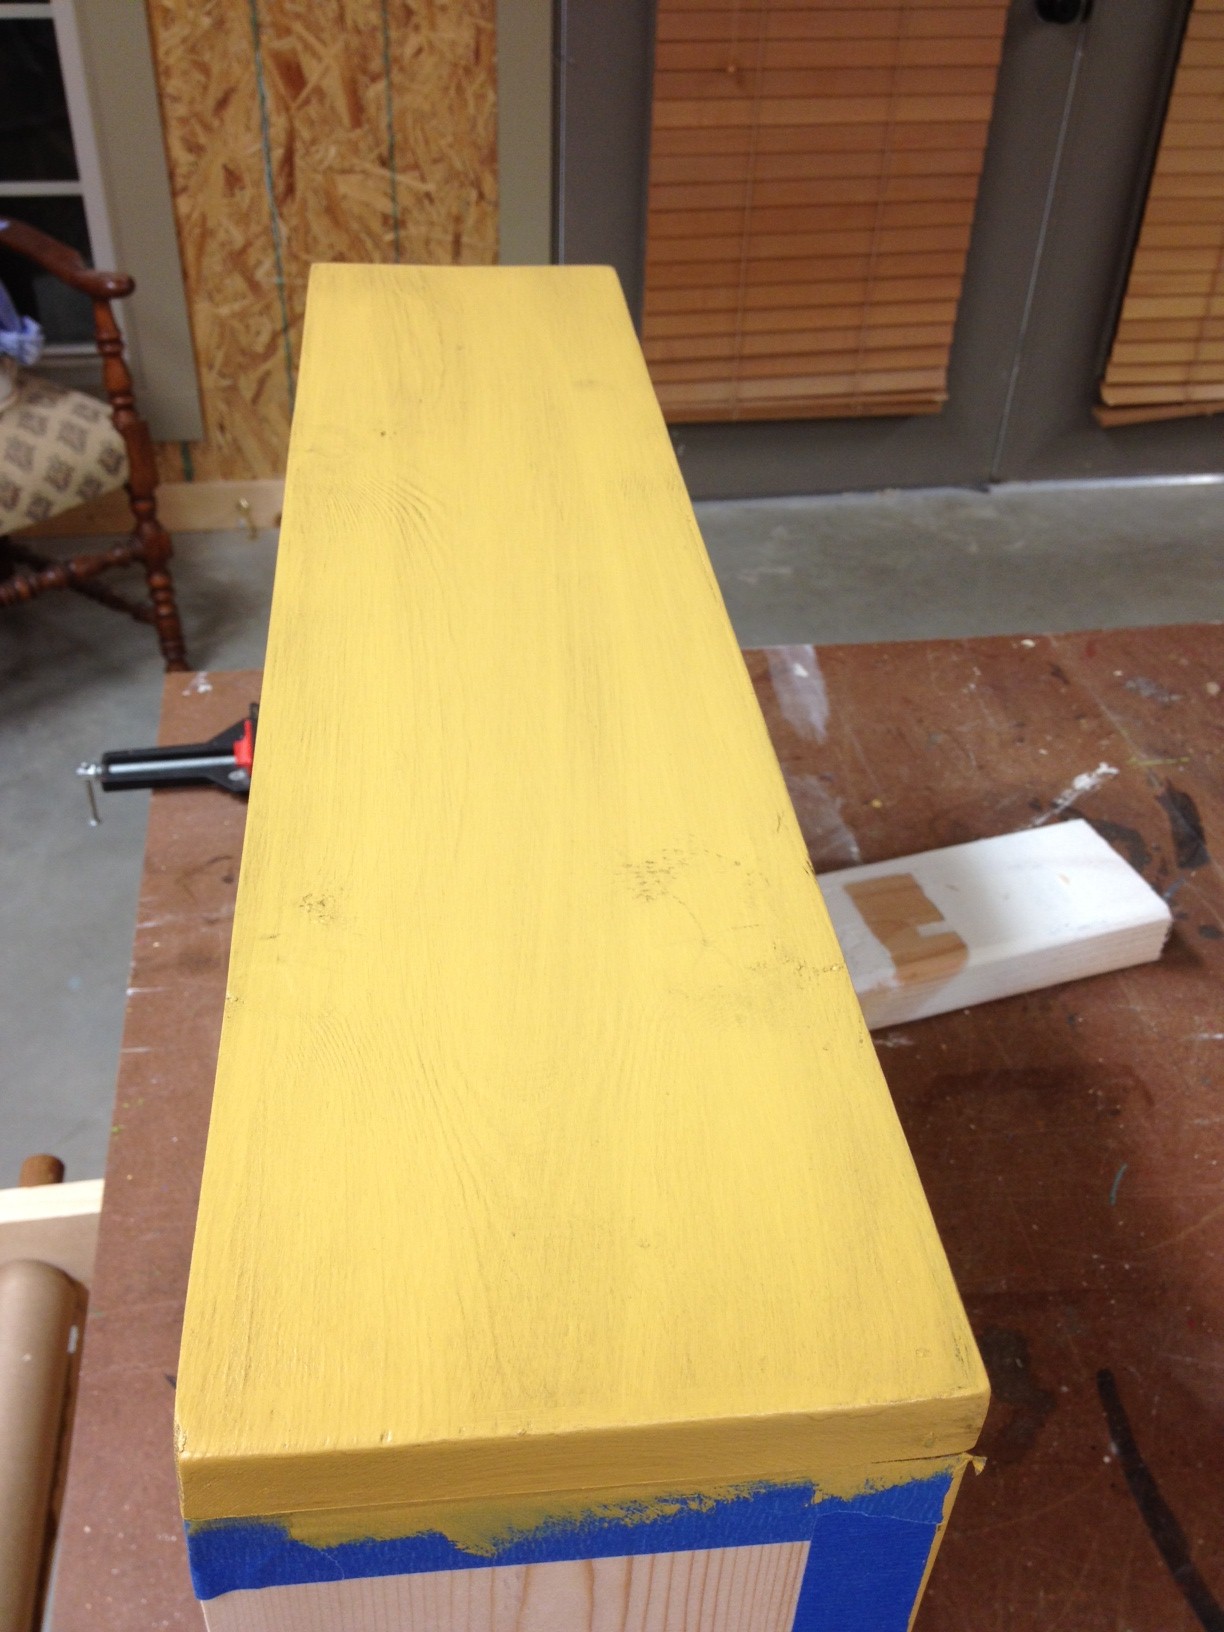
I didn't take in-progress pictures because I wasn't even sure we'd finish it.  I think at one point I told my dad to just tear it apart.  But we did complete it and we sanded and puttied and caulked and by the time it got a coat or two of paint on it, it looked okay.  Not great, just okay.

This piece will go in the same room as the yellow dresser, so we painted it the same shade.

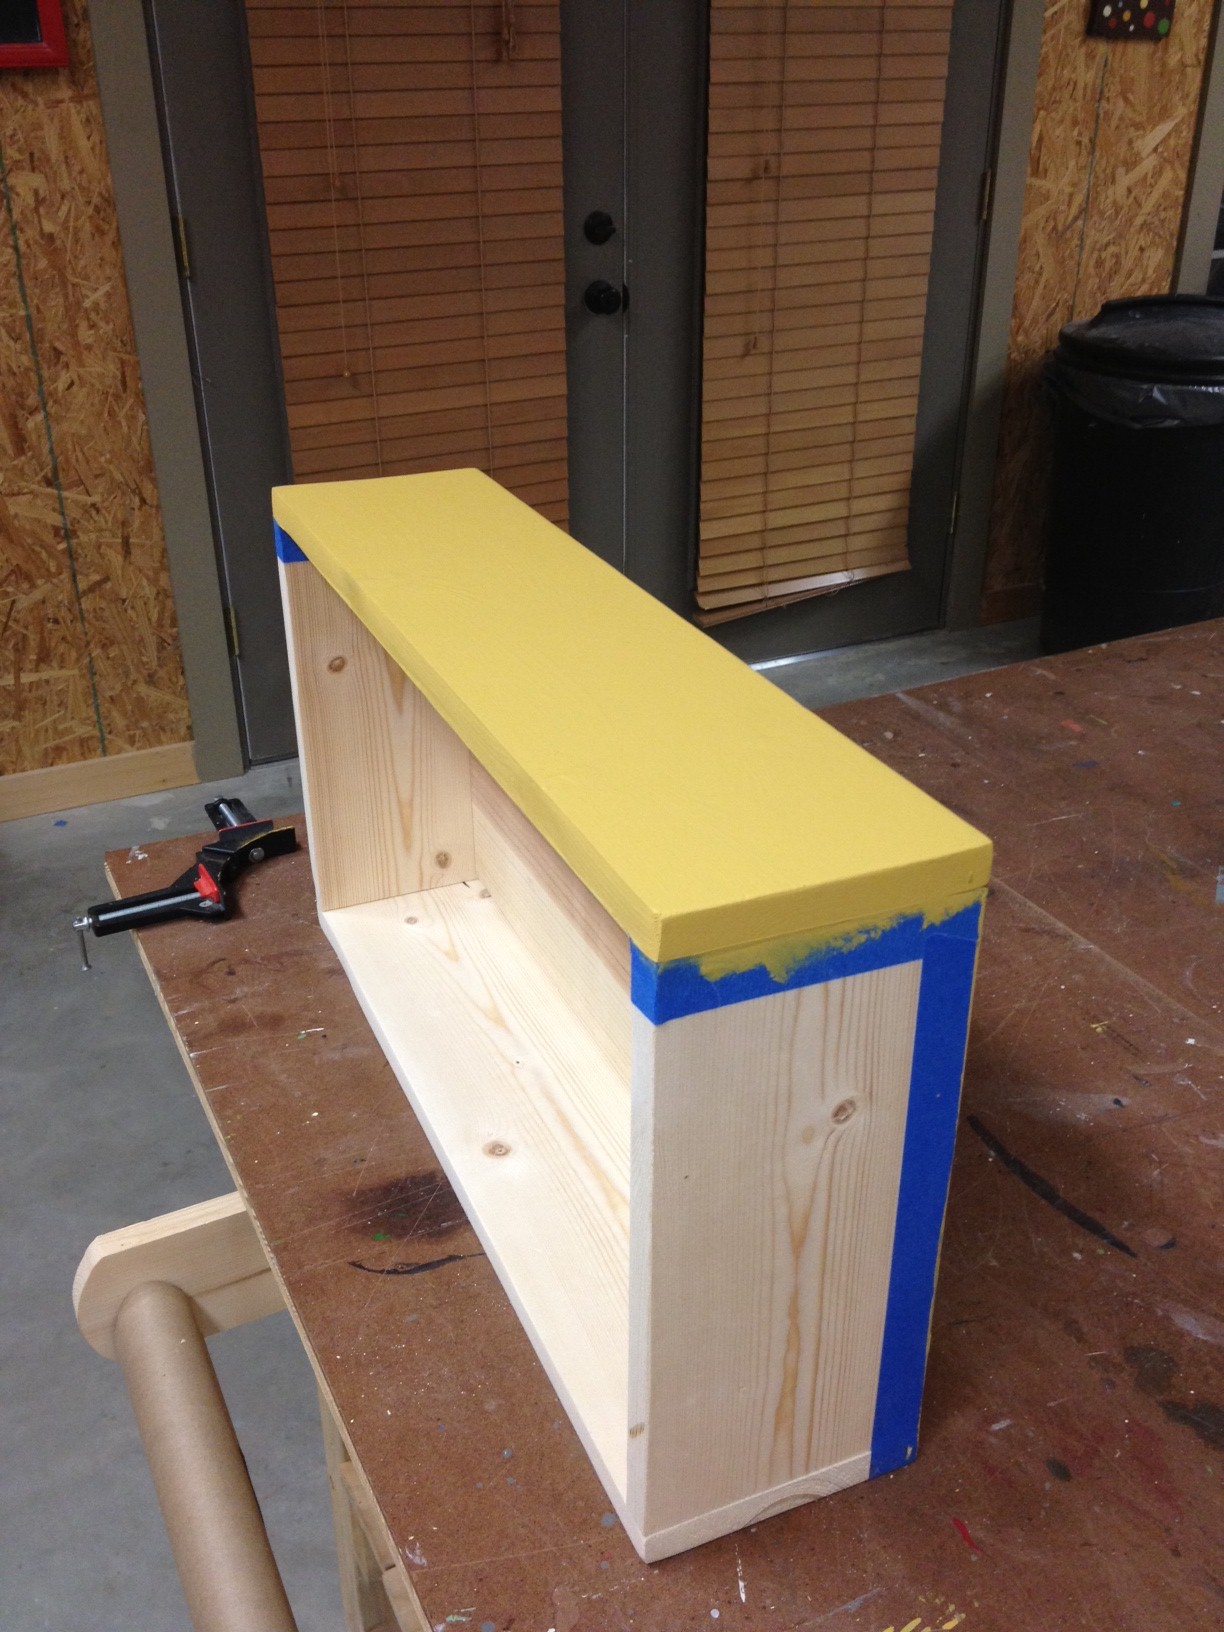
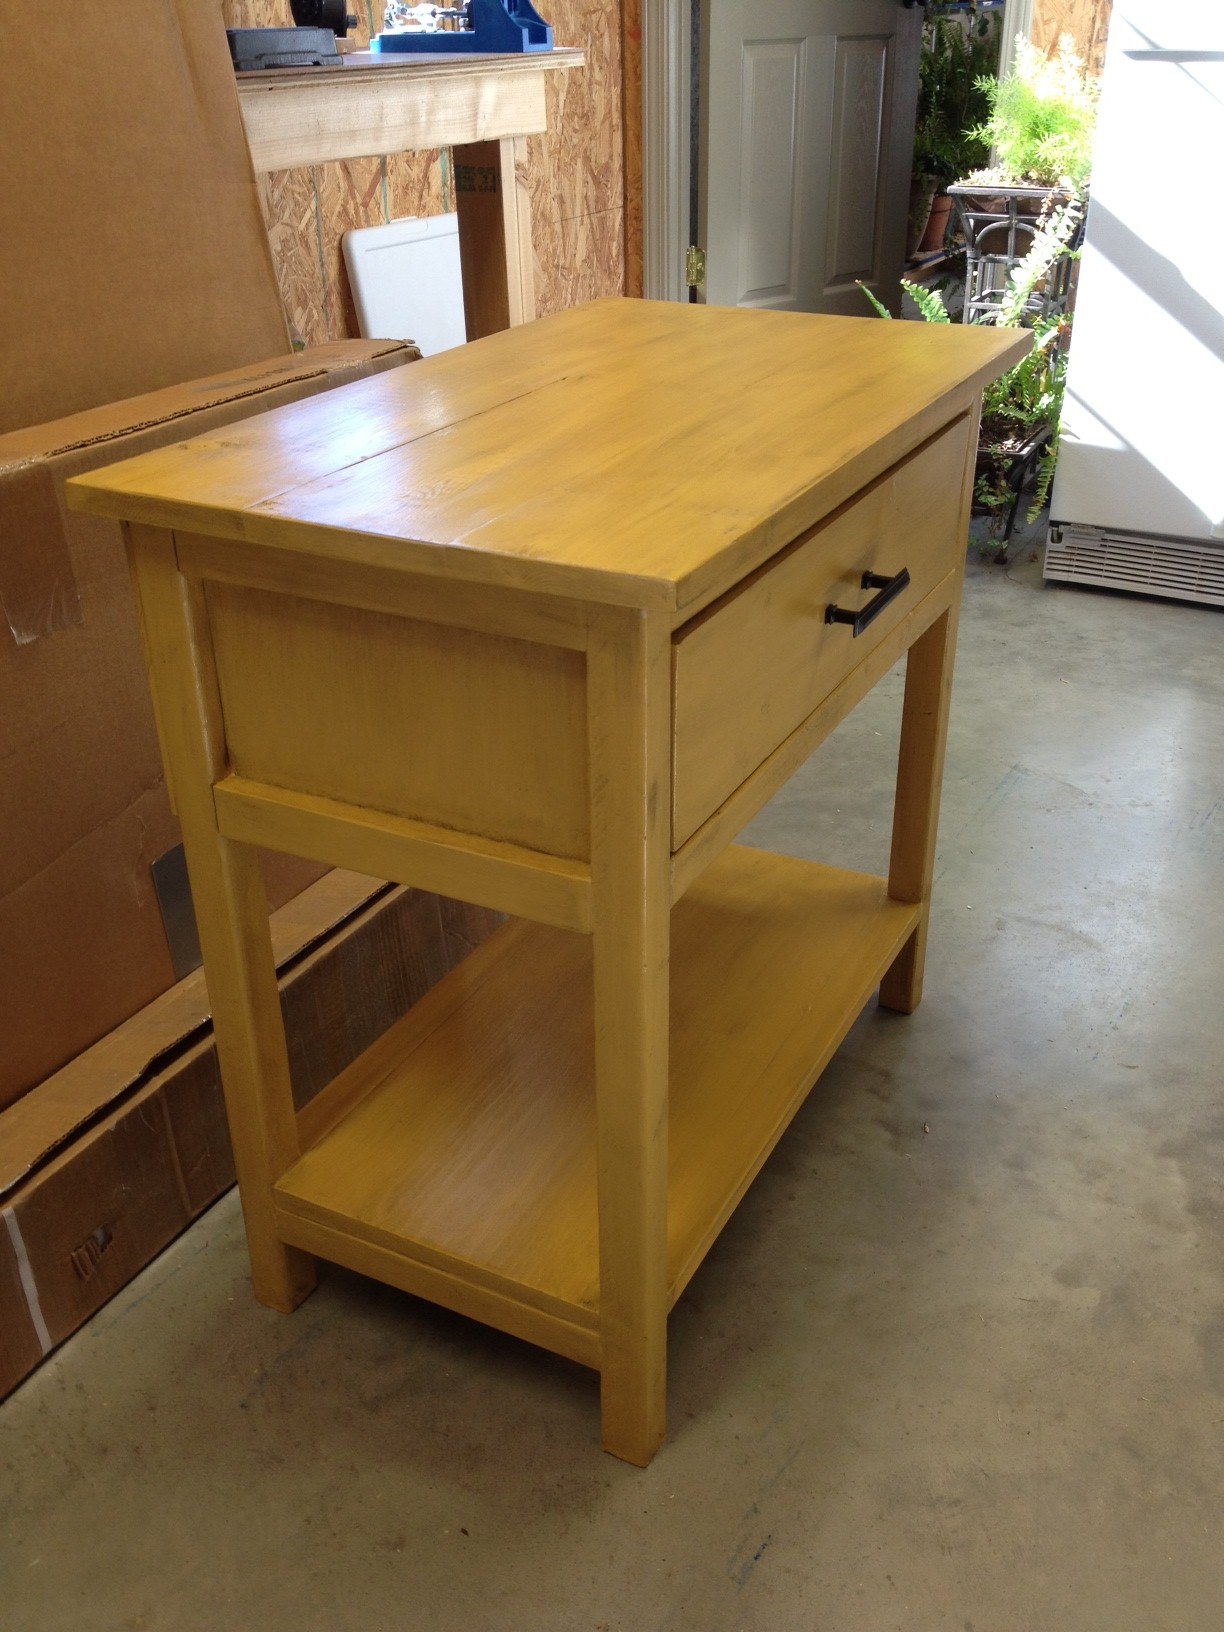
Another tricky part about this table is that it has a drawer.  I personally try to avoid them whenever possible because there's no margin for error when it comes to drawers.  They have to be square or they just don't work.  This one really didn't want to work.  It fit fine when we finished building but then the weather changed and the wood expanded and it didn't fit anymore.  We adjusted a few boards and got it to fit, then gave it a paint job and it didn't fit anymore.  Ay yi yi.

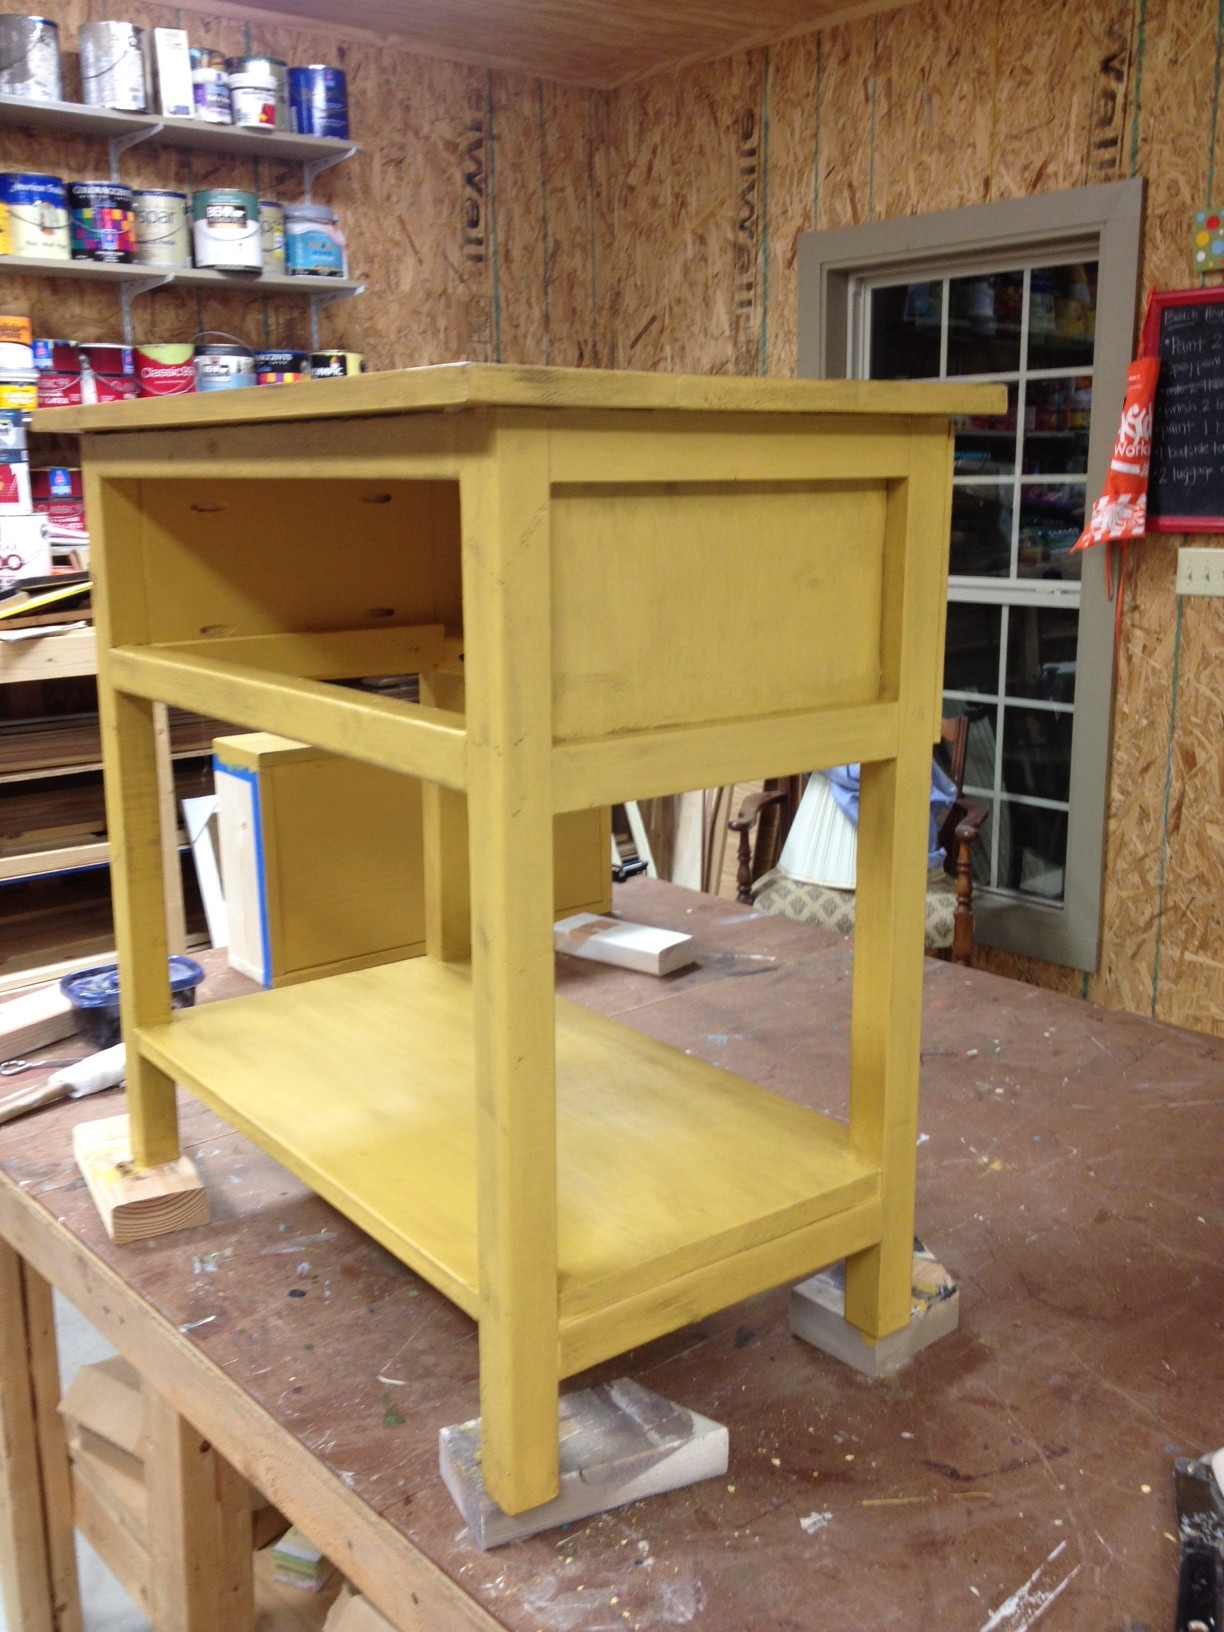
Normally, if I was working on a piece of furniture with few details and crappy wood, I'd sand and distress it instead of adding glaze.  But since I wanted it to match the yellow dresser, adding glaze is what I did.

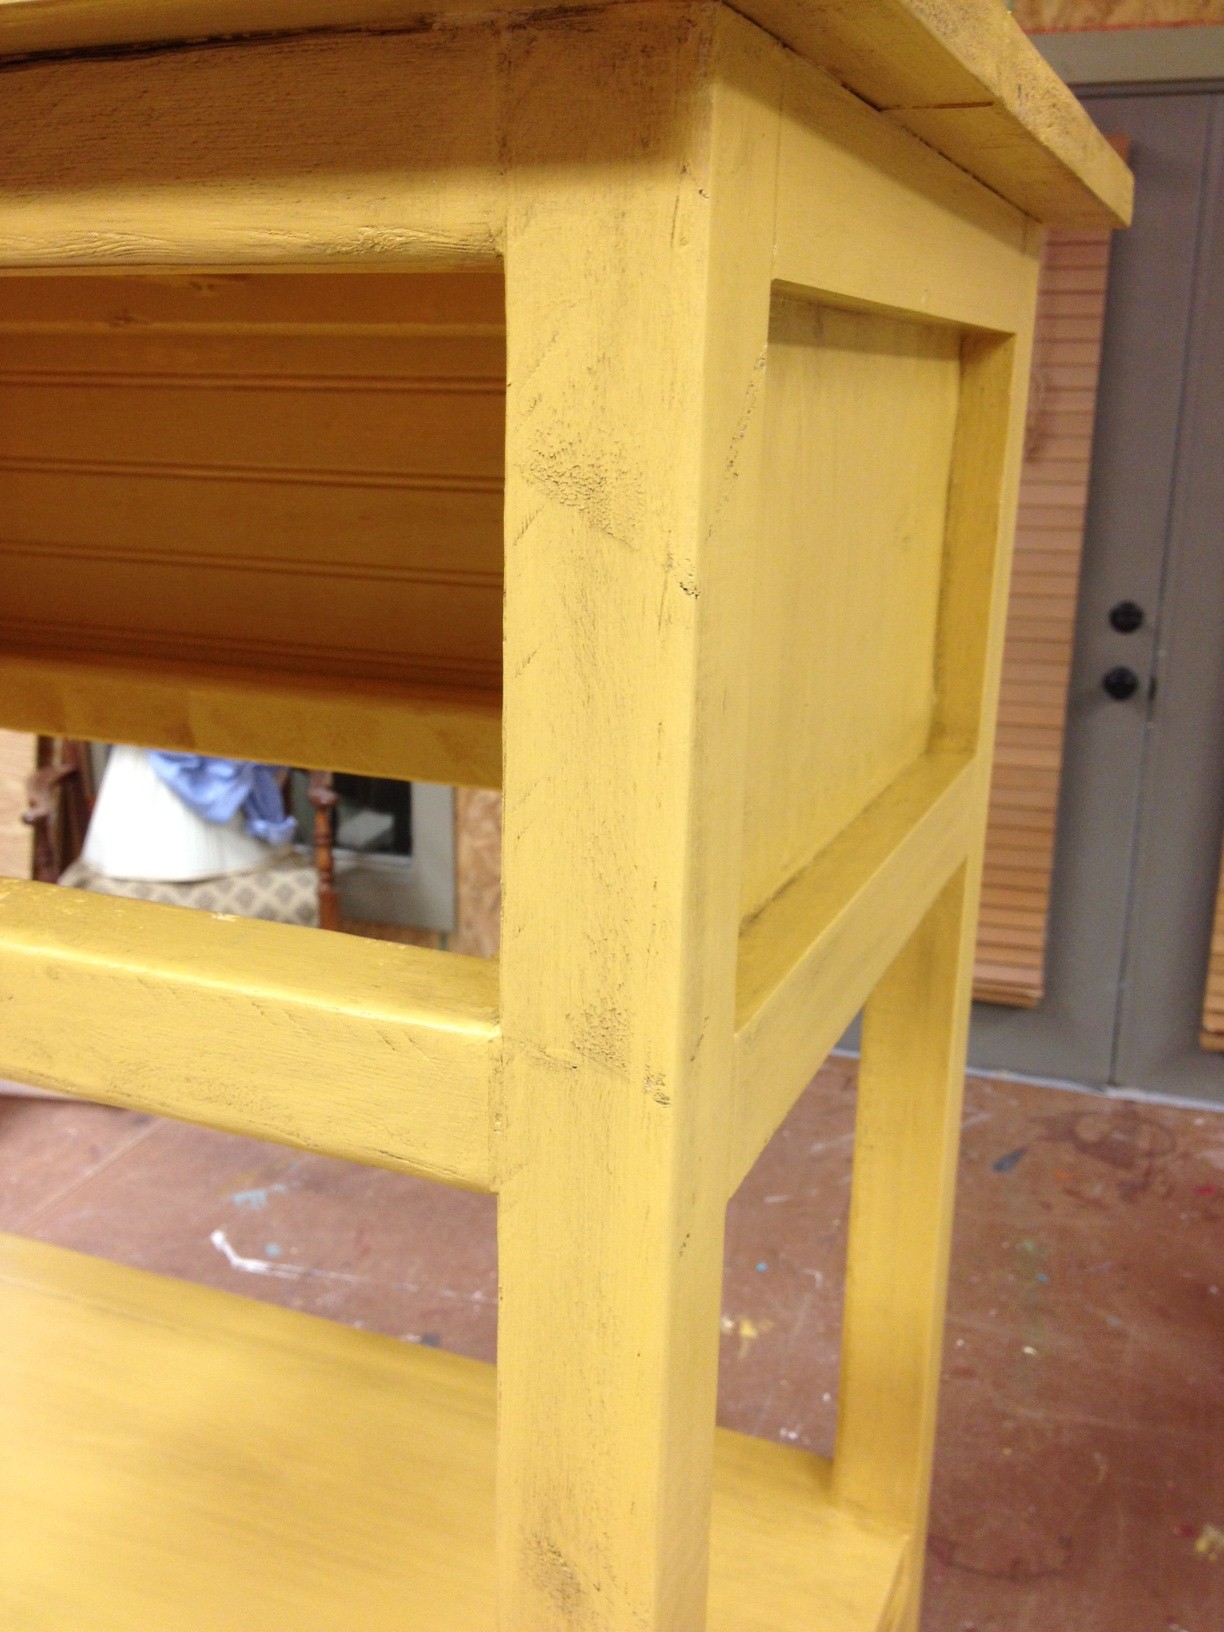
See how the glaze highlights all the flaws in the wood?  Oh well, it'll do.

We added poly and the same hardware as the other dresser and called it done.

We used a bar of soap to coat the drawer and slats so that it slides in and out easier.  Hopefully it won't expand anymore.  Oh, and if you're thinking the drawer pull looks a little crooked, you'd be absolutely correct.  We have my dad to thank for that.  I leave him alone in the shop for just a few minutes...sigh.

Oh well, it'll do!

Just like with everything else, I'm eager to see it in the room.  Surely it'll look better there, right?