Lollipops

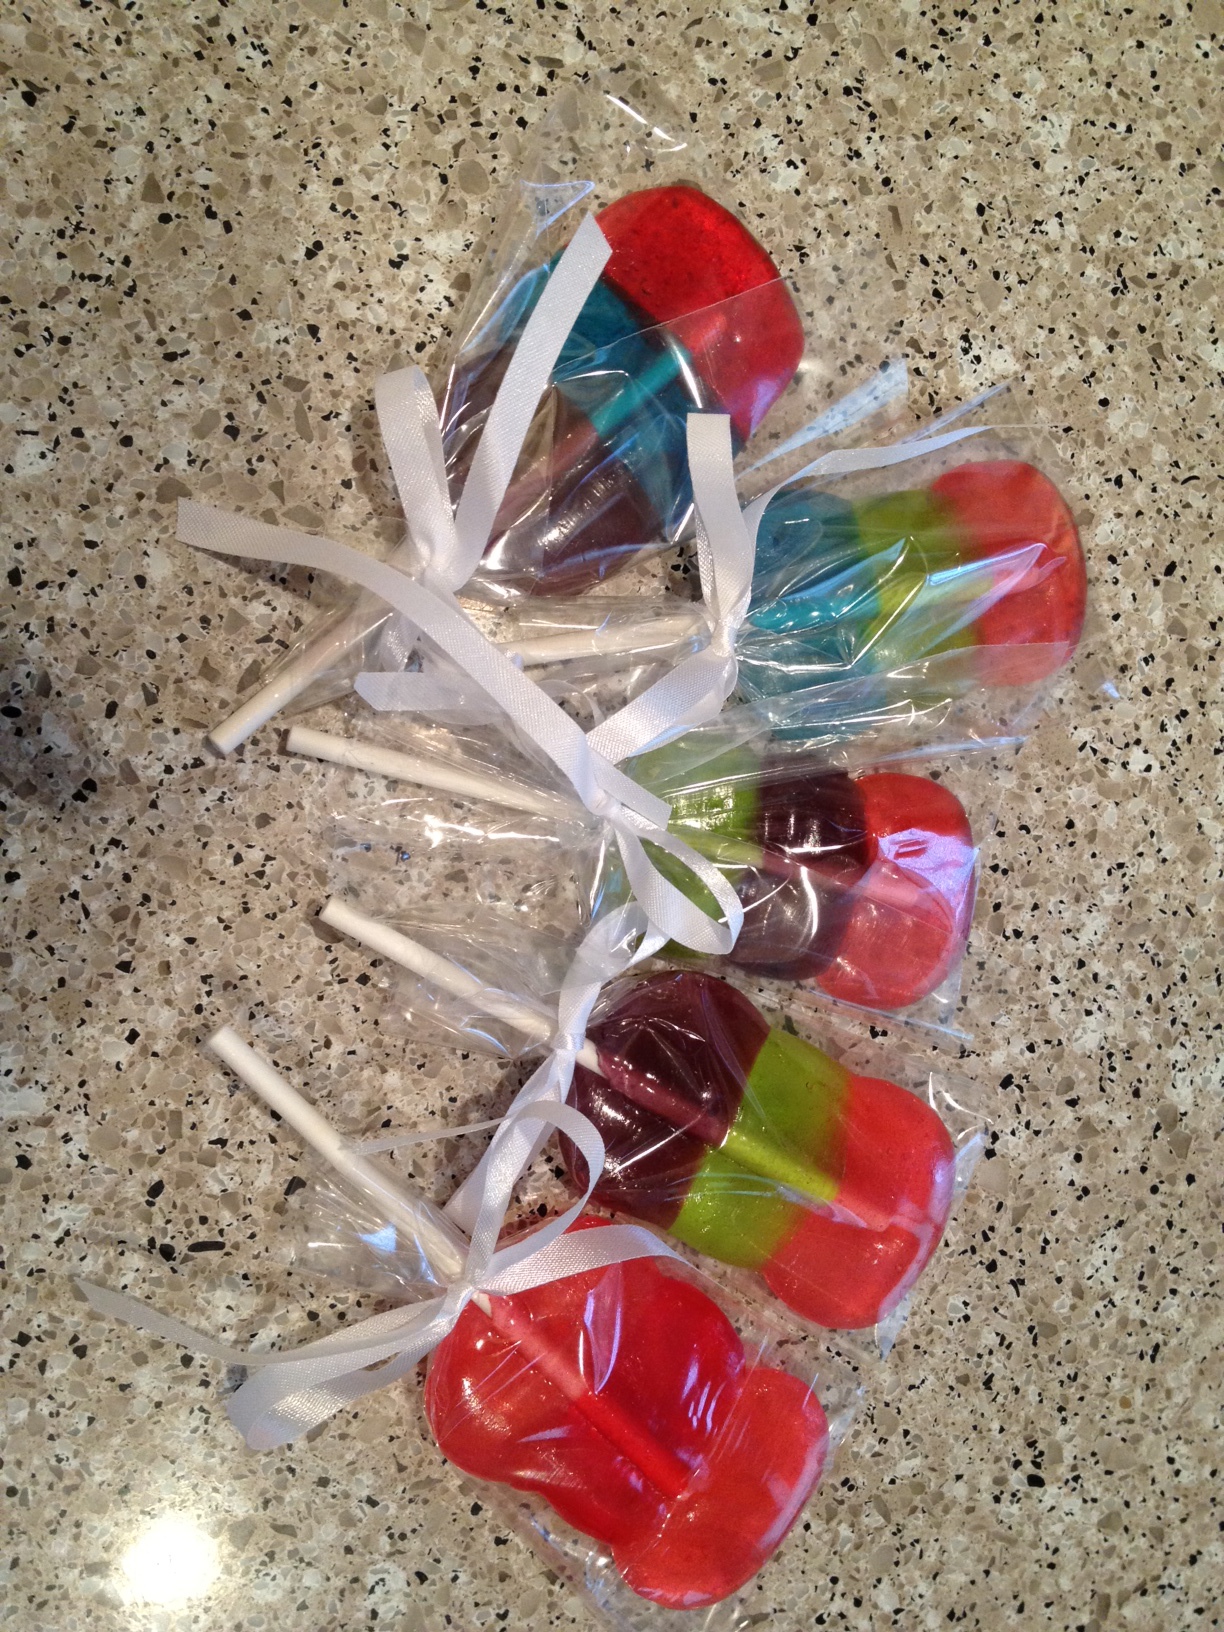
I've got a quick and fun project for you before I recap our weekend.  The good news is I got my camera out and was very "snap happy."  The bad news is that means I have LOTS of pictures to go through.  I'm tired just thinking about it. Right now, I'm here to talk about Lollipops...the candy, not the dog.  I cannot take credit for this idea, I found the idea here, but I can tell you that they are awesome, easy, and delicious.  My coworkers gobbled these up so quickly that I've already had to make a second batch.

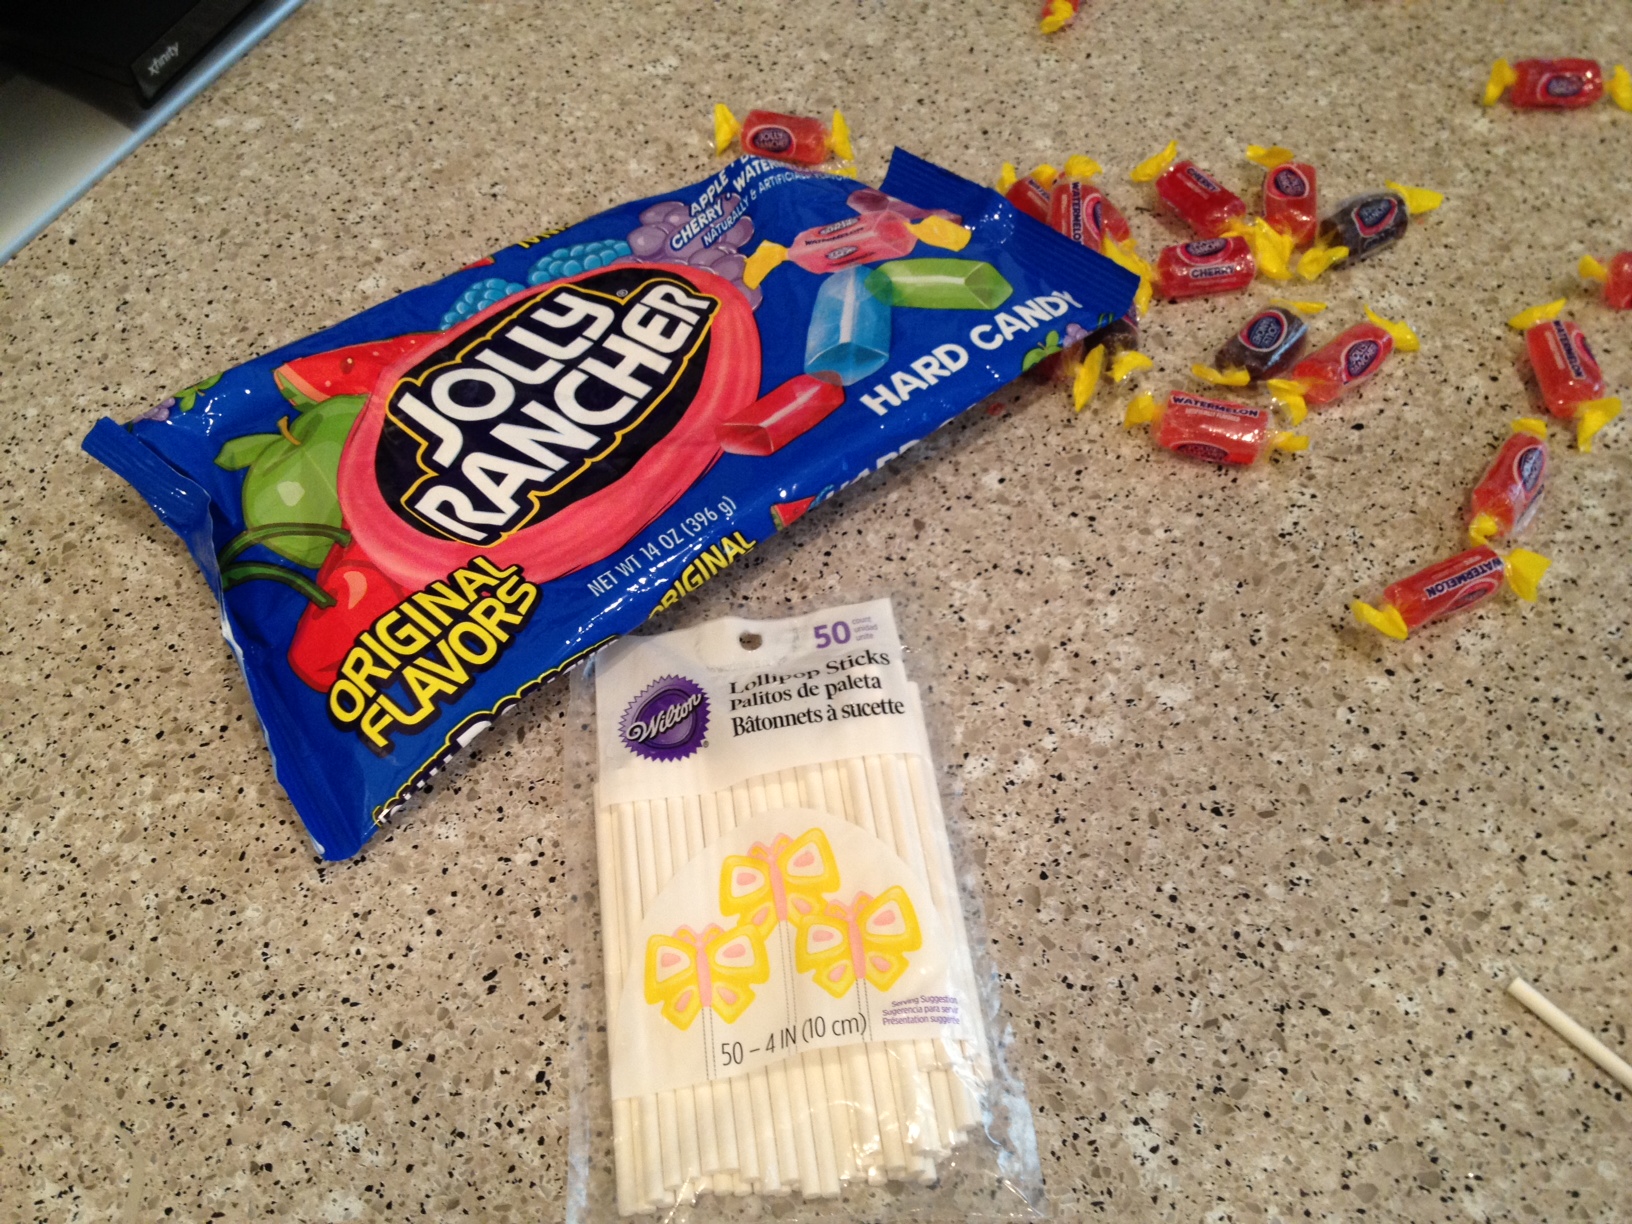
First, gather your supplies.  Jolly Ranchers (I could only find the original flavors but I bet the other flavors would just take this to the next level!) and lollipop sticks.  You'll also need a cookie sheet and parchment paper.

Line your cookie sheet with parchment paper and unwrap all the Jolly Ranchers.  Place them in groups of three on the cookie sheet.  Make sure that the candies in each group are touching and that you save enough room between the groups to add the sticks.

With your oven heated to 200 degrees, slide the cookie sheet in and let the Jolly Ranchers melt.  This took me anywhere from 7 - 10 minutes (not sure why the differences between batches).

Remove your cookie sheet from the oven when the candies have melted enough to push a stick into them.  When adding the sticks, push them down and twist so that the candy covers both sides.  You've got to work fast because they harden back up pretty quickly!  I had Anna helping me and we worked from opposite ends of the cookie sheet (this is a  great project for kids!).

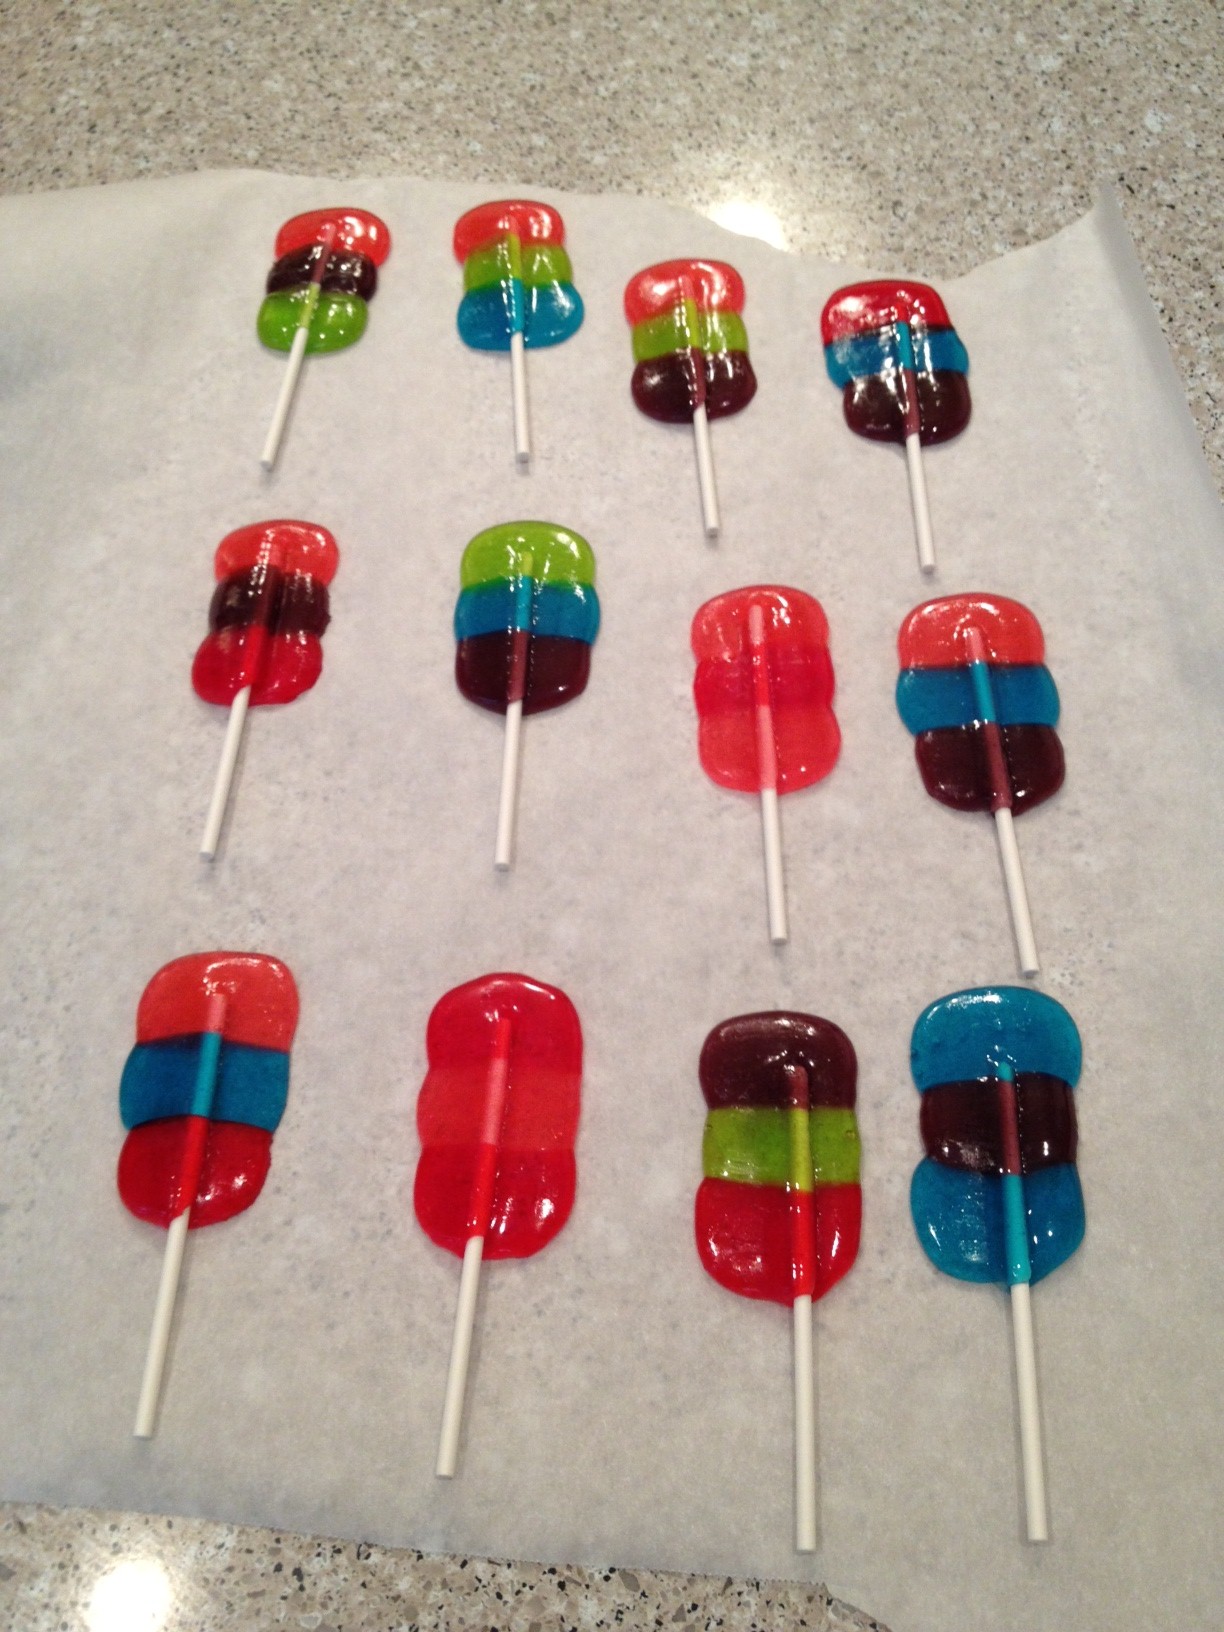
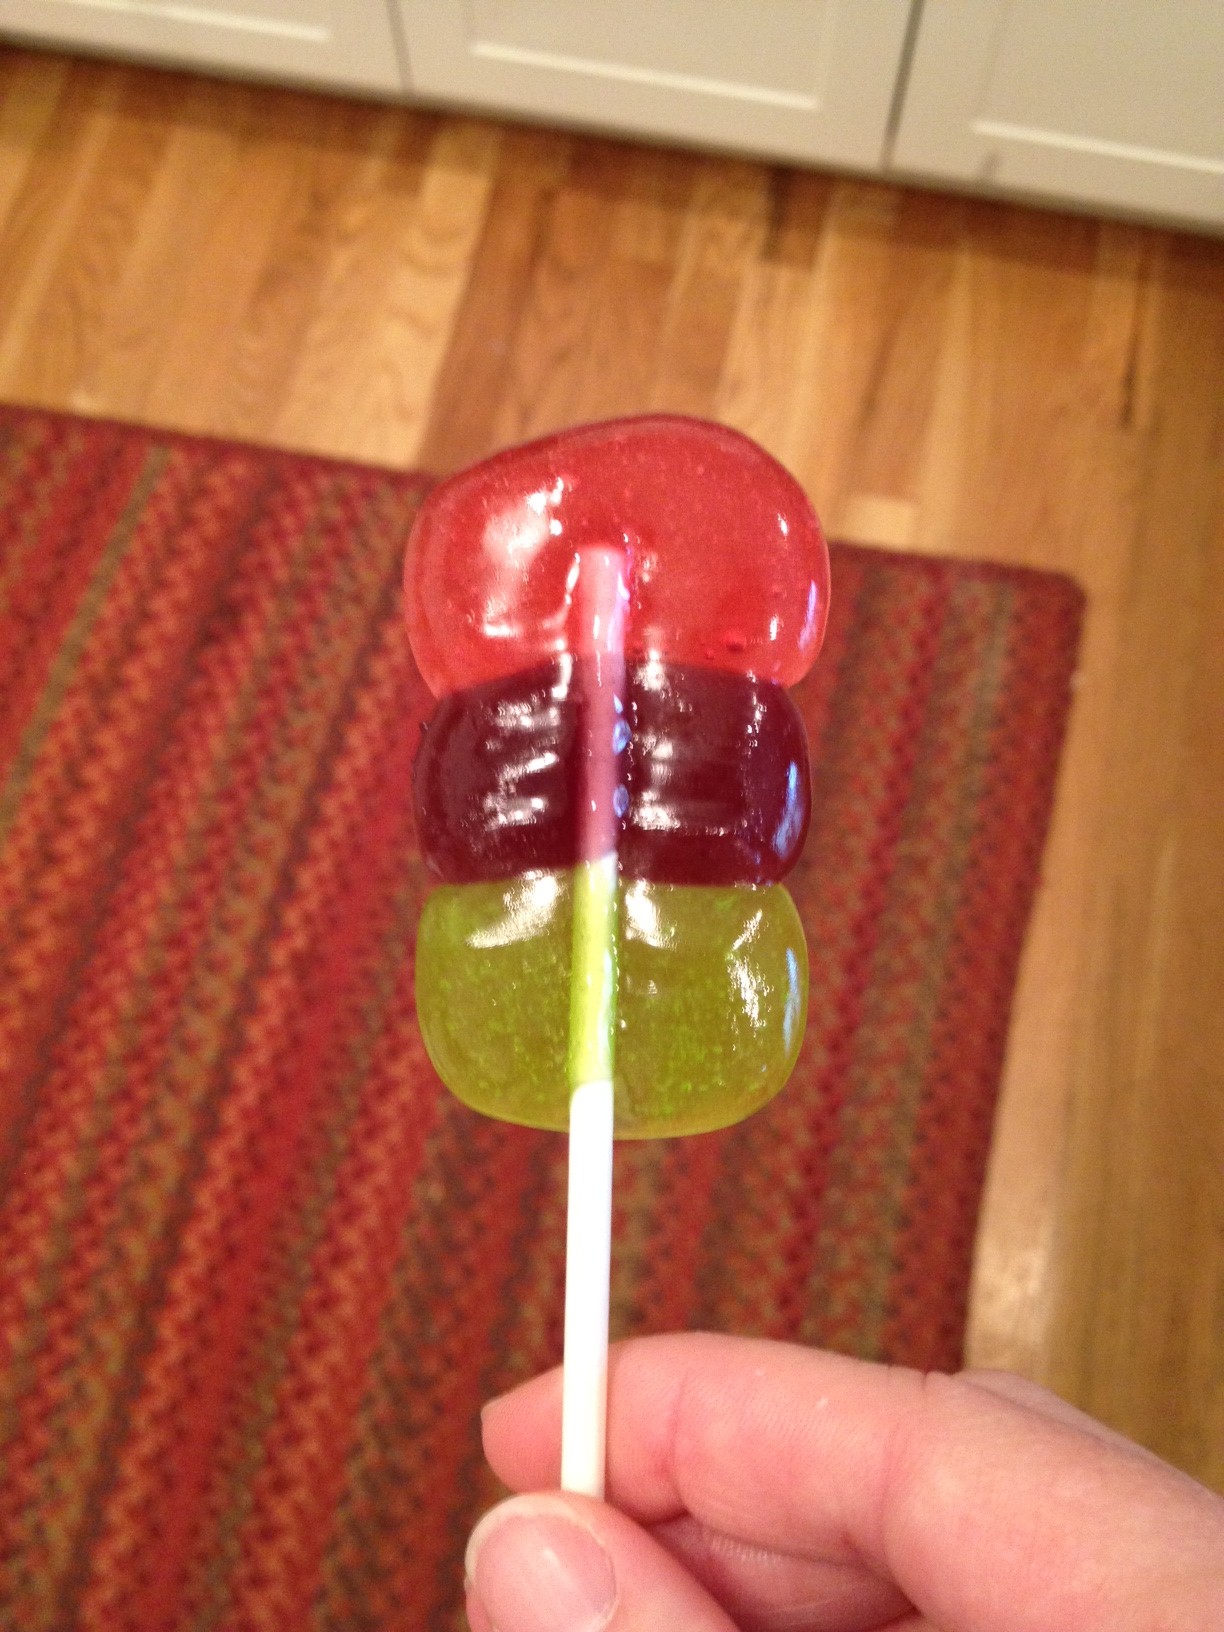
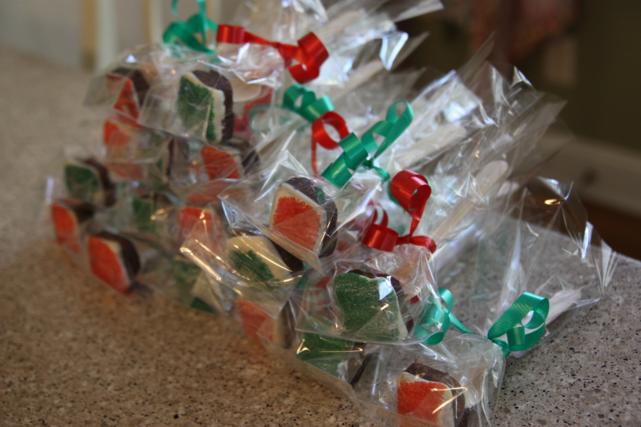
The lollipops harden back up within 5 minutes and then they're done!  Pictured below is watermelon, grape, green apple - by far my favorite combination!

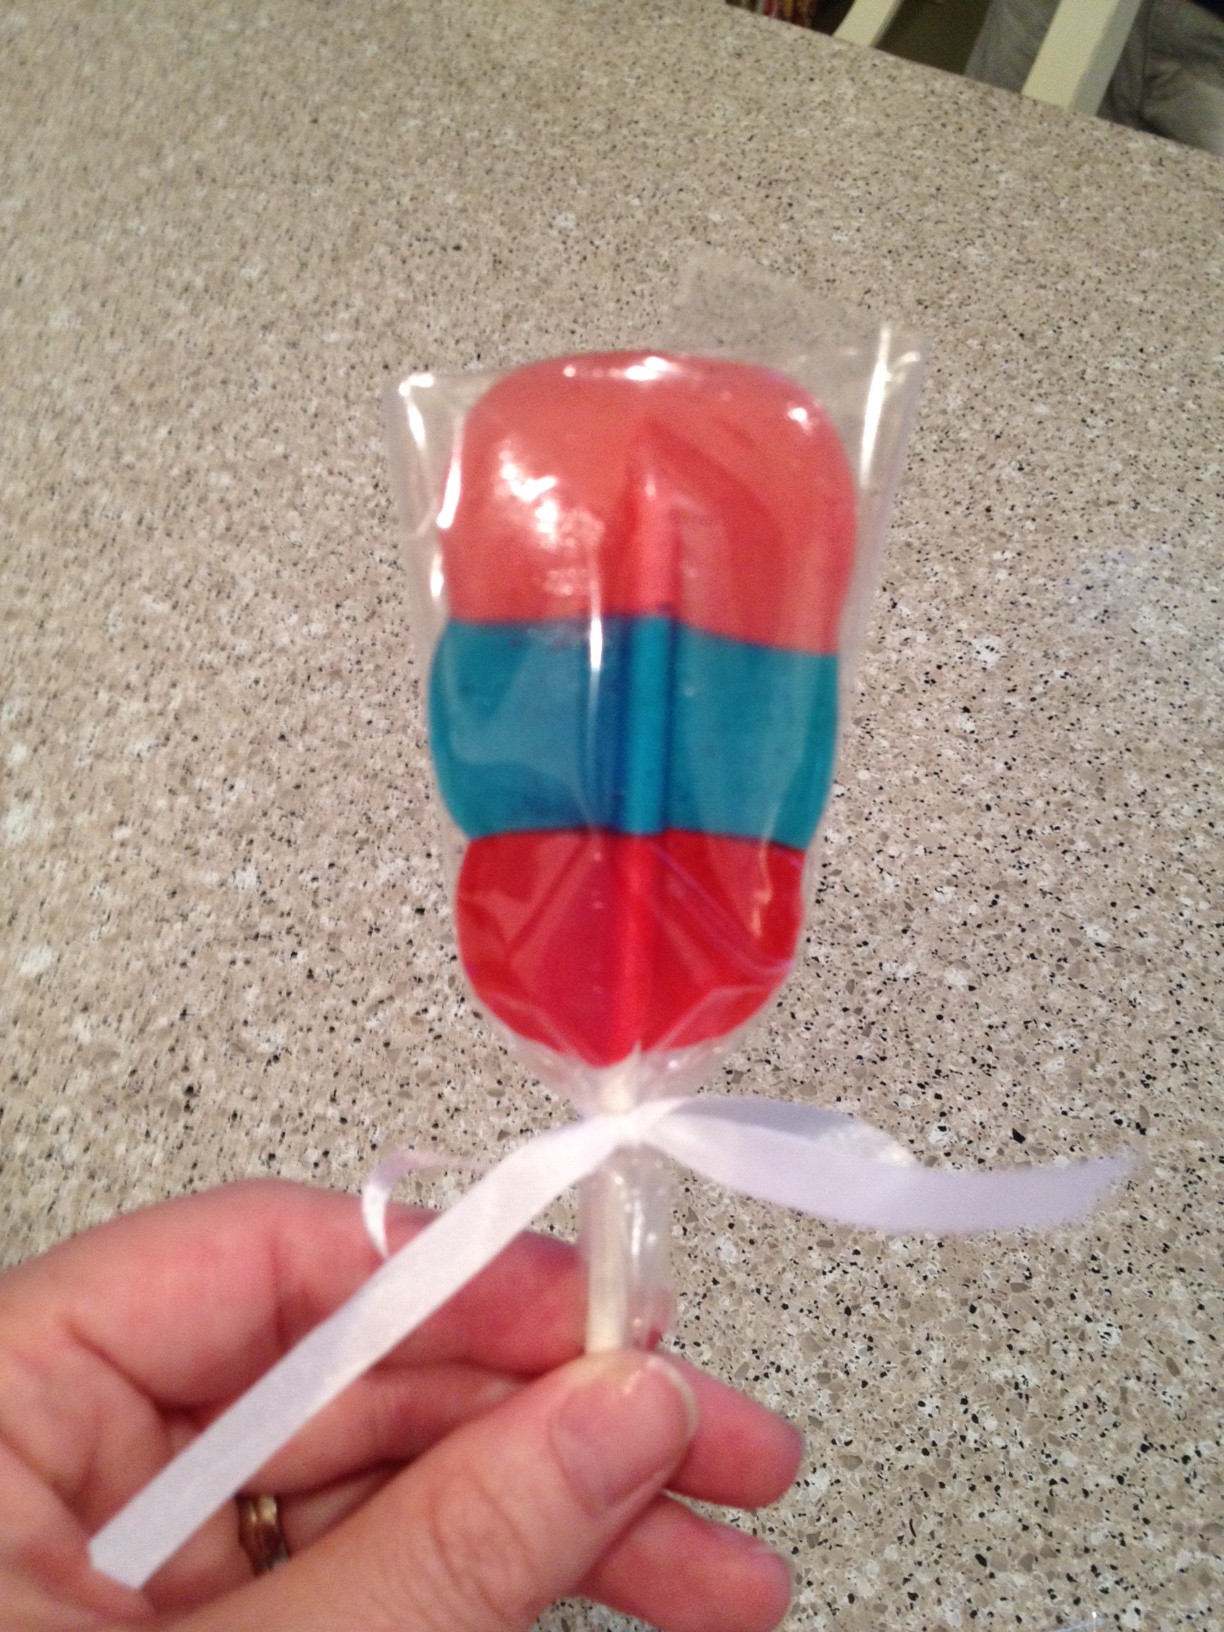
I picked up a few baggies at Michael's that came with little bows so we could package our lollipops up.


The second set I just wrapped in saran wrap and it worked just as well but they obviously weren't as cute.

What are you waiting for?  Go make yourself a batch!

Hot Chocolate On A Stick

I saw this idea two years ago.  That year, it was too late into winter to squeeze it in, and last year I just didn't have time.  This  year, though, it was on.  I picked up the supplies at the last minute Saturday afternoon so Anna could help me do it while she was here. What idea am I talking about?  Right...I guess I should tell you about it.  Hot Chocolate On A Stick is like the packs of powdered stuff you add to your mug to make hot chocolate, only for this version, it's in solid form and you stir it in until it melts.  Clear as mud hot chocolate?

I originally found the idea on Giver's Log.  I used her recipe to make the hot chocolate, but mimicked Sprinkle Bakes' idea for the presentation.  I squeezed my hot chocolate into small square molds so it would set up in that shape.  And, like Heather from Sprinkle Bakes, I used biodegradable wooden spoons instead of stirrers.  Luckily I already had some from this party.  I wish that I had thought ahead to order the chocolate transfer sheets like she did.  Maybe next time.

I did not take step-by-step pictures of this process, so if you want to give it a try, you'll have to head on over to one of those blogs.  They have lots of good tips and suggestions.

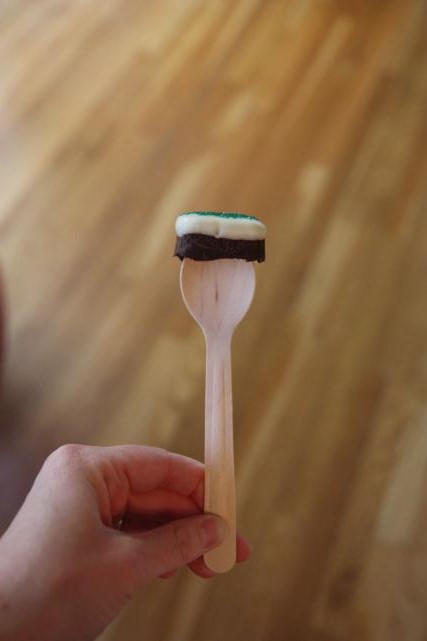
Once my hot chocolate had hardened, I decided to dip them in white chocolate and sprinkles.  I wanted to try dipping them in peppermint or adding some flavor to the white chocolate, but I didn't have anything on had to experiment.  Again, maybe next time.  Anna was head dipper.  She alternated between red and green sprinkles so that they'd be Christmas-y.

Here is the finished product after she dipped in sprinkles.

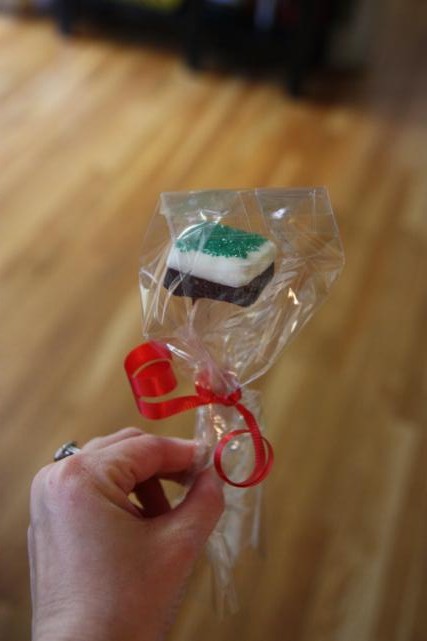
A better view of the top.

I thought these would make great gifts to friends that host us in their homes for parties, so I wrapped them individually in a small clear bag and curling ribbon in a coordinating color.


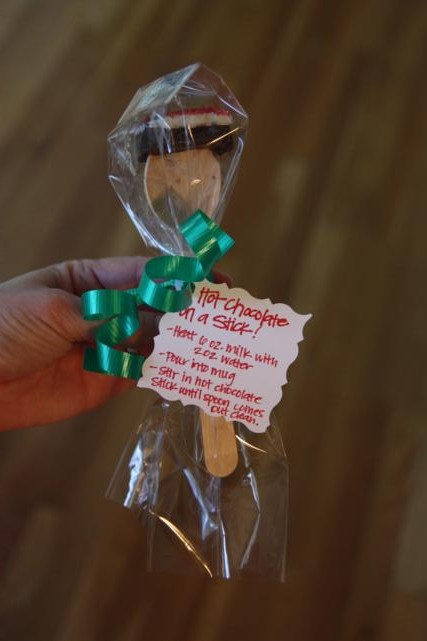
At the last minute, I decided they might need a tag explaining what they were and how to use them.  I drew up a really cute tag on the computer but then my printer decided not to work.  In the end, I had to write them out by hand.

I doubled the recipe when I made these so we ended up with a big pile of them.

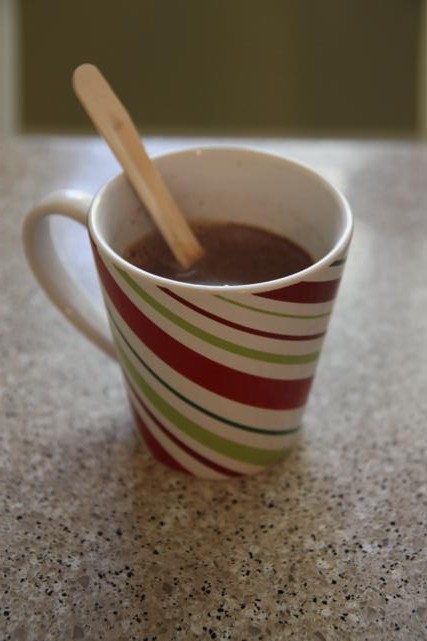
Of course, I had to give one a try before giving them away.  What if it didn't work?  What if it tasted grody?  I filled my mug with 6 oz. milk and 2 oz. water (heated) and plopped in a Hot Chocolate On A Stick.

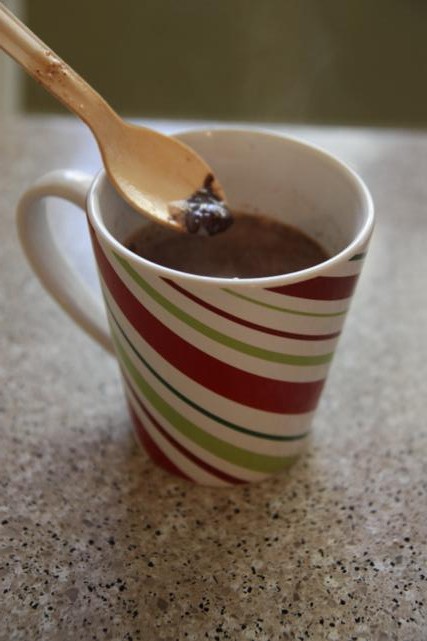
I stirred and stirred until the chocolate melted away and, just like that, I had hot chocolate.  It worked! Phew!  And not only did it work, it also tasted pretty good.  Not gourmet hot chocolate, but still pretty good.  It helps the flavor if you drink it out of a festive holiday mug.

Now, less than a week later, all of our Hot Chocolate On A Sticks are gone.  Guess I'll have to make another batch, and maybe this time I'll try my hand at mixing up some different flavors...

Yummy Treats

I'm sorry it's been radio silent around here for a couple weeks.  I've been so busy!  It's that time of year though, I'm sure you know that.  What with all the holiday decorating and baking and parties, things just get crazy.  And did you know that I'm the only one in my immediate family that doesn't have a December birthday?  Yep, even the dog's birthday is in December.  So add birthday parties and presents to the normal Christmastime chaos and you get no time to blog. But!  That doesn't mean that I haven't still been cranking out some projects.  I have at least 6 blog posts in my head ready to share with you, I just need to actually put the pen to the paper fingers to the keyboard.  I hereby declare this week Catchup Week!  I just hope I can actually stick to it.

First up, some yummy treats.  I needed something to bring to a work potluck last week and, after searching on Pinterest, found these to make.  They were exactly what I was looking for:  something that looked great, tasted even better, and were super easy to do.  Win, win, and win.

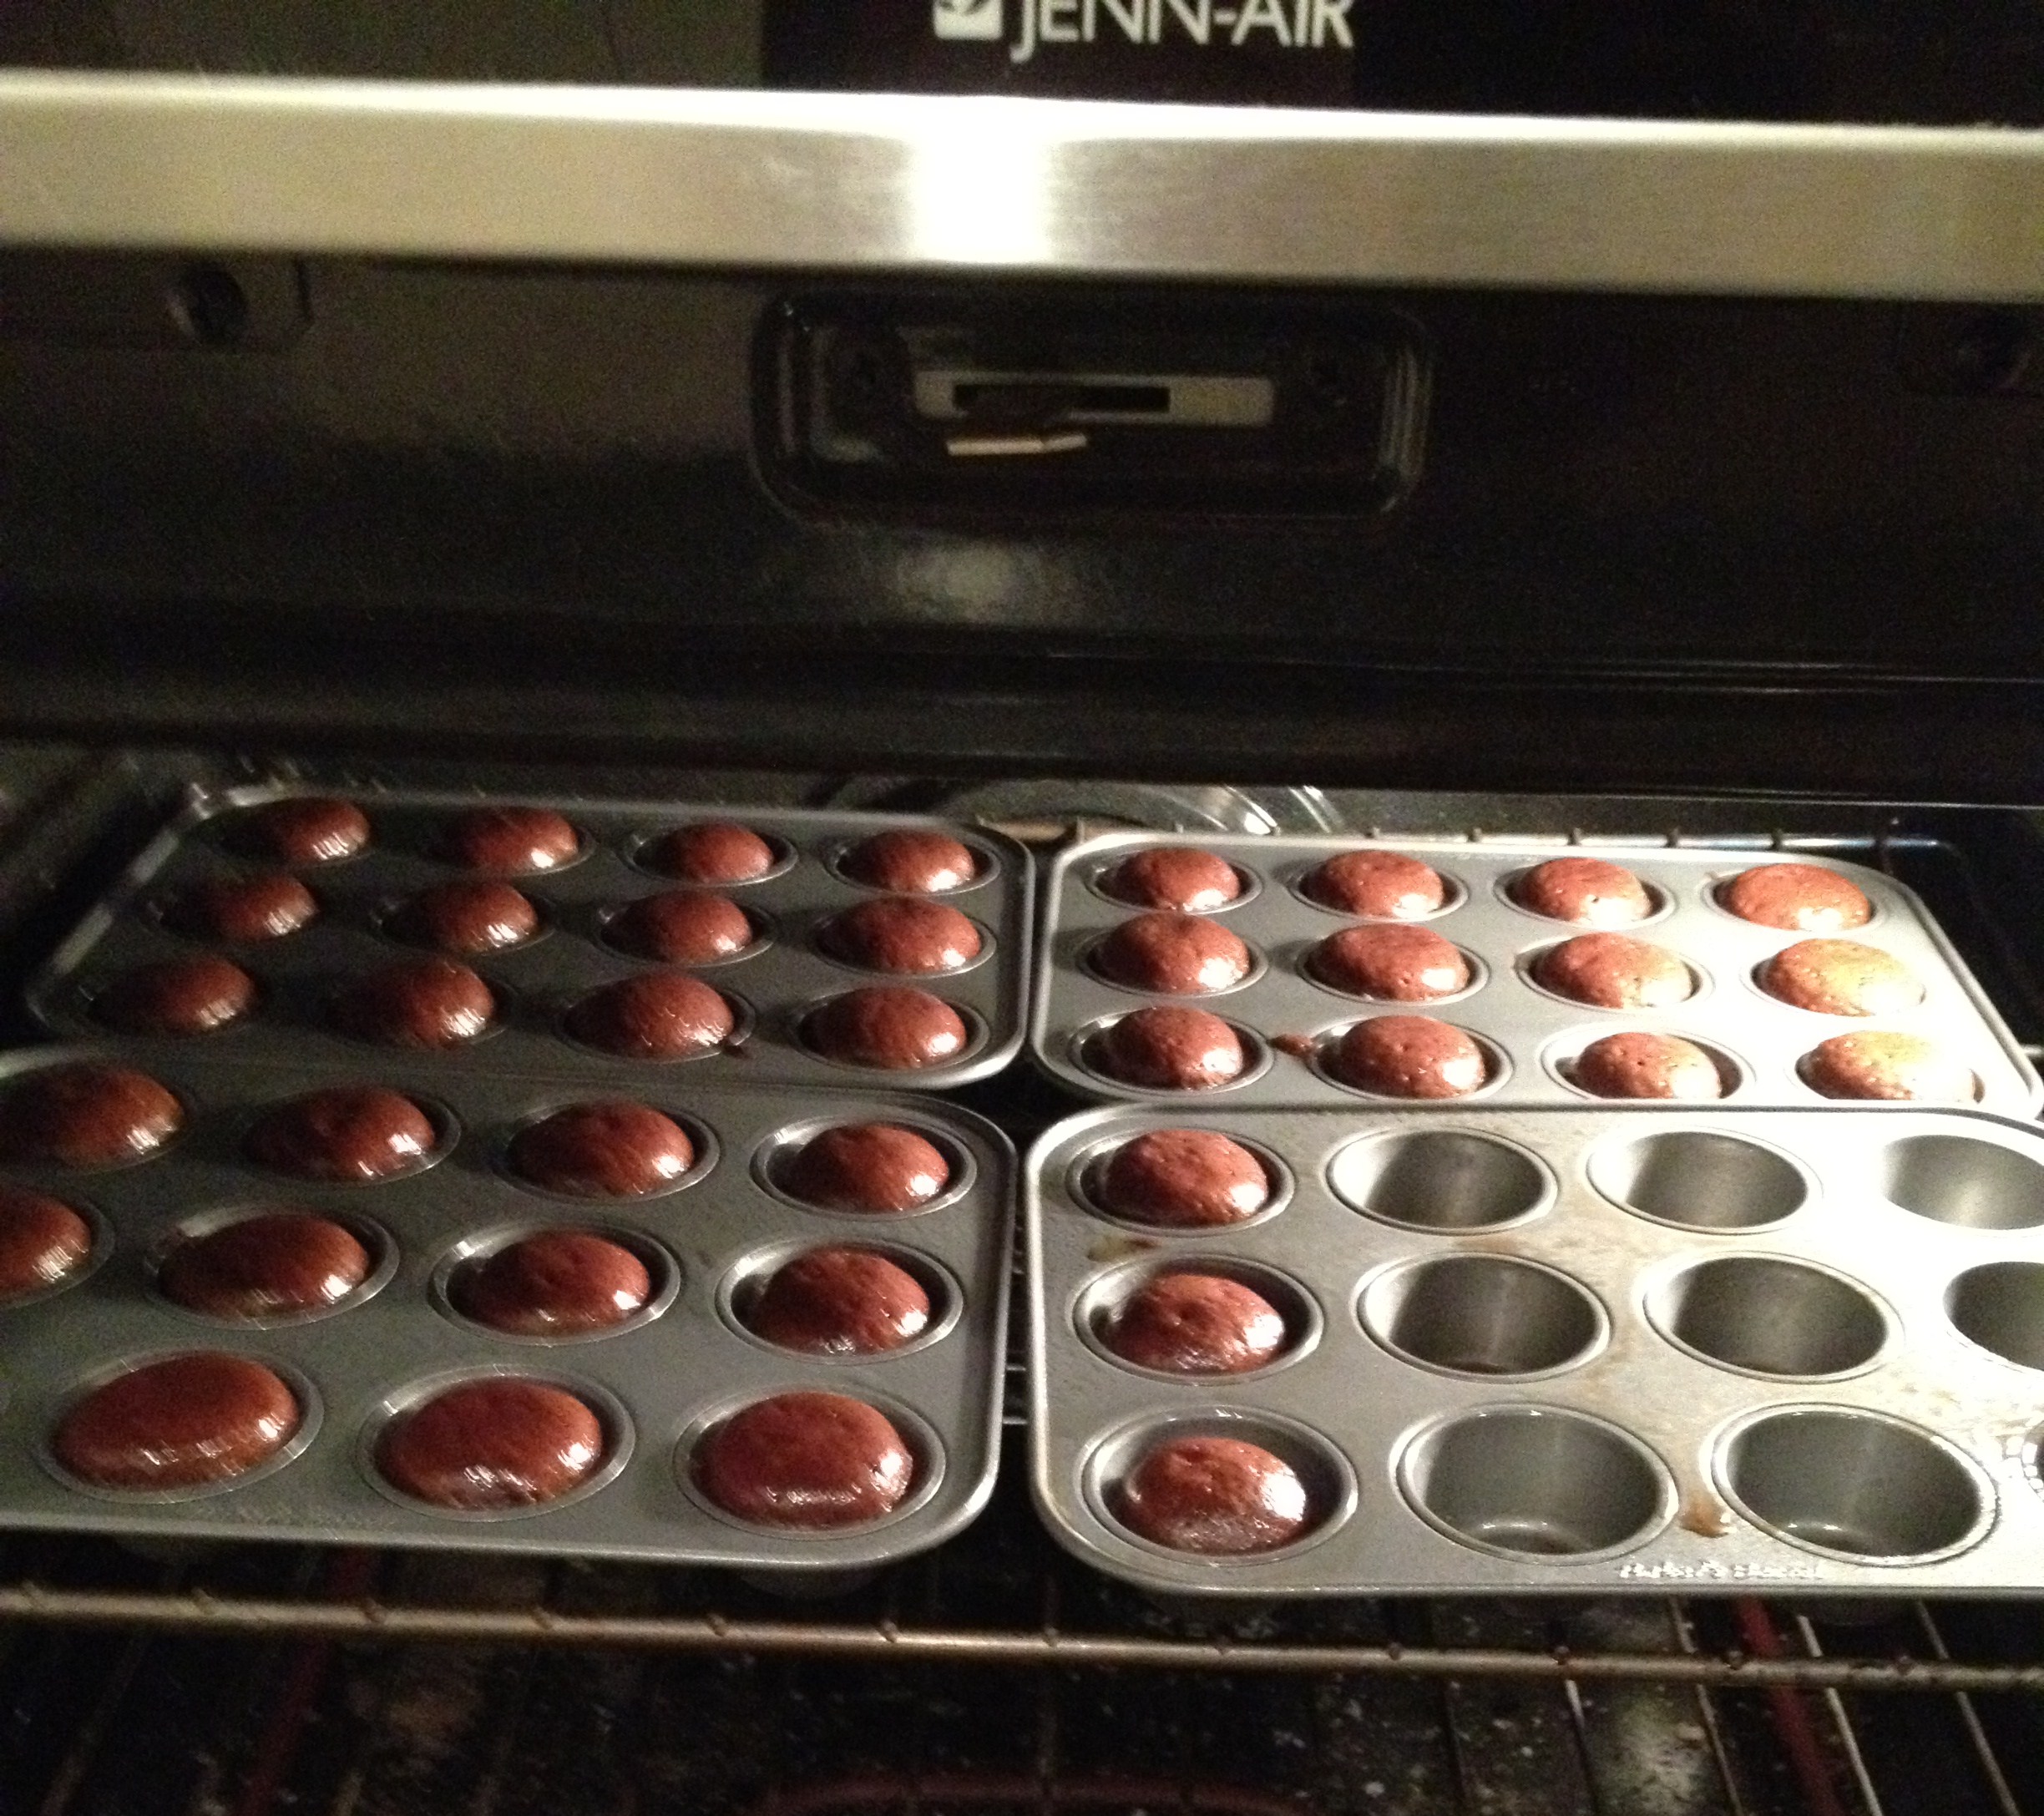
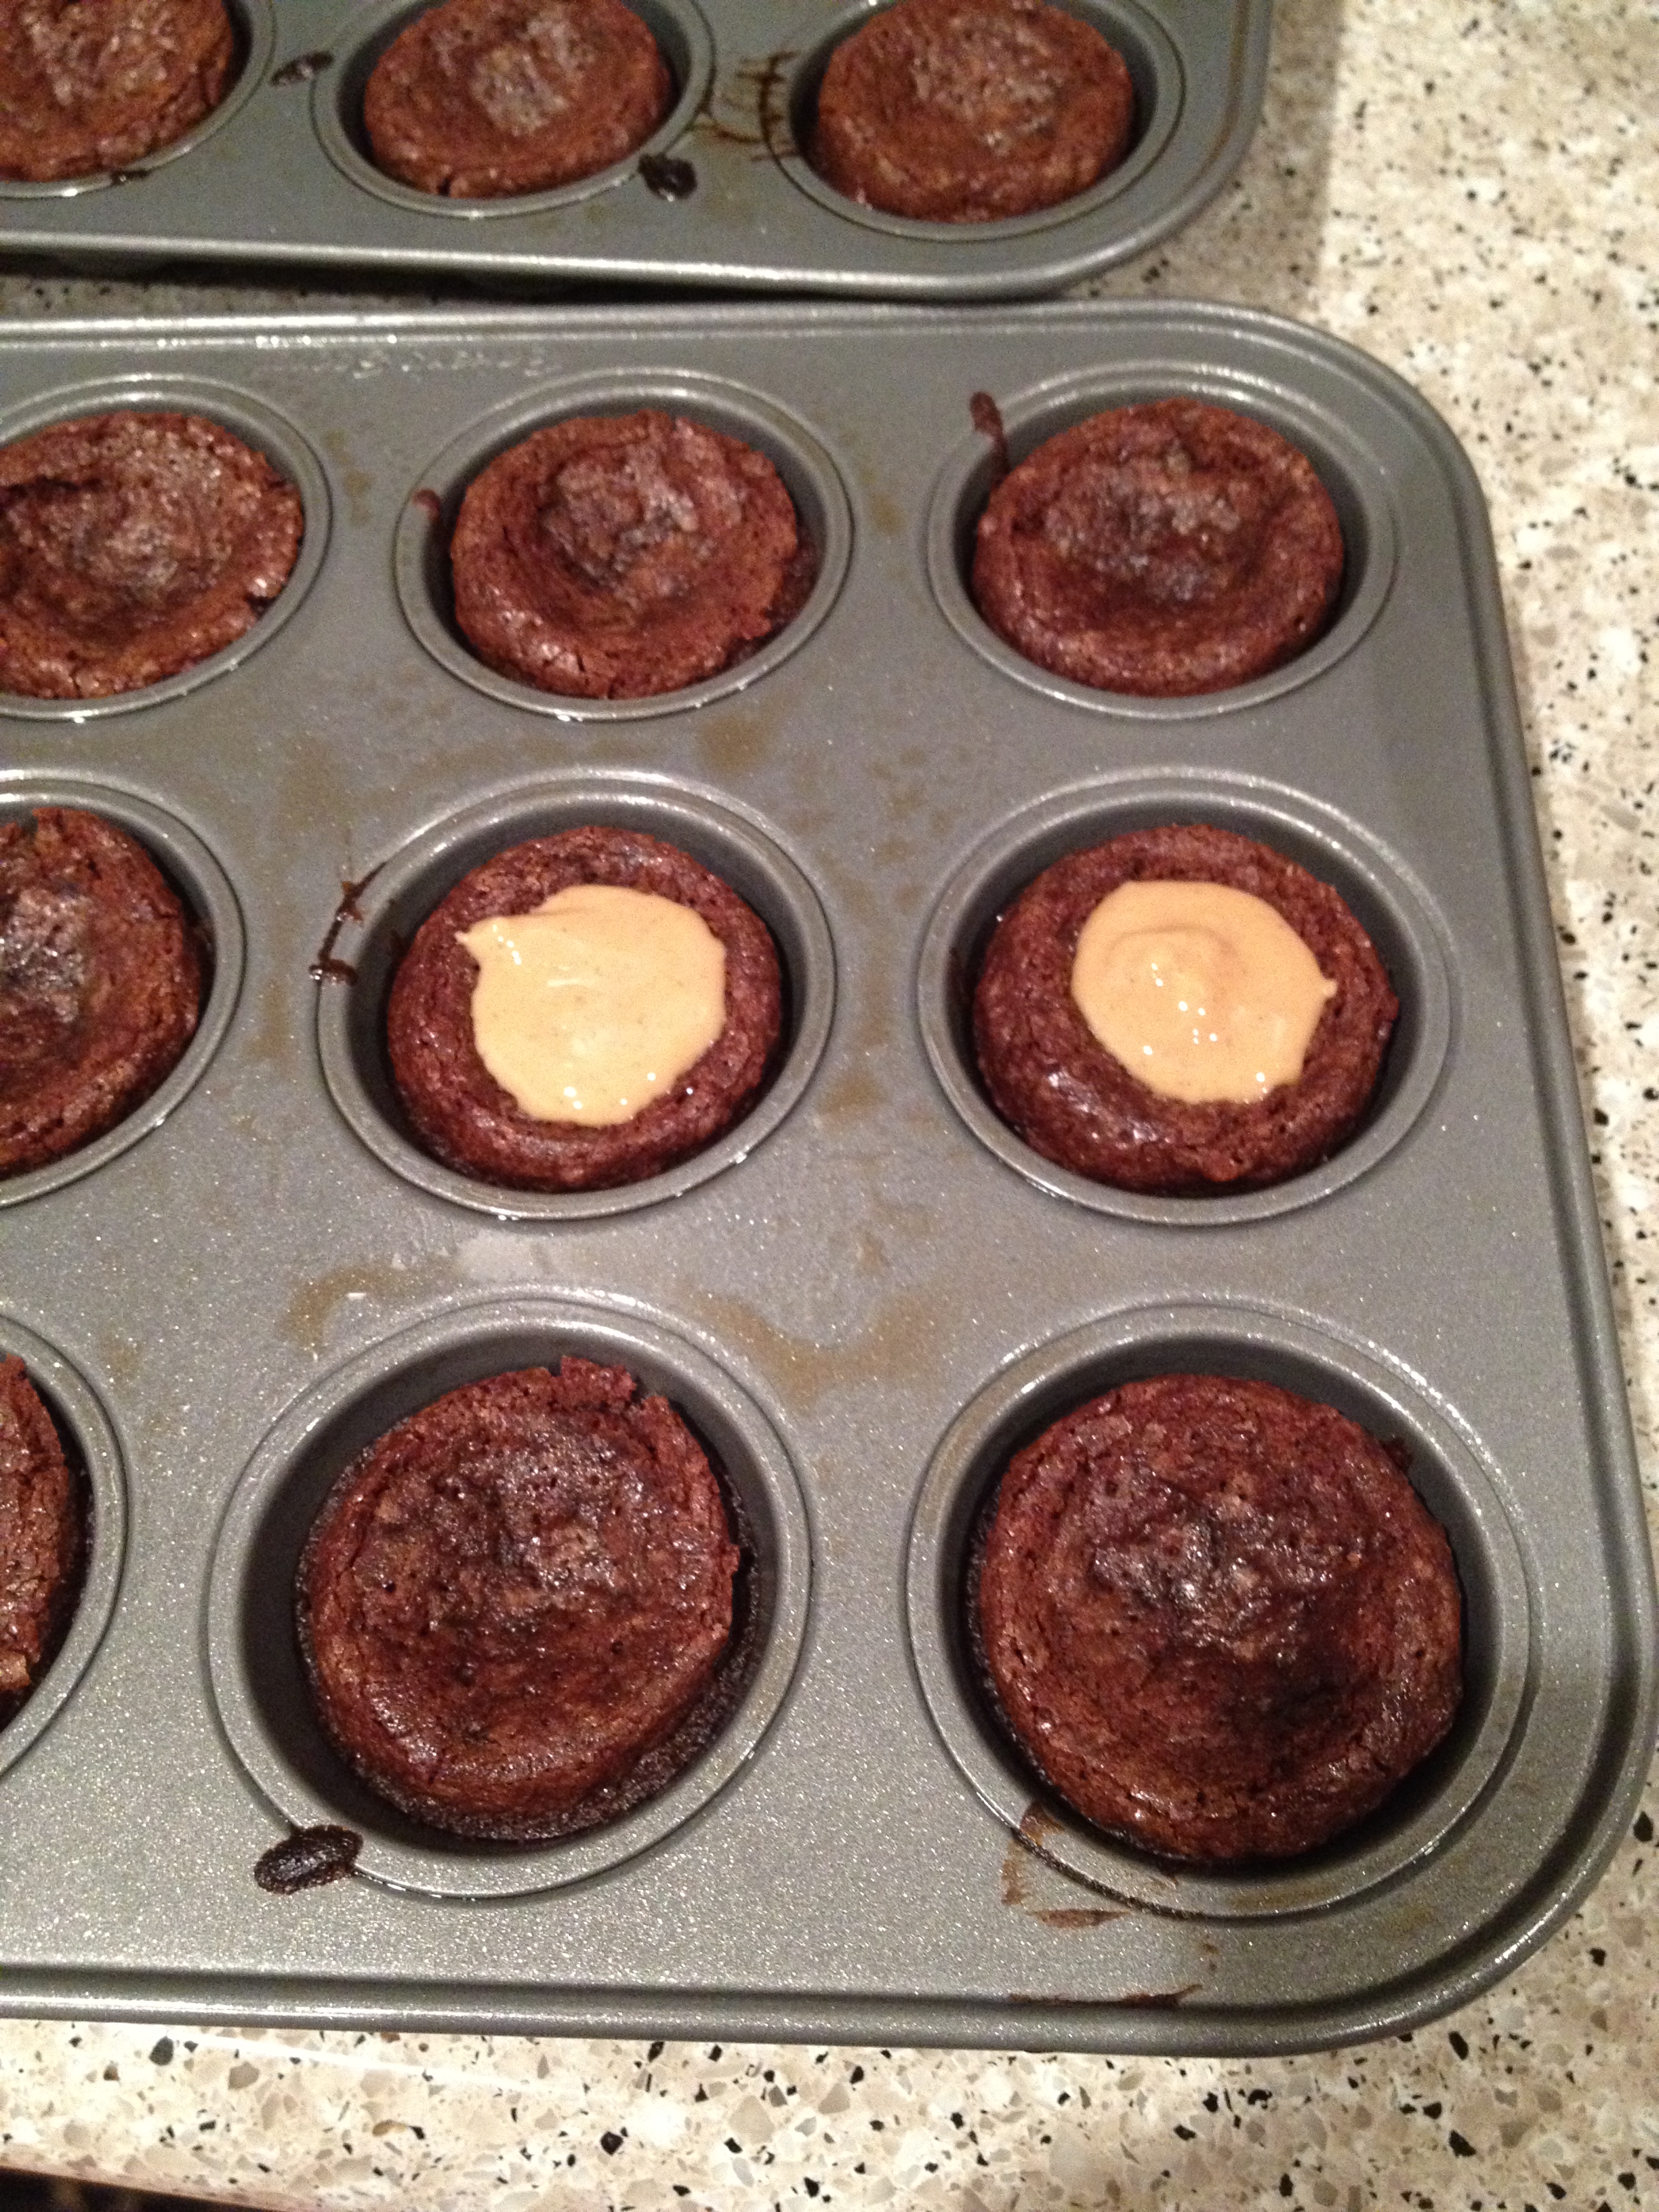
I followed these directions from Baked Perfection.  First step was to make a batch of brownies (I used a mix, no baking from scratch here!) and bake them in mini muffin tins.  I'll admit that even with shaving 8 minutes off the recommended cook time, I still slightly over cooked my mini brownie bites.  You want to take them out when the toothpick comes out with just a little bit of gooeyness on it.  (These are all iPhone photos...sorry.)

The directions say that when the brownies come out, the tops will fall on their own, creating a little bowl.  Mine didn't do that, I'm sure because they were overcooked.  I used the back of a tablespoon to create my little bowl.

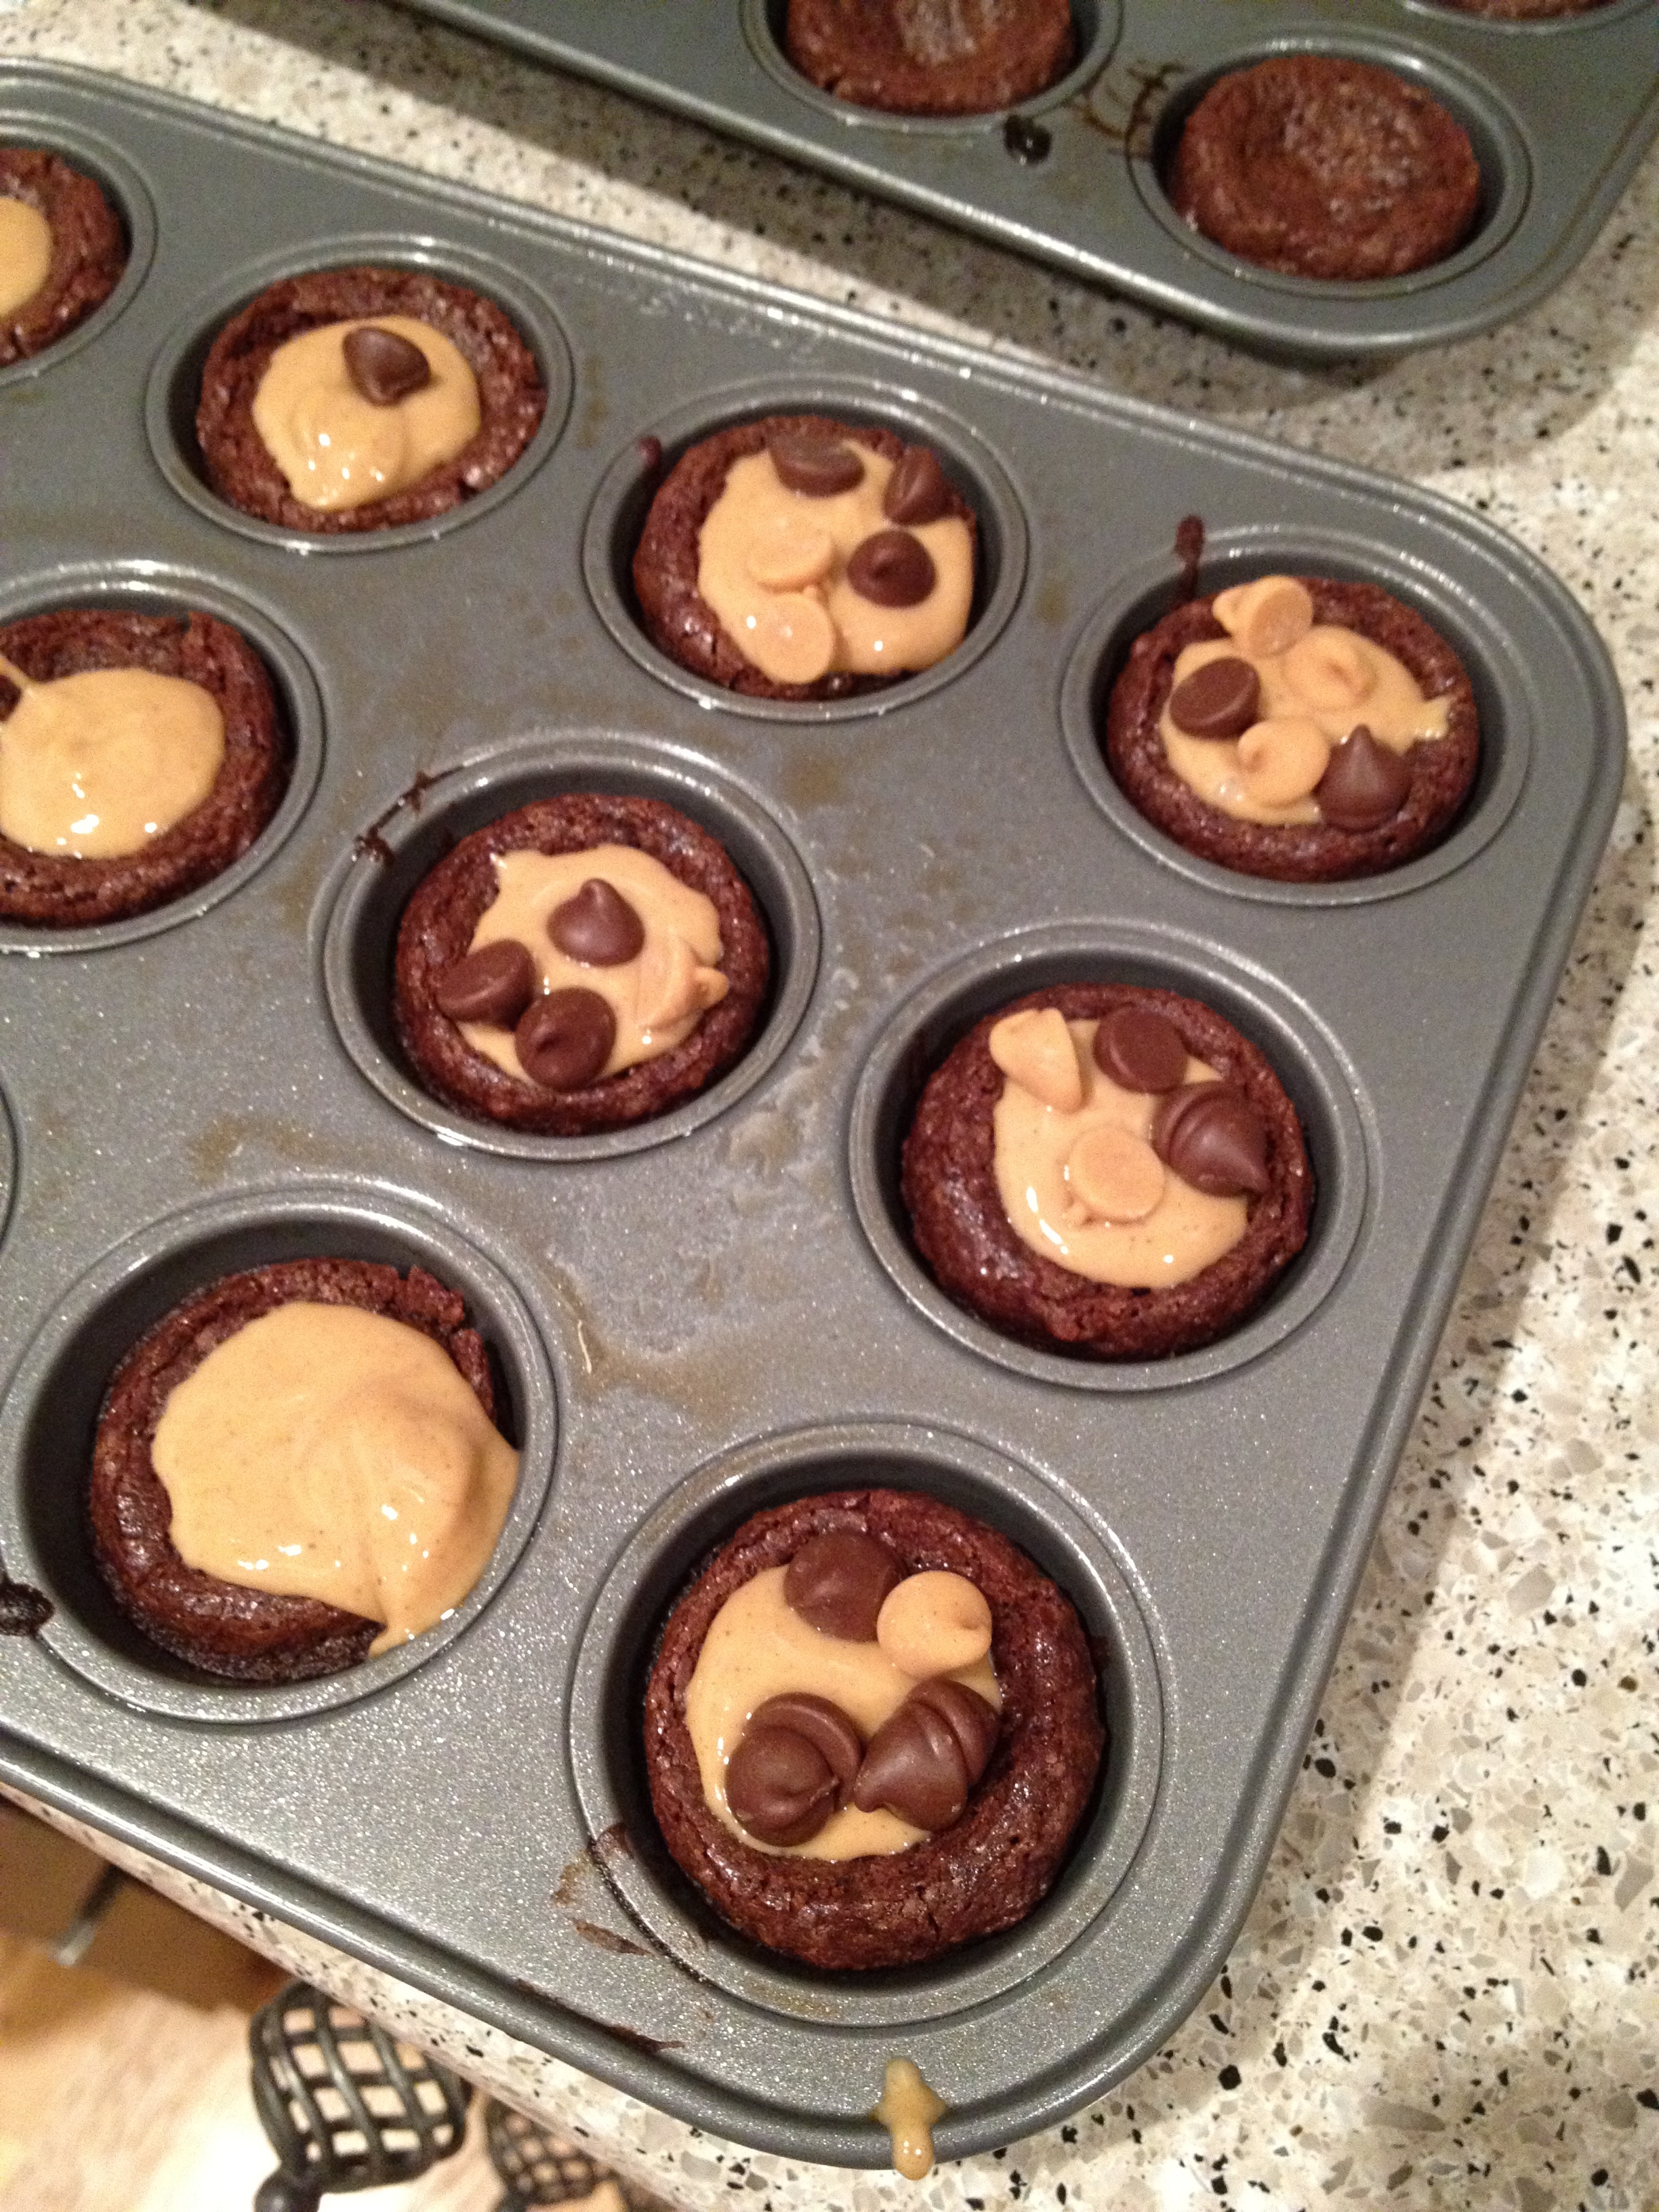
While the brownies were still warm, I heated up some peanut butter to pour into the bowls.

With the peanut butter still melty, I sprinkled on both chocolate and peanut butter chips.  No rhyme or reason to how many, just whatever felt right.

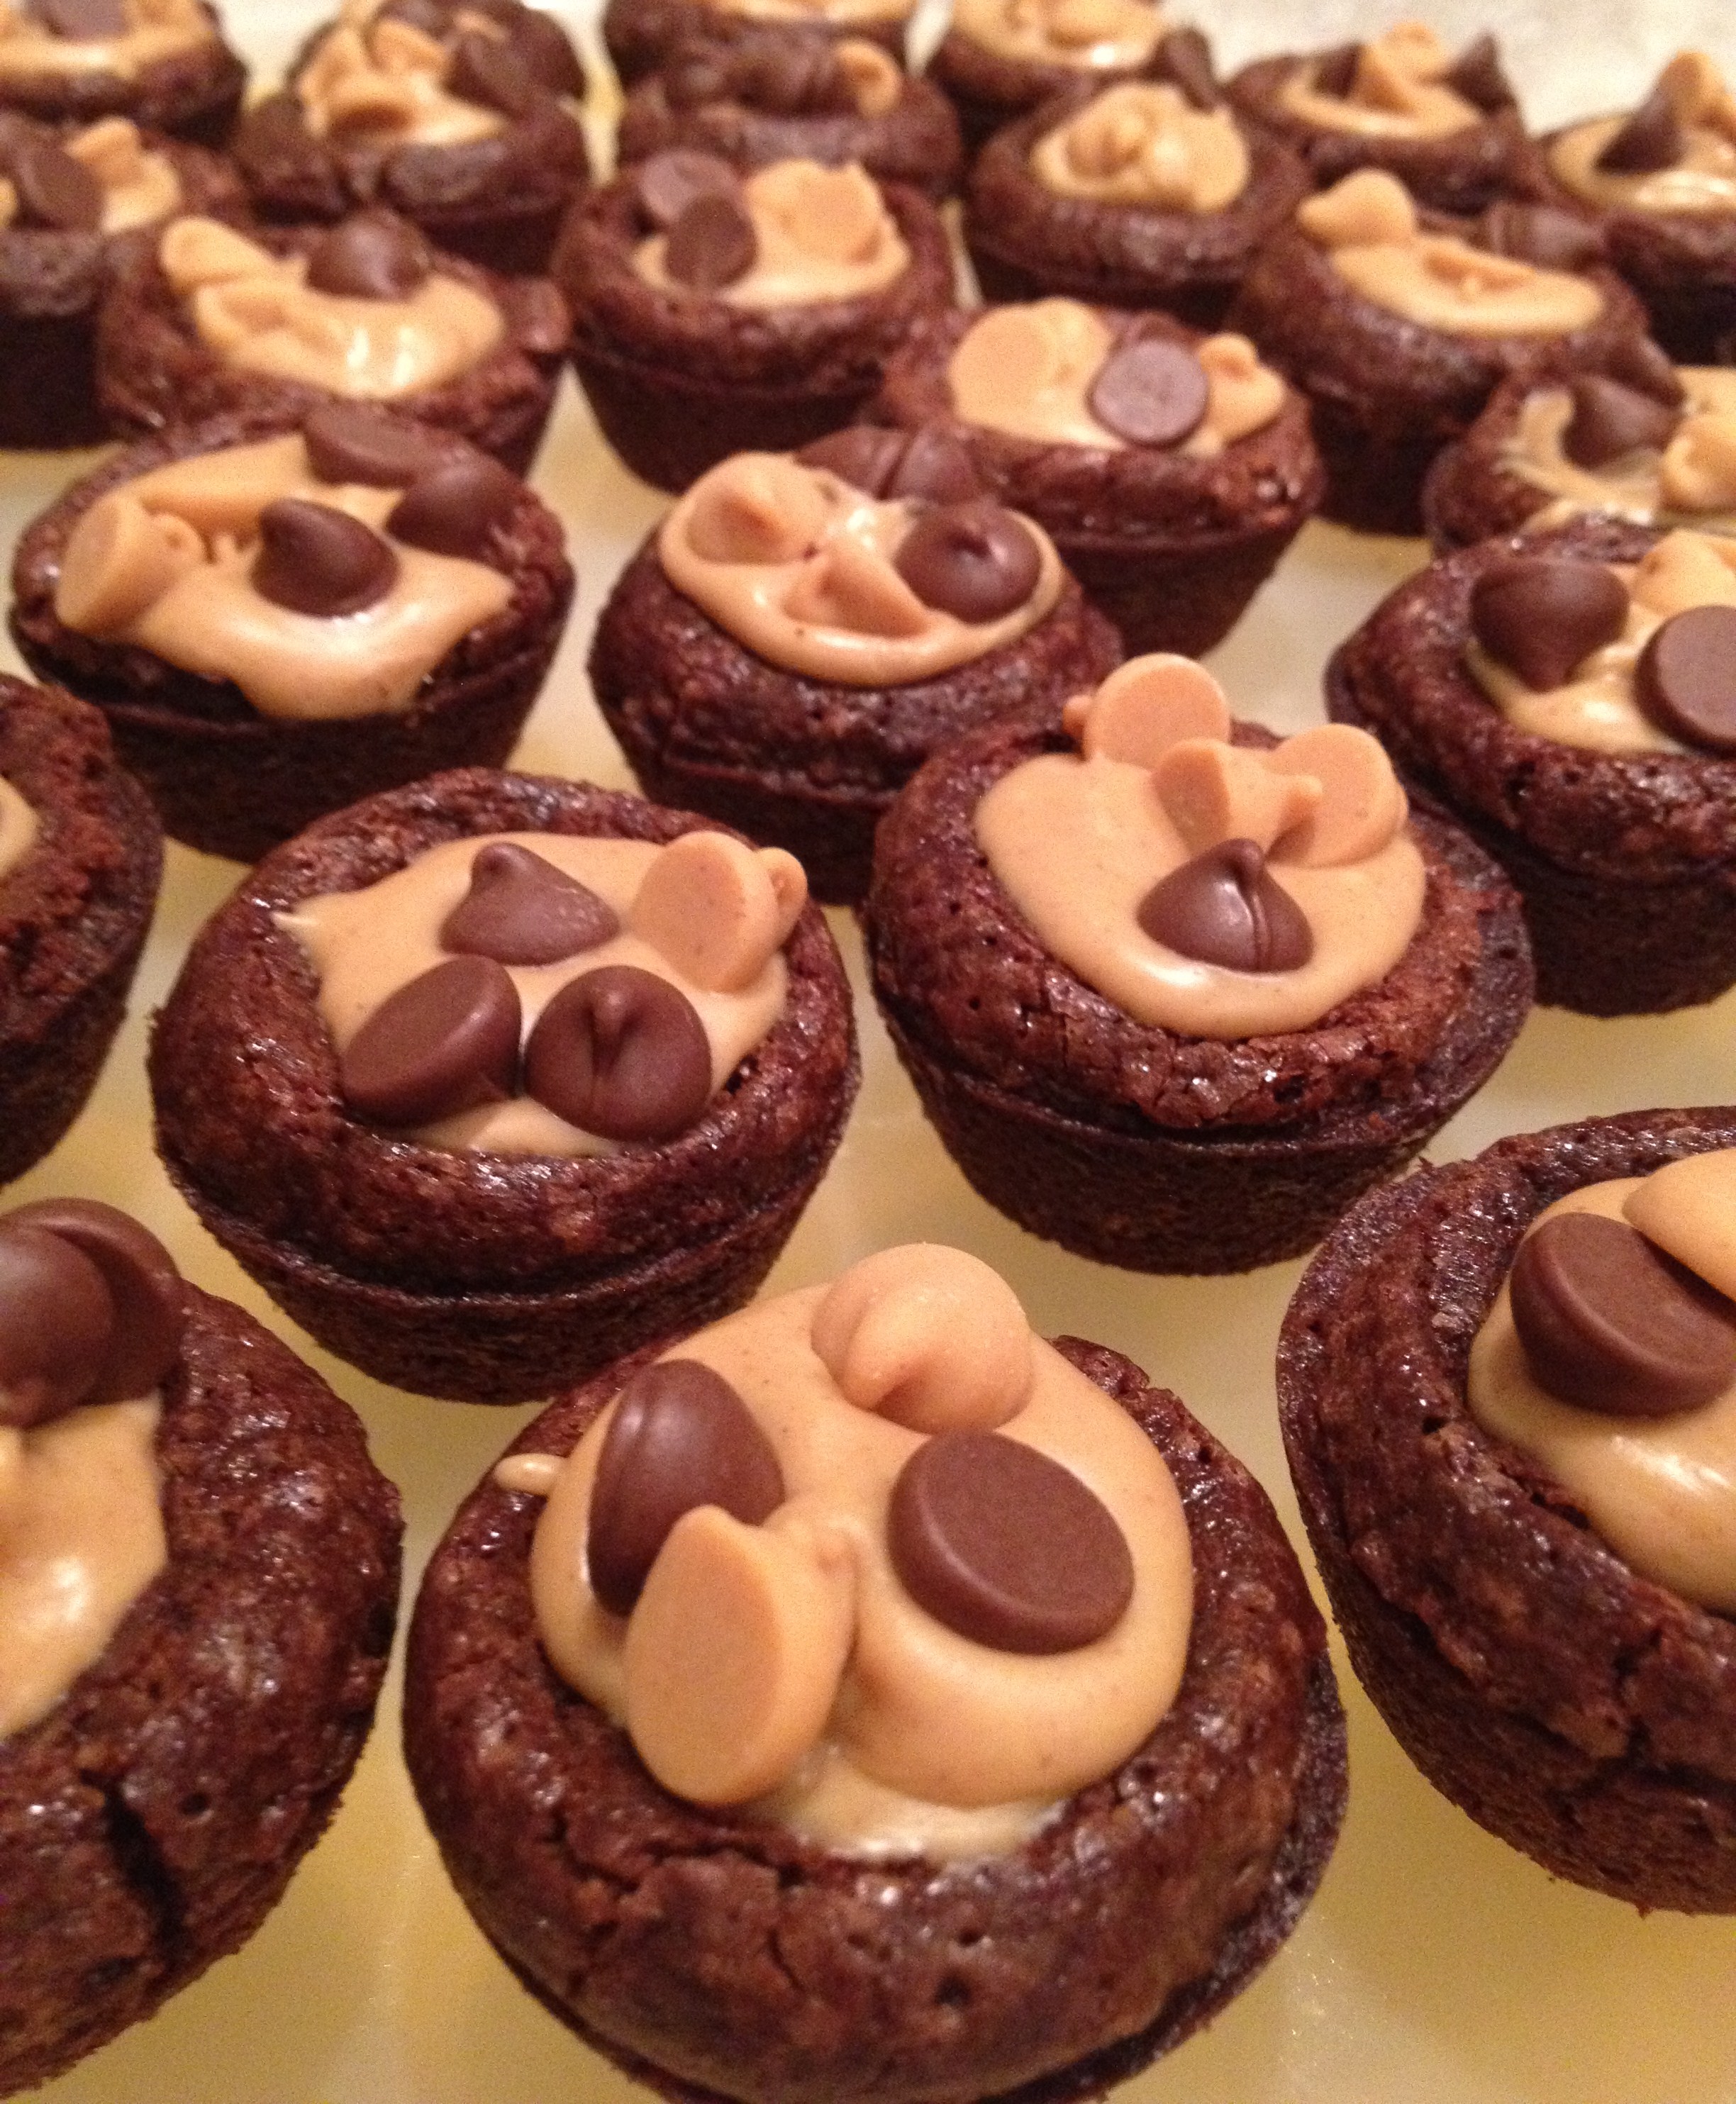
It only took a few minutes for the peanut butter to firm back up, and that's it!  These babies were ready for eatin'.

Mmmmm....you really can't beat the marriage of chocolate and peanut butter.  Those two are just good together.  These were seriously so easy.   The next time you need something for a party and you don't have much time, give these a try.  They won't disappoint!

Pumpkin Treats

I'm back with yet another fall project.  This one was more than just fun and easy...it was tasty too! Saturday morning, I whipped up a batch of pumpkin rice krispie treats.  I've seen different versions of these all over the web, so I'm not sure where the idea originated (rice krispie website, maybe?).  I first saw them here.  I'm sure there are tons of different ways to do them, but here's my method (and I bet it's the easiest!).

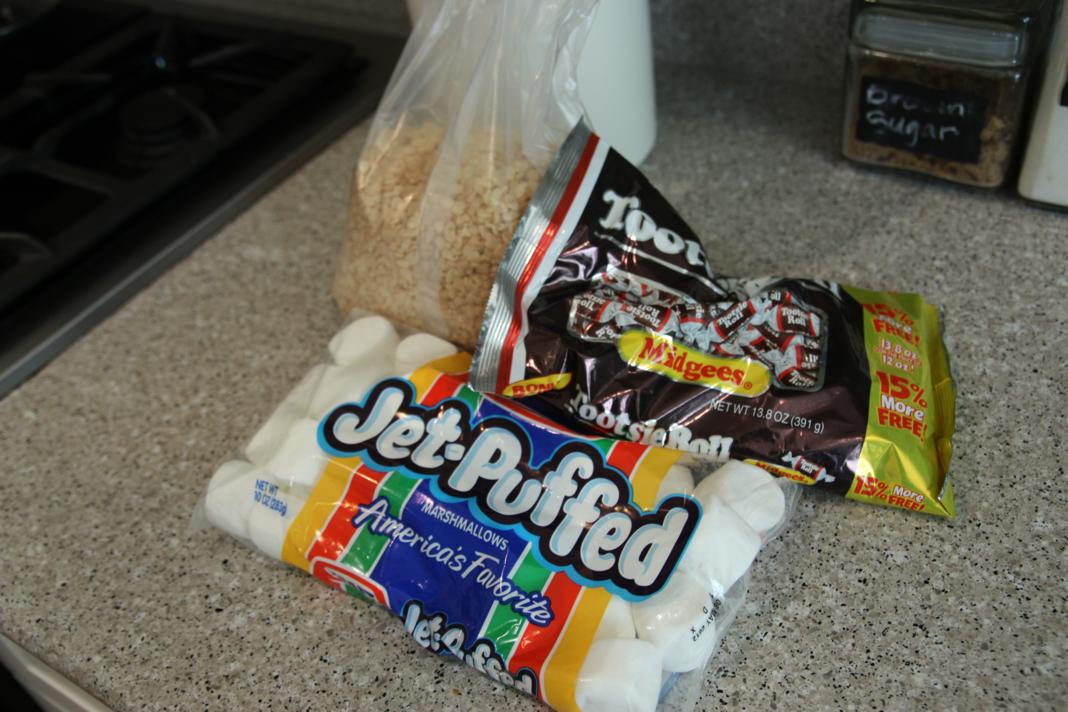
I had generic crispy rice cereal on hand, so it's what I used.  I think they were called Krispy Rice, or something like that.  I also used a whole bag of jumbo marshmallows.  I like my rice krispie treats to be extra ooey, gooey, and marshmallow-y, so I went all in. :)  Here are my supplies.  Not pictured is the butter.

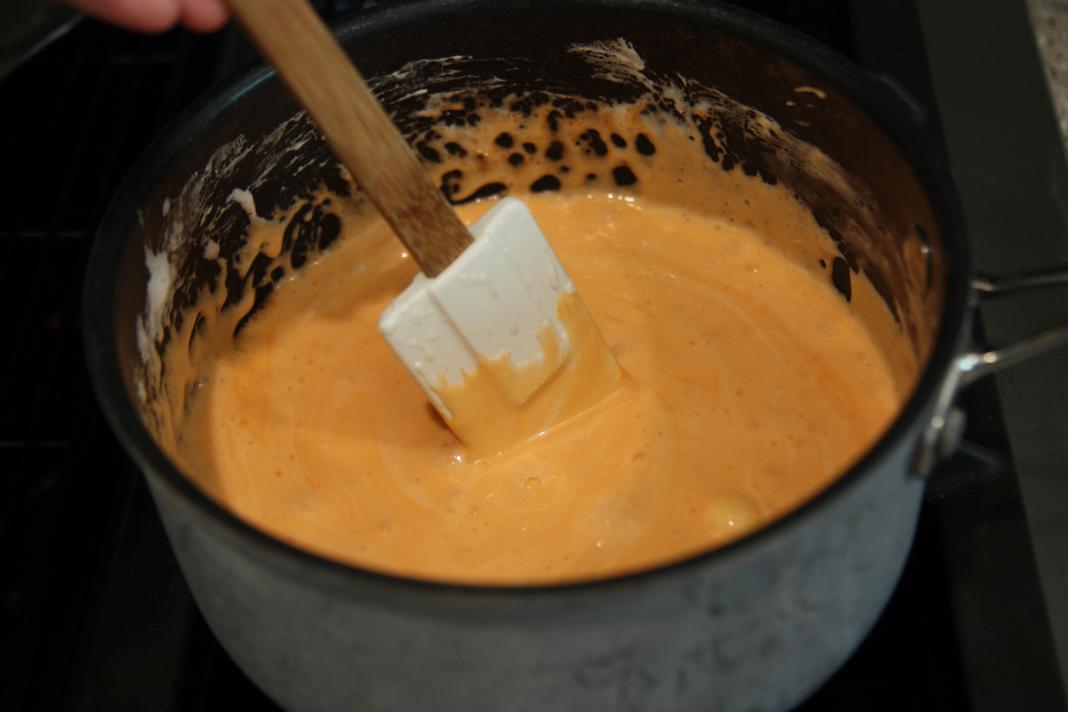
I melted less than a half a stick of butter on the stove, and added the bag of marshmallows to the pot.  Once they were mostly melted, I added some Wilton orange food coloring.  Red and yellow would work fine too.

It turned my mixture a nice shade of orange.  In hindsight, I could've probably gone a little oranger.

I don't know exactly how much of the crispy rice cereal I added - maybe 5 cups?  I just kept added until I was ok with the consistency.

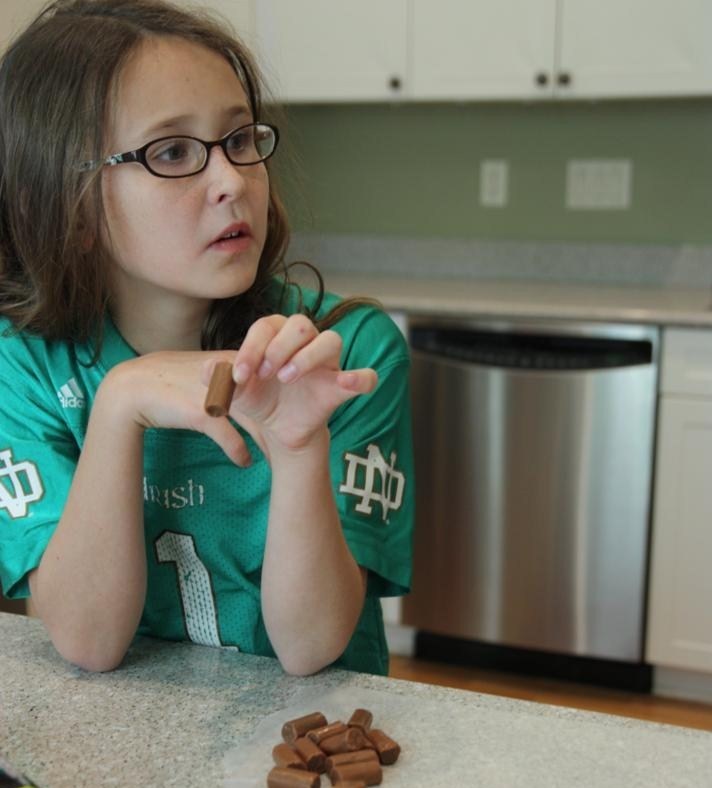
Anna was my helper for the assembly process.  She unwrapped the tootsie rolls while I rolled the pumpkin balls.  The marshmallow mix was still pretty warm.

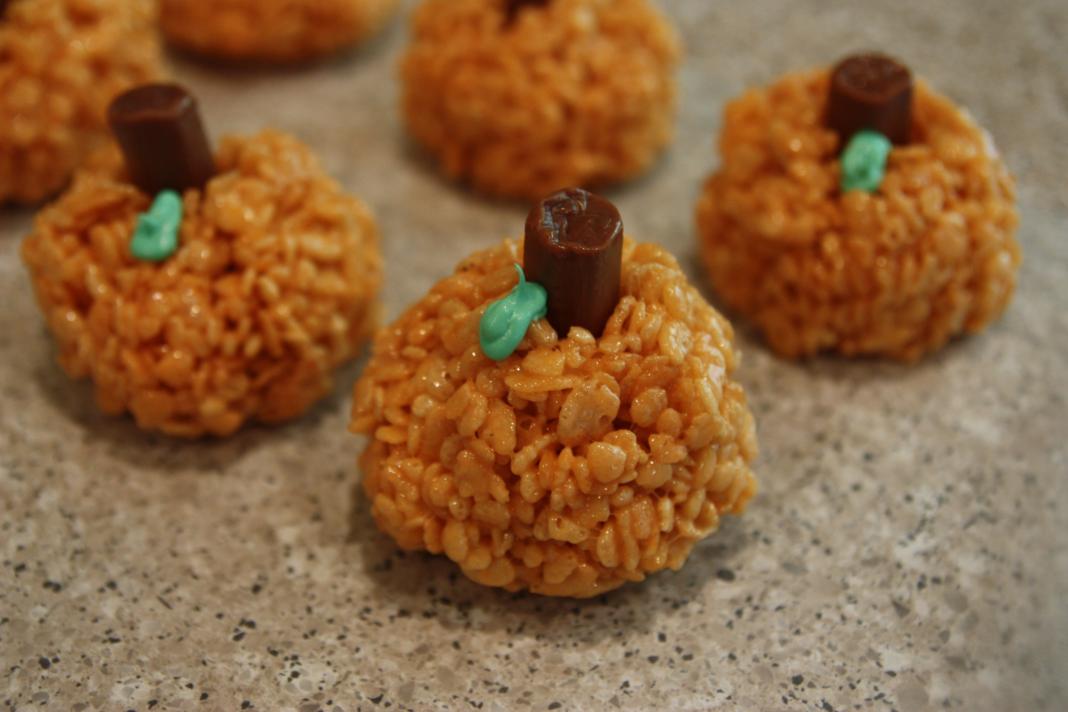
As I rolled the pumpkins, I used my finger to make a small indention for her to stick the tootsie roll.

I had a small can of frosting already, so I added some green food coloring to it to make a few leaves.  I didn't really try hard so they don't look exactly like leaves, but I think the extra color still helps.

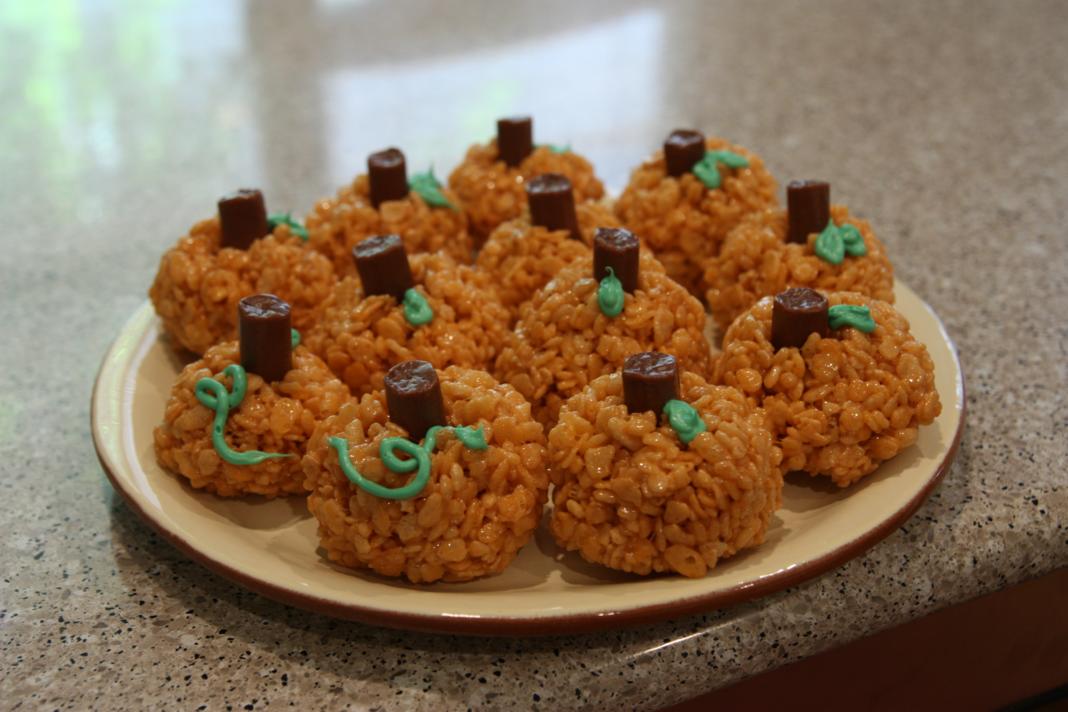
My finished plate of pumpkins.  The best part was definitely eating them up!

Apple Turnovers and Swimming

What do those two things have to do with each other?  Absolutely nothing.  Except that they're the two things I took pictures of today so they're what I'm going to write about.  :) Anna spent the past week in cooking camp (the first of approximately 32 camps the kids are attending this summer) and wanted to practice her newly learned skills on us.  Doc happily bought the ingredients she needed last night at the grocery store and this morning she got up, made her way to the kitchen, and made us a breakfast of apple turnovers.

Her list of ingredients was short and simple:  powdered sugar, apple pie filling, biscuits, and cinnamon sugar.

First step: flatten out each biscuit.

Next, sprinkle generously with cinnamon sugar.

Then, spoon on a few apples and some filling.

And finally, fold the biscuit over in half and pinch the edges together using a fork.

Then do it again and again and again.  Our chef doesn't like apple pie filling so she made a few without it.

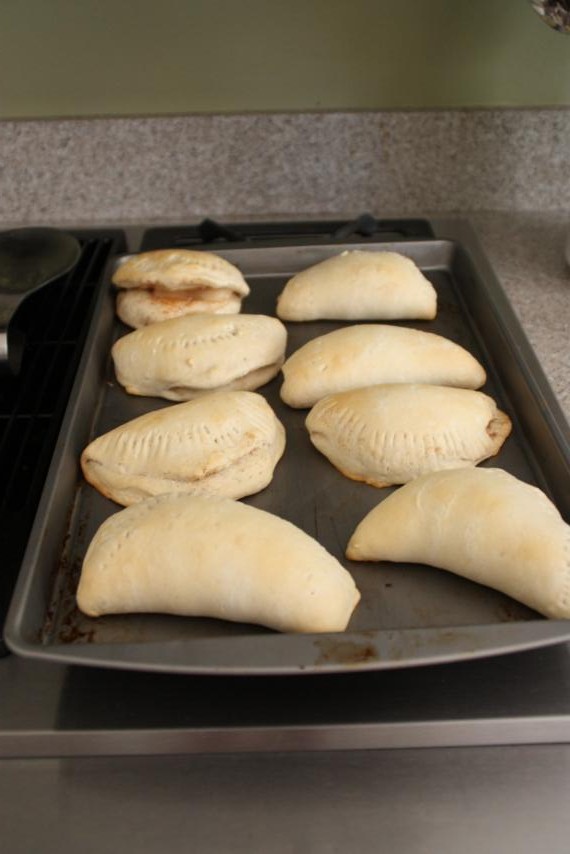
We popped them in the oven for a few minutes and they plumped up as they cooked.

And then the very last step was to sprinkle them with powdered sugar.

The chef was pleased with how they turned out and so were we!

I added a few berries to mine before enjoying it out on the patio.

After filling our bellies with the delicious apple turnovers, we went to the farmers market to stock up on some goodies for the week.  As soon as we got back home and unloaded the car, we changed into our swimsuits and headed out to Parker's house to swim.

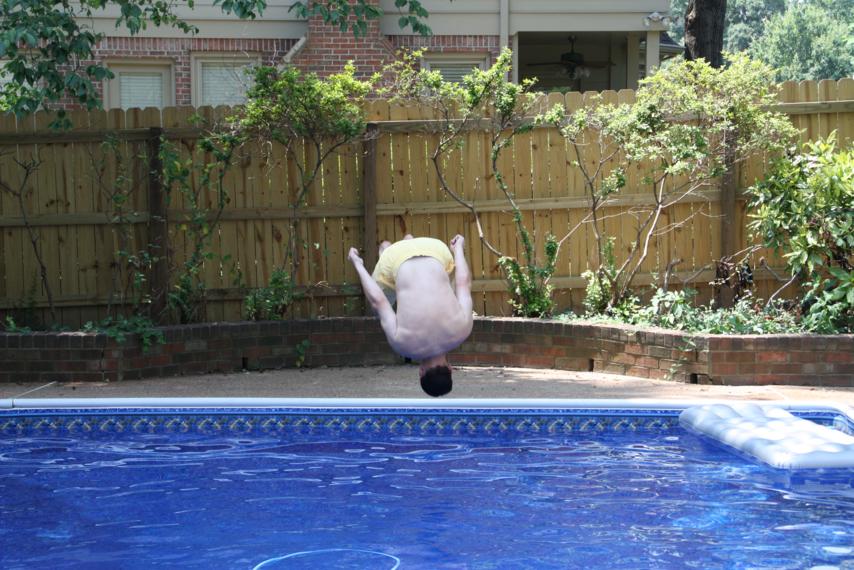
Doc made a quick entrance into the cold water with a front flip.

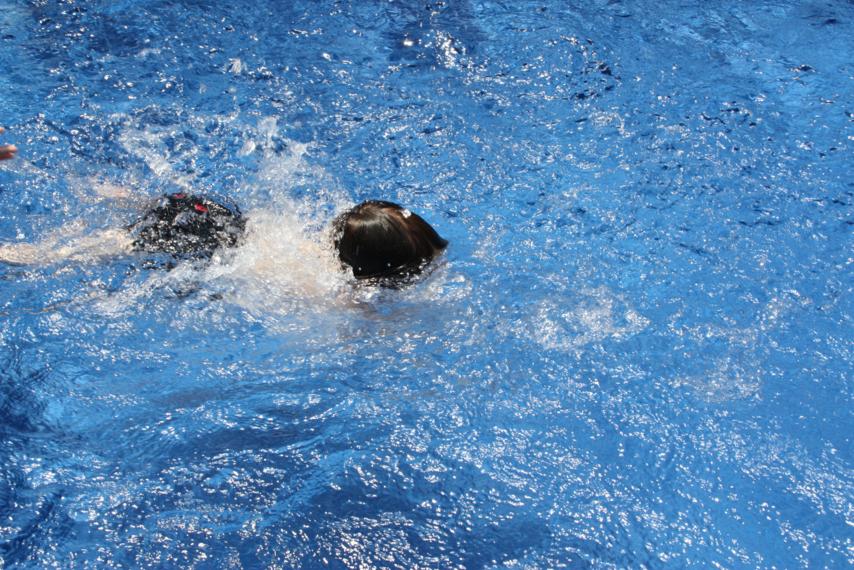
Parker jumped in too.

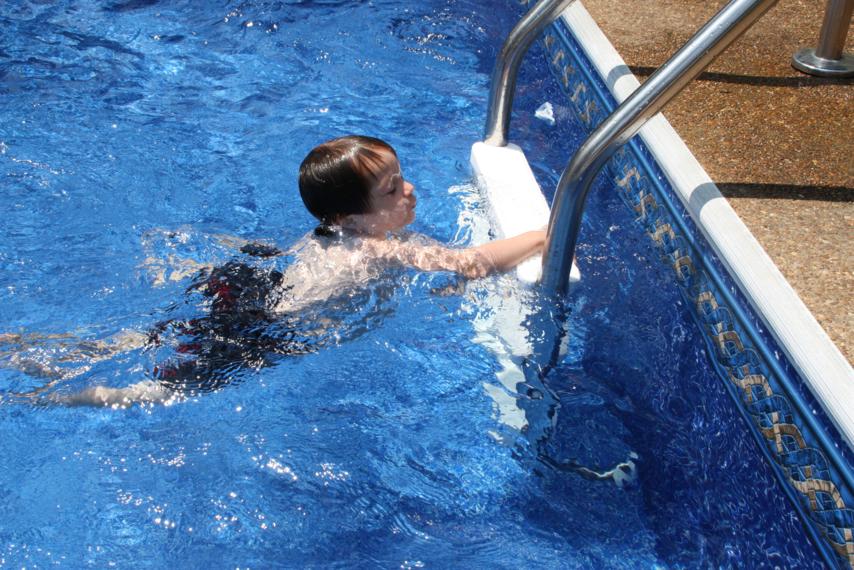
This little boy is a fish!  He jumped off and swam to his mama and then swam to the ladder over and over and over again.  I was worn out just watching him.

Parker does a great job of following the rules.  If his mama's not in the water, he has to wear his safety vest.

Sometimes his uncle would give him a little toss into the water.

Anna watched him below the water with her goggles and snorkel.

After a picnic lunch of Chik-Fil-A out by the pool, we didn't stay much longer.  We wanted to get home early since we heard it was going to be a full moon...

That's all for now.  More later!