One Last Project

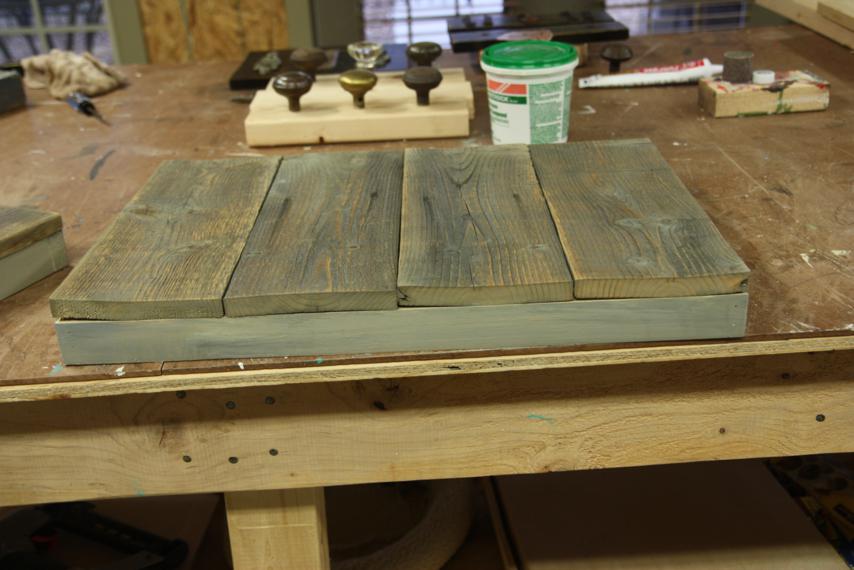
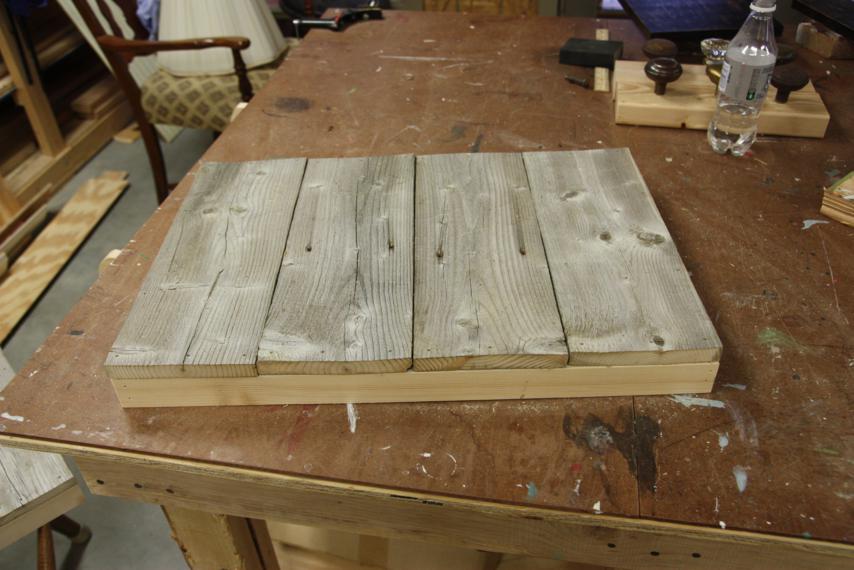
Ok, I have one last beach house project to share and then I promise I'll stop for a while.  With the projects, that is, not the beach house.  I have lots to share on that front!  But first, this project.  I meant to post this last week and just didn't get time to finish it.  Oopsy. Way back - maybe a couple months ago - I made two "canvases" using recycled fence slats.  The slats were from the same pile of old fence that we used to make the lemonade stand and the potting stand.  To make the canvases, I cut 4 slats to equal lengths and then framed them on the back with 1x2s.

I love the look of the naturally weathered slats, but obviously the fresh new wood frame wasn't working with it.  To try to blend it in, I smeared some grey paint on it, trying my best to match the color and look of the old wood.

After that, I also took some grey paint, majorly watered it down, and then washed it over the whole thing - the slats and the sides.  My thinking was that it'd help blend the two woods together a little.

So that was done, and that was the easy part.  Now I had to figure out what to paint on them.  Going into it, I had a good plan.  We had already purchased several buoys to use in the beach house, so I was going to paint some buoys on the canvases and make them real texure-y and colorful.  Problem was that every time I tried to draw the buoys, they just looked like flat squares.  I couldn't get them to look right, and definitely not 3D.  So I tabled the project for a while.

Last week, between cutting holes for grommets, I picked them back up to finish them.  I knew I wanted to keep the weathered look of the fence slats as the background, so I needed some kind of beachy object I could just paint in the center (that wouldn't require a background, so no beach scenes).  I also knew that I wanted the canvases to stay horizontal so that the individual slats were vertical, just in case these ended up getting hung on a wall with horizontal paneling.

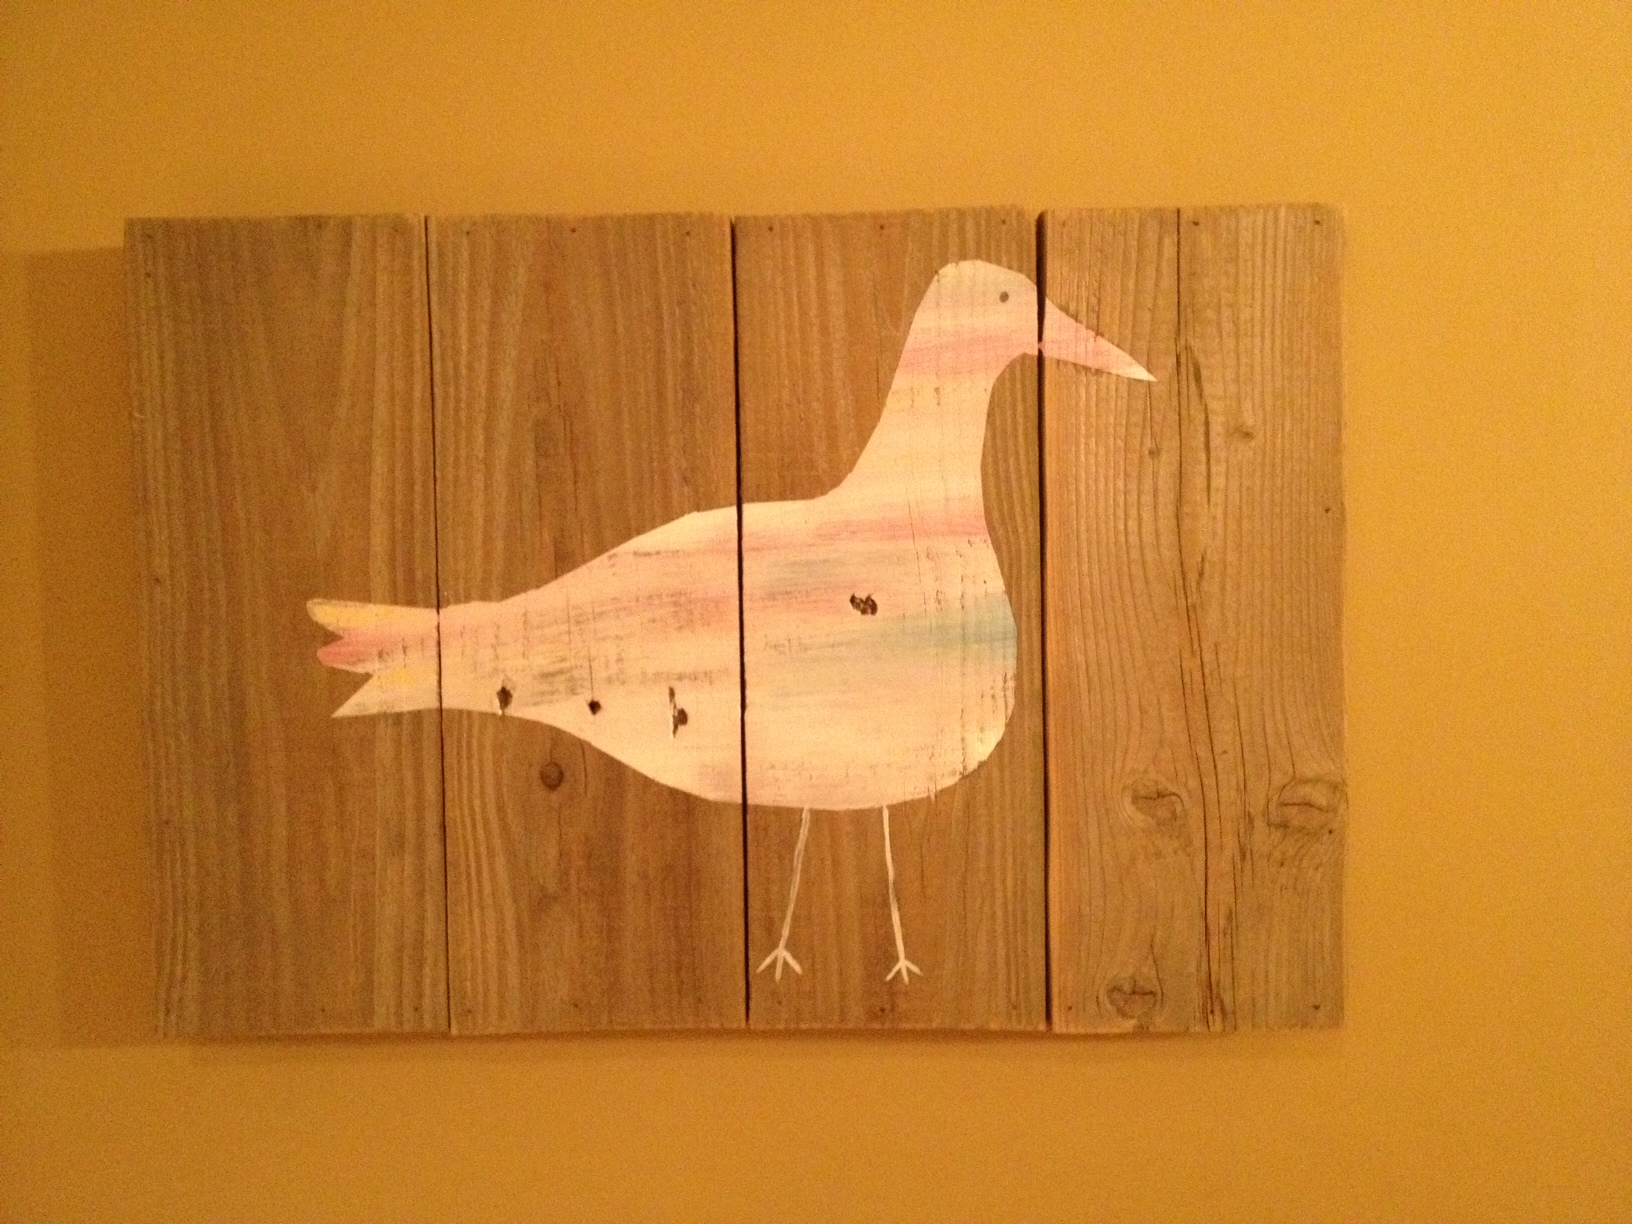
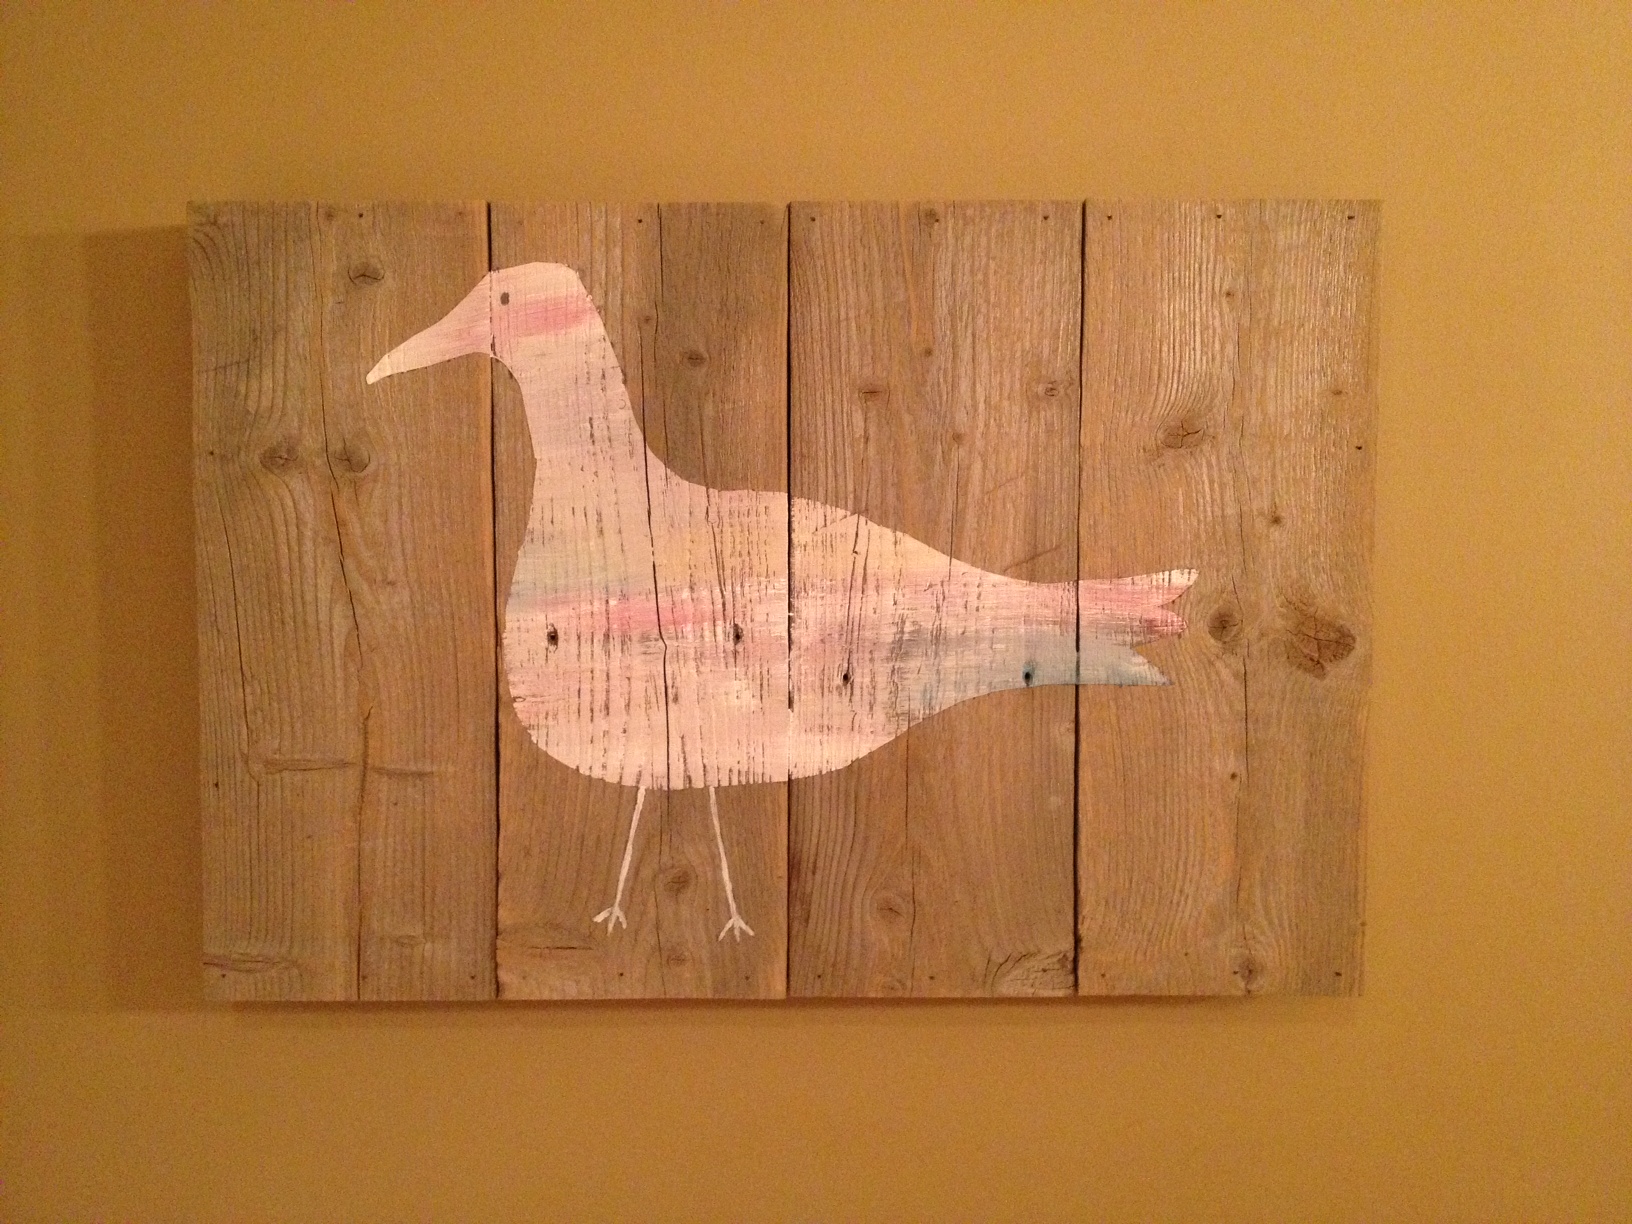
The winning object was birds.  Ducks?  Sea gulls?  I don't really know what they are exactly, but they're bird-ish.

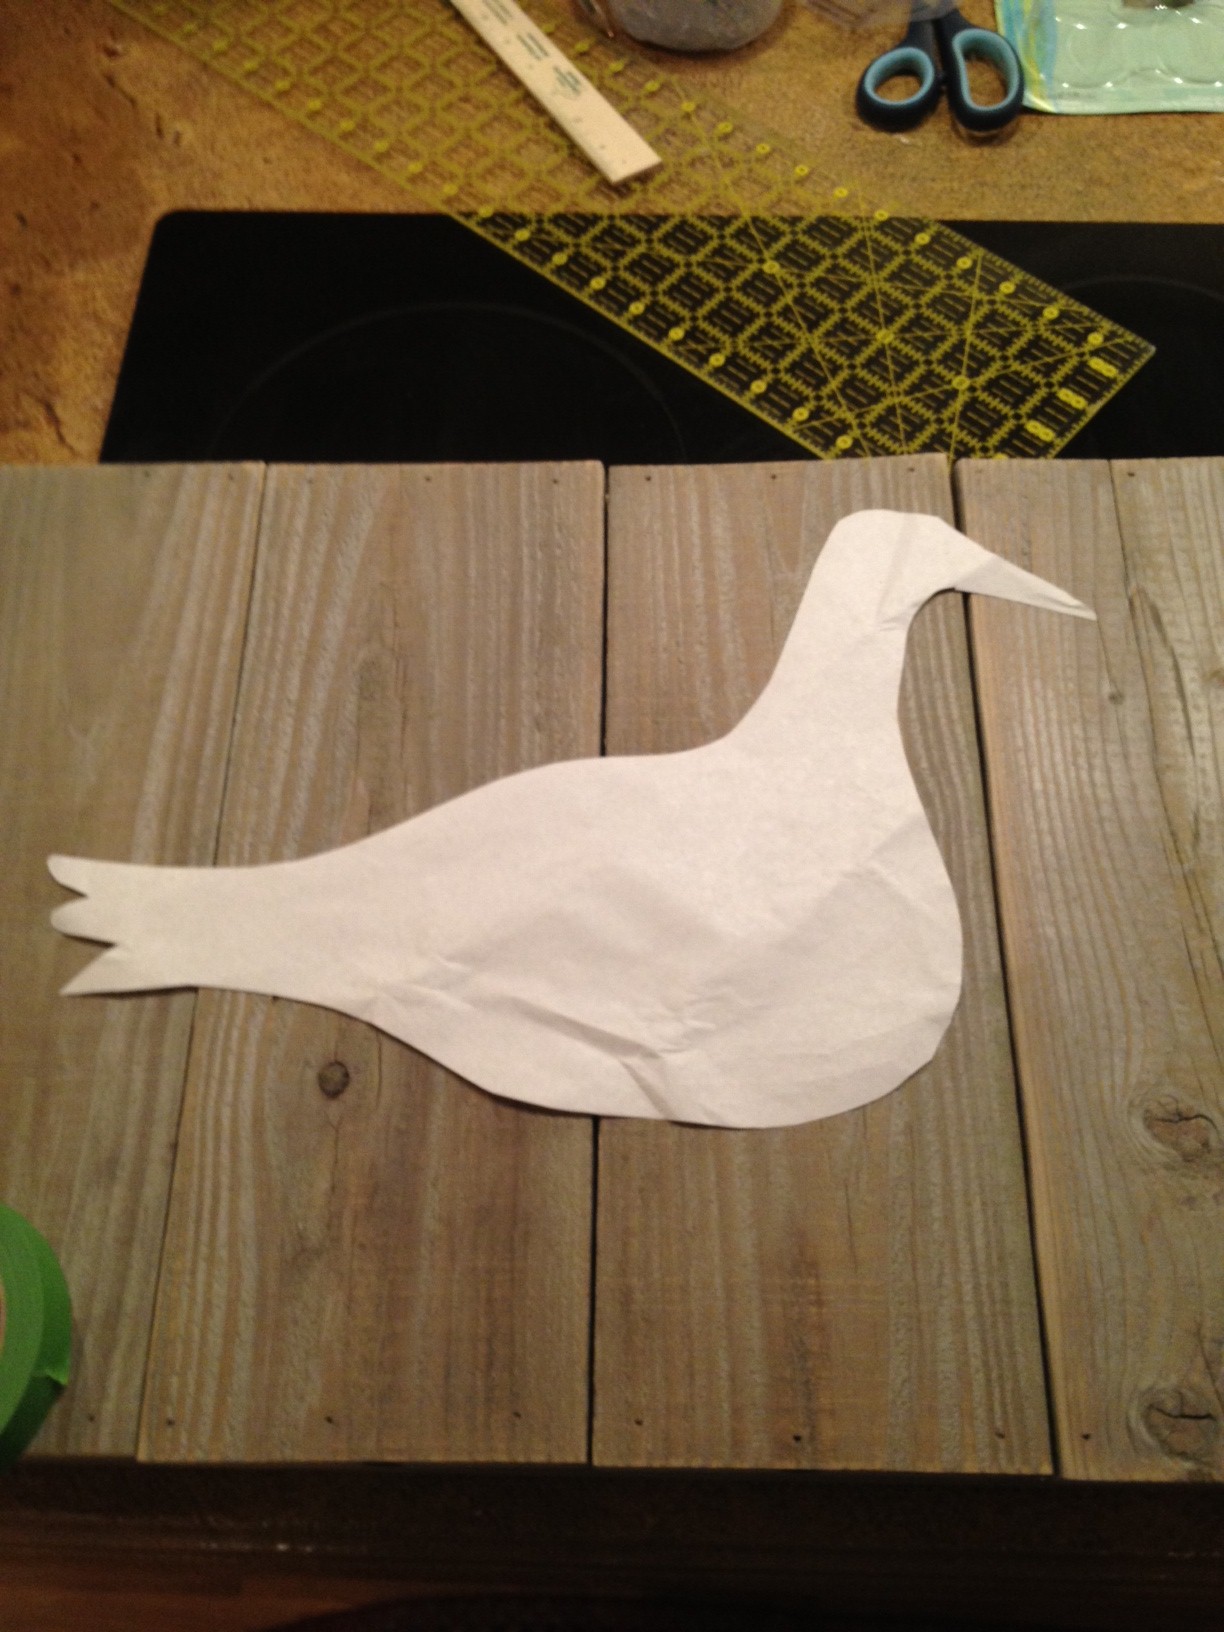
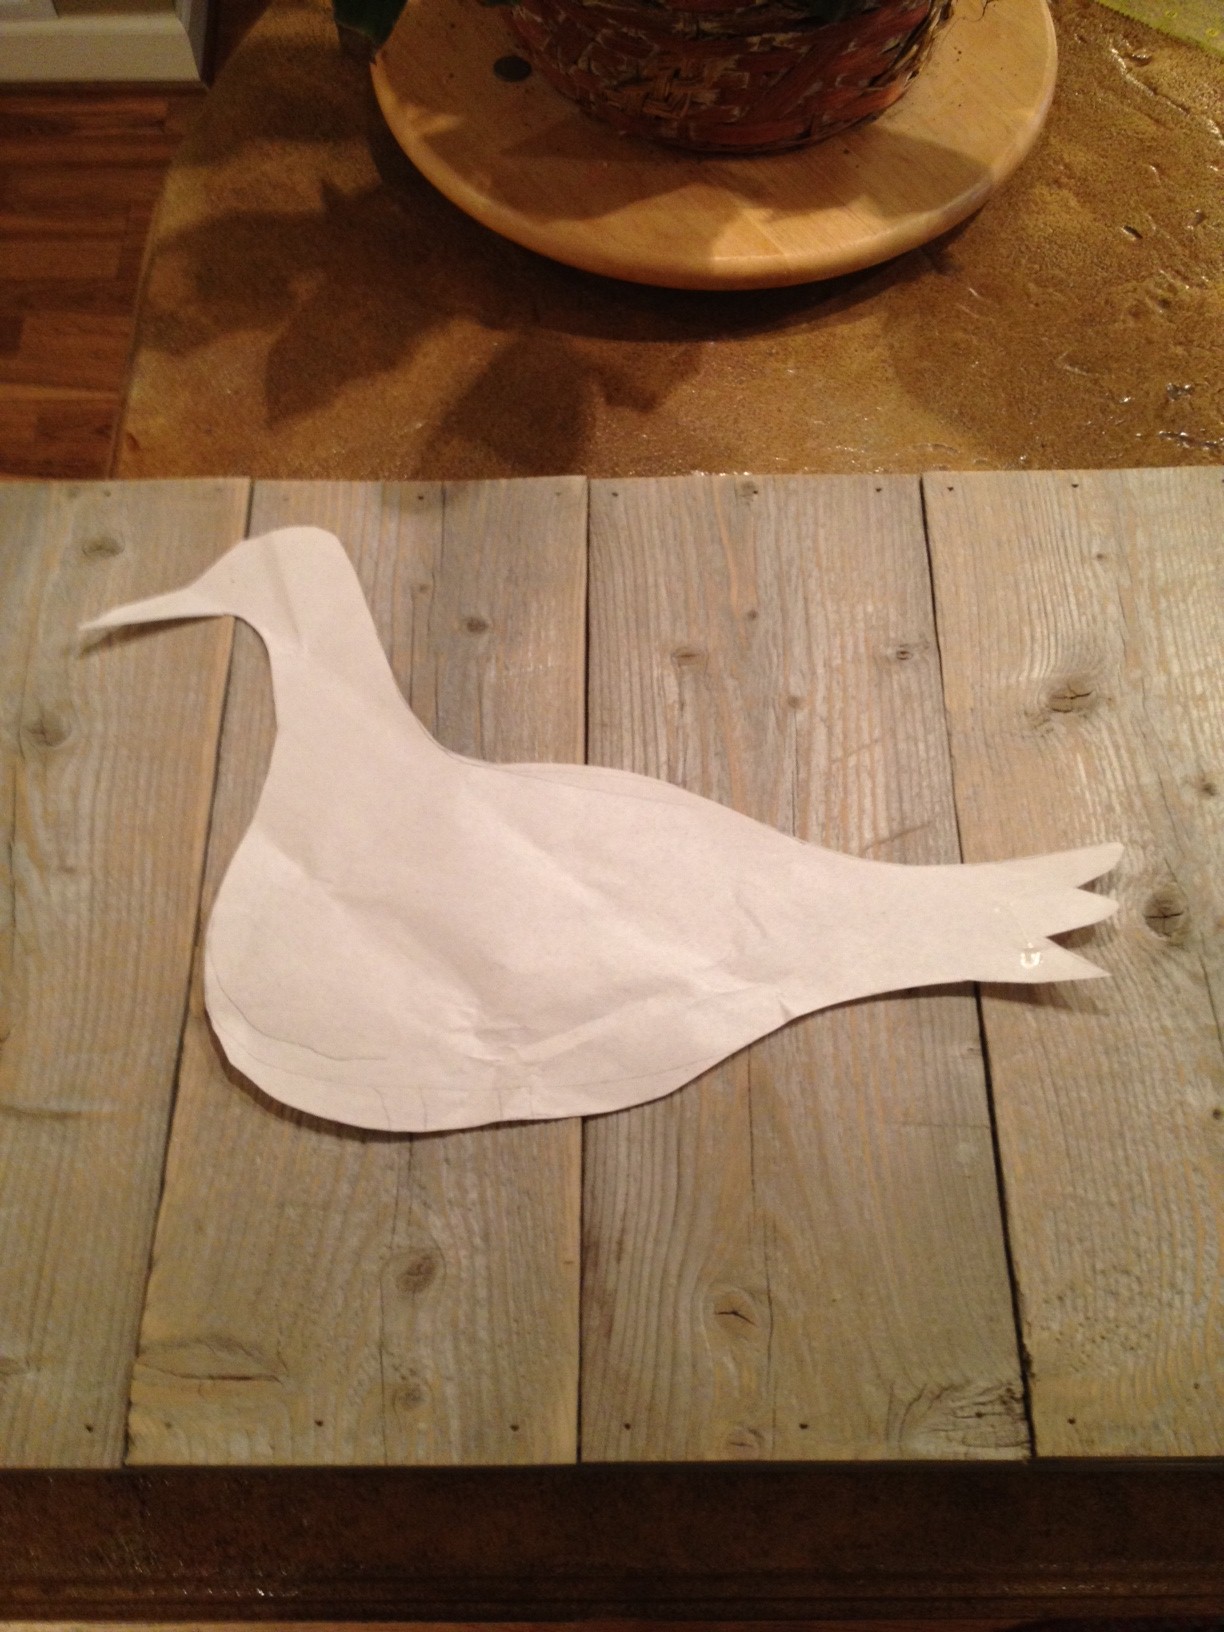
First I drew a stencil out of paper so that I could trace it onto the canvases.

I wanted these two canvases to be so that they could hang together, or on either sides of something (window, piece of furniture) and still go together.  I toyed with doing one big bird on one canvas and two baby birds on the other, but ended up just going with the same bird on both but turned in opposite directions.

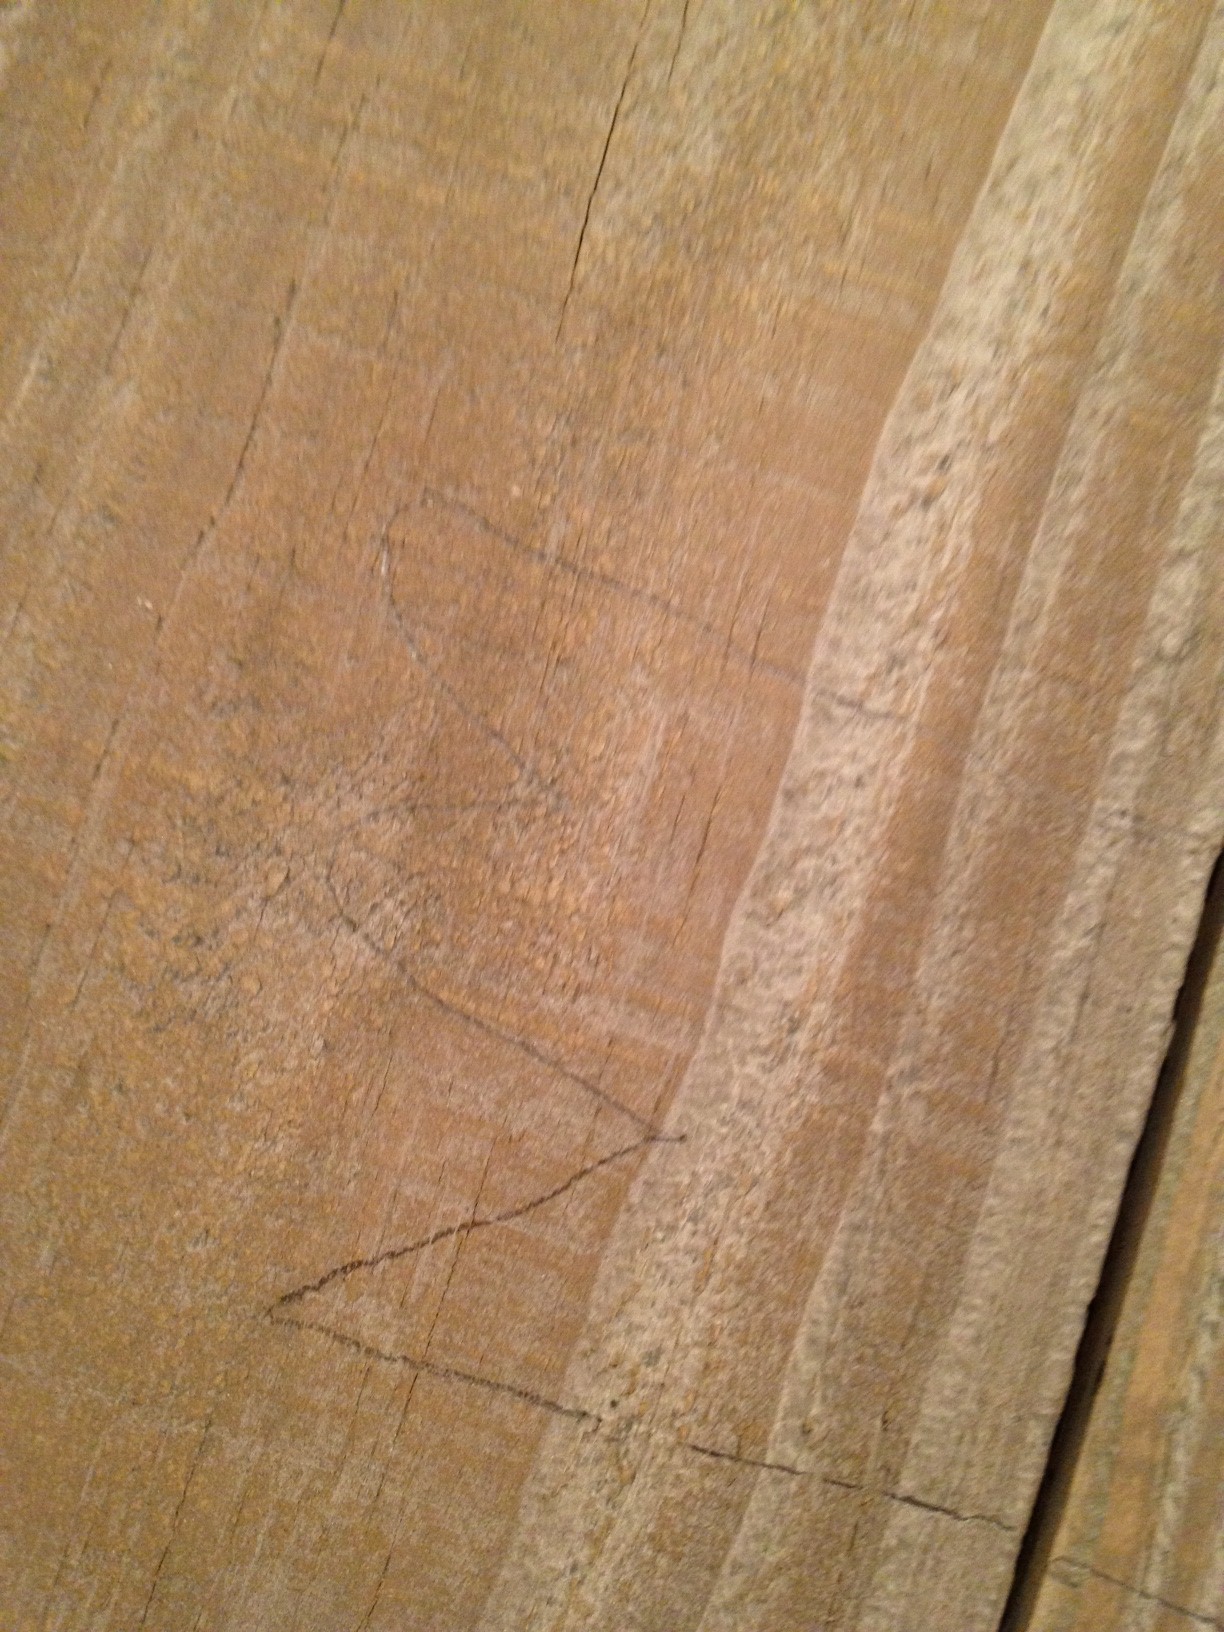
I lightly traced the outlines using a pencil.

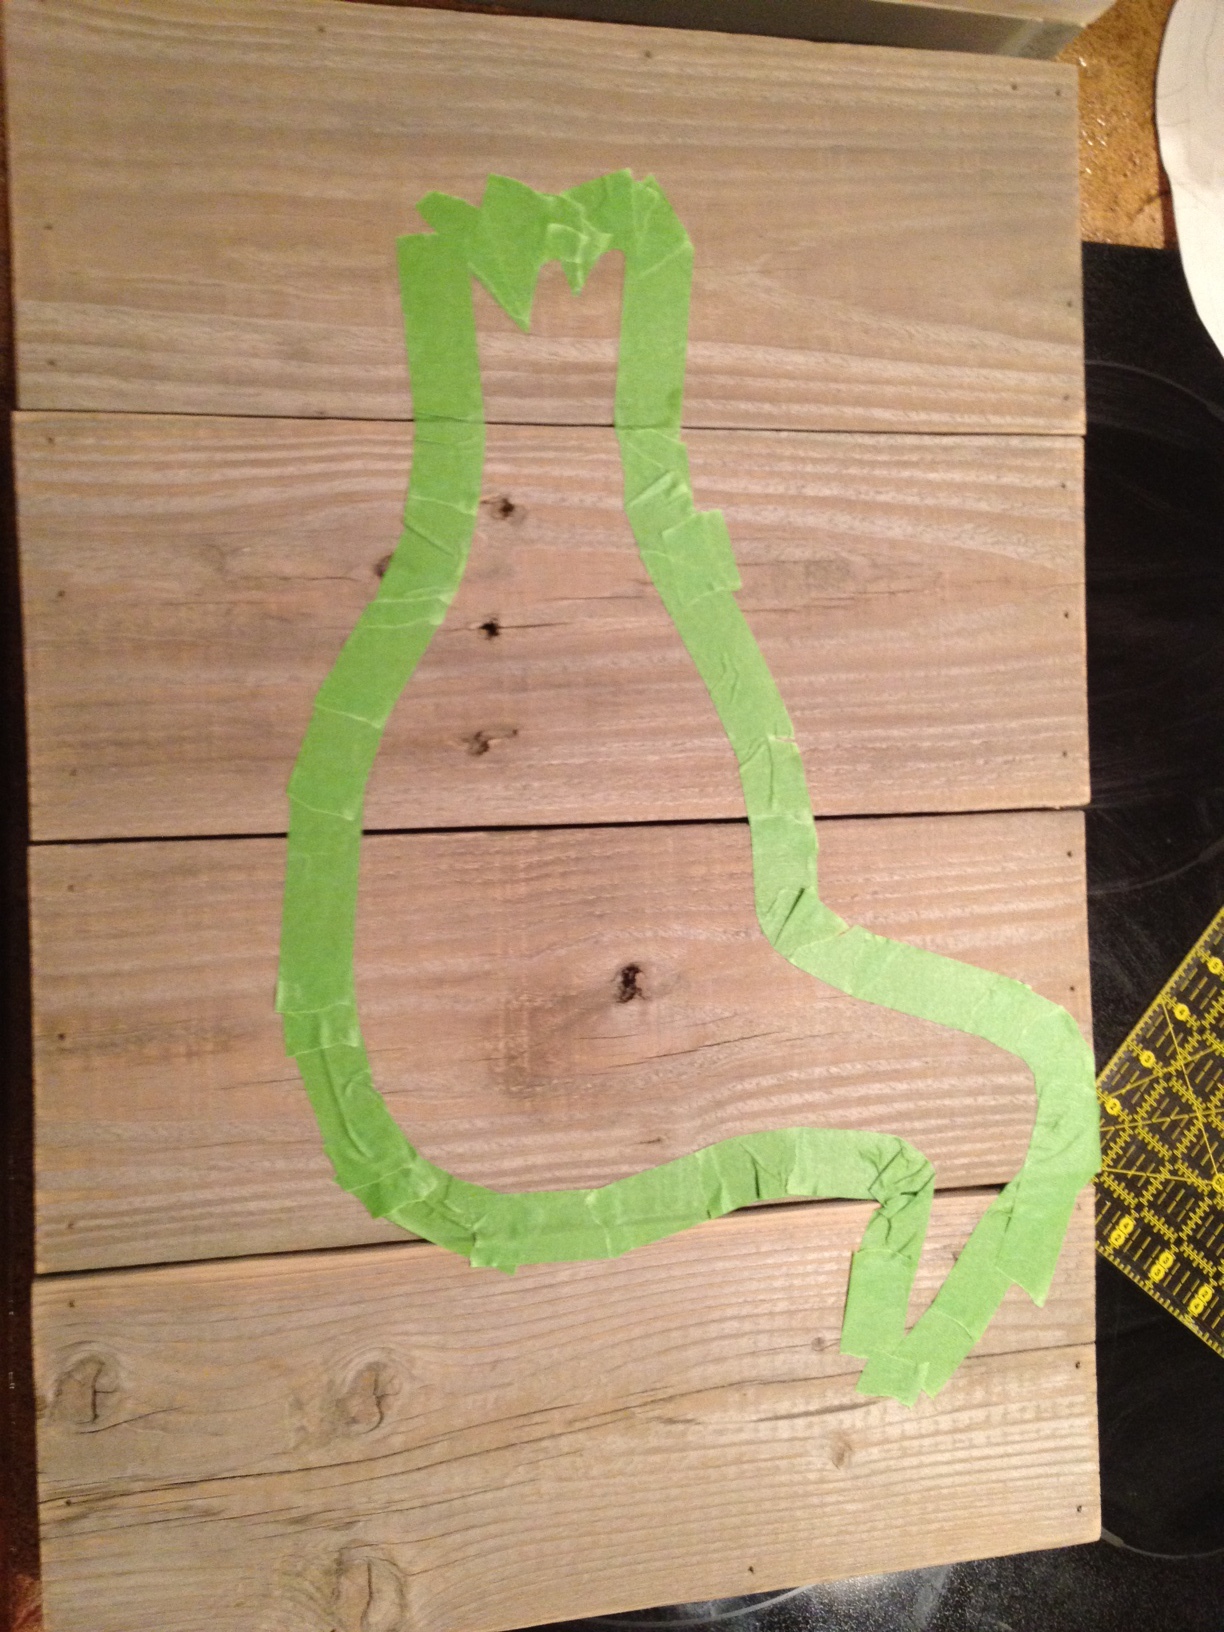
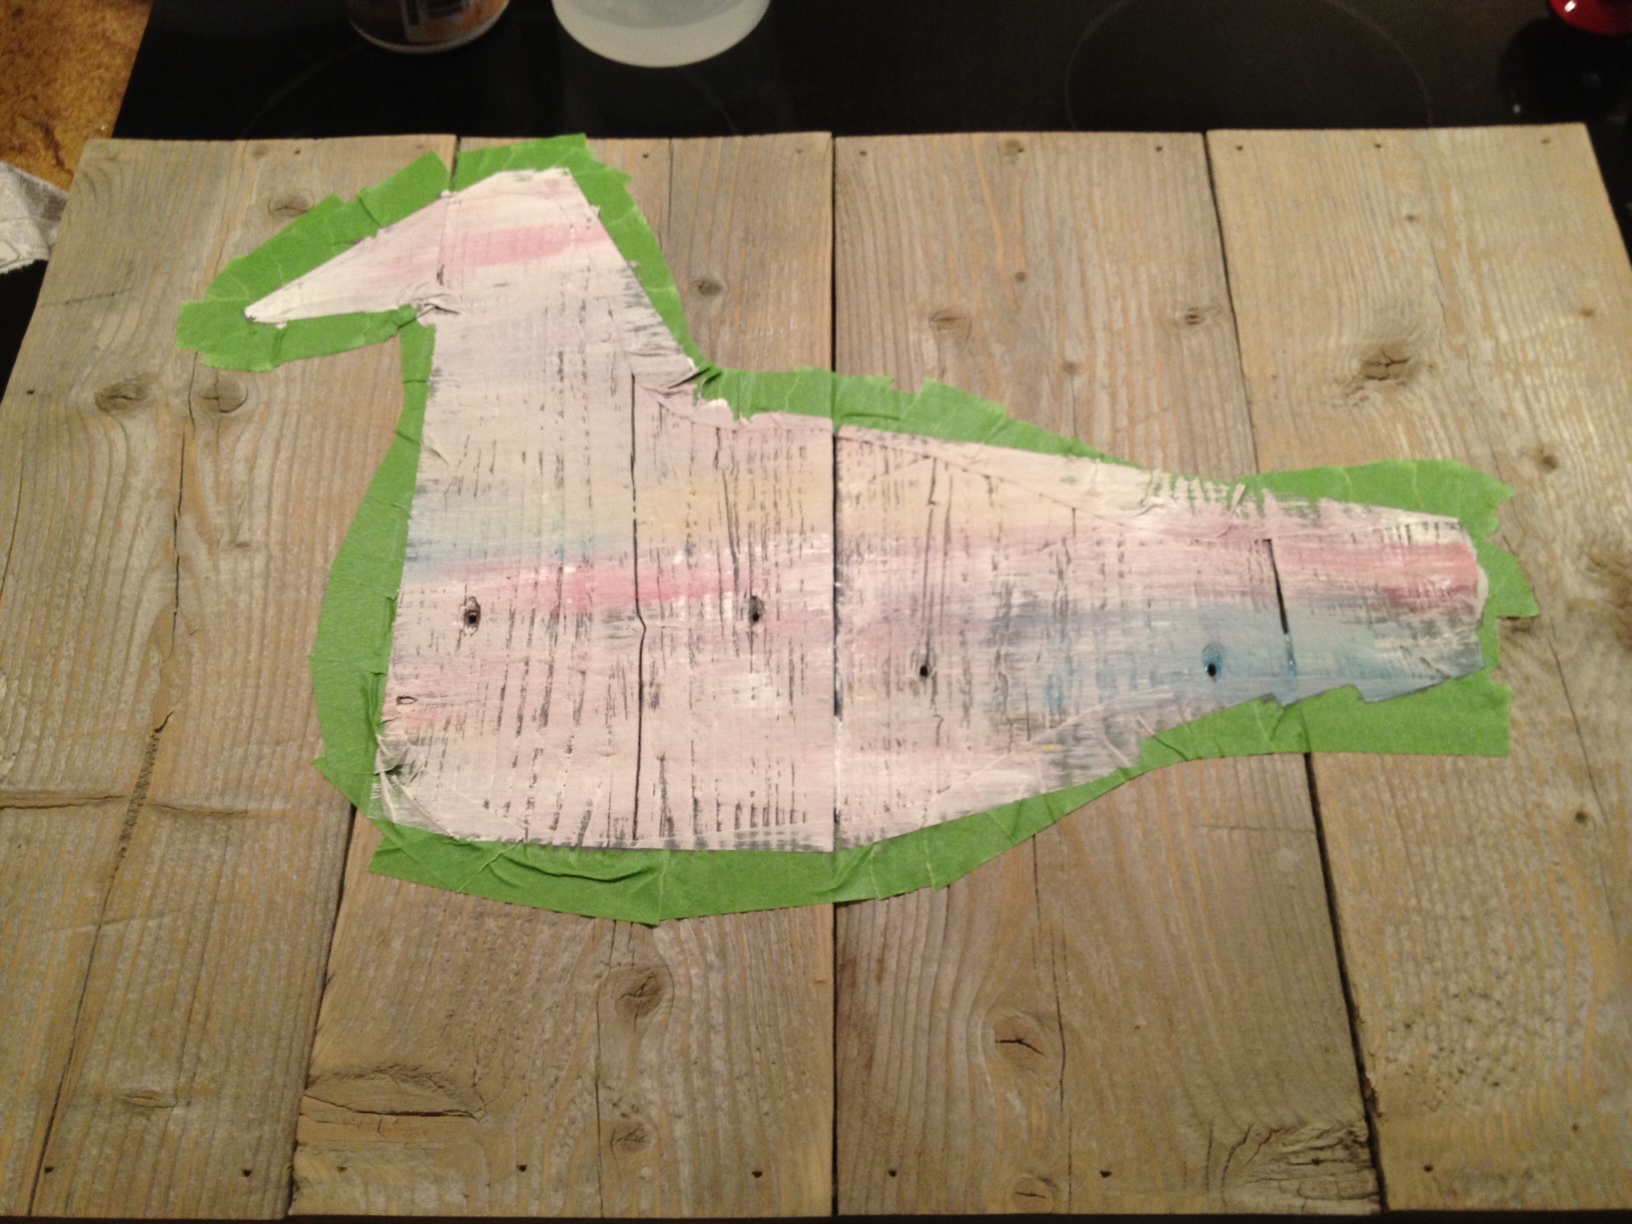
And then I had to tape it off.  Taping all the curves and details (tail feathers) was hard!

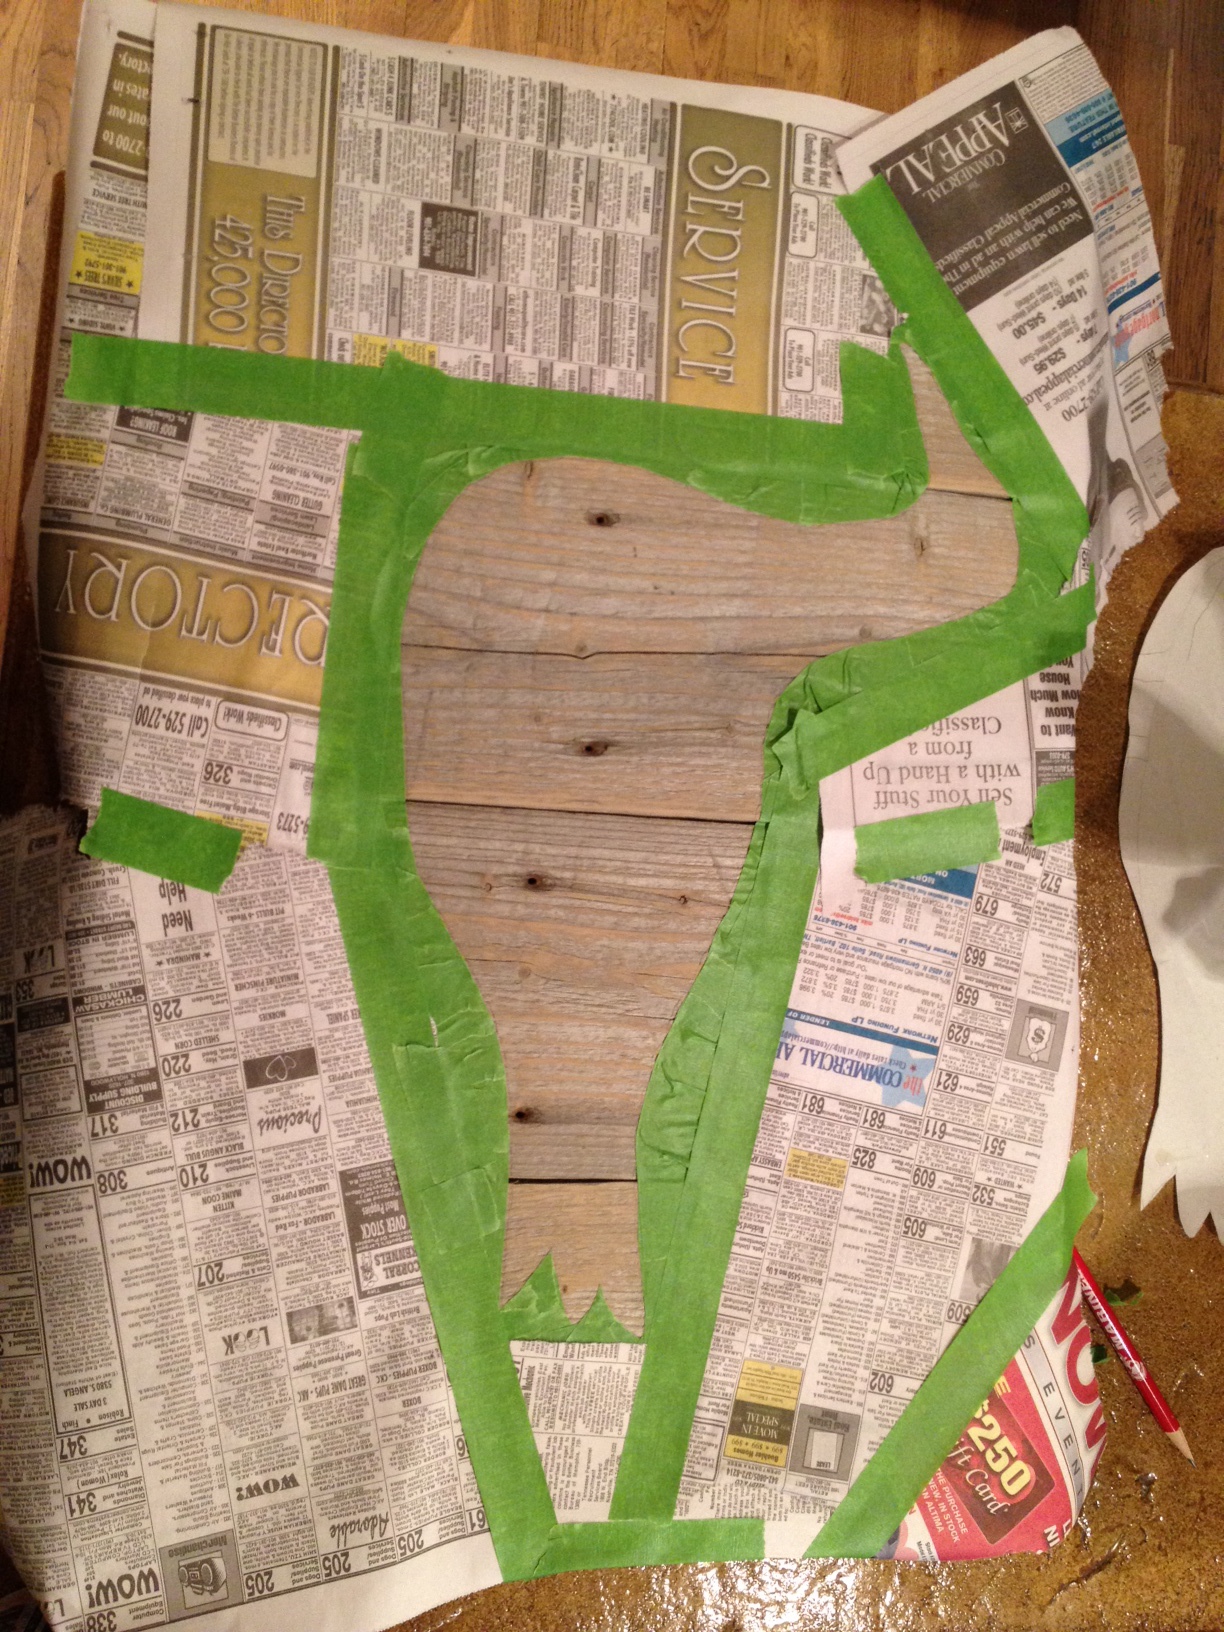
With the outline traced off, I then taped newspaper over the rest of the wood to keep it safe from splatters.

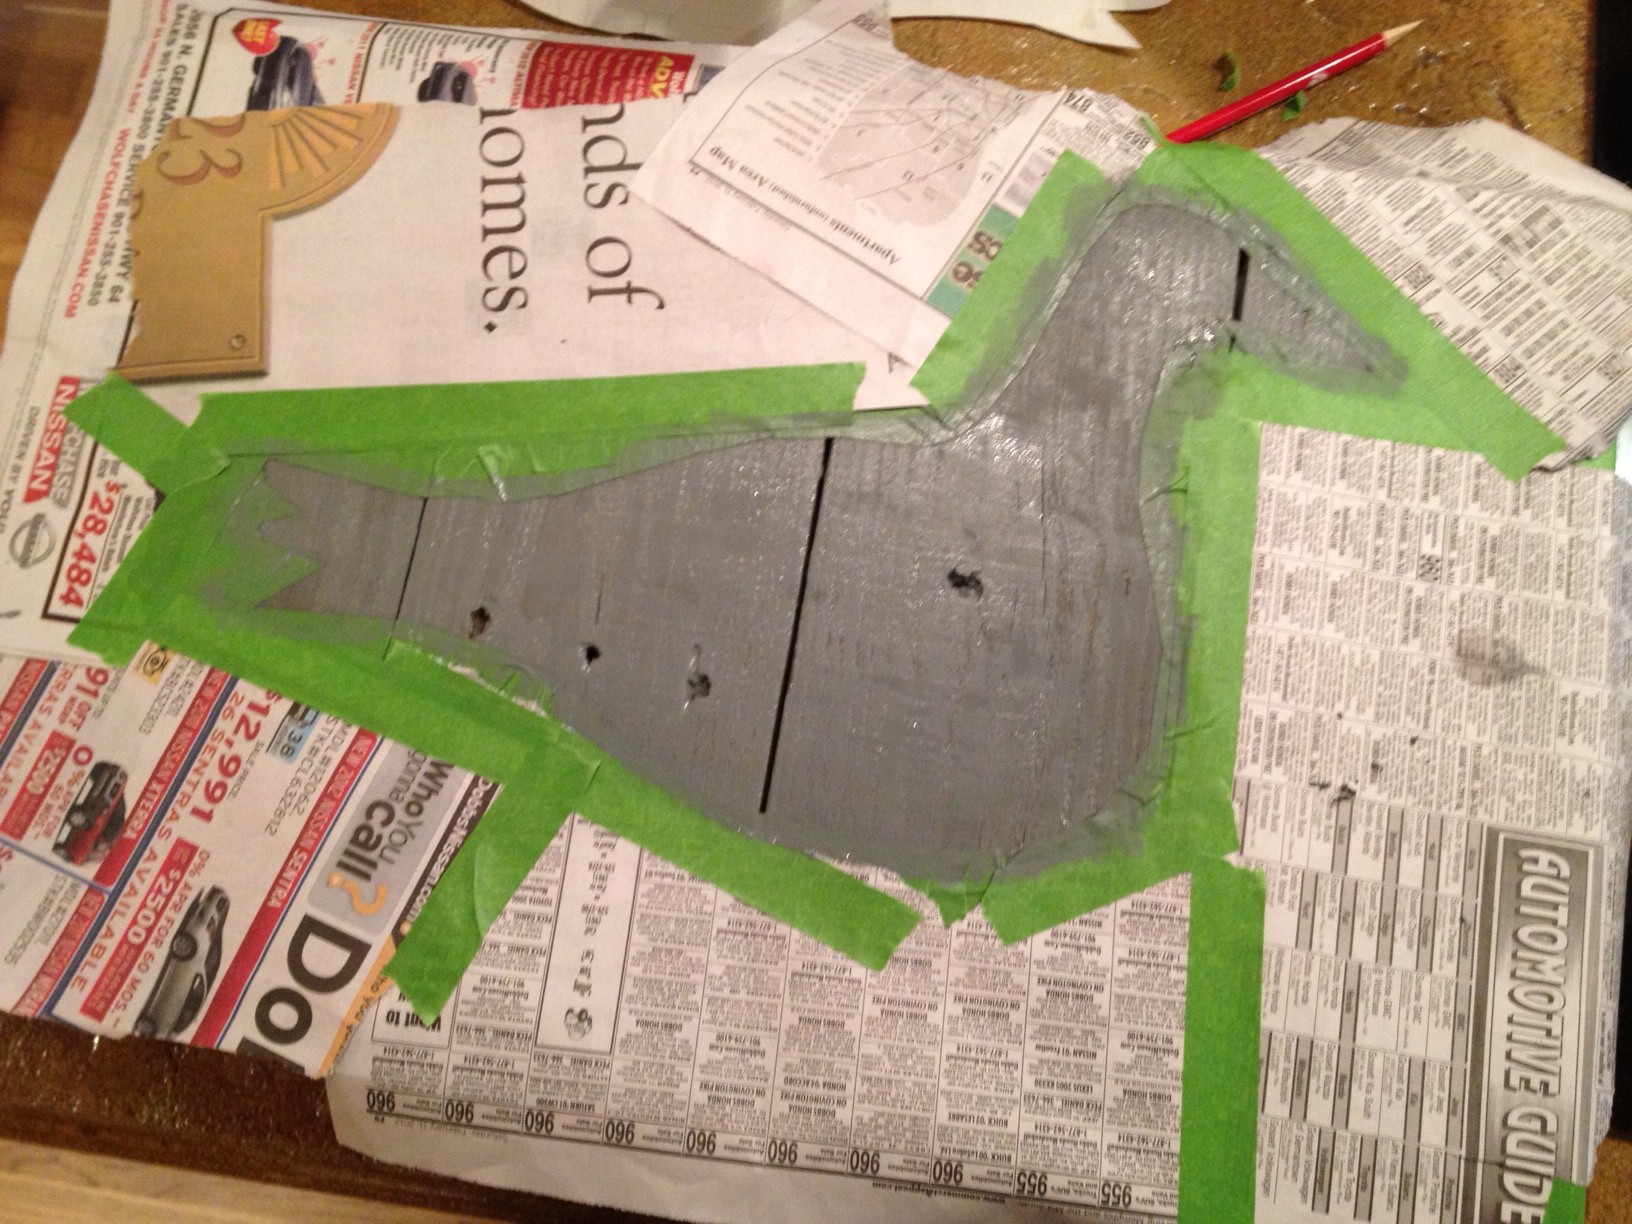
If you've ever watched an HGTV show where they were painting stripes on a wall, you know the first step after taping off is to paint a coat of the original color.  That way, you seal off the taped edges and if there's any bleed through, it's of the color that's already on there and thus won't be noticeable.  Keeping this in mind, my first step was to do a coat of grey that sorta matched the weathered wood background.

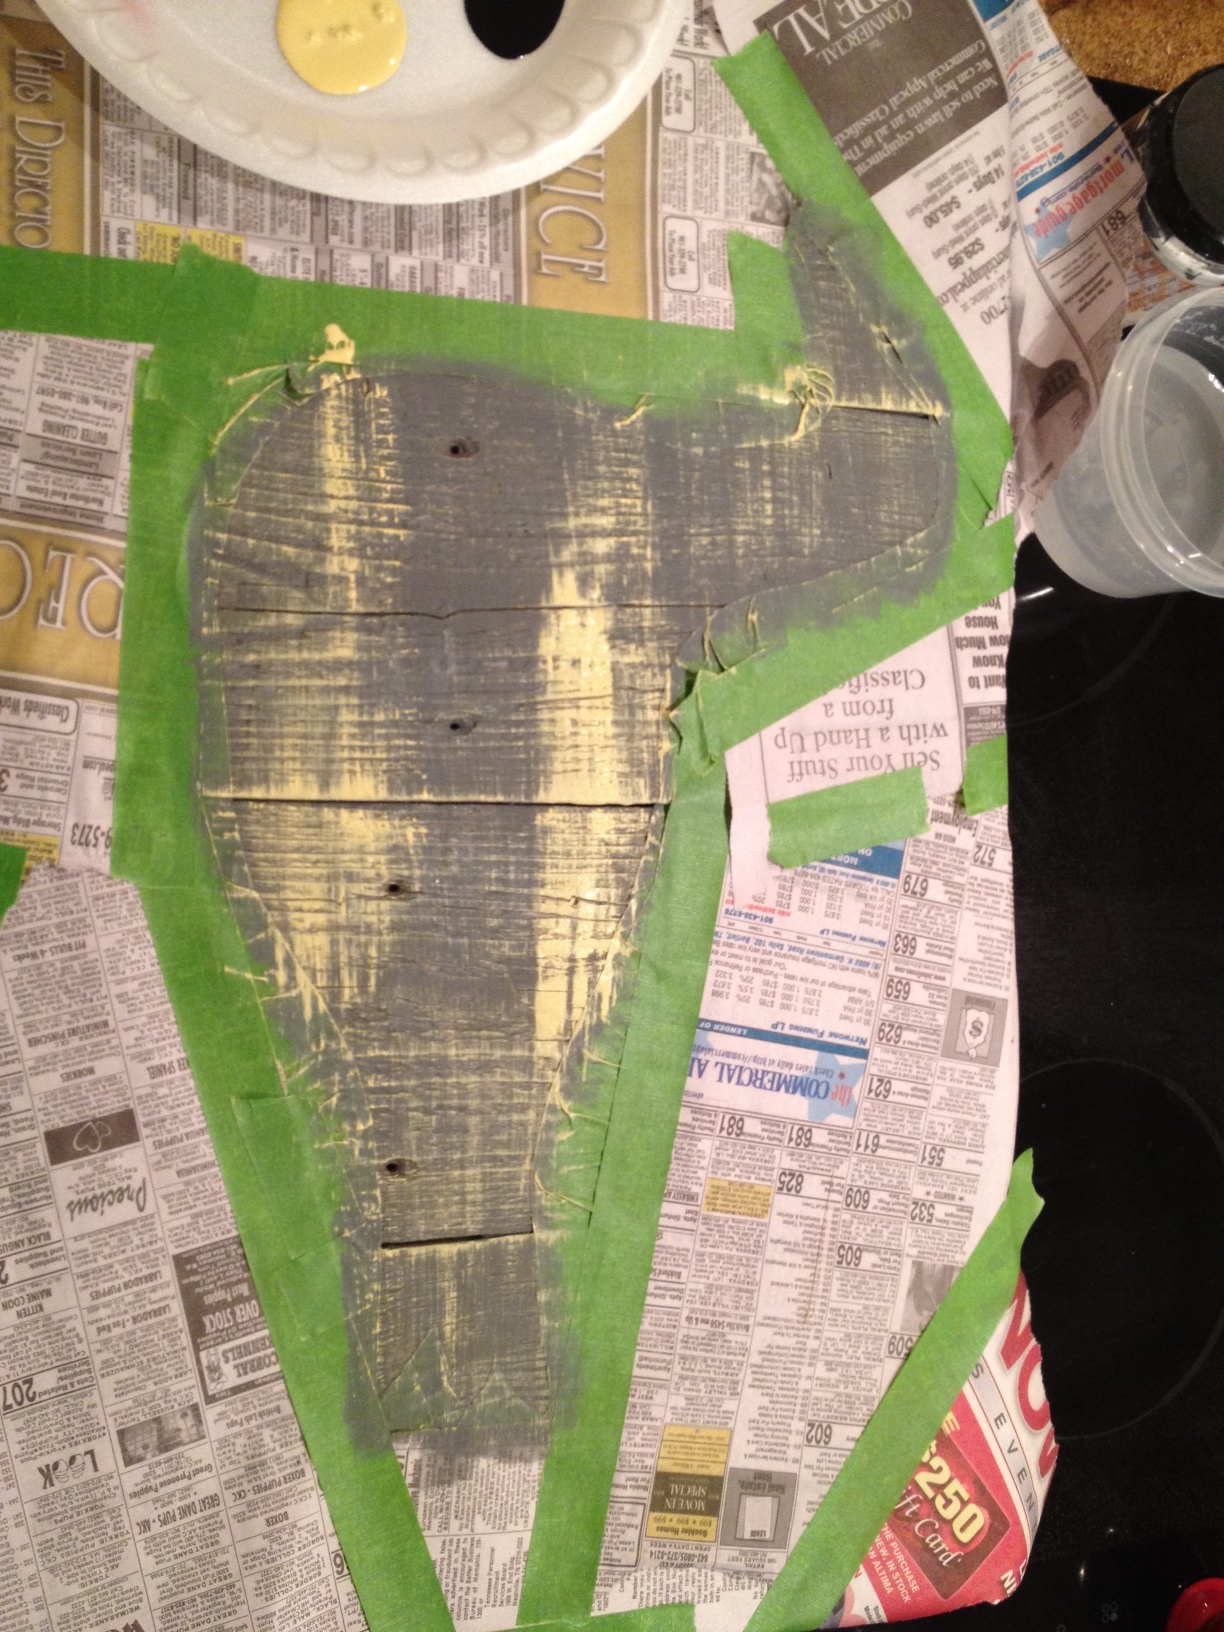
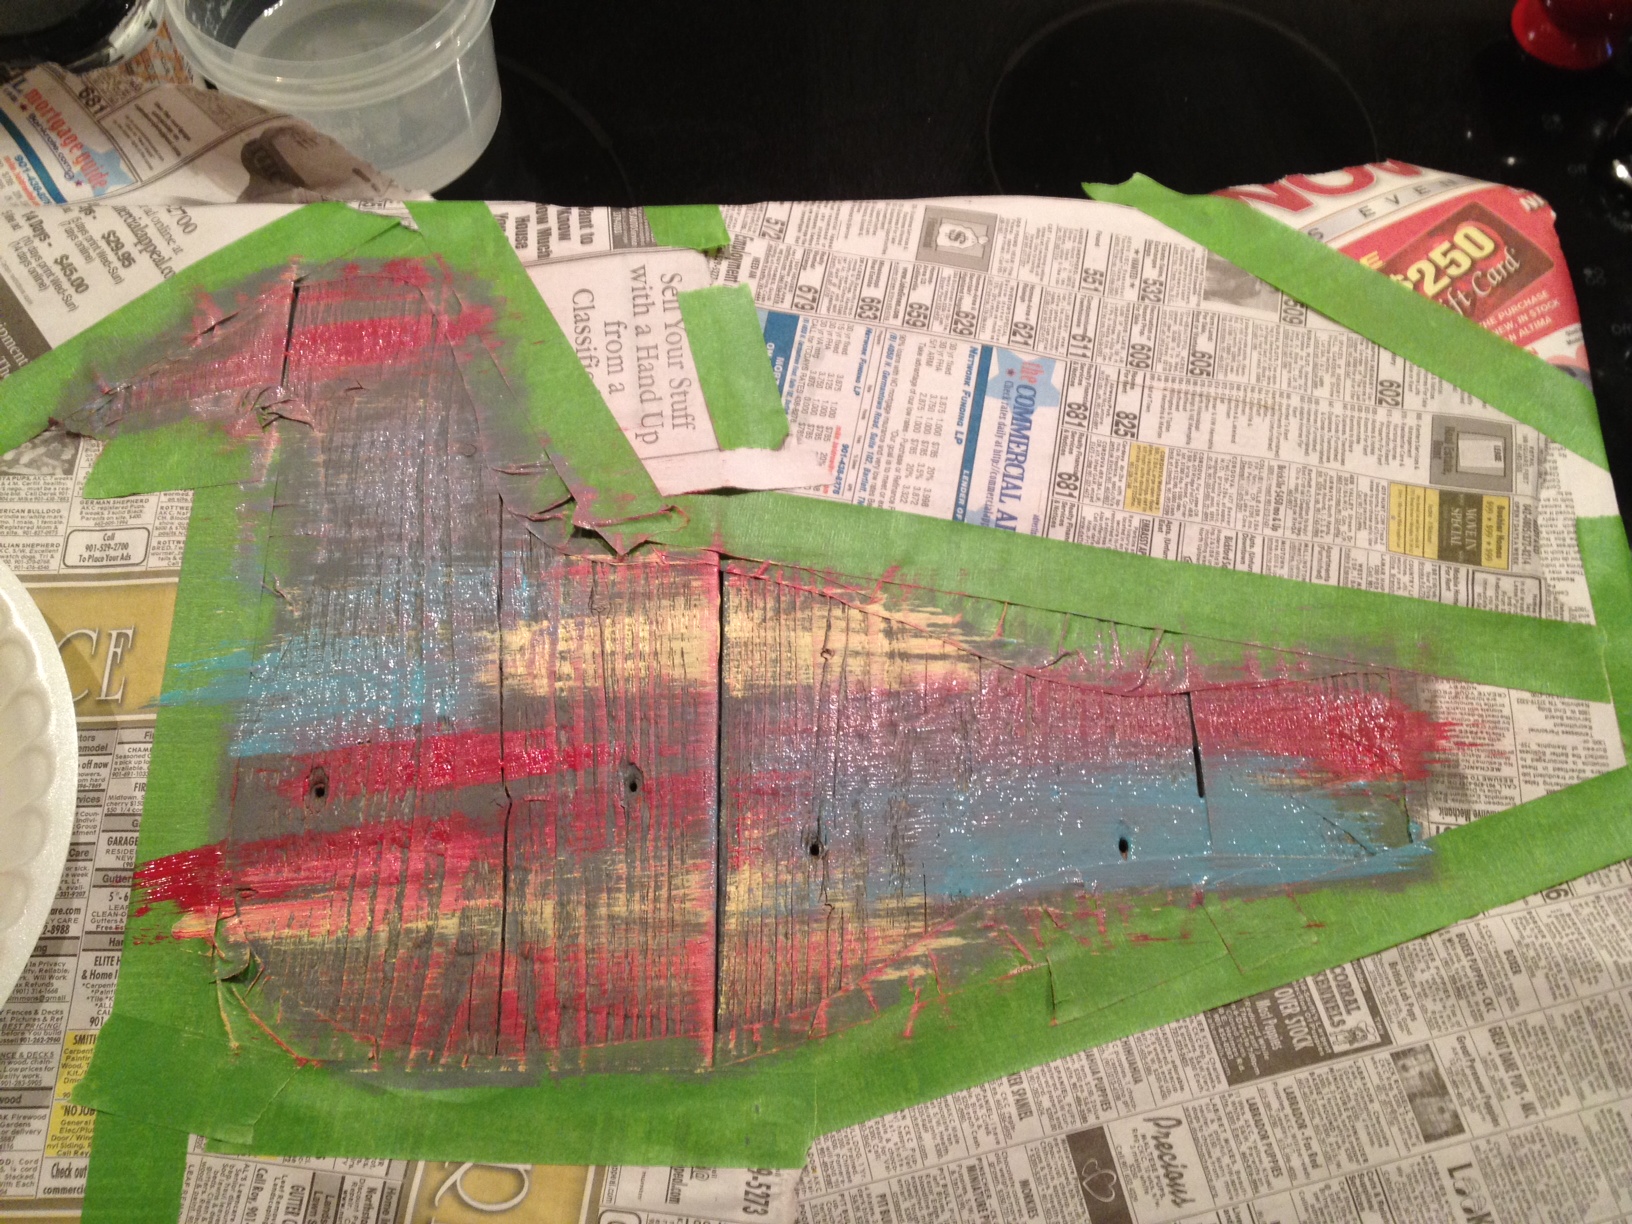
Finally, I was able to start having a little fun.  I slapped on some yellow in random places.

Added a little red.  (Looks like someone went duck huntin'...especially with the holes from the fence nails.)

Thought a little turquoise might help the bloody situation.

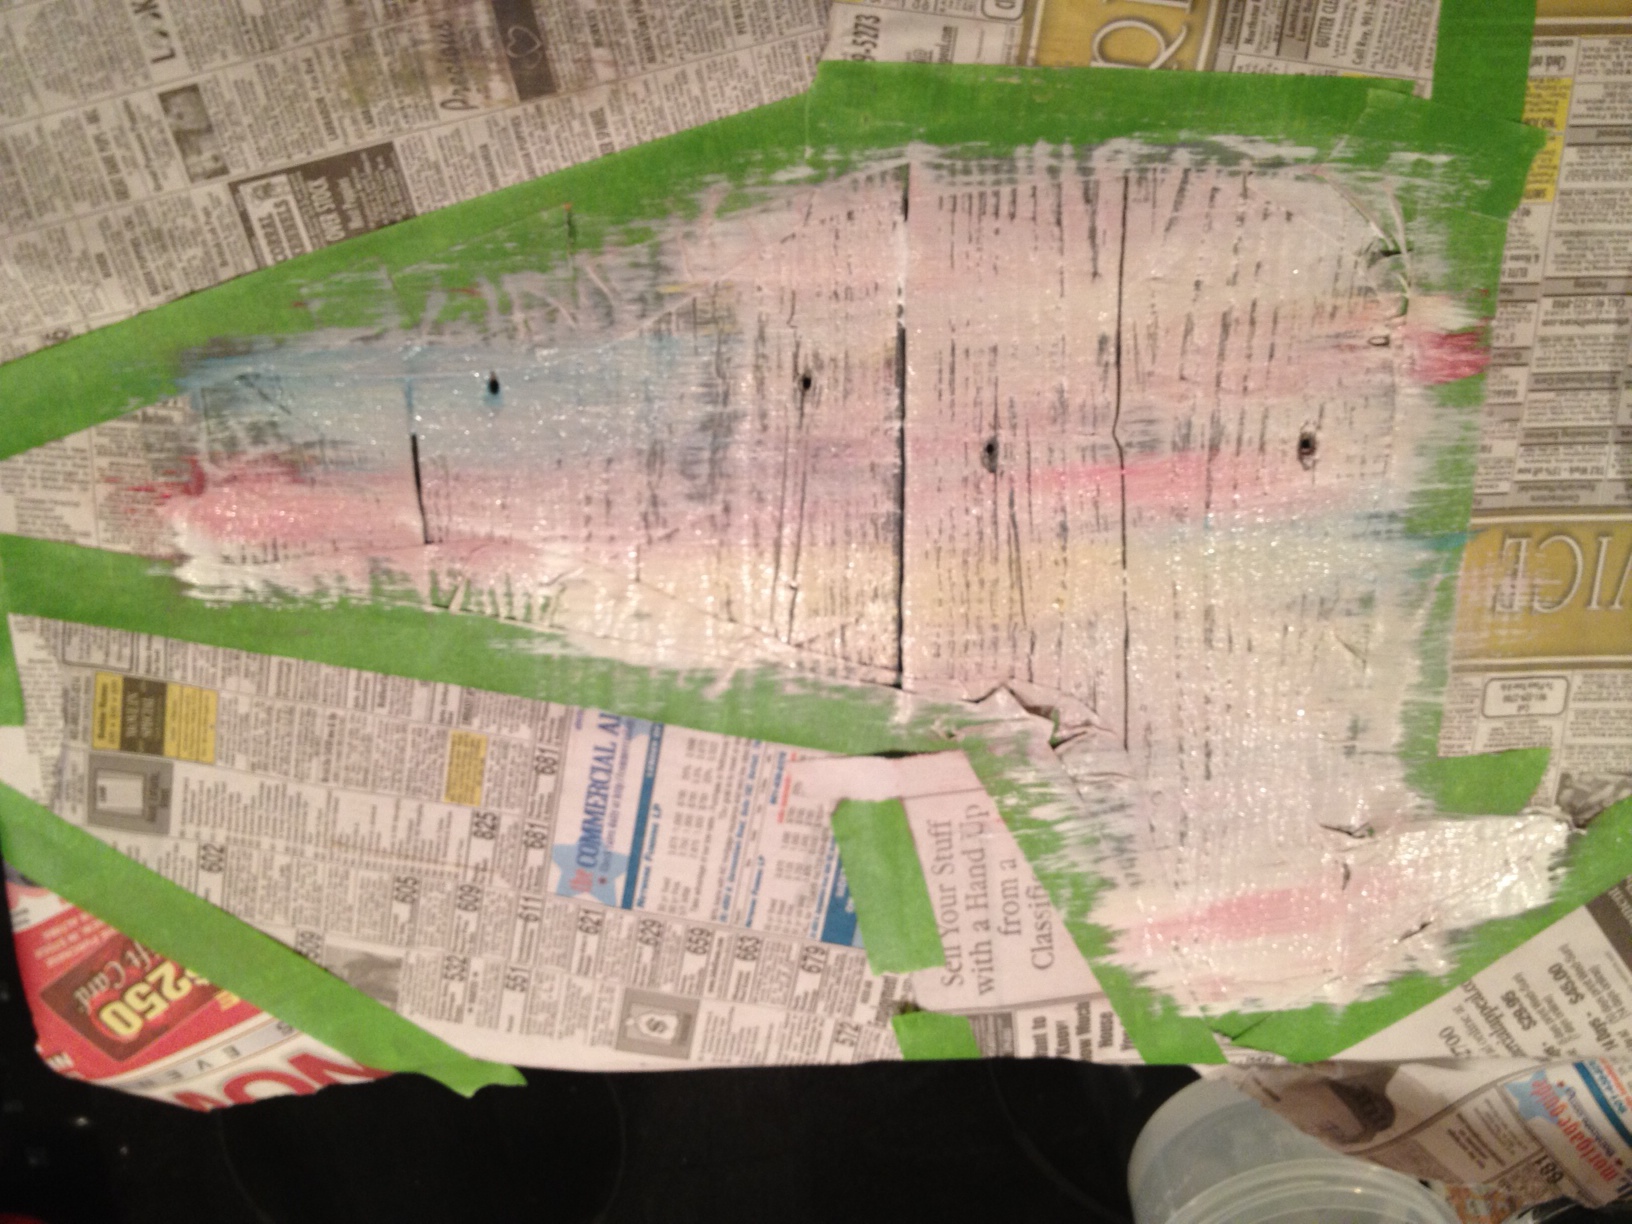
I wanted the bird to be mostly white with these colors peeking through, so I spread a thin coat of white paint over the whole thing.

I had no idea how this was going to turn out, but I was done messing with it.  I let the paint dry and then took off the newspaper.

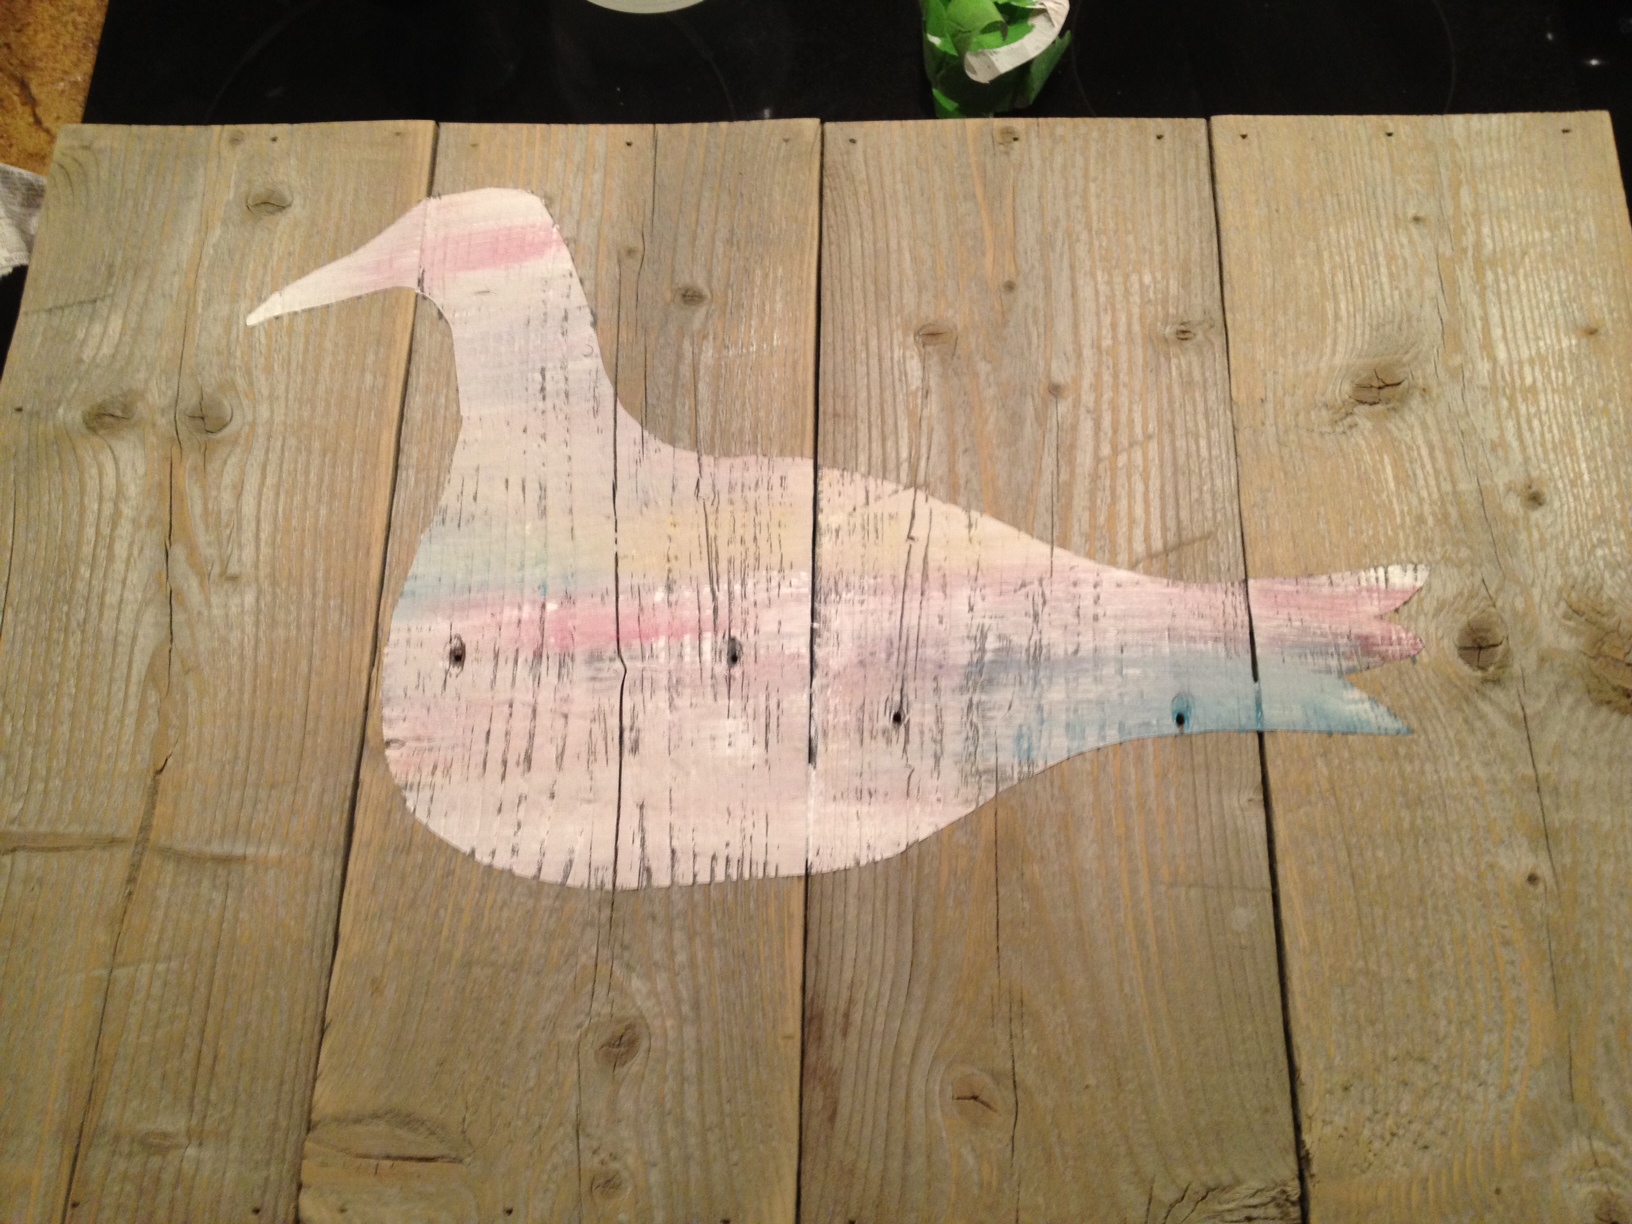
I peeled off the tape outline and was left with two bird bodies!

Every duck/bird/seagull needs some little legs and an eye, so I added those and called it done.

My mom and I named the birds Sunrise and Sunset because that's what we think they look like.  And guess what?  They're already hanging on the wall at the beach house! Yep, so many pictures to share this week, so get ready.

Happy Valentine's Day!

Happy heart day, friends!  I hope your day has been full of hugs and kisses and roses and chocolates and balloons and cards and anything else that Hallmark encourages us to buy this time of year!  I, for one, got some brand new socks from my Valentine!  I love me some soft new socks and I love even more that Doc was paying attention last week when I offhand said I needed some new ones.  Yay for practical gifts!  (Not that I would have turned down chocolate.  I love that too.)

I mostly wanted to pop in today to show you the Valentine I whipped up late Saturday night.  Since we got Lollipop on Valentine's weekend last year, it only made sense that she was the star of our Valentine card this year.  And yes, this is a picture of a picture.  I could've uploaded the original .jpeg file, but then you wouldn't have gotten the full effect with the lollipop!  (It's supposed to look like its in her mouth, by the way.)


Sticking the sucker through made the card (picture) a little wavy, but I still think it turned out pretty cute for a last minute idea.  And my coworkers seemd to enjoy them so I call it a success.  Yay!

That's it.  Hugs and kisses and all that other Valentine-y stuff!

A Canvas Makeover

In my last post, I said that I had a few paintings for the beach house in the works, and now I've got one to share. Here it is!  What do you think?  Isn't it great?

Juuuuuust kidding.  That painting will not be hanging on a wall in the beach house.  At least, not looking like that.

This masterpiece came from Target.  Let's zoom in so you can see why I bought it.

Less than 8 bucks...holla!  You can't buy a plain canvas that size for anywhere near that low of a price, so you know me, I decided I could just paint over it.  I loaded that clearance rack gem into the MINI and brought it home with me.

I've been hanging on to this for a couple months now.  Of course I bought it without knowing exactly what I'd do with it, but I knew the perfect idea would come.  And it finally did.  After Beth finished all her paintings, it hit me that we still didn't have anything at all for the walls in the downstairs bedroom.  That's where the yellow dresser will go.

So with a general idea in my head, I got to work.  Keep in mind that I am by no means an artist.  I was totally wingin' it.  First, I knew I wanted to add some texture to it.  I'm sure modeling paste or something would've been ideal to use, but you can't find modeling paste in our woodshop so I was outta luck.  I improvised with something you can buy from a hardware store...if it ends up holding up, maybe I'll share my secret!  I figure if it doesn't hold up, I'm only out $7.56.

I started slapping my medium on using a putty knife.  Again, probably not what real artists use, but it worked.  Then, I used the wrong end of a paintbrush to draw in my general design.  Then I had to waaaaaaaaaait.  I am so not patient when it comes to things having to dry!  But I absolutely had to give this stuff 24 hours, so I left it alone for the night.

Doc saw it while it was drying and said, "Oh cool, bubbles in the grass."  That's when I thought oh crap, this may be harder than I thought.  They weren't supposed to be bubbles...I was going for whimsical flowers!

The next day I was able to start painting.  I didn't have good paint, so it was craft paint for me.  I was planning to start with the sky, so I filled my plate with several shades of blue, some white and cream, and even some grey.  I tried really hard to tap into my inner artist and not be too much of a perfectionist with how things looked.  I told myself it was ok for things to look a little messy and not perfectly blended.

For the grass, I used several different shades of green with a little brown and black mixed in.  It started out looking very camo-ish, but I think I eventually got it looking a little better.

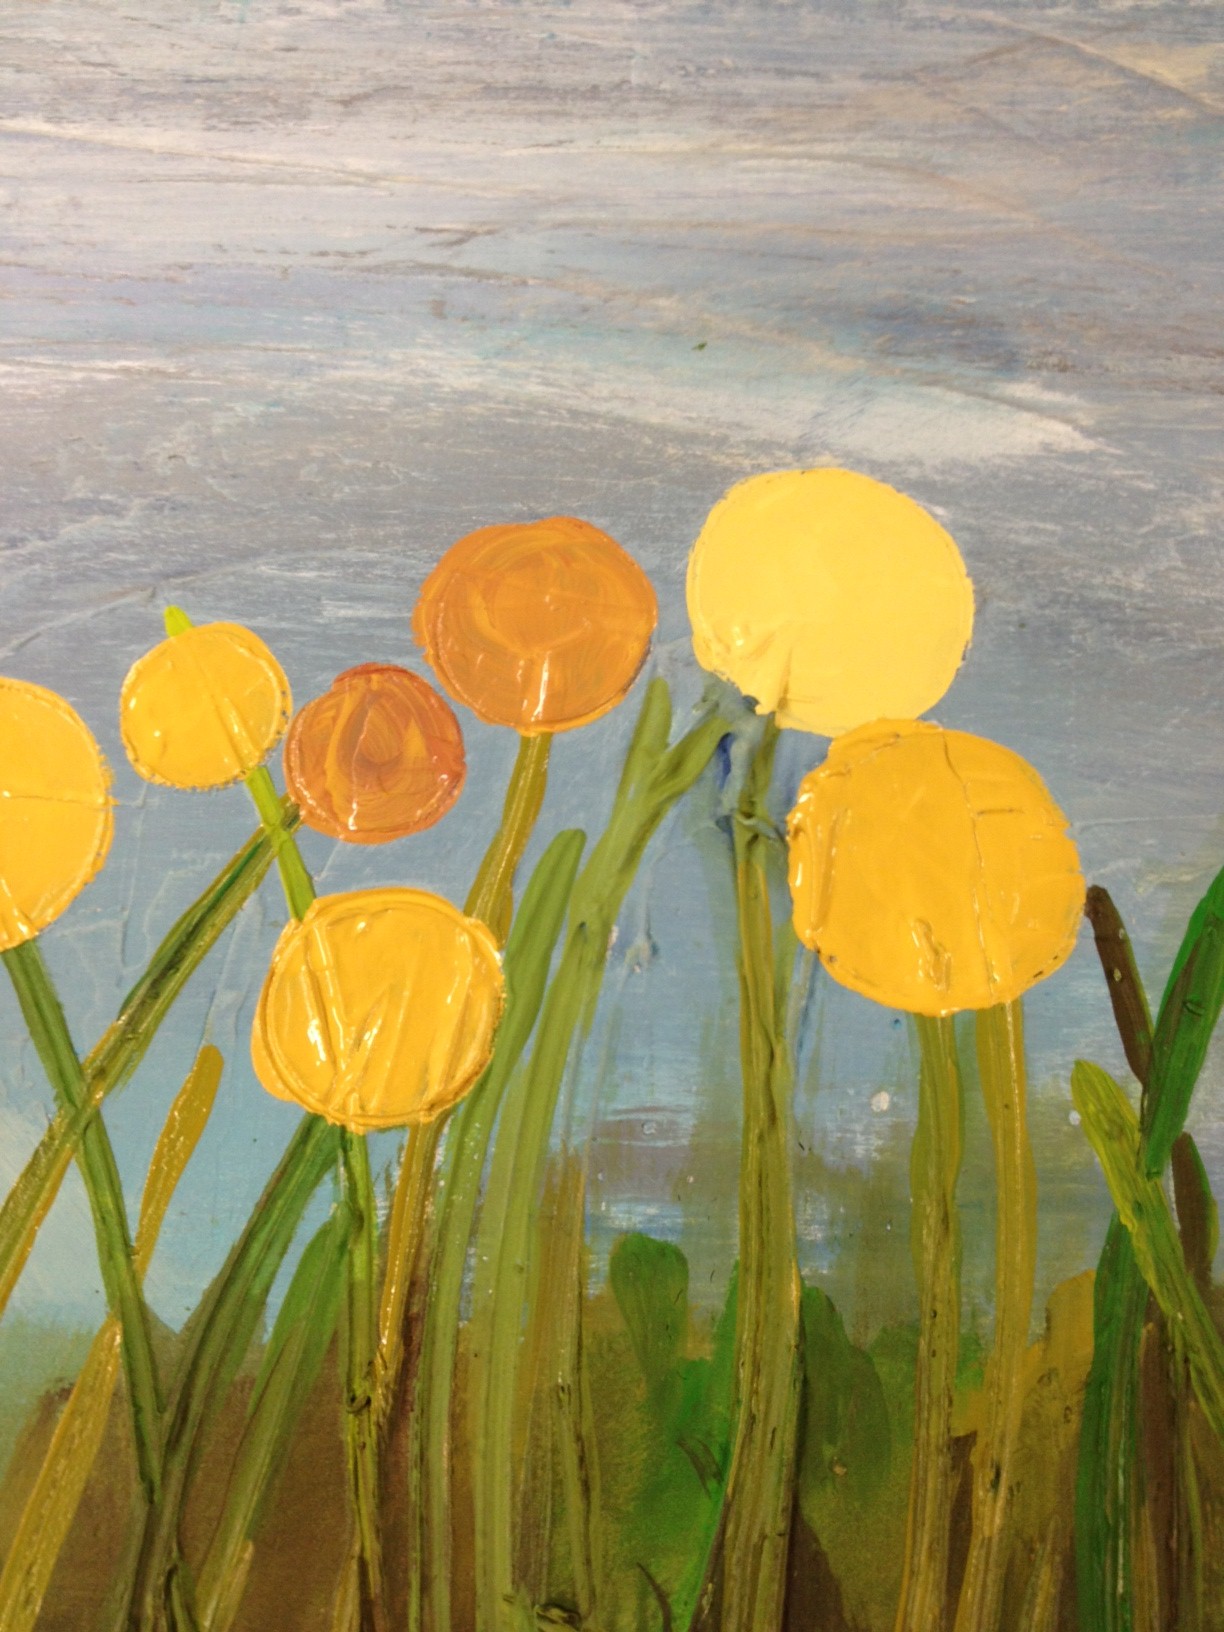
The main color in this bedroom is yellow, so I chose a couple shades of it for the flowers and started filling in my circles.

I'm pretty sure this is when my dad came in and commented on the "weeds in front of the ocean."  Awesome.  Clearly, I still had more work to do.

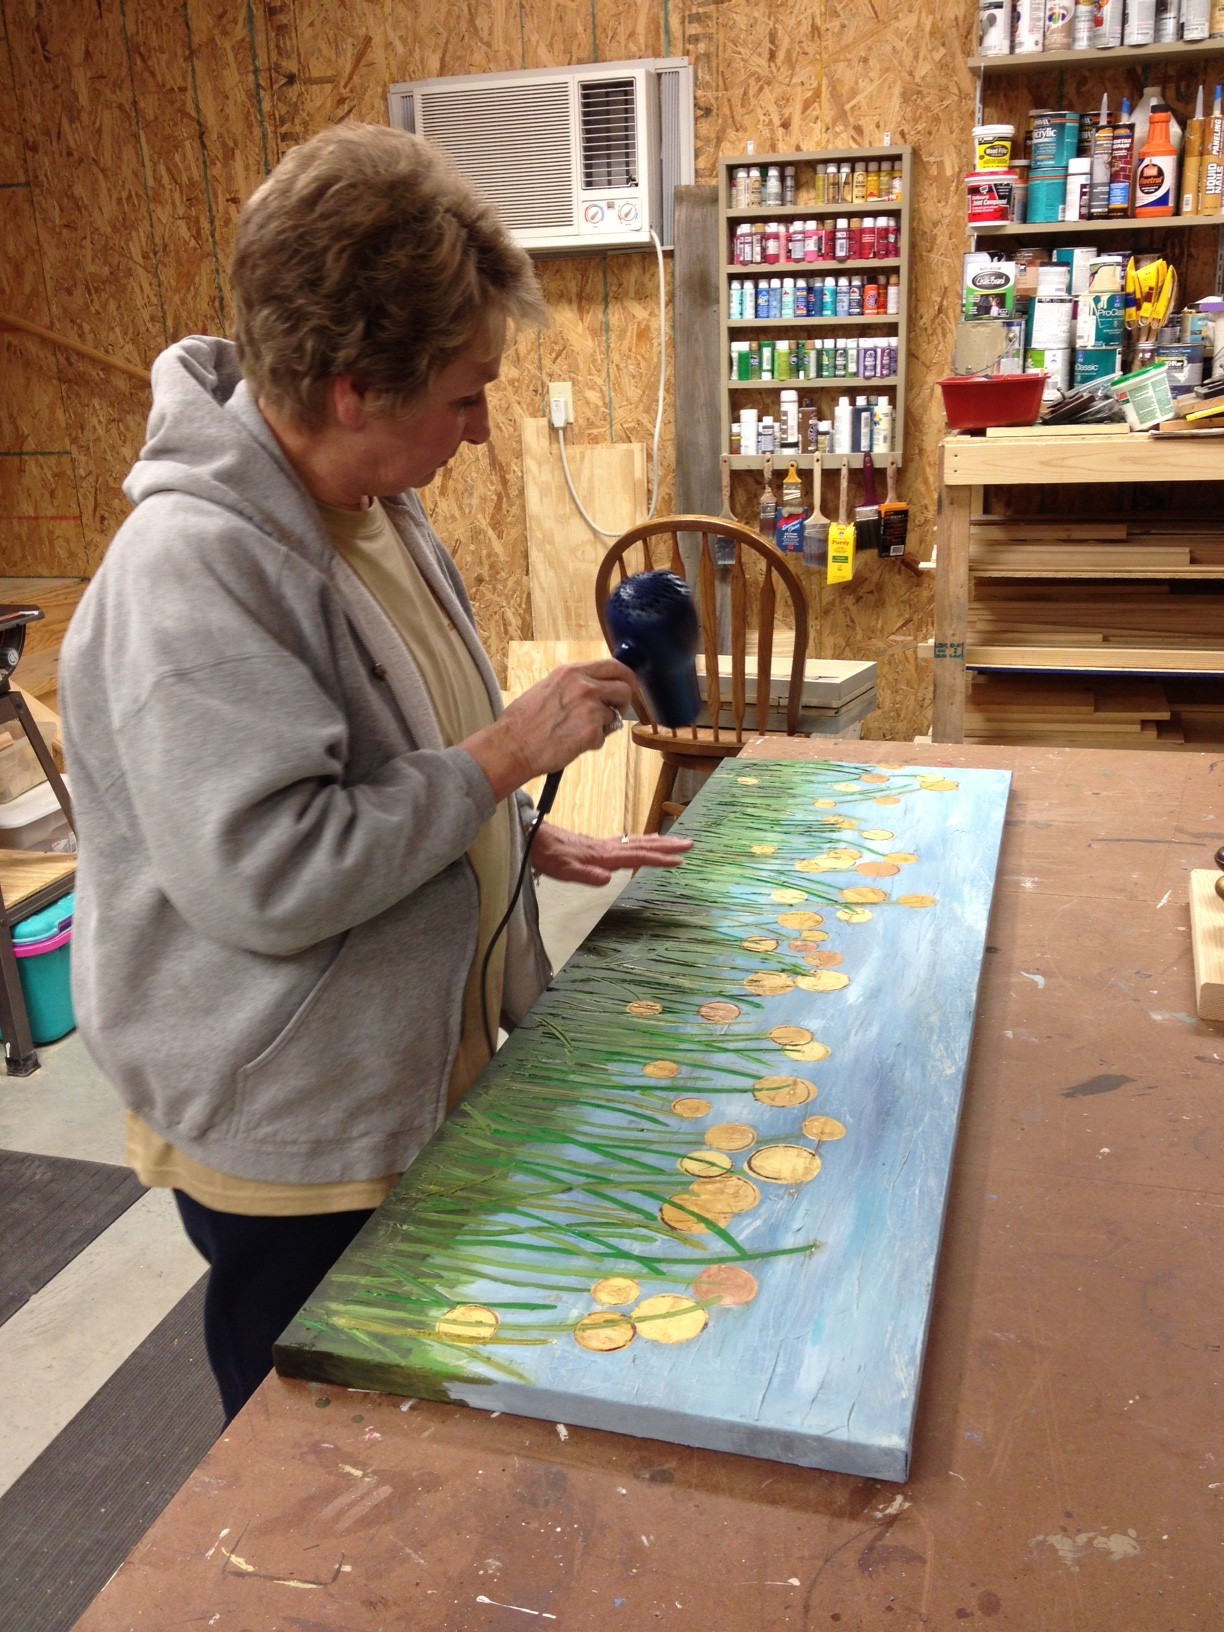
I knew when I was painting the yellow that I'd have to come back and add in some more green over the flowers so they didn't all look like they were on top of the grass.  My mom became an expert painting dryer.  We broke out the hair dryer since I was too impatient to wait for things to dry!

I also didn't like how flat the flowers looked, so I went back and added some outlines to some of them.  I think it made a big difference.  (Before is on the left, after is on the right.)


Here are some more shots of the finished flowers.

And finally, the whole painting, hanging a little caddy-whampus on a plywood wall.

So, do you think it's an upgrade or downgrade from its original $8 look?  I can't wait to see it with the fabric we're using in that room.  Not too much longer!

Baby I Got Your Money

Our kids are at a tough age when it comes to buying them gifts.  They're too old for toys, but they still want something cool to open.  We begged them to make wishlists for Christmas and their birthdays, but every time they did, money seemed to be the reoccurring item.  So Doc and I decided that money was what we'd give them...for their birthdays, at least.  Their mom is taking them on a Disney cruise the first week of their Christmas break.  It's in lieu of birthday parties and is their gift from her.  Even though Anna's birthday isn't until after they're back from the cruise, we decided to go ahead and give them both their money before they left so they'd have it to use as spending money. But we couldn't just give them cash in an envelope.  Where's the fun in that?  I racked my brain with how we could get creative with this ho-hum gift.  Scavenger hunt?  All change and make them roll it?  Earlier this year, a friend from work told me about how he and his wife folded a bunch of one dollar bills to make a lei for their son's graduation.  That sounded cool, but I couldn't figure out how to make the lei work for December birthdays.  (Guess I could've tied it in to the Caribbean cruise.  Hindsight...gets ya every time.)

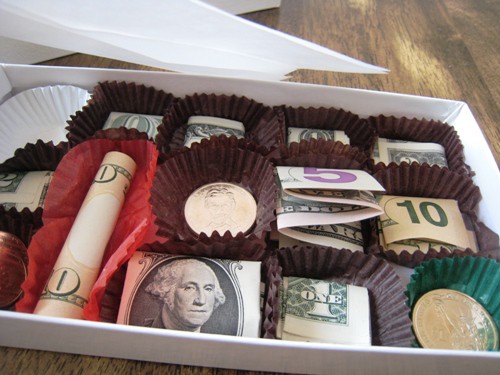
I had already told Doc that we needed to figure out a way to creatively fold the money when I spotted this idea on Pinterest.

(found here)

Yessss!  This was a great idea!  We could creatively fold the money like I wanted to, and now we had a cute way to box it all up to be wrapped.  Winning!

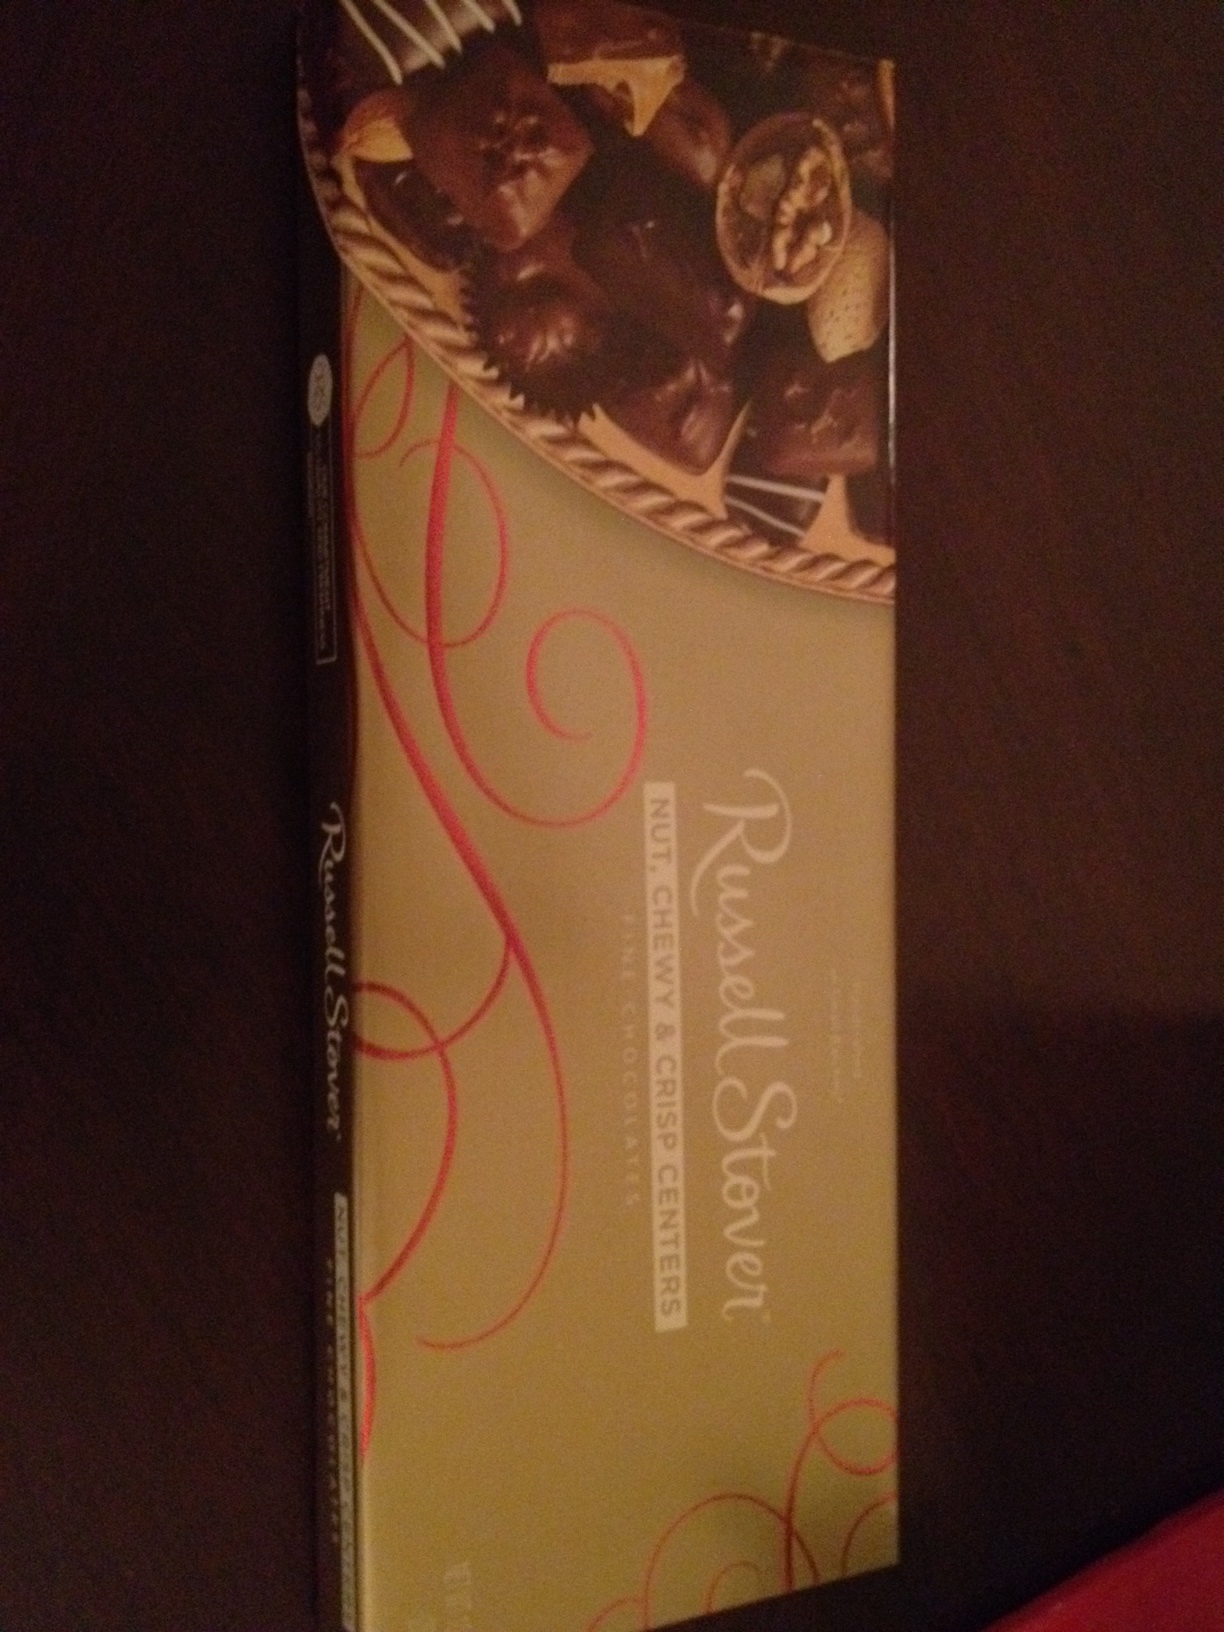
I sent Doc to Target to pick up two cheap-o candy boxes.  Russell Stover was the winner.

The first step in this little project was to eat all the candy figure out how much of each bill we needed.  Our candy boxes didn't come with the little individual paper wrappers, but instead had little dividers to make different sized compartments.  We could work with that.  We went back and forth on how much money to give the kids, but eventually decided on $10 for each year of life.  That meant $110 for Anna and $120 for Wyatt.  I let Doc figure out how to evenly divide the totals into different sized bills...a task right up his alley!

A couple trips to the bank later and we had all the cash.  We struck out on half dollar coins, but did manage to snag enough whole dollar coins to use.  Each of them got one fifty dollar bill and one twenty.  I can't remember the amounts after that, except that Wyatt got one more ten dollar bill than Anna since he's a year older.

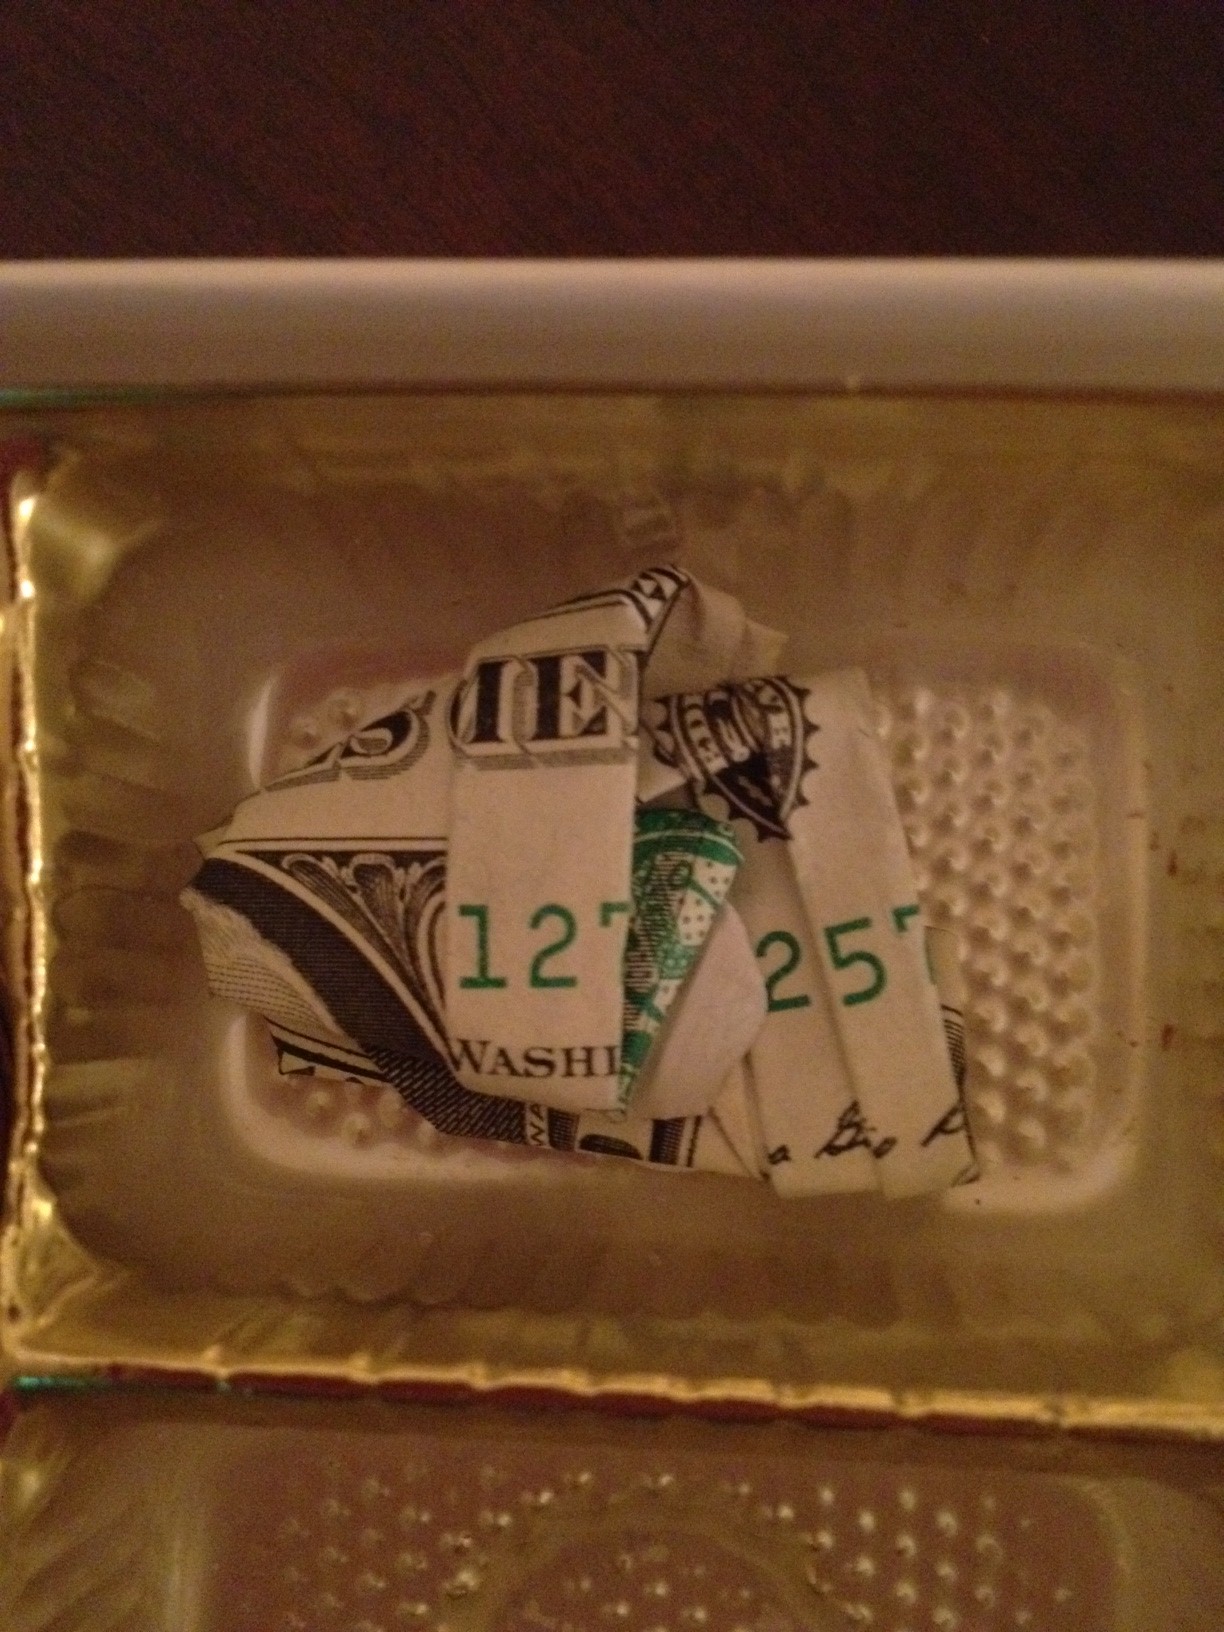
We spent a whole night folding money!  Doc gets most of the credit because he started while I was wrapping Christmas presents.  He got creative with his folding...here is Wyatt's box around the time I joined in to help.  You can see a couple that center on an E for our last name, and one that has a 12 for Wyatt's age.

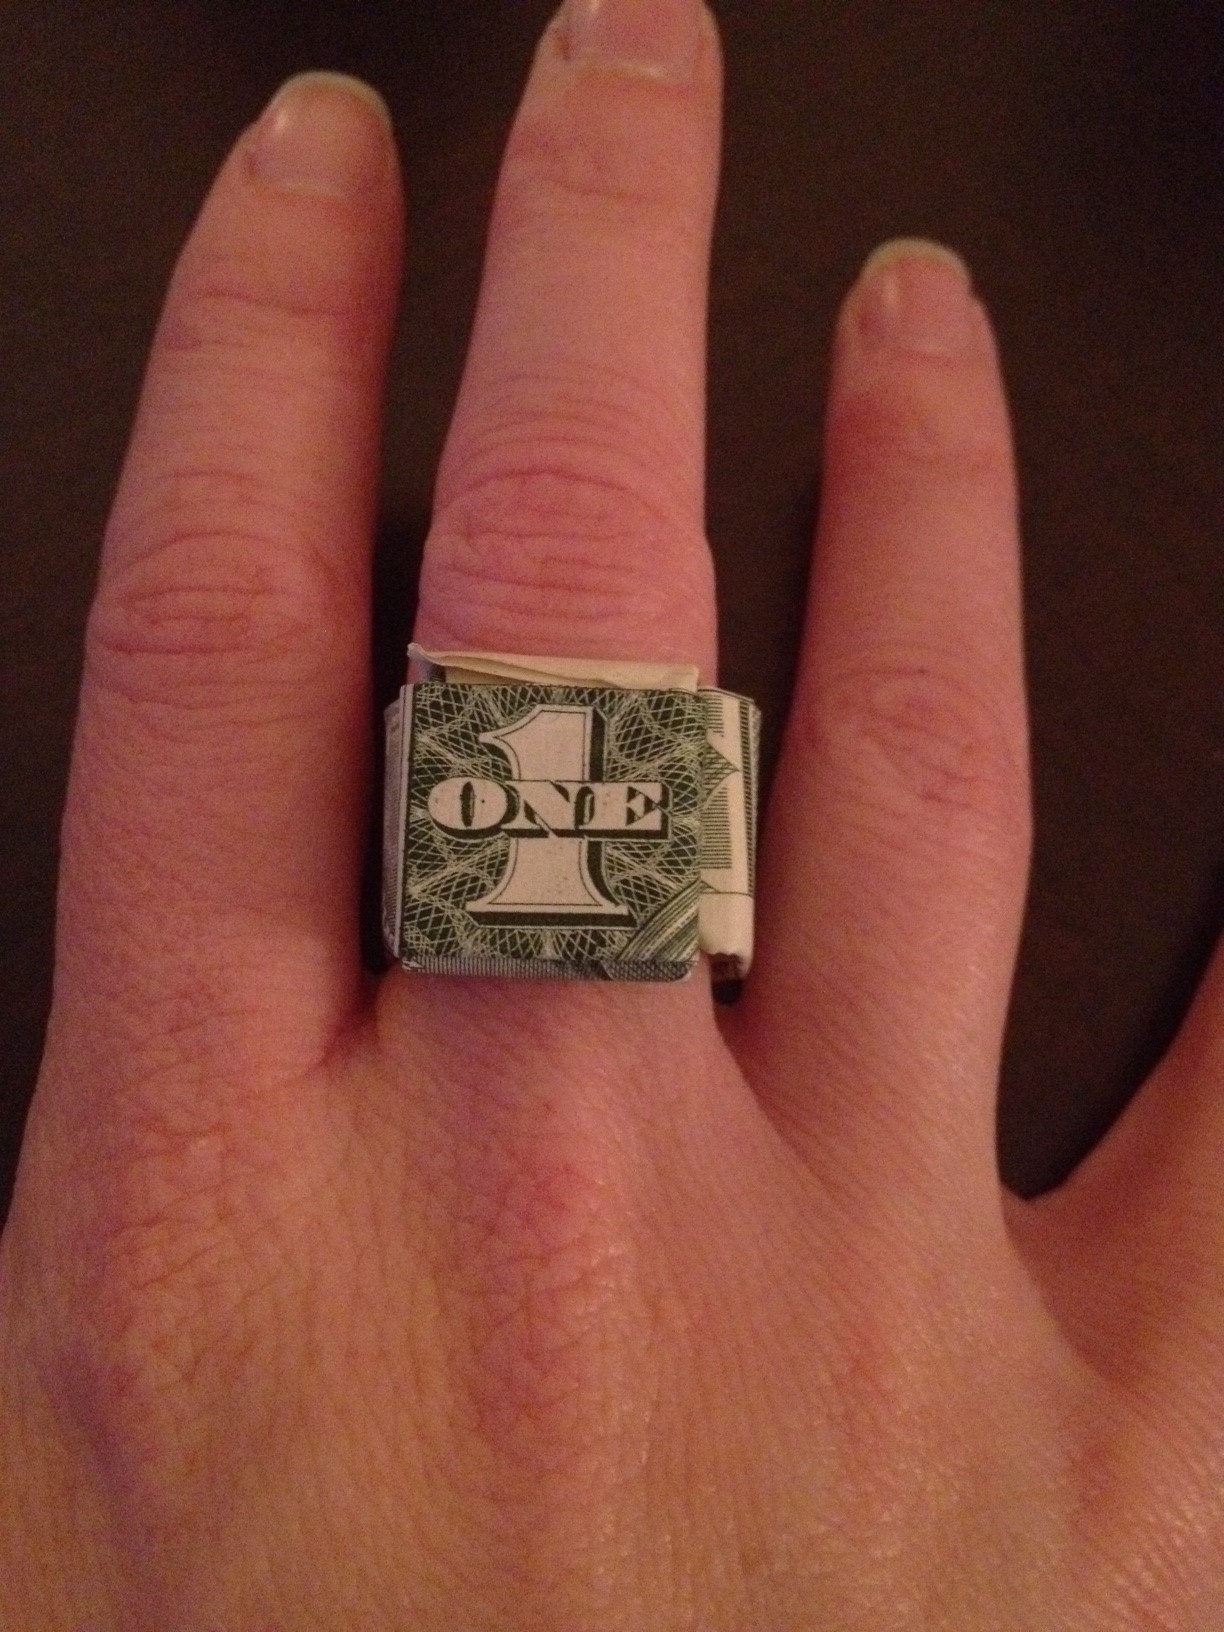
I, of course, had to pull up some tutorials online so that I could fold the money into fun shapes.  My first dollar bill became a heart for Anna.

I also made her a ring.

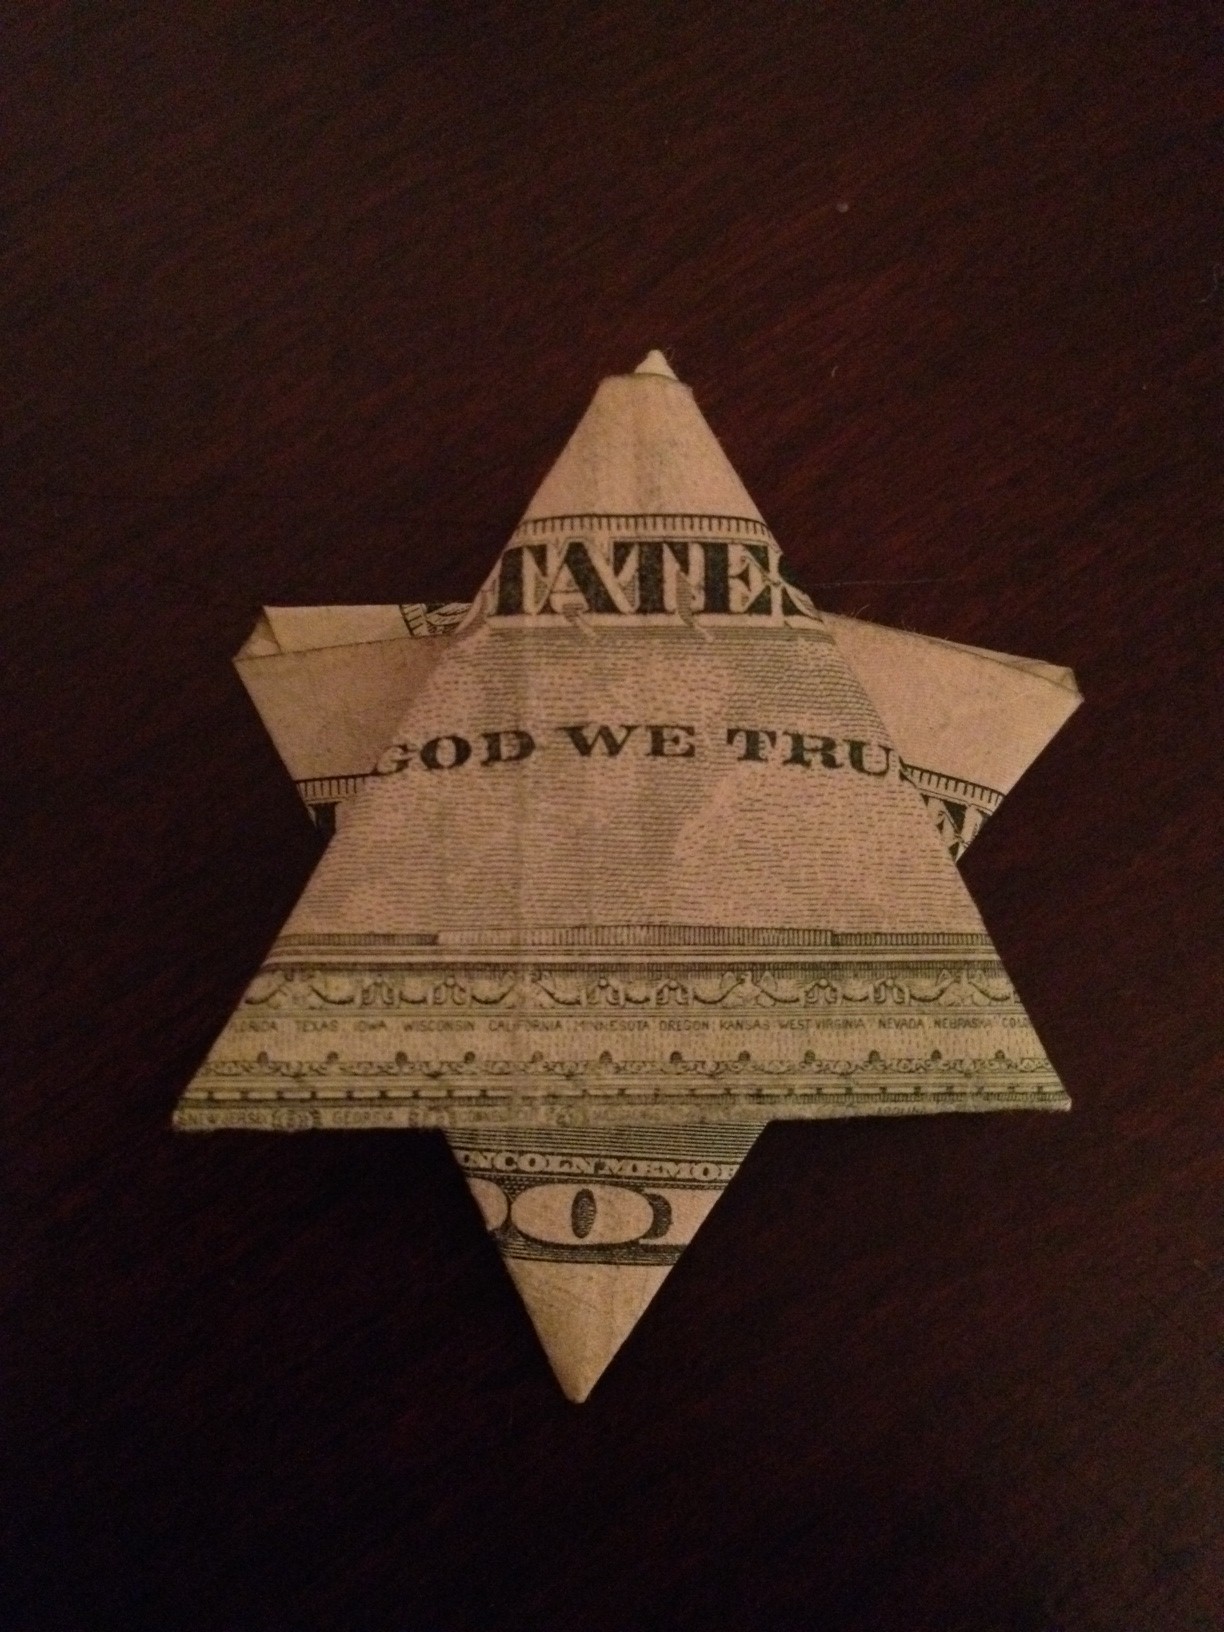
For Wyatt, I made a Star of David.

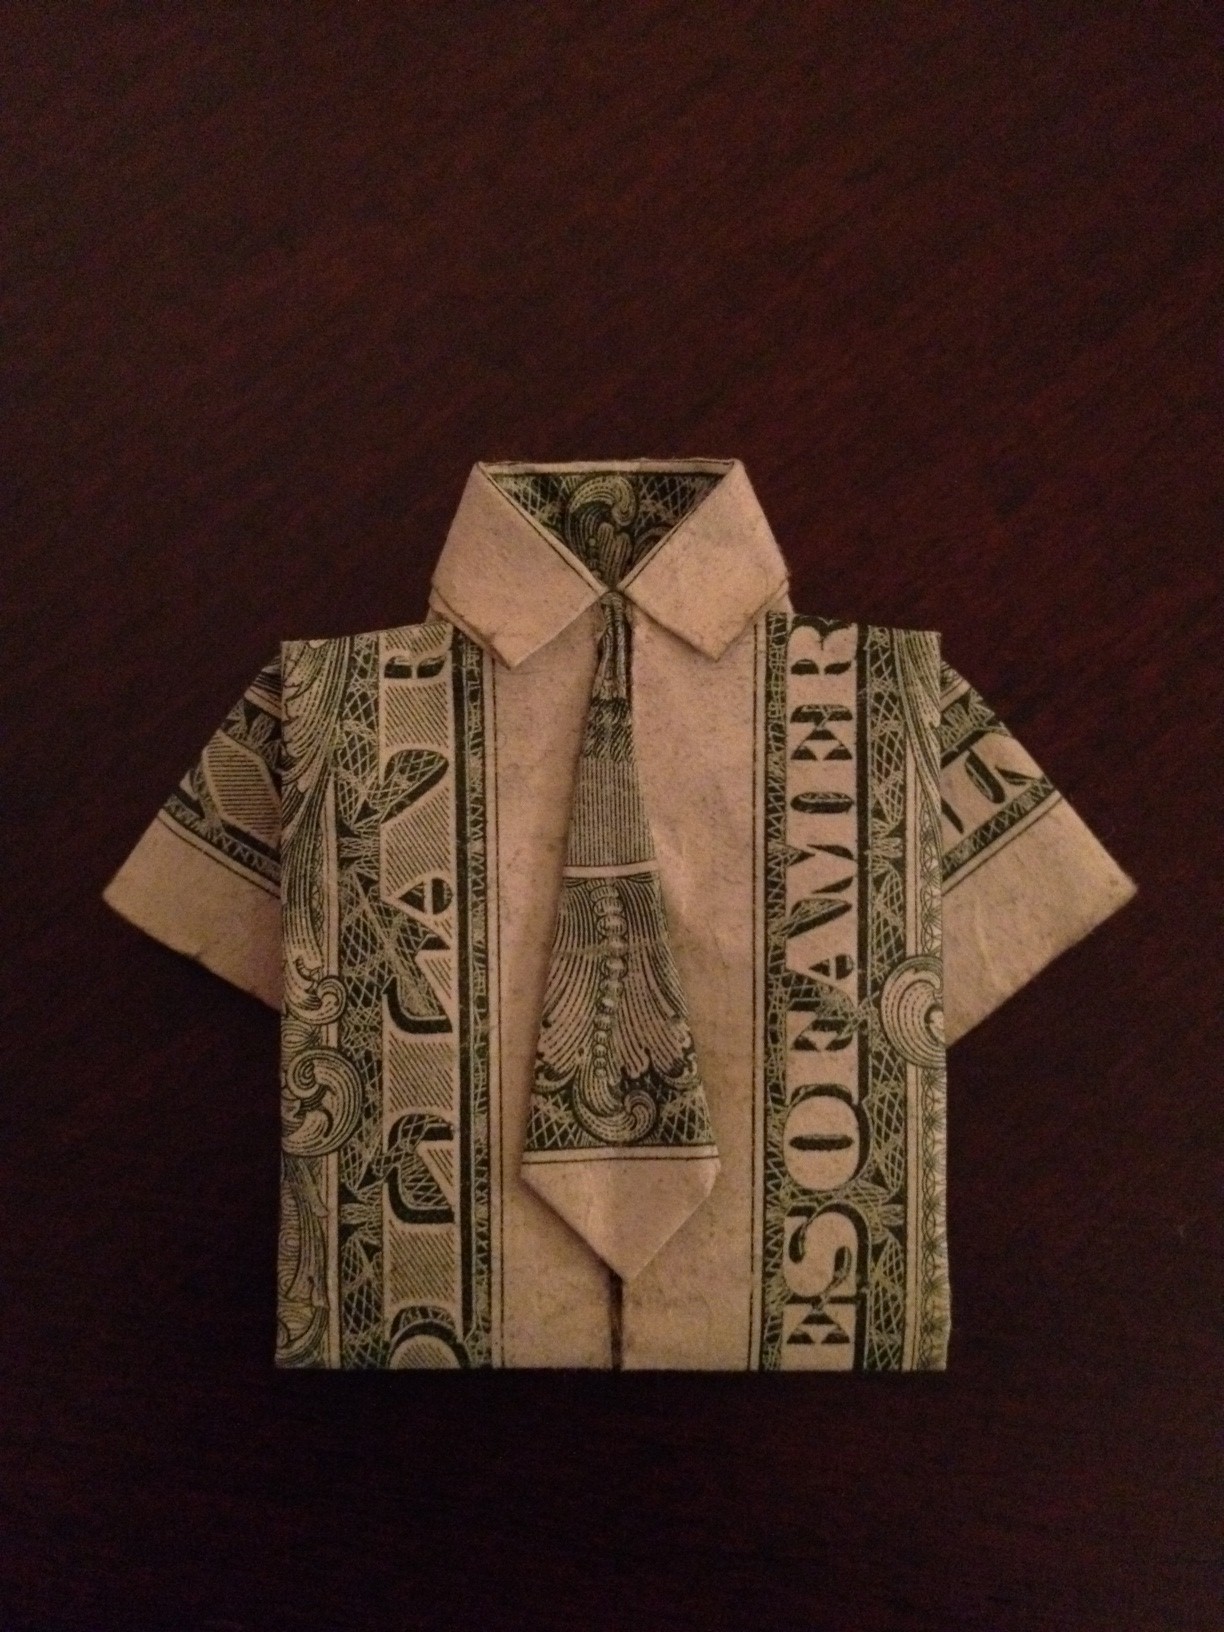
And, the one that I was most proud of (and the one that took the most time and the most re-doing)...a shirt and tie!  Yes, that's only one bill and there was no cutting, taping, or gluing involved.  Bam!

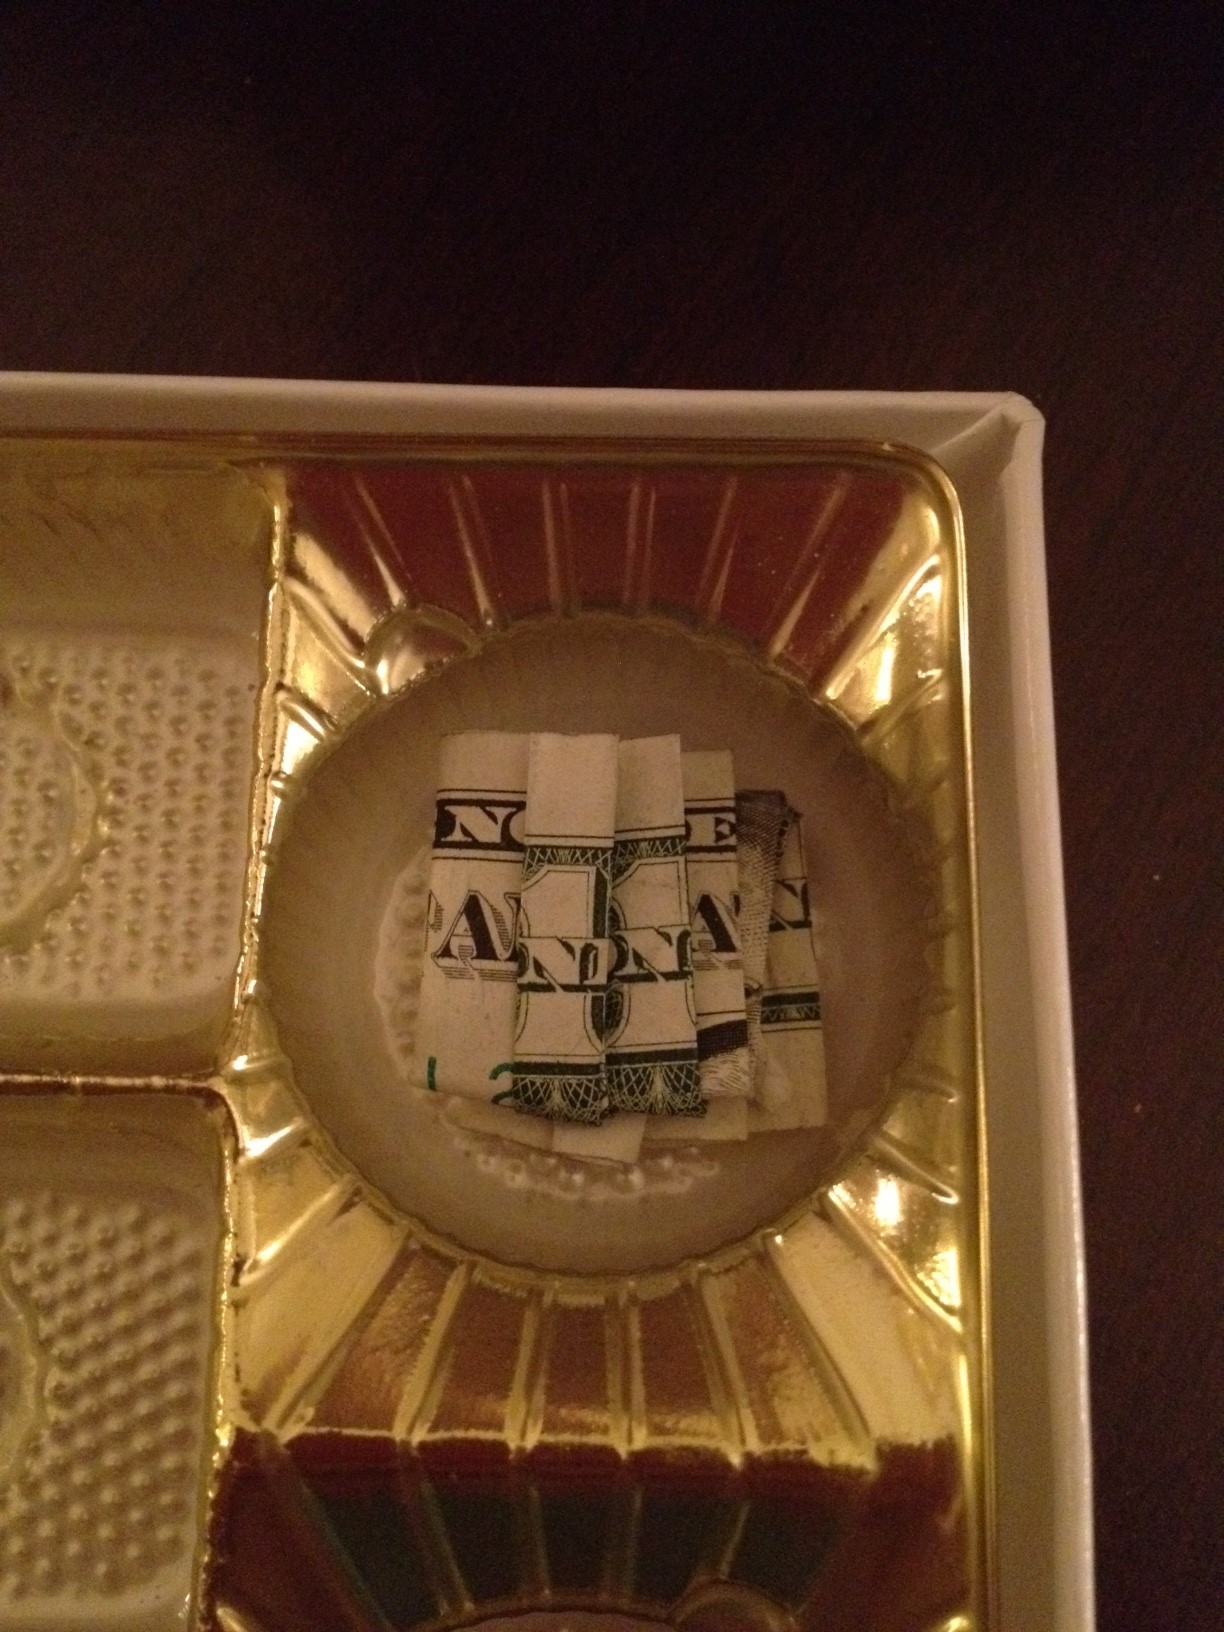
Doc stepped it up a little on his folding, too.  He made this one for Anna that shows her birthday - 12/25.

I was pretty impressed with this one he made for her - it shows her name AND if you look behind the n's, you can see an 11 - her age this year.

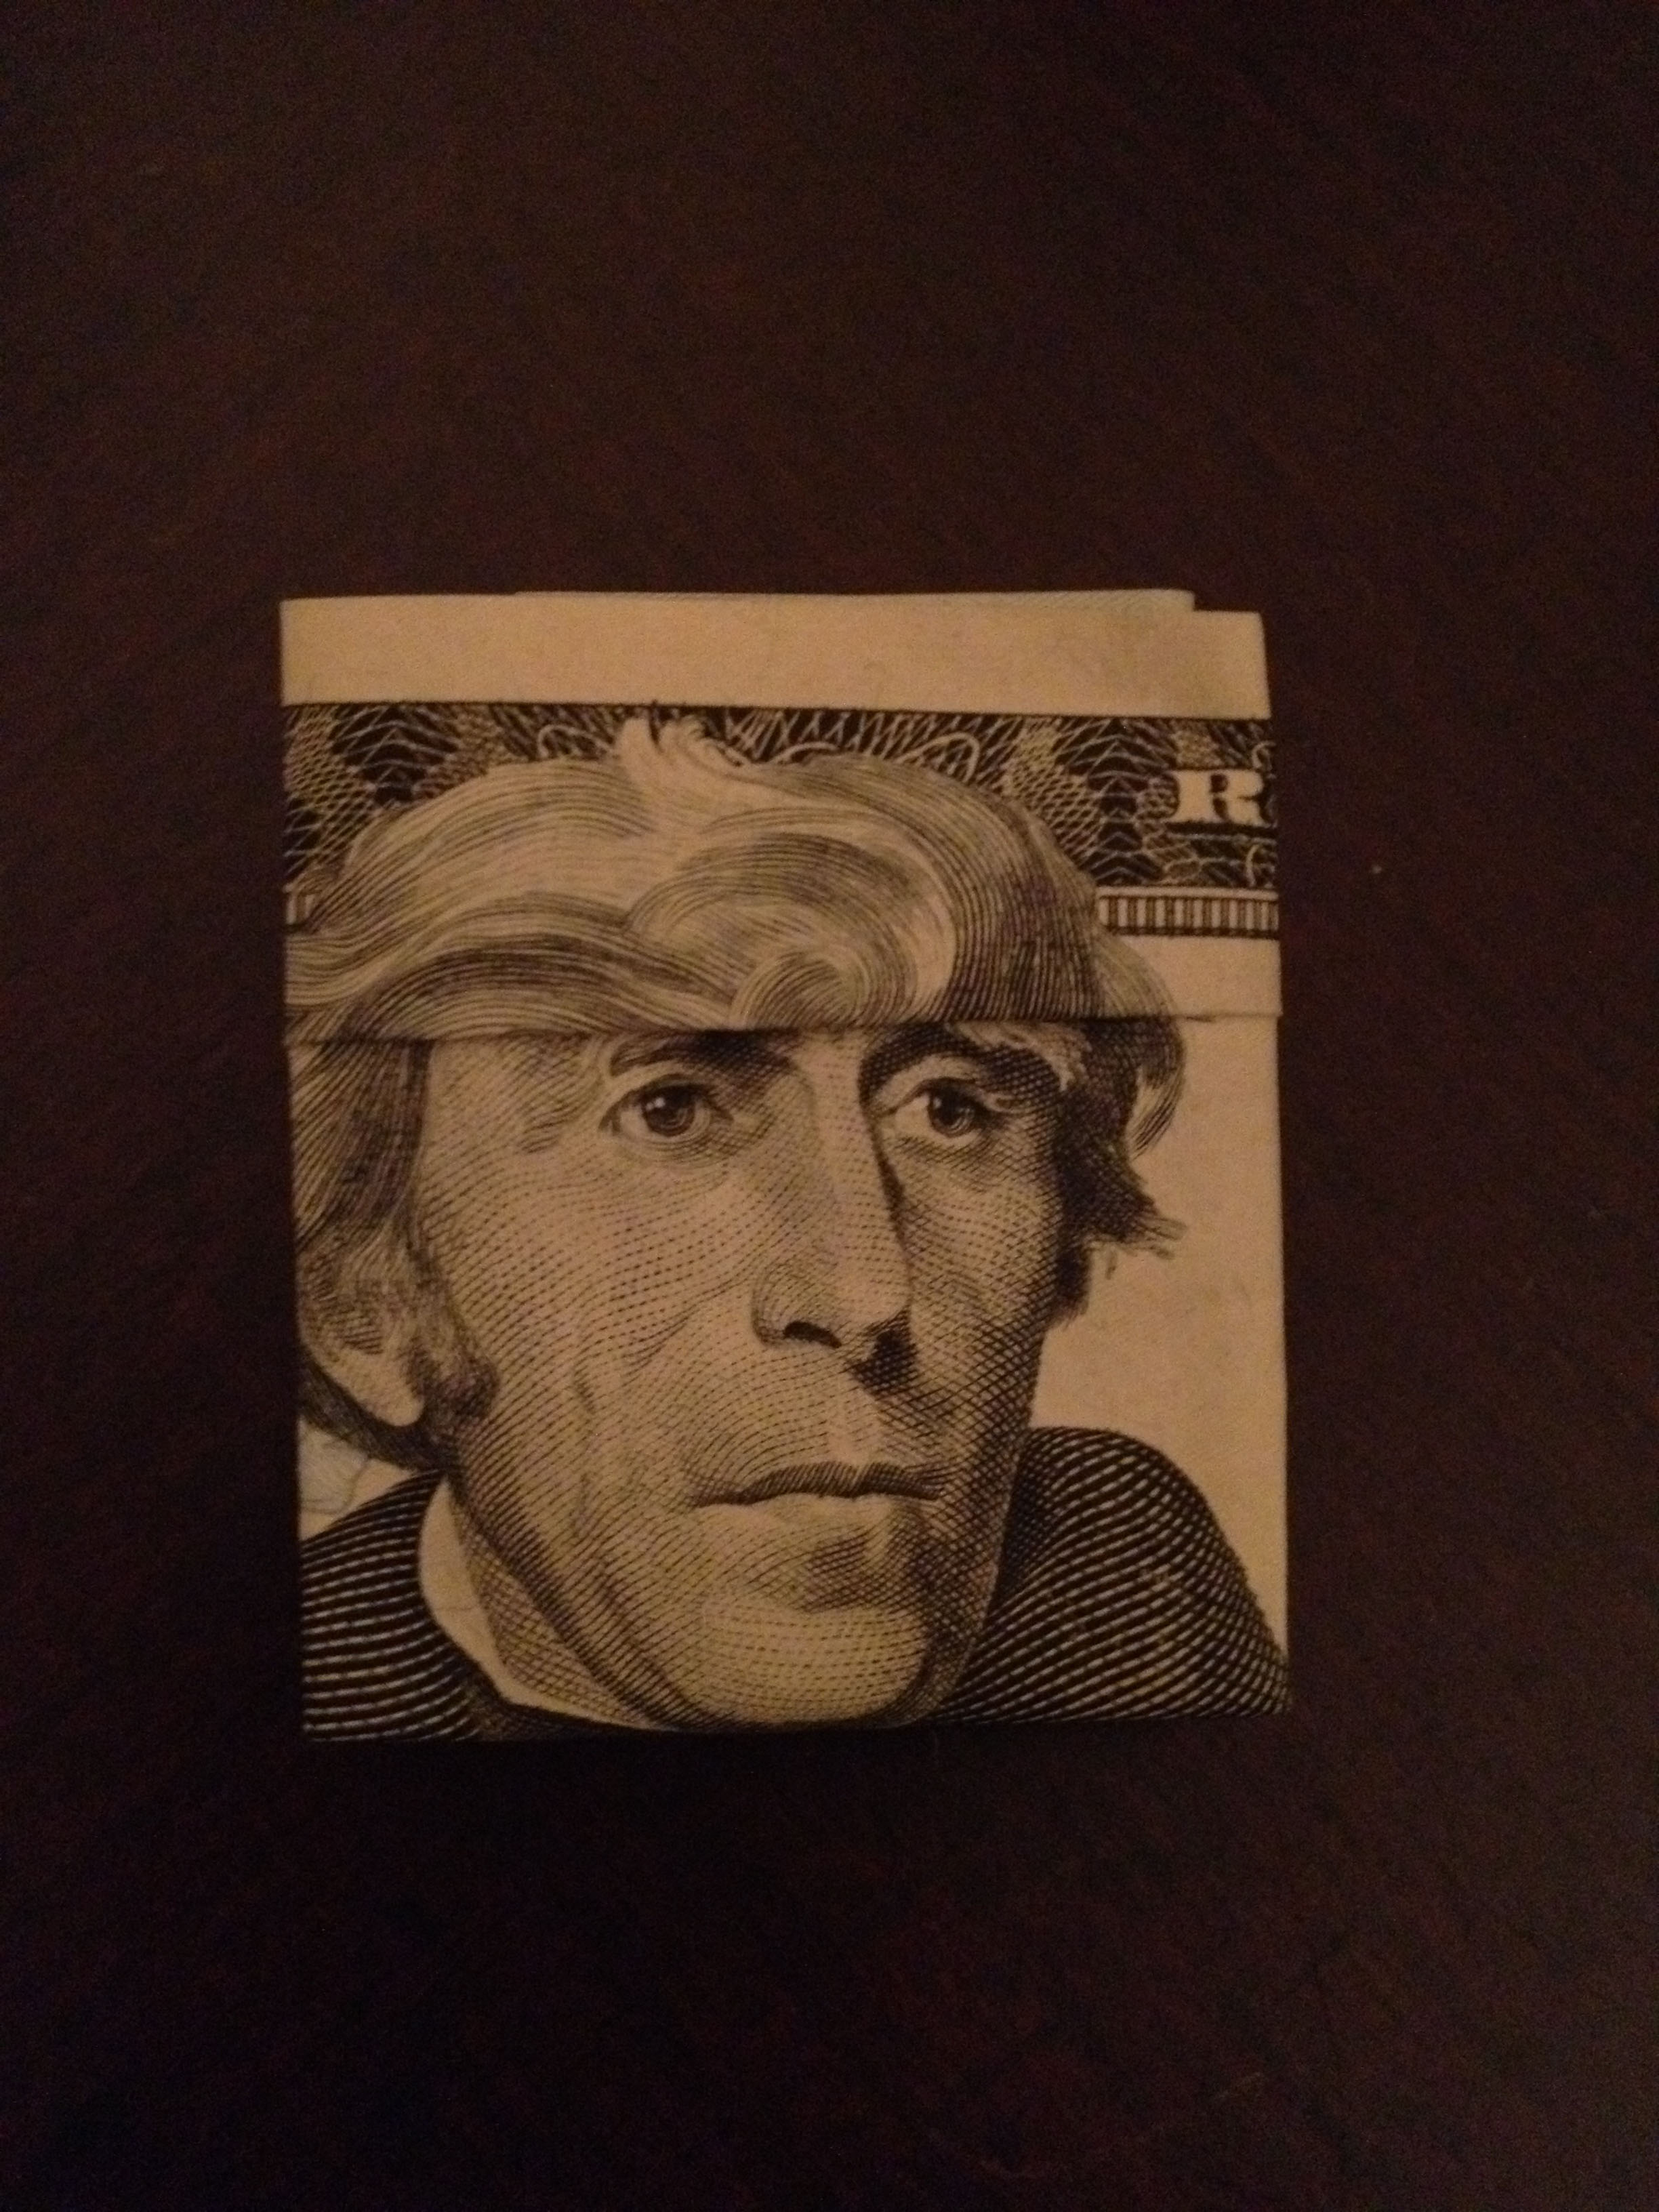
And finally, this last one that he made for Wyatt totally cracks me up.  He gave Andrew Jackson some Bieber hair.

I forgot to take pictures of the boxes when they were finished.  (Obviously we rearranged Wyatt's from that initial picture after we had folded more bills.)  The kids loved opening them and seeing all the money.  Actually, first Anna saw the box of chocolates and said she sure hoped there weren't too many with nuts.  I'm pretty sure she was glad to see the money instead of just a bunch of chocolates!  I guess Forrest Gump was right about those boxes of chocolate...you never know what you're gonna get.

Pumpkin Treats

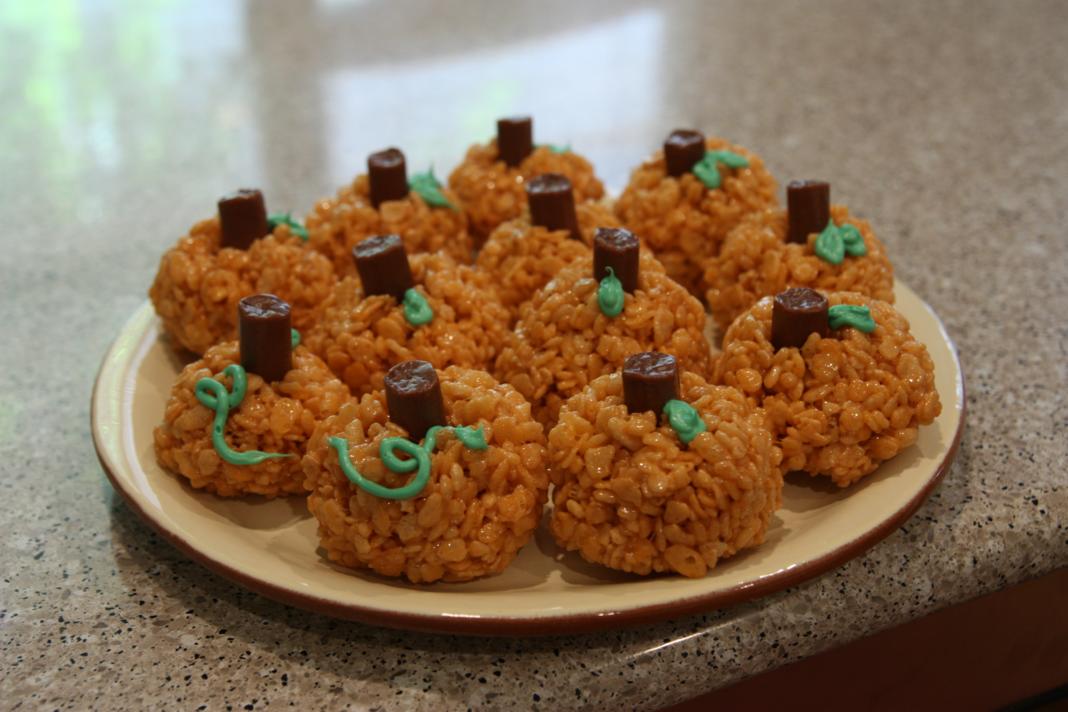
I'm back with yet another fall project.  This one was more than just fun and easy...it was tasty too! Saturday morning, I whipped up a batch of pumpkin rice krispie treats.  I've seen different versions of these all over the web, so I'm not sure where the idea originated (rice krispie website, maybe?).  I first saw them here.  I'm sure there are tons of different ways to do them, but here's my method (and I bet it's the easiest!).

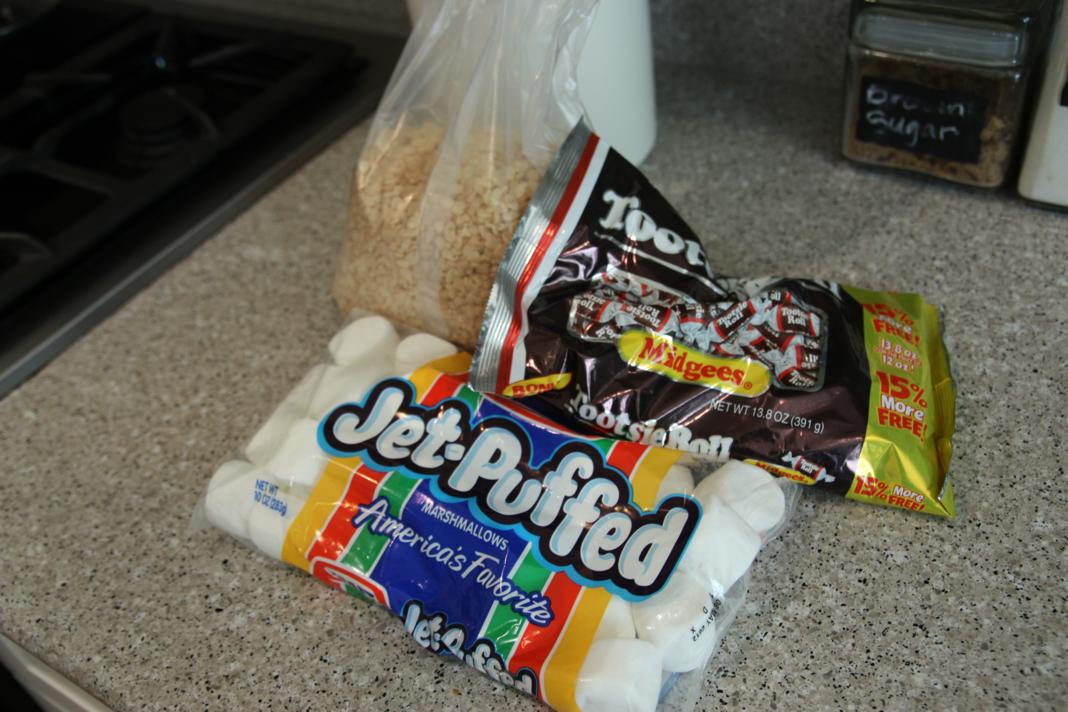
I had generic crispy rice cereal on hand, so it's what I used.  I think they were called Krispy Rice, or something like that.  I also used a whole bag of jumbo marshmallows.  I like my rice krispie treats to be extra ooey, gooey, and marshmallow-y, so I went all in. :)  Here are my supplies.  Not pictured is the butter.

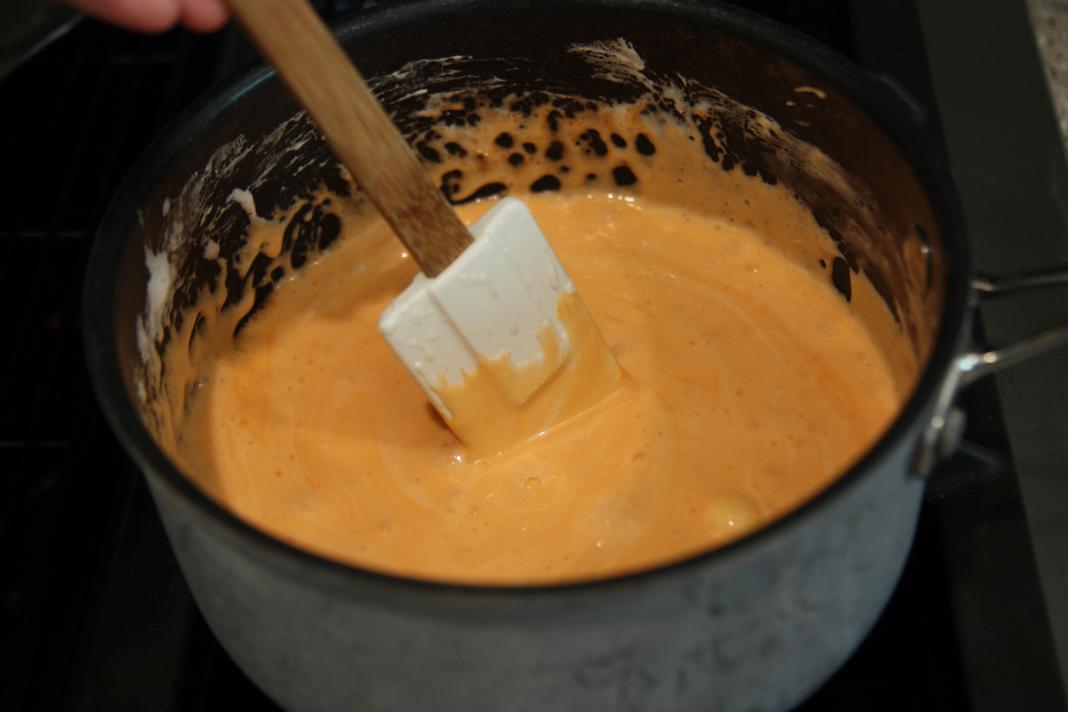
I melted less than a half a stick of butter on the stove, and added the bag of marshmallows to the pot.  Once they were mostly melted, I added some Wilton orange food coloring.  Red and yellow would work fine too.

It turned my mixture a nice shade of orange.  In hindsight, I could've probably gone a little oranger.

I don't know exactly how much of the crispy rice cereal I added - maybe 5 cups?  I just kept added until I was ok with the consistency.

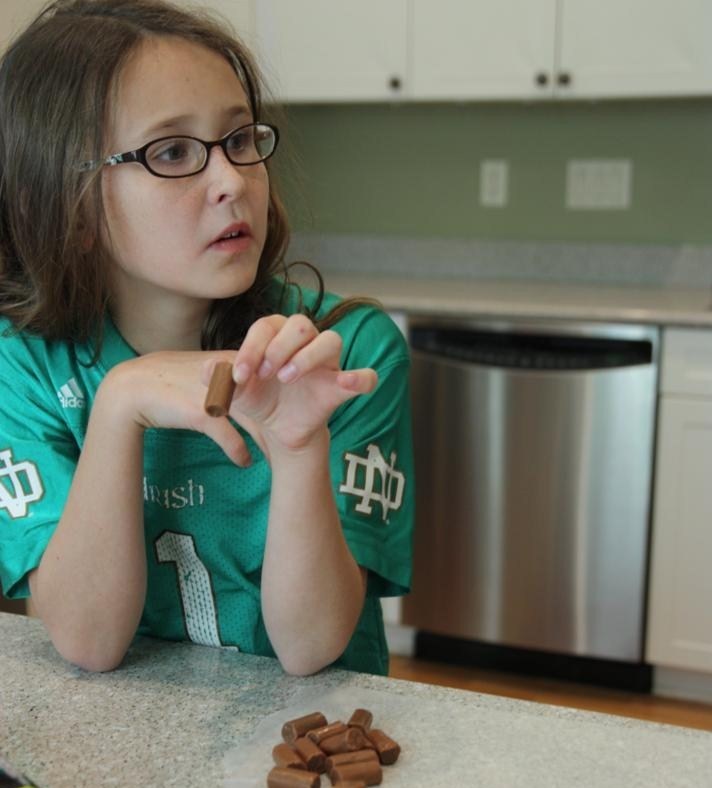
Anna was my helper for the assembly process.  She unwrapped the tootsie rolls while I rolled the pumpkin balls.  The marshmallow mix was still pretty warm.

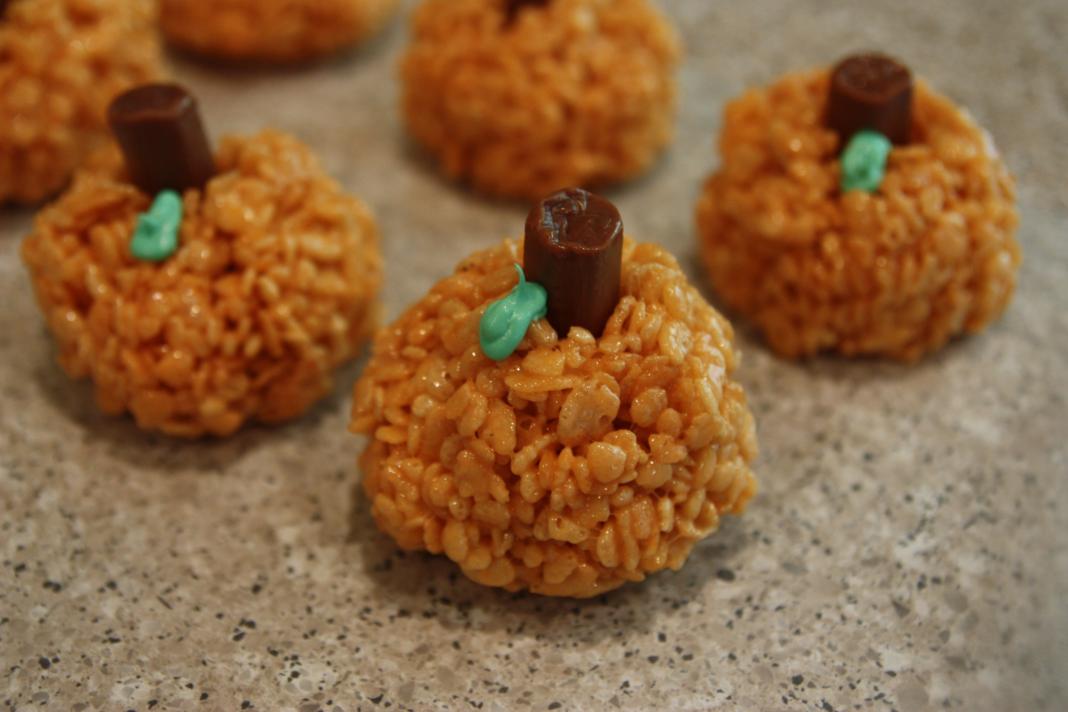
As I rolled the pumpkins, I used my finger to make a small indention for her to stick the tootsie roll.

I had a small can of frosting already, so I added some green food coloring to it to make a few leaves.  I didn't really try hard so they don't look exactly like leaves, but I think the extra color still helps.

My finished plate of pumpkins.  The best part was definitely eating them up!