In my last post, I said that I had a few paintings for the beach house in the works, and now I've got one to share. Here it is! What do you think? Isn't it great?
Juuuuuust kidding. That painting will not be hanging on a wall in the beach house. At least, not looking like that.
This masterpiece came from Target. Let's zoom in so you can see why I bought it.
Less than 8 bucks...holla! You can't buy a plain canvas that size for anywhere near that low of a price, so you know me, I decided I could just paint over it. I loaded that clearance rack gem into the MINI and brought it home with me.
I've been hanging on to this for a couple months now. Of course I bought it without knowing exactly what I'd do with it, but I knew the perfect idea would come. And it finally did. After Beth finished all her paintings, it hit me that we still didn't have anything at all for the walls in the downstairs bedroom. That's where the yellow dresser will go.
So with a general idea in my head, I got to work. Keep in mind that I am by no means an artist. I was totally wingin' it. First, I knew I wanted to add some texture to it. I'm sure modeling paste or something would've been ideal to use, but you can't find modeling paste in our woodshop so I was outta luck. I improvised with something you can buy from a hardware store...if it ends up holding up, maybe I'll share my secret! I figure if it doesn't hold up, I'm only out $7.56.
I started slapping my medium on using a putty knife. Again, probably not what real artists use, but it worked. Then, I used the wrong end of a paintbrush to draw in my general design. Then I had to waaaaaaaaaait. I am so not patient when it comes to things having to dry! But I absolutely had to give this stuff 24 hours, so I left it alone for the night.
Doc saw it while it was drying and said, "Oh cool, bubbles in the grass." That's when I thought oh crap, this may be harder than I thought. They weren't supposed to be bubbles...I was going for whimsical flowers!
The next day I was able to start painting. I didn't have good paint, so it was craft paint for me. I was planning to start with the sky, so I filled my plate with several shades of blue, some white and cream, and even some grey. I tried really hard to tap into my inner artist and not be too much of a perfectionist with how things looked. I told myself it was ok for things to look a little messy and not perfectly blended.
For the grass, I used several different shades of green with a little brown and black mixed in. It started out looking very camo-ish, but I think I eventually got it looking a little better.
The main color in this bedroom is yellow, so I chose a couple shades of it for the flowers and started filling in my circles.
I'm pretty sure this is when my dad came in and commented on the "weeds in front of the ocean." Awesome. Clearly, I still had more work to do.
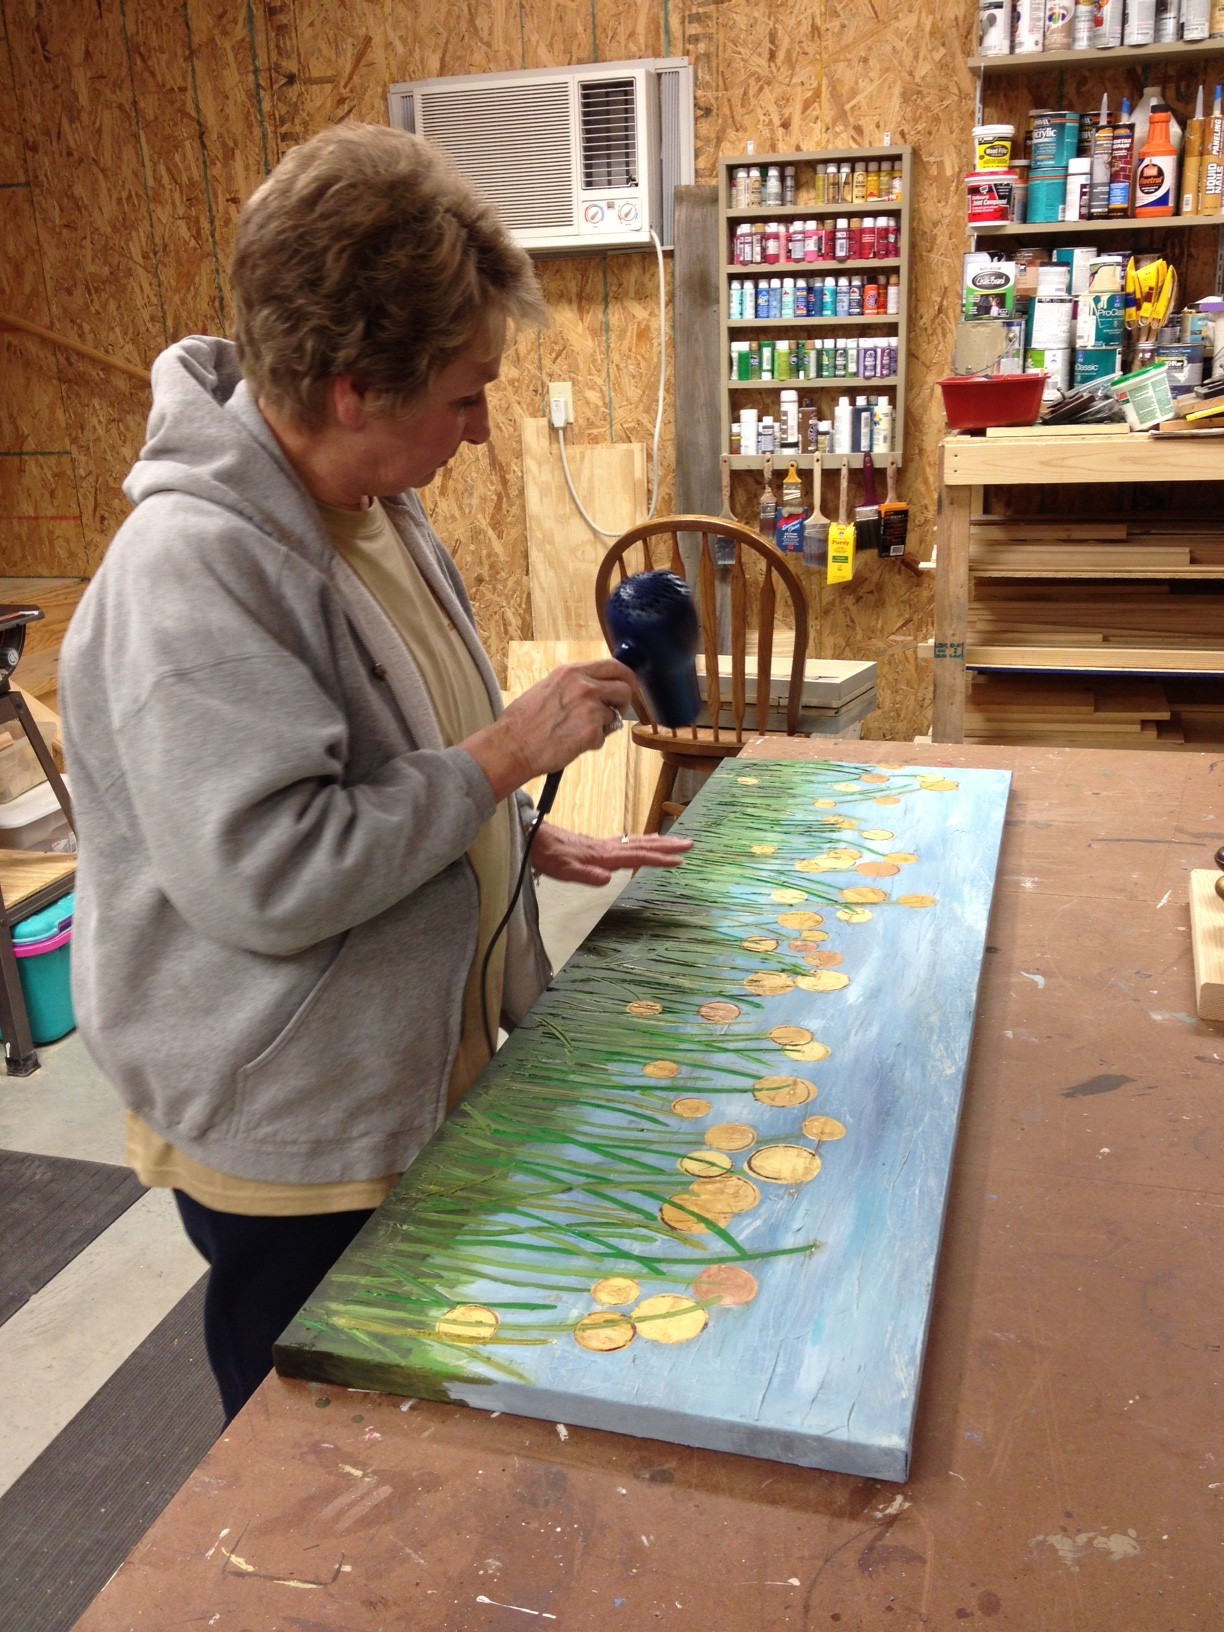
I knew when I was painting the yellow that I'd have to come back and add in some more green over the flowers so they didn't all look like they were on top of the grass. My mom became an expert painting dryer. We broke out the hair dryer since I was too impatient to wait for things to dry!
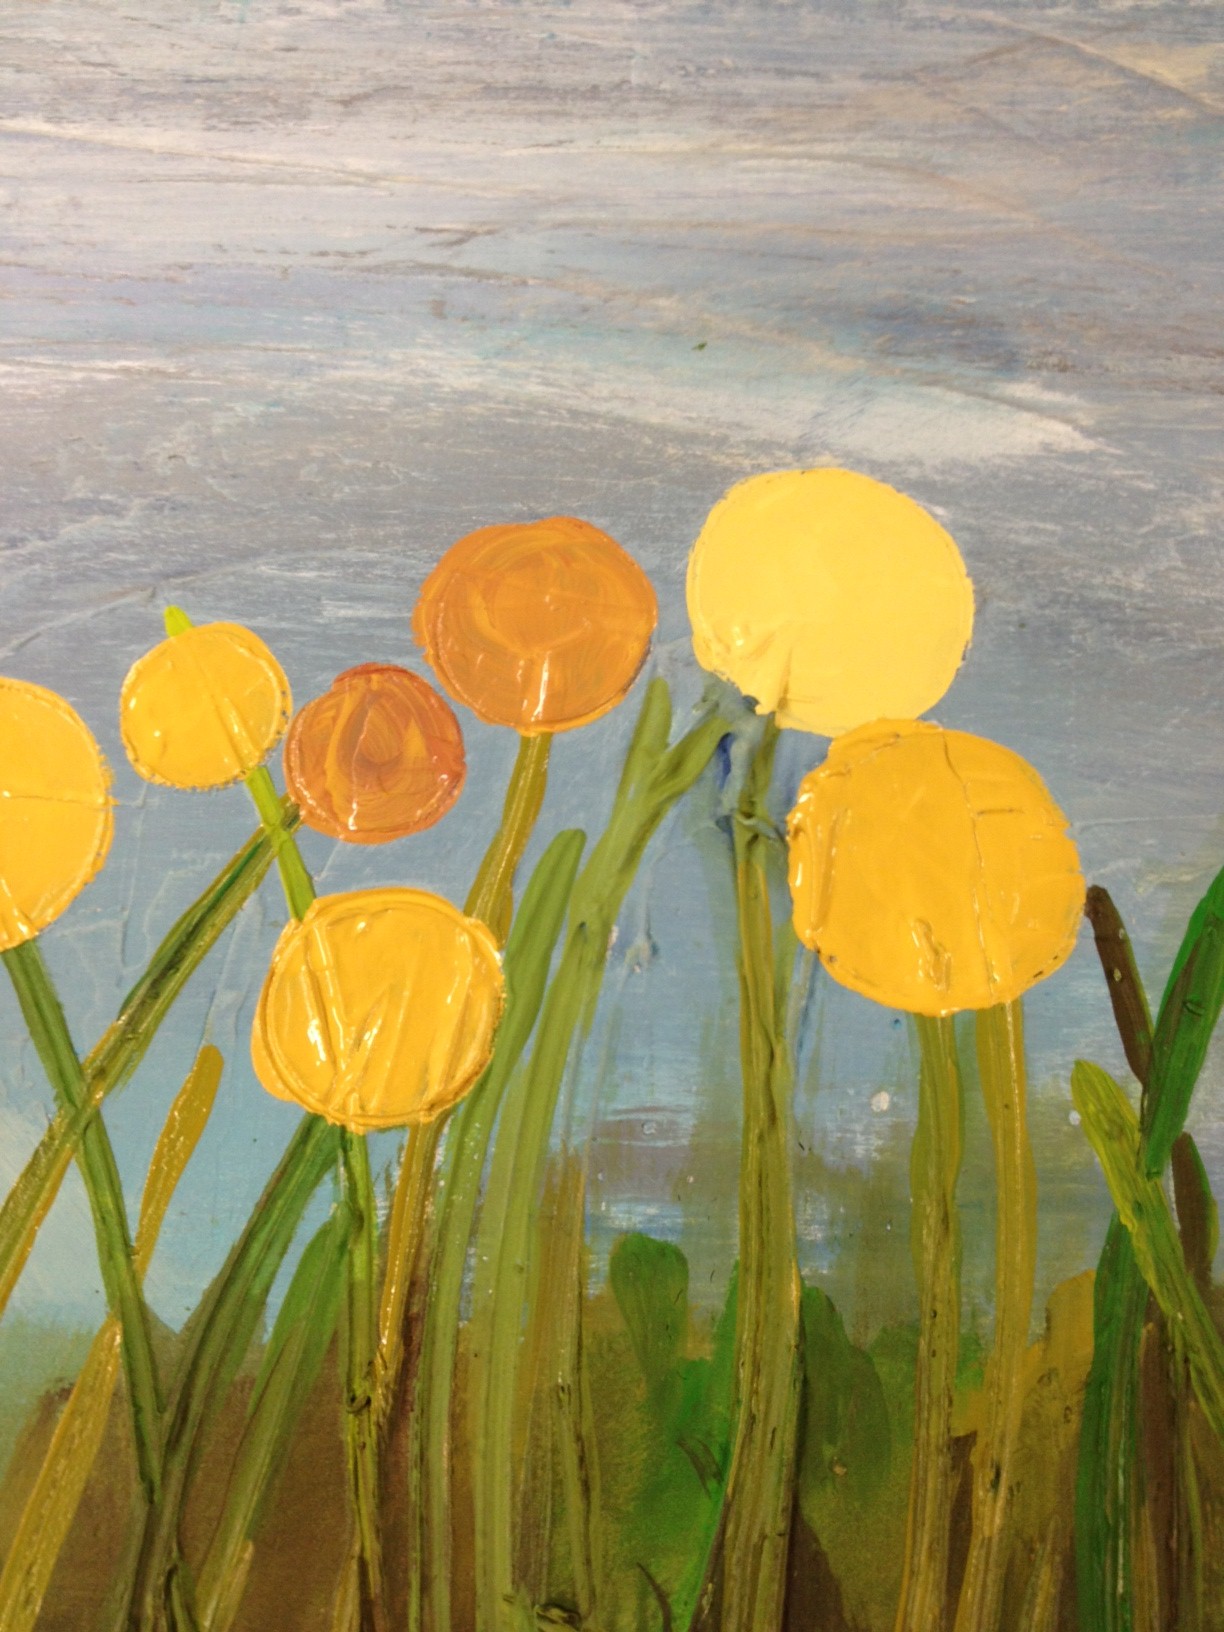
I also didn't like how flat the flowers looked, so I went back and added some outlines to some of them. I think it made a big difference. (Before is on the left, after is on the right.)
Here are some more shots of the finished flowers.
And finally, the whole painting, hanging a little caddy-whampus on a plywood wall.
So, do you think it's an upgrade or downgrade from its original $8 look? I can't wait to see it with the fabric we're using in that room. Not too much longer!


