Fall-ified

I don't really consider myself to be a seasonal decorator.  I mean, I decorate for Christmas of course, but that's pretty much a given.  The only other time I really decorate for a season or holiday is if/when we're having a party of some sort.  That said, yesterday I brought home some pumpkins and added a touch of fall to our house. My mom helped host a couples' shower Saturday night and she was in charge of the table decorations.  Somehow that meant that I was also responsible for the table decorations.  Huh.  We procrastinated until the very last minute but finally settled on a pumpkin theme late Friday night.  That's how I ended up with decorations for our house - they're leftovers from the party.

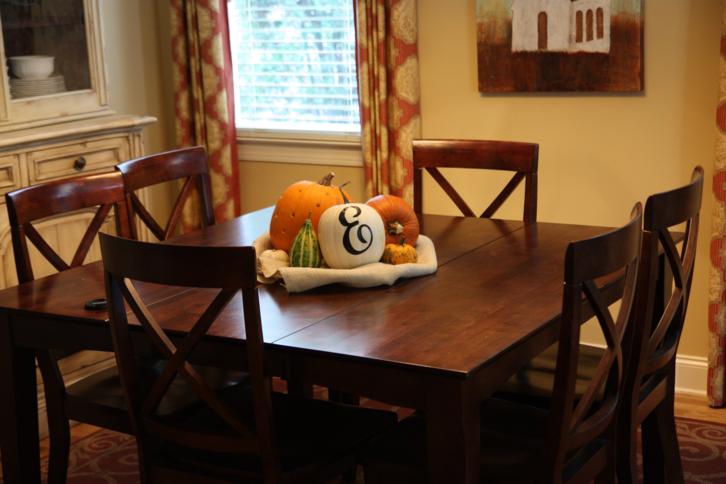
Here's our newly fall-ified (fallized? falled?) dining table.

This is pretty much exactly how we decorated the tables for the party, minus a few votive candles.  The tables were outside and we had three of them to do (plus a food table inside) so we needed something that wouldn't get too expensive.  We bought our pumpkins from Home Depot for about $4 each.  The mini gourds came for the grocery store.  They were 3 for $1.

Like my dining table, each table at the party had three main pumpkins - one white one, one large orange one, and one funny shaped orange one that we laid on its side.  I didn't get a picture from that angle but this one kinda looks like two pumpkins stacked on top of each other with just one stem.  For the white pumpkins, I pulled out my Silhouette machine and and cut out a fancy G (the initial of the soon-to-be-married couple) out of black vinyl and just stuck them on.  While I had my machine out, I went ahead and cut out an E for me and an S for my mom so we could use them at our houses afterwards.

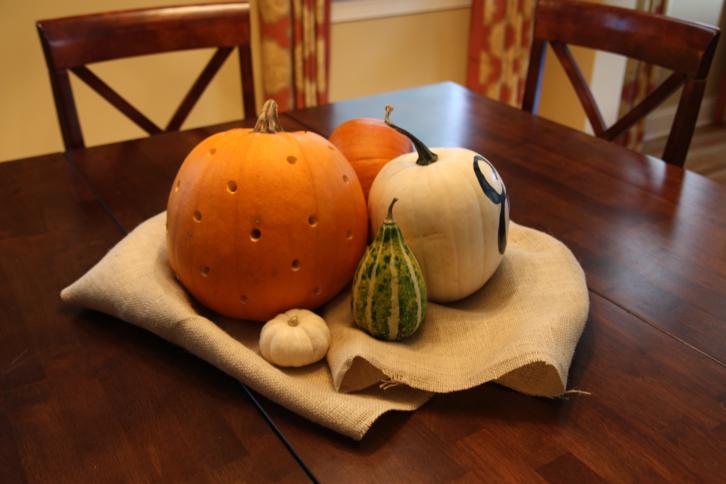
The big orange pumpkins all got carved.  My mom left me to do this part by myself and I thought my arm was going to fall off!  I had six pumpkins to empty and as I got my work area set up, I realized I've never really emptied a pumpkin by myself.  I had no idea what I was doing, but I guess I figured it out ok.  Getting all the guts out is hard work!  Then, once they were all finally empty (and I had broken a good sweat), I grabbed the drill and got to carving polka-dotting.  The drill bit went through the pumpkin really easily, so it wasn't hard to do at all.  My problem was that I was using a re-chargeable drill that had a heavy battery on it, and it seriously got heavy after a while!

It looks ok during the day, but it really looks cute at night when its lit up.  I tried to take a picture of it, but I couldn't really capture its cuteness.

I know my burlap needs a little fluffing.  It's not arranged very well yet, but I didn't feel like fixing it for the pictures.  I'm lazy like that.

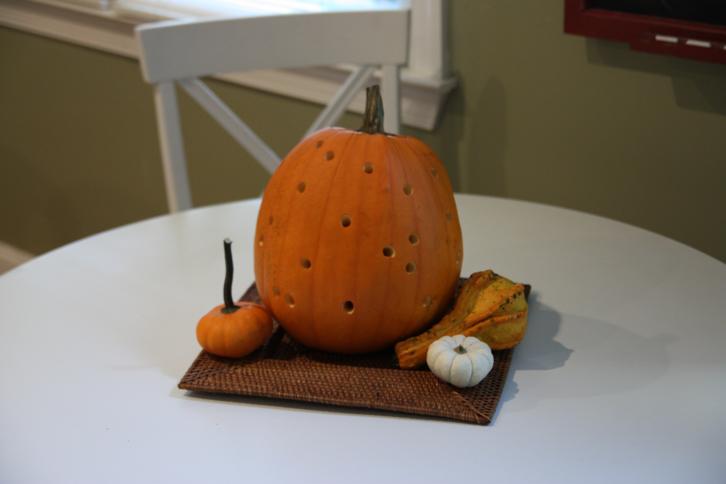
I put another polka-dotted pumpkin on our kitchen table.  Much plainer, but it works I guess.

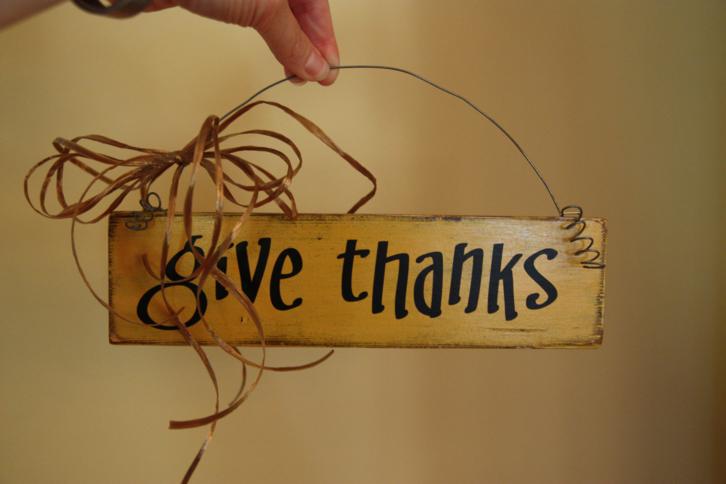
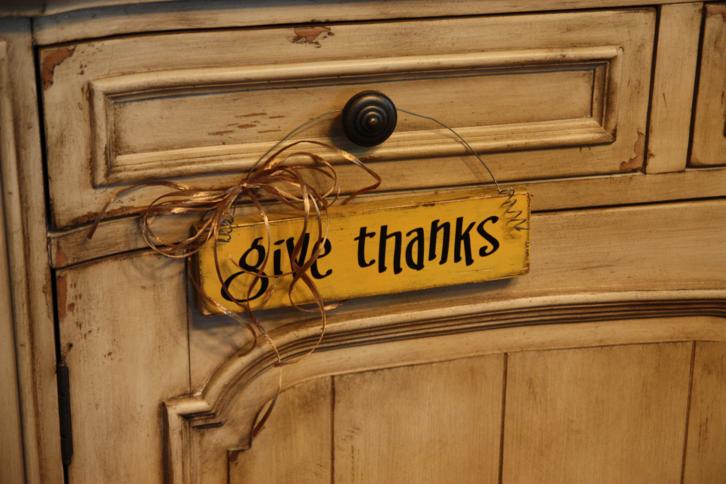
I did crank out one tiny craft project too.  After cutting out all the monograms for the pumpkins, I had a small strip of vinyl scrap leftover that I didn't want to just throw away.  So I cut out "give thanks."  I grabbed a scrap piece of wood and painted it brown then yellow and sanded it down.  The letters were easy to stick on and I just added a piece of wire we already had to hang my new little sign.  I didn't have the raffia bow on it at first, but I think it gives it a little something extra.  Total cost?  Zilch.

My new little sign is hanging on the china cabinet for now, but that could change.

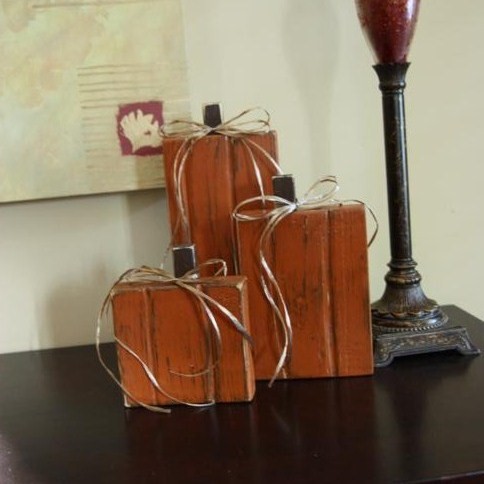
The last fall decoration that I put out is my set of wooden pumpkins that I made last year.  I still love them.

I also have a bowl of candy corn sitting out on the coffee table but I didn't think I should take a picture of that.  I'd hate for someone to come over and expect to see it because it won't be around much longer...

Halloween Wreath

Ok, I promise I'm not purposely putting off posting pictures (hello, alliteration!) of the new baby.  I'm uploading, resizing, and editing pictures right this very second.  I just thought that, in the mean time,  you guys might enjoy seeing the Halloween wreath I made. I actually bought the supplies for this wreath the same day I bought the supplies for the fall wreaths I made.  I made this wreath that same week too (Woah, wait.  Was that just last week? Seems like forever ago...), I just haven't gotten around to writing about it.  But today's the day!

This is another easy one that can be knocked out in no time.  My inspiration came from here and I pretty much copied her directions exactly.  They look different, though, because we used different types of wreaths.

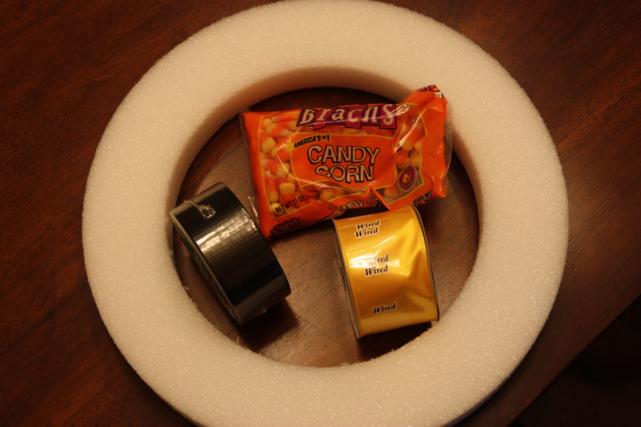
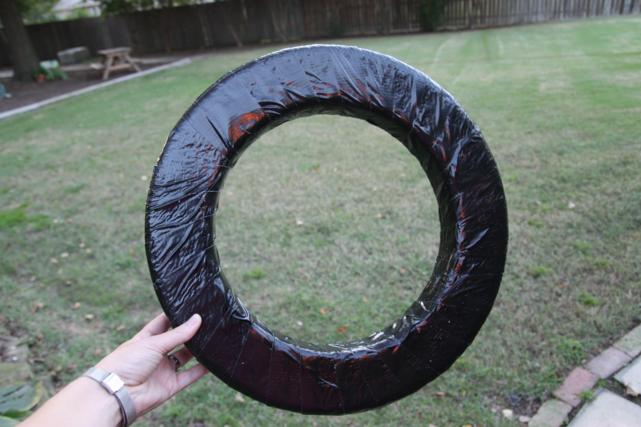
Ok, let's get to it.  Here's my short list of supplies:  wreath (I used styrofoam), black duct tape, candy corn, and ribbon to hang the wreath (can be any color, obviously).

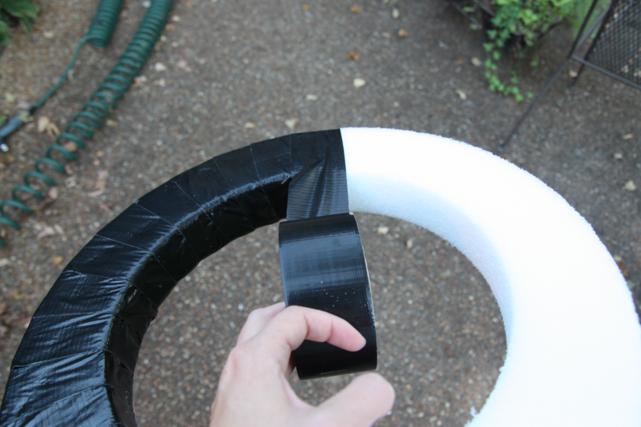
First step:  wrap wreath in duct tape.  You can see I stepped outside for this.  That's because my styrofoam wreath was shedding.

Beautiful, isn't it?  But I feel like it's missing something...
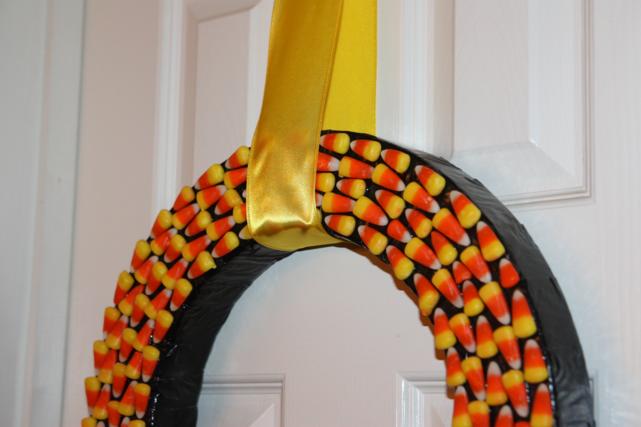
I didn't take play-by-play pictures of this next step, but it's real easy to figure out.  Just arrange your candy corns however you want them and then hot glue them down.  Yes, you have to place glue on each piece of candy and stick it down.  It doesn't take as long as you might think.  Like my inspiration wreath, I did mine in rows, with each row alternating the way the candy corns faced.

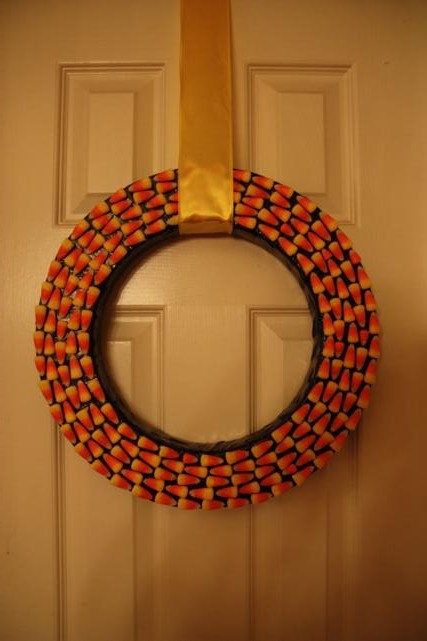
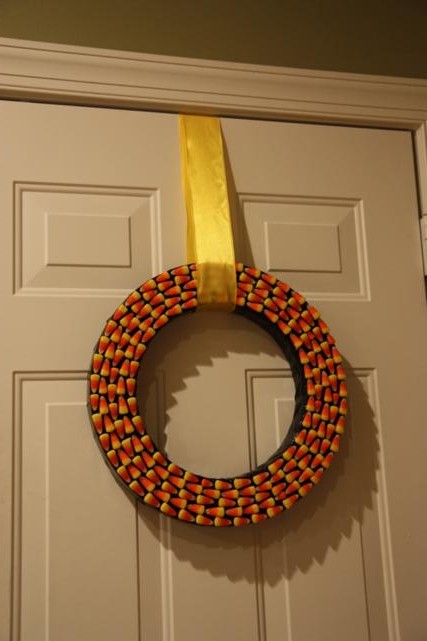
Here's my wreath after I'd gone through one full bag of candy corn.  Pretty good coverage!  Probably could've covered more if so many hadn't been eaten...  I pretty much made it a rule that if the tip was broken or it had any other kind of imperfection, it had to be eaten.  Hey, anything to make my wreath look good.
I tore open another bag of candy and kept going.  As you can see, my wreath is squared off and has a definite front and definite sides.  I contemplated covering the sides with candy corn too, but eventually decided I liked the way it looked with just the front done.

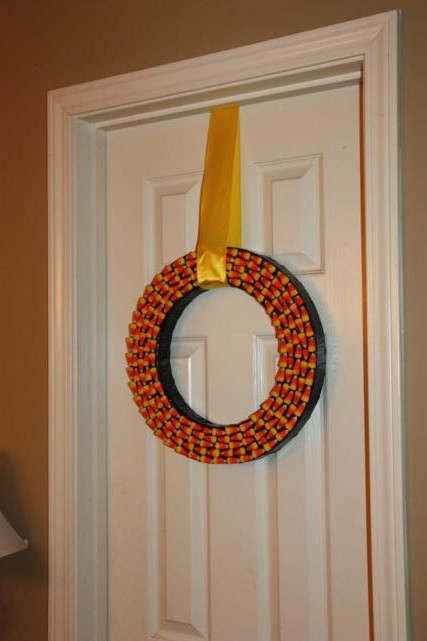
My last step was just to add the ribbon to hang the wreath.  I just wrapped a wide ribbon around the wreath and secured it to the top of the door.

Here's a view that shows the sides.  The black tape is what makes me think of it as a "Halloween" wreath instead of just a "fall" wreath.

Upclose so you can see my alternating rows.

That's it!  I told ya, super easy.  The wreath is now hanging on our back door in kitchen and it makes me happy every time I see it.

The best part?  I totally overestimated how much candy corn it was going to take, so there's a full bag left over that I guess I'm just gonna have to eat.  Darn.

Fall Wreath

Last week I was itching for a craft project to work on.  I have no idea why, except that it seemed like every blog I read was about a cute project someone had made and all sorts of ideas started swarming around in my head.  Feeling motivated, I decided to run by Michael's after work Friday to pick up a few supplies.  This project is one that I was able to crank out in about an hour. My inspiration was this wreath from Little Things Bring Smiles.  Definitely check hers out because it's really cute.  The best part about this project was that I only needed two items: a grapevine wreath and felt.  Easy peasy.  The wreaths were outside in a big bin for $4.99.  Can't beat that.

Michael's only sells felt in the small sheets which is totally fine, but if I were to do this again, I'd buy it off a bolt so I had more to play with.  I chose fall-ish colors for my felt, but any color would do.

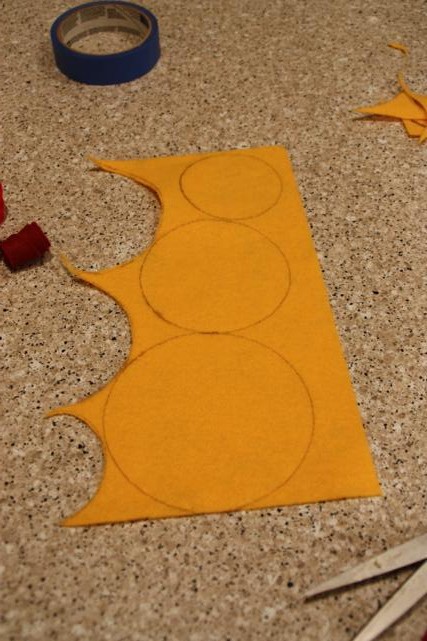
There are different tutorials for making felt flowers all over the web, and I'm sure there are different ways of doing them, but here's how I did mine.  First, I traced circles.  I really liked the way the bigger circles turned out better, but since I was working with the sheets of felt I did smaller ones too so I could get as many as possible out of each sheet.  This is another reason why I'd buy felt off the bolt next time.

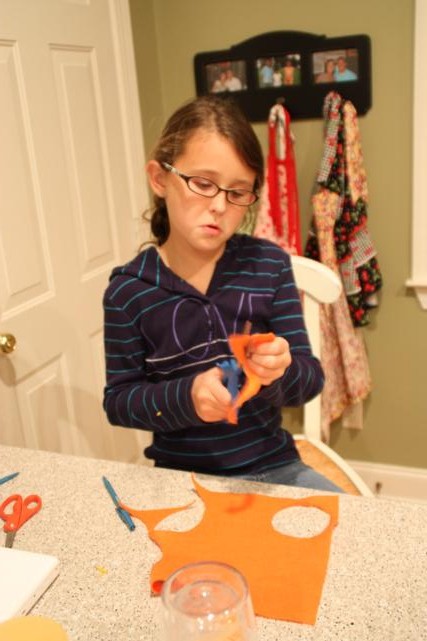
As Anna (blurrily) demonstrates below, you've got to hold your mouth just right to get the circles cut out perfectly.

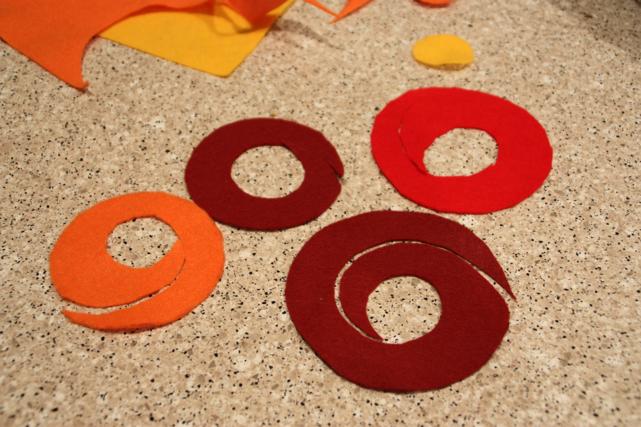
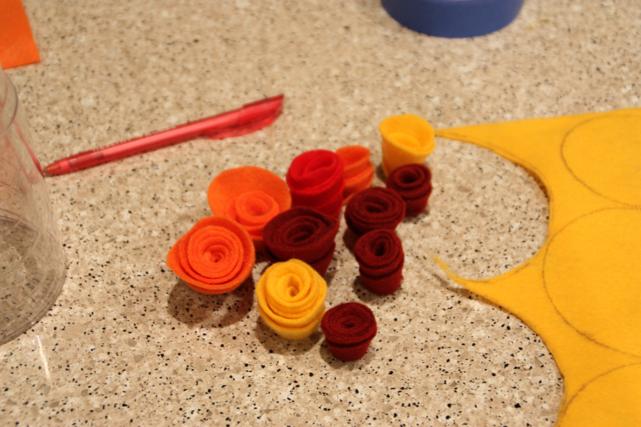
After cutting out the circles, my craft assistant and I then cut them into spirals, leaving a hole in the middle.  Different sized spirals created different shaped roses.

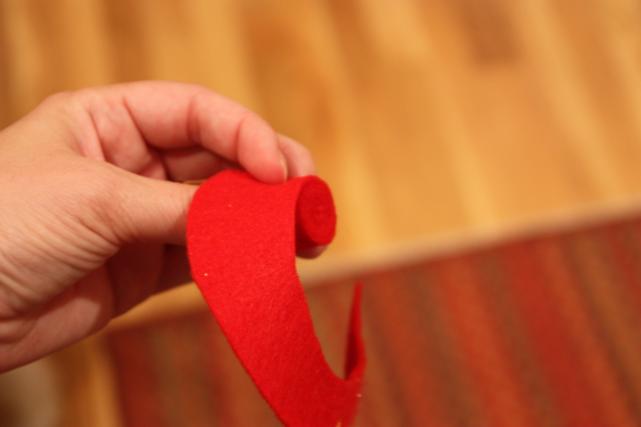
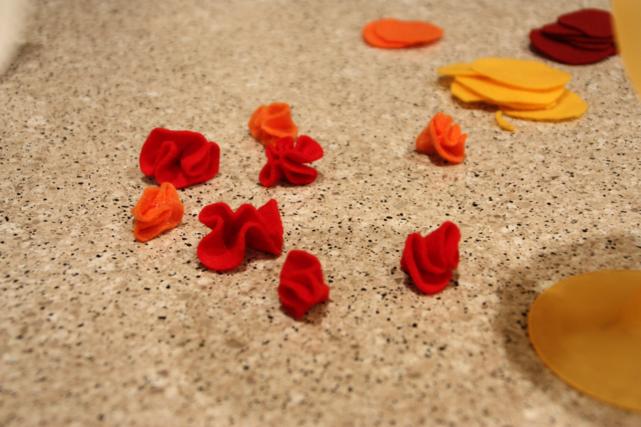
Once that's done, all that's left is to roll them up!  You can start with the inside point or the outside point.  We switched it up to have a good variety.  As we rolled, we kept one edge lined up to create a flat bottom.

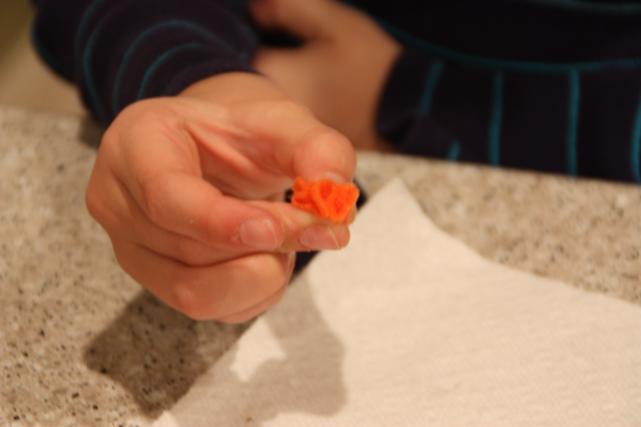
A small dollop of hot glue on the outside edge holds it all together.  Pretty flowers!

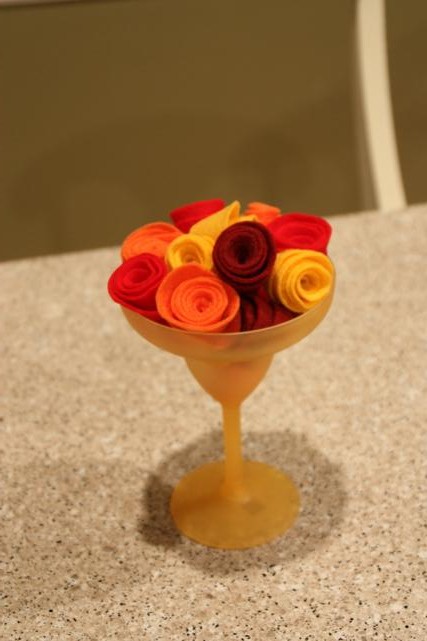
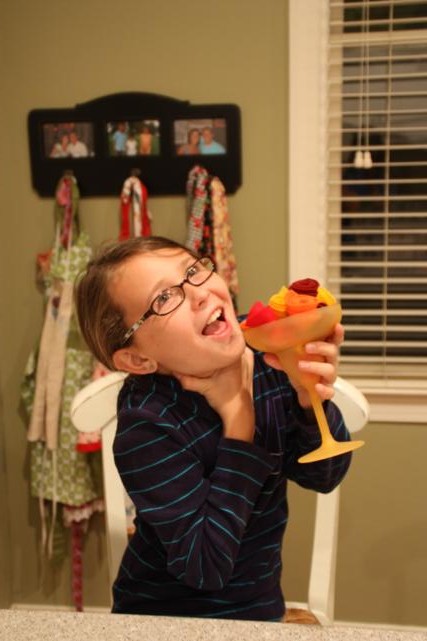
We used the top and bottom edges of this margarita glass to trace our circles.  Anna thought it made a nice vase for our fall felt flowers (say that 5 times fast).

Cheers!

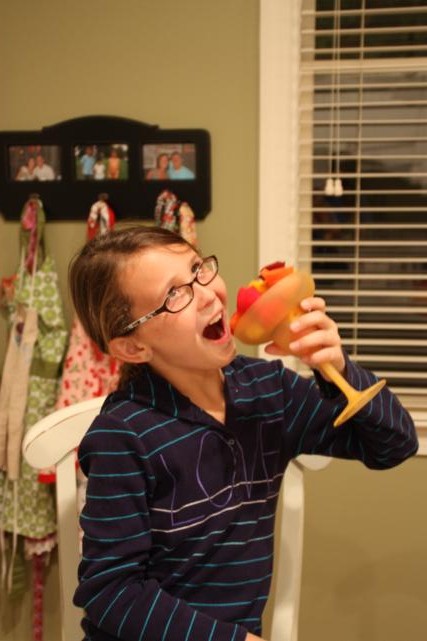
Here she is "choking" on flowers.  Don't do that - it's not actually part of the tutorial.

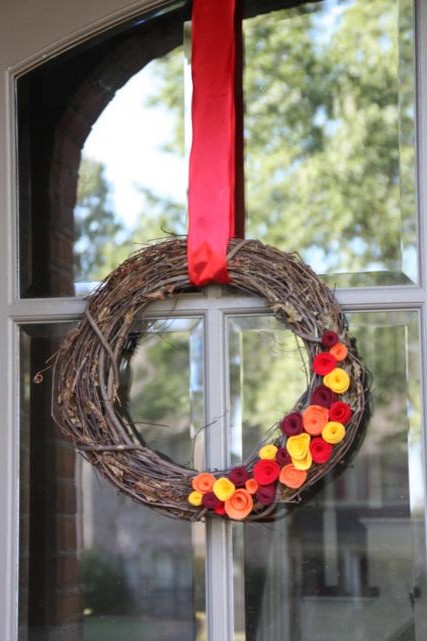
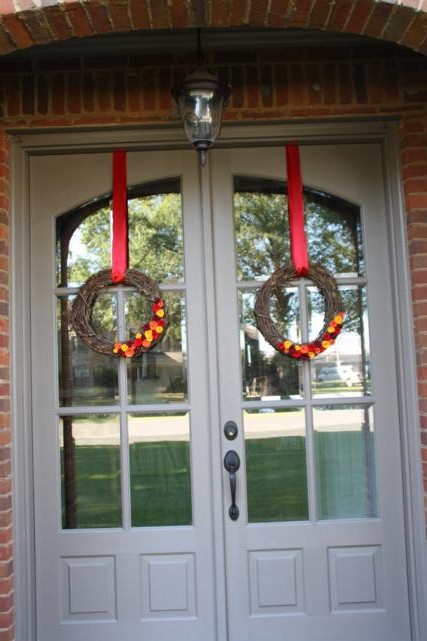
Because our front door is already decorated for fall, I decided I'd make this wreath for my mom's front door.  Except she has two front doors.  I did think ahead at Michael's and grab two grapevine wreaths, but I didn't remember to go back and grab more felt.  I made it home with only eight sheets of felt - two each of four colors - which divided out to one sheet per color for each wreath.  Not enough to go all the way around like my inspiration wreath, but enough to make it work.

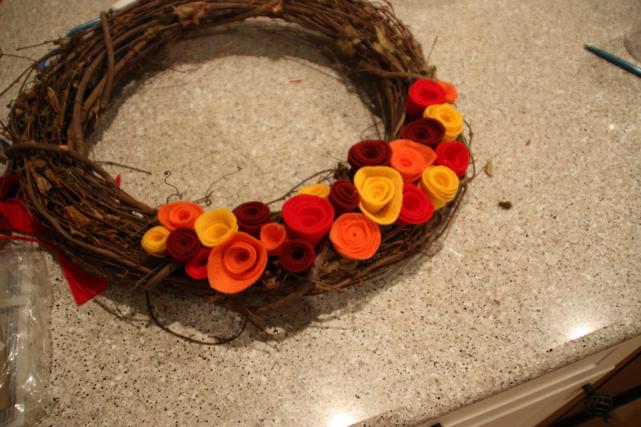
With the flowers evenly divided up, I clumped them together on one side of the wreath and hot glued them down.

While I did that, Anna took the small circles that we cut out of our spirals and made what she called Fall Plumdrops.  She put a drop of hot glue in the center and then folded them up to make tiny flowers.

We have plans to decorate a tiny wreath (or something) with the Fall Plumdrops, but we didn't get to it this weekend.

We weren't able to hang the wreaths at my parents' house until the next day.  To hang them, I just used a wide red ribbon and secured it over the door.

My wreaths aren't exactly the same shape, but I'm ok with that.  (Oh, who am I kidding?  It drives me crazy that one's fat and round while the other's oblong.  Why didn't I look at them in the store?  Nothing I can do about it now...)

Two fall wreaths at $4.99 each, plus eight sheets of felt at $0.29 each, brings this project total to a whopping $12.30.  Well, I guess the ribbon could be added in too, so maybe a couple more bucks?  Total times spent = definitely less than 2 hours (we had to take a brownie break so it's hard to say for sure...).  Quick, cheap, and easy...my kind of project!  But the real winner here is my mom, who just got her front doors decorated for butt-naked free.  You're welcome, Mom!

Police Station

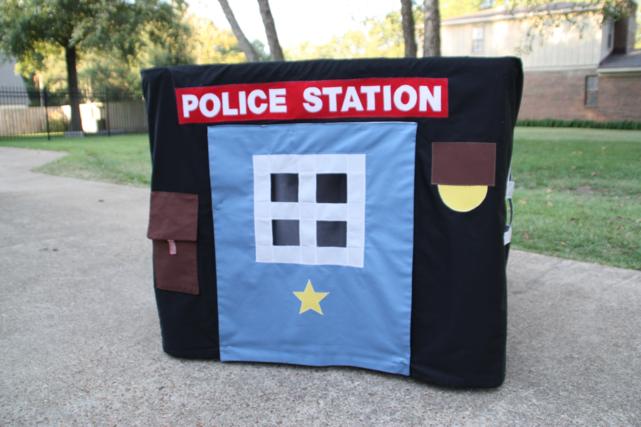
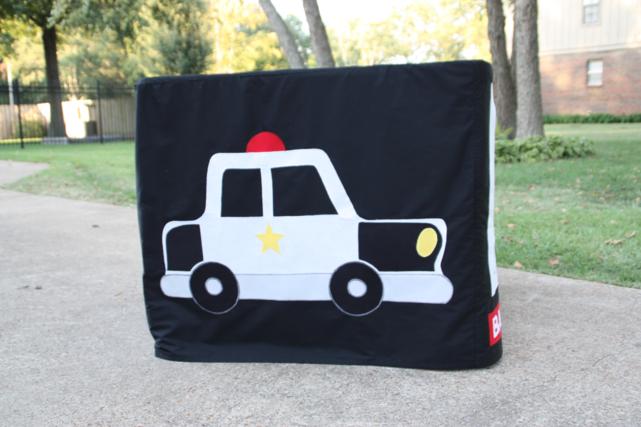
Aaaand I'm back with the tent we made for the boys (since the Sweet Shop was way too girly). Originally, we were just going to do another Pirate tent since it was pretty easy to crank out.  We bought black sheets for the background and cut them to size.  But then we go to thinking and did we really want to take a skull-and-crossbones tent to our church's silent auction?  I'm sure it would've been fine if we had but we switched it up anyway.  A police station seemed safe.  We saw several different versions online, but in the end, the one we used as our inspiration was from Miss Pretty Pretty's etsy shop (same place we found the pirate tent).

I've gotta hand it to my mom - she did all the freehand drawing (and sewing, of course) on this one.  And having the black background definitely made it challenging, especially on the side with the card.  Had we not already bought and cut the black sheets, we would have gone with a different color background.

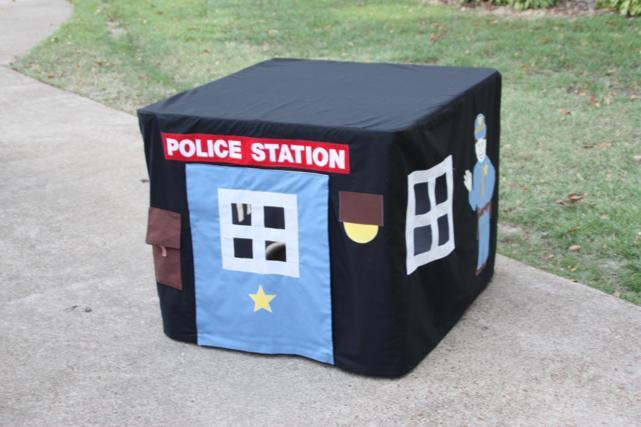
The front:

The mailbox to the left of the door has a flap you can lift up so you can stick mail inside the pocket.

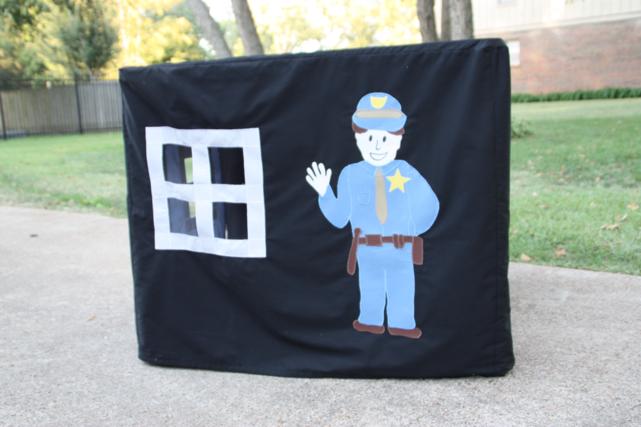
On one side is a friendly waving cop.

His police car is parked around back.

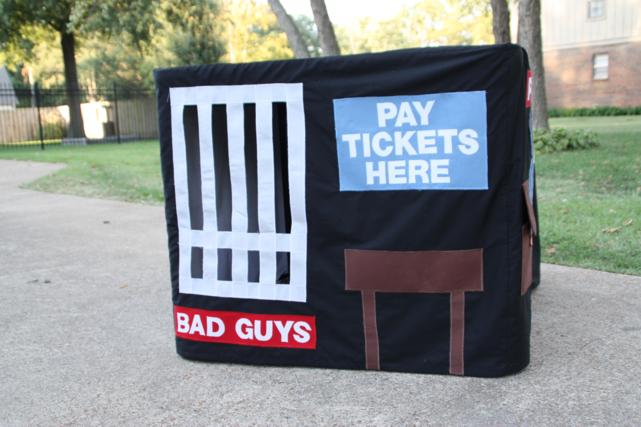
The third side is my favorite.  It's where you can step up to the table to pay your tickets, and you can also see all the bad guys behind bars.

Here's a zoomed out pic of the police station.

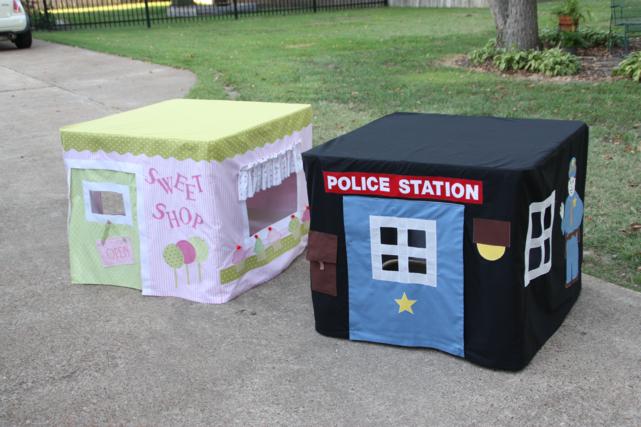
And here are the two latest tents side by side.  Their colors are so different!  I kinda wish we'd had Bren's and Parker's tents too...we could've had a mini tent town!

My mom and I have already dropped the tents off at the church for the silent auction.  The tables ($29.99 from Target) go home with the tents too.  I really hope they're well-received by everyone bidding in the auction.  Any bets on how much they'll go for?

Sweet Shop

Well, it's Hullabaloo time again and, like last year, we needed some things to donate.  That probably makes absolutely no sense at all, so allow me to explain.  Every October, our church has what we call a Hullabaloo, which is essentially a big fundraiser for the church.  It's a Saturday event and there's a rummage sale, silent auction, food, games, face painting, country store, and sometimes a petting zoo or pony rides.  Something for everybody. My mom and I choose to participate by donating items to the silent auction.  It's a lot easier than manning a booth all day during the event or selling barbecue tickets beforehand with the rest of the town.  Call me lazy, but at least I'm honest.  This year, I did donate a couple of items I already had made in the shop, but our main focus was making a couple more card table tents.  There are a lot of kids in our church and we're hoping they'll do well in the silent auction.

As with both of the other tents we've done, my mom's had the brunt of the work.  Usually I help out by drawing and cutting out fabric, but this time she even did most of that.  So when I say "we" made tents, I really just mean her.  She's so good.

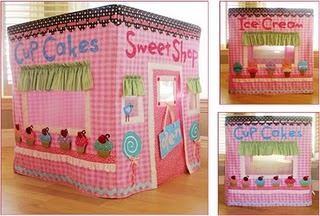
The idea for the first one was emailed to me by a friend (Hi Sarah!) after she saw the others we did.  At the time, I only had the one picture she sent me to go off of, but I just now googled it and oh my goodness, there are some cute ones on this site!  I've never visited Parties and Patterns until today and now I wish I had a lot earlier, especially since the picture Sarah sent me was from the pattern you can buy for just five bucks.  D'oh!

(via)

Isn't that the cutest tent you've ever seen?  We decided to give it a go but since we were under some pretty quick time constraints, we cut out a LOT of the details.  Of course, the details are what makes it so cute so we tried to do as many as we could, but since we were trying to crank out two in time for the silent auction, we couldn't do it all.  (We were originally going to just do one, but since this one is so girly, we decided we needed a boy one too.)

I guess you can't tell us how we did without seeing pictures, so let's get to it.  Oh, I should add, though, that while we were laying out our pattern we figured out the table in our example picture is taller than ours so lots of adjustments had to be made.

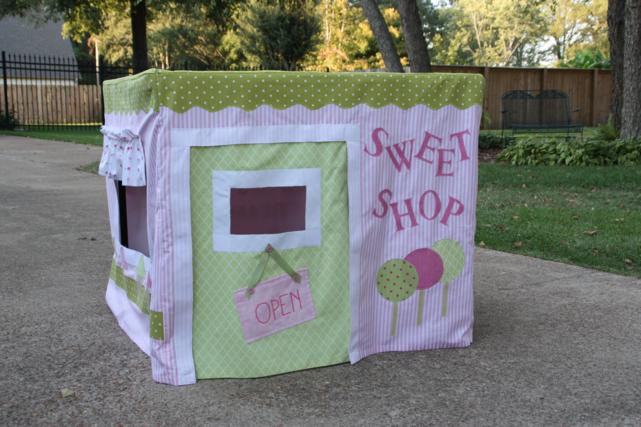
The front of our Sweet Shop:

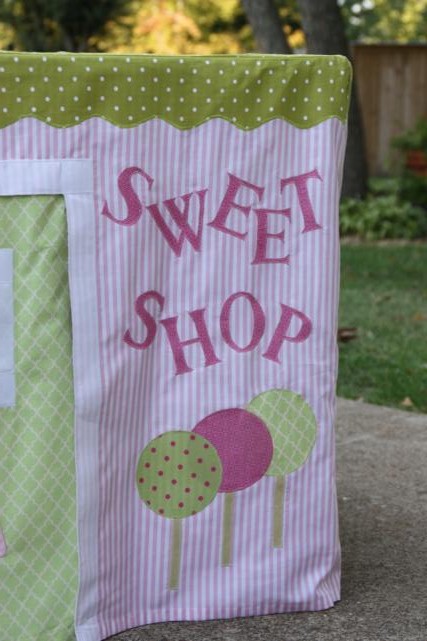
By the front door are lollipops in a variety of flavors.

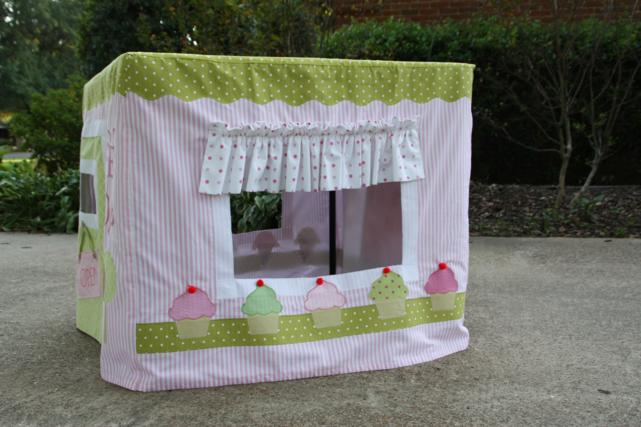
On one side of the tent, you can step up to the window to order some cupcakes.

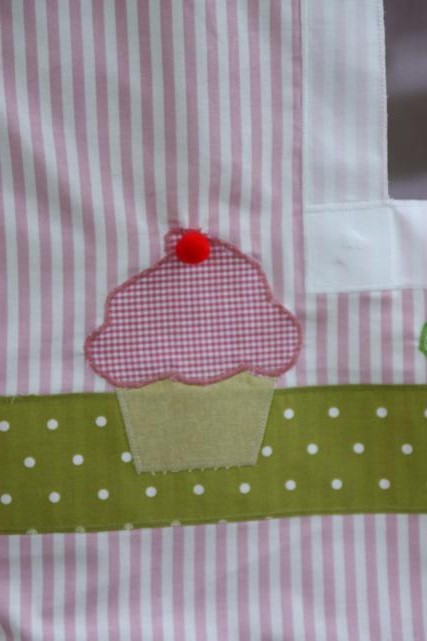
They have cherries on top!

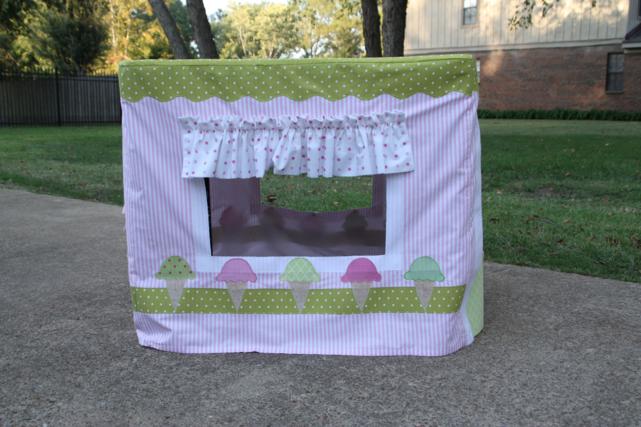
If cupcakes aren't your thang, then we can't be friends you can step around to the opposite side for an ice cream cone.

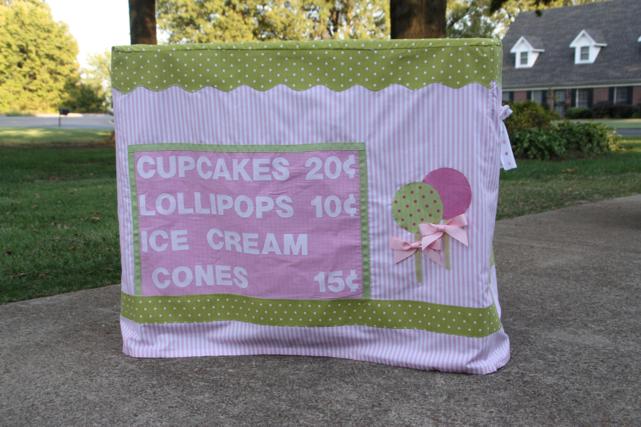
And if you really just aren't sure what you want, you can go around back to check the menu board and see what you can afford.

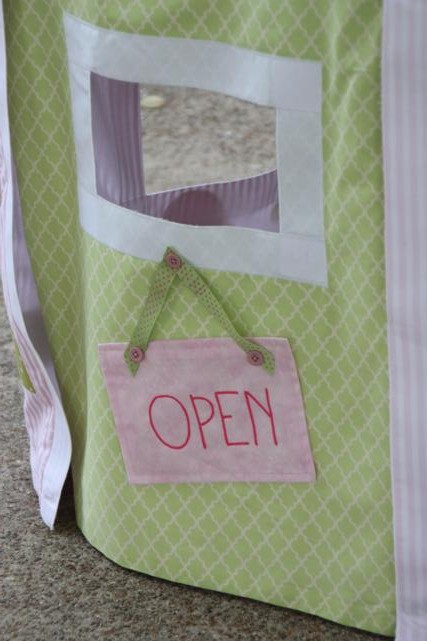
I have a serious sweet tooth, so this tent might be my favorite one yet.  So glad they're open!

Even though I really, really love this one, the boy one we made is pretty cute too.  I'll be back with it next...