Last week I was itching for a craft project to work on. I have no idea why, except that it seemed like every blog I read was about a cute project someone had made and all sorts of ideas started swarming around in my head. Feeling motivated, I decided to run by Michael's after work Friday to pick up a few supplies. This project is one that I was able to crank out in about an hour. My inspiration was this wreath from Little Things Bring Smiles. Definitely check hers out because it's really cute. The best part about this project was that I only needed two items: a grapevine wreath and felt. Easy peasy. The wreaths were outside in a big bin for $4.99. Can't beat that.
Michael's only sells felt in the small sheets which is totally fine, but if I were to do this again, I'd buy it off a bolt so I had more to play with. I chose fall-ish colors for my felt, but any color would do.
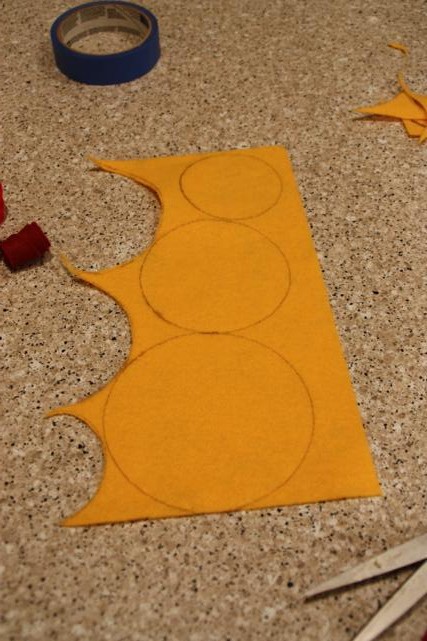
There are different tutorials for making felt flowers all over the web, and I'm sure there are different ways of doing them, but here's how I did mine. First, I traced circles. I really liked the way the bigger circles turned out better, but since I was working with the sheets of felt I did smaller ones too so I could get as many as possible out of each sheet. This is another reason why I'd buy felt off the bolt next time.
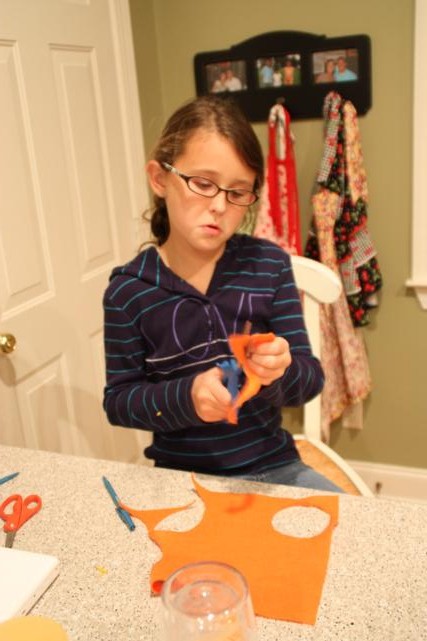
As Anna (blurrily) demonstrates below, you've got to hold your mouth just right to get the circles cut out perfectly.
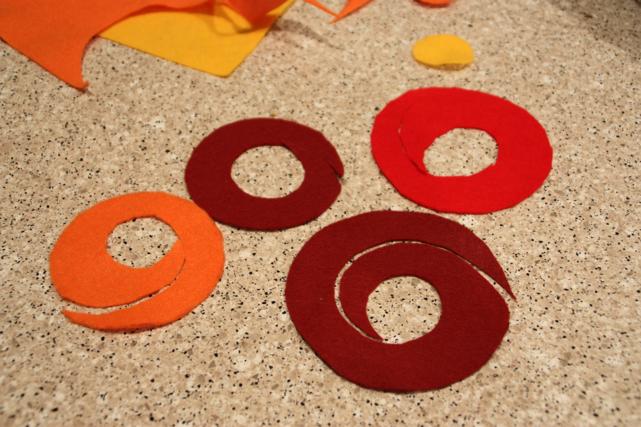
After cutting out the circles, my craft assistant and I then cut them into spirals, leaving a hole in the middle. Different sized spirals created different shaped roses.
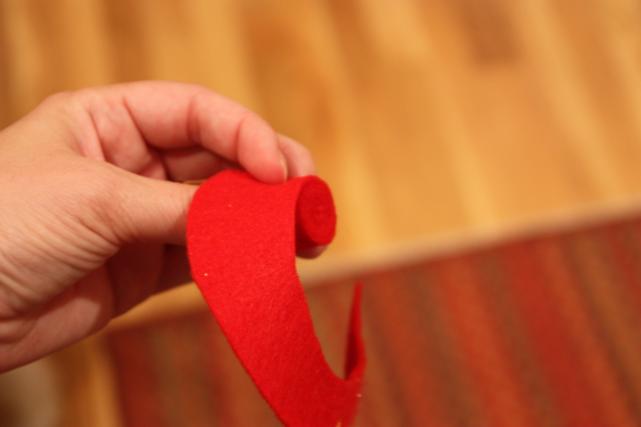
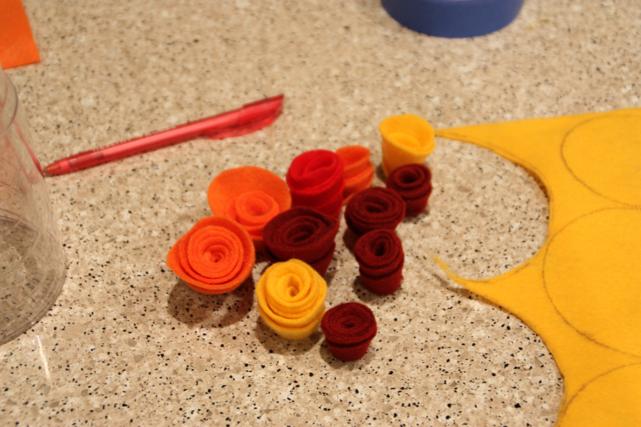
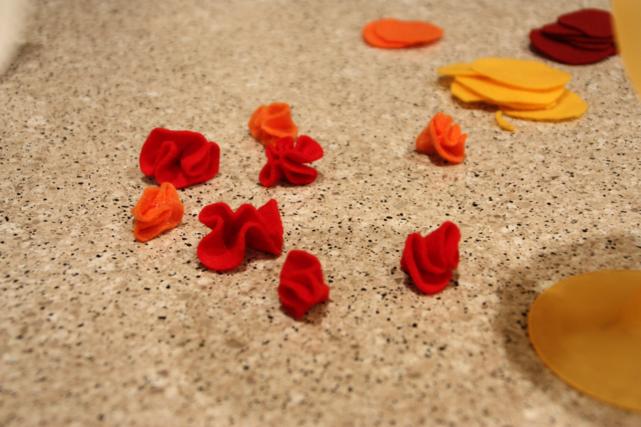
Once that's done, all that's left is to roll them up! You can start with the inside point or the outside point. We switched it up to have a good variety. As we rolled, we kept one edge lined up to create a flat bottom.
A small dollop of hot glue on the outside edge holds it all together. Pretty flowers!
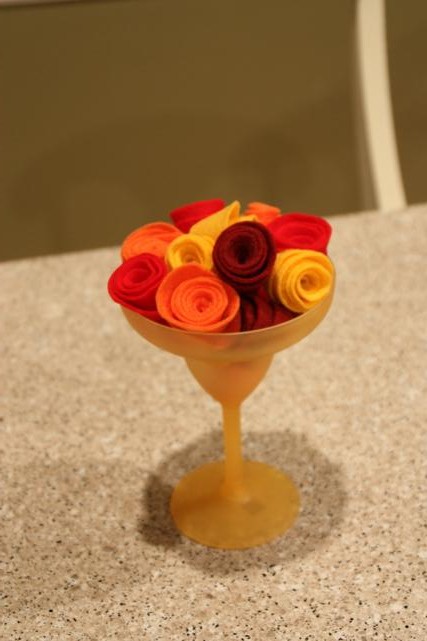
We used the top and bottom edges of this margarita glass to trace our circles. Anna thought it made a nice vase for our fall felt flowers (say that 5 times fast).
Cheers!
Here she is "choking" on flowers. Don't do that - it's not actually part of the tutorial.
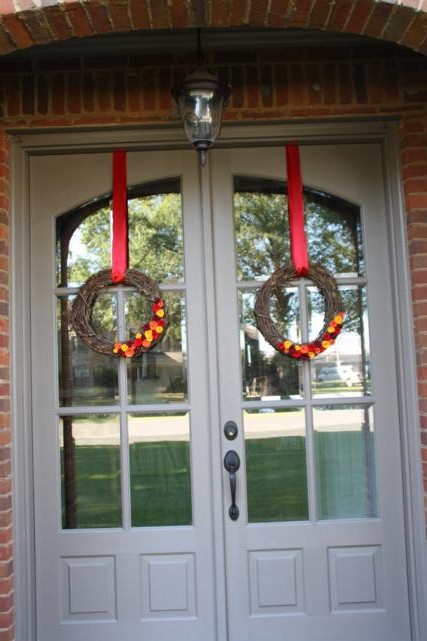
Because our front door is already decorated for fall, I decided I'd make this wreath for my mom's front door. Except she has two front doors. I did think ahead at Michael's and grab two grapevine wreaths, but I didn't remember to go back and grab more felt. I made it home with only eight sheets of felt - two each of four colors - which divided out to one sheet per color for each wreath. Not enough to go all the way around like my inspiration wreath, but enough to make it work.
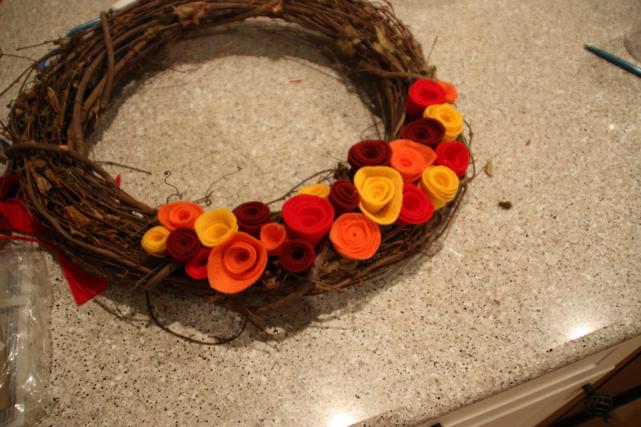
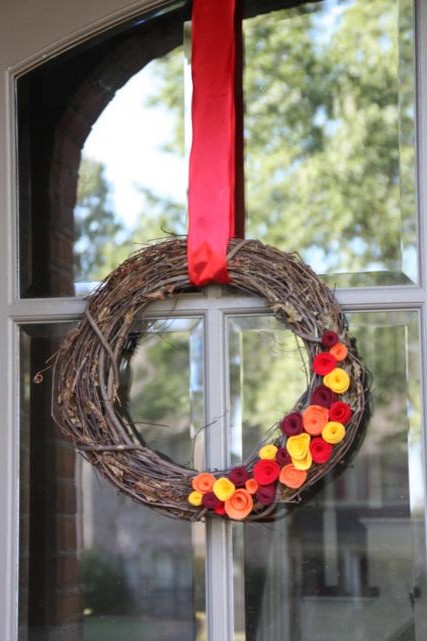
With the flowers evenly divided up, I clumped them together on one side of the wreath and hot glued them down.
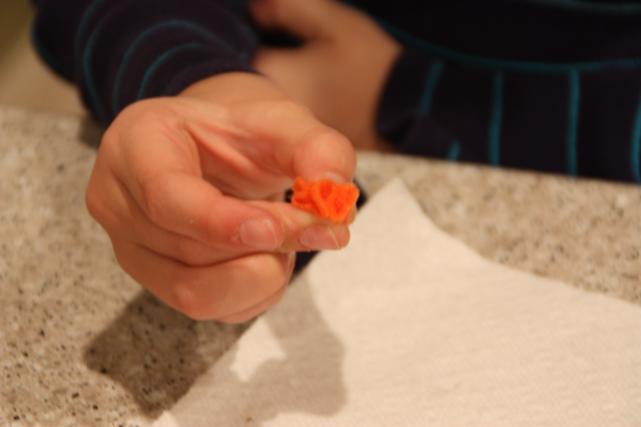
While I did that, Anna took the small circles that we cut out of our spirals and made what she called Fall Plumdrops. She put a drop of hot glue in the center and then folded them up to make tiny flowers.
We have plans to decorate a tiny wreath (or something) with the Fall Plumdrops, but we didn't get to it this weekend.
We weren't able to hang the wreaths at my parents' house until the next day. To hang them, I just used a wide red ribbon and secured it over the door.
My wreaths aren't exactly the same shape, but I'm ok with that. (Oh, who am I kidding? It drives me crazy that one's fat and round while the other's oblong. Why didn't I look at them in the store? Nothing I can do about it now...)
Two fall wreaths at $4.99 each, plus eight sheets of felt at $0.29 each, brings this project total to a whopping $12.30. Well, I guess the ribbon could be added in too, so maybe a couple more bucks? Total times spent = definitely less than 2 hours (we had to take a brownie break so it's hard to say for sure...). Quick, cheap, and easy...my kind of project! But the real winner here is my mom, who just got her front doors decorated for butt-naked free. You're welcome, Mom!


