Polka Dot Trees

Everyone, meet Abby Kate.

Cute little thing, isn't she?

Abby is a two year old that just upgraded from a crib to a big-girl room.  Her mom, my supervisor at work, found her cute new bedding on sale at the Pottery Barn outlet and snatched it right up. The only problem? She needed something cute to hang above the bed.

That's where I came in.

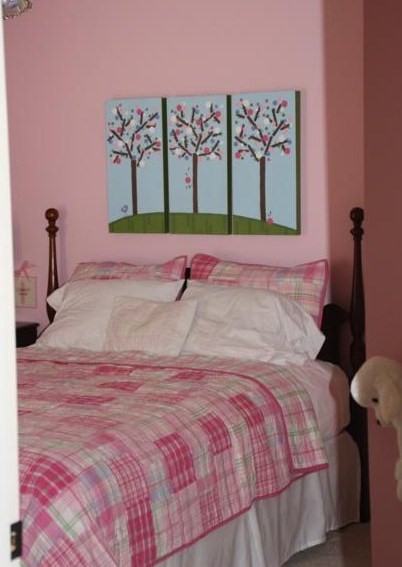
The furniture that's in Abby's new big-girl room is a dark brown set that's been in the family.  Her mom was nervous that it wouldn't look like a little girl's room without white furniture.  I told her pink walls and a girly painting with her new bedding would make the dark brown furniture hardly even noticeable.  And I volunteered to do the girly painting.

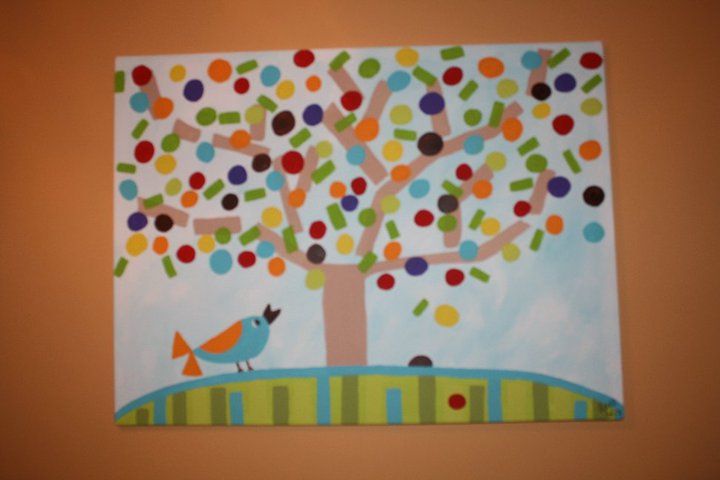
I have to admit, I stole the idea for the painting from one  I saw in a friend's nursery. Her's was painted by her little sister and, since they didn't know the sex at the time, was not gender specific.

I love it and knew right away that I'd end up trying to copy it.  Who knew the opportunity would arise so soon?

So, back to Abby.  Her bedding was already purchased so I knew my color scheme. I took a pillow sham with me to JoAnn's and loaded up on craft paint. The canvases there were ridiculously expensive - $40 each! - so I decided to make my own out of wood. Much cheaper.

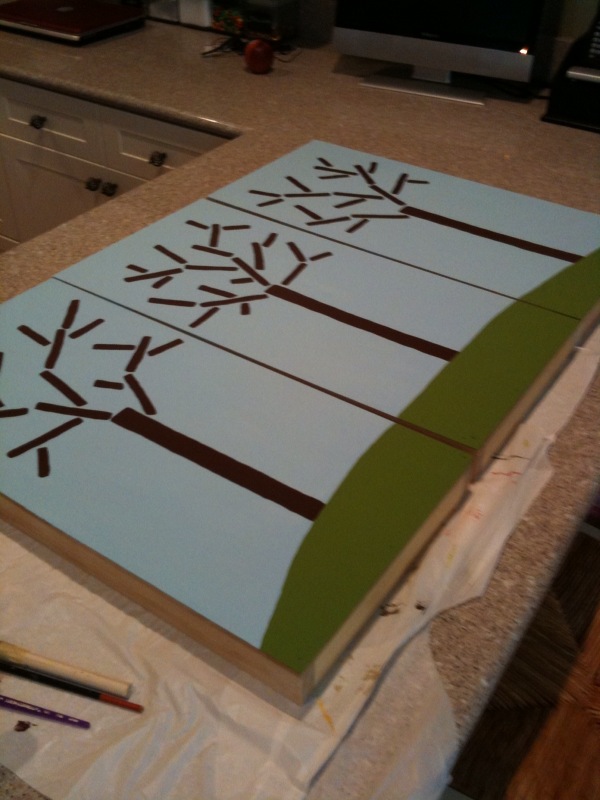
Here's how the canvases (I decided to do mine as a set of three) looked after the first night of painting. This is really my only "in progress" picture.

Just three bare trees in need of something to snazzy 'em up.

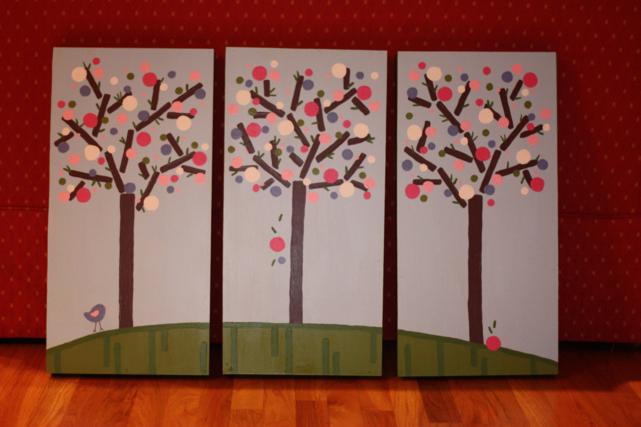
Skipping right along, here's the final product.

I think they turned out pretty cute!

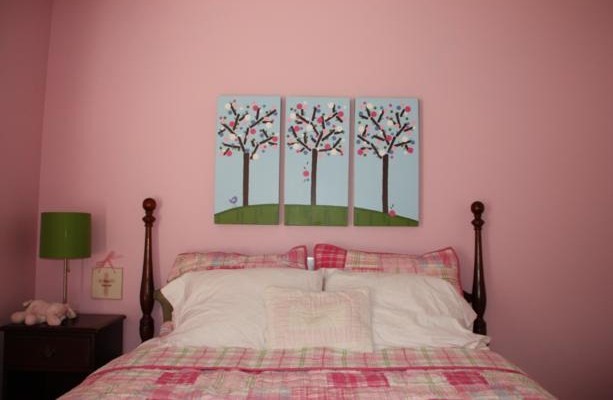
So, off to Abby's room they went...

I like that they pop against the pink wall.  Abby's mom has ordered her a bright green toss pillow that's monogrammed with a pink "a" to go on her bed. I think it'll really help pull the green in on the bed.

And the good news is, I think Abby liked it!

She and her big sister, Kersten, enjoyed jumping on the bed and breaking in the new bedding.  This is the best I could do for a picture in between all the giggles.

Rumor has it that some green and white polka dot curtains have been purchased to finish off the room. I think it's perfect for a two year old!

DIY: Cupcake in a Jar

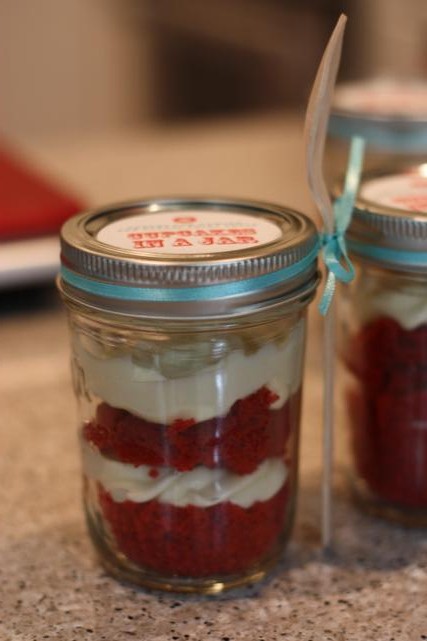
I wanted to have favors to give our guests at our party this past weekend and this cute little idea I found online was perfect for it. Or maybe it was that I found the idea and just wanted an excuse to try it. Either way, I love how they turned out. I found the idea and recipe here.

Now, I'm not a big fan of red velvet cake, but you know how I like to go all out with a theme, and red cake would match so I went with it. I doubled the recipe from the link above to make two batches. And I must say that the red velvet cake from scratch with the homemade icing may have won me over.

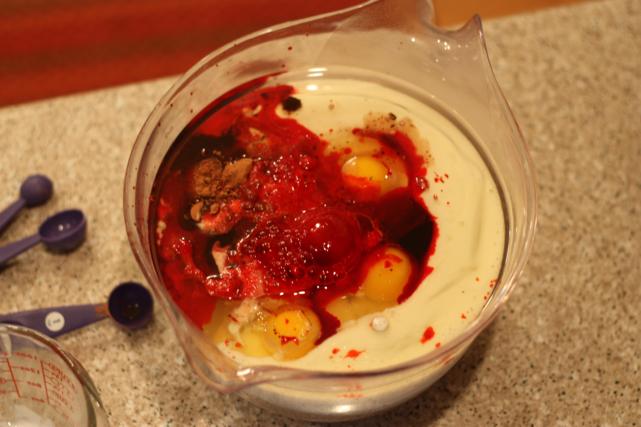
First step is obviously to make the cupcakes.  My bowl was barely big enough.

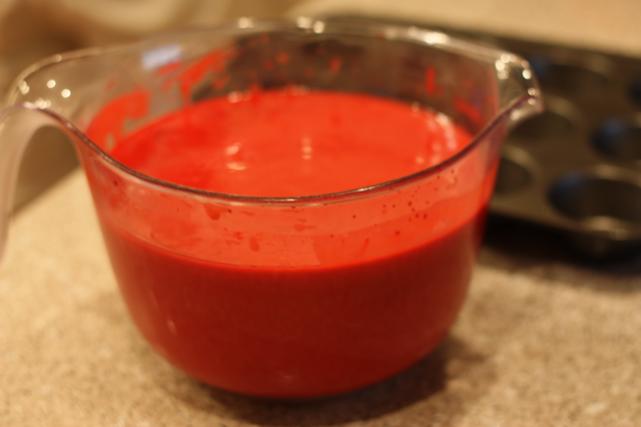
Here's a tip: when making a double batch of red velvet cupcakes, trust me when I say you do not have enough red food coloring. Even if you have the big bottle, it won't be enough. Buy more than you think you need, or else you'll end up sending your husband to the grocery store at 9:30 to get more.

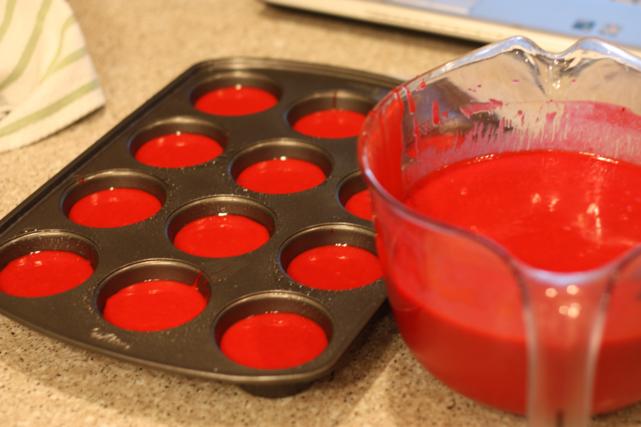
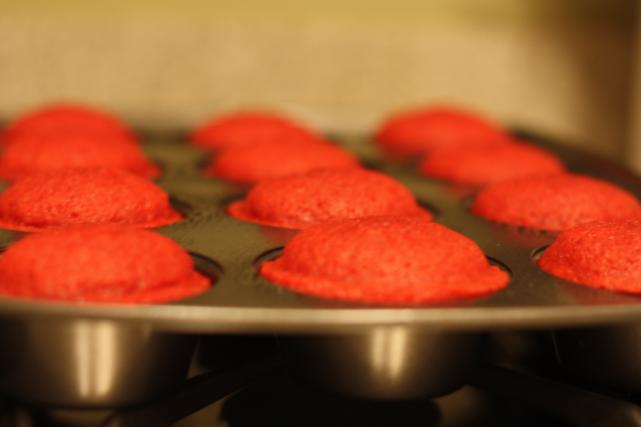
Next, fill your cupcakes 2/3 full.  The first batch I did not use cupcake papers and even though I sprayed the pan really well, they stuck like crazy. The next set I used the papers and it was much, much better. Use them.

Pop 'em in the oven and let those suckers bake!
While the first batch was cooling and the second batch was baking, we made the icing.

Here's another tip: when making two batches of homemade icing, you will not have enough powdered sugar. Even if you have two boxes, it will not be enough. Buy more than you need, otherwise you'll be sending your sweet husband back to the store.

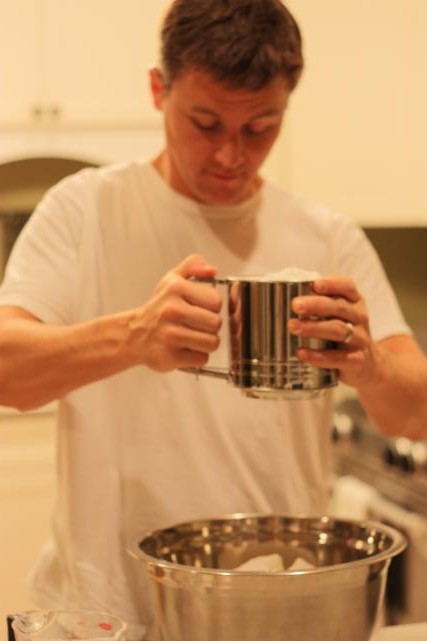
Oh, and we got to use our new sifter for this!

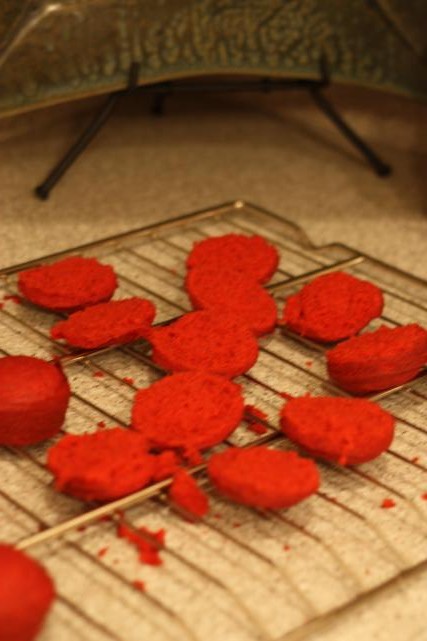
Once the cupcakes are completely cool, cut them in half. (Sorry, bad pic here.)

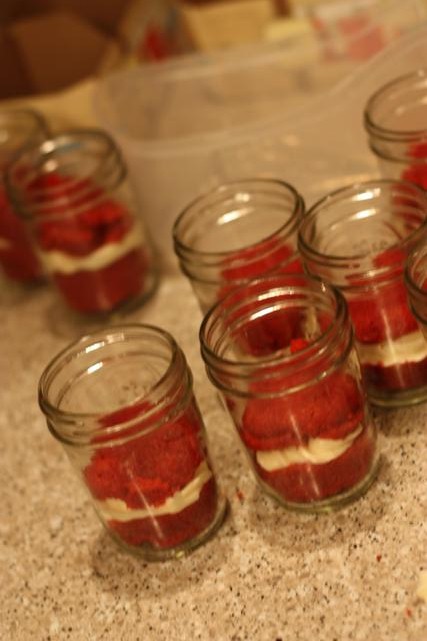
Place the bottom half of the cupcake in the bottom of the jar.

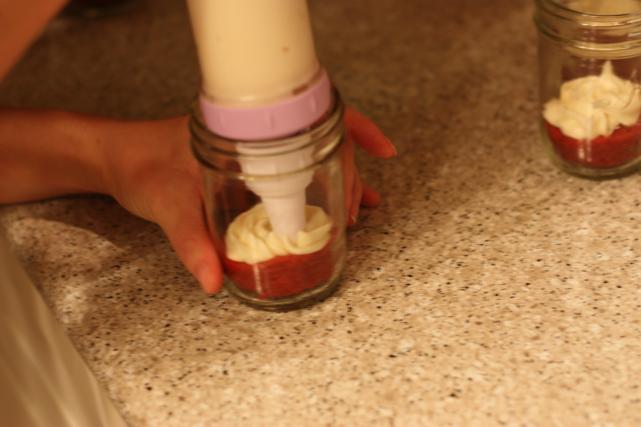
Next up, squirt some icing in!

After the icing, you want to take the remaining half of the cupcake (the top half) and smoosh it down on top.

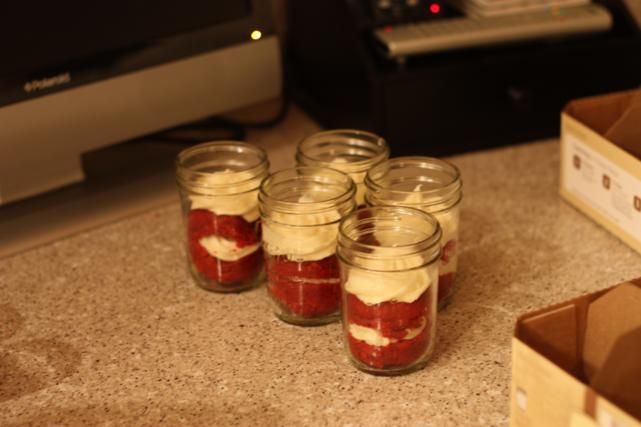
And now another shot of icing is needed.

This time, the icing won't be getting smooshed, so make it a cute dollop.

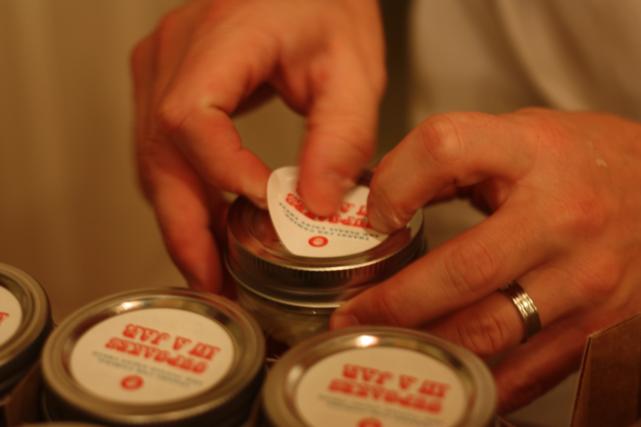
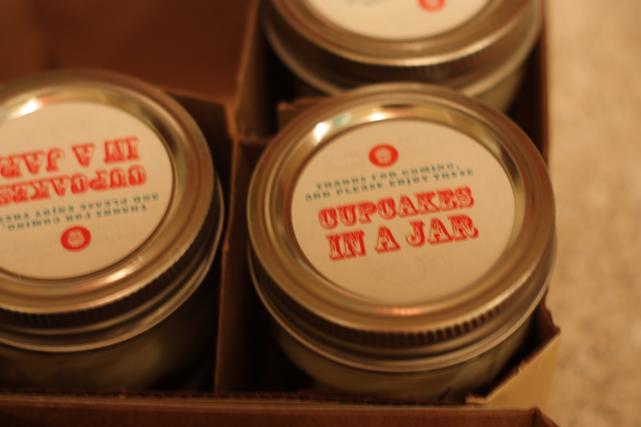
And now they just have to be packaged up. We put the lids on and then topped them with a cute label. (Shout out to our friend Matt for printing the labels. Thanks, Matt!)

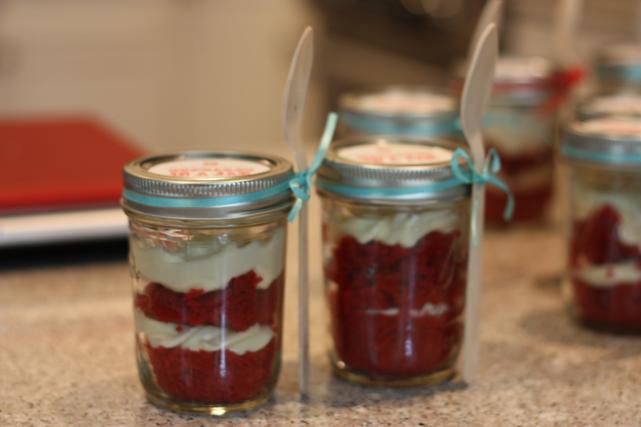
What's the point of a cupcake in a jar if it doesn't come with a spoon? The next morning I tied a ribbon and spoon around each jar.

And finally, they were done! Just in time too...we only had a few hours to spare before our guests arrived.

I won't tell you exactly how many of these I've eaten, but it's somewhere between 5 and 10...

DIY: Tissue Paper Poofs

I really think these could be called Pom-Poms, but since we've already called our skewers that, we'll go with Poofs.  And, like the fabric banner, there are lots of tutorials for these online. Or you could buy a set to make them. My version's not much different from the others, but here it goes.

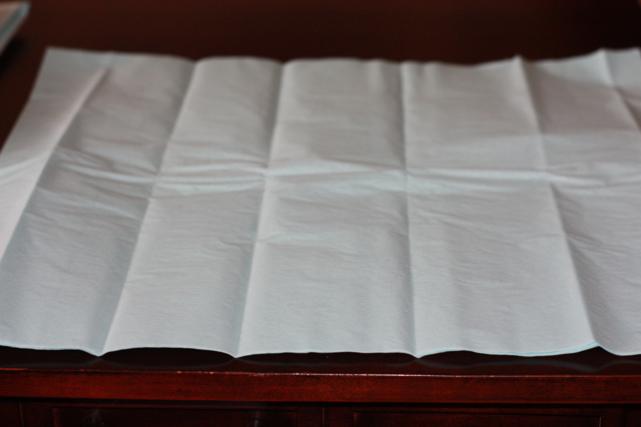
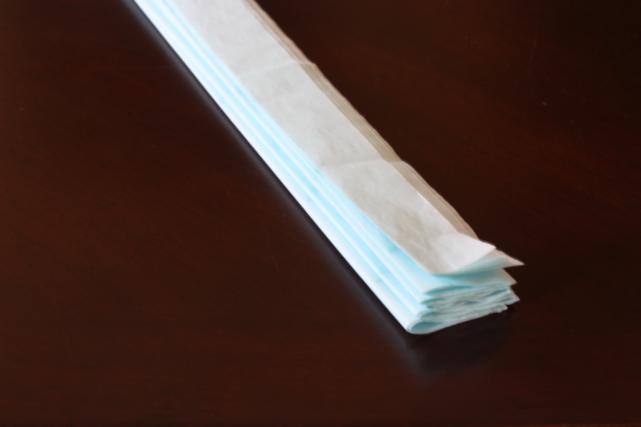
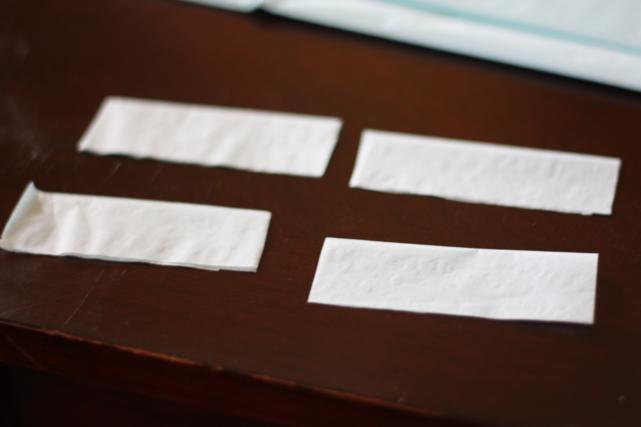
Start with 8 sheets of tissue paper laying flat on your table.

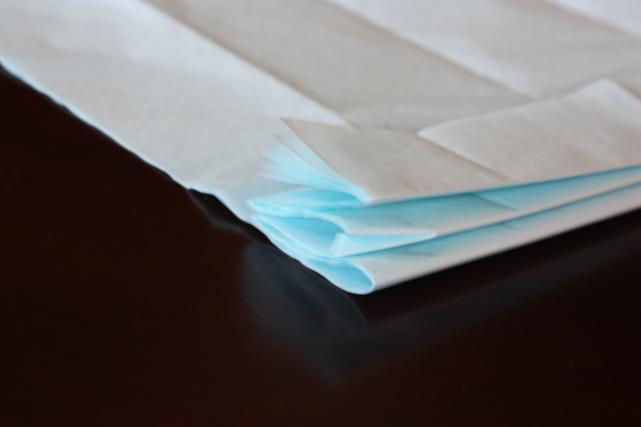
Fold all 8 sheets together, accordian-style. I made my folds about 1 1/2 inches - 2 inches wide.

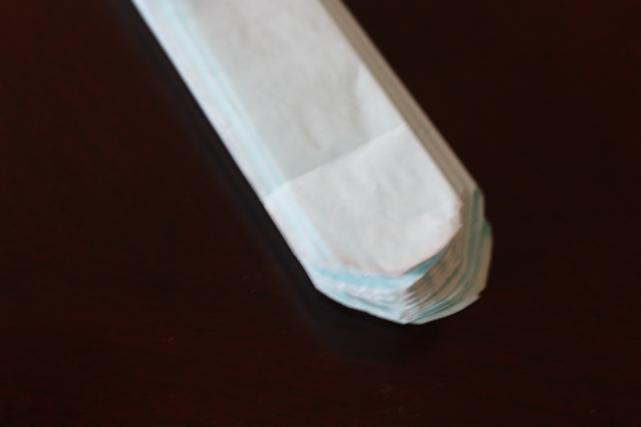
Using scissors, round the edges of the folds.

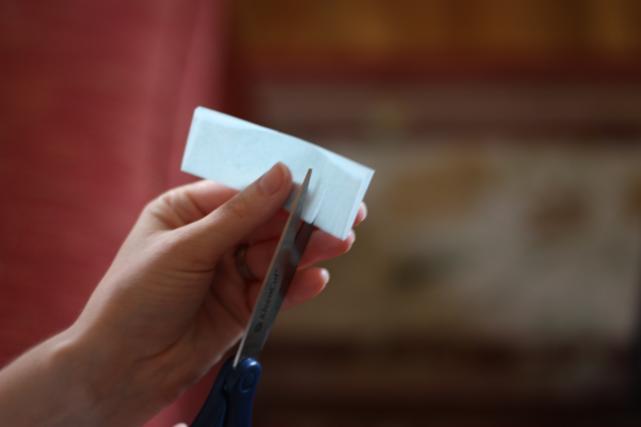
Next, you need to wrap wire around the middle of the folded paper. I cut small notches in mine to make it easier and so that the wire wouldn't slide.

Here's where you can learn from my mistakes: if you're going to be using fishing line to hang your poofs, go ahead and tie it to the wire now. It's very hard to find once you've poofed out your tissue paper.

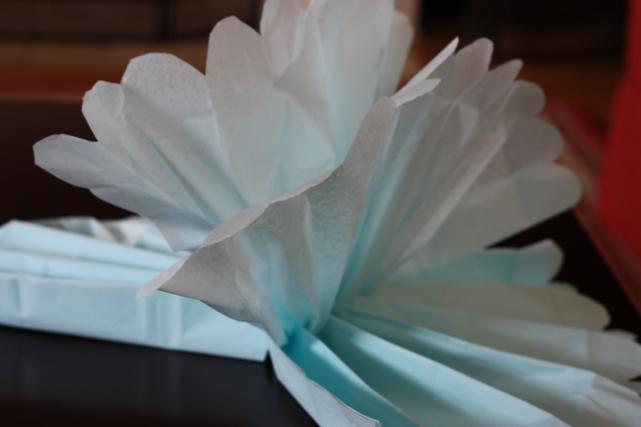
Next, fan out the folds in the paper.

Very carefully, start pulling up the layers of tissue paper, one layer at a time. Trust me when I say the paper will tear. Be extra careful.

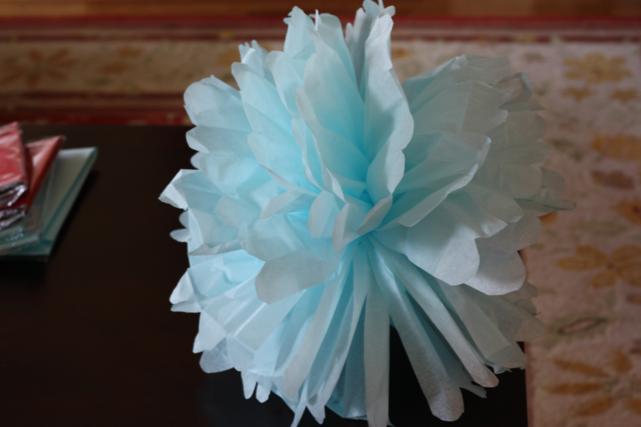
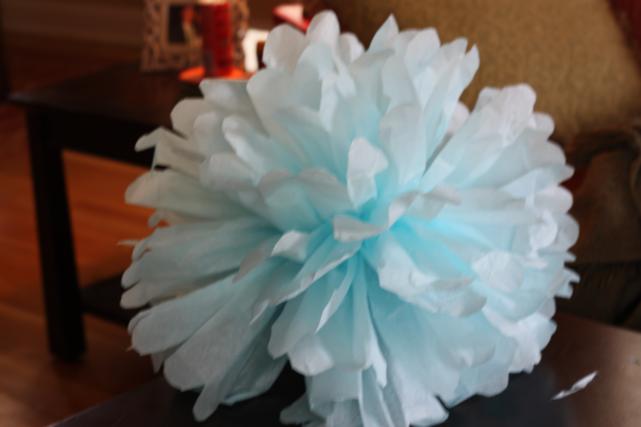
Continue to pull up the layers on both sides, until you've separated them all.  All the layers pulled apart will create your poof.

Now, if you're like me, you'll be annoyed by how "layer-y" this looks.  Don't worry, it's easy to fix. Grab your scissors and cut slits into the layers, making smaller "petals." I cut each big layer into about 3, 4, or 5 petals, being careful not to cut one layer in the exact same spot as the layers on either side of it.

This picture's blurry, but hopefully you see that it looks less "layer-y" and more like a full poof.

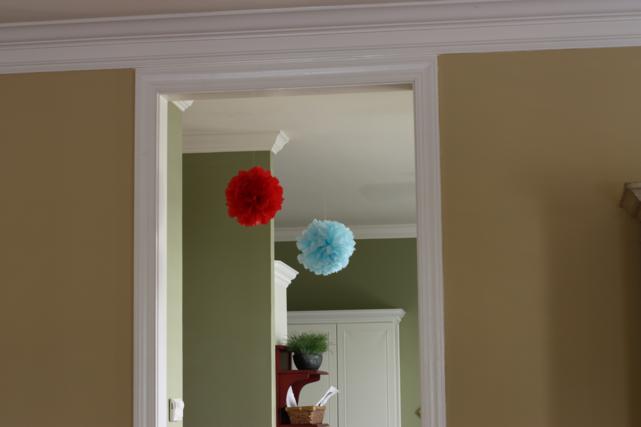
And that's it! If you tied your string on at the beginning, you should be done. I also cut some of my tissue paper in half to make smaller poofs. They turned out pretty cute, and were actually easier than the big ones.

The big party's tomorrow night and I can't wait! I've got more details to show you but those will have to wait until after the party. Can't spoil the surprises!

DIY: Fabric Banner

This next do-it-yourself project is very easy...easy to do and easy to figure out. But, just in case you need a little help, I've got a tutorial for you. Now, you've probably seen these fabric banners all over the web, and you can buy them from tons of different sellers on etsy.  Those range from $6 all the way up to $45. But why spend money on it when you can just make it yourself? And, if you're like me, you can do it for free.

First, you need to gather scraps of materials you like. I raided my mom's fabric cabinet, so my fabric was free of charge.

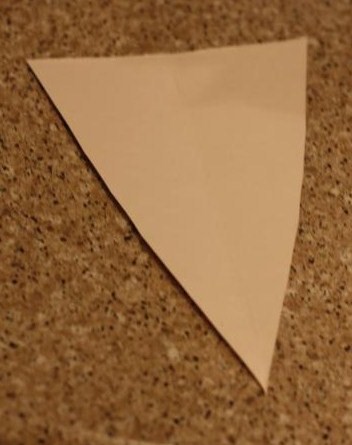
For this particular banner, I chose to do triangle flags. I used a thin piece of cardboard (think cereal box) to cut out a triangle stencil. This doesn't have to be perfect, it's just a guide.

Lay your stencil on top of one of your fabric scraps and cut around it.

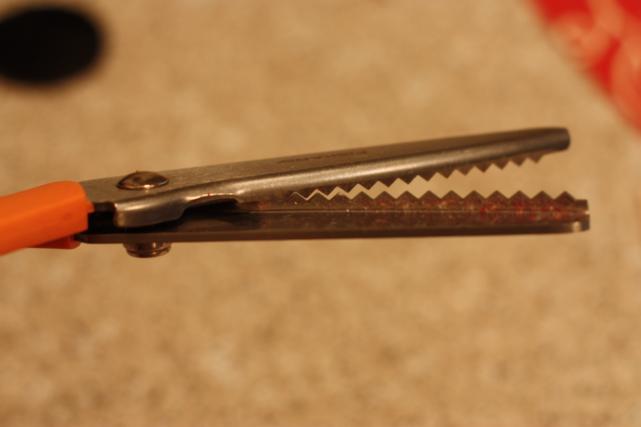
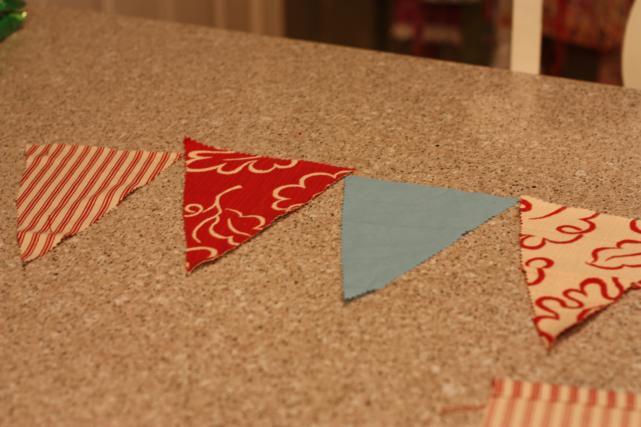
I used pinking shears to cut mine out. These keep the fabric from unravelling so much, and give it a nice zig-zag edge.

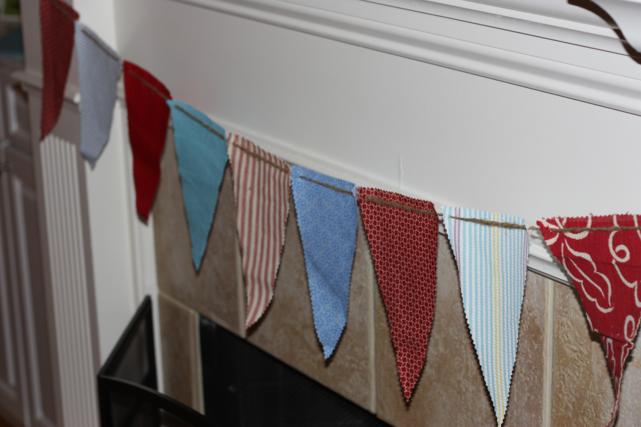
Continue cutting out your fabric flags - they can all be the same fabric, or you can use lots of different ones like I did.

Now this is where some of the expensive banners on etsy take it to the next step. Some people cut out two triangles for every flag and sew them together as a front and back. They may even put cardboard in between the two to make them stiff. I just made my banner for a cookout, so I saved lots of time and skipped that step.

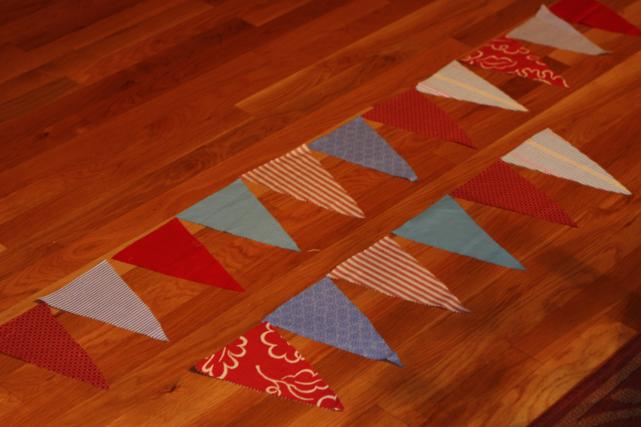
Once I had all my triangles cut out, I laid them out on the floor so I could decide the order I wanted them in.

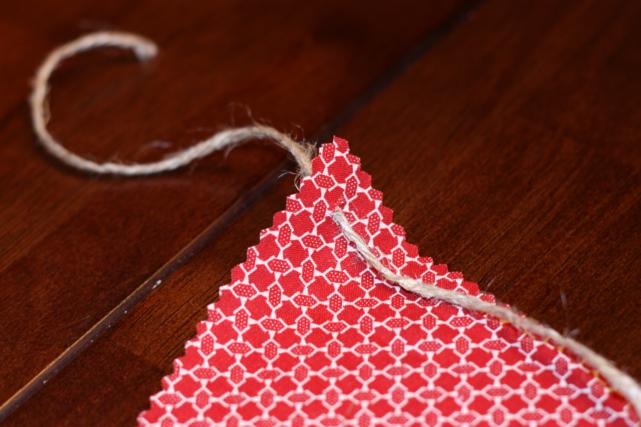
Then, I carefully snipped a small hole in the top corners of the triangles to thread my twine through.

Some people use a cute ribbon and sew their flags on, but again, I decided to save time and just used jute twine I already had on hand.

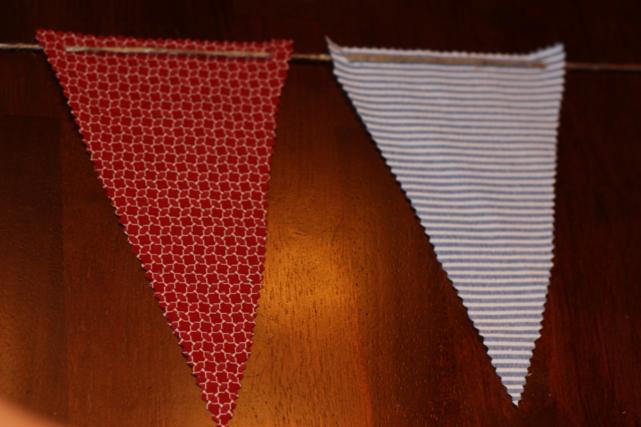
I thread my flags with the twine in front, but you could always do it where the twine runs behind the flag.

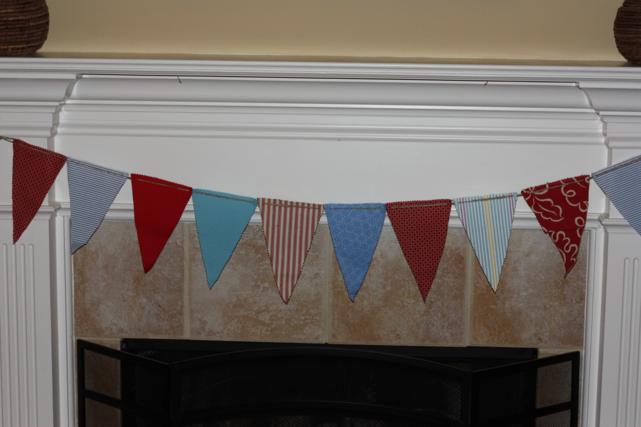
Once you have all your flags strung on the twine, you're done! Just find a place to hang it.

I put mine on the mantle, but I still have more flags left over so I may do another mini one.

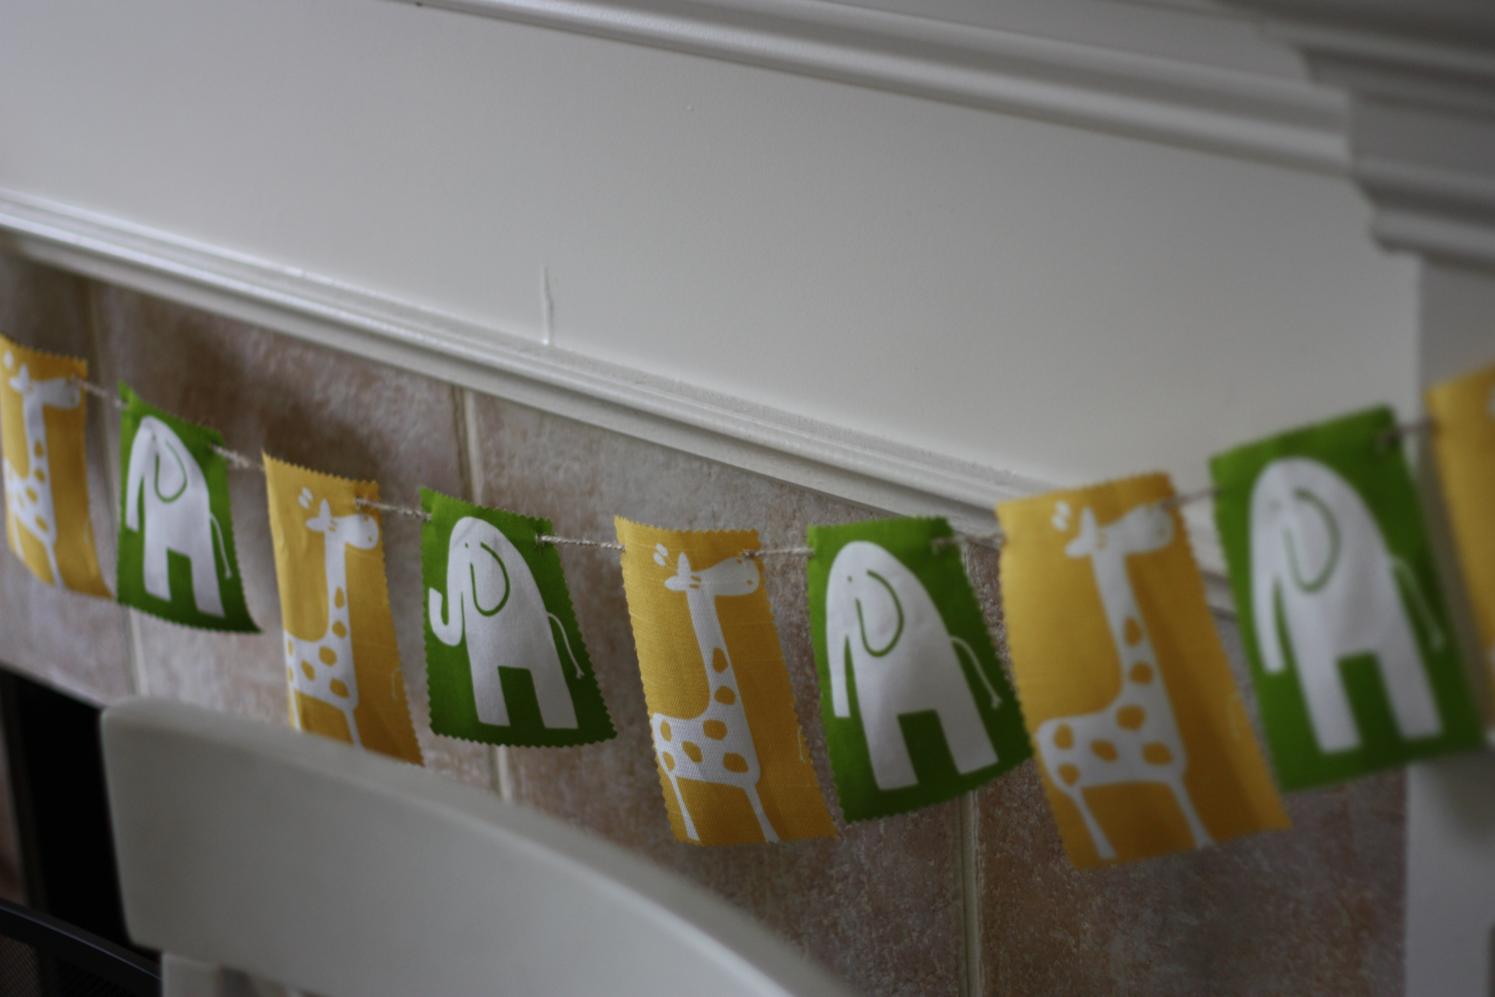
I love a good, easy project! Remember, if you try it yourself, you don't have to do triangles. You could do squares and rectangles like I did for the triple baby shower, or you could do circles.  Get crazy with it!

DIY: Pom-Pom Toothpicks

Doc and I are hosting a party in a couple of weeks and I have several do-it-yourself projects I'm working on to prepare for it. I'm going to share tutorials for some of these projects in case any of you are planning a party anytime soon.  These are all easy and cheap and anyone can do them! If you know me at all, you know I like to pick a theme and go all out with it. When you walk in our house, I want you to really be able to tell what the color scheme is.  For this party, aqua and red are the colors of choice. 

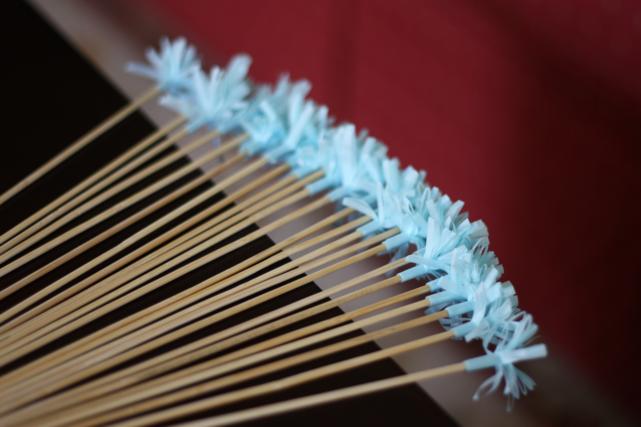
For this tutorial, we're going to make pom-pom toothpicks. Actually, I did pom-pom skewers, but they're basically the same thing just different sizes.

Supplies needed: tissue paper scissors toothpicks/skewers tape

First, I cut a strip of tissue paper.  The width of your strip depends on how big you want your pom-pom to be. This one was about, oh, 2-ish inches wide.

Then, I folded the strip in half long ways.

Now, you obviously won't need your tissue paper to be that long for each pom-pom, so you can cut it down into smaller pieces. I made mine roughly 4 inches long.

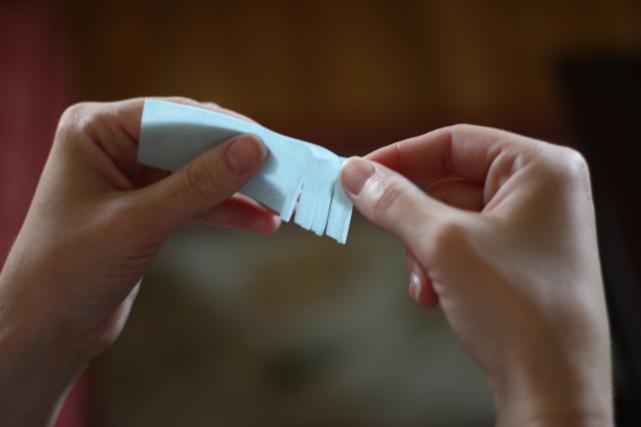
The next step is the only kinda tedious part. You want to fringe your folded strip of tissue paper. I chose to cut from the folded side, because I liked the look of the fringe being folded over. You could easily do the two raw edges if you'd prefer. Cut slits in your paper as close or as far apart as you'd like, but don't cut all the way through. Leave about a quarter of an inch uncut along the opposite edge.

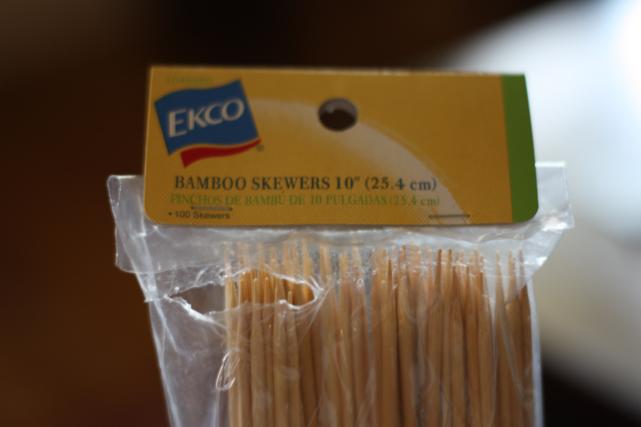
Once you've got the entire strip fringed,  you're ready to grab your toothpicks or skewers. This is what I used.

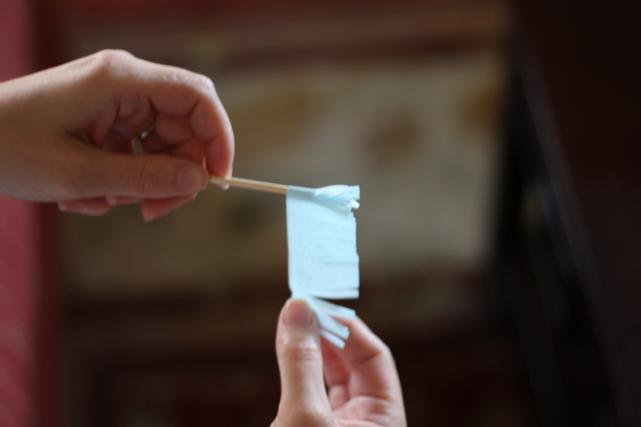
Tear a small piece of tape and use it to tape one end of the uncut edge to the tip of your skewer.

And now it's time for the fun part - just roll it up!

When you get it completely rolled up, you'll need to secure the loose end with another small piece of tape.

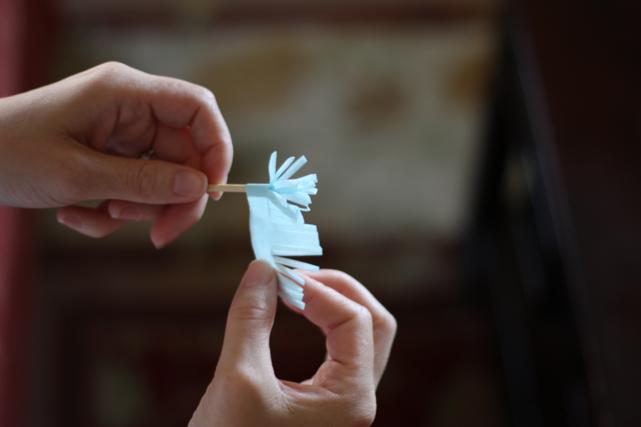
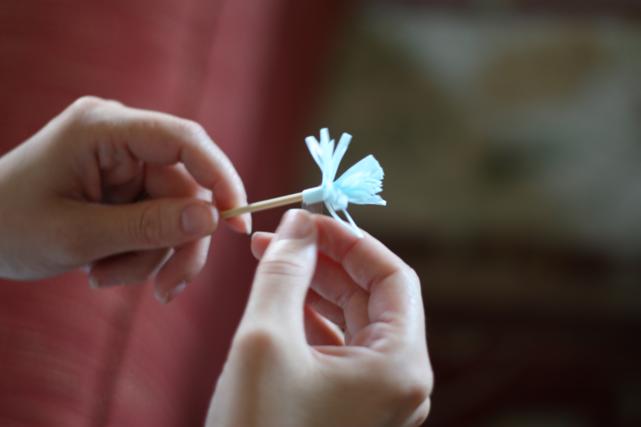
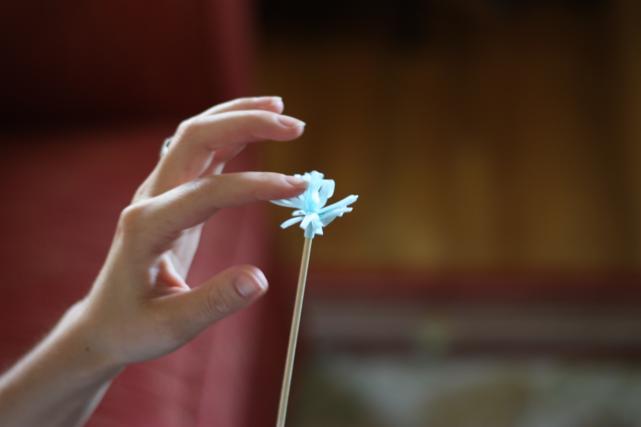
And for the very last step, just pull down some of the fringe so they fan out and make a pom-pom.

And you're done! Easy, right?

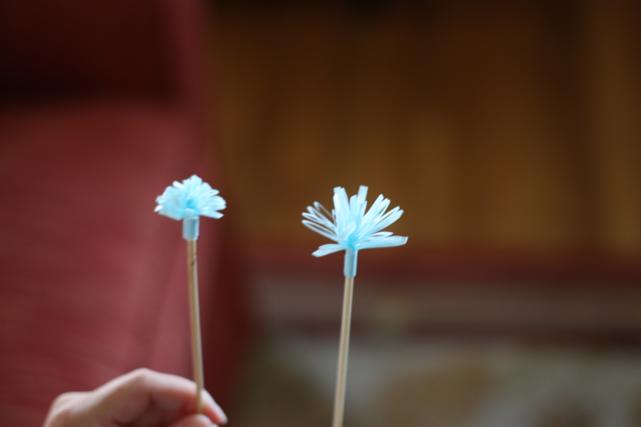
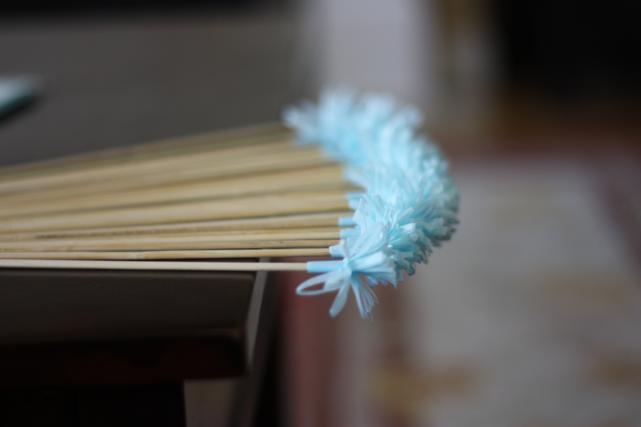
Here are two of my completed ones:

The one on the left started with a strip of tissue paper that was pretty long but not very wide. The pom-pom on it is very thick, but not very big. The one on the right had a shorter strip of tissue paper, but it was wider and made longer fringe. I like the one on the right better, I think.

Once you get set up and in the rhythm, these don't take too much time at all. I sat on the couch and made mine two different nights while watching tv.

I think if you used toothpicks they would look really cute stuck in a piece of sausage and cheese. Or maybe a stack of grapes or marshmallows or something like that. I'll show you how I plan on using mine later, so stick around.