Bren's New Bedroom

It's been two weeks since Mom and I decorated Bren's new bedroom, but I'm just now getting the pictures off my camera.  As I mentioned in this post, my brother and his family just moved into a brand new, custom-built home during the Christmas holidays and they have been working hard to get it furnished and decorated.  My sister-in-law Beth asked my mom and I early on if we would be interested in tackling Bren's room and we couldn't say yes fast enough!  You know we love a good decorating project.  :)

Aside from two art projects that I worked on, my mom really did all the hard work for this room.  We started our brainstorming by perusing Beth's Pinterest boards and actually ended up purchasing some fabric that she had pinned.  With that ordered, we were off to a good start on design ideas.  We knew Beth wanted Bren (age five) to have a girly room, but not too baby-ish.  Mom furiously sewed away and made new curtains, pillow shams, a bedskirt, throw pillow, and seat cushions.  I got off pretty easy with my jobs!

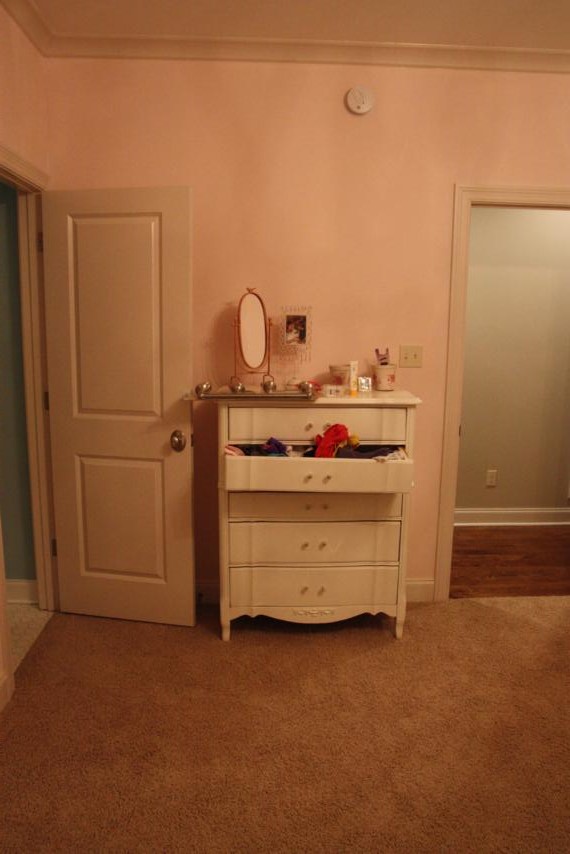
When we arrived early that Wednesday morning, I snapped a few quick pictures of the room before we got started.  I wouldn't say this is a true "before" picture since I'm pretty sure all of Bren's stuff had just been placed in the room and was waiting for us to spruce it up.  It's not like it had already been decorated or anything.  The new curtains had already been hung to give Bren some privacy from her floor-to-ceiling windows, but other than that, you can see that we were working with a pretty blank slate!

View from the door

View from the door

View from the windows

View from the windows

blank slate
blank slate

Even though Mom and I had everything ready to go when we arrived, it still probably took us about four hours to put it all together.  It was just the two of us so we didn't have any of the guys to do all of our picture hanging for us!

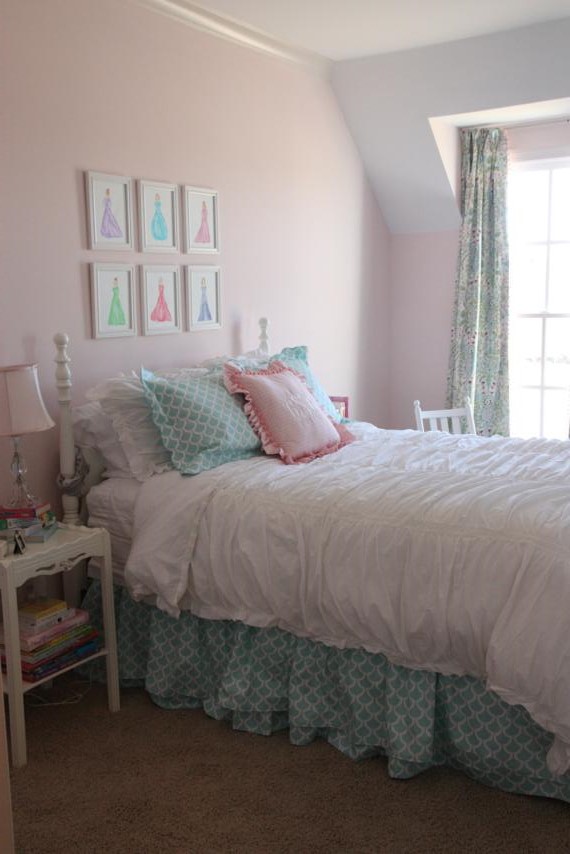
Here are some of the same views as above after we were finished working.  Noticeably missing - and this is driving me nuts! - are new bedside lamps.  We just couldn't find the perfect lamps in time to have them there on "install day."  I think a couple of bigger matching lamps will really add a lot to the room!

View from the door

View from the door

View from the windows

View from the windows

new decor
new decor

Ok, now let's take a closer look at some of the details.  :)

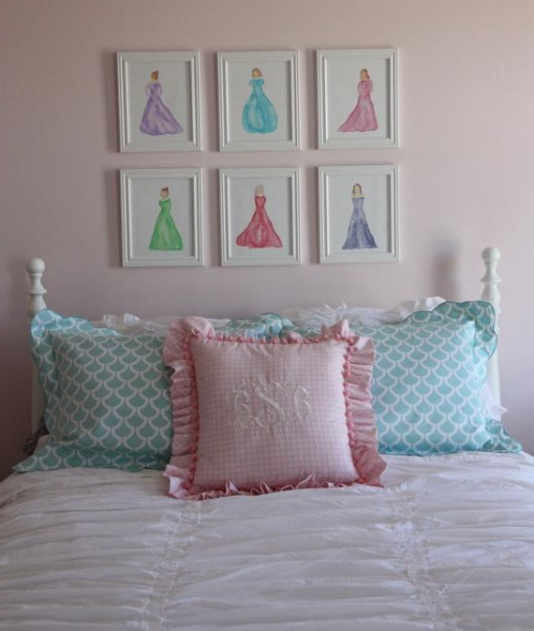
Like I said earlier, my mom made the bedskirt, pillow shams, and throw pillow.  The fluffy white comforter came from Target.  We bought the six white frames hanging above the bed at Michael's (buy one get one half off!) and I painted the watercolor "princesses" (as Bren calls them) to go in them.  My paintings are amateur at best and I've already told Beth she's welcome to replace them with much better art, but they serve their purpose for now by adding color to the wall and being cheap!

bedding and art

I wish I had taken a before picture of the little rocker, but I forgot.  We found it at a consignment shop and, while the bones of it were really good, it was U-G-L-Y.  The seat and back were both covered in a fabric straight out of the 70s.  We ripped off the fabric, cut a wooden seat for it, coated it in white paint, and added a pink little cushion (made by Mom, of course).  Bren told Mimi that it's her favorite part of the room!  I hear she likes rocking her babies to sleep.

The silhouette on the right is something we checked Bren out of school to go get.  Mom, Katie Wynn, and I picked Bren up and we had a girls' day out one afternoon.  Both girls did great sitting still for their silhouettes!  The black and white doesn't necessarily go with the color scheme of Bren's room, so I can see it finding a home somewhere else in their house.

new rocker
silhouette

We cleaned off the top of the dresser and added Bren's name in silver.  These are just those cardboard letters from Hobby Lobby (surely you've seen them before) that I spray painted with some Chrome Silver paint.  Easy peasy.

dresser
silver letters

Mom added a pink pompom trim to the edge of the curtains (another idea Beth had pinned to her Pinterest board) and I think they really take the curtains up a notch on the cuteness scale.  Love them!  

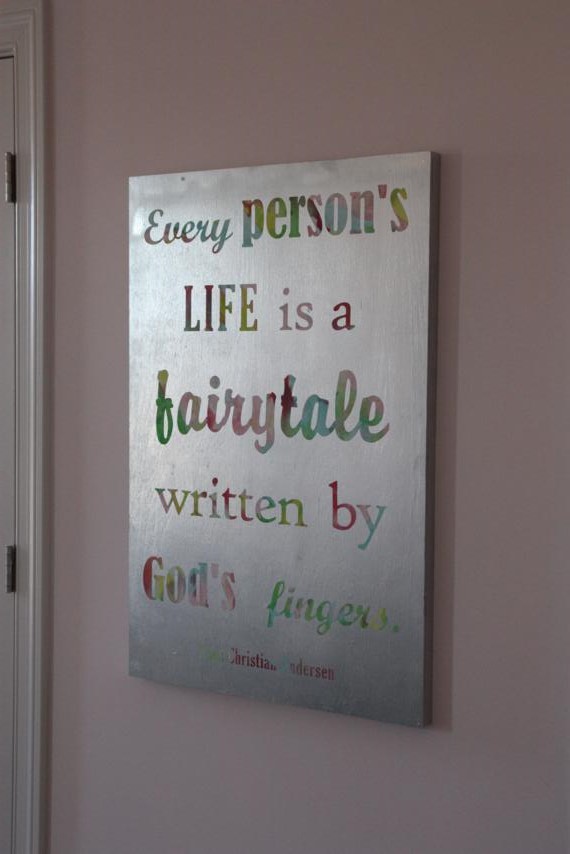
I also love how the watercolor quote art I made looked in the room.  This picture isn't great (darn glares!) but in my opinion, it looks great hanging on the pale pink walls!

curtains
quote art

Dad and I made the little bench for the foot of the bed.  It's by no means the fanciest or craftiest bench ever created, but what I really love about it is that we used all scraps to create it!  We tore the legs off an older coffee table and cut them down to be bench height and found scrap wood to use for the rest of it.  Can't beat a free bench!  Mom made the cushion to go on top of it.

bench
bench

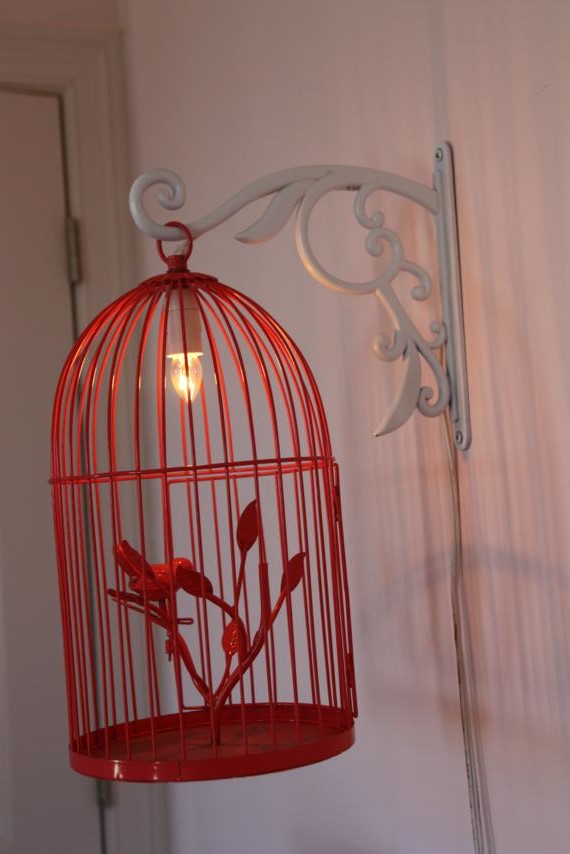
One of the first things we purchased for the room was this funky pink birdcage lamp.  It originally had a long chain so that it could be hung from the ceiling, but since Bren already had a chandelier in the center of her room, we cut off the chain and hung it from a garden hook that we had spray painted white.  Now it lives above her chest of drawers.

birdcage
birdcage

In the new house, Bren has her very own bathroom connected to her bedroom.  Just like her bedroom, it was a blank slate when we arrived.

blank slate
blank slate

We hung the shower curtain that Mom had made and added some stuff to the walls to make it look a little better.  Here are the same(ish) views as above.

new decor
new decor

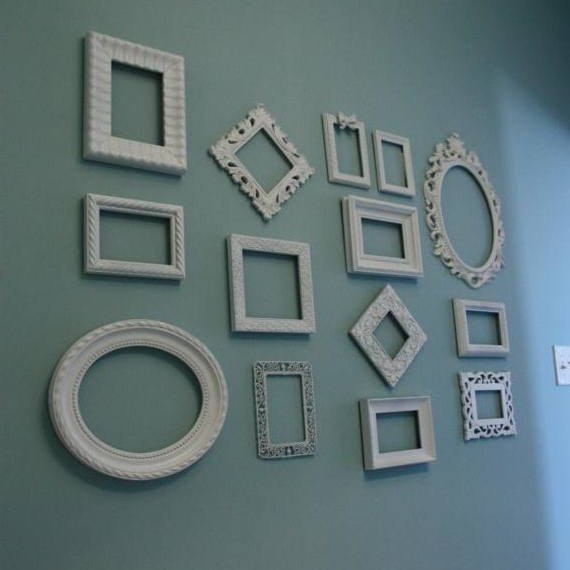
The wall of white frames is probably what took up the most amount of our time.  We didn't know the layout before hand so we had to figure that out, and then actually hanging them wasn't the easiest task.  But I do love how they turned out!  Some are new frames from Hobby Lobby and others are just ones we found in our stashes and spray painted white.

wall of frames

Can a girl in the South have her own bathroom and it not have monogrammed towels?  I don't think so.

monogrammed towel
hand towel

We hung the new shower curtain from grommets which I think is our new favorite way to make them.  It allows the shower curtain to slide so much easier on the rod.  

shower curtain
new decor

I think that just about completes the tour of Bren's new girly-girl room!  Beth sent Mom and me the cutest video of Bren getting to see it all for the first time.  I think she likes it!  I hope she likes it for a good little while because we've got to turn our attention to a certain little boy's nursery now! :)

What do you think of her room?  Got a favorite part?  Do you like the princesses above the bed like Bren?  Or, do you know where we can find the perfect bedside lamps?

Weekend Highlights

Here's a quick recap of our last weekend! My weekends always start early since I don't work on Fridays.  After running some errands in the morning, my mom and I stopped in for lunch at the Arcade.  It was so delicious!

Doc brought the big kids home with him after work.  The weather was nice so we all spent the afternoon/evening playing outside.  Katie Wynn and I sat and watched the boys play basketball for a while.  (I promise I have on shorts in this picture.)

We got out a blanket so us girls could relocate to the yard.  Anna is rocking some half-purple hair this summer.  You can kinda see it on the tips in this picture.

This is probably my new favorite picture.  Both of our girls...so cute!

And for every sweet picture, there has to be a silly one too.

Saturday morning we got up and got to work!  We spent the first half of the day mulching all of our flower beds.  Not really what I had wanted to do that day but I am SO glad it's done.  It was also really nice that the big kids were here to help watch KW so we could work interrupted.  My job was to soak the newspaper and lay it down (weed barrier) while Doc and occasionally Wyatt spread the mulch on top of it.  Four days later and my legs are still sore!  (I also still have "grocery store feet" from the black mulch...)

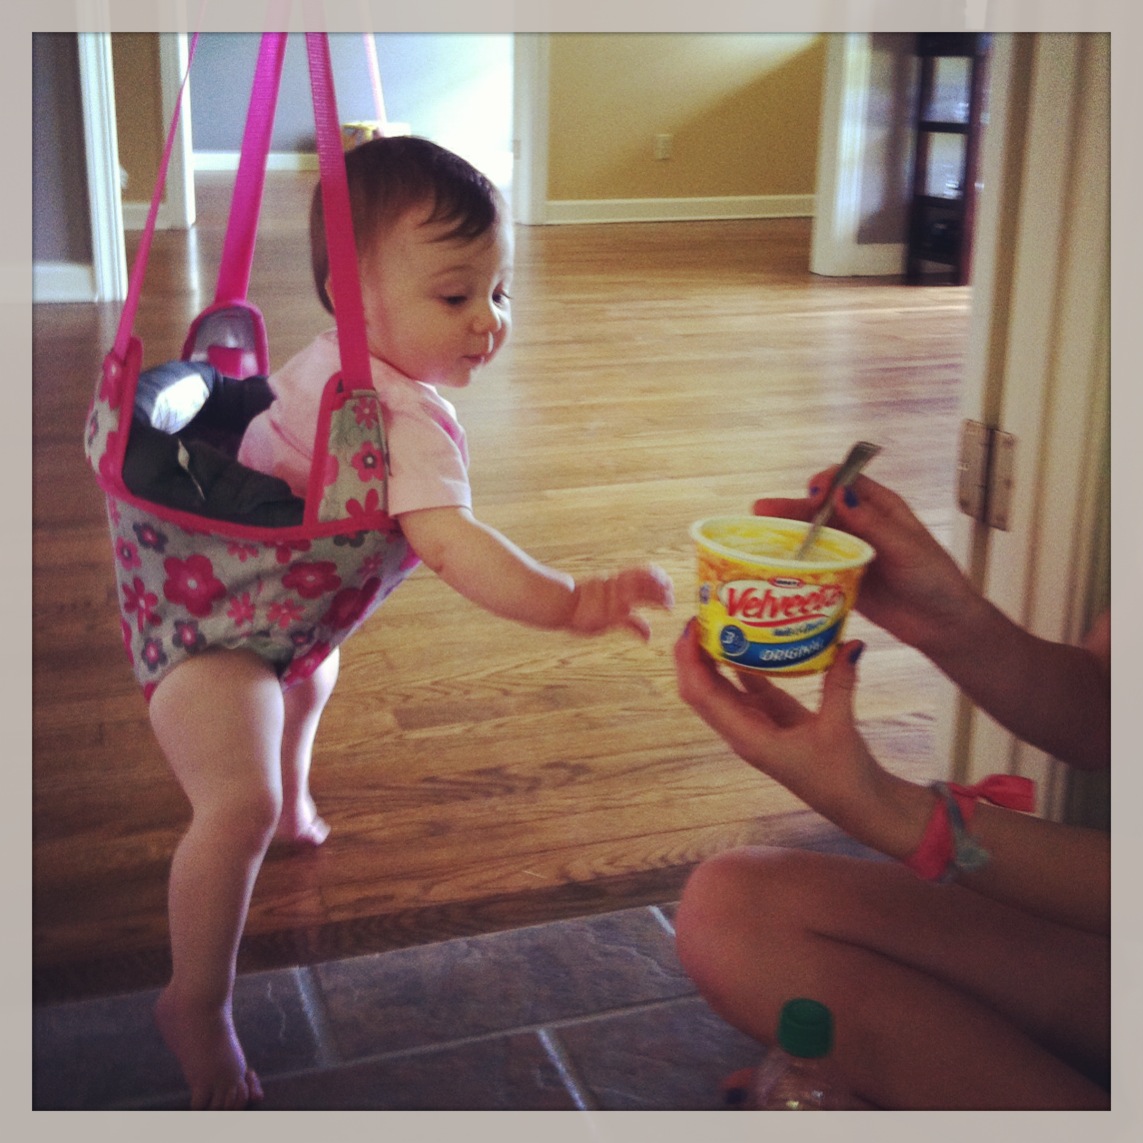
At lunch time, this little girl was SURE she was going to eat some mac and cheese.  Nope, not yet, sweet girl.

The biggest event of the weekend was Saturday night when I surprised Doc with a party for his half birthday!  There will obviously be a whole post about this soon.

Katie bug got up early Sunday morning and I got up with her so the half-birthday boy could sleep in.  We ate a quick breakfast and then hung out outside on the patio.  It was the perfect place for a morning nap.

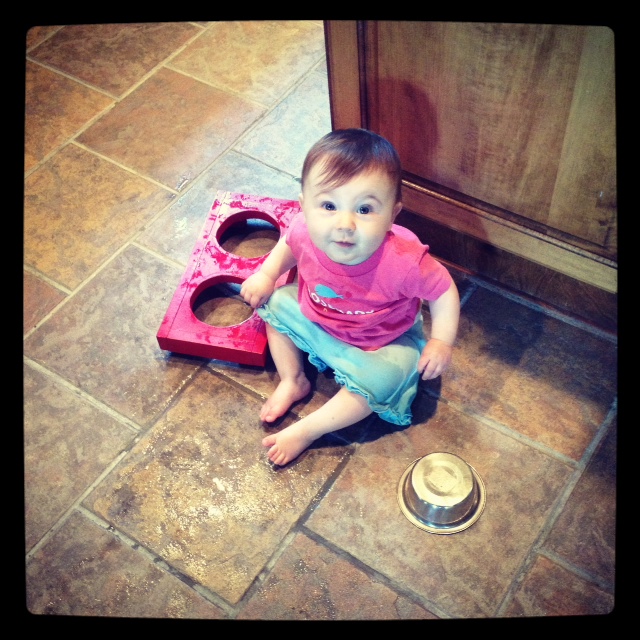
The morning wouldn't have been complete without some splashing in the dog's water bowl.  She goes for the dog's bowls ALL the time, and since I knew she was about to have a bath and get ready for church, I just let her go at it.  It's a small mess to clean up compared to how much fun it is for her.

Sadly, the pictures stop there.  After church we spent the afternoon at my parents' house.  I worked on the embroidery machine while he stained some boards out in the shop.  We've got a new house project in the works so hopefully I'll have that to share soon.  We got home in the early afternoon so we could clean house before our cleaning lady came on Monday.  You clean for your cleaning lady too, right?

What was the highlight of your weekend?

Closet Makeover

Last week, we finally finished a closet makeover that was started the week we moved into this house!  It was a very loooooong, drawn out makeover, but I am so glad to have it all done now.  It was more than worth the time (and money, ugh) that it took to get it the way it is now. It's funny that we've spent so much time and energy making over our closet when we still have a completely empty dining room, but considering we use our closet every single day and would probably have only had maybe 2 meals in our dining room by now, it just made sense to focus on the closet first.

Phase One of the closet makeover was very unexpected.  We knew when we closed on the house that we would maybe add some shelving, but we didn't realize we would be doing renovations on it during our first week in the house.  Here's what happened...

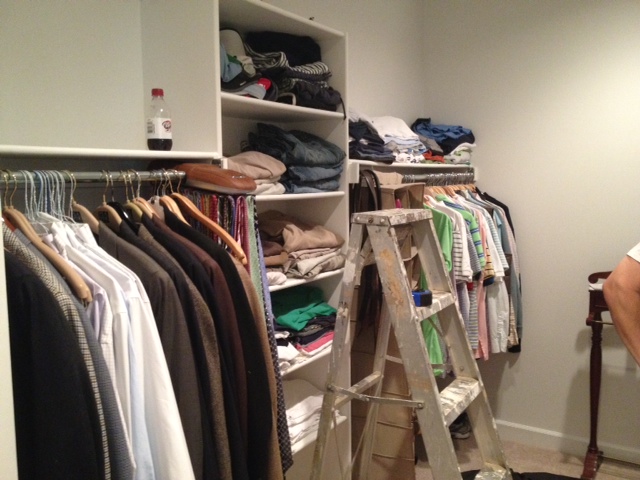
Our hanging clothes were the very last things to be moved from our old house to this one.  I wanted to keep them all on hangers and I didn't want the movers messing with them and throwing them in a truck.  So after all the big stuff was unloaded and in the house, Doc loaded up all our clothes in his car and brought them over.  With my brother helping him unload them, it became very obvious very quickly that there was not going to be enough room for all of our clothes.

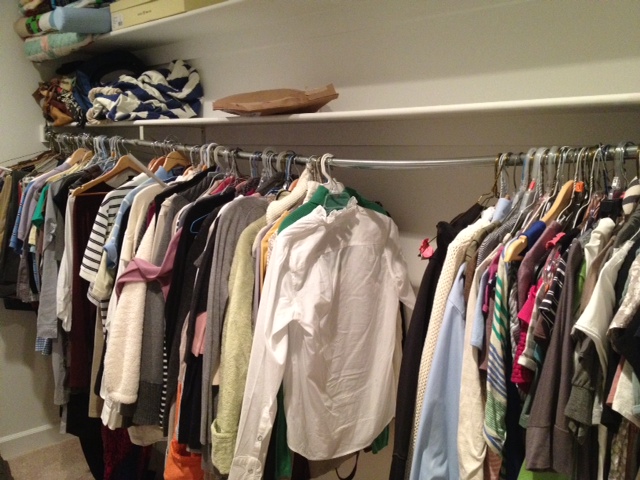
We'll call the left side of the closet "Doc's" side.  See those two hanging bars?  They were about, oh I dunno, shoulder level, maybe?  And above them?  Nothing but wasted space!

And check out what's going on on my side...that hanging bar's about to snap in two from the weight of my clothes, and they weren't even all on there yet!

So at about 4:00 one Sunday afternoon, we decided we needed to work on the closet ASAP.  We loaded into the car and headed to Home Depot - an hour round trip without counting our shopping time.  By dinner time, we had all of our supplies, had already stopped by my Dad's shop to cut and route the edges of all the boards, and had a coat of primer and paint on them.  We were rolling!

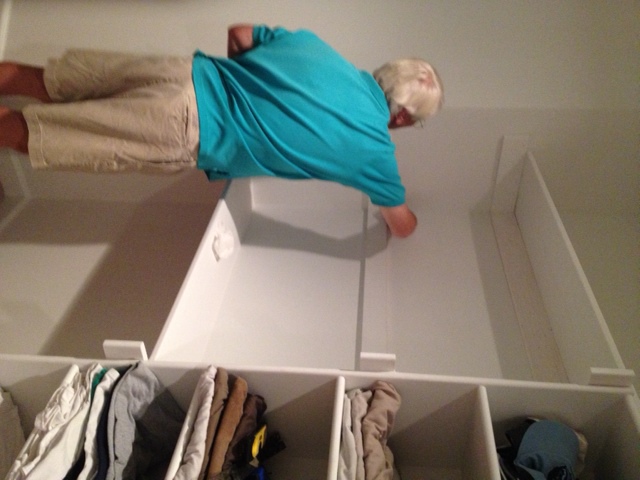
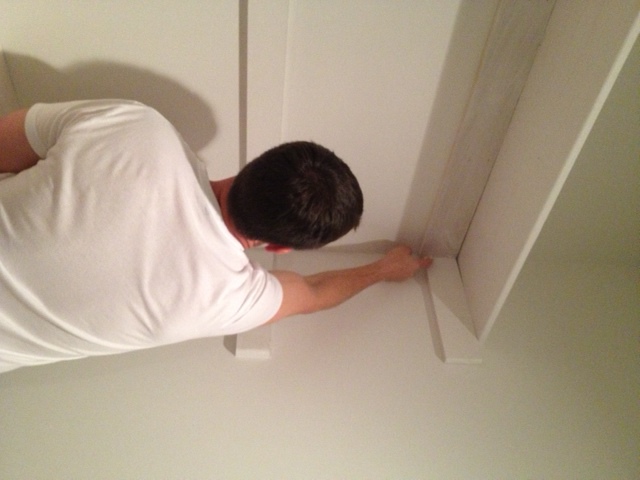
My side of the closet was easy.  We just added more supports to hold up the bar with the weight of all the clothes.  Doc's side was a lot more involved.  See how there are kinda three shelf levels in the picture below?  The middle one that my Dad is scraping glue off of is where the one hanging bar originally was.  We couldn't rip those support boards off the wall without tearing the sheetrock, so they stayed put.  The shelves below and above it are the two new ones we added.  This way, there would be two levels of hanging clothes instead of just one.

I think I frustrated the guys by making them caulk and paint.  They argued that once clothes were added they'd never be seen.  But, I was 8 months pregnant at the time and they knew what was best for them and did it my way. :)

Apparently I did not feel the need to take an after picture of this phase, but just imagine all of our clothes finally up off of our bedroom floor and hanging in the closet where they belong.  We were thrilled with our new additional hanging bars.

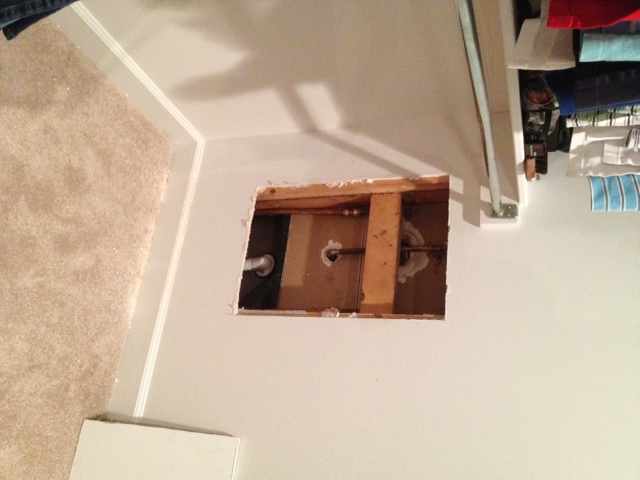
About a month passed, we welcomed our baby girl, and I decided we needed to finish changing out the fixtures in her bathroom.  They were all gold when we moved in, and I wanted them silver.  Doc and Dad had already switched out everything except for the shower fixtures.  This is where things got tricky because we had an outdated piece.  I won't bore you with the details, but I will say that I know way more about push-button diverters then I ever imagined I would.  Anyway, the solution was that we needed to have some plumbing work done if we wanted to switch to silver.  And rather than letting the plumber go to town busting up the tile in her shower, I requested that they go through the back.  That meant our closet got partially emptied out again so that this hole could be cut out of the wall.

Thankfully the hubs was able to patch the hole up in a way that will still allow us access to the plumbing in the future should we ever need it.

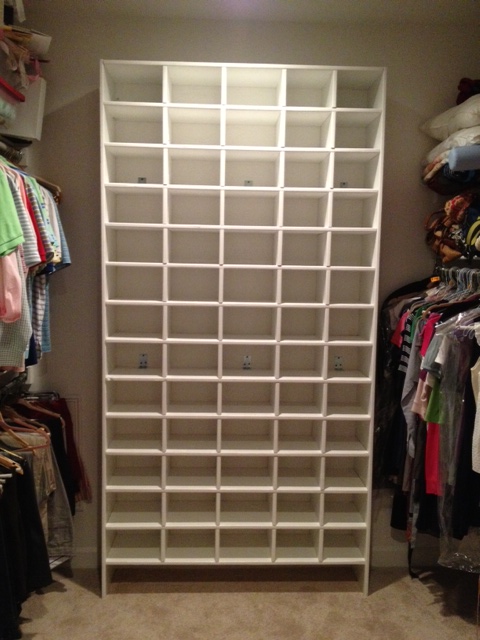
With Katie Wynn's bathroom done and me still on maternity leave, I was ready to move on to the next project.  Enter Shoe Shrine, Take One.  The back wall of the closet was the perfect spot to put some custom shoe shelving, so we drew up a plan and got to work.  I ordered some MDF and had it delivered and we got to cutting, priming, and painting.  It was so huge that it had be to assembled inside the closet.

I can't even tell you how sad it was for me right when I took this picture.  As much as we talked about the plan beforehand, we still didn't think through some key parts.  We were excited to get it up and because of that, cut some critical corners.  It was designed to be two pieces - a wider part at the bottom that created a bench to sit on and a skinnier part on top for regular shoe storage.  The shelves in the bottom section were also removable to my boots could slide in in the winter.  The problem was that it was extremely heavy and very unsturdy.  Even with it being bolted to the wall, it felt like it'd probably just pull the sheetrock down with it.  So, while I really, really wanted to be excited about it, all I could think about was my baby girl trying to climb up it one day and it crashing down on top of her.  In tears, I told the boys to take it down.

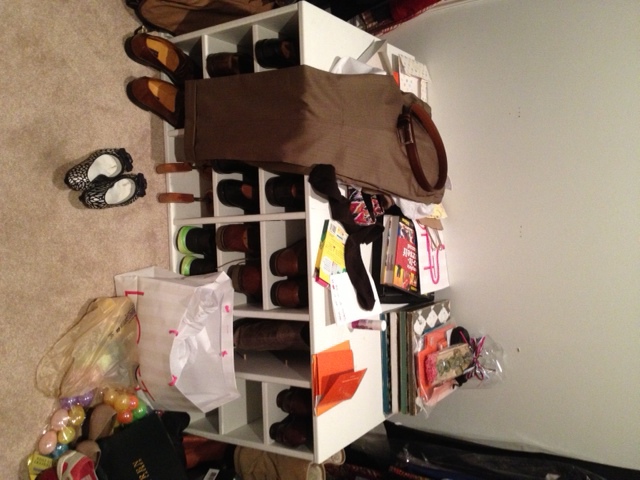
We felt really defeated at that point.  We'd just wasted a whole lot of time (and a lot of money) on something that was now sitting unassembled in our garage.  Except for the bottom portion.  We never got around to taking it apart so it continued to sit in our closet and became a flat surface where we piled everything.  (Doc did actually use it to hold his shoes, though.)

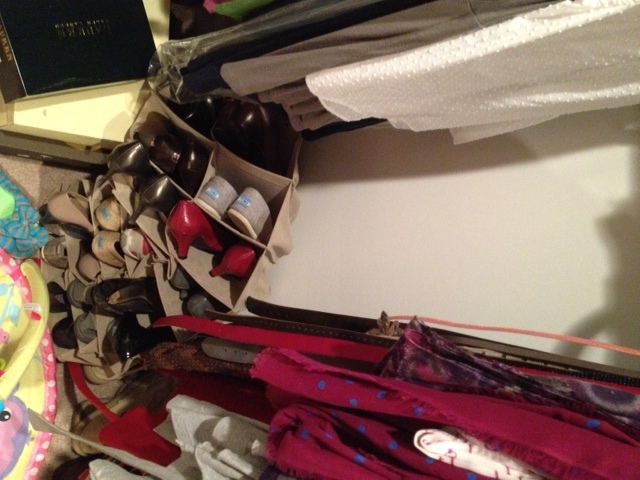
I returned to work and life went on.  And then about a month ago I walked into the closet one morning and saw that my hanging shoe rack had finally given up and torn apart.  My shoes were in a heap on the floor.

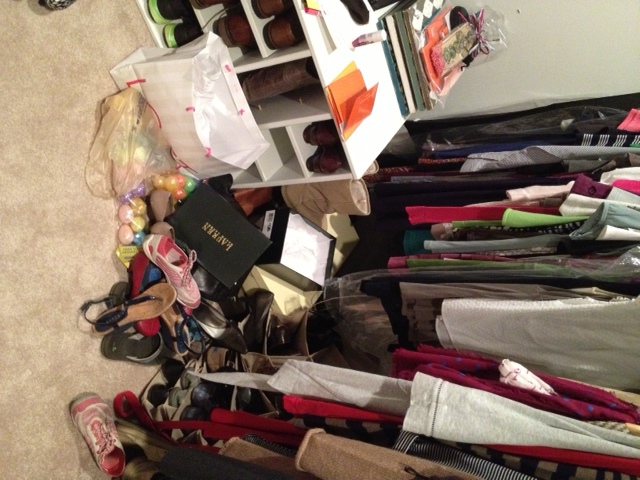
The closet was becoming a huge mess.

We knew this meant it was time to revisit the shoe shrine.  This time, though, we'd really, really think through everything and do it the right way.  Thankfully, Ana White had already drawn up some plans for a shoe shrine that we could adapt for our closet.

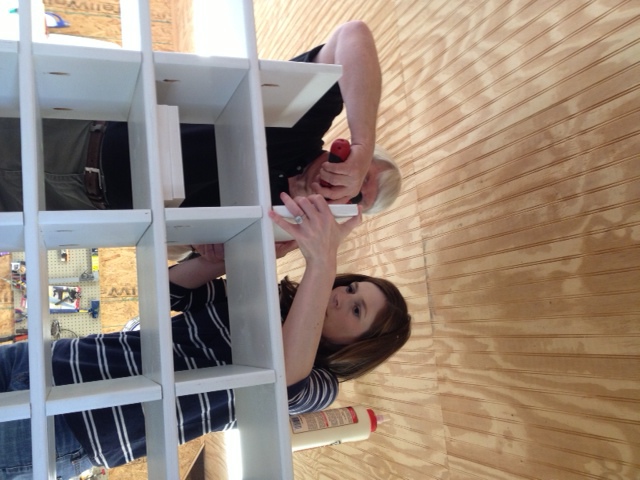
Doc and my dad spent a Saturday morning cutting and routing all the pieces we would use.  I spent one of my days off work priming and painting every side of every board.  And then the following Saturday, my dad and I got busy assembling.

This time the Shoe Shrine would be one big piece, instead of two separate pieces.  At eight feet tall, we had to climb up on the table to finish putting the top of it together!

What I don't have a picture of is the hour or so that we worked while I was wearing Katie Wynn in the Baby Ergo.  You gotta do what you gotta do when there's no sitter around.

The Ana White plan was for a unit that was three shelves wide.  We made ours five shelves wide instead.  We also adjusted the size of the cubbies to fit our shoes better.  There are three columns that are wider to accomodate for Doc's bigger shoes and two columns that are smaller for mine. (Don't worry ladies, this does not mean I get less storage.  My shoes fit in the bigger cubbies too.)

It was tricky to transport and get into the house, but my two favorite guys were able to get it in there!  For Shoe Shrine, Take Two we didn't cut any corners.  We even went above and beyond and glued and screwed every single piece of wood multiple times.  Then we bolted it to the wall in nine different places.  This thing is not going anywhere!

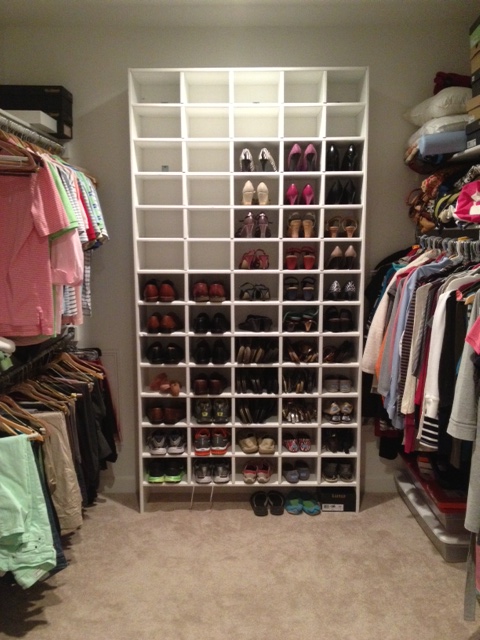
That's sixty-five cubbies just waiting to be filled with shoes.  Awww, yeah!!  This girl was happy, happy, happy!

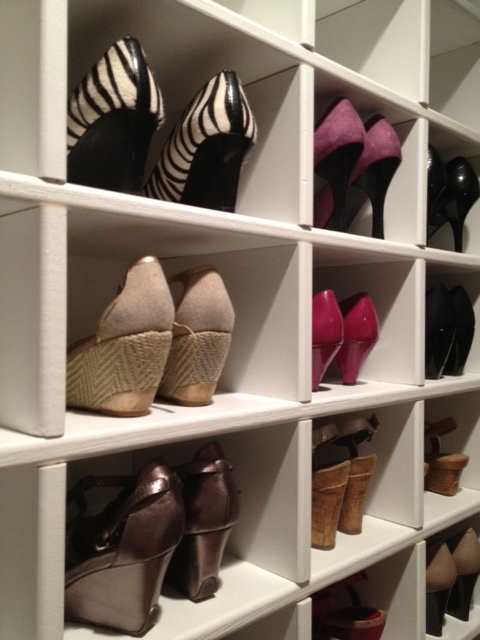
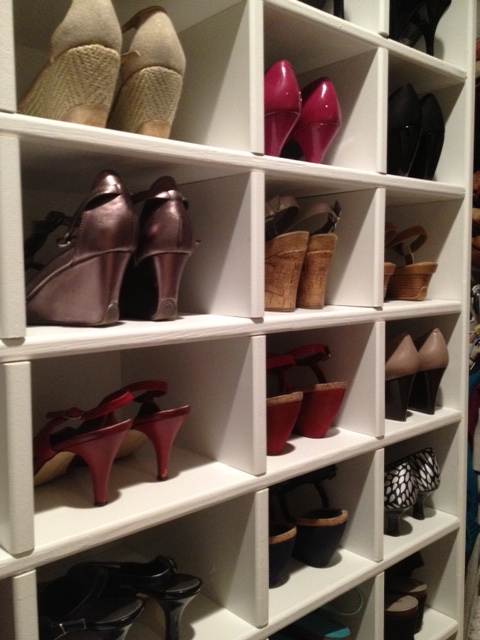
Oh look, after all the summer shoes have been put in, there are still empty cubbies.  Sounds like I need to do some shopping! :)

Sometimes I go in the closet just so I can look at it.  It makes me really happy.

It's come a long way since the day we moved in.  I'm so glad our clothes finally fit on all the hanging racks, there are no holes in the sheetrock, and our shoes are up off the floor.  It feels huge now too!  Which is a good thing since Katie Wynn spends a lot of time playing on the floor in there (we put her there while we're getting ready so we can watch her from the bathroom). 

Now I'm on the hunt for a cute bench that I can redo to set in front of the Shoe Shrine.  Doc wants somewhere he can sit to put on his shoes and I'd like to be able to use it to reach the higher cubbies.  And I guess at somepoint I need to clean out all the shelves at the top that are overflowing with stuff but, ugh, that can wait for another day.  For now, I'm just gonna keep drooling over my shoe storage!

Living Room Progress

The living room has come a loooong way since we moved in, and I'm about to walk you through everything we've done.  Warning: this is gonna be another loooong post. Just for fun, here's a picture of the living room from when we toured the house.  This is all of the previous owners' stuff (except for my mom and Doc, they belong to me).

I liked their setup fine, even if most of their stuff was a little more contemporary than my style.  It actually looked like they never used this room.  I'm pretty sure the kids were never allowed to sit on these couches.  Heck, I don't even think the adults were allowed to sit on them!

Anyway.  So we moved in and just plopped down all of our living room furniture that we already had.

All of a sudden, our 8x11 rug looked tiny and our furniture just didn't fit right.  But, when we moved in I was fat and pregnant and fixing this room was the last thing on my list.  I had no idea what I wanted to do with it and just didn't have the energy to even think about it.

Check it out from this angle.  It looks like a lodge with those wood built-ins!

It was a tidge better in the daylight.  Maybe?

Here are views from different spots in the room.  Those bare windows!

Like I said, I hadn't planned on this room being one of my first projects.  But once the baby was born and we started having visitors and hanging out in this room more, it started really bugging me.  Like, really, really bugging me.  So I switched gears and started thinking about what needed to happen in here.

As you already know, the first step was getting the hardwood floors refinished.  This was also something that we figured we'd do much later down the line, but after thinking about it, it seemed to make more sense to do it early when there was minimal furniture to move out of the room and we hadn't painted yet.  So, during our first trip to the beach, the floors got sanded down, stained a medium-dark brown color, and then re-sealed.

Of course, the pretty new floors only made the wooden built-ins look awful.  So I spent a week or so finishing them up and then painting them.

I think other than our Christmas decorations that went up, that's the last I'd showed you of our living room.  So let's pick up from there.

Shortly after I wrapped up my work on the built-ins, we hit the road for Beach Trip Take Two.  We once again decided to take advantage of the room still being empty of furniture and us being out of the house, and lined up some painters to come in and take care of those yellow-khaki walls.

The walls weren't the only things being painted - they were also going to paint all of the trim work and the treads of the stairs.  Also, see this little decorative wooden piece on the side of the stairs?  It got re-stained along with the hardwood floors, but I was pretty sure it would look better painted the same white color as the trim, so I had them do it too.  (The photo below is probably the best depiction of the original wall colors; it wasn't quite as yellow as it looks in the two pictures above.)

Well, here is where I would show you an after picture of the room after the walls, trim, and stair treads had been painted, but apparently I didn't think it was important enough to take a picture of.  You'll be able to see it in the background of the rest of the pics, though.  In case anyone is curious, the wall color is Behr's Castle Path (color-matched by Sherwin Williams) and the trim is Sherwin William's Pure White.

Let's talk about where I was going with this room.  While I loved our old living room furniture in our old house, I wanted pretty much the opposite of it for this house.  I wanted all the big pieces in the room (read: the pricier items) to be neutral colors (as opposed to our red and colorful furniture from before) so that they could work with multiple accent colors, should I choose to swap things out from time to time.  I also wanted everything to be more casual and comfy.  Unlike the way it looked when the previous owners had our house, I wanted this to be a room that we could all really live in.

By the time the painters were done, I had picked out new furniture and a new rug, and they had all been ordered.  I was so eager for them to come in so I could see them in the room!  The two chairs and ottomans actually arrived the day we were outside taking family pictures, but since the room still hadn't been painted at that time, they hung out in the office for a couple weeks.

It was only a couple of days after the paint job finished that our rug arrived.  Have you ever ordered a rug online?  This was a first for me, and I was a nervous wreck about it.  I had done my research, though, and knew that I had 45 days to return it and get my money back if I didn't like it.  I purposely timed the rug order to be close to when the furniture would arrive so that I could see them together and still be in my 45 day window.  The rug I chose was the Vintage Area Rug II from Home Decorators in its biggest size.  Thank goodness I caught it on sale!  It was everything I was looking for - big, not too expensive, soft but not too plush, and had both greys and khakis and wasn't too light in color to show a lot of dirt.

I loved it the minute we rolled it out on the hardwood floors.

We debated between buying two large couches to place across from each other, or buying one couch and two chairs and ottomans.  We ended up deciding on the chairs + couch combo because we thought it would work the best for our family.  Plus, the chairs were really comfy in the store.  They are slipcovered chairs in "Smoke" purchased from Stash Furniture.

Since the chairs and ottomans were in, we carried them into the room.  We also brought in the coffee table and entertainment center we already had.

That's my little helper you see sitting in the chair on the right.  She agrees that the chairs are really soft and comfy.

I had to wait another week before the couch arrived - longest week ever!  Katie and I were chilling in the chair together when the delivery guys carried it in.  I snapped this pic with my phone and sent it to Doc so he'd know it arrived ok.  (You can see that decorative piece on the stairs painted white now.)

Our twelve-foot Christmas tree arrived the very next day, so we shuffled all the furniture around to make room for it.  That's one of the reasons I've put off showing you the living room for so long.  I wanted to take pictures after all the Christmas decorations were put away.  (They've been gone for 3 weeks now, I have no other excuses for the delay.)

So let's fast-forward to today when I finally took some pictures of the room so you can see it in it's current state.  We're calling it "done" for now, but only because we need to give our bank account a little break.  There's still a lot I want to do!

I picked out some Premier Prints fabric that I thought went well with the furniture and rug.   My mom made the curtains out of the Carnival print in Village Blue / Natural.

For the two chairs, she made throw pillows out of a coordinating print - Seesaw in the same colors.

I scored the fabric for the couch's throw pillows off the remnants table.  They're in the same colors - one is Towers and one is Rio.

I also found more of the curtain fabric on the remnants table too, so I bought enough of it to cover these two storage cubes.  They're currently sitting in front of the fire place, but they tend to move around the room.  I haven't decided where their permanent home will be yet.

We've also added a few new lamps to the room.  I love the mercury glass trend that's popular right now, so my mom bought me this lamp to go between the two chairs.  She found it at Hancock Fabrics, of all places.

I had this floor lamp on my Christmas wish list and my in-laws were sweet enough to get it for me.  It came from Target.

Pat, my mother-in-law, had requested it be wrapped when she ordered it since it was being shipped to our house.  Well, Target forgot to wrap it.  They did, however, accidentally package two lamps in the box instead of one.  Score!  Who needs gift wrap when you can get a whole extra lamp?!  (Just so you know, we did discuss doing the right thing and sending it back to Target, but decided it would be a lot more work on our end and they probably didn't even notice their mistake anyway, so.... yeah.  I like free lamps is what I'm sayin'.)

Right now, this one is just hanging out next to the entertainment center.  Not sure if it'll stay in this room or end up somewhere else.

We have not had a Home Goods in our area for very long, and I've just recently started going there.  Um, it's quickly becoming one of my favorite stores.  Especially for lamps!!  I practically squealed when I saw this mercury glass one...I was looking for one to coordinate with the one between the two chairs without being identical.  Love the burlap shade on it!  (As you can see, I'm also big on drum shades right now, except I feel like every time I walk into the living room, at least one of them is slightly tilted to the side and it drives me bonkers.)

Also at Home Goods I found these two vases that match the lamp.  I couldn't resist getting them for the built-ins.

And this hour glass!  Don't worry, I am not allowing myself to buy anything else that's mercury glass.  Can't go overboard.

So, the built-ins.  They're somewhat decorated, but everything is subject to change.  In fact, a lot of things are just placeholders until I find something I like better.  I didn't want to rush out and buy things just to fill it up, though, so the majority is stuff we already had.  I plan on taking my time finding meaningful things to go on these shelves.

That's pretty much all the progress we've made so far.  It's not complete, but we've definitely come a long way, no?

I mentioned still having lots of things to do.  Let's talk about those things; I'd love to hear your thoughts.  First up, the mantel.  I'm really stuck here.  I can't decide what I want.  The space above the mantel is really wide but not too quite three feet tall.  The paintings I've seen so far that I thought could work have all been three feet tall.  We're working with about 34 inches.

I just bought this vase and sticks off the clearance rack at Target yesterday.  Now that I have it home, I realize I should have bought another package of sticks.  These don't fill up the vase.  I could probably go with some that are darker too.

The actual mantel itself is really high - about six feet up - and the ledge is pretty narrow.  It's really hard to find something to sit on it that's skinny enough to fit on the ledge but also big enough to not look piddly up there.  In fact, I bought the vase above because it was nice and tall but also looked skinny enough to fit.  It's just a smidge wider than the ledge, but it's close enough to work.

I really want something unique to go there...but what?  Maybe something architectural?  I think an antique door turned sideways or maybe some shutters could be cool if done right, but something like that could take forever to find.  Anyone got any good ideas?

The other big problem area is this vast expanse of wall.  It's a lot of space to fill up and our entertainment center just looks tiny on it!

I wouldn't mind eventually getting rid of the entertainment center since it's so small on the wall and limits the size TV we can get anyway.  But I think a lot of big entertainment centers would look silly because they would be up against the world's largest built-in bookshelves on the opposite wall.  Maybe something like this from Crate and Barrel could work?  (After we save our pennies for a long, long time!)

I dunno.  And what do I do in the meantime?  Hanging pictures on the wall would be a huge help.  I guess I should love for some, but they'd need to be big.  Or I could do a gallery wall.  I'm gonna have to think on it.

This table could also use some accessories.

I'd love to get a new coffee table one day too, but the one we have is fine for now.  I think something not quite as deep would create a little more space in the middle of the floor.  I have a feeling a certain little girl is going to want to have some room to play sometime soon!

Now that we've done so much, it's hard to look back and think that I was ok with leaving the living room like this for a while.  So glad I changed my mind!

Did I mentioned we sold all of our old stuff?  Yep, it was nice to recoup some cash for all the new purchases, and it all went to a friend too so I can visit it if I ever miss it. :)

Let's end on a better picture.  Recap: refinished floors, painted built-ins, painted walls, new chairs and sofa, new rug, new lamps, hung curtains and added throw pillows, and we now have a living room that looks like this.

Would love your feedback and suggestions for my problem areas!

How to Wrap a Room

One last post about the kids' rooms and then we'll move on, I promise! There were pros and cons to giving the kids a big "reveal" where they got to see everything in their room at one time.  The pro was that they could see how it all worked together.  I imagine it would be hard for them to get excited over opening up something like a bed skirt or lamp if we had just wrapped everything up individually instead.

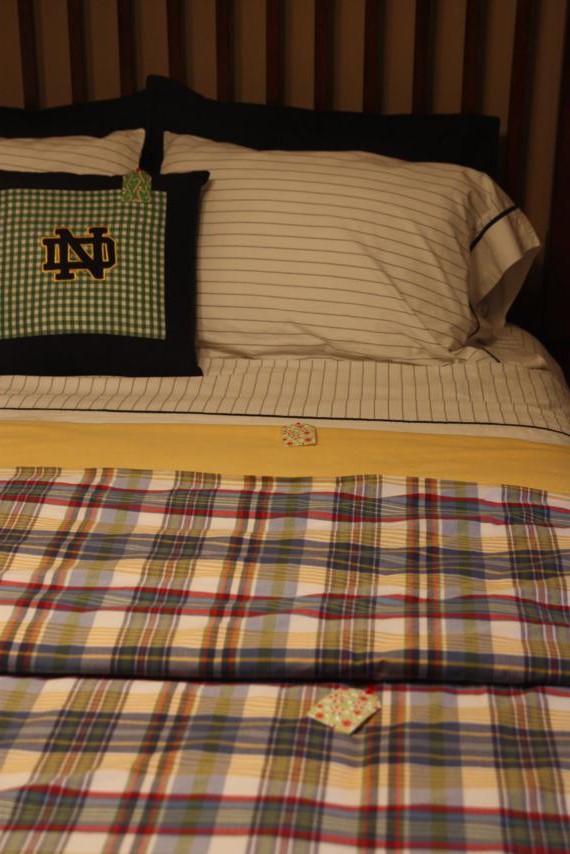
The con of them seeing everything at one time is that it could be overwhelming and they might not notice just exactly how much stuff they were getting.  For example, they might see that they got a new bed and bedding, when really what they got was a new bed, new box springs, new mattress, new mattress pad, new bed skirt, new sheets, new blanket, new comforter, new pillow shams, and a new throw pillow.  Catch my drift?

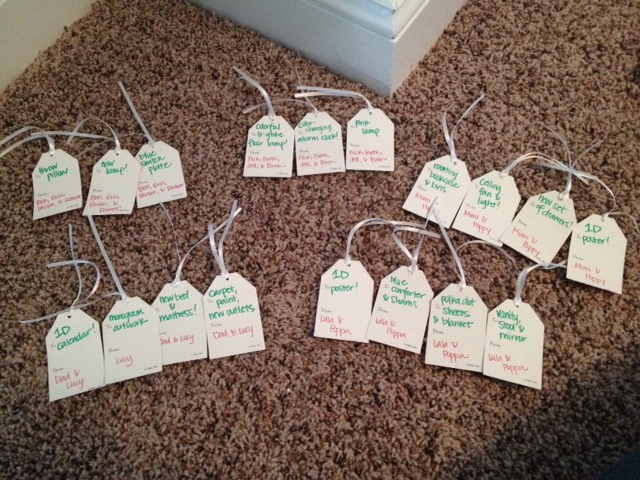
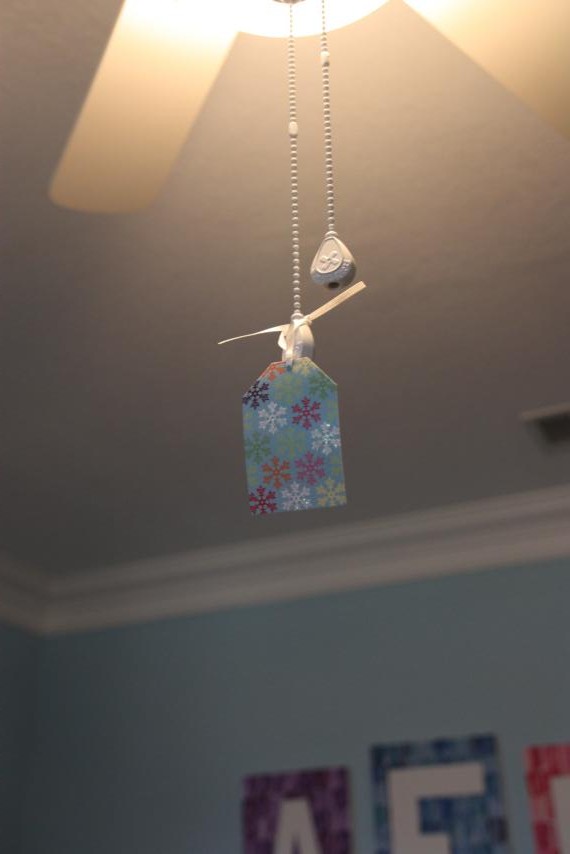
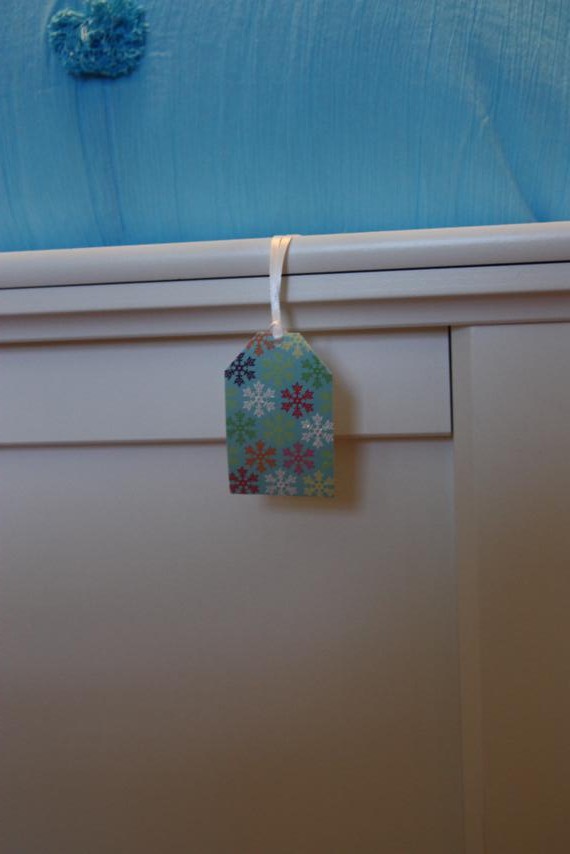
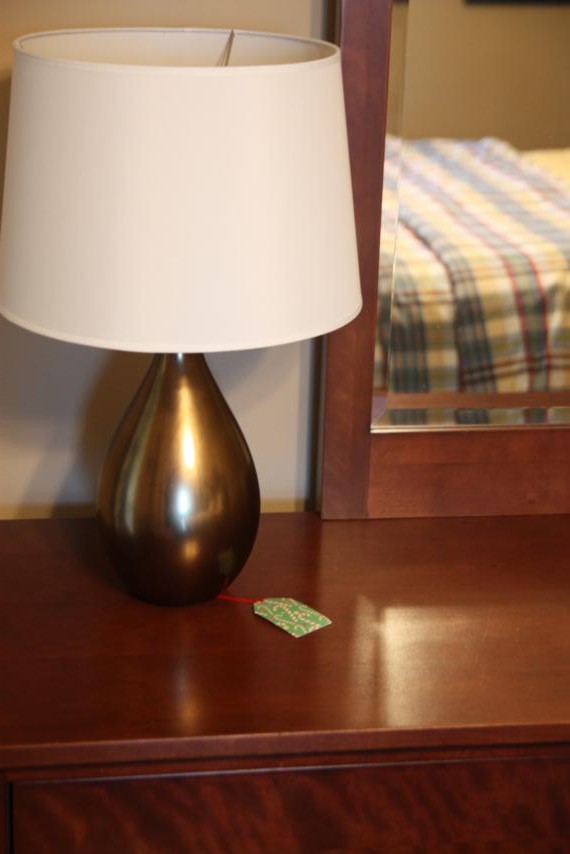
Doc and I wanted them to understand how much went in to putting their rooms together and not miss anything, so we came up with a plan: everything would get a gift tag.  Now, that would be silly if everything in the room was from us, but it wasn't.  We knew early on that we'd receive emails from our parents and siblings asking, "What can we get your kids for Christmas??"  So we extended an invitation to anyone who wanted to be involved to go in with us on their bedroom.  I shopped and planned out the bedrooms and then let everyone stake claims on items and pay us for them.  It was a win-win for everyone!

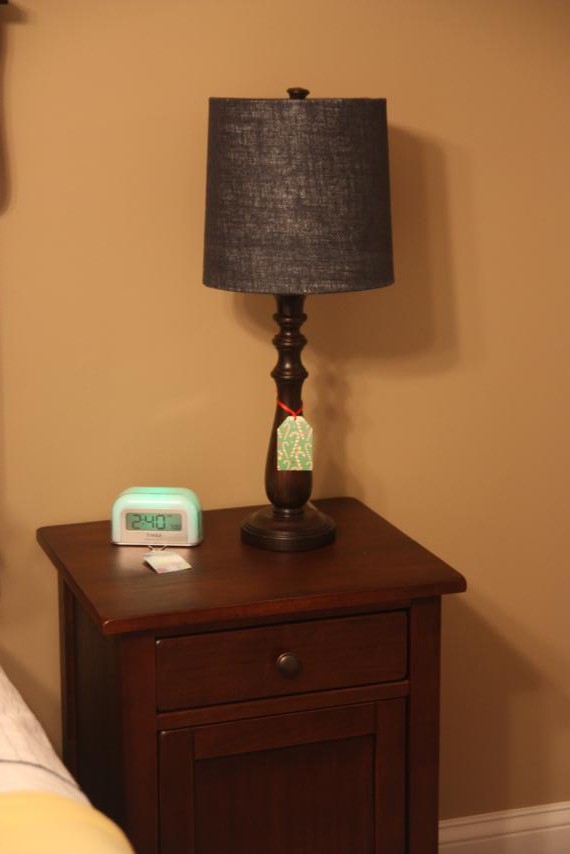
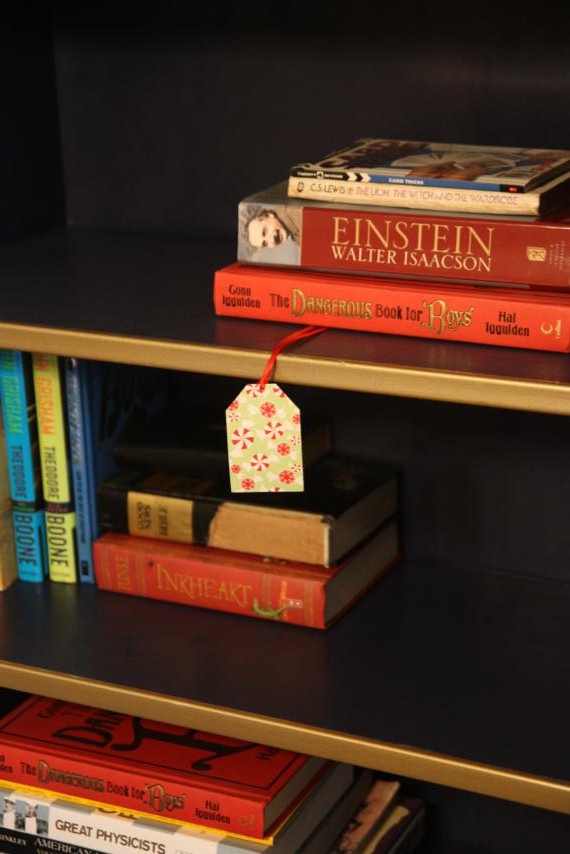
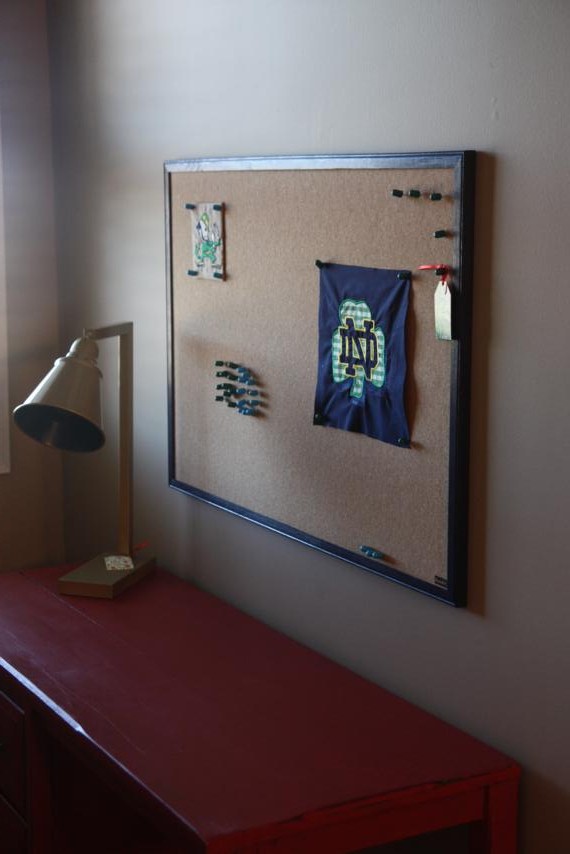
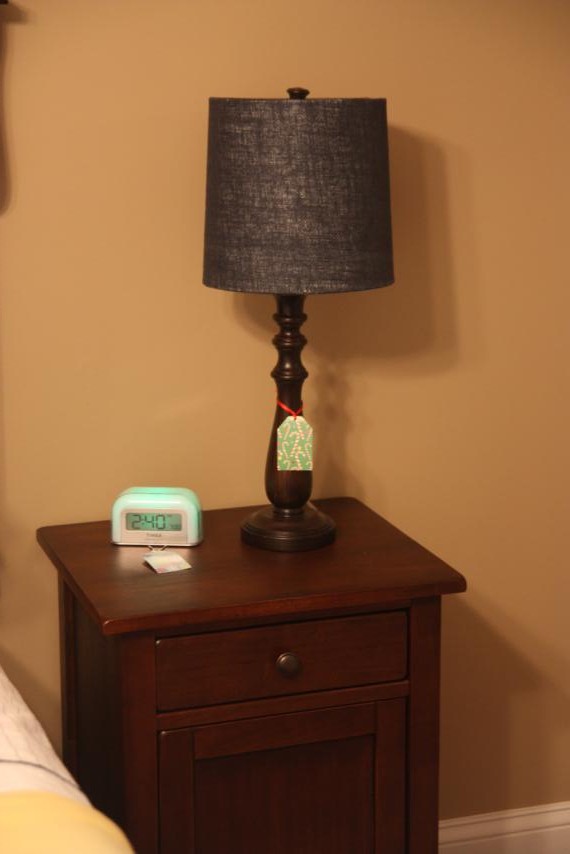
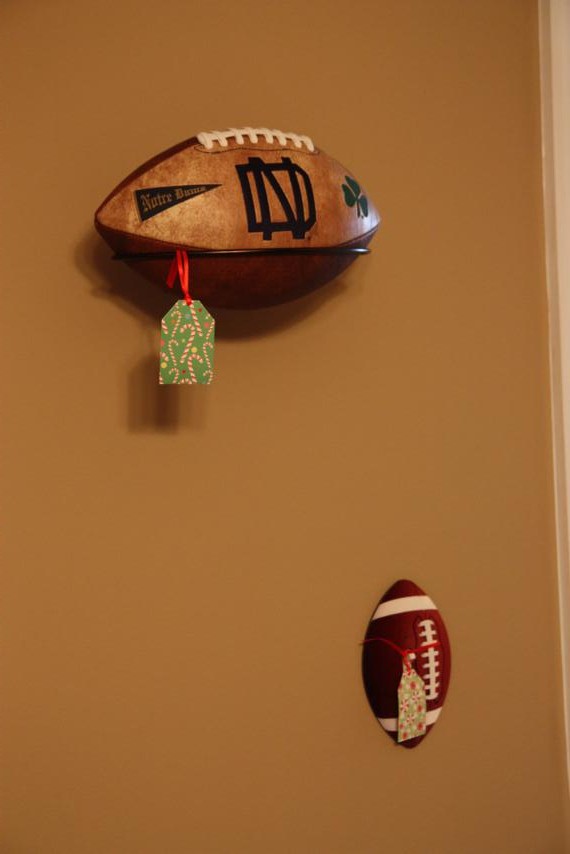
After their rooms were put together, I sat on the floor and wrote out gift tags for every single thing and who each thing was from.

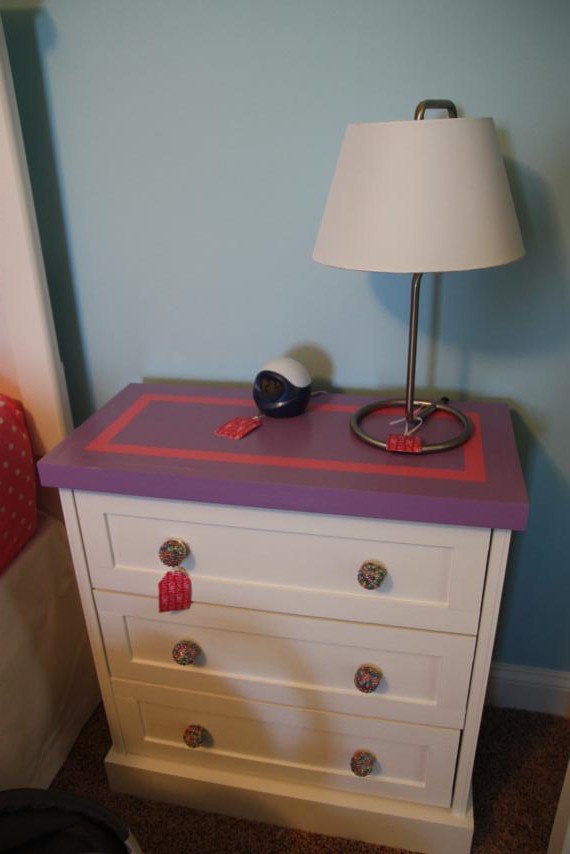
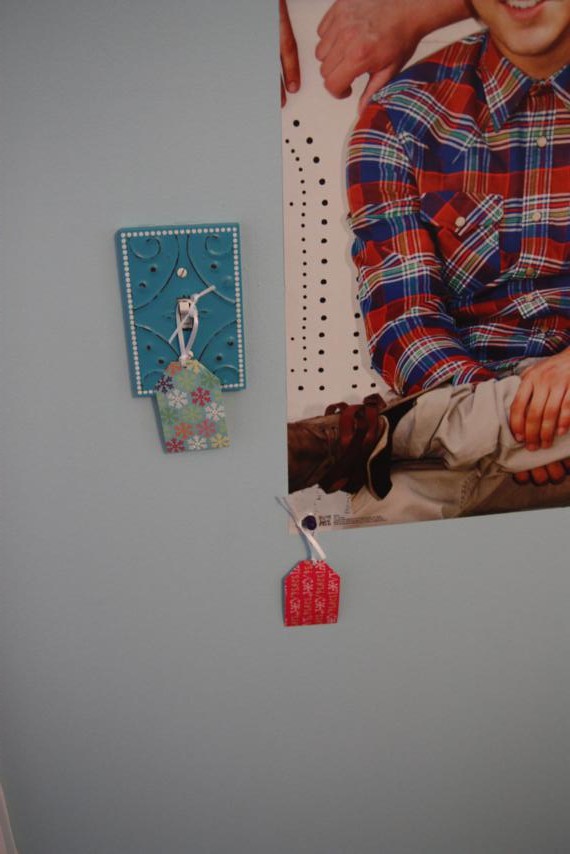
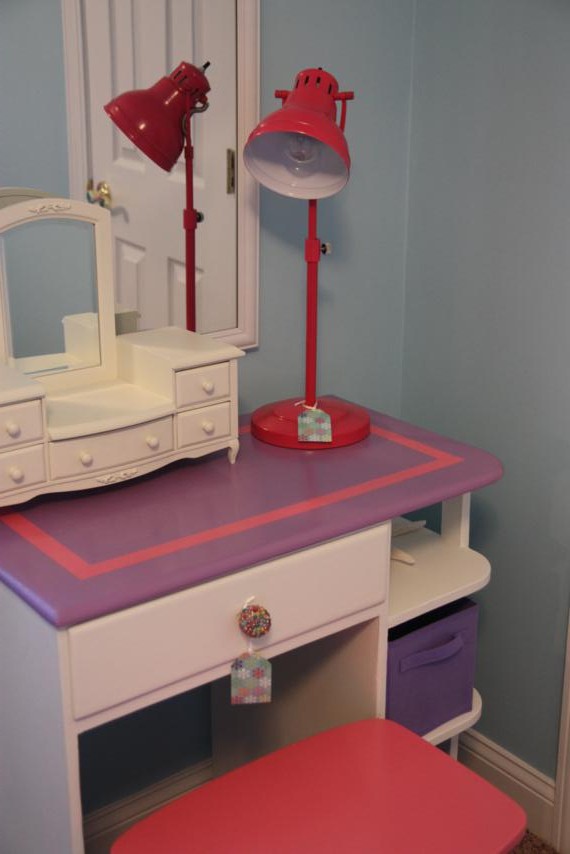
And then I walked through each room tagging items.


With that done, I needed to wrap the rooms!  Yes, wrap the rooms.  They had to open them, afterall.
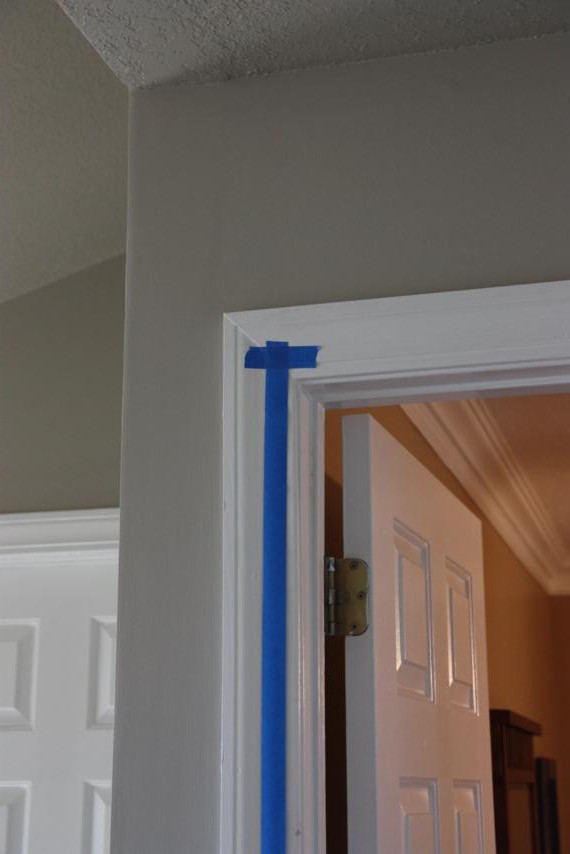
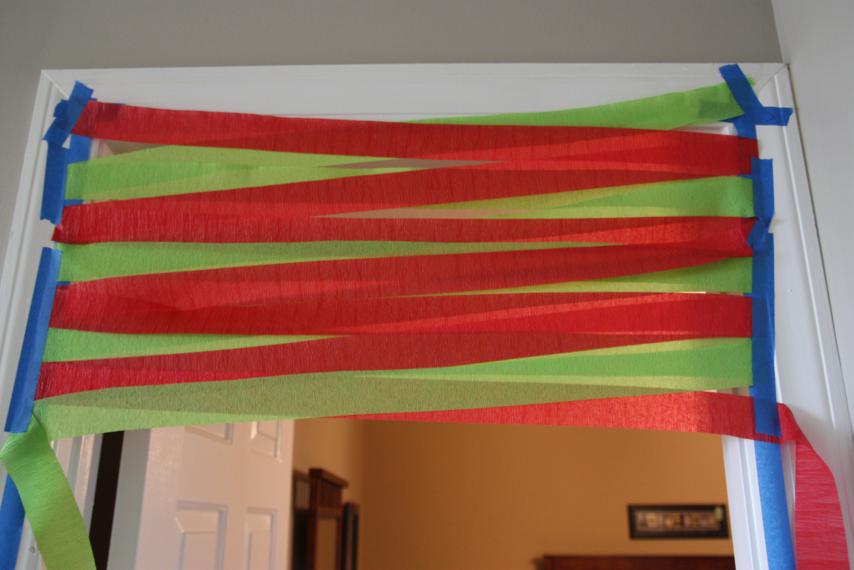
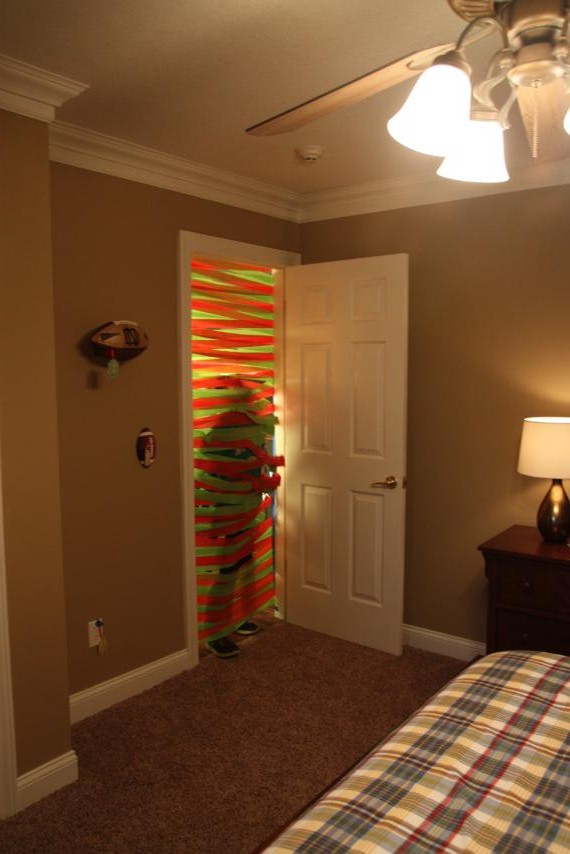
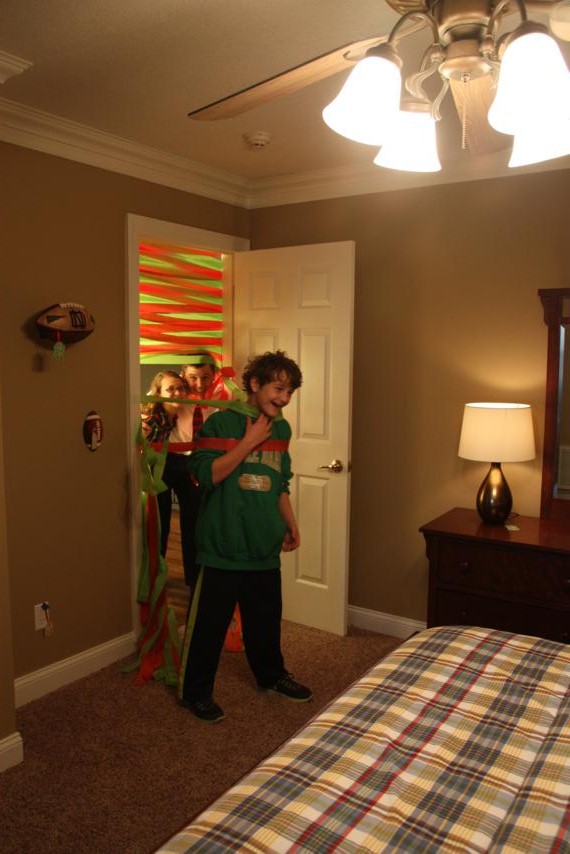
I started by running a long strip of painters tape down both sides of their bedroom doors, with the sticky side out.  I had to use a separate piece of tape to tape it down at the top and bottom.

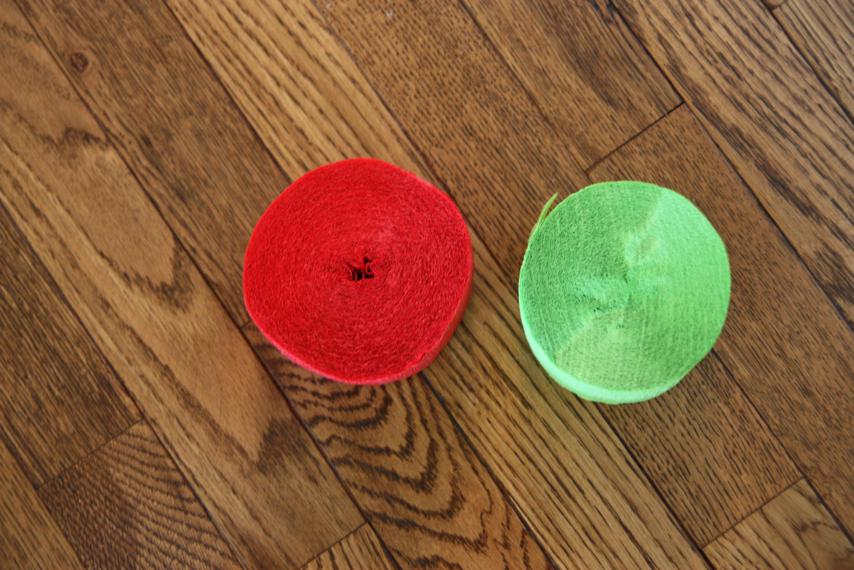
My other supplies were rolls of red and green crepe paper.  I started with just one roll of each color.  If you ever do this yourself, please note that it will take much more than just two rolls.  I had to run to Fred's halfway through the first door to get more, and ended up using almost 6 full rolls.

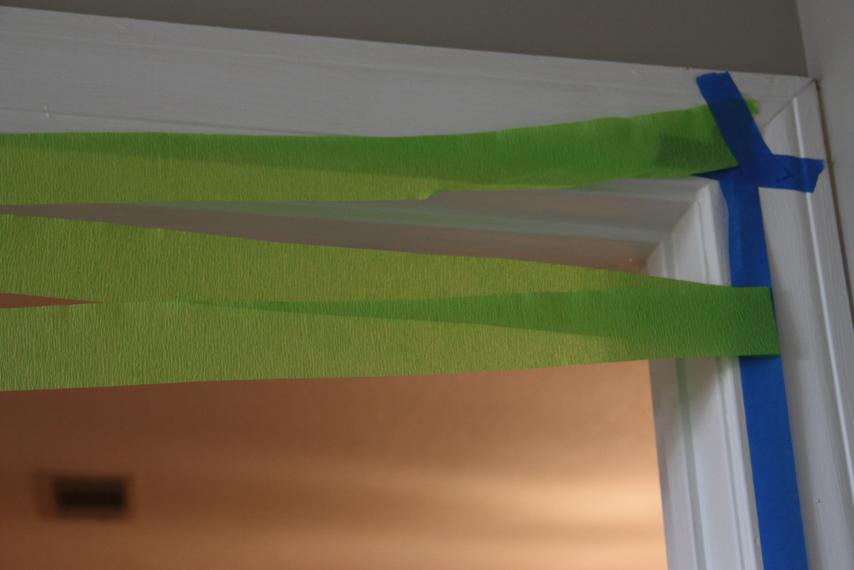
I started with the green, secured it to one corner, and then strung it from side to side.  This is why the tape was sticky side out.

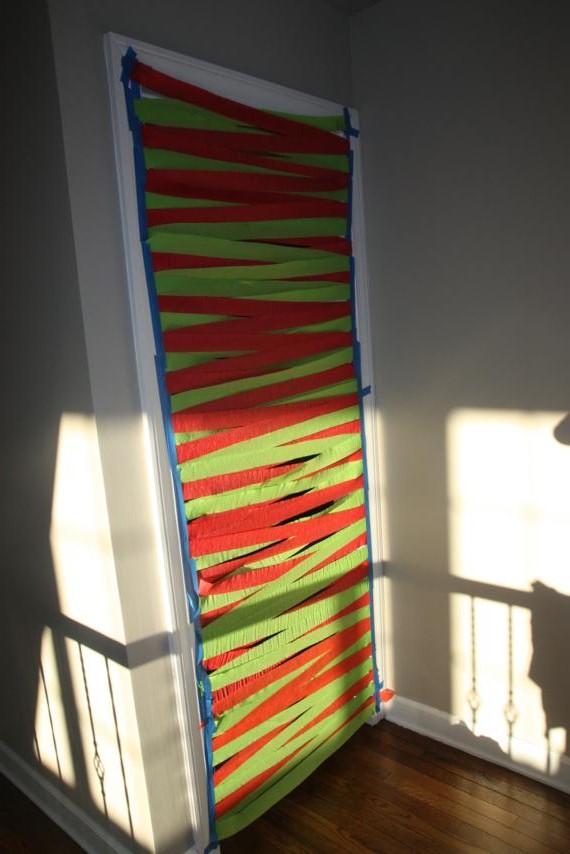
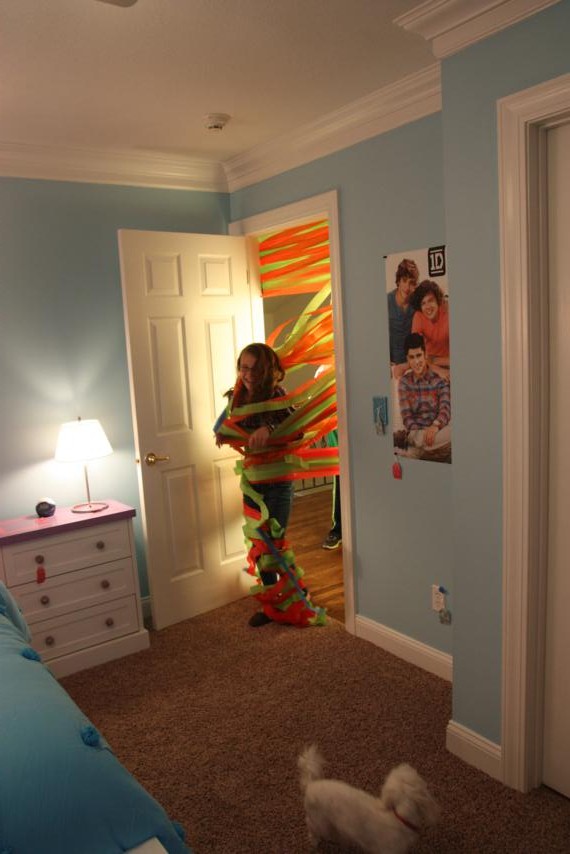
Then I picked up the red crepe paper and wove it in with the green.  (Notice that I left the actual bedroom door open.)

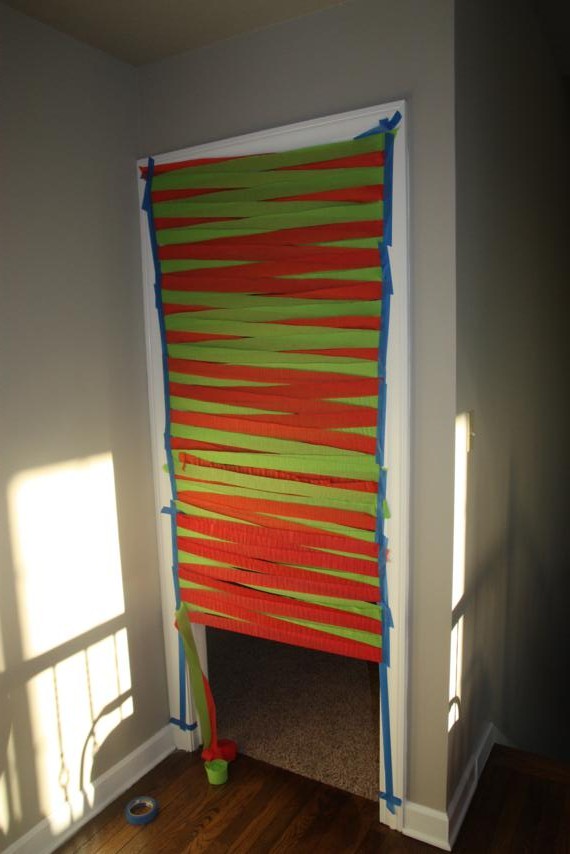
I just kept going back and forth, alternating colors, until I made it all the way down the door.  Occasionally, I'd add more tape to the edges to secure the crepe paper that I'd strung up.  (Excuse the crazy shadows.)

I left Anna's door open at the very bottom.  This was so that I could crawl in with my camera right before the reveal.  Doc finished wrapping it up after I made it in.

Then it was time for the fun!
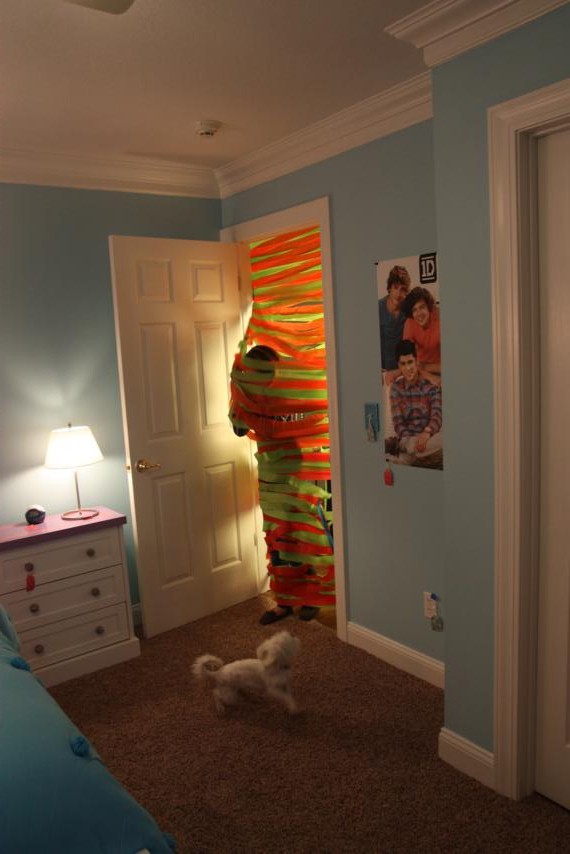
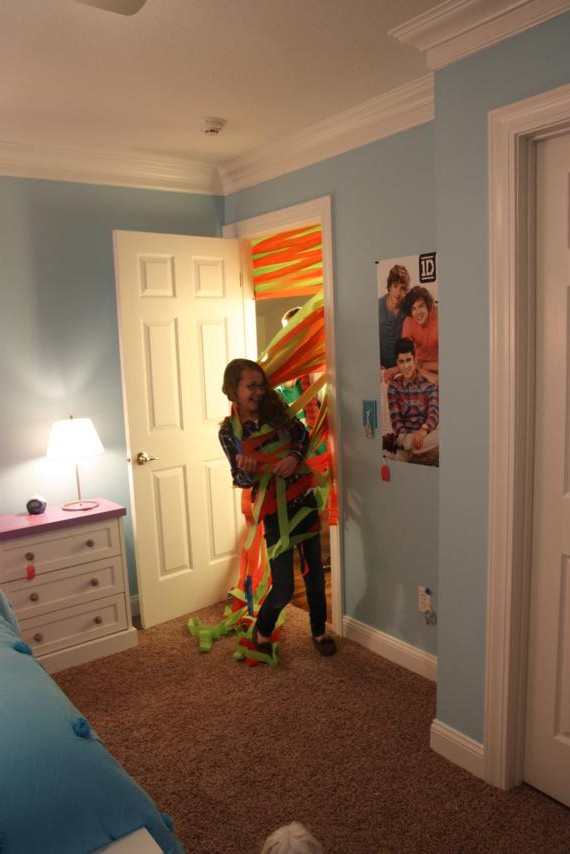
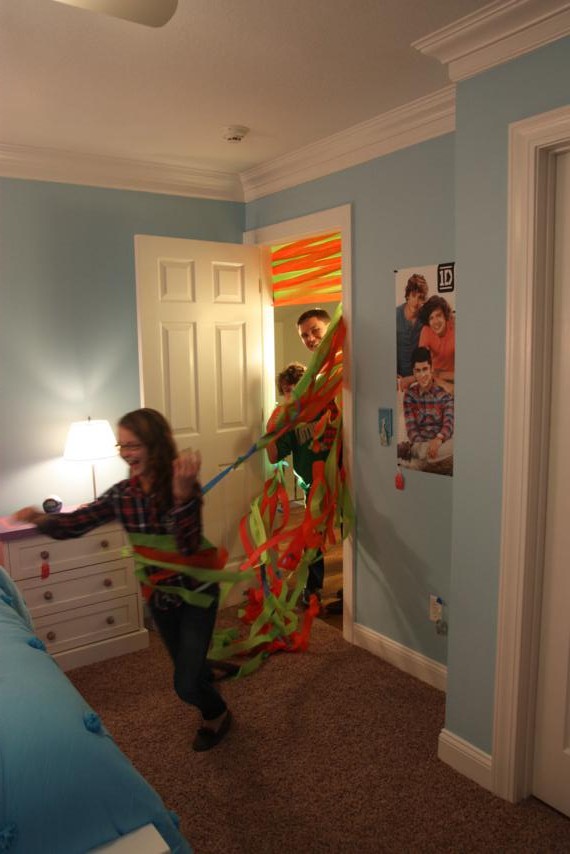
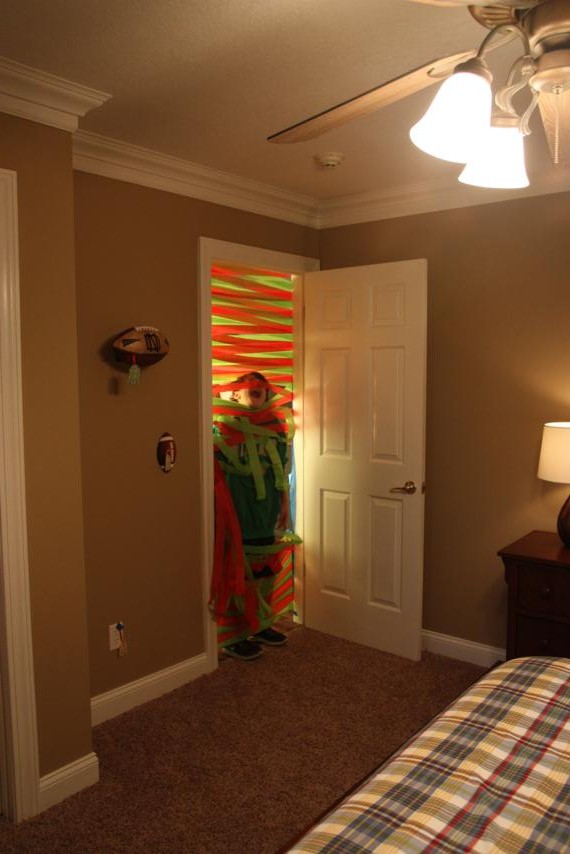
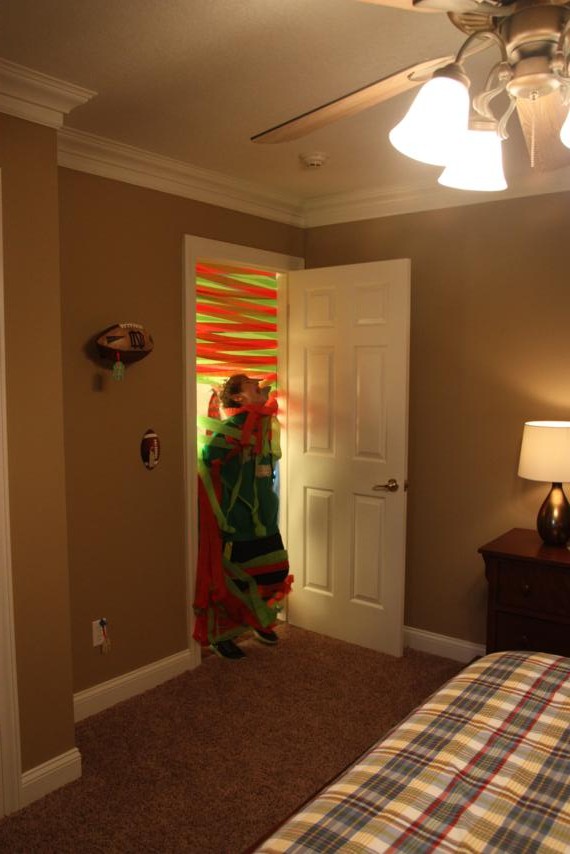
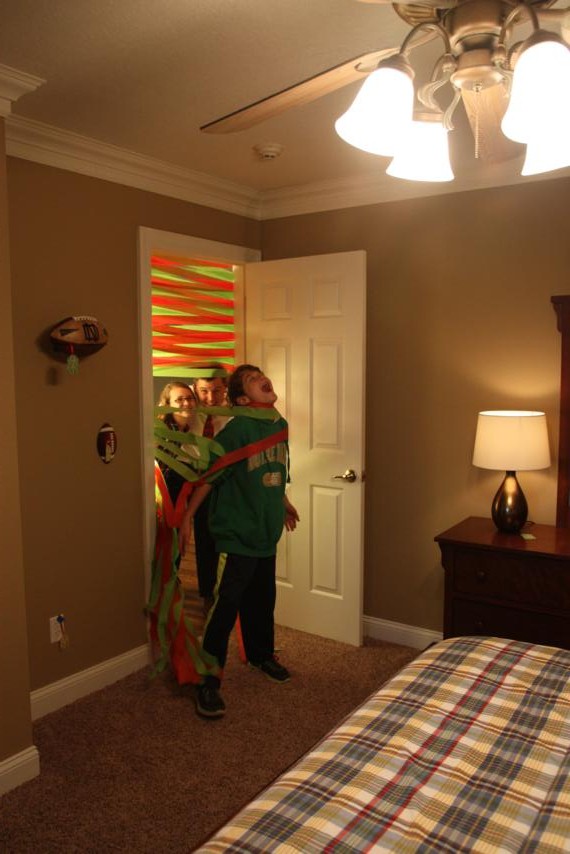
Anna won the coin toss so she got to go first.  Please look at how she scared Lolli to death when she busted through the door!
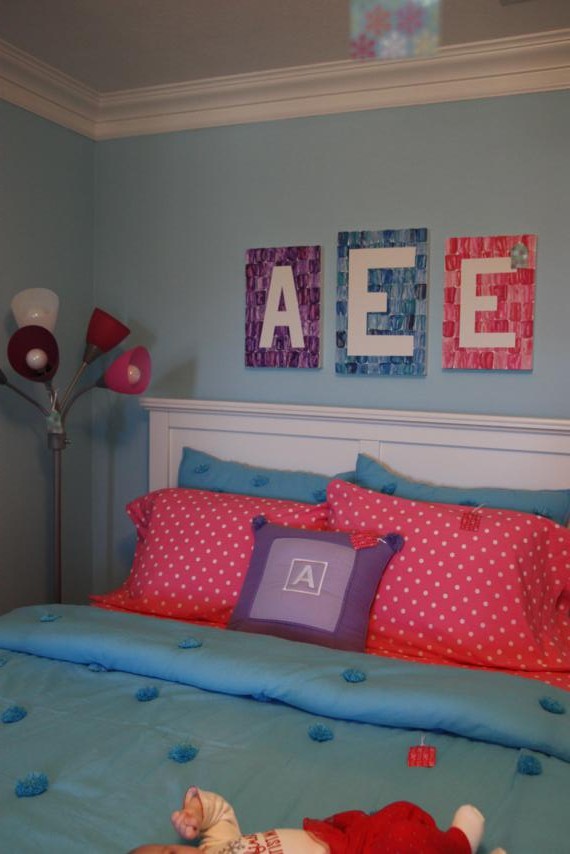


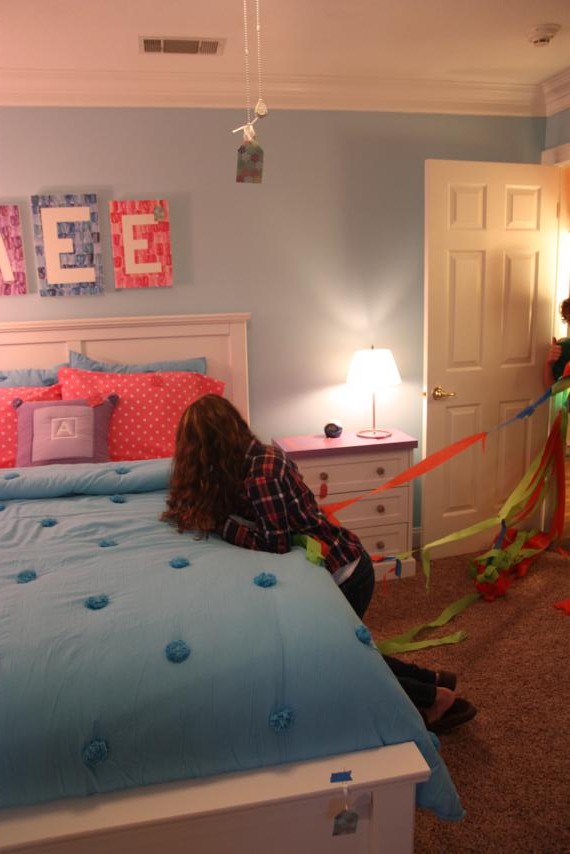
She finally made it in and collapsed on her bed.

We gave Anna just a few minutes to look around her room before telling her to pause so Wyatt could see his.  It was his turn to bust through the door!


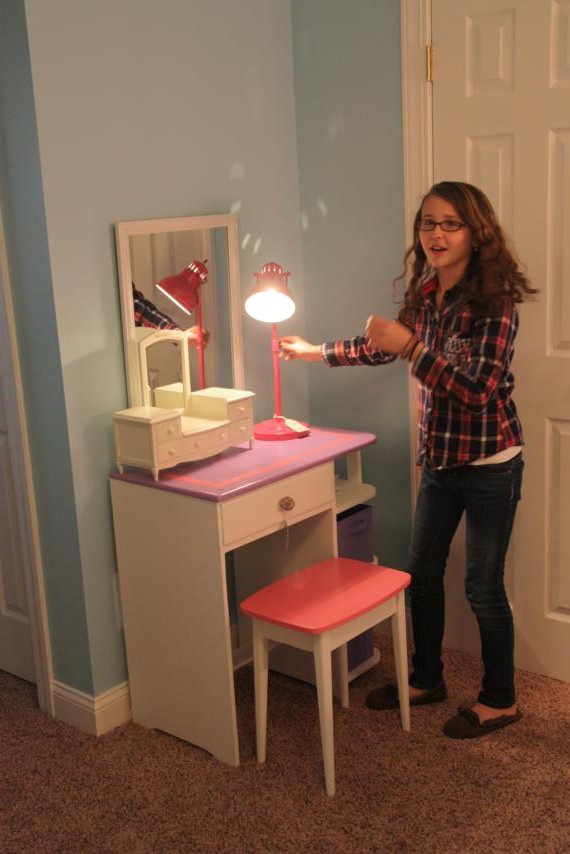
After the initial viewing, we made the kids go through the rooms and get all the tags.  It was sorta like a scavenger hunt since they had to find them all.  This was good, though, because we wanted to make sure they read them all and saw who everything was from.

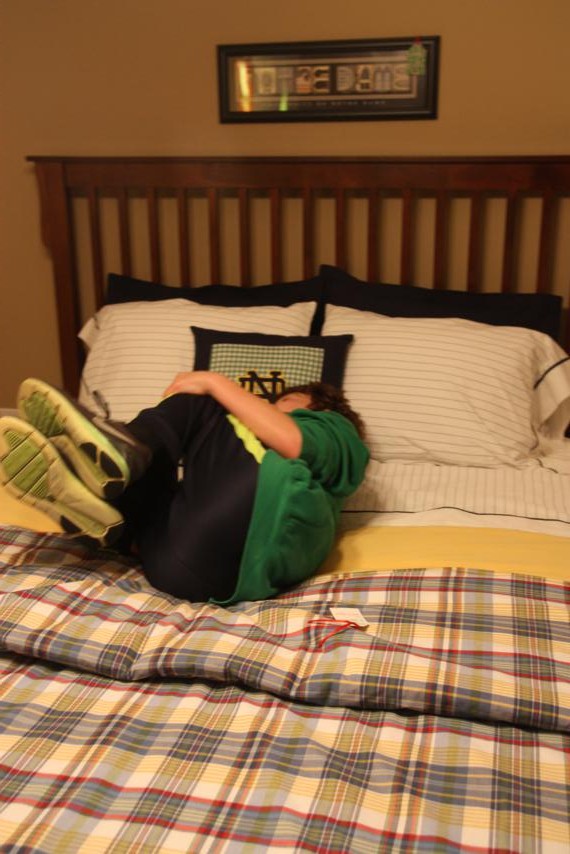
By the time we were done with the whole shebang, Wyatt was kicking us all out of his room because he wanted to take a nap in his awesome new bed.  Hey, if this room will make a teenager nap?  We'll take it!

And that's how you wrap a room. :)