Sneak Peek

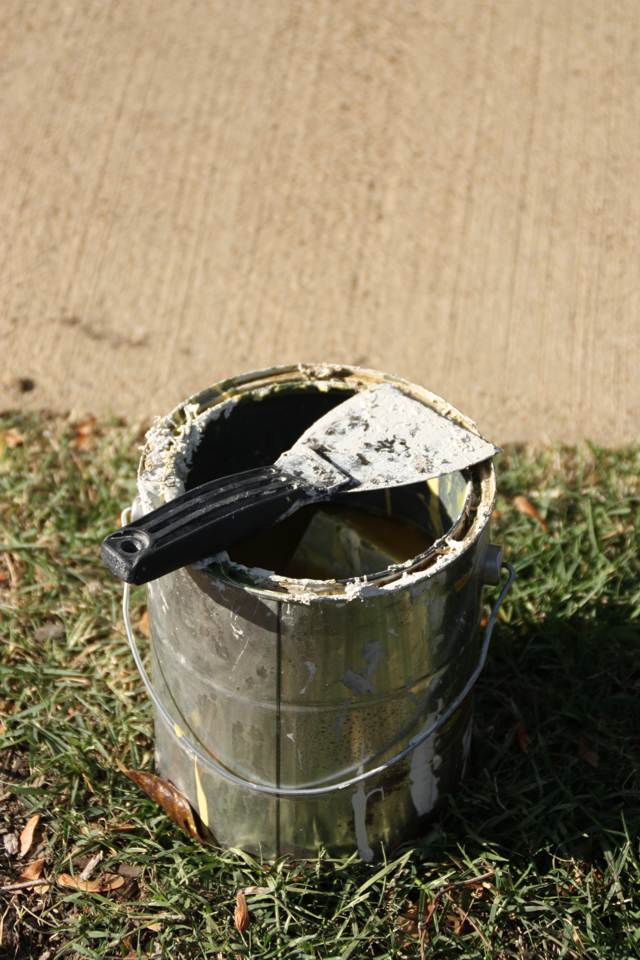
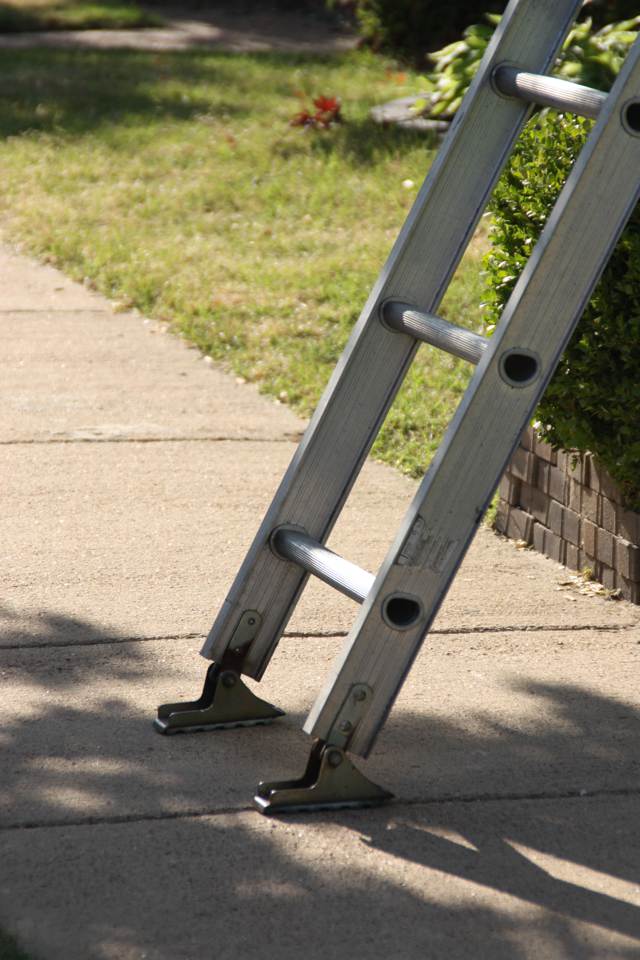
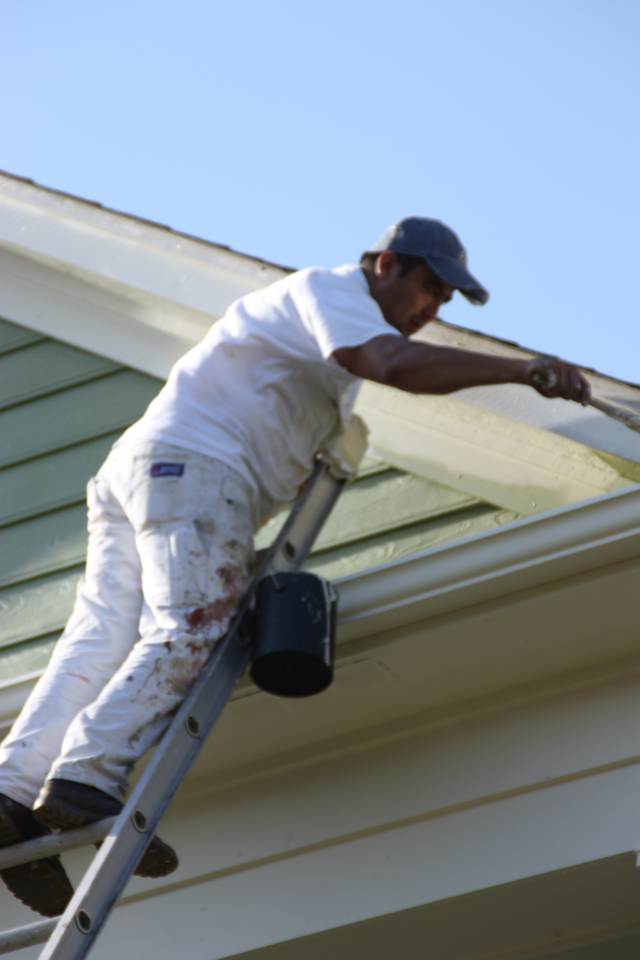
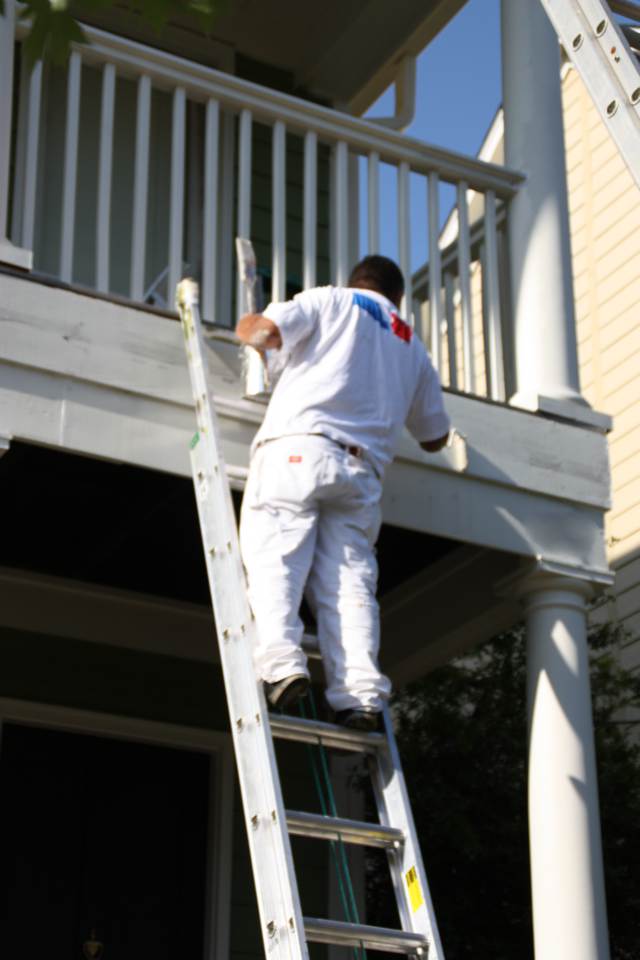
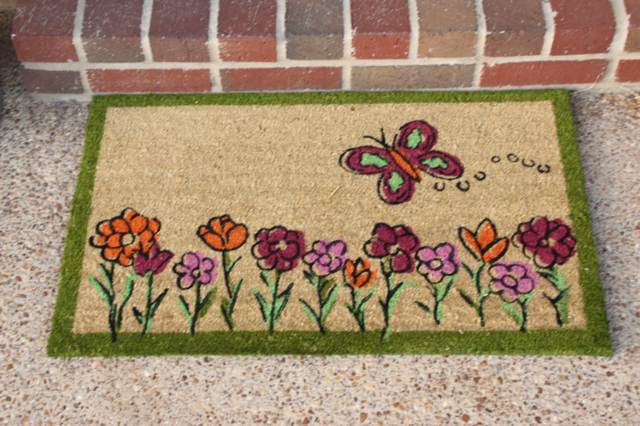
There have been lots of exciting things happening at our house this week and I can't wait to show you the finished results. Until then, I'll give you these sneak peek pictures of what I found at the house today when I got home.
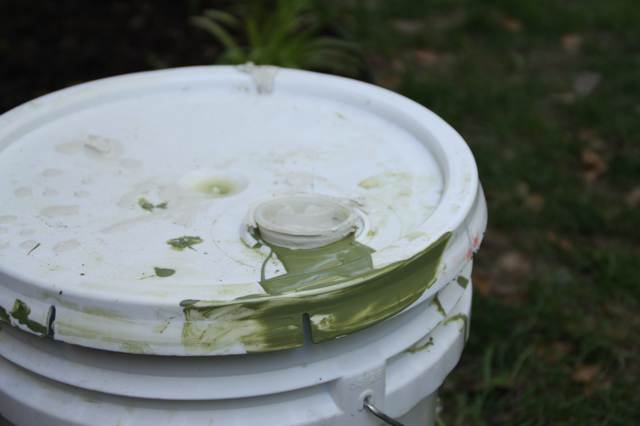
I took these pictures of the painters right when I got home while I was out with Minnie. Then I left them alone and came upstairs to our bedroom, fully aware that they were right outside my windows. Minnie and I got settled in on the bed, her snoozing and me playing on the laptop. The painters were pretty easy to tune out, seeing as how we don't really speak the same language. I guess I had gotten really into uploading my pictures because when my balcony door opened, Minnie and I both jumped! It's not everyday someone opens your balcony door from the outside while you're sitting on your bed. Creepy! Turns out he was ready to paint the door and needed it to be cracked open. I'm just glad he didn't start painting that door ten minutes earlier when I was changing my clothes. Minnie and I decided to relocate to the kids' playroom.

The week's projects got off to a rocky start. Our new front door was supposed to be installed on Monday. We've been waiting on this door for about 3 months now so we were excited for it to finally arrive. And arrive it did. But then the installation guy noticed that the door had been hung on the frame backwards. That probably wouldn't be a big deal in some houses, but since our front door is in a corner, that would mean that when you opened the door you would be facing the wall of our house instead of the living room. So the door went back to store. It is now being rebuilt and will supposedly be installed next Monday. To say that it's been a frustrating ordeal would be putting it lightly.

The first step for the painters was to pressure-wash our house. They did a fine job with that but I noticed on Tuesday that a lot of the dirt and water had splattered onto our outdoor chair cushions. I figured I'd take the opportunity to go ahead and give them a good wash so they could be fresh and clean when the paint job was finished. It sounded like a good idea, but then I apparently filled the washing machine with too much water with the cushions and ended up flooding the laundry room and the hall carpet. Oops.  Doc may be regretting staying in town this week...

But now things are back on track! (Hopefully, anyway.) I'm going to wash the cushions this weekend with a water hose instead, the painters should be done early tomorrow, and our new door will arrive a few days later. Oh, and I've been super nervous about the color we chose but I think I love it!

I took lots of "before" pictures last week so I can't wait to show you side-by-side comparison pictures. Hopefully everything will get done and I can post them by the middle of next week!

14 Hours Later, Updated to Add: We only have one window in our entire house that doesn't have blinds or window treatments on it. One. It's a small window in our bathroom that I love because of the natural light it lets in in the mornings. Our room is upstairs so no one can ever see in the window, but if you could you would only be able to see the bathtub and the toilet. Guess which one of those I was sitting on this morning when the painter's ladder appeared outside the window...

The Missing Piece

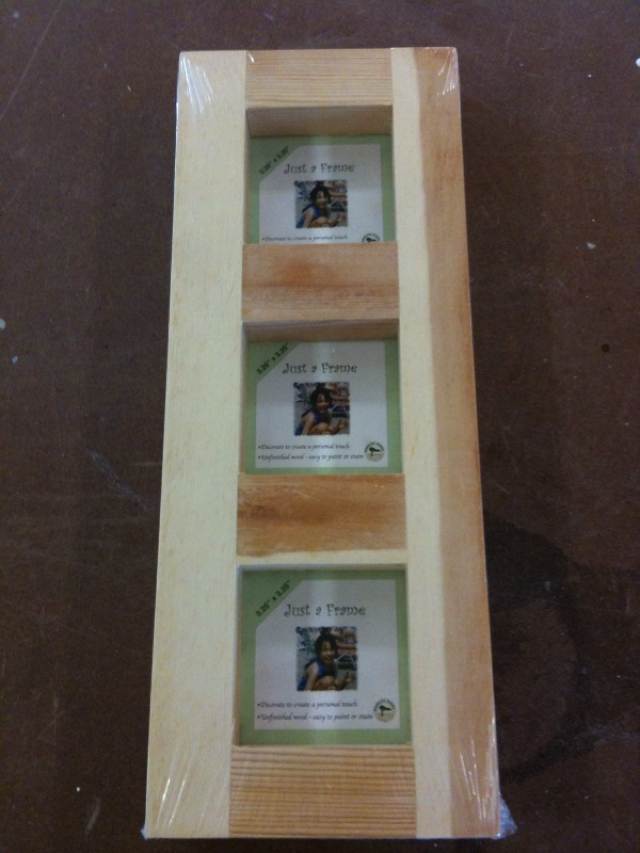
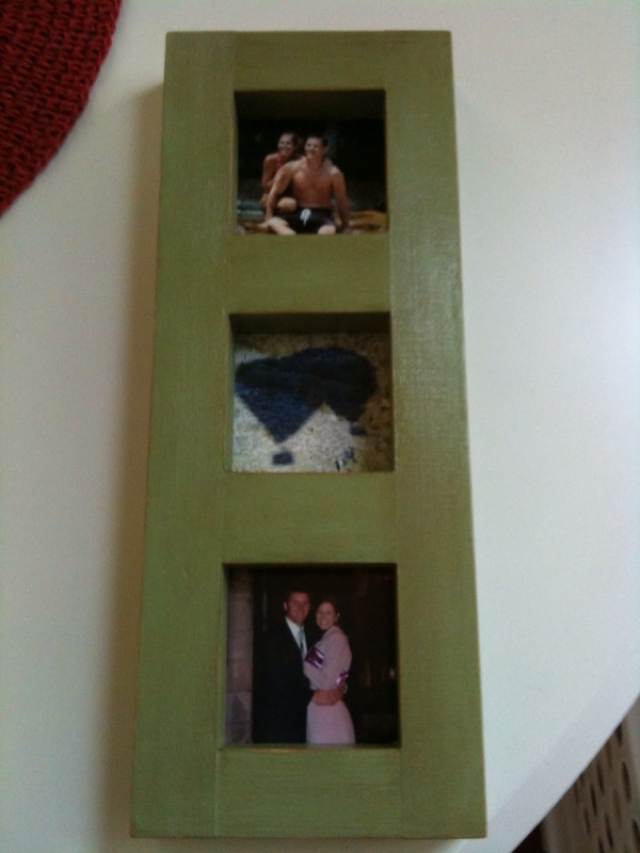
Warning: This post contains poor-quality iPhone photos. Finding this at JoAnn Fabrics and Craft store......$2.99.

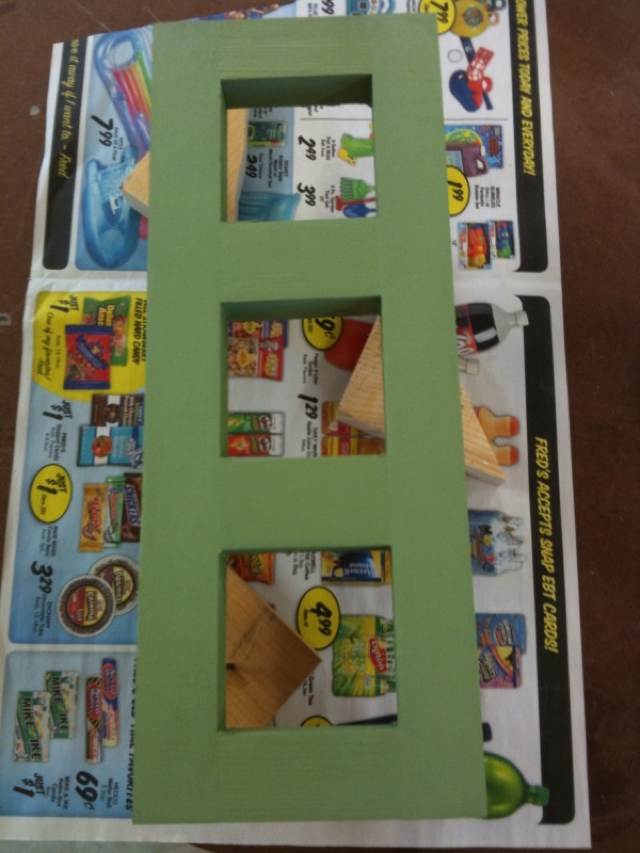
Giving it a nice coat of green paint......free (already had paint).

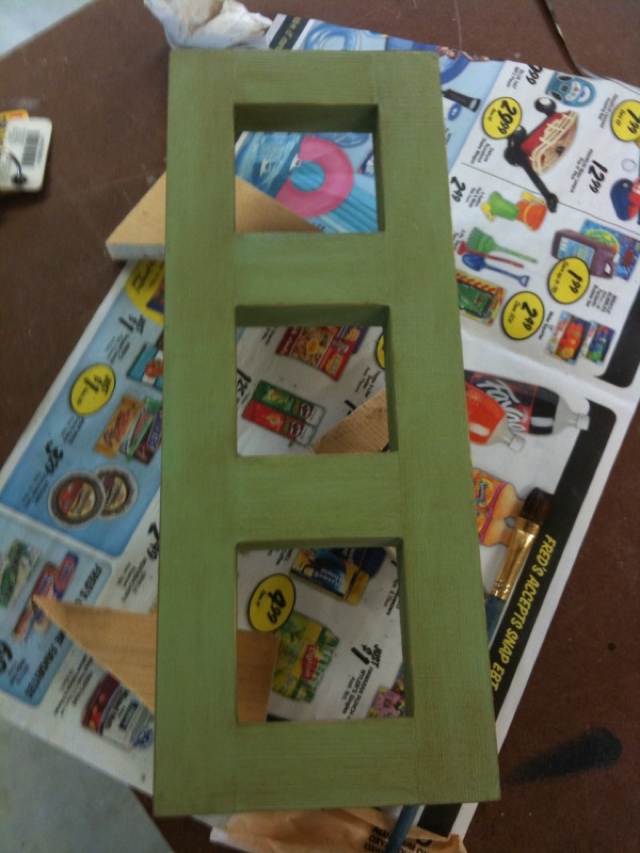
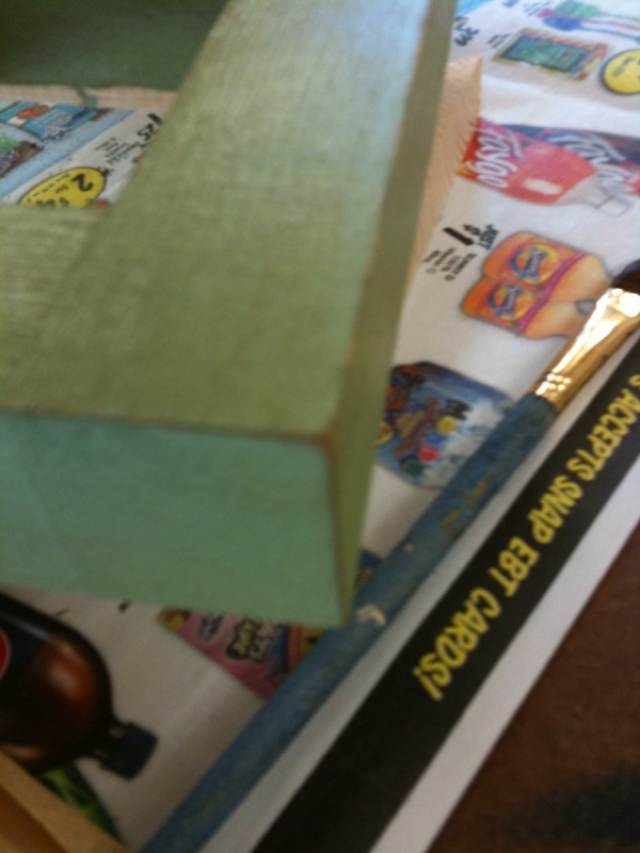
Sanding the edges and wiping on some brown glaze......free.

Selecting pictures to go in the frames......free.

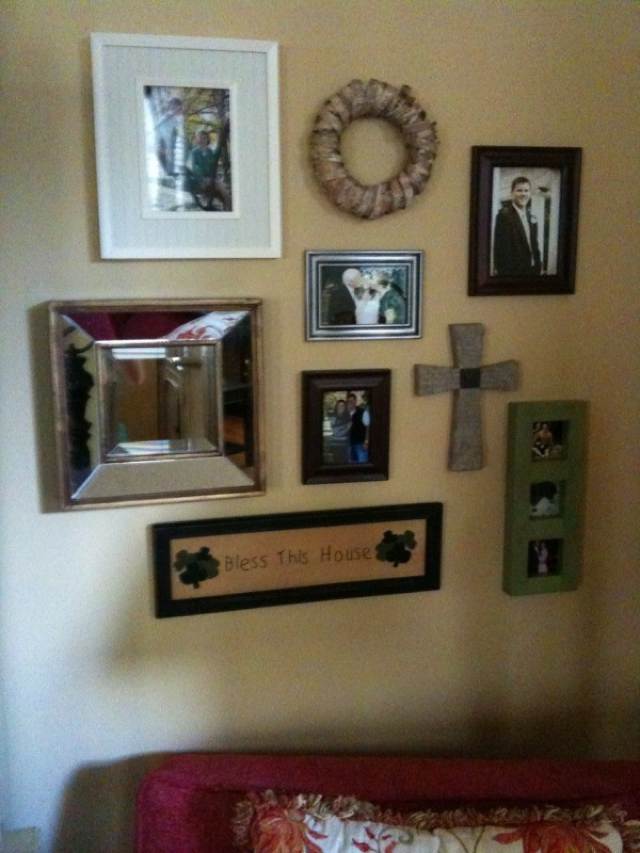
Making three holes in wall before finally getting the right spot......free.

Finally feeling like my random wall is complete......priceless!

I love a good, cheap project!

Re-Framed

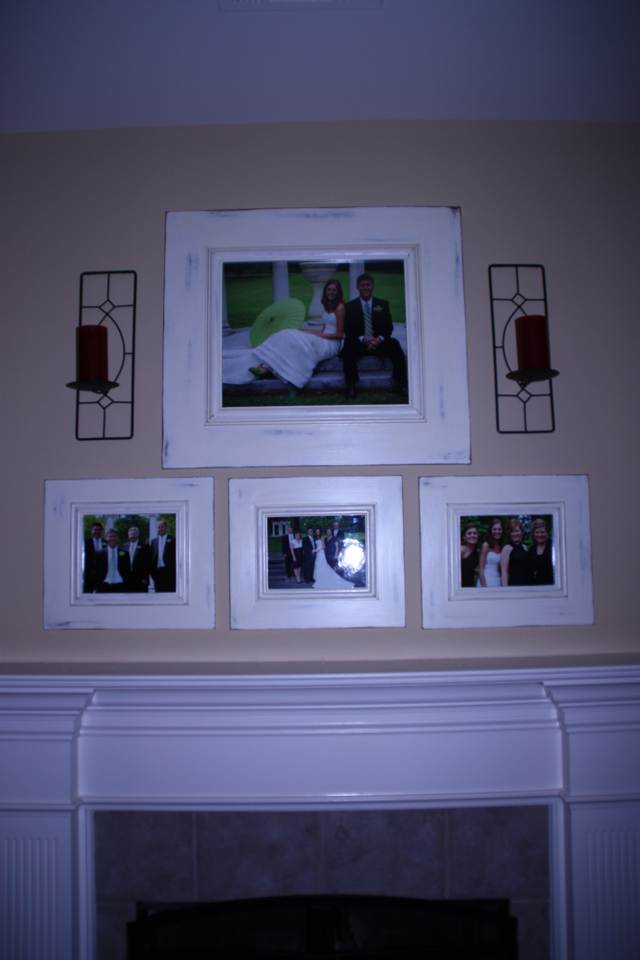
Shortly after our wedding pictures came in, I decided I wanted to try to make frames myself to display them in instead of paying wads of cash to have someone do it for me. I knew I didn't want them to be too fancy, because our house isn't fancy, so it didn't seem like it would be that hard. And it wasn't.

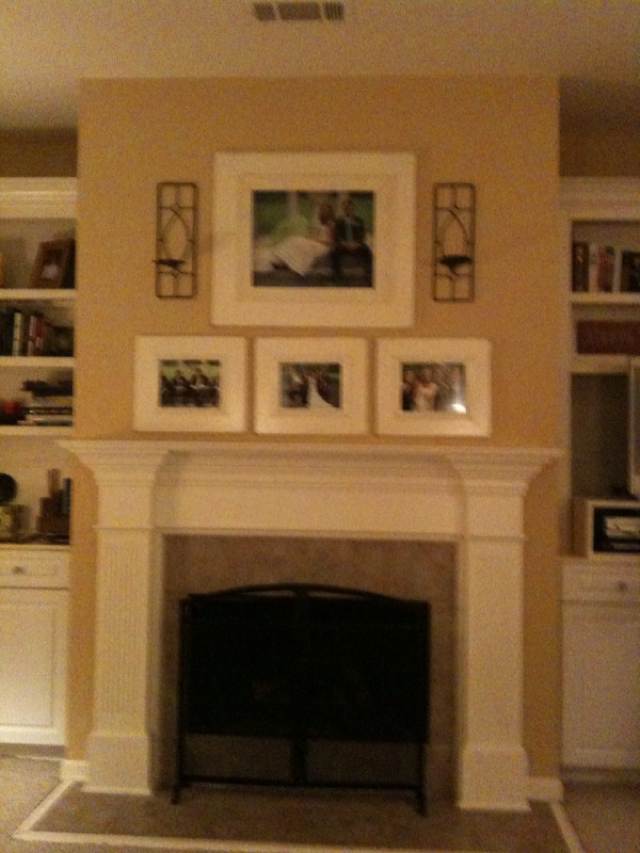
We used 1x4 and 1x6 pine boards to make the main body of the frame and then added some decorative trim to give it a little something extra. It was all very simple. I painted them and distressed them, had some glass cut, and we had them hanging above the fireplace in our bedroom in no time.

Mark that project off the list of things to do! Whoo!

This past winter we got a little bit more colder weather than we usually do. Our fireplace downstairs is wood burning and we love it, but our living room also gets a draft from our front door. So this year we started using the gas fireplace in our bedroom a little more. It made our room nice and toasty.

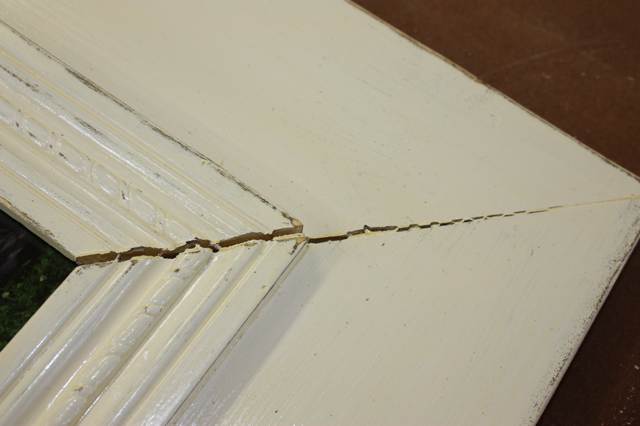
So one night after we'd had the fire going for a while, we turned it off and headed to bed. Somewhere around 2:30 that morning, Doc and I both shot up in bed after hearing the loudest popping noise ever. "What was that!?!" we asked each other. I thought for sure it had gotten so cold outside that our window pains had busted. But we inspected all the windows and they looked fine.  After a few more small pops, we finally realized the frames were making the noises.

Long story short, it turns out that extreme changes in temperature cause wood to expand and contract. I knew that, but I never thought the temperatures in our house were that extreme. But, because the frames were right above the fireplace while it was hot, and then hanging against the chimney when it was cold outside, they definitely experienced some changes in temperature.

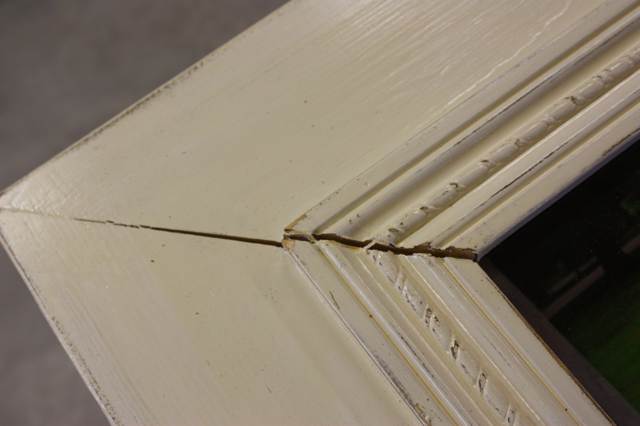
And so all the seams split.

Grrrrr. Back at square one.

This time, we got smart. We decided to make the frames out of mdf. Sure, they'd be heavier, but at least there wouldn't be any seams that could split!

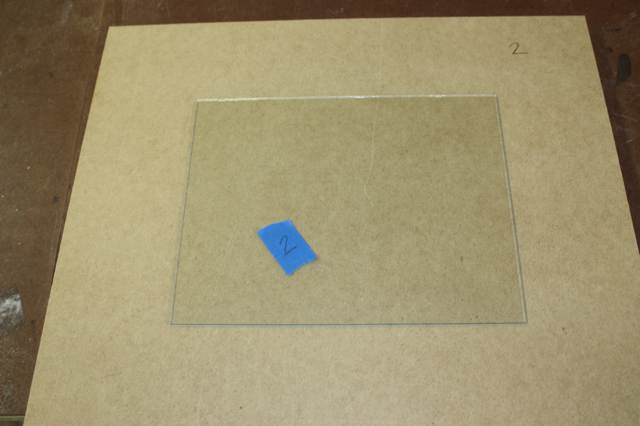
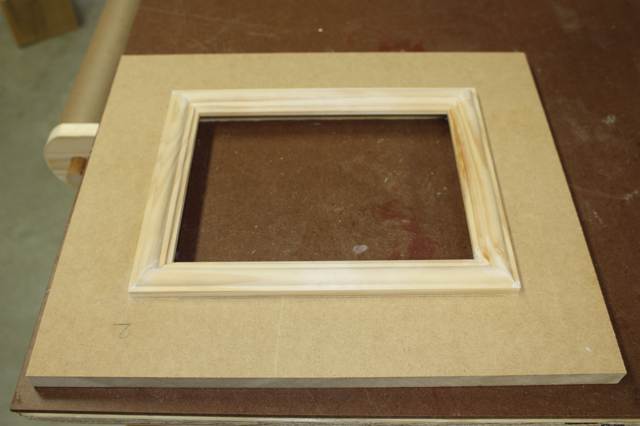
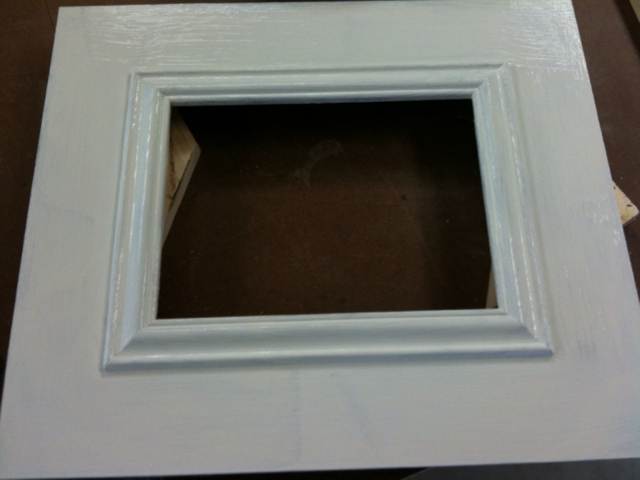
Round two of this project was a little bit easier. We traced the size of the original frames, centered the glass inside it, and cut out the center hole.

Next up, add some decorative molding around the hole.

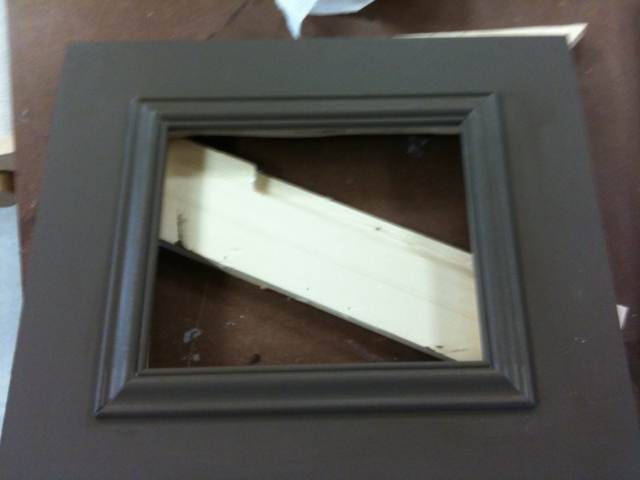
I wanted to go with the distressed look again, so I started off with a coat of dark brown paint.

And then covered them with my white paint.

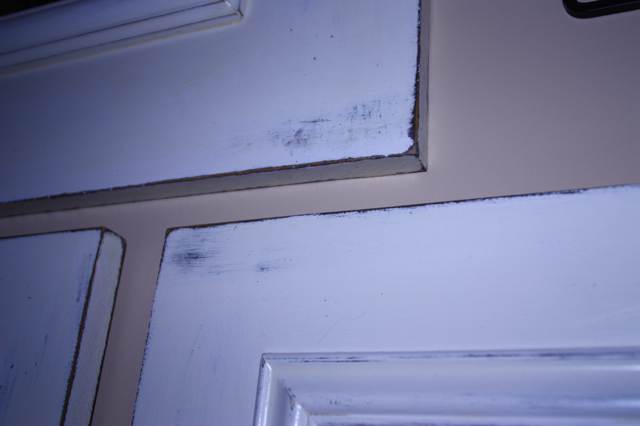
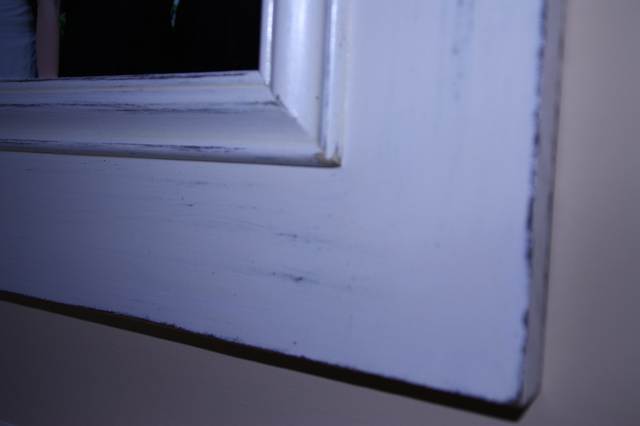
Once that dried, I sanded away until I liked how distressed they were. Slapped on a coat of polyurethane and they were done!

I'm so glad I can mark this project off my list of things to do again. Learn from my mistake and do it right the first time. Trust me, it is not fun having to re-do a project.

Spring Decor

When I found out we would be having visitors for Easter weekend, it did not take me long to decide that I should decorate. Now, I am not normally a holiday decorator (aside from Christmas, of course) but when I looked at my dining room table, I decided things just looked a little too fall-ish.

Not only did I think I needed a new table runner, but I also thought I should make it myself. (New Year's Resolution: Learn How To Use Sewing Machine...Check!) But I was determined not to spend too much money. This is what I decided to use as my main fabric:

Yep, a cheapo drop cloth. Saving money is what I do. Anyway, my momsers had some left over baby fabric, which can also be called spring/Easter fabric, and she generously donated it to my cause. Because I only had a small amount of the baby Easter fabric, I decided to cut some strips and just make a ruffle down the center of my drop cloth table runner.

This required lots of pinning and ironing.

And then more pinning to attach it to the center of my drop cloth.

Some simple sewing straight up the middle and ladies and gentlemen, we had a ruffle! Or maybe just pleats. Whatevs.

Moving on. I sewed the two raw edges of my drop cloth with a seam in the back. The table runner got a good ironing and then was ready for two more lines of stitching to finish off the edges. It was important that these lines were really straight. I got nervous. Called my mom and she said she'd sew them for me. (Thanks, Mom!)  We also decided it needed just a little something else, so my mom also sewed a green ribbon down my ruffle.

And here are the final results, complete with a nest full o' eggs to top her off.


I like it. I think it can stay a while.

And lest you think the dining room table is the only place that got new decor, let me show you where spring has sprung in other places of our house.

My dining room table got all my creativity with the new table runner, and my poor kitchen table got stuck with these gargantuan things.

They make me crack up every time I walk into the kitchen. They don't stick out at all. Nope, totally blend right in.

Now that all the decorating's done, we are officially ready for Lala and Poppa to visit! And the Easter bunny too!

New Wall Decorations

We have this area in our house that has always been a tricky spot to decorate. Our dining room and living room are one big room together, and then there's a little nook off to the side that really serves no purpose. For a little while we had a desk sitting there but since it's a pass-through area, I wasn't liking how junky that looked. When my grandmother passed away, I took home two small chairs from her house as the solution to this tricky area. I had them covered in matching fabrics that coordinated with the living room and dining room and then there it was, a little seating area. I refinished a tall, skinny piece of furniture from my mom's house to go in between them and add some height to the wall, but something was still missing. I needed something on the walls....but what? I thought a big piece of art on both sides of the jelly cabinet might be too overwhelming and that two smaller pieces on each side would be too matchy, matchy. So, I decided it should be totally random.

First, I gathered all the small hanging items I had selected for the area, drew them out on different colors of paper, and started taping them to the wall.

"Totally random" is a very hard concept for me. I have the brain of an accountant and really like symmetrical things. So I had to call in my mom to help me. We did a lot of standing back, shaking our heads, and starting over. Finally, I was able to hang up the actual items.

I couldn't order any pictures to go in the picture frames until I figured out which way they would be hanging, so it looked unfinished for a couple of days.

I'm happy to say it's finally finished though! Take a look...I'm still trying to get used to seeing things hanging on the wall. It's been bare for a long time.

Dear blog readers, this is where I need your help. Does it look too busy? Is it too much? Do you think I need one more small thing in the bottom right corner below the lamp? Should the lamp stay or go? Does any one piece stand out too much?

Let me know your thoughts in the comments section. Thanks!