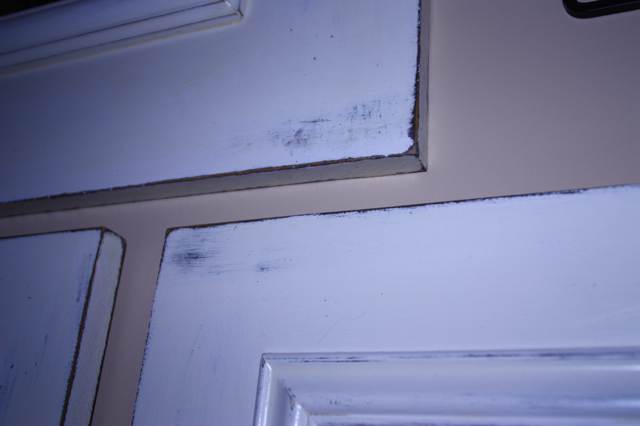
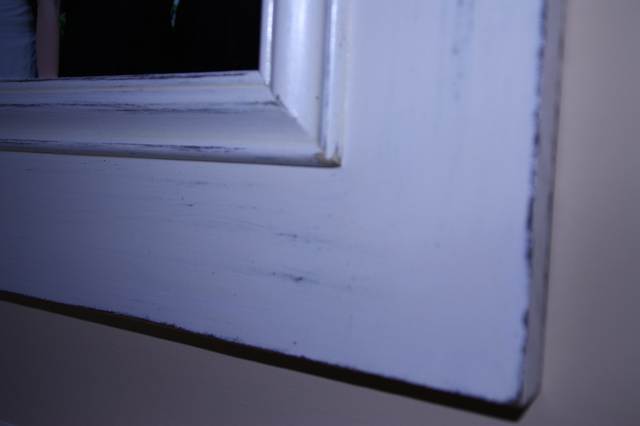
Shortly after our wedding pictures came in, I decided I wanted to try to make frames myself to display them in instead of paying wads of cash to have someone do it for me. I knew I didn't want them to be too fancy, because our house isn't fancy, so it didn't seem like it would be that hard. And it wasn't.
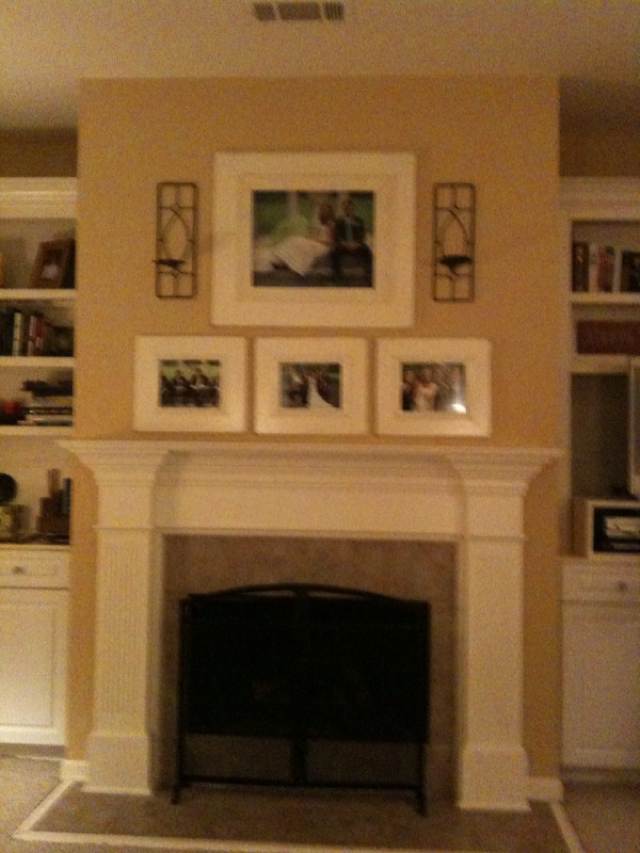
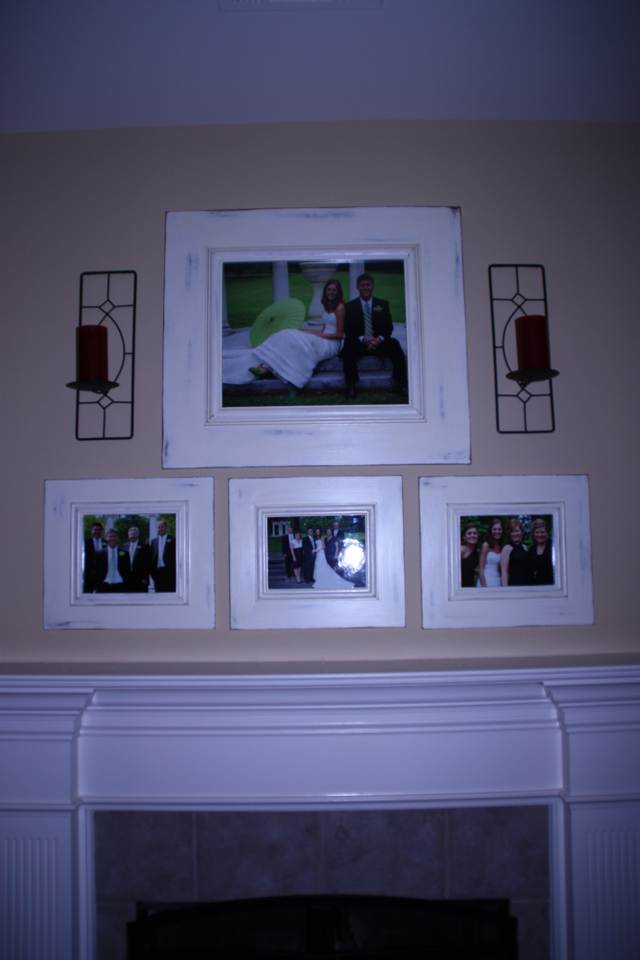
We used 1x4 and 1x6 pine boards to make the main body of the frame and then added some decorative trim to give it a little something extra. It was all very simple. I painted them and distressed them, had some glass cut, and we had them hanging above the fireplace in our bedroom in no time.
Mark that project off the list of things to do! Whoo!
This past winter we got a little bit more colder weather than we usually do. Our fireplace downstairs is wood burning and we love it, but our living room also gets a draft from our front door. So this year we started using the gas fireplace in our bedroom a little more. It made our room nice and toasty.
So one night after we'd had the fire going for a while, we turned it off and headed to bed. Somewhere around 2:30 that morning, Doc and I both shot up in bed after hearing the loudest popping noise ever. "What was that!?!" we asked each other. I thought for sure it had gotten so cold outside that our window pains had busted. But we inspected all the windows and they looked fine. After a few more small pops, we finally realized the frames were making the noises.
Long story short, it turns out that extreme changes in temperature cause wood to expand and contract. I knew that, but I never thought the temperatures in our house were that extreme. But, because the frames were right above the fireplace while it was hot, and then hanging against the chimney when it was cold outside, they definitely experienced some changes in temperature.
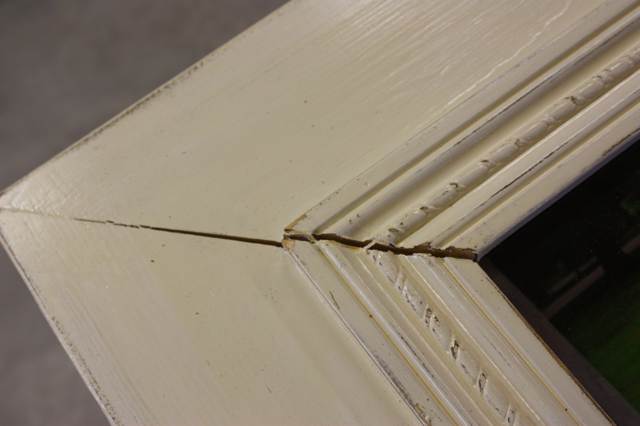
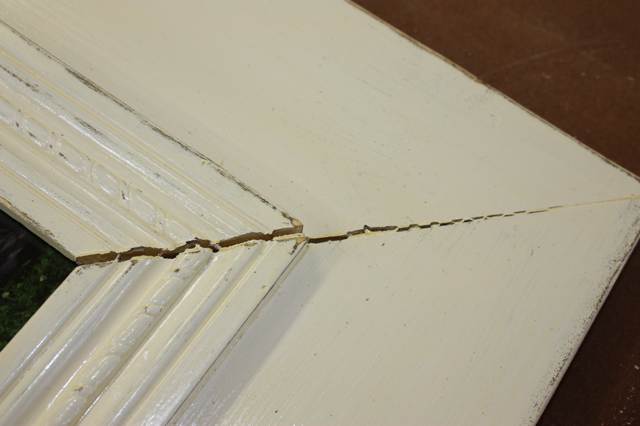
And so all the seams split.
Grrrrr. Back at square one.
This time, we got smart. We decided to make the frames out of mdf. Sure, they'd be heavier, but at least there wouldn't be any seams that could split!
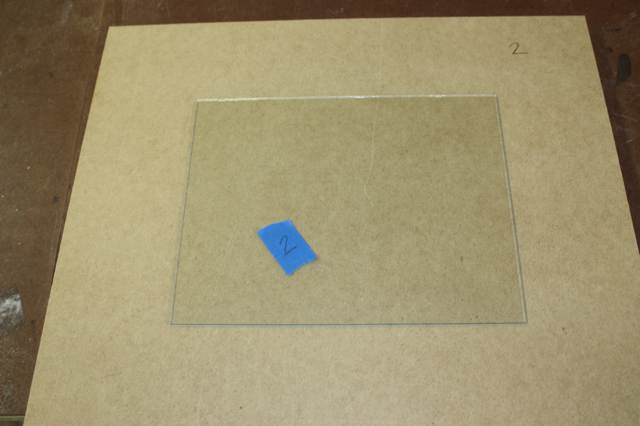
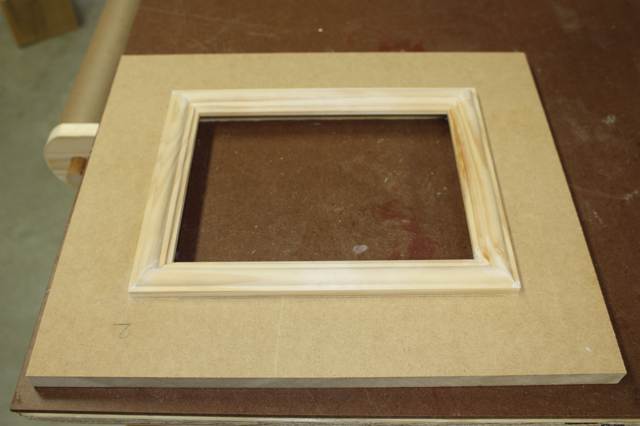
Round two of this project was a little bit easier. We traced the size of the original frames, centered the glass inside it, and cut out the center hole.
Next up, add some decorative molding around the hole.
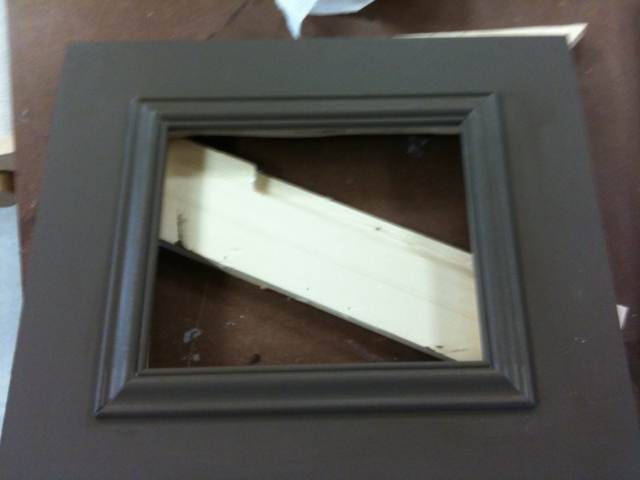
I wanted to go with the distressed look again, so I started off with a coat of dark brown paint.
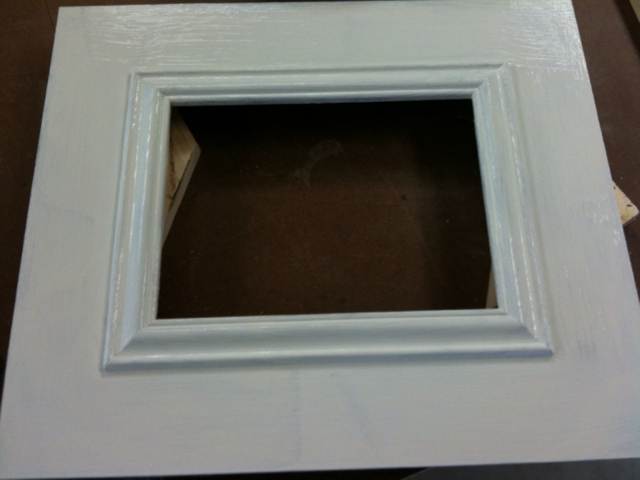
And then covered them with my white paint.
Once that dried, I sanded away until I liked how distressed they were. Slapped on a coat of polyurethane and they were done!
I'm so glad I can mark this project off my list of things to do again. Learn from my mistake and do it right the first time. Trust me, it is not fun having to re-do a project.

