Checkin' In and Grommets

Hello!  It's been a while, huh?  Sorry 'bout that.  Things have been crazy but I just settled in on the couch to watch the Grammys and hopefully get things caught up on this little blog.  My husband is on the couch with me for once.  This is the first Sunday in the past four weeks that he hasn't flown out of town on Sunday afternoon to spend the better part of the week away.  Can I get a hip, hip, hooray?!? I know I keep saying this, but we're in major crunch mode with the beach house.  This weekend we tried to wrap up the last of the projects that we were working on so that this week we can start packing things up.  It's so exciting that this time is finally here!  I do have a couple last projects to share with you this week before bombarding you with pictures of the finished house next week.

This weekend's main goal was to get the curtains finished up.  My mom had finished all the sewing for the bedrooms and was down to just the curtain panels for the living/dining rooms when she broke her finger.  Yep, slammed it right in the car door.  She's down a fingernail and has her right pointer finger in a splint so I was afraid I was going to have to tap in to finish up the sewing.  Luckily, she managed to sew up the last few sides even with her bum hand so I never had to sit behind the sewing machine.  UNluckily, though, she can't really use scissors so after the sewing was done, it was up to just me to finish them up.

Now, for all the bedrooms, once the sewing was done, that meant the curtain panels were complete because we're just hanging them from the little rings that have clips.  Easy peasy.  For the dining/living rooms, we decided to try out grommets.  We've never done curtain panels using grommets before, but my Aunt Kim told us we could do it so we went for it.  The first panel was obviously the hardest since we had to really measure out the placement of each grommet, but after that we could use it as a guide for the other panels.

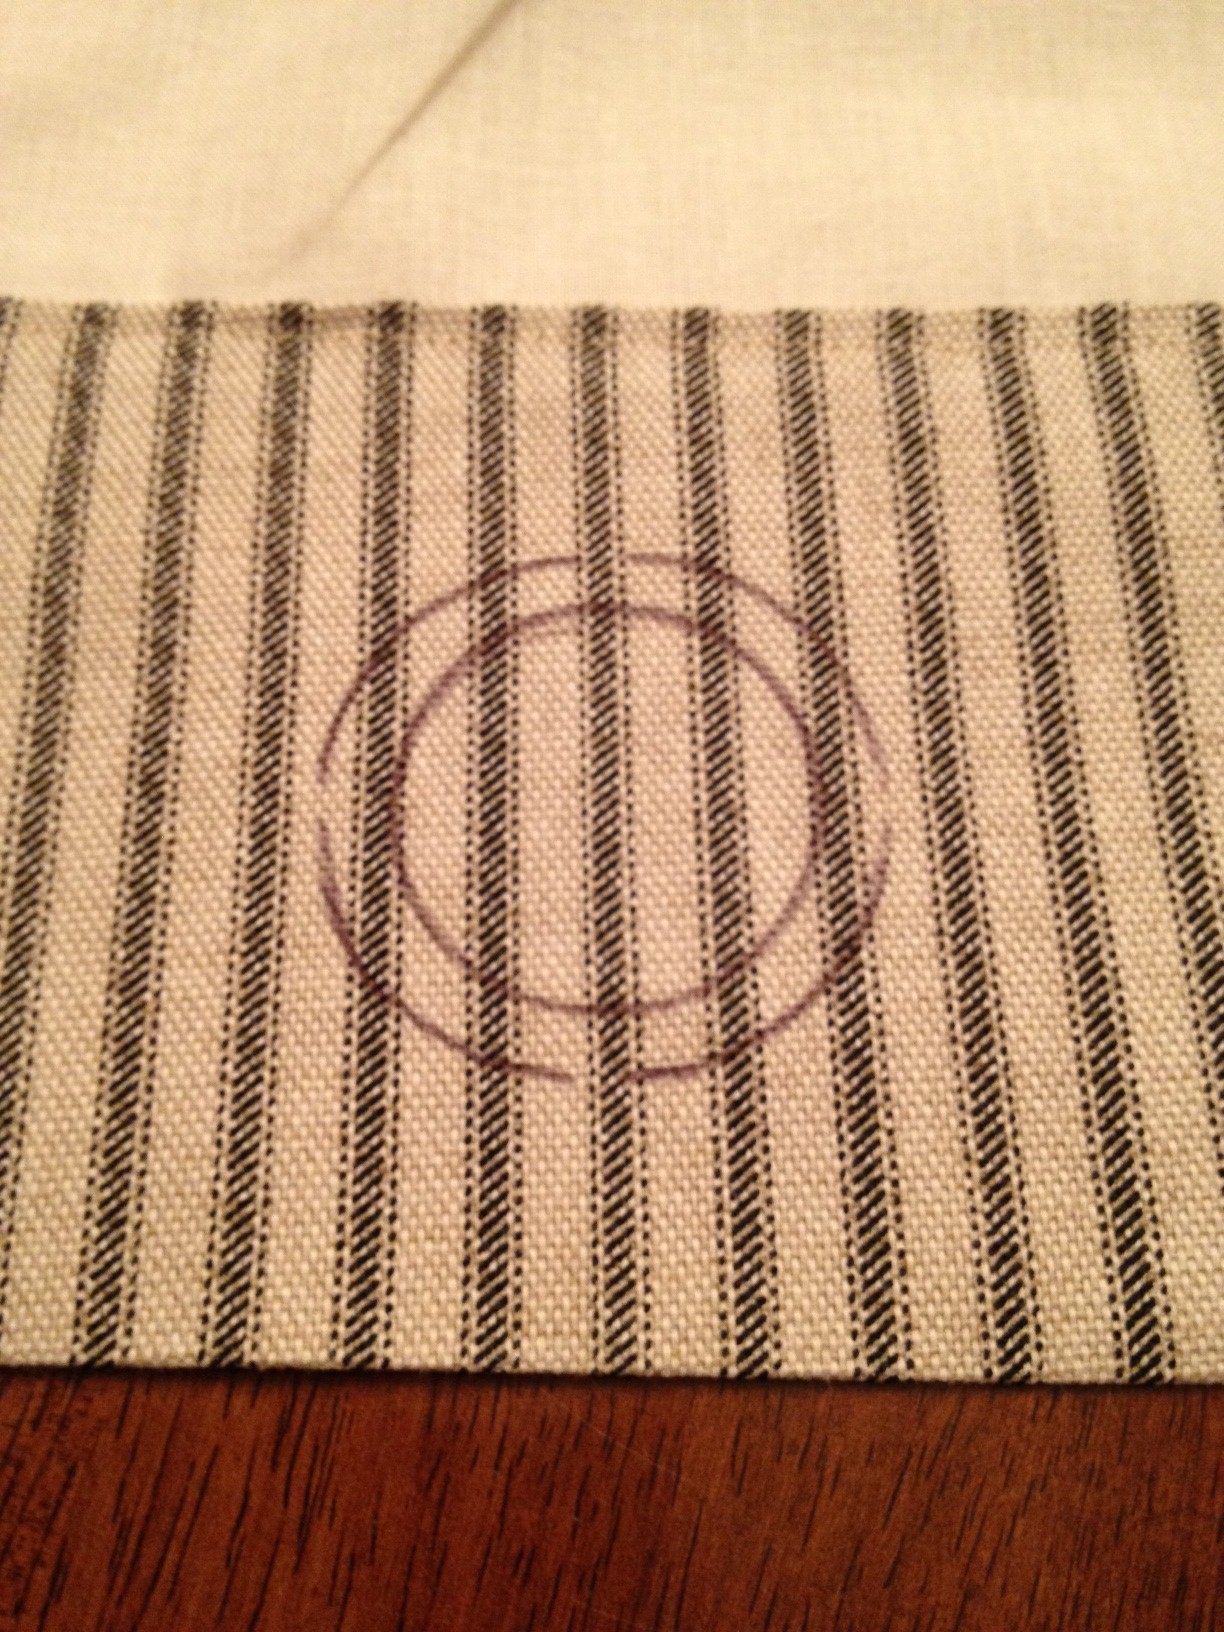
We marked off the placement on the back of the panel.

The smaller circle, above, is from the inside of a grommet on the first panel.  The bigger circle is actually the size hole we needed to cut, though, so we just centered our stencil over the smaller hole.

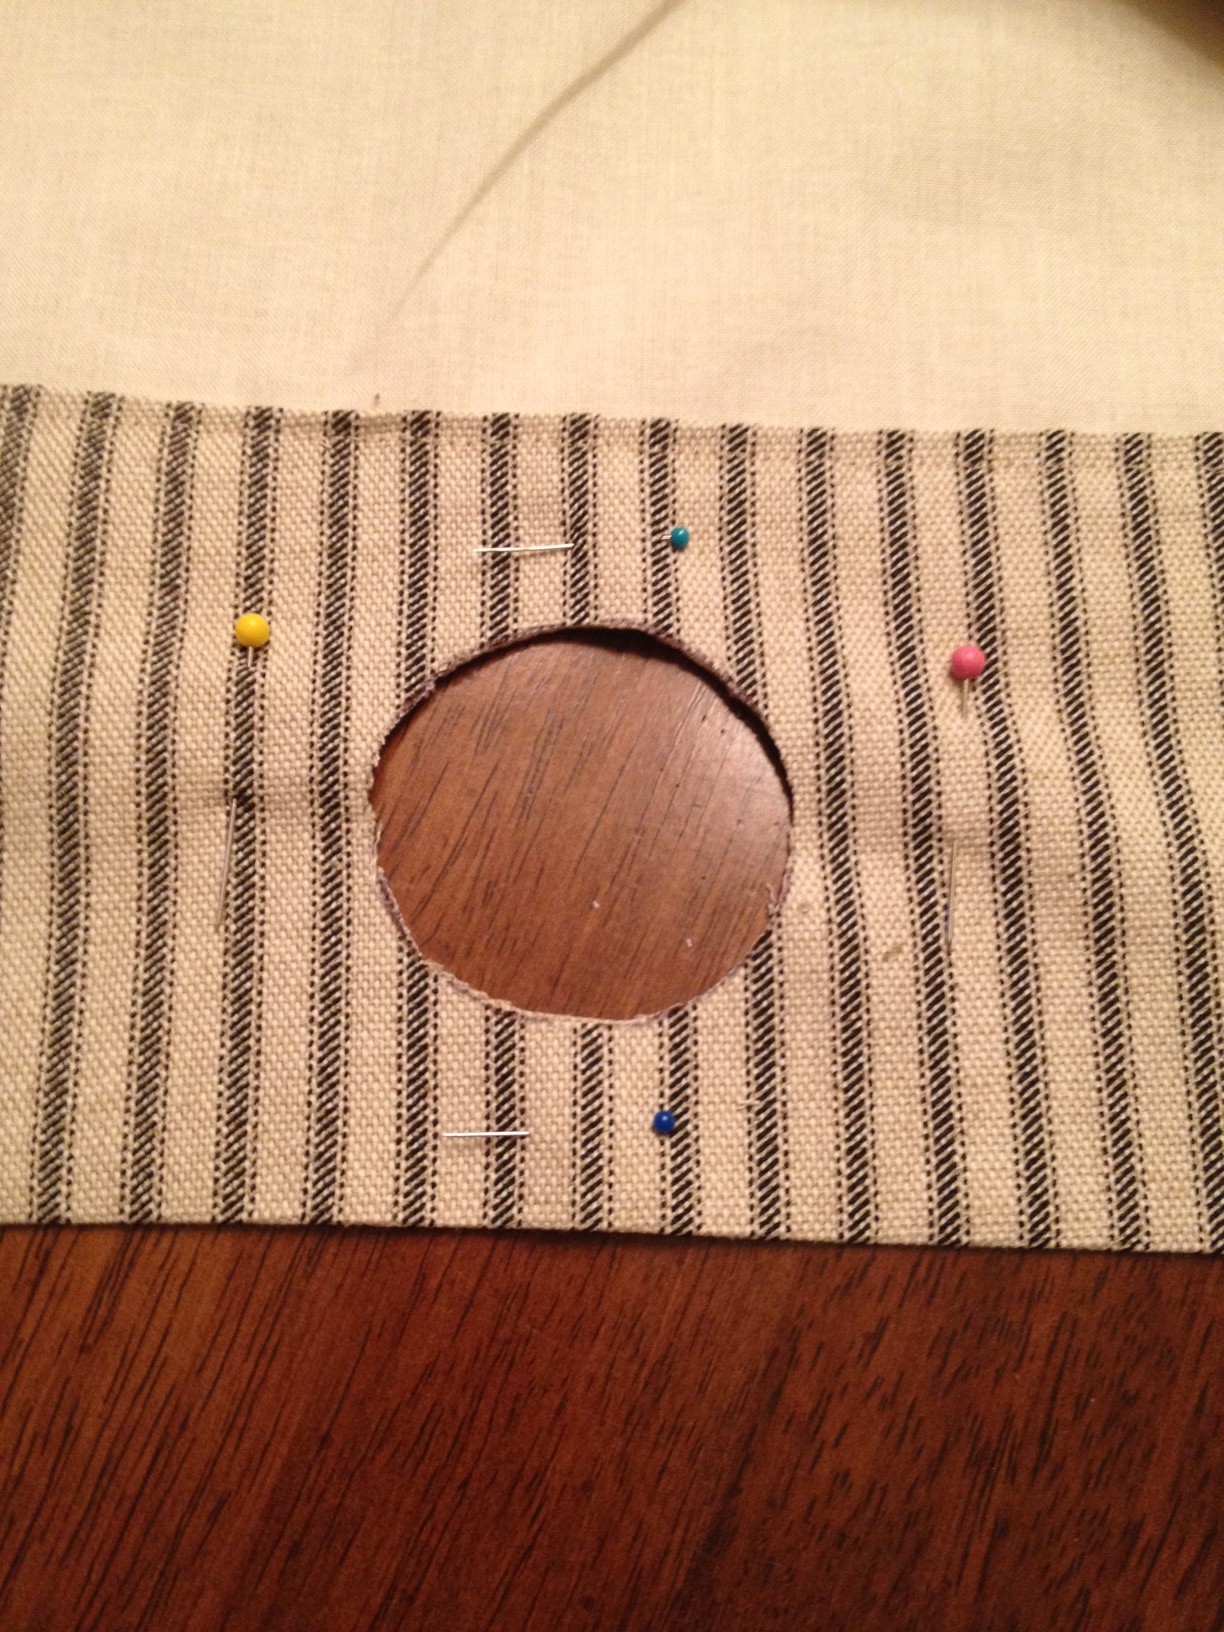
Because I was going to cut the hole out of two layers of fabric, I pinned all around the circle first.  I didn't want things sliding around and getting all wopperjawed while I cut.  Cutting the circle wouldn't have been hard at all if there wasn't so much fabric attached to it!  I couldn't really maneuver it around to cut easily so that was tricky.

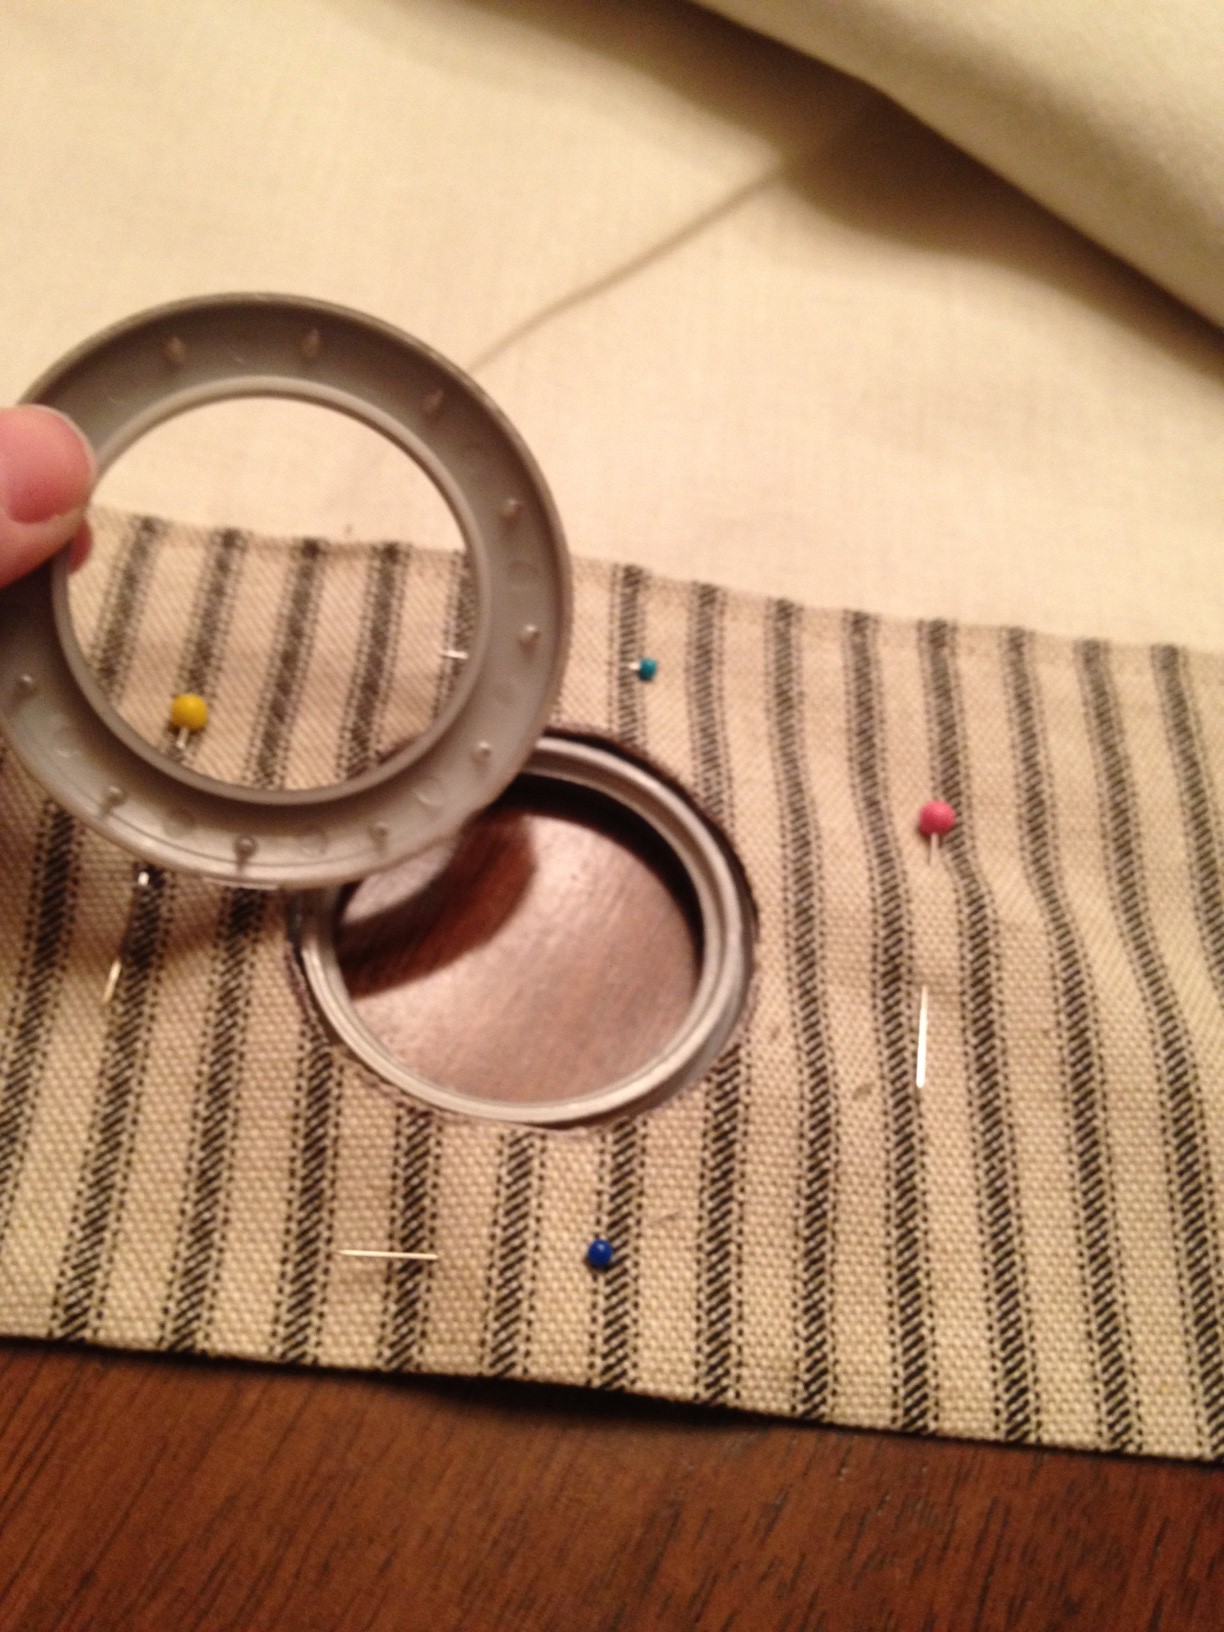
Once the hole is cut, the rest is super easy.  We used plastic grommets and didn't have any problems with them at all.  They came in packs of eight and that's how many we put on each panel.  First, I placed the bottom half under the fabric.

The other half of the grommet has little teeth on it that keep the fabric pinned in.

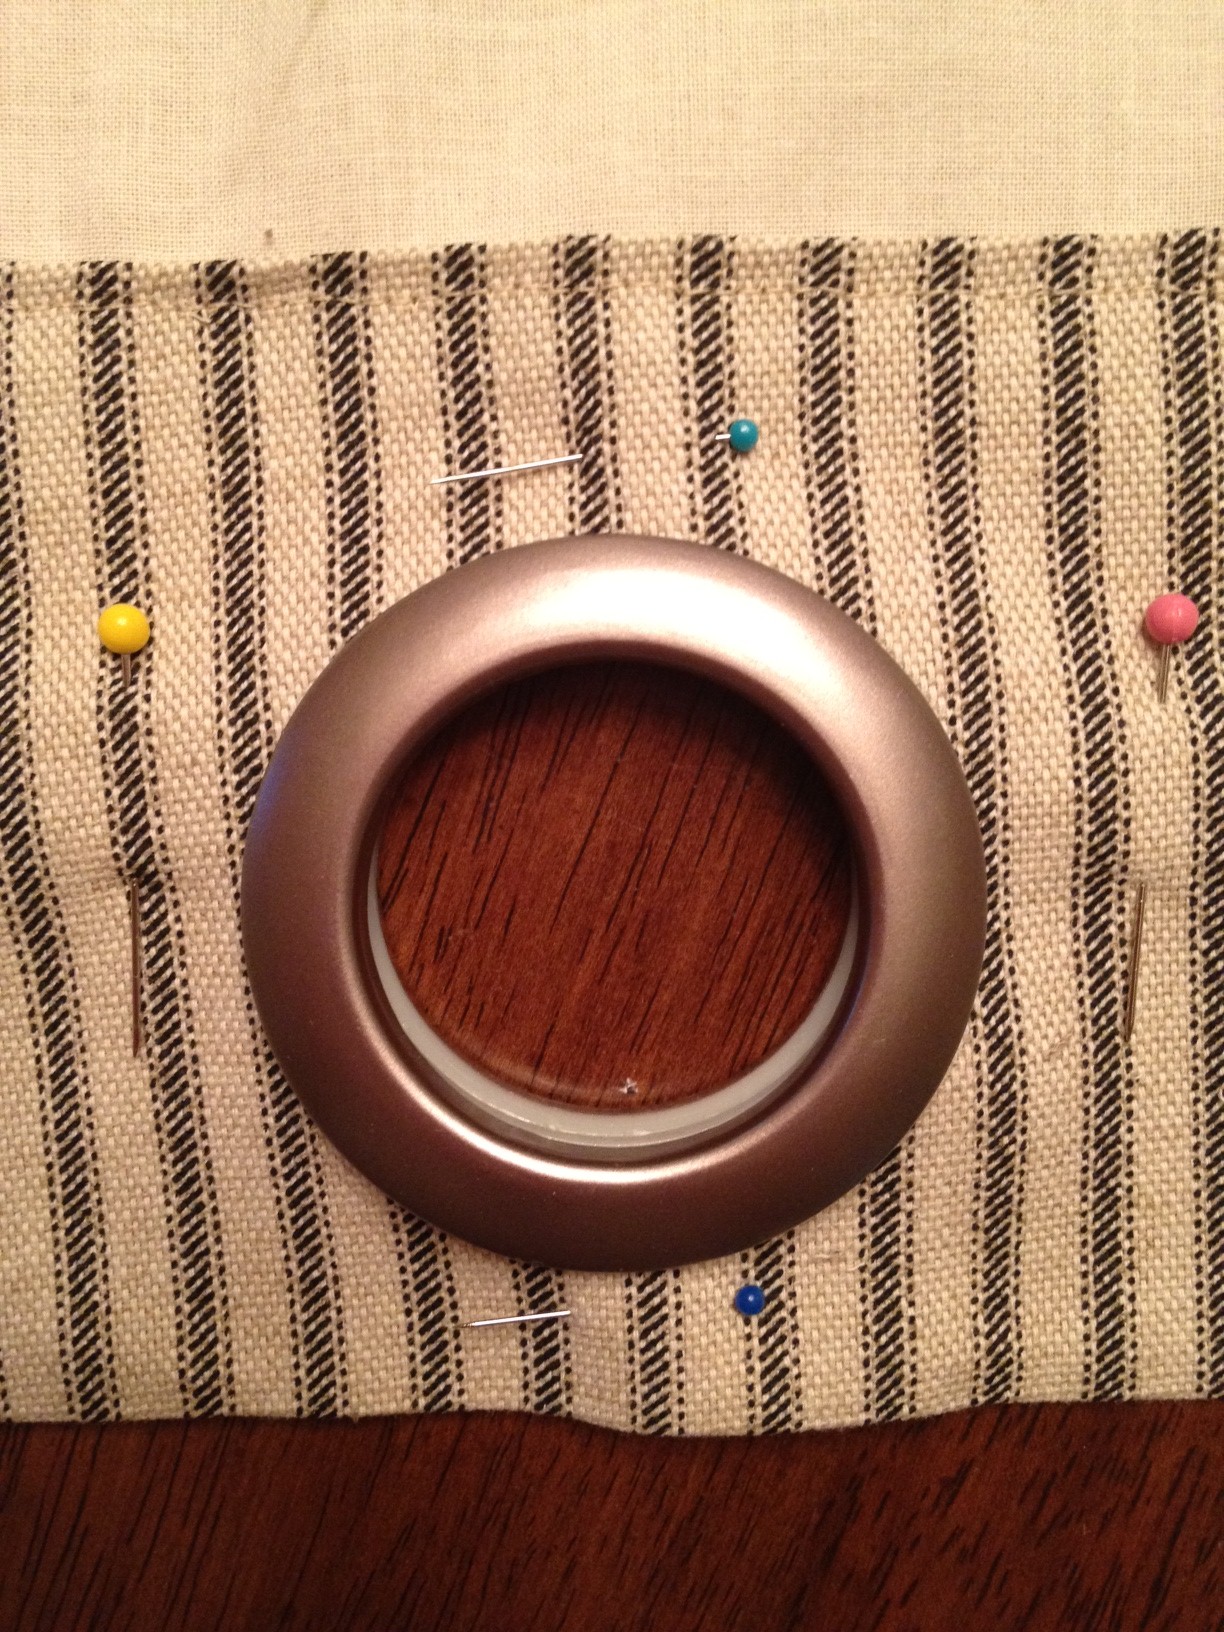
Then it was just a matter of lining them up and snapping them together.  Not gonna lie, I kinda had to throw my body weight into it to get them to snap shut.

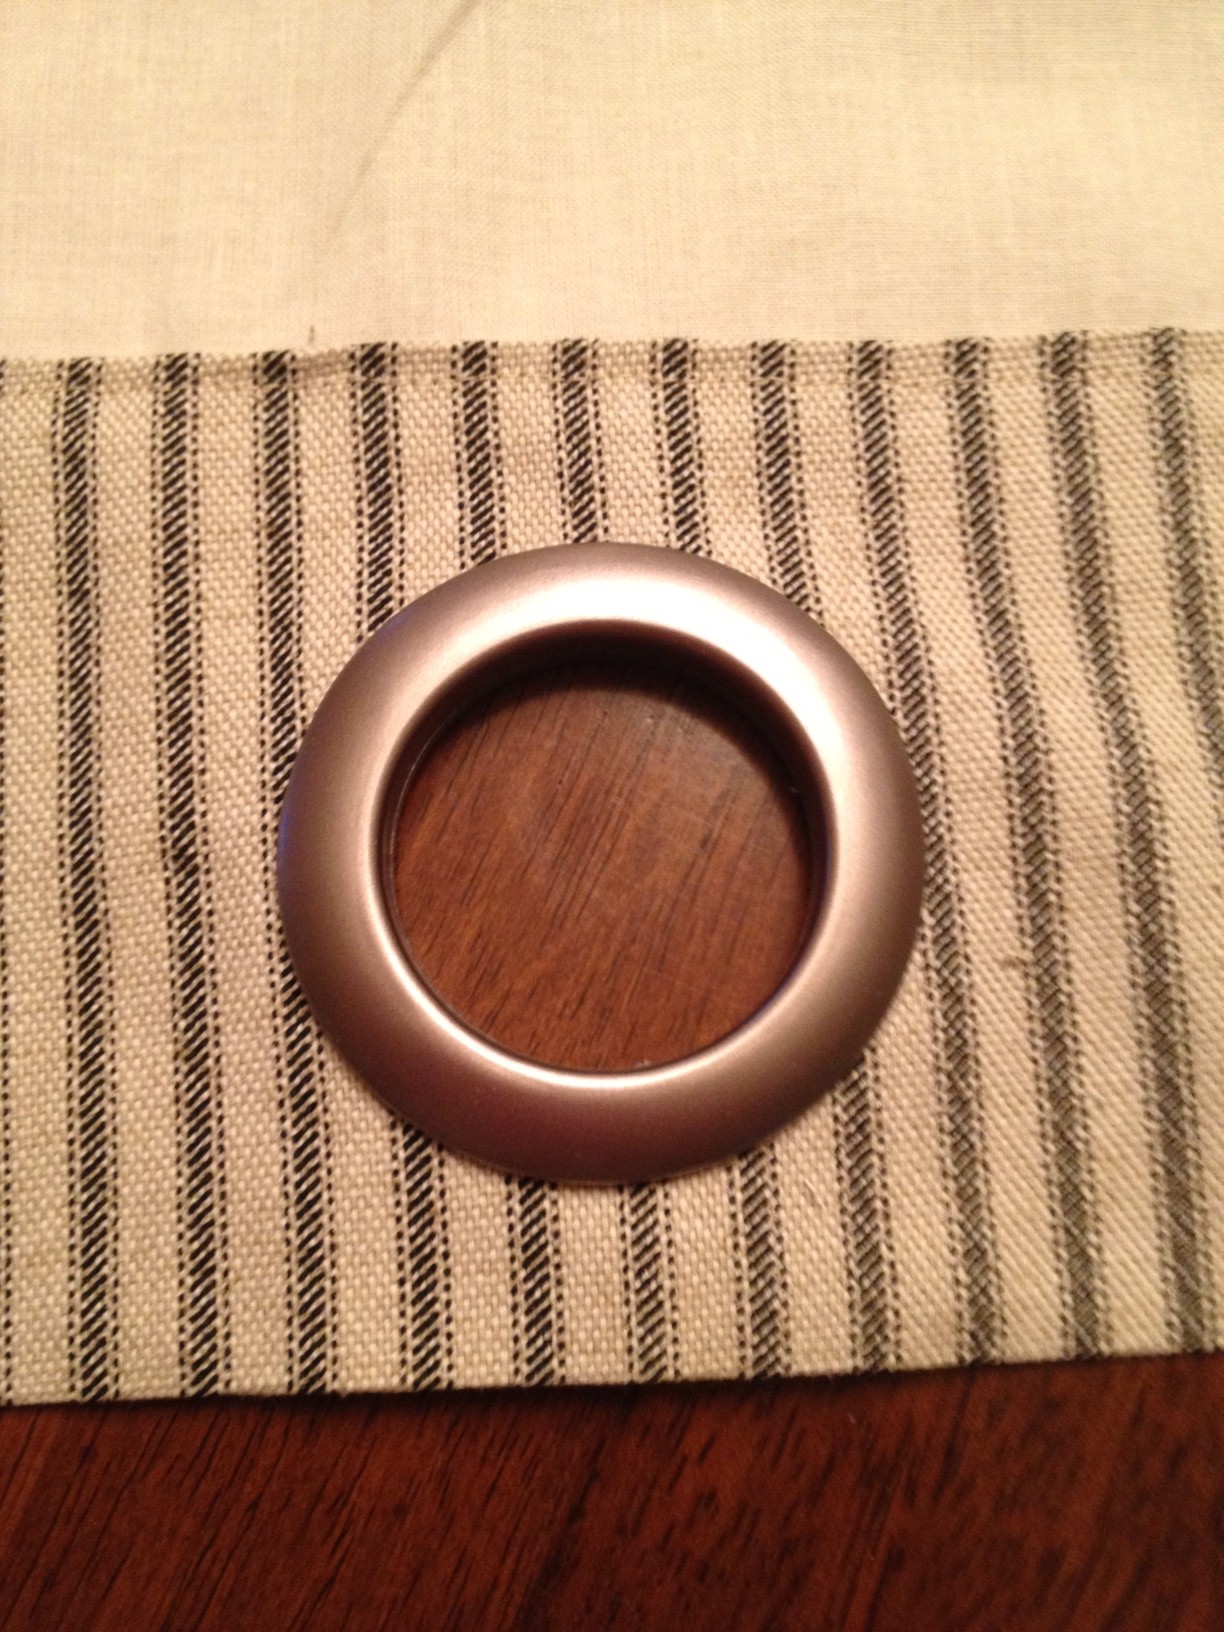
Here's how it looks after snapping it together.

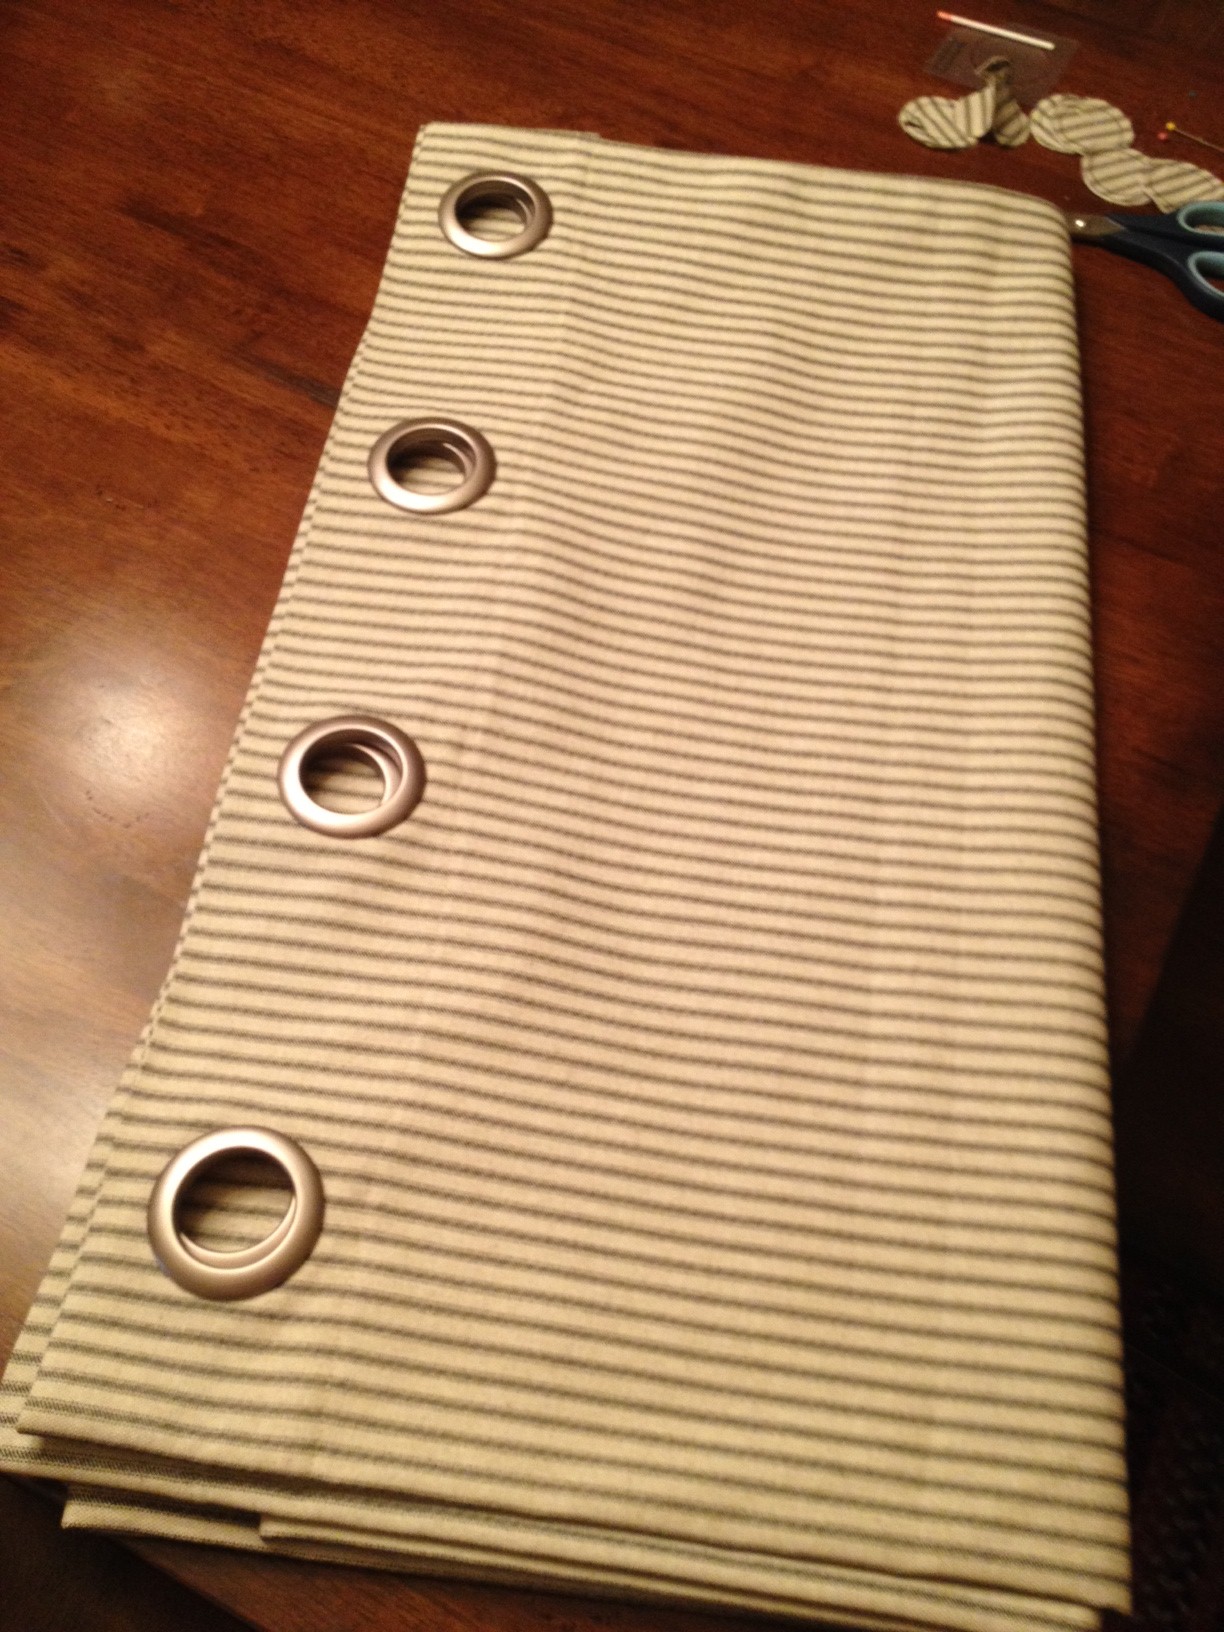
You really can't tell it's plastic.  At least I don't think so.  Here's a completed panel with 8 grommets.  It's folded in half in this picture.

Not a hard process at all, just very time consuming.  Did I mention that there were ten panels?  With 8 grommets each?  Yea, you can do that math...I had to cut EIGHTY holes.  Gah!  It took forever.  Does anyone else think it's weird that my mom broke her finger just in time to miss out on all this fun?  Well played, Mom.  Well played.

For The Walls

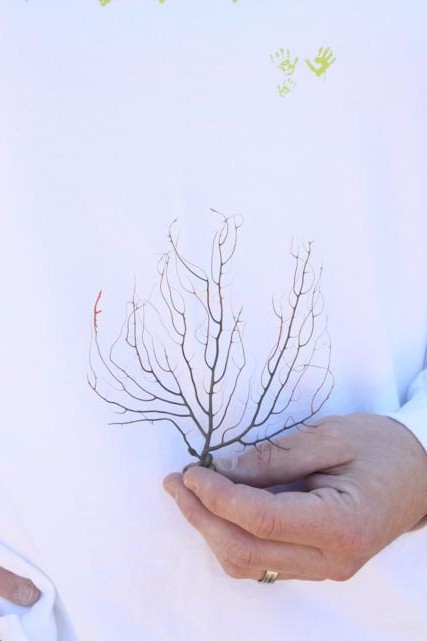
Even though we have all the paintings that Beth cranked out, and even the one I did, we still felt like we might need a few more items to cover the walls.  Not everything could be paintings though, so we had to get creative. For the first project, I used this piece of ocean grass that Doc's mom found on the beach during our trip to Topsail, NC.  I thought it was pretty cool while we were there and ended up bringing it home with me.

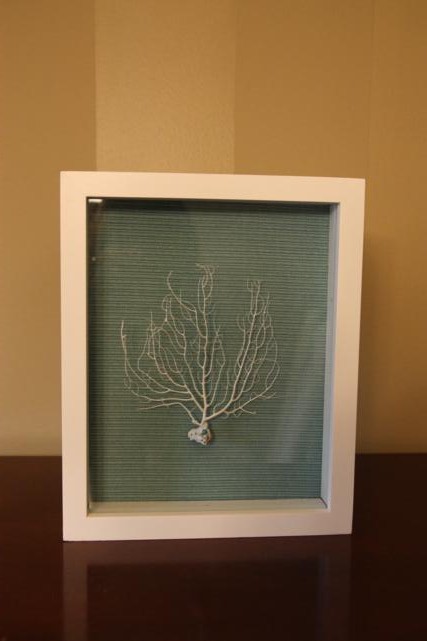
The steps for this one were simple.  First, the ocean grass got spray painted white.  Then, we covered the background of a shadow box (from Hobby Lobby) with the same turquoise fabric that we're using in one of the Jack and Jill bedrooms.  Finally, we tacked the ocean grass in on top of the turquoise background.  Easy peasy.

I also brought home some really cool flat stones that Pat also found on the beach.  We glued them down in another shadow box to having a semi-matching piece of art.  These two may end up in the Jack and Jill bathroom.

While at Hobby Lobby picking up the shadow boxes, I also grabbed a big canvas.  This next wall art was inspired by this one I found on Pinterest.  (I think that one was a knock-off that someone else did too; I'm not sure who gets credit for the original idea.)

I painted the background grey and cut out a bunch of petals out of fabrics that coordinate with our color scheme in the Jack and Jill bedrooms.  I used another flat stone from the beach in Topsail as the center of my fabric, and then mod podged on all my fabric petals to make a big flower.

This last project we actually finished a while back, I just keep forgetting to share it.  This beadboard creation is pretty much just like the one my mom has in her house, except we did the frame white instead of brown.  This will go at the top of the stairs over the fuse box.

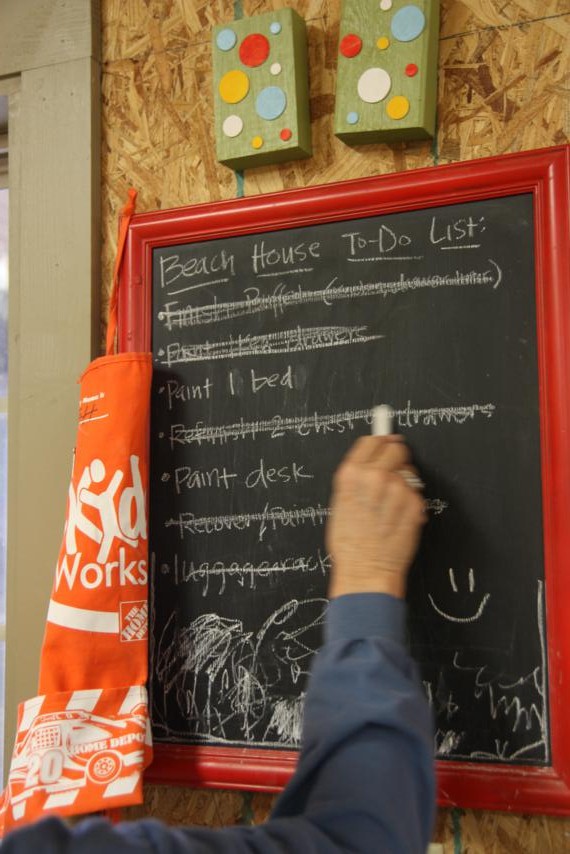
We're getting to scratch lots of things off our Beach House To Do List and it's a good feeling!

Mirror and Other Things

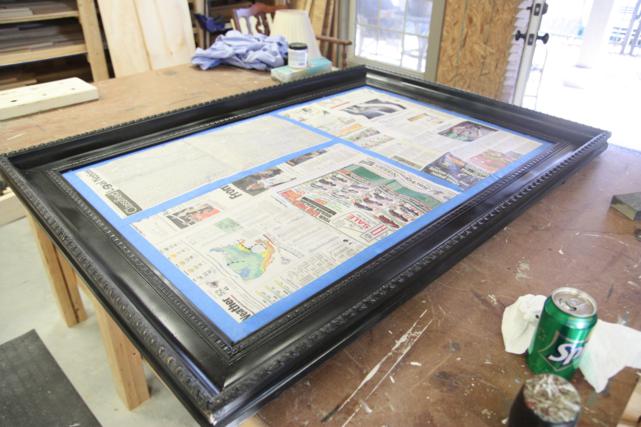
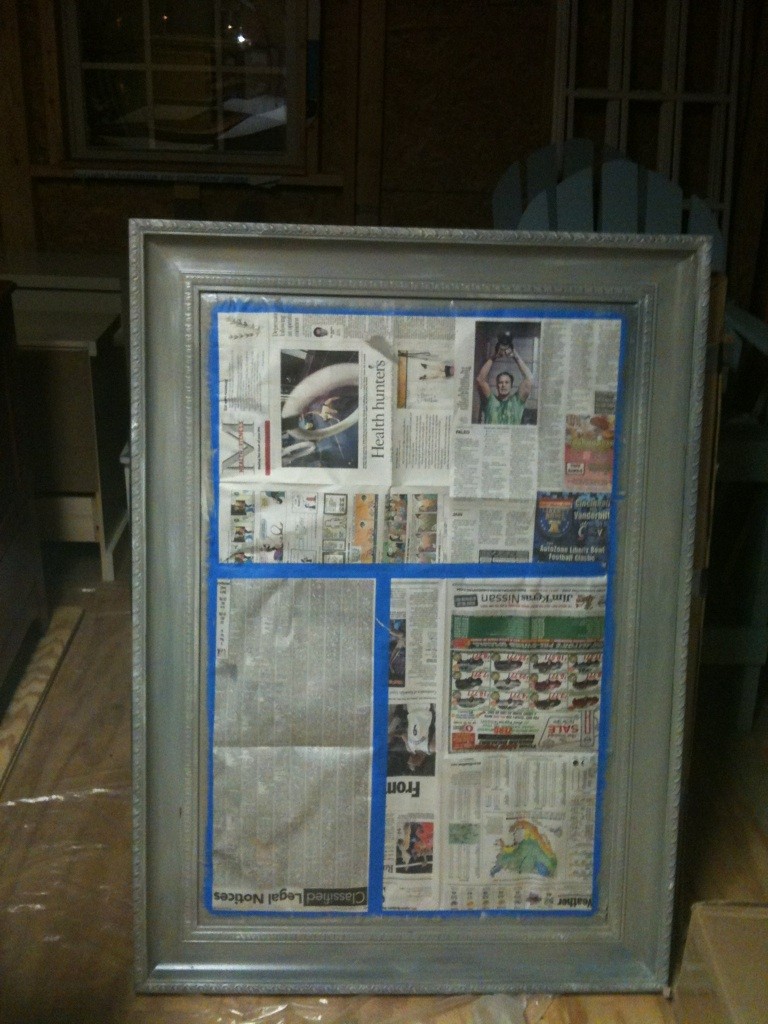
The mirror that I needed your help with is done.  Since I forgot to take pictures of it for that post, here are some now.  This is how it looked when I got it (after I taped off the mirror part to paint).

The edges were really chipped and you could see the original gold peeking through.

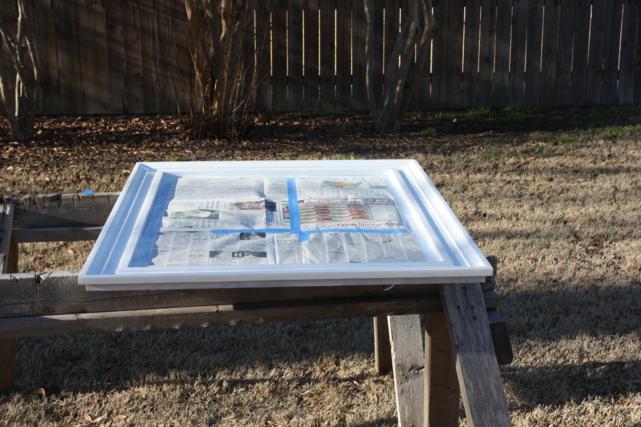
The weather was so nice this past Sunday that I was able to drag the mirror outside to paint.  I didn't take any in-process pictures, but basically I decided to go with a blend of colors.  I filled a plate with white, black, grey, khaki, and yellow paints and had no rhyme or reason with how they went on.  I just dipped my brush, sometimes in two colors at once, and brushed them on.  Sometimes I blended them in, sometimes I didn't.  The end result is mostly grey, but with hints of other colors.

A closer view of one of the edges.  We're going to keep the mirror taped up until we get it moved into the house, so we'll have to wait a while to really see it in its "after" state.

While I was working on this mirror, my brother Nick was also out painting another one.  His started out as stained wood and his job was to paint it solid white.  It's for one of the Jack and Jill bedrooms.

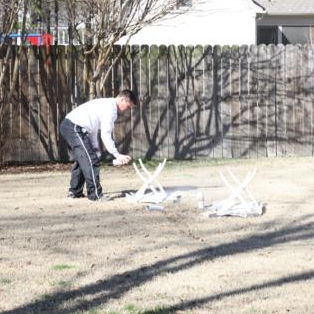
Nick wasn't the only one I put to work.  Doc worked on spray painting a couple of luggage racks that we bought at an estate sale.

(I had my exposure settings on a wonky setting when I took these, that's why they look so blown out.  My bad.)

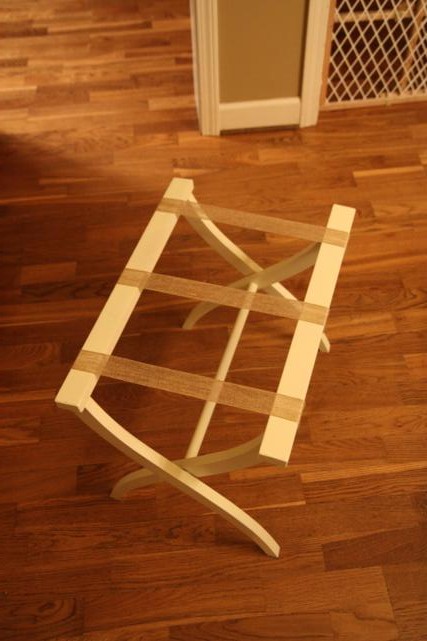
Speaking of the luggage racks, I finished them up last night.  One is now white with grey and white polka dot straps and the other is cream with burlap-y straps.


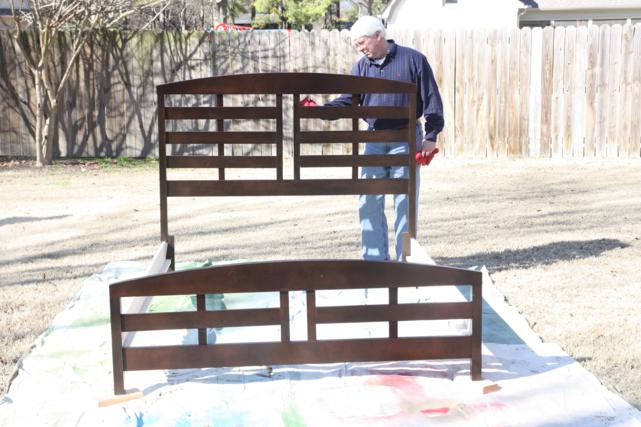
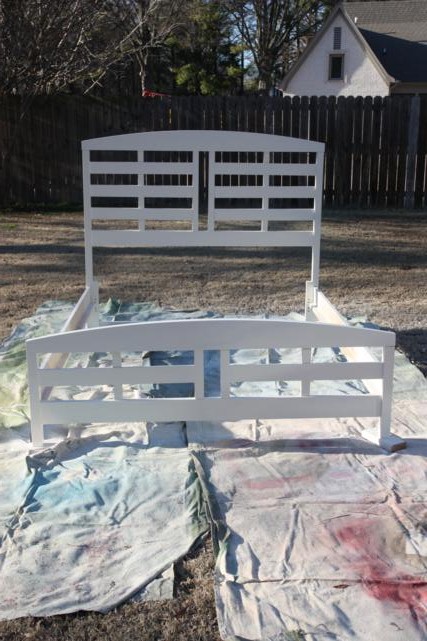
Back to the backyard painting party.  Dad was put on bed duty.  We found this [brand new, not used] headboard and footboard a while back for 200 bones.

Problem #1: a headboard and footboard do not a queen bed make.  But did you know you can just buy side rails off the internet?  Yessir you can.  And with the addition of those, we had a whole bed.  Problem #1 solved.
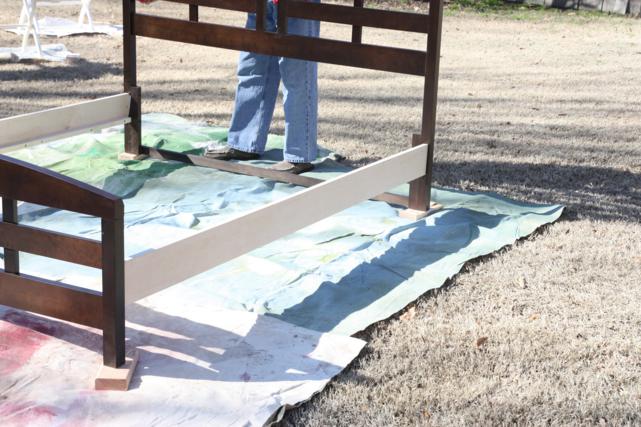
Problem #2: the bed was brown.  We needed it white.  Luckily, Doc was able to pitch in and help Dad with the painting and with that, problem #2 was solved.  (Actually, it's mostly solved.  It still needs one more coat of paint.)

If you ask me, the bed looks better white than it did brown.  Winning!

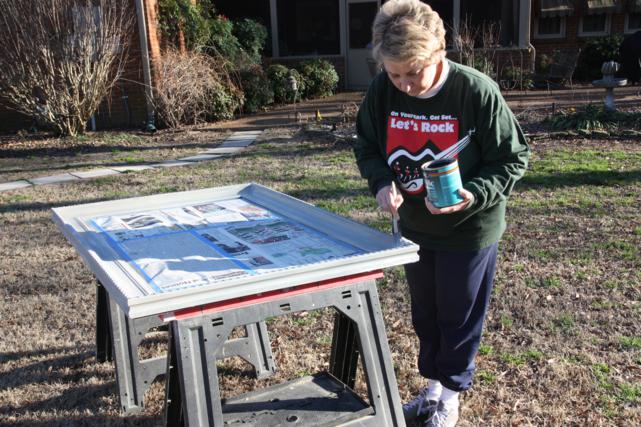
Mom didn't get off the hook either.  She was on polyurethane duty as soon as the mirrors were dry enough.

So it was a long day with all of us hard at work.  Luckily, we had a pretty cute girl cheering us on.

If we manage to get all these painted pieces to Florida without royally scratching them up, it'll be a miracle.  Cross your fingers for us!

Lamps

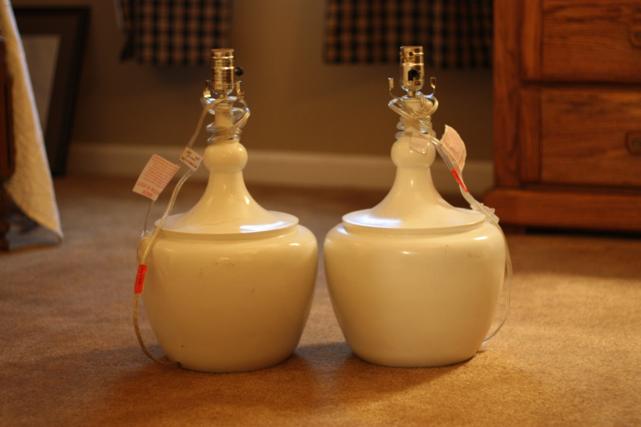
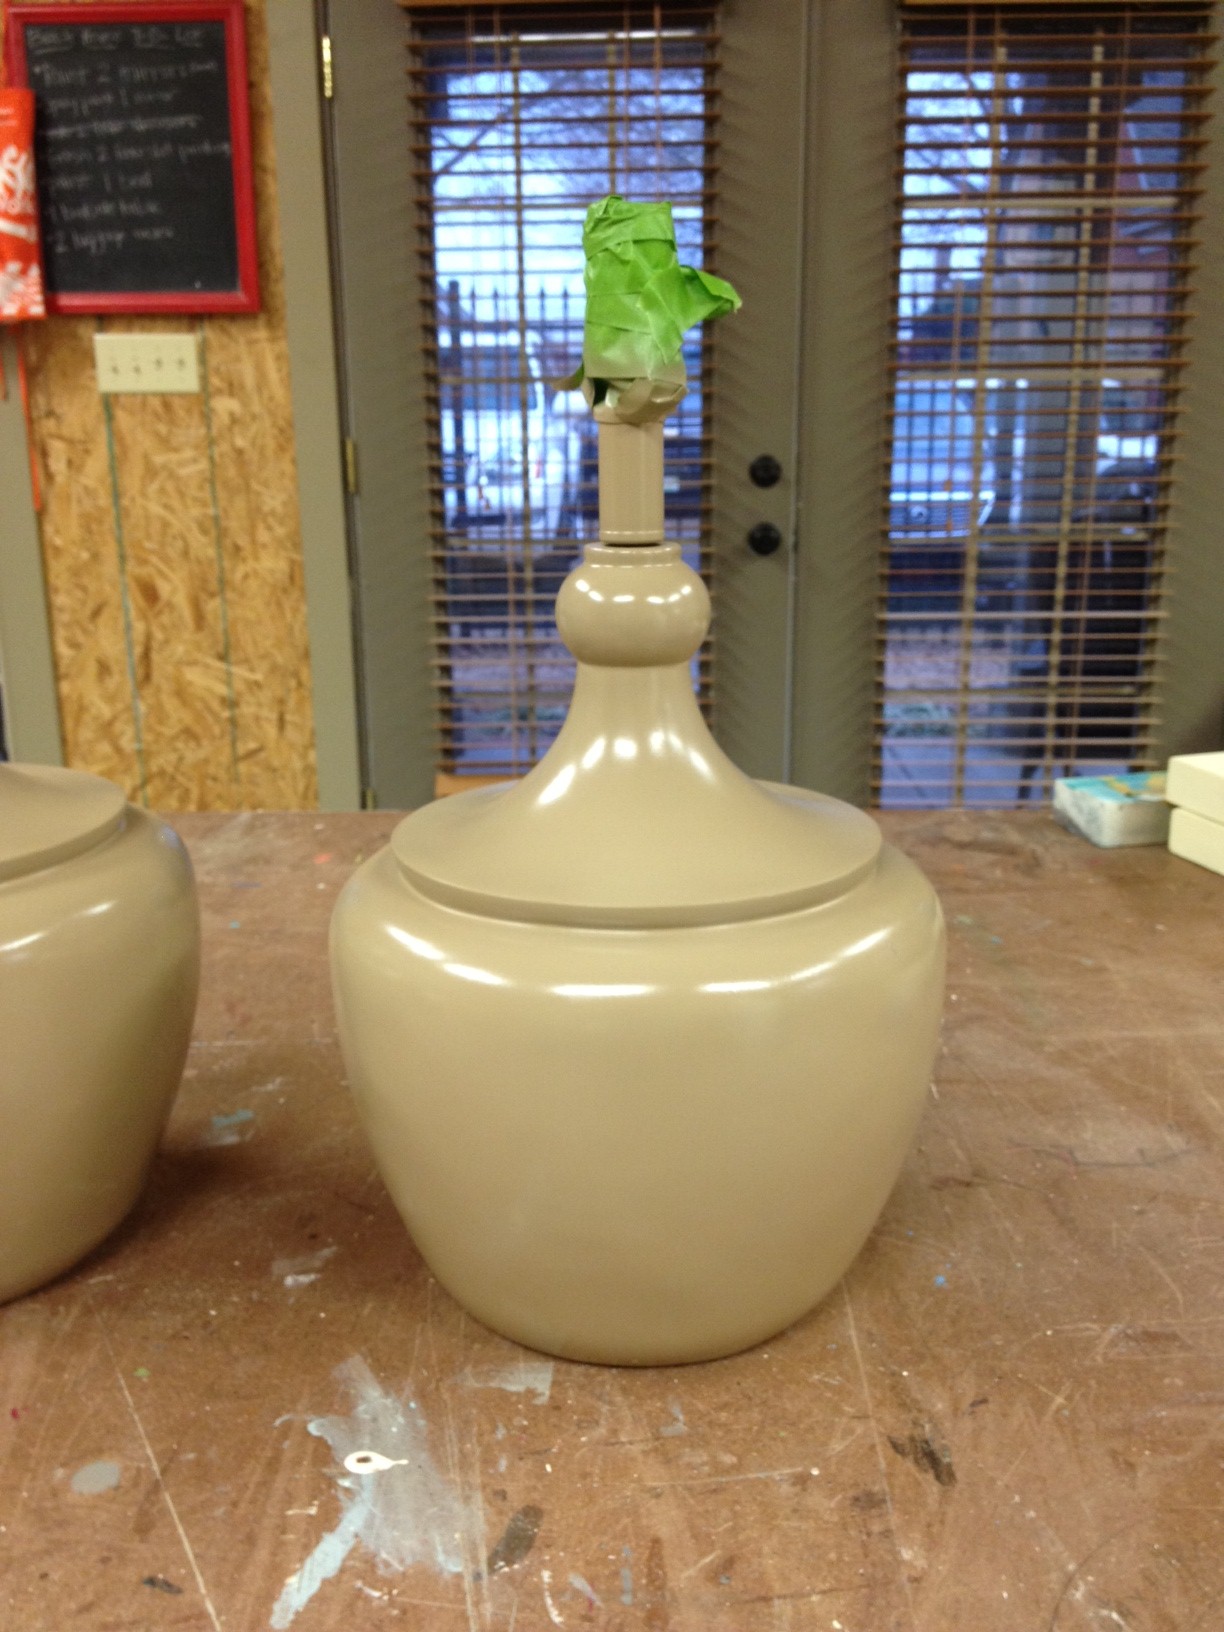
We're still hard at work trying to finish up some projects before we move into the beach house this month.  There are so many in different stages so I'm going to have to break them into different posts.  Today is all about the lamps.  Well, only 3 of them. If you've been reading for a while, you may remember this post when we scored some really good deals on a lot of lamps.  In that group of lamps were these two that needed a mini makeover.

We loved their shape but they were pretty scuffed up and didn't have lampshades.  No problem to us, those are easy fixes.

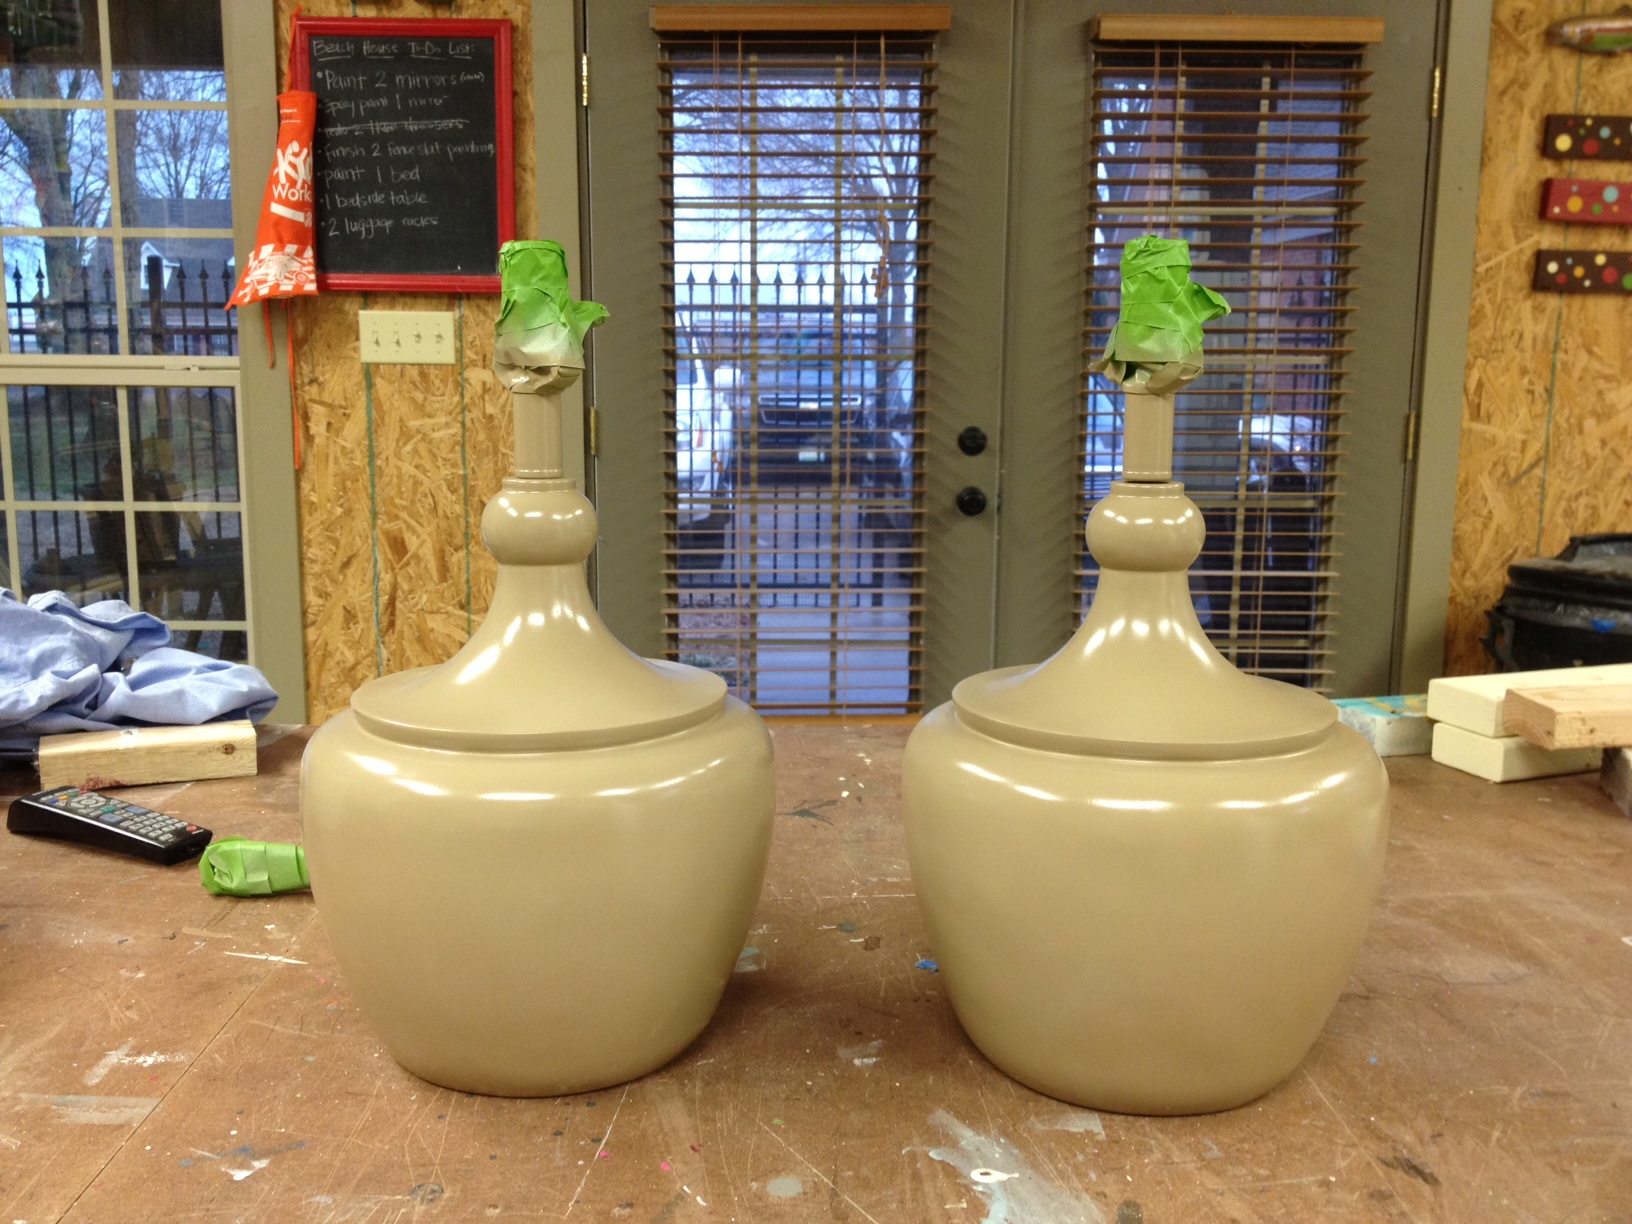
A couple coats of khaki spray paint later, and they were looking like this.

The paint adhered really well and had a smooth, even coverage.

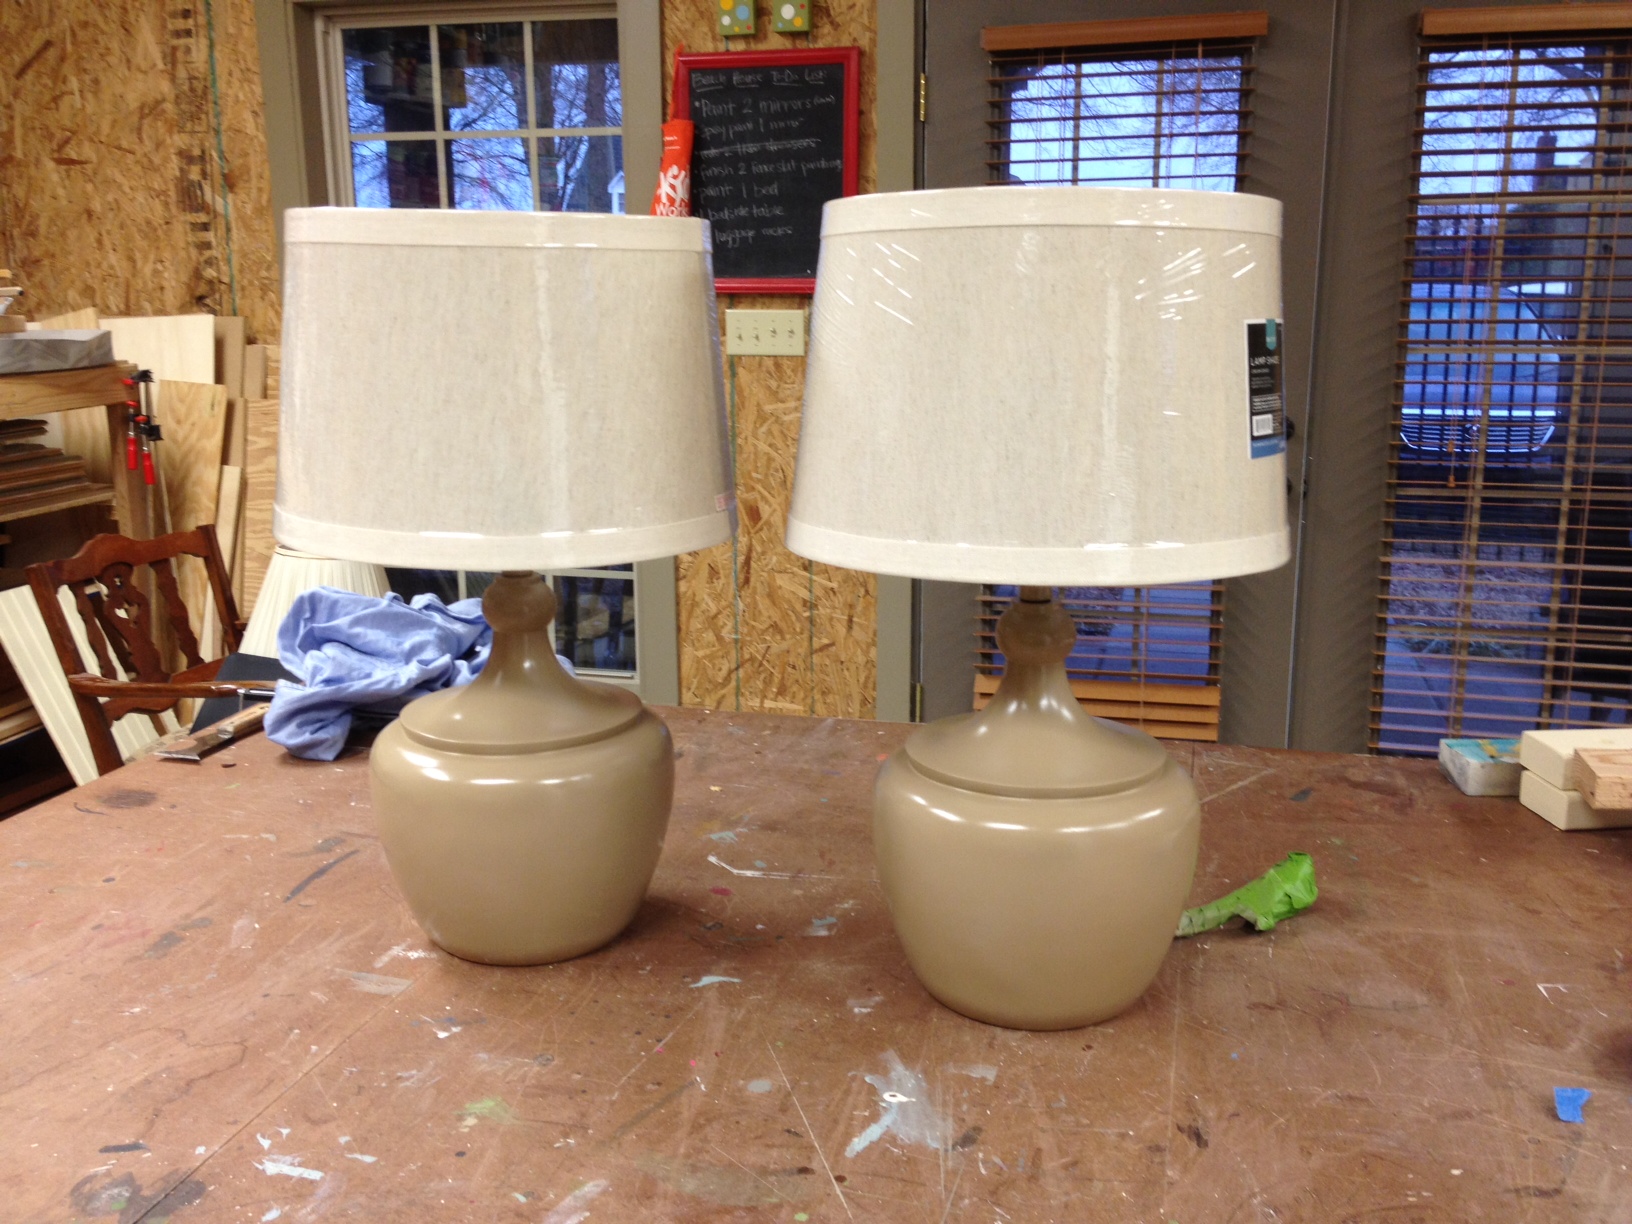
At Target, I picked up a pair of linen drum shades.  We popped them on top of the freshly painted lamps.

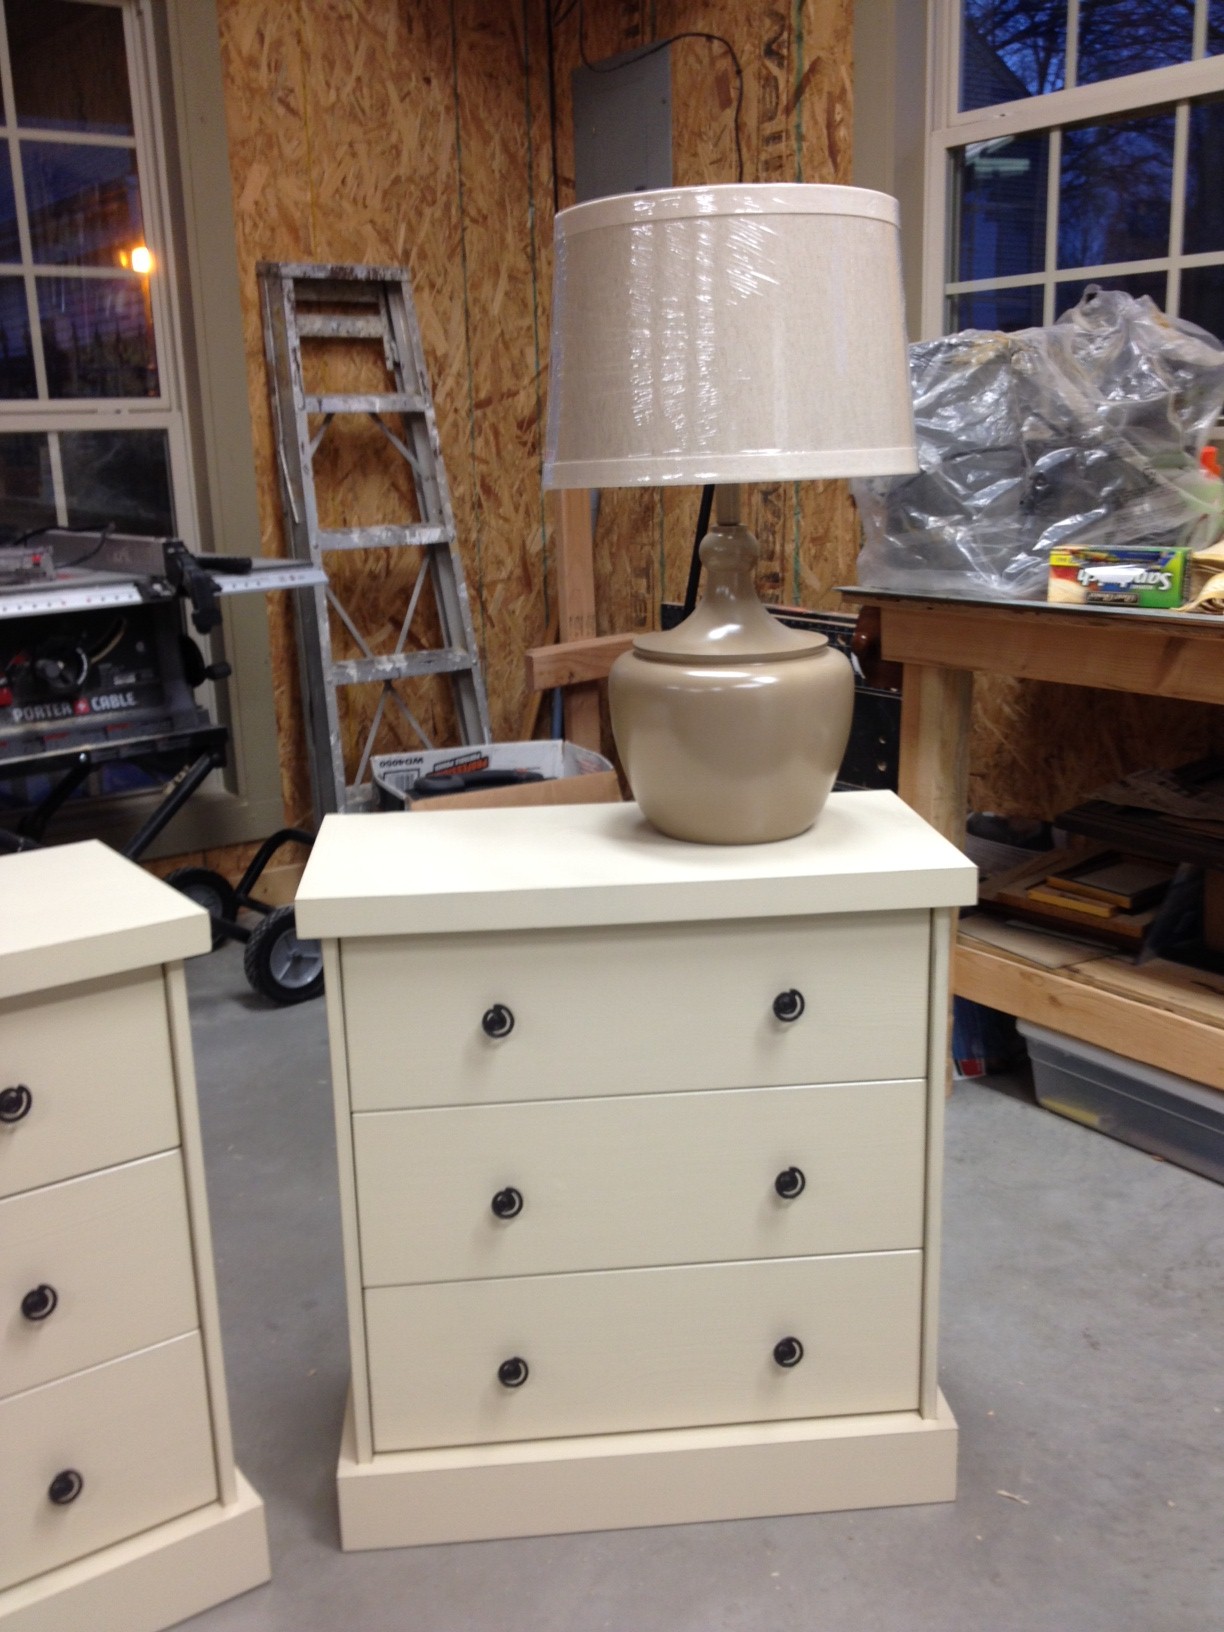
These two lamps are for the master bedroom and will sit on top of the Ikea Rast bedside tables we made over.

That's a whole lotta neutral going on, but we've got some pattern planned for the bed and curtains, so hopefully it'll look ok in the room.

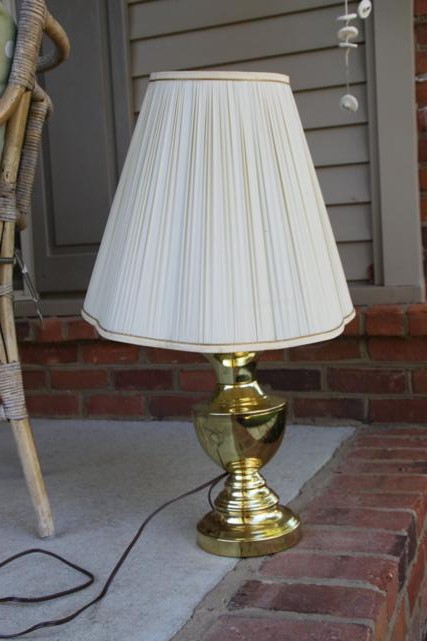
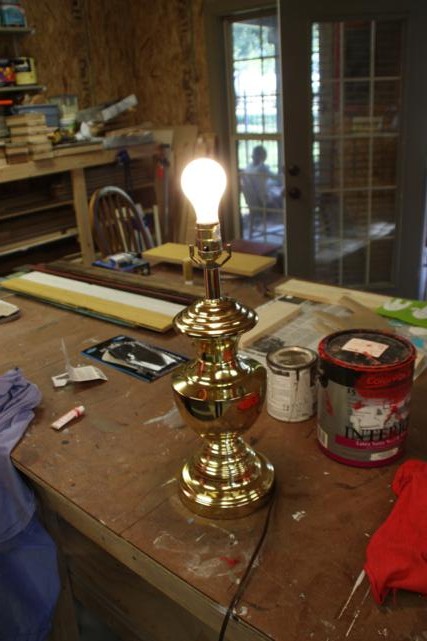
Moving on to the third lamp, this is one I found in my mom's attic.

Now that is GOLD, and not in a good way at all.

Before spending any time on this, we had to find a bulb and make sure it still worked.  It did!  Game on.

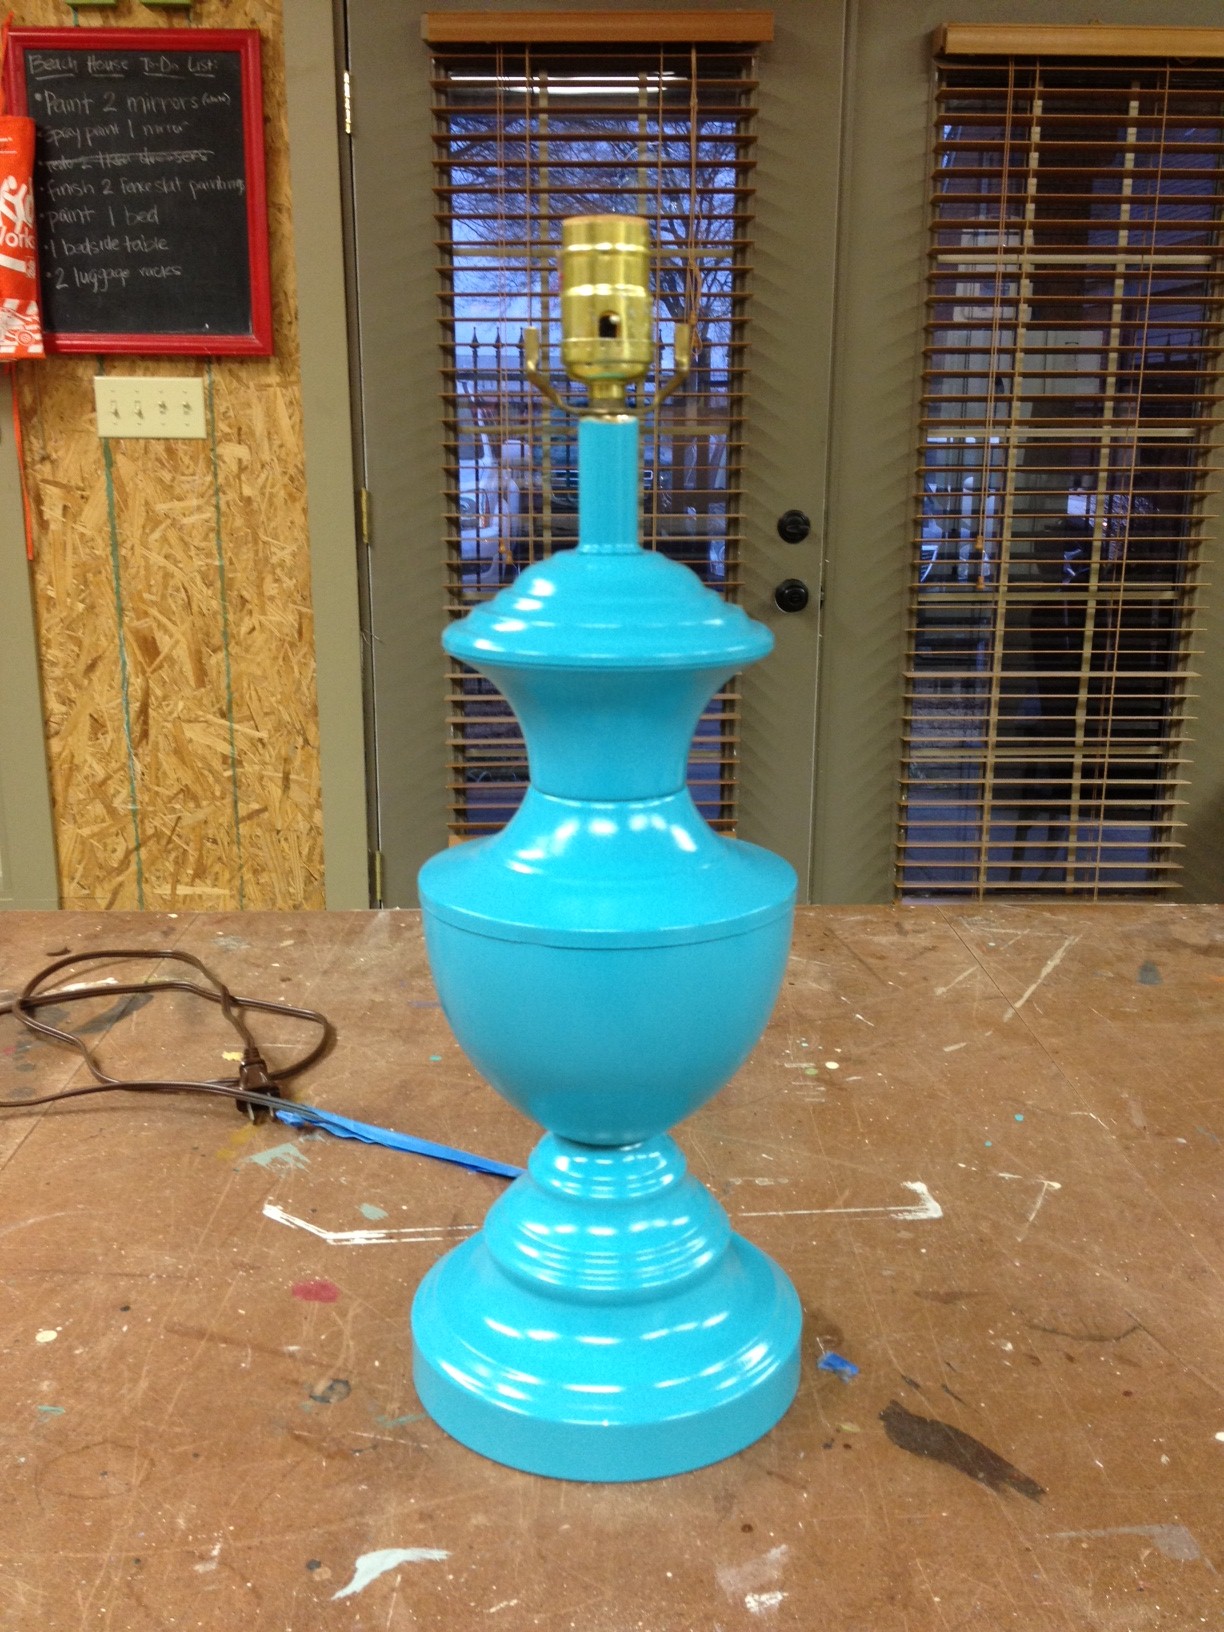
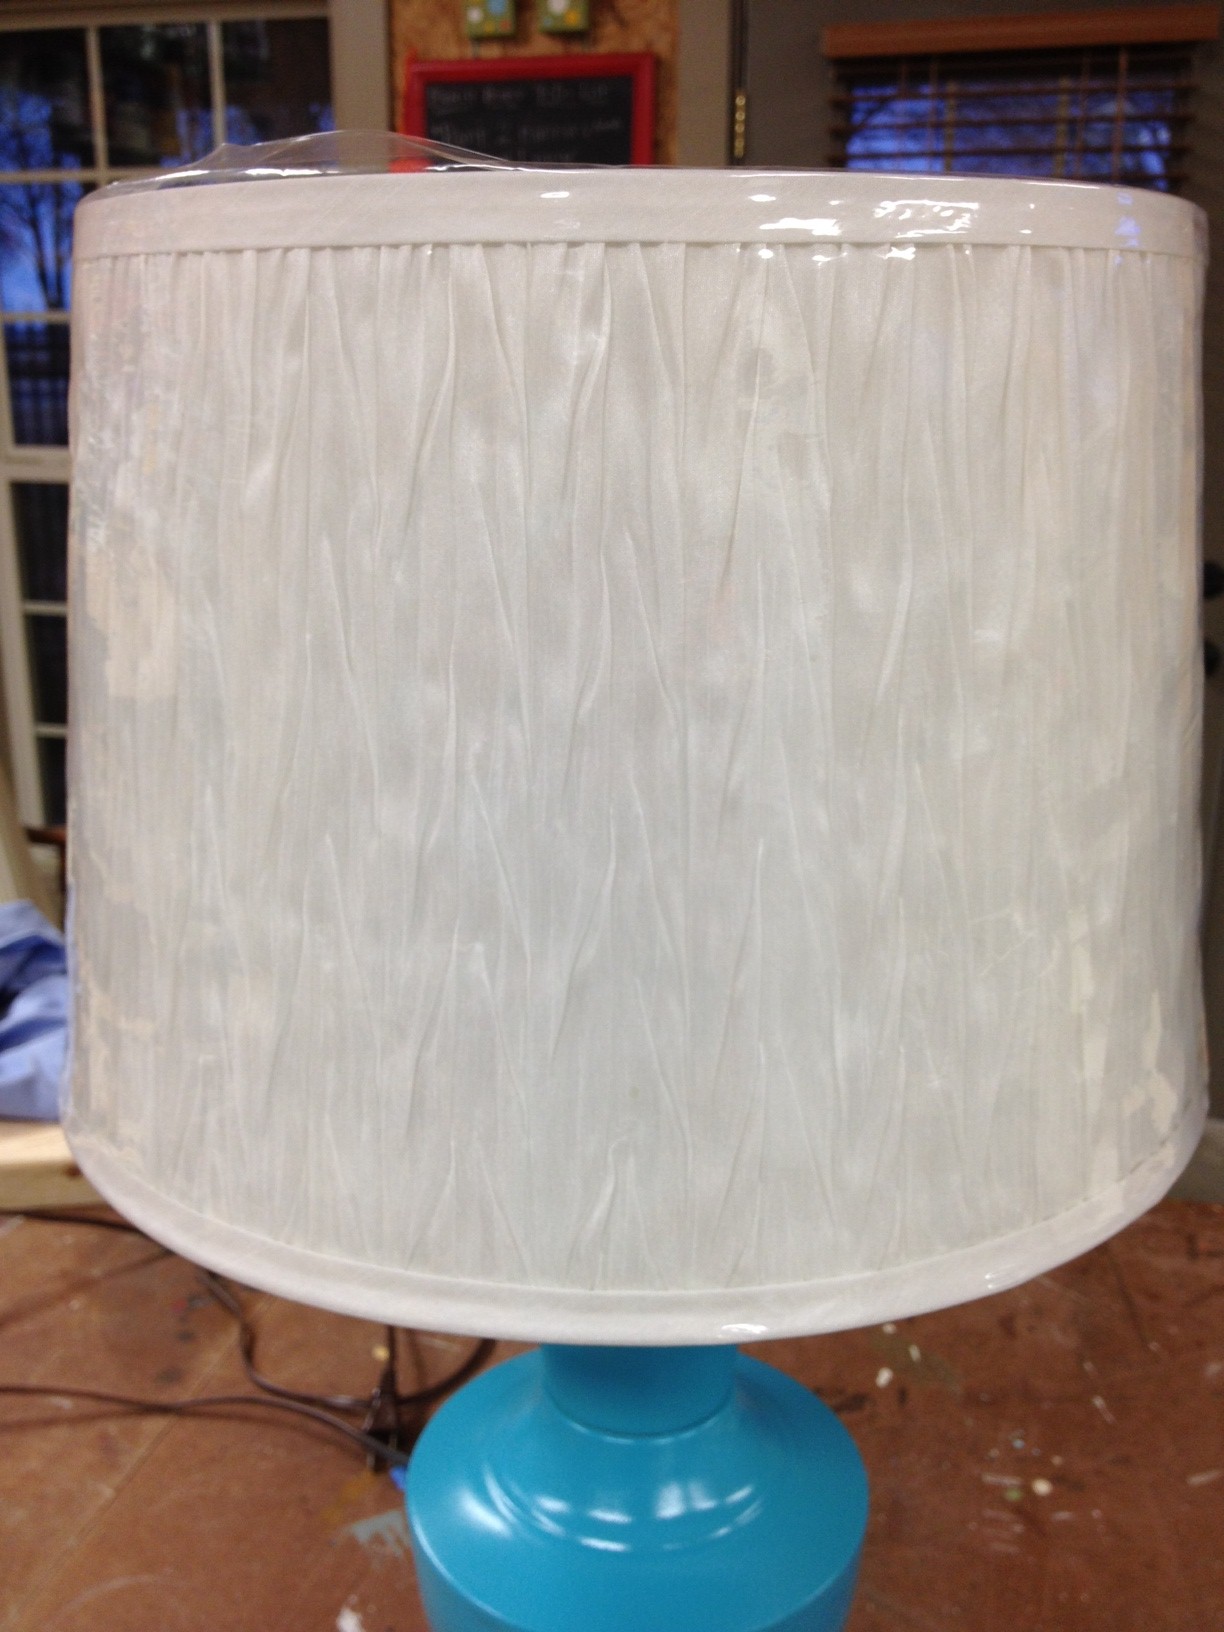
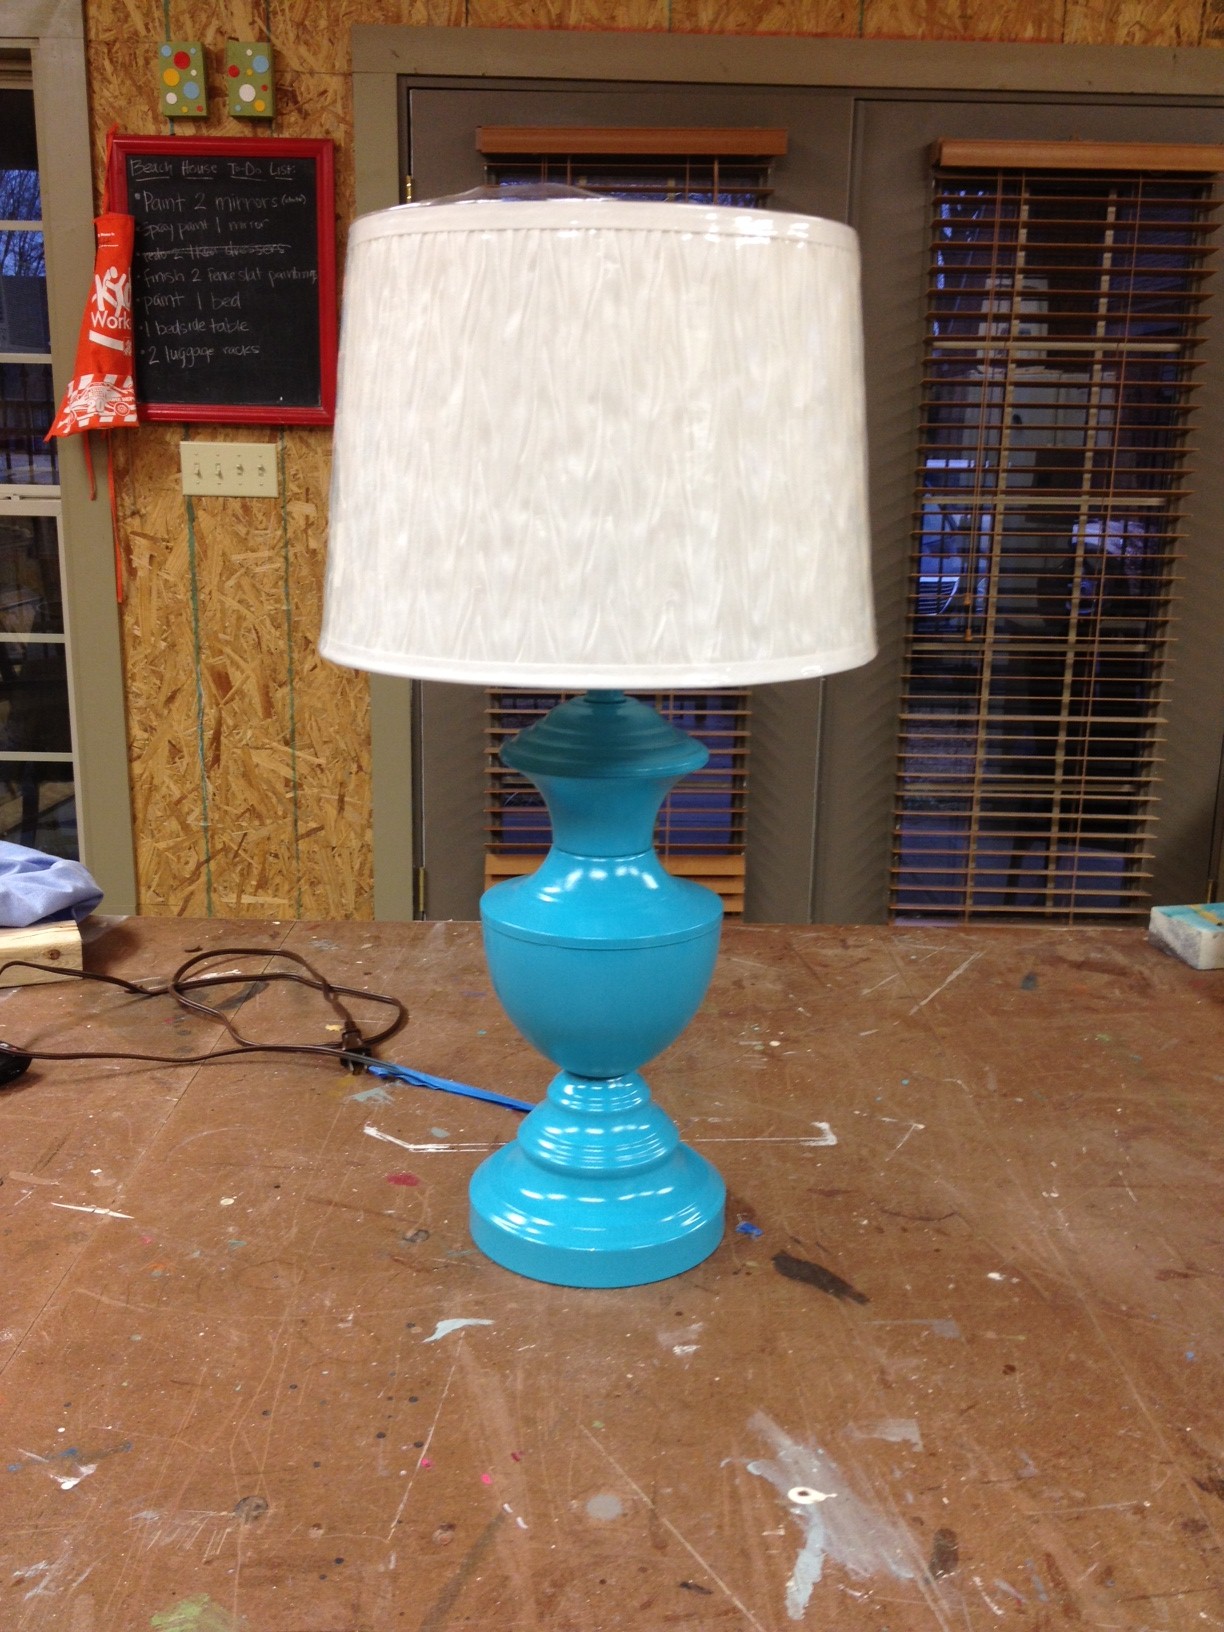
Once again, we grabbed a can of spray paint.  This time it was turquoise.  A couple coats of paint and bam, Goldilocks was gone.

Clearly, there was no way that shade from the 80s was going back on.  This new shade also came from Target and has a little bit of texture on it.

Here's the full after shot.  Much better, right?

Now we'll be able to see the light at the beach house.  Ba-dum-chh.  More projects to come!

Help, Help Me Rhonda

Rhonda - I need your help!  Wait...is there even a Rhonda that reads this blog?  Probably not.  Maybe I should start over. Readers - I need your help!  I have a small sitch I can't decide on and I desperately need your opinions.  It's very important.  Crucial.  A make or break it decision.

I don't know what color the mirror in the beach house dining room should be.

See?  I told you this was important.

Lemme break it down for you.  Back in June when my alma mater was closing its doors, I spent a weekend with a few friends cleaning out our sorority house.  A lot of stuff got thrown away, others got categorized for a yard sale.  And since we were doing the hard work, that meant that we got first dibs on everything.  That's fair, right?  So I swiped a nice big mirror from the living room.  I knew it'd come in handy eventually.

The mirrror was originally bright, gaudy gold but at some point, someone (probably a sorority sister of mine) spray painted it black.  The black was definitely an improvement to the house's decor, but it was kinda a shoddy paint job.  Whoever painted it didn't do a good job giving it an even coat of spray paint, and their tape job must not have been very good because there is still lots of gold peaking out around the edges.  I took the mirror anyway because I  knew I could give it my own paint job and it would look just fine.

My dad taped off the mirror this weekend (I've gotten pretty bad at handing out orders in the shop lately - I can't do it all myself!) and so it's all set and ready to be painted.  Going into it, I assumed I'd just give it another coat of black.  But then I thought, since I'm re-painting the whole thing anyway (as opposed to just doing touch-ups), I'm not limited to stick with black.  That just opens this project up to a whole new world of possibilities.

Before you start throwing out color options, let's look at everything else that will be near the mirror.  We decided on the dining room in the beach house.  Here's how it looked the last time I saw it.

The walls are Tony Taupe by Sherwin Williams.  When we picked the color, we were looking for something in the greige family (grey + beige = greige).  Admittedly, this looks more straight up khaki than I thought it would.  There's not much grey in it at all.  In the picture above, it's the wall on the far left (just past the stairs) where the mirror will hang.  That wall also has the horizontal paneling. 

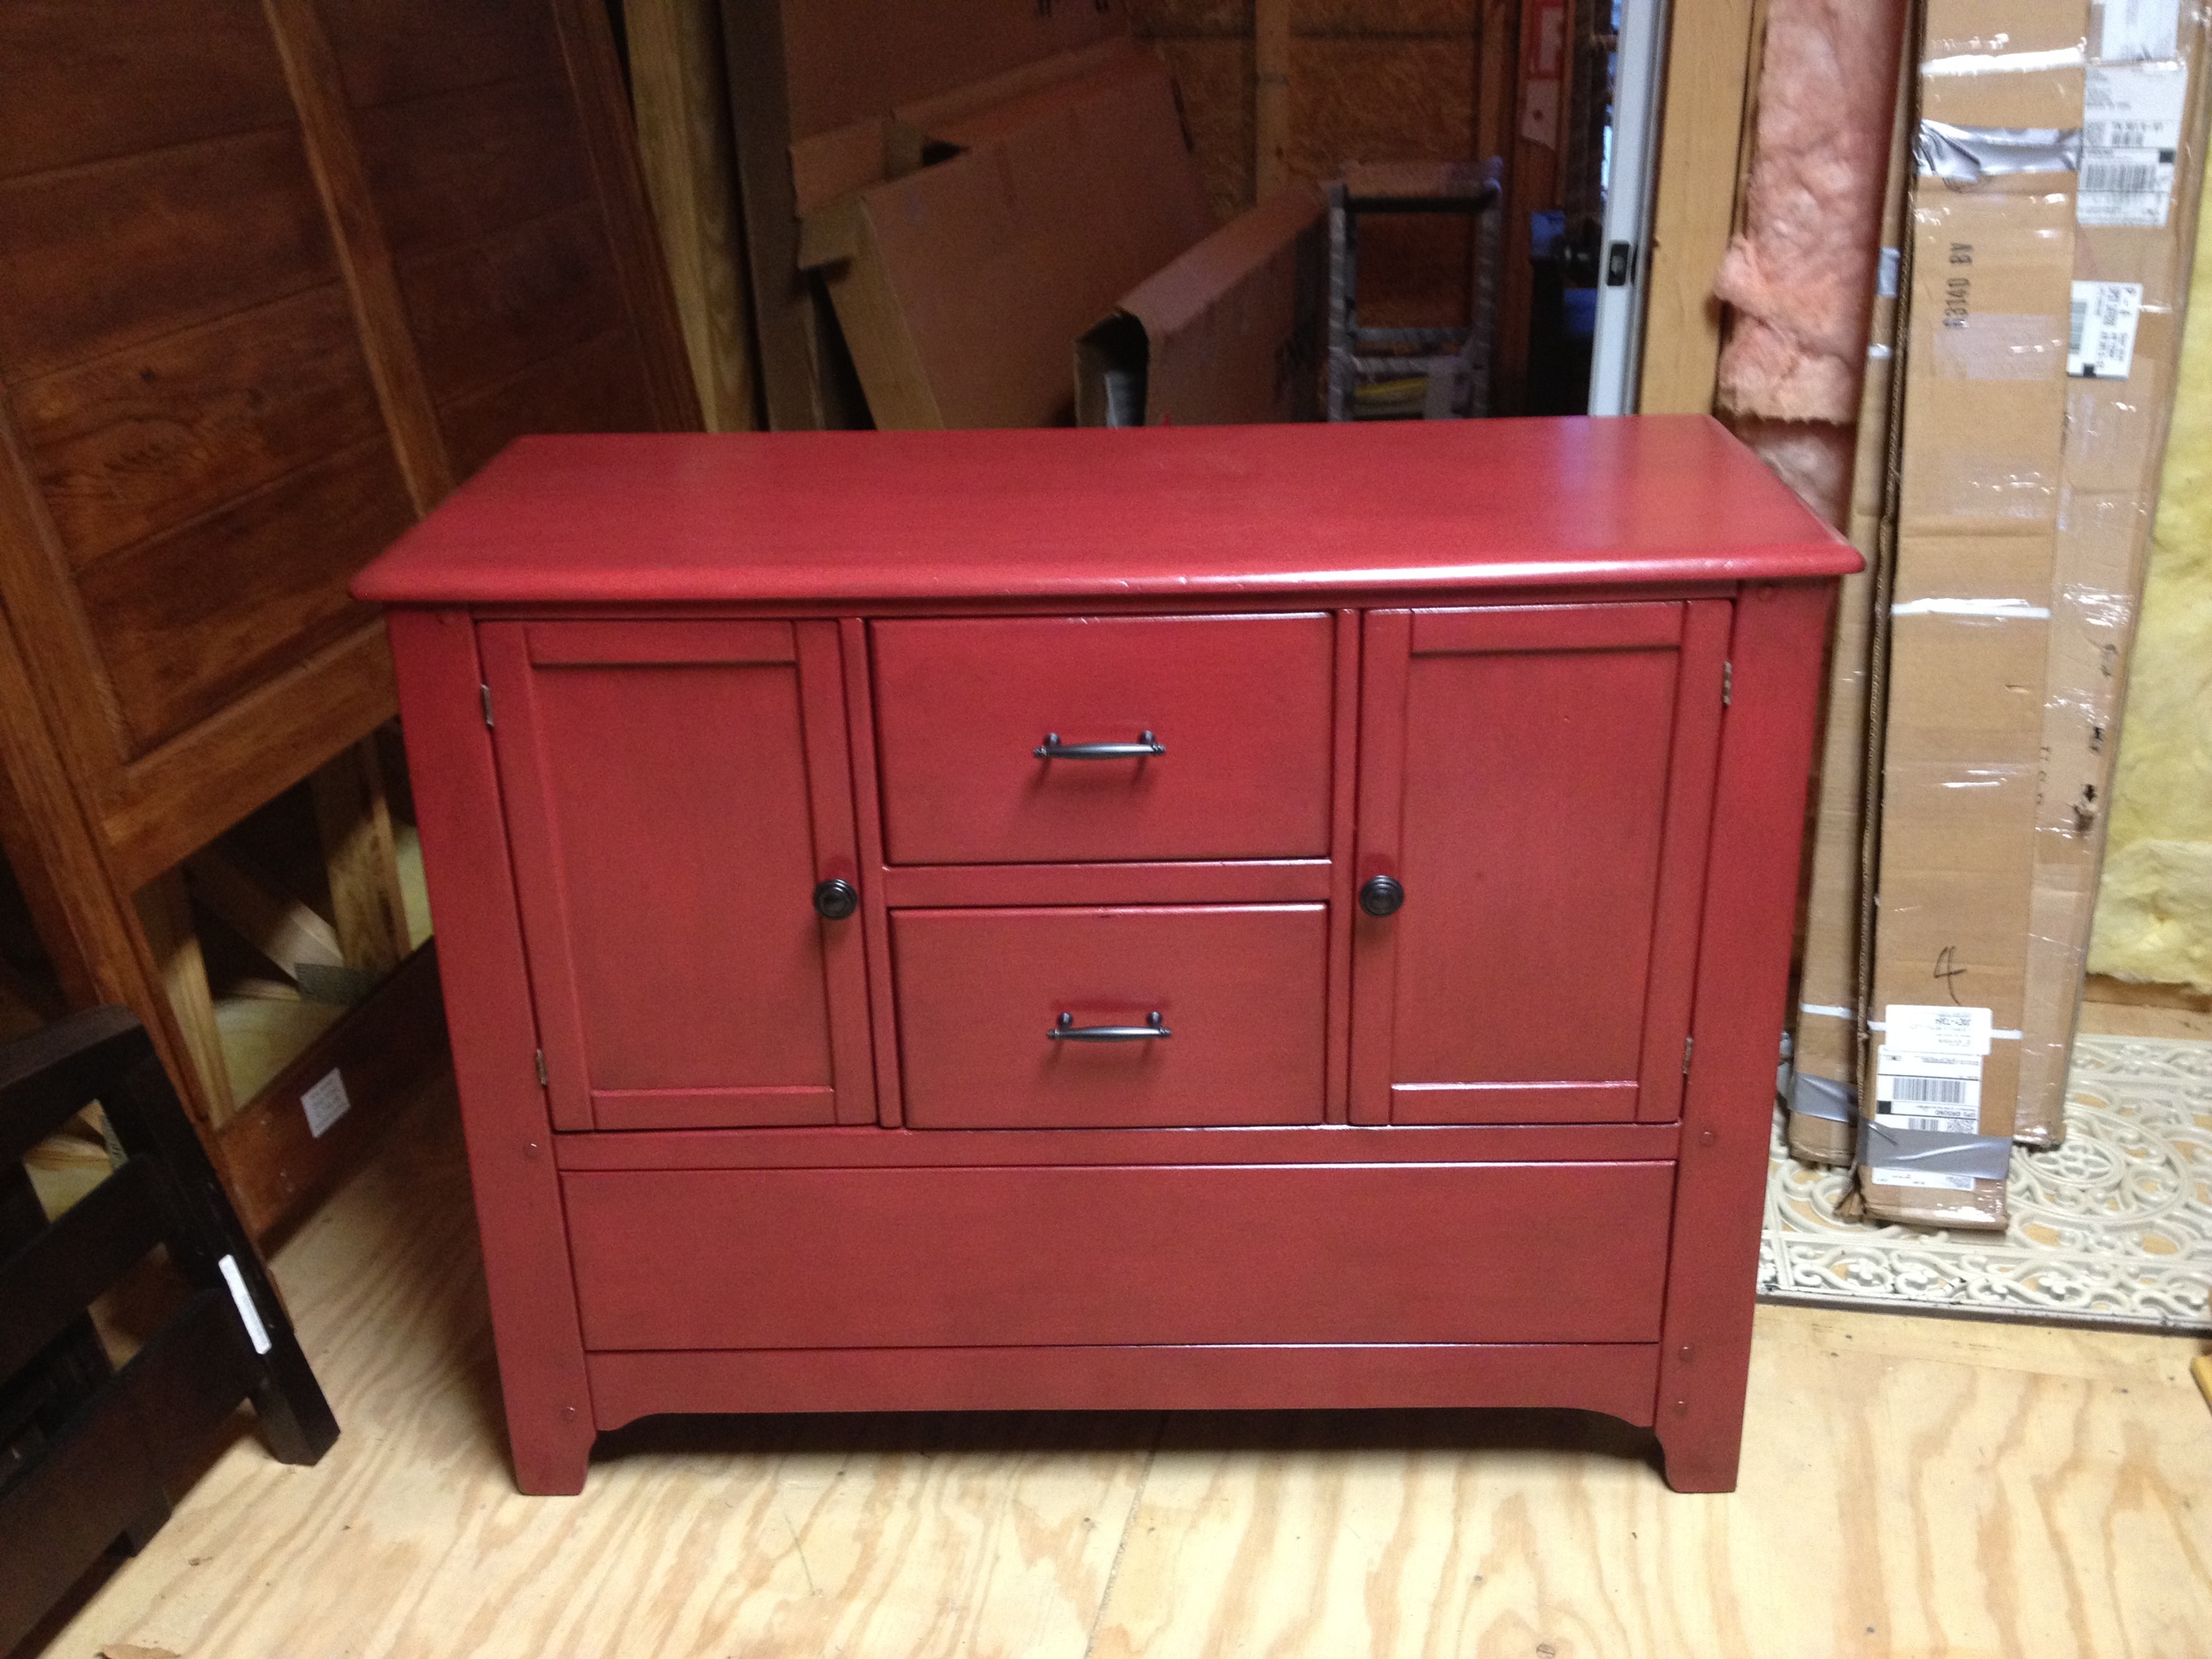
The mirror will hang over this red buffet that I refinished.

The mirror is rectangle in shape, and the long side is slightly longer than the buffet is wide.  That means we'll probably hang it vertically, so it will be taller than it is wide (portrait orientation, if you will).  Oh, and the mirror is not super fancy and overly ornate, but its not just plain straight lines either.  It has just a bit of detail on it, but not enough to make it look out of place in our casual beach house.  (I forgot to take a pic of the mirror.)

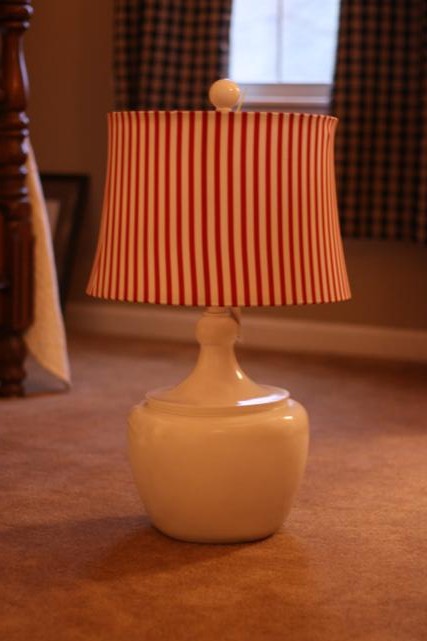
There's a good chance we'll put this lamp (from this old post) on the buffet.

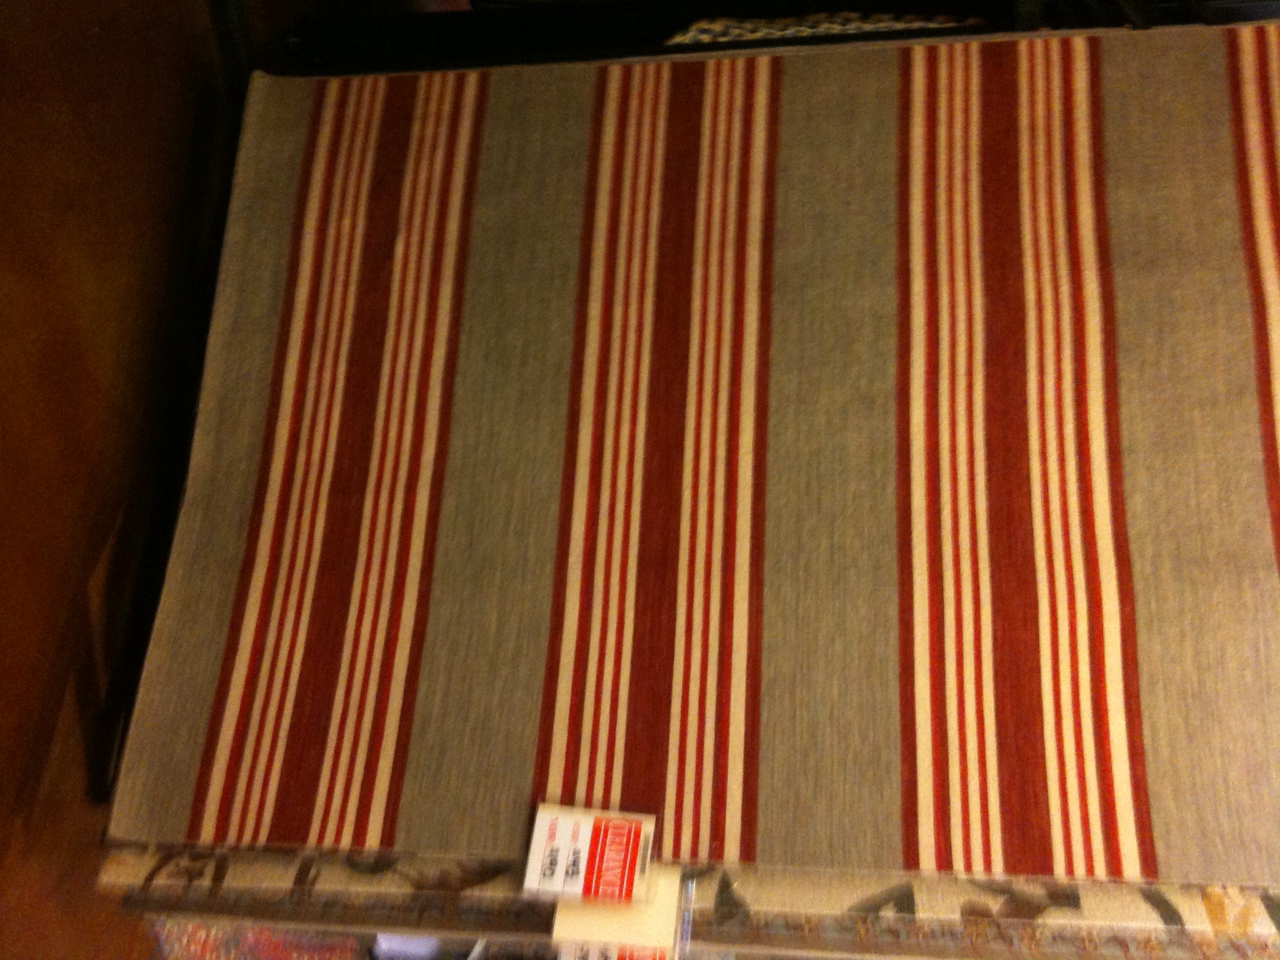
On the hardwood floors will be this rug.  It's red with both grey and cream stripes.  It's no longer online so this is just a picture I took with my phone when we bought it.  (Side note - see that clearance tag?  Yea, that's how we roll.)


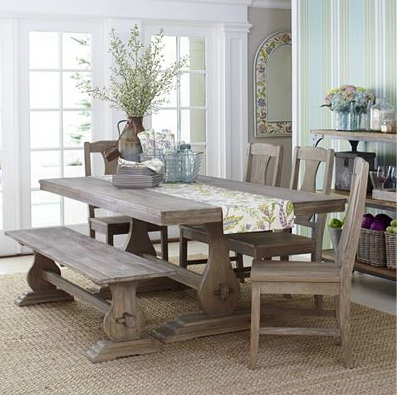
And on that rug will be this table from World Market, except ours will have benches on both sides and the chairs at just the two ends of the table.  It's a pretty neutral color in person, kind of a natural wood color.

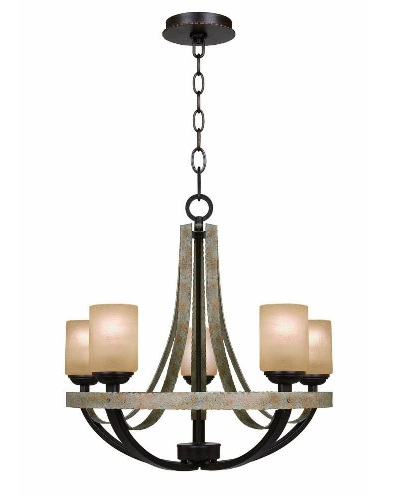
I really wanted a long light fixture (something like this, or this) that would mimic the length of the table, but alas, those light fixtures do not come in our budget.  So instead, we'll have this light fixture from Home Depot hanging above the table. 

I really hope it ends up looking ok.  I didn't get to see it in person because they didn't have it in the store, just online.  Fingers crossed it works with the room!

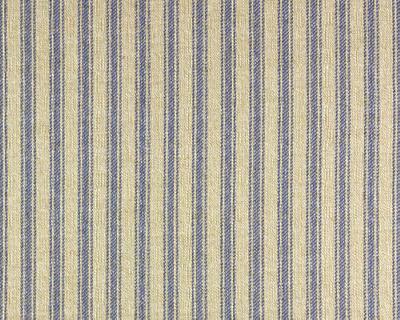
The window treatments will be made out of a linen-y pillow ticking fabric.  The background is almost the exact same shade as the walls and the stripes are a light black.  It looks similar to this, except black instead of blue.  The curtains will be plain drapes and will  hopefully blend in with the wall more than standing out.

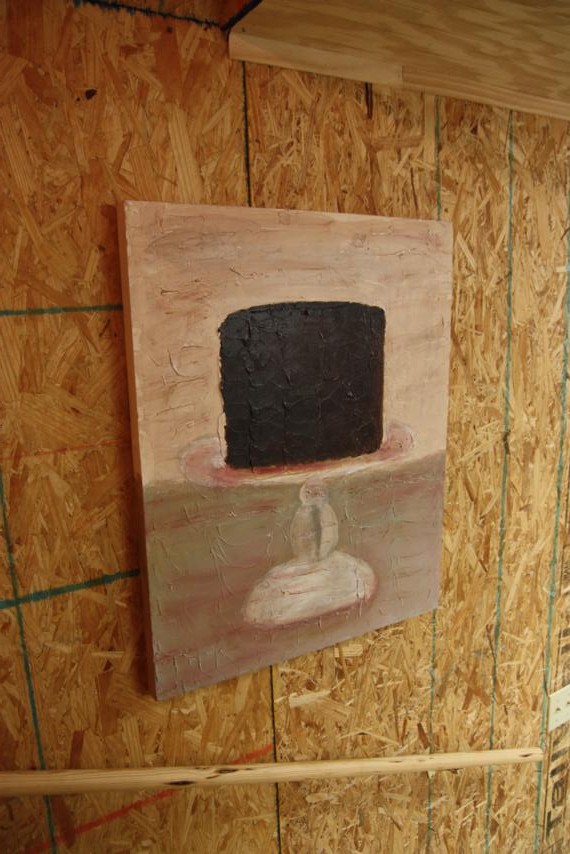
The only other thing that I know for sure will be in this room is the chocolate cake painting that Beth did.


So that's the room.  Not much black in it (really there's none since the stripe in the fabric is kinda muted) which is why I'm second guessing painting the mirror that color.  But what color do I go with?  I could do red like the buffet, but I think that will be too much.  White will stand out and possibly clash with the cream in the rug, chandelier, and painting.  Right now I'm kinda leaning towards trying out a grey color, but will that look weird on the wall color?  I could rub on some black glaze to accent the details in the mirror frame.  Any other suggestions?  I'll probably try to get this done over the upcoming weekend, so speak up now!