Seeing Stars

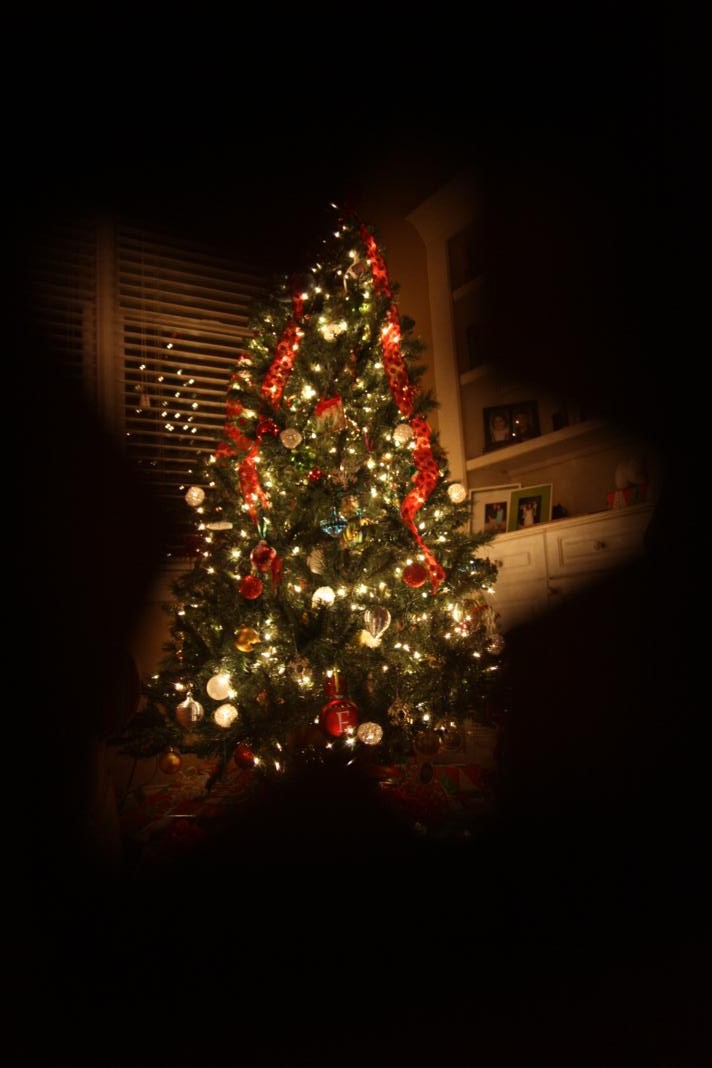
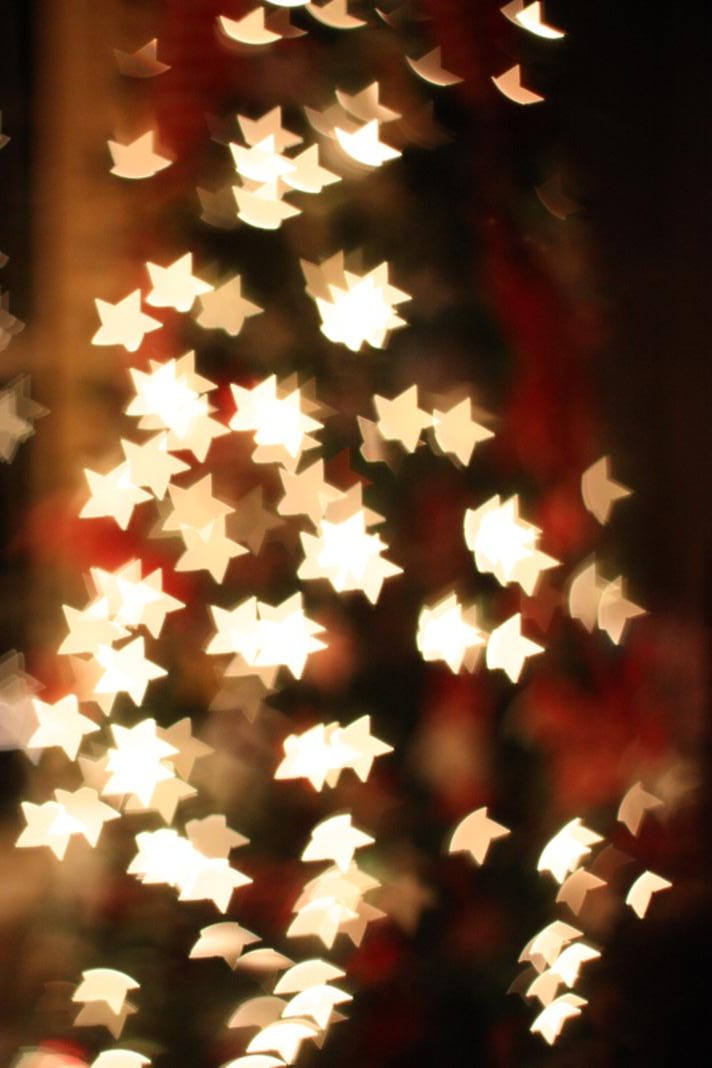
A couple of weeks ago, I had a little Christmas tree photo sheet using this method.  The shoot started at our house and ended at my parents, so I have pics of both our tree and theirs. I want go into many details about the method since some of you may not be into photography, but basically I placed a hood with a star cutout over my lens to turn the lights on the trees into stars.  Definitely visit Amanda's blog for more details.  At first, I had it all wrong.  I placed the star cutout over my lens and took a picture of our tree, and this is what I got.

Not exactly what I was trying to accomplish.  The lights were supposed to be star-shaped, not the whole darn picture.  After going back and re-reading the directions, I realized I needed a subject in front of my tree.  The magic is all in the bokeh.  Bokeh is when the background is all blurry.  (That's my very non-technical explanation.)

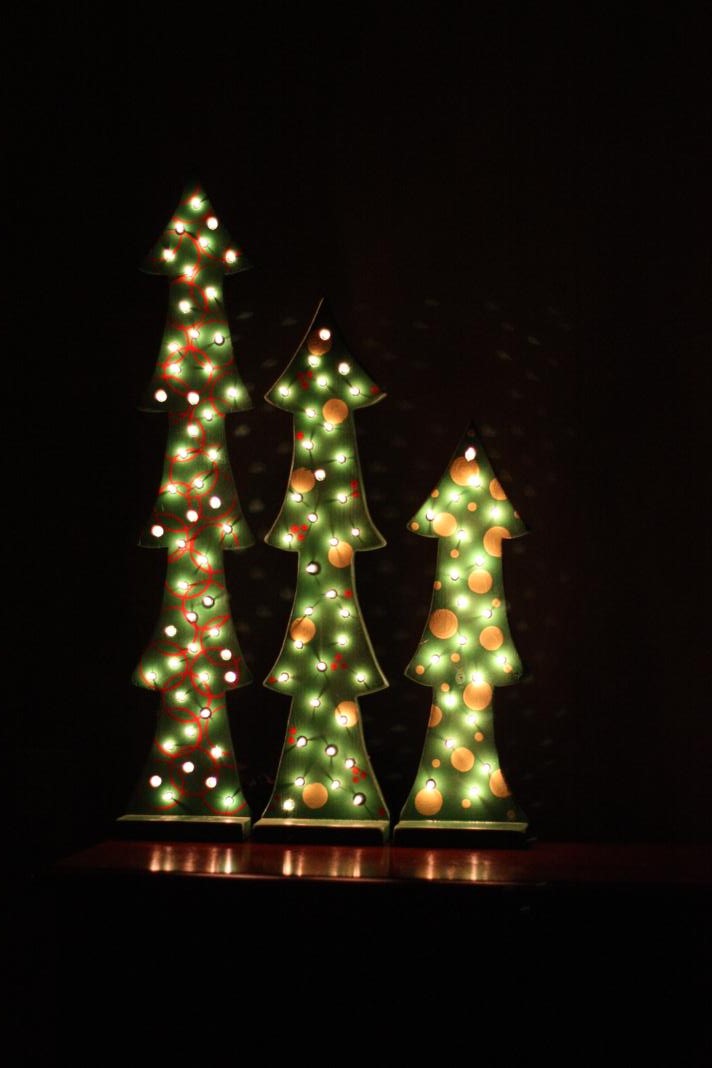
Let me demonstrate what I was trying to do with these three wooden trees I made my mom a few years ago.  Here is a normal picture of them of them all lit up.  I didn't use my flash because I wanted the twinkle lights to really shine.

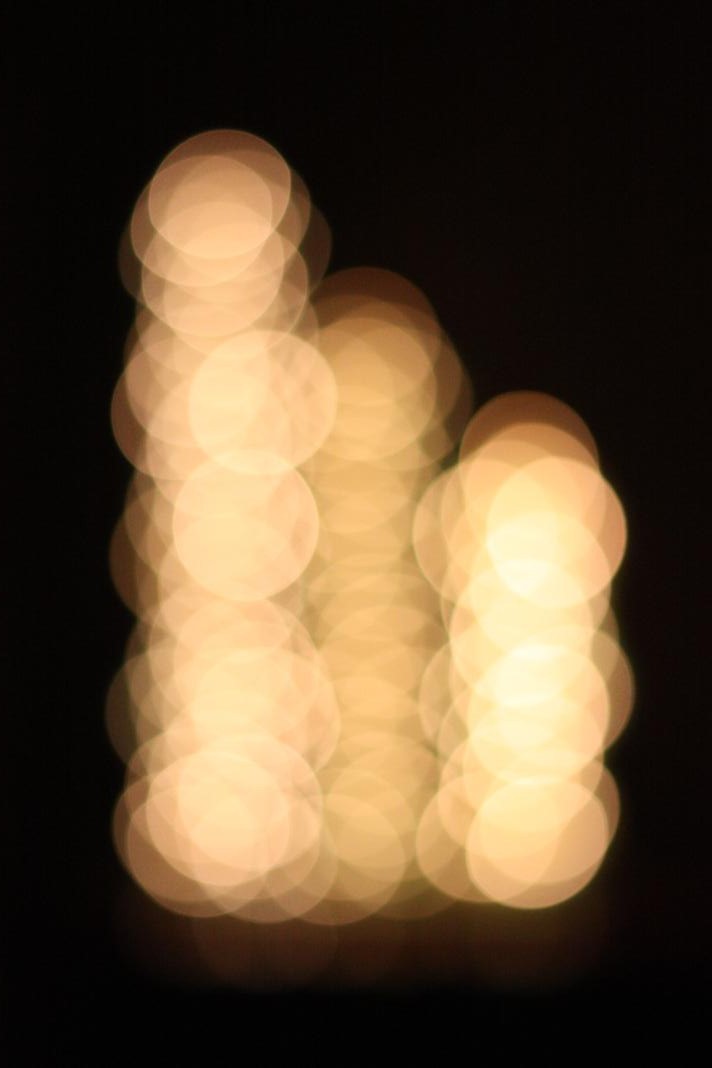
Now here they are with all the same settings, except that the trees are out of focus so that the twinkle lights blurred into circles.

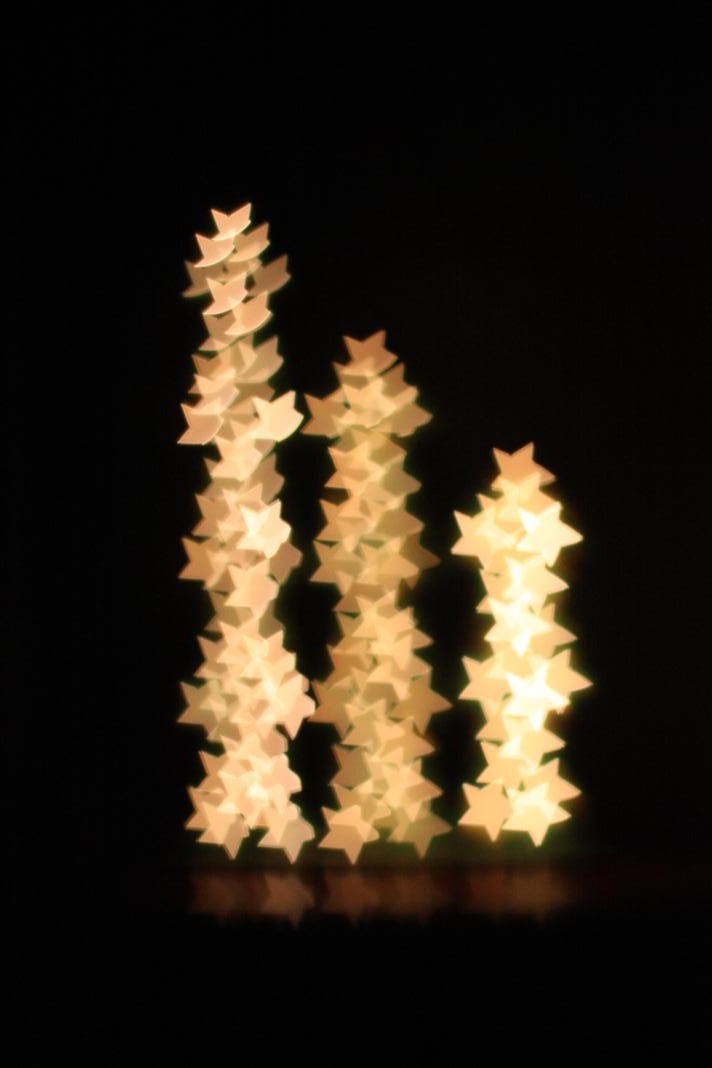
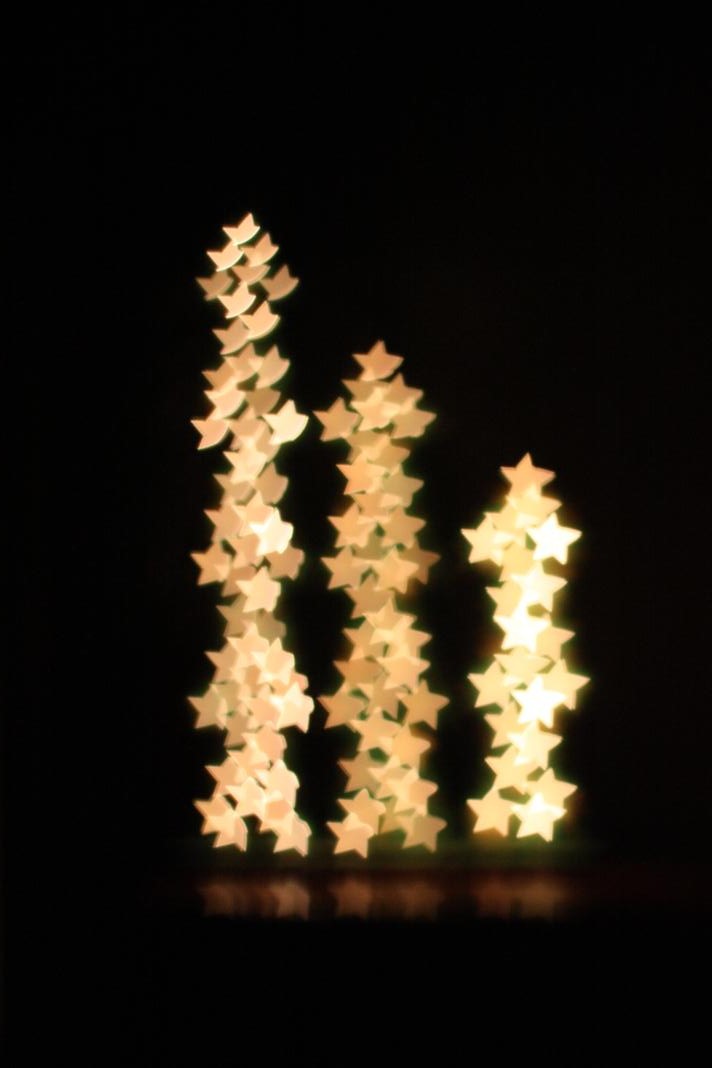
For the next picture, I left everything the same as above, except popped on the star cutout hood.

Pretty cool, huh?  All of these pictures are straight out of the camera - I haven't photoshopped them or anything.  Here's the same picture again, except I tightened up my focus a little to make the stars sharper.

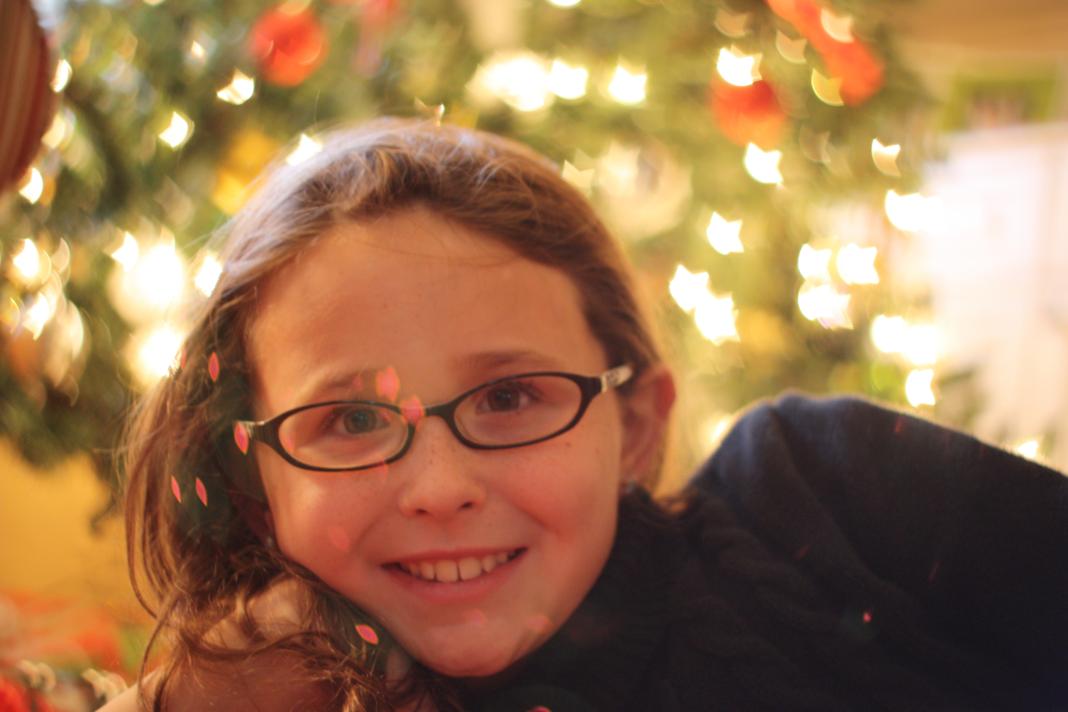
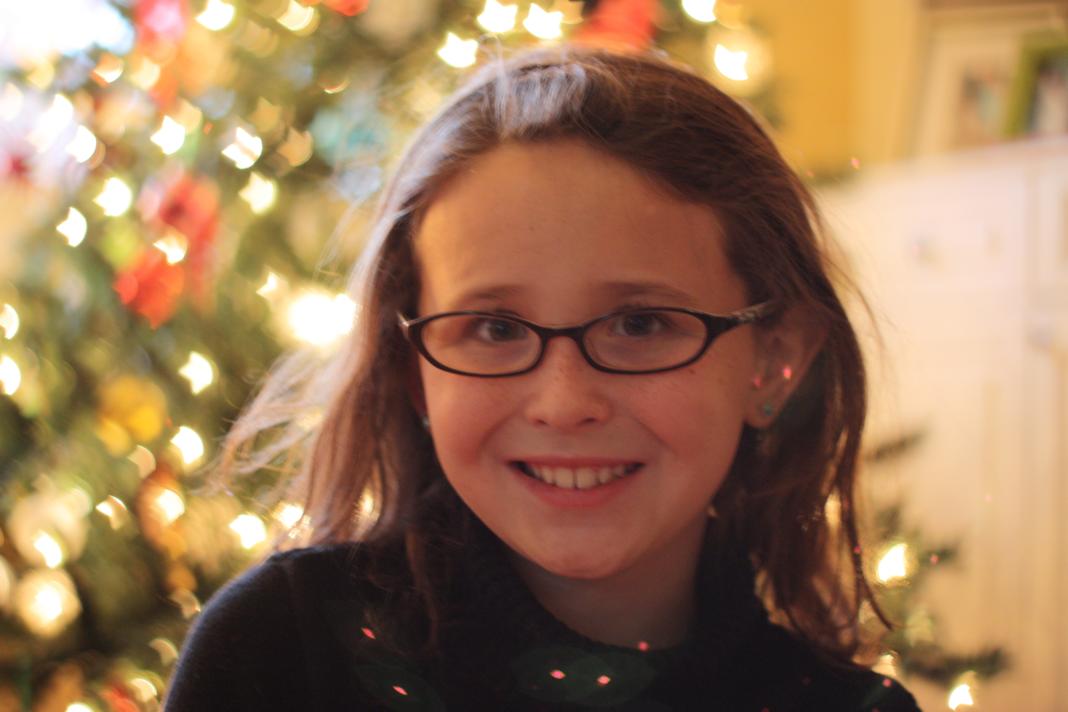
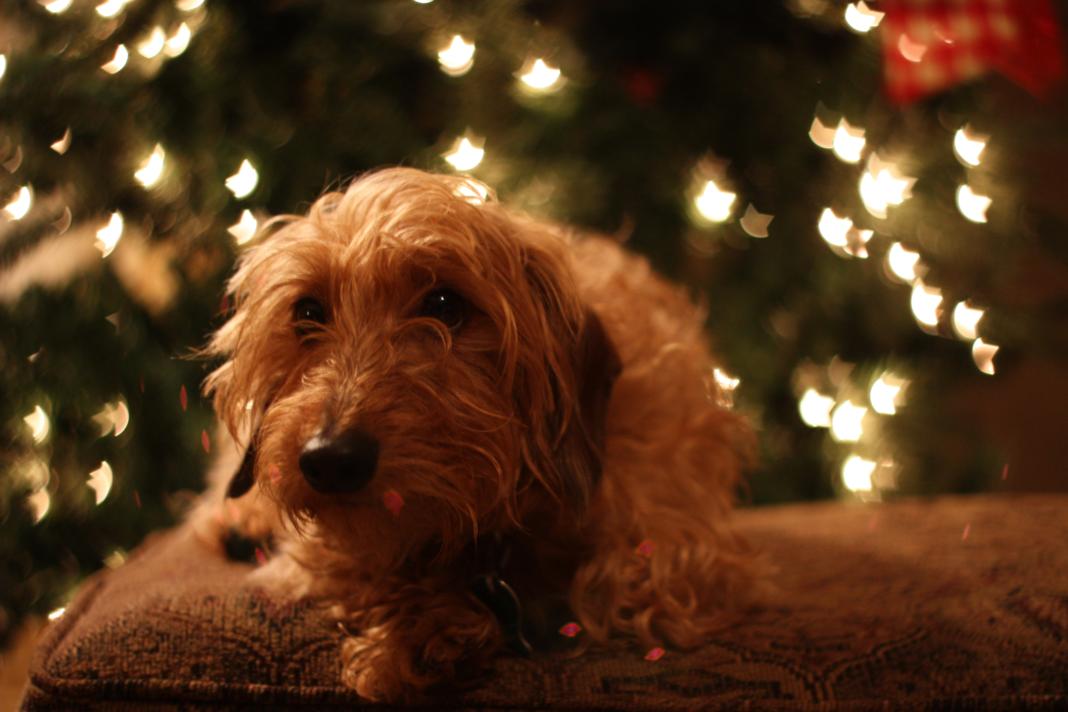
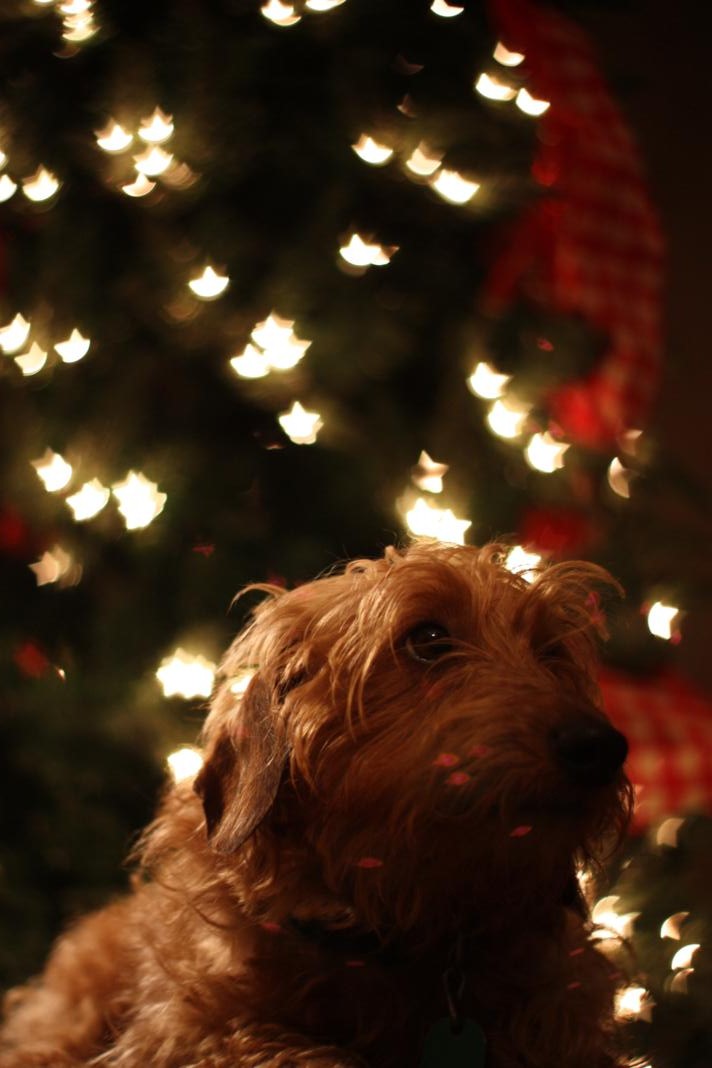
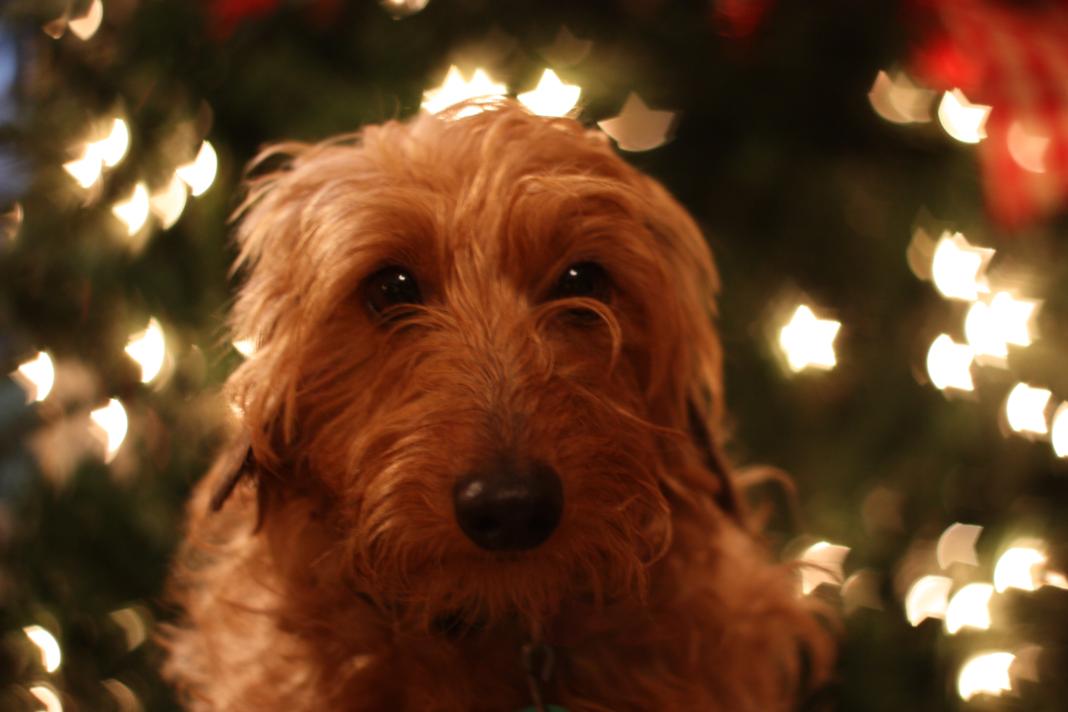
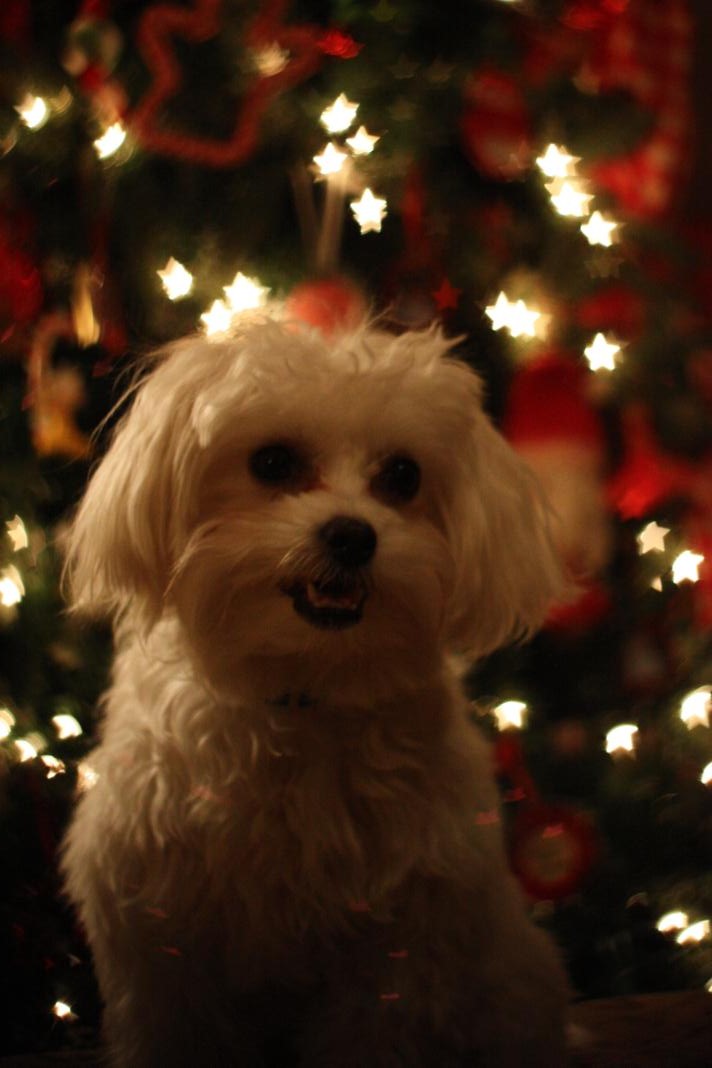
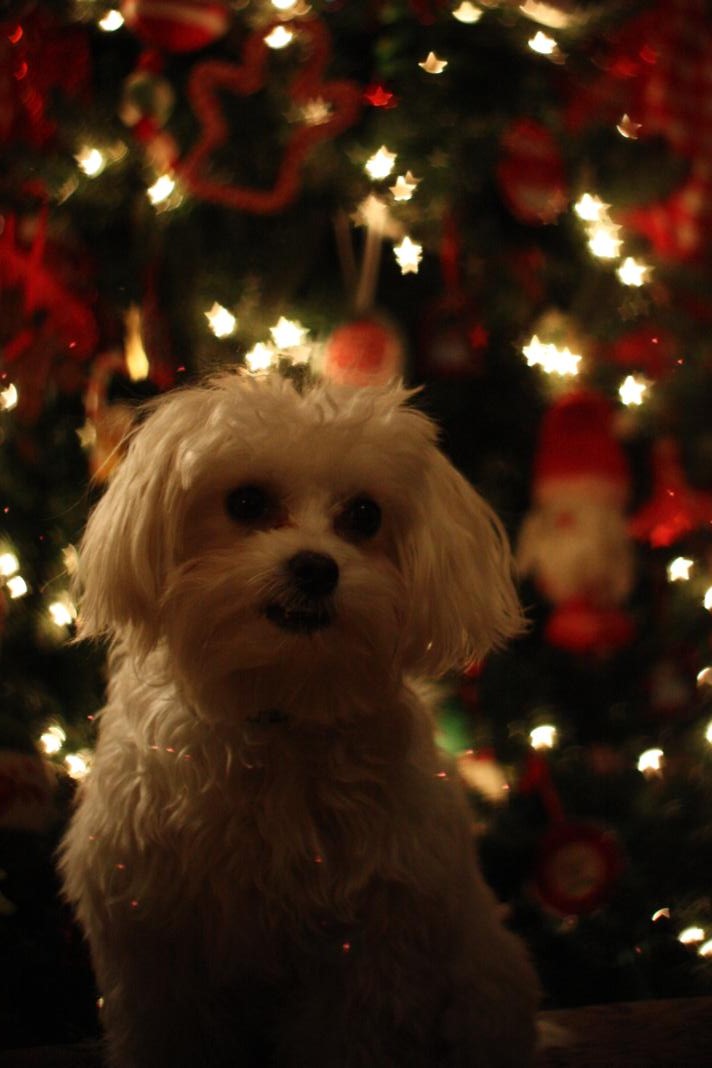
Now, back to the photo shoot.  Sweet Anna was my subject while I tried to figure it all out.  She moved every which way I asked her to, from sitting up to laying down to scooting back, etc.  I had a hard time figuring out where I needed to position myself and where she should be to get the stars right.

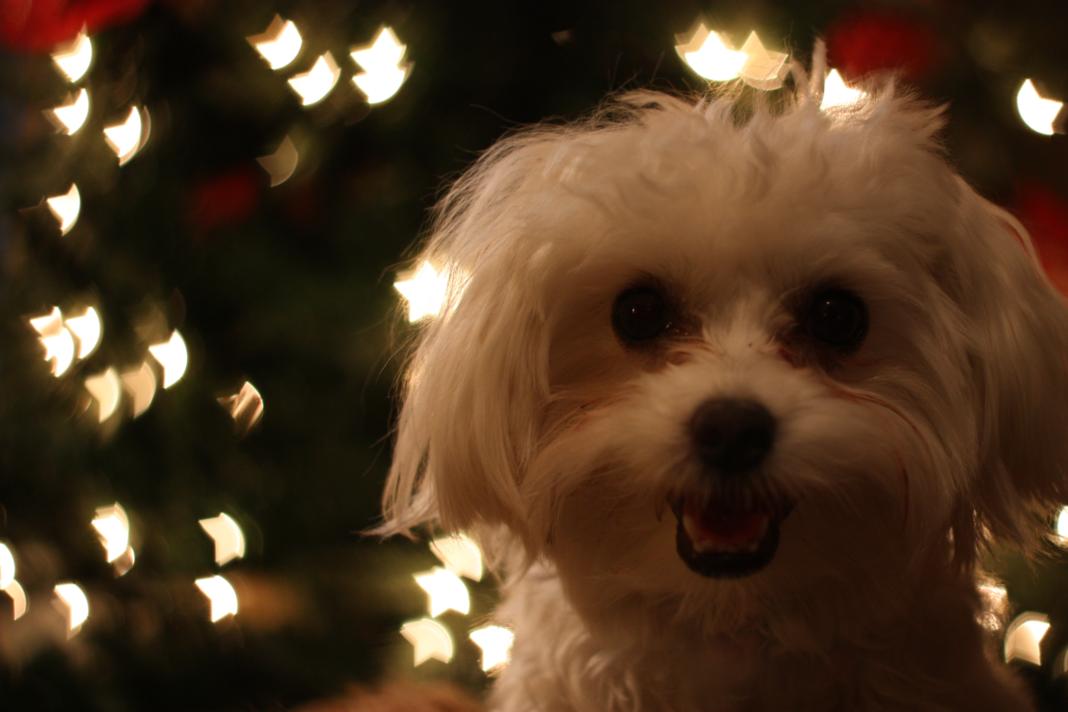
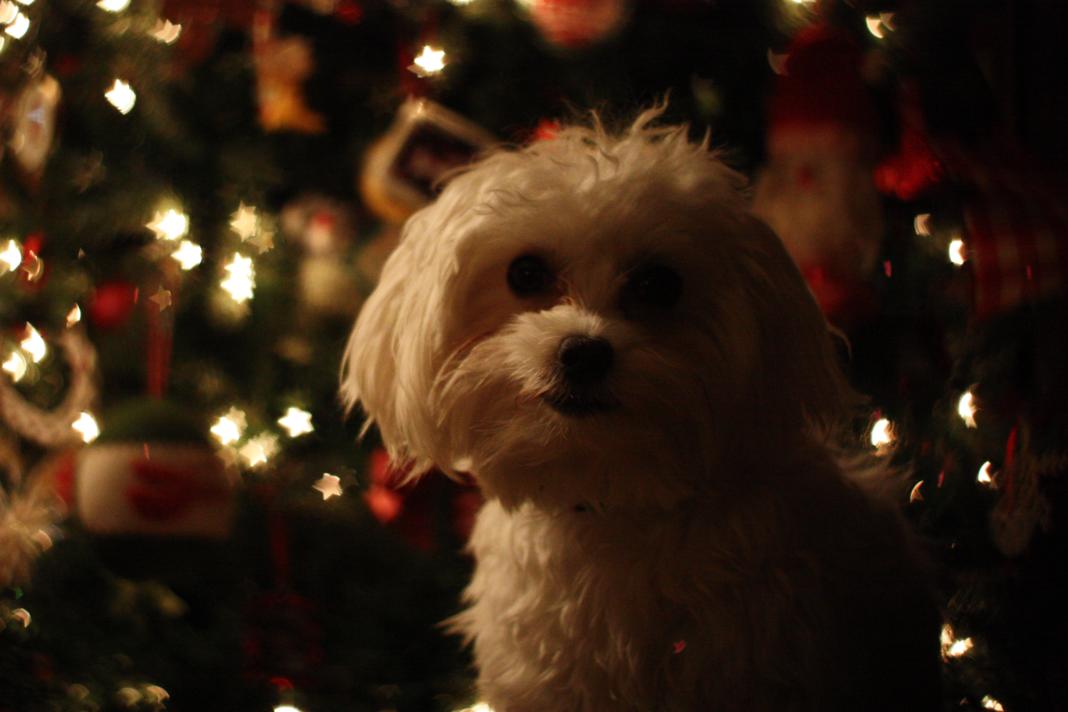
Anna helped me try to hold Lolli still long enough for a picture, too.

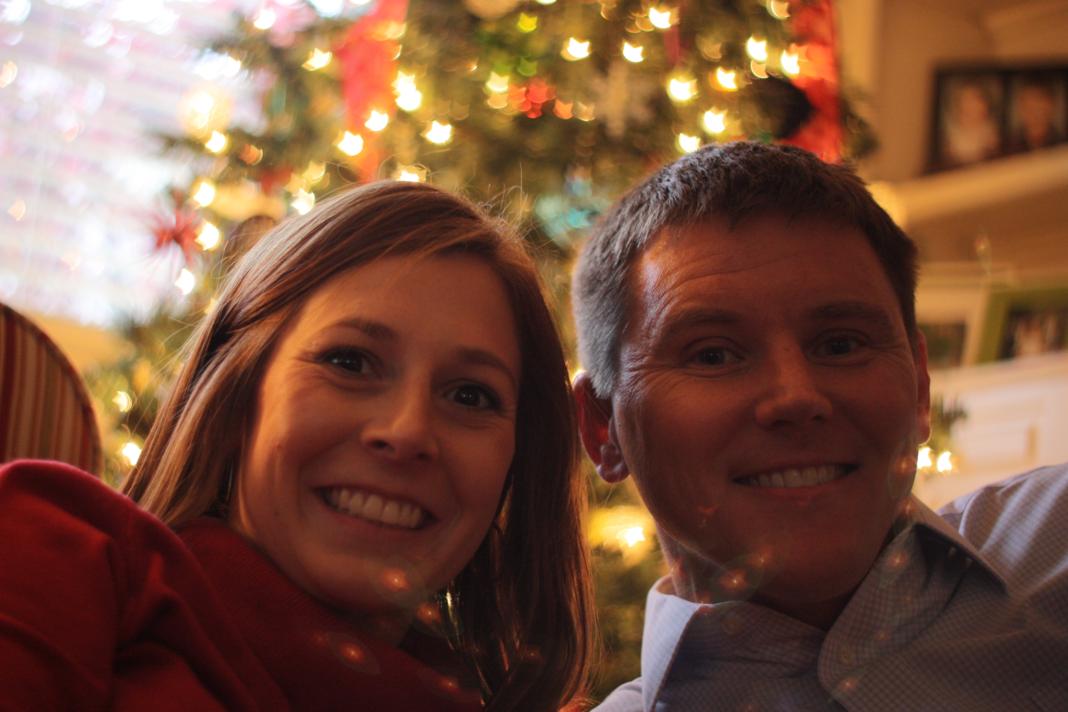
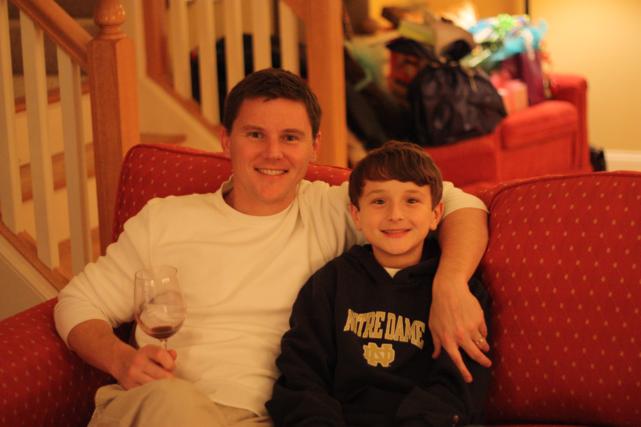
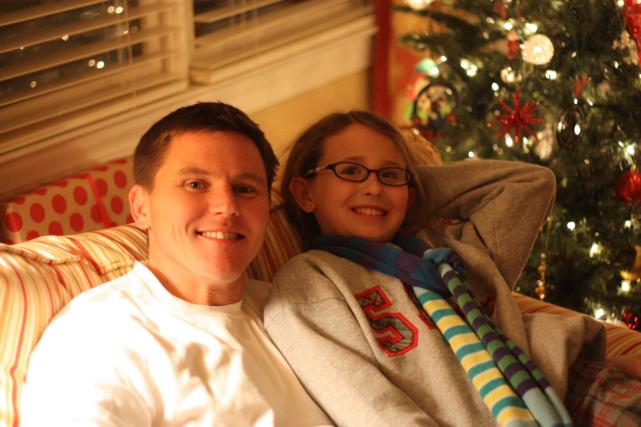
When I finally thought I had it all figured out, I snatched Doc and tried to get a Christmas-y photo of us.

That didn't work that well since we had to get so low to be in the frame.  And we covered up most of the tree.  Oh well.  Doc had to leave me to take the kids home and head to the airport, so I packed up my photoshoot supplies and headed to my parents' house.

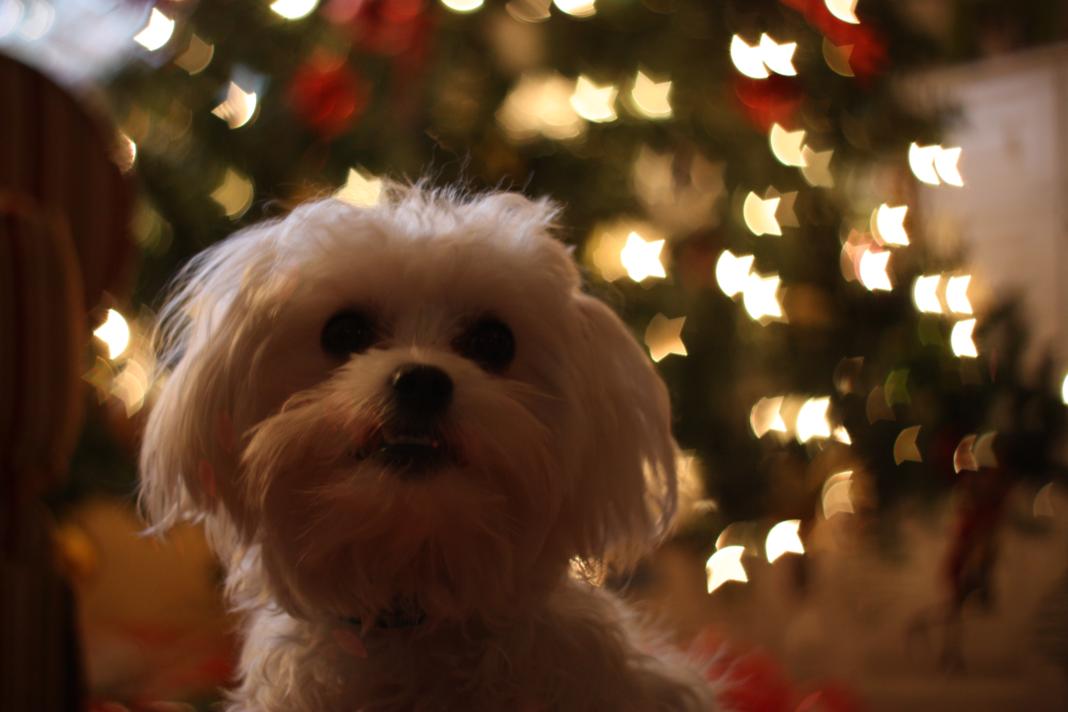
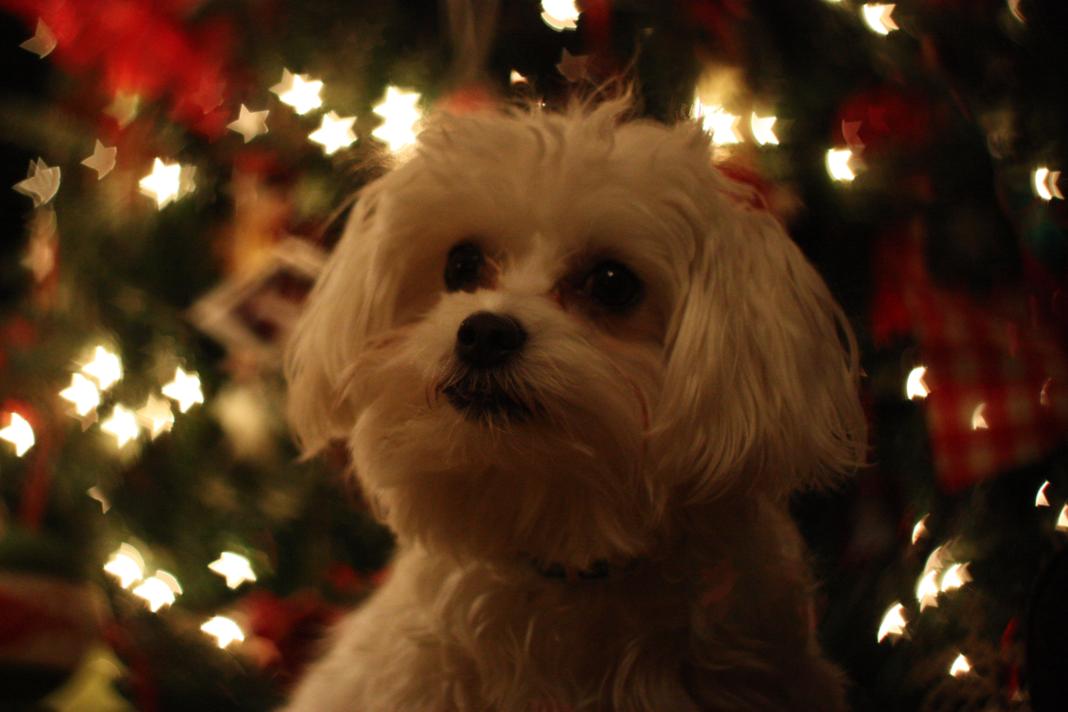
My mom refused to be photographed so my subjects were Henry and Lolli - two very wiggly dogs.  I got a little smarter, though, and scooted a small bench in front of the tree to set them up on.  This put them in the middle of all the tree lights (as opposed to down on the ground, making me have to shoot upward) and made it harder for them to run away (since I could catch them before they jumped off the bench).

Henry was less than thrilled about being photographed.

Lolli did a little bit better on the stool, but my stars still aren't very sharp.

Henry again.

Lolli, so tired of this (and also in need of a bath).

They aren't perfect (and don't even compare to Amanda's!) but it was fun to play around with anyway.  I've only done it the one time and haven't tried again since.  Maybe I will on Christmas Eve, though, because I have nieces and nephews that would look pretty darn cute in front of a starry Christmas tree.

I'll leave you with a picture of my mom's pretty Christmas tree. First, a regular picture.

And now, with stars.  Bam!

A Busy Weekend

Hello, friends!  I hope you've all had a good weekend.  We sure did.  I'm sure lots of you are now enjoying a nice Christmas break from work.  I wish I could say the same, but alas, I'll be at work tomorrow (and the rest of the week, too).  I'm here to write about our weekend, but not the weekend that we're wrapping up now, rather last weekend when Doc's parents were in town for a visit. I want to get this documented before I forget! Friday night we had a big birthday celebration.  Doc and Wyatt had both had birthdays that week, and Anna's got one later in the month.  My family joined us for dinner and festivities so we could all celebrate together.

Here's Doc with both of the birthday kids.

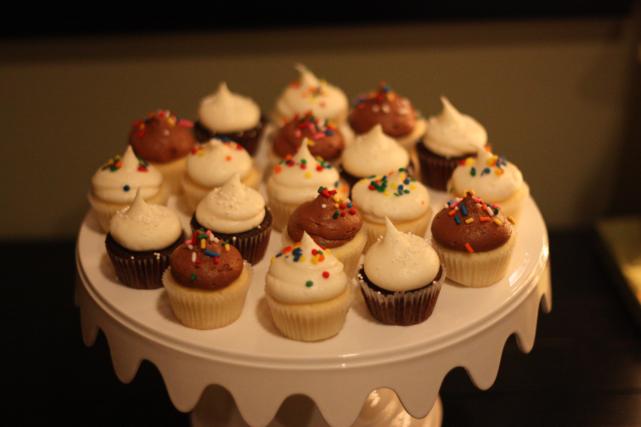
We took the lazy route and just ordered pizza for dinner.  I was even too lazy to bake a cake, and ordered a variety of mini cupcakes instead.

Can I just say that lazy tastes goooood.  Mmm, I wish I had another one of those cupcakes right now.

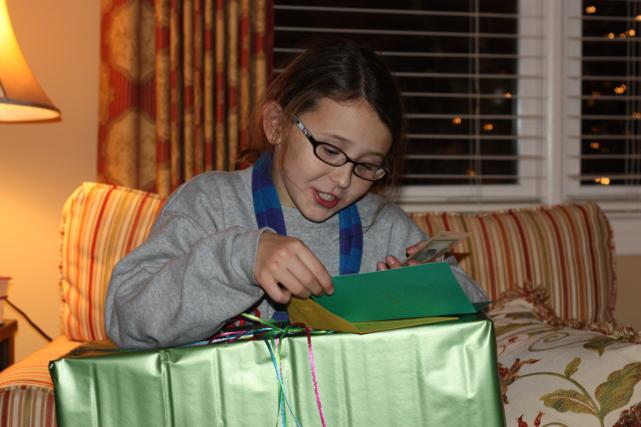
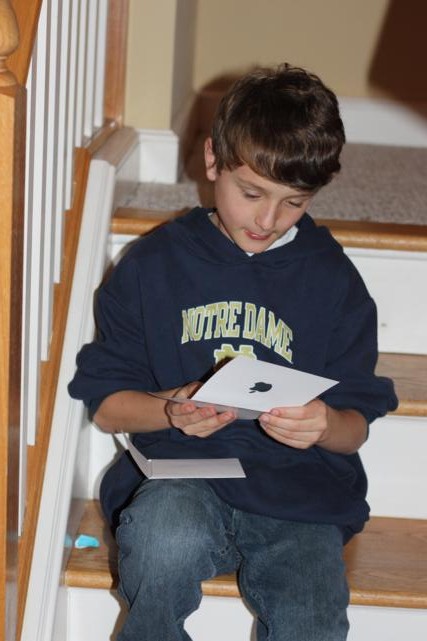
After dinner, there were lots of gifts to be opened.

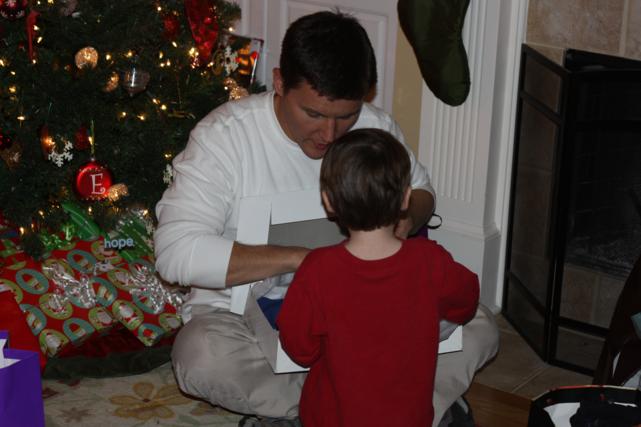
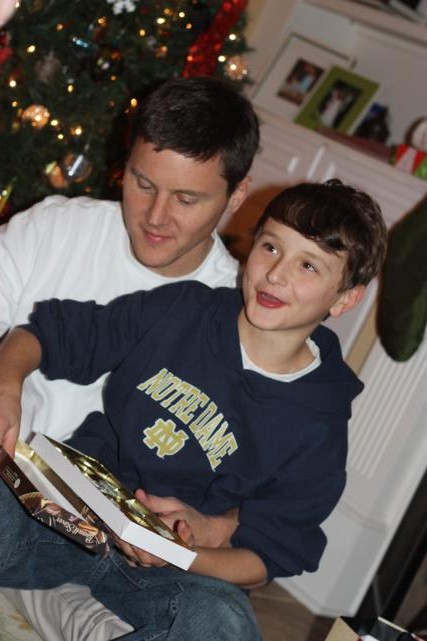
Doc had a little helper (Parker) with most of his presents.

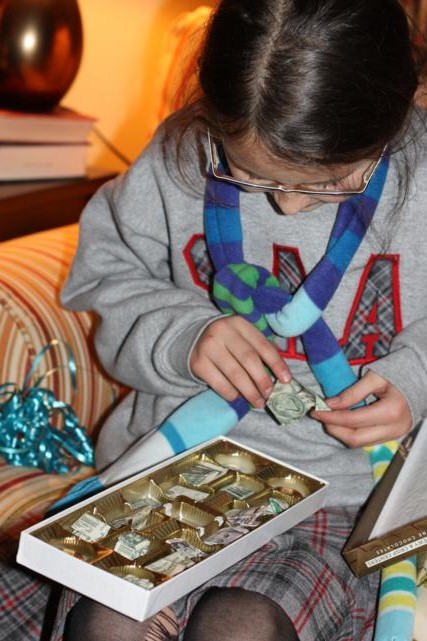
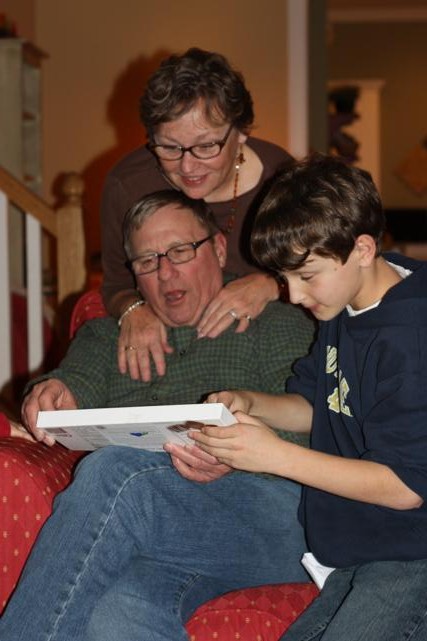
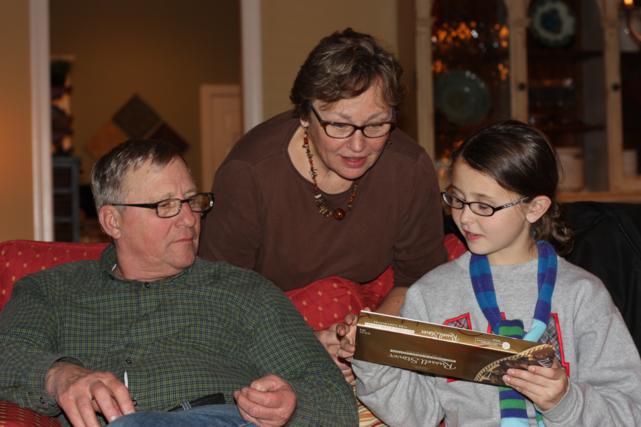
Doc and I were excited to give the kids their candy boxes full of money.  They seemed to really like them!

They were careful not to move any of the money until after making sure everyone got to see all the folded money (and our mad folding skillz).

We had them guess how much money they thought was in their boxes and neither of them got close.  They were pleasantly surprised when we told them how much they got.  Add that to all the other money and gift cards they got from everyone else, and they're loaded!

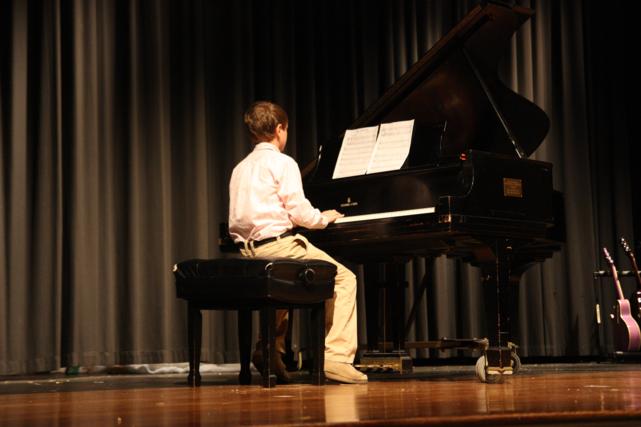
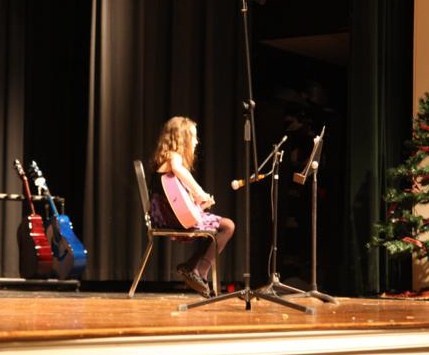
We invited Bill and Pat to come visit this particular weekend because on Saturday, both kids had their end-of-semester music recitals.  We were glad their grandparents were able to come watch them play.

Wyatt played two Christmas songs on the piana, and did a wonderful job.

And Anna played two songs on the guitar.  One was a Christmas song and the other was a Selena Gomez song that I did not know.  She also did a great job on her performance.

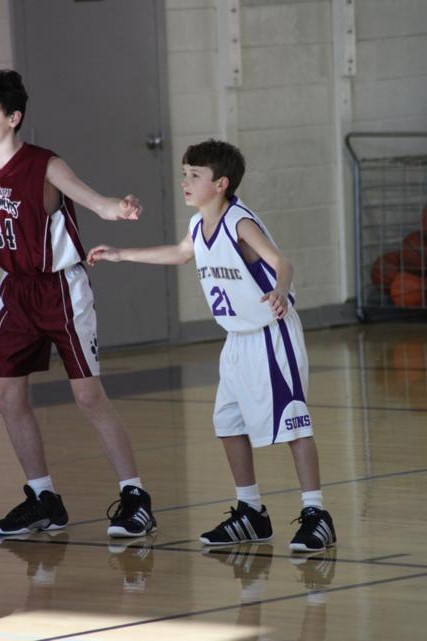
Immediately after the recitals, Wyatt had a basketball game.  Here's a picture, but since I have about a gajillion of them, that might have to be a post of its own one day.

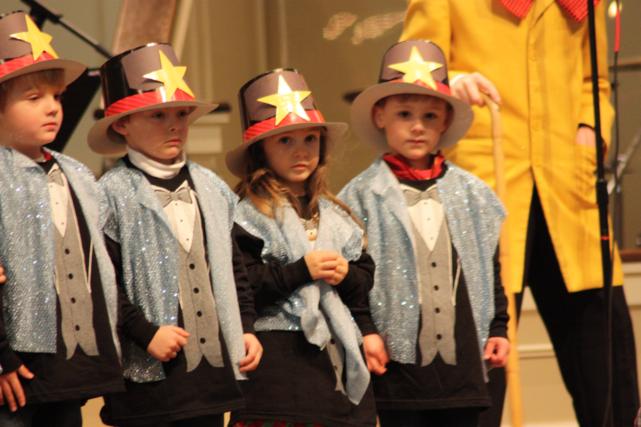
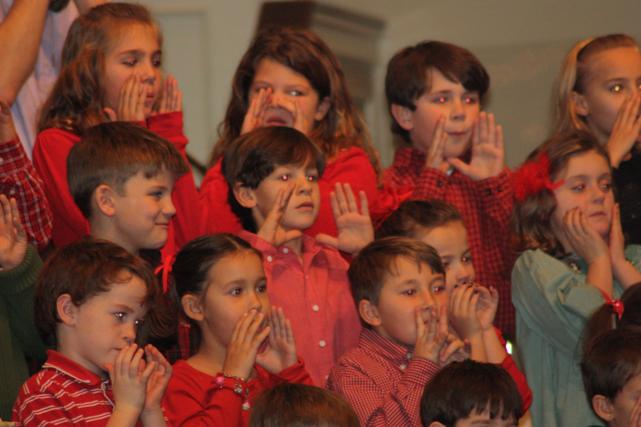
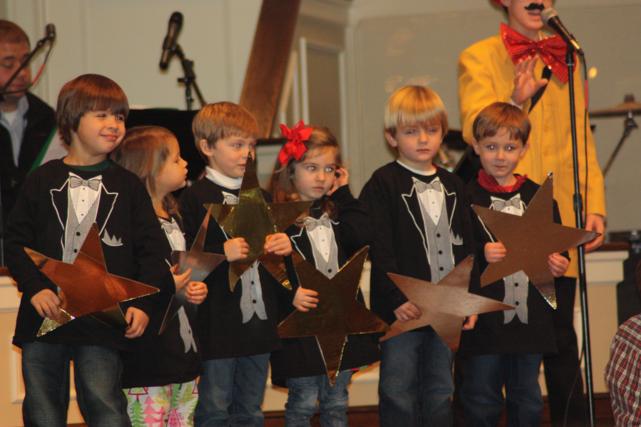
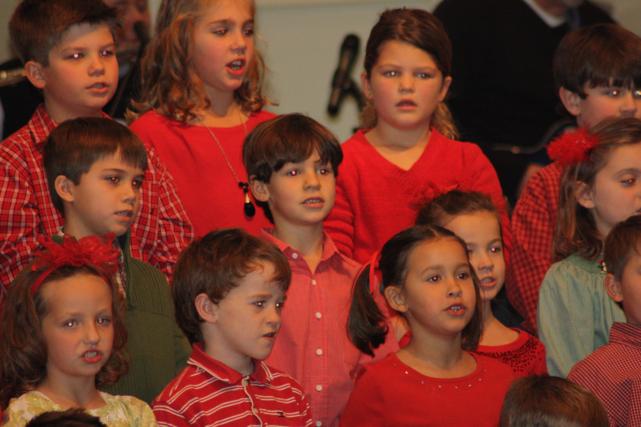
The second half of the weekend was much more low-key.  We had dinner at home with just the six of us that night.  Sunday morning, Bill and Pat were finally able to hear our new preacher at church.  It was not a typical Sunday, though, because the children's choirs performed their Christmas play.  That meant we got to see both Jett and Bren perform.

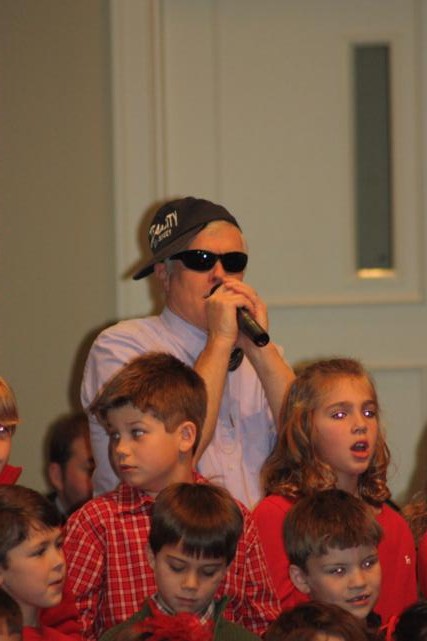
Speaking of our new preacher, here he is beat-boxing for one of the children's choirs.  Like I said, it wasn't a typical Sunday...

After church, we just had time for a quick lunch before dropping Doc's parents back off at the airport to fly home.  We were so glad they were able to be here for so many events!  And we hated seeing them go, but are glad that we'll be seeing them again soon in just a few days!

Hot Chocolate On A Stick

I saw this idea two years ago.  That year, it was too late into winter to squeeze it in, and last year I just didn't have time.  This  year, though, it was on.  I picked up the supplies at the last minute Saturday afternoon so Anna could help me do it while she was here. What idea am I talking about?  Right...I guess I should tell you about it.  Hot Chocolate On A Stick is like the packs of powdered stuff you add to your mug to make hot chocolate, only for this version, it's in solid form and you stir it in until it melts.  Clear as mud hot chocolate?

I originally found the idea on Giver's Log.  I used her recipe to make the hot chocolate, but mimicked Sprinkle Bakes' idea for the presentation.  I squeezed my hot chocolate into small square molds so it would set up in that shape.  And, like Heather from Sprinkle Bakes, I used biodegradable wooden spoons instead of stirrers.  Luckily I already had some from this party.  I wish that I had thought ahead to order the chocolate transfer sheets like she did.  Maybe next time.

I did not take step-by-step pictures of this process, so if you want to give it a try, you'll have to head on over to one of those blogs.  They have lots of good tips and suggestions.

Once my hot chocolate had hardened, I decided to dip them in white chocolate and sprinkles.  I wanted to try dipping them in peppermint or adding some flavor to the white chocolate, but I didn't have anything on had to experiment.  Again, maybe next time.  Anna was head dipper.  She alternated between red and green sprinkles so that they'd be Christmas-y.

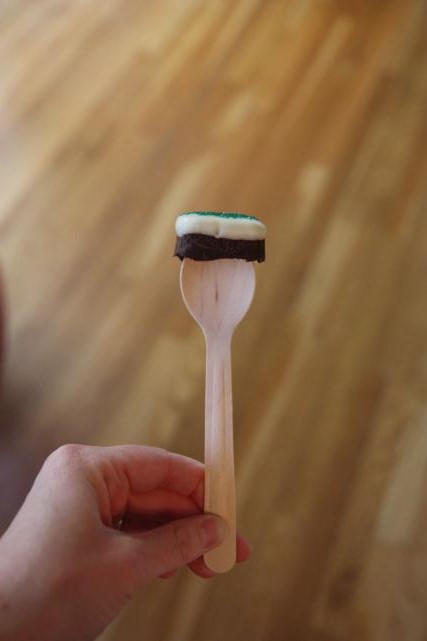
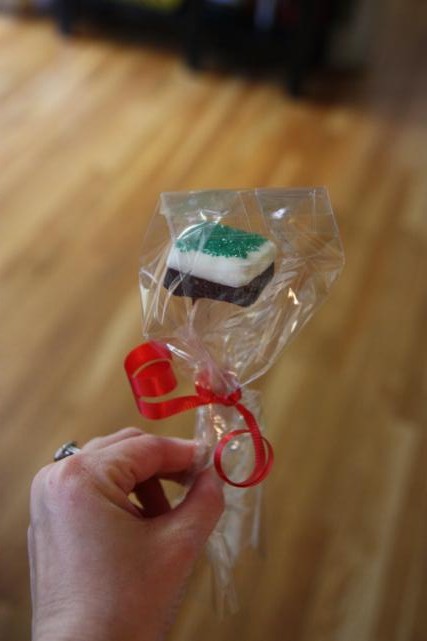
Here is the finished product after she dipped in sprinkles.

A better view of the top.

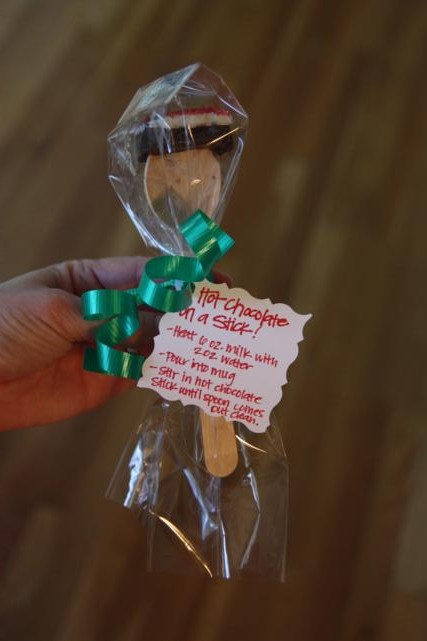
I thought these would make great gifts to friends that host us in their homes for parties, so I wrapped them individually in a small clear bag and curling ribbon in a coordinating color.


At the last minute, I decided they might need a tag explaining what they were and how to use them.  I drew up a really cute tag on the computer but then my printer decided not to work.  In the end, I had to write them out by hand.

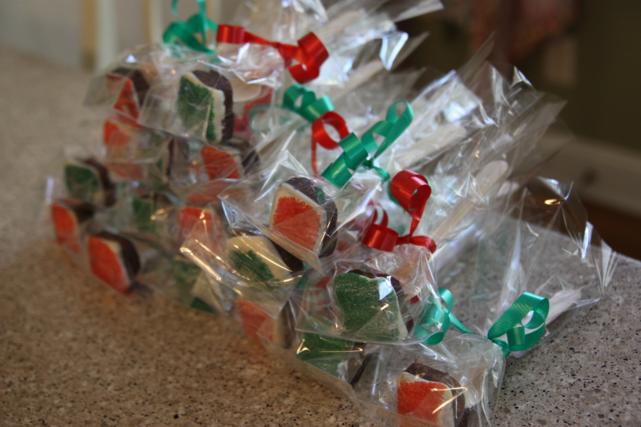
I doubled the recipe when I made these so we ended up with a big pile of them.

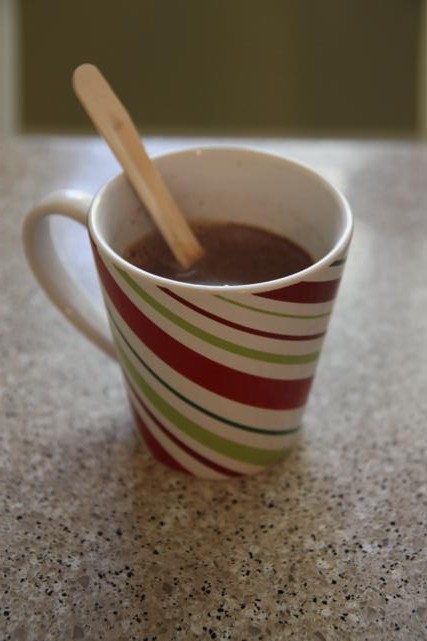
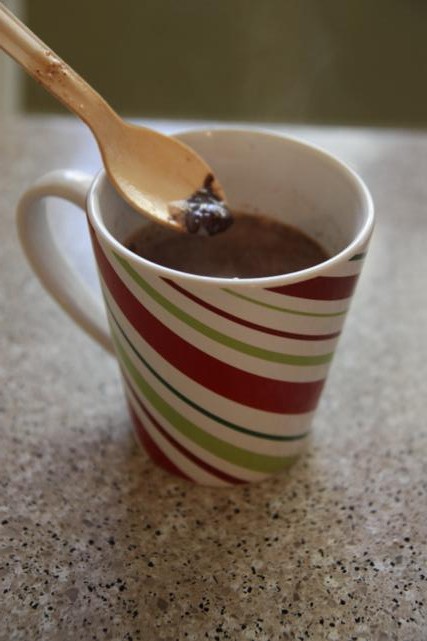
Of course, I had to give one a try before giving them away.  What if it didn't work?  What if it tasted grody?  I filled my mug with 6 oz. milk and 2 oz. water (heated) and plopped in a Hot Chocolate On A Stick.

I stirred and stirred until the chocolate melted away and, just like that, I had hot chocolate.  It worked! Phew!  And not only did it work, it also tasted pretty good.  Not gourmet hot chocolate, but still pretty good.  It helps the flavor if you drink it out of a festive holiday mug.

Now, less than a week later, all of our Hot Chocolate On A Sticks are gone.  Guess I'll have to make another batch, and maybe this time I'll try my hand at mixing up some different flavors...

Baby I Got Your Money

Our kids are at a tough age when it comes to buying them gifts.  They're too old for toys, but they still want something cool to open.  We begged them to make wishlists for Christmas and their birthdays, but every time they did, money seemed to be the reoccurring item.  So Doc and I decided that money was what we'd give them...for their birthdays, at least.  Their mom is taking them on a Disney cruise the first week of their Christmas break.  It's in lieu of birthday parties and is their gift from her.  Even though Anna's birthday isn't until after they're back from the cruise, we decided to go ahead and give them both their money before they left so they'd have it to use as spending money. But we couldn't just give them cash in an envelope.  Where's the fun in that?  I racked my brain with how we could get creative with this ho-hum gift.  Scavenger hunt?  All change and make them roll it?  Earlier this year, a friend from work told me about how he and his wife folded a bunch of one dollar bills to make a lei for their son's graduation.  That sounded cool, but I couldn't figure out how to make the lei work for December birthdays.  (Guess I could've tied it in to the Caribbean cruise.  Hindsight...gets ya every time.)

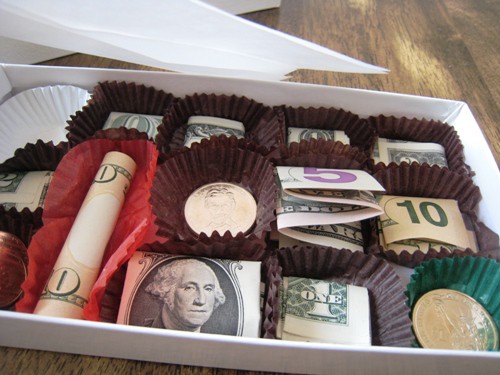
I had already told Doc that we needed to figure out a way to creatively fold the money when I spotted this idea on Pinterest.

(found here)

Yessss!  This was a great idea!  We could creatively fold the money like I wanted to, and now we had a cute way to box it all up to be wrapped.  Winning!

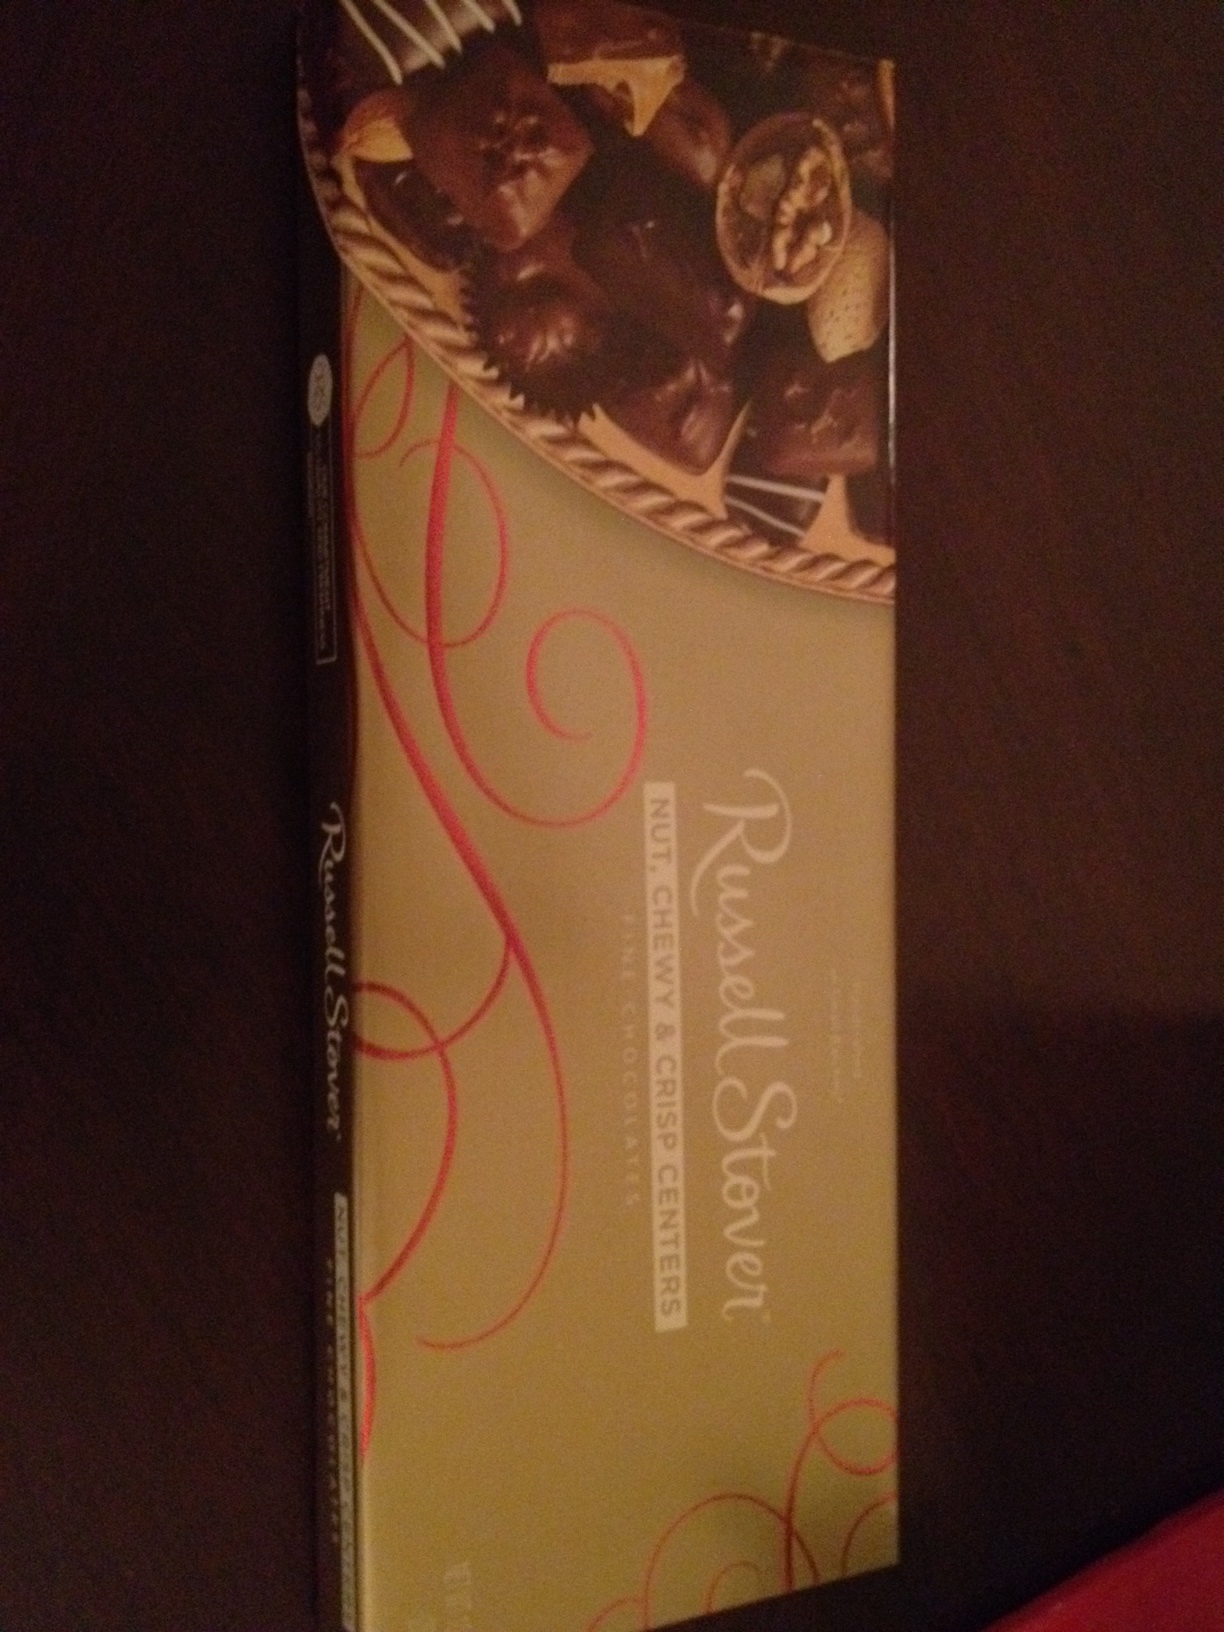
I sent Doc to Target to pick up two cheap-o candy boxes.  Russell Stover was the winner.

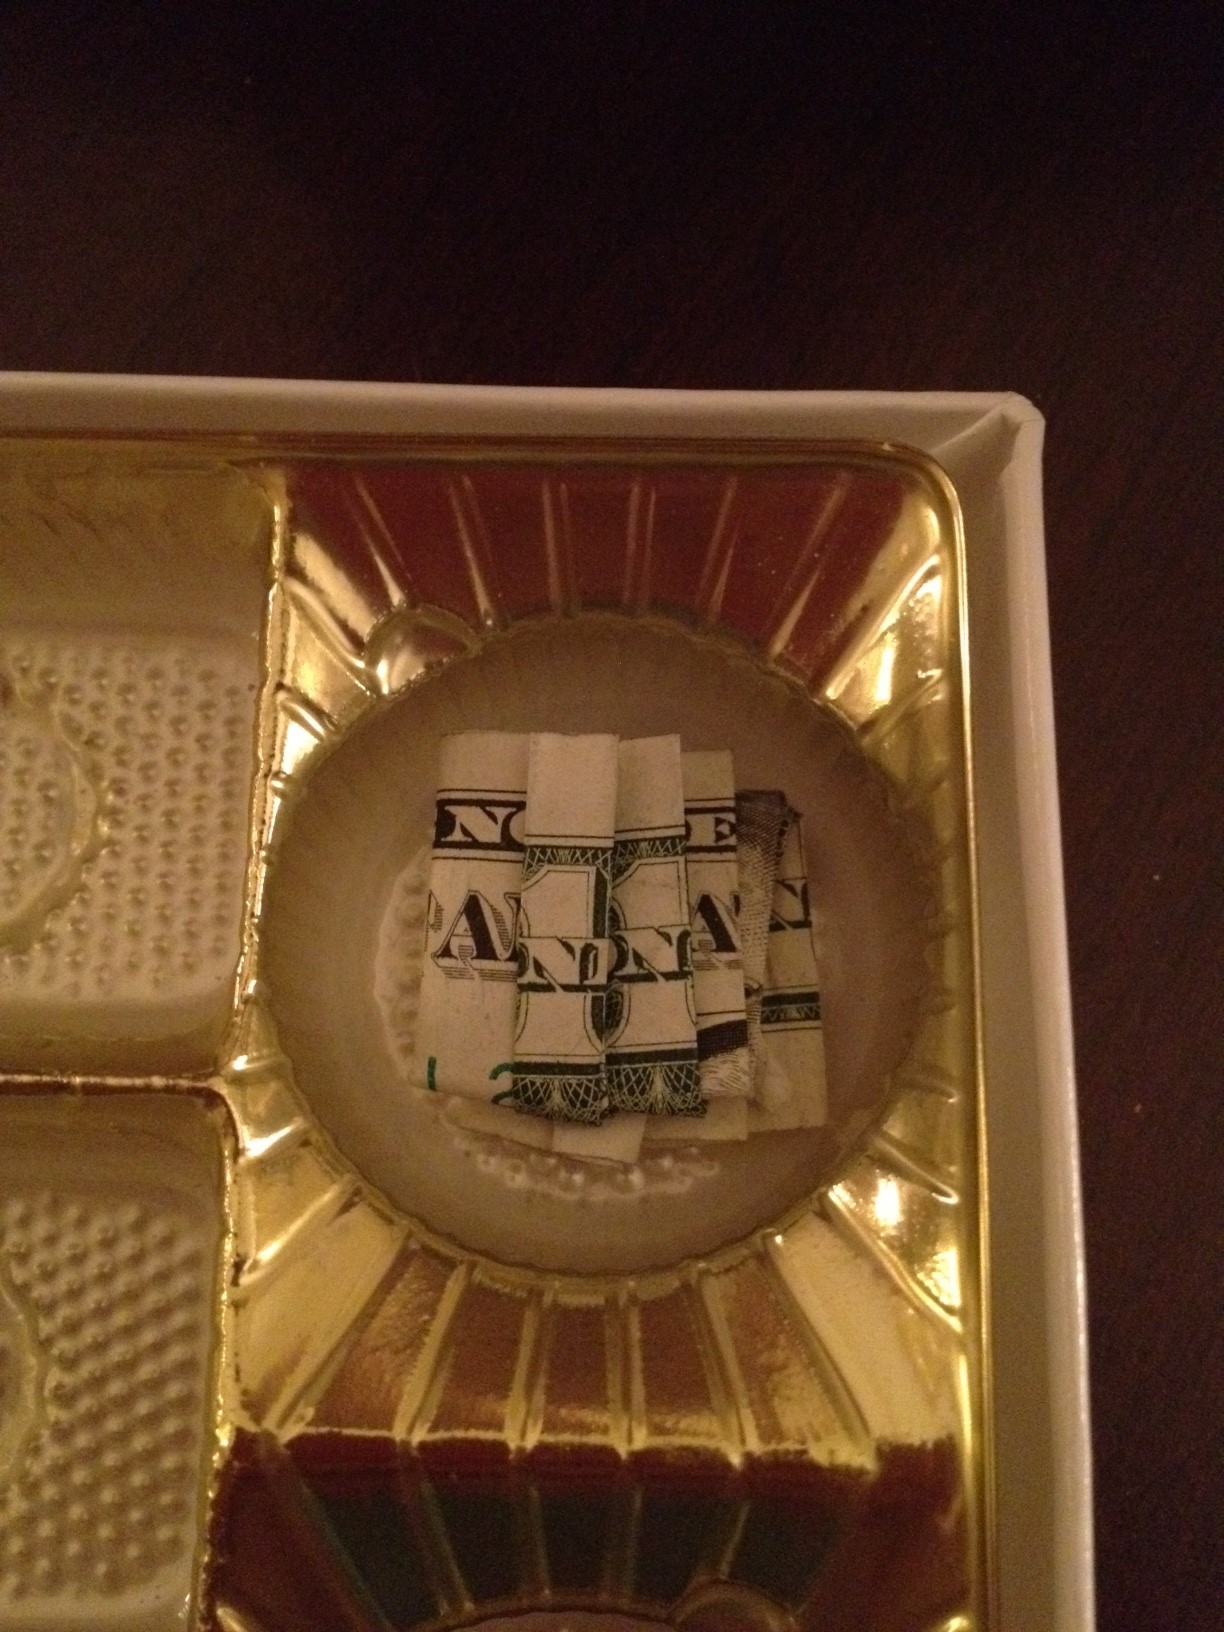
The first step in this little project was to eat all the candy figure out how much of each bill we needed.  Our candy boxes didn't come with the little individual paper wrappers, but instead had little dividers to make different sized compartments.  We could work with that.  We went back and forth on how much money to give the kids, but eventually decided on $10 for each year of life.  That meant $110 for Anna and $120 for Wyatt.  I let Doc figure out how to evenly divide the totals into different sized bills...a task right up his alley!

A couple trips to the bank later and we had all the cash.  We struck out on half dollar coins, but did manage to snag enough whole dollar coins to use.  Each of them got one fifty dollar bill and one twenty.  I can't remember the amounts after that, except that Wyatt got one more ten dollar bill than Anna since he's a year older.

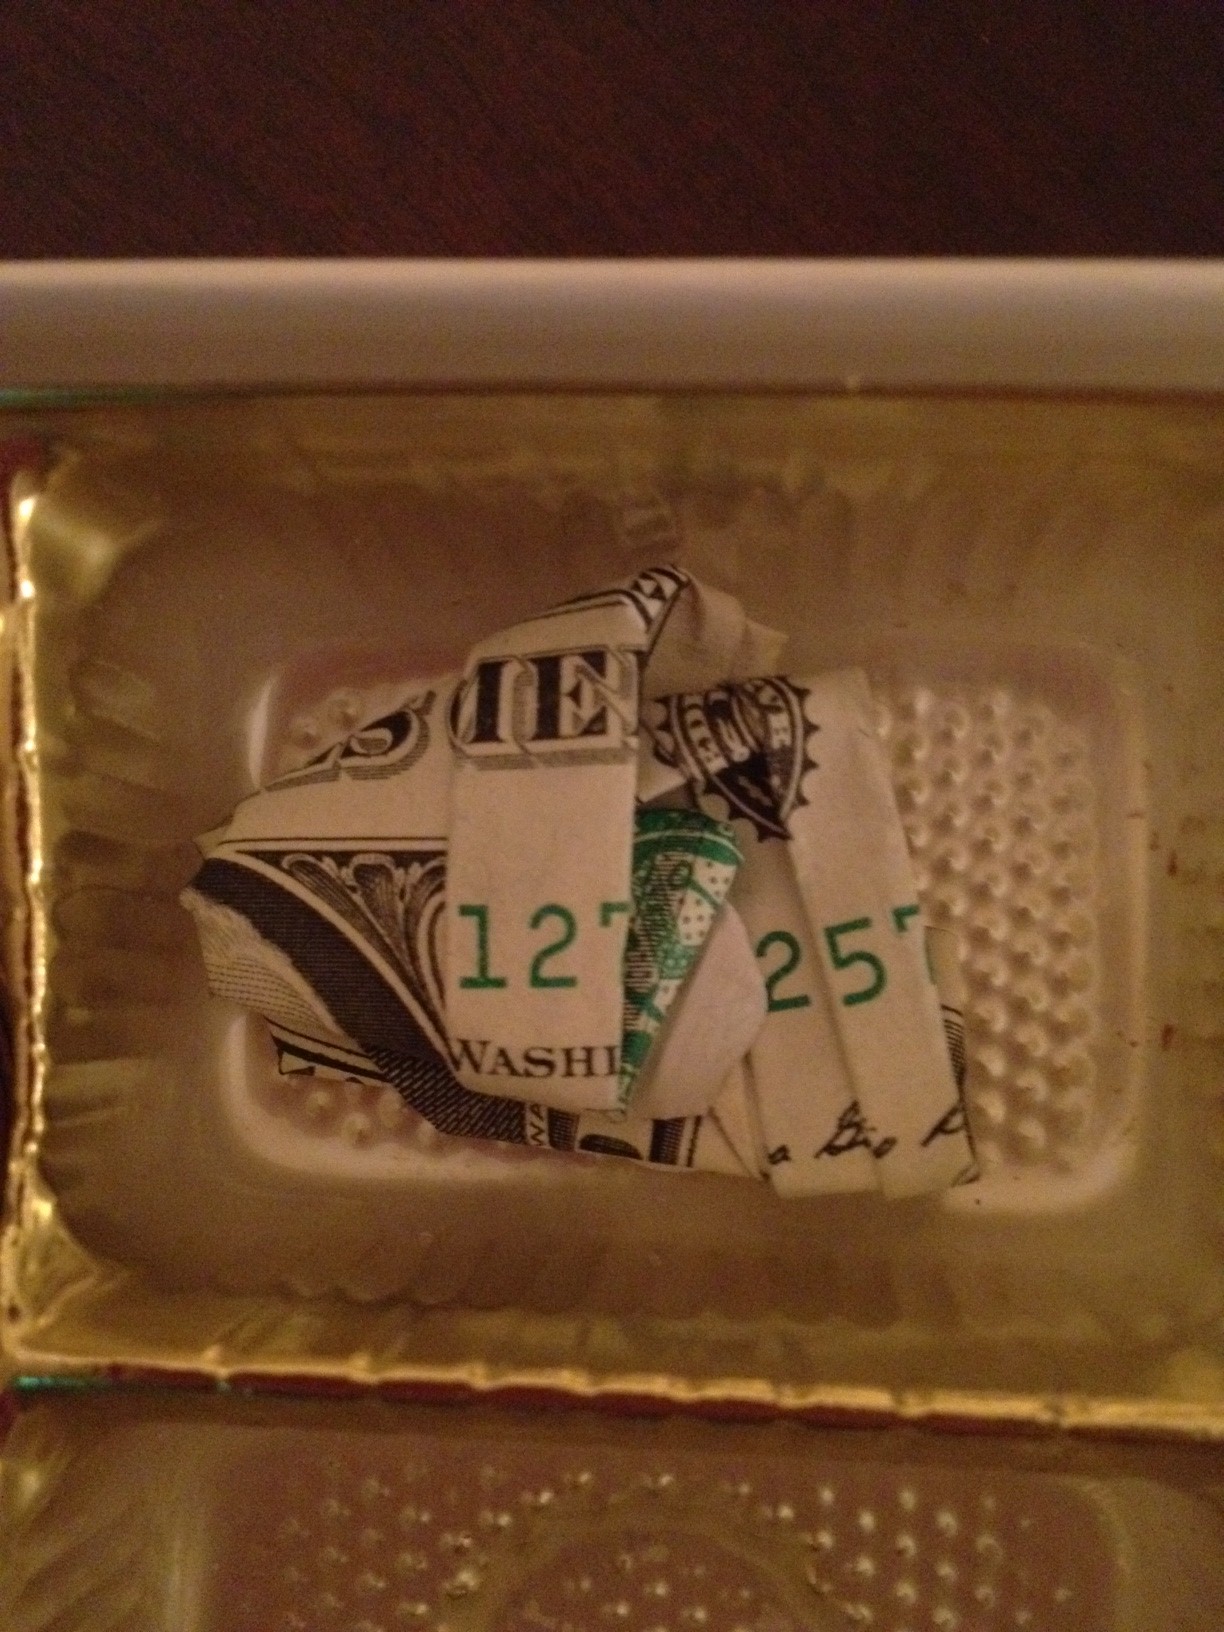
We spent a whole night folding money!  Doc gets most of the credit because he started while I was wrapping Christmas presents.  He got creative with his folding...here is Wyatt's box around the time I joined in to help.  You can see a couple that center on an E for our last name, and one that has a 12 for Wyatt's age.

I, of course, had to pull up some tutorials online so that I could fold the money into fun shapes.  My first dollar bill became a heart for Anna.

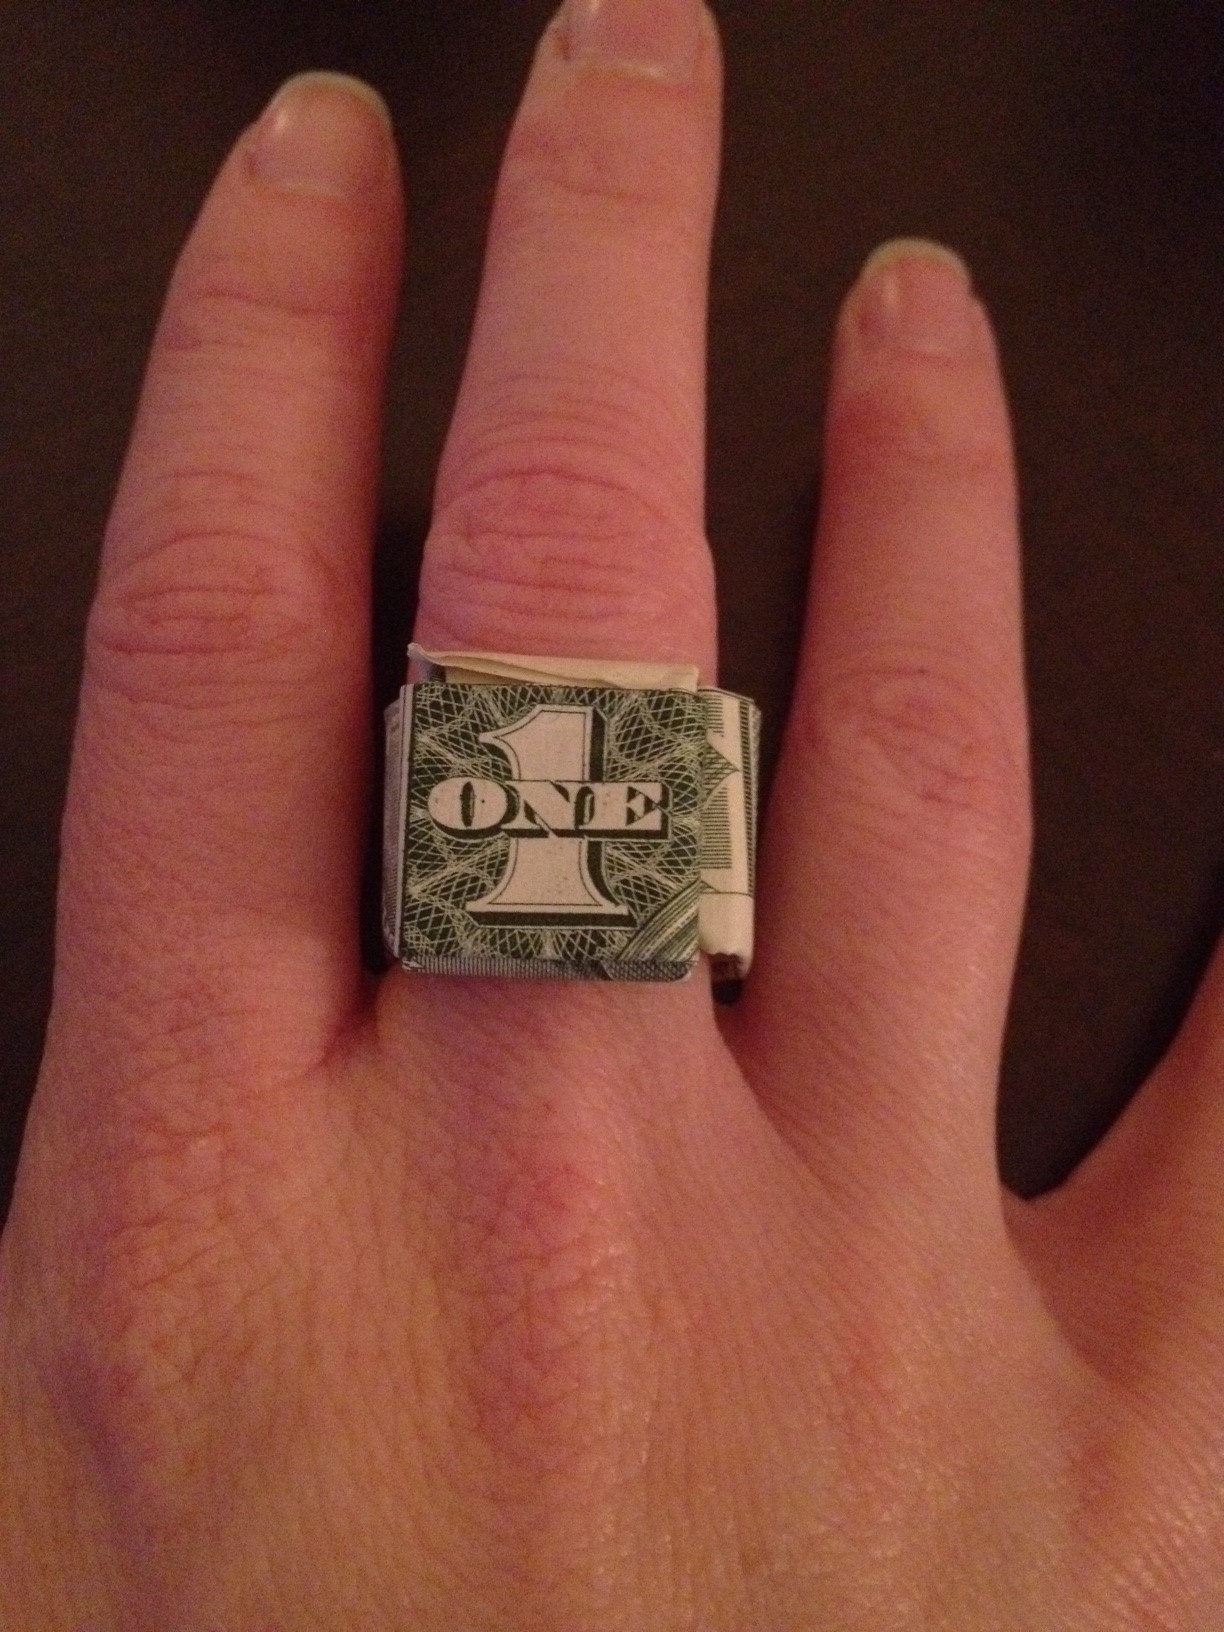
I also made her a ring.

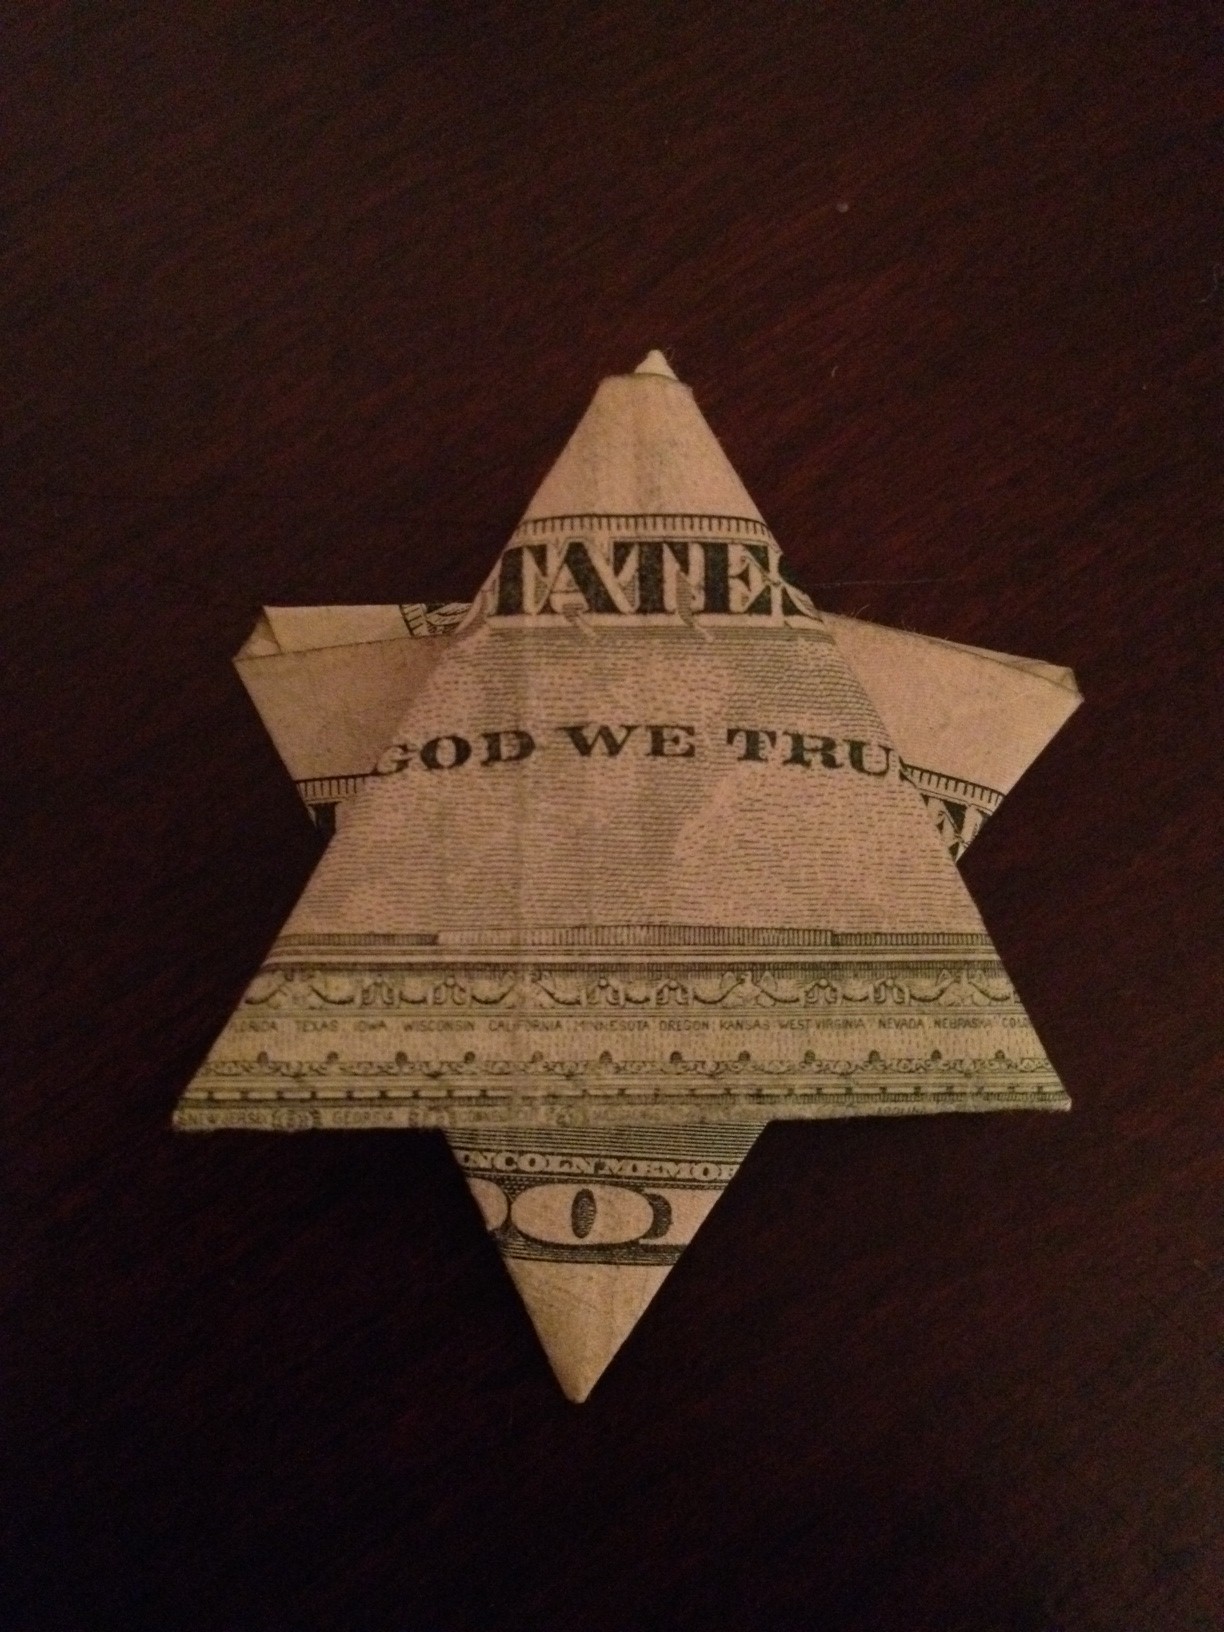
For Wyatt, I made a Star of David.

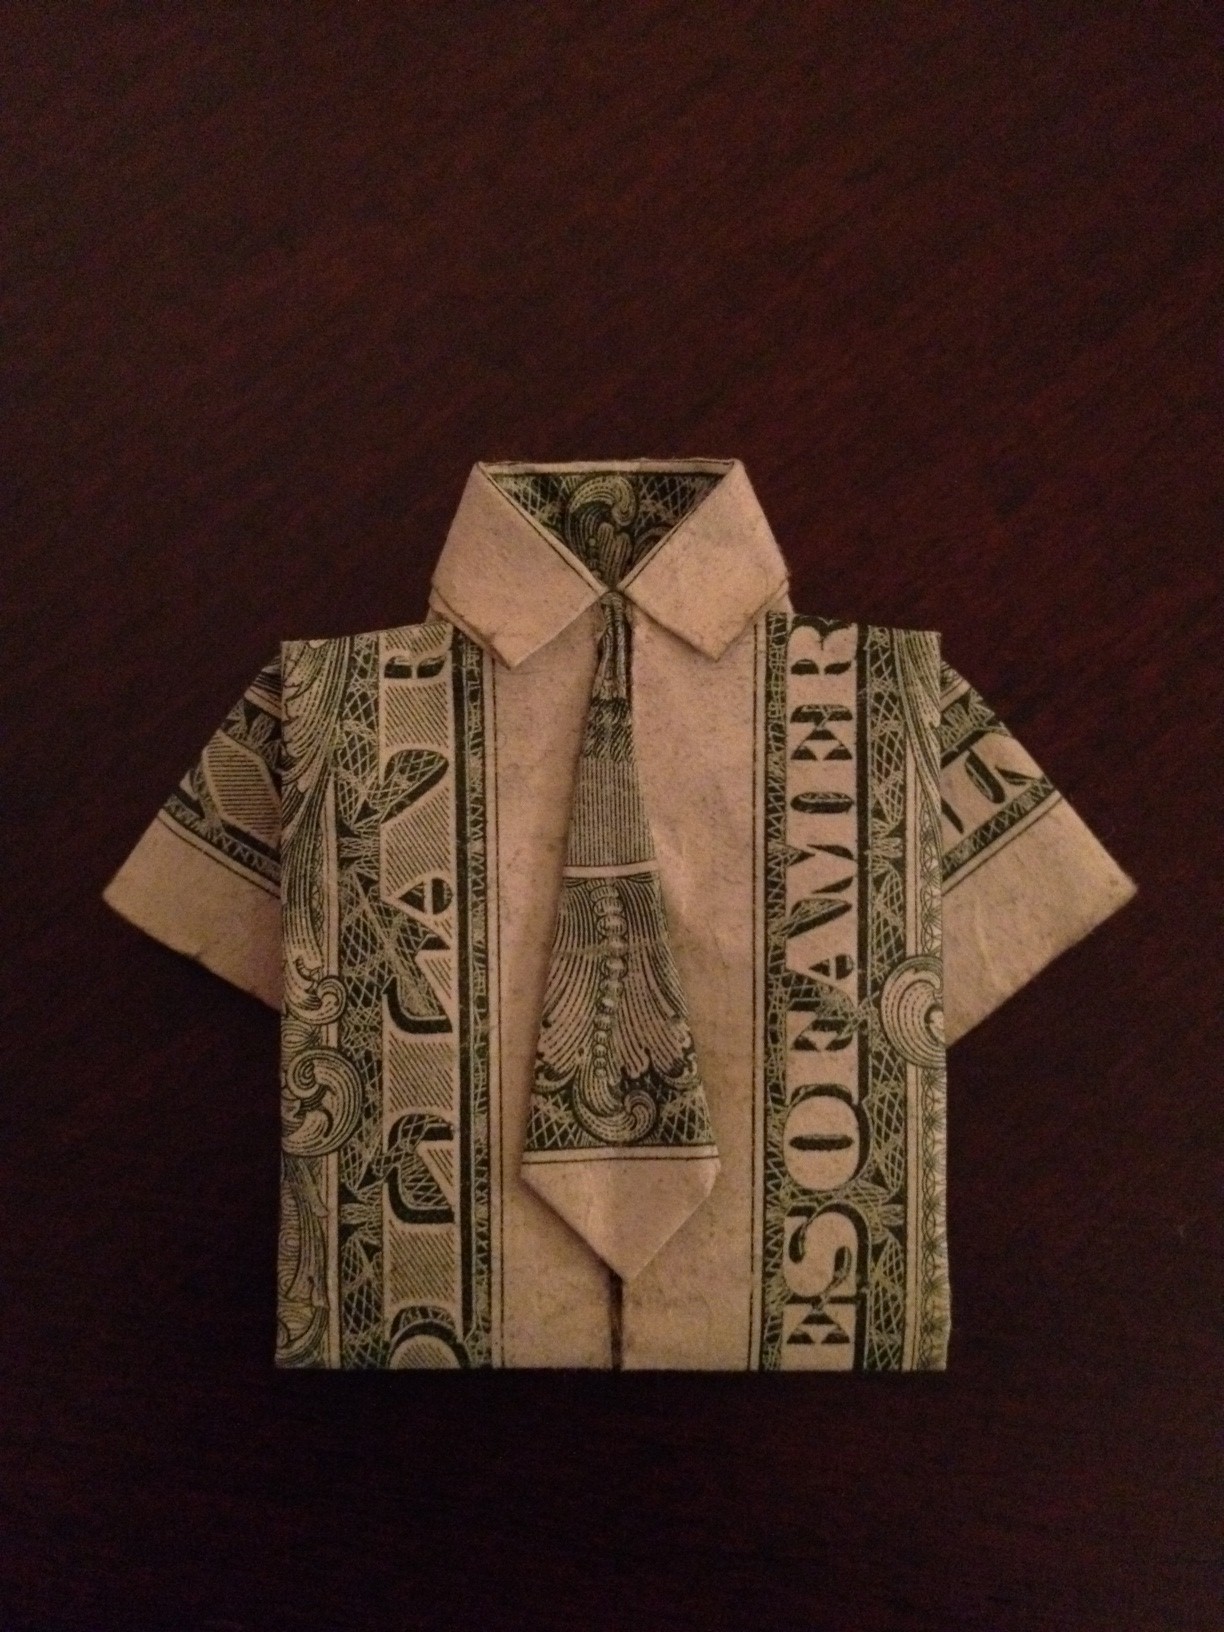
And, the one that I was most proud of (and the one that took the most time and the most re-doing)...a shirt and tie!  Yes, that's only one bill and there was no cutting, taping, or gluing involved.  Bam!
Doc stepped it up a little on his folding, too.  He made this one for Anna that shows her birthday - 12/25.

I was pretty impressed with this one he made for her - it shows her name AND if you look behind the n's, you can see an 11 - her age this year.

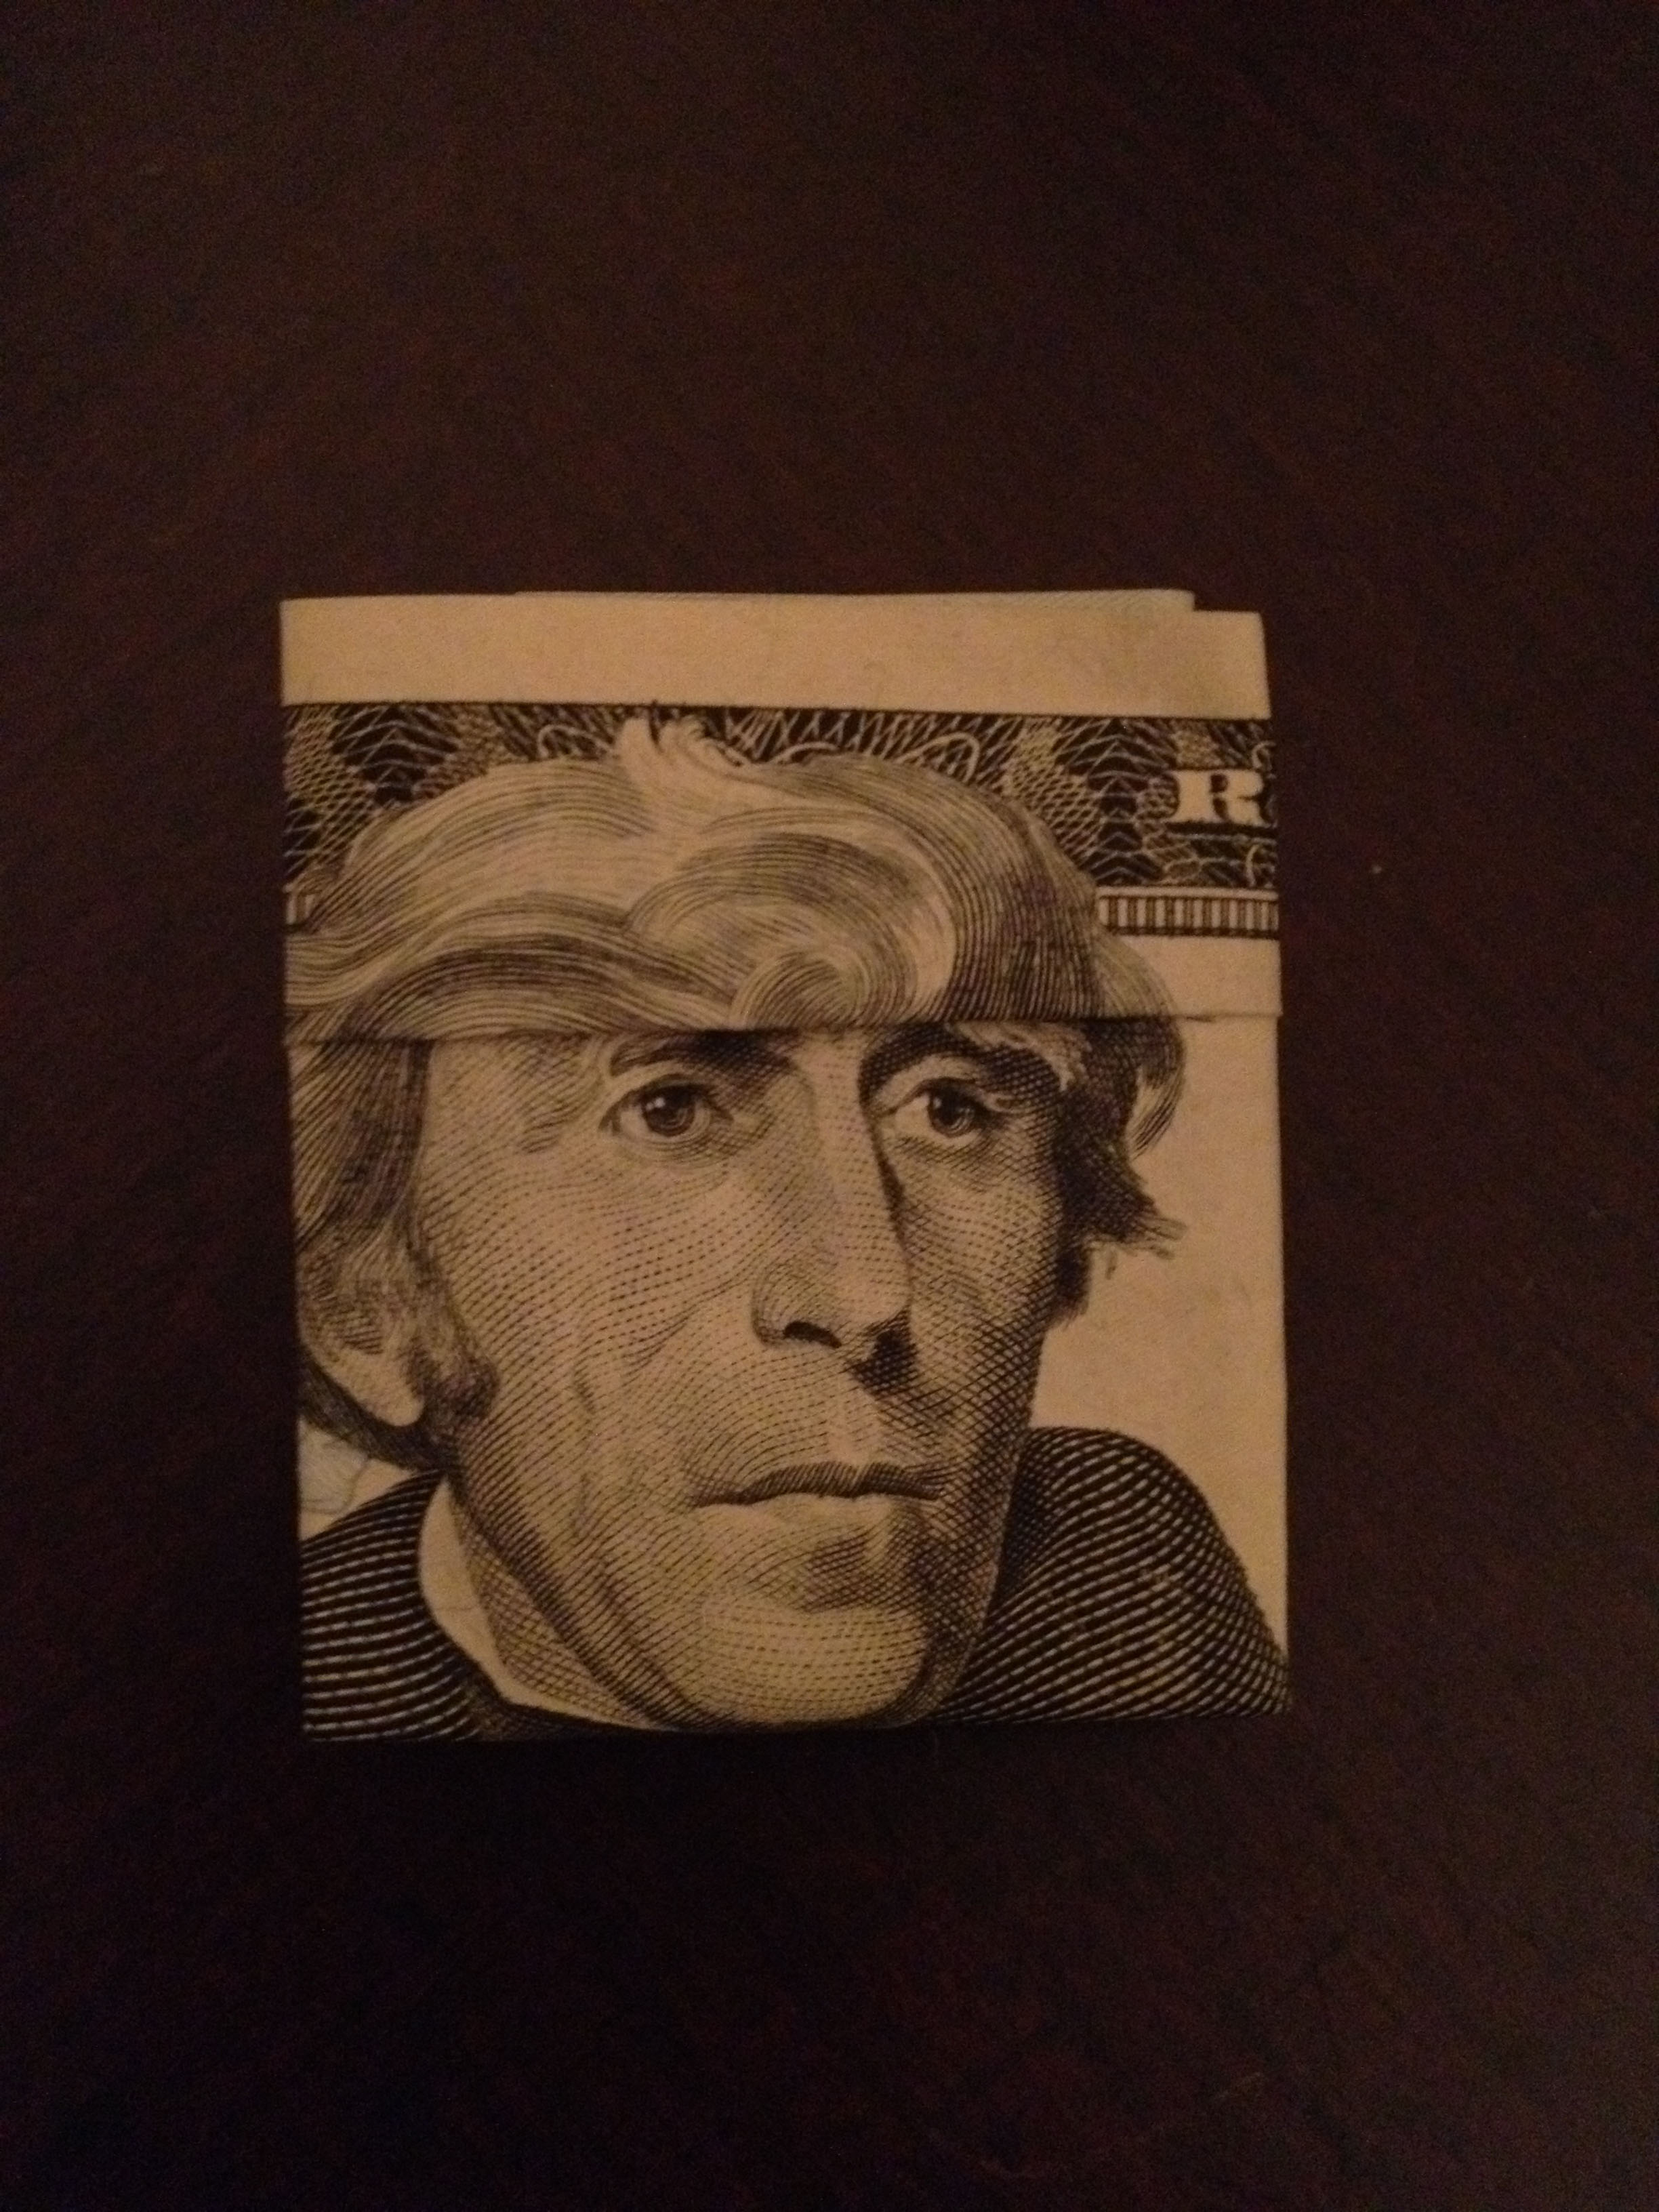
And finally, this last one that he made for Wyatt totally cracks me up.  He gave Andrew Jackson some Bieber hair.

I forgot to take pictures of the boxes when they were finished.  (Obviously we rearranged Wyatt's from that initial picture after we had folded more bills.)  The kids loved opening them and seeing all the money.  Actually, first Anna saw the box of chocolates and said she sure hoped there weren't too many with nuts.  I'm pretty sure she was glad to see the money instead of just a bunch of chocolates!  I guess Forrest Gump was right about those boxes of chocolate...you never know what you're gonna get.

Yummy Treats

I'm sorry it's been radio silent around here for a couple weeks.  I've been so busy!  It's that time of year though, I'm sure you know that.  What with all the holiday decorating and baking and parties, things just get crazy.  And did you know that I'm the only one in my immediate family that doesn't have a December birthday?  Yep, even the dog's birthday is in December.  So add birthday parties and presents to the normal Christmastime chaos and you get no time to blog. But!  That doesn't mean that I haven't still been cranking out some projects.  I have at least 6 blog posts in my head ready to share with you, I just need to actually put the pen to the paper fingers to the keyboard.  I hereby declare this week Catchup Week!  I just hope I can actually stick to it.

First up, some yummy treats.  I needed something to bring to a work potluck last week and, after searching on Pinterest, found these to make.  They were exactly what I was looking for:  something that looked great, tasted even better, and were super easy to do.  Win, win, and win.

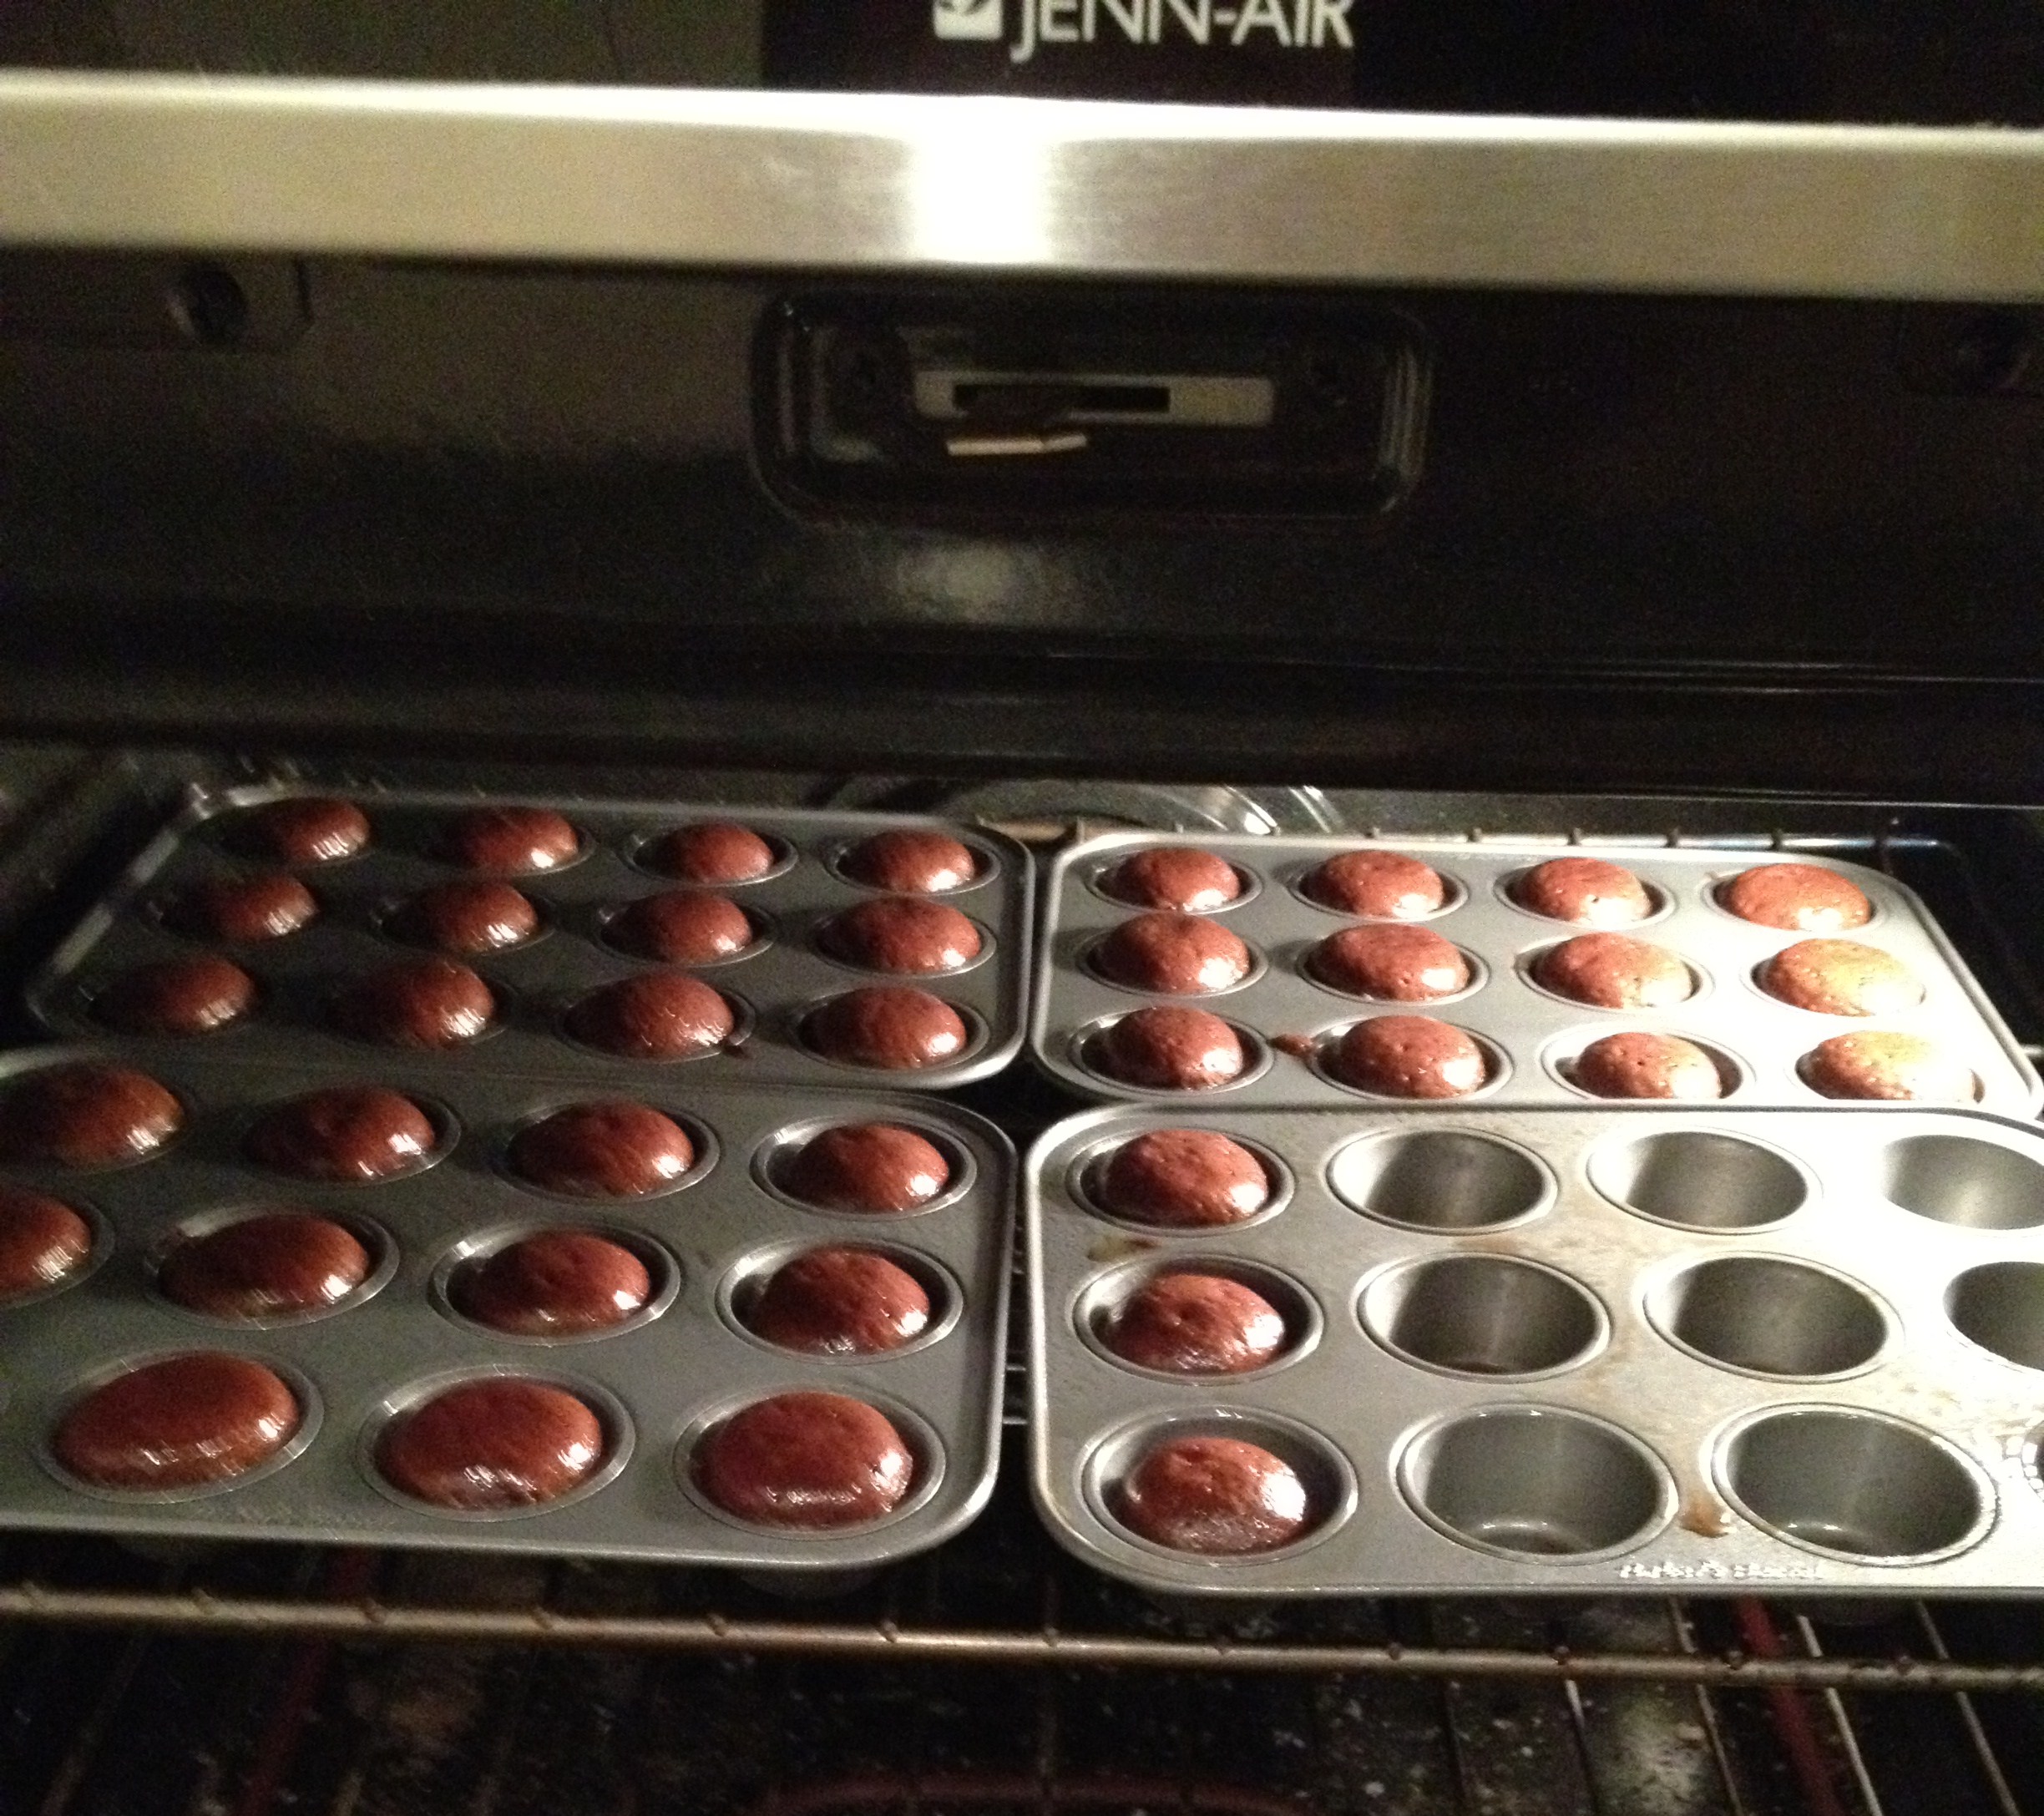
I followed these directions from Baked Perfection.  First step was to make a batch of brownies (I used a mix, no baking from scratch here!) and bake them in mini muffin tins.  I'll admit that even with shaving 8 minutes off the recommended cook time, I still slightly over cooked my mini brownie bites.  You want to take them out when the toothpick comes out with just a little bit of gooeyness on it.  (These are all iPhone photos...sorry.)

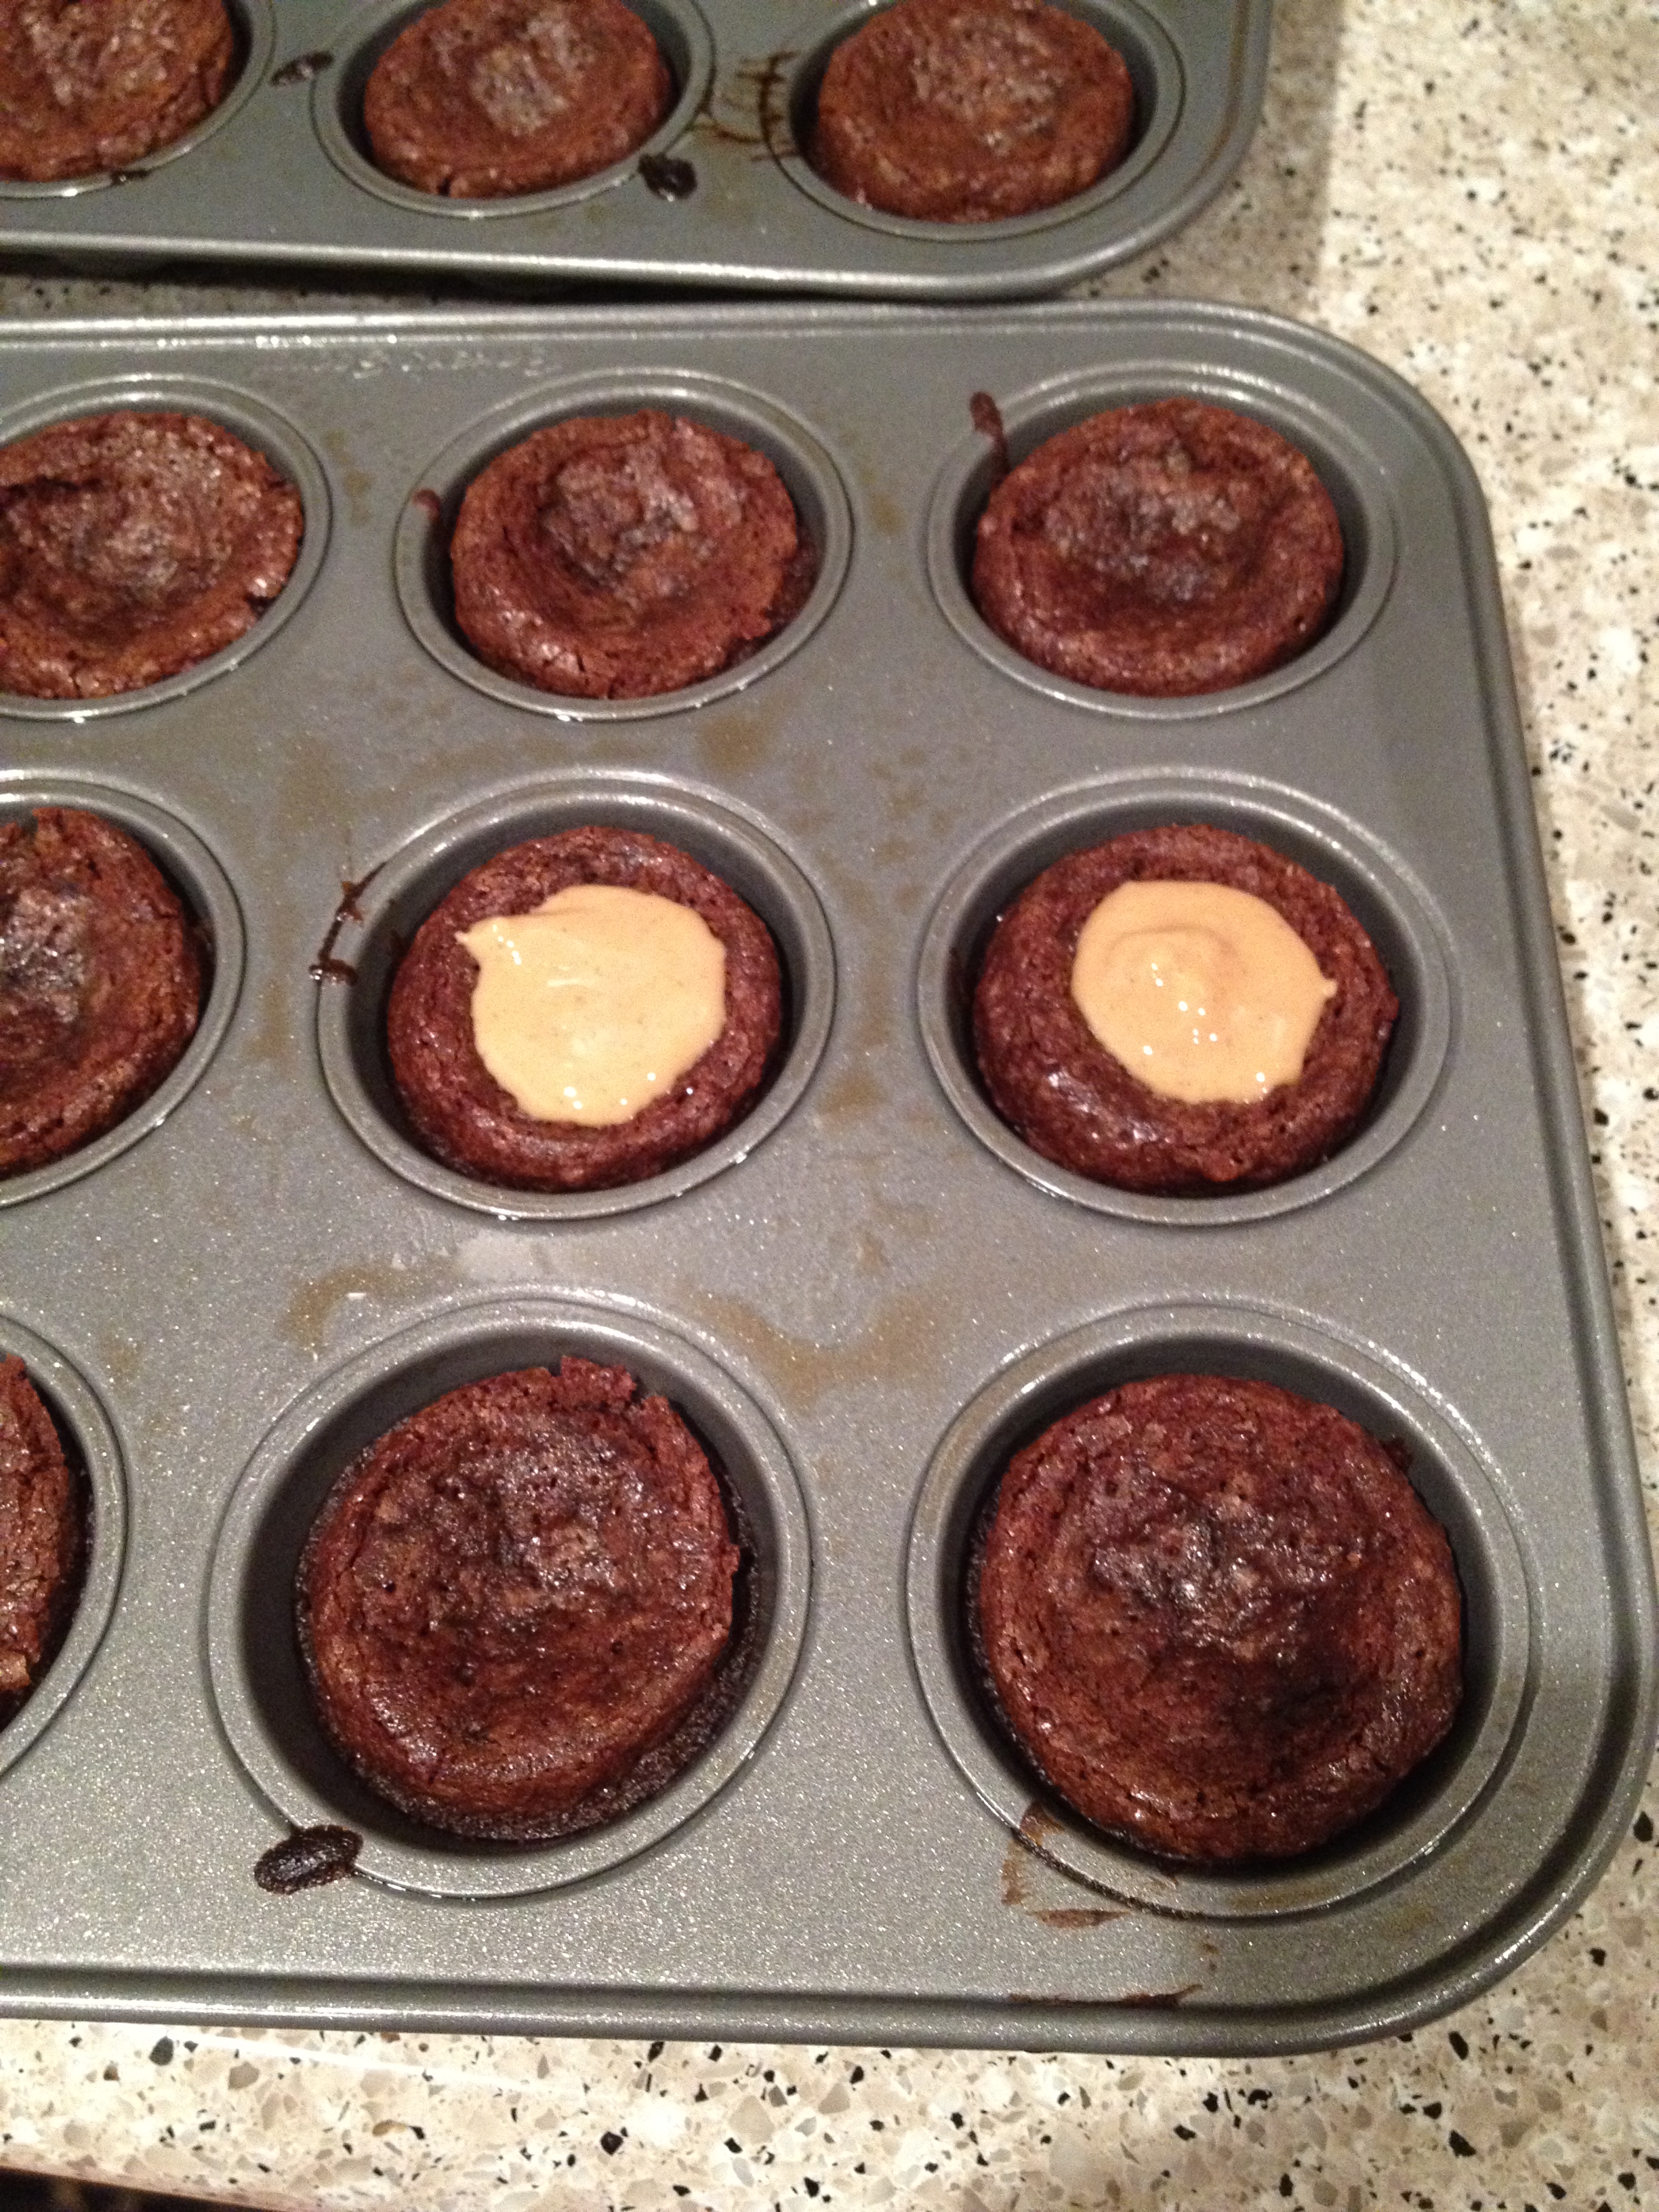
The directions say that when the brownies come out, the tops will fall on their own, creating a little bowl.  Mine didn't do that, I'm sure because they were overcooked.  I used the back of a tablespoon to create my little bowl.

While the brownies were still warm, I heated up some peanut butter to pour into the bowls.

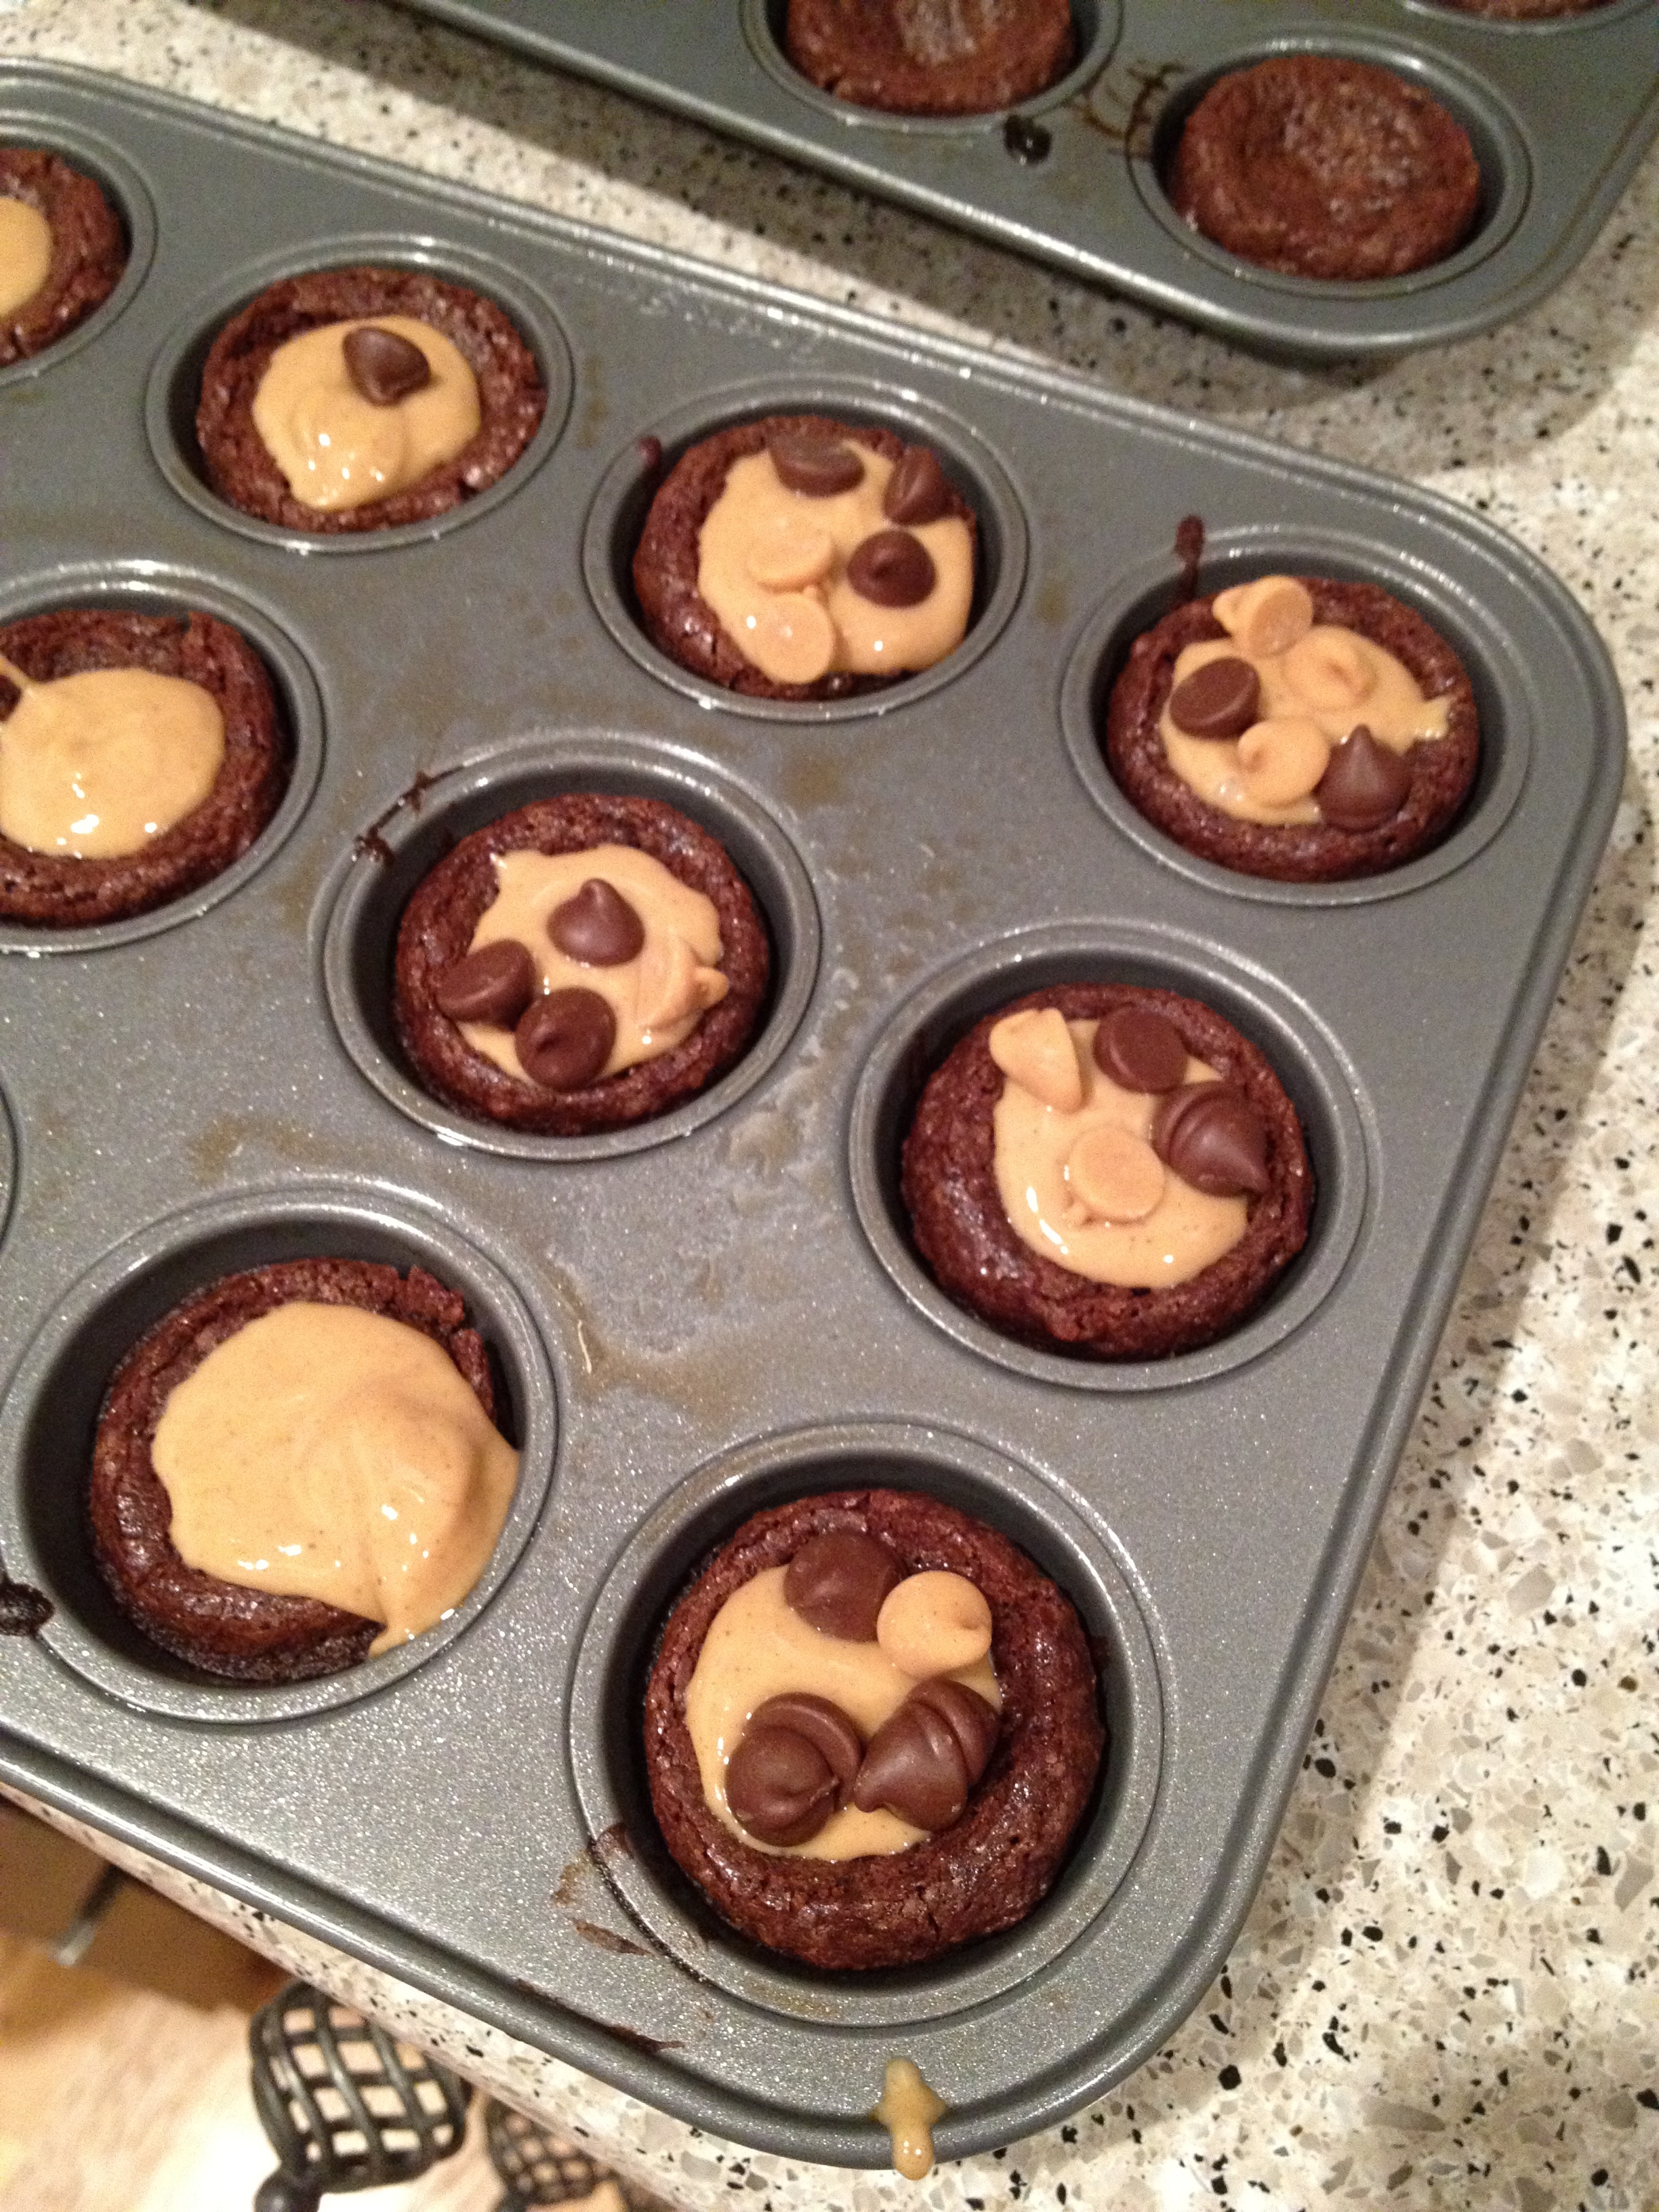
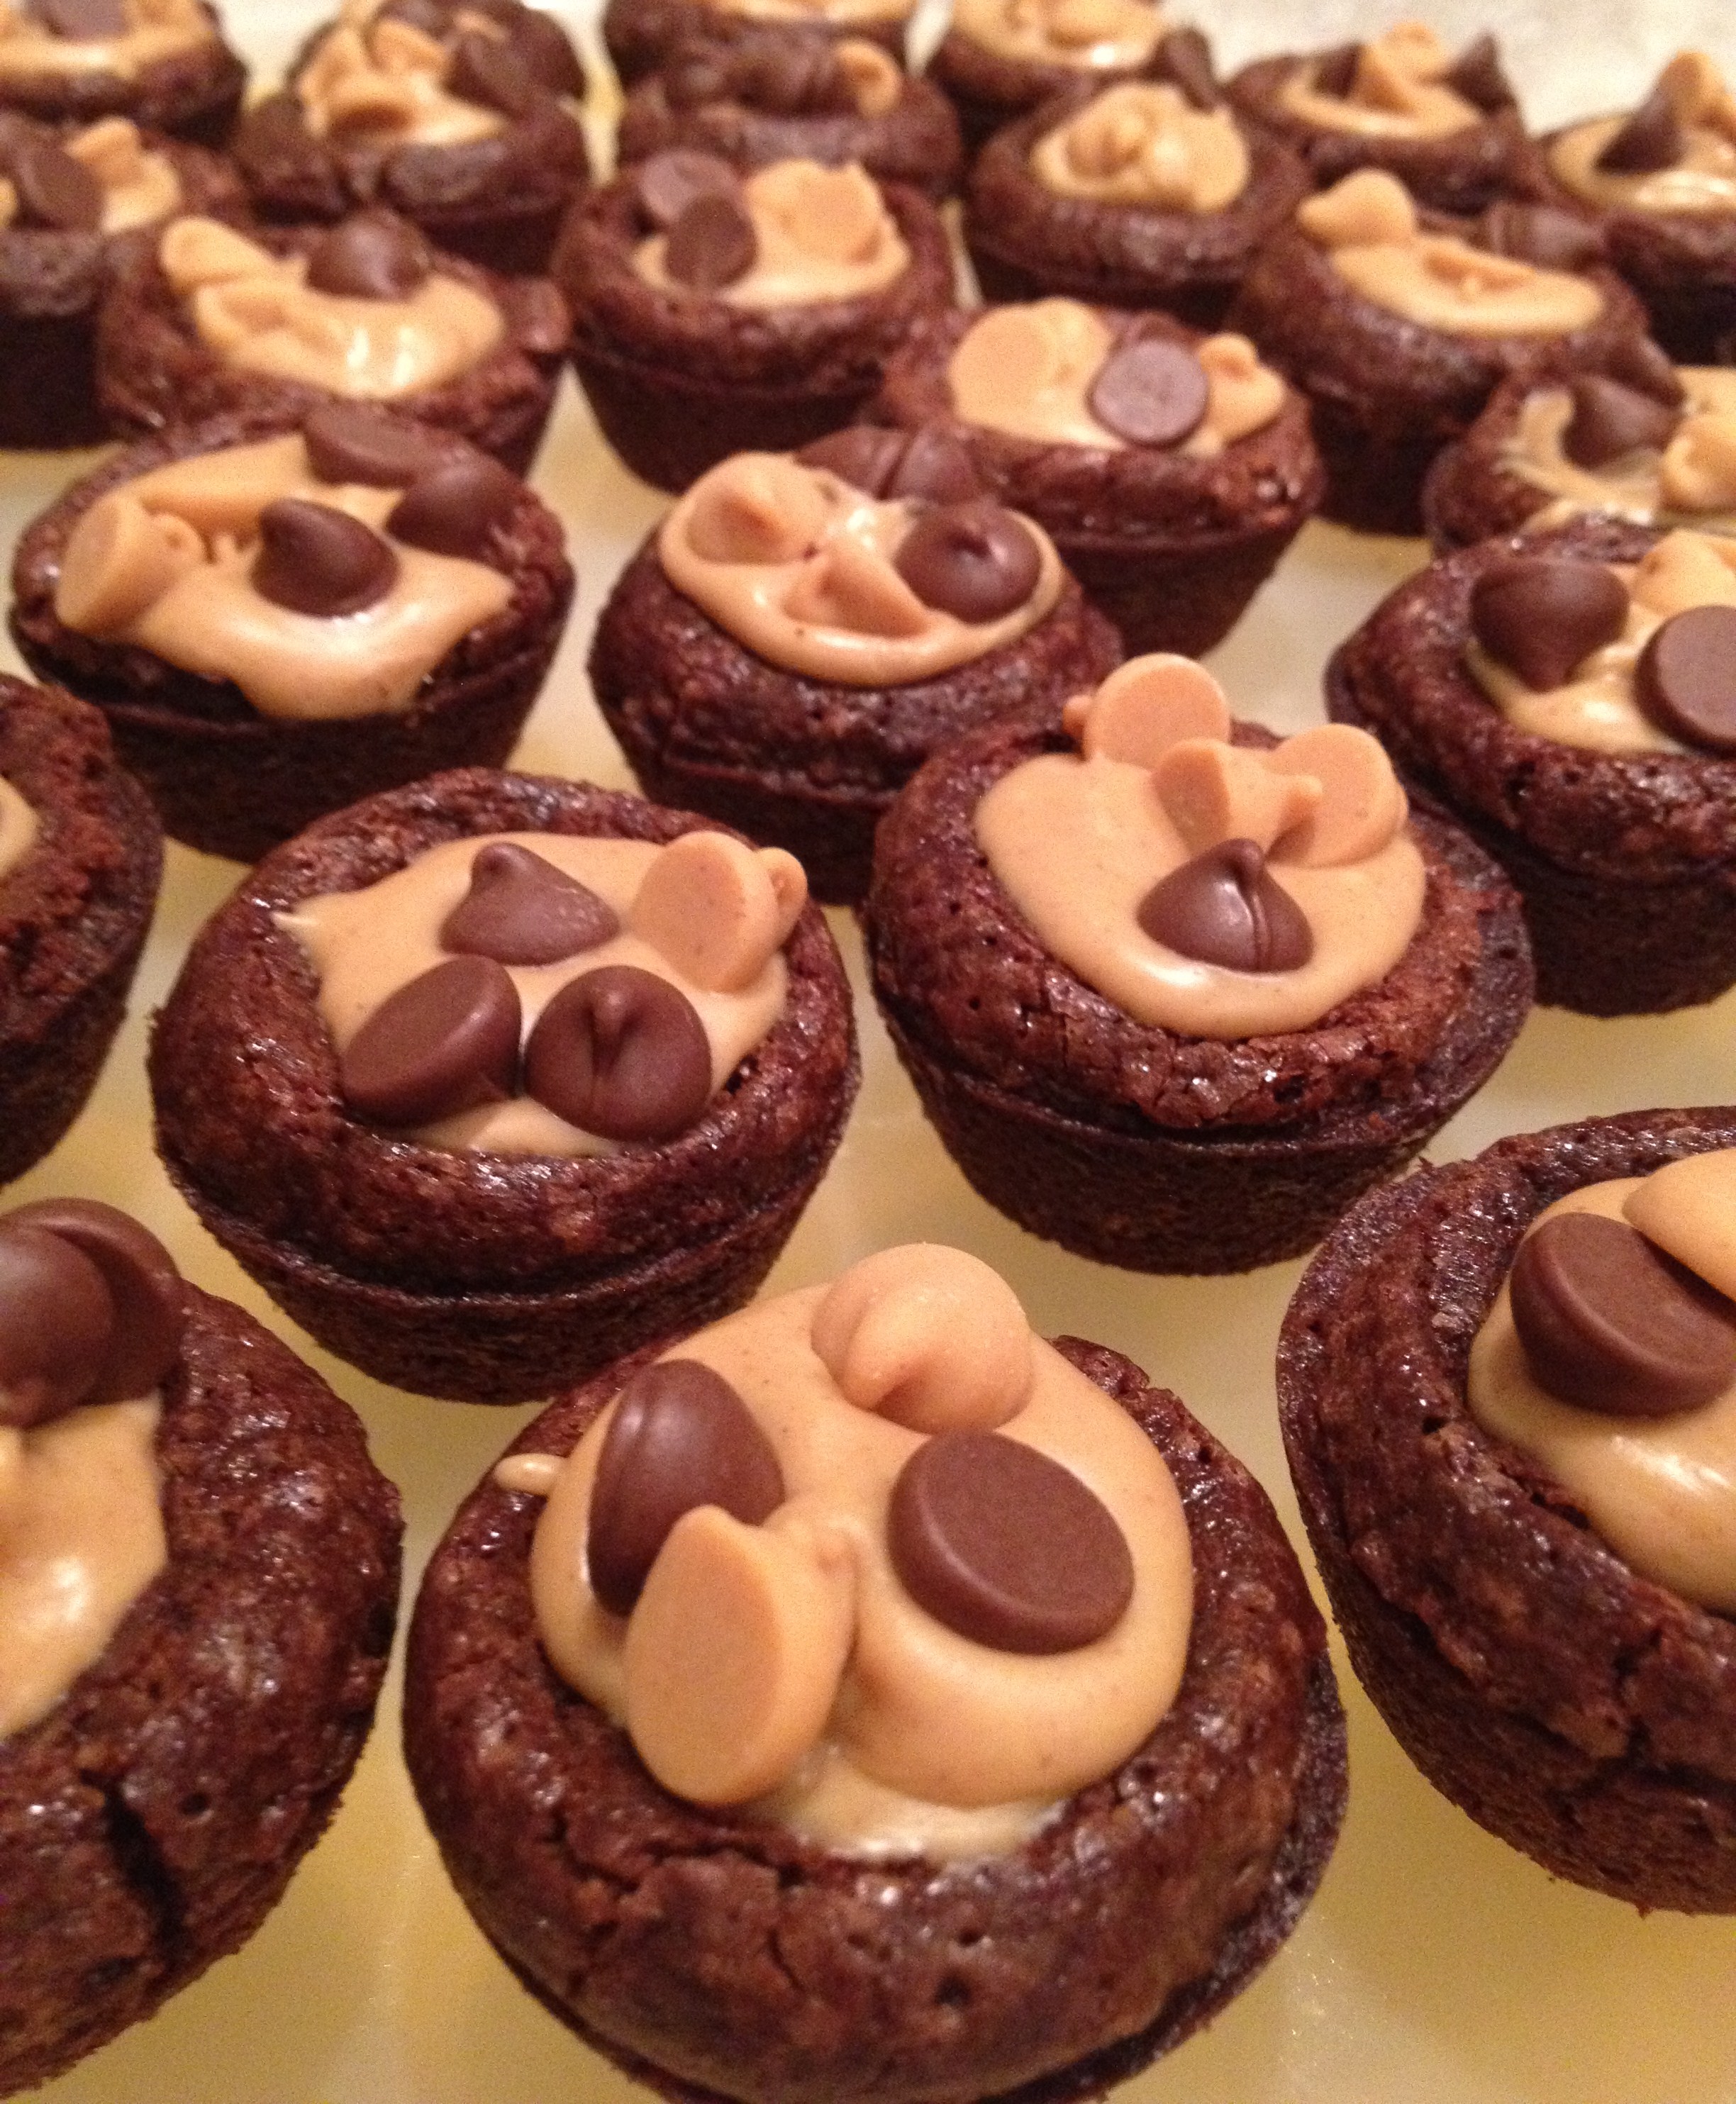
With the peanut butter still melty, I sprinkled on both chocolate and peanut butter chips.  No rhyme or reason to how many, just whatever felt right.

It only took a few minutes for the peanut butter to firm back up, and that's it!  These babies were ready for eatin'.

Mmmmm....you really can't beat the marriage of chocolate and peanut butter.  Those two are just good together.  These were seriously so easy.   The next time you need something for a party and you don't have much time, give these a try.  They won't disappoint!