Cowboys and Cowgirls

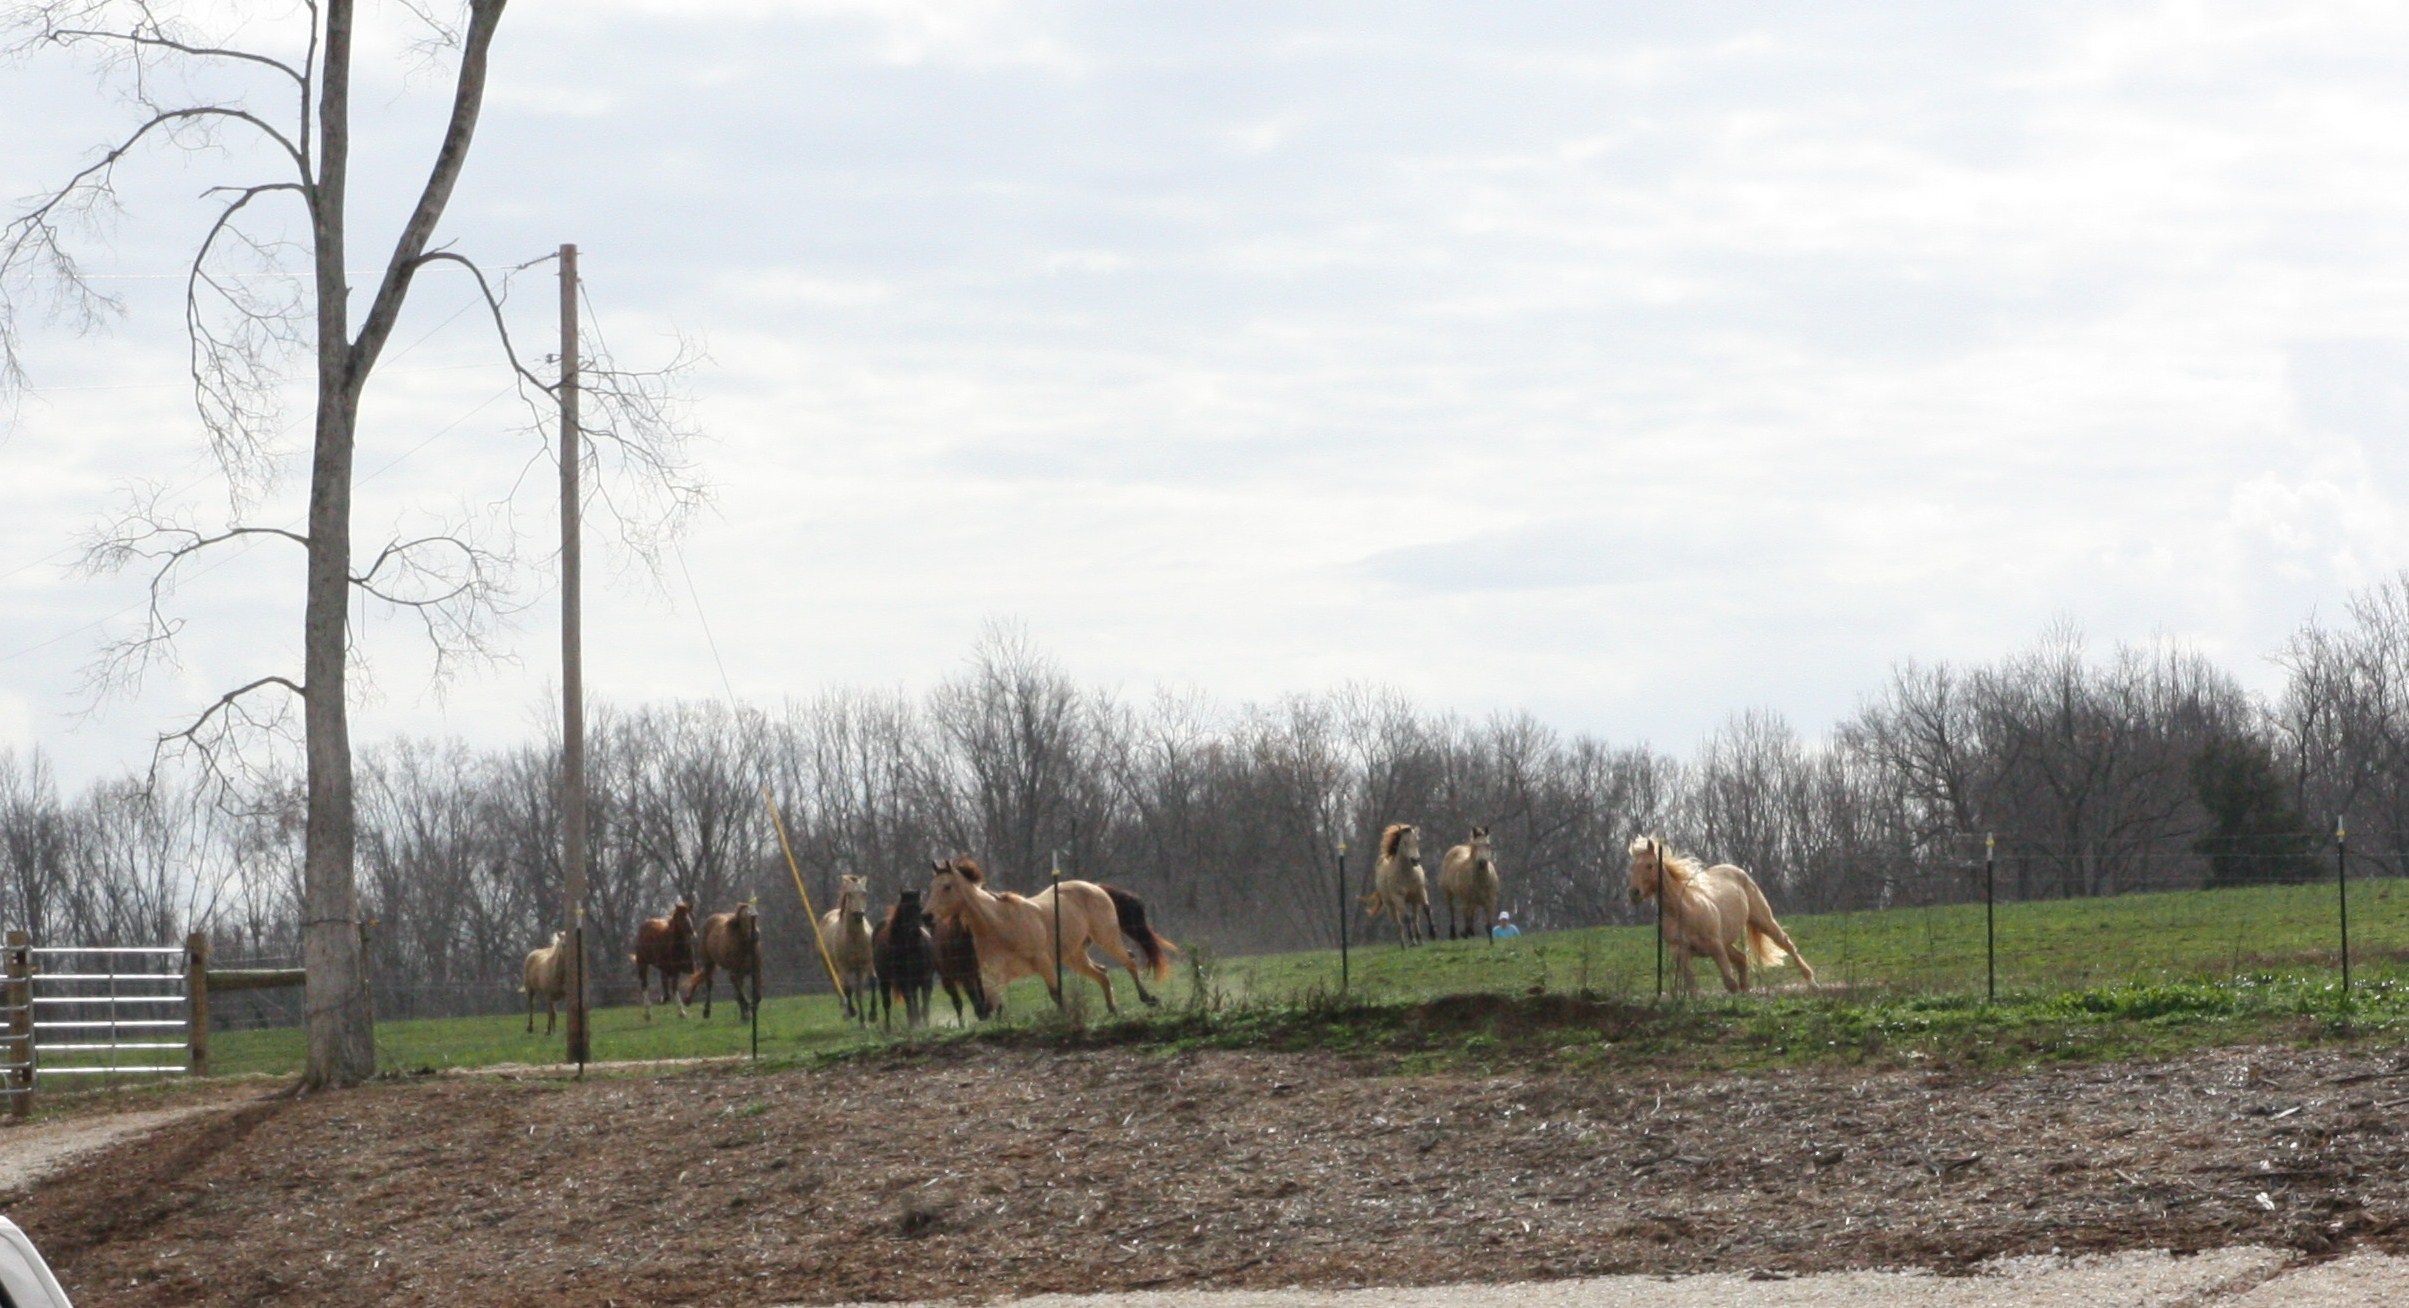
Saturday morning after Thanksgiving, we got up early to visit my cousin Paige's house and all her horses.  She and her family live right next to their arena where they ride horses and even host ropings.  It's a place we love to visit any chance we get! Paige's husband, Roger, was stuck at work so he couldn't join us.  Sometimes he and Paige will show us how they rope cows...it's so much fun to watch.  I love seeing them in action!  I felt bad that we put Paige to work saddling horses for us, even though she swore she didn't mind.  When we first arrived, she set out on a four-wheeler and brought in a group of horses.

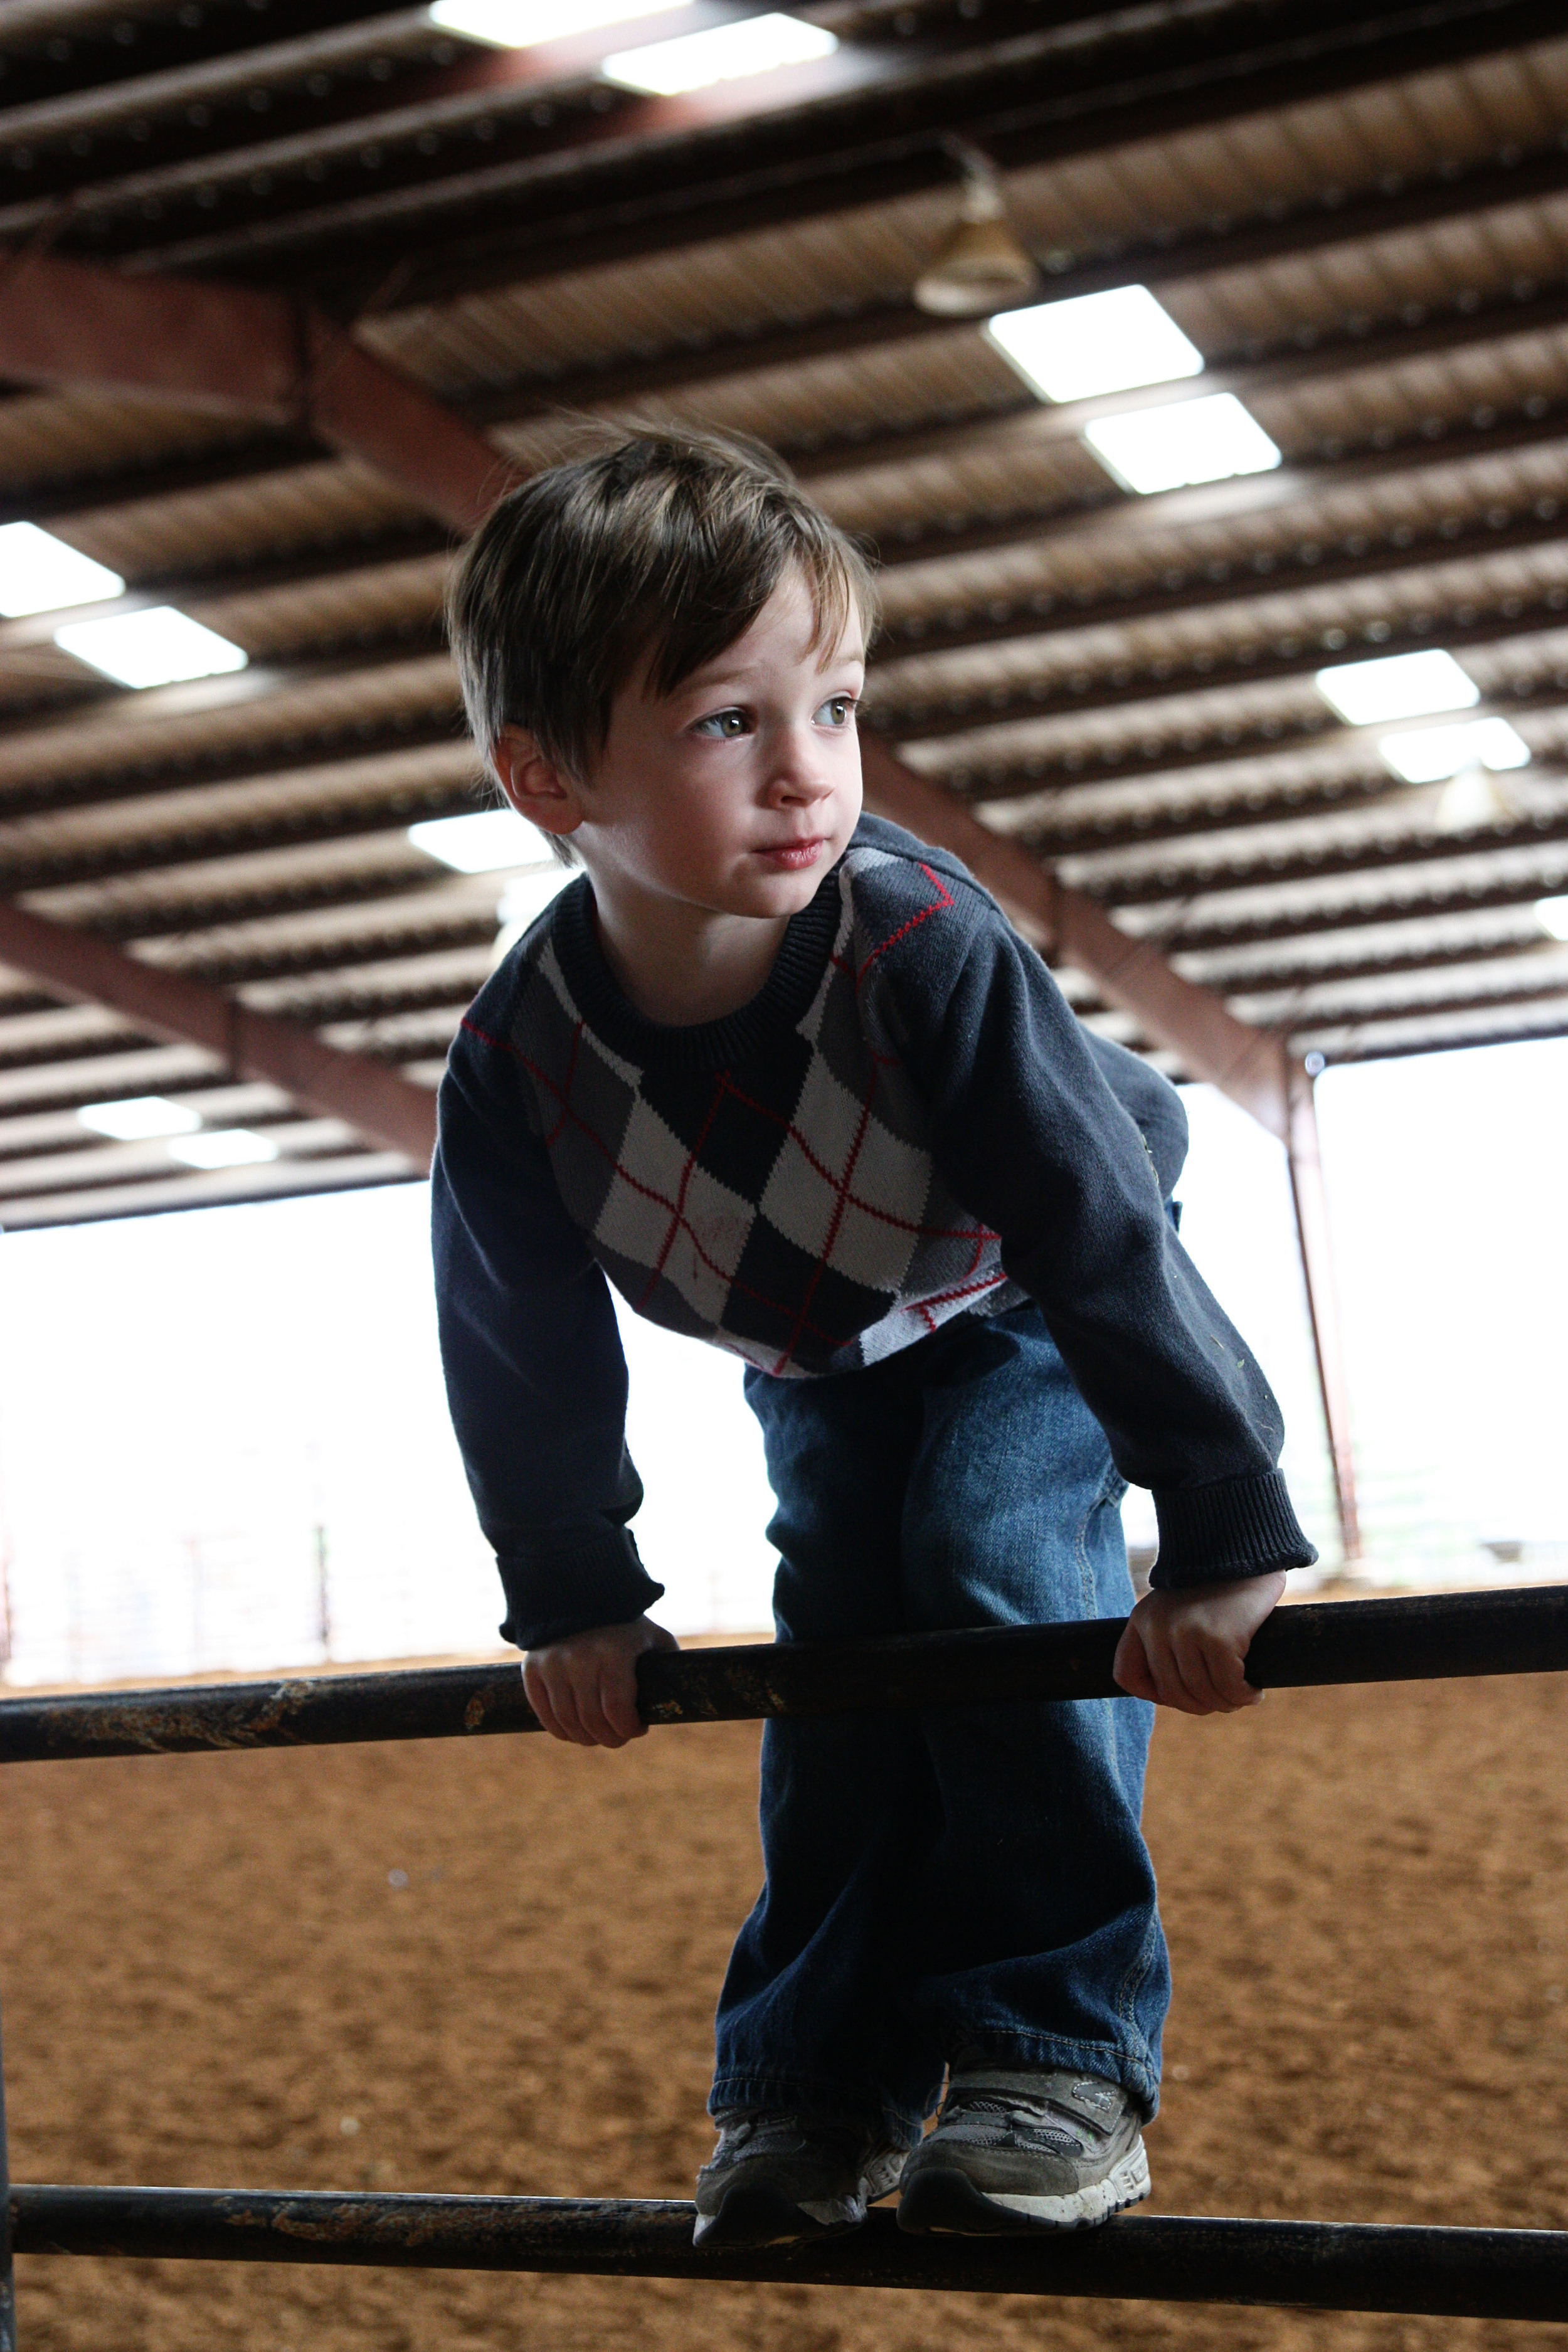
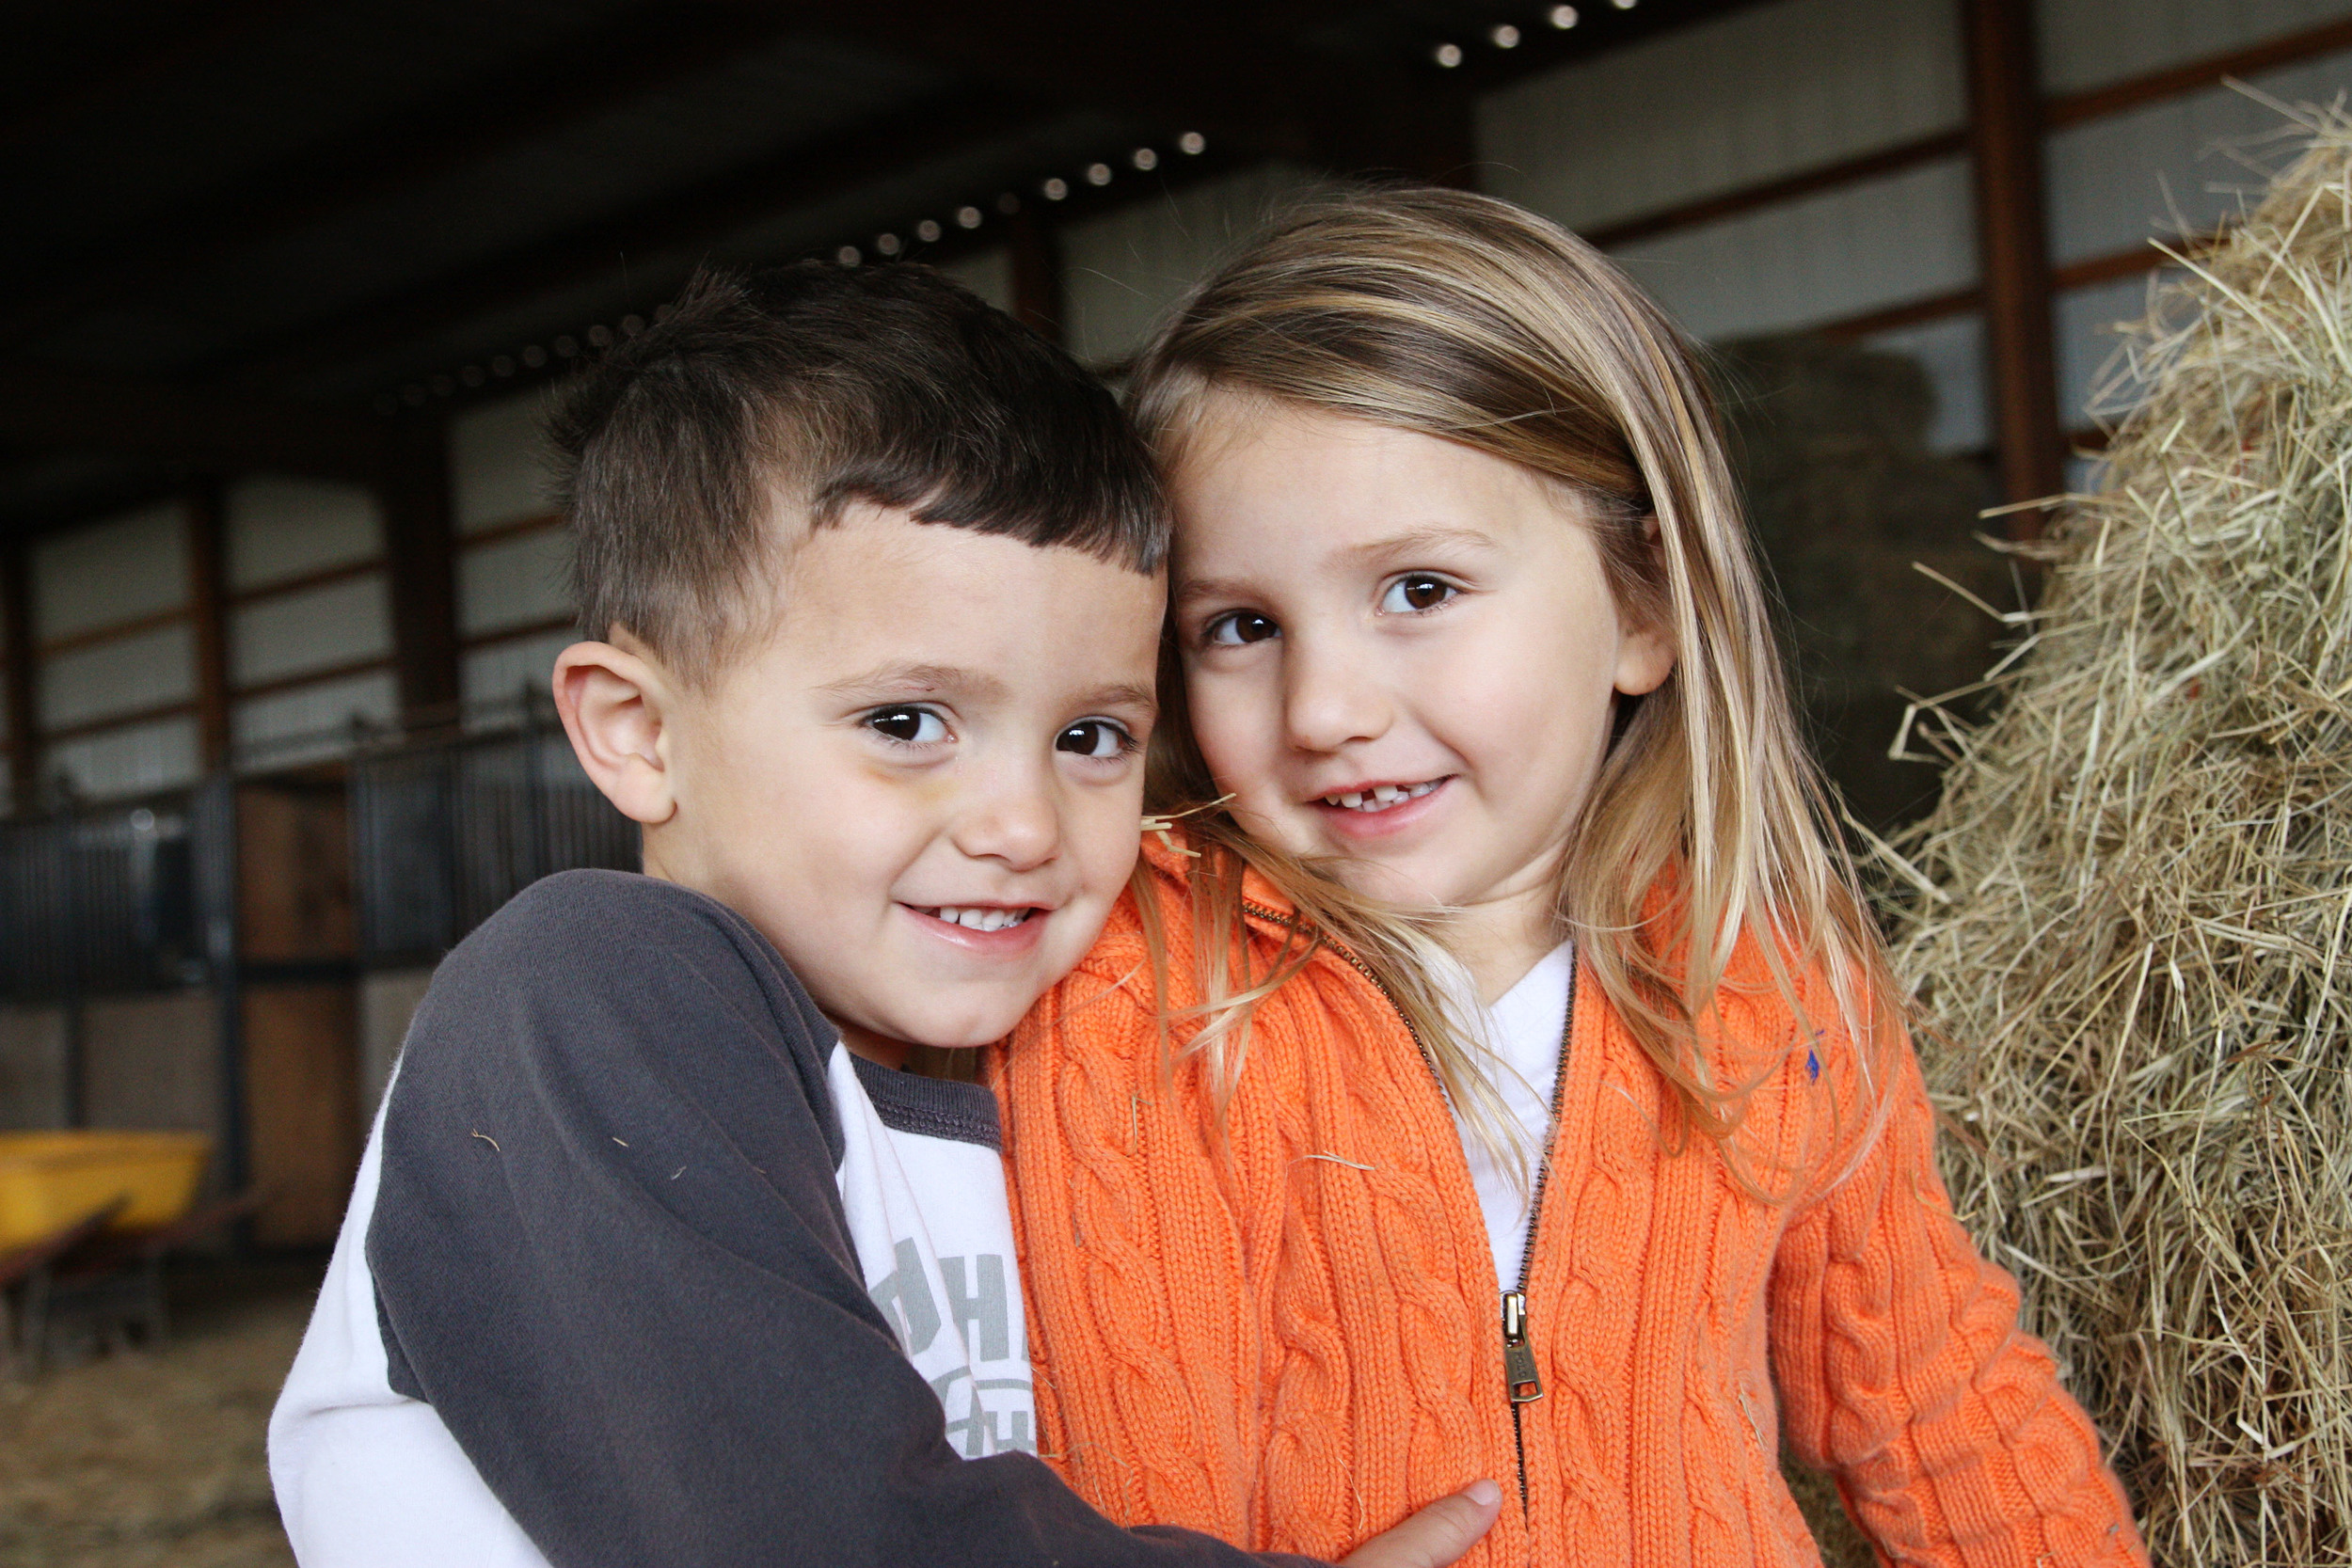
Parker climbed high so he could see the horses running into the arena.

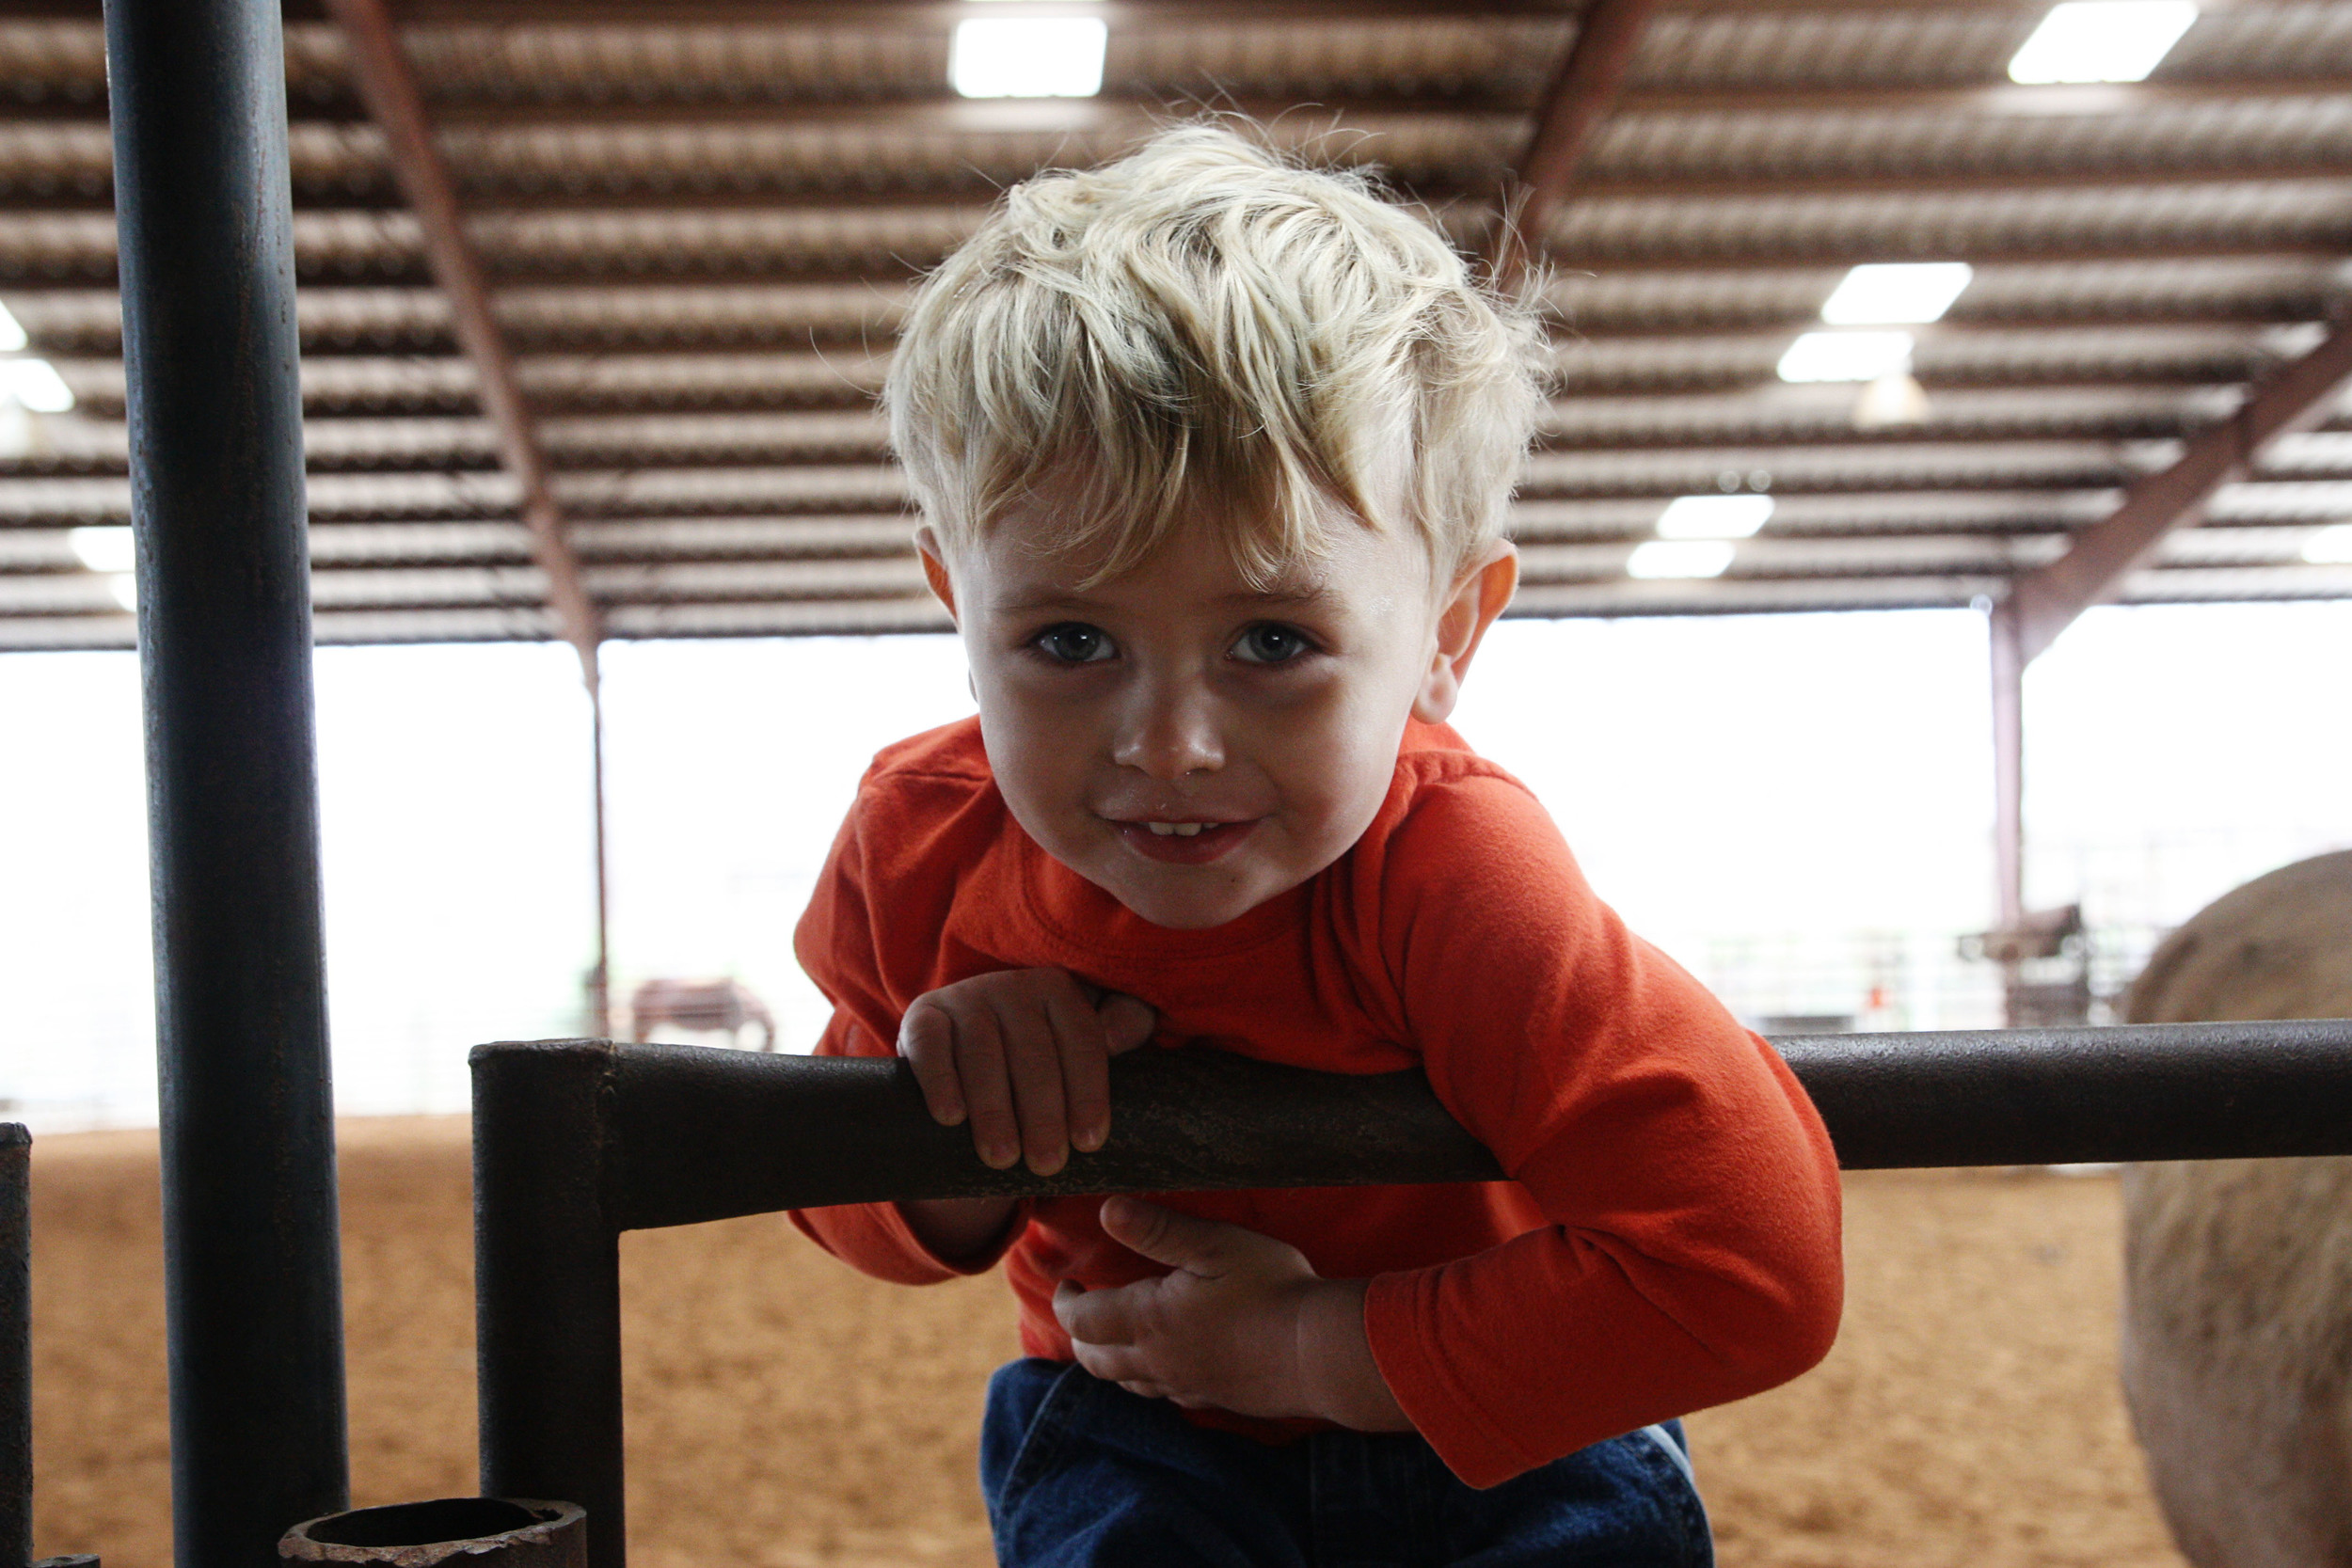
And you know, once one boy climbs up on something, it's only a matter of time before another one follows him.

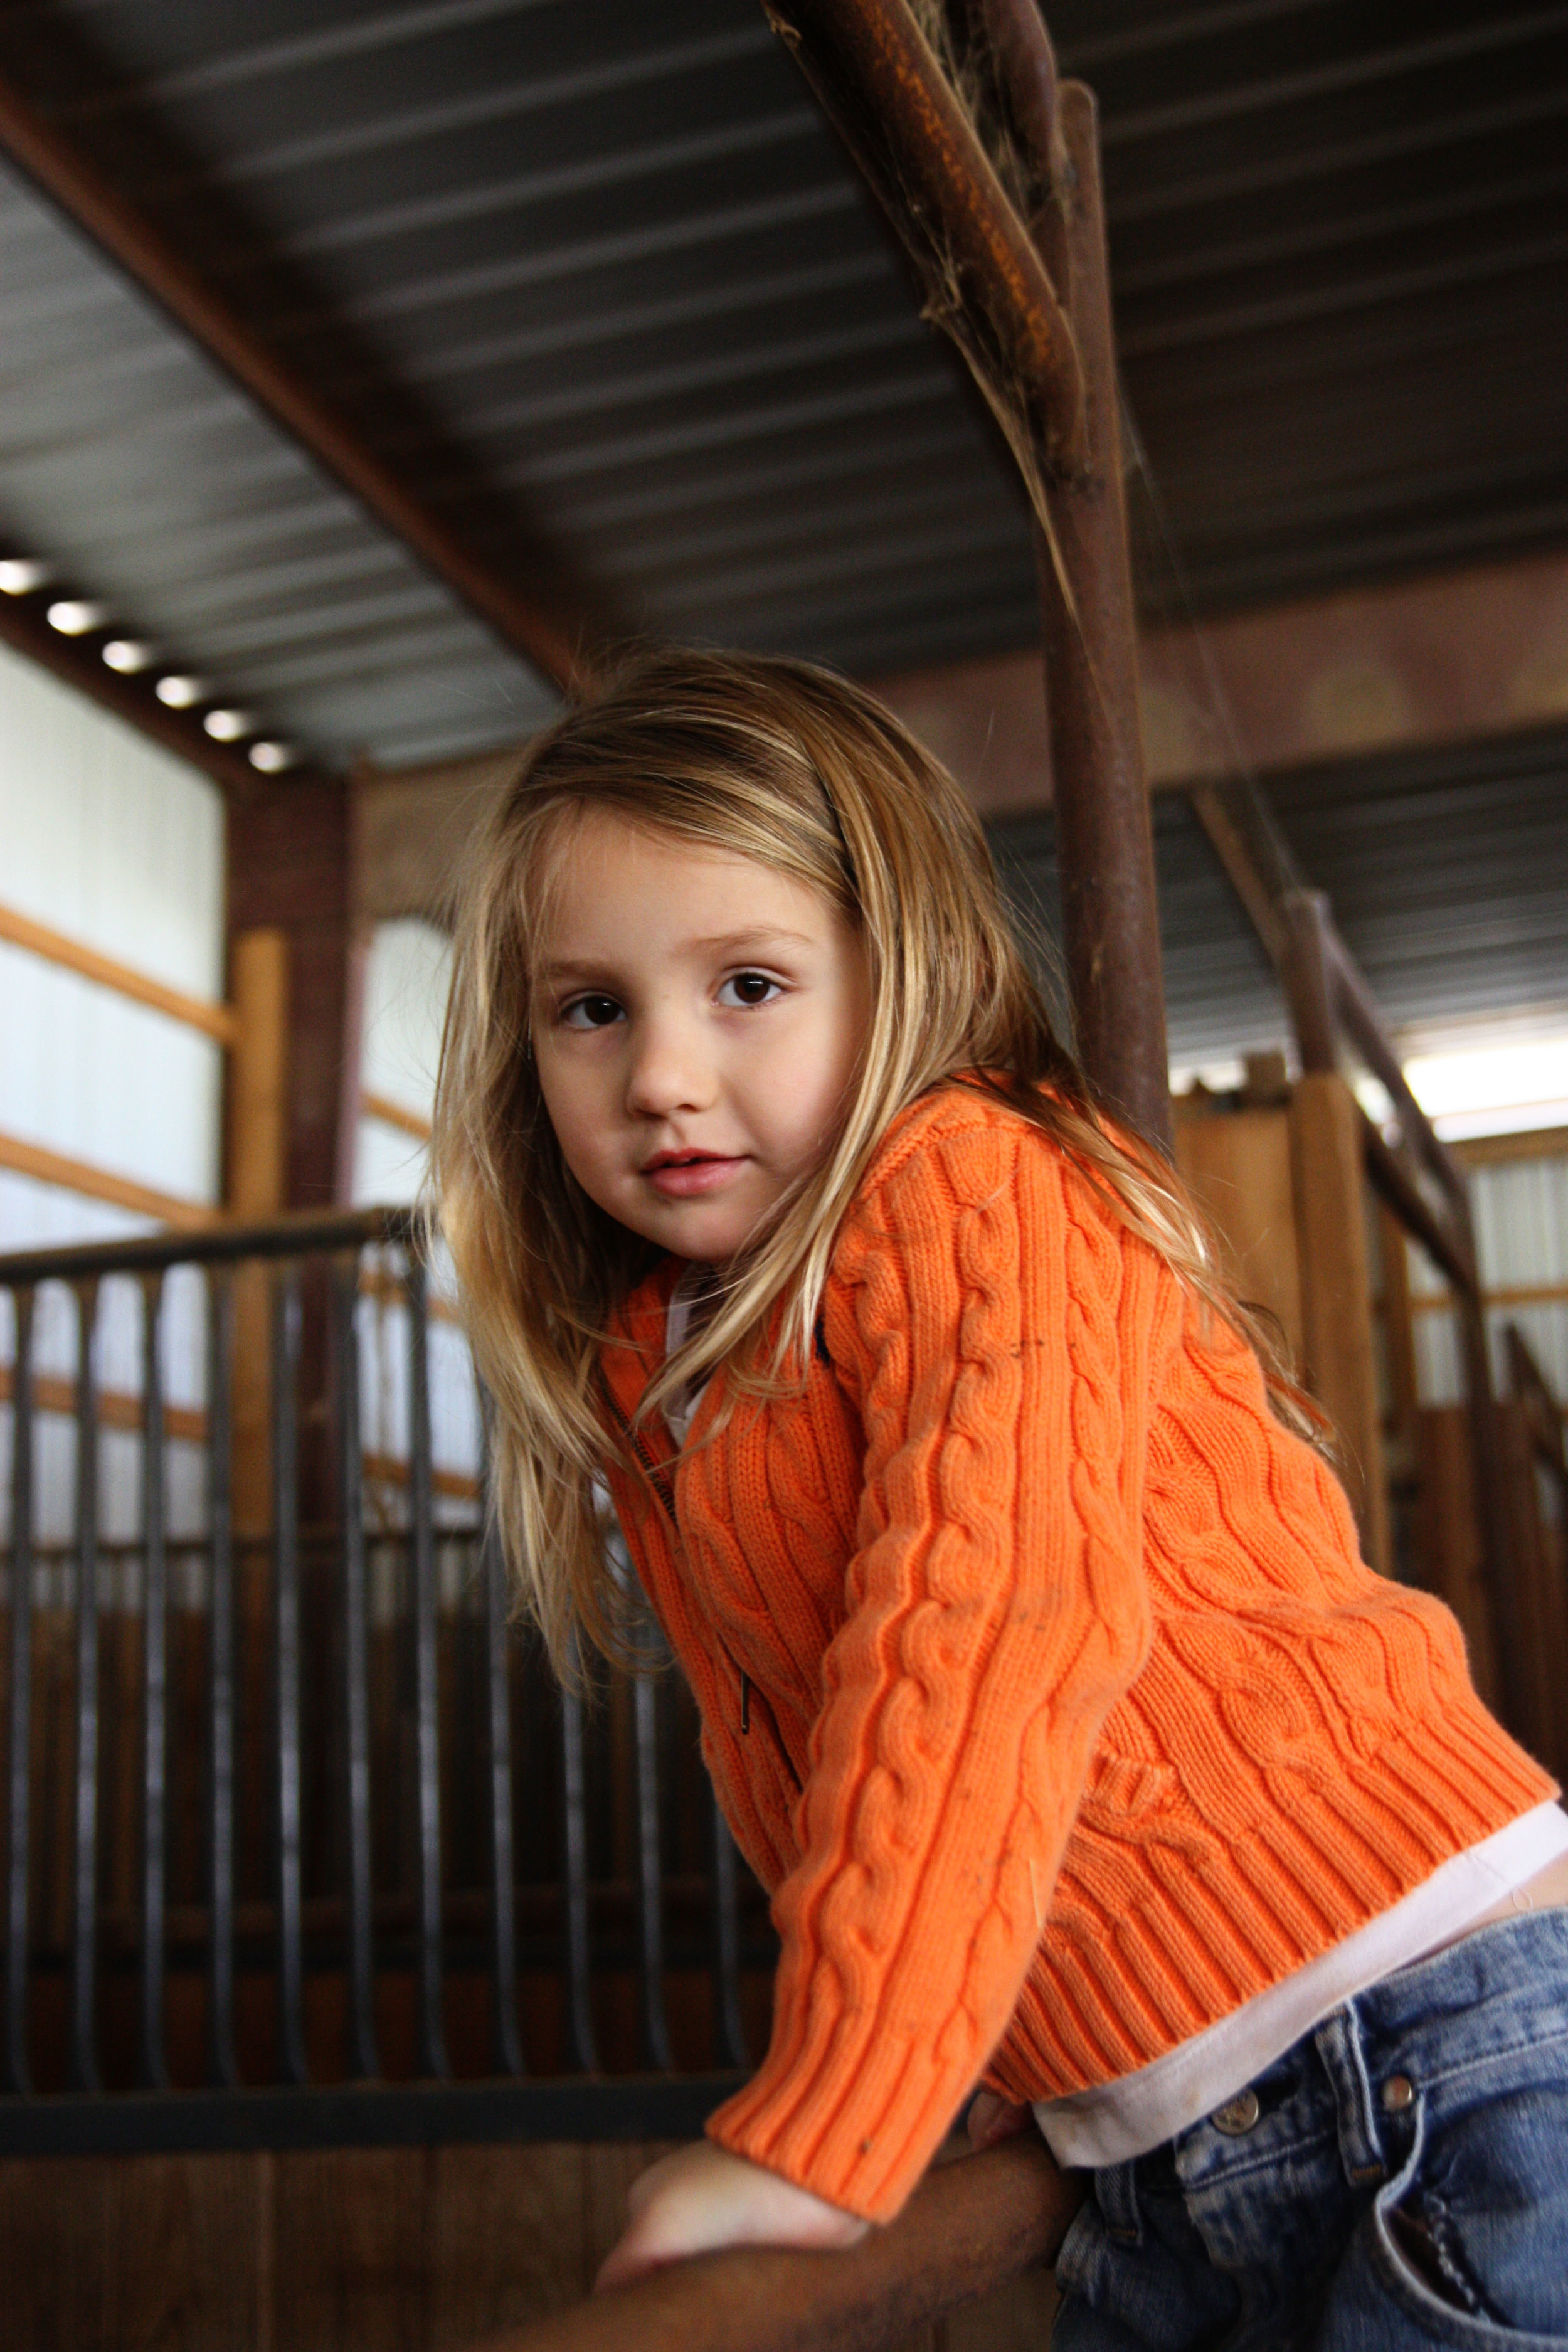
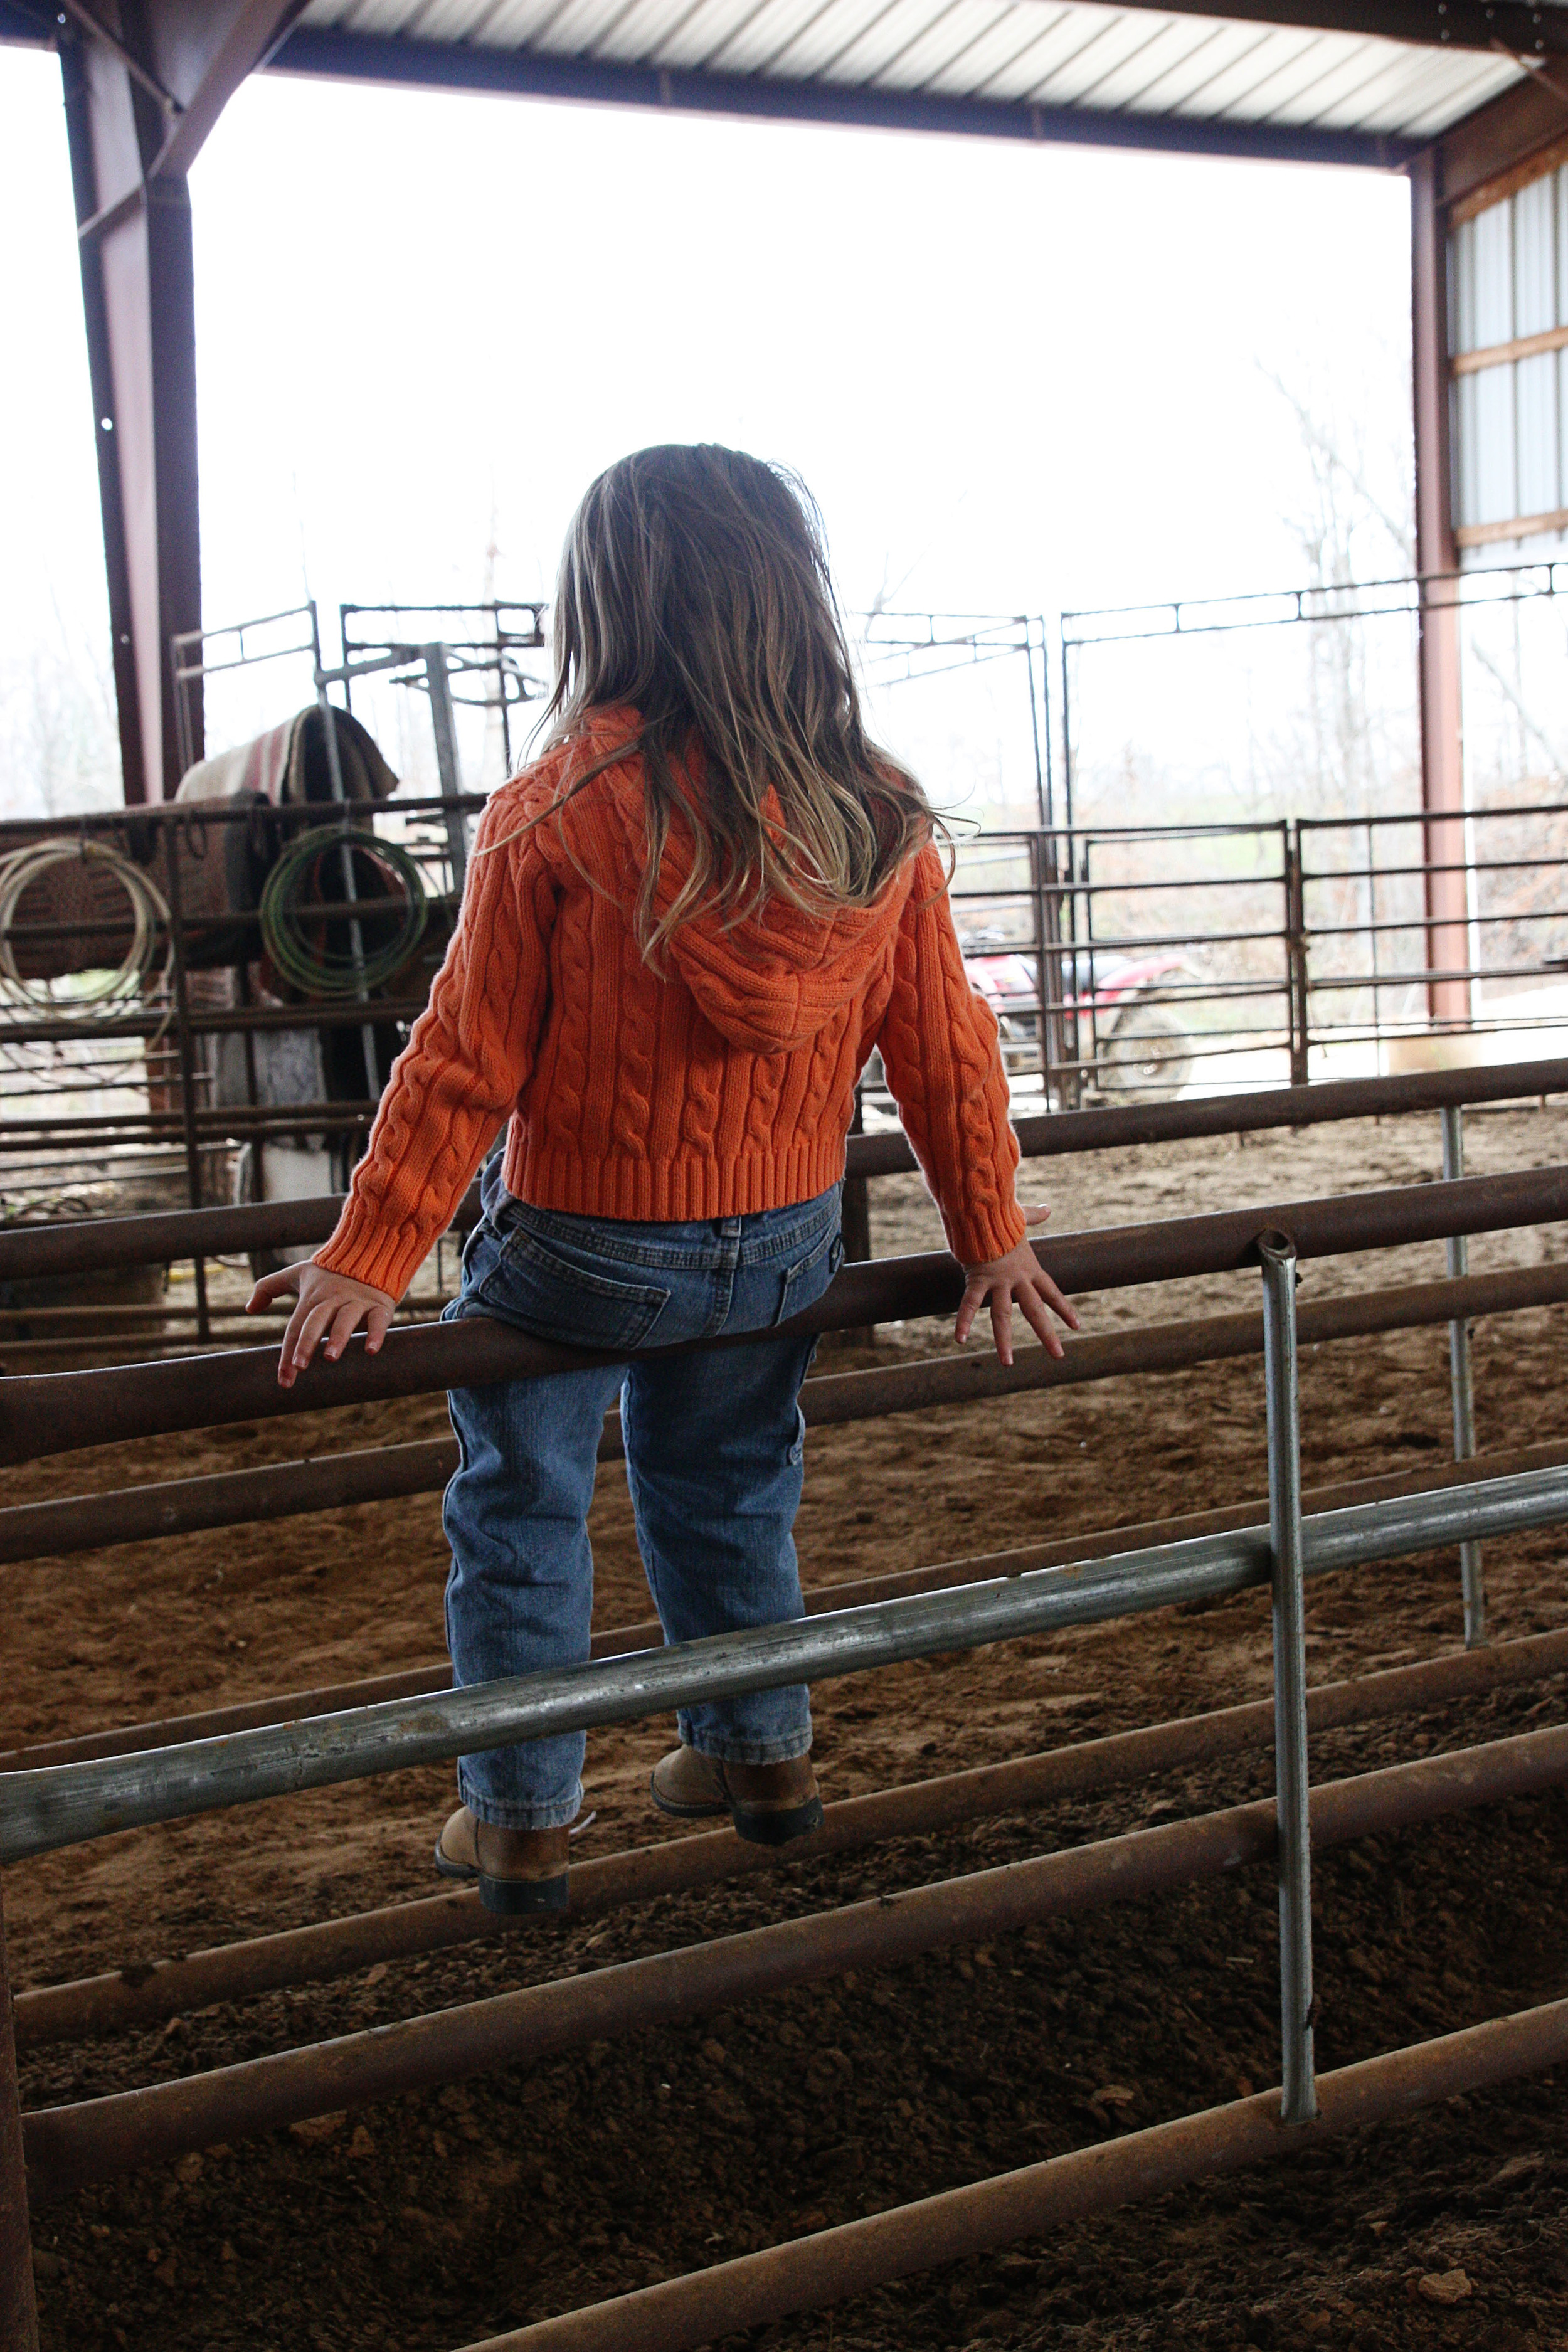
Bren climbed up on the railing, too.  She was "bigger" than me!

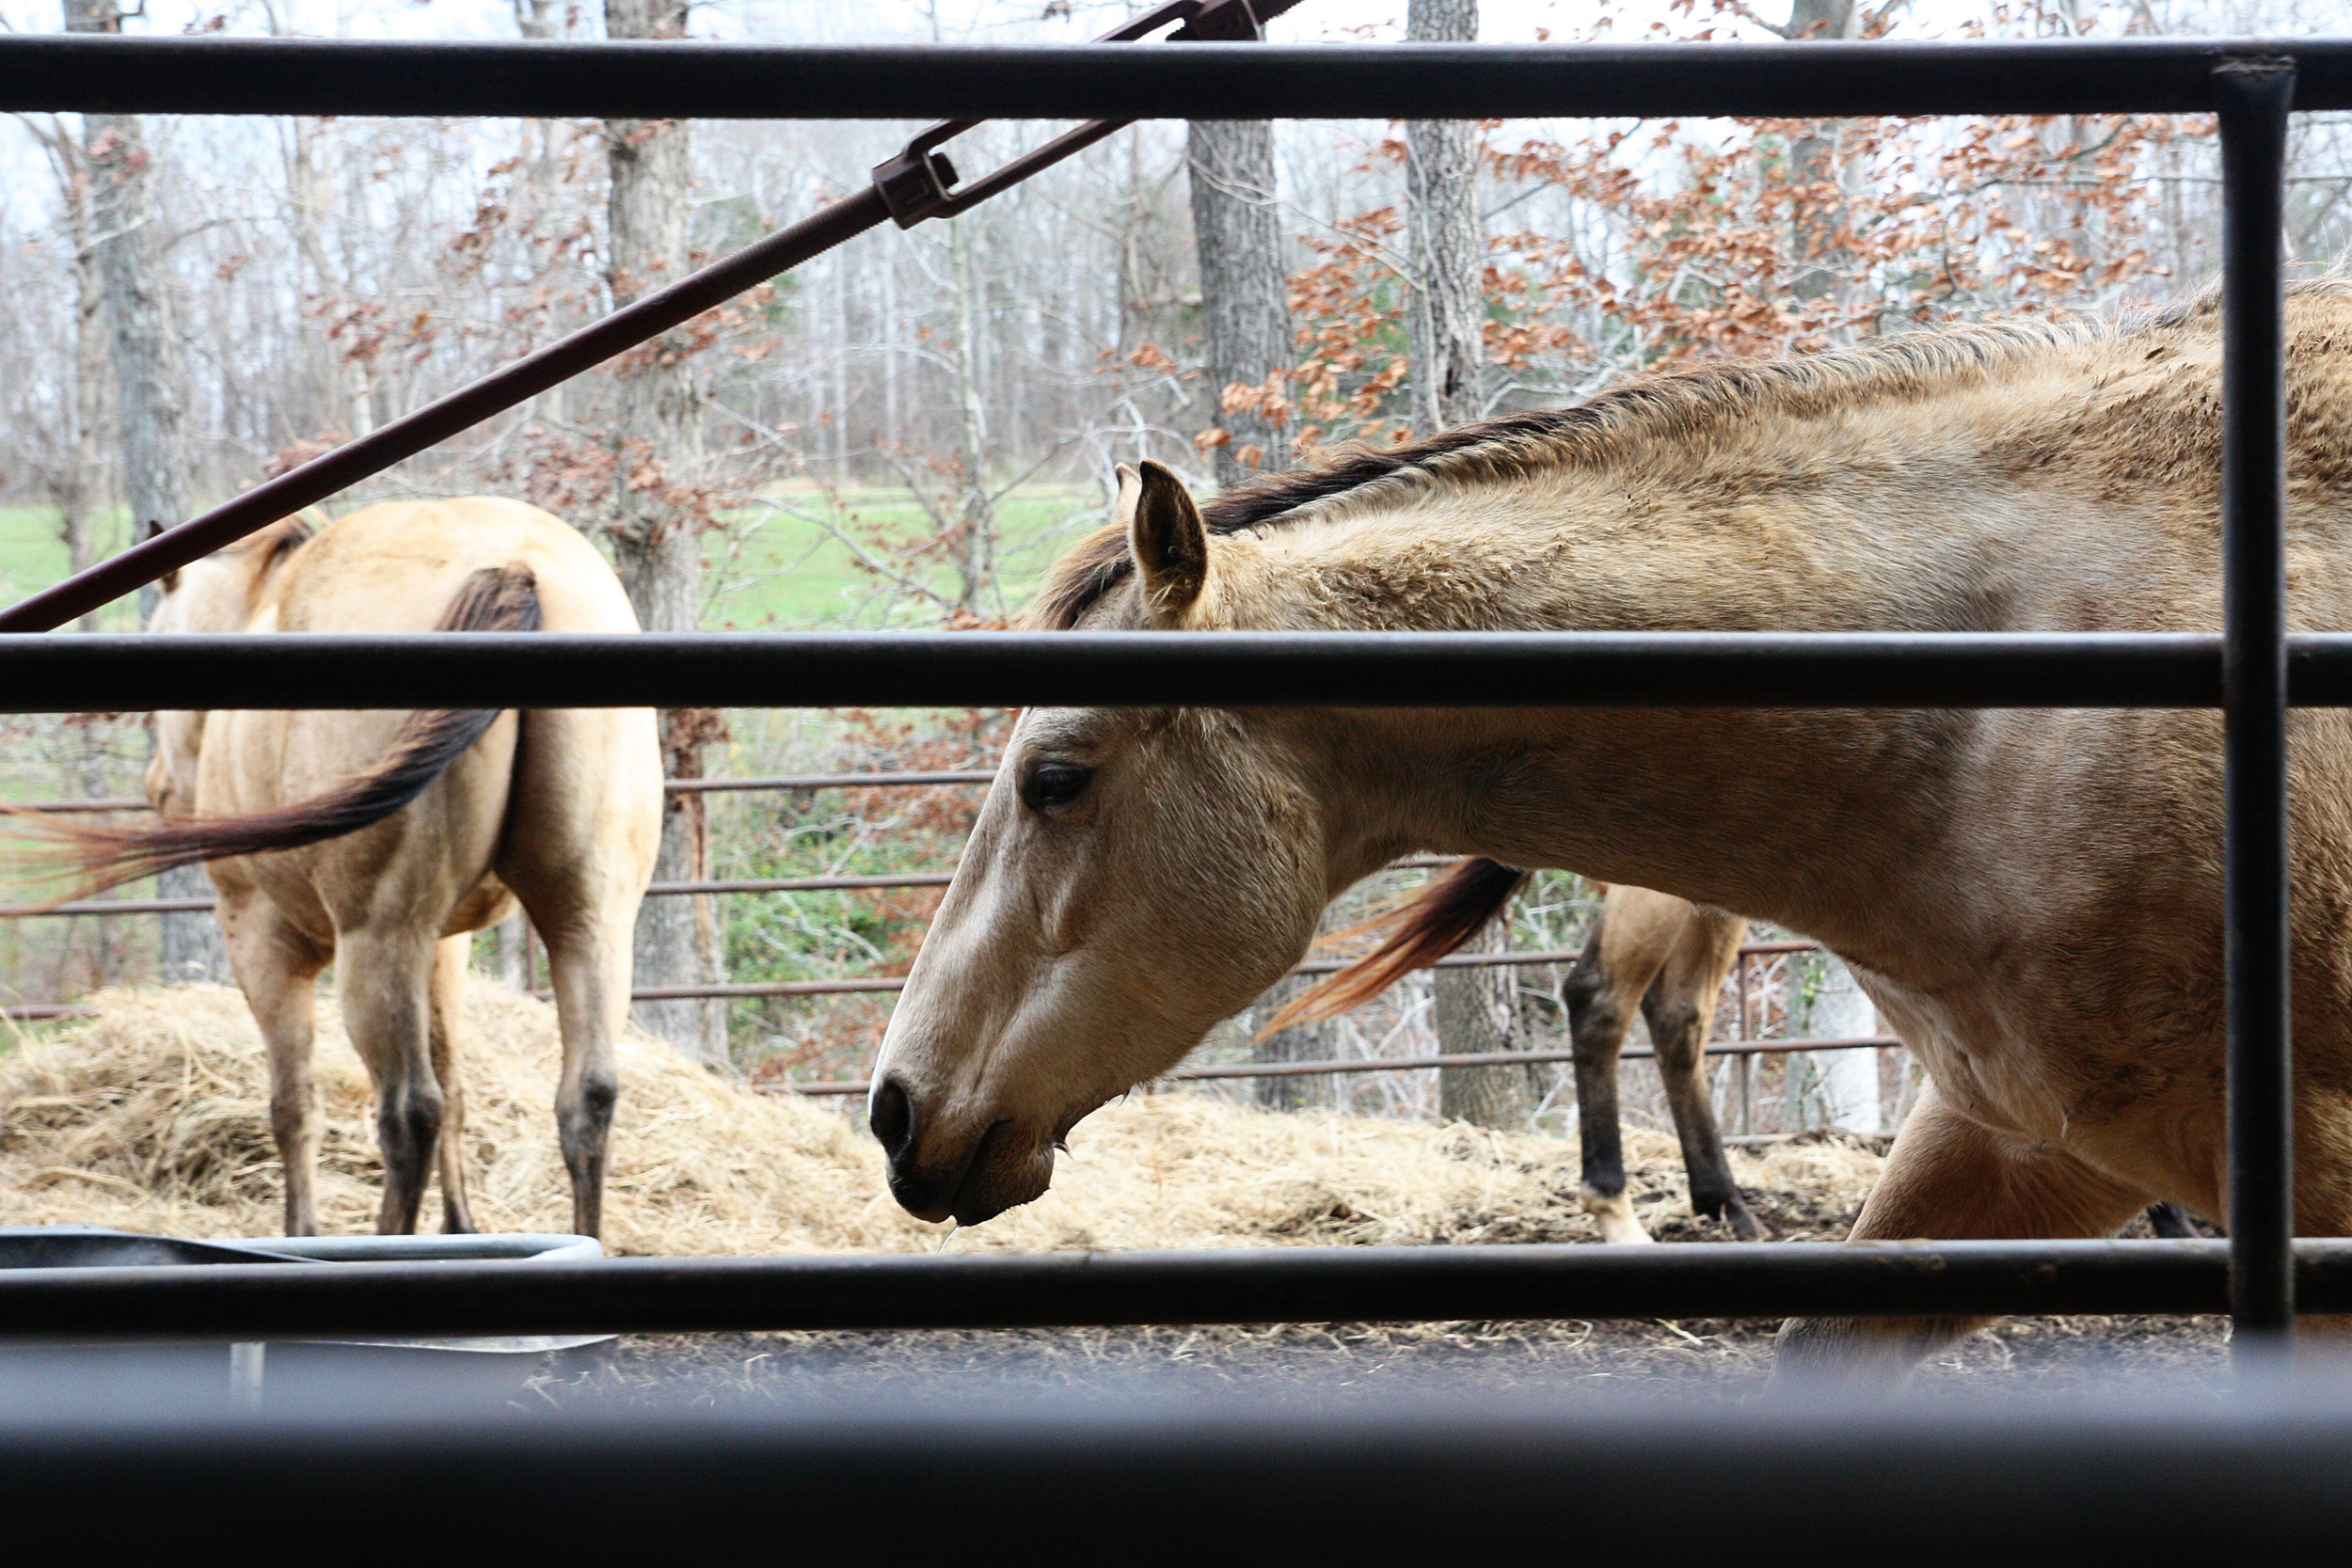
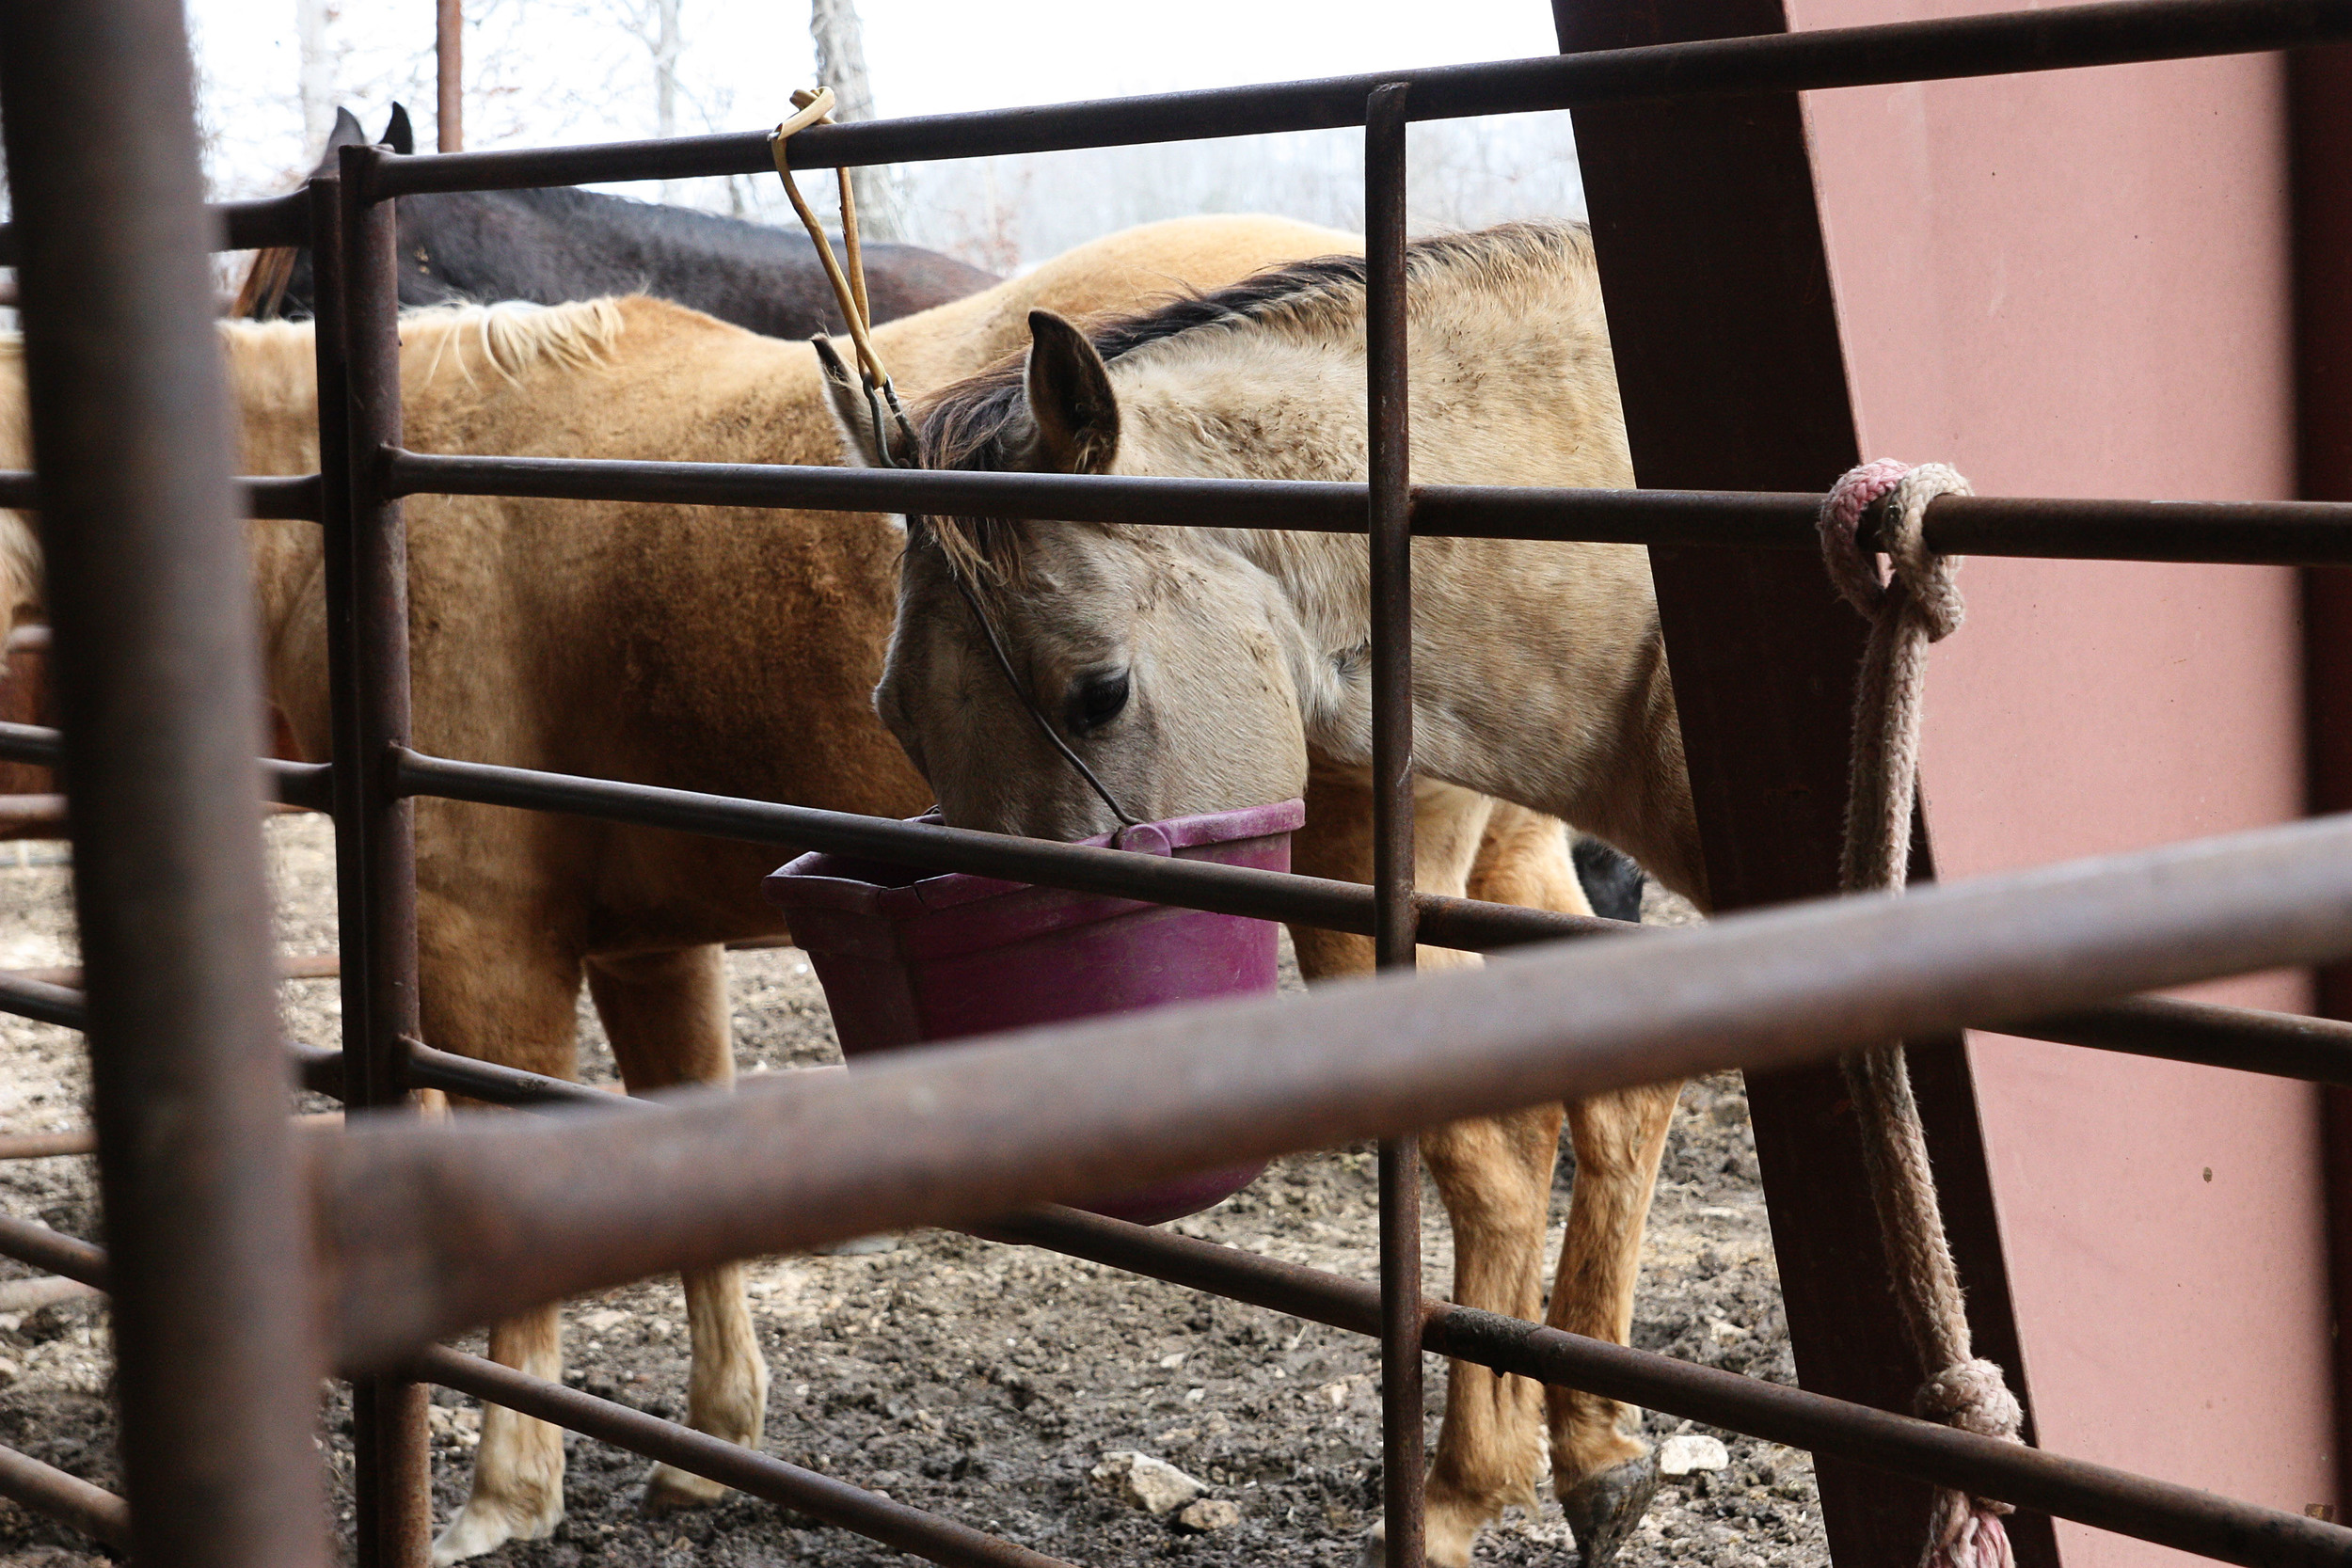
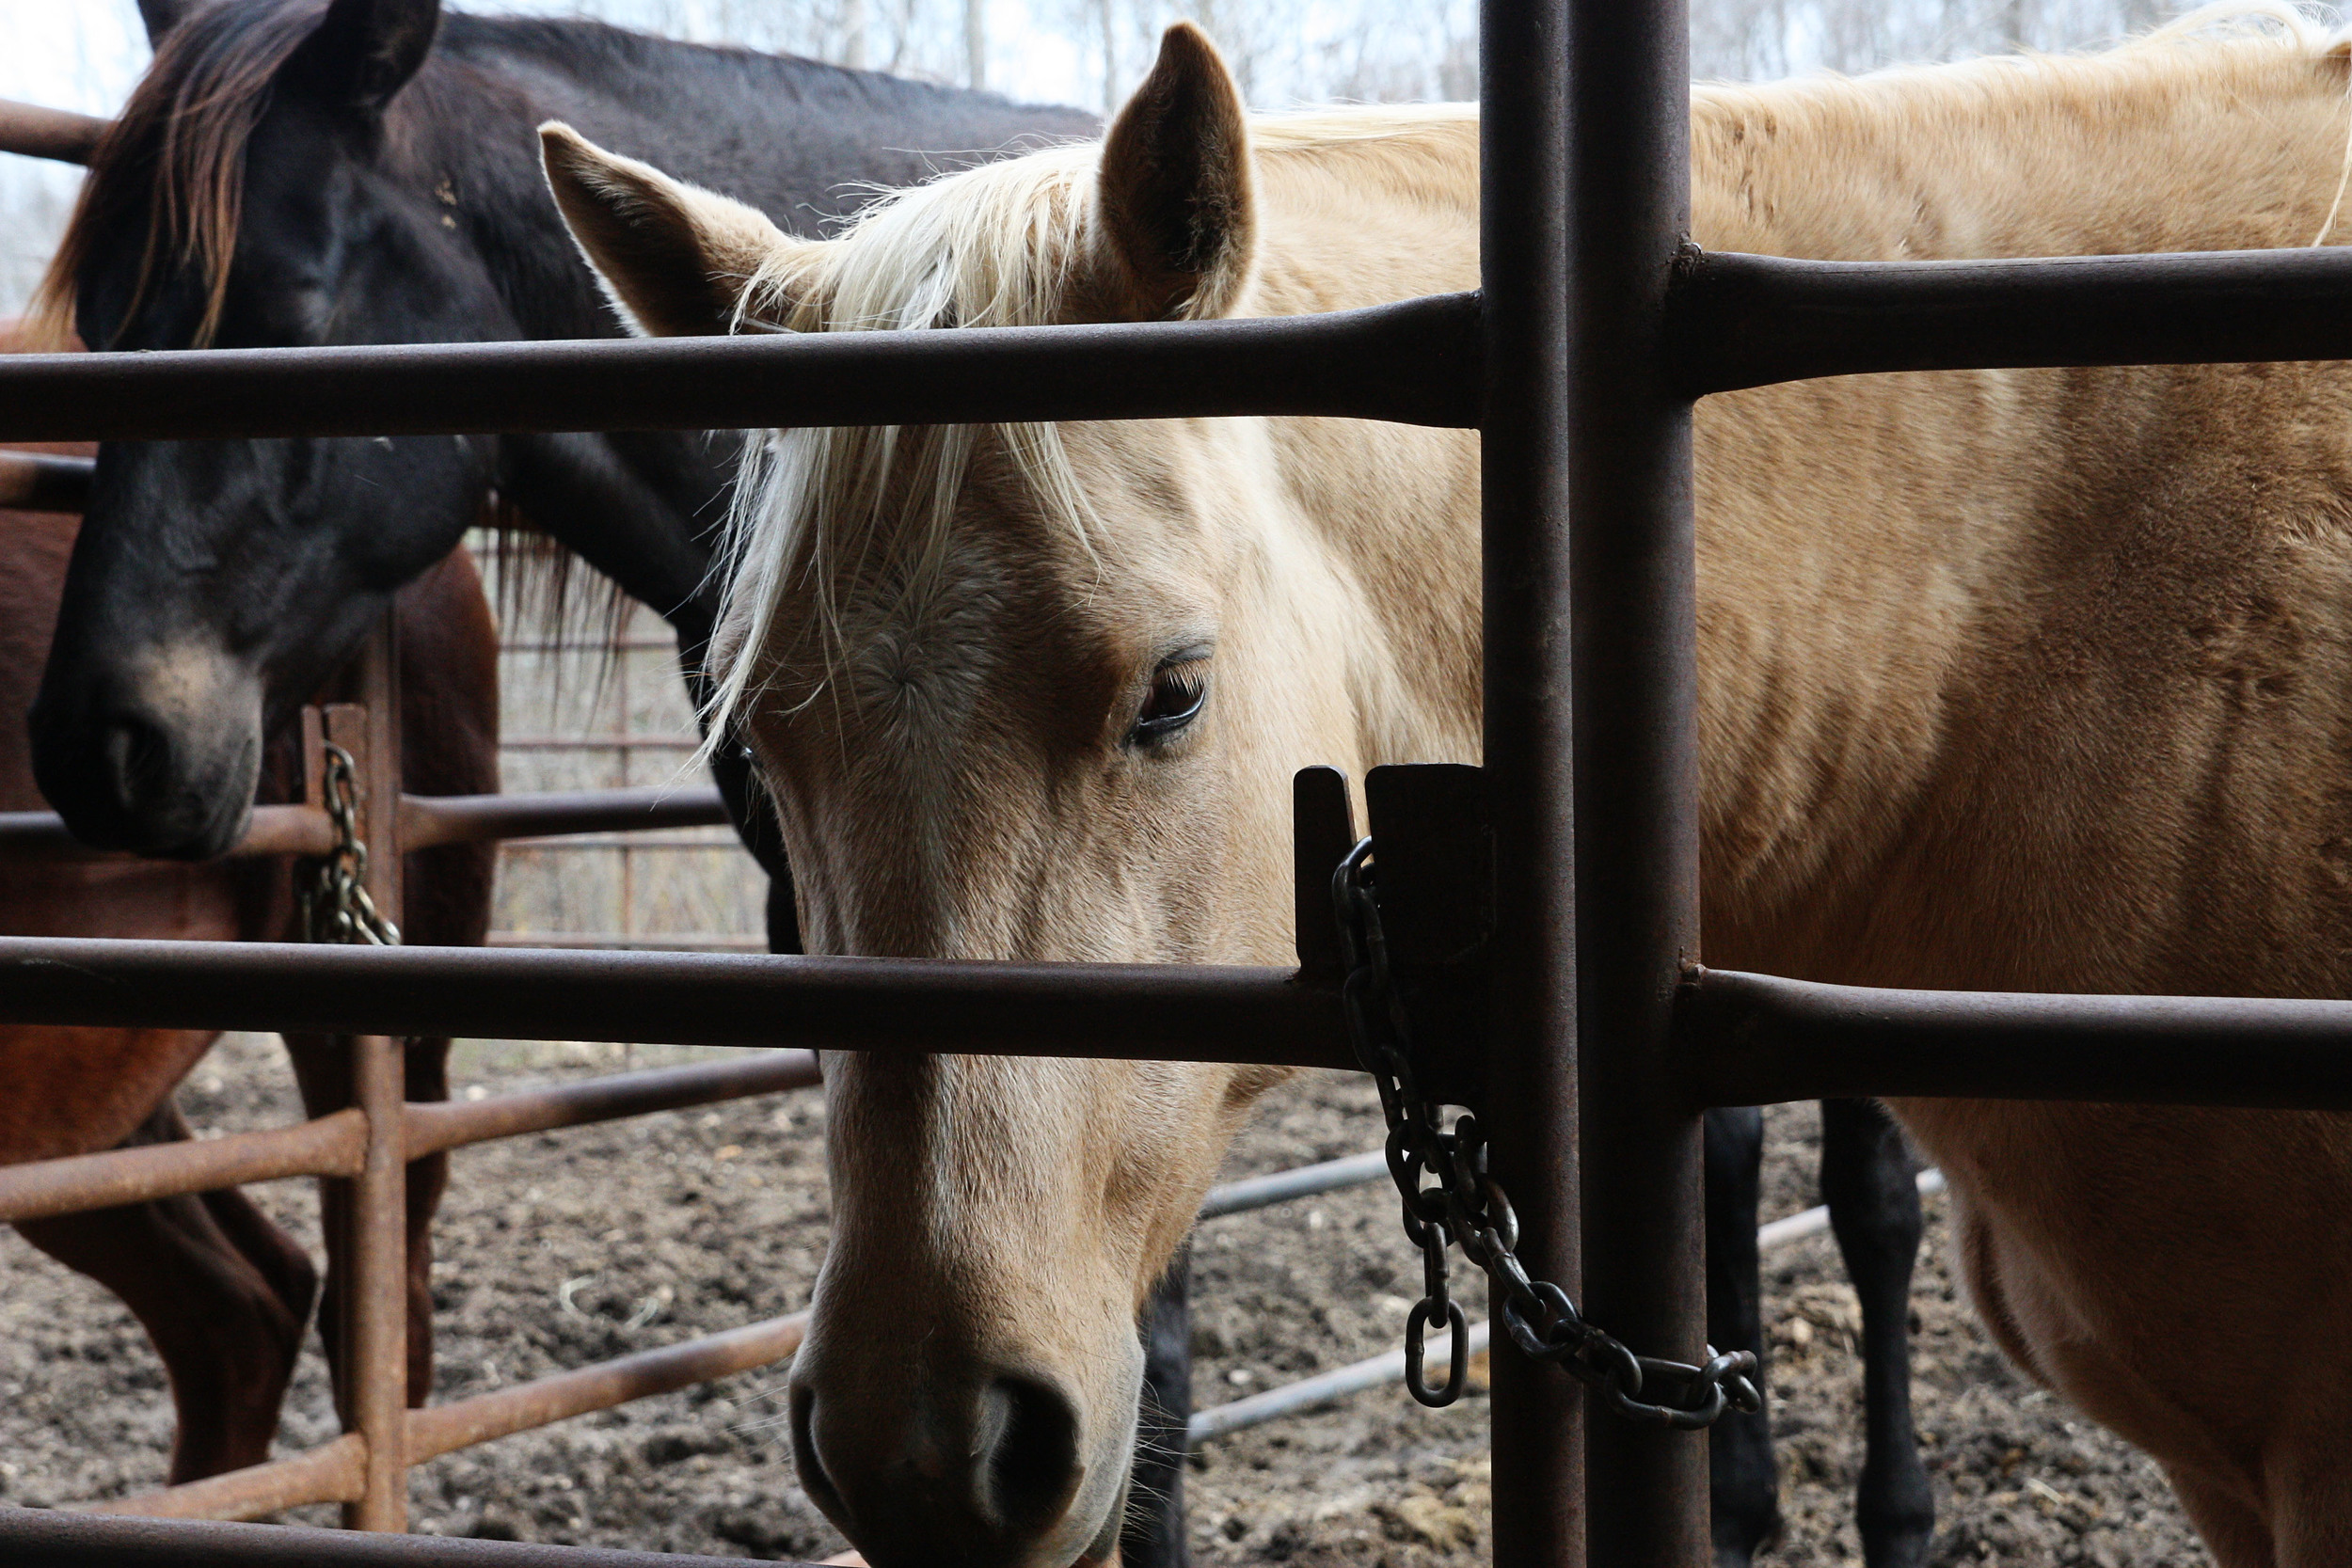
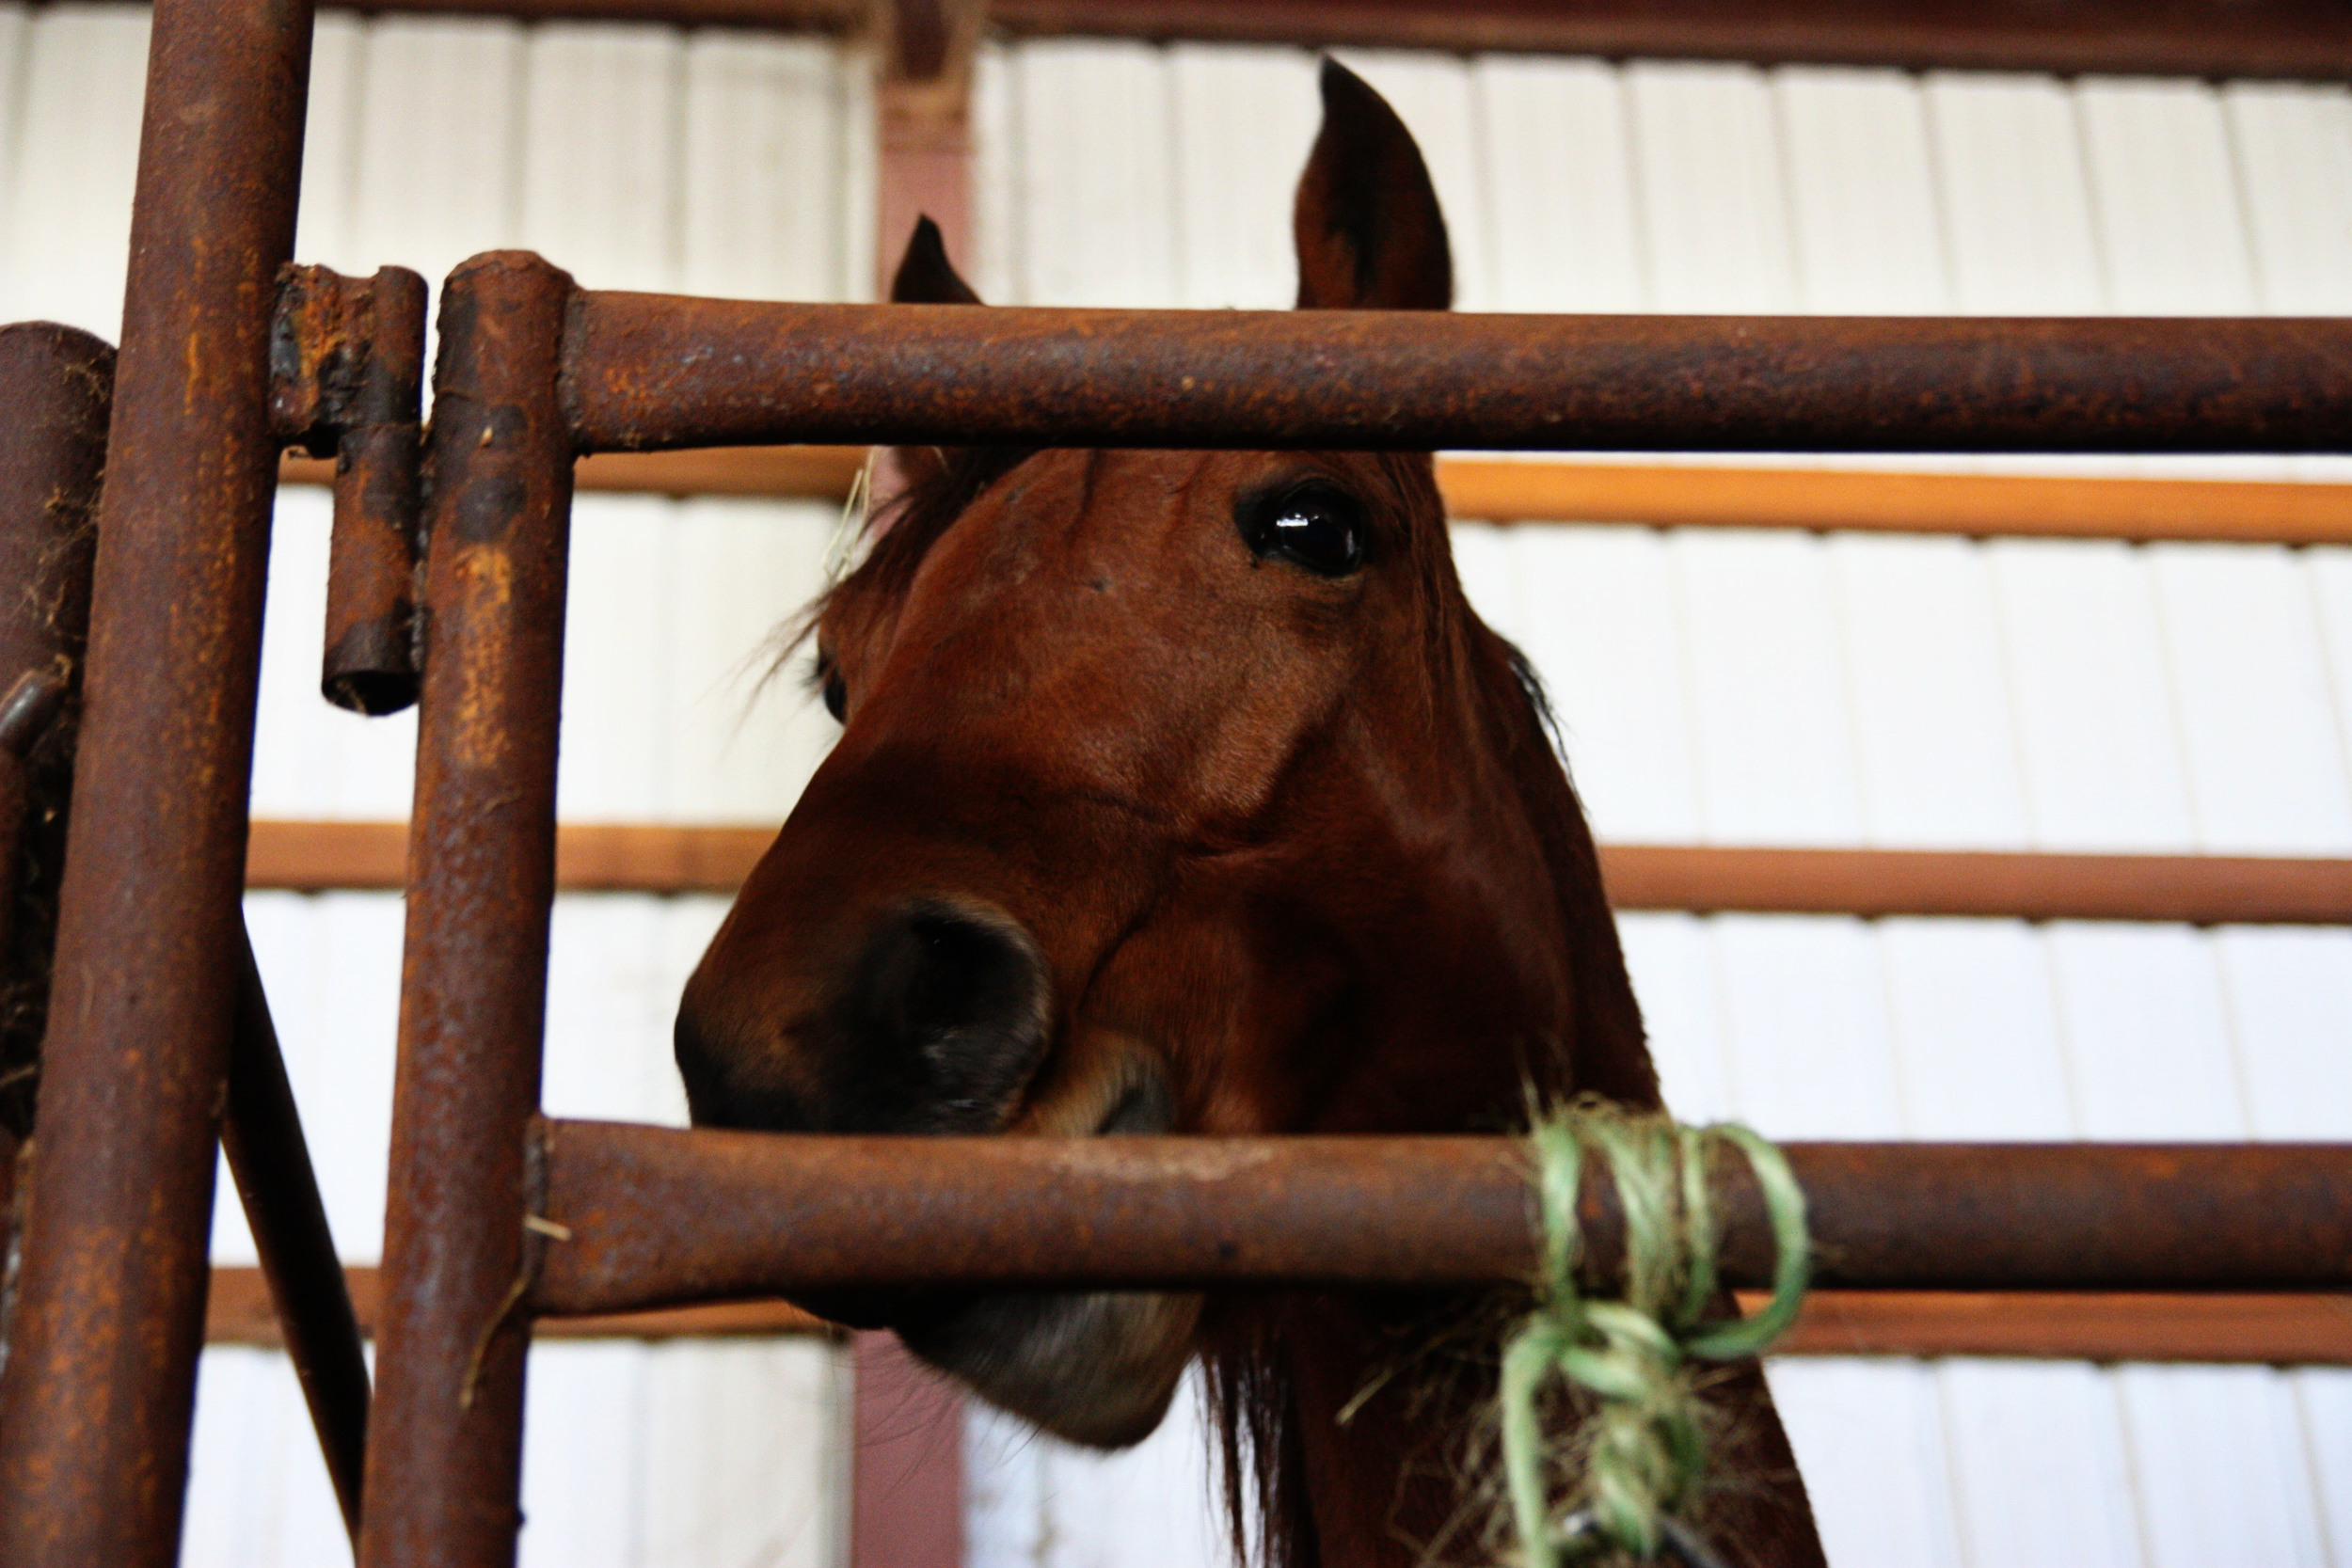
Aren't the horses all so pretty?

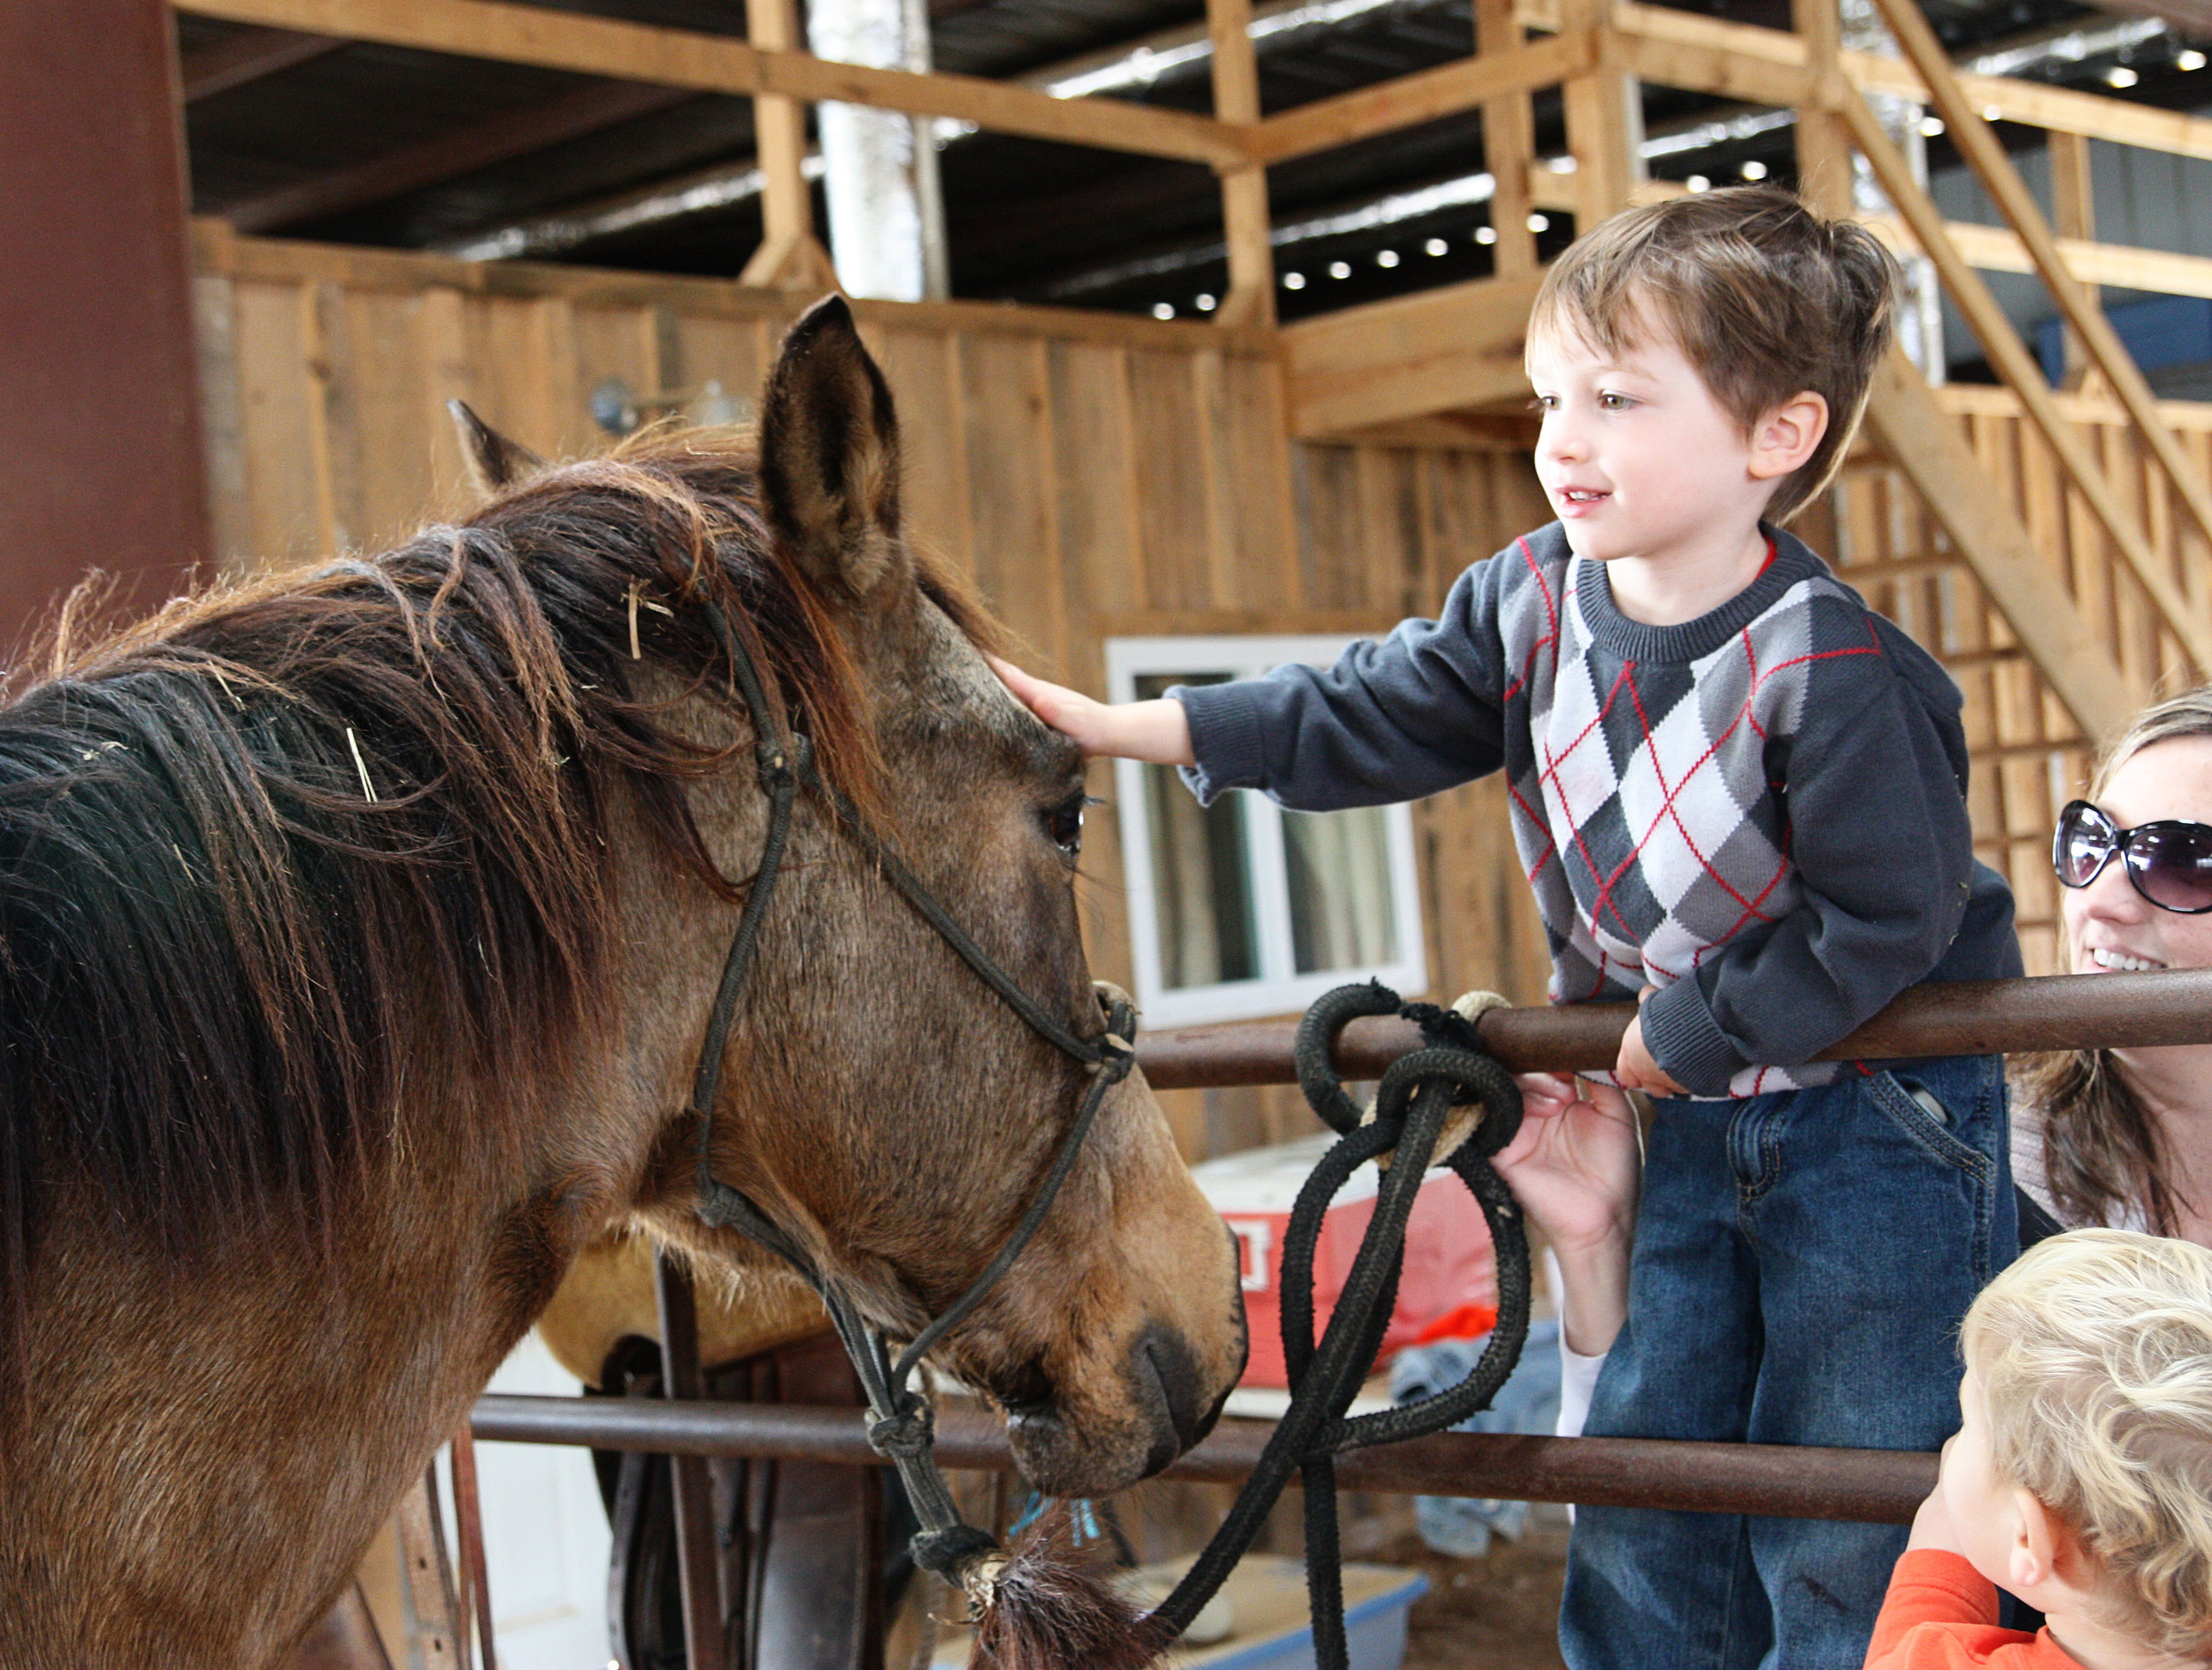
While Paige worked on getting horses saddled, we worked on warming up to the big horsies by petting them.

Some horses were hanging out in stalls, so we walked over to visit them too.

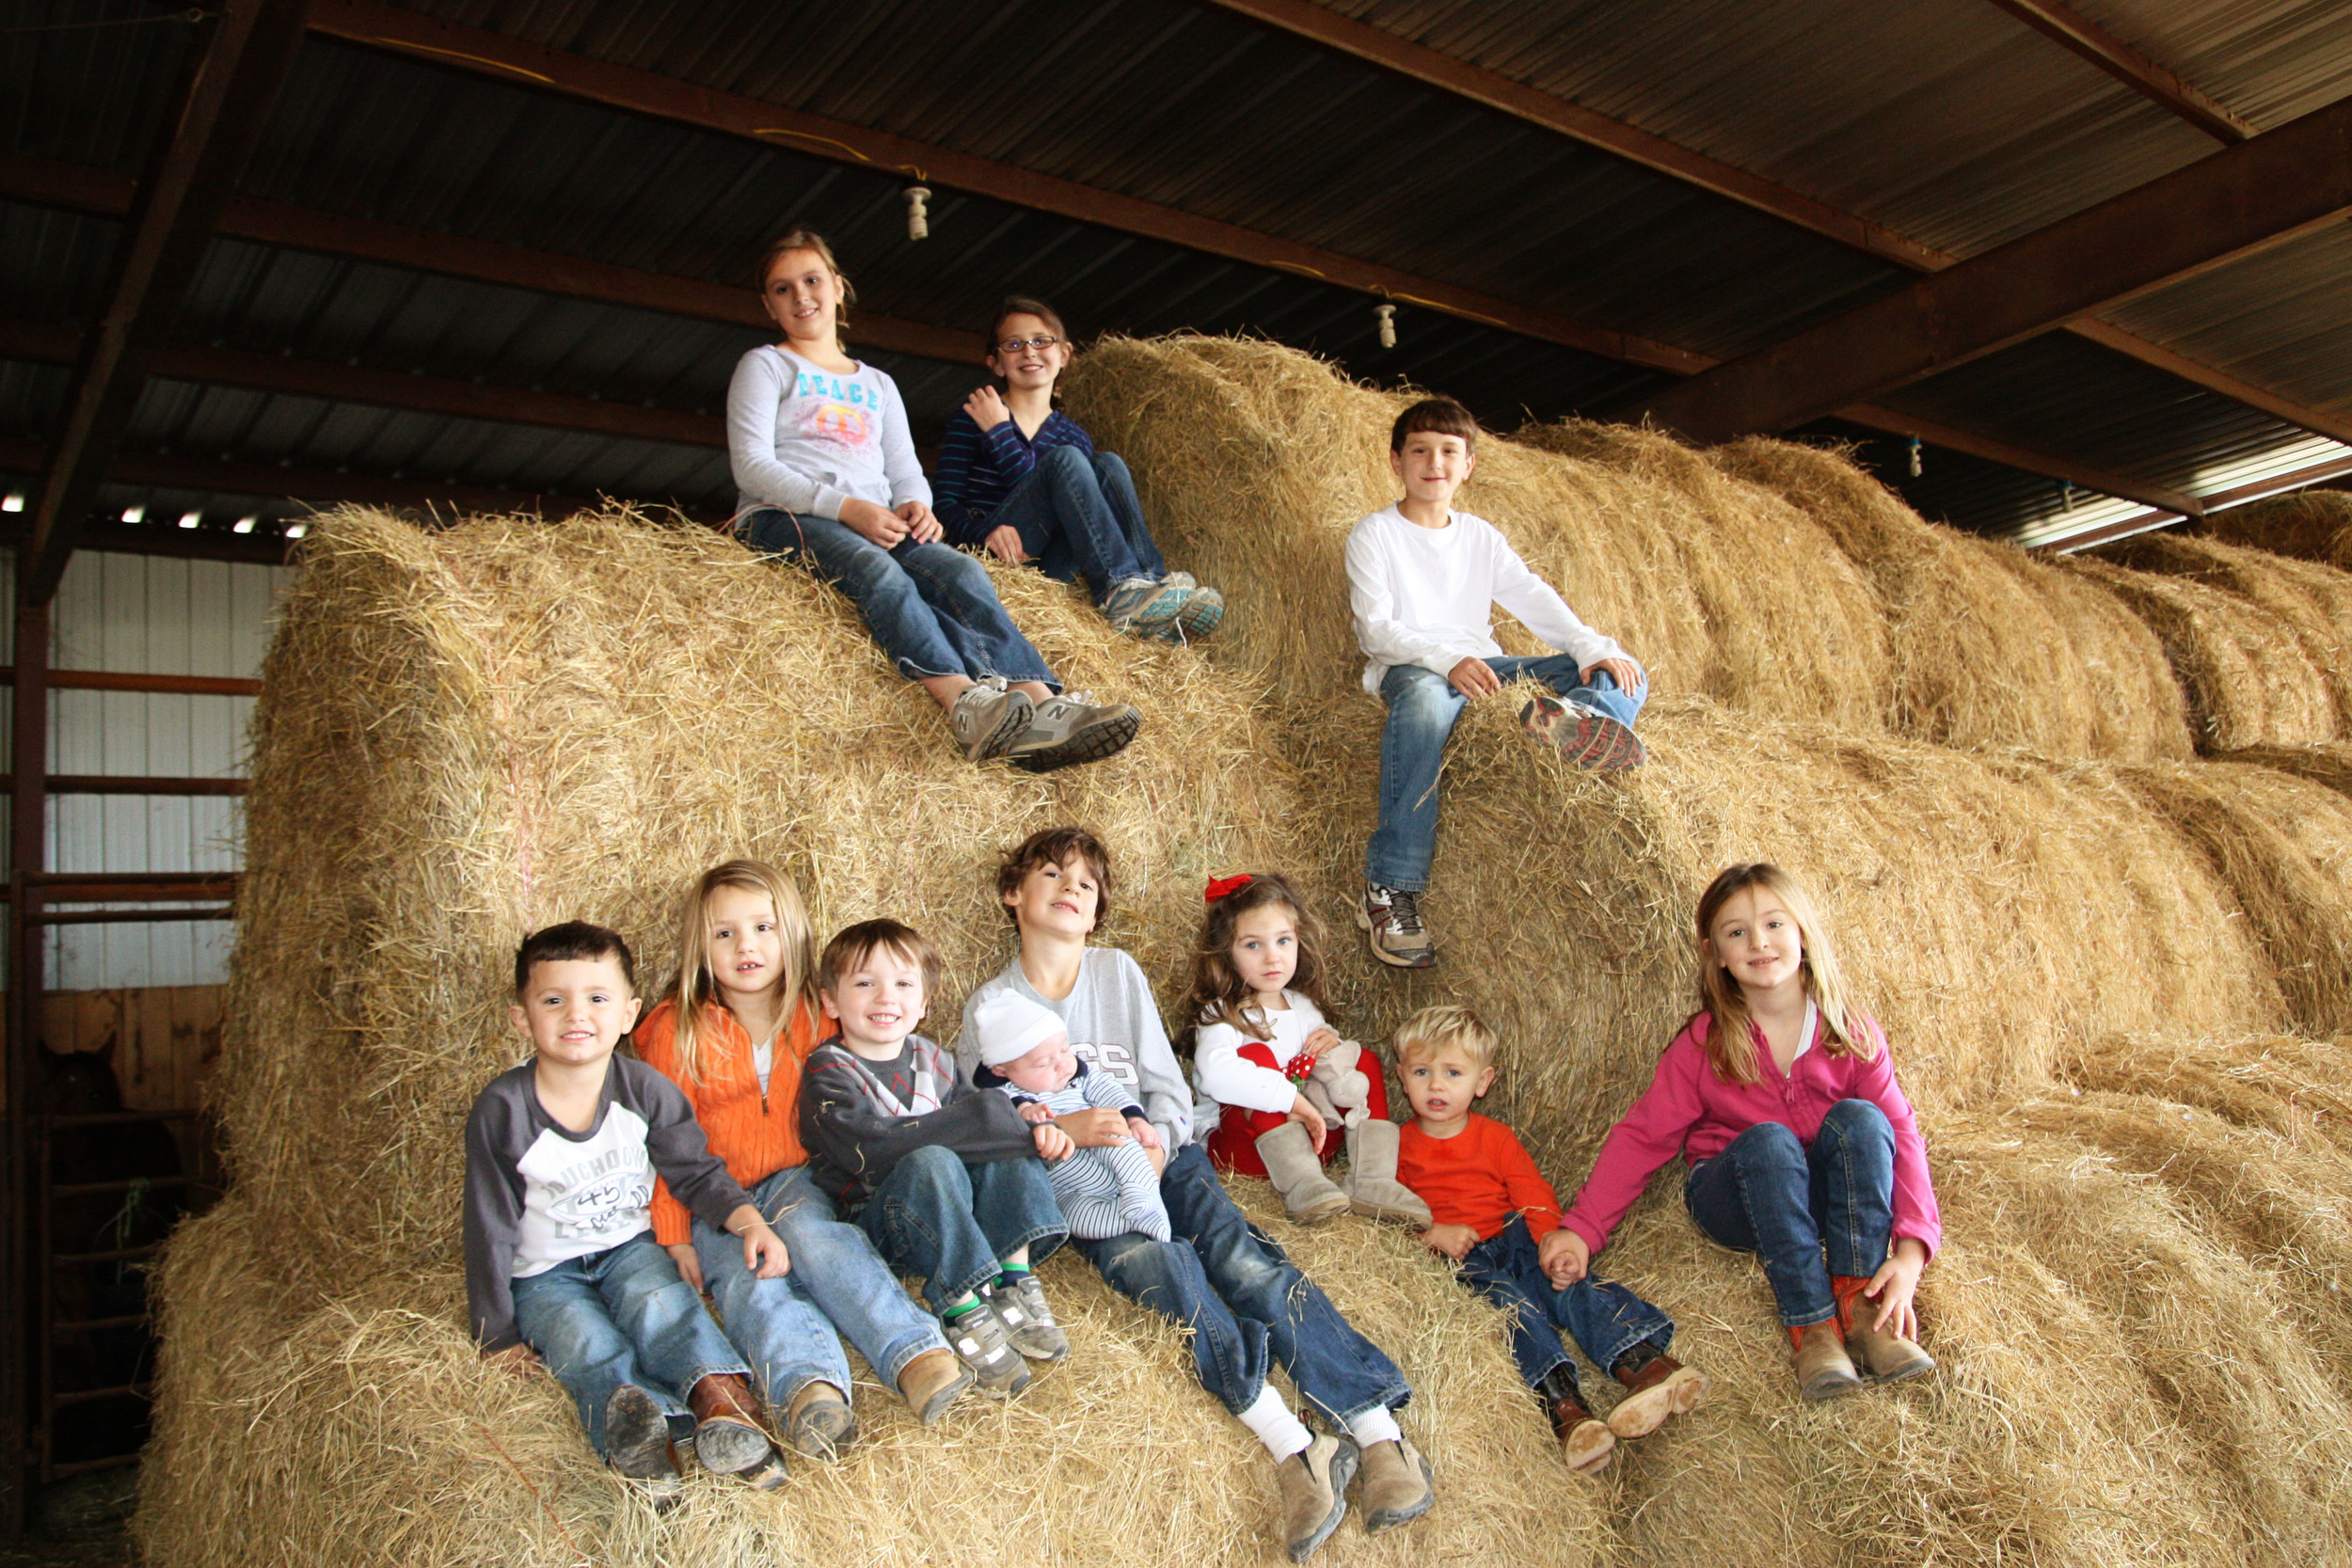
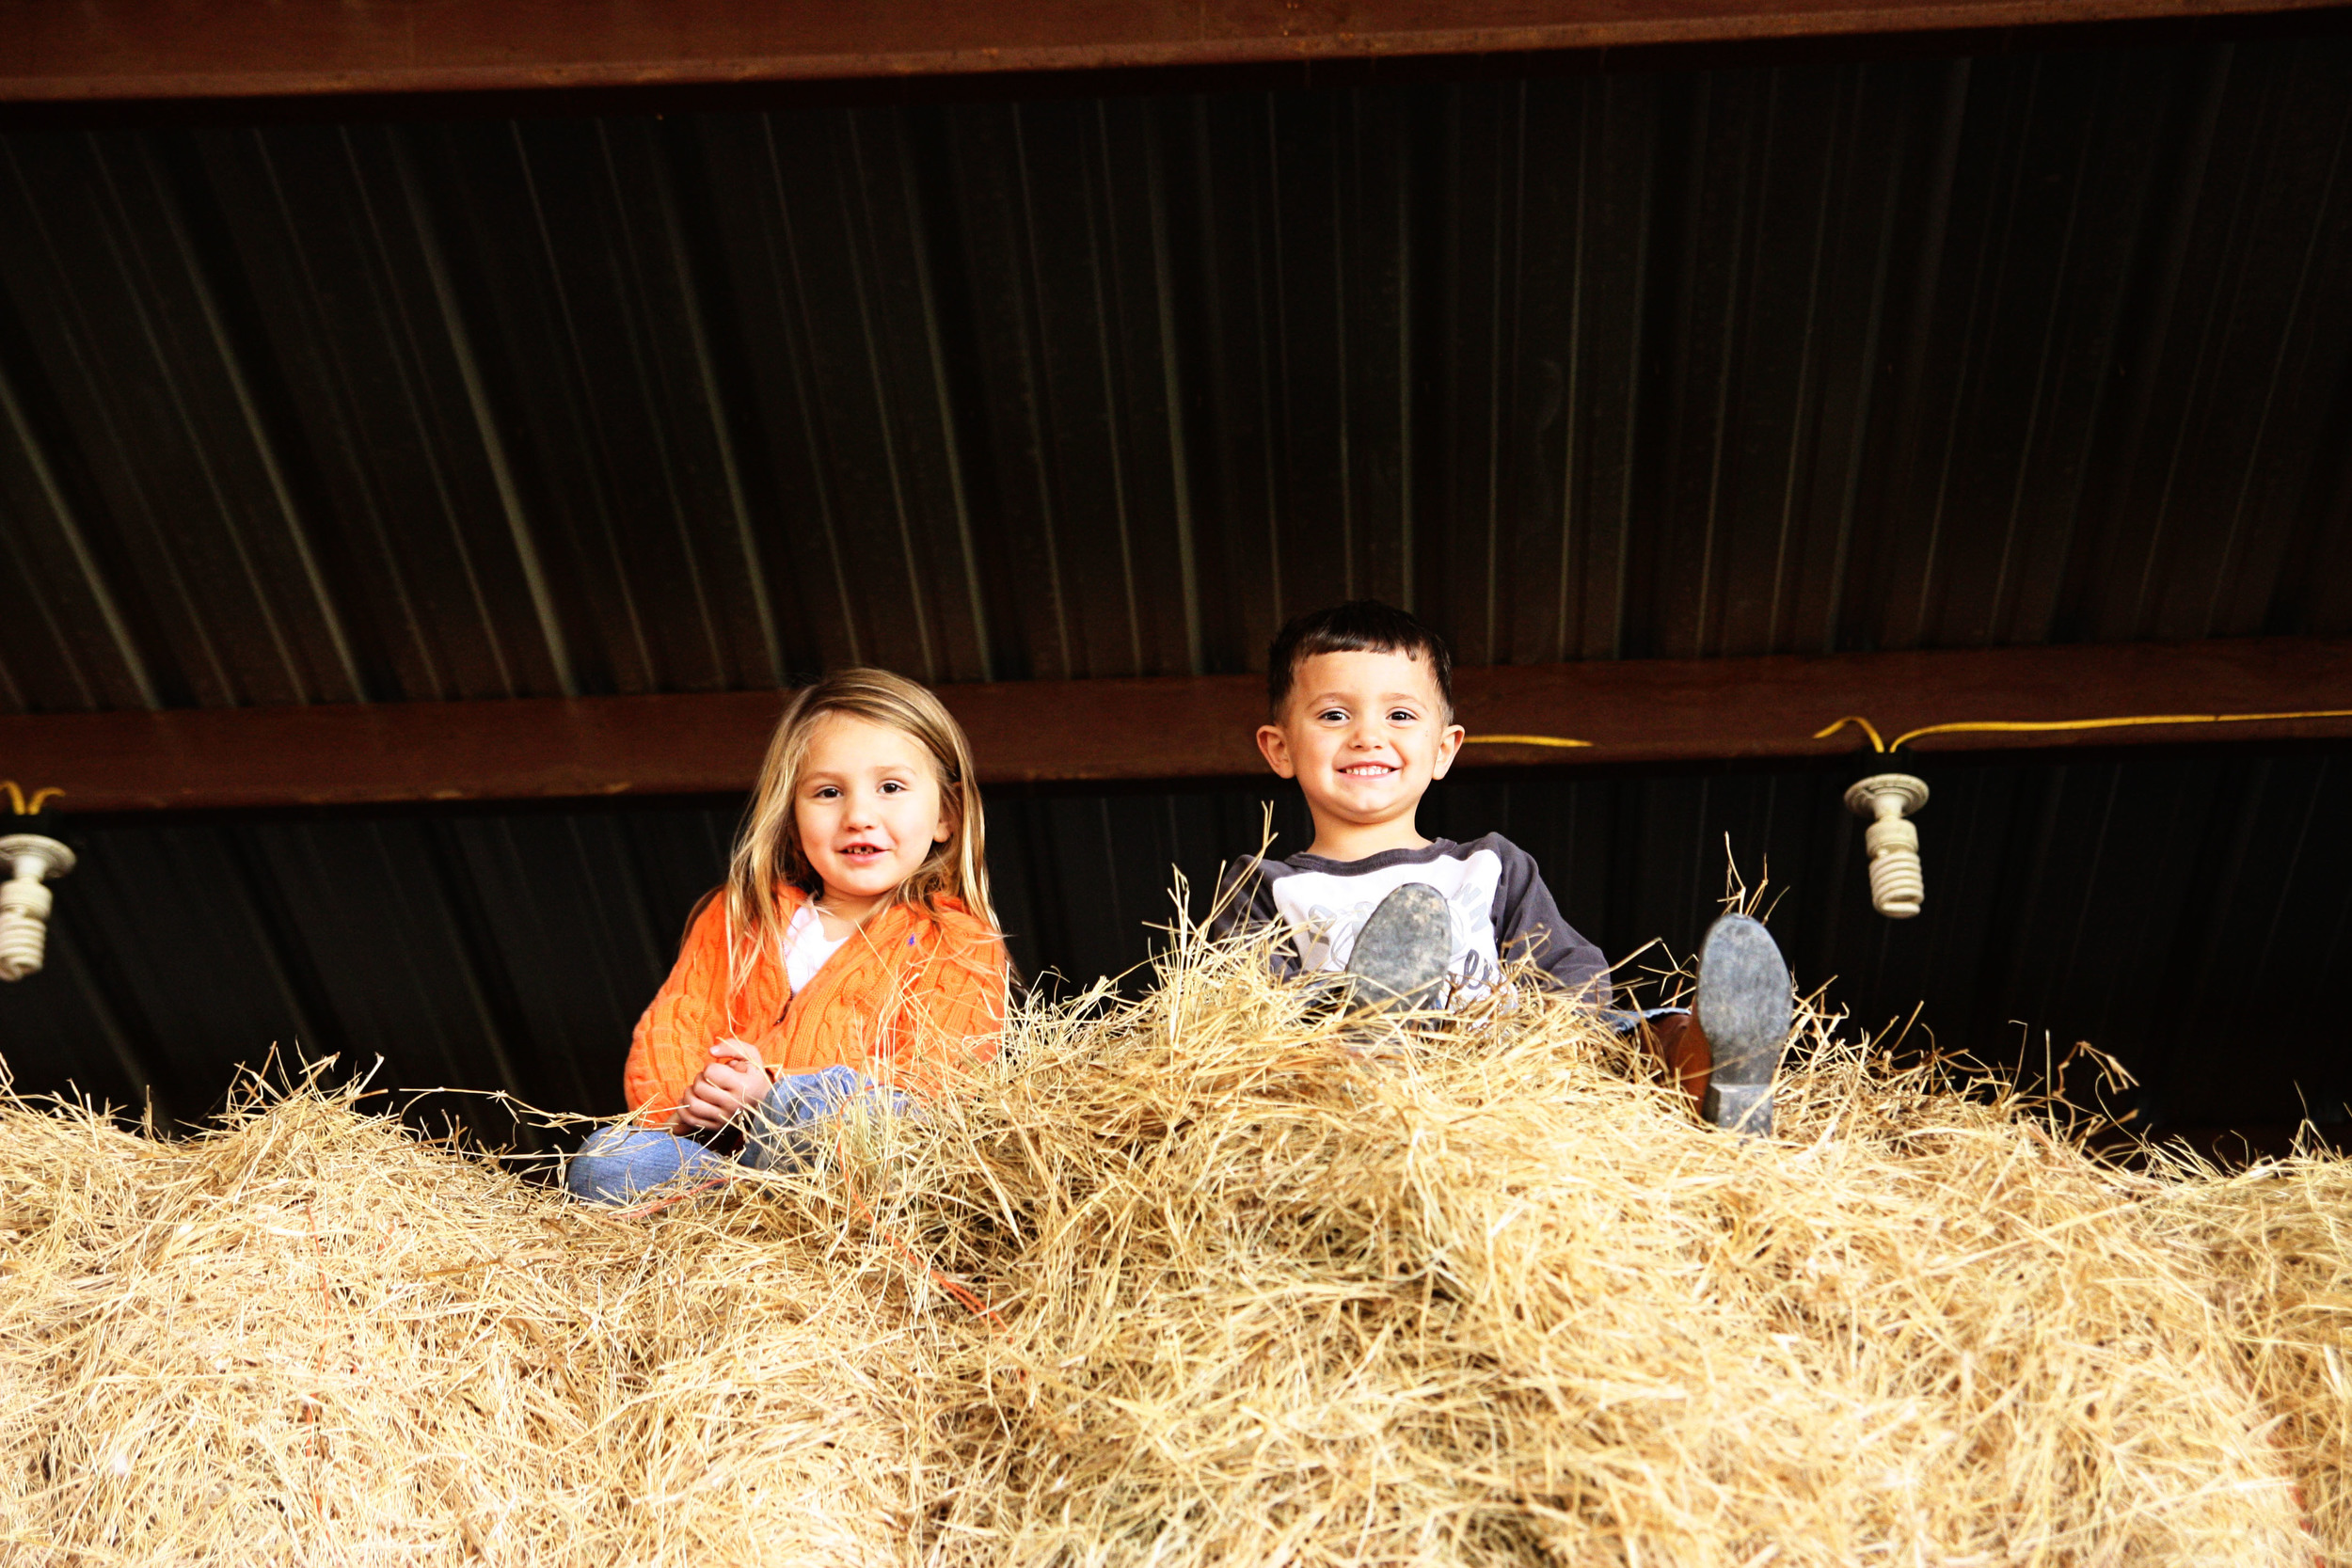
Paige and Roger had lots of hay stacked in the arena while we were there.  I guess that's food for the winter?  The kids all had so much fun climbing all over it...if you don't have a jungle gym or playset in your backyard, may I suggest just buying some hay?

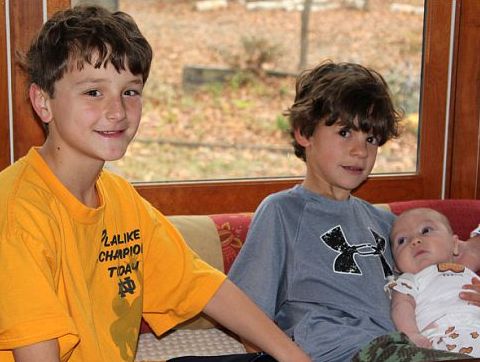
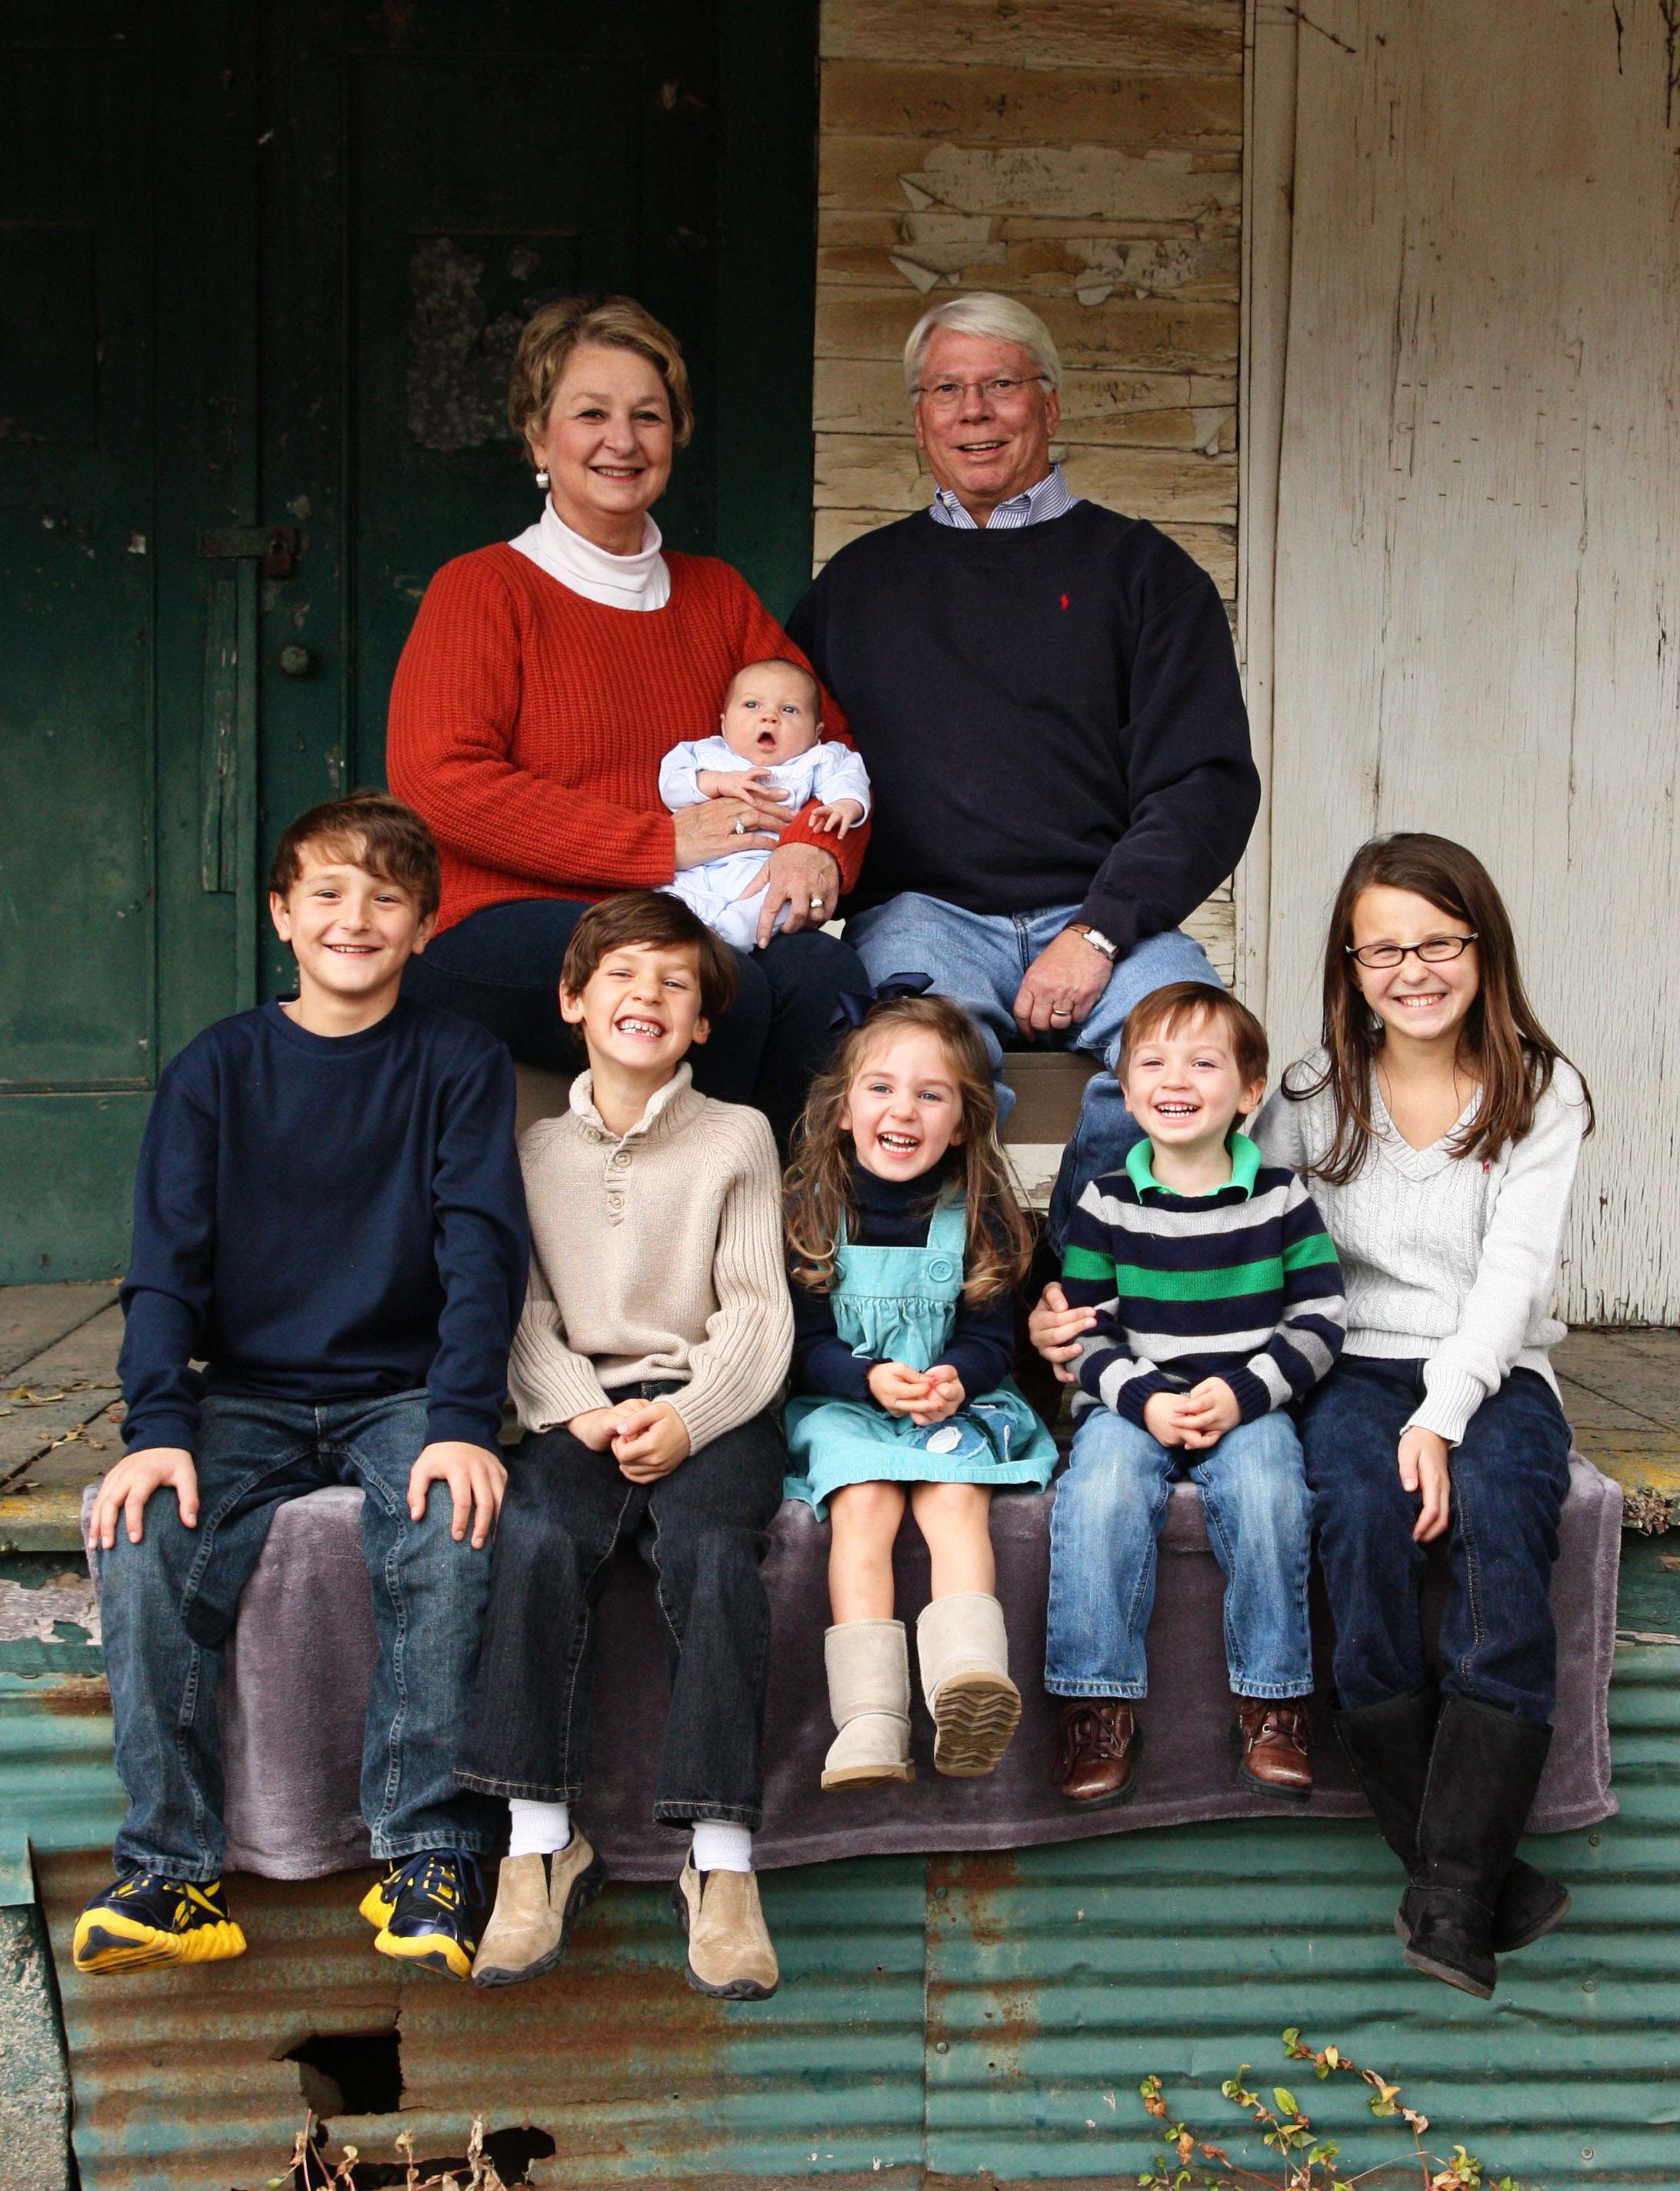
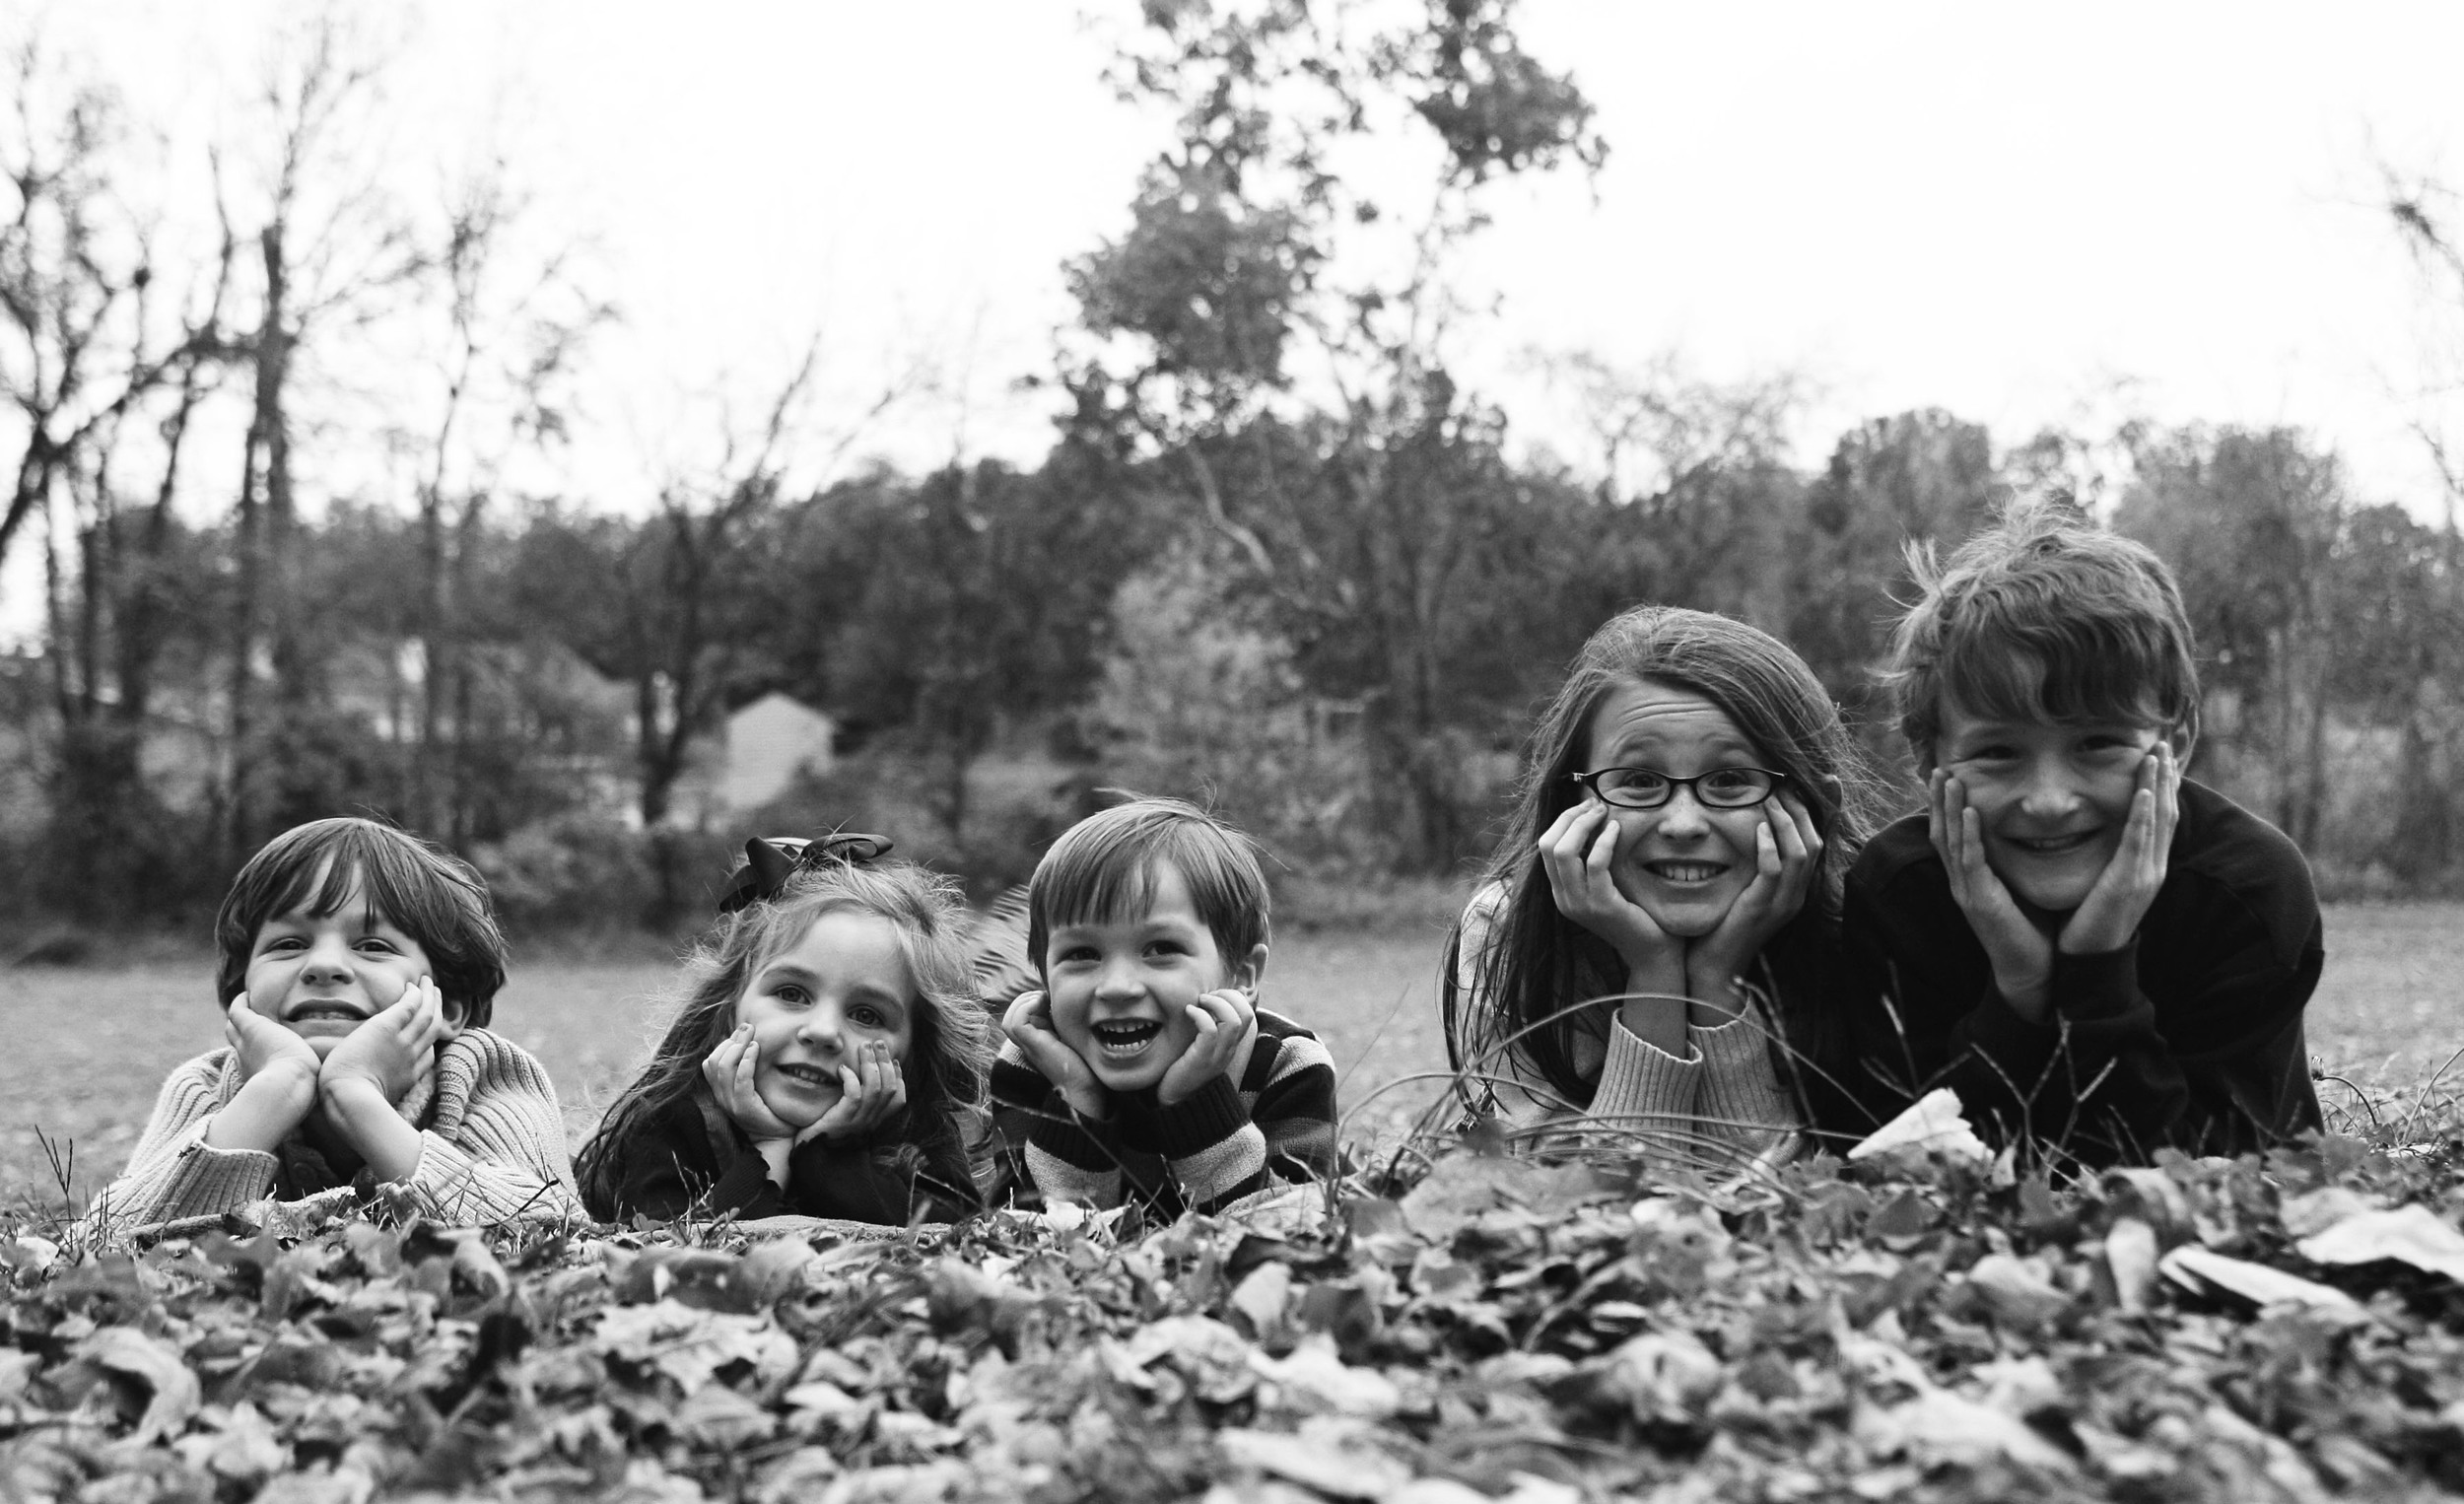
It took a few minutes to get them to all climb down for a group photo.  I'm pleased to say that this is the first (and only) photo of what would be ALL of my grandmother's great grandchildren.  Eleven of them!  She was only able to meet seven of them before she passed away - she never met our two and Sevens and Ramer weren't born yet - but I have no doubt that she watches them from Heaven all the time.

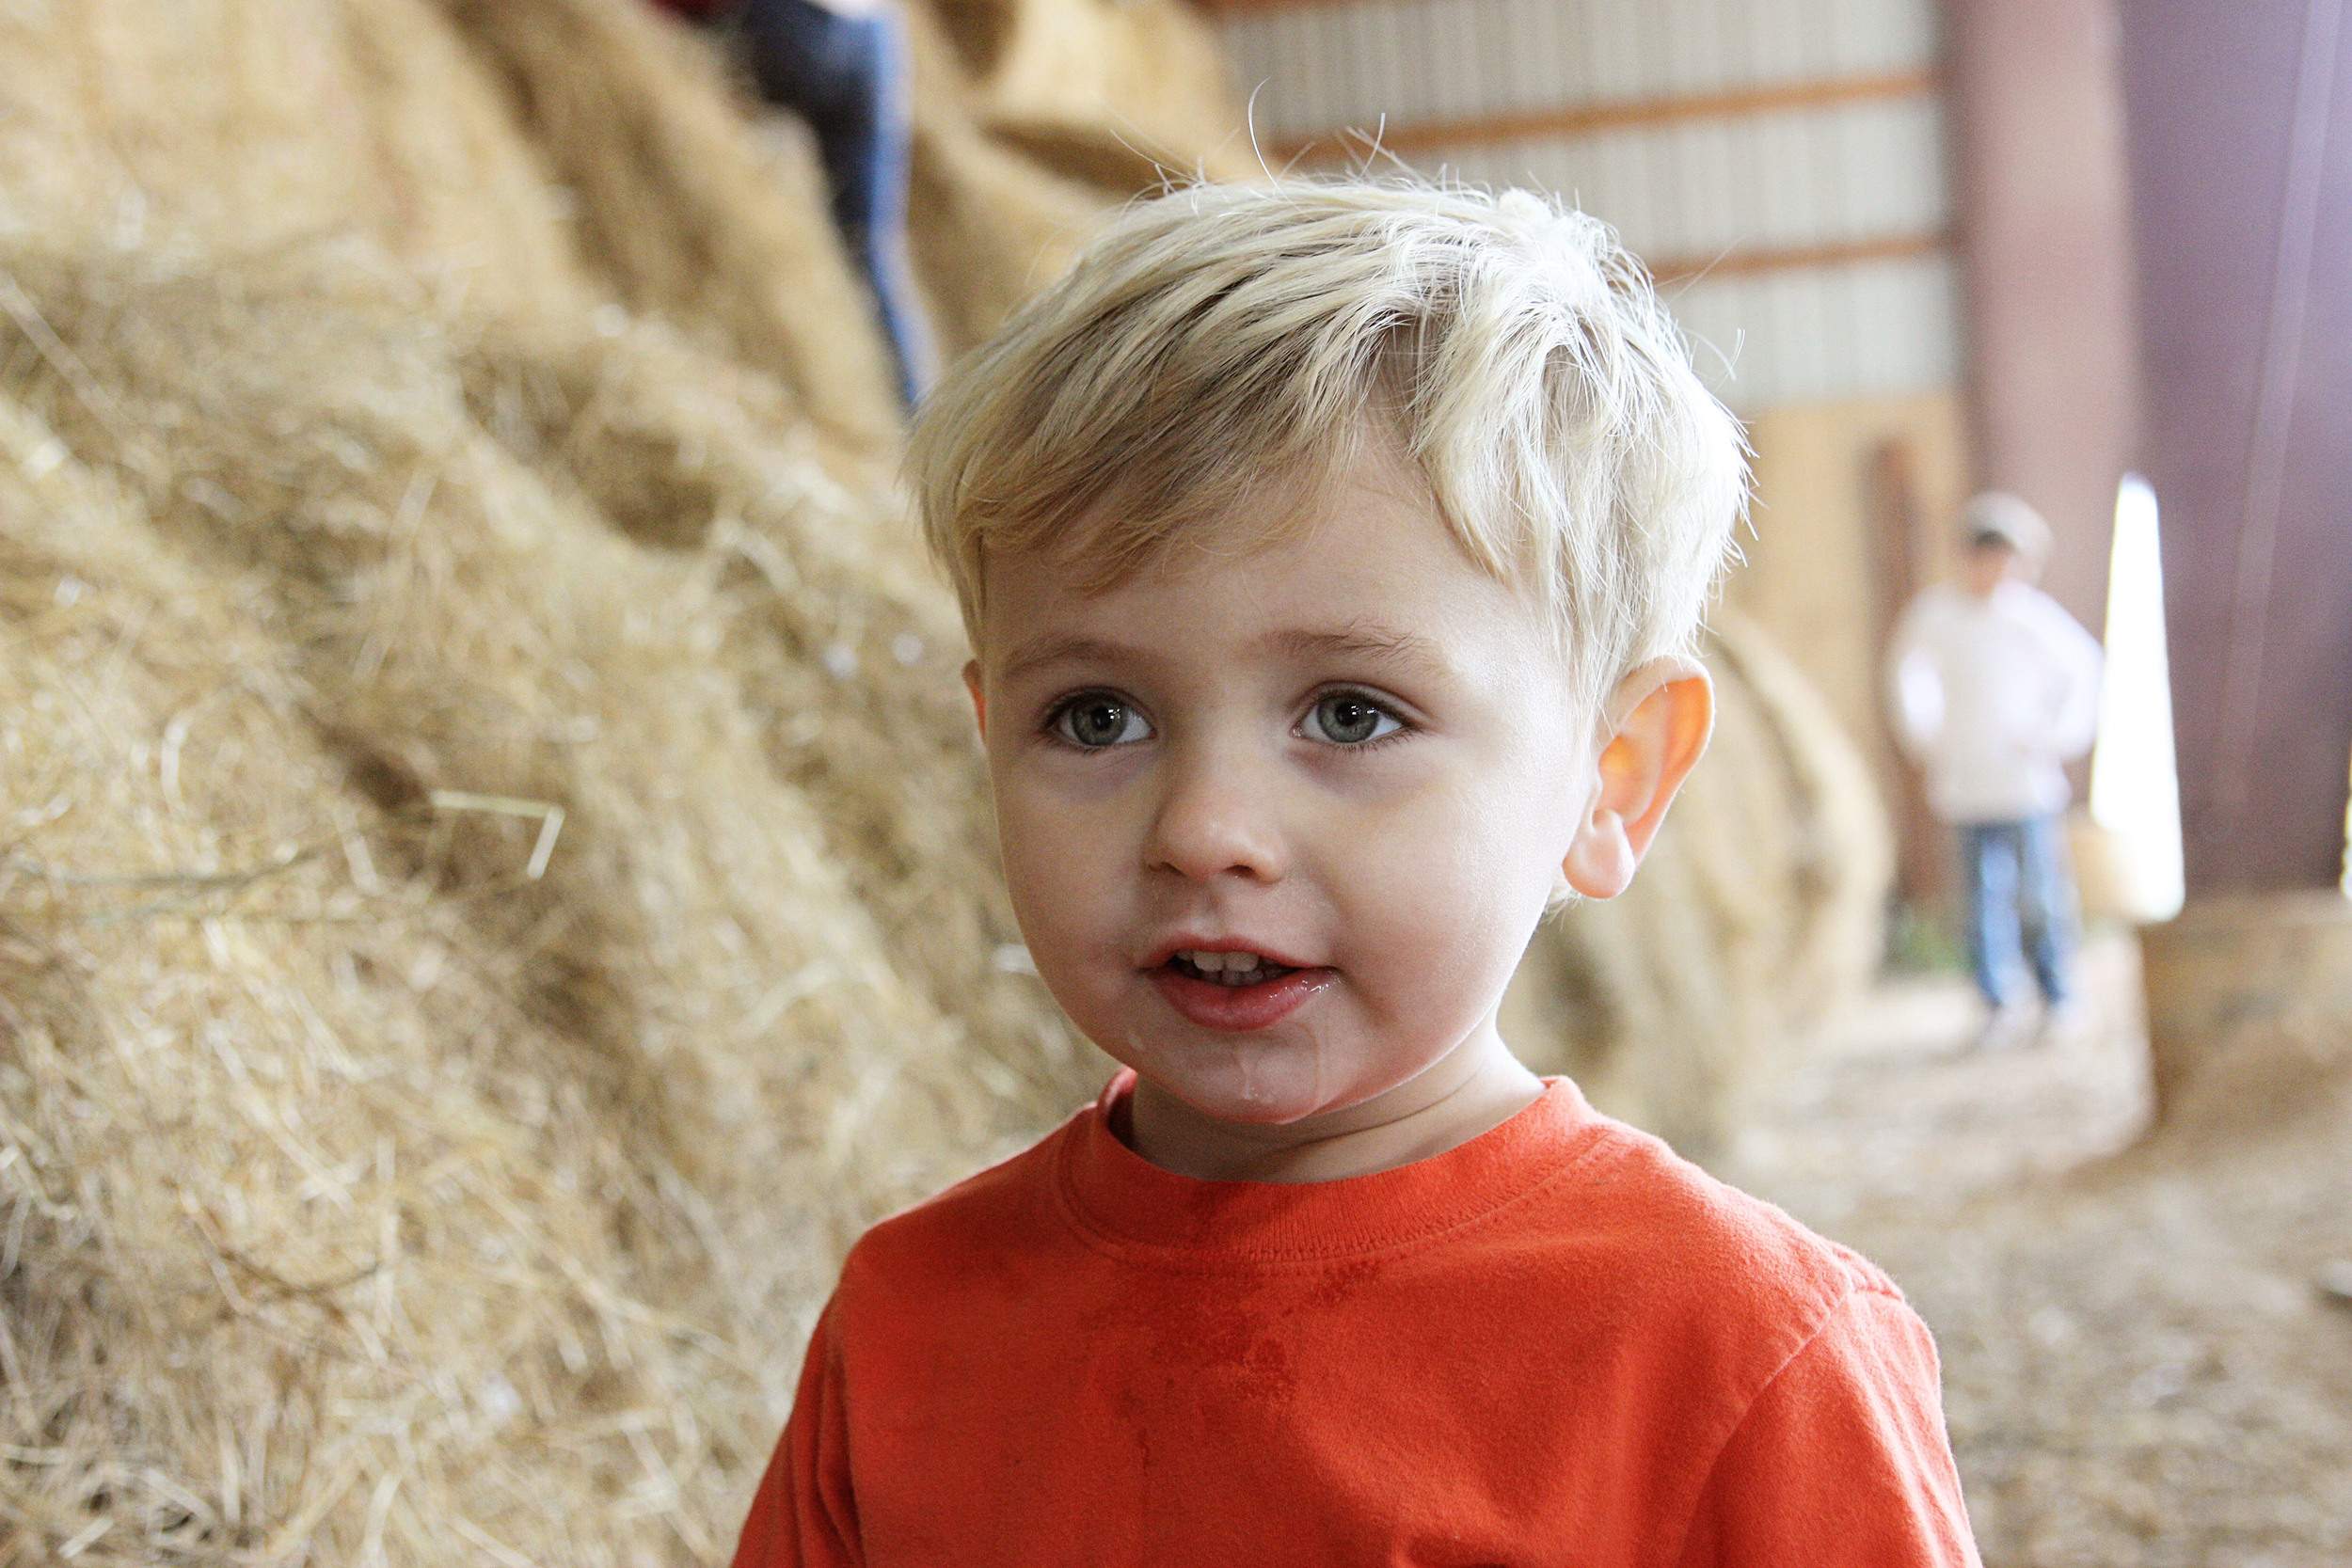
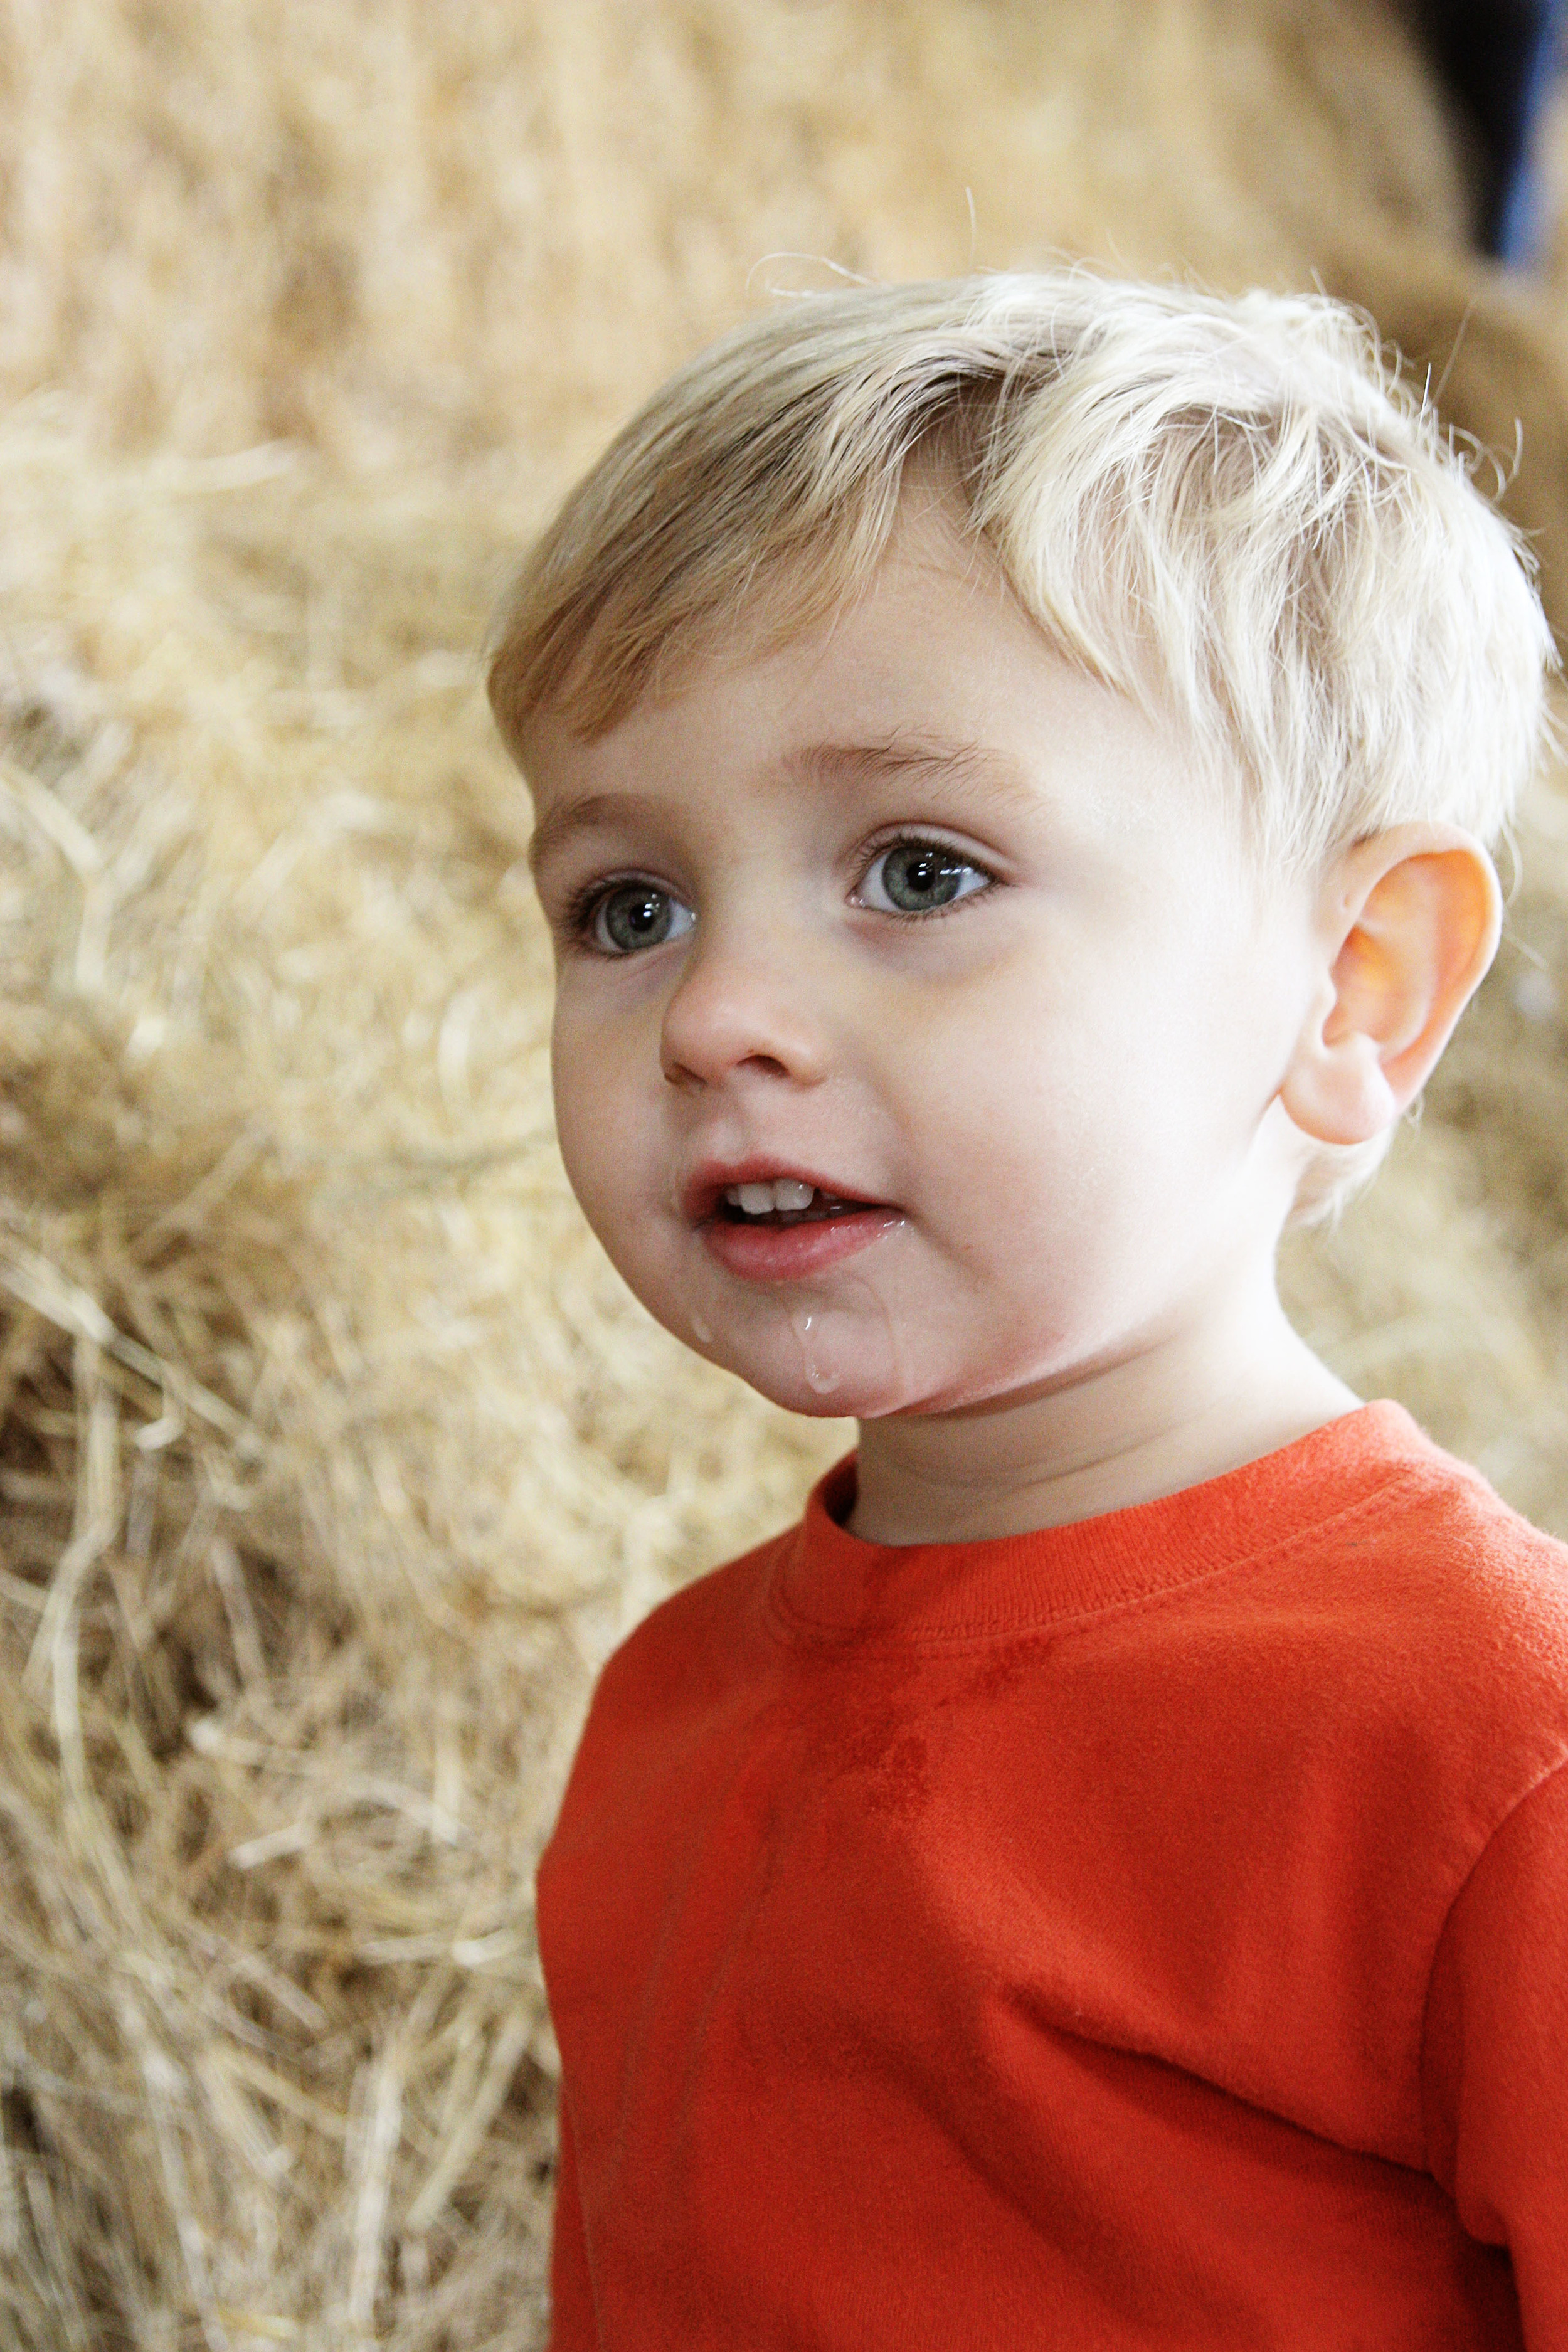
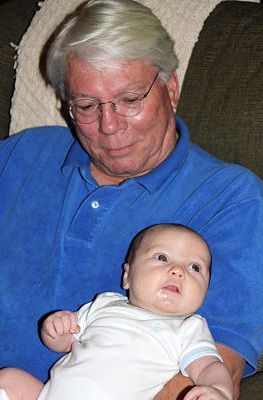
Before Ramer was born, Sevens was the youngest.  You have to be careful with him - one look in those big green eyes and he'll steal your heart.

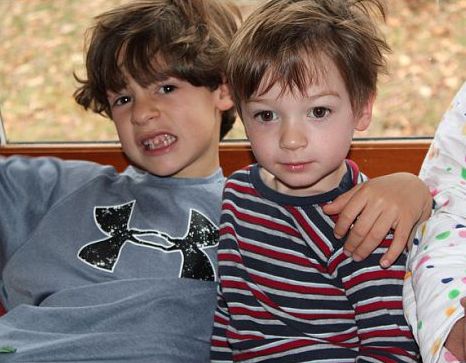
This is Carter and Roany.  They're both 3, just like Parker and Bren.  Yep, four cousins born within 6 months of each other.

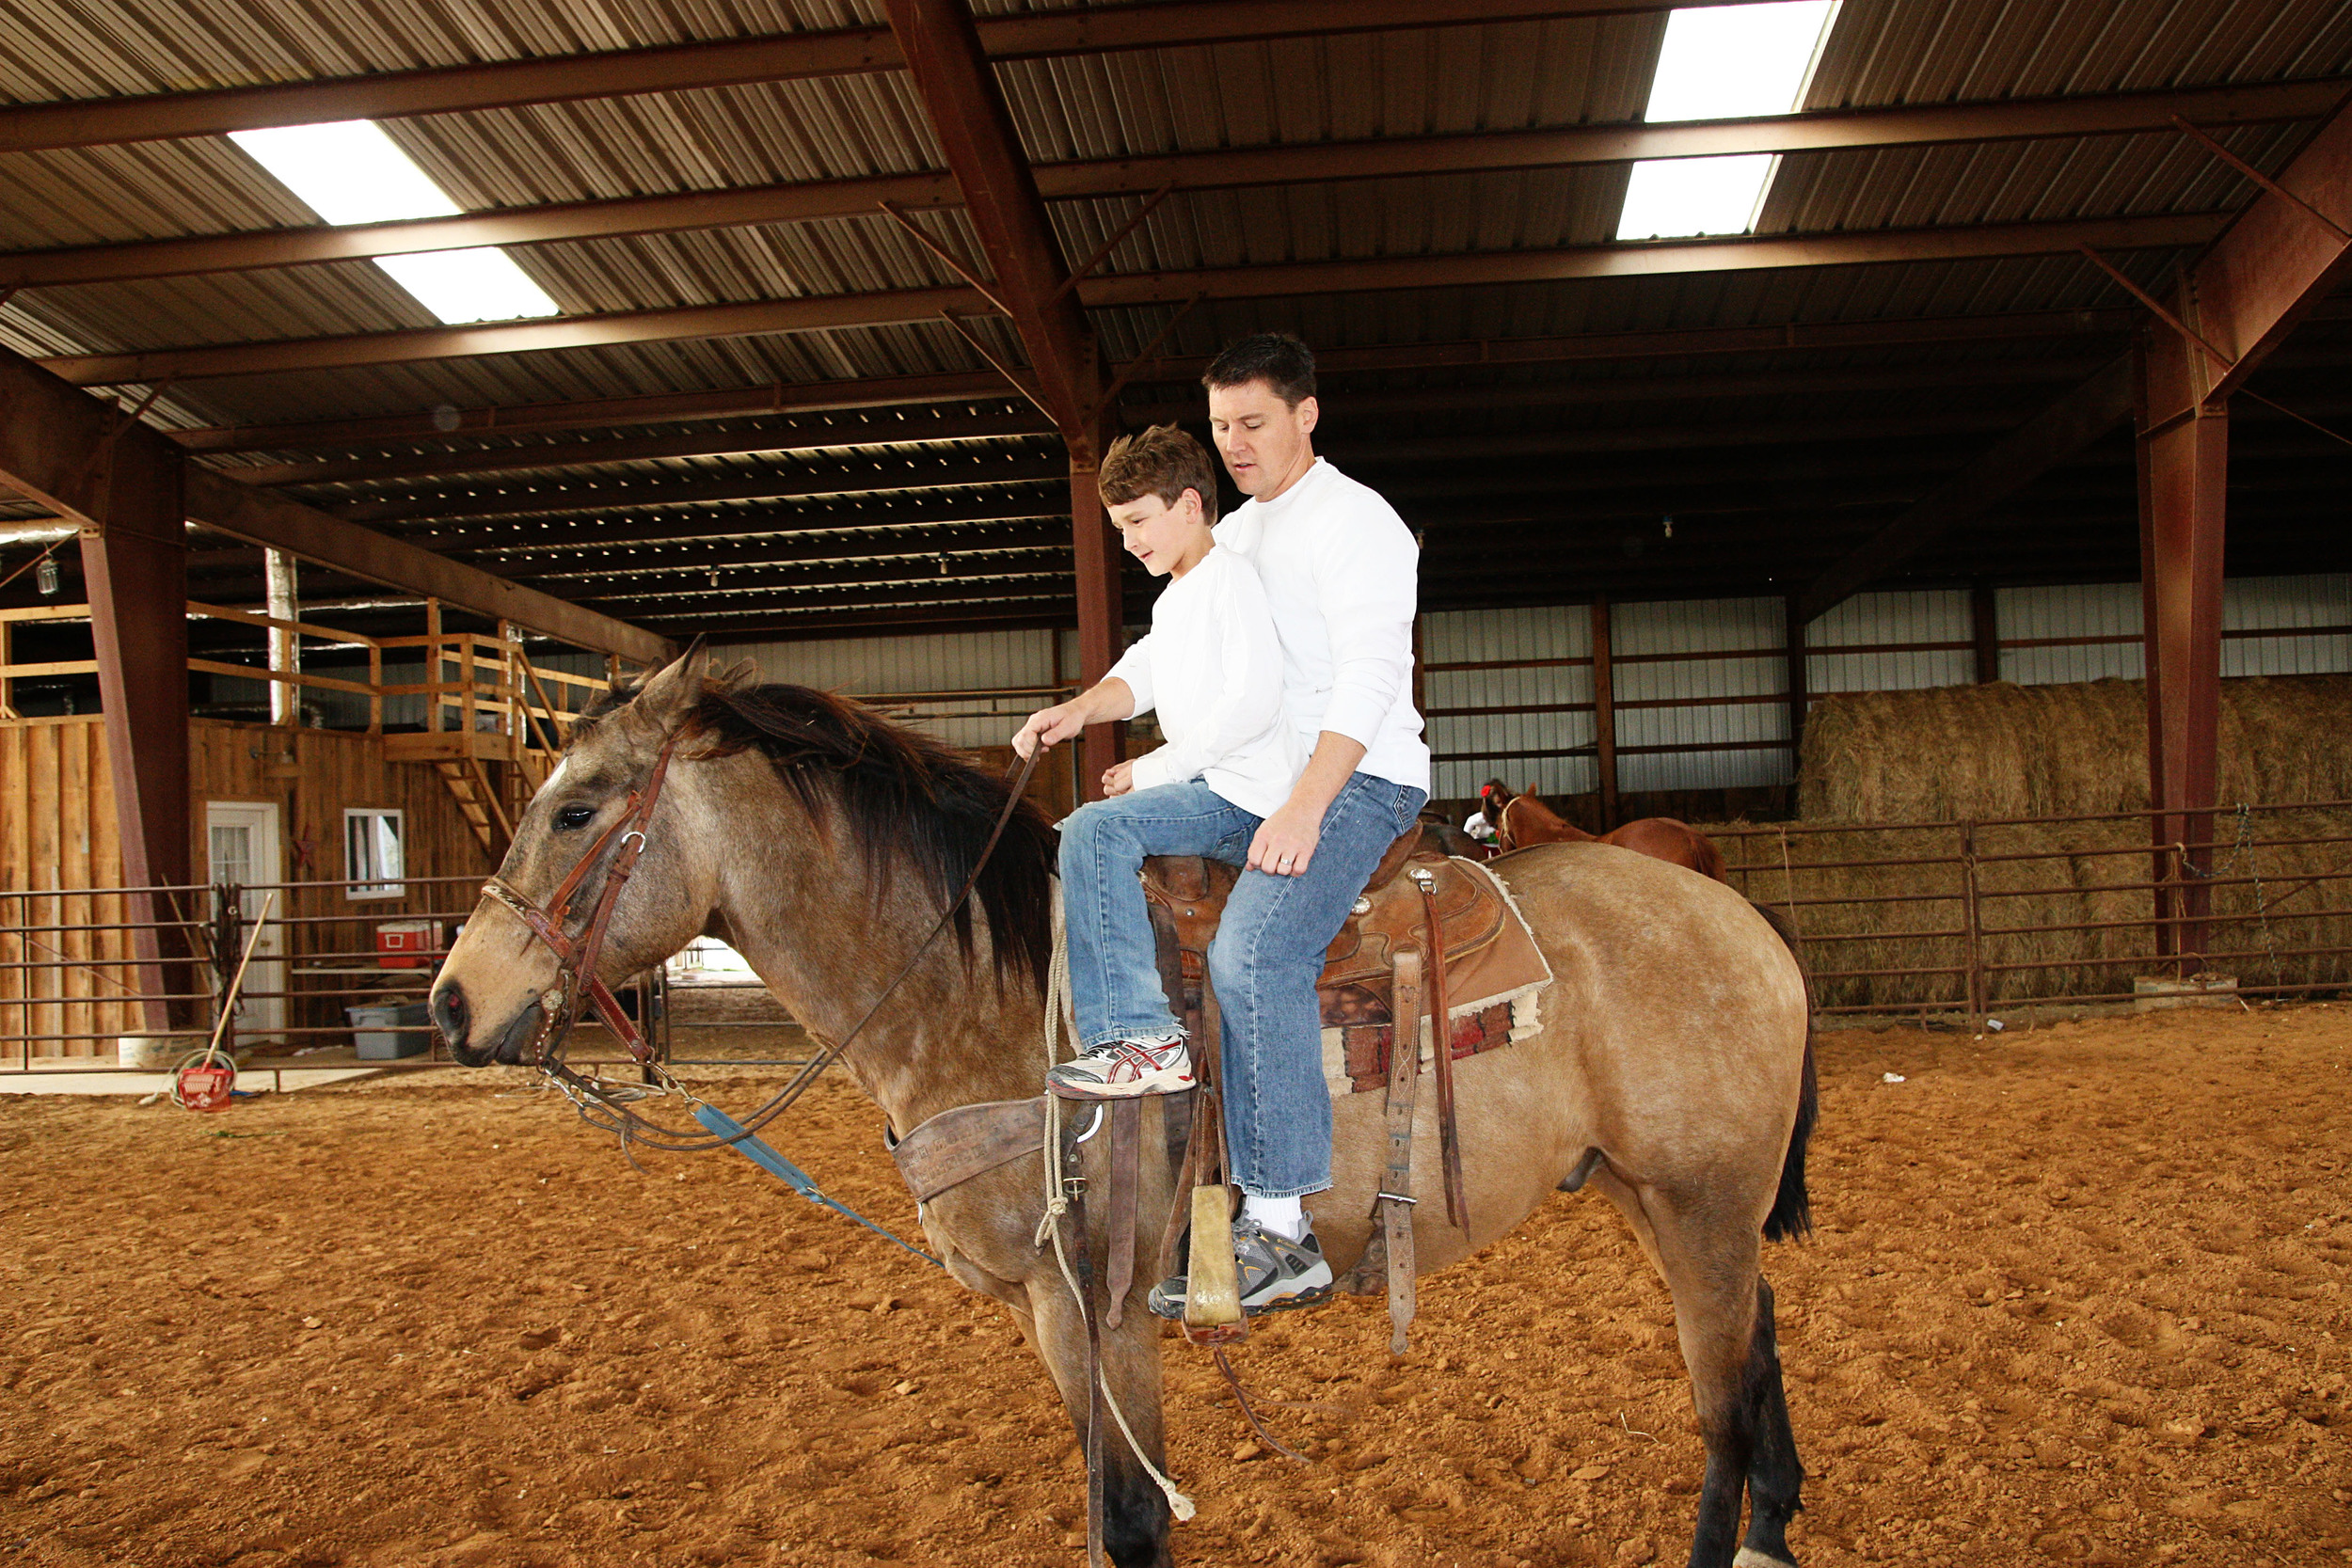
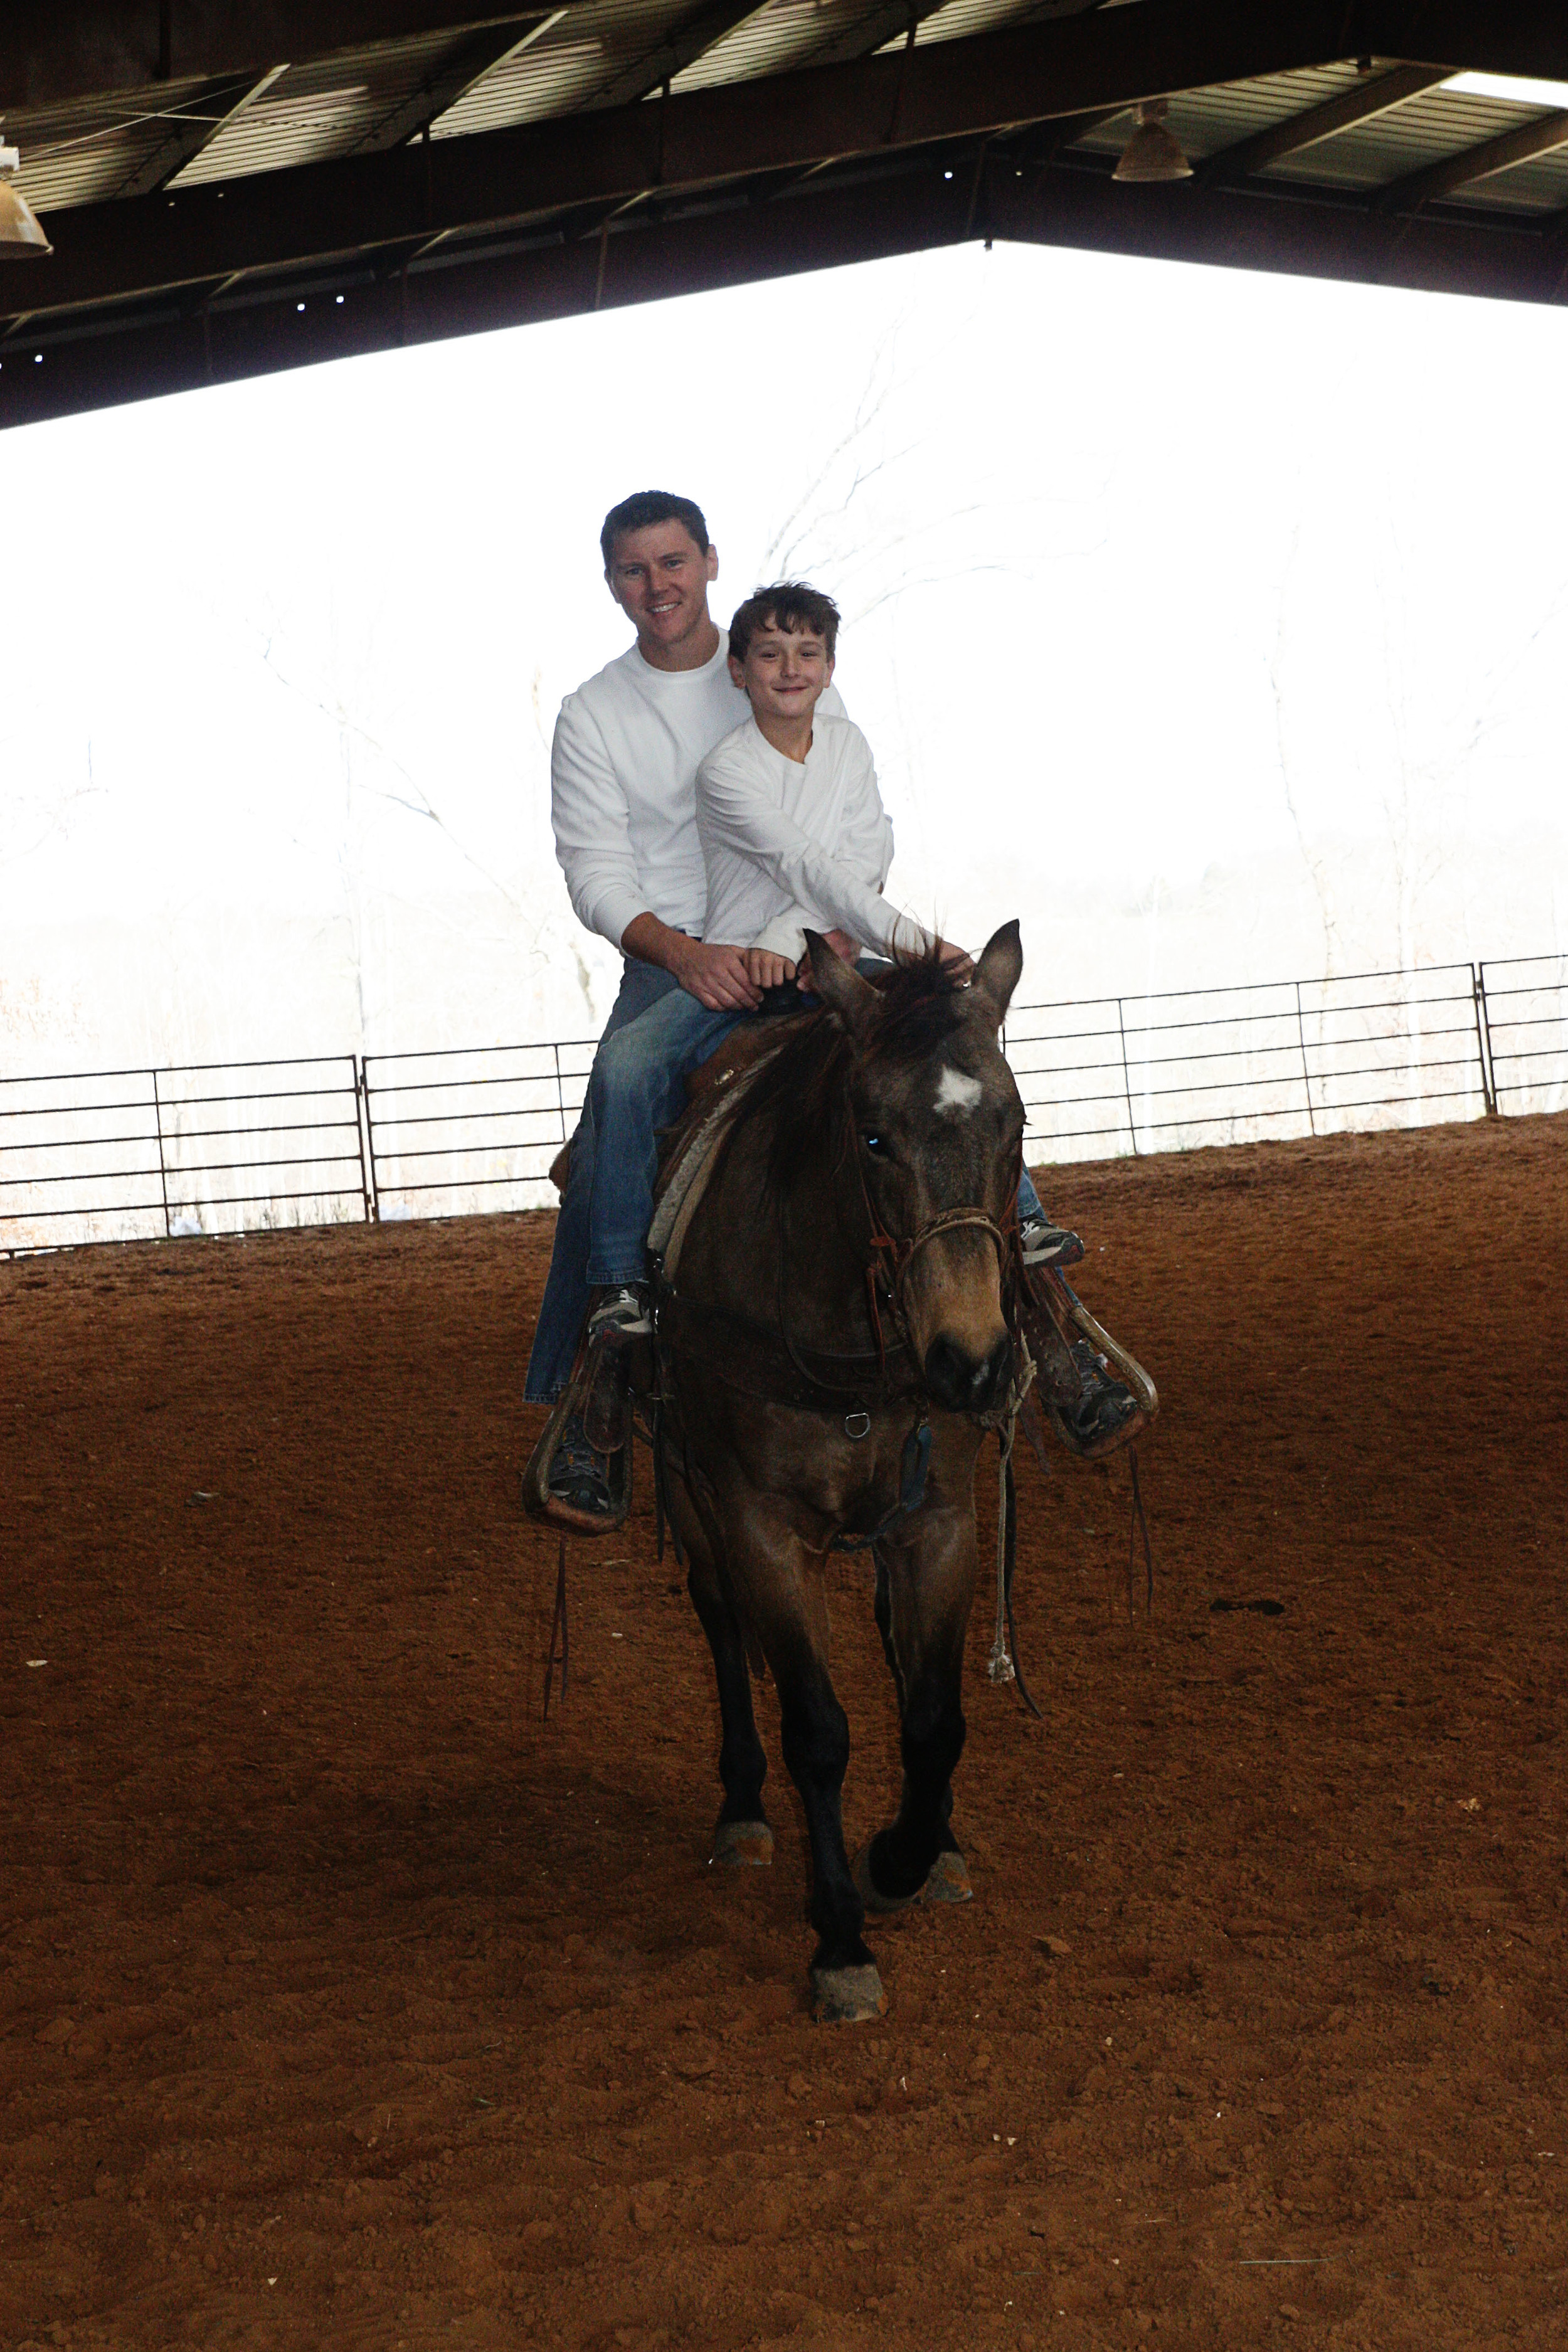
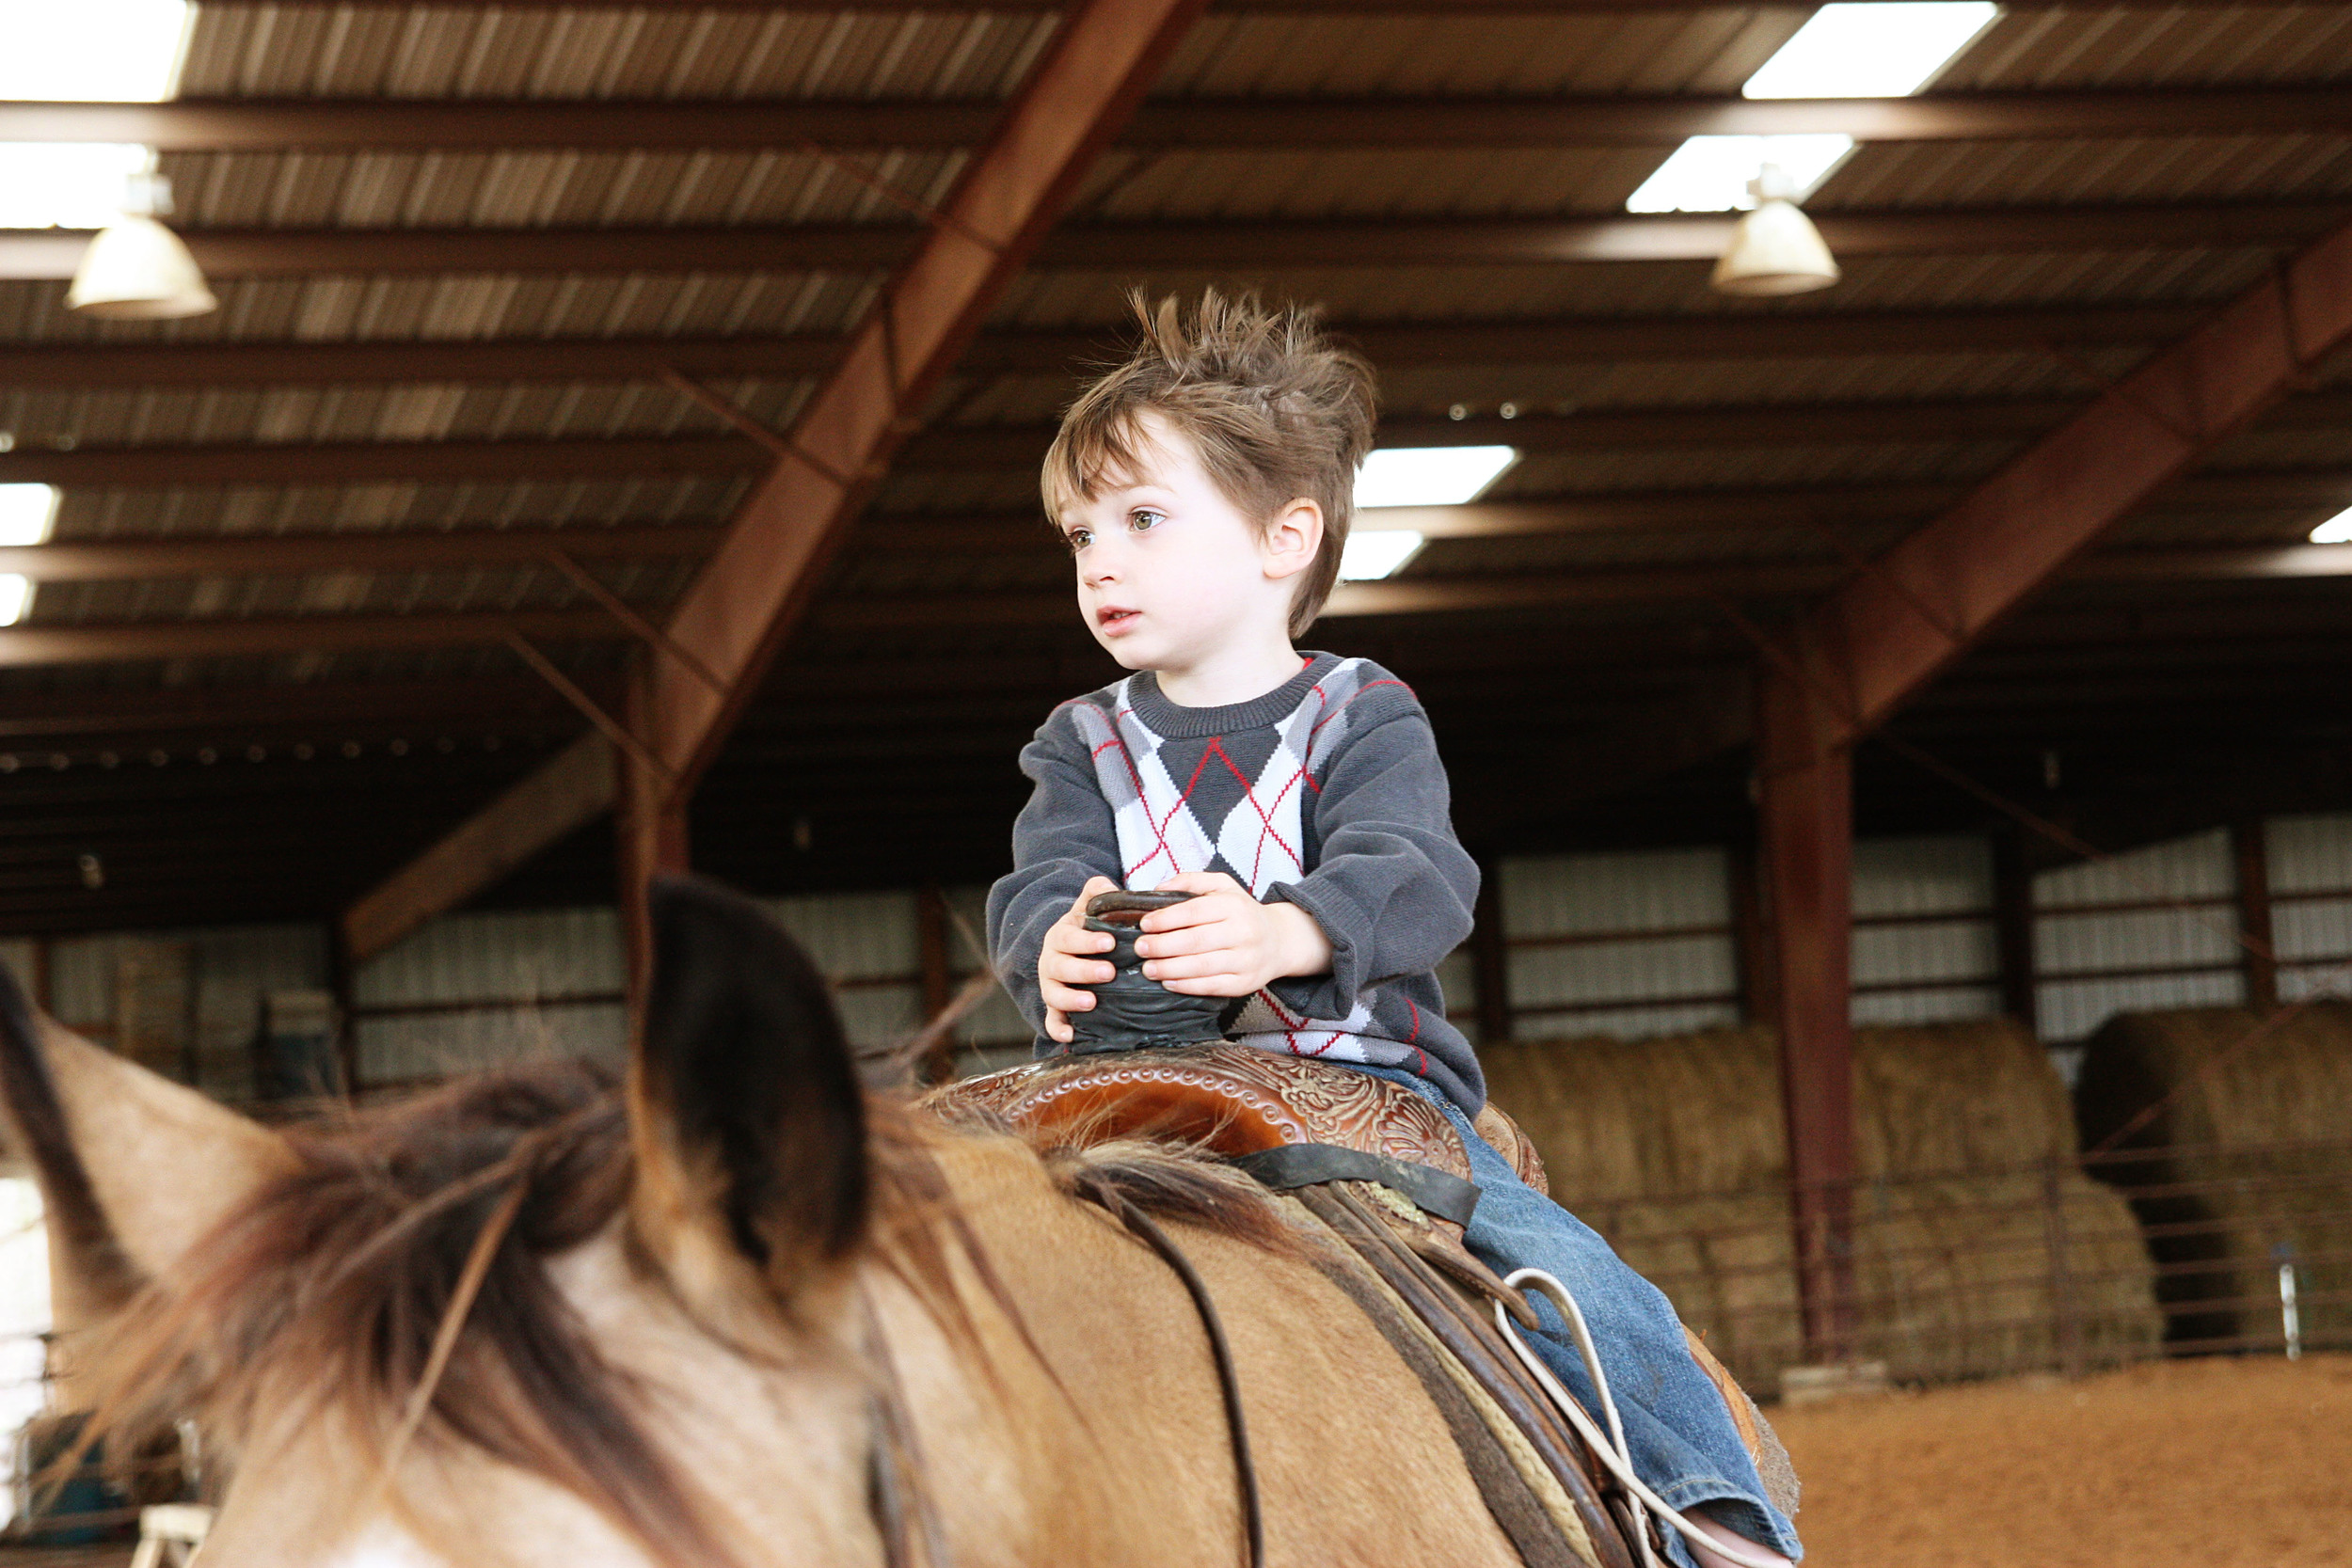
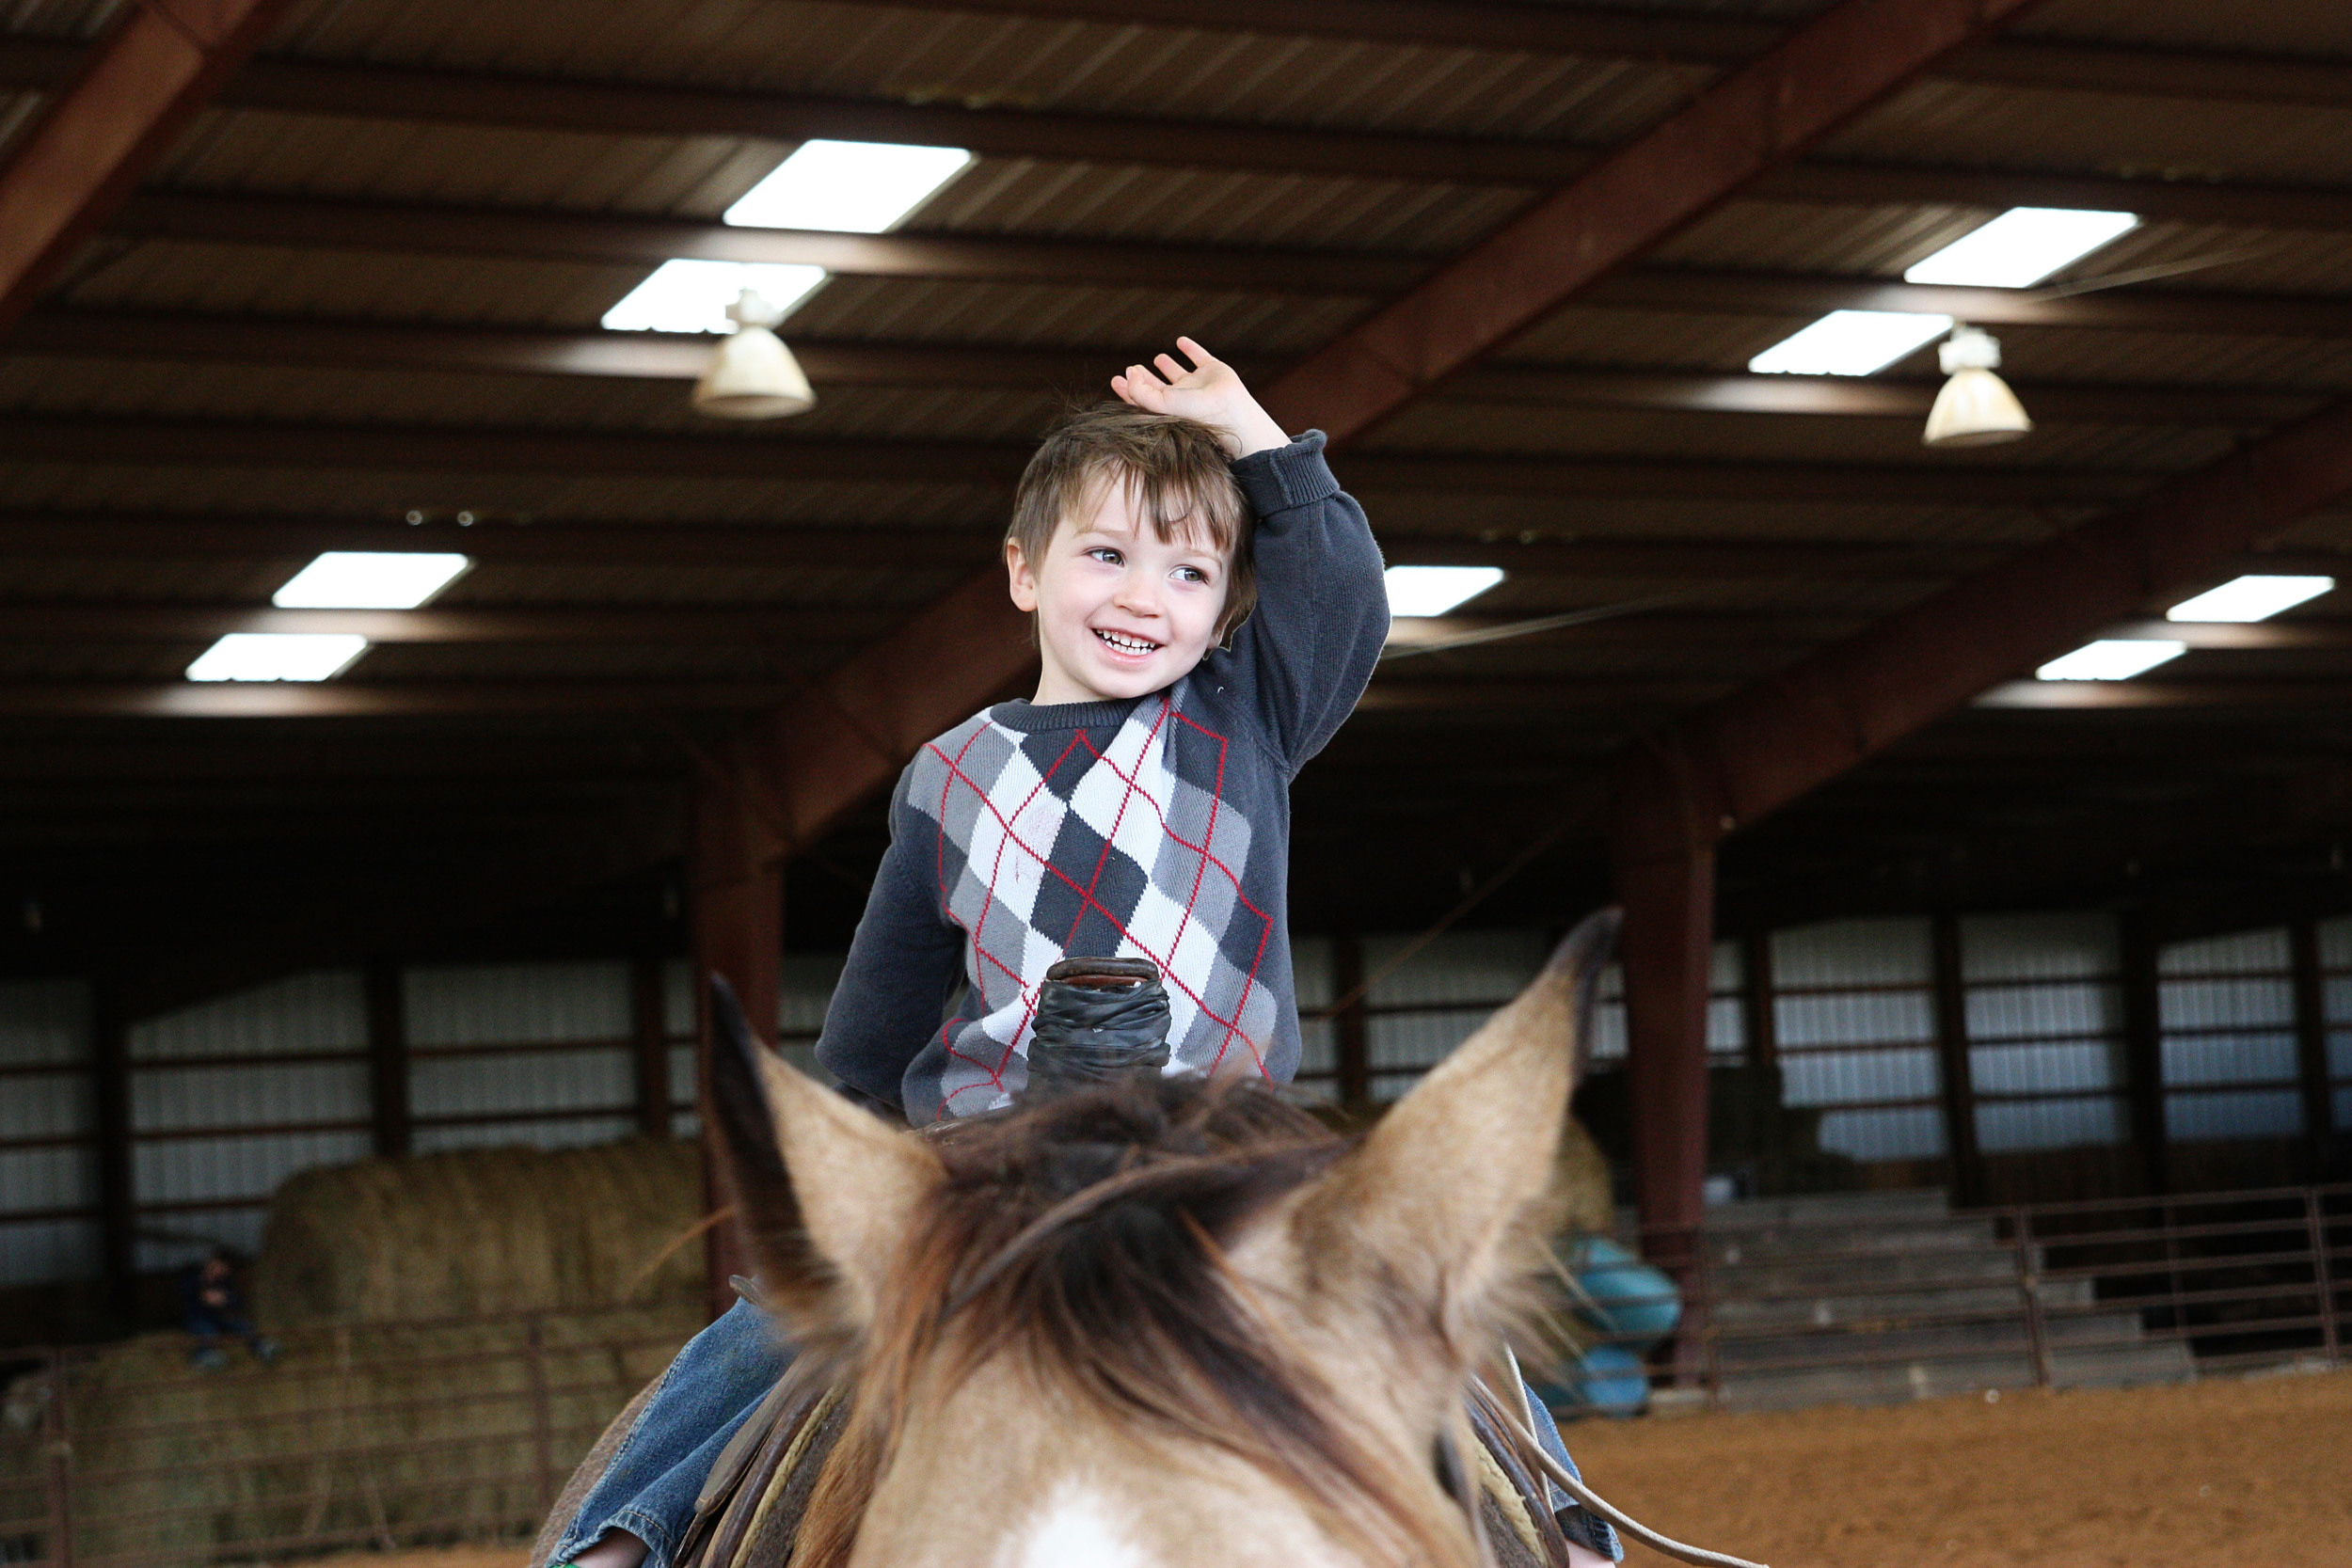
Before too long, the horses were ready for riding.  These two cowboys were the first to hop on.

A few laps around the arena and then Parker was switched out for Wyatt.  Two dudes in one saddle was a pretty tight fit!

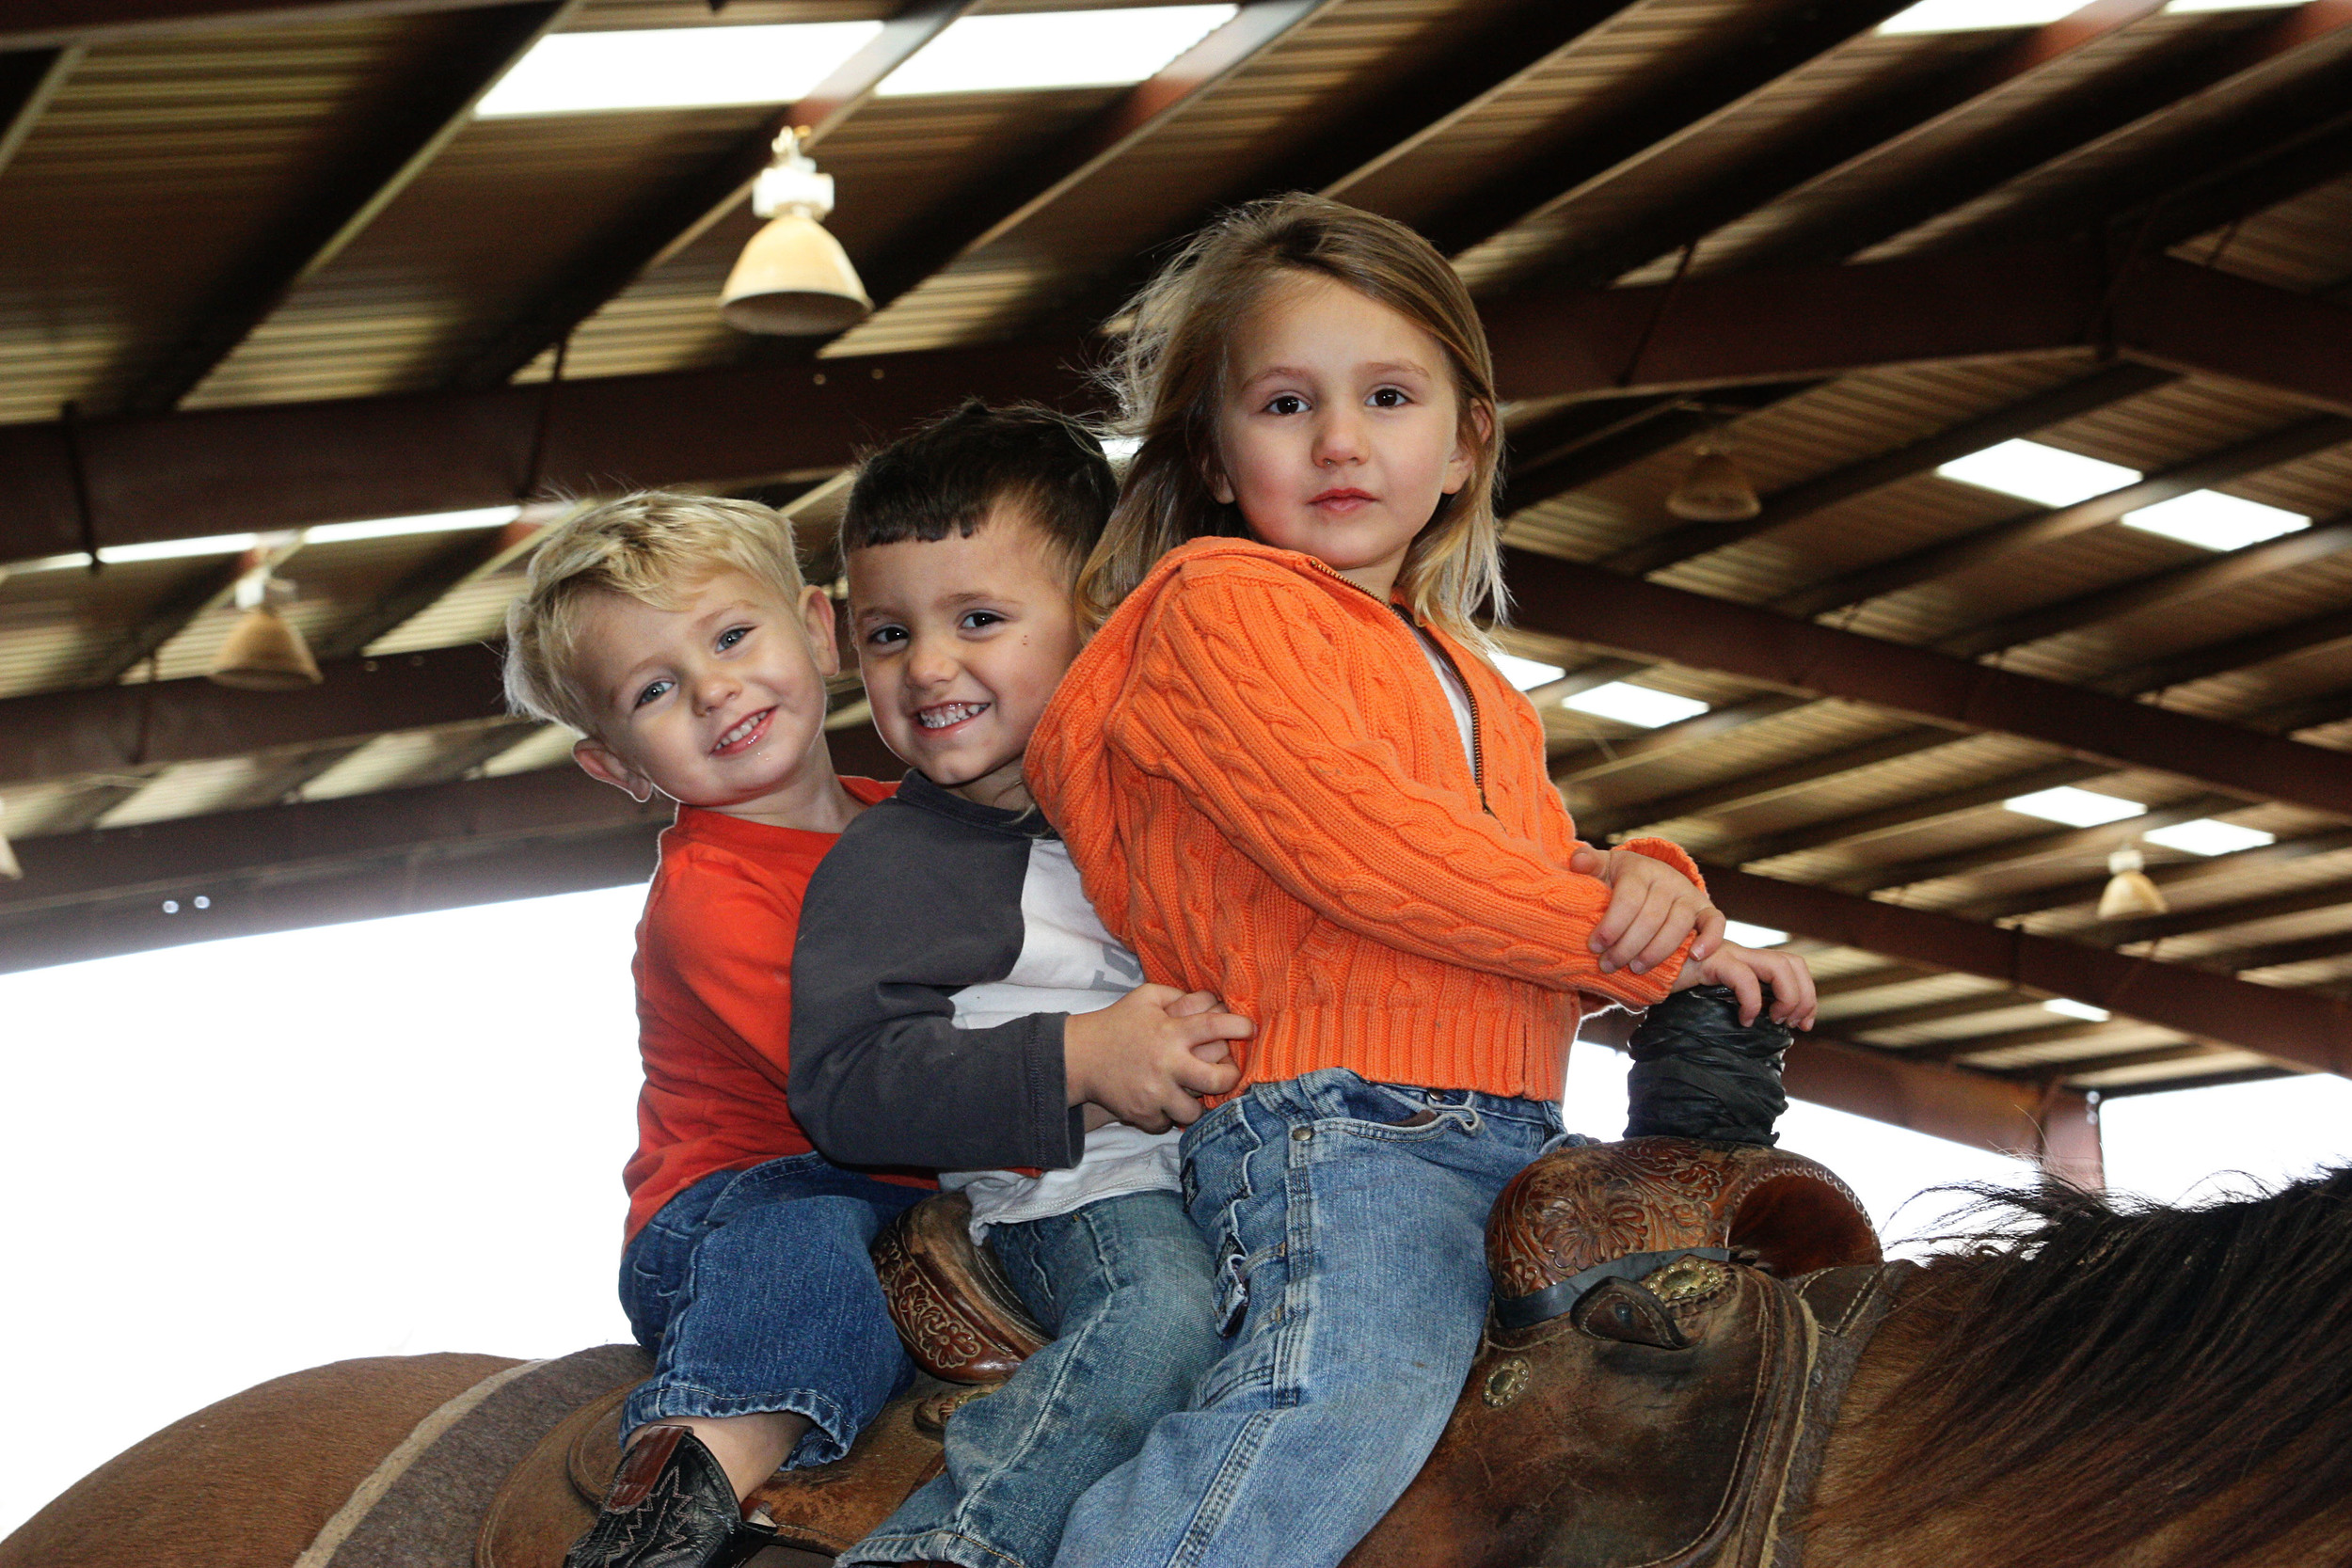
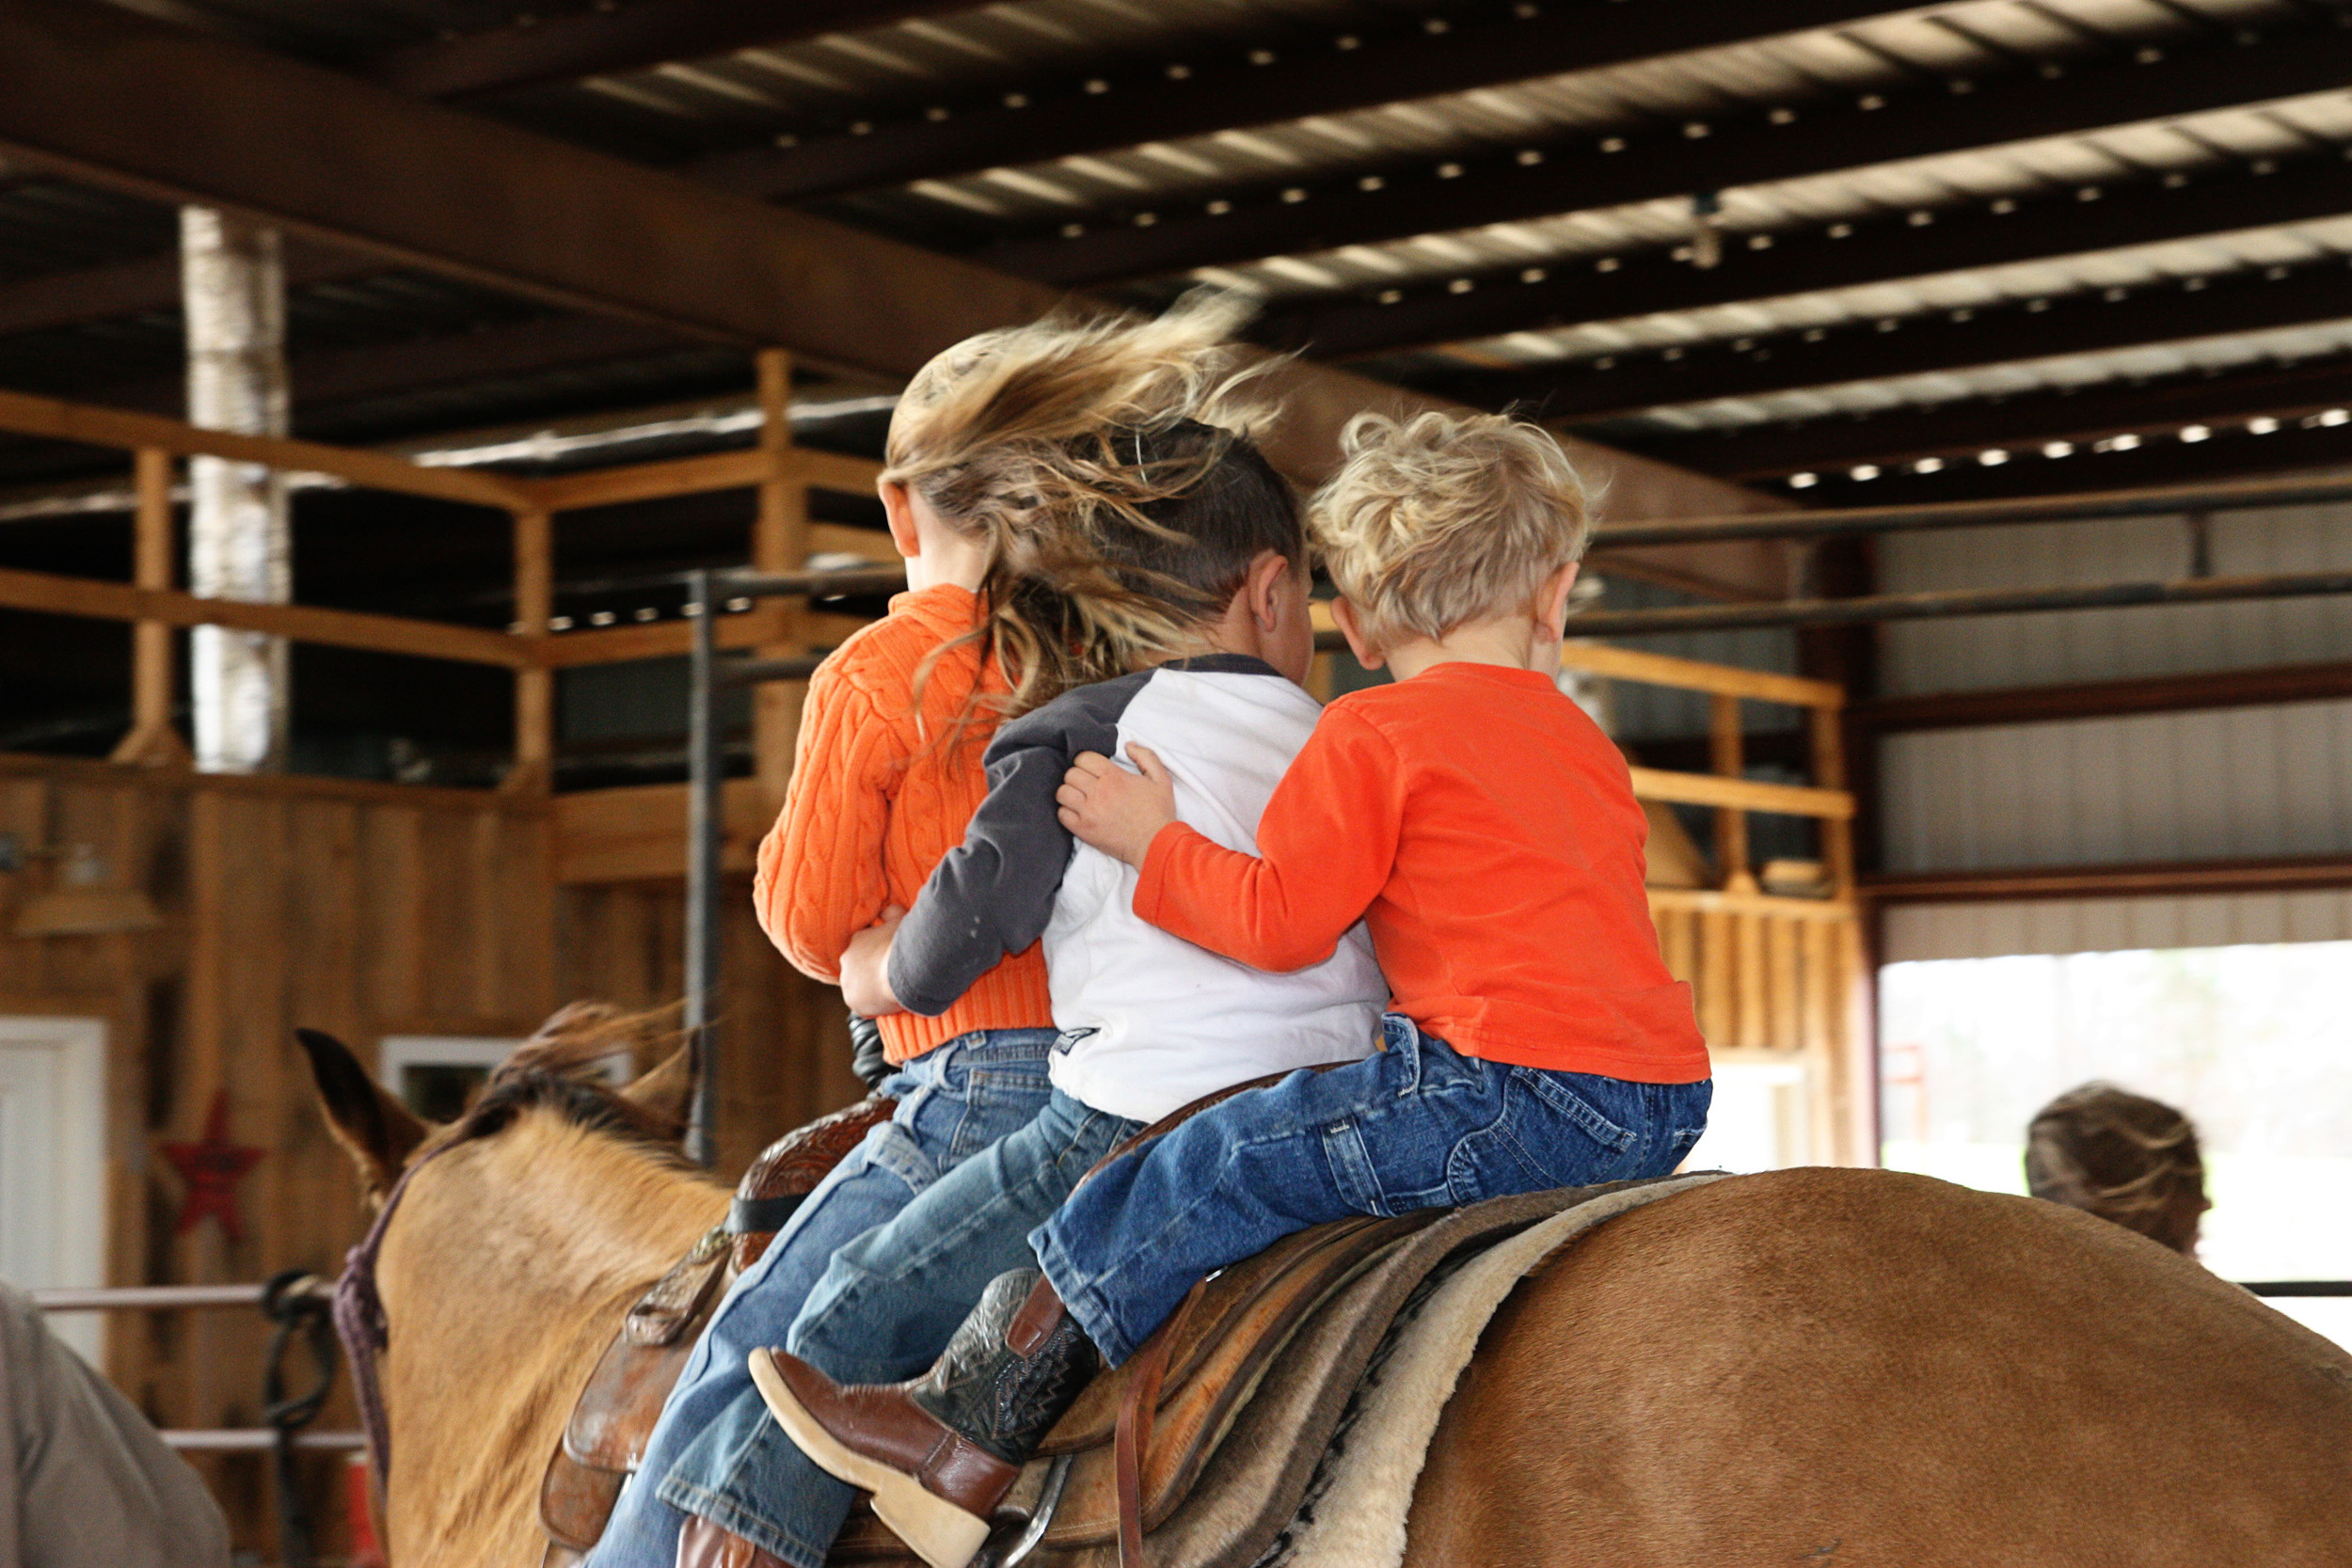
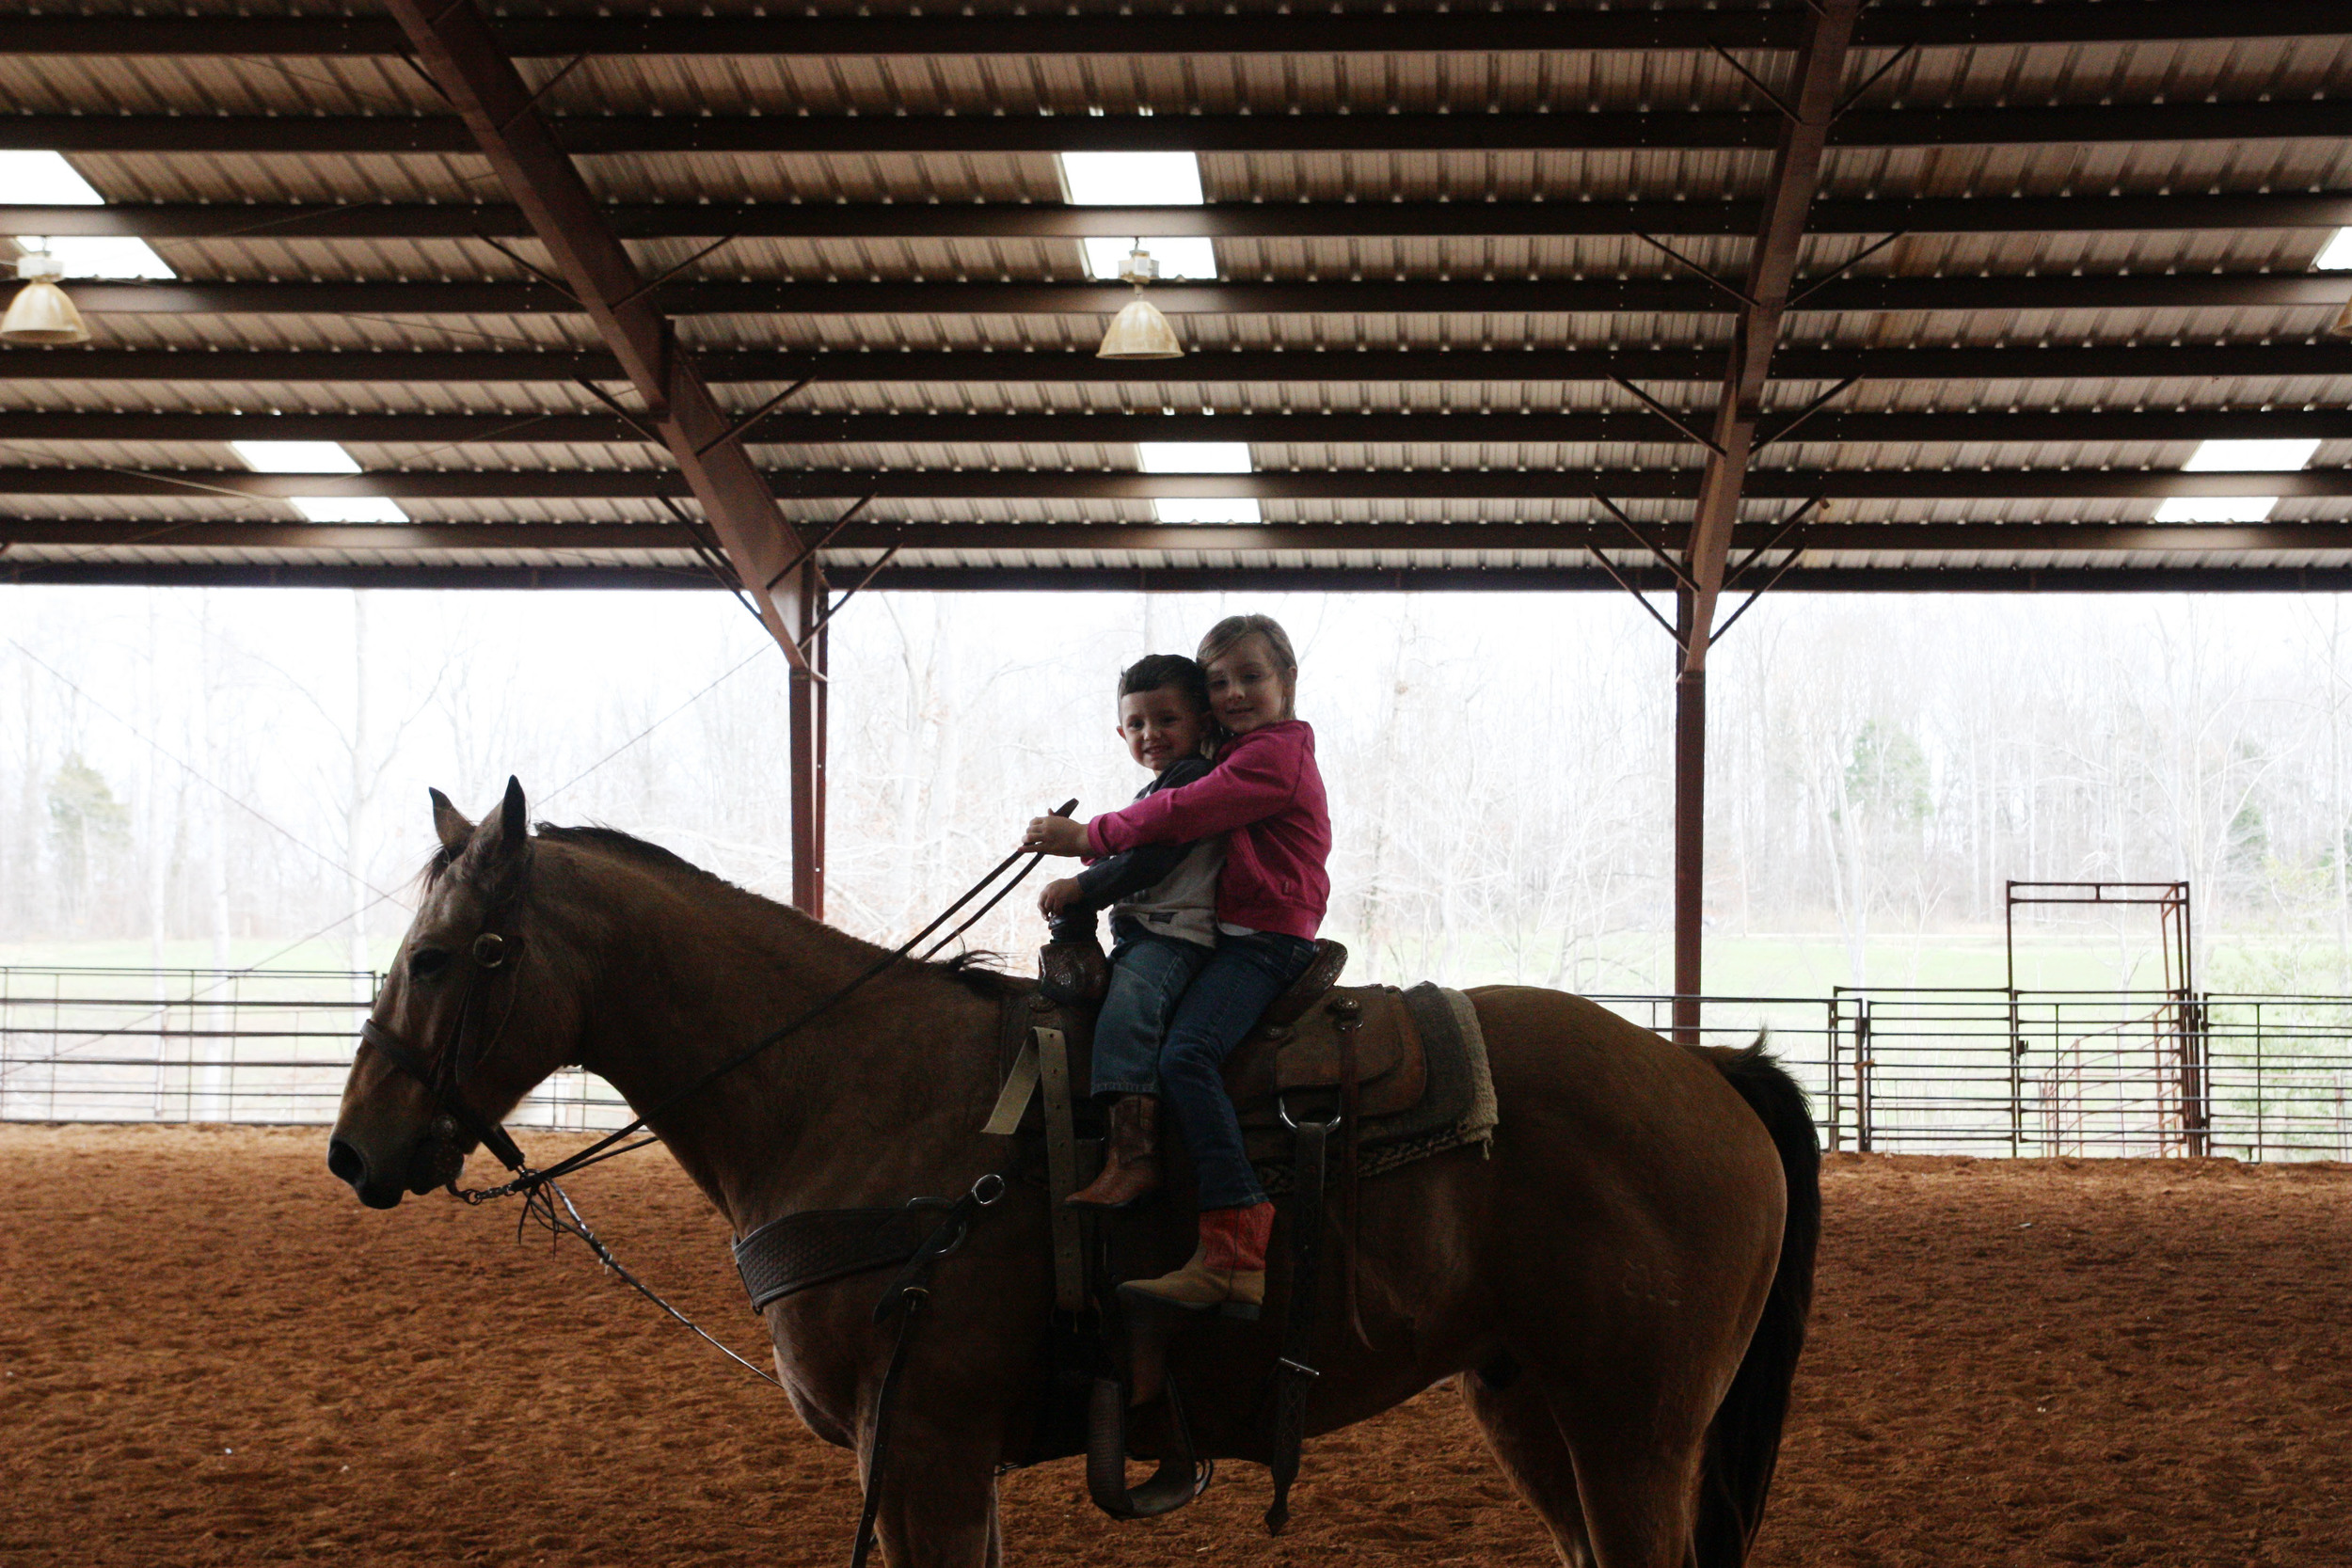
These three climbed up on another horse.  They are much more comfortable up there than our city kids!

I love their little hands holding onto each other!

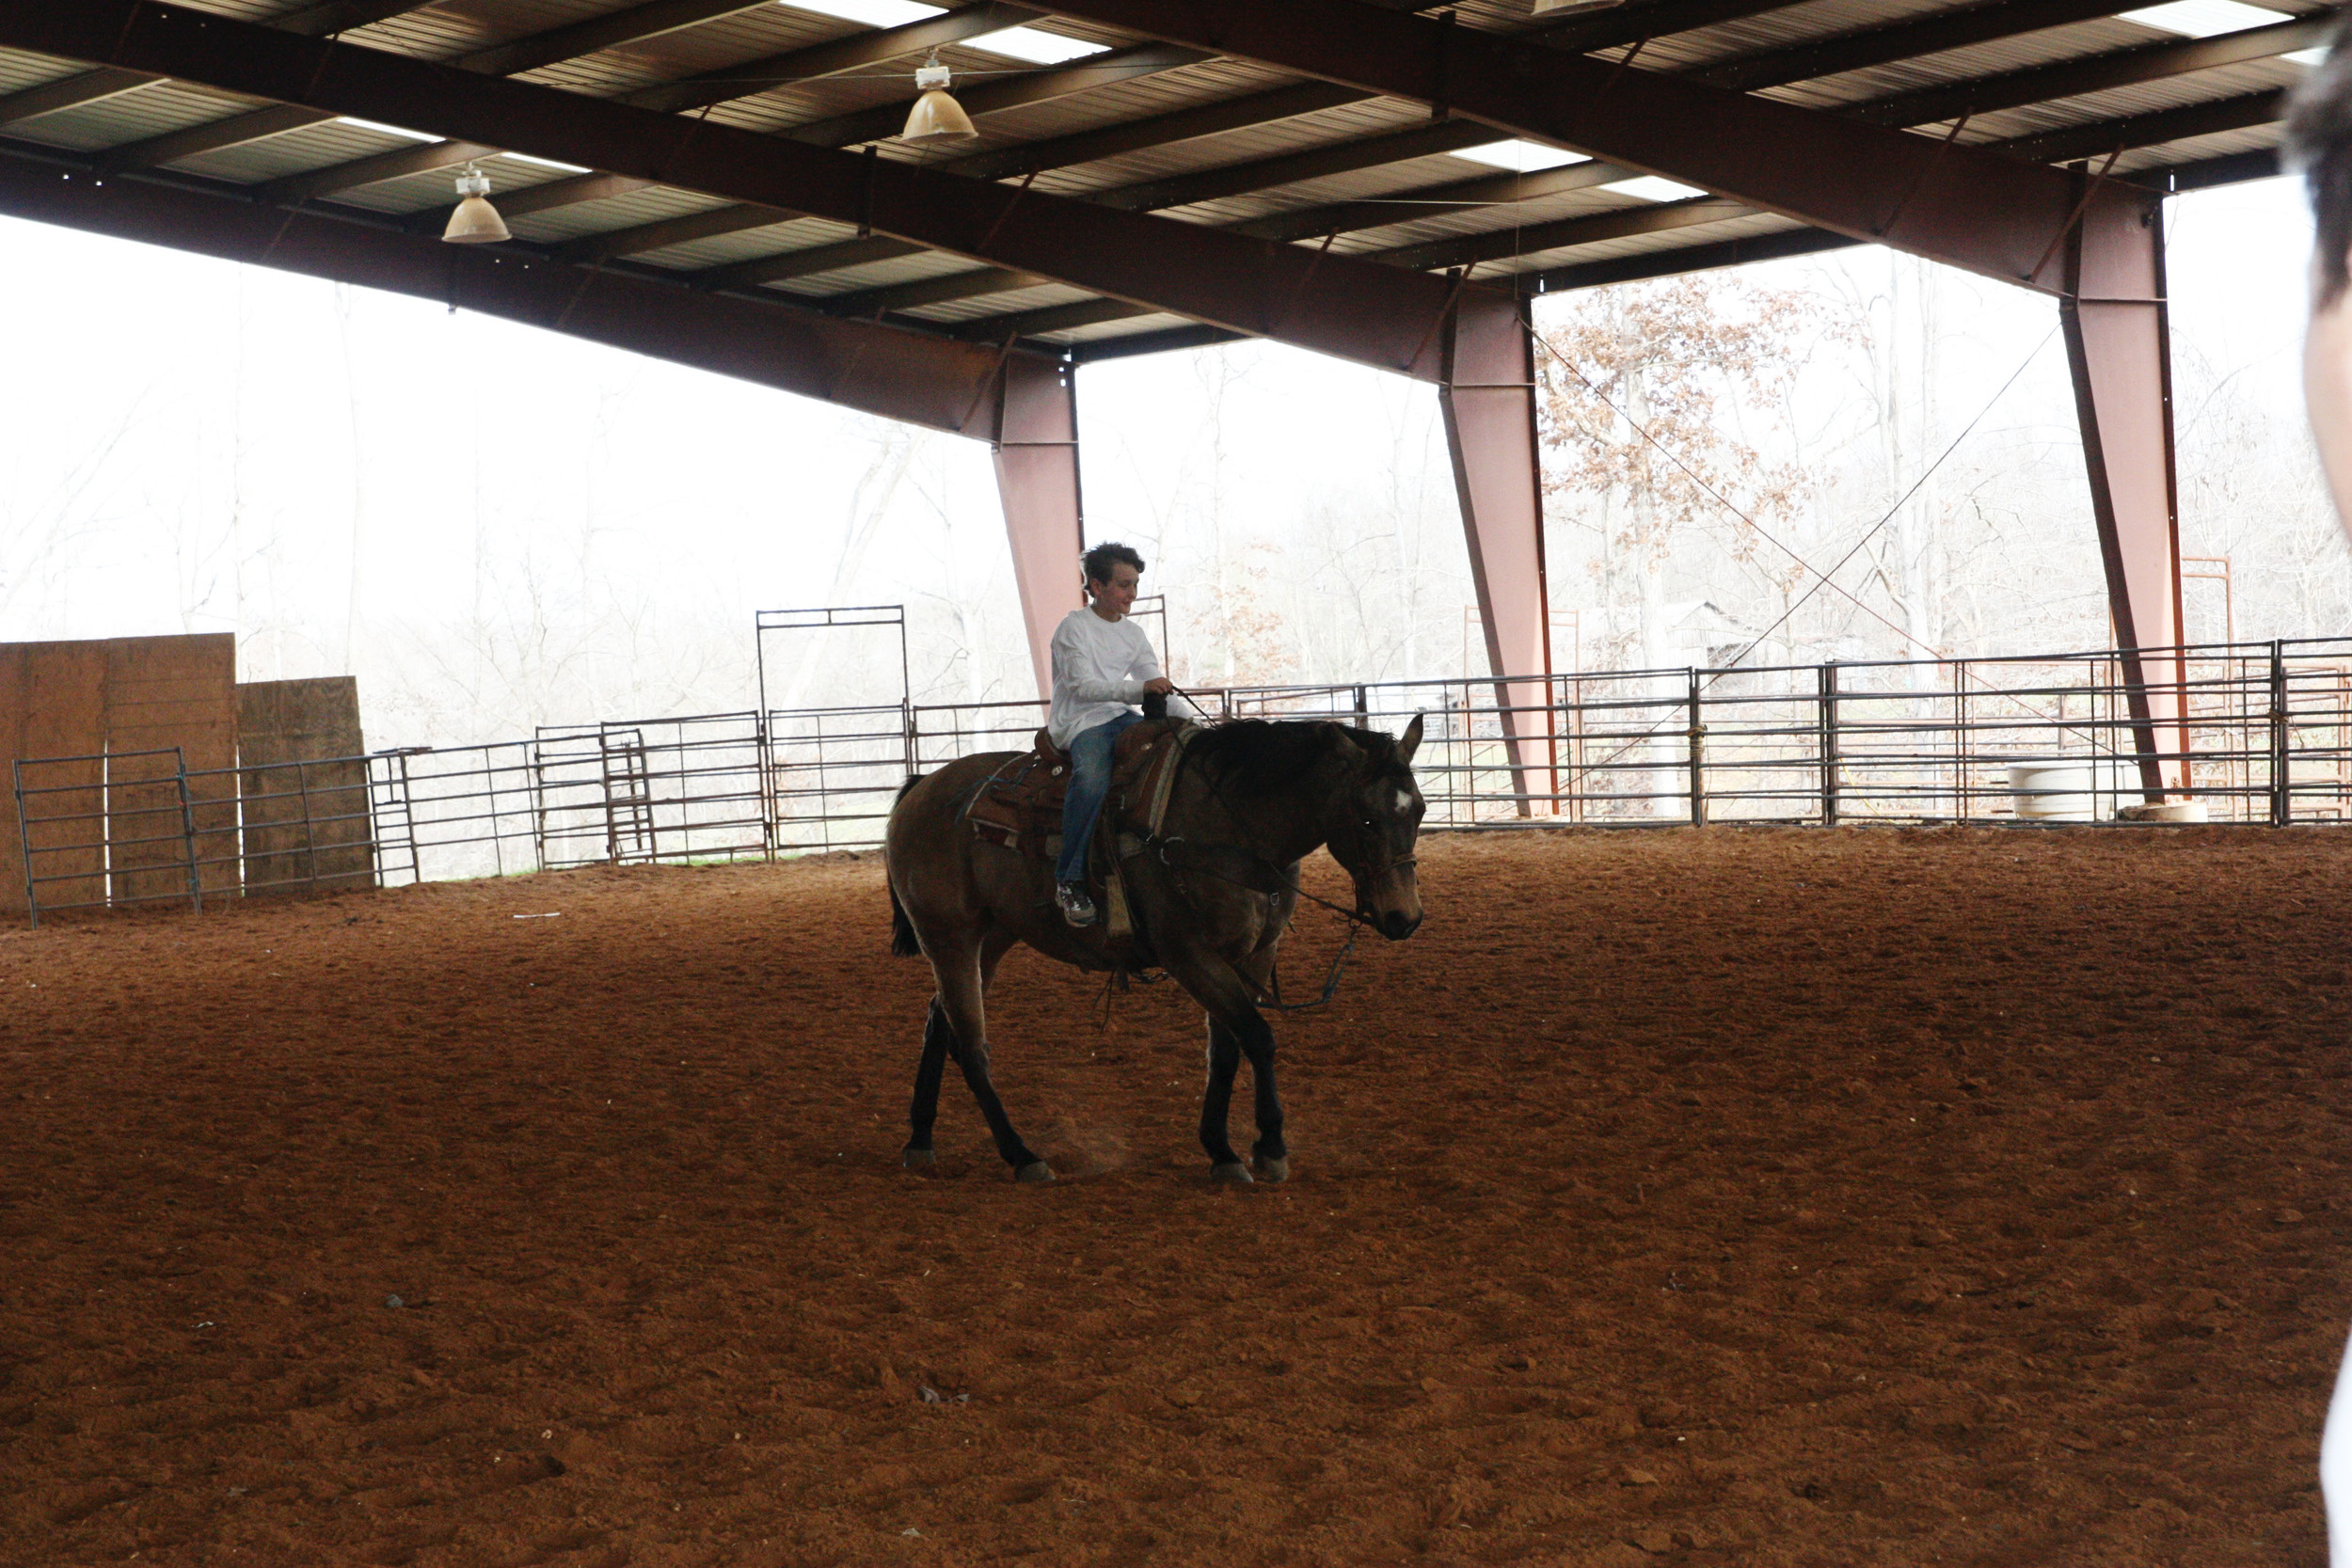
Wyatt got brave and rode all by himself.  I wasn't expecting it, but I'm proud of him for doing it.

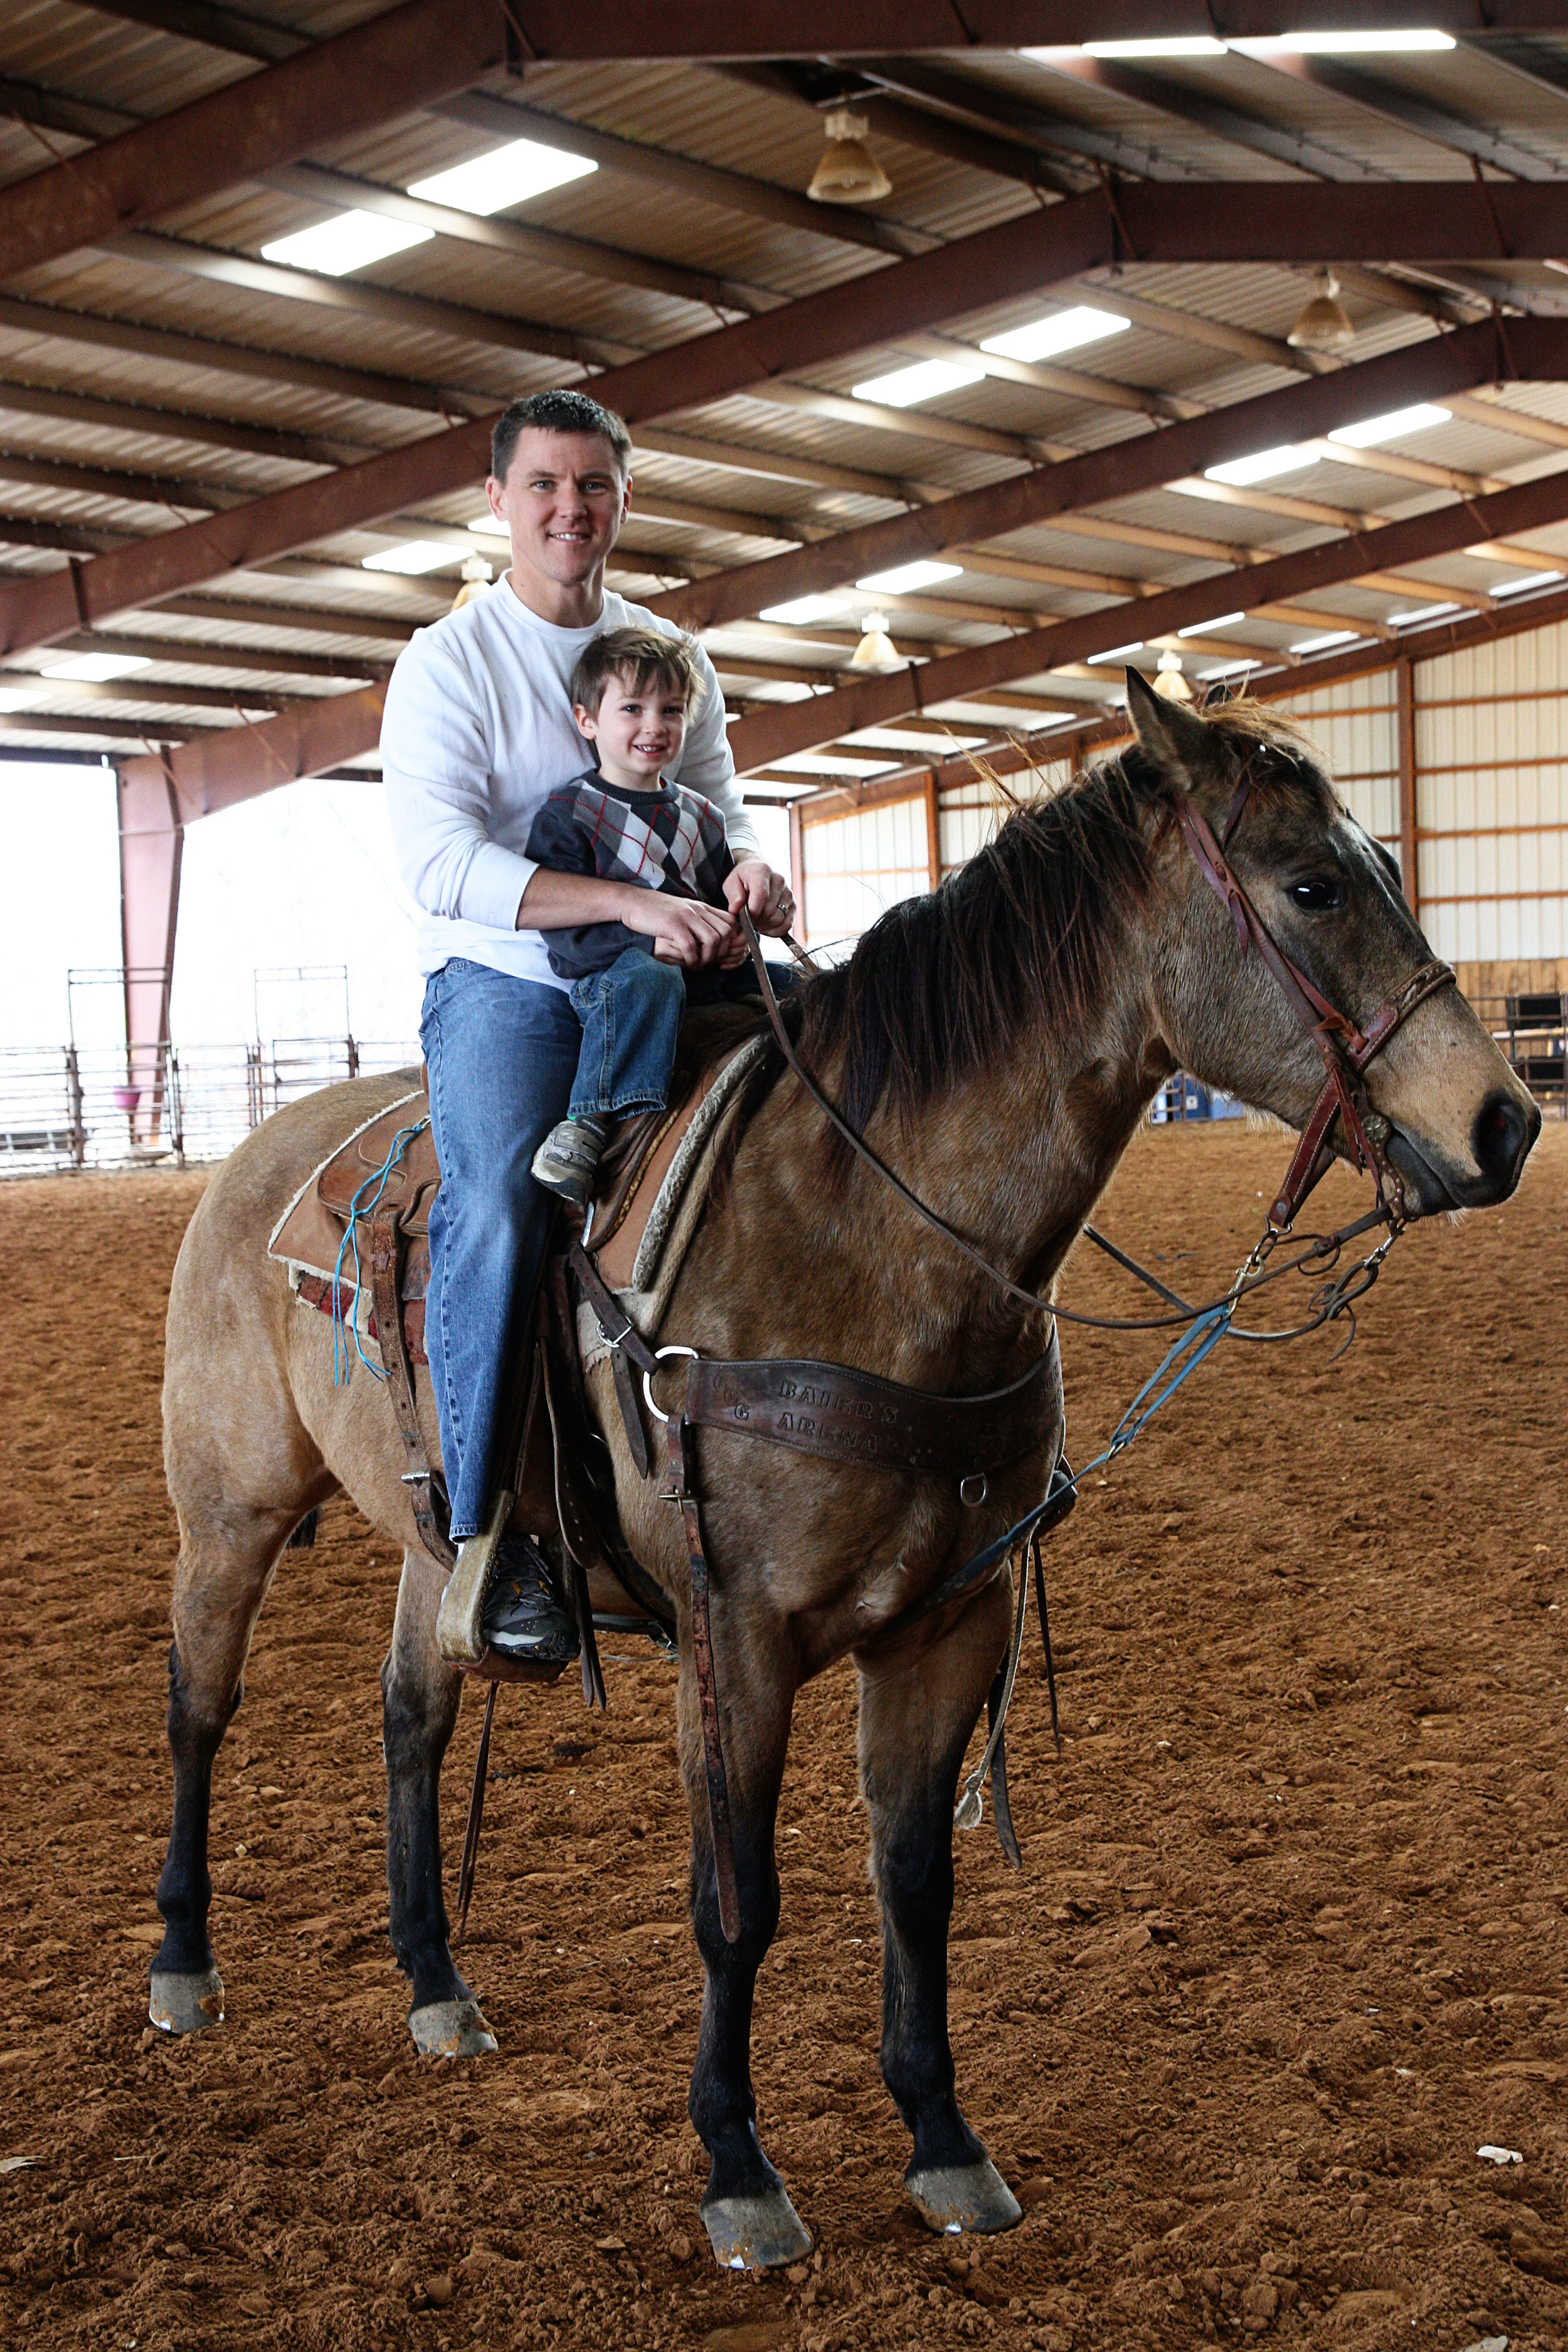
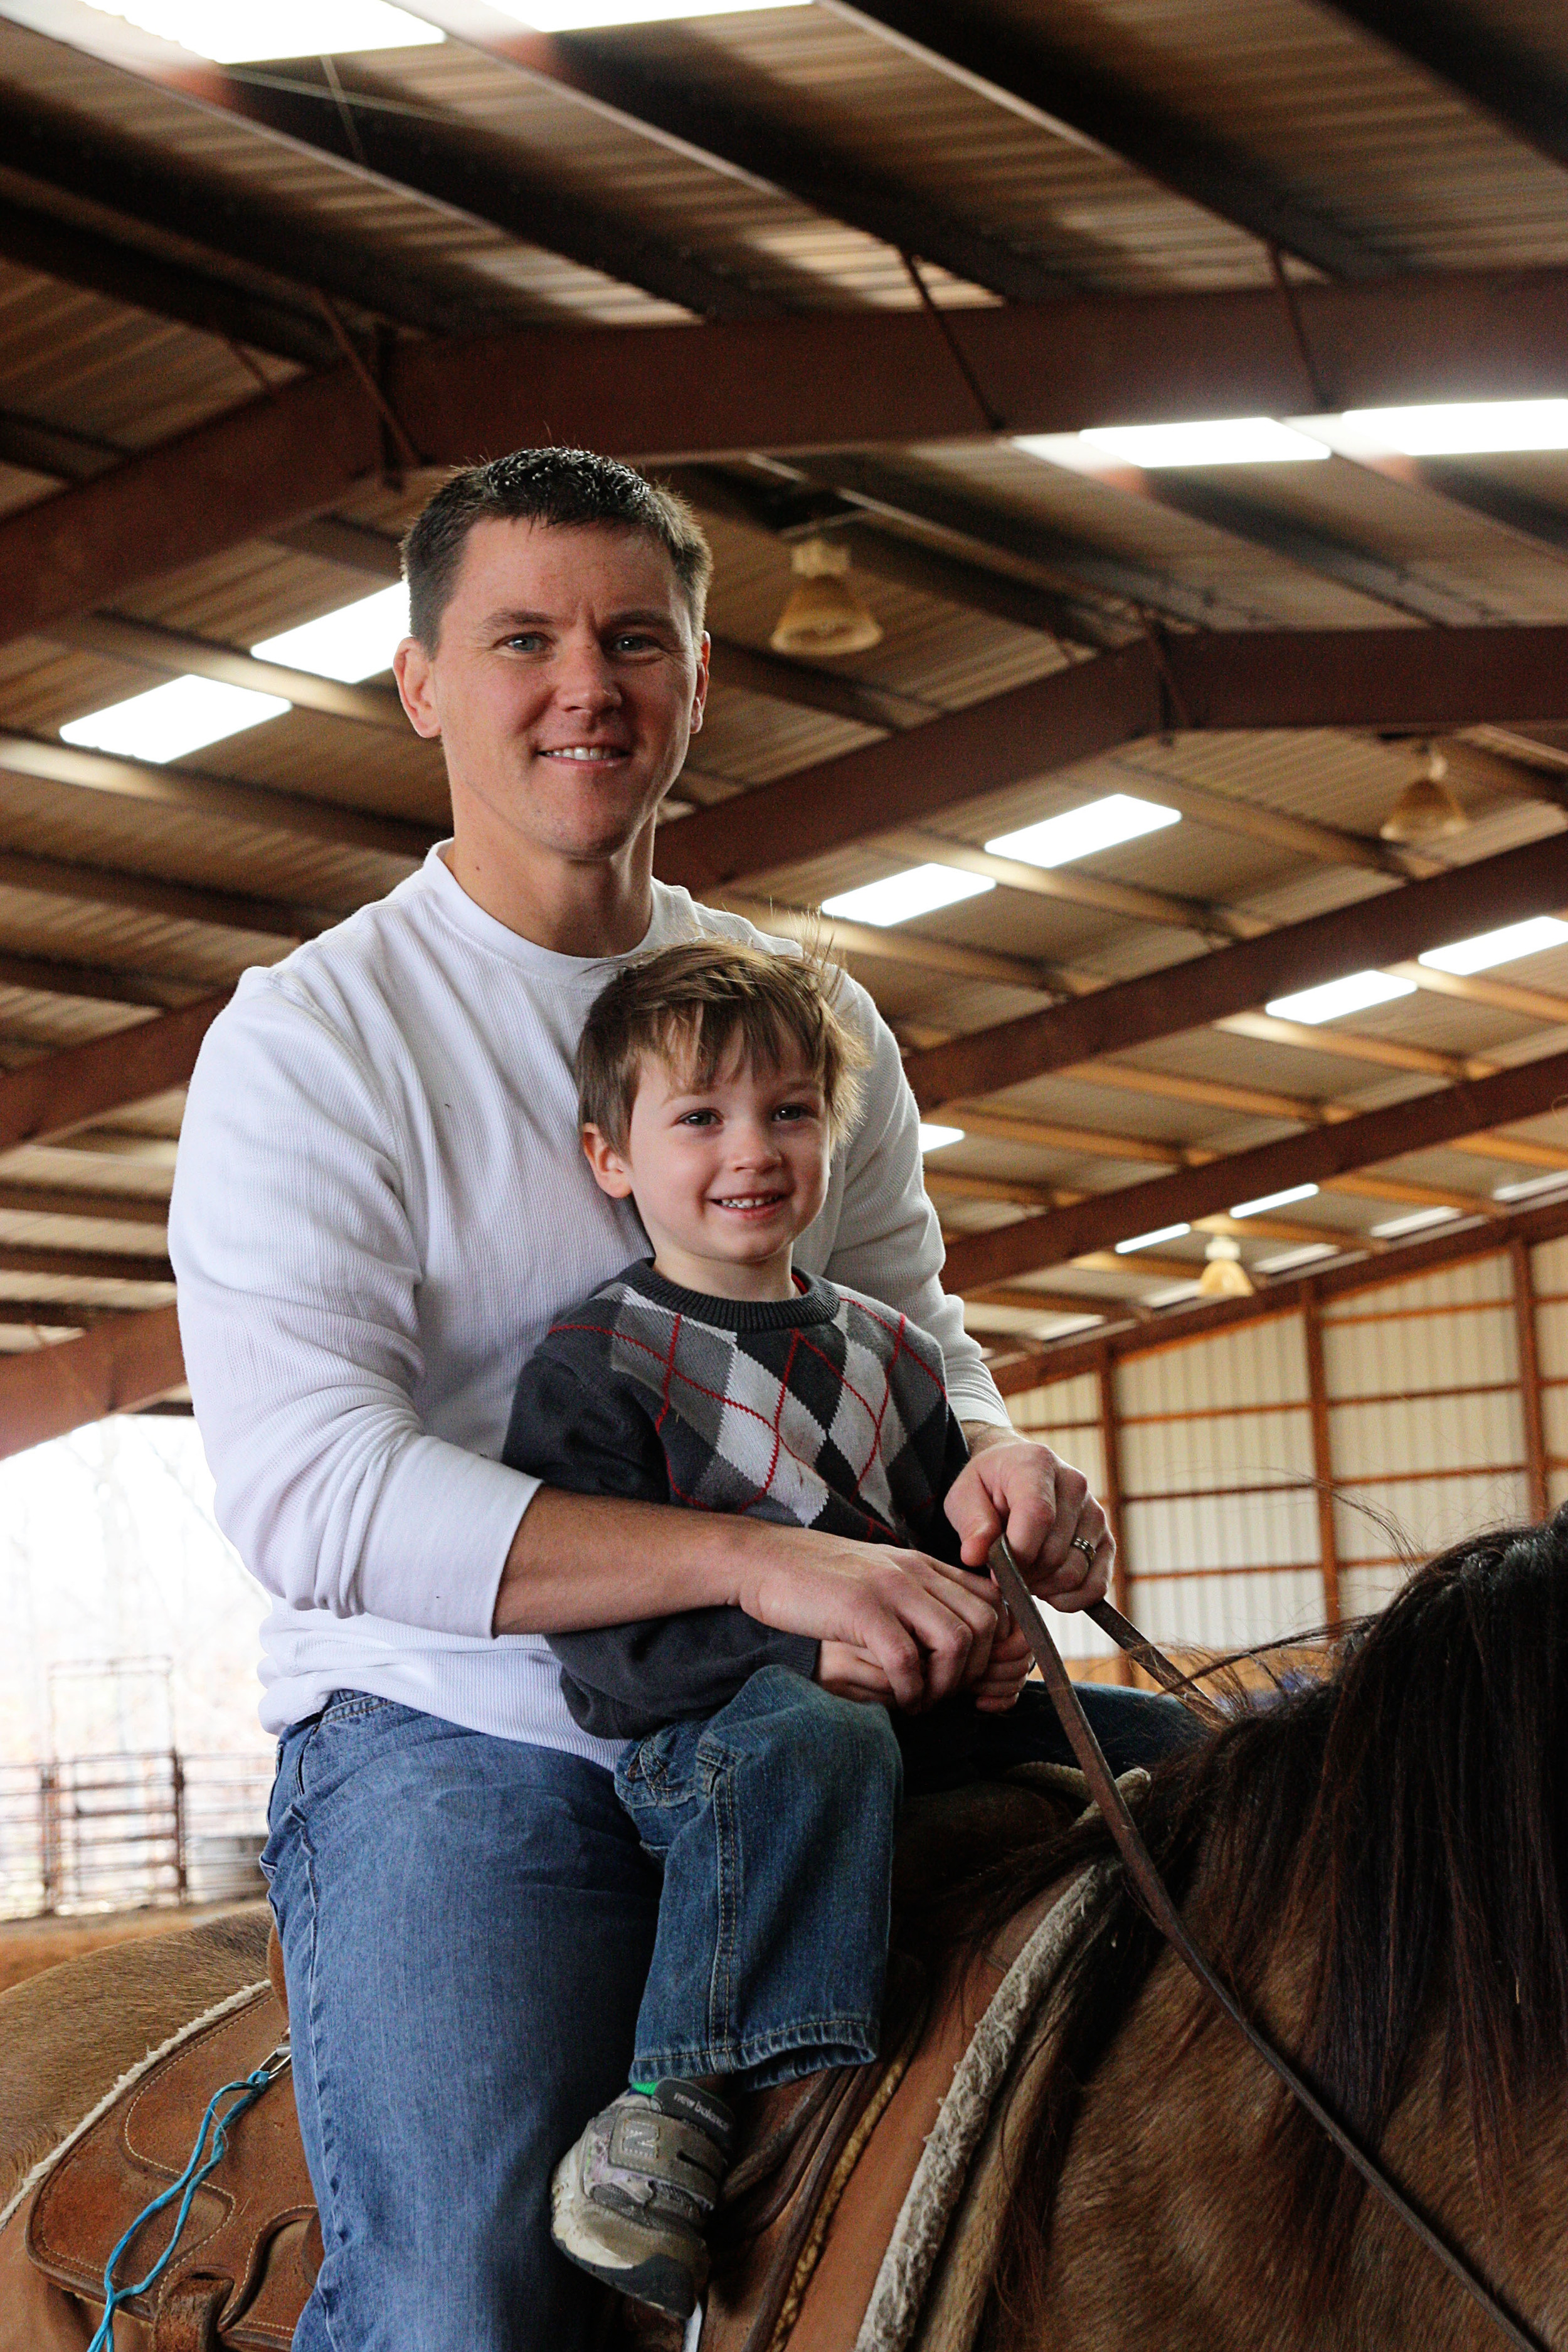
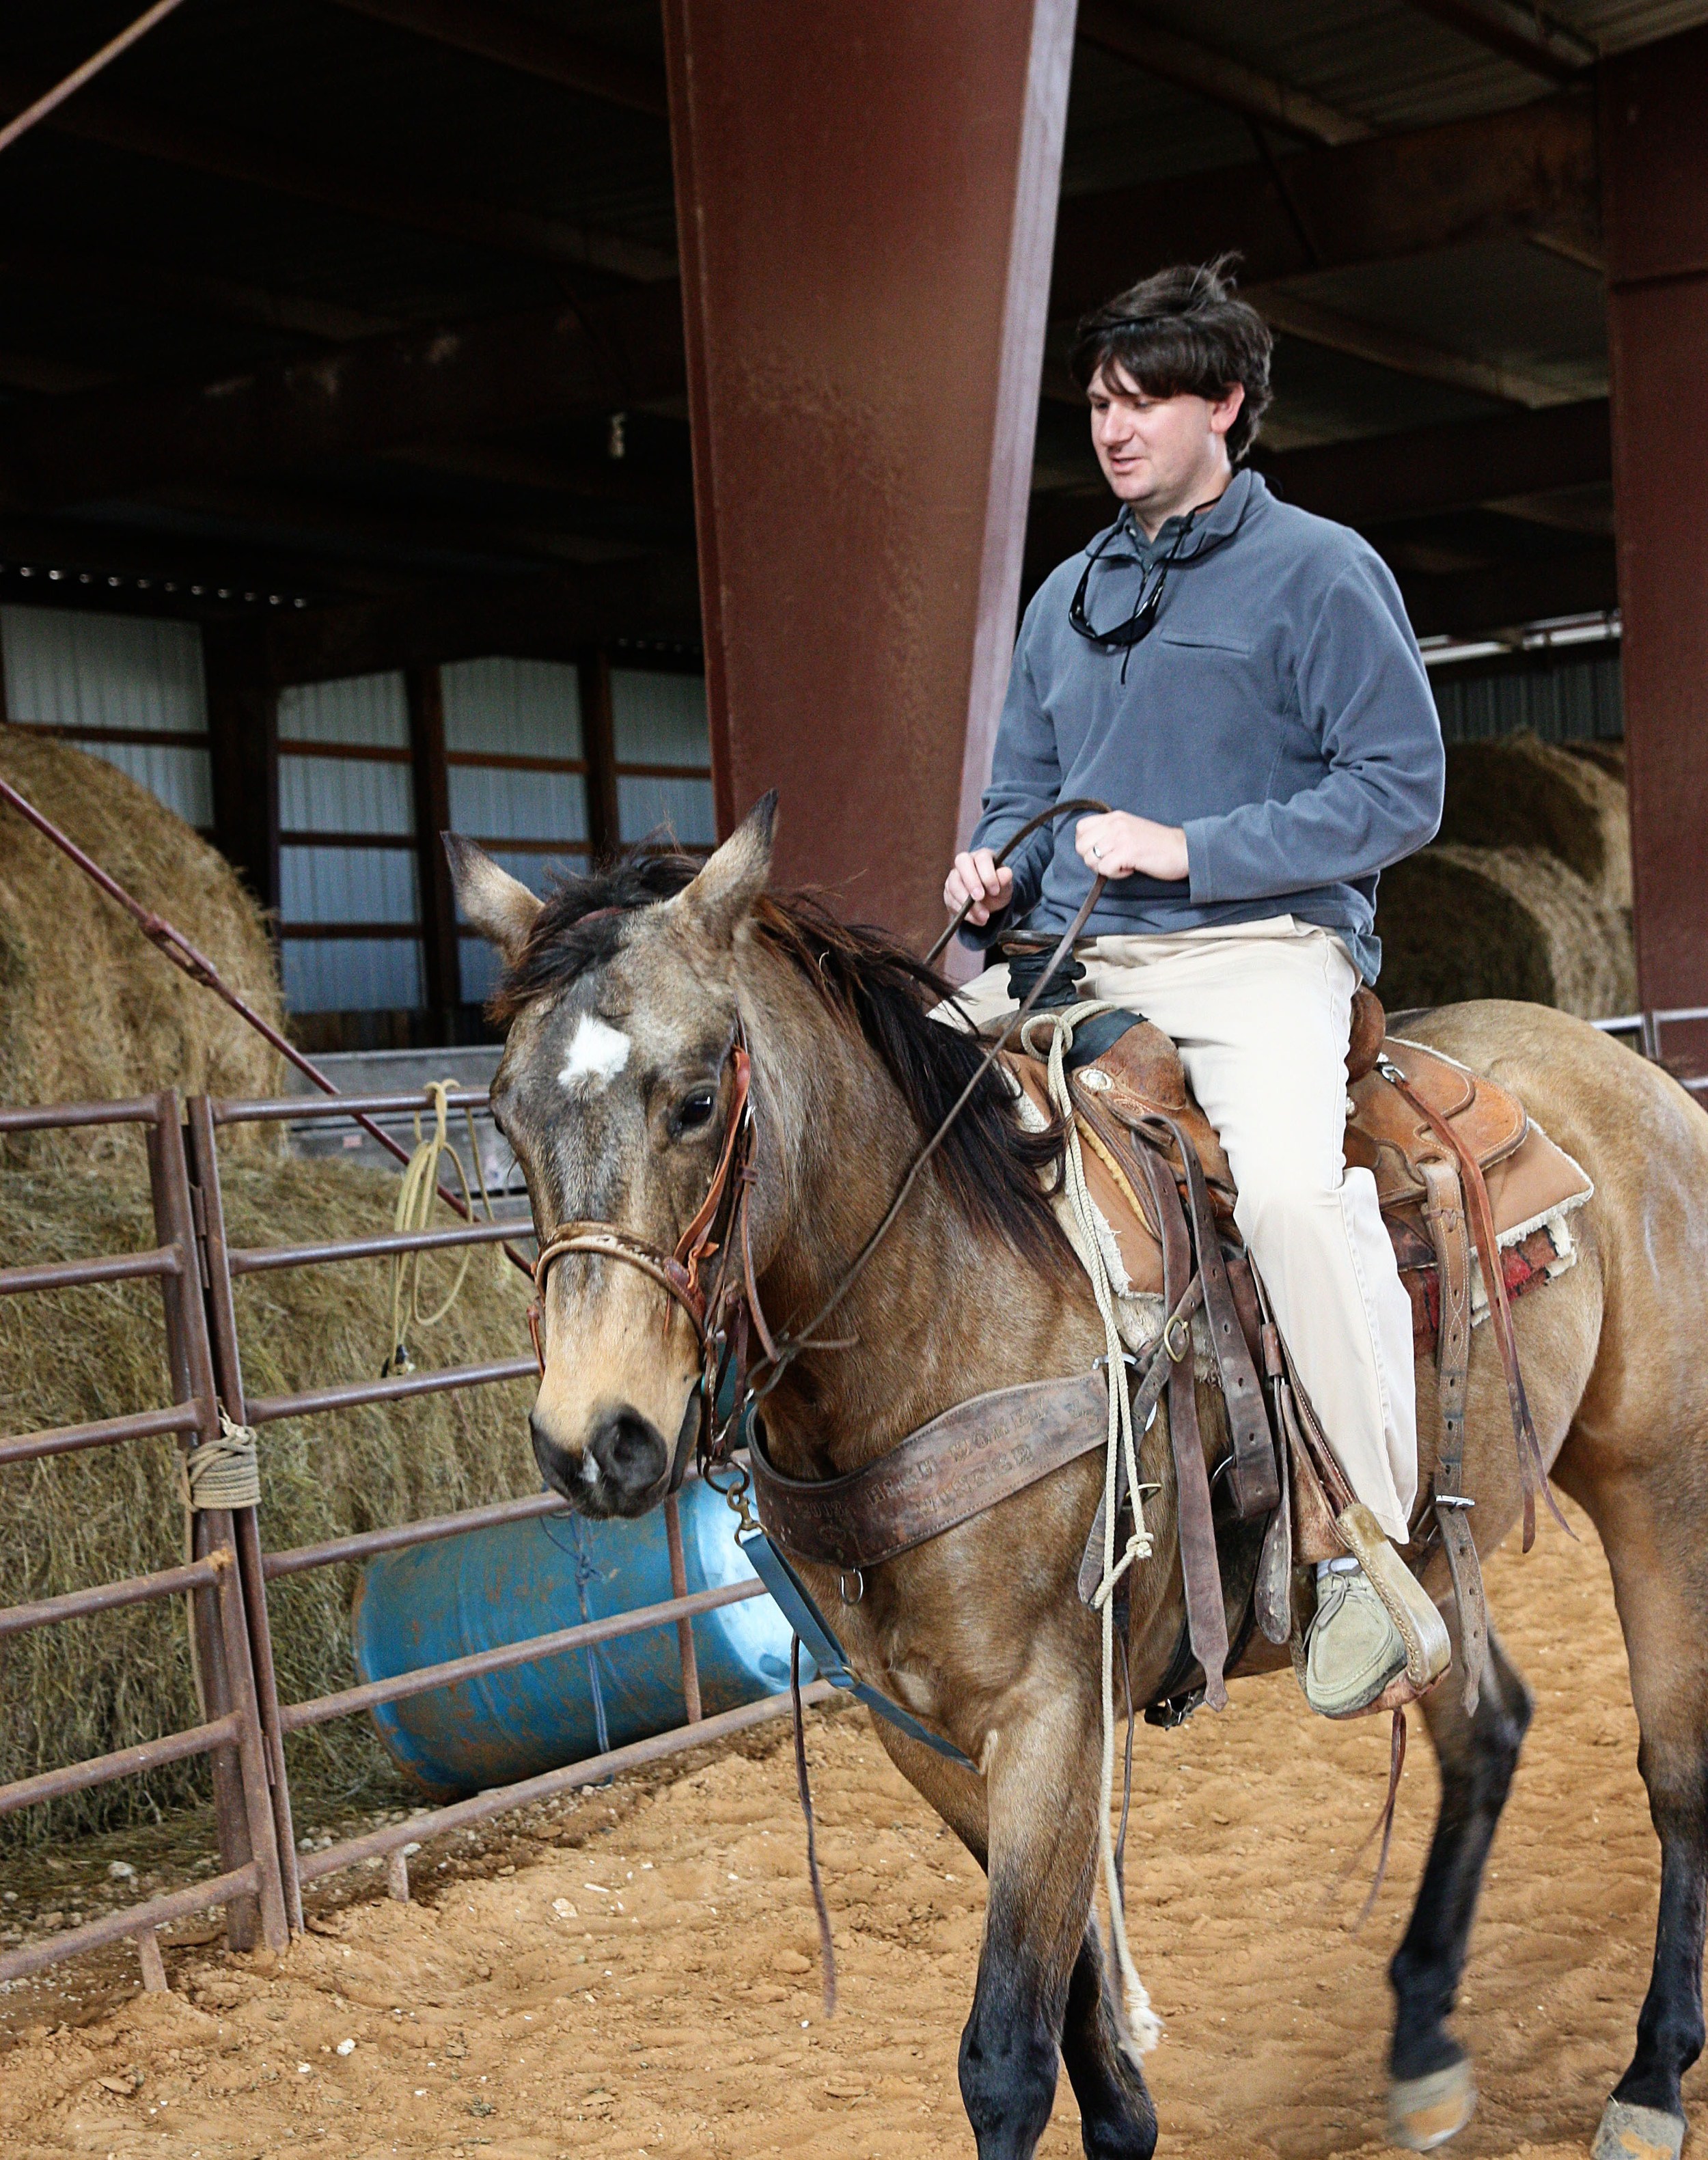
Most of us took a turn at riding a horse.  (Side note: my dad, pictured below, has a horse named after him.  Uncle Steve (the horse) was unfortunately not there so we didn't get to see him.  Rumor is that Uncle Steve is actually a pretty nice horse and might bring in some big bucks when they sell him!)

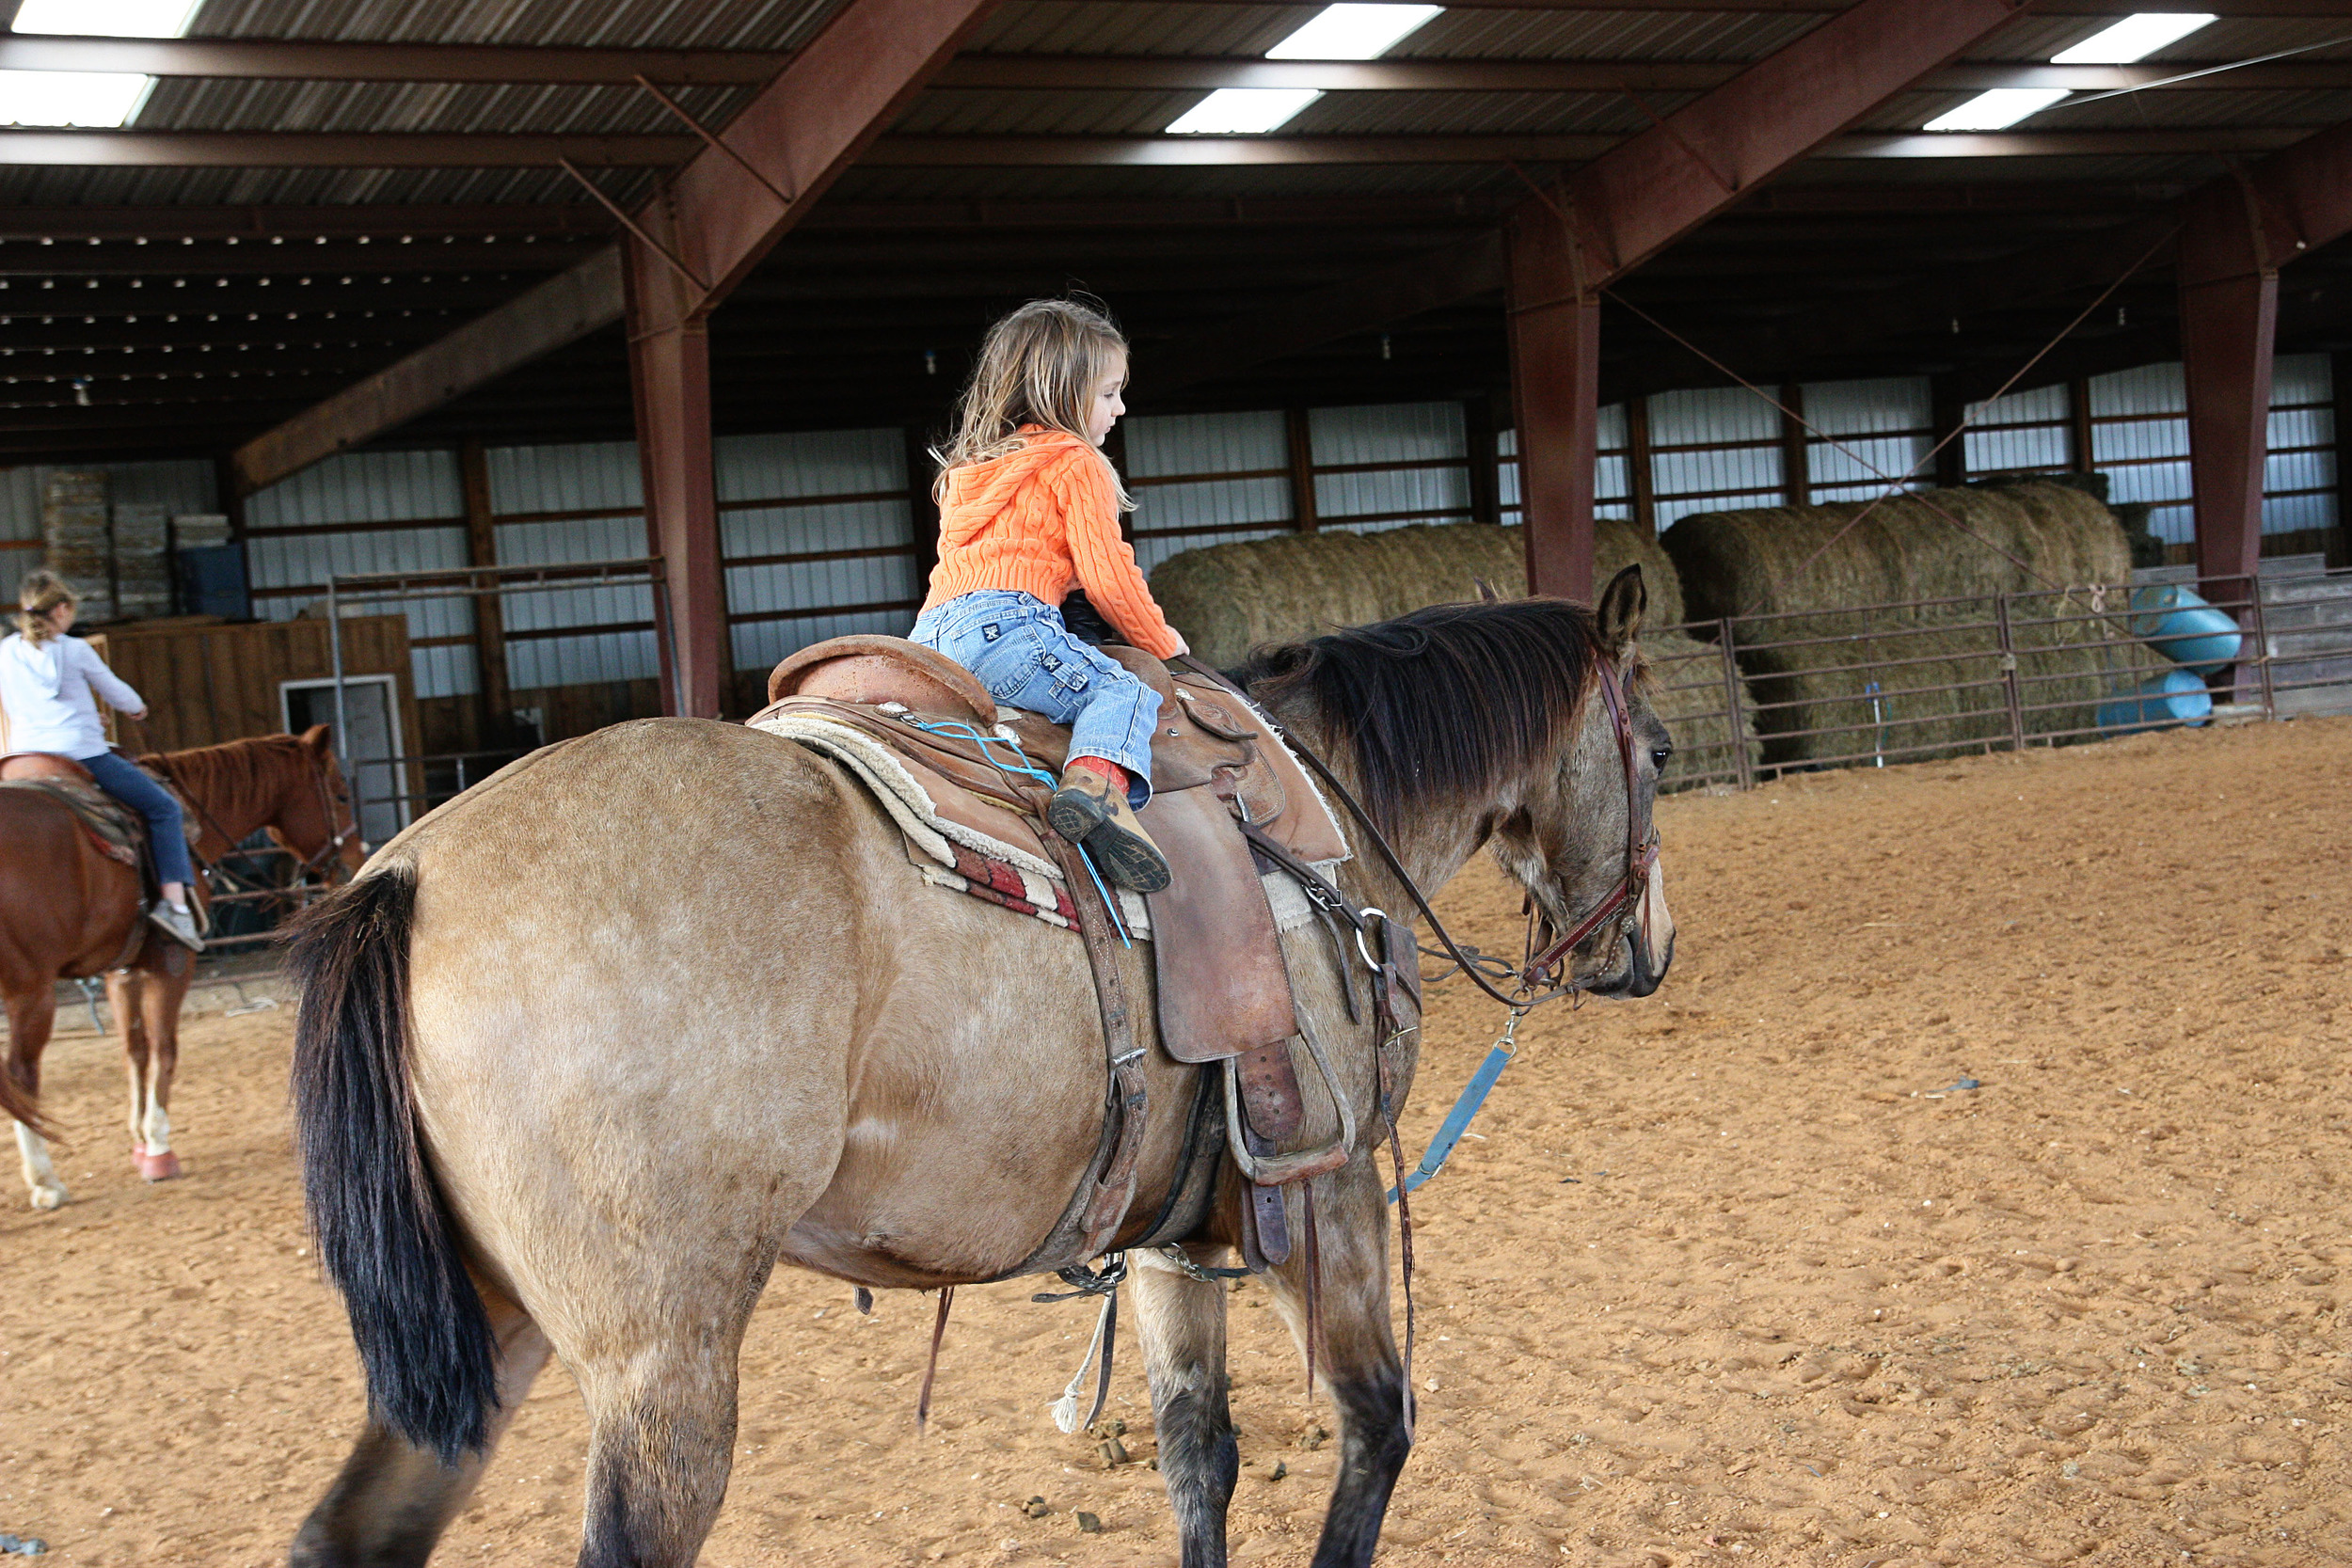
Yes, even I got on a horse.  It was a very short ride, but it still counts.

Here I am being nice to my horse (Jim Bob, or was it Chief?) so that he'll be nice to me.  I promise this was just an action shot, and not some kind of glamorous photo shoot.  There is not a big box fan off to the side blowing my hair for special effects.  That's just the real wind.

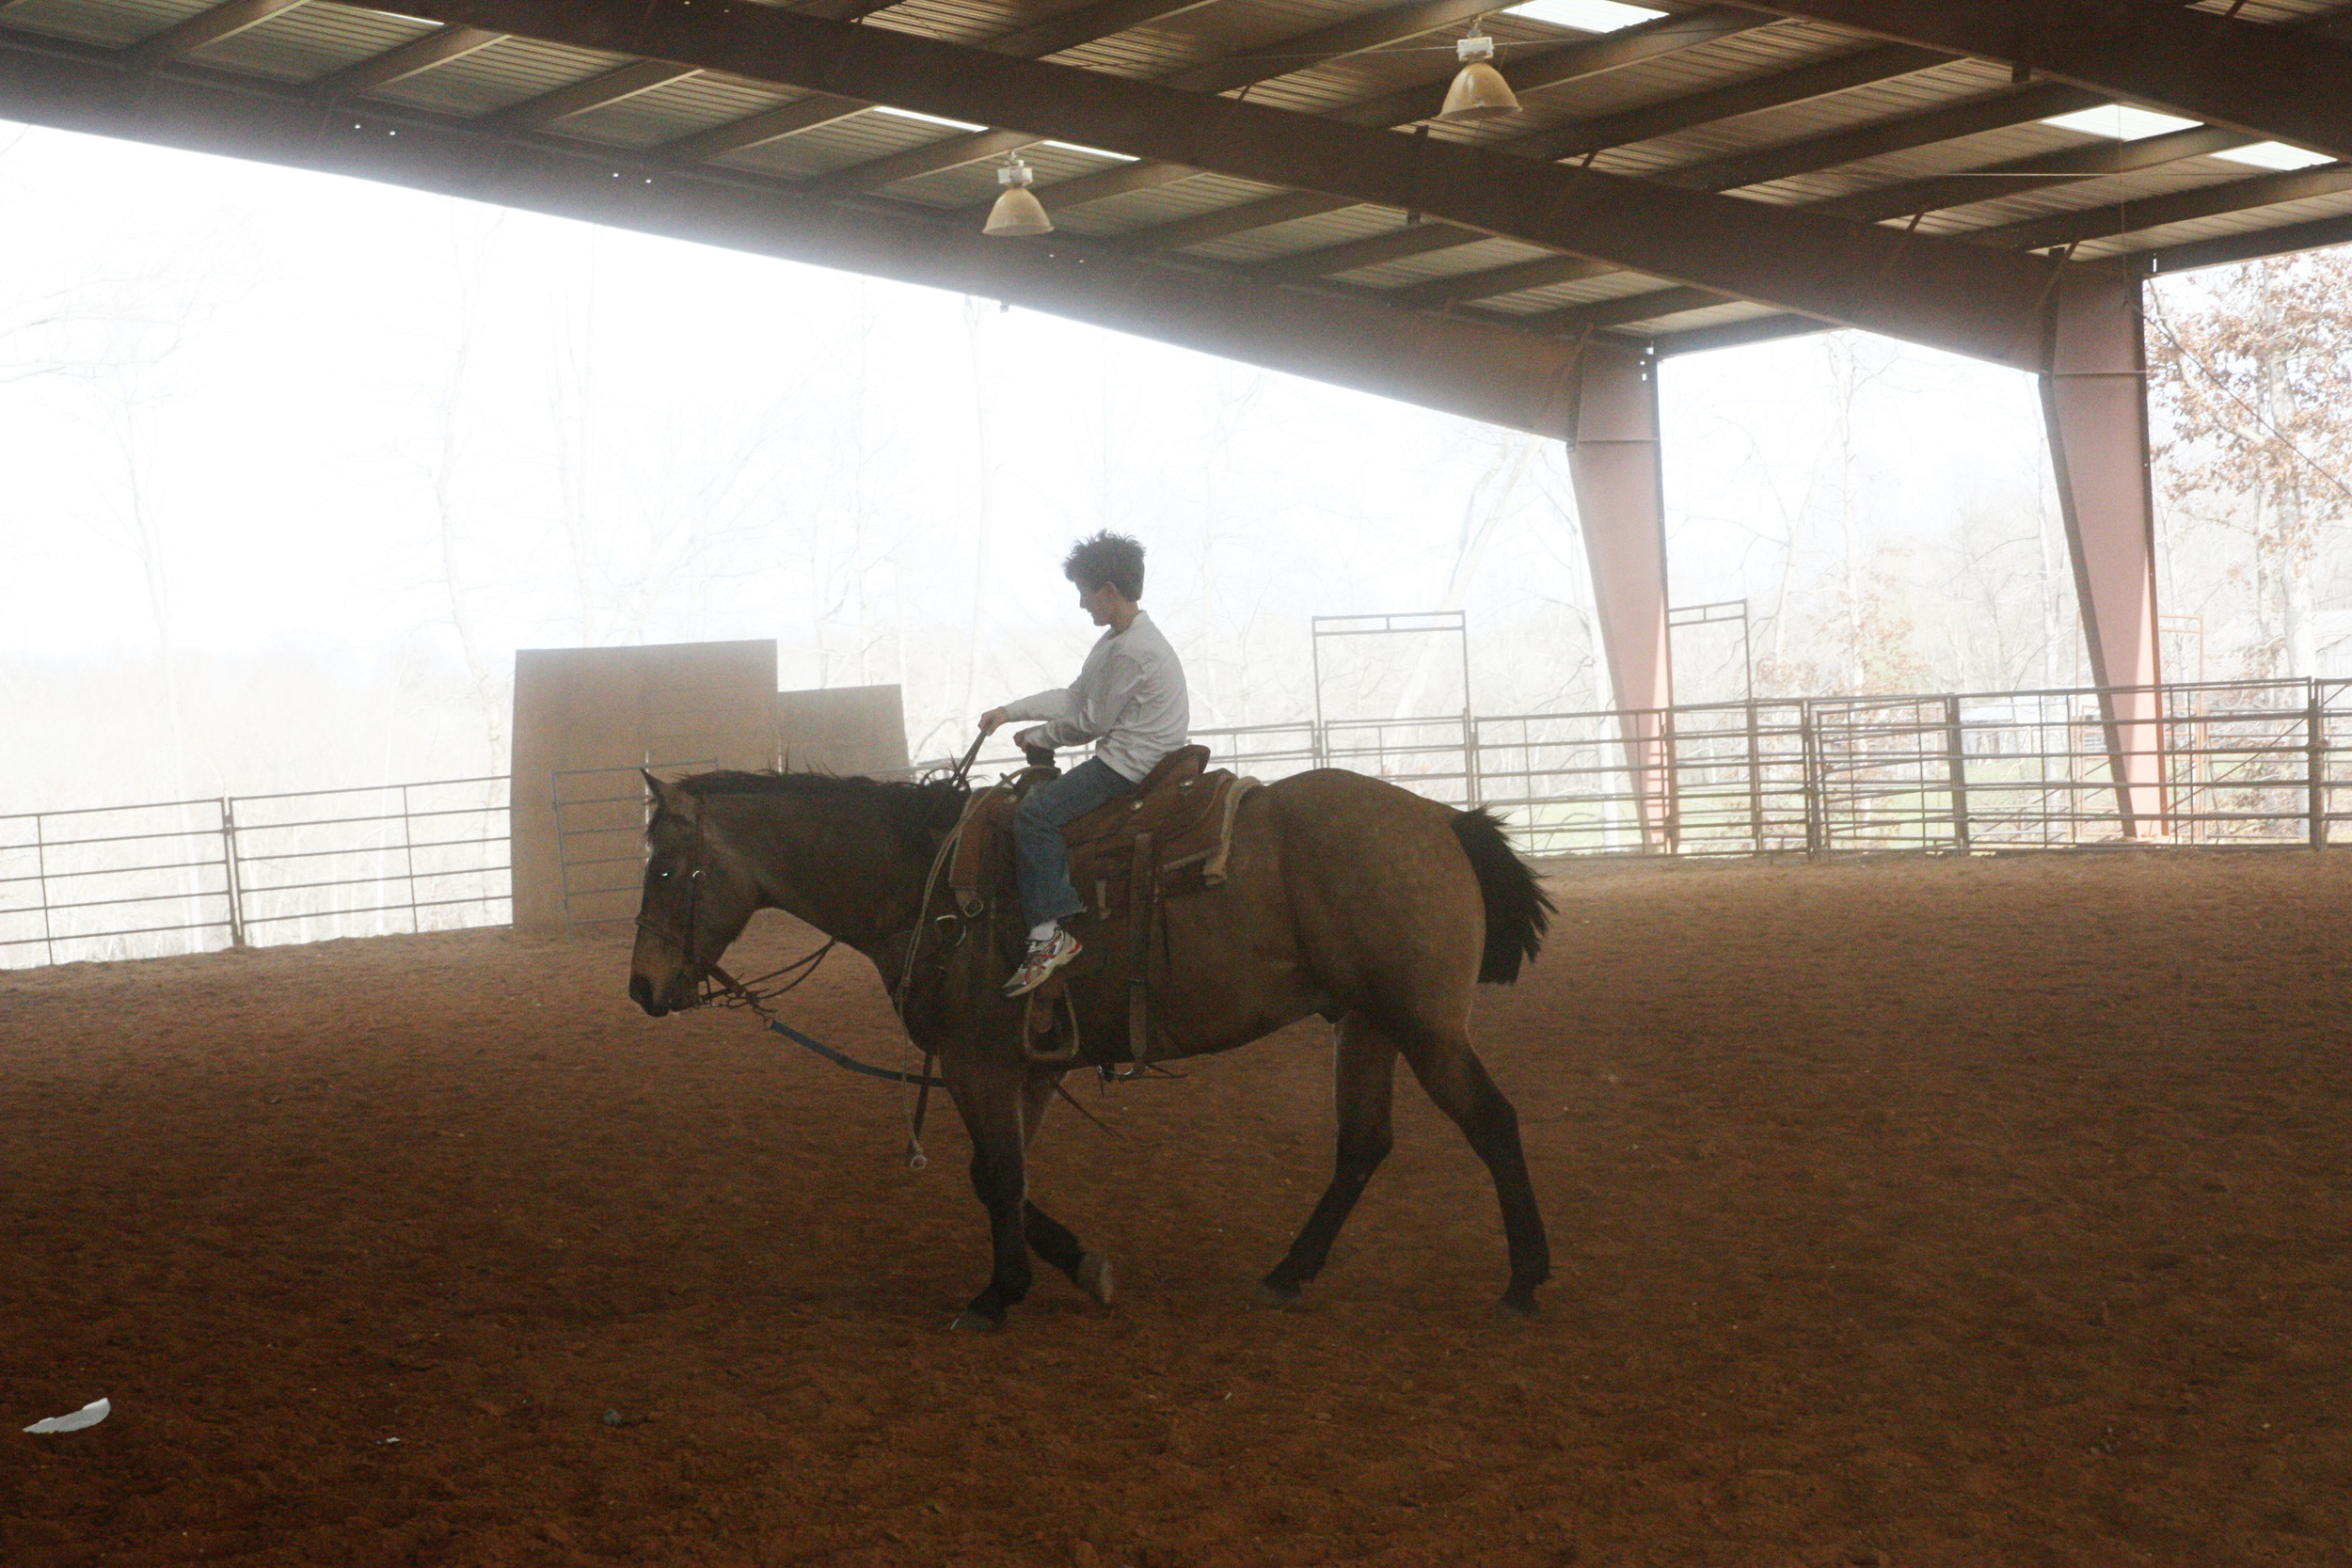
Parker was in love with riding the horses.  He rode with Doc, his Poppy, his Uncle Nick, and then even rode by himself!  This picture cracks me up.  Hello, bed-head.

This is the response I got when I asked "Who wants to be a cowboy?"  I guess his parents better start saving up for some horses.

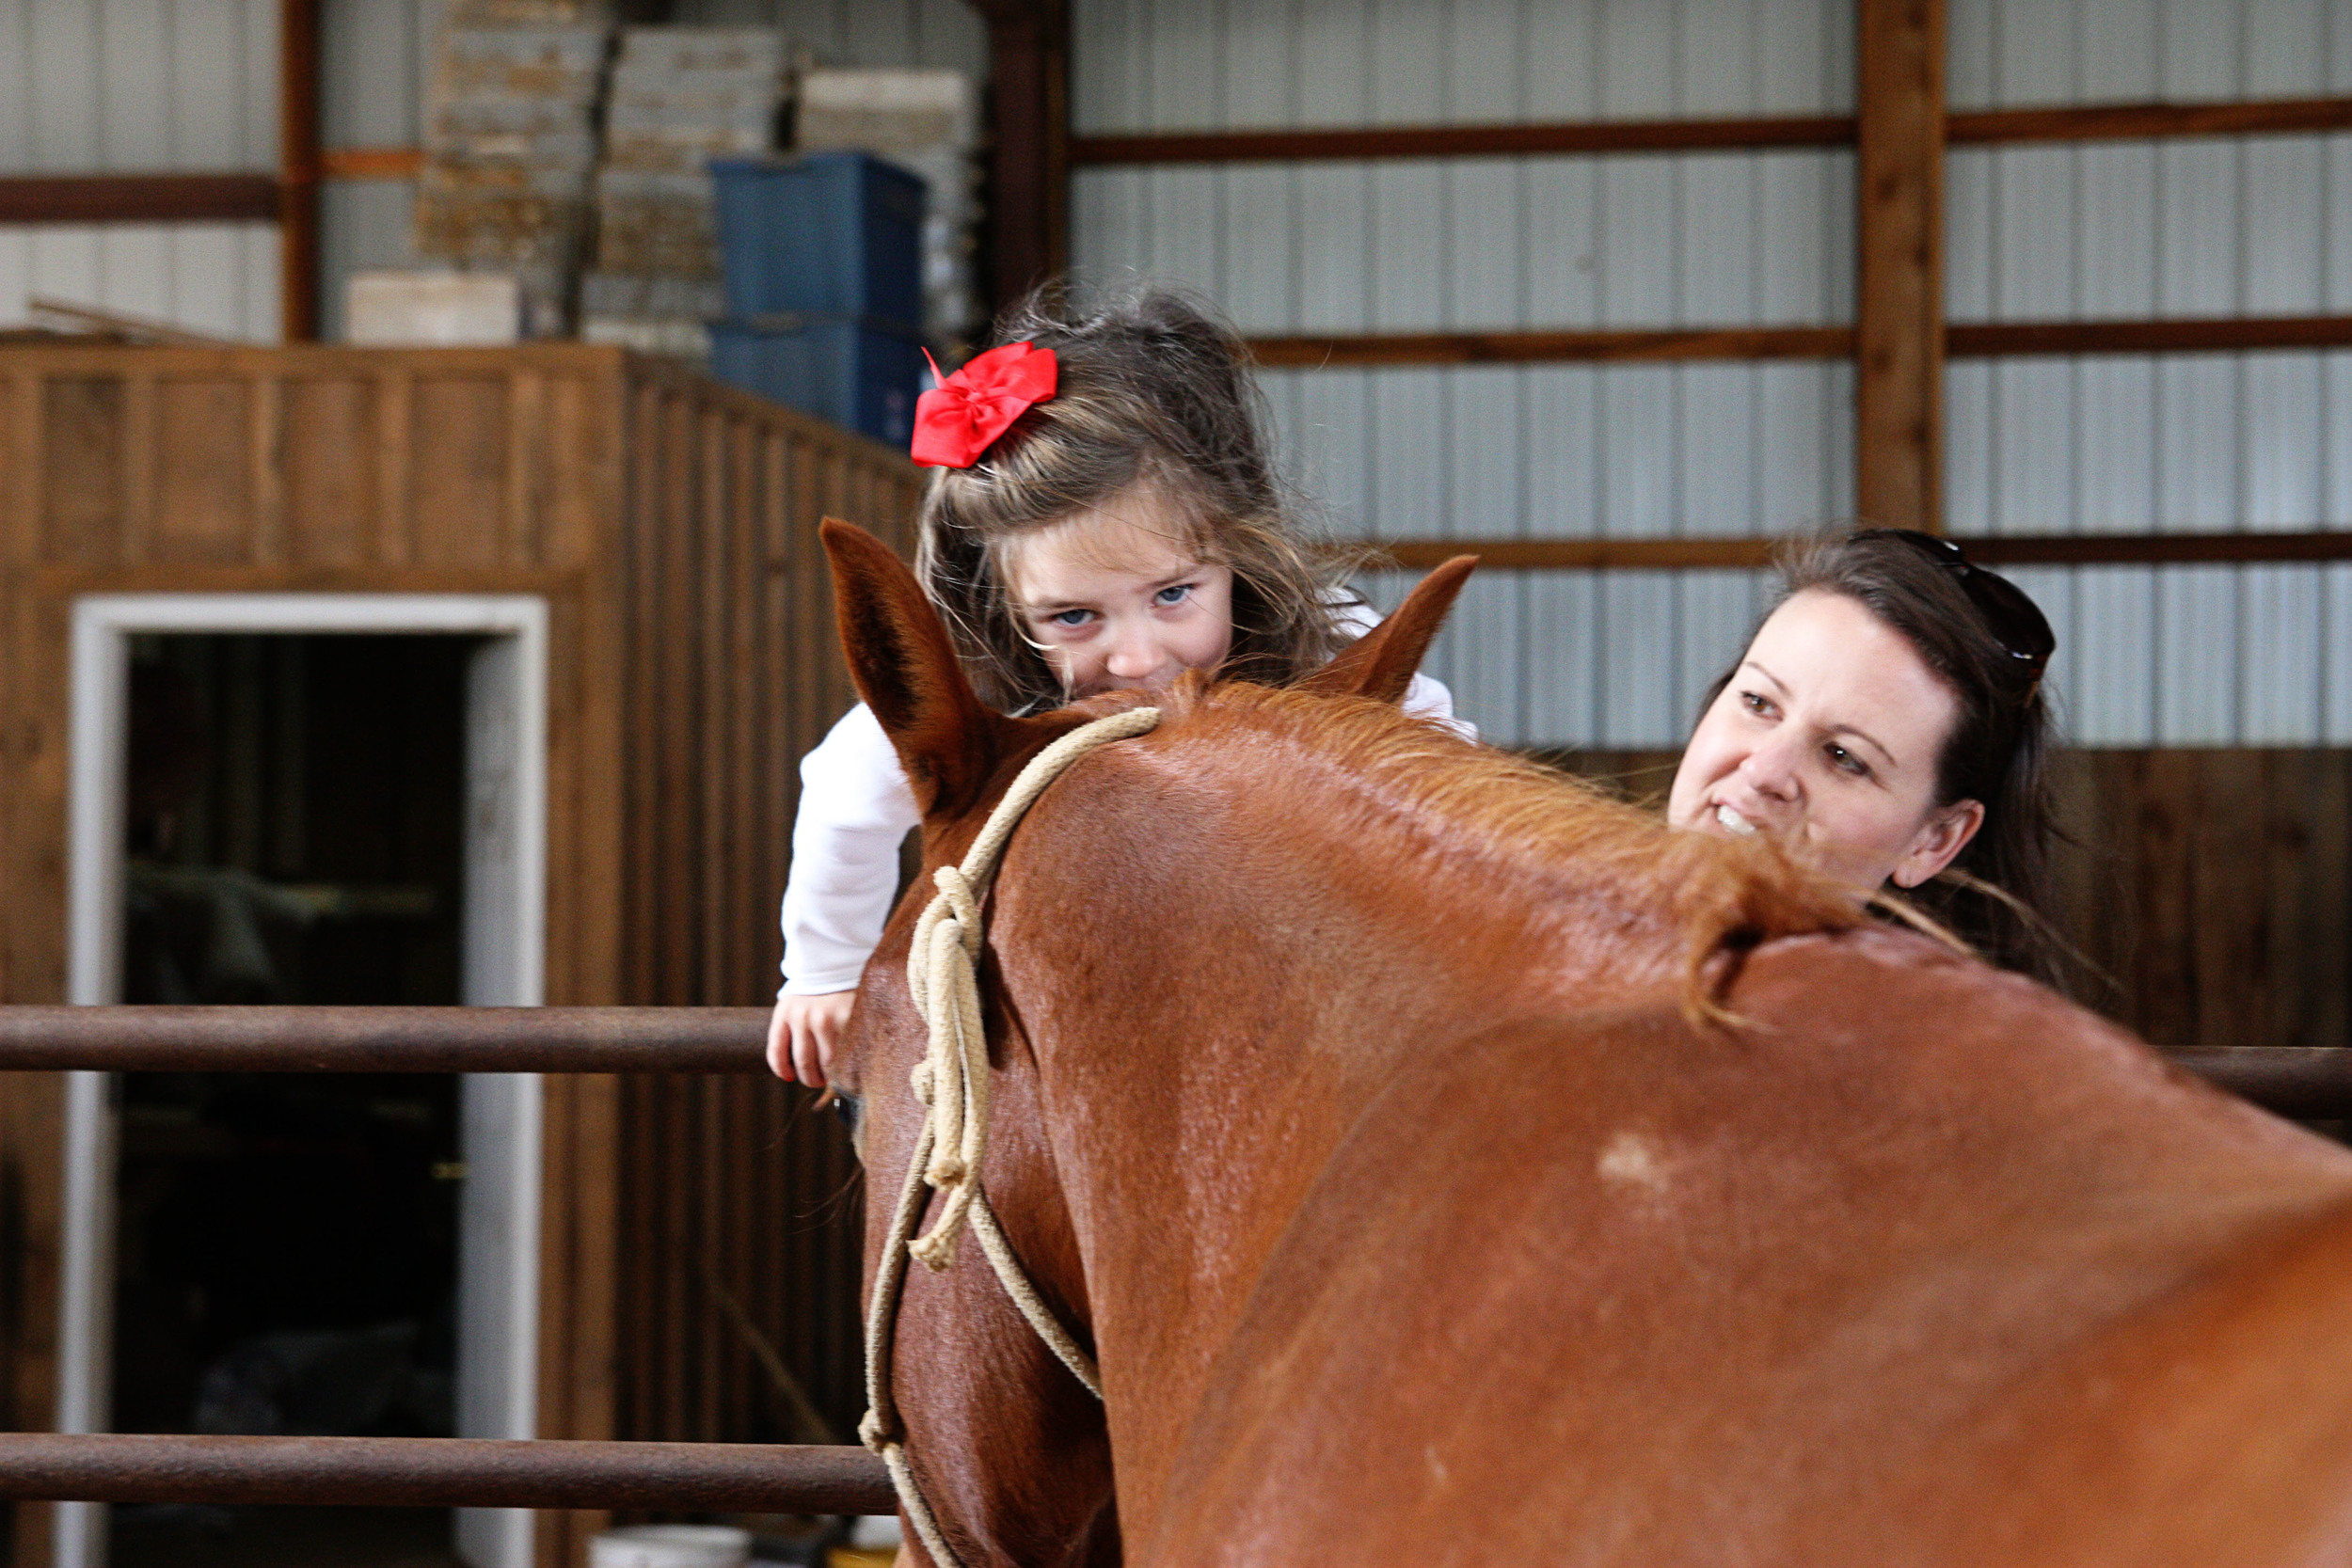
Bren never worked up enough courage to get on a horse, but she did give them kisses!

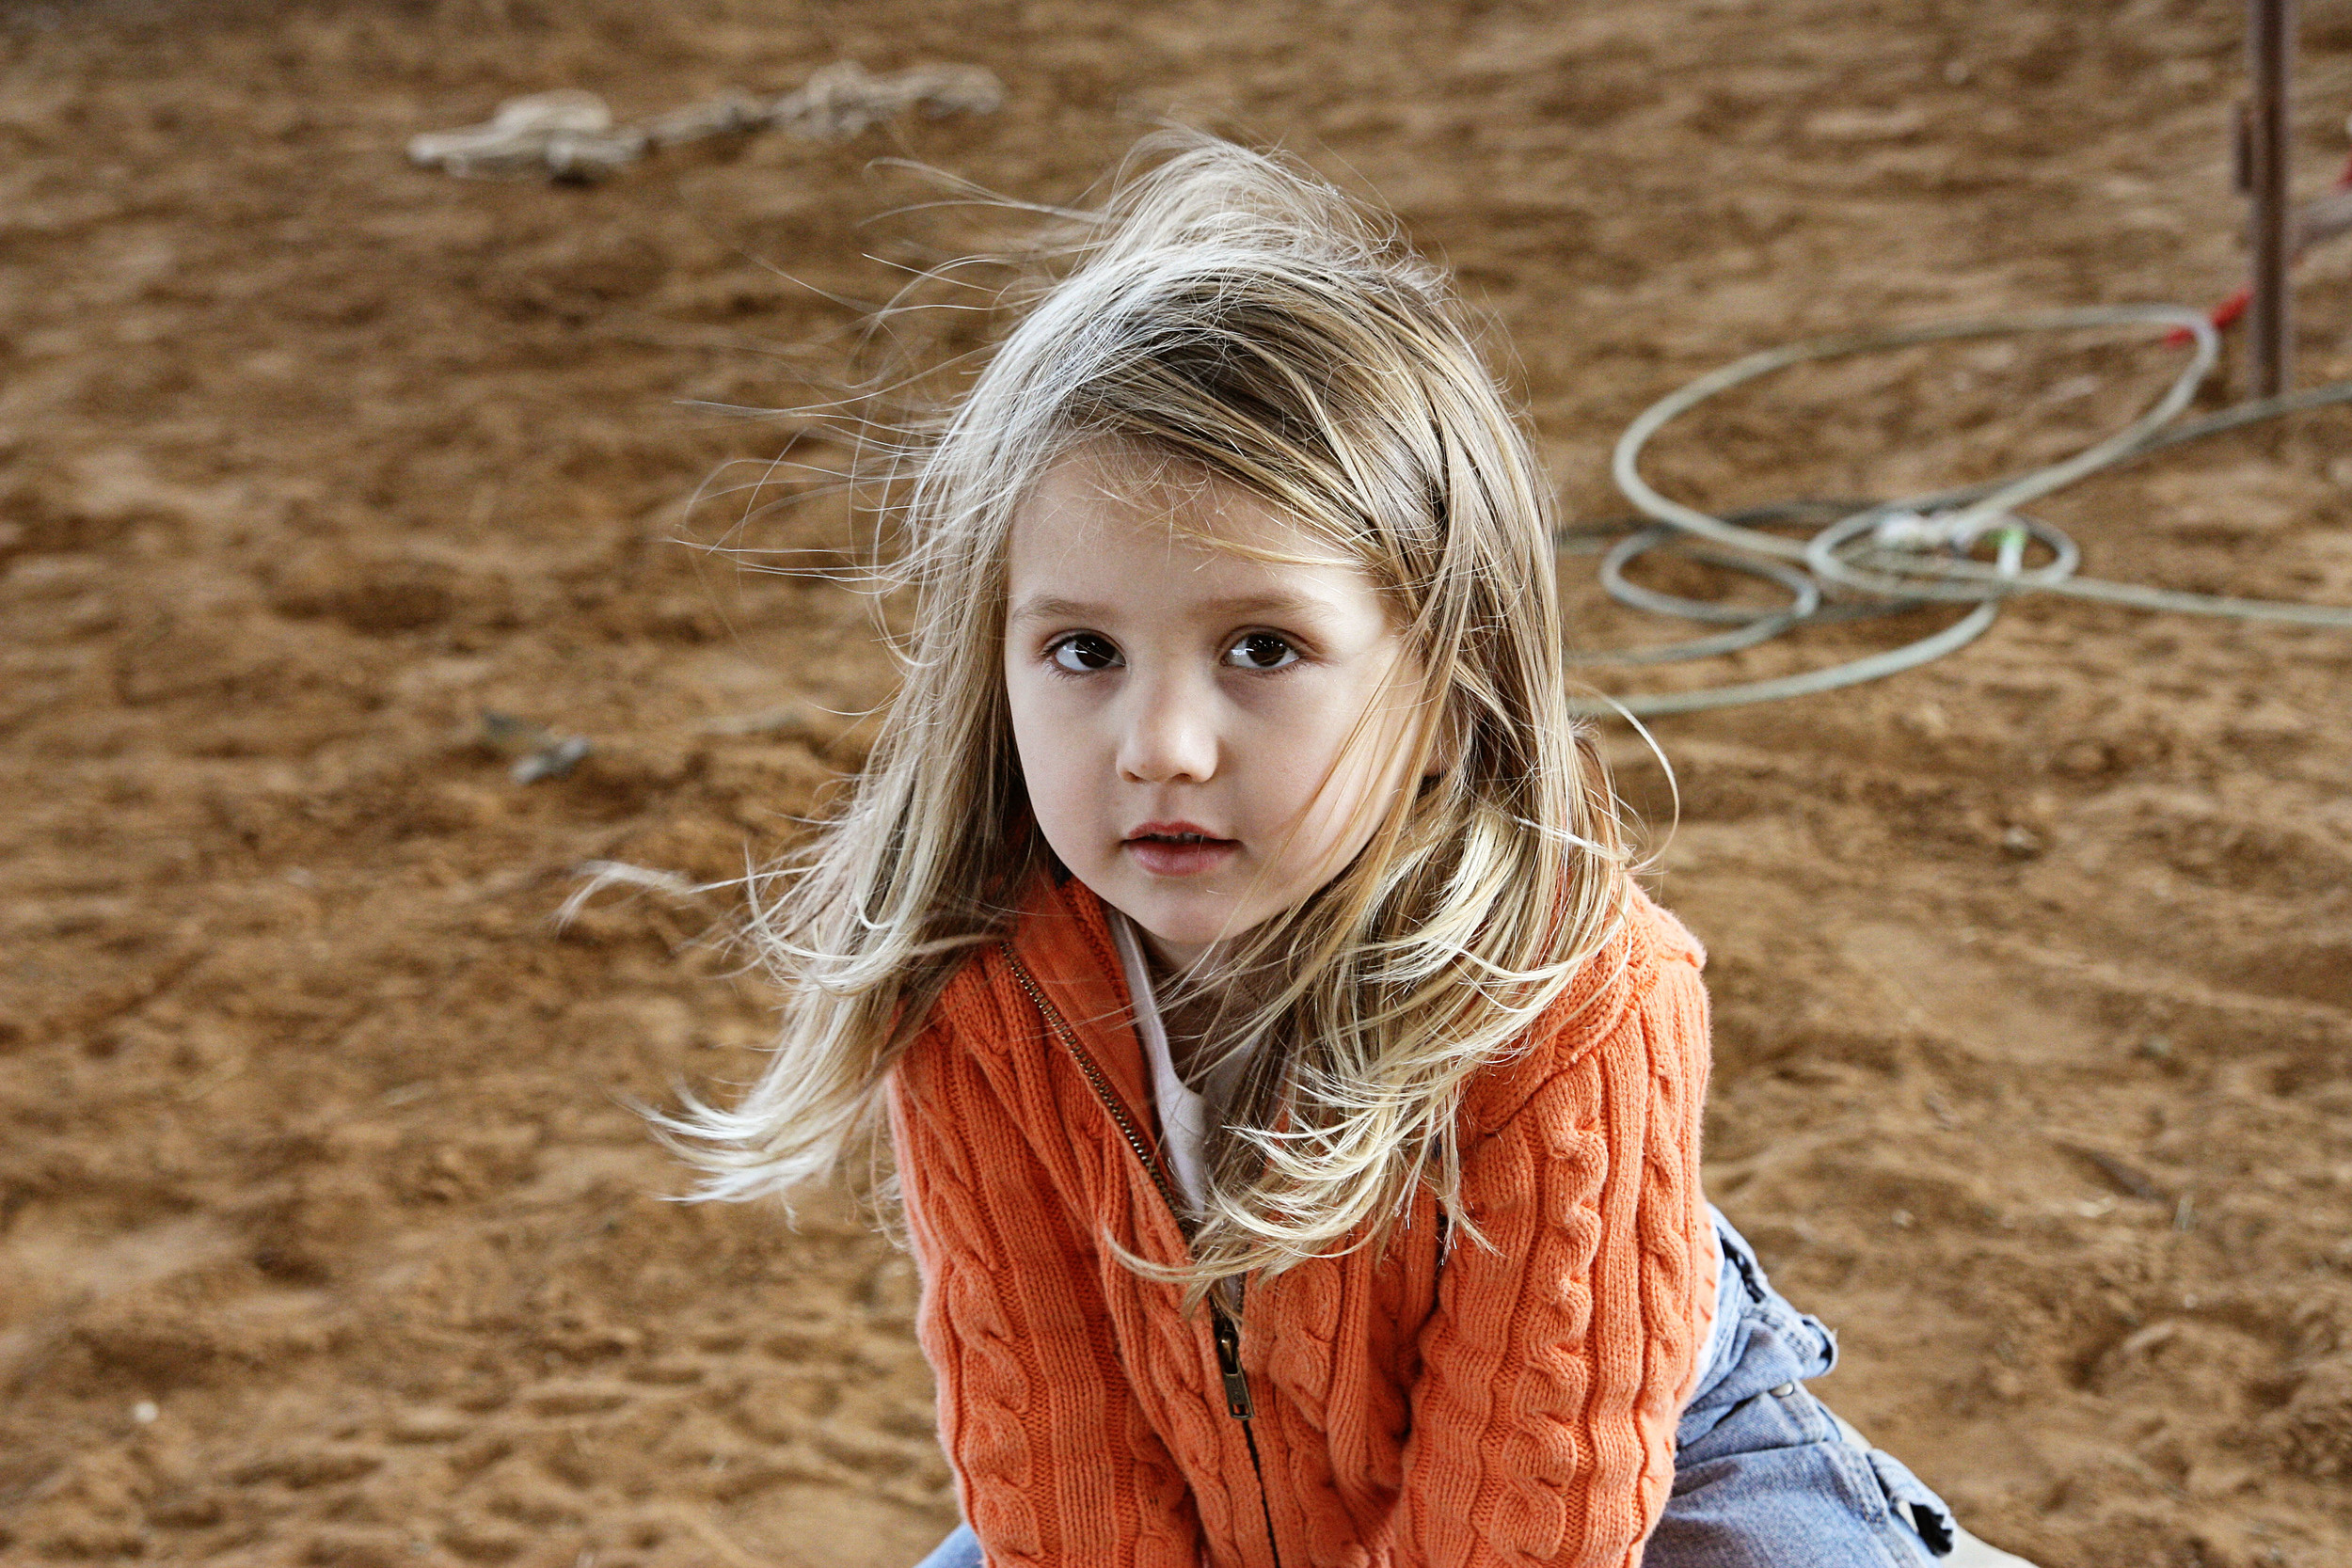
Of Paige's three children, Roany is the one that loves being on a horse the most.  She is painfully shy around all of us, but around the horses, she's right in her element!

I loved watching her ride this horse.  Paige said that with the adult saddle, it's pretty much like she's riding bareback since her feet don't reach the stirrups.  She also said that with a kid-sized saddle, Roany flies!

Nick and Joel: cousins.

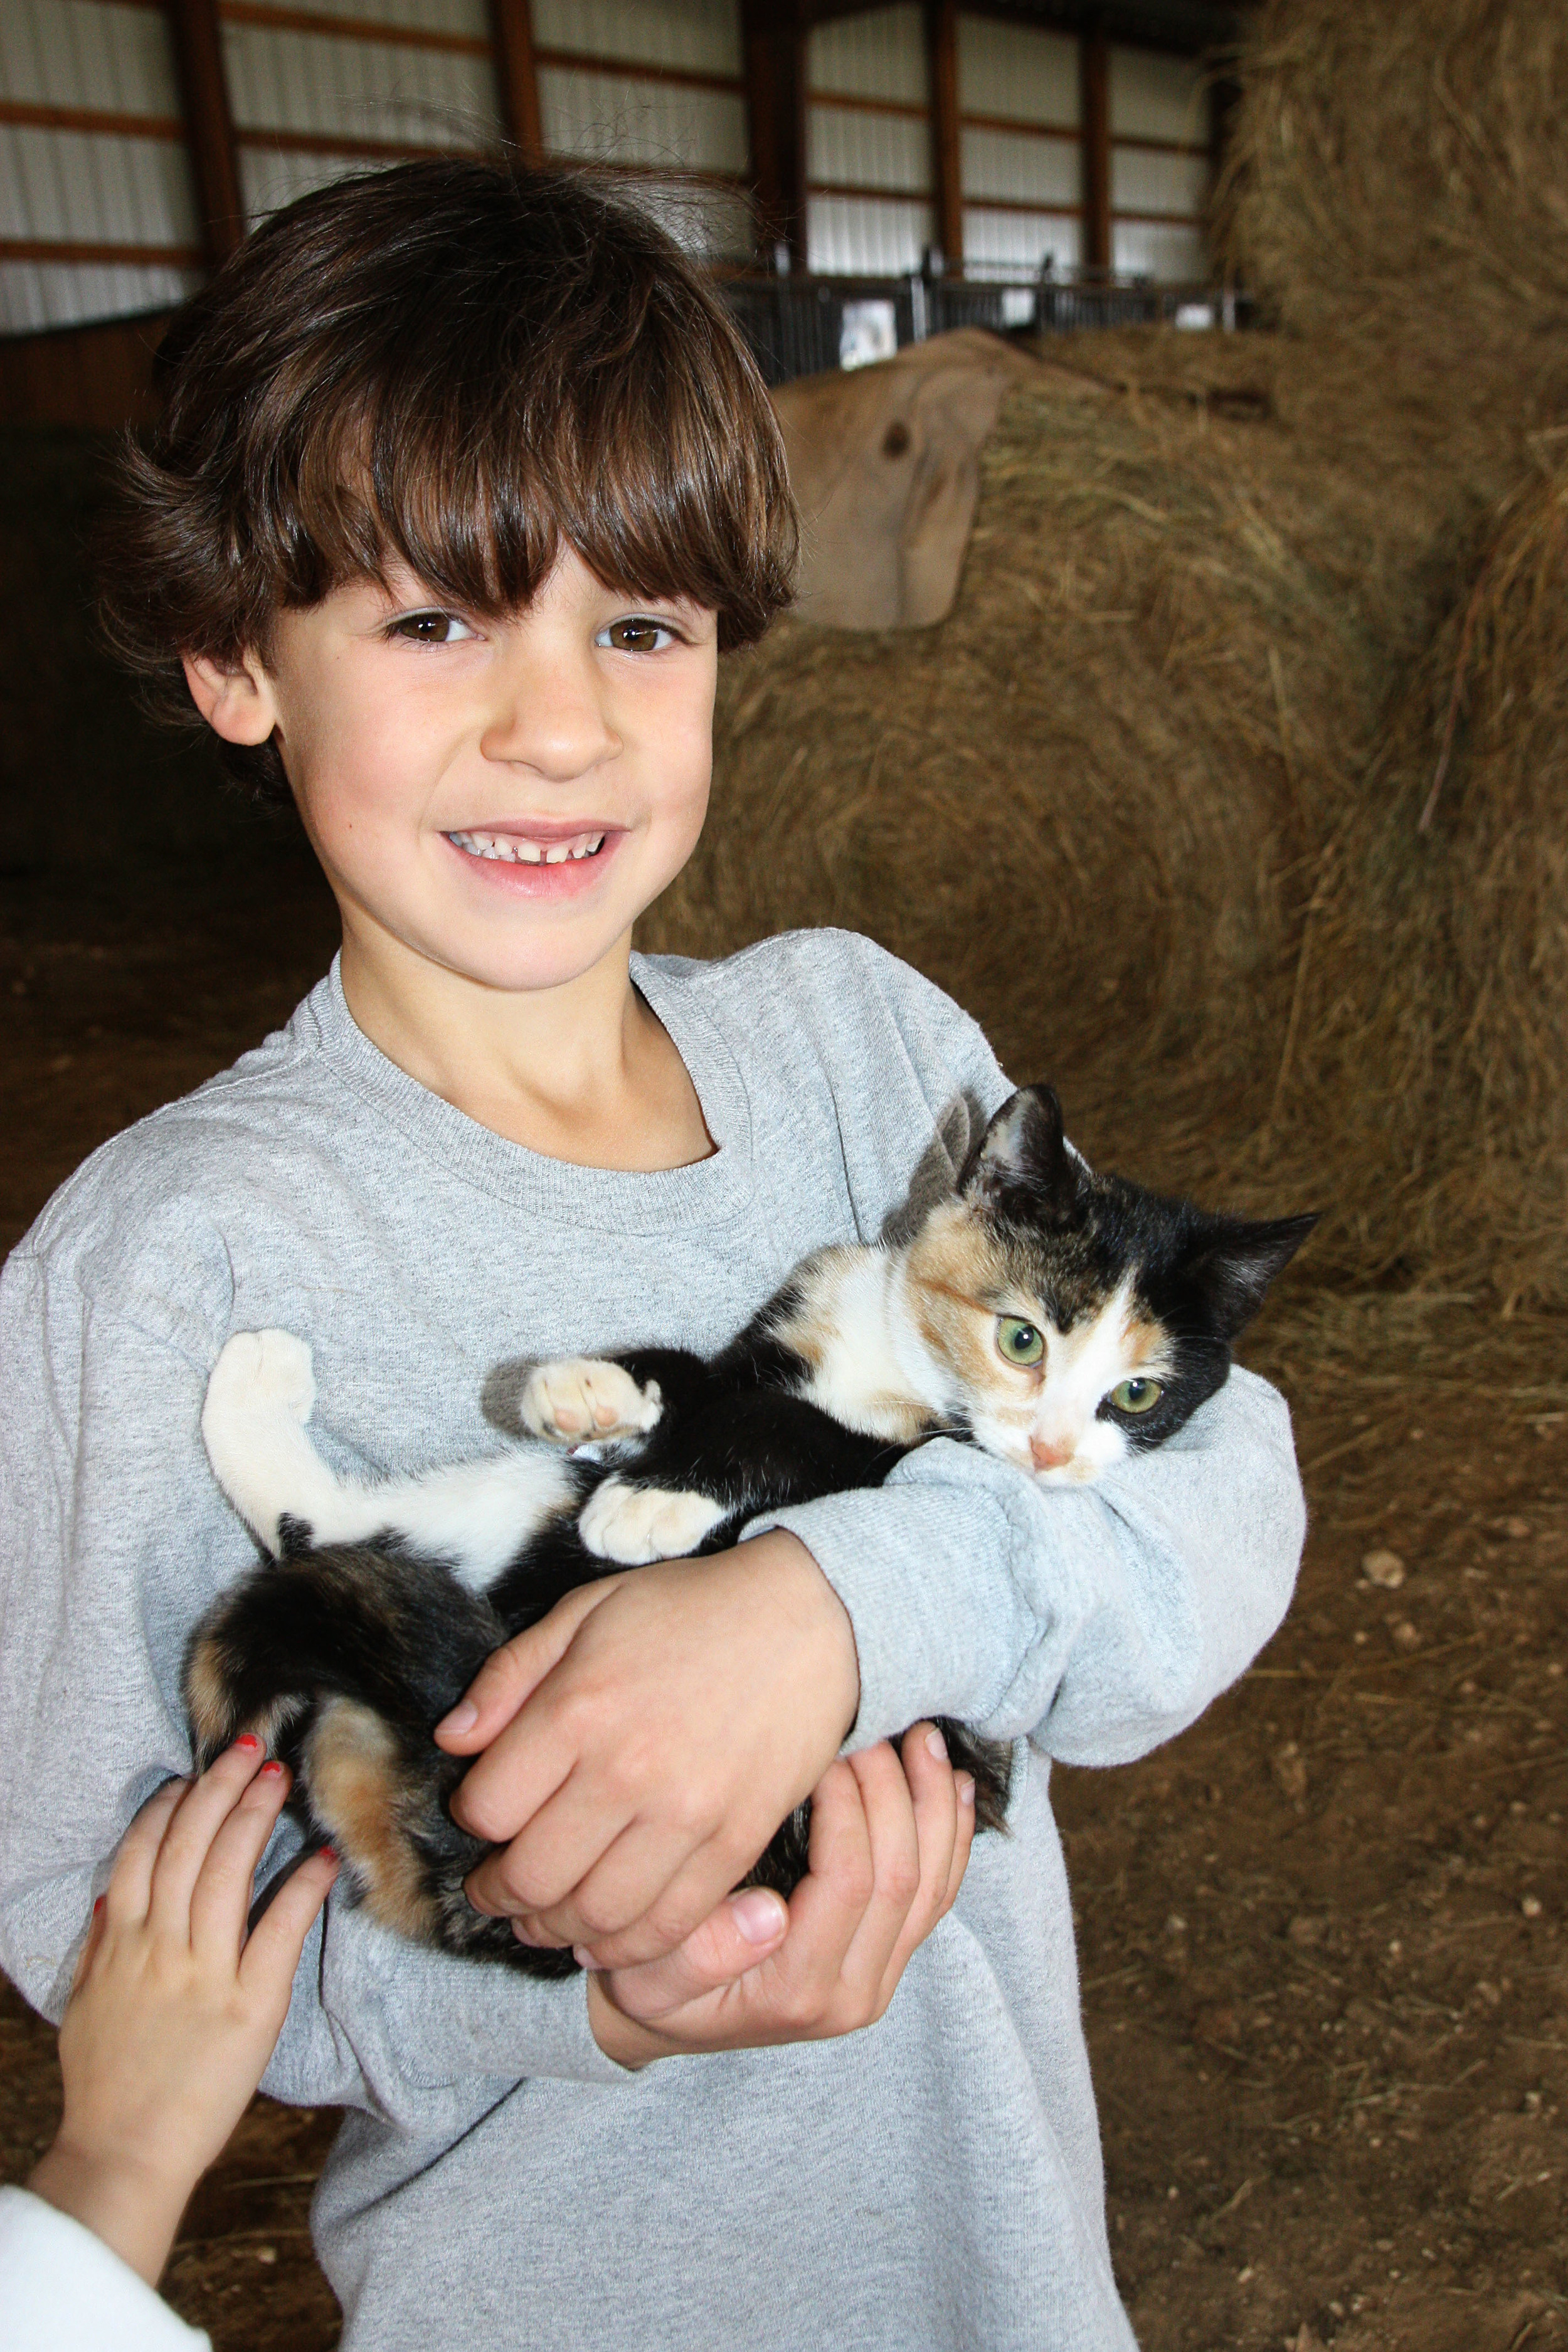
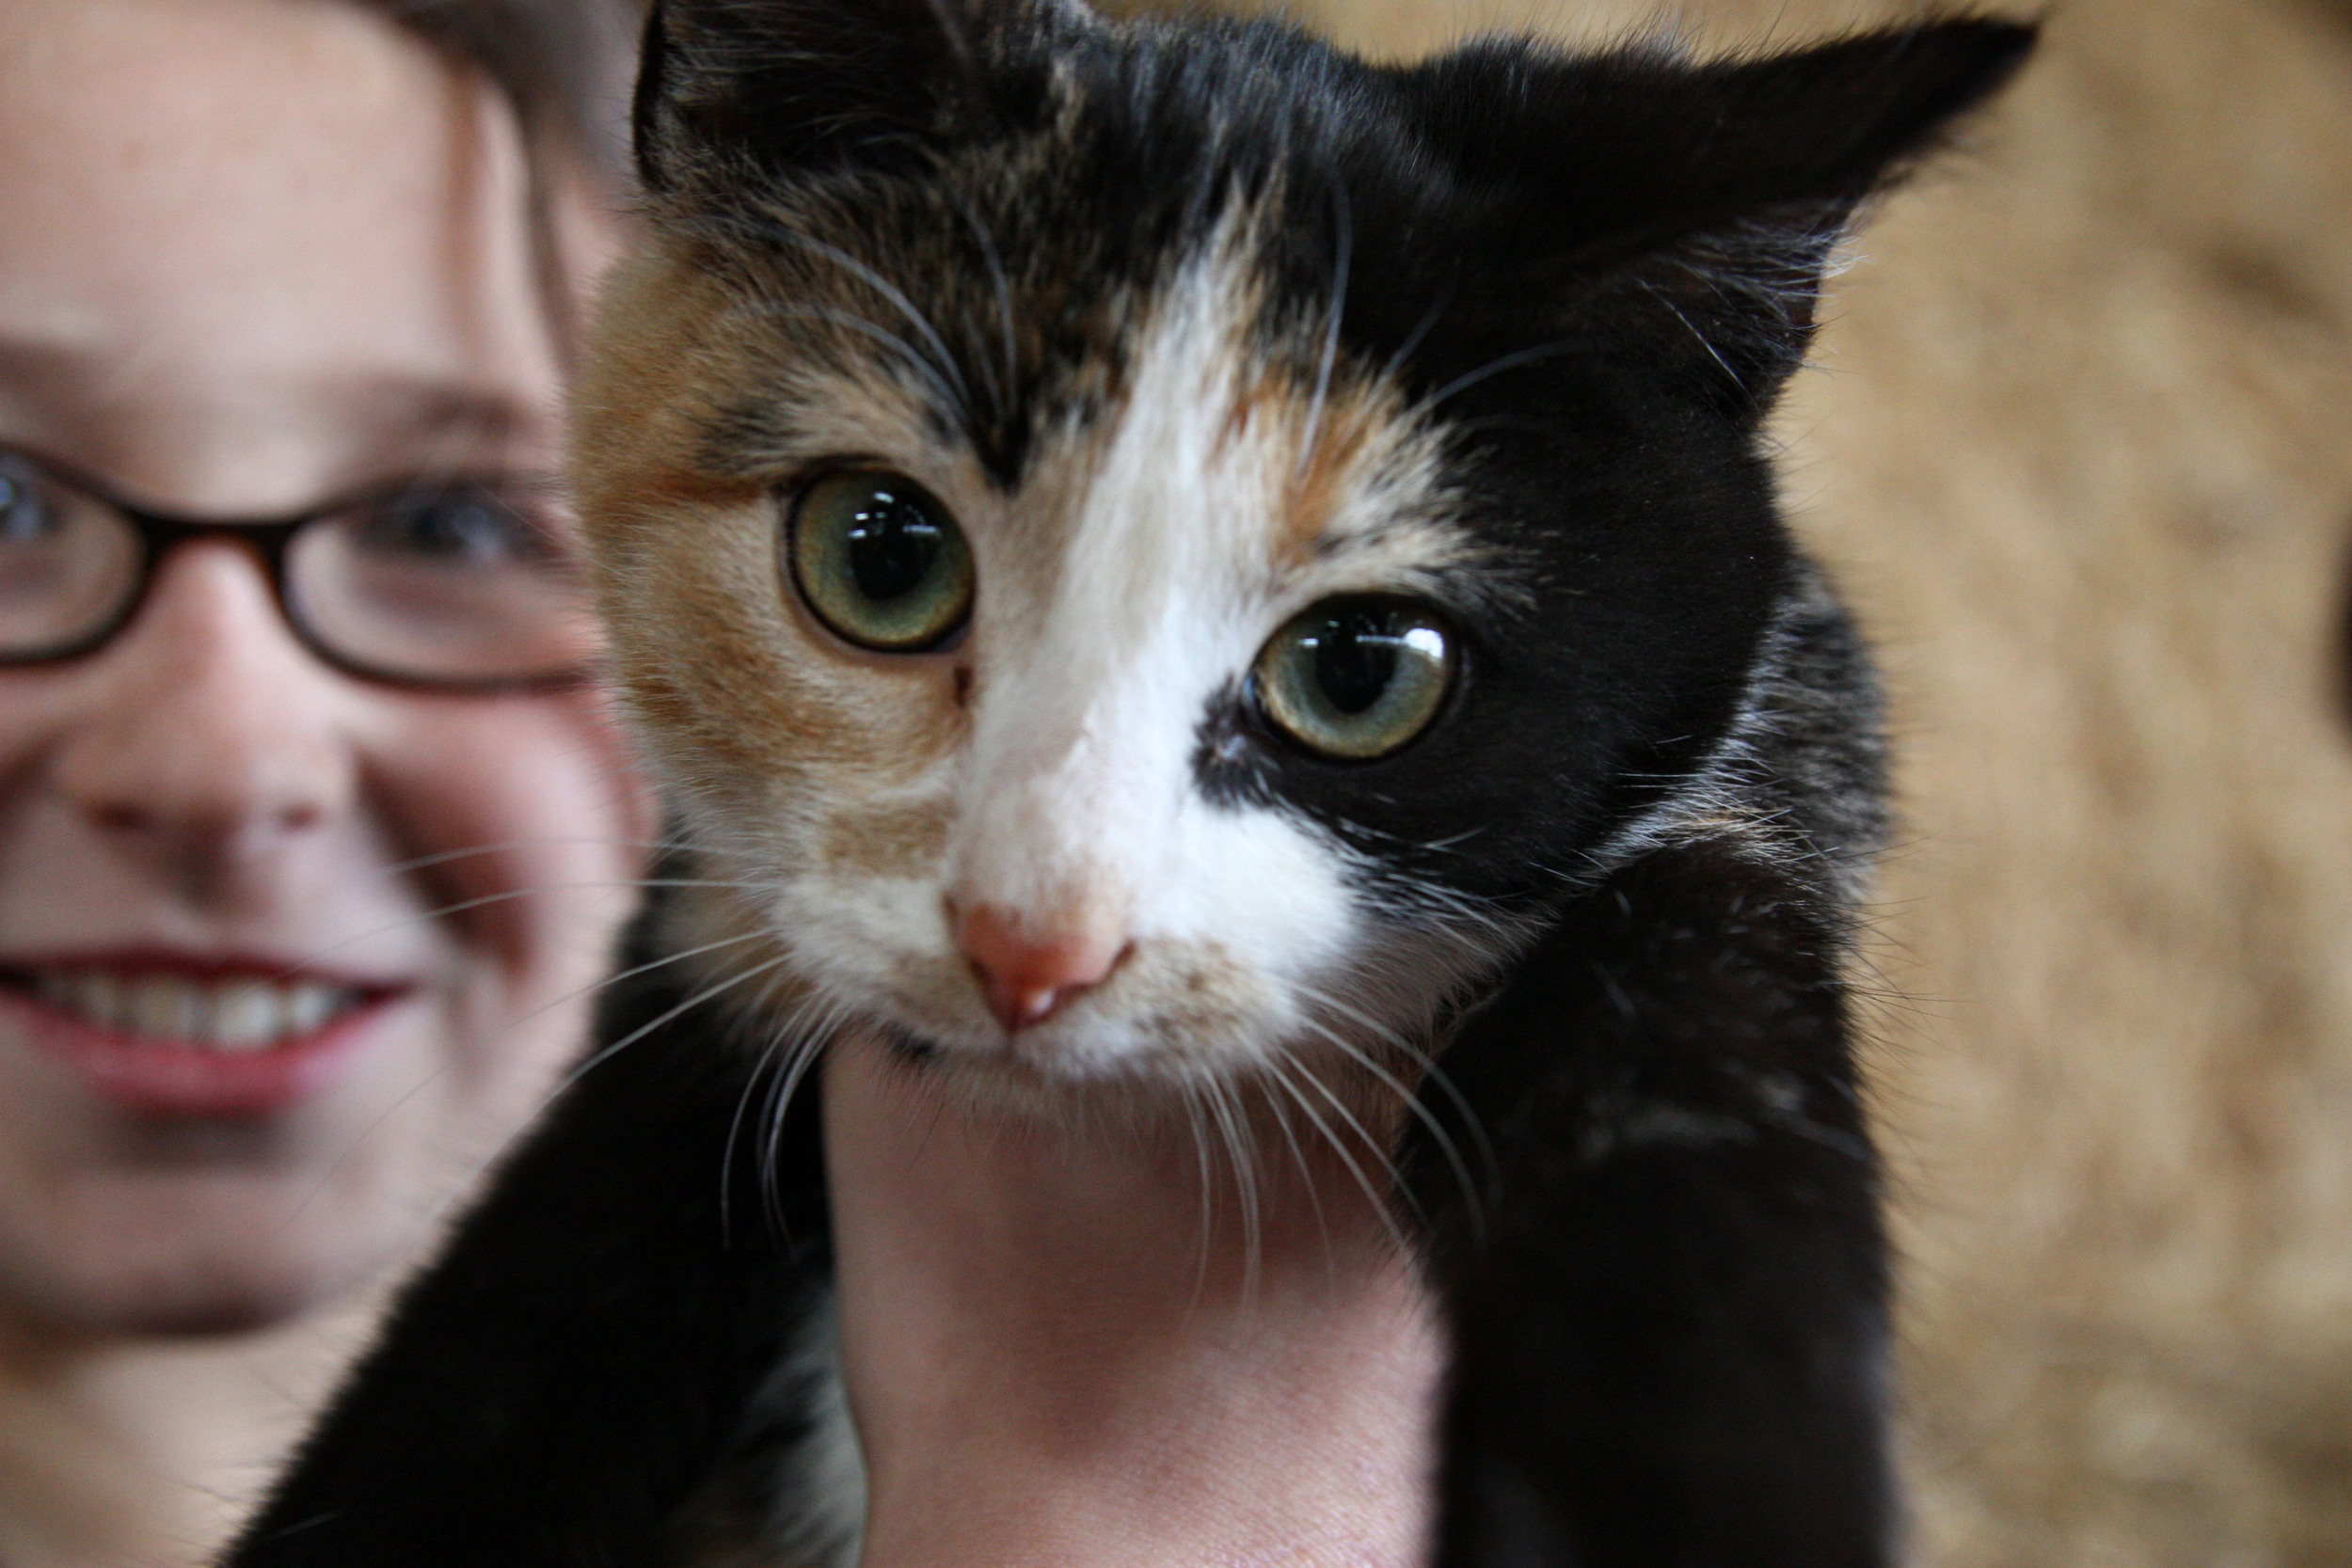
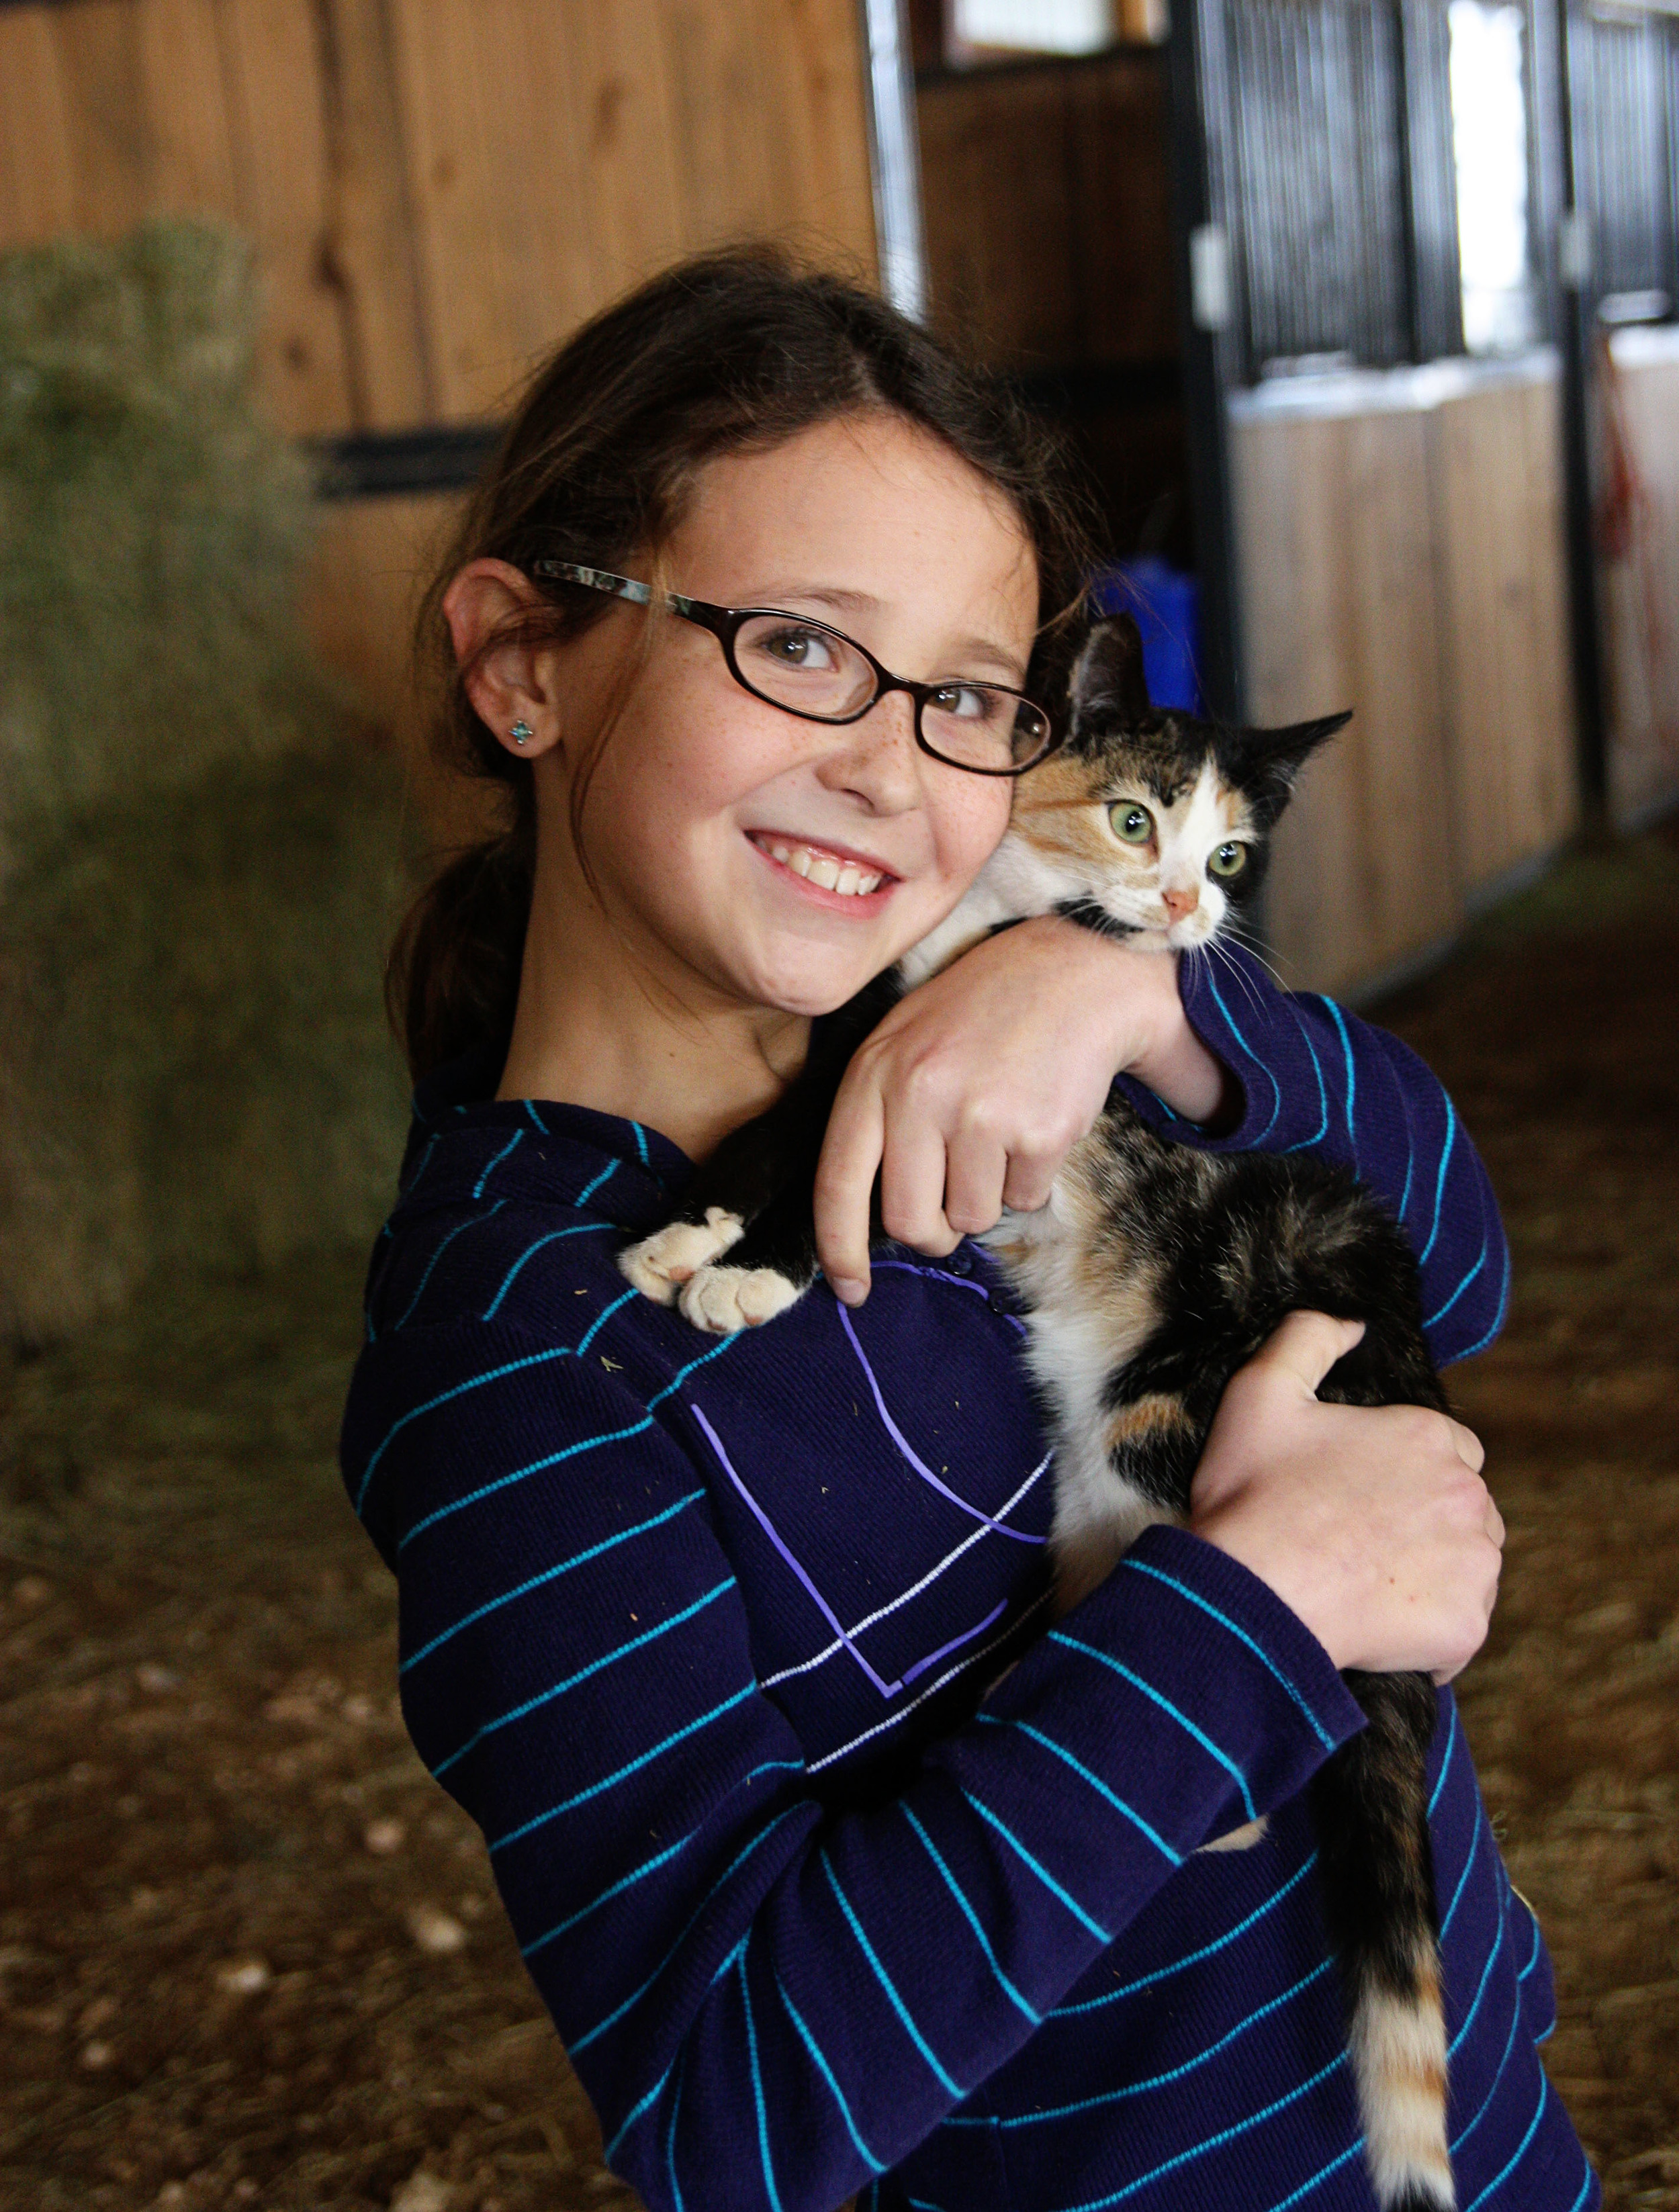
You would think our kids would be enamored with the horses, but guess who really stole the show?  Jingle the kitten.

I think there was more than one kid that wanted to take Jingle home with them.

I hate that we didn't have more time with the horses, but we had to get back for a delicious lunch before hitting the road back home.  Just for fun, I'll leave you with a branded horse's rump...

Thanksgiving

I know it's almost a week later, but I hope you all had a great Thanksgiving holiday!  I know we sure did.  Thanksgiving is my favorite holiday because it's the only time where I get more than one day off from work in a row (without having to use my vacation time).  Our office is closed both Thursday and Friday the week of Thanksgiving.  At Christmas, we only get Christmas day.  I enjoy the holiday for all the normal reasons, too - being with family, eating lots of good food, reflecting on all the things I have to be thankful for, yadda, yadda, yadda - but I really love me a four-day weekend too!  Our CEO even gave us an early dismissal on Wednesday, so it was kinda like a 4 1/2 day break.  For once, I almost had a teacher schedule! I will confess that I ended up putting my Christmas tree up that Wednesday night.  I know, I know.  I'm ashamed of myself too.  I'm a big advocate for giving Thanksgiving the attention it deserves and not letting Christmas stomp all over it, so I get annoyed with how early some Christmas decorations come out.  But since I found myself off work early and knew I wasn't hosting anyone the next day for Thanksgiving, I went ahead and drug all the boxes out.  Confession #2?  I only halfway decorated.  I'll tell you about that later...for now, let's focus on the subject at hand: Thanksgiving.

Thursday morning I got up early and went to work in the woodshop.  That's actually when I put the finishing touches on the red buffet.  It was nice to actually be productive and check something off my to-do list before stuffing my face full of food.  We always spend Thanksgiving day with my dad's side of the family, and this year was no exception.  It was my uncle's turn to host so all we had to do was show up!  Our family is rapidly growing and getting spread out, so unfortunately, there were quite a few folks missing this year.  We still had a nice meal and enjoyed each other's company.  The little kids enjoyed putting on their swimsuits and getting to play in the hot tub.  Sadly, I didn't have my camera so I don't have any pictures to show for this celebration.

My mom is one of just two children.  Up until a few years ago, we always spent Thanksgiving at my Grandmother's house.  My mom's sister's family would come too and we would all pile into the teeny tiny house and stay the night.  It was crowded, but I wouldn't have had it any other way!  Since my Memaw is not with us anymore, we alternate the holidays between my mom's house and my Aunt Kim's.  This year, it was my Aunt's turn to host Thanksgiving (so they'll come to my mom's house at Christmas).  Friday we all loaded up the cars and headed to their town.  With all of our different schedules, we left in shifts, but by the time dinner rolled around Friday night, everyone had arrived.

My mom and her sister, Kim.

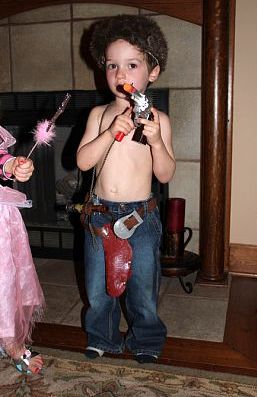
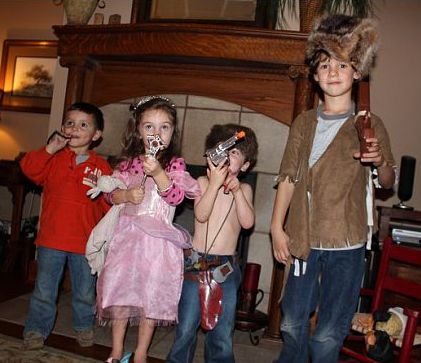
There are lots of little kids on this side of my family, and I love watching them all play together.  My aunt has a big selection of dress-up clothes, and you better believe they pulled out every piece of it Friday night! 

Note: all the pictures in this post were taken by my sister-in-law, Erin.  All credit goes to her.

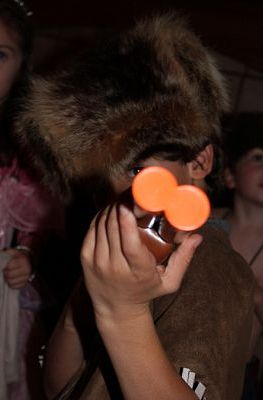
Parker spent most of the night as a cowboy with a coon hat on.

We tried hard to get pictures with all of them dressed up at the same time.  Easier said than done.  Here's an attempt at getting Carter (a Police Man, but really he's just holding handcuffs), Bren (a pretty Princess), Parker (the shirtless Cowboy), and Jett (a Cowboy, even though he's wearing an Indian shirt and a coon hat).

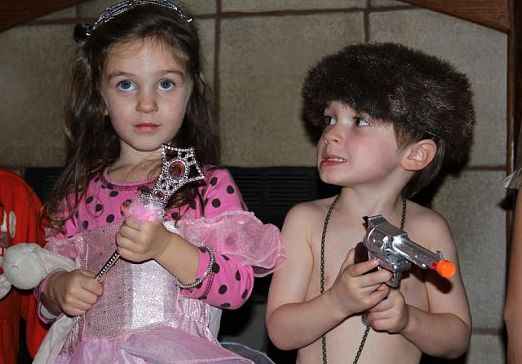
Brennie and Parkie.  Every coon-hat-wearin' cowboy needs a woman, and Parker chooses Bren.

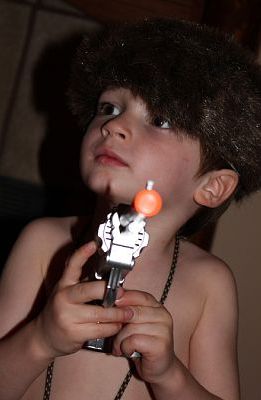
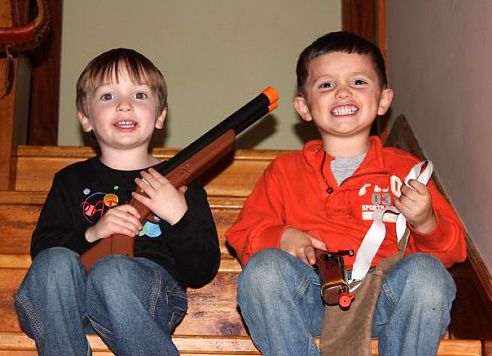
The boys LOVED playing with the guns.  They apparently don't love any of us since they kept shooting us.

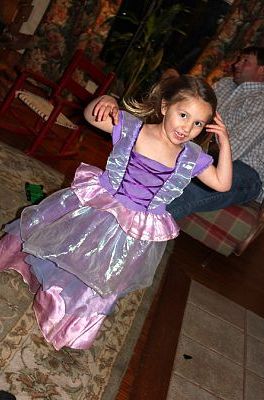
I think Bren was glad when Roanie finally showed up so she could have a Princess friend.

These two boys hit it right off!  It had been a year since they'd seen each other, but you wouldn't have known it.


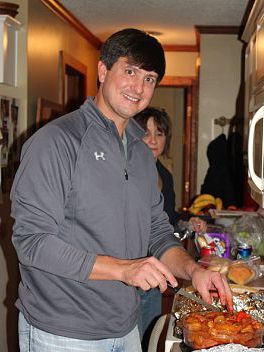
My cousin Joel did most of the cooking for Friday night's meal.  He has a large fire pit at his house and spent the afternoon grilling chicken breasts and wings, pork tenderloin, bologna, pineapples, and vegetables.  It was all so yummy!

Doc and our kids were the last to arrive.  Doc didn't get the memo that this was a casual dinner...
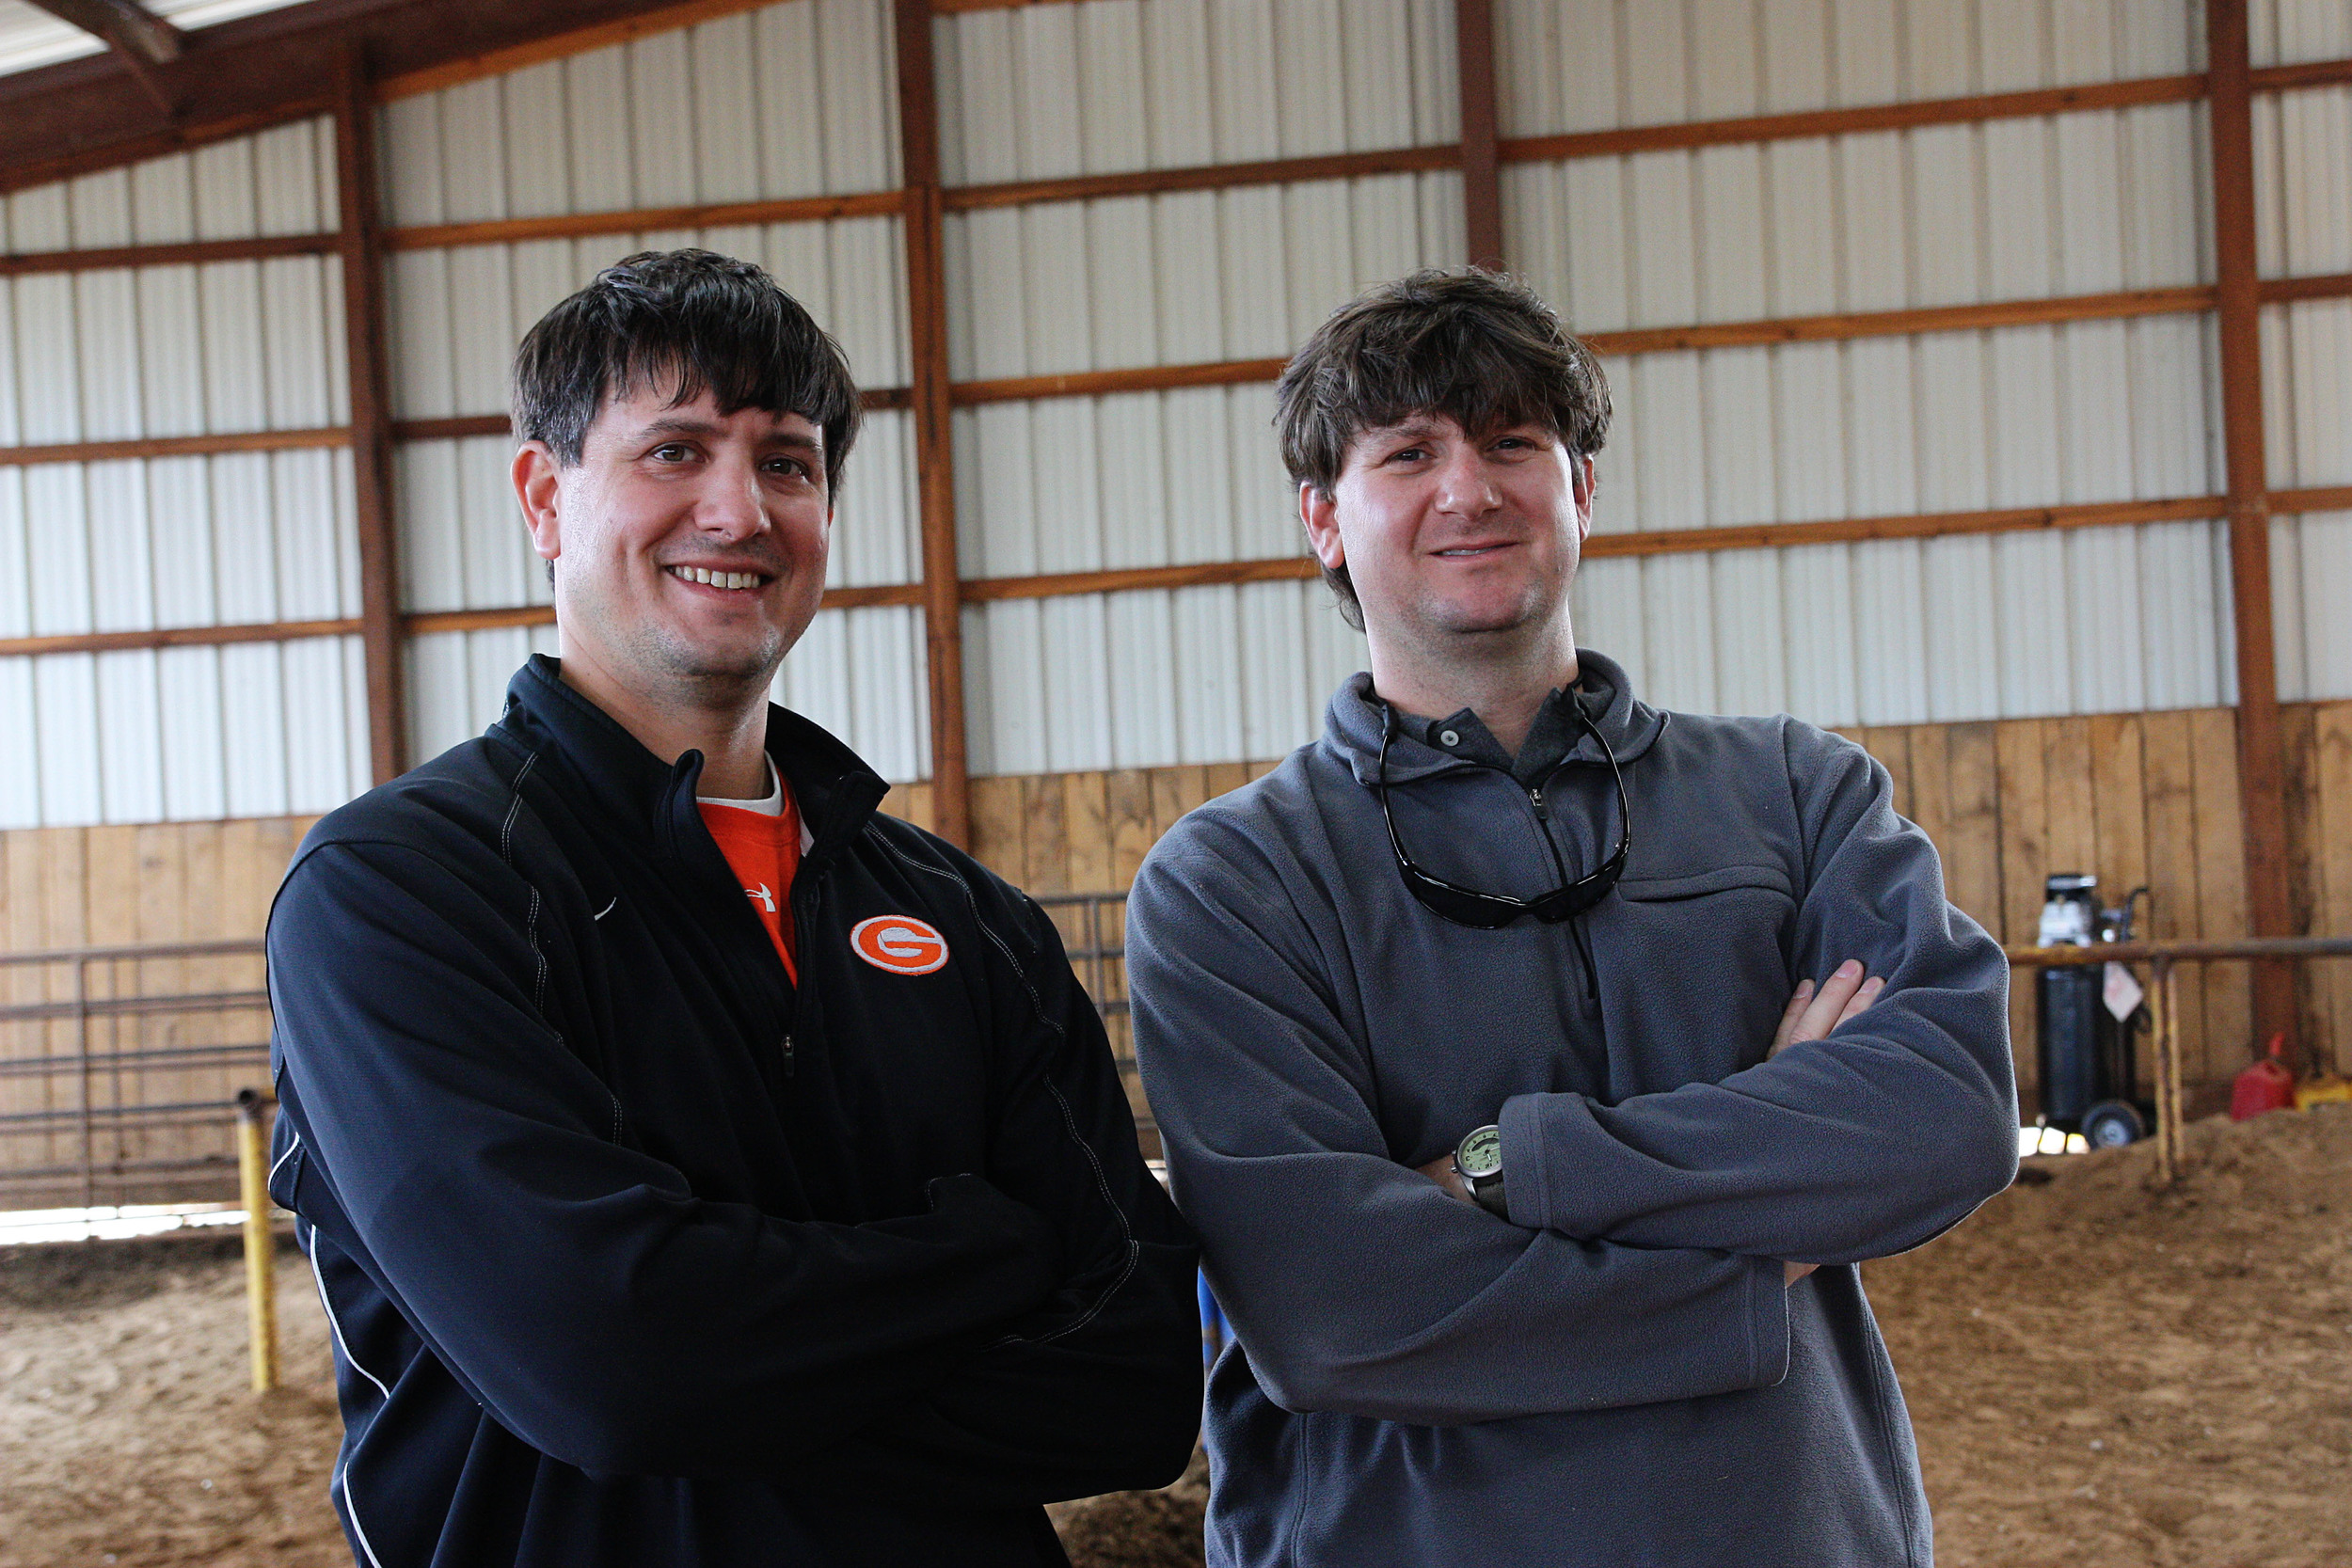
Anna and Wyatt are at the age where they don't want to touch in photos.  It's a challenge just to get them this close to each other!

 After we stuffed ourselves silly, I sat with Anna and Gracie while they warmed up to each other.  It was their first time to really meet and, even though they are a couple years apart in age, by the end of the weekend they were best of friends.  In fact, Anna ended up leaving us and staying the night with Gracie at her house Friday night.  I feel like I should note that there was a makeup session that went along with the dress up.  Gracie doesn't wear purple eye shadow and hot pink blush on a regular basis.


Here are a few more snapshots from after dinner. 

My aunt prepared a nice, warm breakfast for those of us that stayed at her house.  The boys all woke up with some pretty sweet hairdos.

After breakfast we headed to my cousin Paige's house to ride horses.  Stay tuned - those pictures are next!


Before and After: Buffet

Are you getting tired of these before and after posts?  I hope not, because I still have a few more to go.  Not all of them are completely finished though. This one, the buffet, is a real Cinderella story.  She started out in baaaad shape, but now she's fit for a queen! (Or a beach house, rather...)  We found the ol' hunk of junk at a teeny, tiny consignment shop.  One that was so crammed full of stuff that it was hard to really stand back and look at her.  We gave her a good shake and knocked on the top and sides and decided she was pretty solid and in decent enough shape.  We forked over sixty bucks and brought her home!

Back in the wood shop, we were able to do a better inspection.  First thing we noticed was that big hole at the bottom was not just a decorative space, but instead where a big drawer used to be.  The support slats had been torn off and, obviously, the drawer was missing.

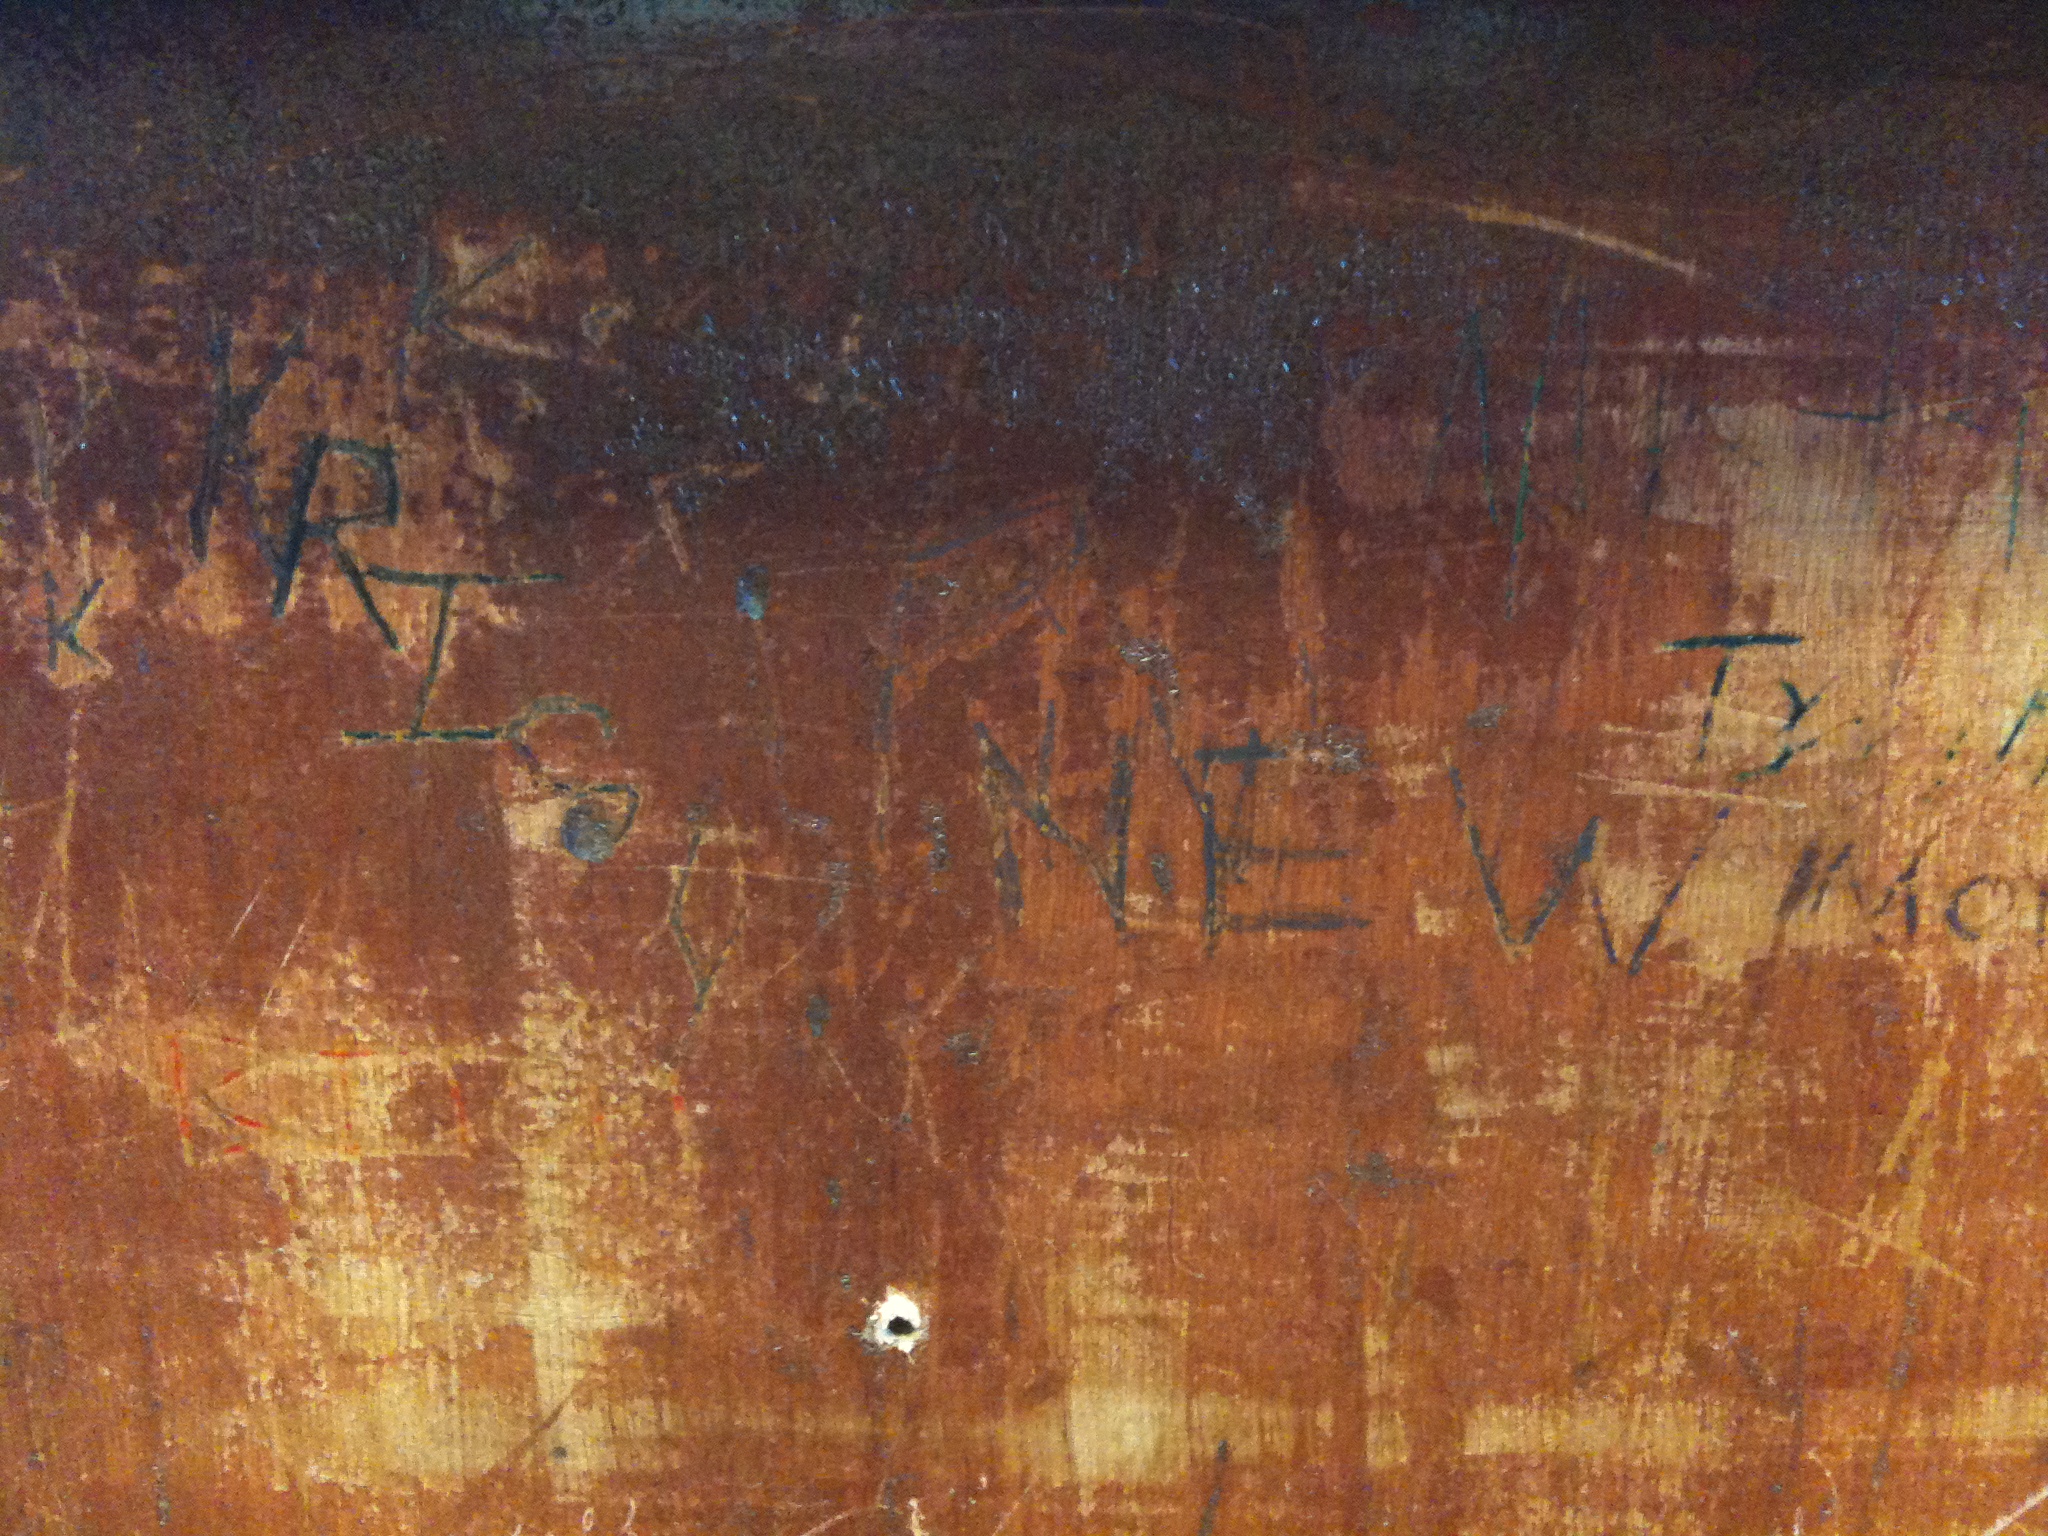
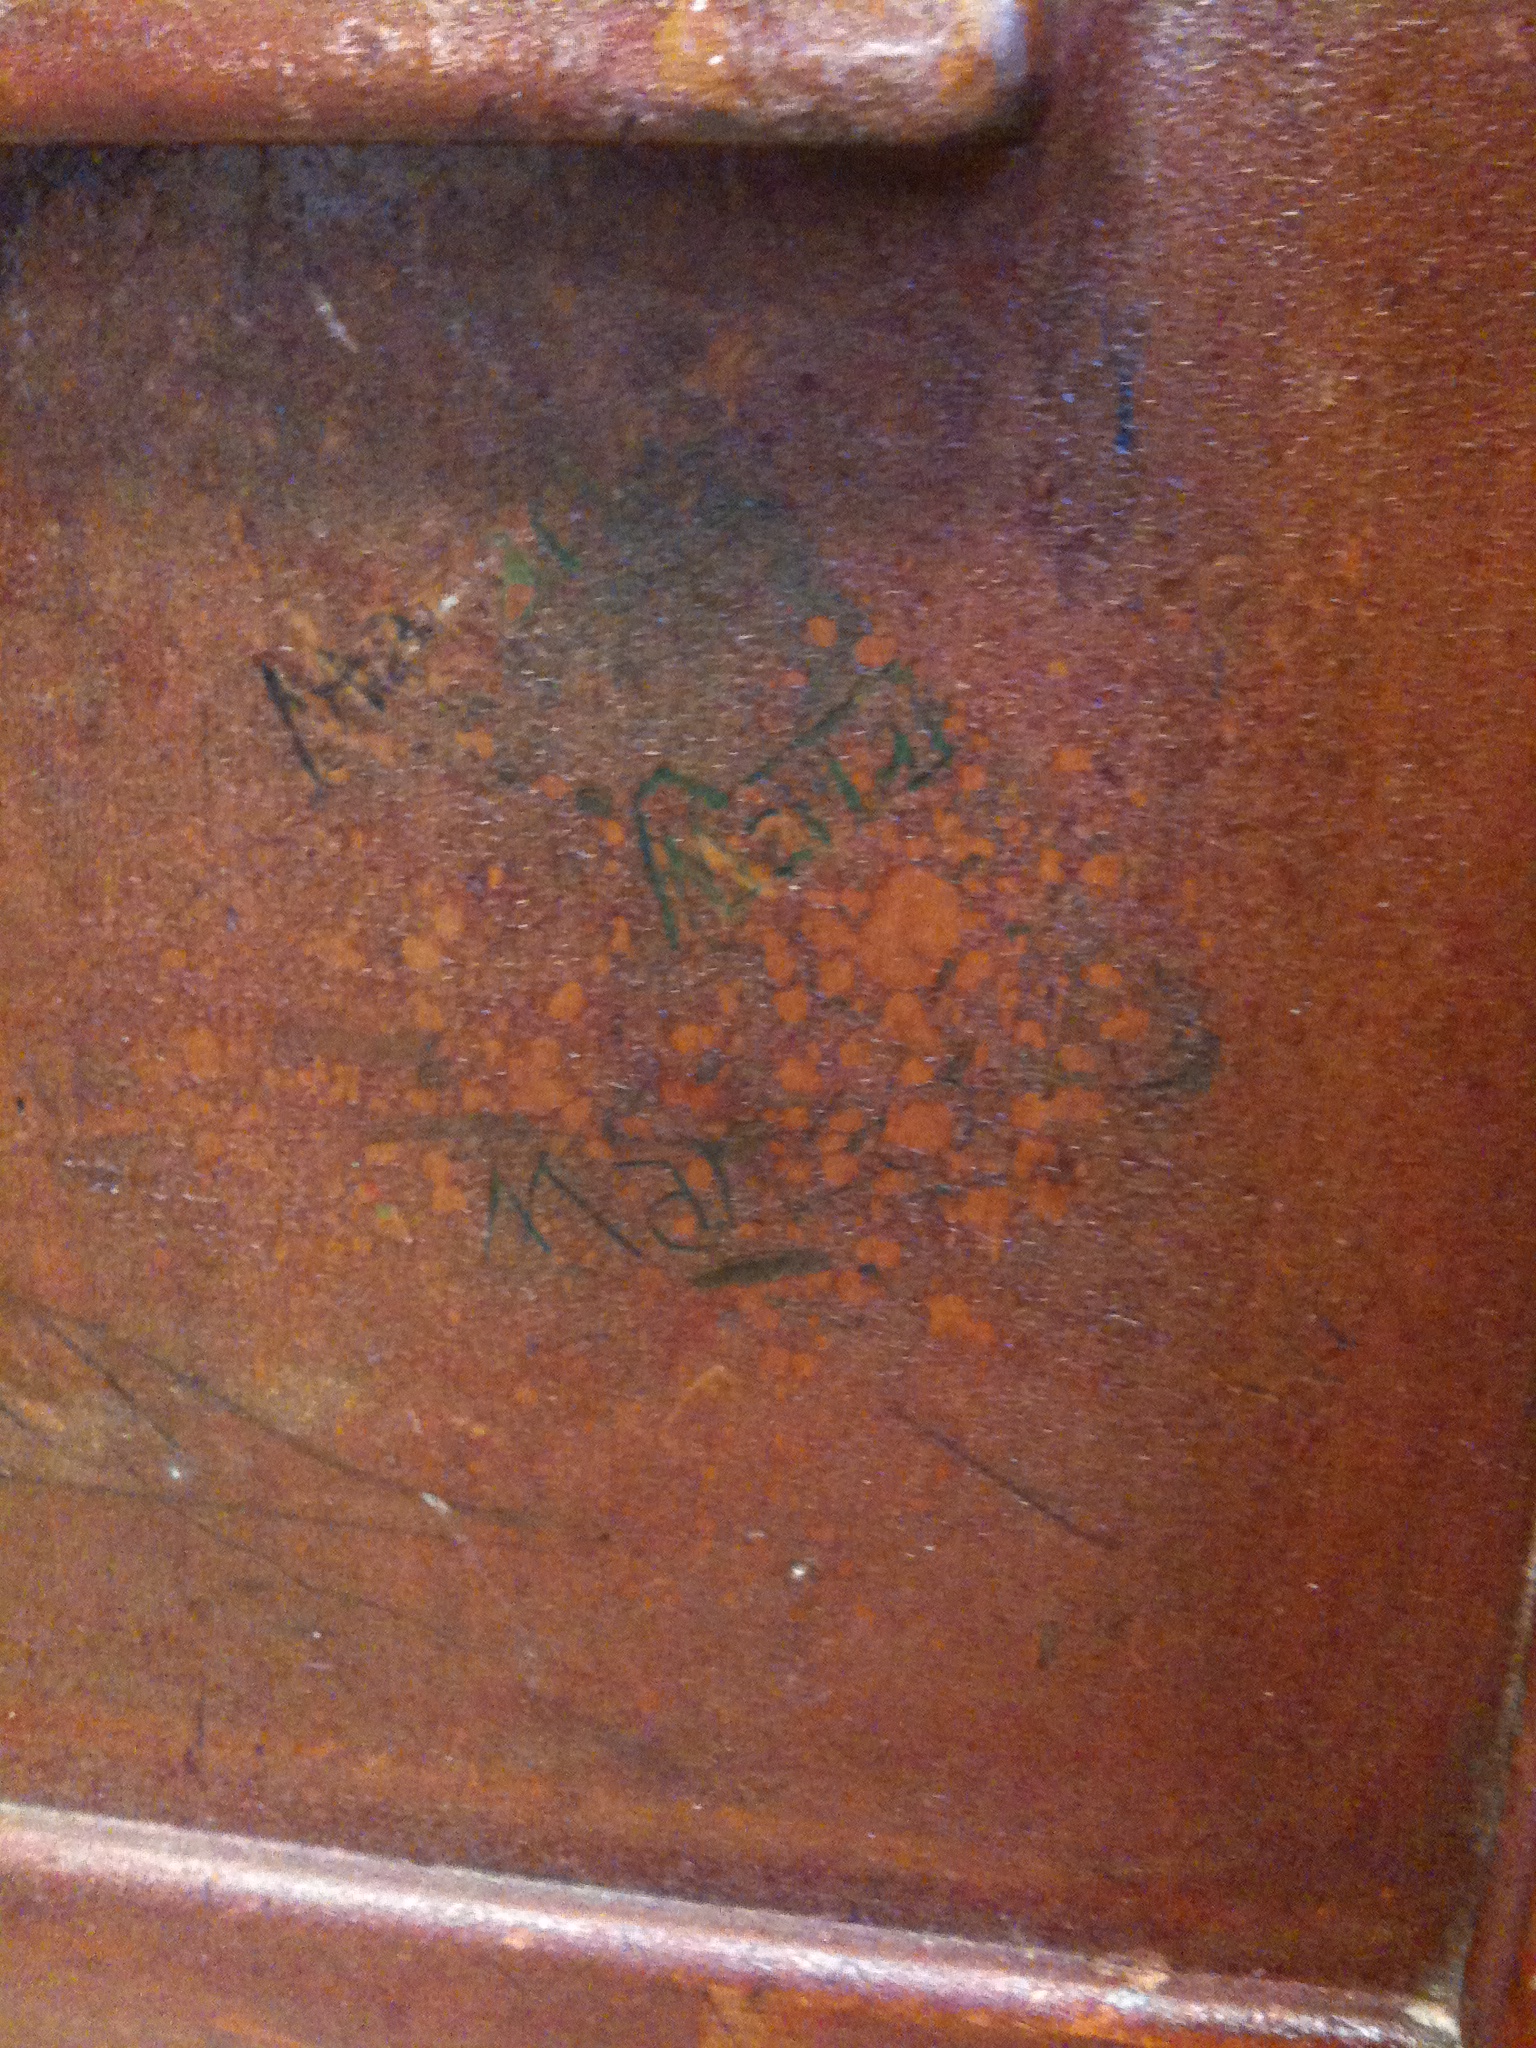
Closer inspection also revealed lots of scratches and carvings.

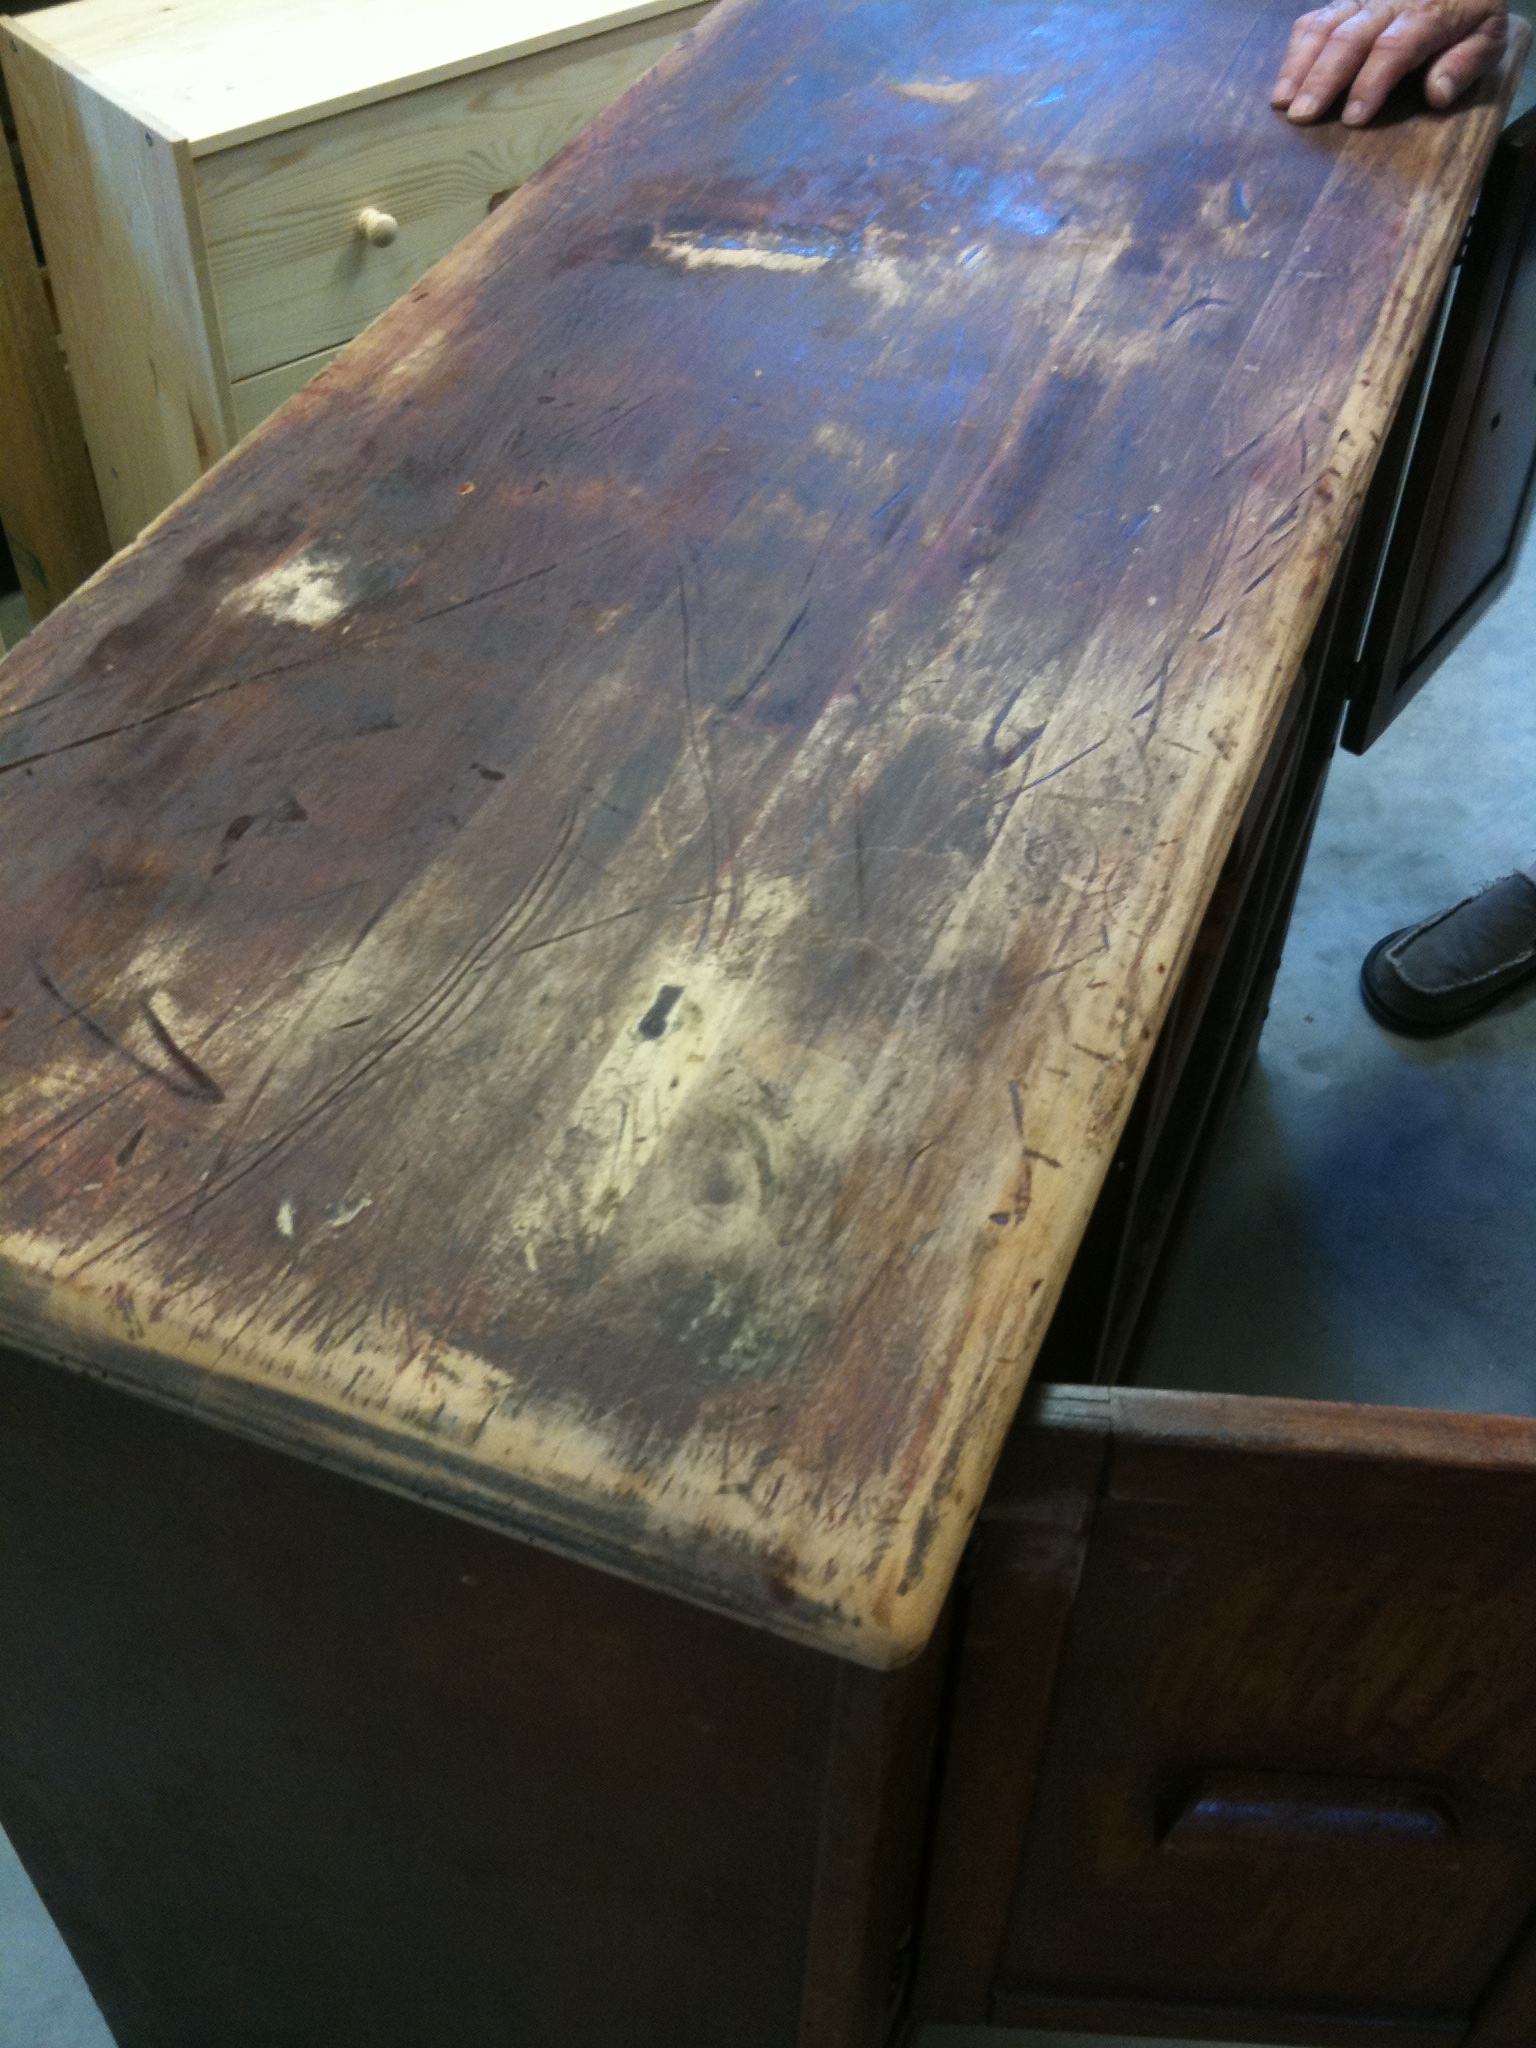
There was also some kind of weird, bumpy coat over several surfaces.  Kinda like it had a clear coat on it that had gotten too close to heat and bubbled up.  Can you see the splotchiness in the below pic?  It was rough to the touch.

Buyer's remorse crept in, but we decided to move forward and see if we could still clean her up.  First steps were to remove the chunky wooden pulls on both the drawers and doors, and get to sanding.

The doors and drawers sanded down pretty nicely and with minimum effort.

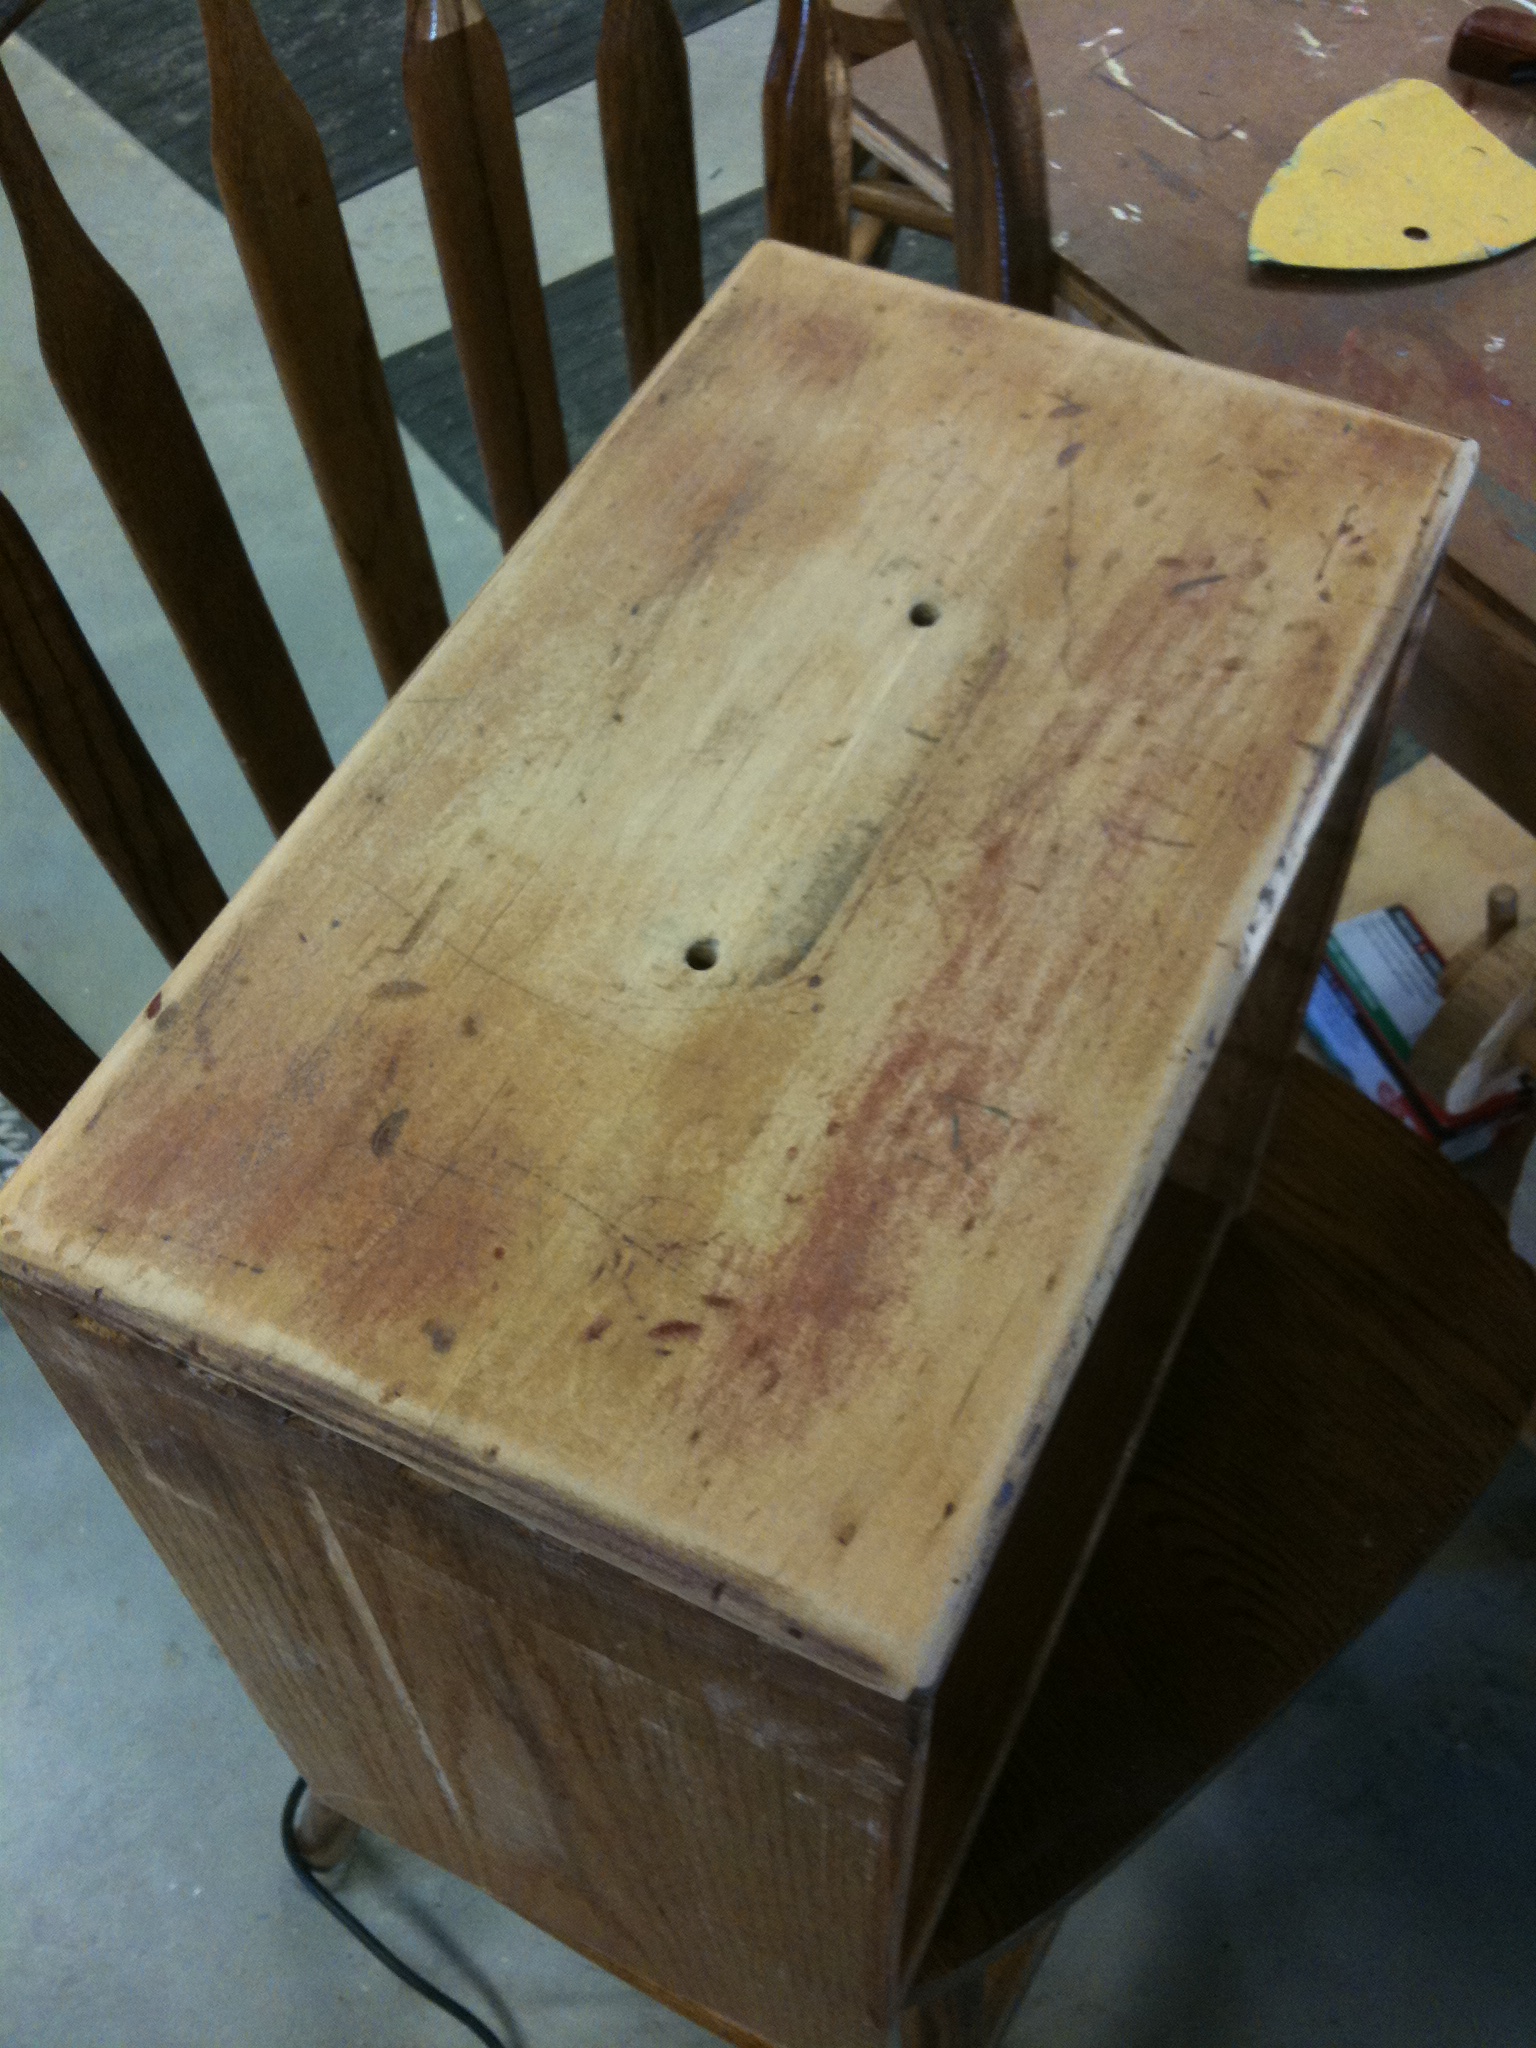
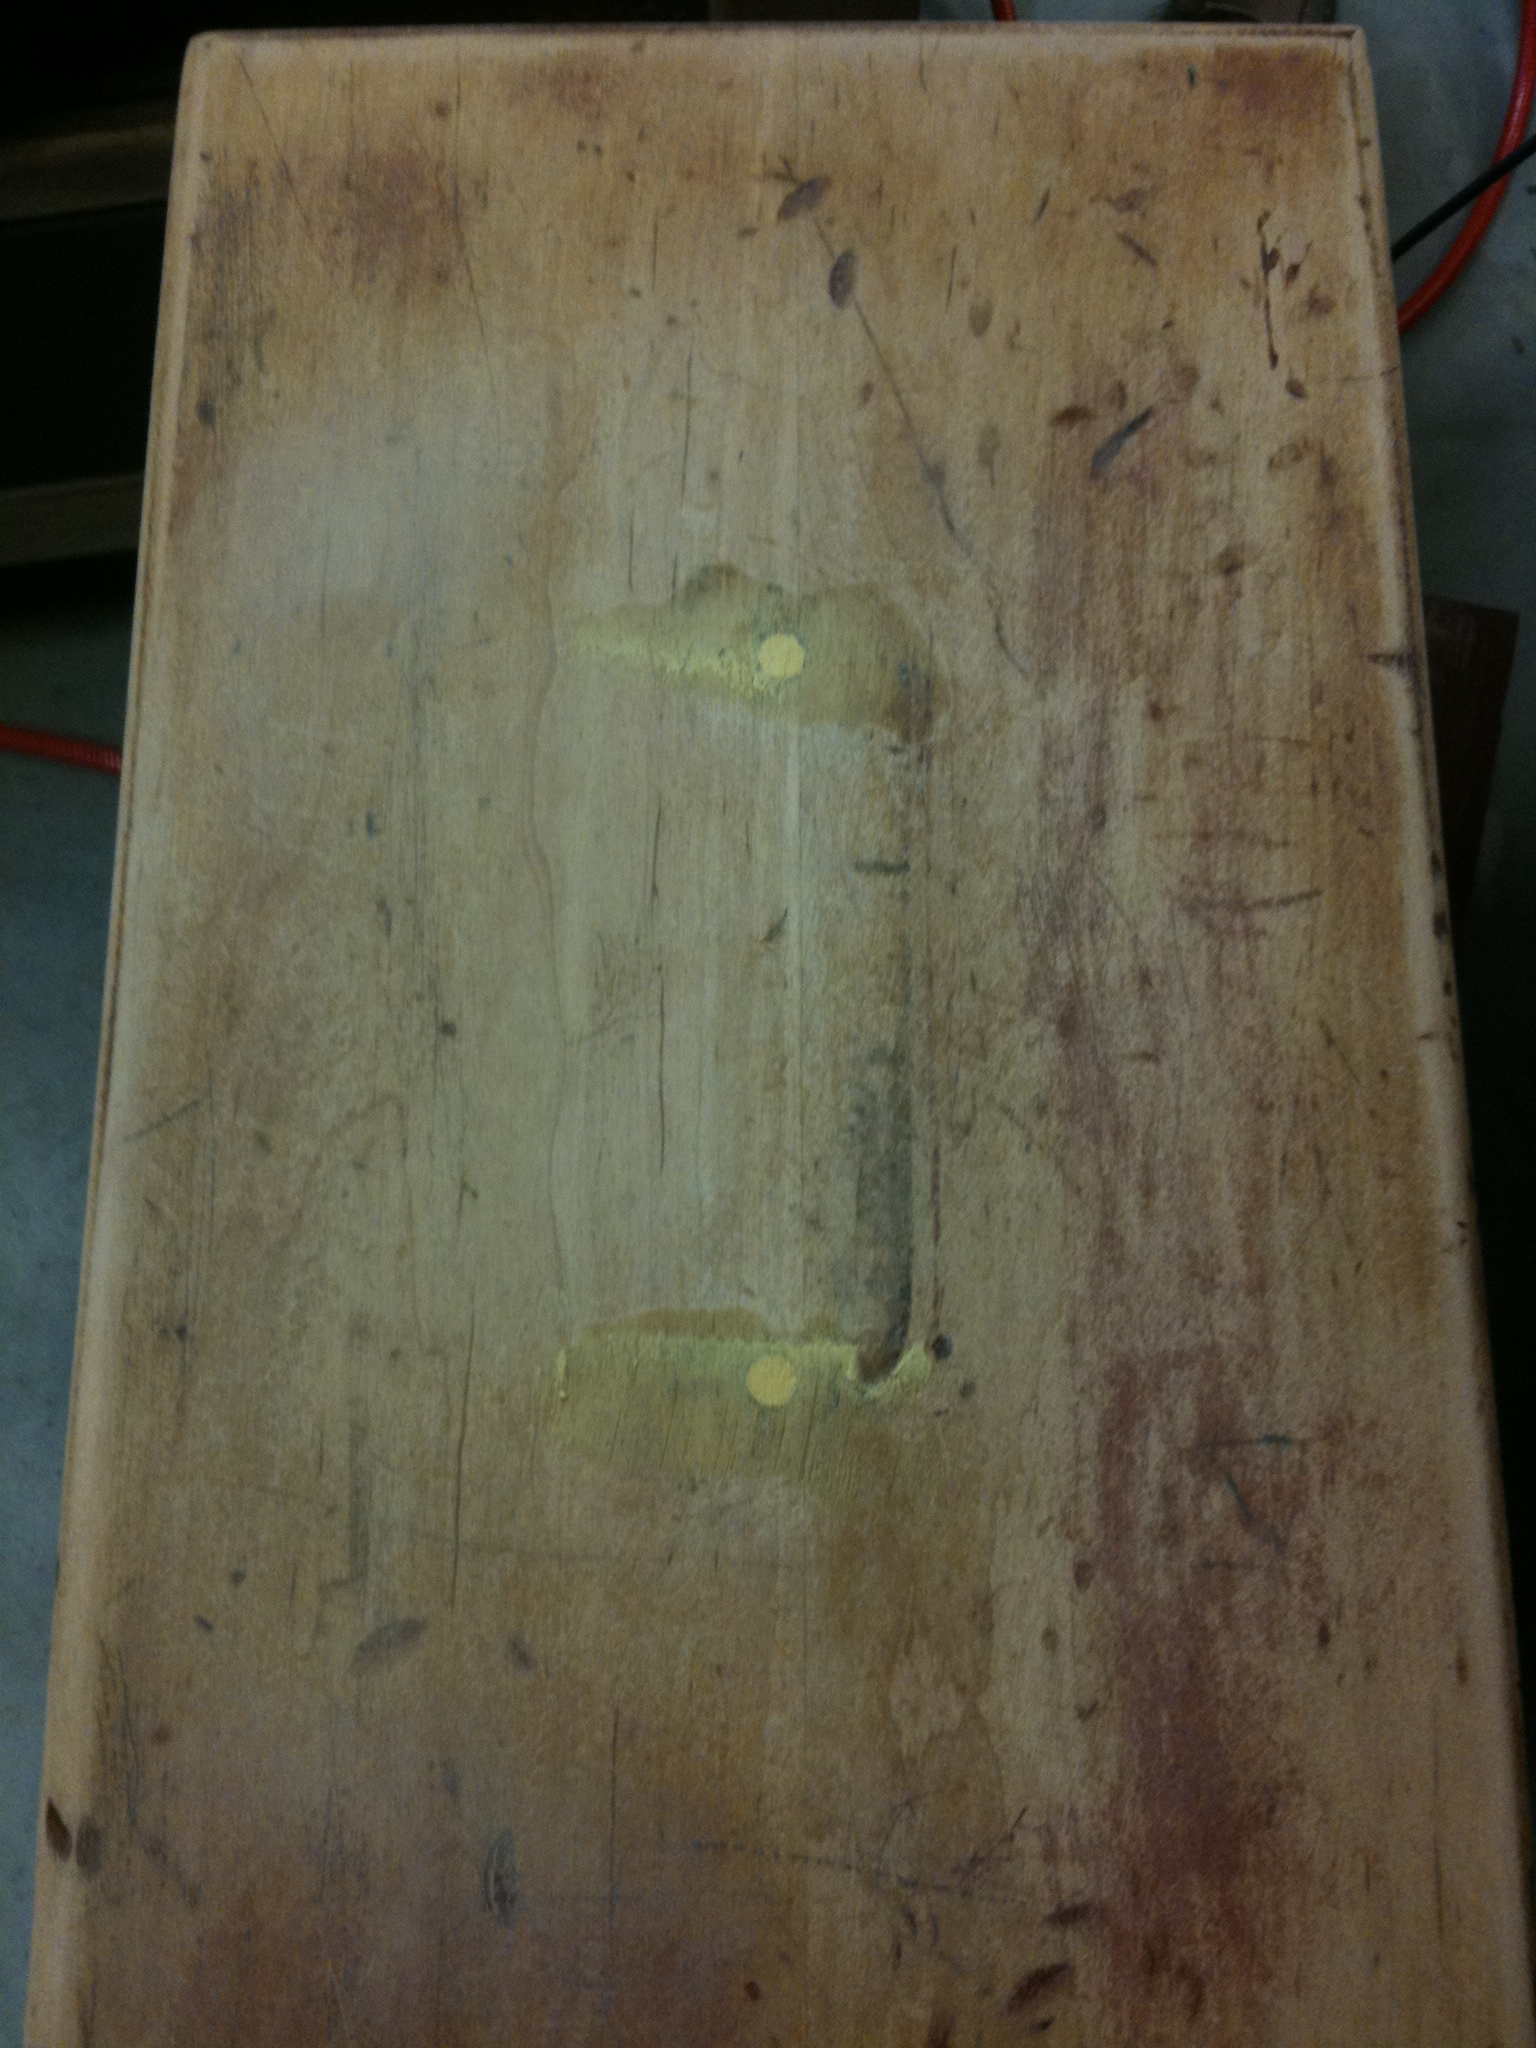
We were 100% sure that those ugly pulls weren't going back on, so we filled the holes with wood putty.

The base of the buffet did not sand down as well.  The more we sanded, the more scratches we found.  Grrr.

Here is the whole base after being sanded.  Notice the empty space at the bottom is gone?  We toyed with building our own drawer to replace the original one, but decided a faux drawer would be much easier.  After cutting a board to the size of the gap, my dad used his router to round the edges to match the edges on the other two drawers.  We secured the board in from the back to avoid visible nail holes.  I painted it chocolate brown before we put it in.  At the time, I wasn't sure how we were going to finish it and I figured it wouldn't hurt to have it a similar color to the rest of the piece.  In hindsight, painting it brown probably wasn't necessary.

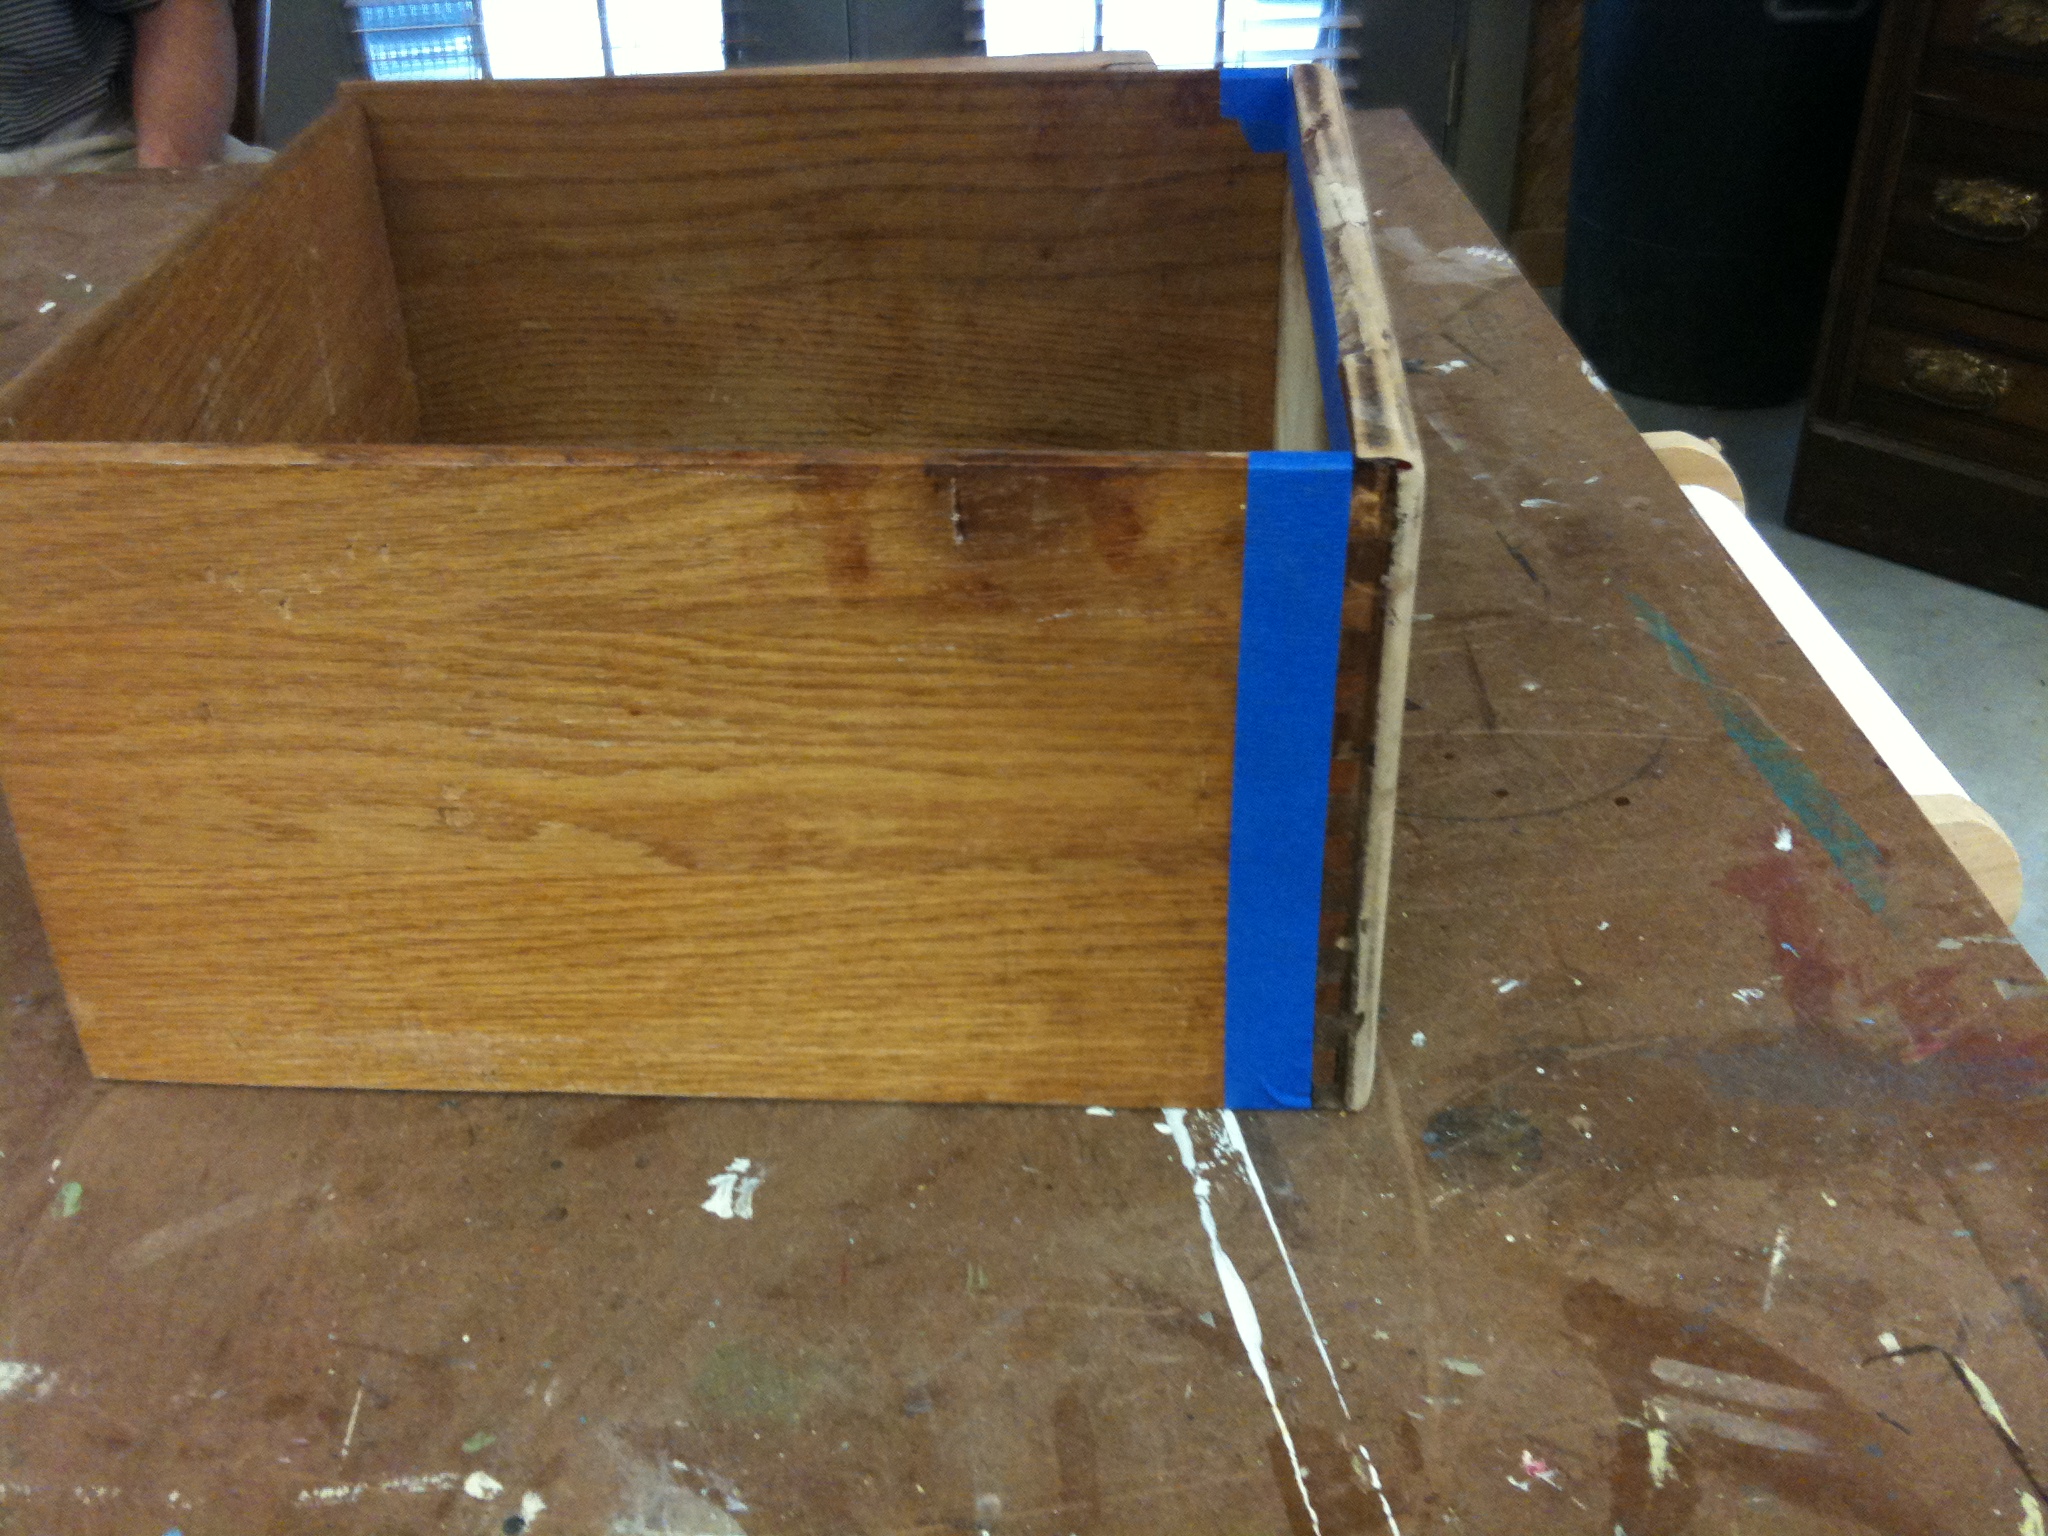
You can also see in the picture above that I taped off the insides before painting.  Just like when painting the dressers, I wanted to leave the insides paint-free to keep the drawers from sticking.  I taped off the edges of the drawers, too, so that I only had to paint the fronts.

The color choice for this piece?  RED!

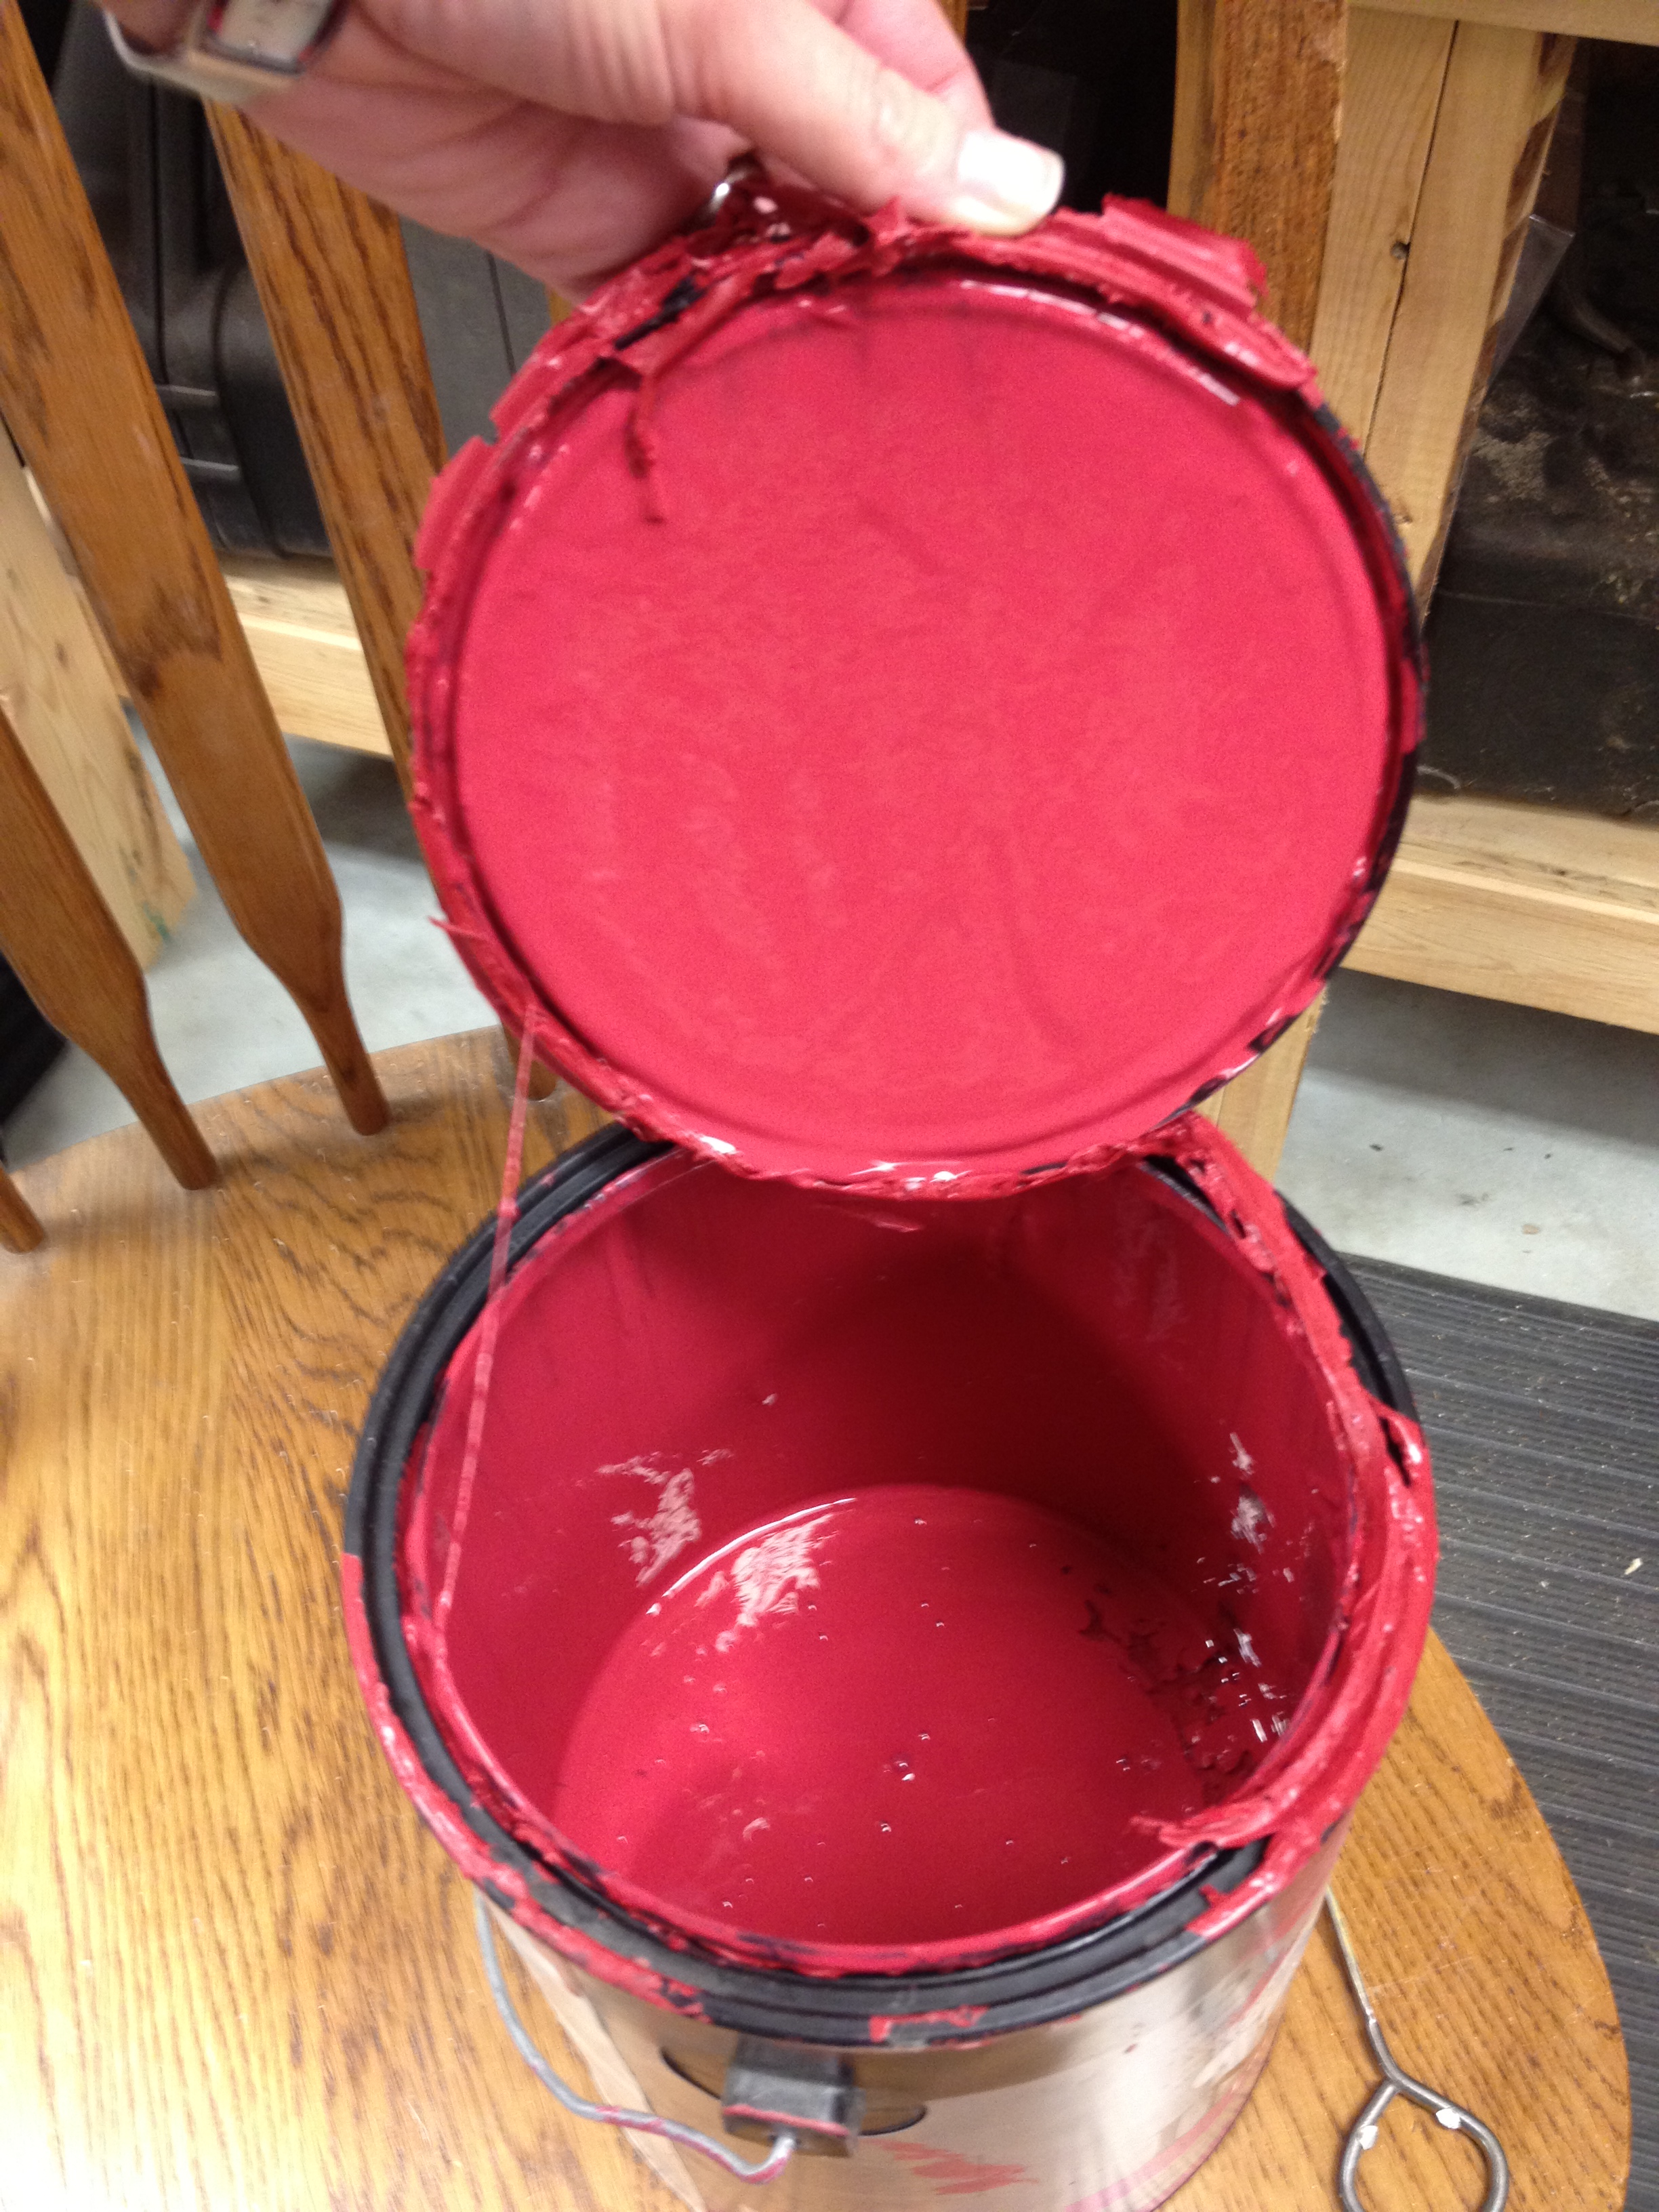
Red is by far the hardest color to paint.  And it never looks good in the can.  I've painted enough things red to keep from freaking out when I open the paint can and it looks bright pink.  It always does, but that is NOT the way it will look after several coats.

Here's a trick I learned a few years ago when painting red: for the first coat, mix the red with a little bit of black.  That way your first coat will be a darker shade that will kinda "ground" your color and keep it from looking too bright in the end.  I've done this lots of times now and it never fails, after the first coat my dad always says, "Why are you painting it purple?"

I knew I was going to end up glazing this piece, but this tip works for distressing too.  If you're painting something red and want to sand down the edges at the end, just tint your first coat of red a little bit darker.  Don't use solid black or solid brown - you'll have to do lots and lots of coats of red to cover it up!

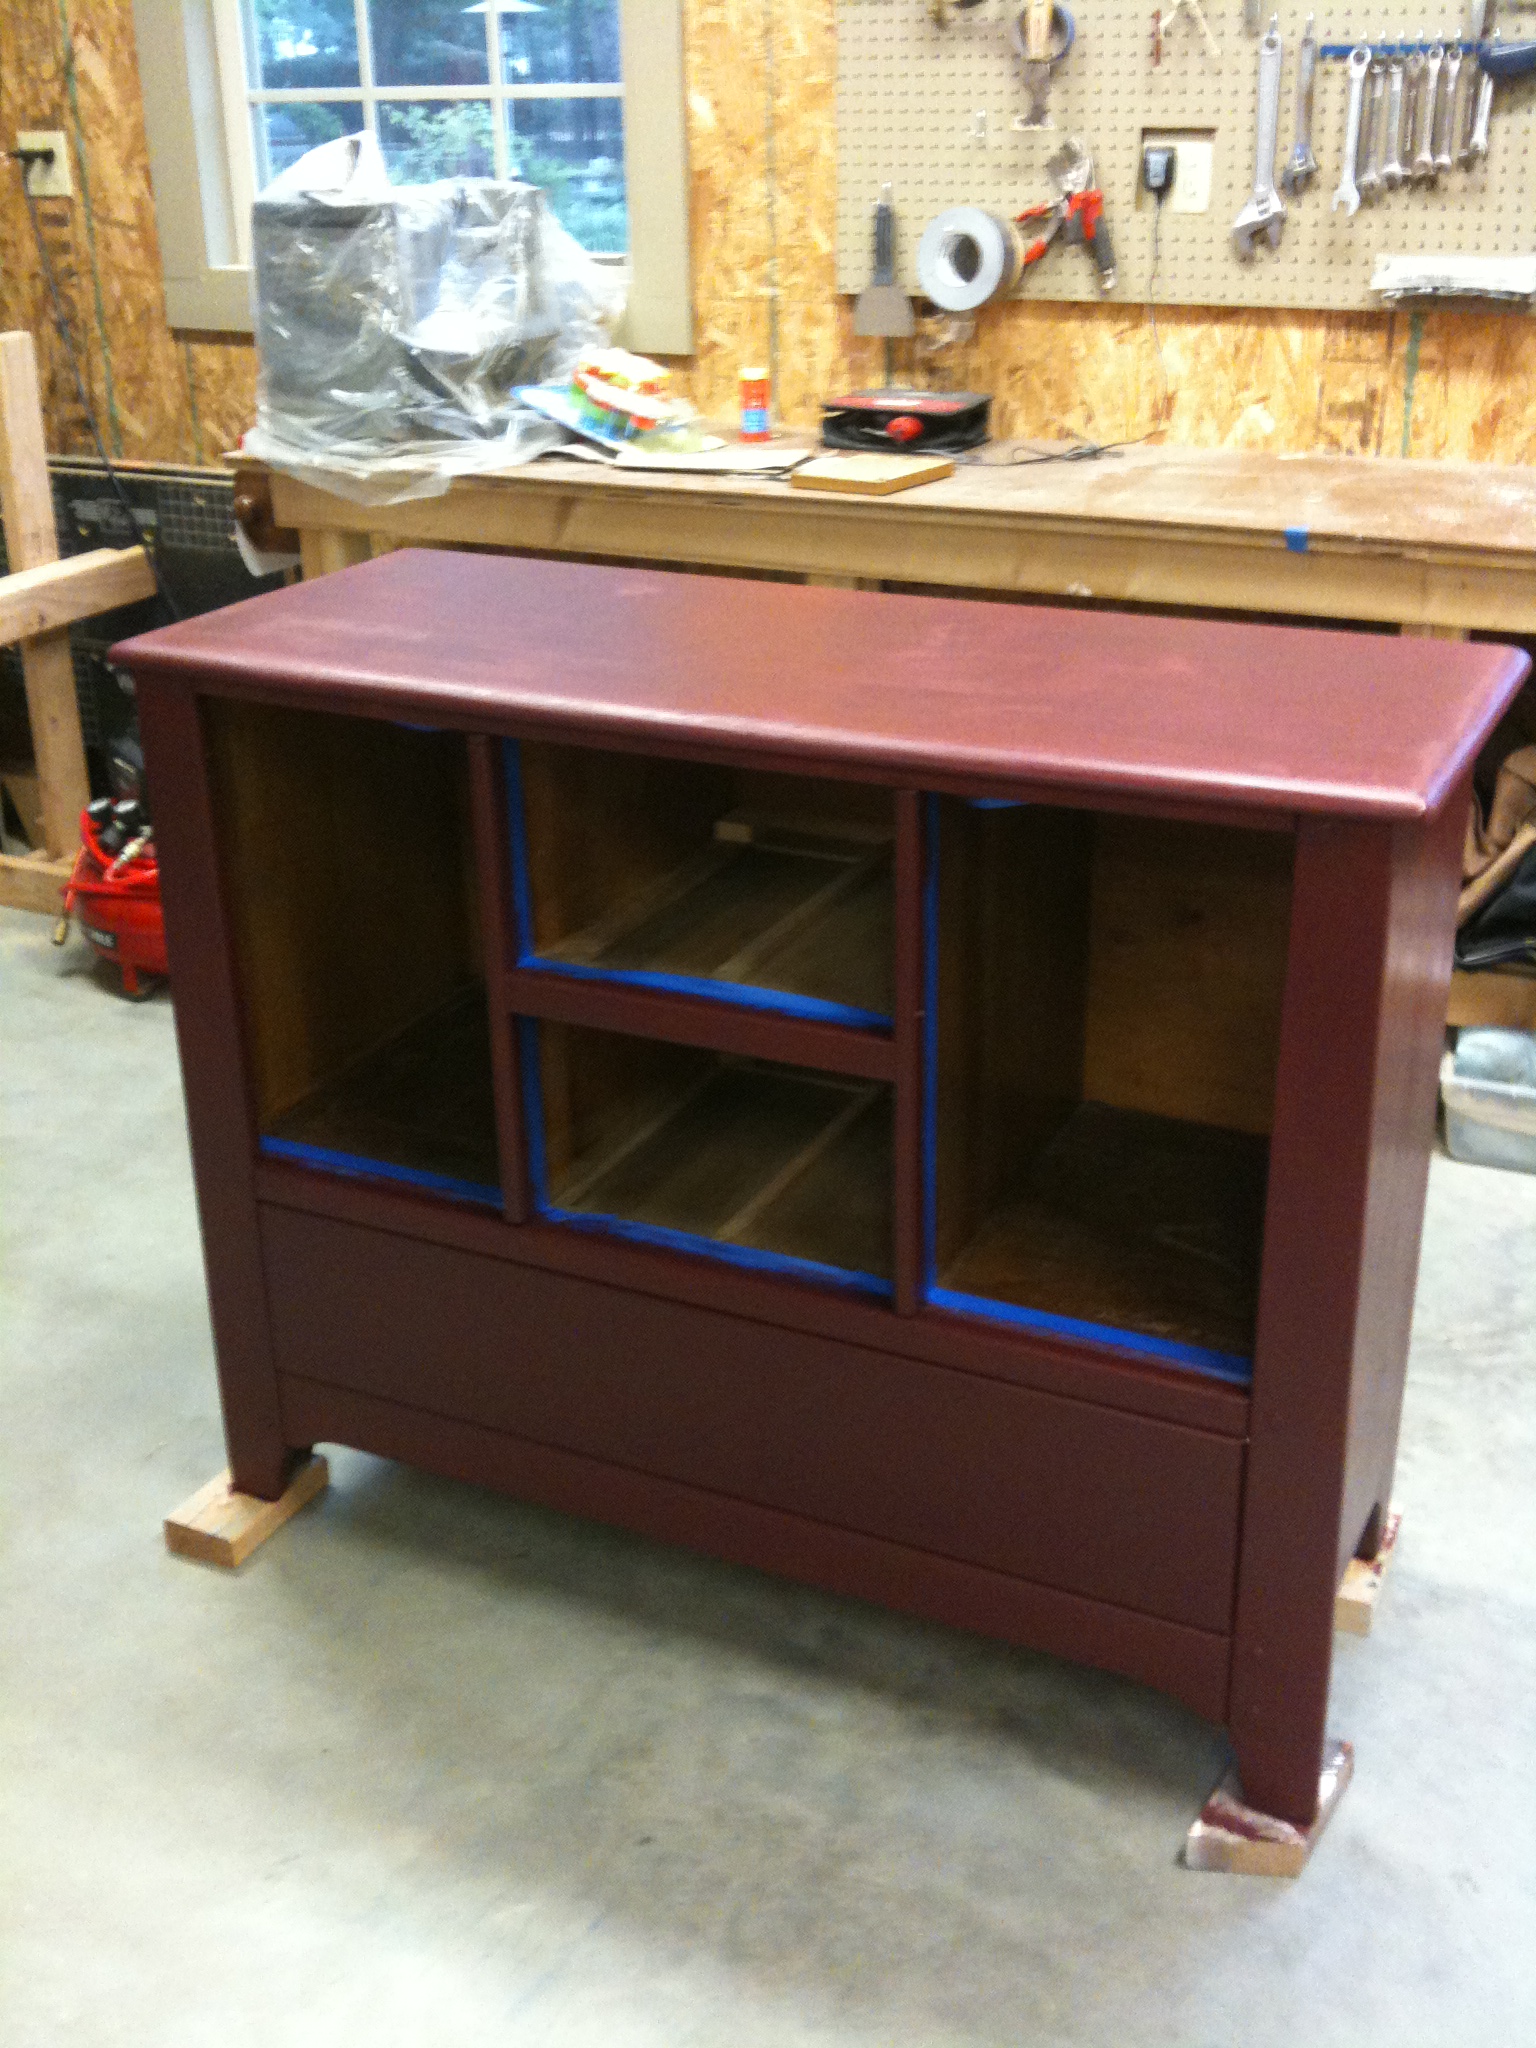
Here's the first coat with black mixed in on one of the doors.  The doors were kinda a pain since both sides had to be done.  I always lay down wax paper when I flip them over so that it doesn't stick if it's still not completely dry.

Red's the hardest color because of how many coats it takes to get a good, even color.  I think I did a total of three red coats (after the first coat with black mixed in).  If I were leaving it plain red without any glaze on it, I might've done a fourth coat just to be sure.

I did not do a good job of taking pictures between coats.  Sorry.  This one below is after all the coats of red and after I had added a coat of glaze.  I did not use the same glazing method as this dresser.  For this one, I used a dry brush and lightly brushed it on.  I did not want it darker in any areas, but instead wanted an even coat.  You probably can't even see the glaze much in this picture.  Mostly, it just toned the bright red down a bit.

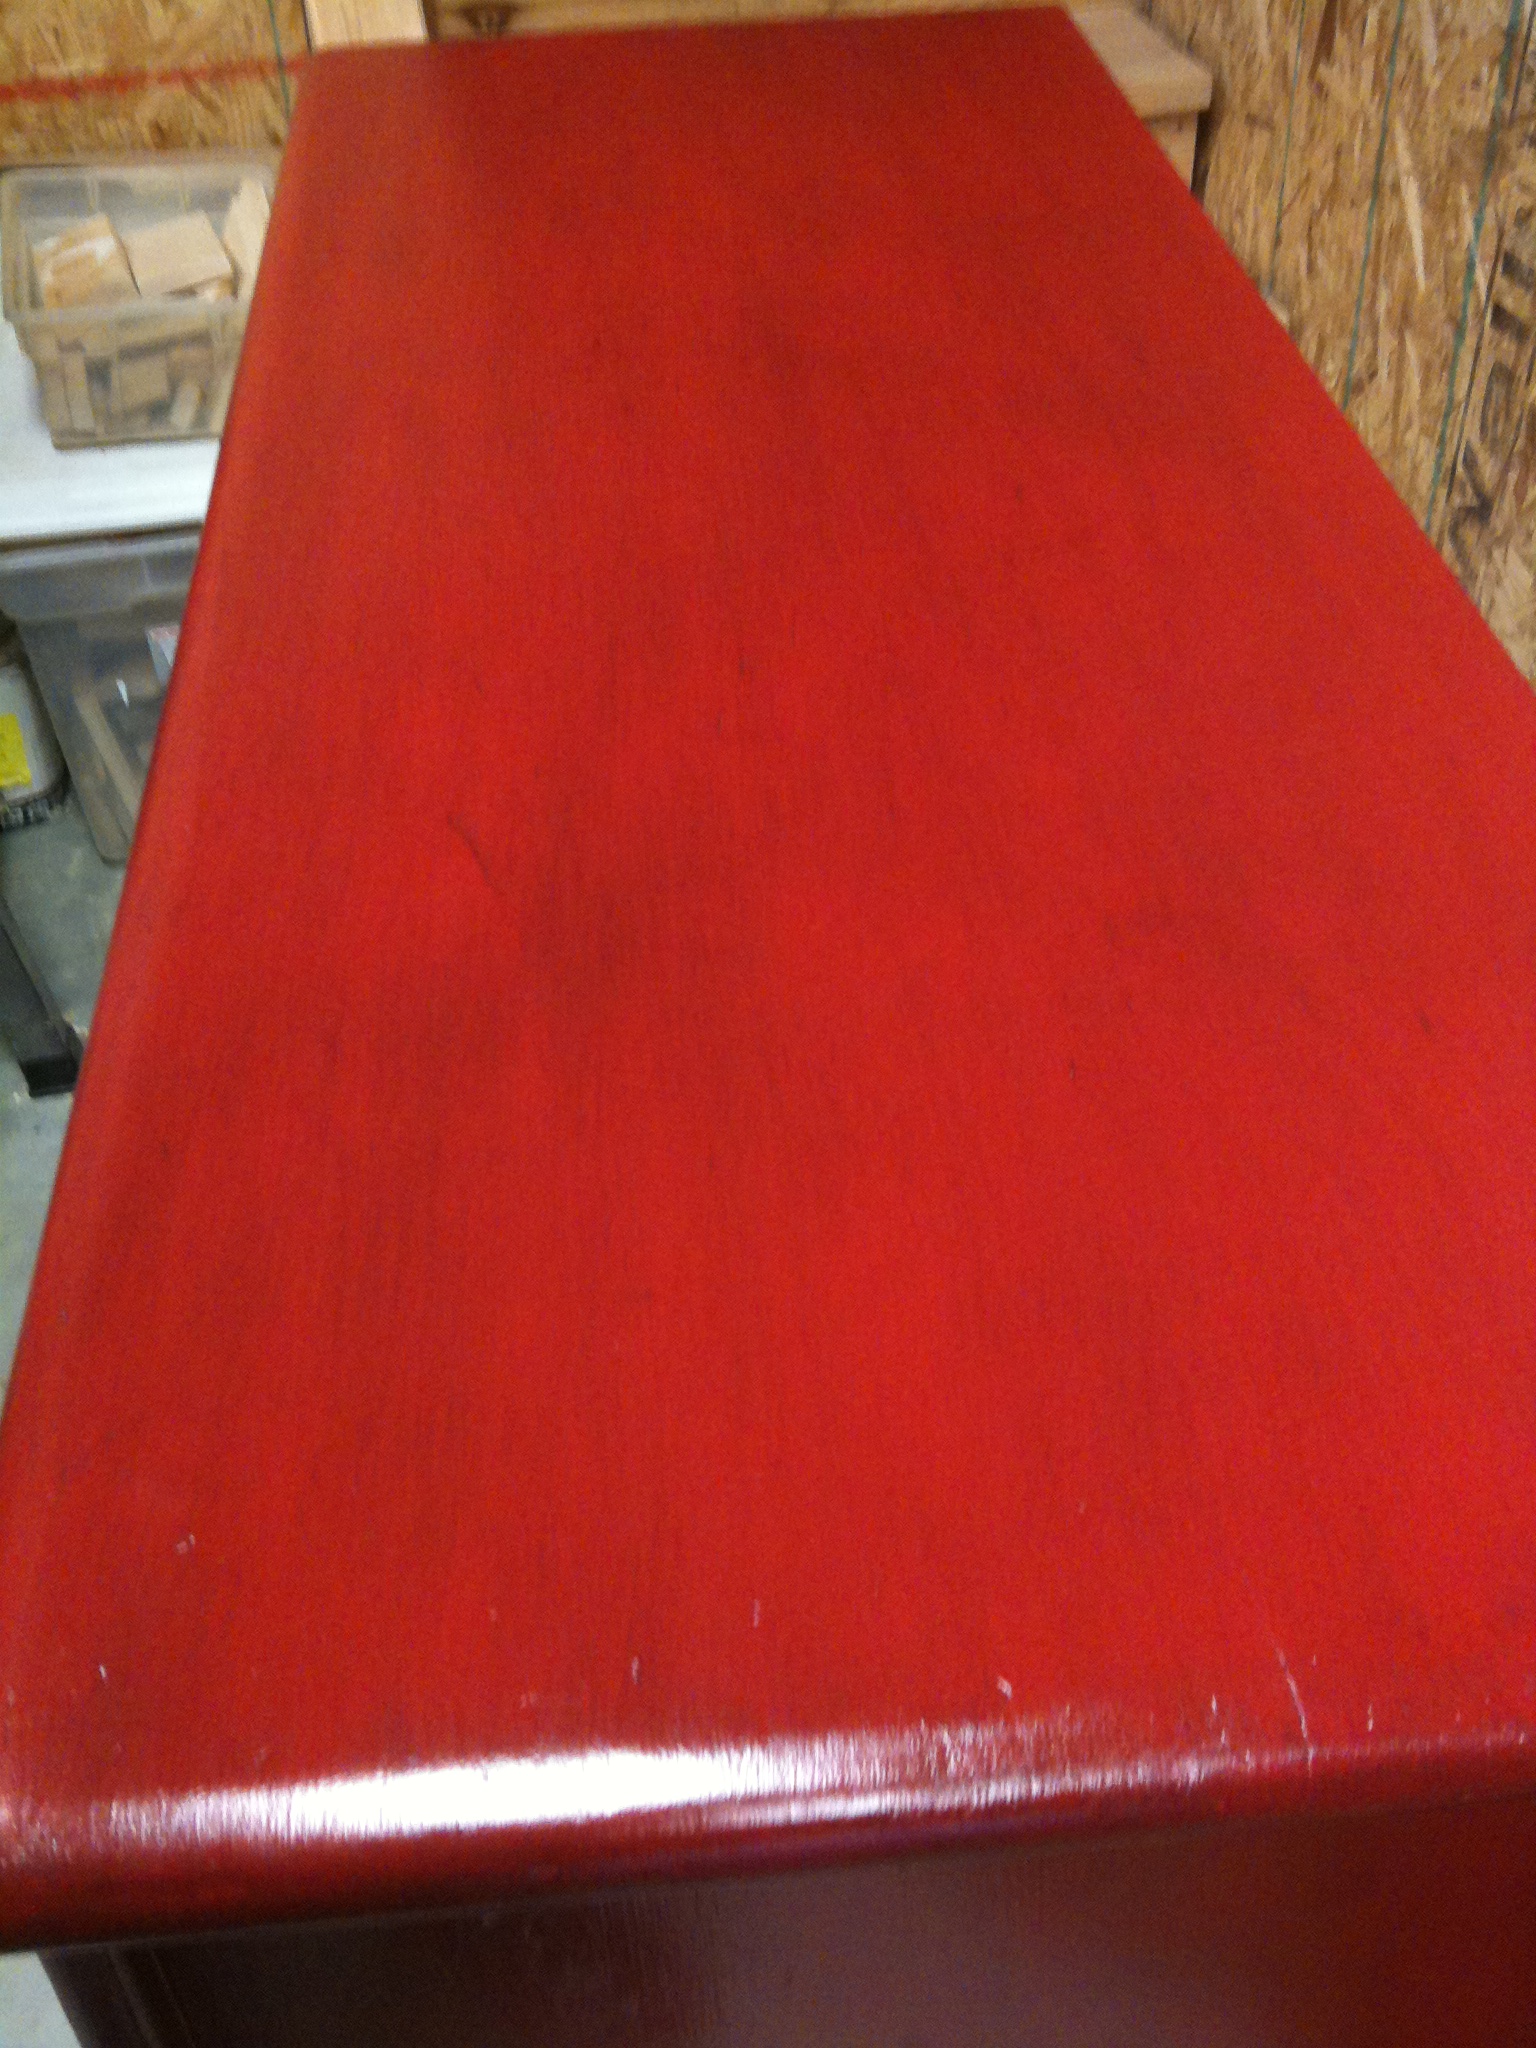
You can see the glaze better on this picture of the top.  Thankfully, after several coats of paint, a lot of the scratches and carvings disappeared.  You can still see some of them, but not nearly as many.

I finished the paint job off with a coat or two of oil-based polyurethane.

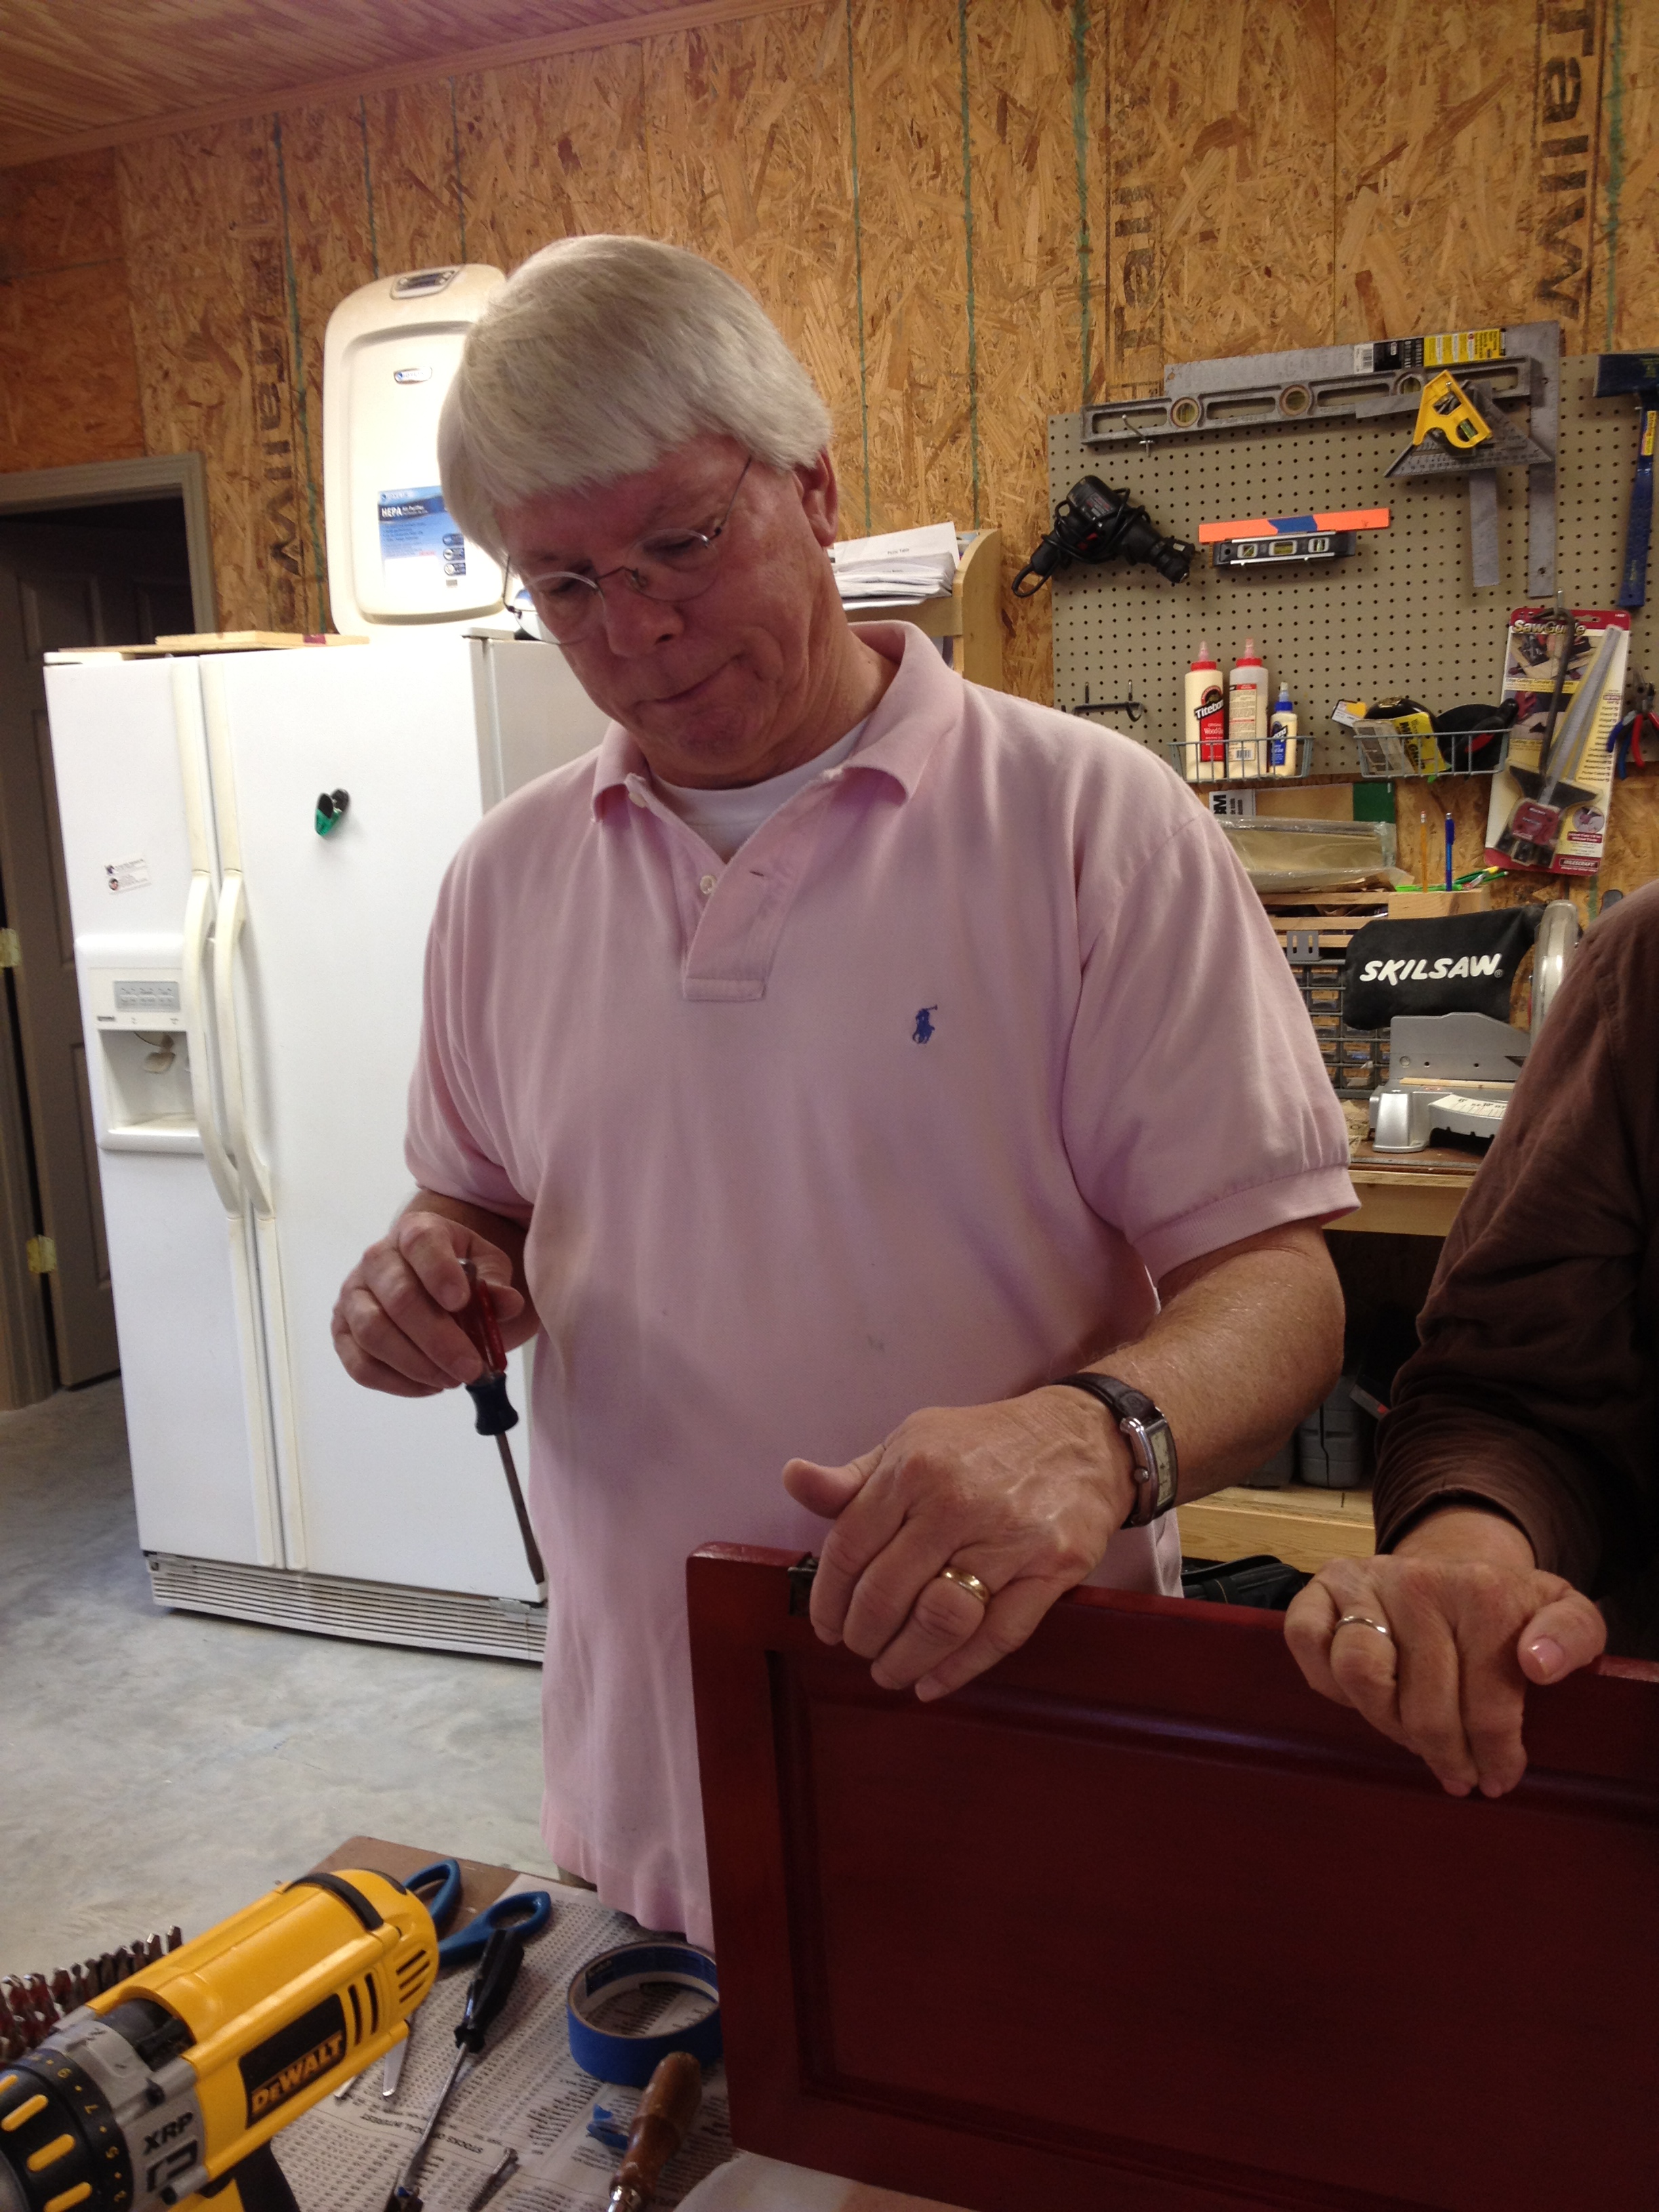
The last steps were new hardware and re-attaching the doors.  If possible, I always try to use the original hinges on something like this, mostly because finding hinges in the right size is usually hard to do.  I put my dad in charge of hinges and attaching the doors.  I'm glad I did because he had a hard time putting them back on!

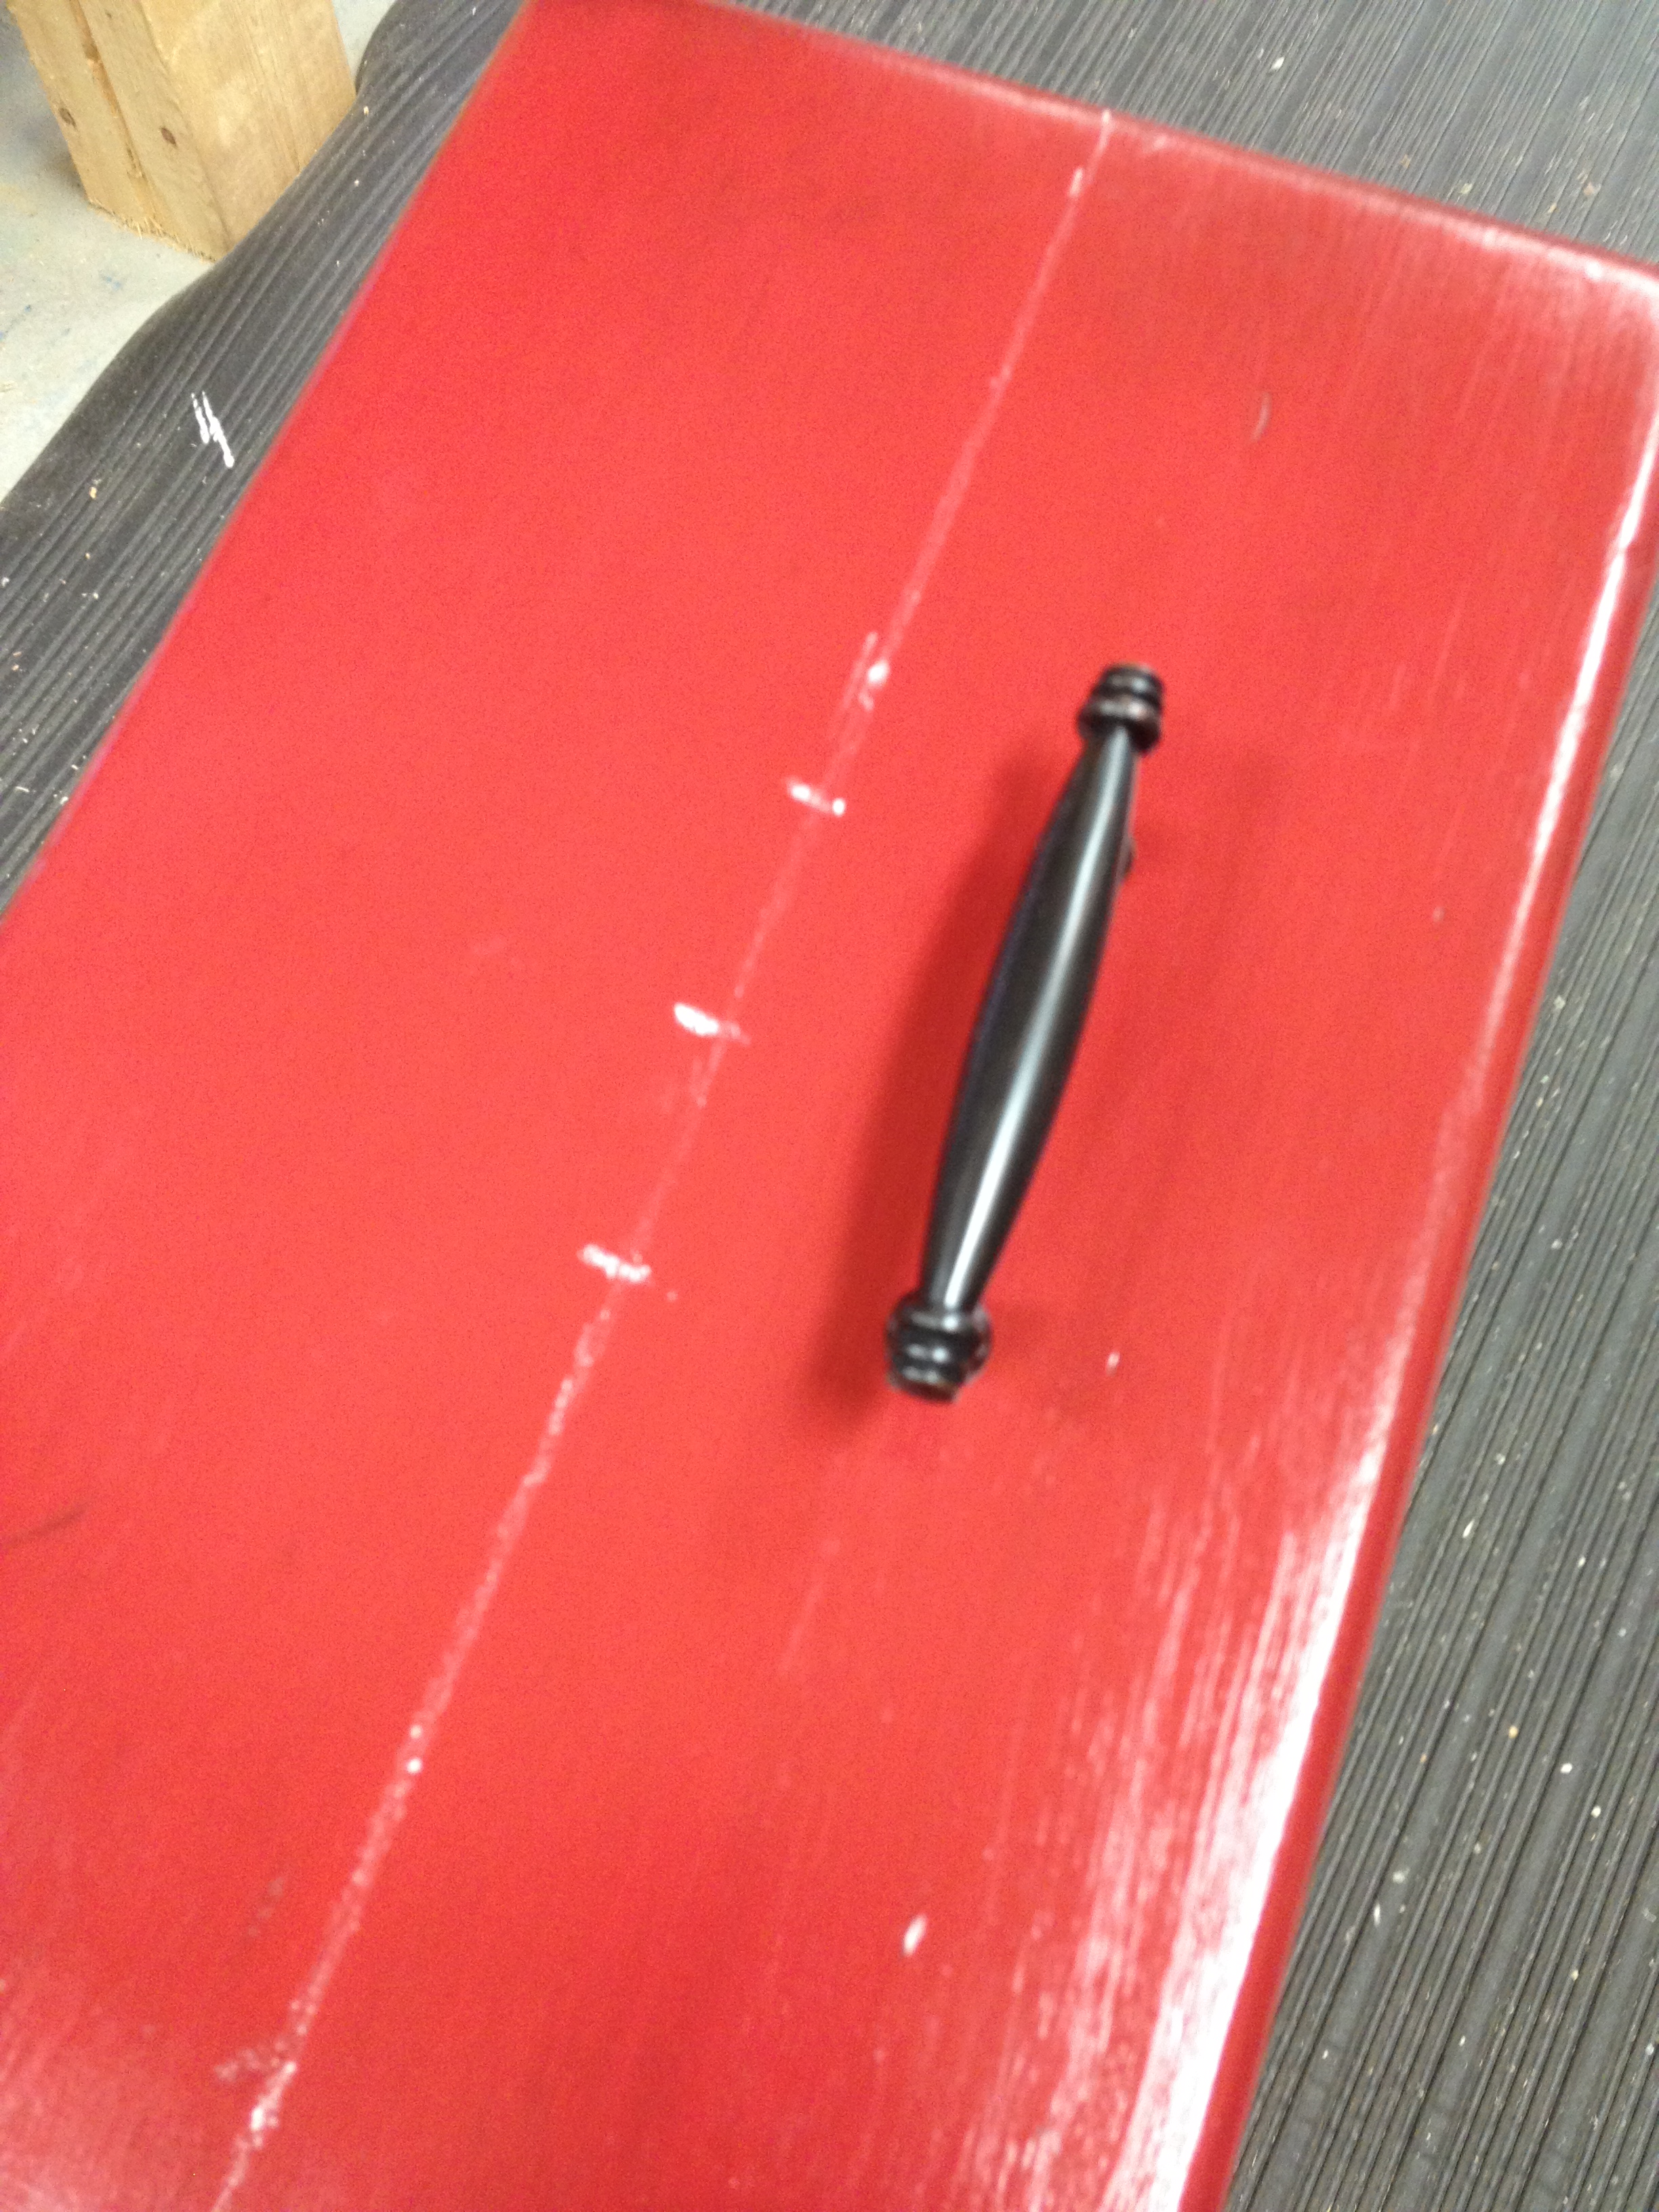
While he worked on the doors, I put new hardware on the drawers.  Because of the streaks of glaze, I couldn't see my pencil marks so I had to switch to using chalk for my measurements.  I don't recommend this.  It's hard to get an accurate line with a piece of chalk!  (Is it just me, or does chalk never write where you think it's going to?)  I got REALLY lucky when the pulls fit on both drawers on the first time.  Phew!

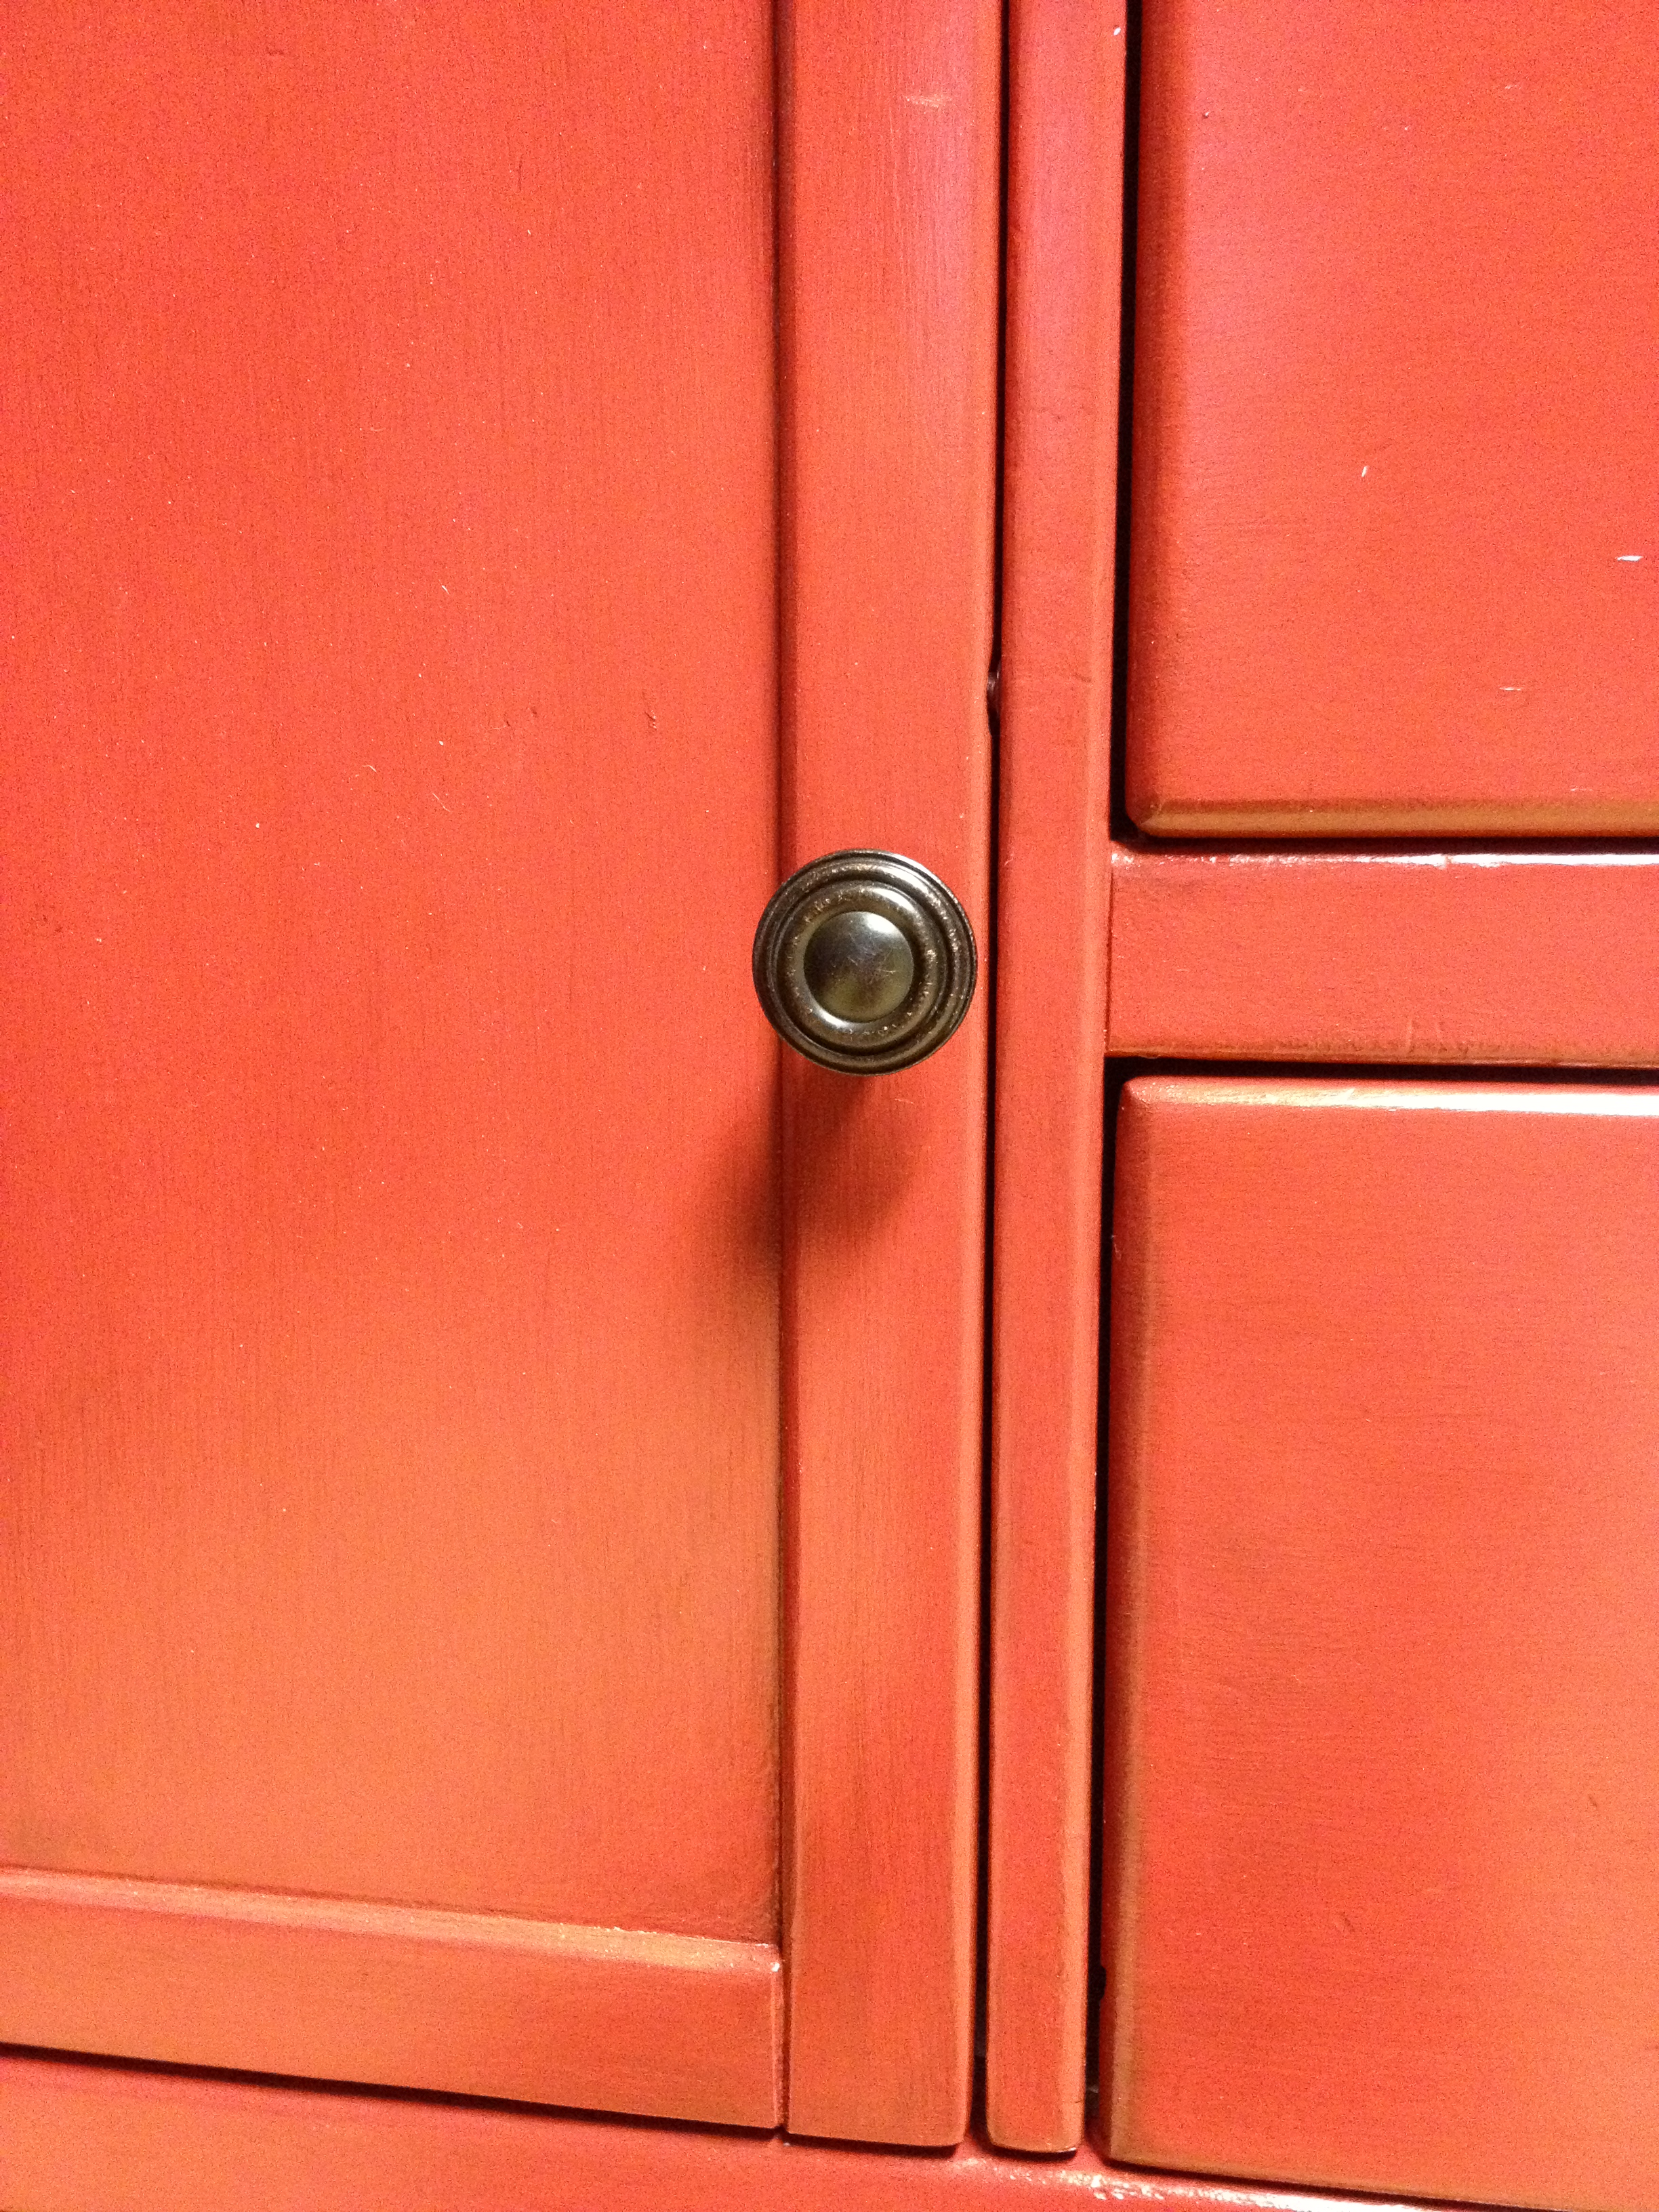
We chose a black metal for the hardware.  The door knobs matched the pulls.

Ok, like usual, before I show you the After, let's revisit the Before.

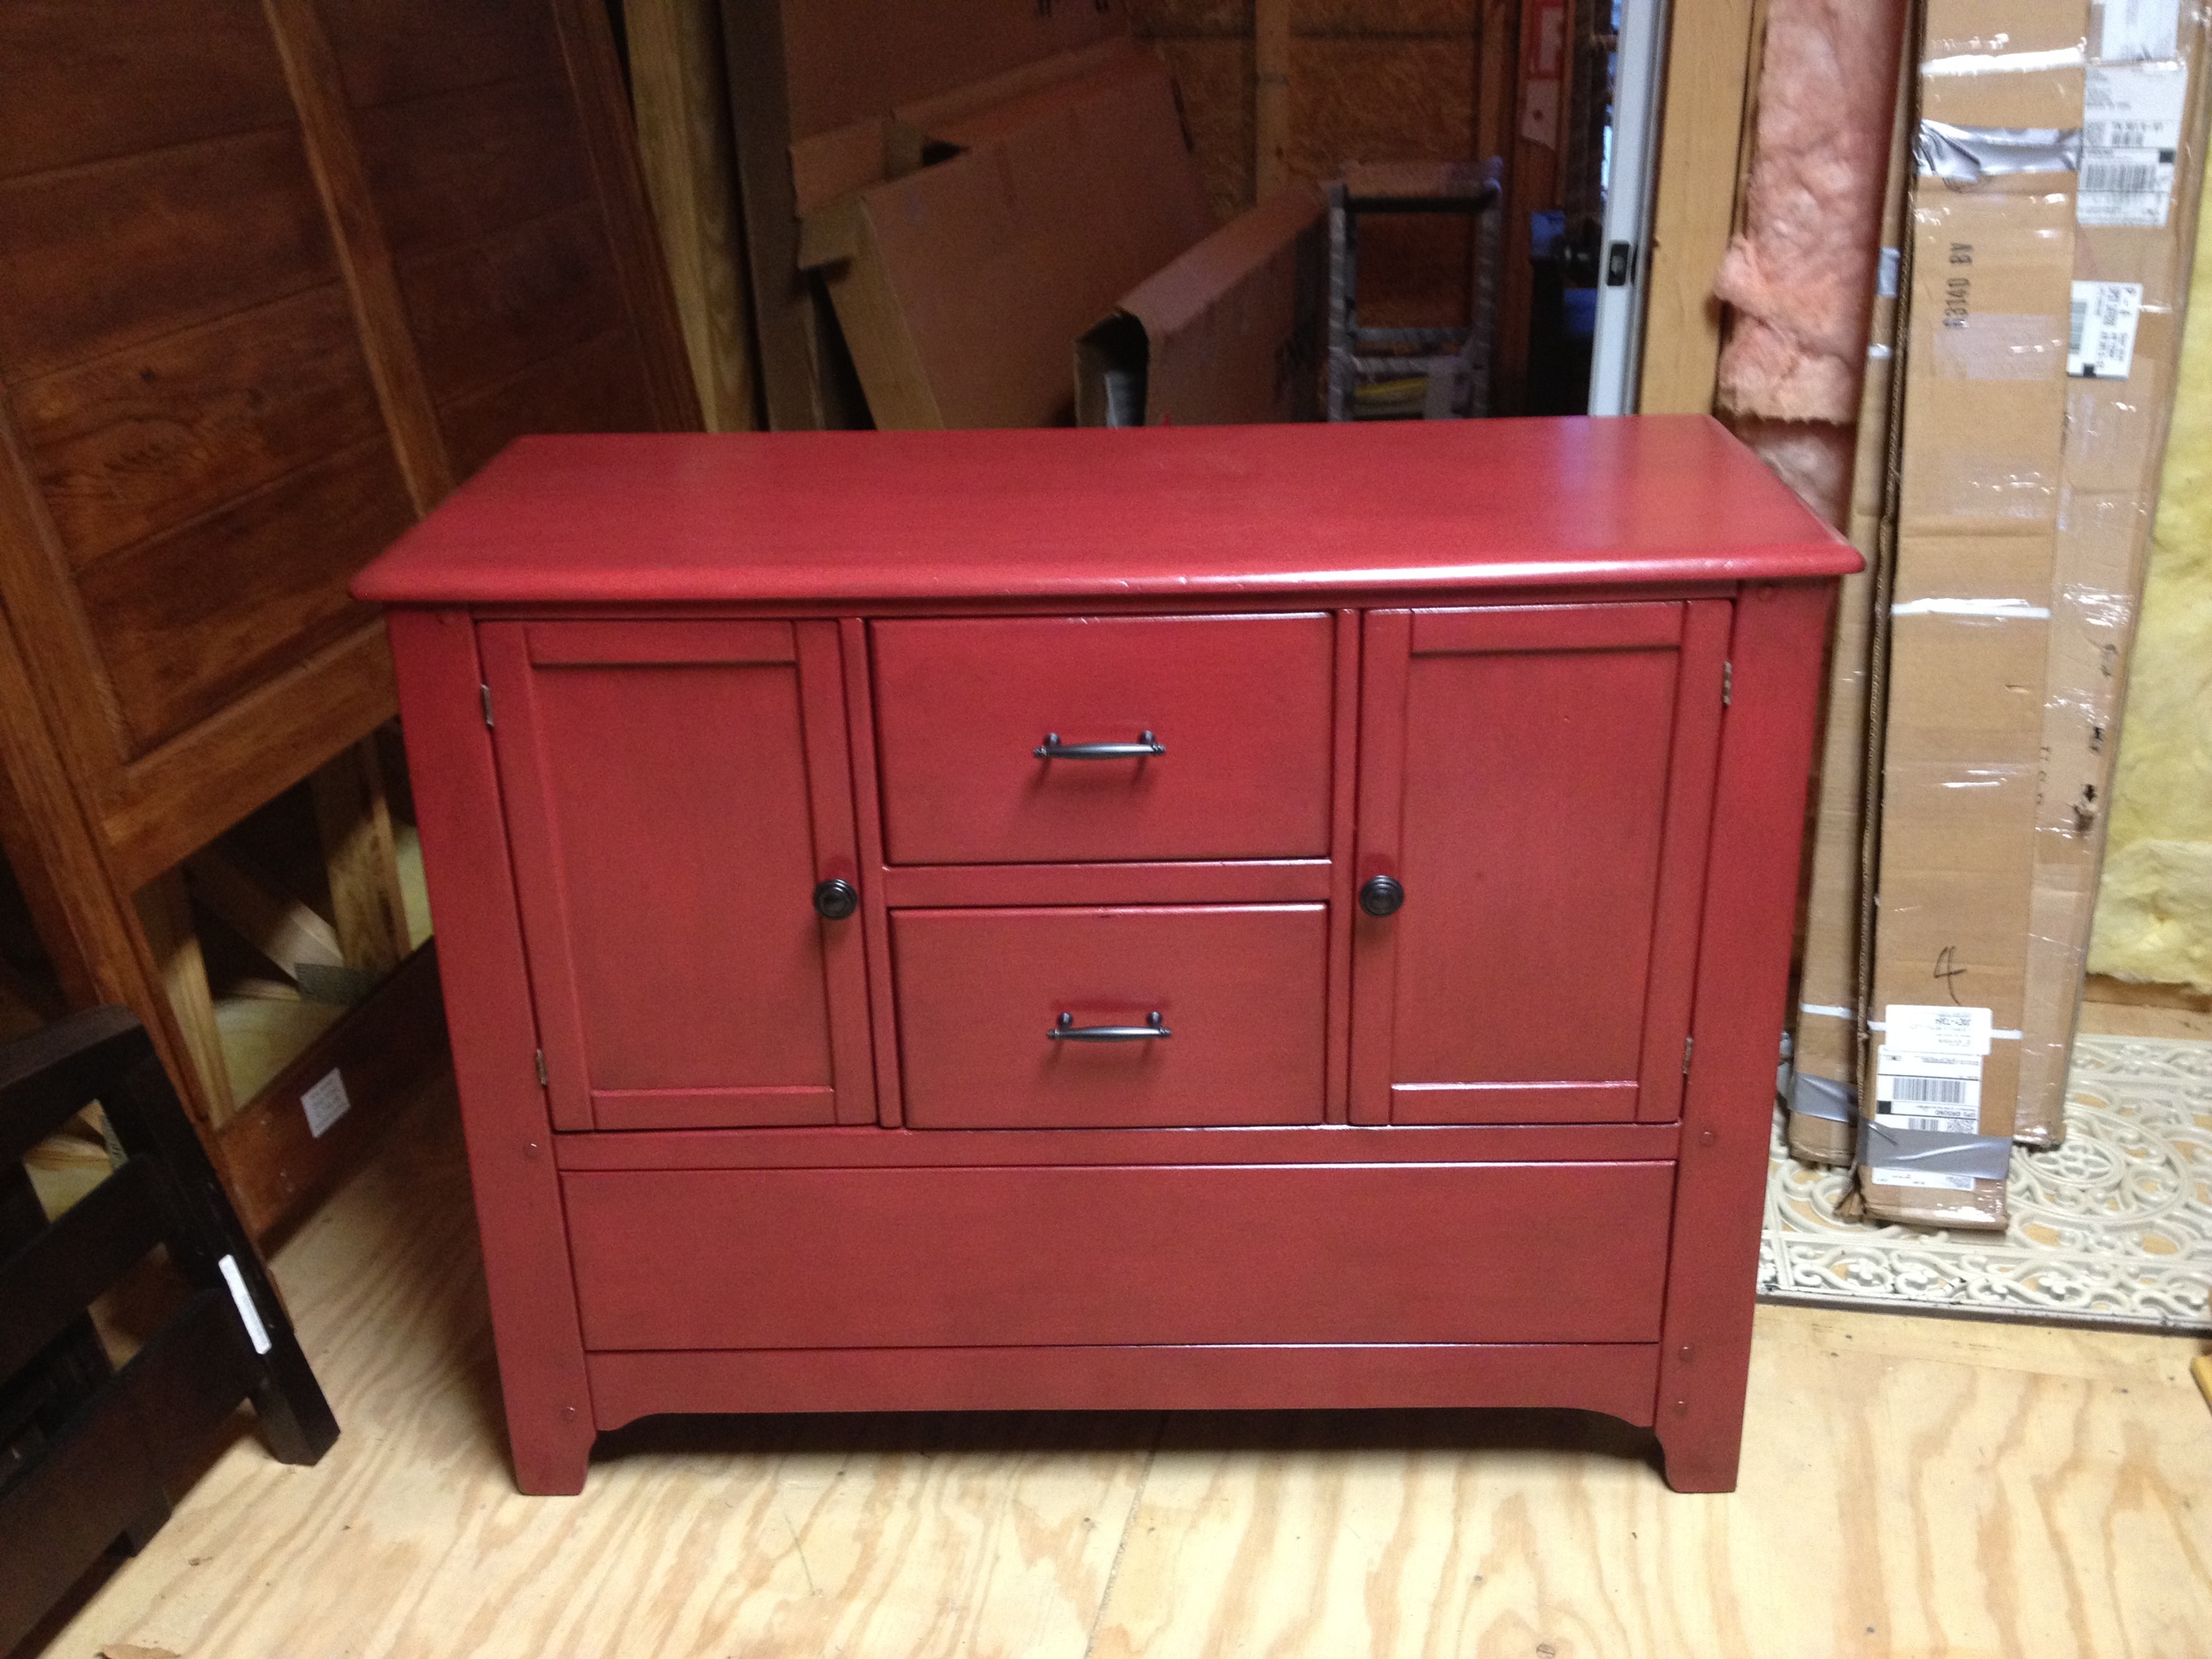
Here she is!

Before again, this time with doors open.

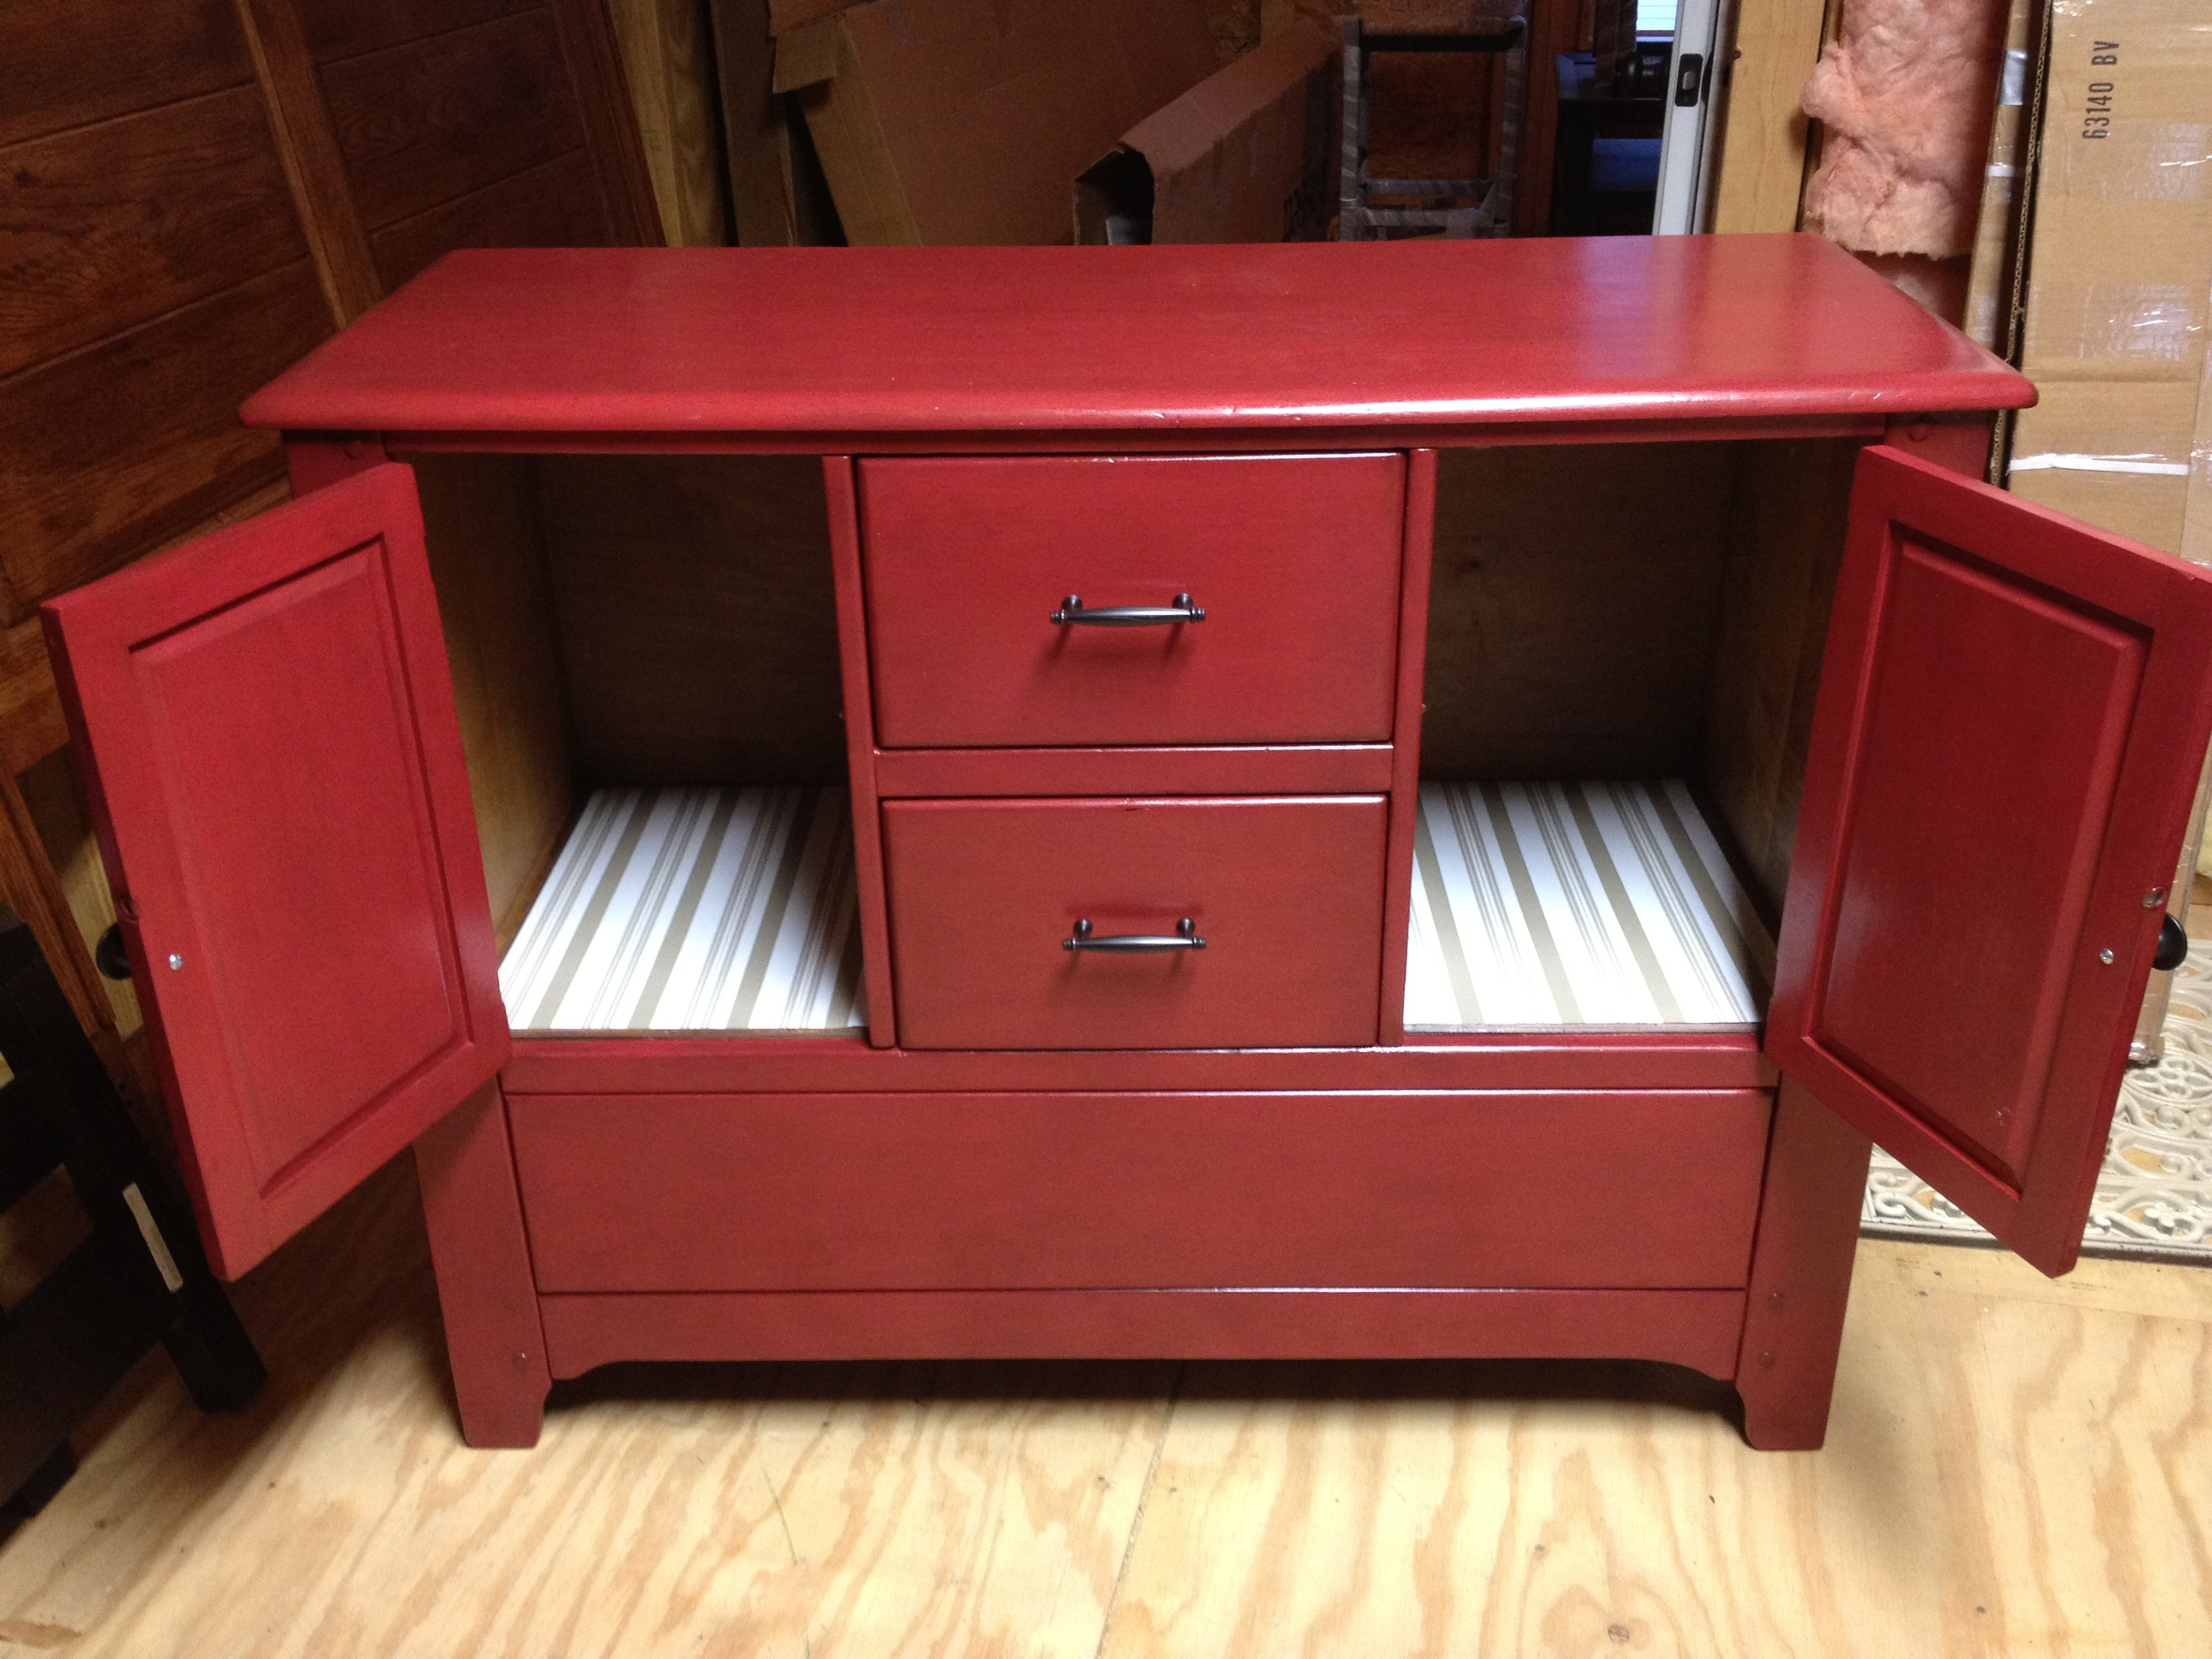
And After, with doors open.

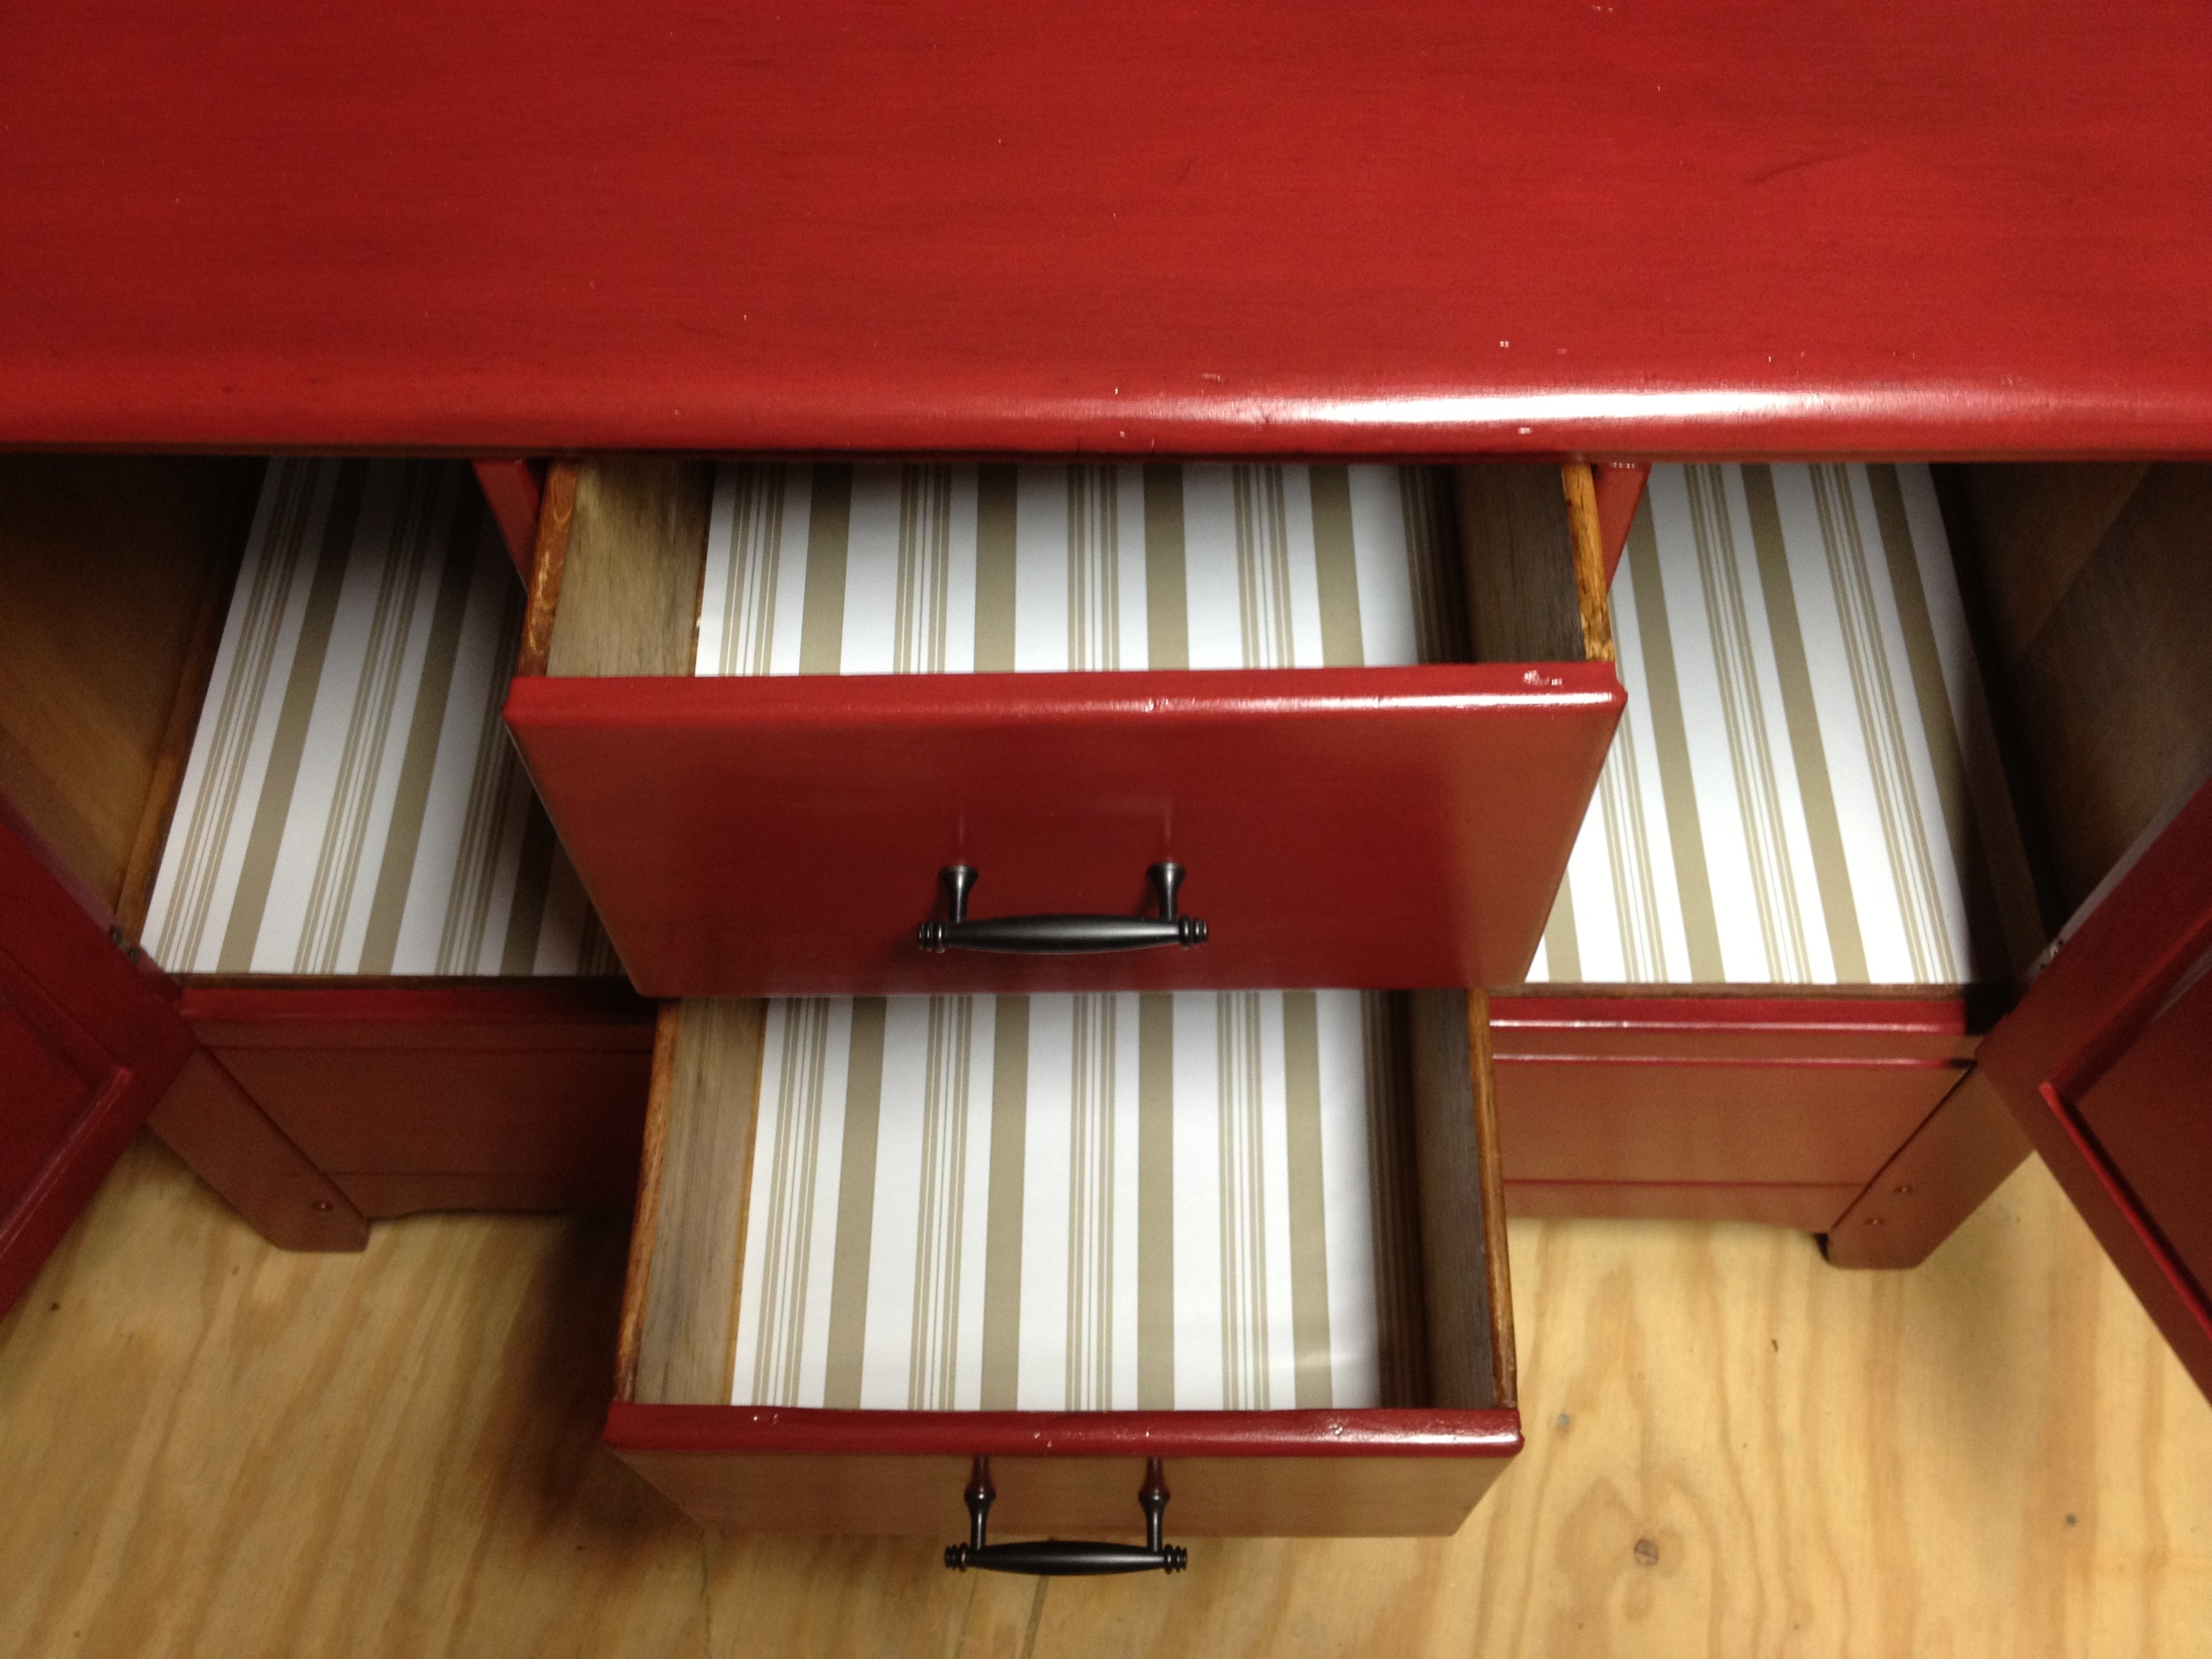
I guess I forgot to mention that I added some contact paper.  That was really my last step.  It's really not that cute.  I found some really cute contact paper online that would've looked great with the red, but I'm too much of a cheapo.  This stripe was a Fred's and I decided it was good enough.  I added it to the drawers too.

For now, my Cinderella buffet is hanging out in the attic with the rest of the beach house furniture.  I can't wait to see her in the dining room, especially since she'll be sitting up against a nice planked wall!

Care to tell me what you think?  Like it?  Know a better way to paint red?  Anyone need four chunky, wooden pulls?  I've got some for you if you do...
Family Pics

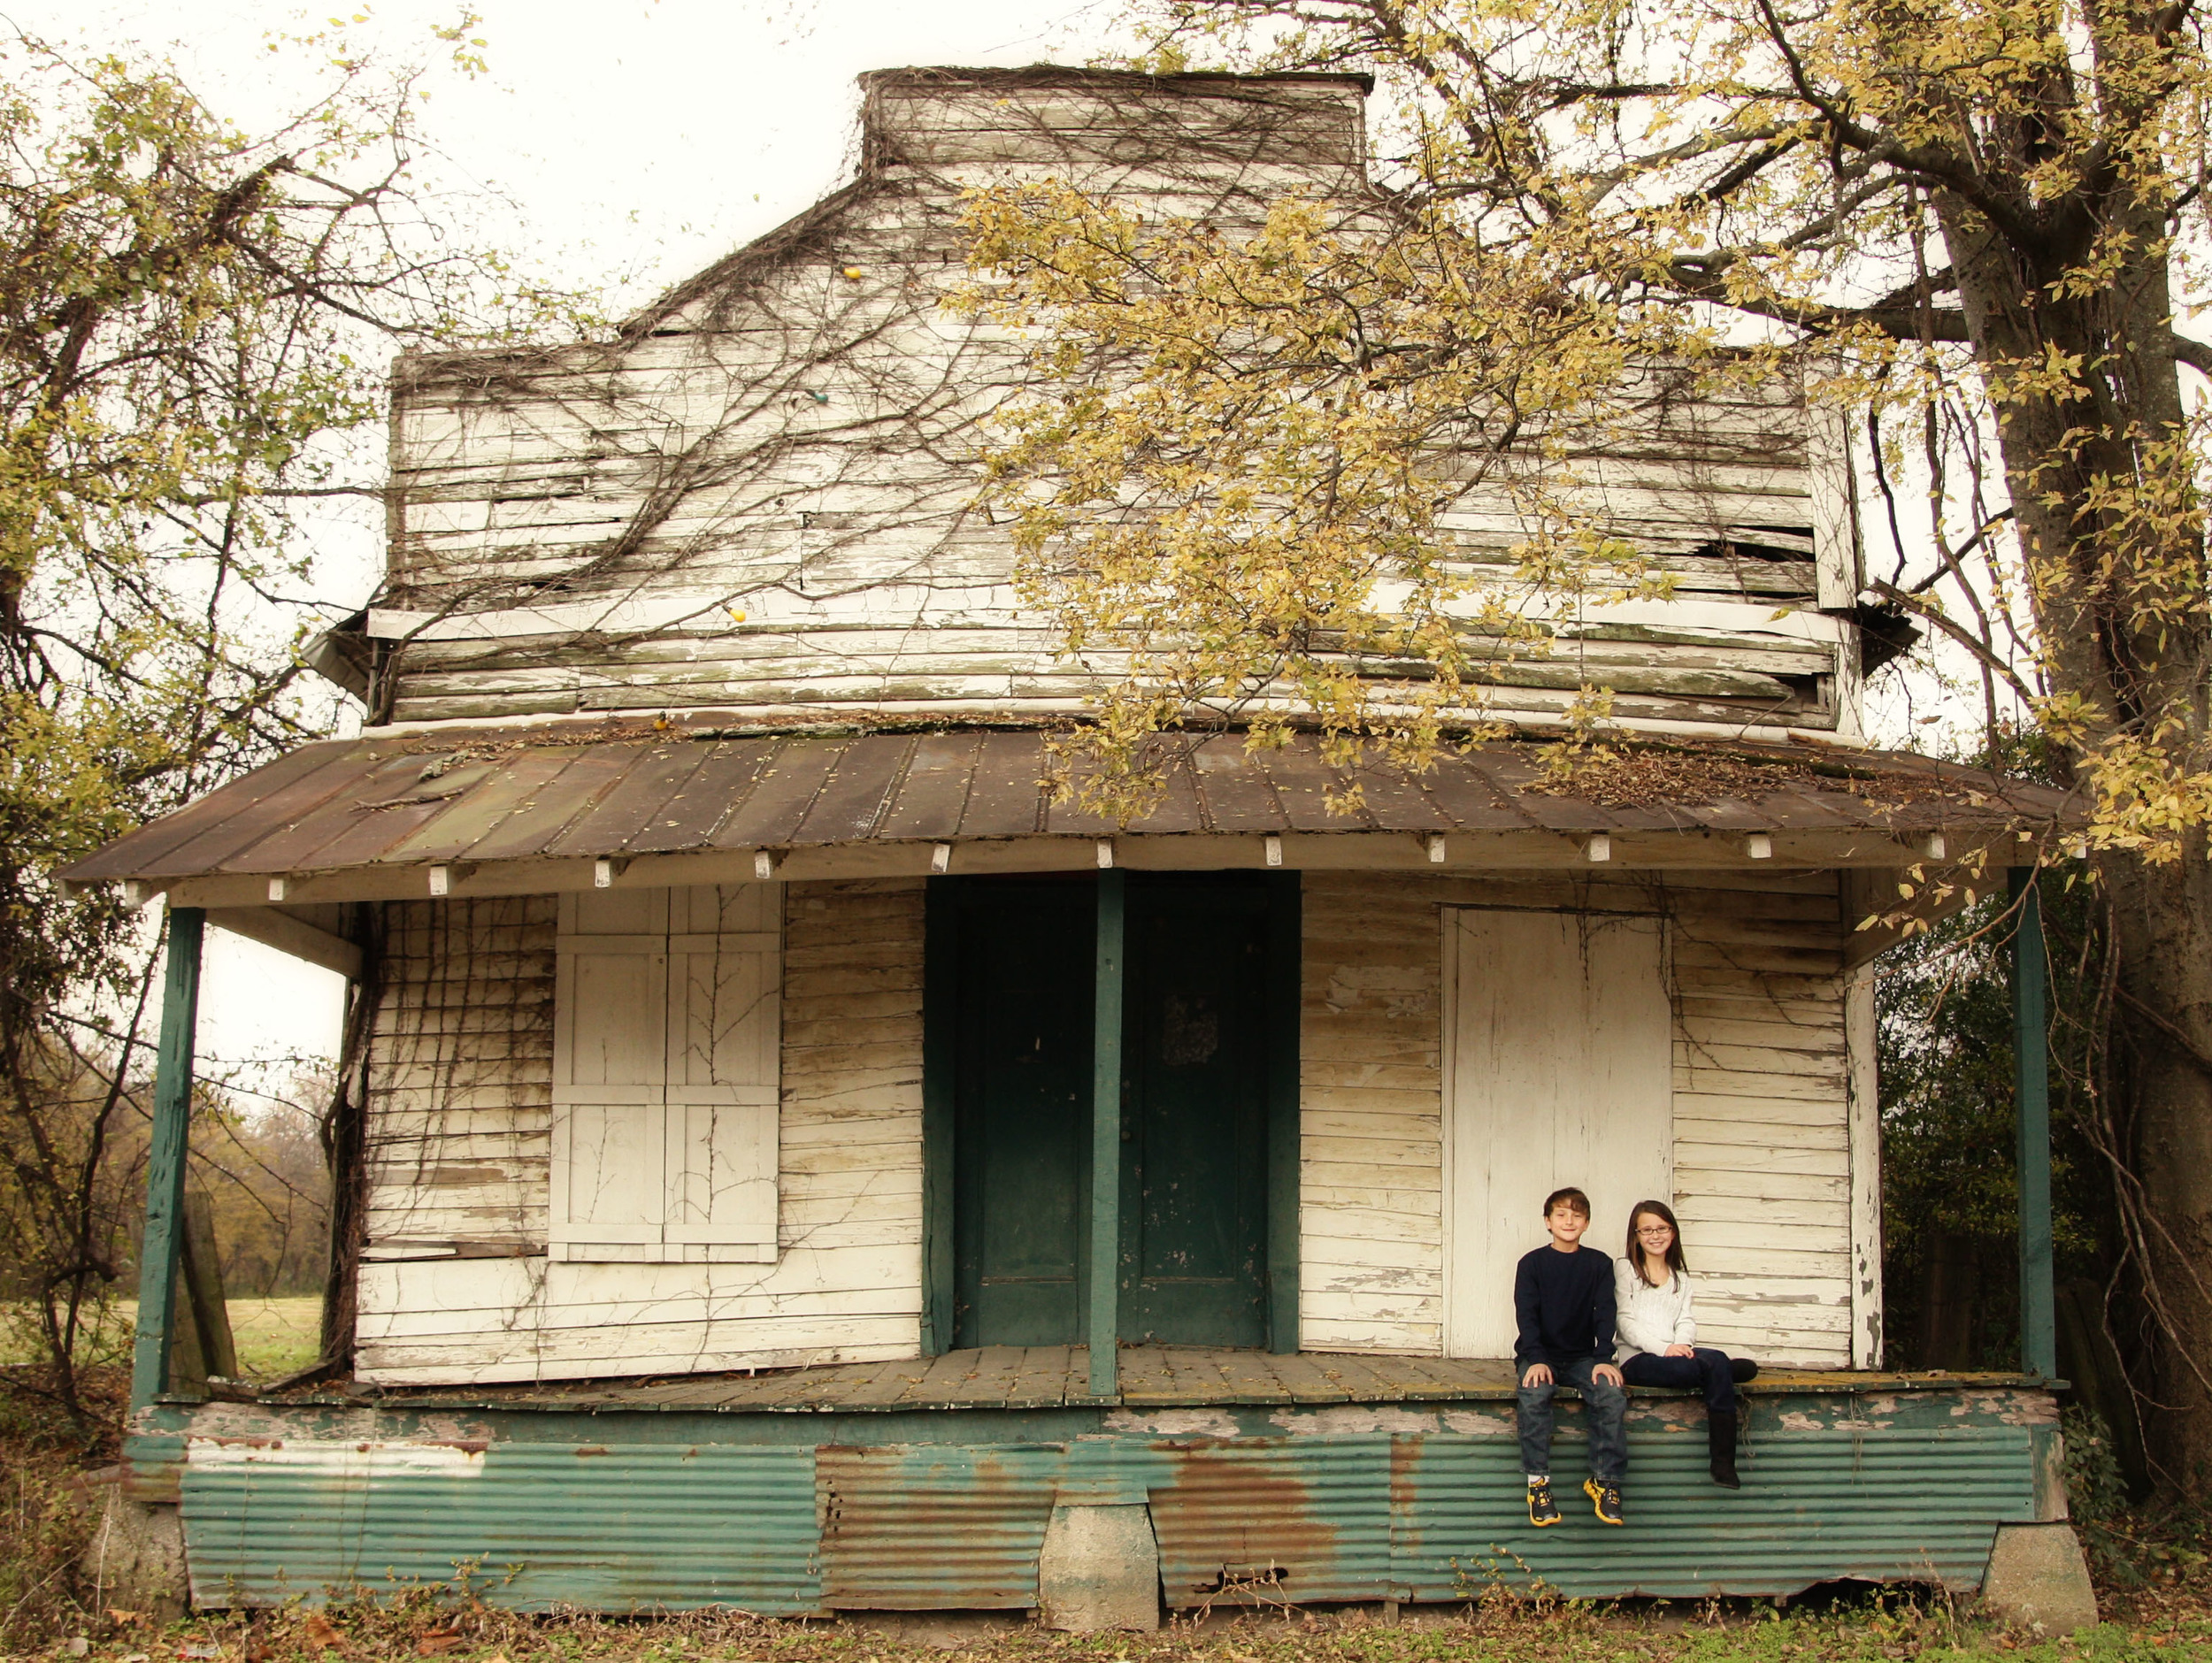
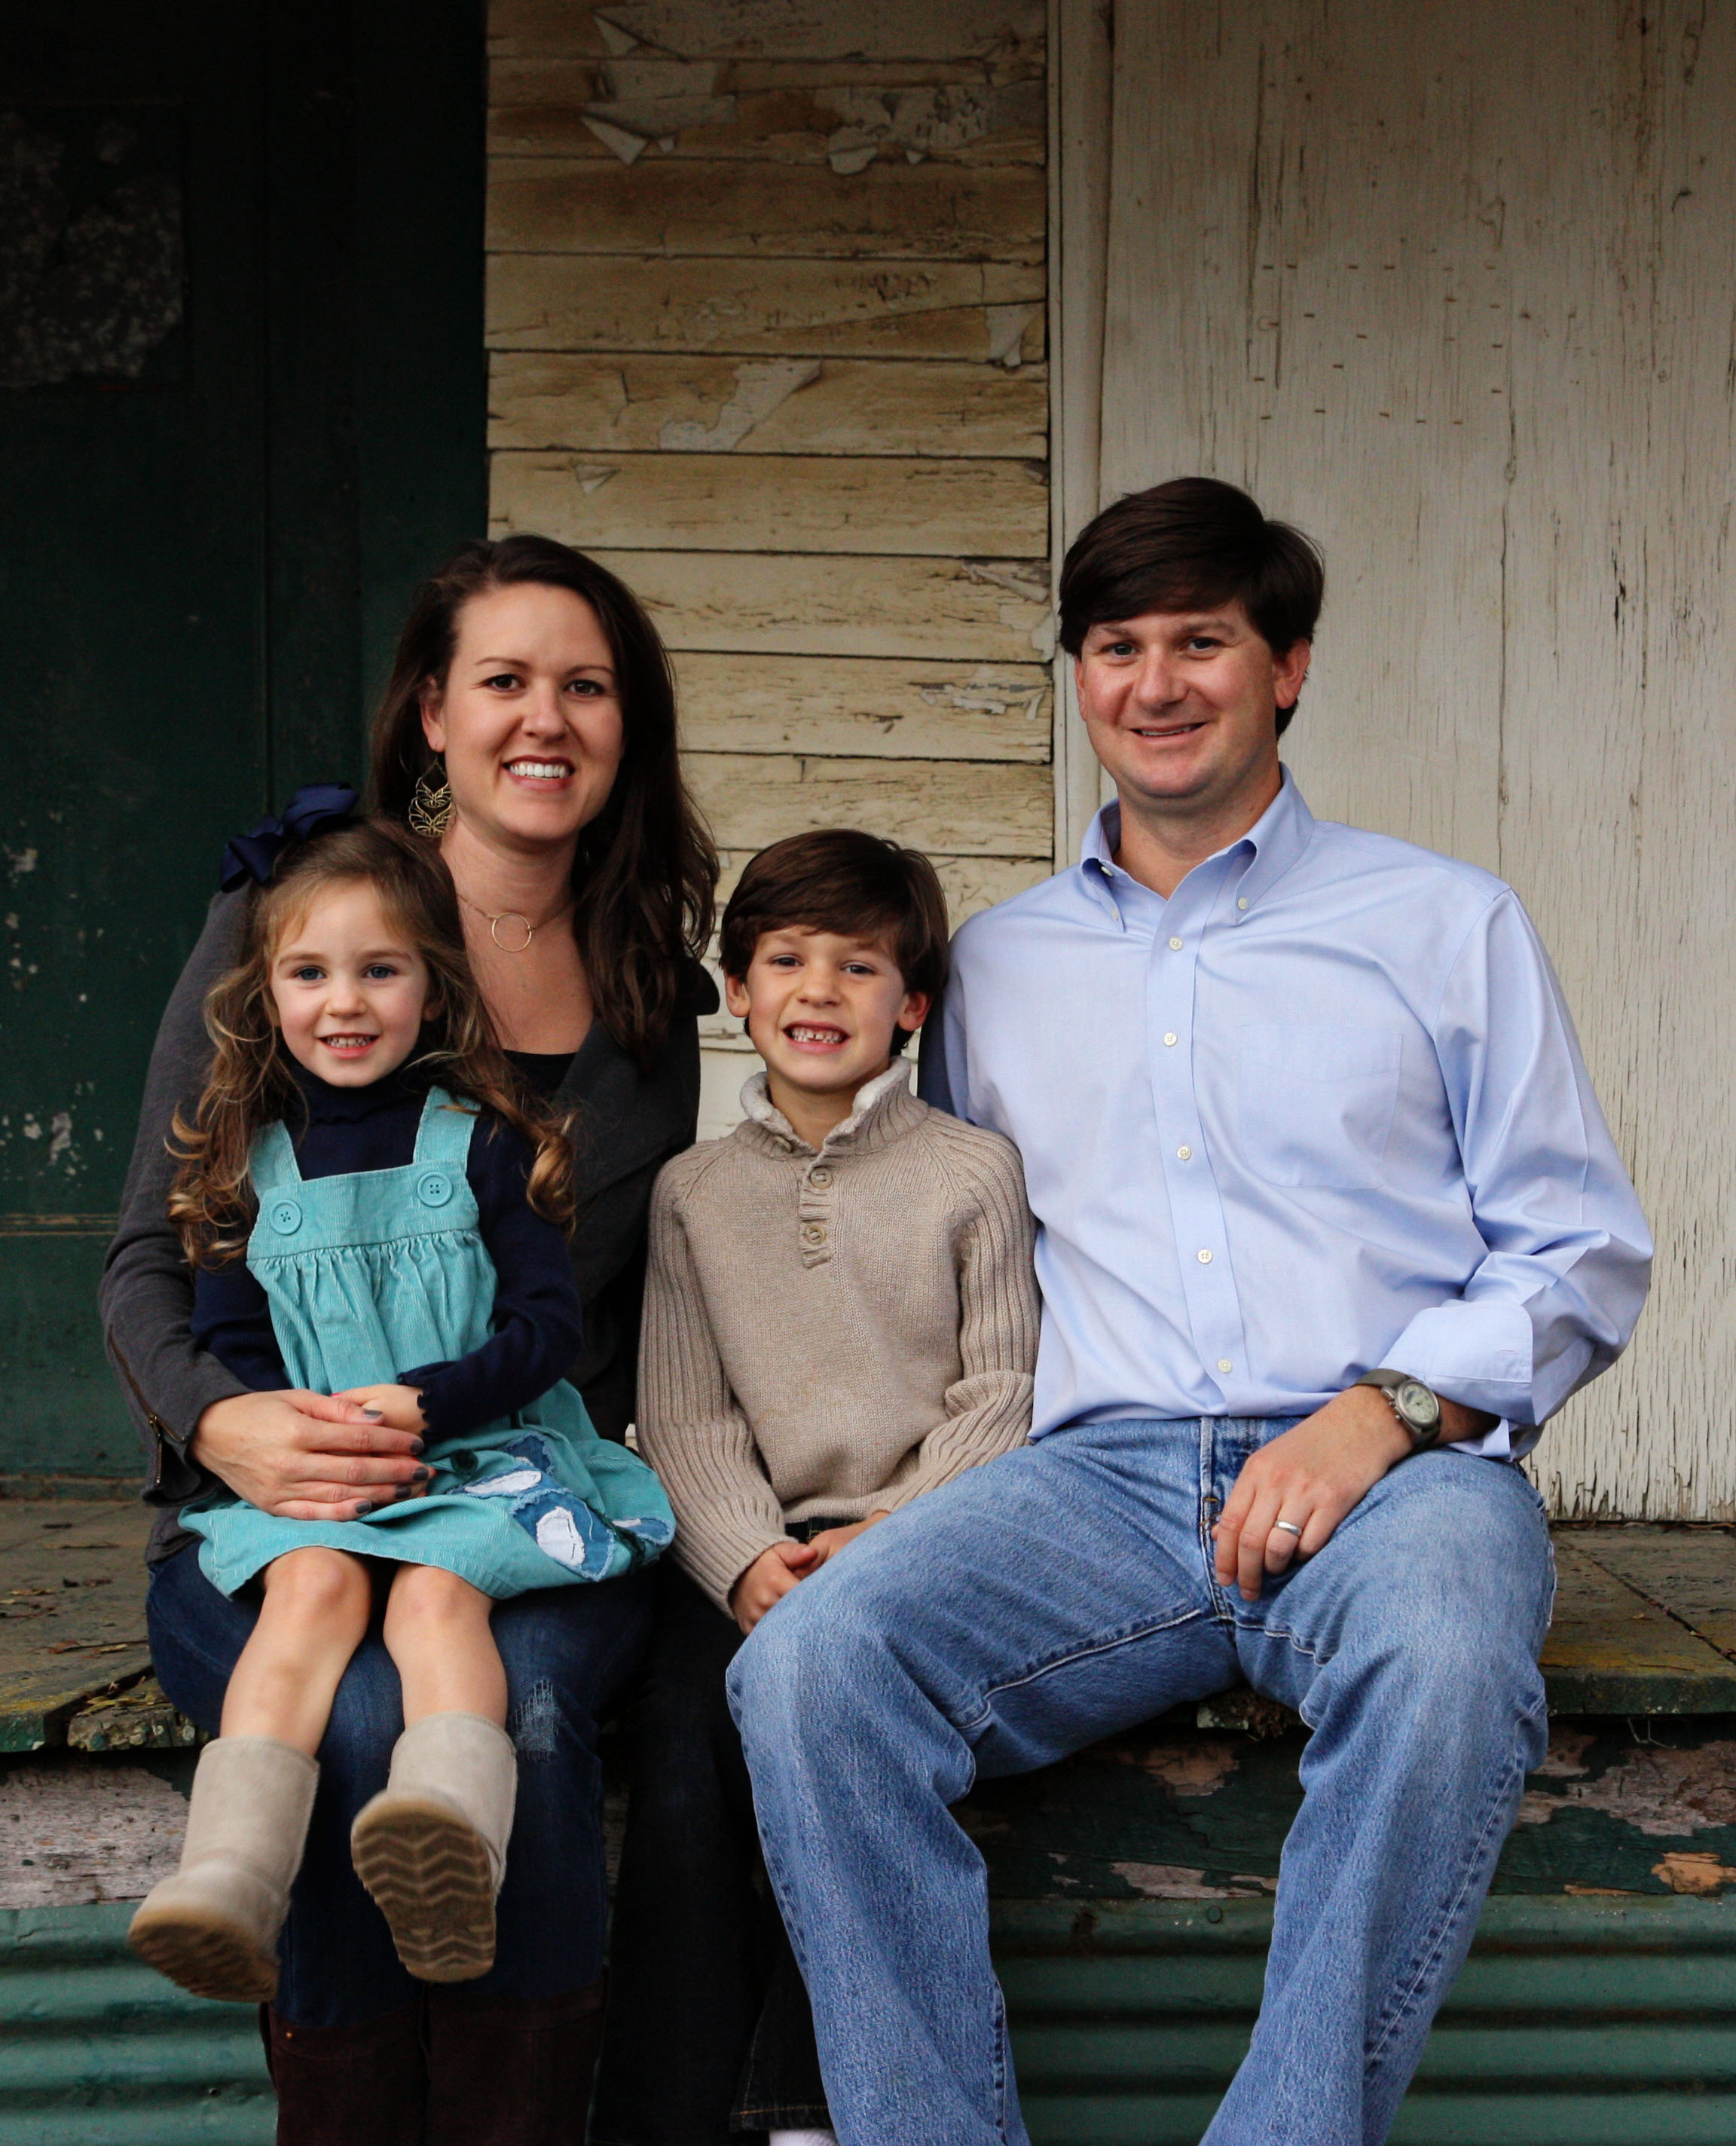
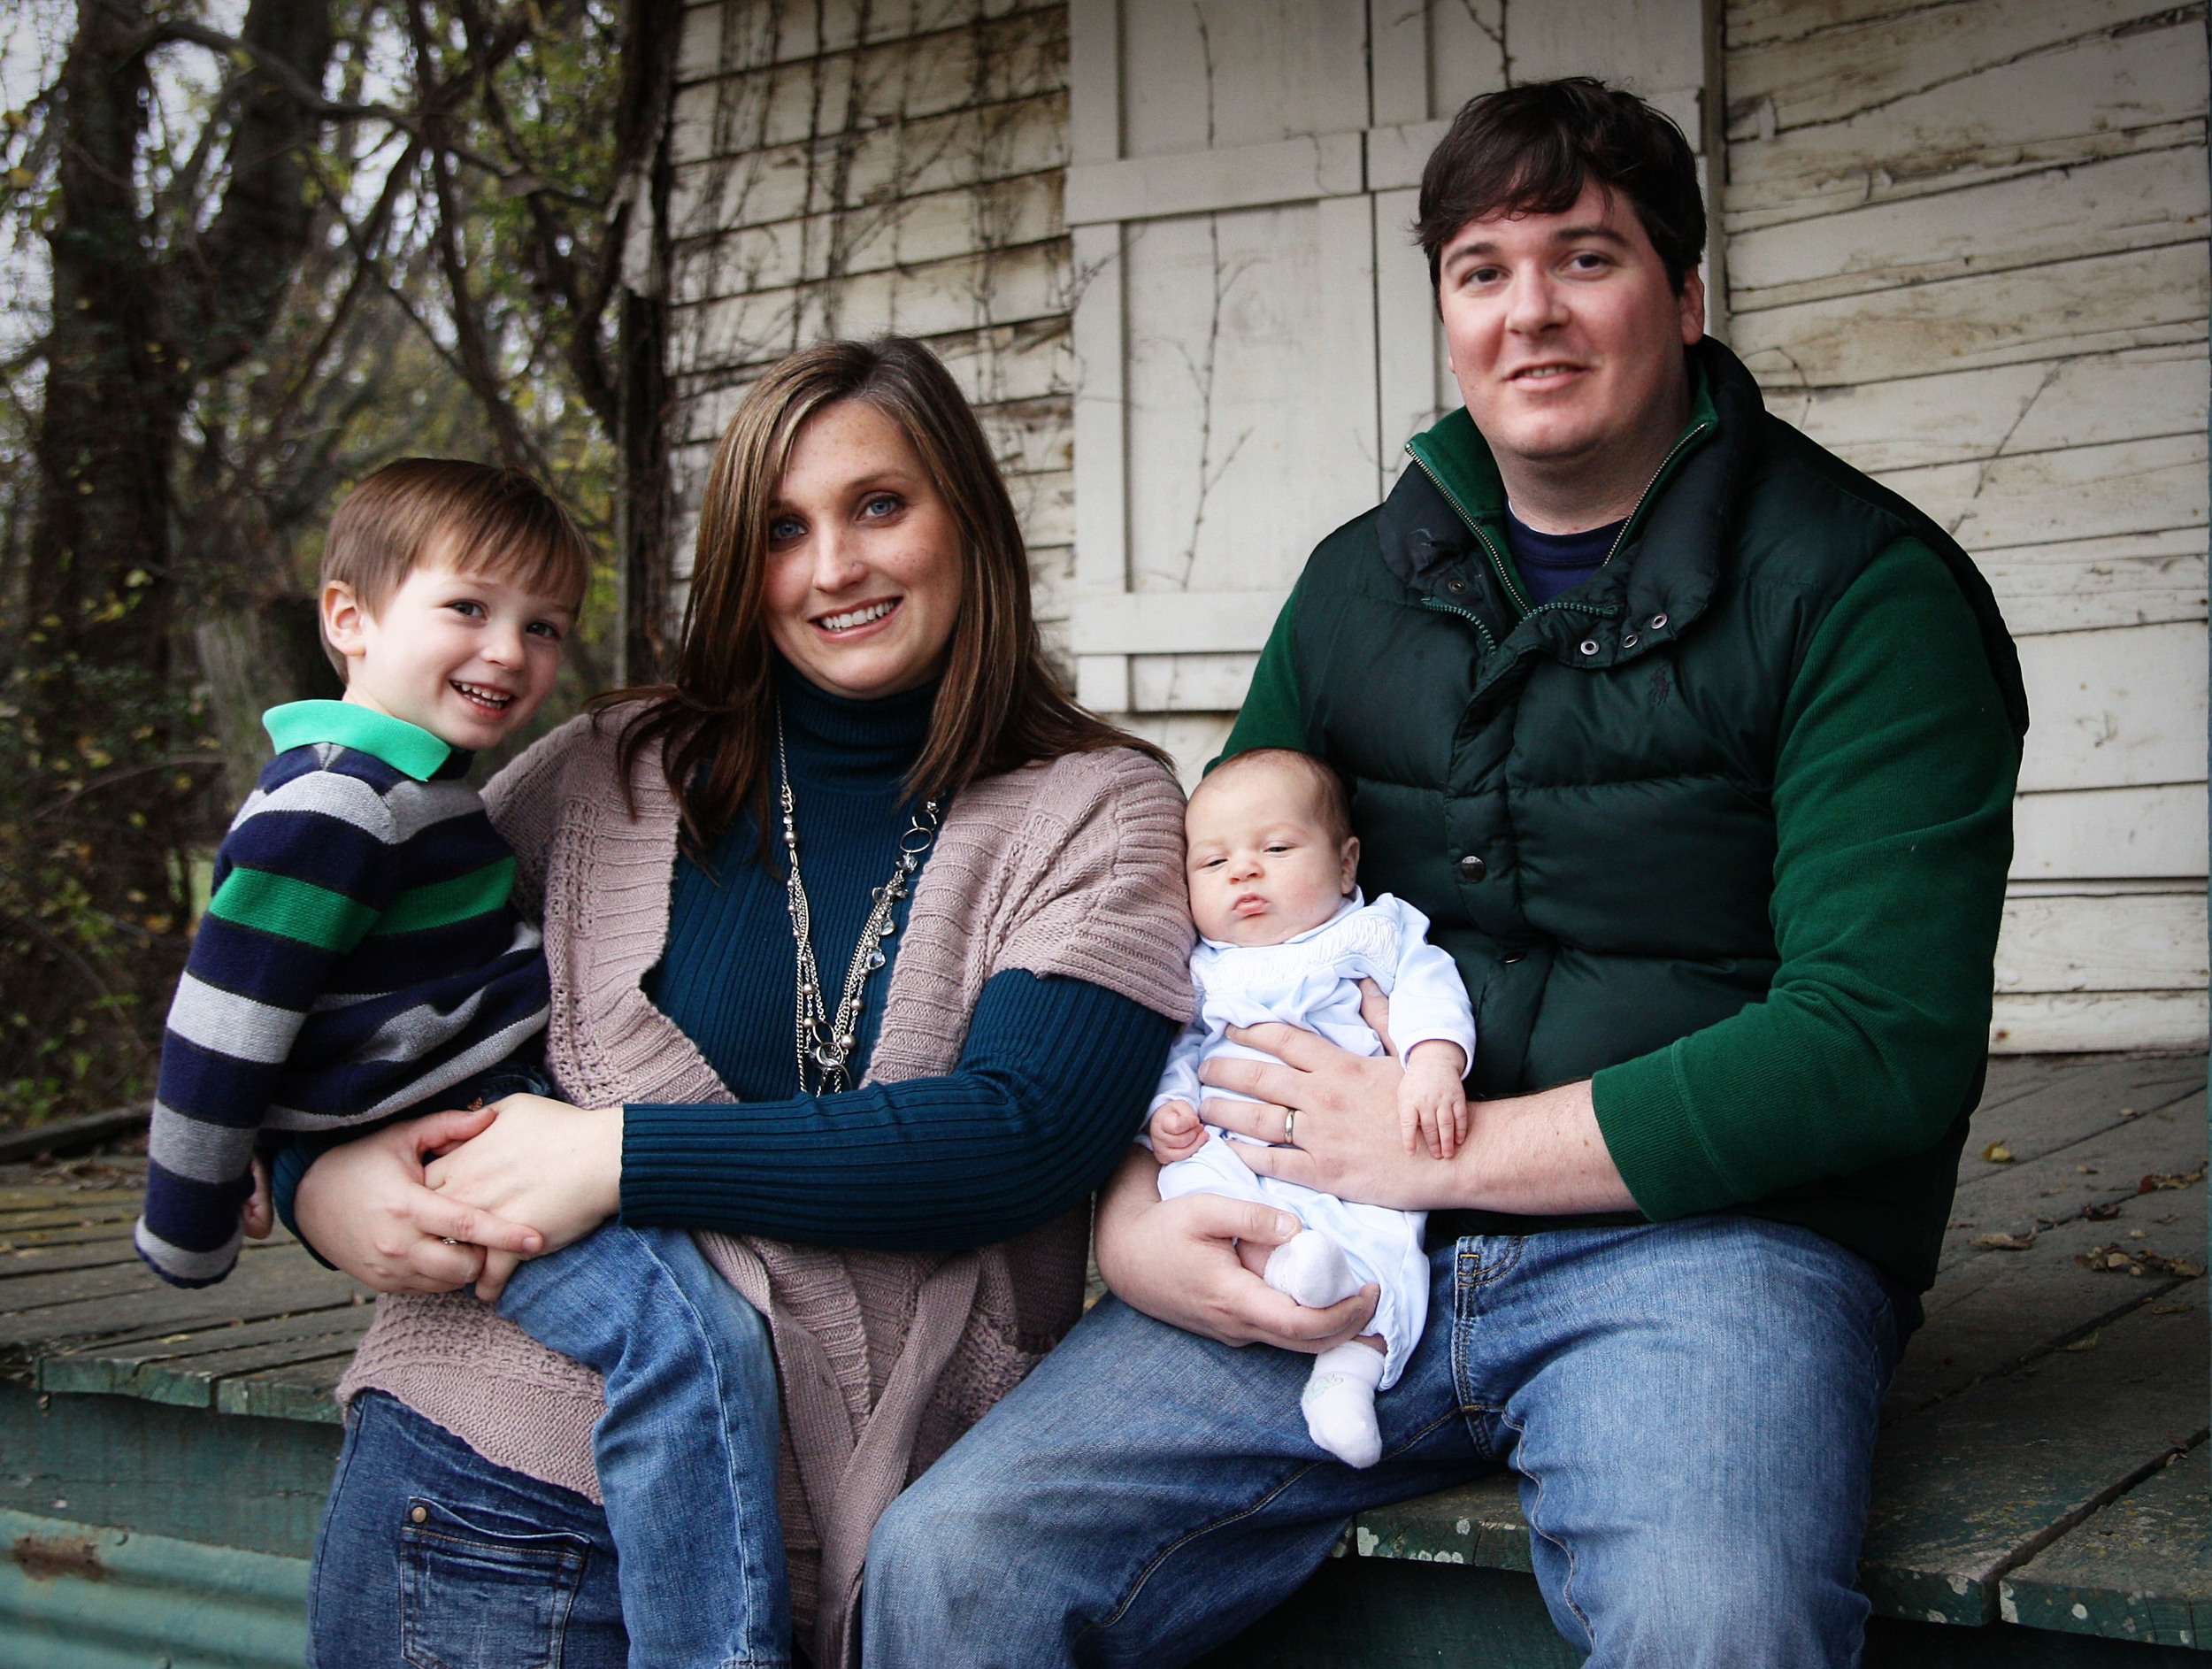
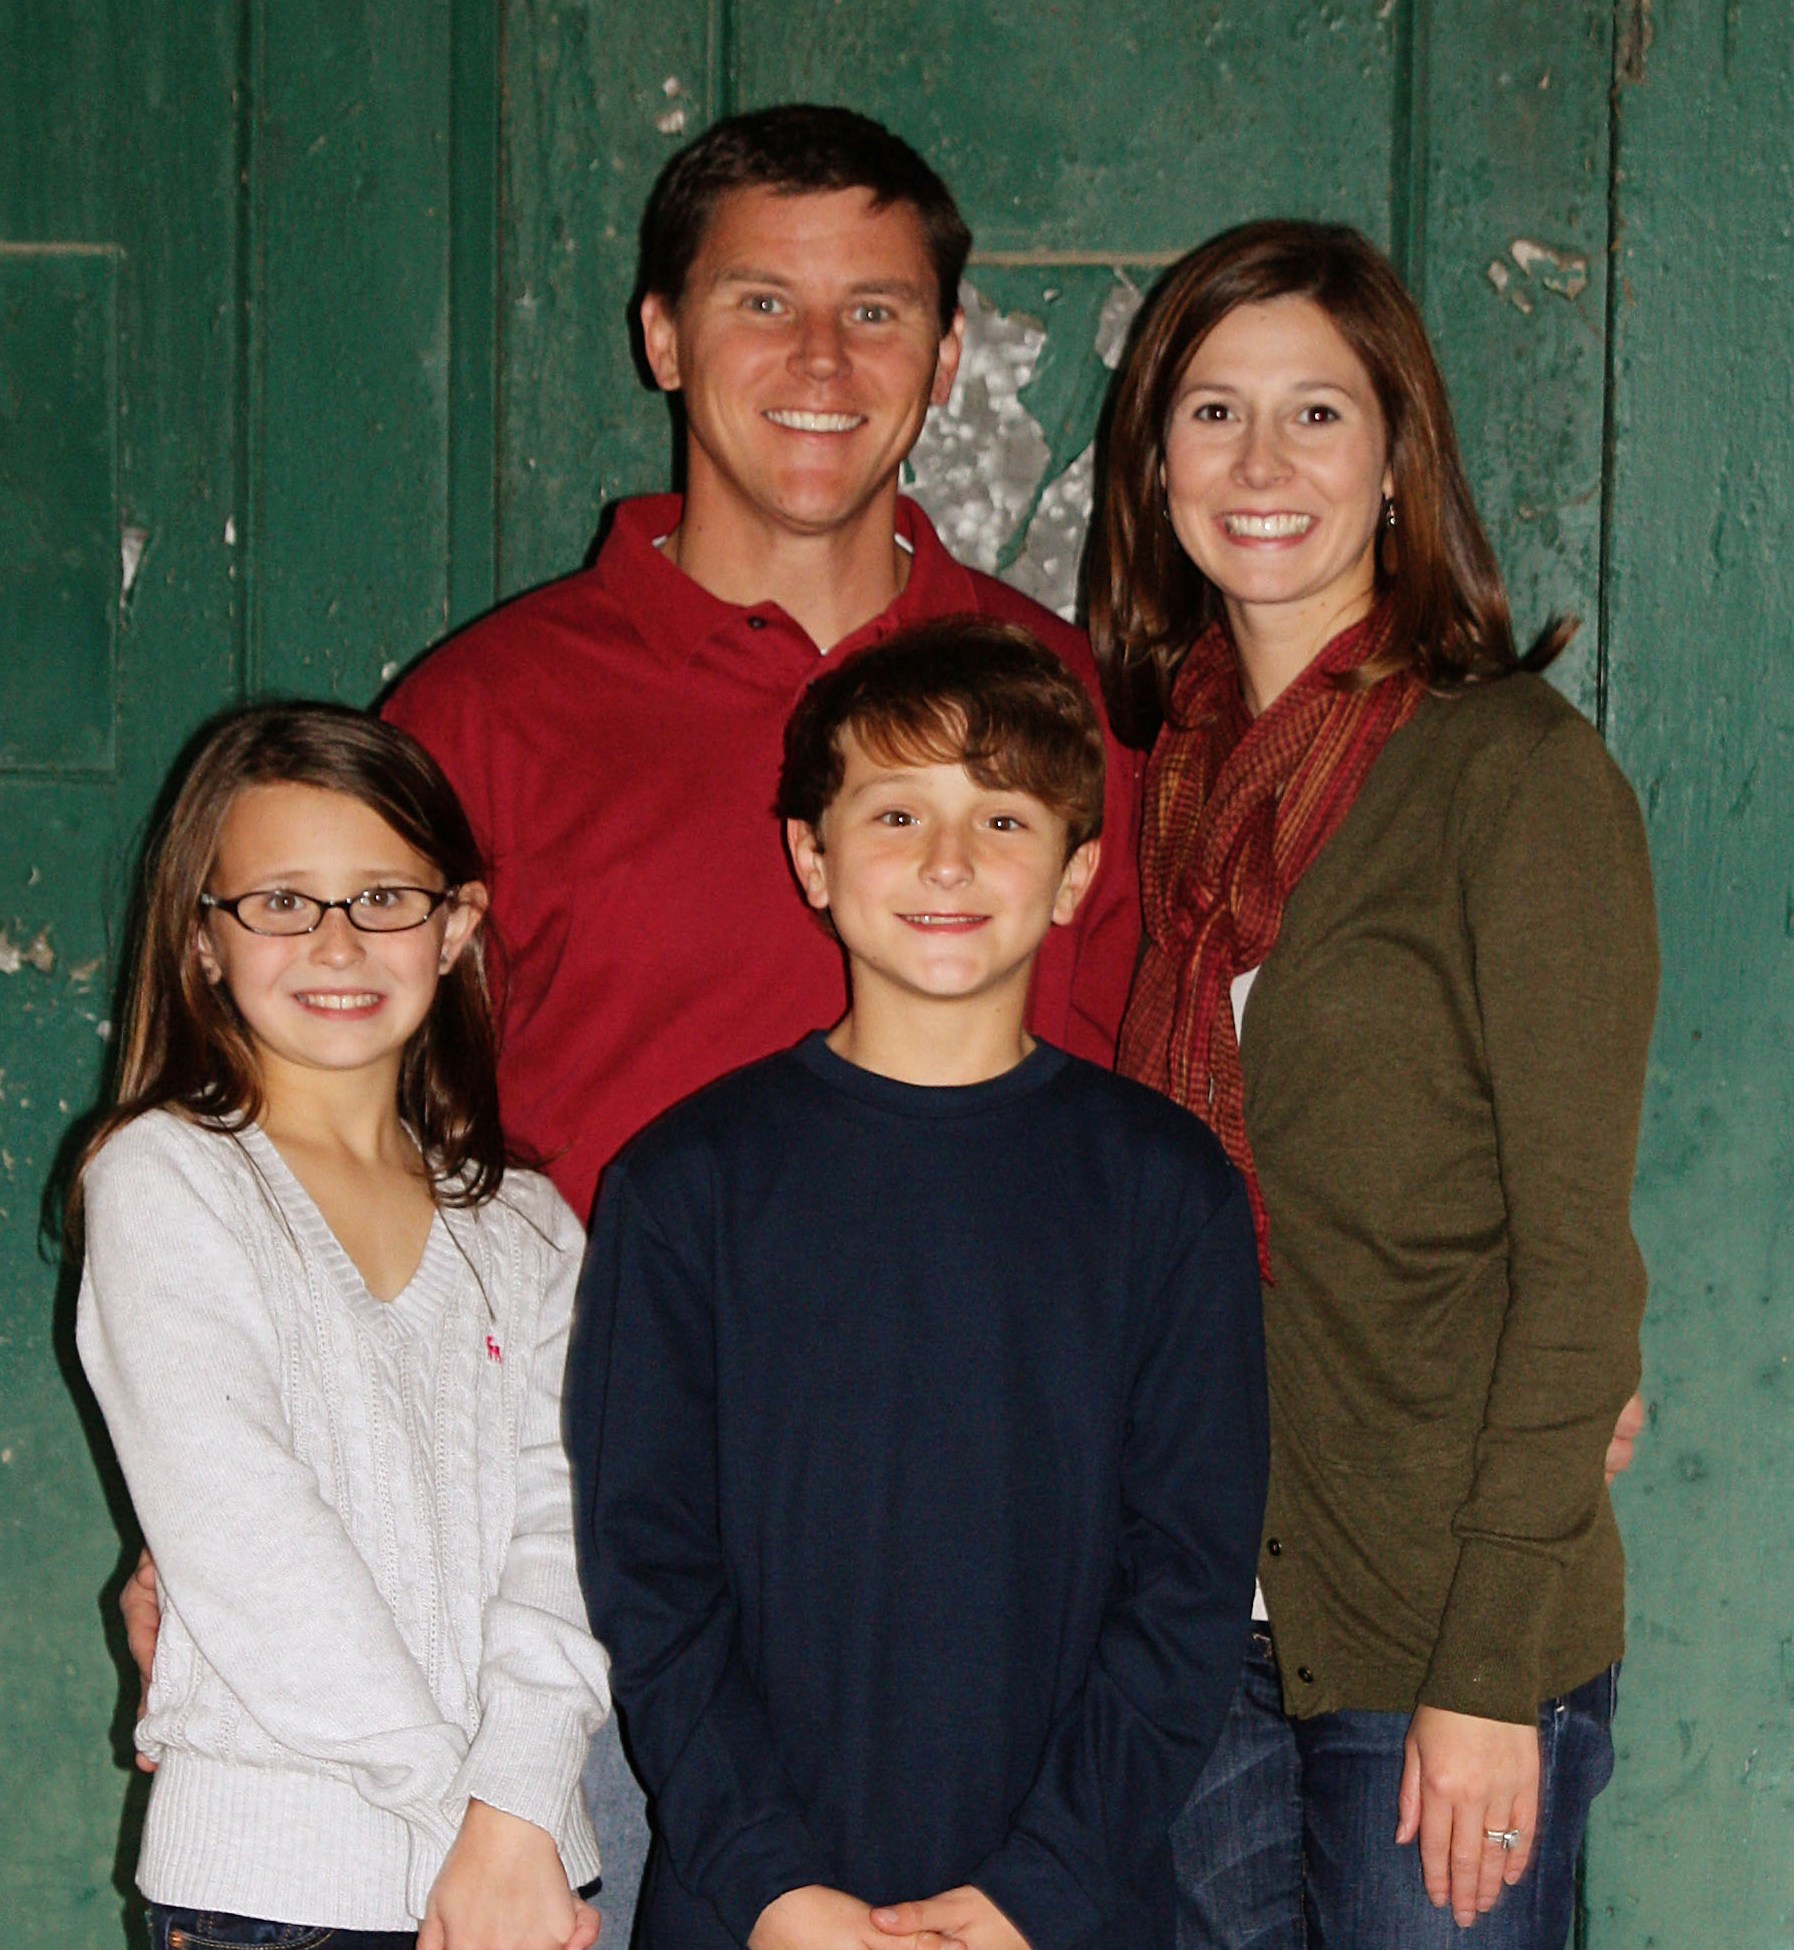
Last weekend everyone in my family gathered so we could attempt some family portraits.  It was a windy day so it could've been disastrous, but I'm pleased to say we managed to get some decent shots!  I'm not going to share a couple of my favorites just yet since they'll be used on Christmas cards, but here are a few from the shoot. We met at this really old house that sits on the side of the road in my home town.  Luckily, it didn't fall over while we were there!
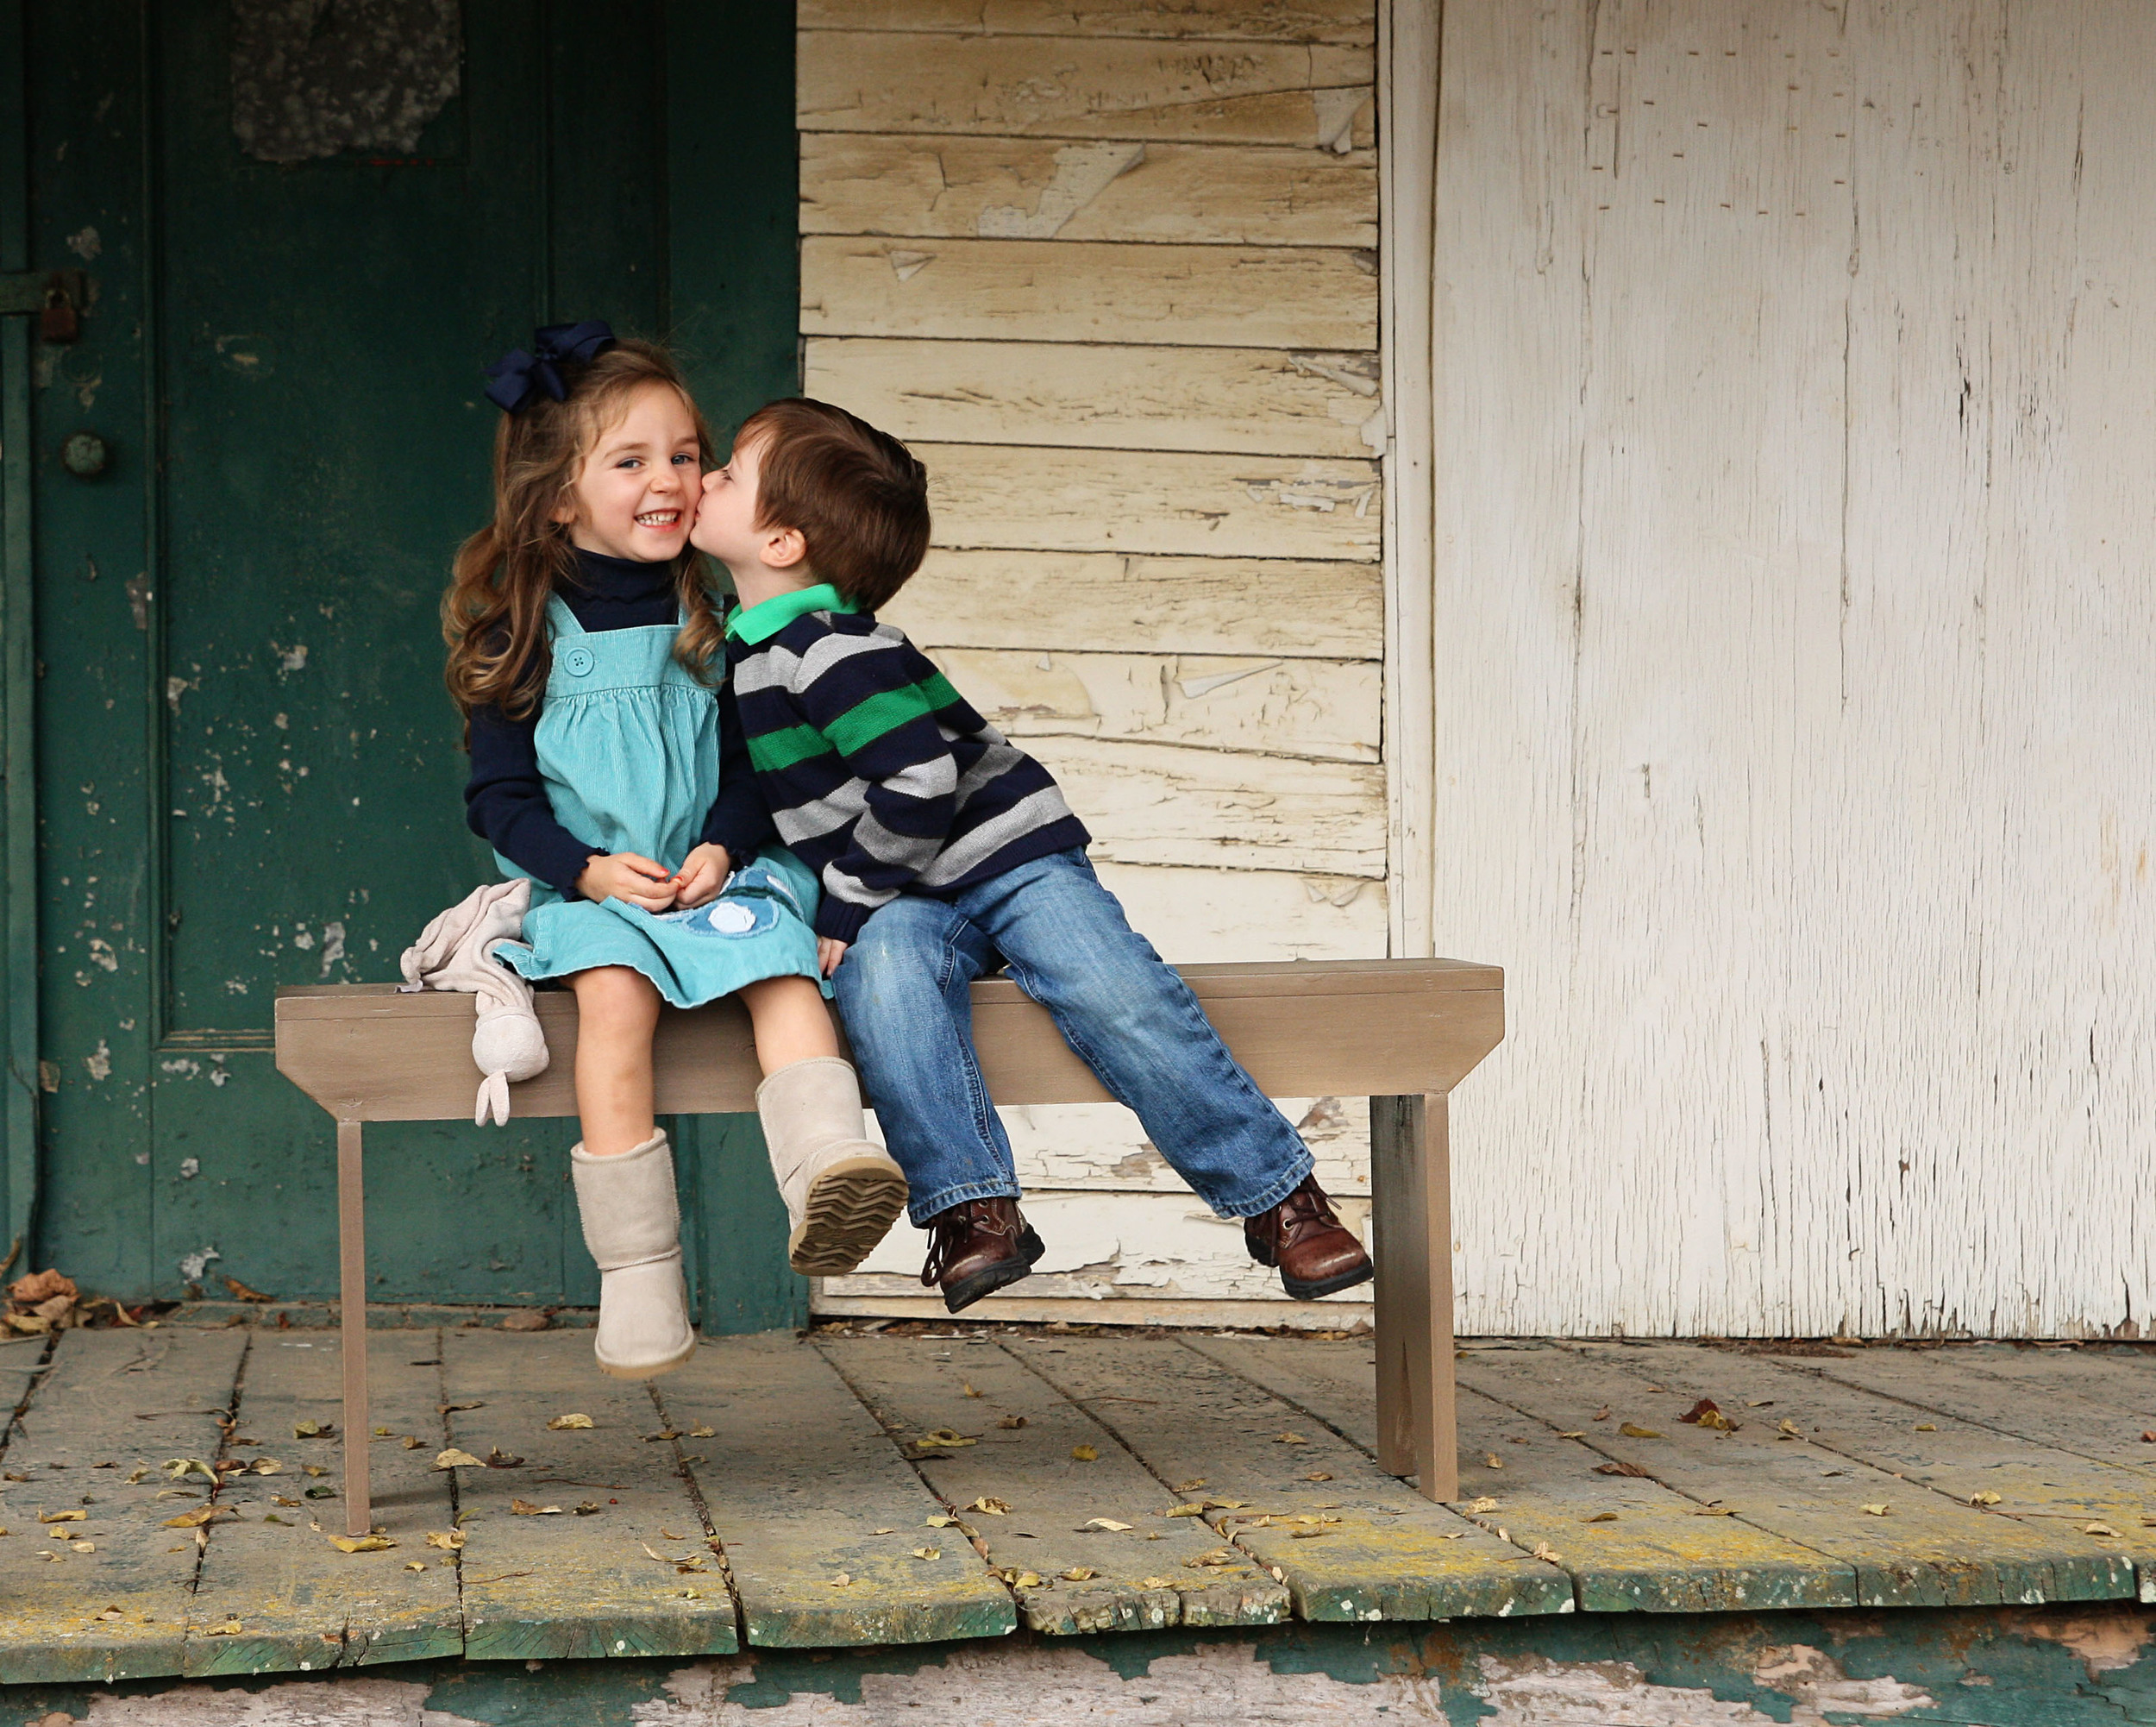
Kissin' cousins!

My parents and all their grandchildren.

Same picture, but with the middle generation added.  I don't love this one since we seem to be standing in the shadows, but oh well. 

My oldest brother, Nick, and his family.

My other brother, Ben, and his family.

Me and my family!  (Not my favorite one of us, but ok.)


My parents.  I love this one of them!

The last shot of the day...after everyone was tired of smiling for the camera.

(I had to make that one smaller because my blog wanted to crop out Jett and Wyatt.)

Since Ramer couldn't be in that last photo, here's one of just him that I took several weeks back and forgot to post.

That's a wrap!

Before and After: Dresser #2

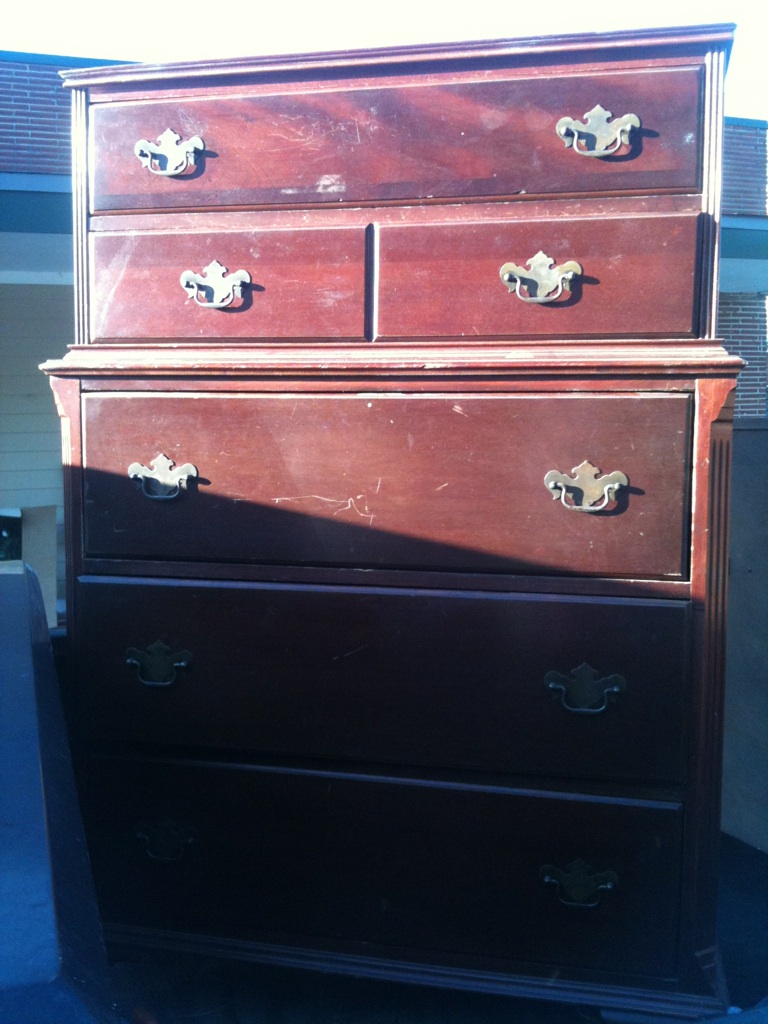
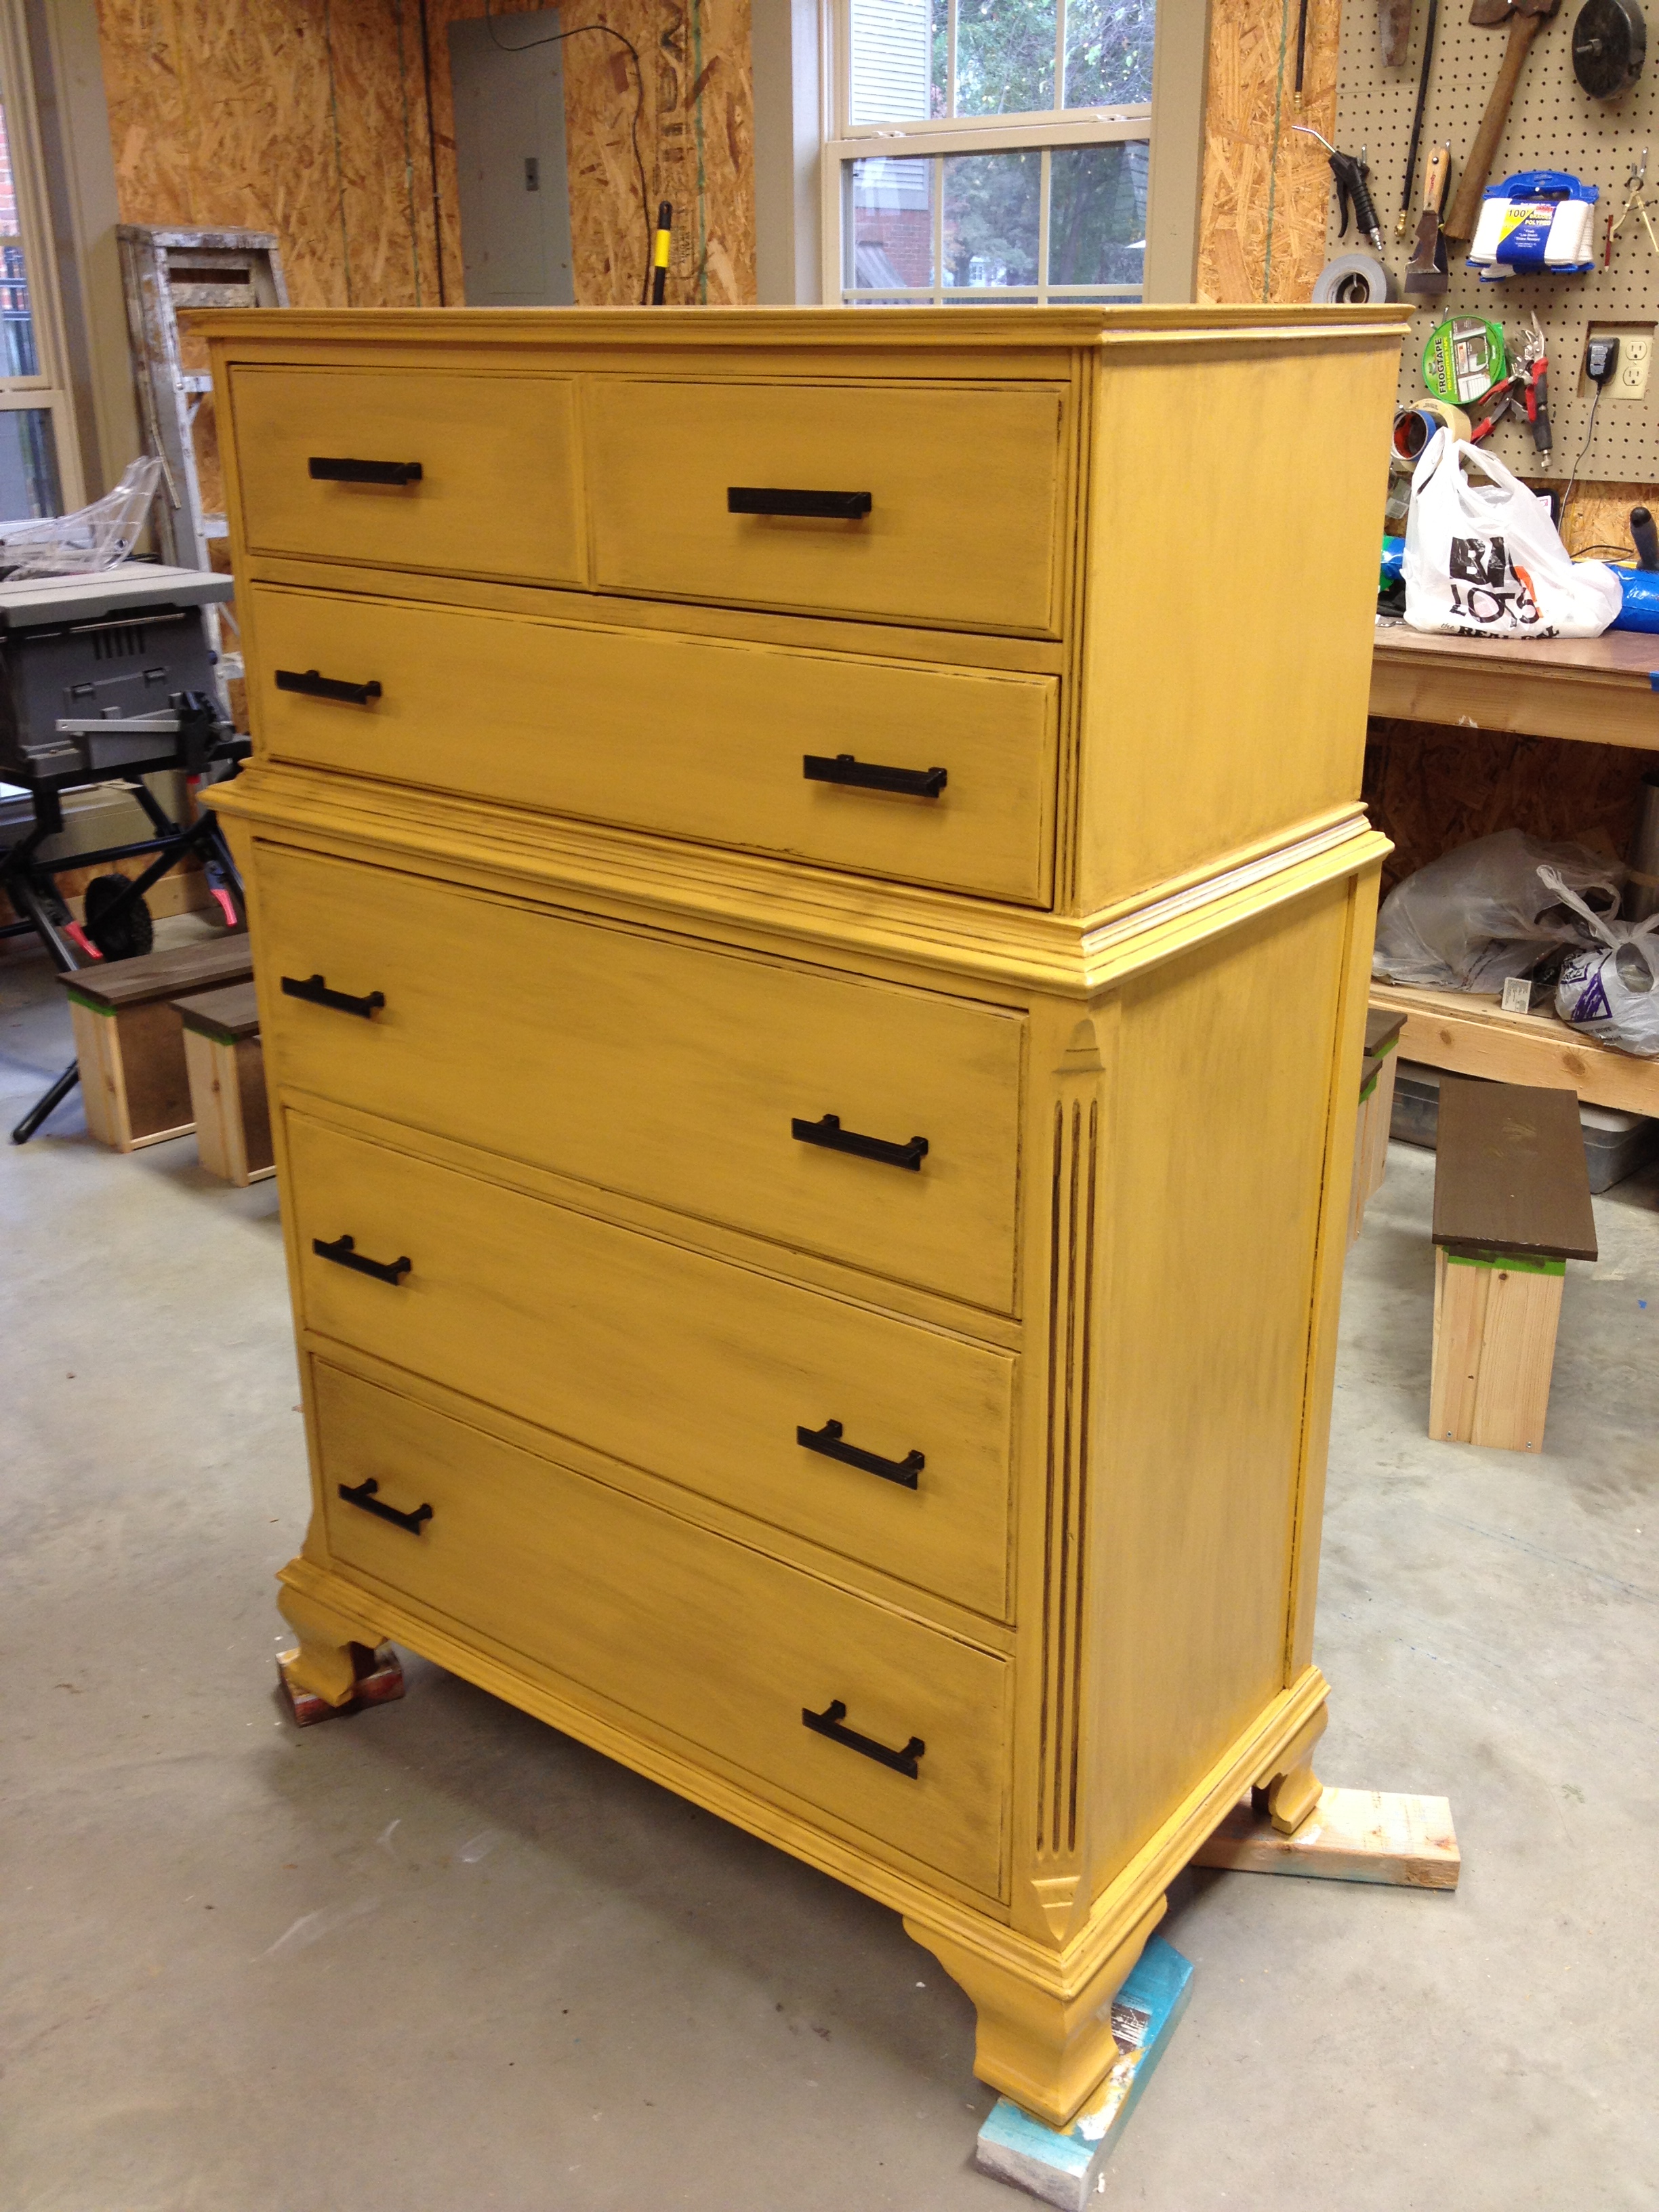
This dresser made me want to pull my hair out.  Here it is, sitting in the sun, at the yard sale when it was purchased.

Why did it make me want to pull my hair out?  Because I had to paint it eight times.  Yes, EIGHT.  Gah.  The layers went a little something like this:

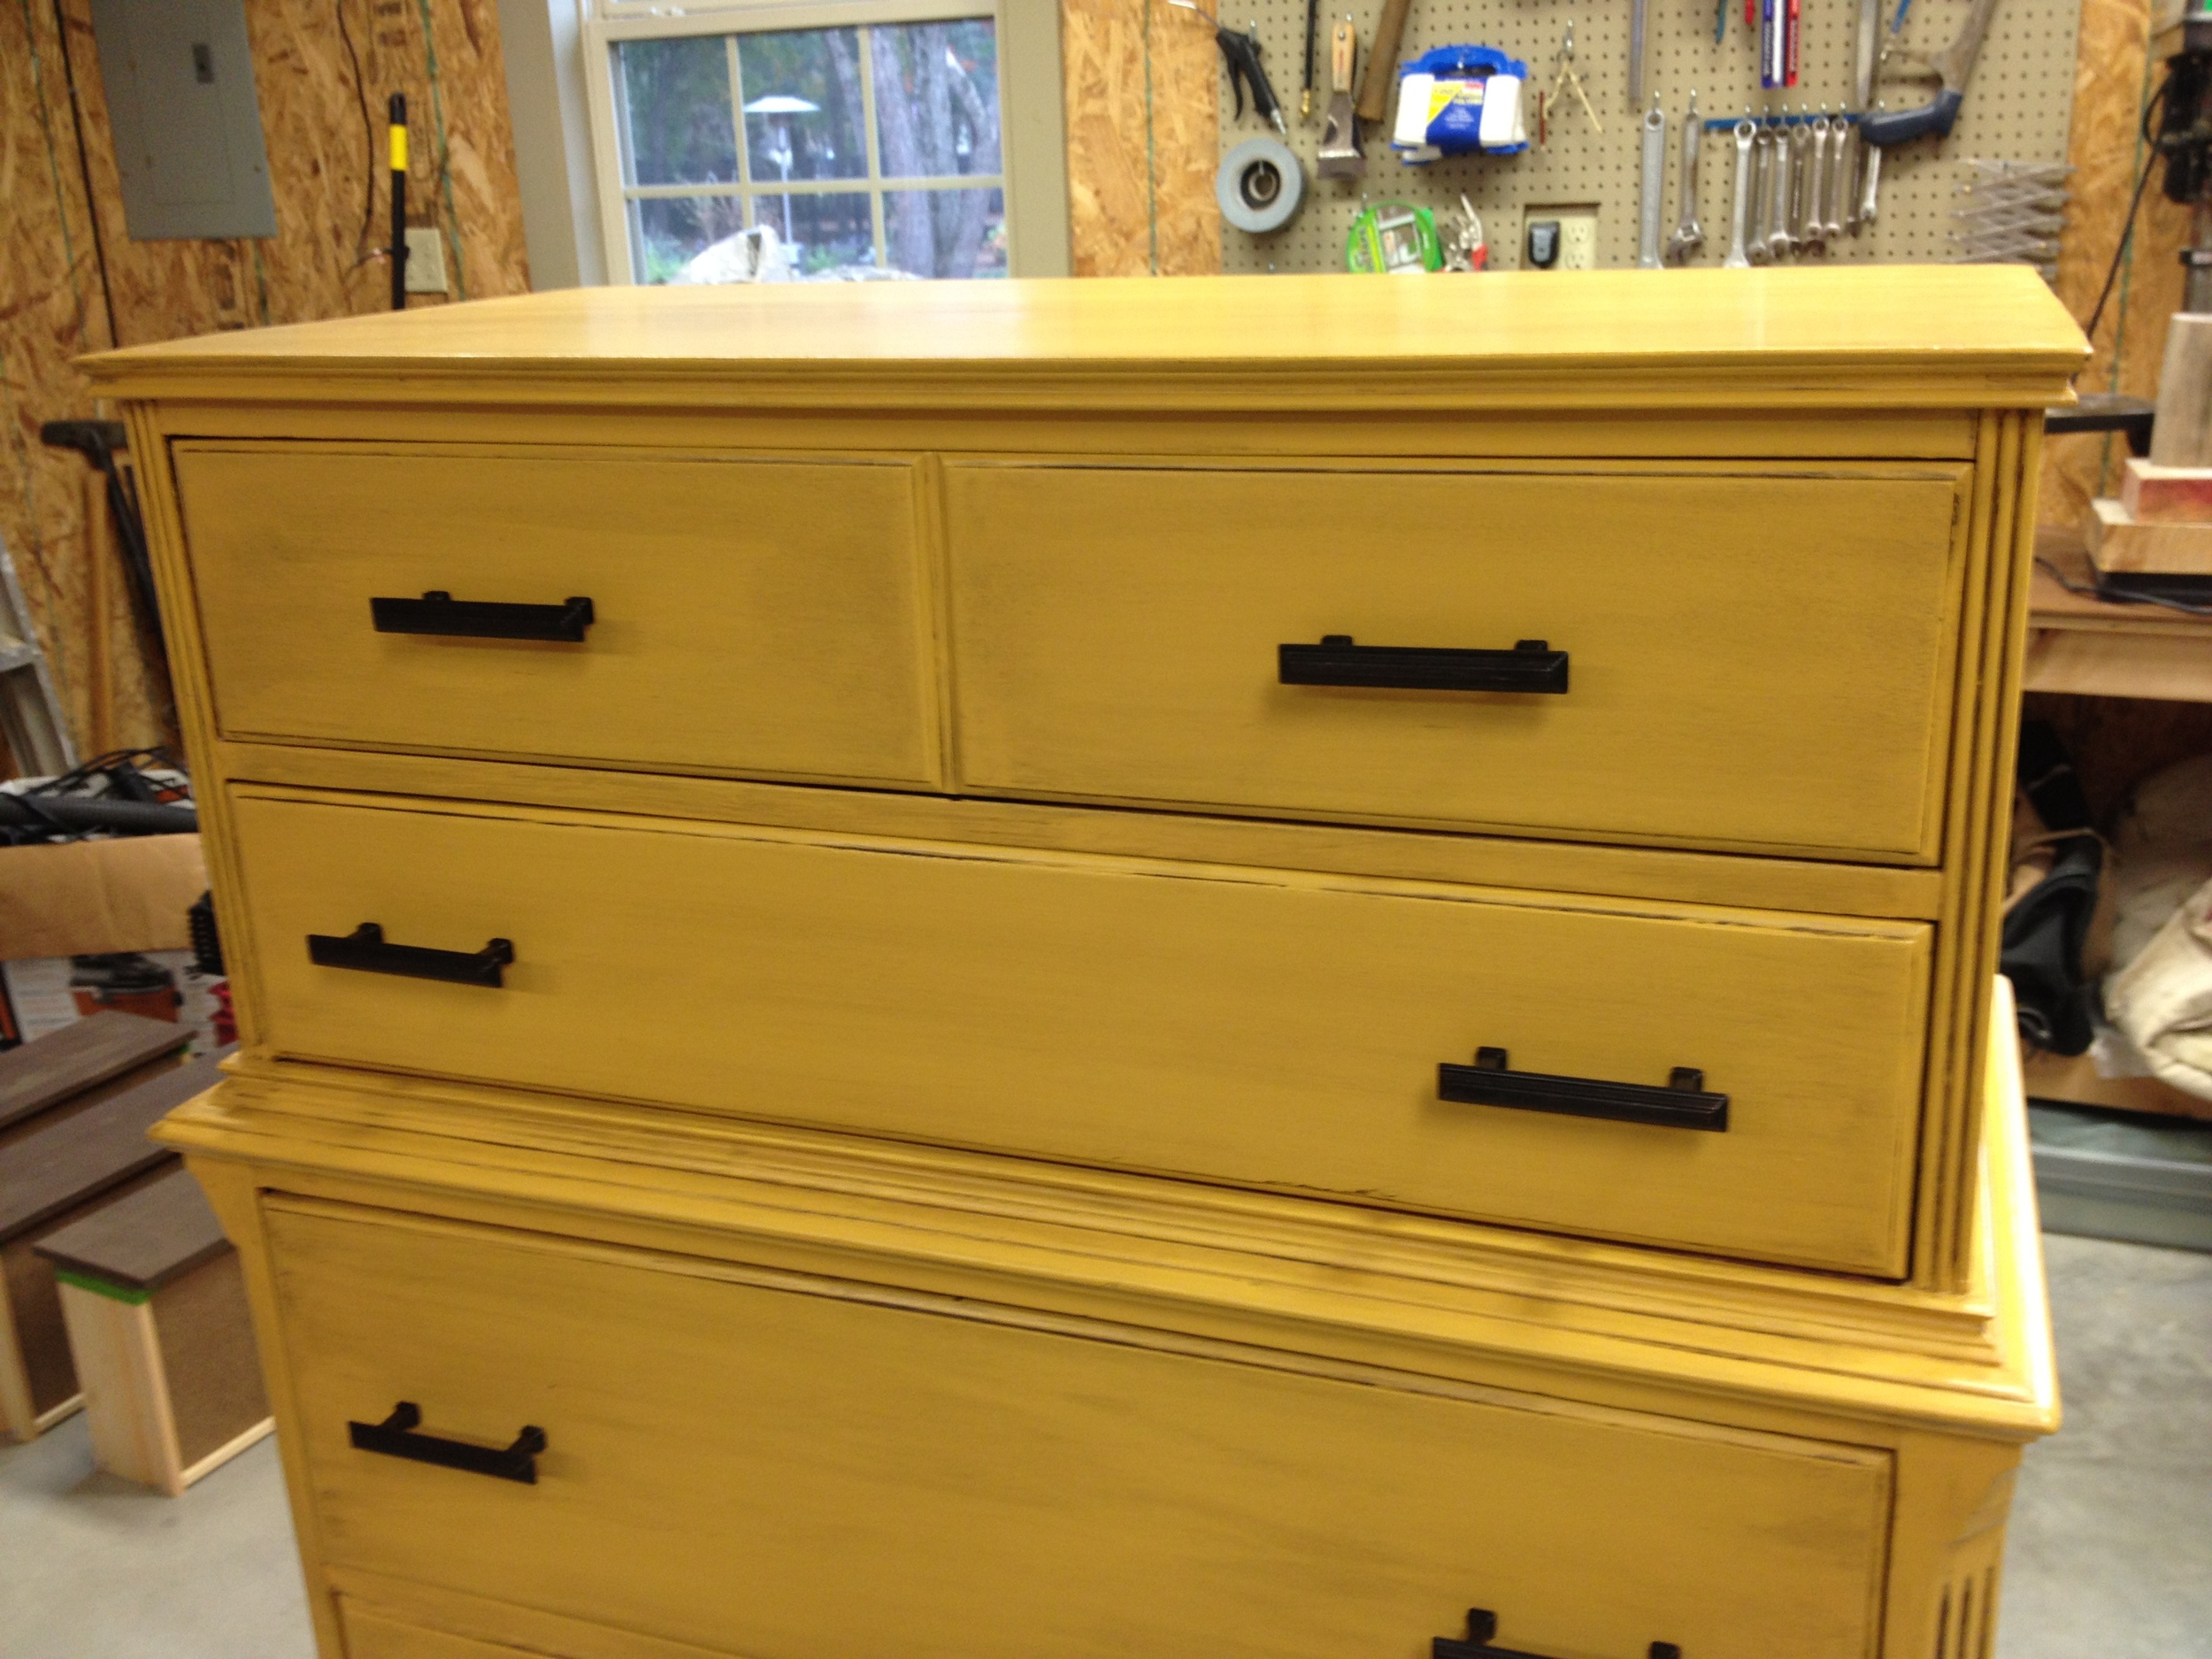
1. Mustard Yellow 2. Watery Primer 3. Primer 4. Mustard Yellow 5. Mustard Yellow 6. Dark Brown Glaze 7. Poly 8. Poly

If you've ever painted a piece of furniture, you know those layers are a little weird.  Lemme tell ya what happened.

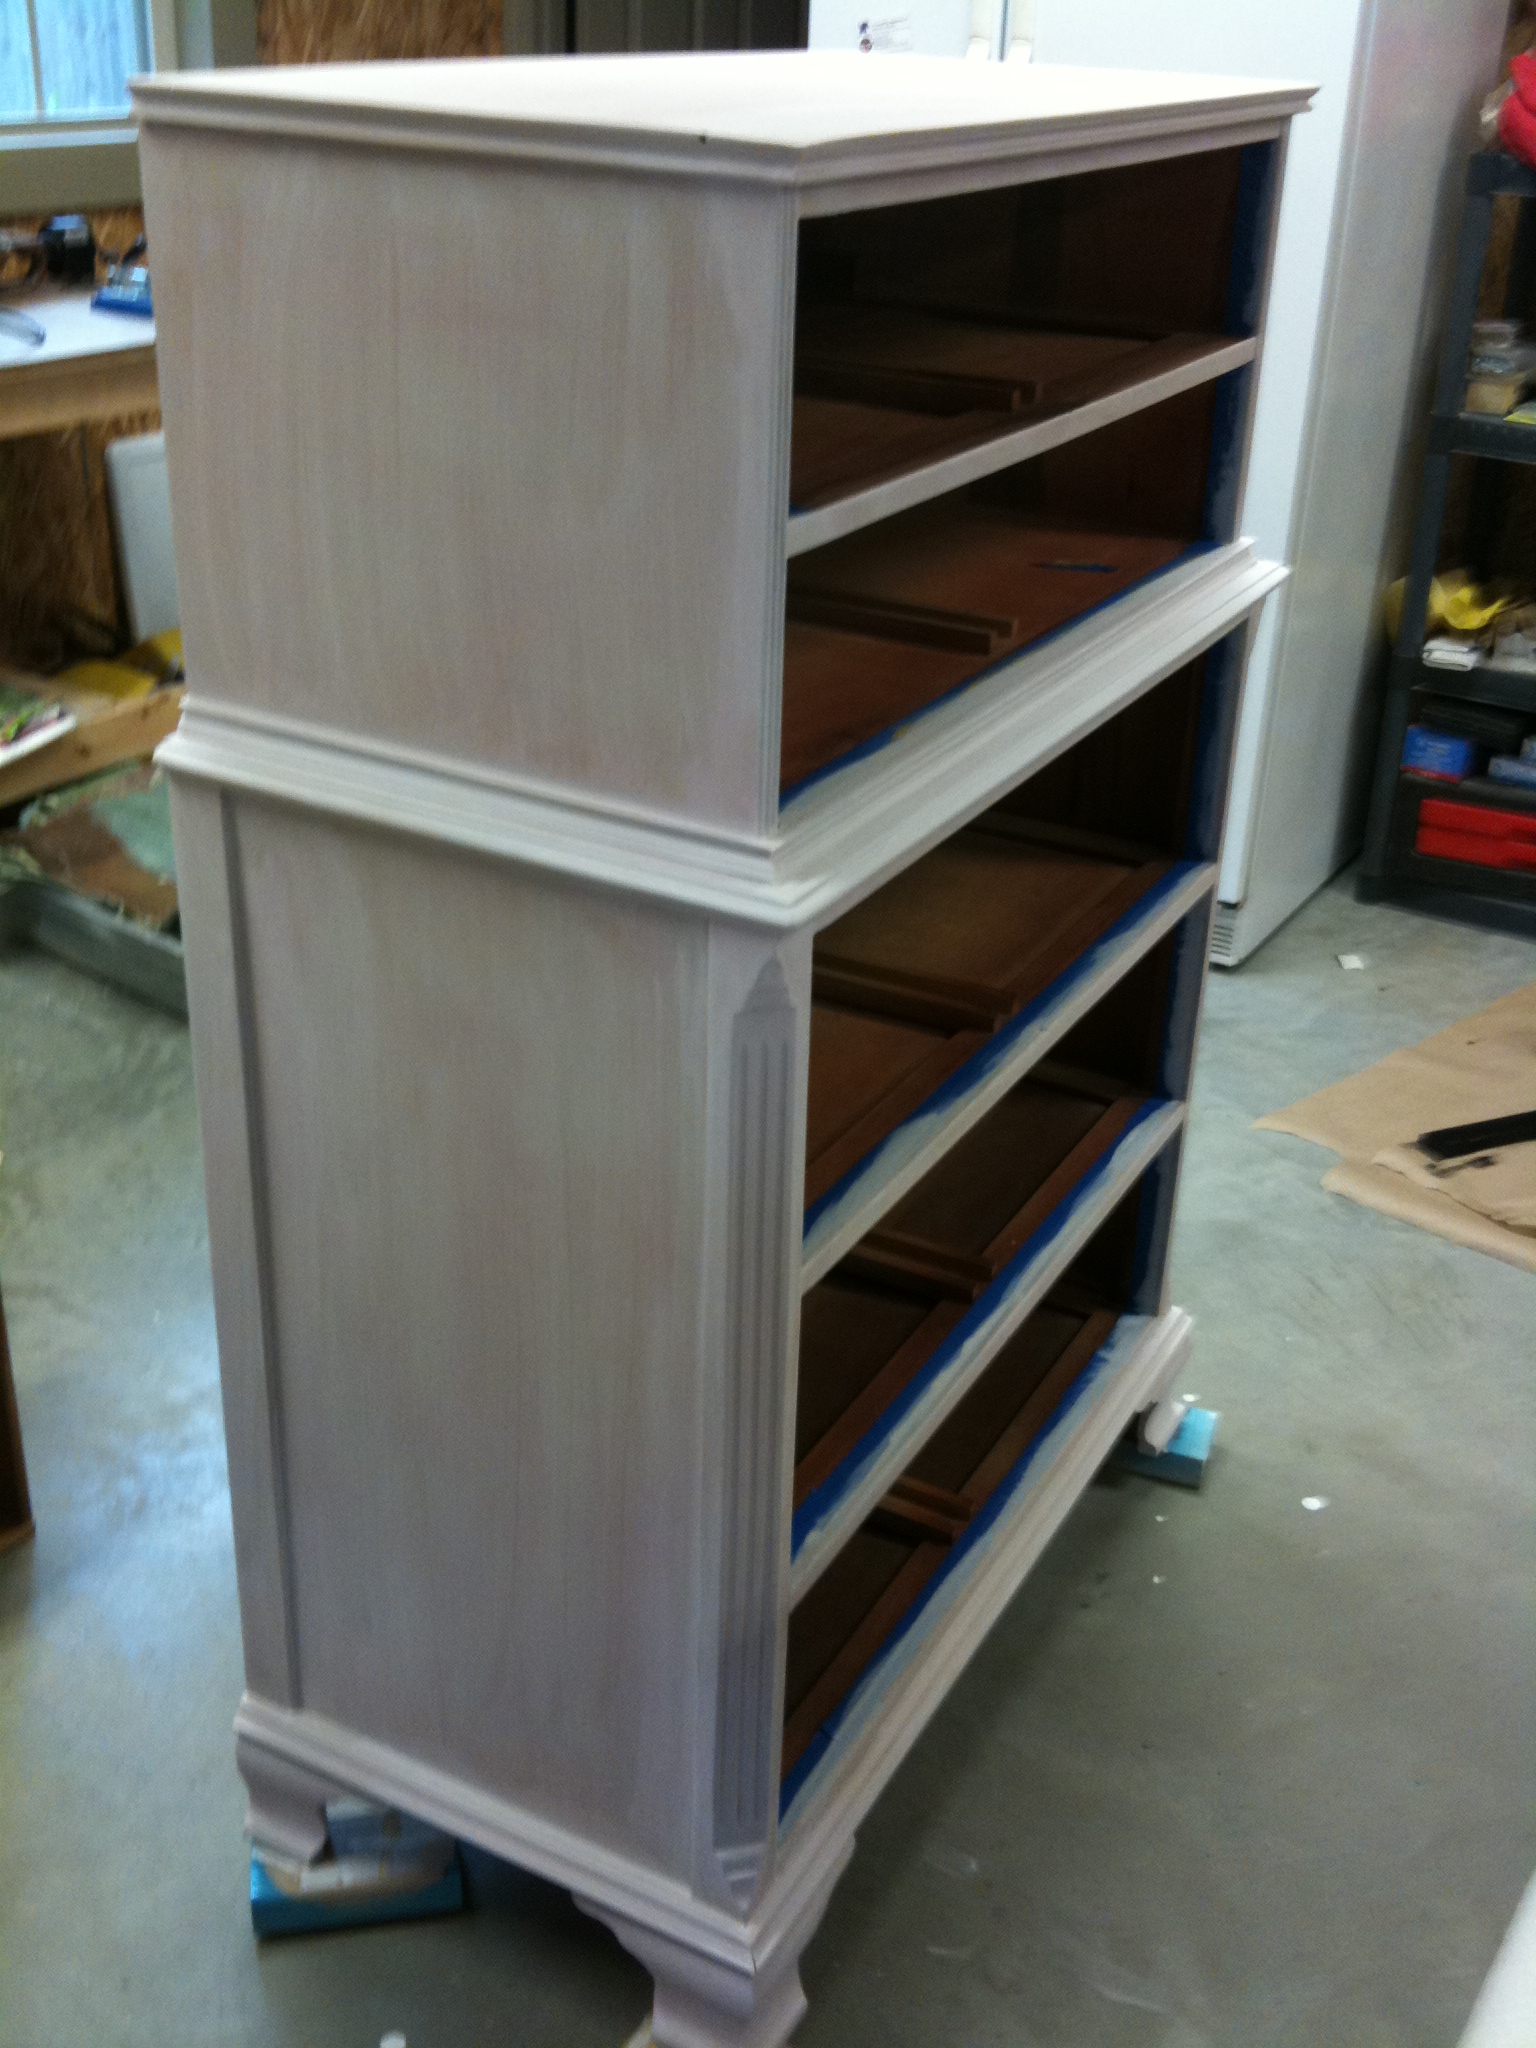
After getting away with no primer on the first dresser, I pressed my luck and, after sanding, jumped straight to the mustard yellow paint.  Big mistake.  You see, this dresser had a nice red stain on it, and that stain crept straight through my yellow paint.  Once the first coat was dry, it practically looked orange.

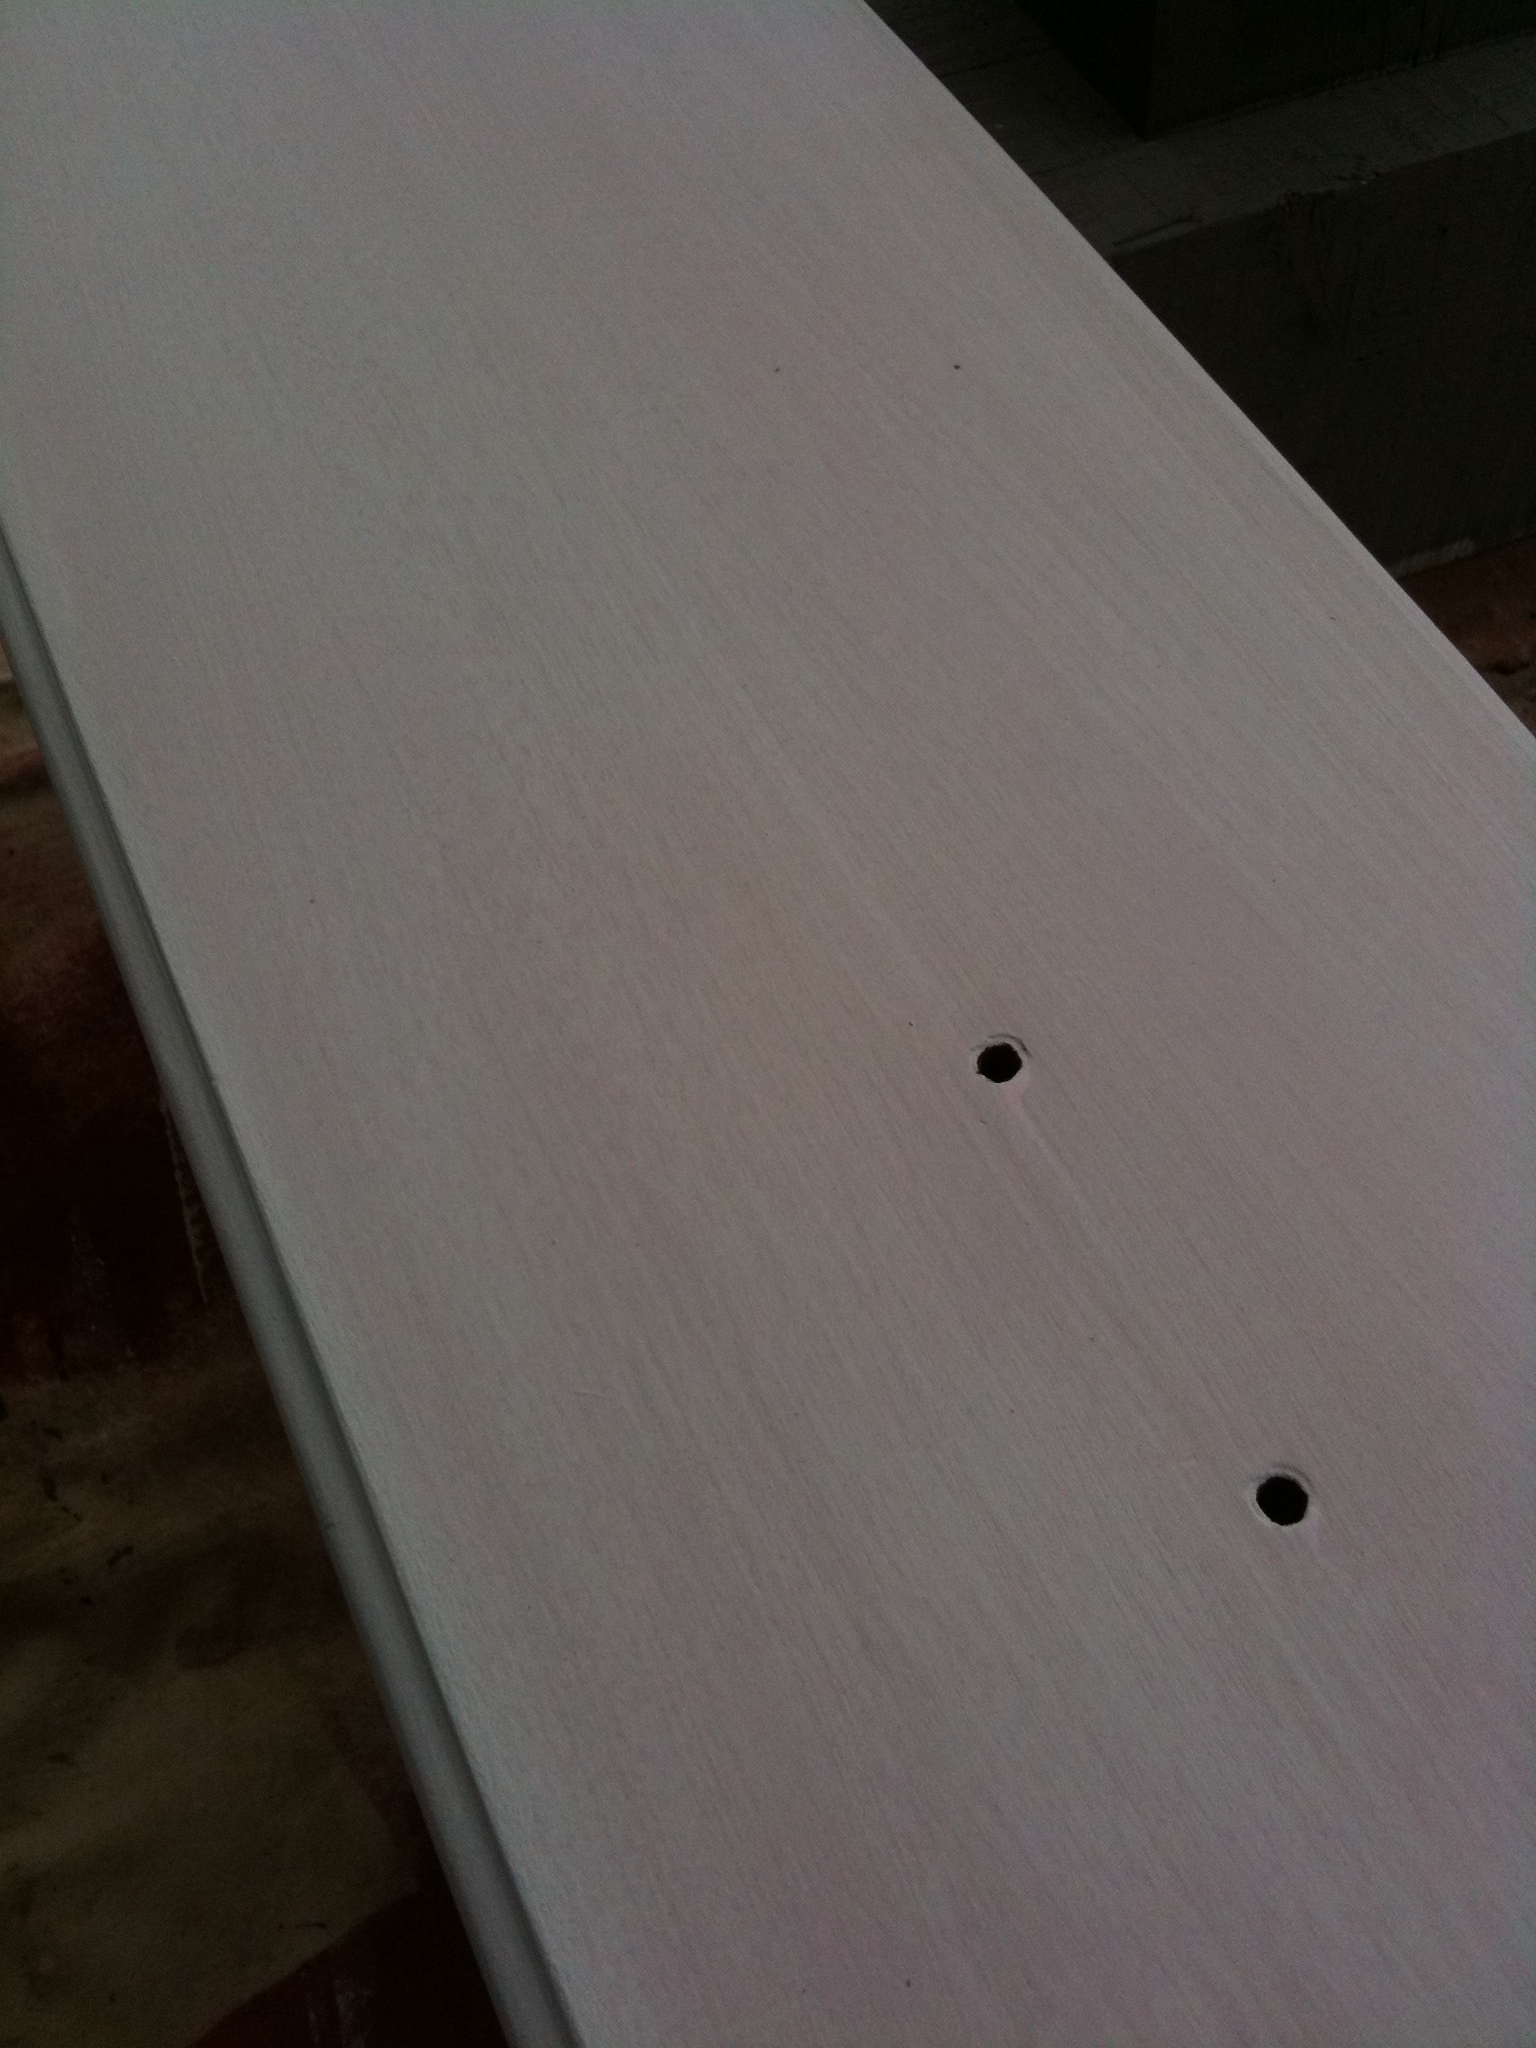
I tested a second coat of paint on just one drawer to see if it'd cover the stain.  No such luck.  So I backpedaled and broke out the primer.  This picture doesn't really show off the stain seeping through, but trust me, it was there.

Before opening the primer, I gave it a good shakin'.  It looked nice and white so I went to town priming the drawers and the base.  I did notice that it seemed very watery, but I just thought maybe it was a different brand of primer that I was used to.  (I tend to live on the edge and skip the priming step, so I'm not really even sure when the last time I had used primer was.)  As I was just finishing priming it all, my dad walked in and asked me if I'd stirred the paint can.  "I shook it, it's fine."  Leave it to my dad to prove me wrong.  He grabbed a paint stirrer and stuck it in the paint can, and sure enough, all the thick primer was down at the bottom.  D'oh!

So primer coat numero dos went on.

After three coats of paint (1 yellow, 2 primer), I was already over painting this thing.  But I knew it had great potential so I pressed onward.

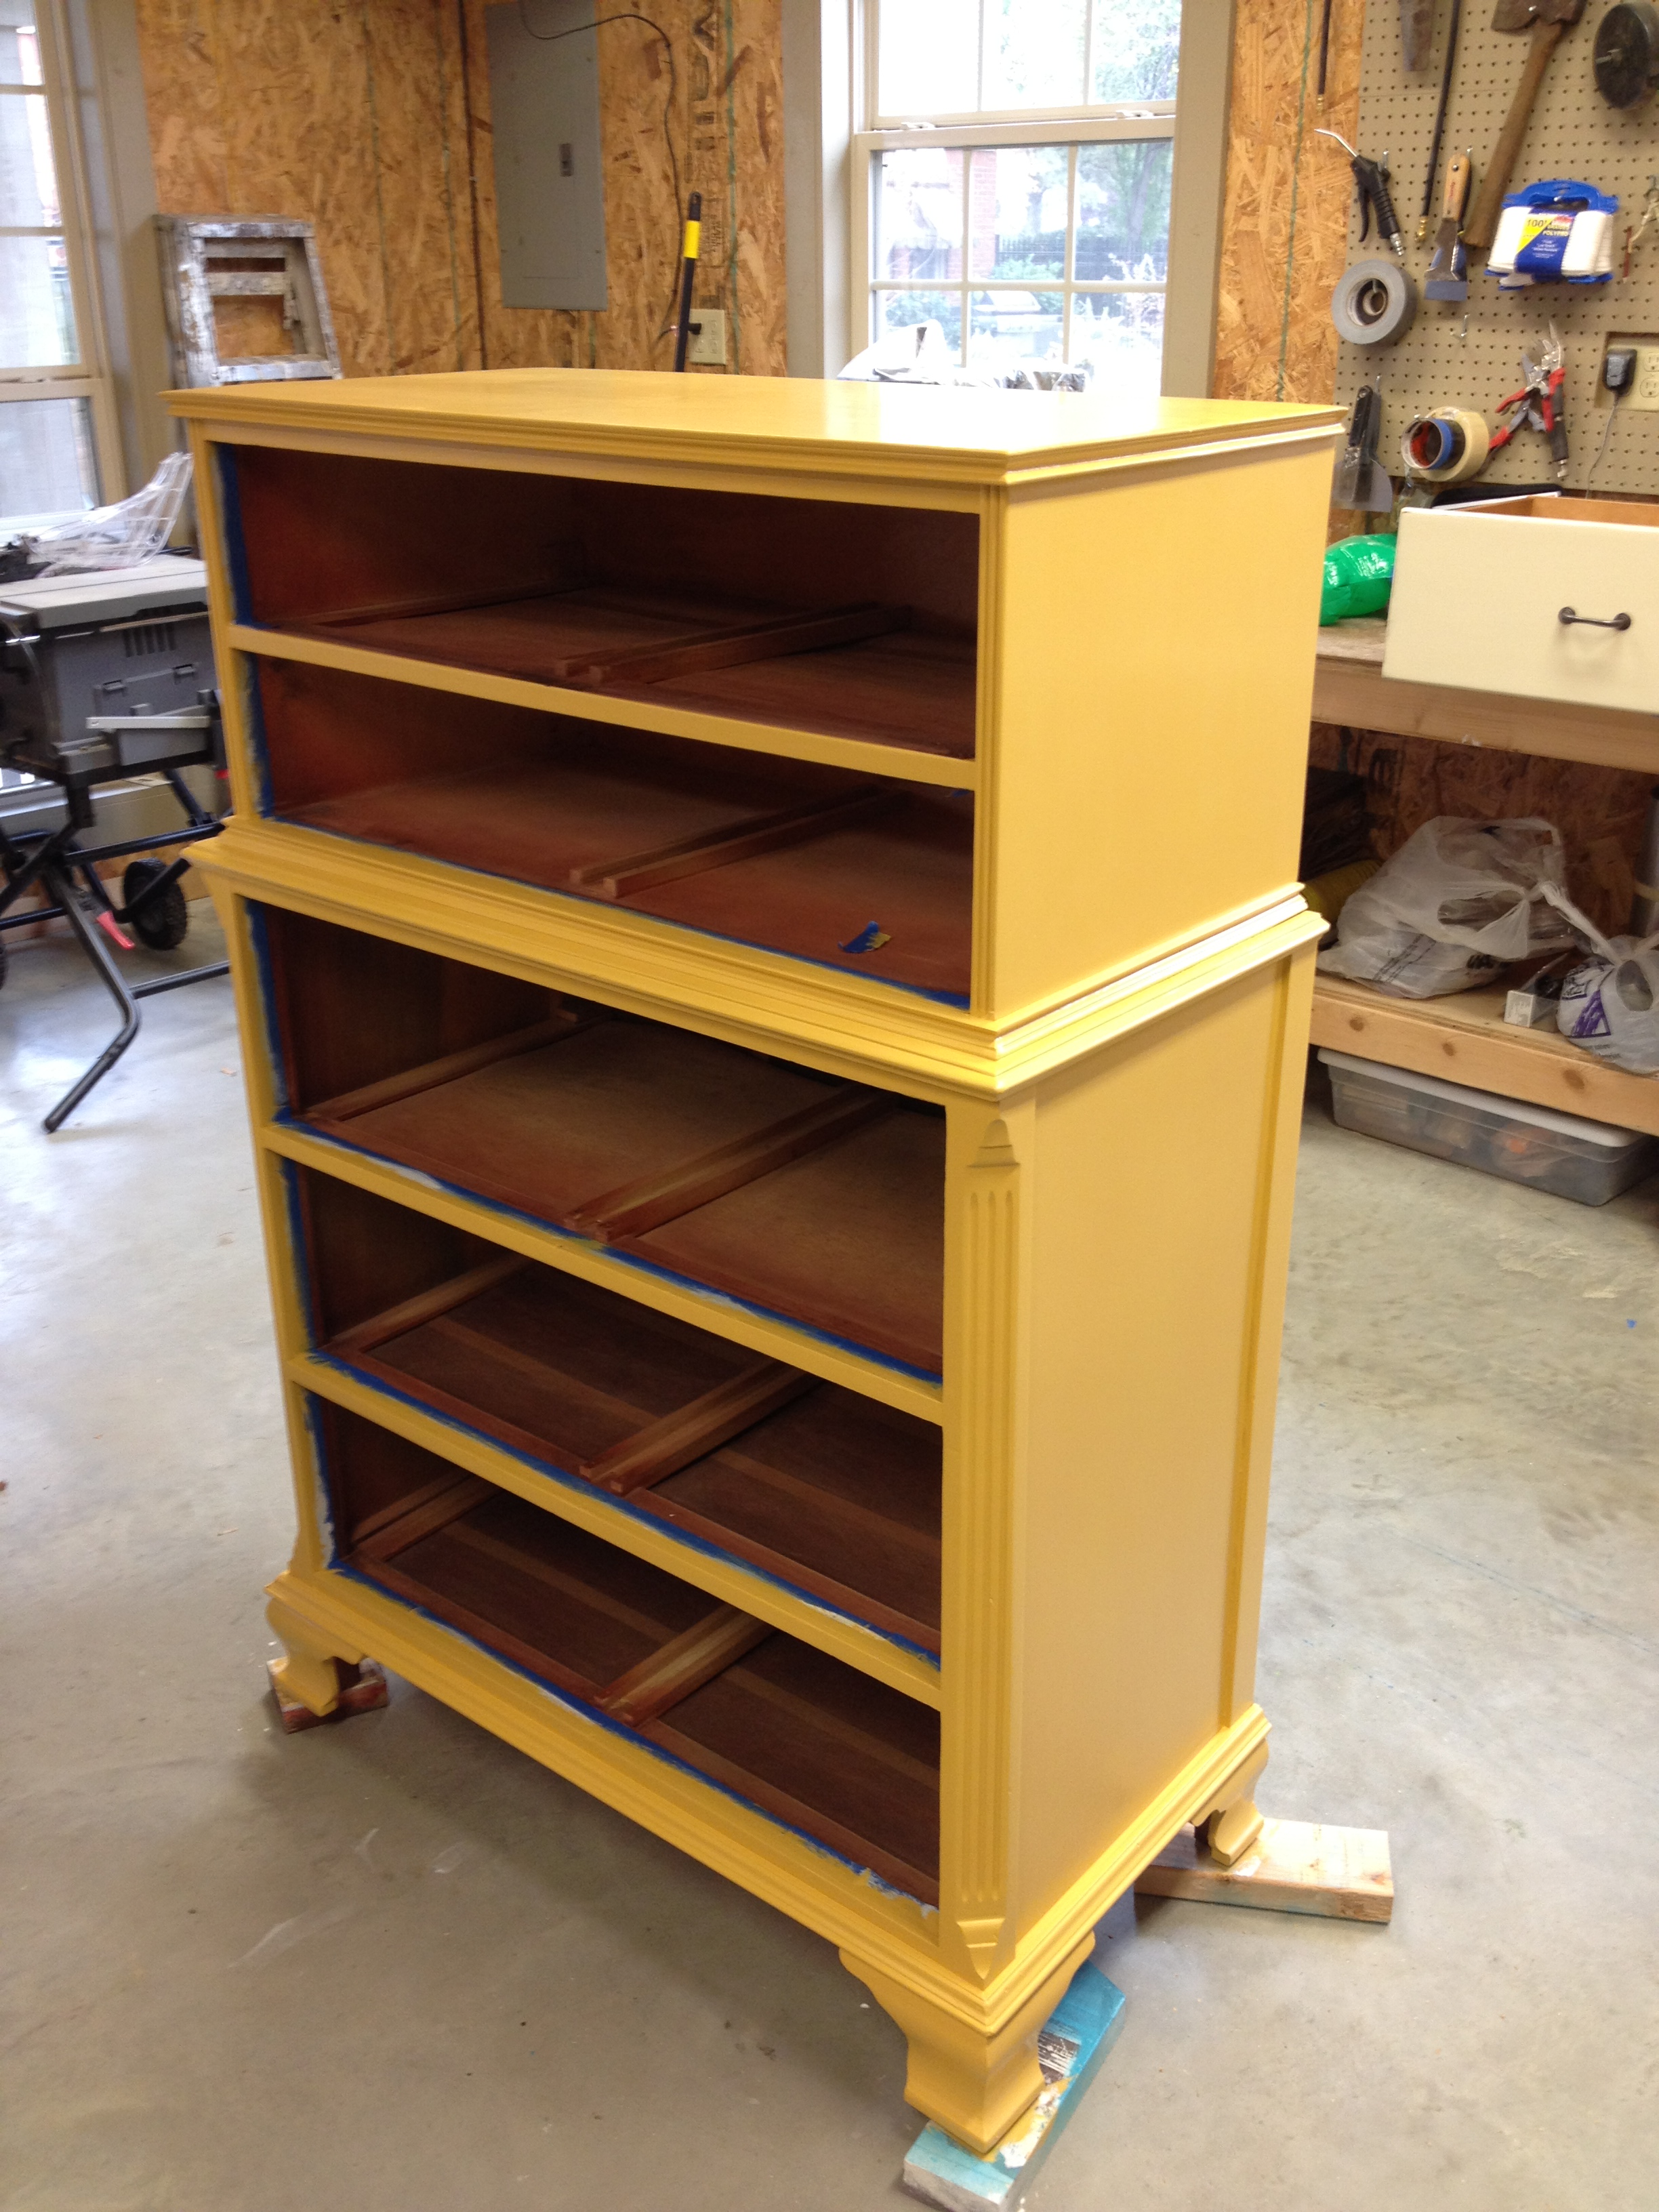
Back to the yellow paint.  The stain seeped through the primer too but I didn't care anymore. I was ready to go bold.

Two paints of yellow was all I was willing to do at this point.  I was ready to accept the stain coming through and just roll with it, but luckily, after the second coat of yellow, it really wasn't that bad anymore.

Then it was time to jazz it up!

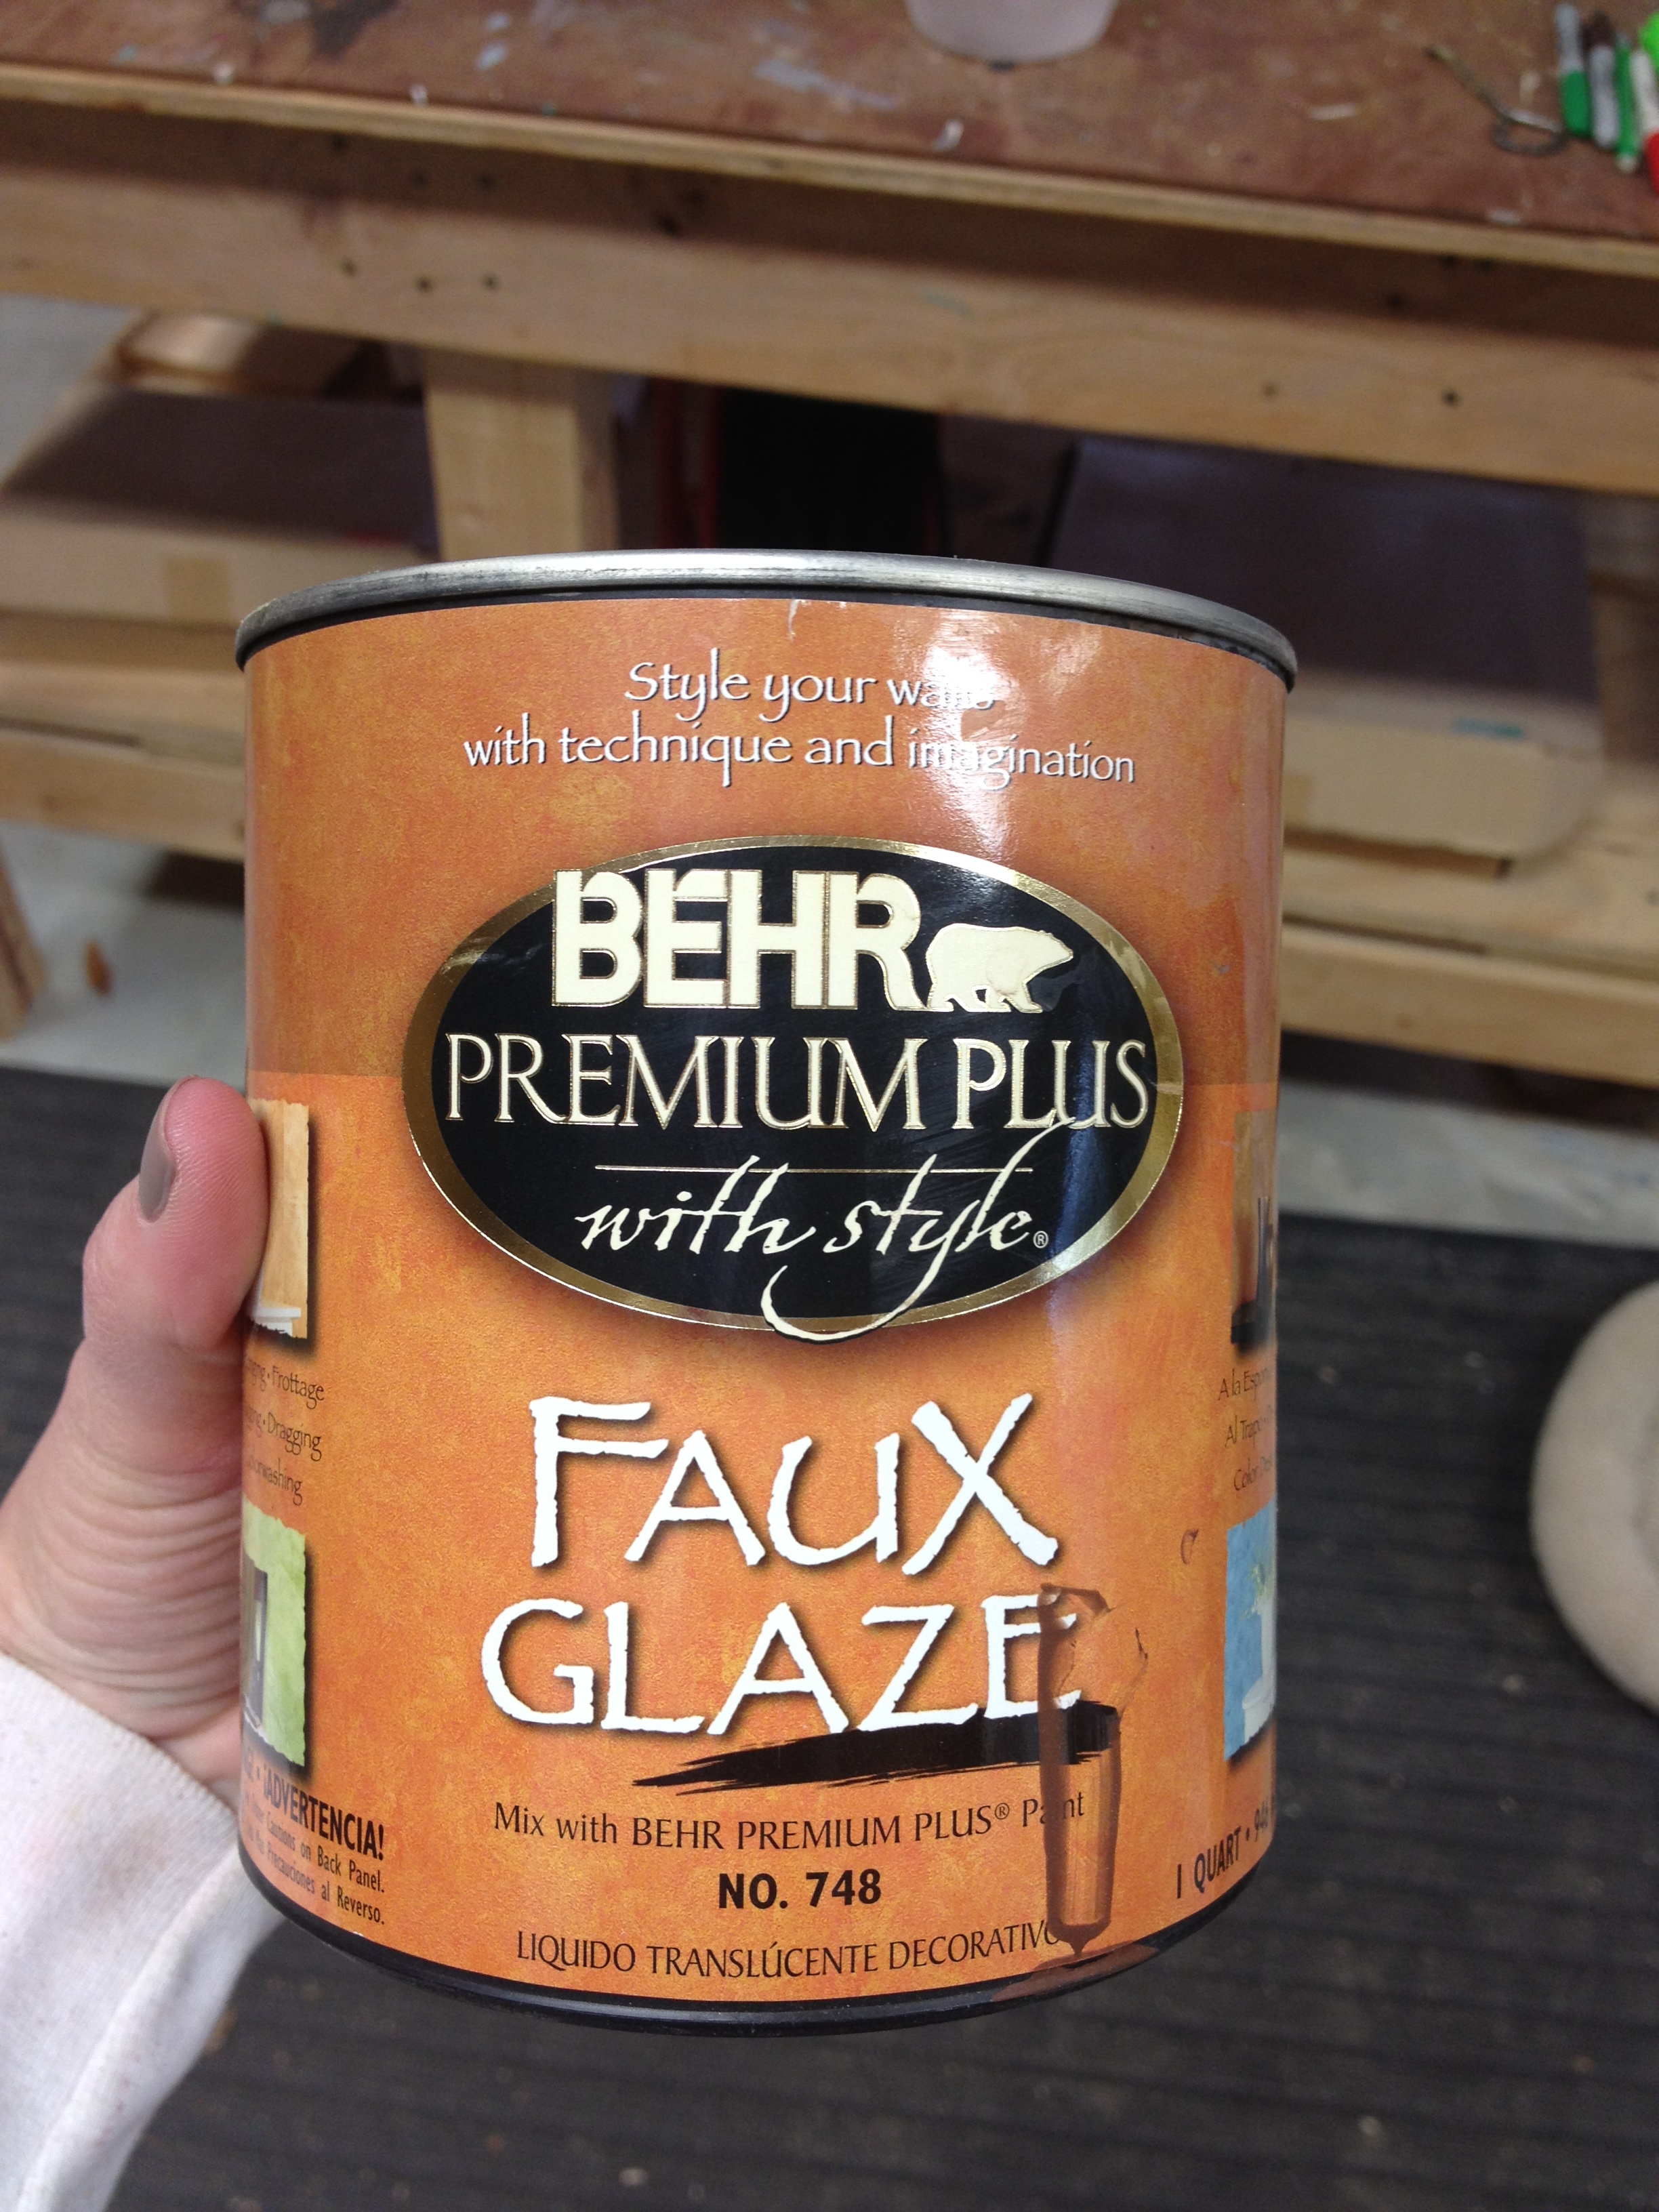
I used this glaze.  It comes without any tint.

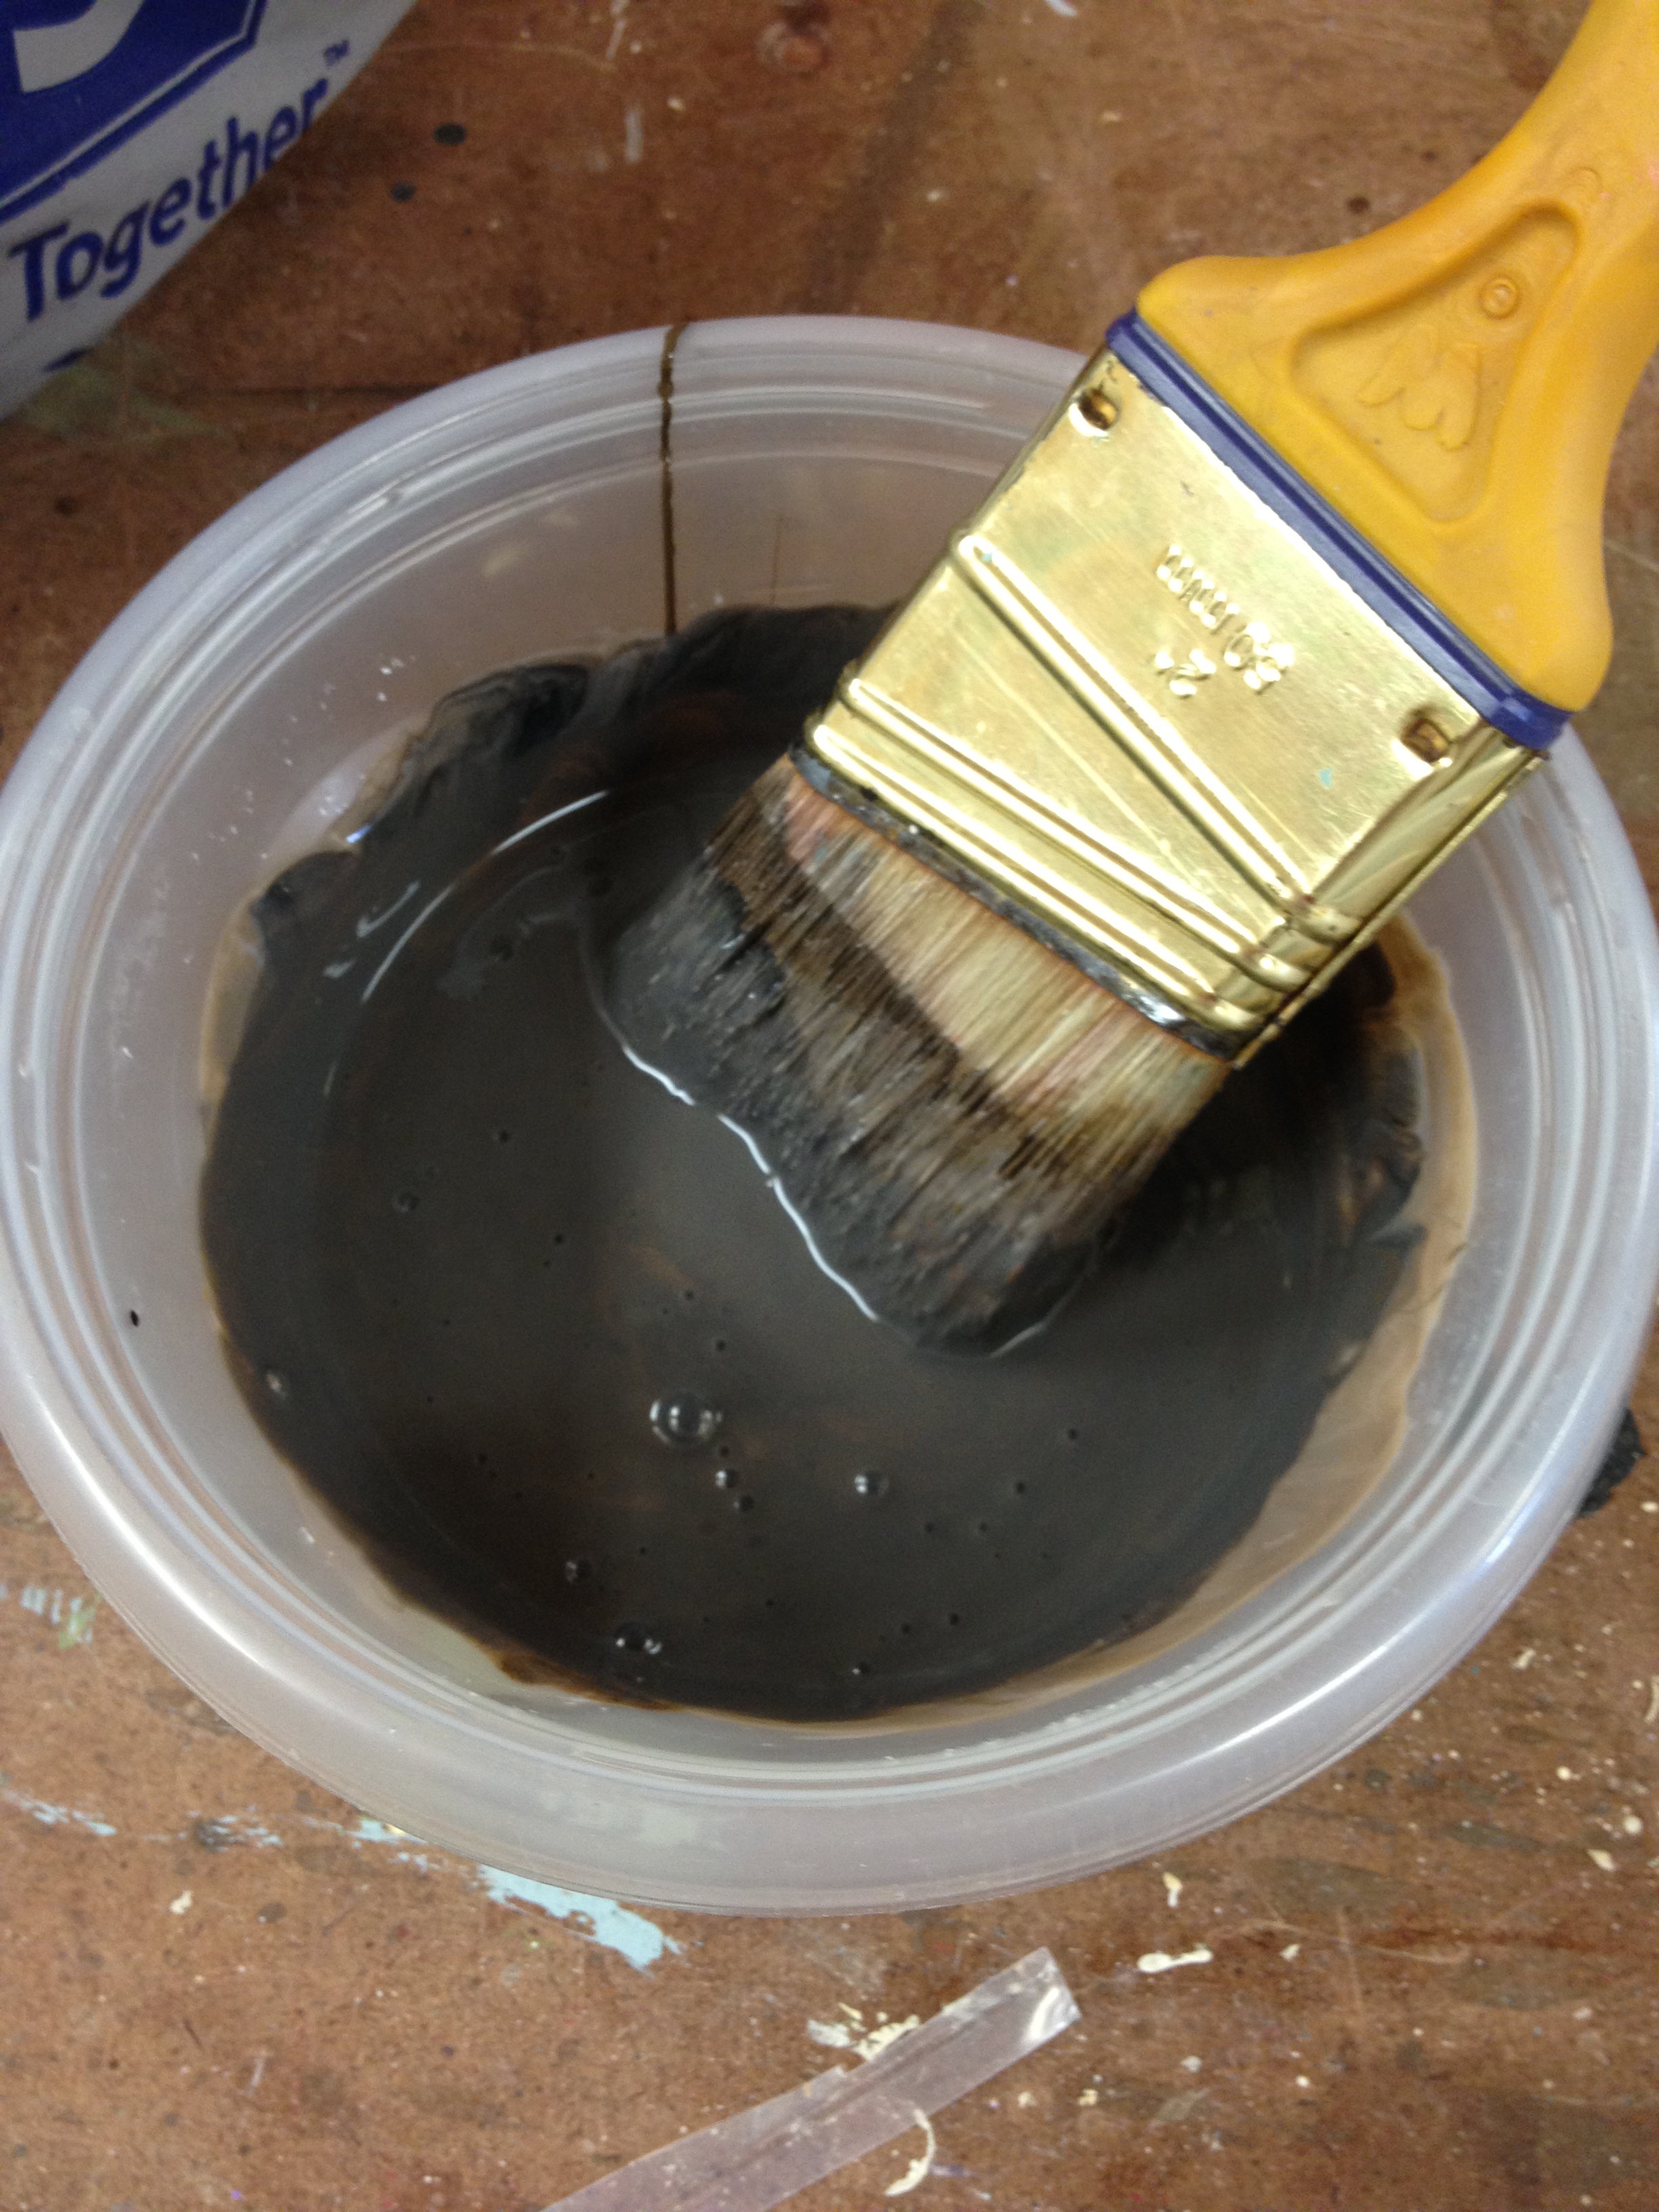
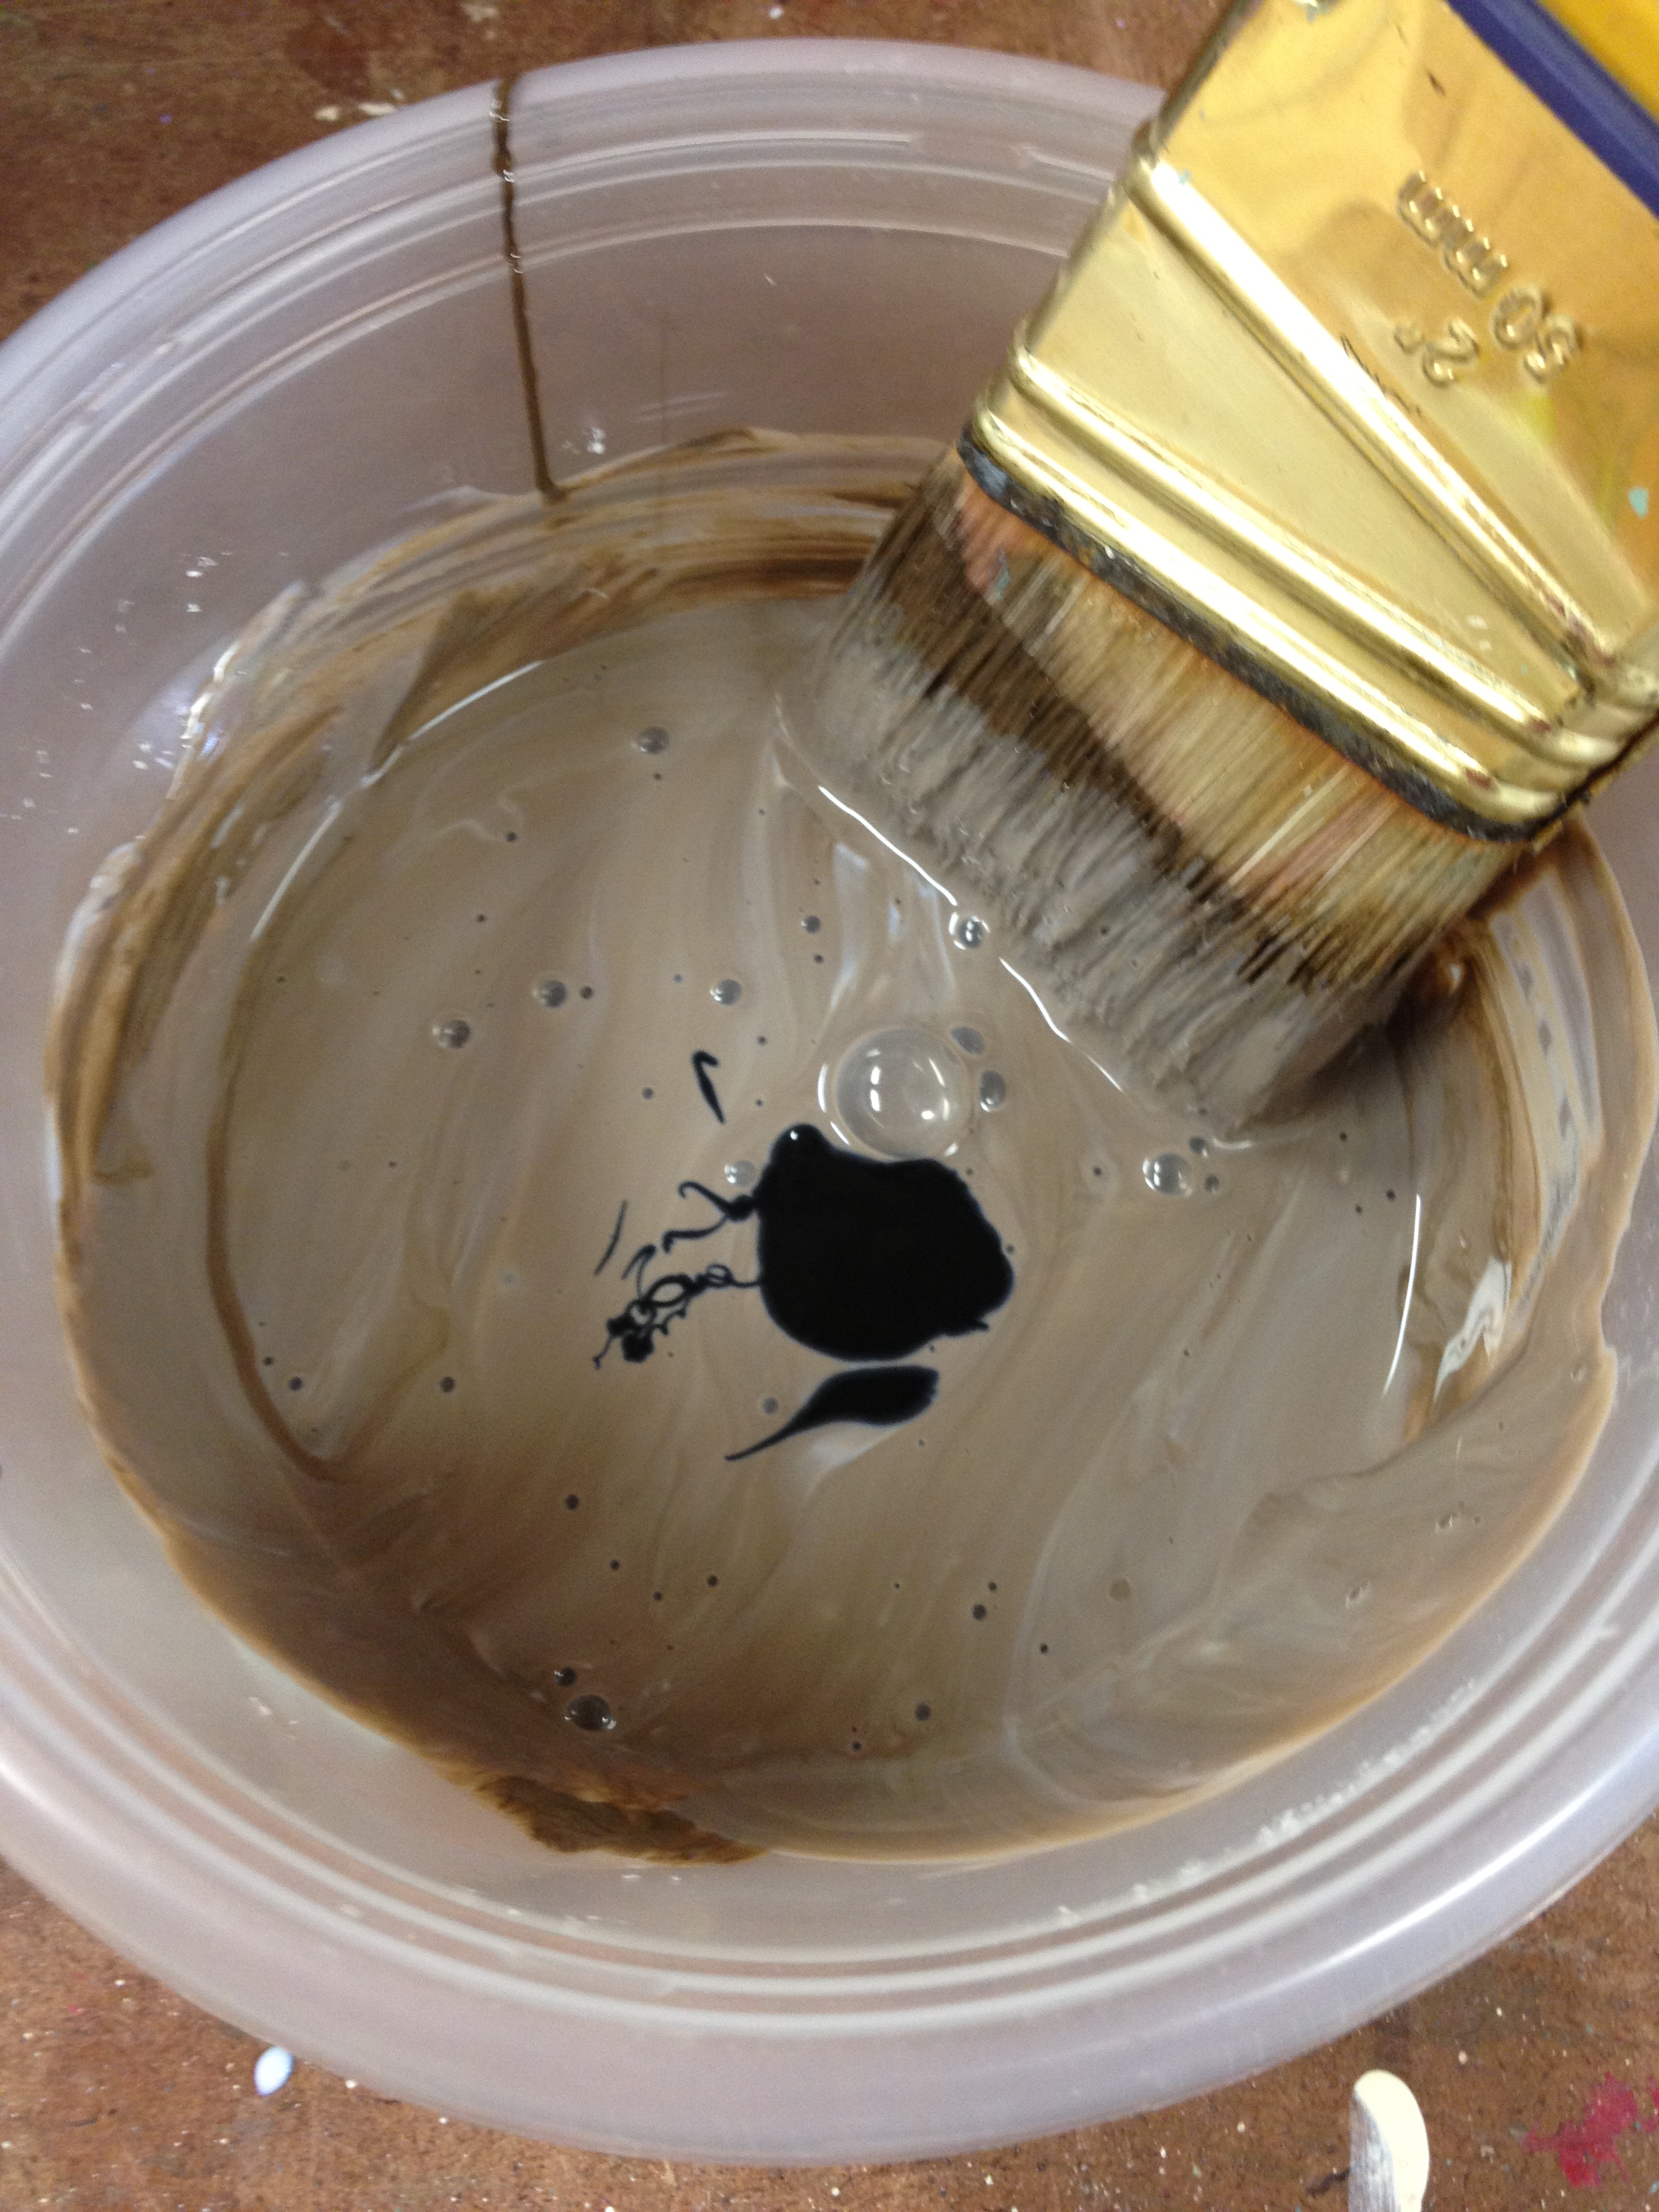
I wanted a dark brown - almost black - glaze.  I first added brown paint but it made it look like a milky brown.

A few drops of black gave me the color I was looking for.

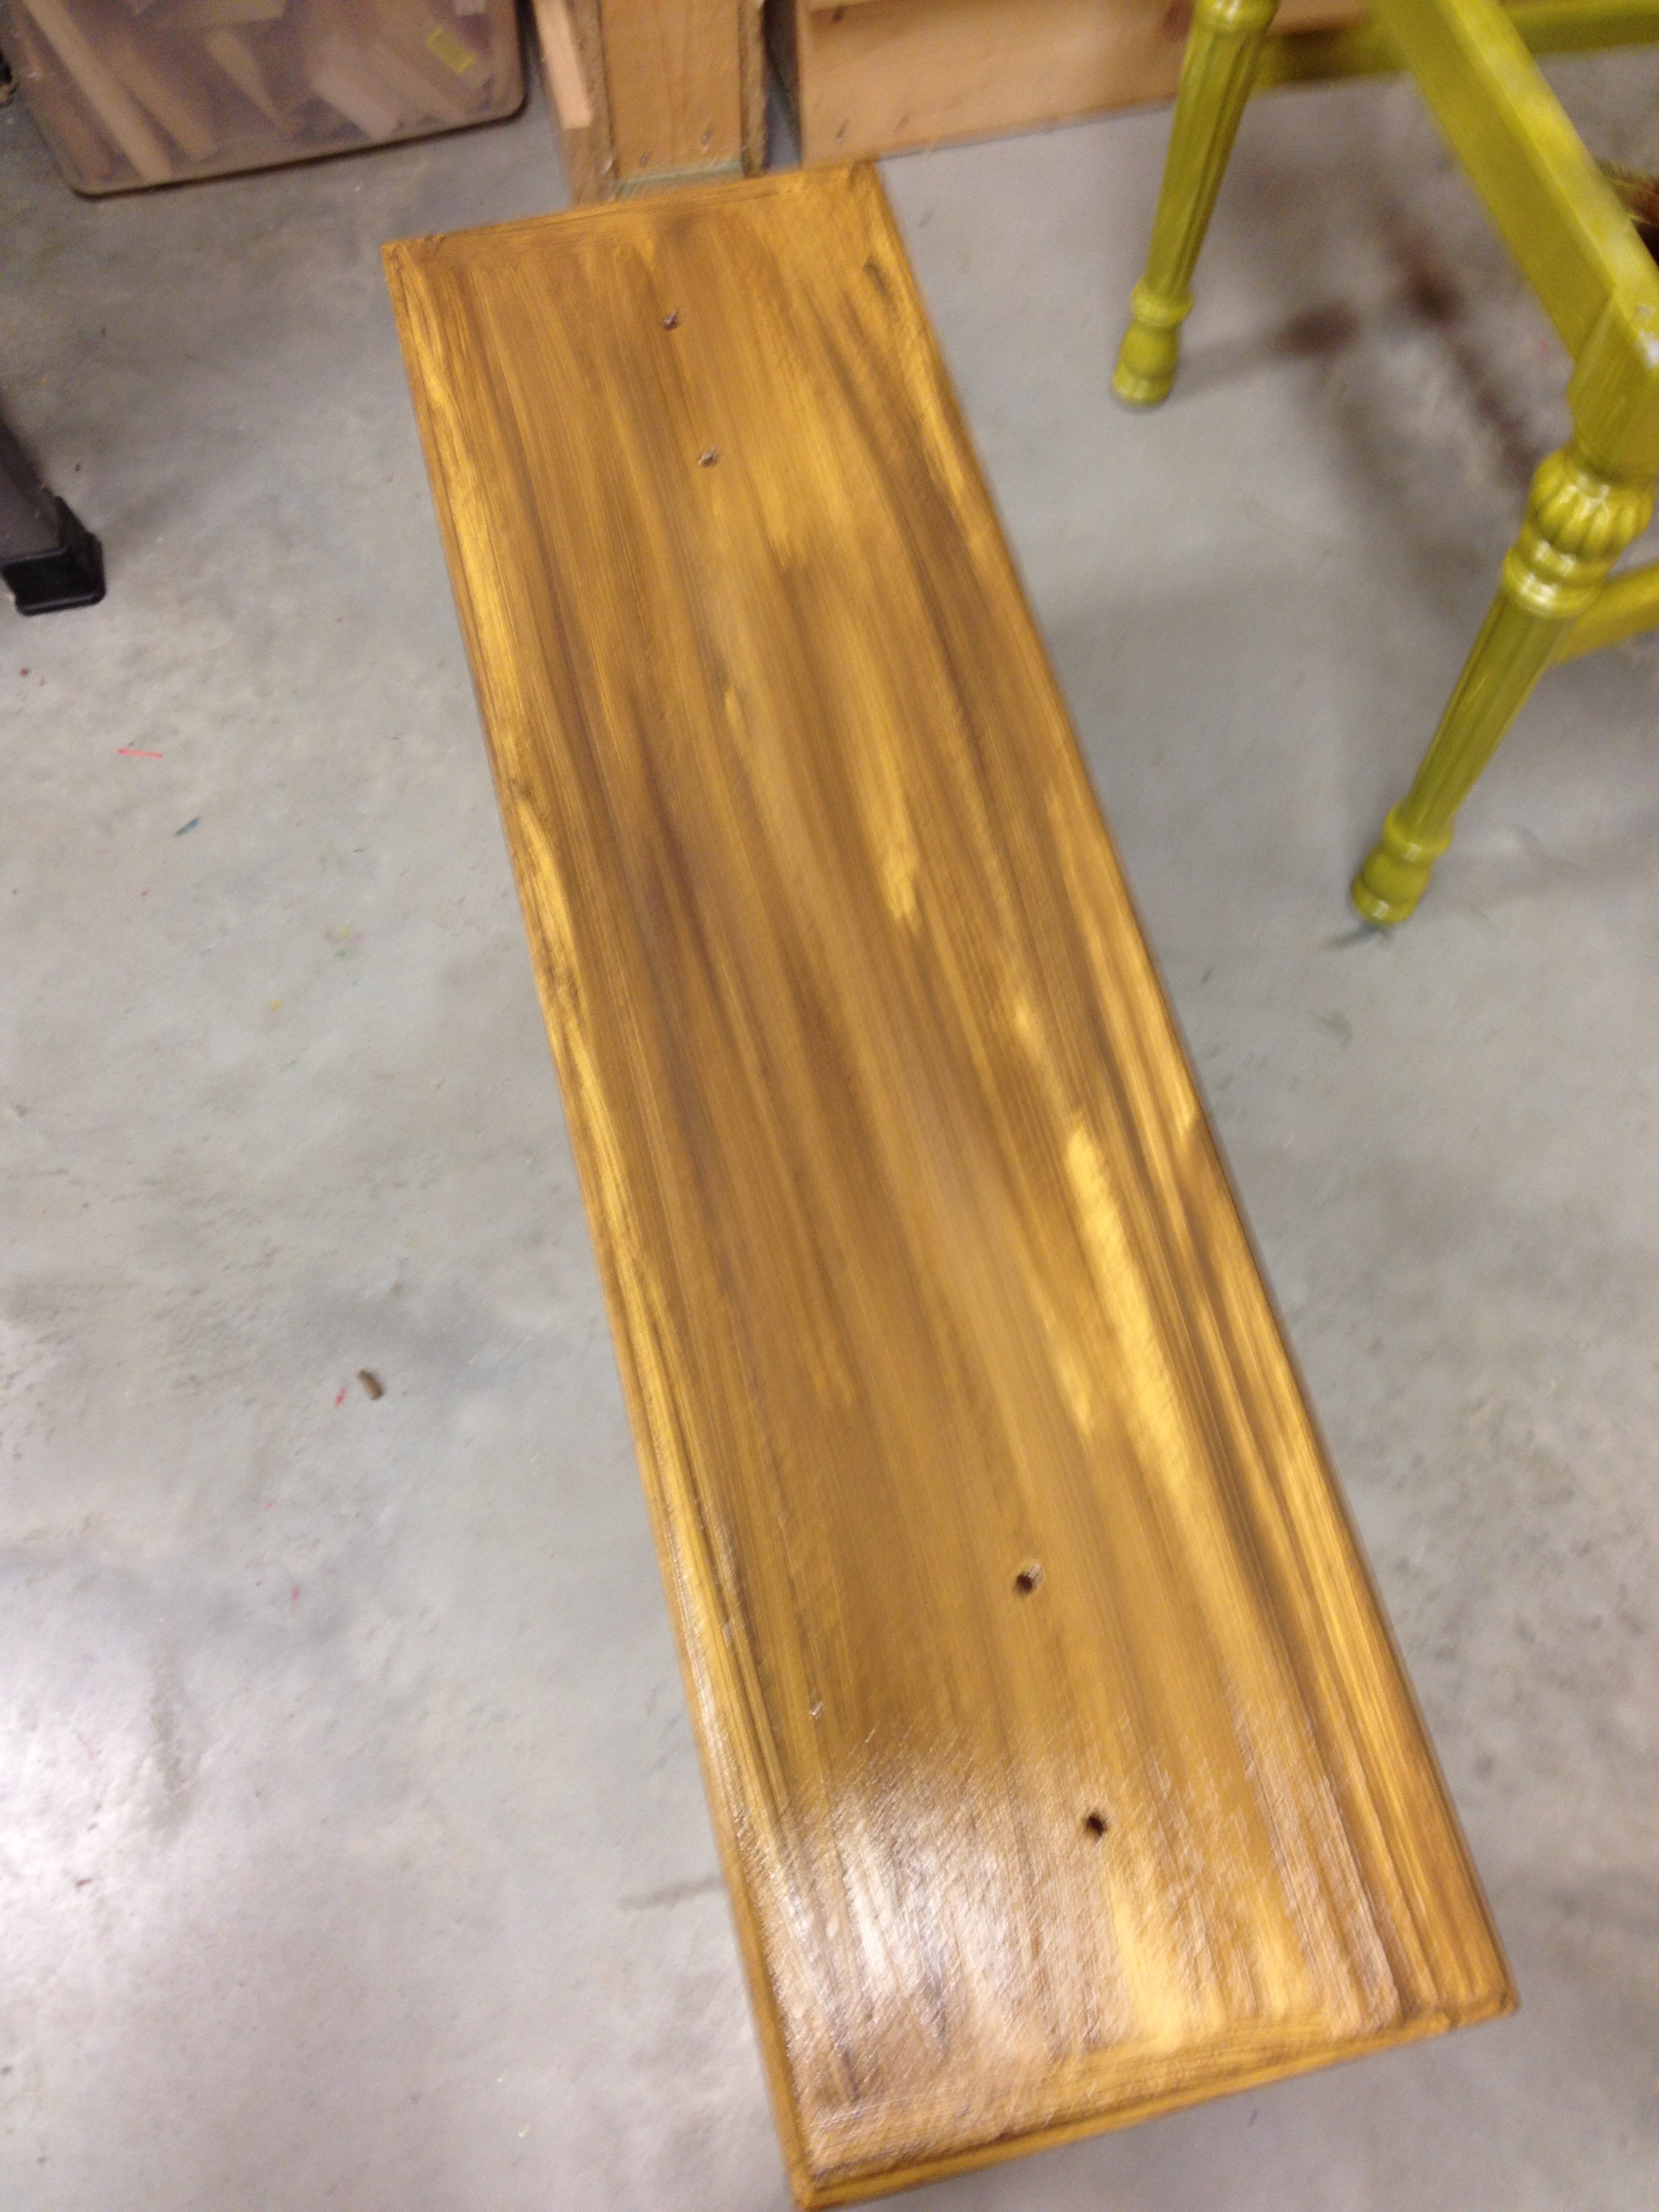
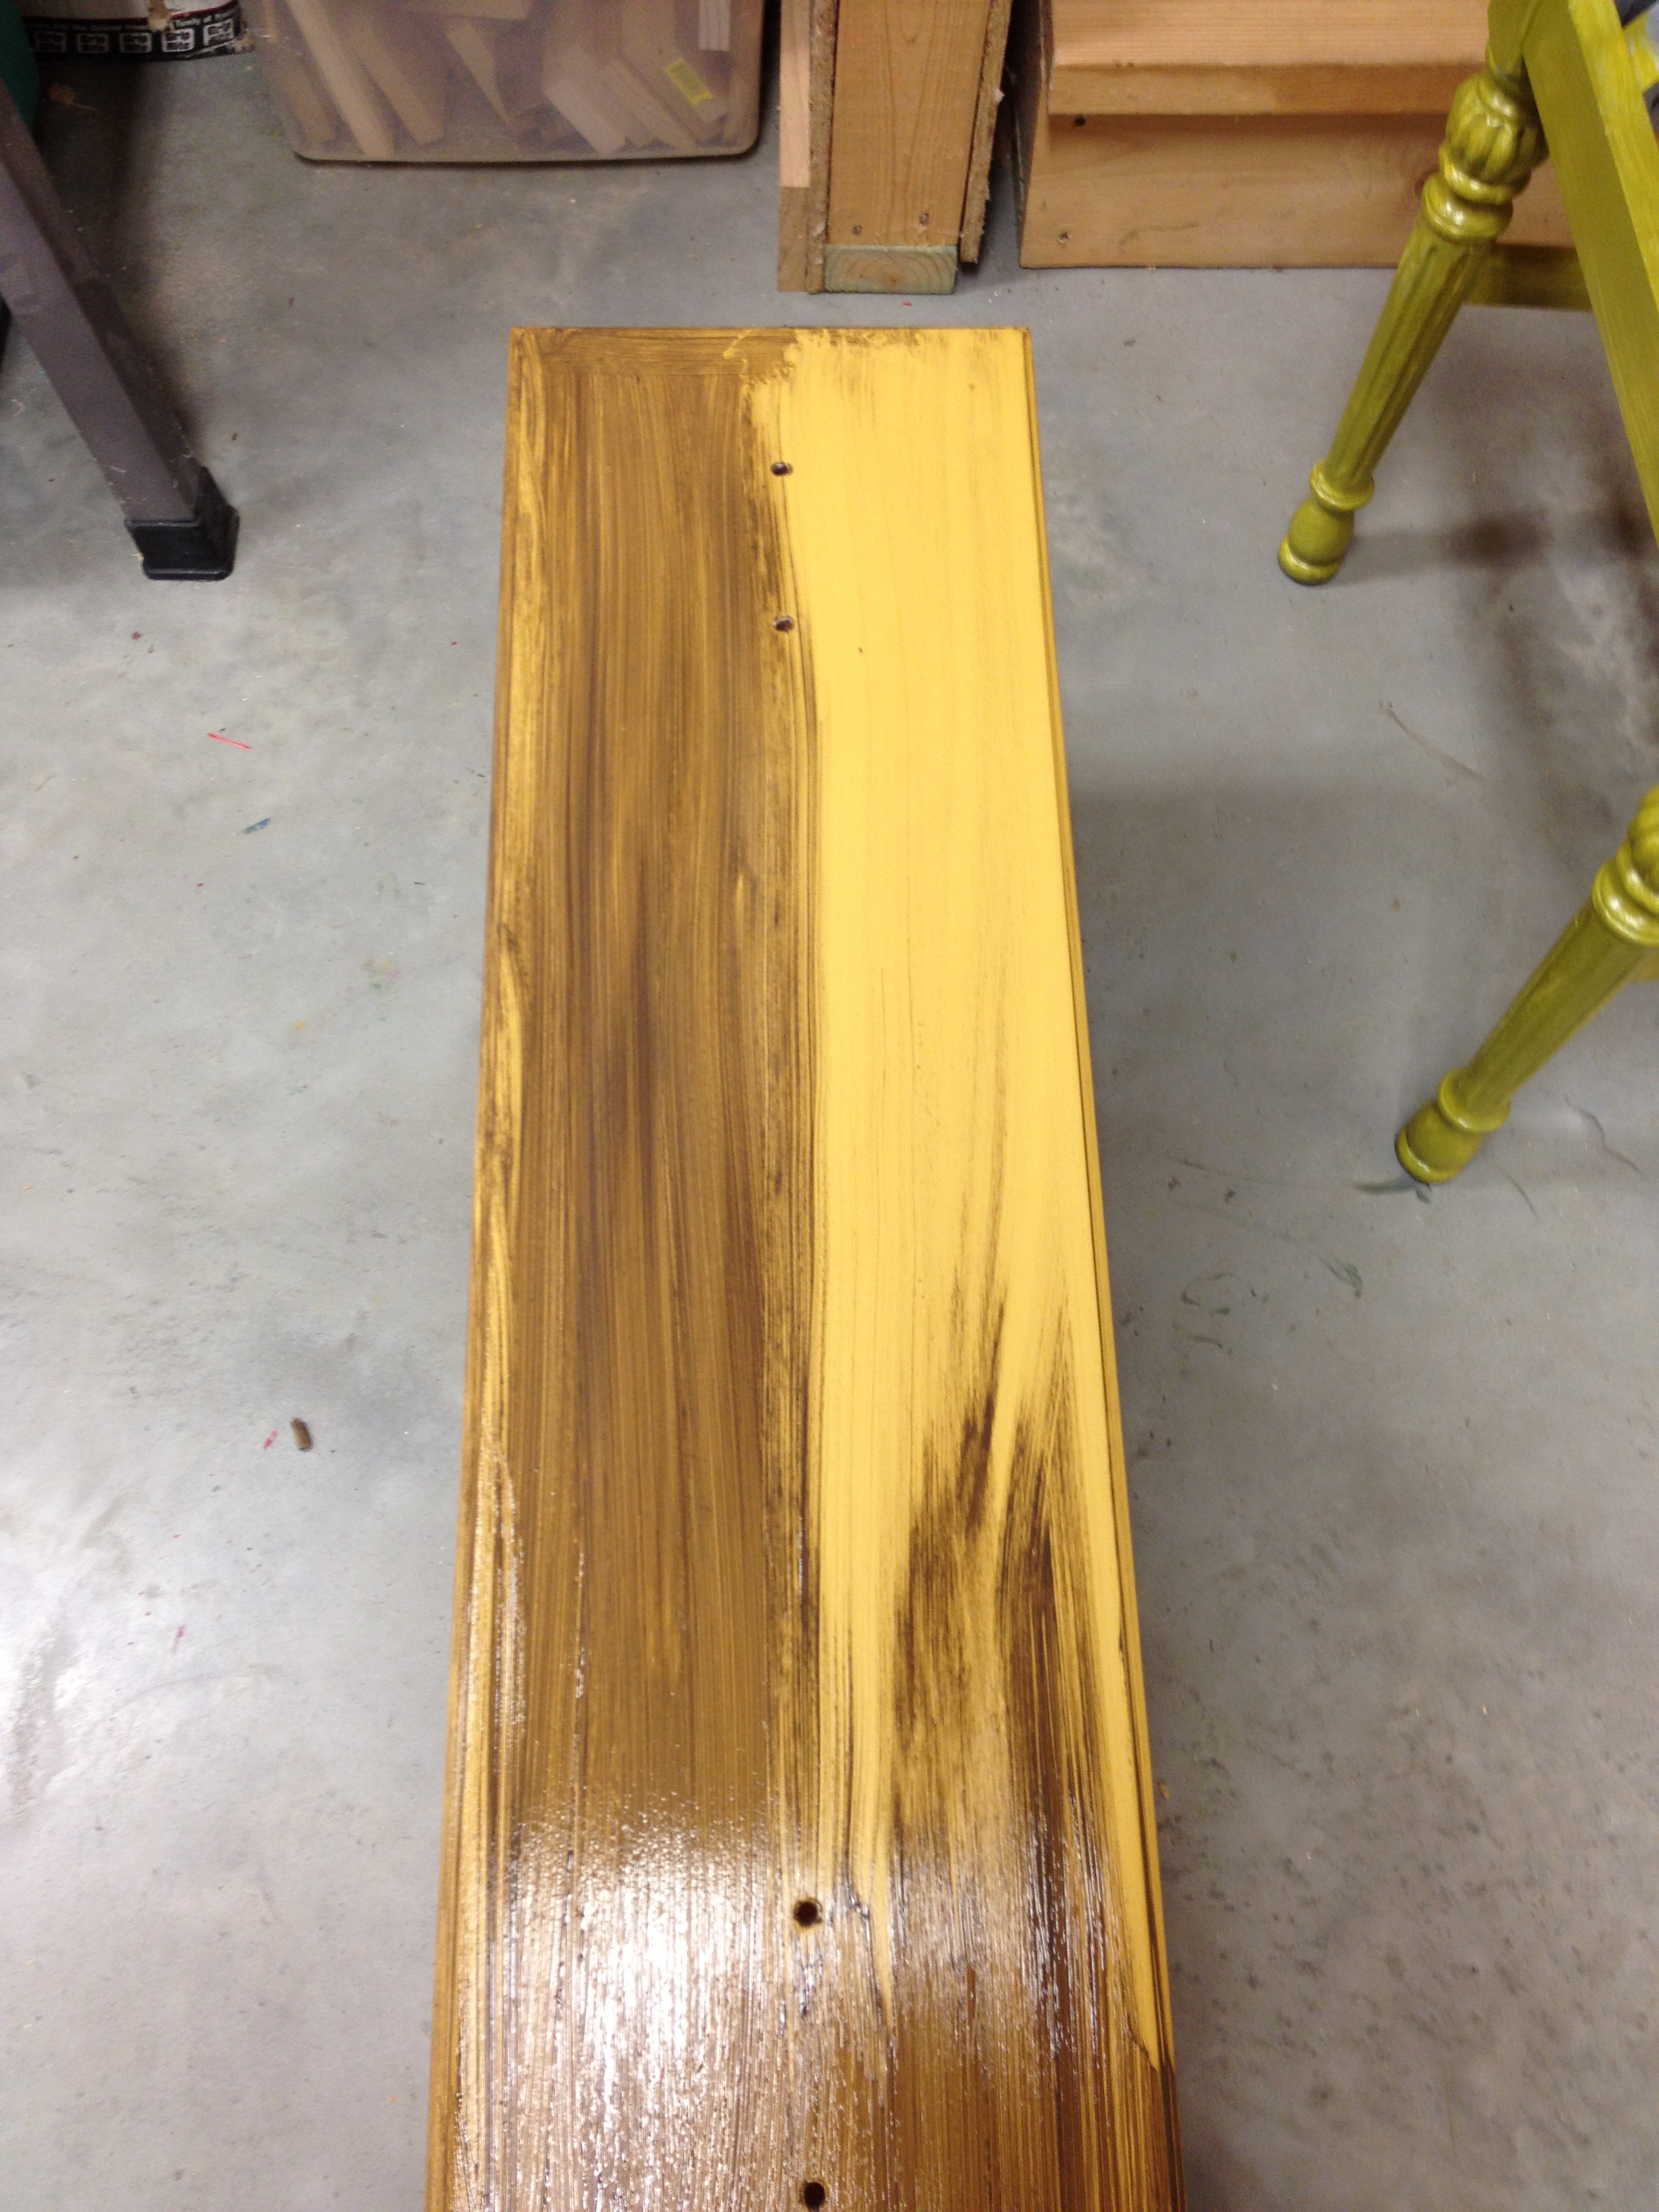
Usually when I add glaze to a piece of furniture, I dry-brush it on.  I start light and gradually add it until it's the color I want.  This time, I tried a different approach.  I loaded up my paintbrush with lots of glaze and smeared it all over the surface (in this case, a drawer front).

I waited approximately 2 seconds (literally just long enough for me to grab a paper towel) and then started wiping it off.

As I went, I found that it was actually easier (and looked better) if I took the paper towels and just wiped side to side, smearing it and wiping it off at the same time, rather than trying to wiped it off in sections like pictured above.  If it got too dry to wipe off, I used a damp paper towel.  And if I ended up wiping too much off, I just brushed more glaze on and started over.  It was a fast process and I tried not to be too picky about the way it looked.  I wanted the glaze to be darker in any grooves (like the edge of the drawers) but other than that, I just rolled with whatever happened.

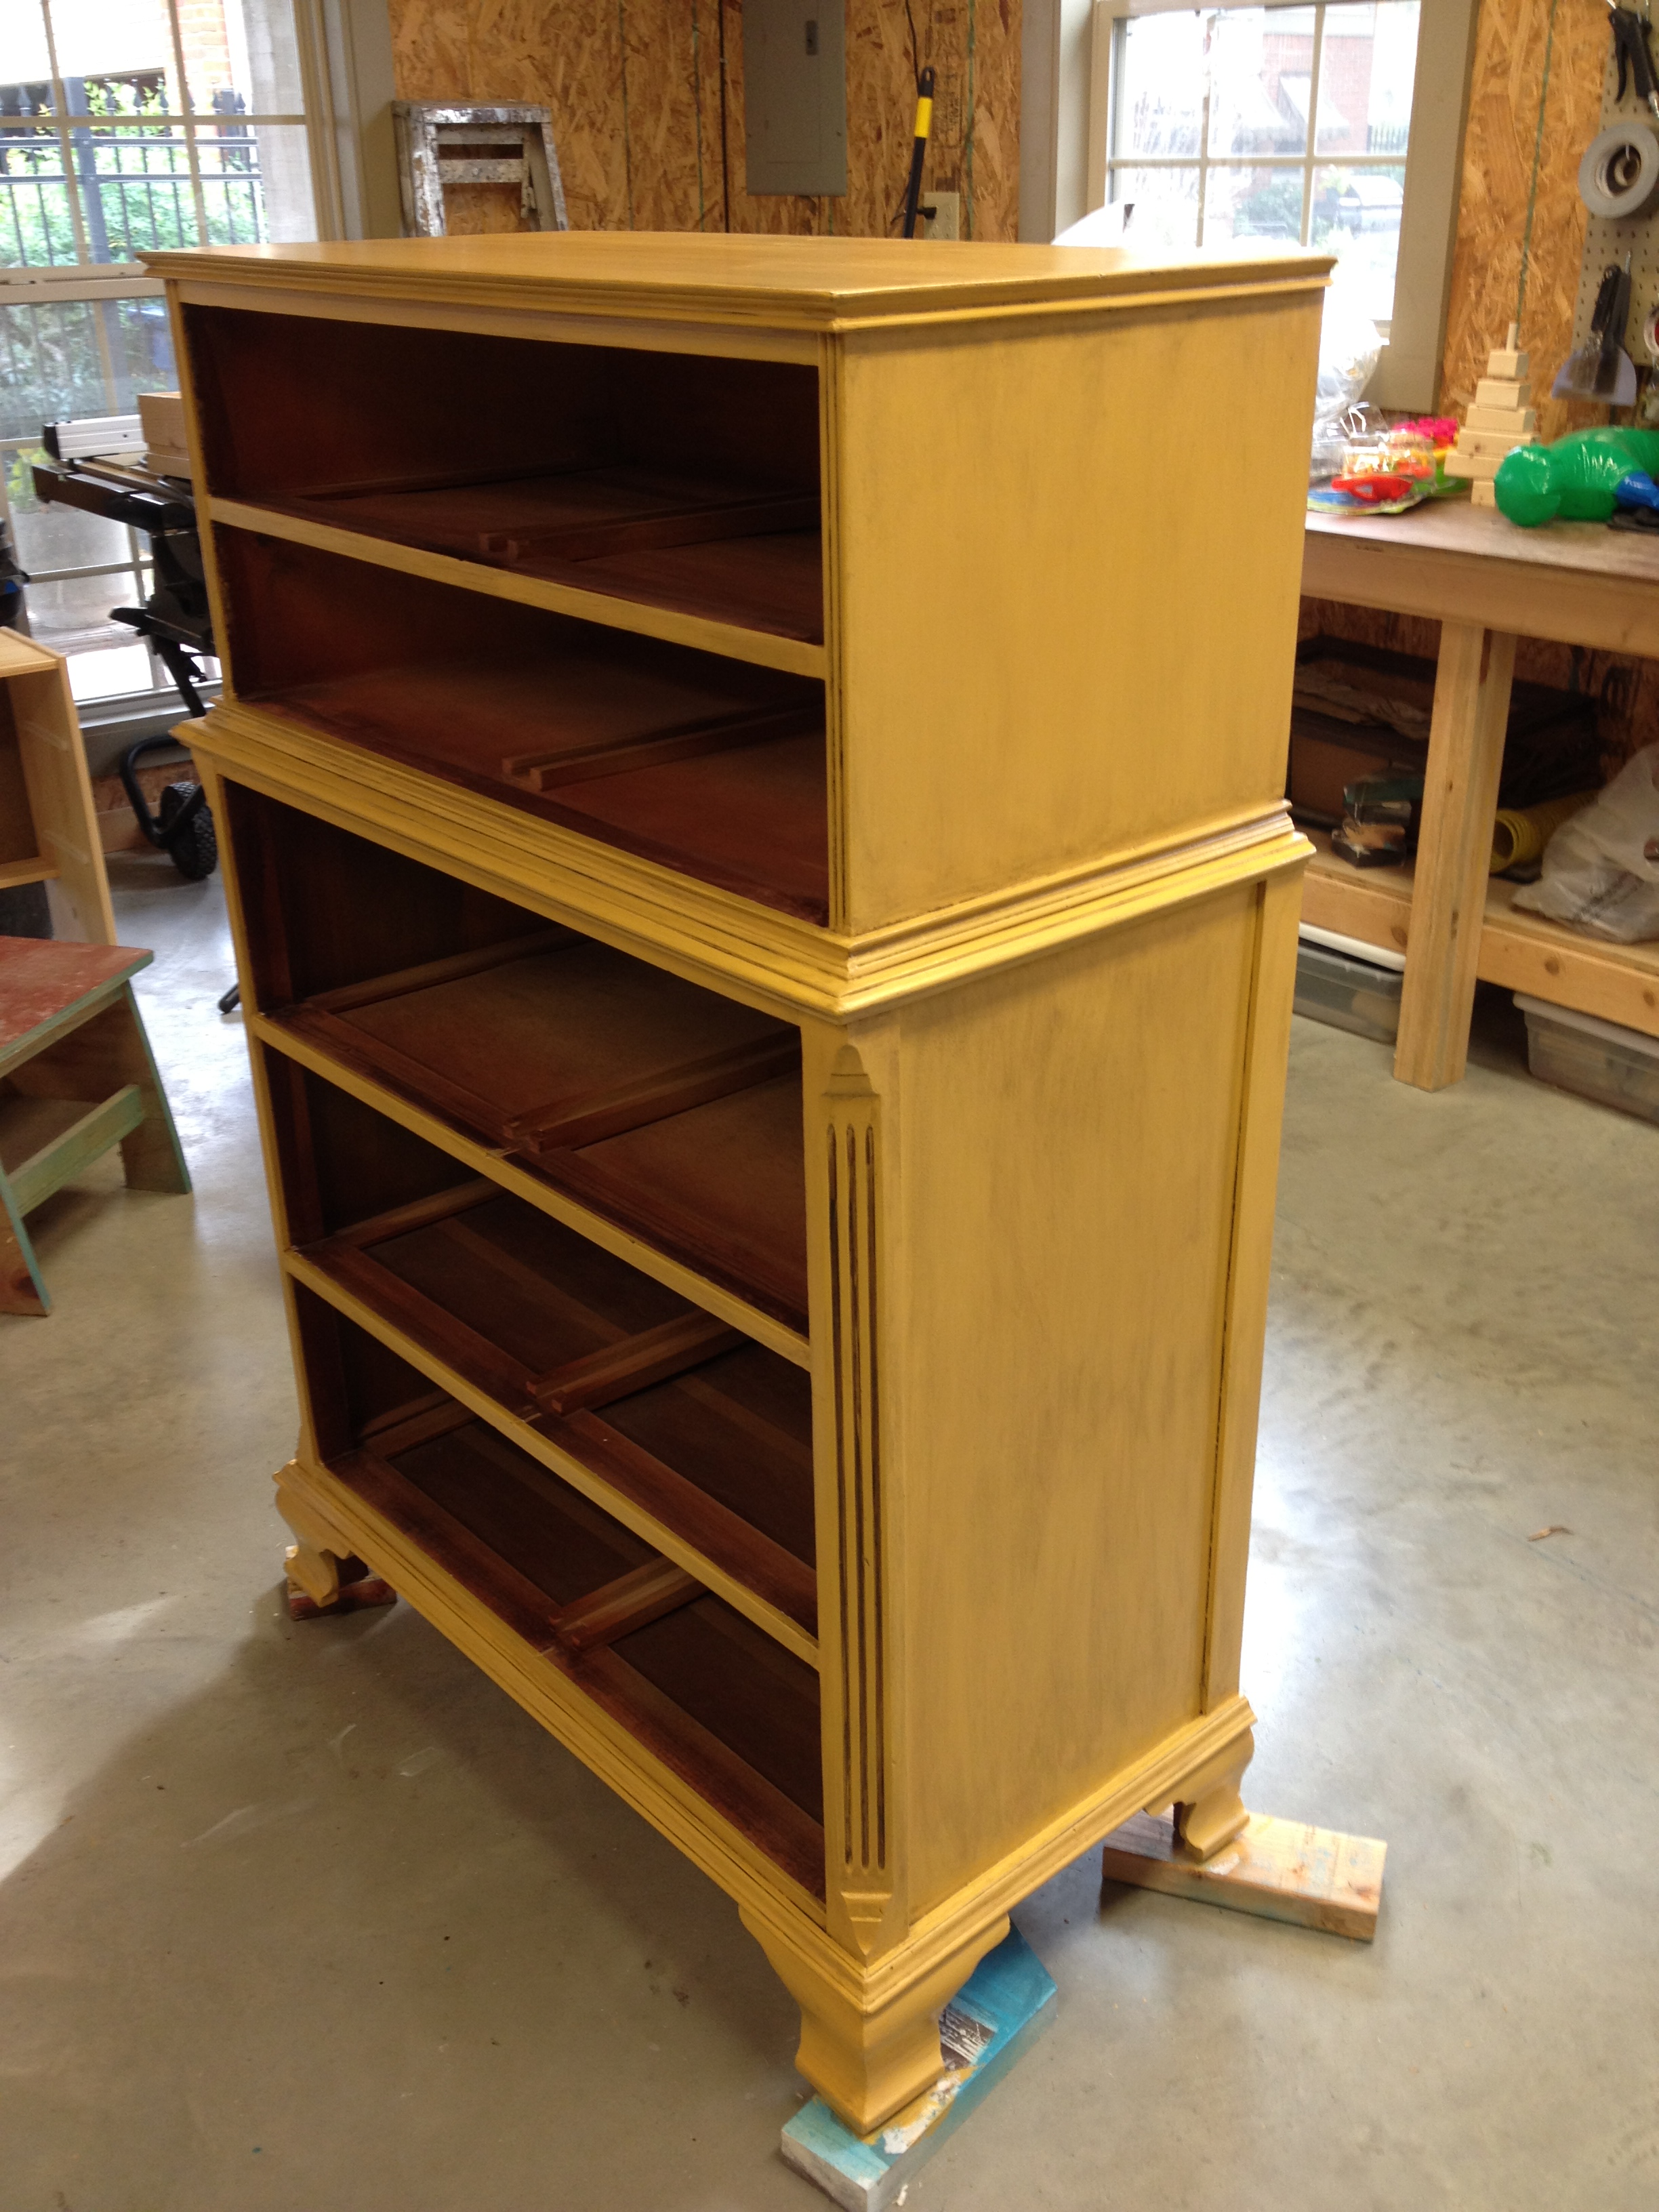
The base of the chest of drawers was a little bit harder, only because of the larger surface areas.  I wanted to do the large areas all at one time to try to keep it consistent and avoid any overlap that might occur if I did it in sections.  Obviously, the larger the surface, the quicker I had to work so the glaze wouldn't get too dry.  It's not perfect - there are definitely a few streaks that I could do without - but I think it turned out ok.

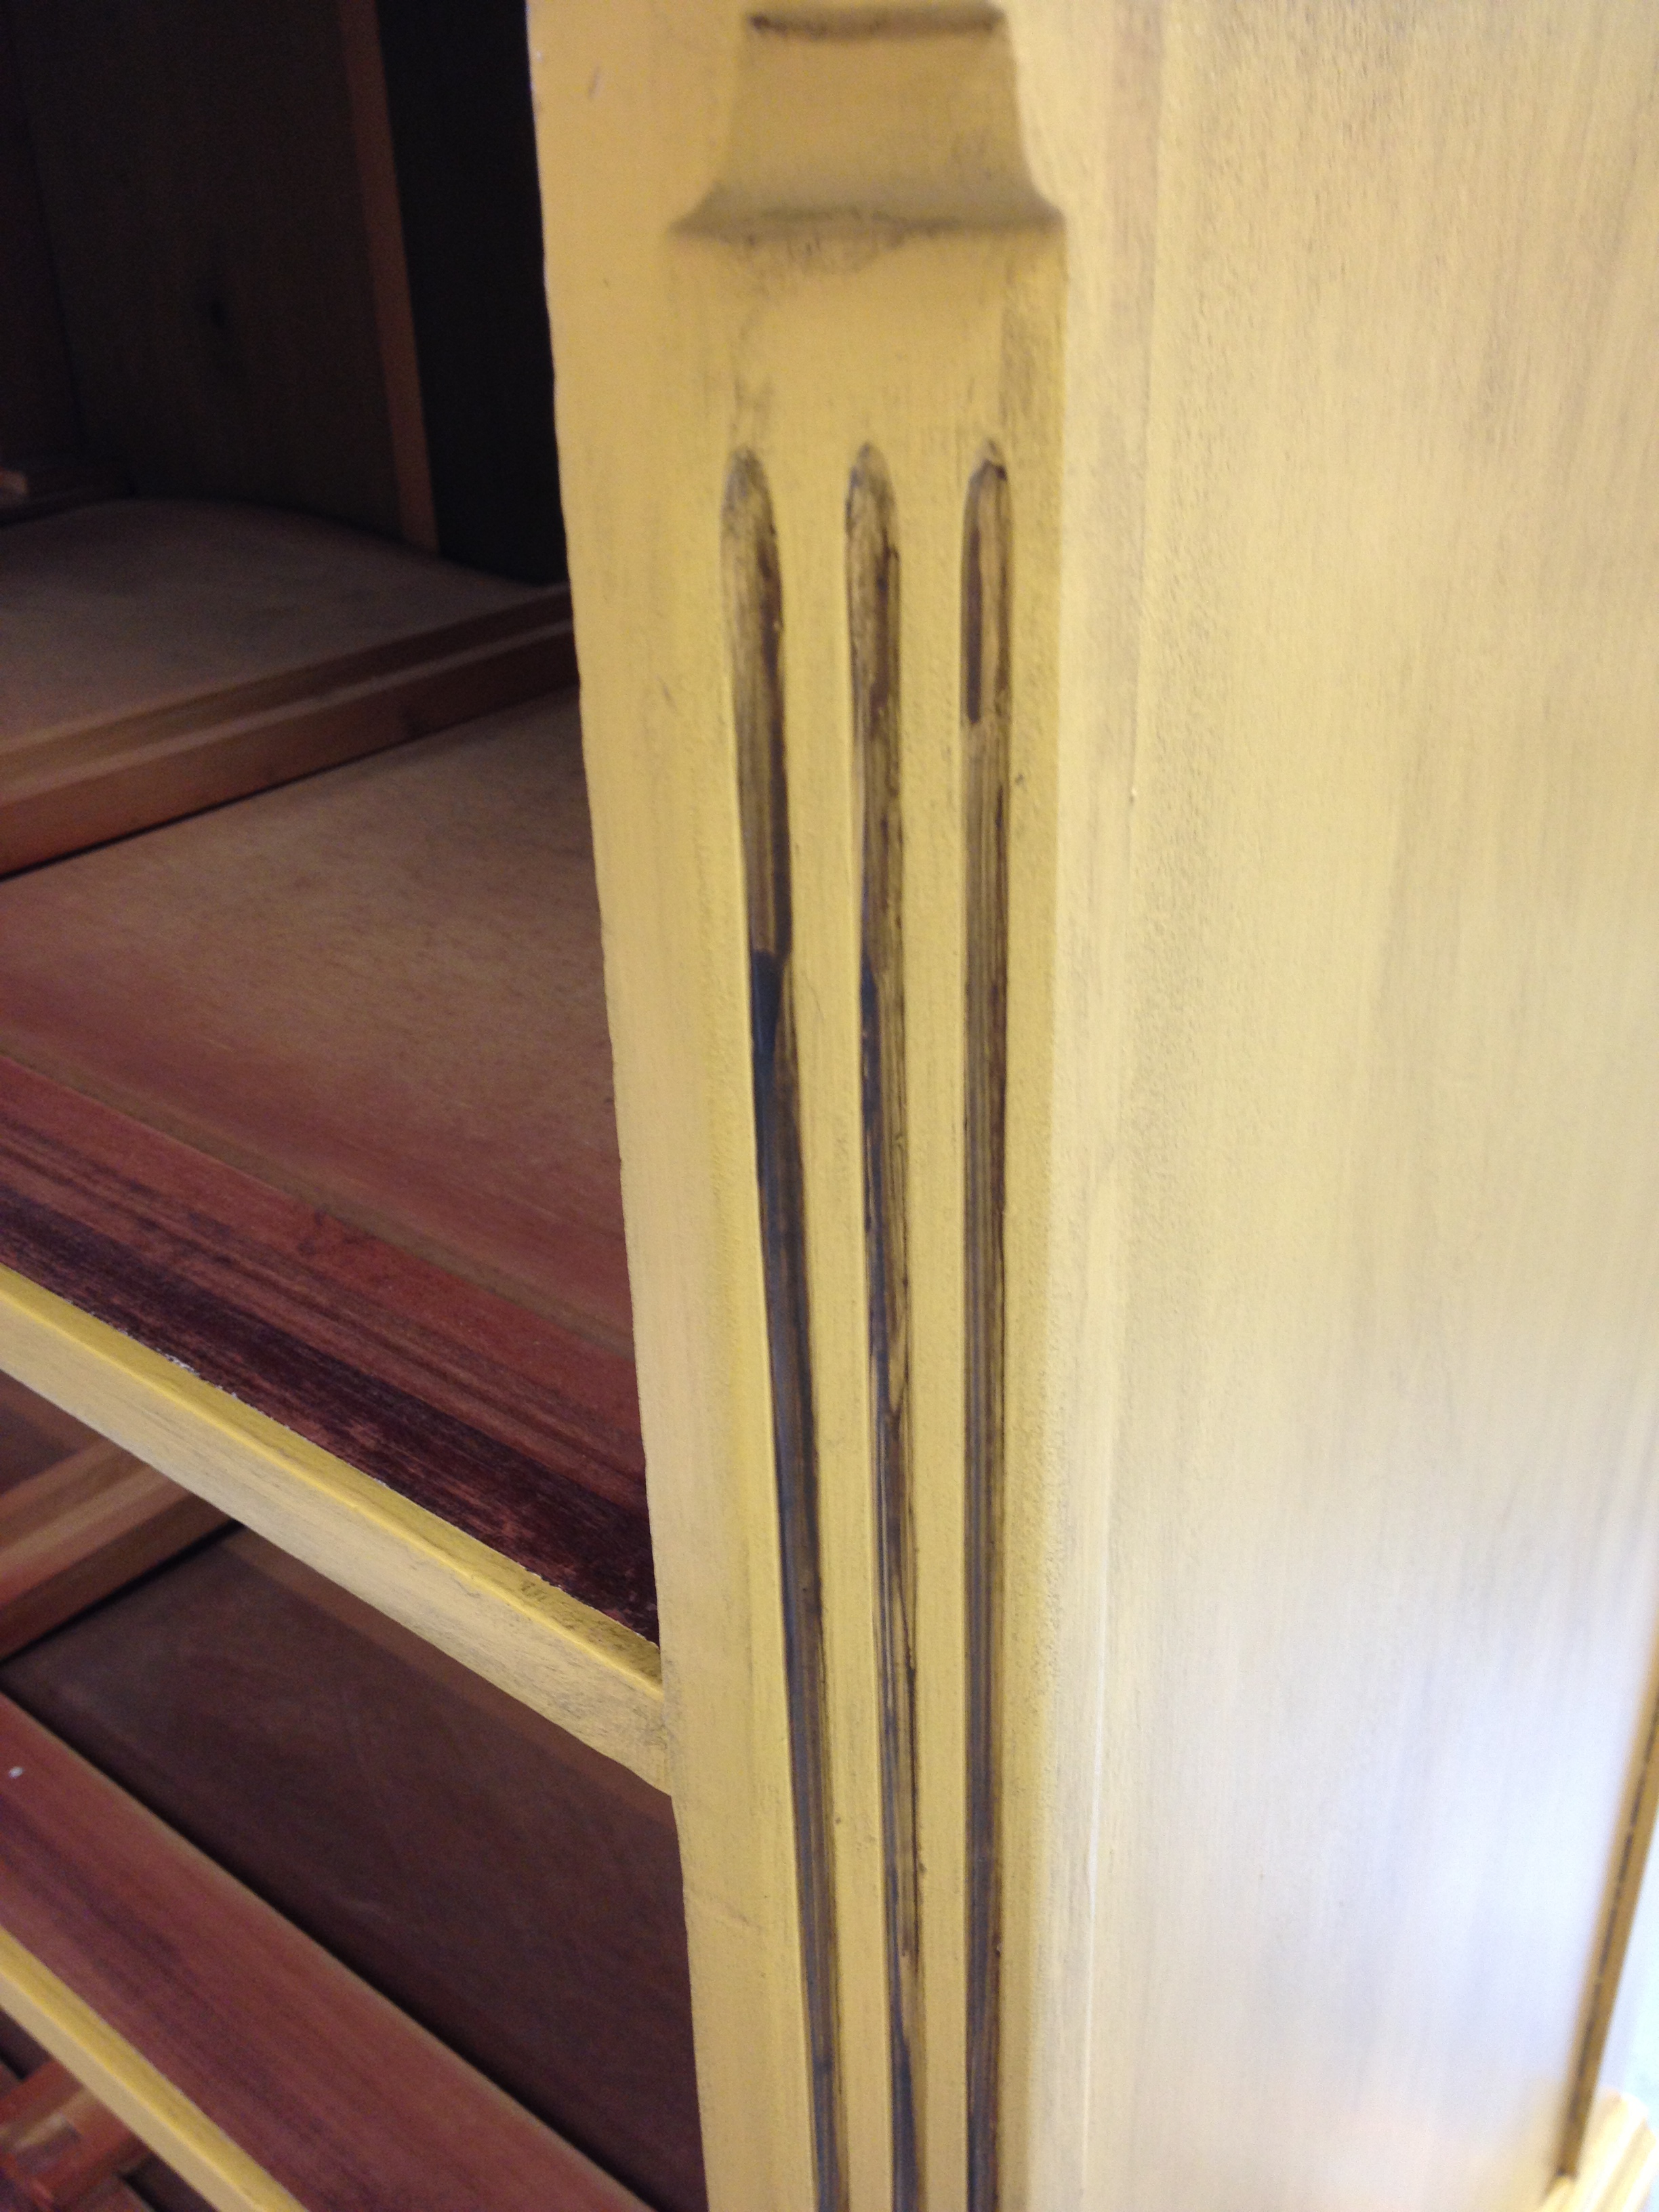
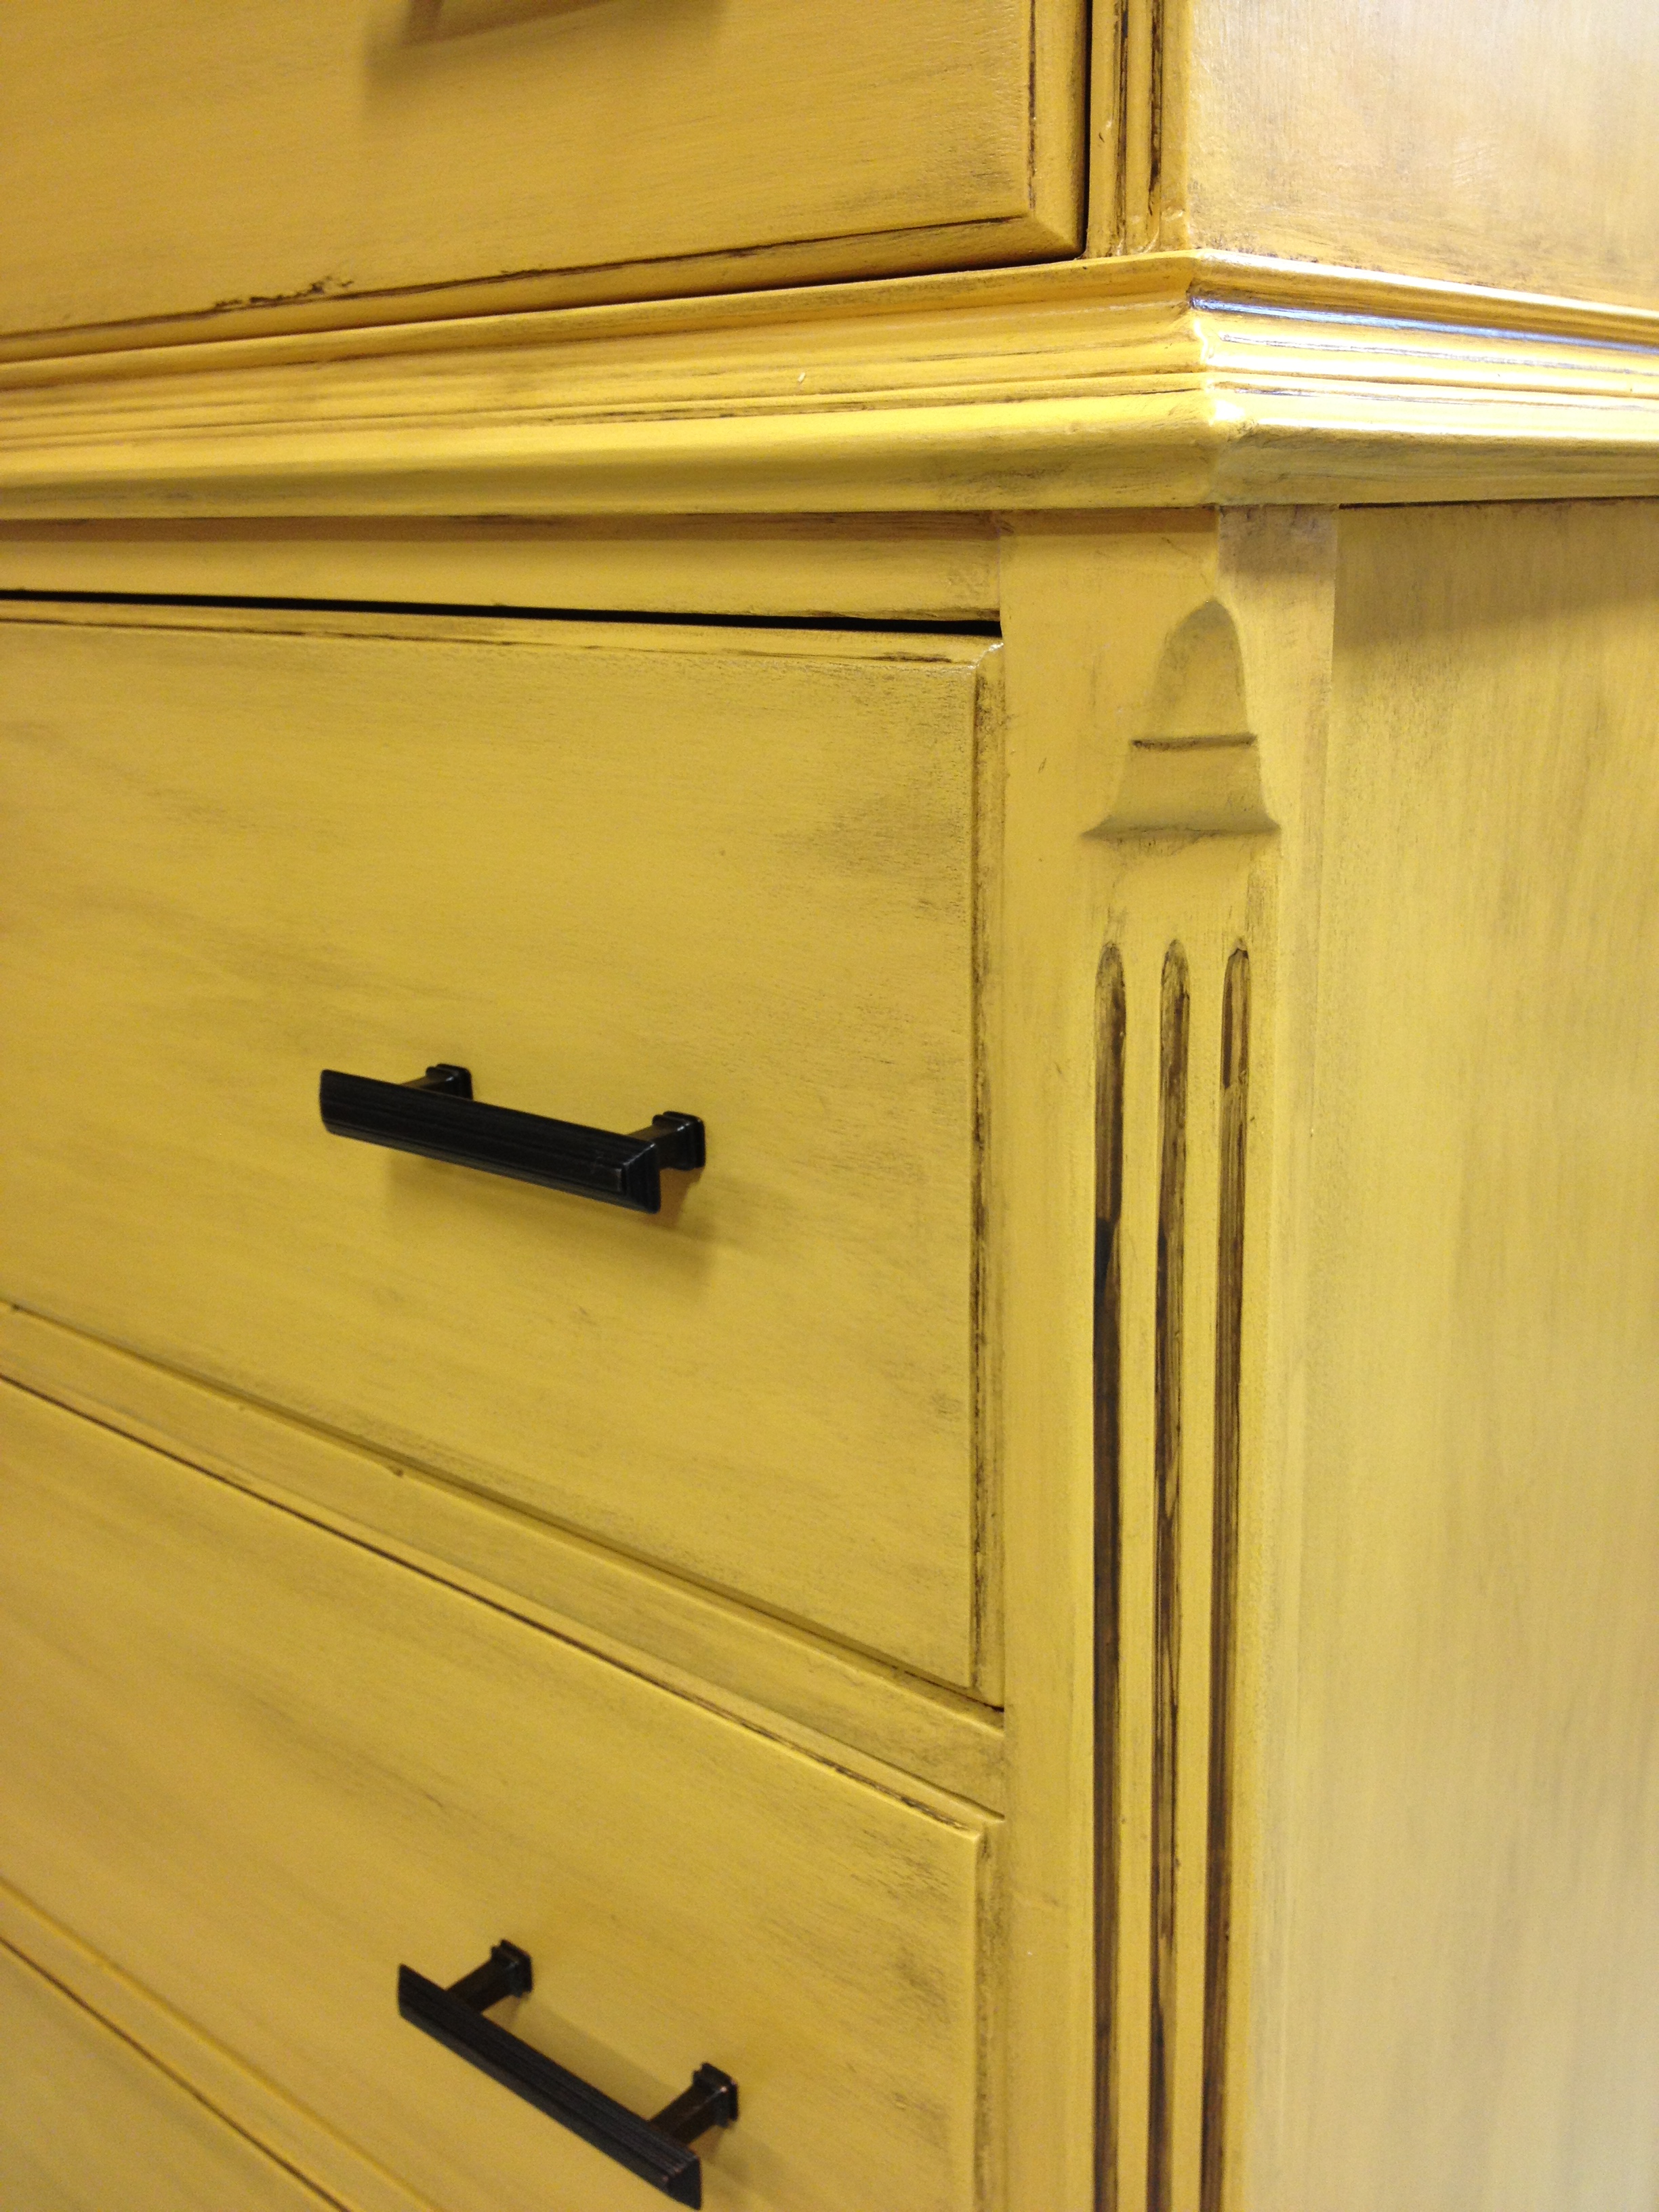
Like the drawers, I wanted the glaze to be darker in any grooves.

After the glaze it was time for polyurethane.  I used water-based again this time, mostly because it dries so fast.  Normally I'm laze and only do one coat of poly but I did two this time.  I figured after painting the darn thing 7 times already, one more time wouldn't hurt me.

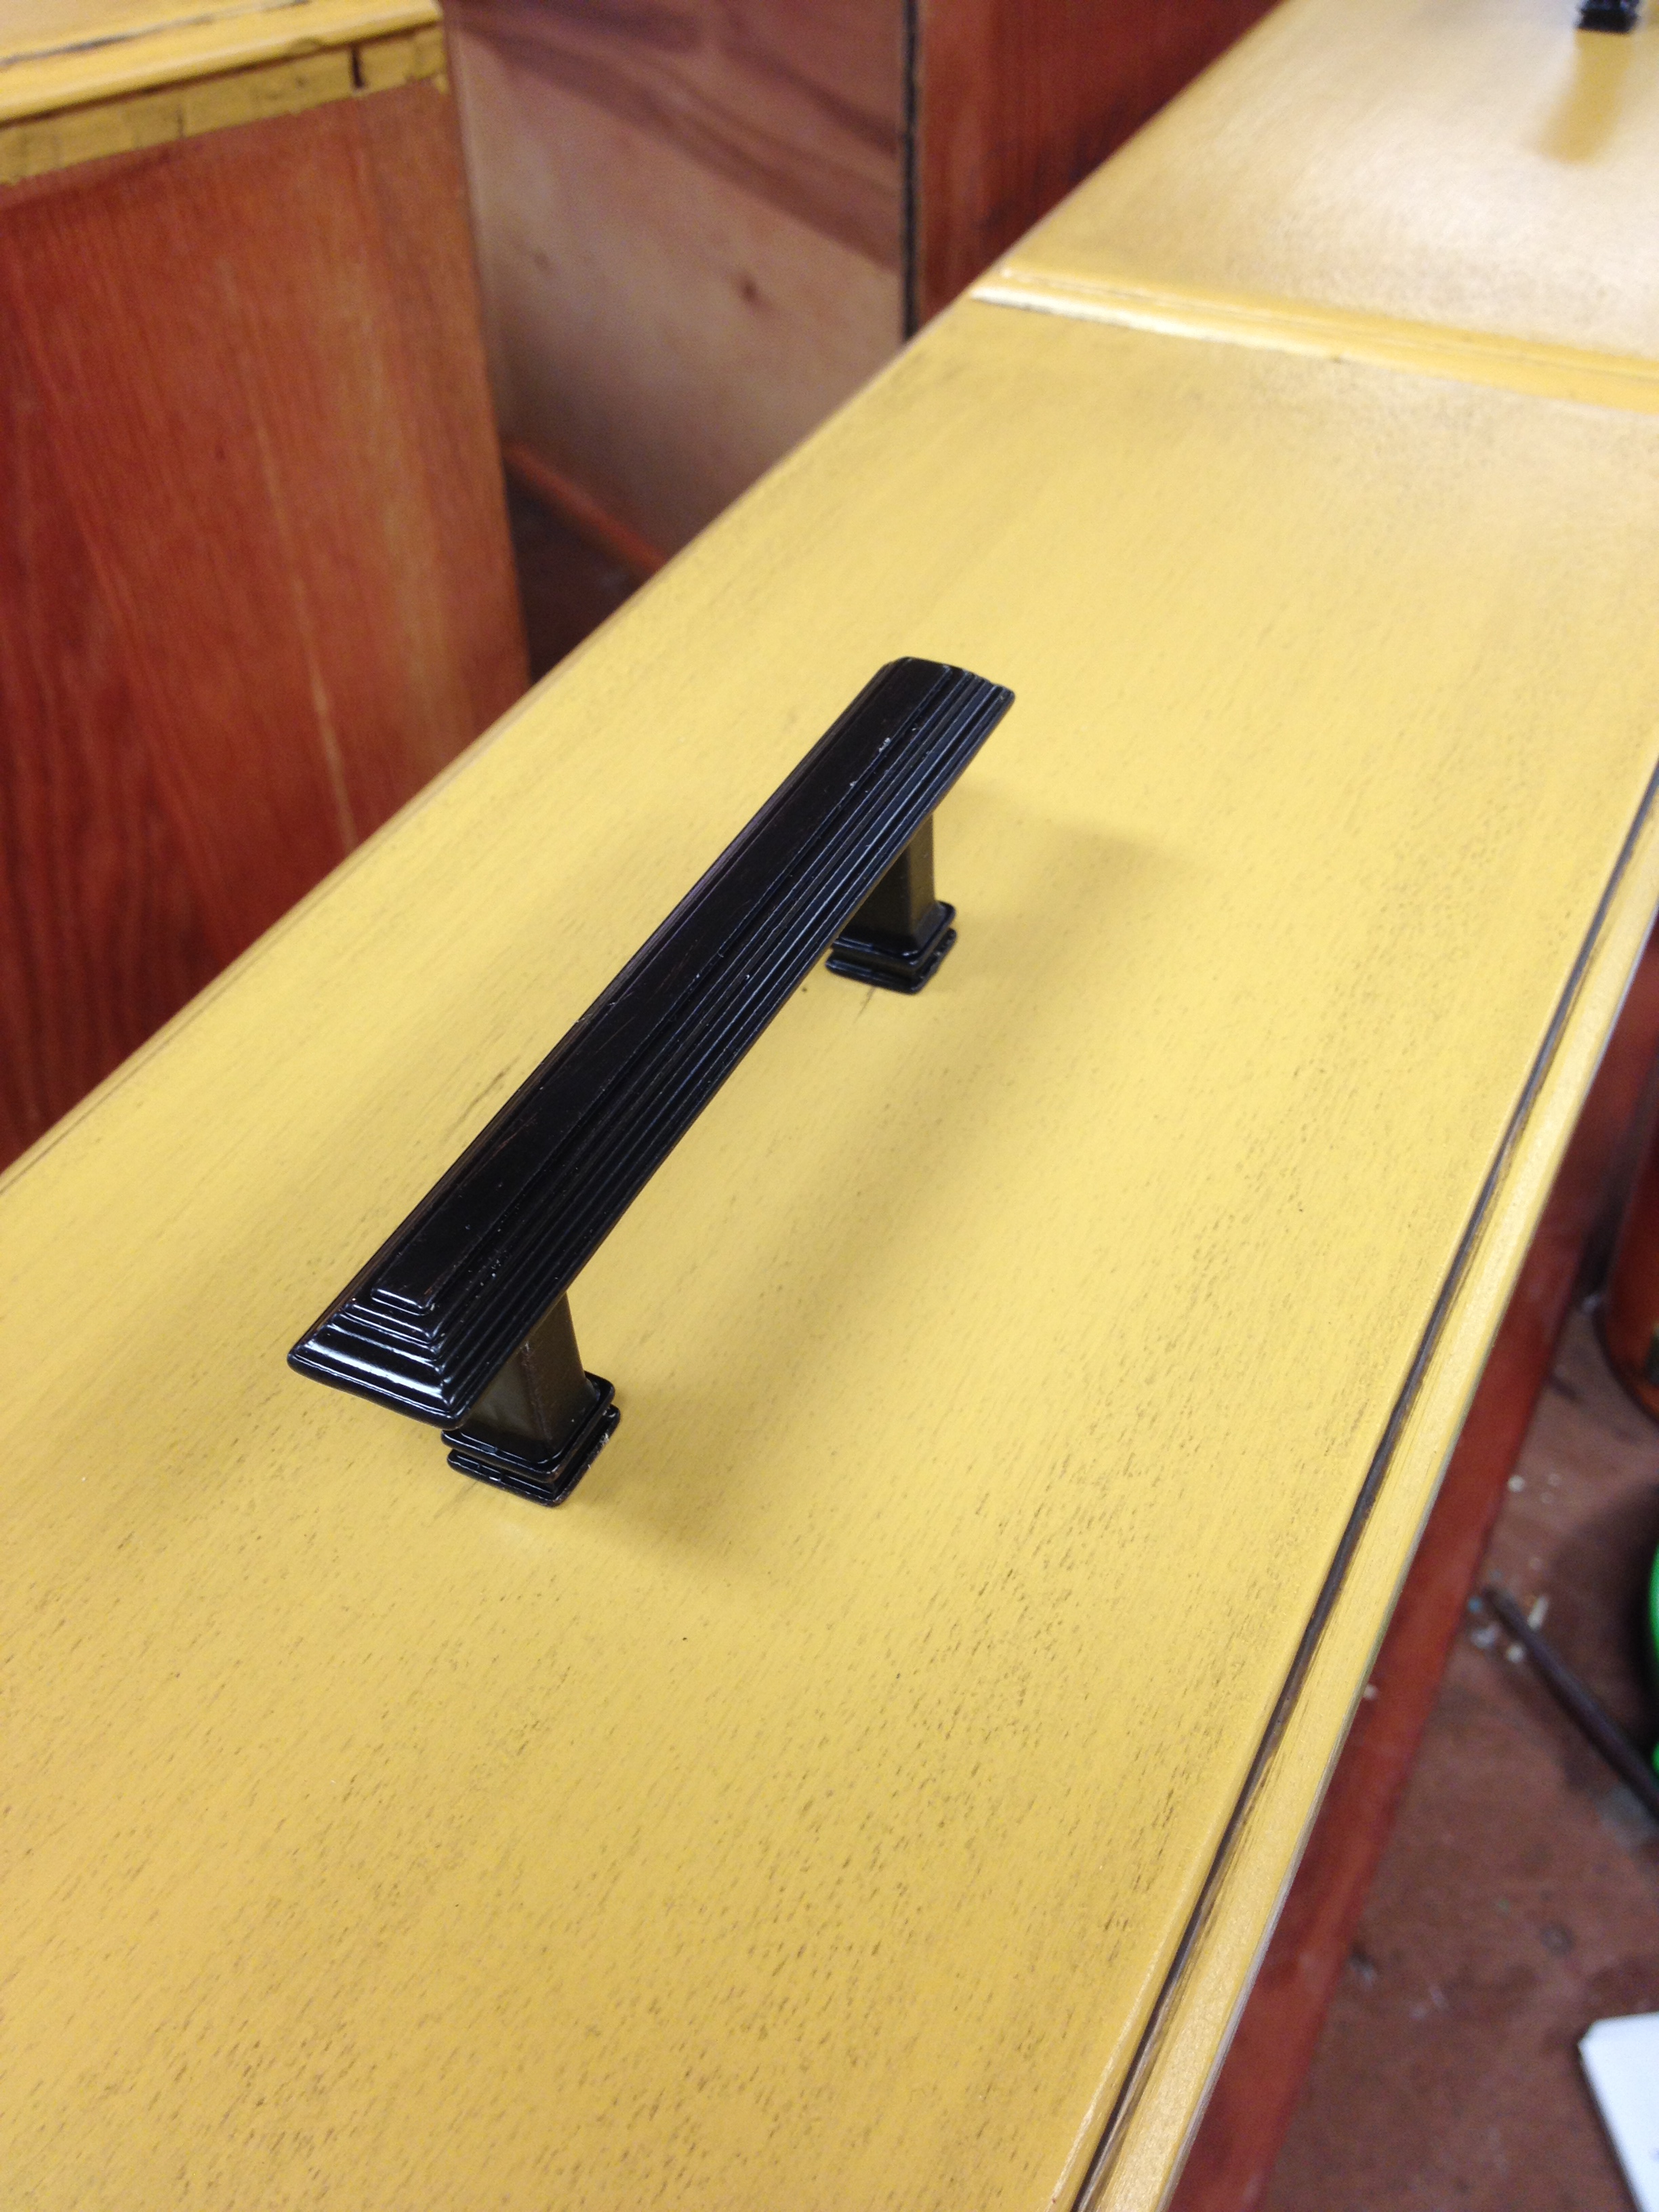
The hardware on this piece was a cinch to replace.  All of the holes were the same distance apart (3 inches) on all the drawers, so that made picking out something new much easier.  I love the drawer pulls we chose, I think the square edges match the overall shape of the dresser, and the little grooves kinda mimic the grooves on the side of it.

Ready to see the after?  Hold on, let's check out the Before again.

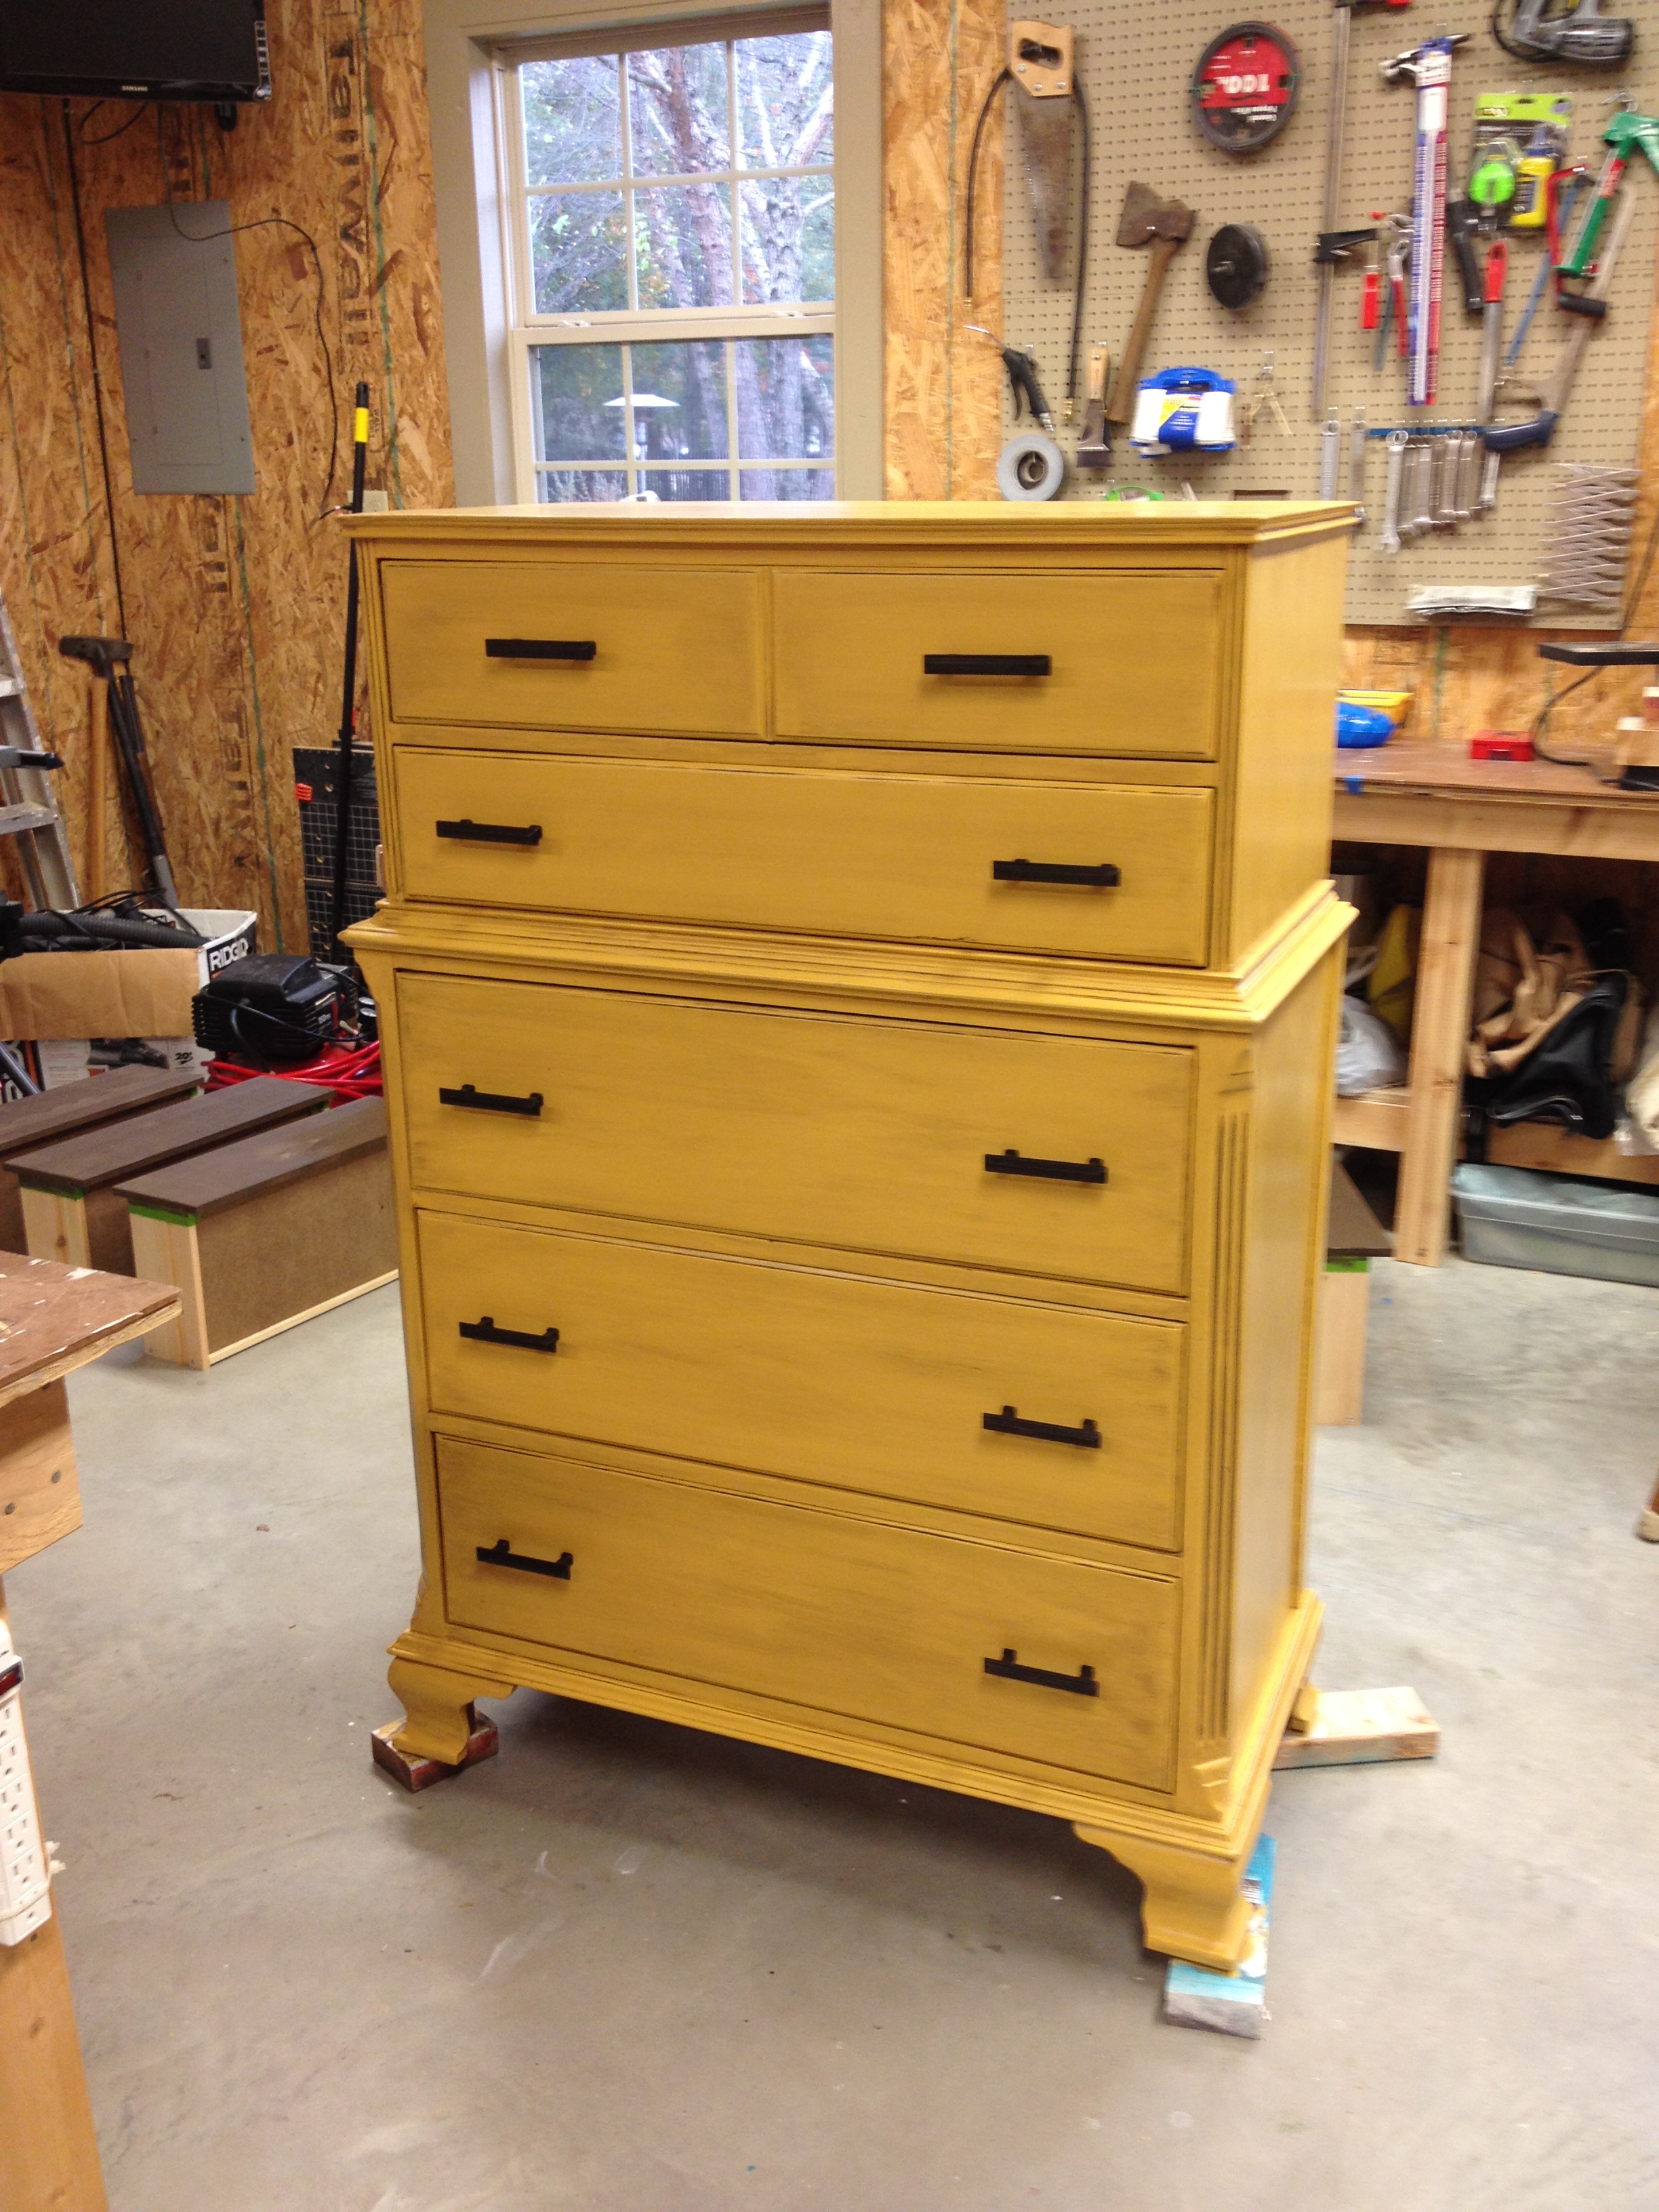
And now, the after.  Ta-daaa!

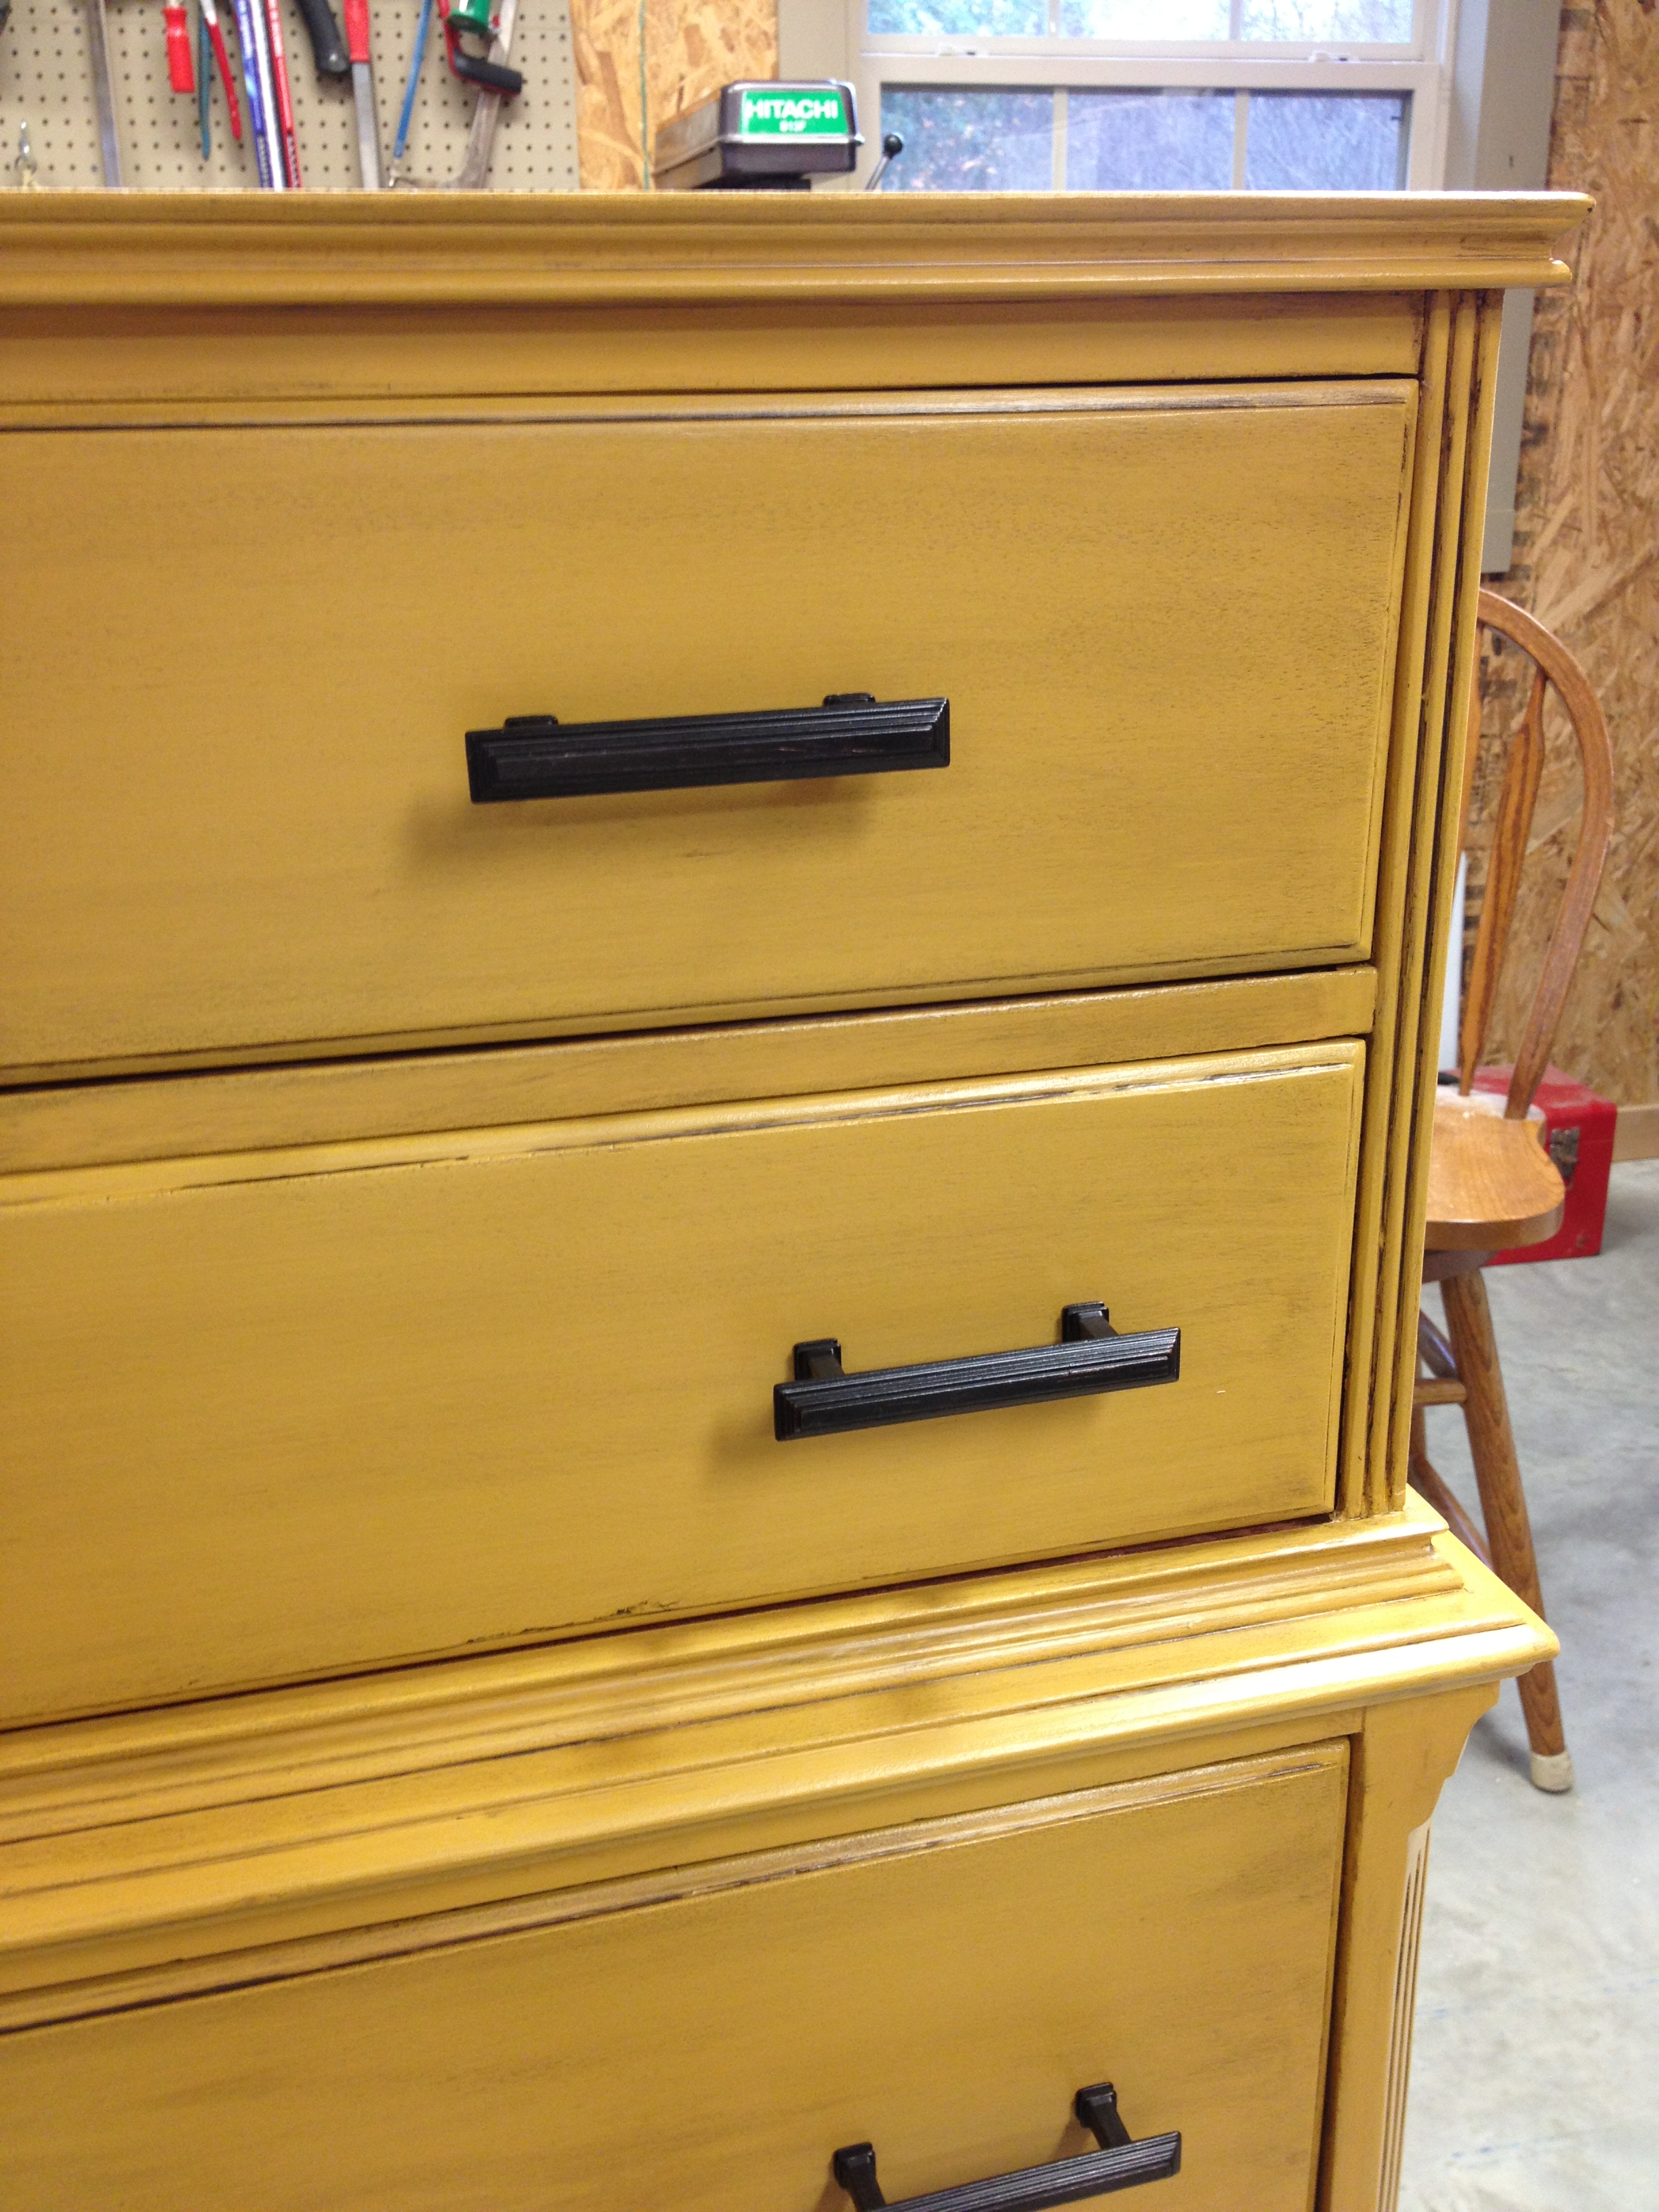
Swoon.  This one makes my heart go pitter patter!  Here are some more shots.

I love this one so much I wish I could keep it for my house.

So what do you think?  Like the yellow or is it too bold?  Was I able to bring it back to life?  Do tell.