Doc's Trash = My Treasure

Today, I have a super cute tutorial to share with you. I can't take credit for the cute idea or even for finding it online.  My friend Mary Elizabeth sent me a link to the tutorial because she thought I might like it, and she was right.  If you're interested in trying this yourself, I suggest clicking the link to that tutorial.  I'll walk you through my experience but her tutorial is very good and easy to follow. It all started with this Jos A. Banks shirt that Doc was ready to donate to Goodwill.  I intercepted it a few months ago thinking I might make something out of it, only at the time I had no idea what.

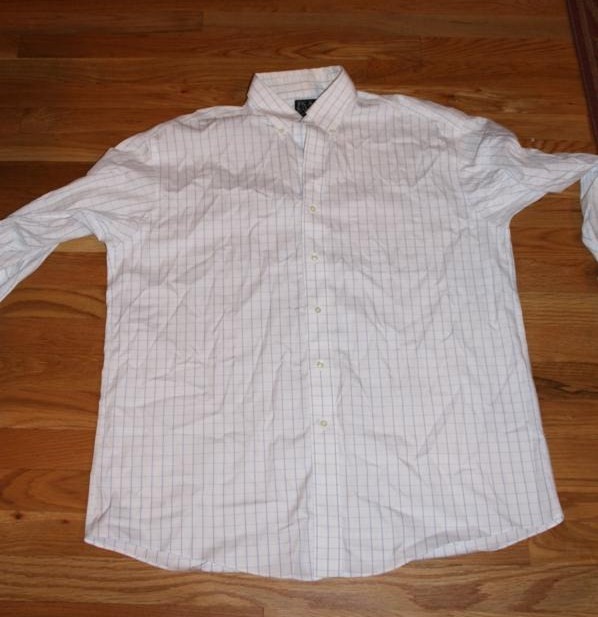
It was a little too big for me to wear.

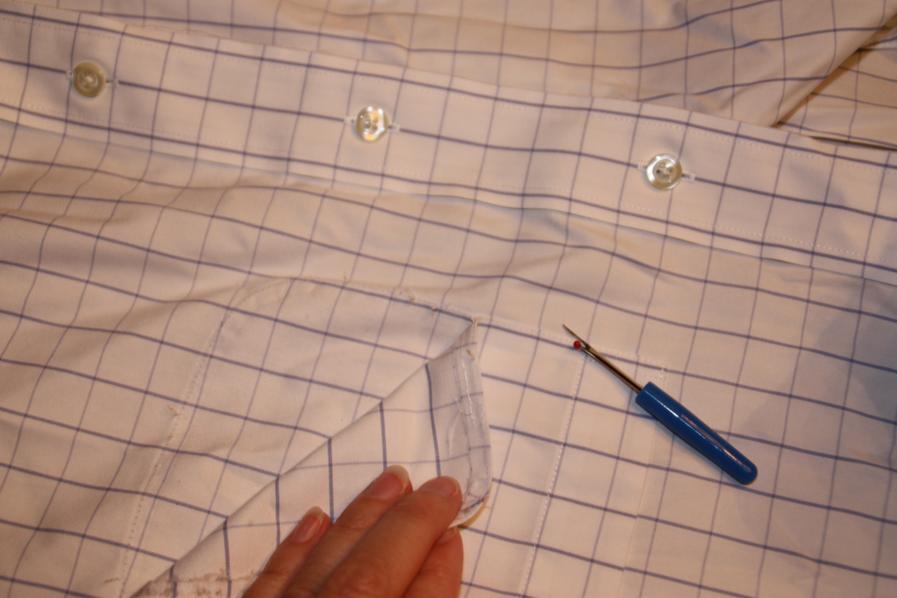
Following the tutorial, the first thing I had to do was get rid of the pocket.

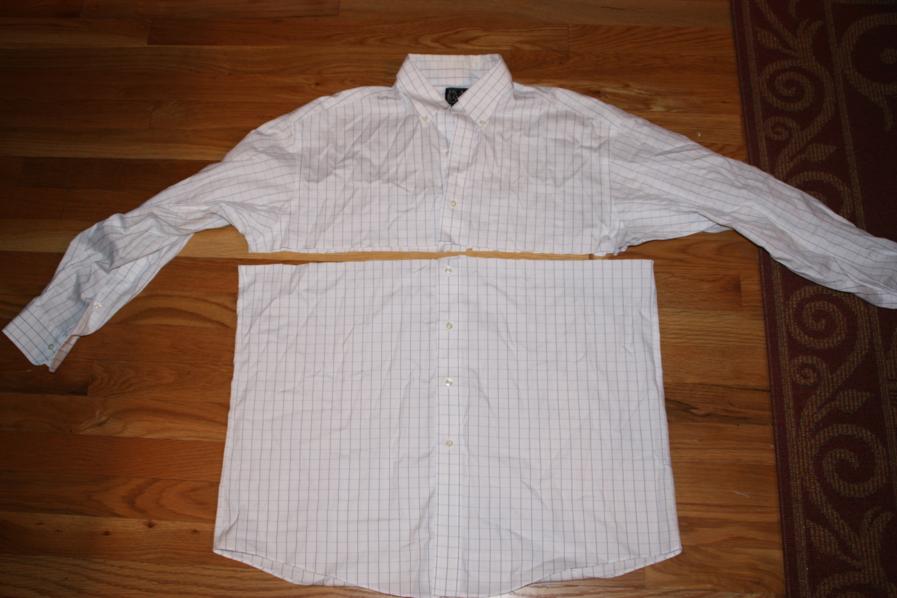
Then, I laid the pocket-less shirt out on the floor...

...and cut it half right under the arms.

This was when Doc and Anna started looking at me like I was crazy. Oh, my family of little faith.

I hemmed the freshly cut edge to match the hem at the bottom.

Now, shirring was the next step and because it was getting late and I was very intimidated by the shirring tutorial, I decided to put it up for the night.

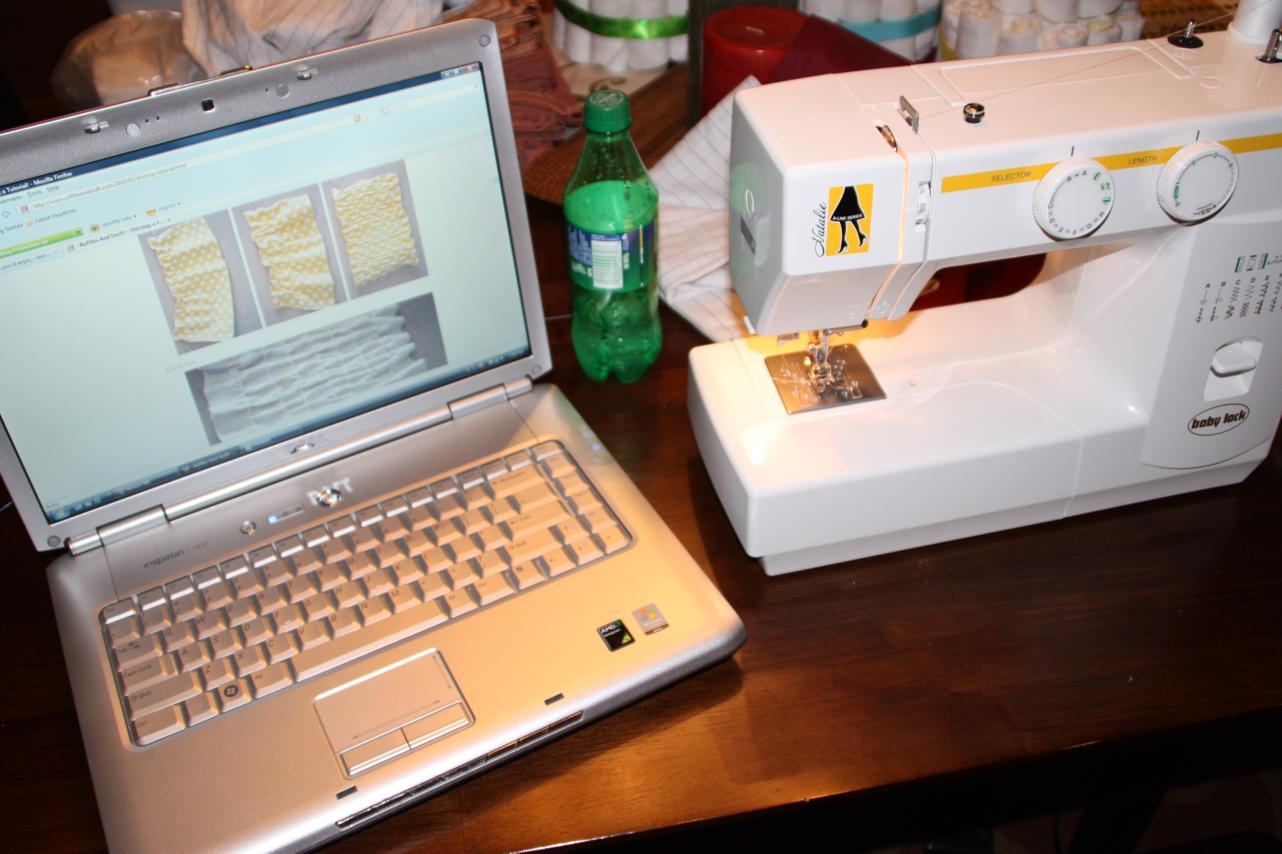
On Wednesday, Doc was off gallivanting in Virginia so I got brave and decided to give the shirring a try.  I set the tutorial up as close to my sewing machine as possible.

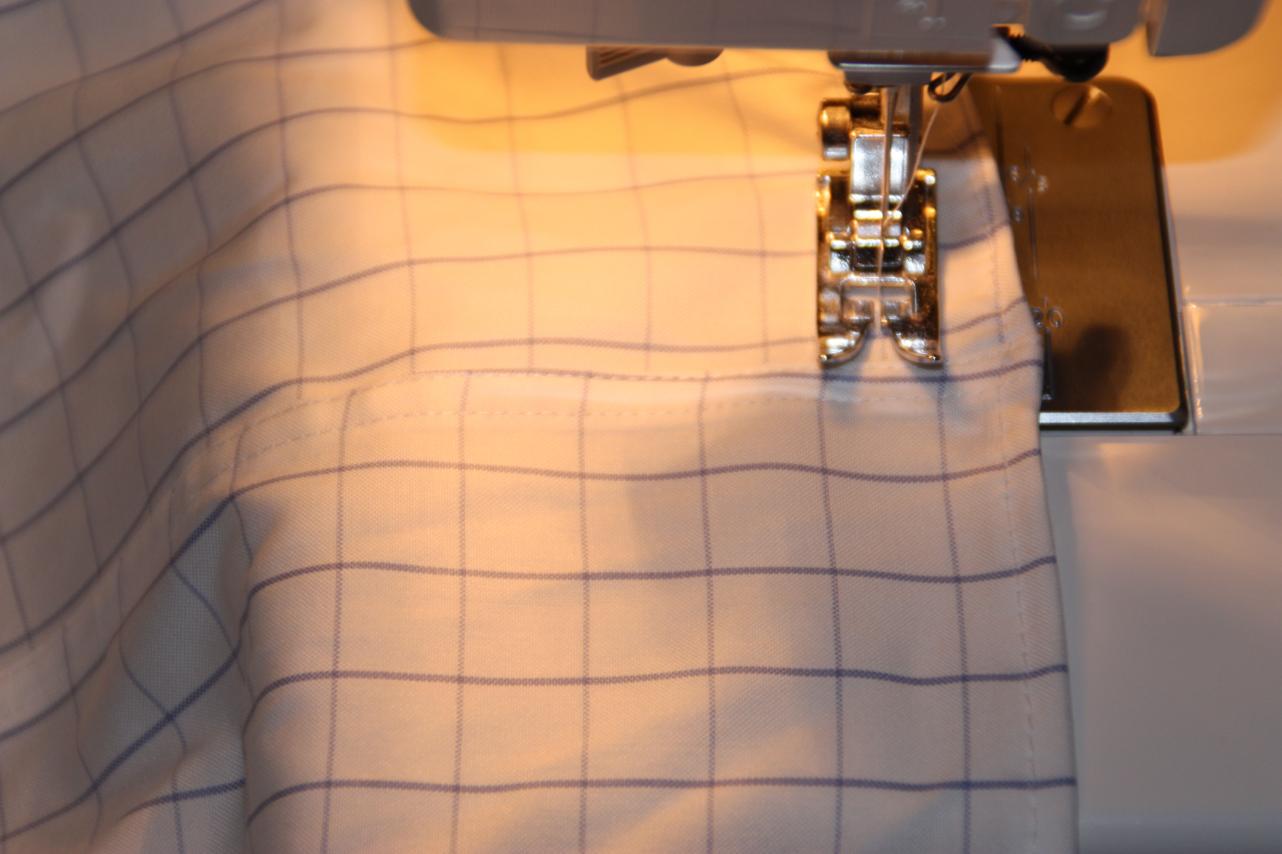
The first step on the shirring tutorial is to lightly mark straight lines on your fabric.  I congratulated myself for being the smartest person in the world by choosing a fabric that already had straight lines.  I put the elastic thread on my bobbin, and it was time to get started!

Everything was going great until I got to the seam.  Apparently Jos A. Banks doesn't see the importance of matching the lines of their fabric together.

I decided to just barely slant until I made it to the next line. It's under the arm, right? Who's going to be looking there?

Let me stop here and tell you that if you want to learn how to gather fabric, then you absolutely must check out this shirring tutorial.  It is "sew" easy to follow you won't even have to call your mom halfway through to have her figure out what you did wrong over the phone.

If I can do it, anyone can do it!

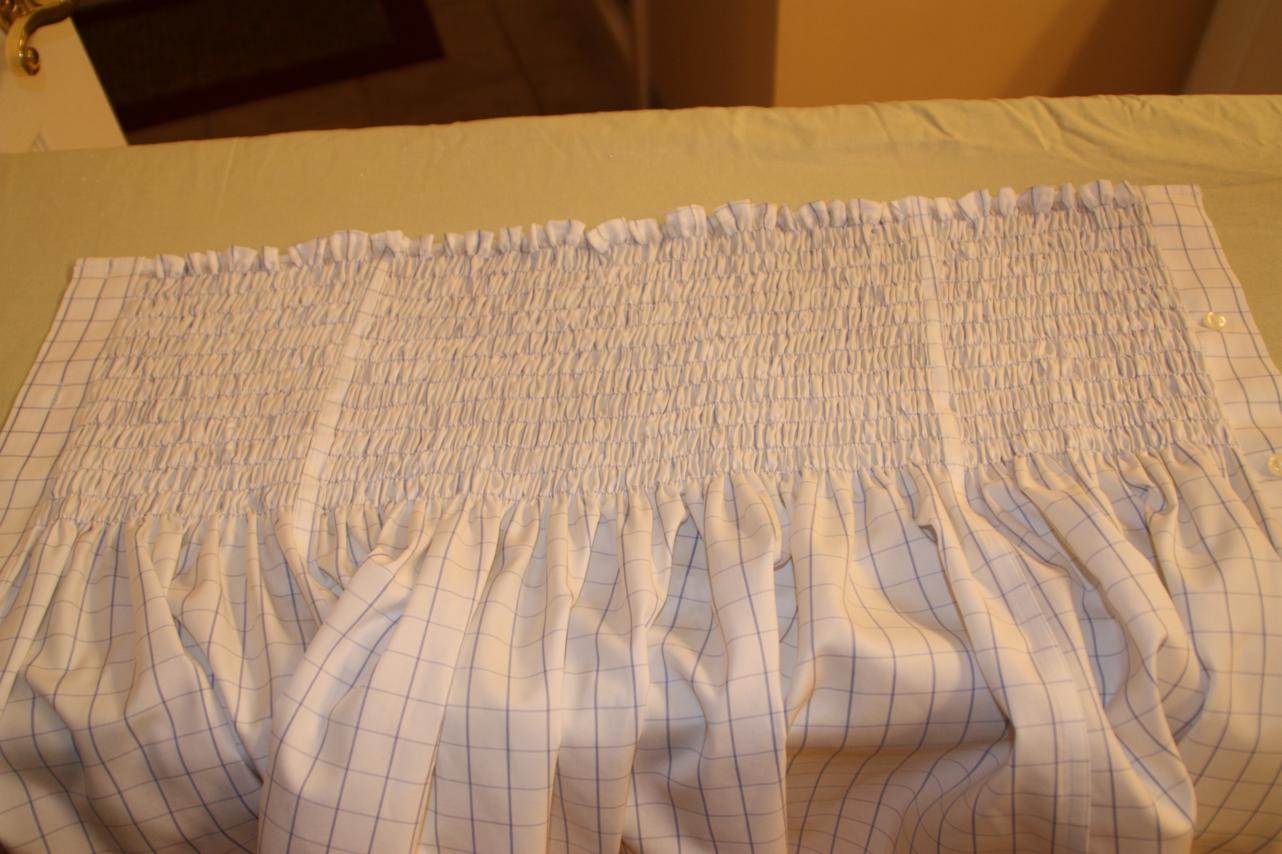
Since I followed the existing lines on my fabric, mine were a little bit more spread out than those on the tutorial.  I think she recommends doing 13 rows, but I only did 12.

Up next came the ironing part.  I laid it out on my ironing board,

sprayed it with some water, and then gently set the iron on it.  This causes the elastic to draw up and pulls the gathers in closer.

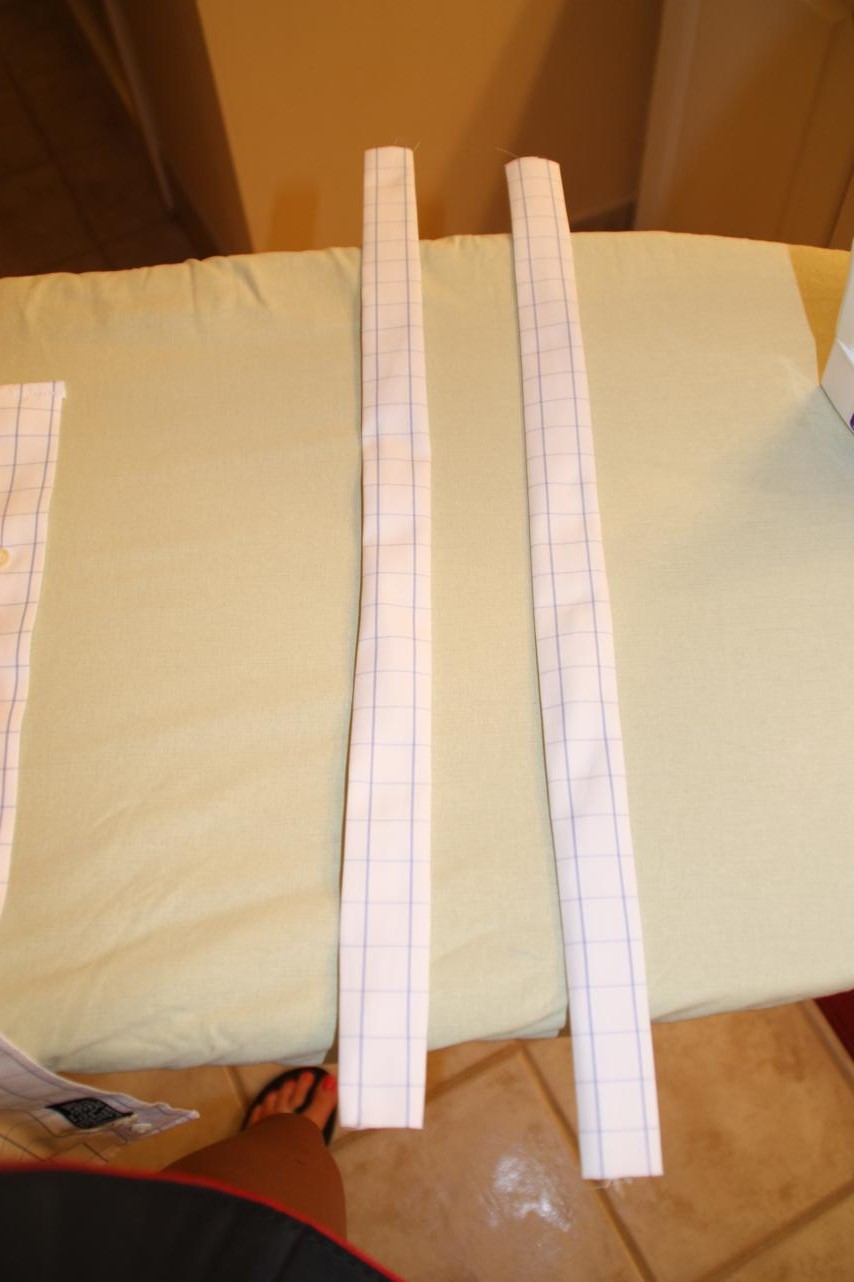
The base of my shirt was now done! I used a leftover sleeve to cut strips to make my straps.

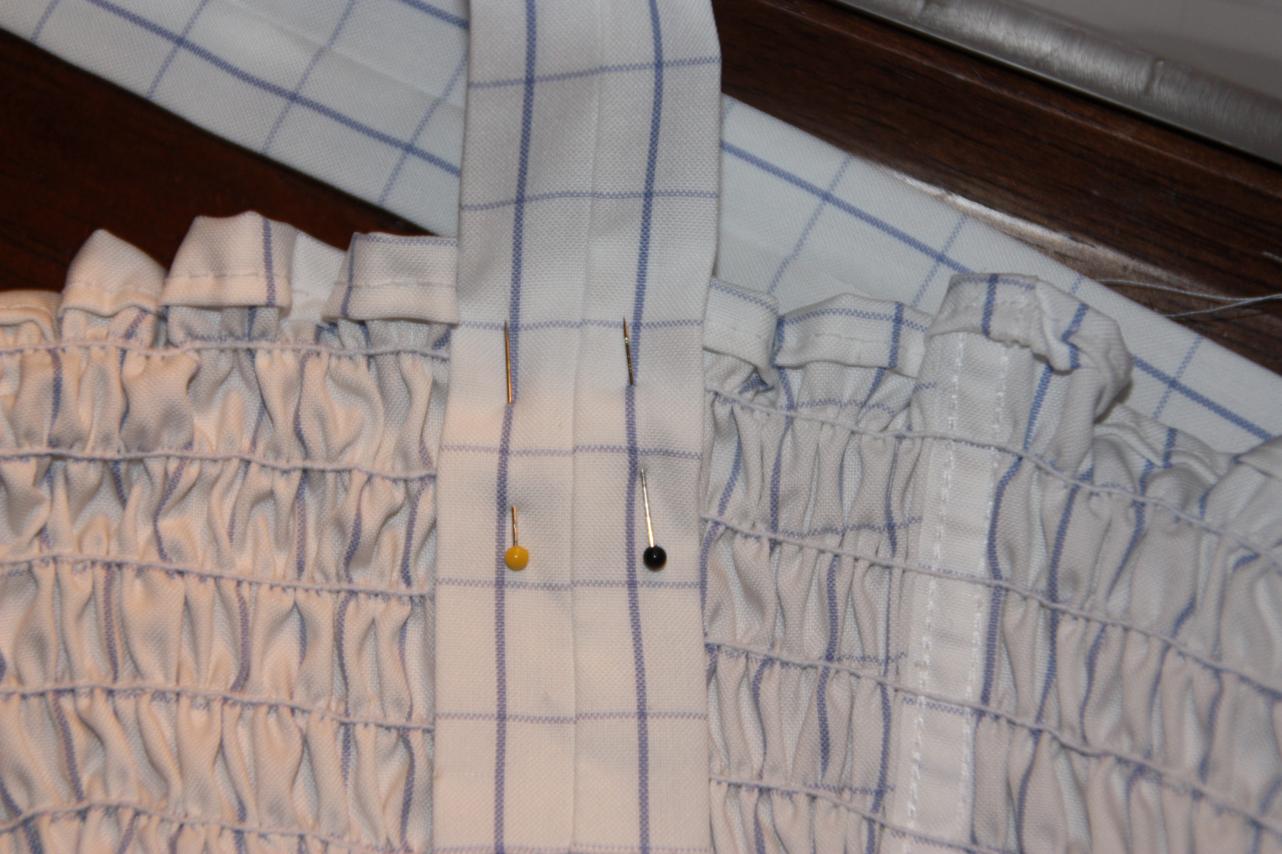
The tutorial says to make four straps - two for each side that you tie together at the top.  Because I hate wearing a strapless bra, I decided I'd just make two straps and make them a little bit wider so they would cover my bra straps.

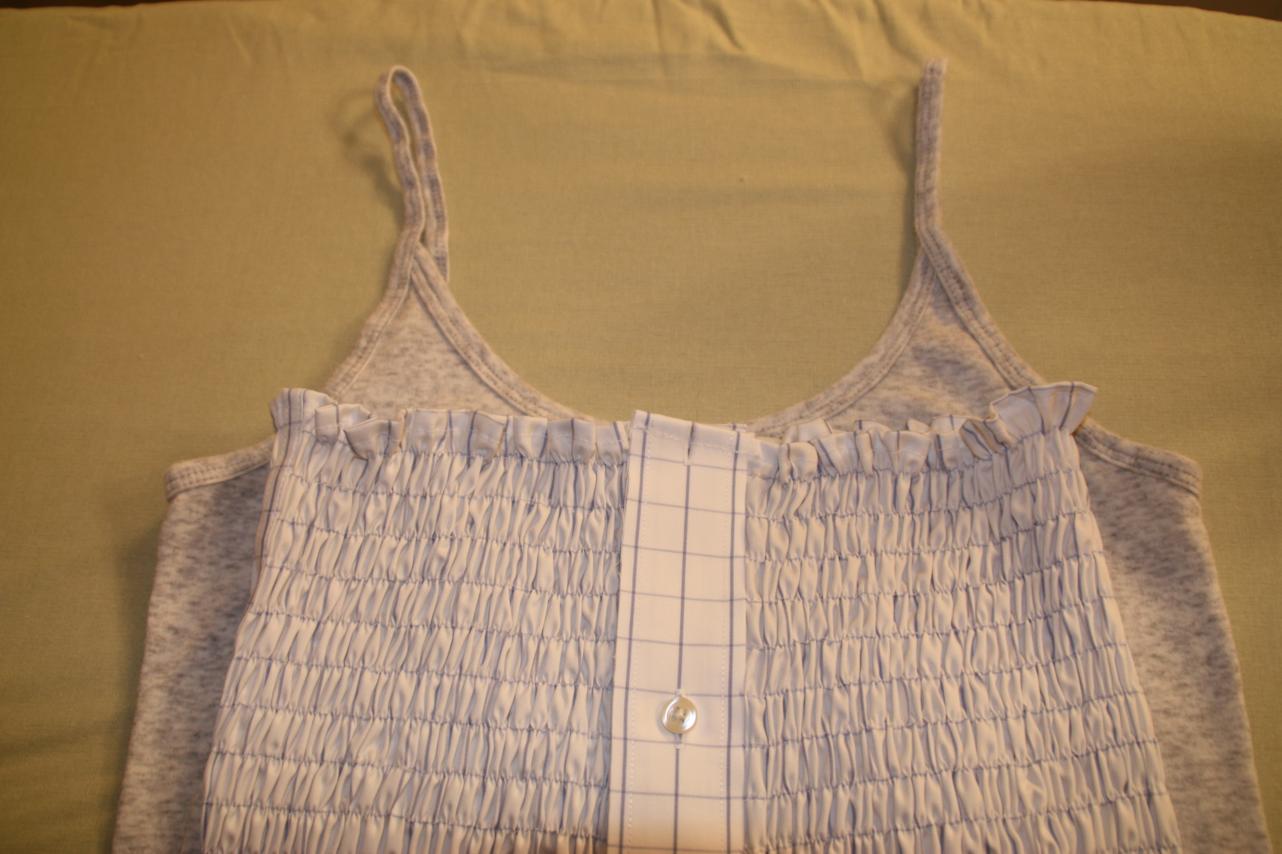
I laid the shirred shirt on top of one of my tank tops and used it as a guide for where to pin the straps.

Sounds like a brilliant idea, but it's not.  In fact, it was a very stupid idea.  When I tried it on after pinning the straps, both straps were in my underarms. I didn't take into account the stretch of the shirt when I pinned.

So then I tried to pin the straps while I had it on.  This was very difficult since I was home alone and had no help, but I finally got them pinned.

If you're determined to have them cover your bra straps, I can almost guarantee you won't get it right on the first try.  You will have to yank them off and try again.  And then you will get so tired of switching your shirts over and over again to try it on that you'll end up sitting at your dining room table in just your bra while sewing to save yourself some time.  IF that happens to you and IF you just purchased a new front door that has windows in it, you should remember to close the blinds first.  Not that I speak from experience...

After lots of strap-replacement, I finally got them where I wanted them! And it works - if I wear my cream-colored bra with the straps at just the right amount of tightness and then don't move at all, the shirt totally covers them!

Are you ready to see the final product?  First, let's remember what we started with.

Doc's trash, way too big and manly looking:

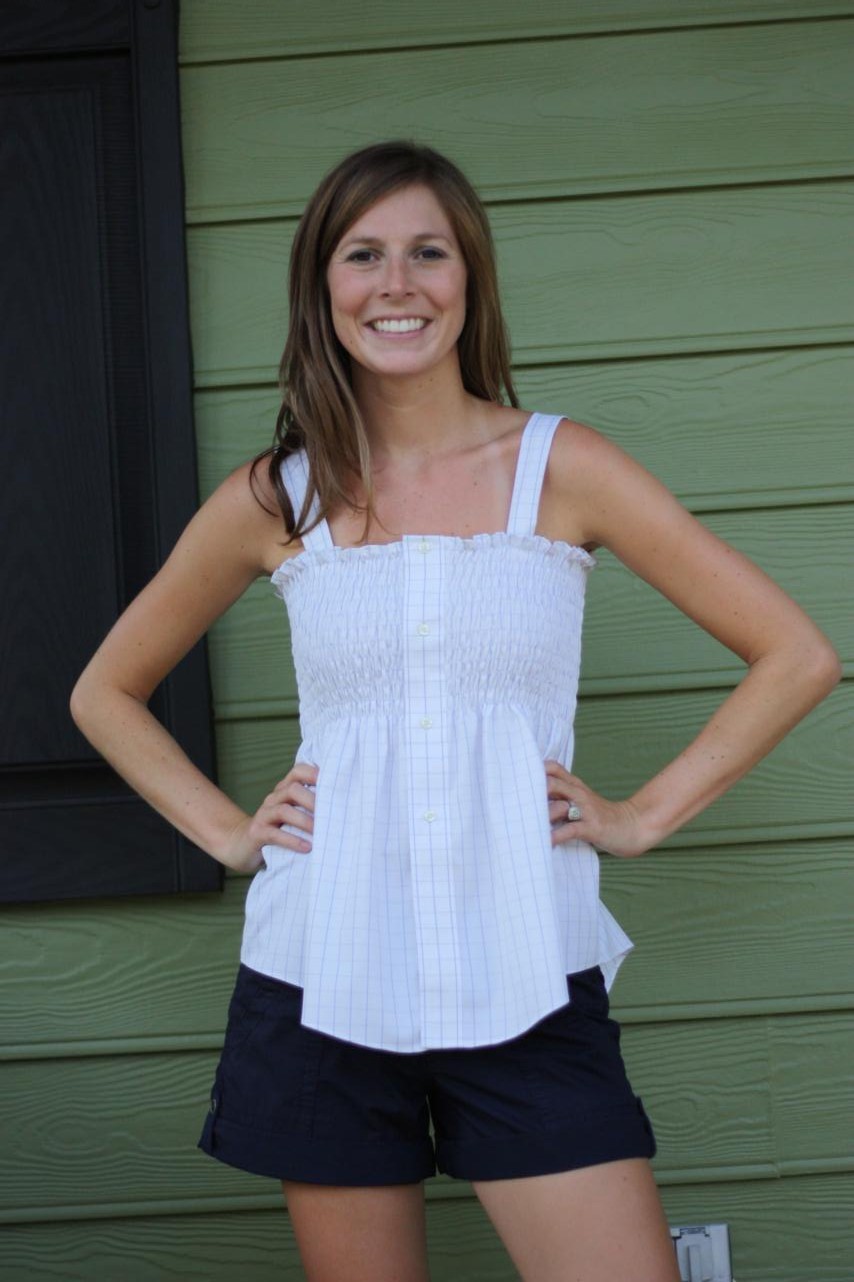
My treasure, cute and girly!

Do you like?

The tutorial was so easy to follow and I would definitely make this again. If you want to try it yourself, follow the tutorial I linked to, but also learn from my mistakes:

--If you cut your shirt right where a button and buttonhole are and then decide to yank the button off so you can hem it easily,  you will curse yourself later when you have to re-attach the button.

--The straps are by far the hardest part.  Pin them while the shirt is on, but don't try to pin them yourself; have your spouse, child, sibling, boss at work, anyone, pin them for you.

--Do the 4 straps and tie them at the top.  Seriously, go with the girl who wrote the tutorial on this, she obviously knows what she's talking about.  Tying them makes attaching the straps much easier - you don't have to figure out the length they should be.

One last thing - I still have this pocket left over.

I considered sewing it back on as a low pocket.  What do you think? Will it mess up the way the bottom of the shirt is gathered and falls?  Will it be too much?

If anyone decides to give this a try, I'd love to see pictures!

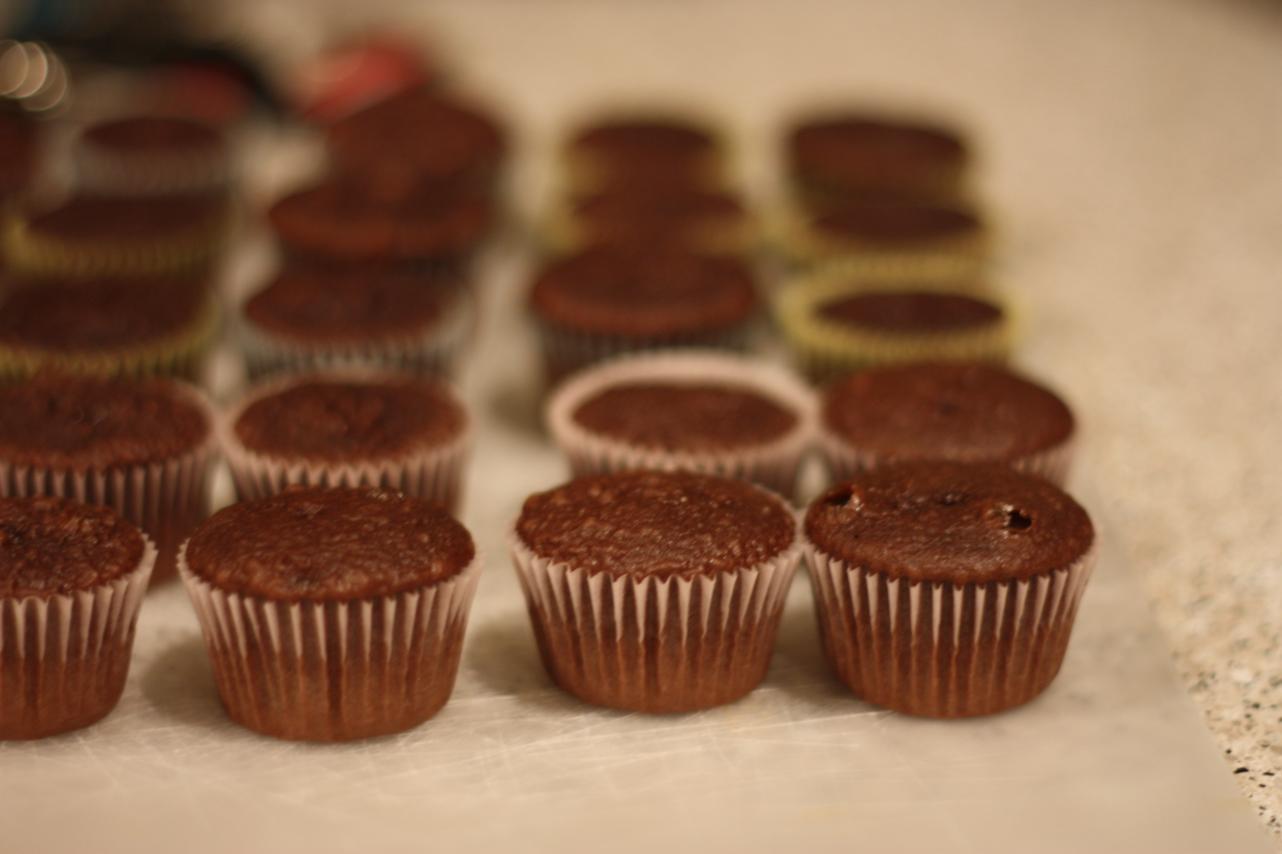
Who wants a cupcake?

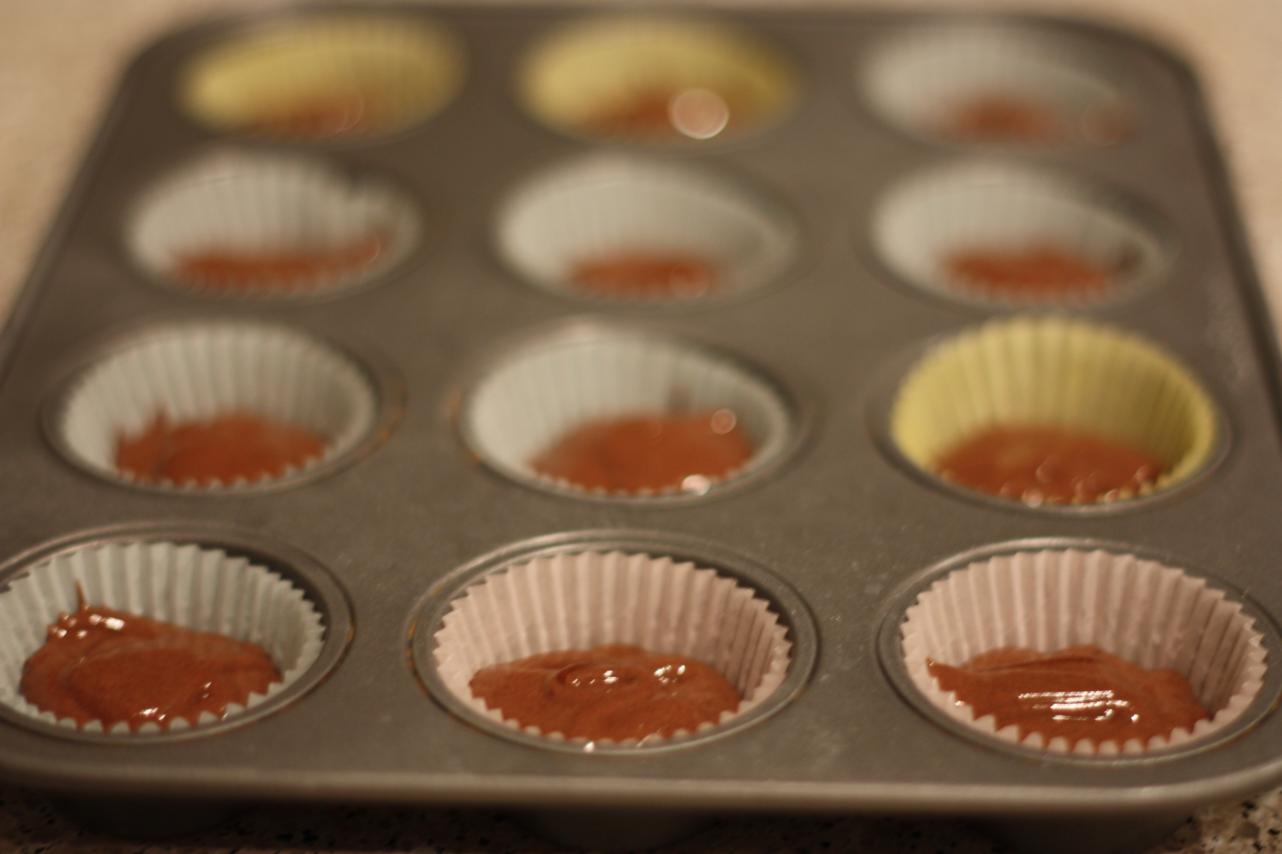
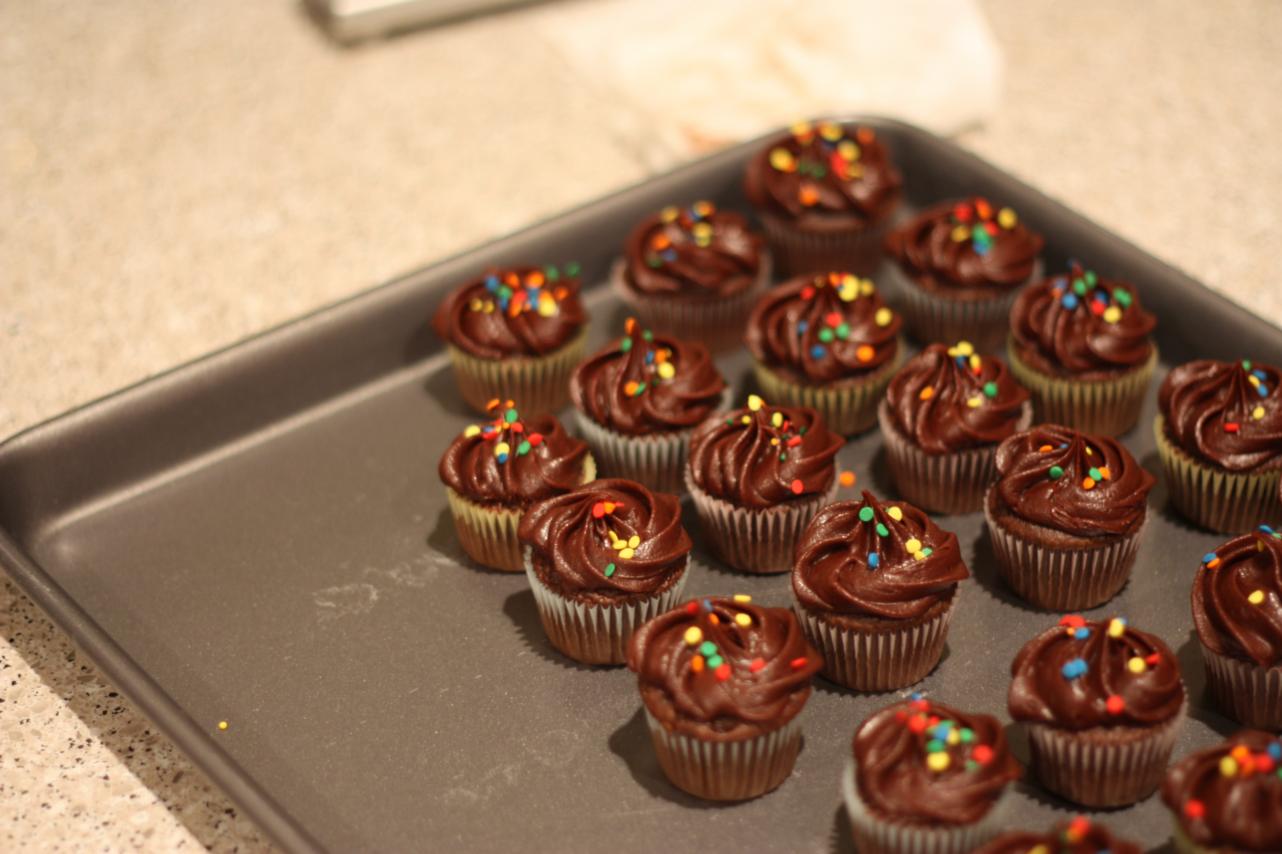
We made 84 of these tonight.

Are we throwing a party tomorrow? No. Are we going to a party tomorrow? Nope. We made 84 cupcakes just for us to eat. :)

Actually, I want to make mini cupcakes for the shower I'm hosting next weekend, so I bought a new tool to see if I could make them look decent enough for a shower. I got to practice the icing 84 times. And now, after all 4 of us have had more than enough dessert, we still have 74 left.

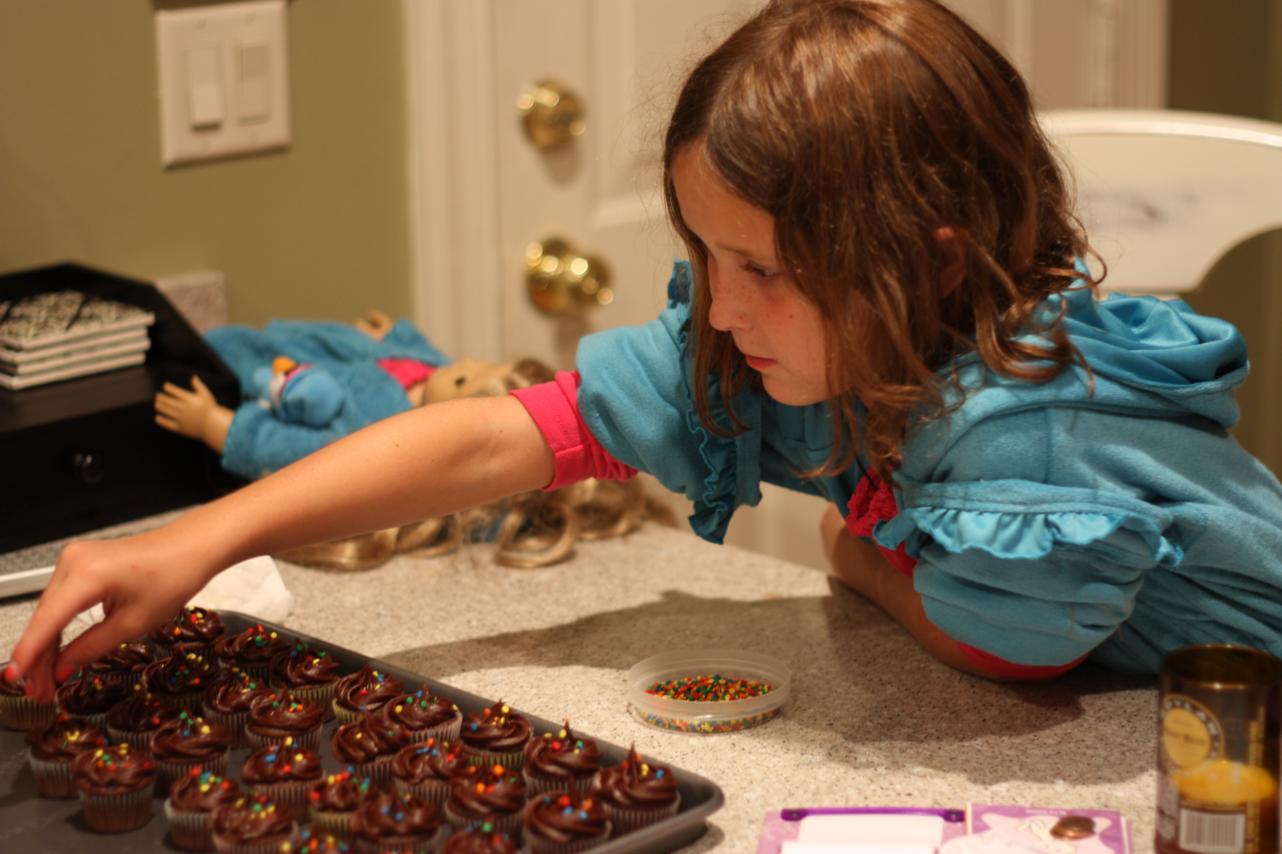
I iced them as the came out of the oven and then Anna was in charge of sprinkles.

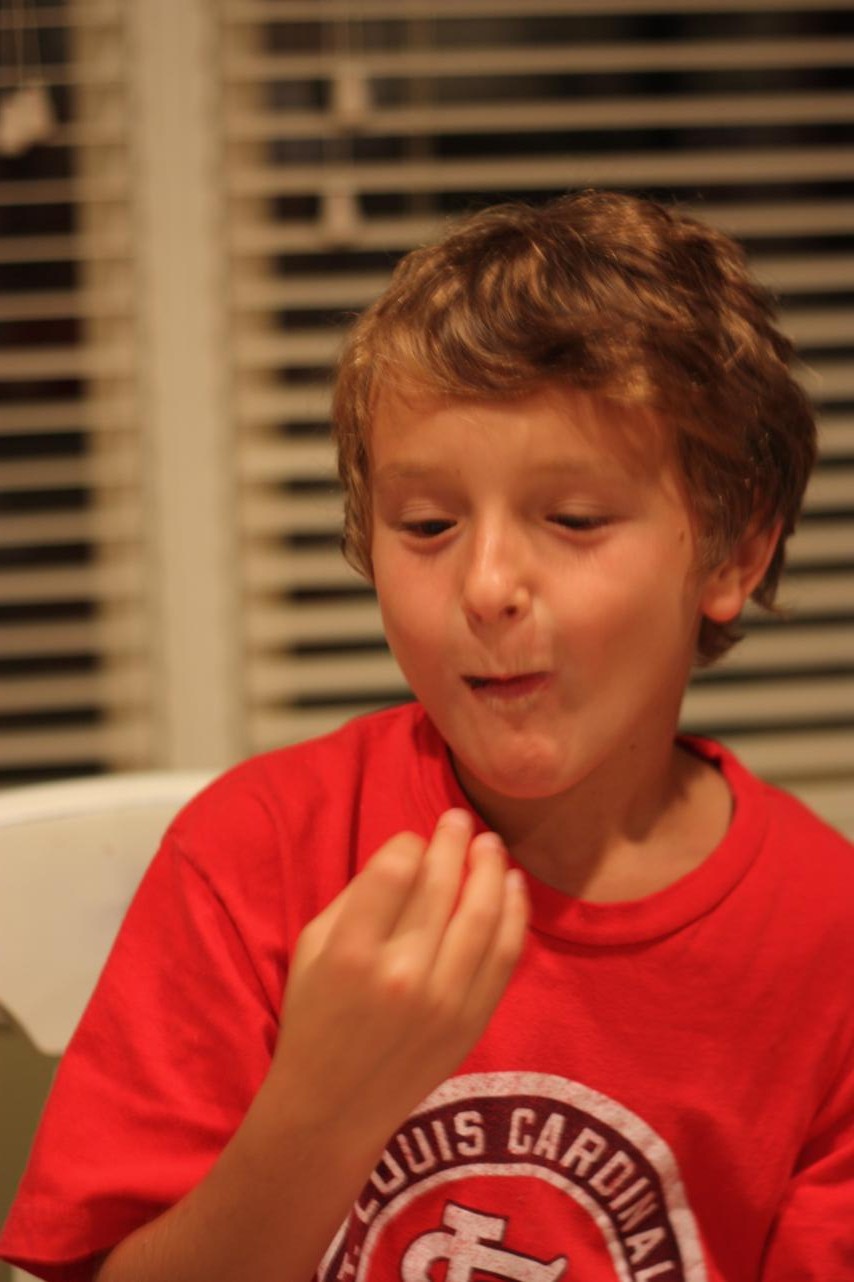
We had a professional taste-tester try them out for us.

He approved.

Unlike the hydrangeas, these little bites of deliciousness are not the size of my head.

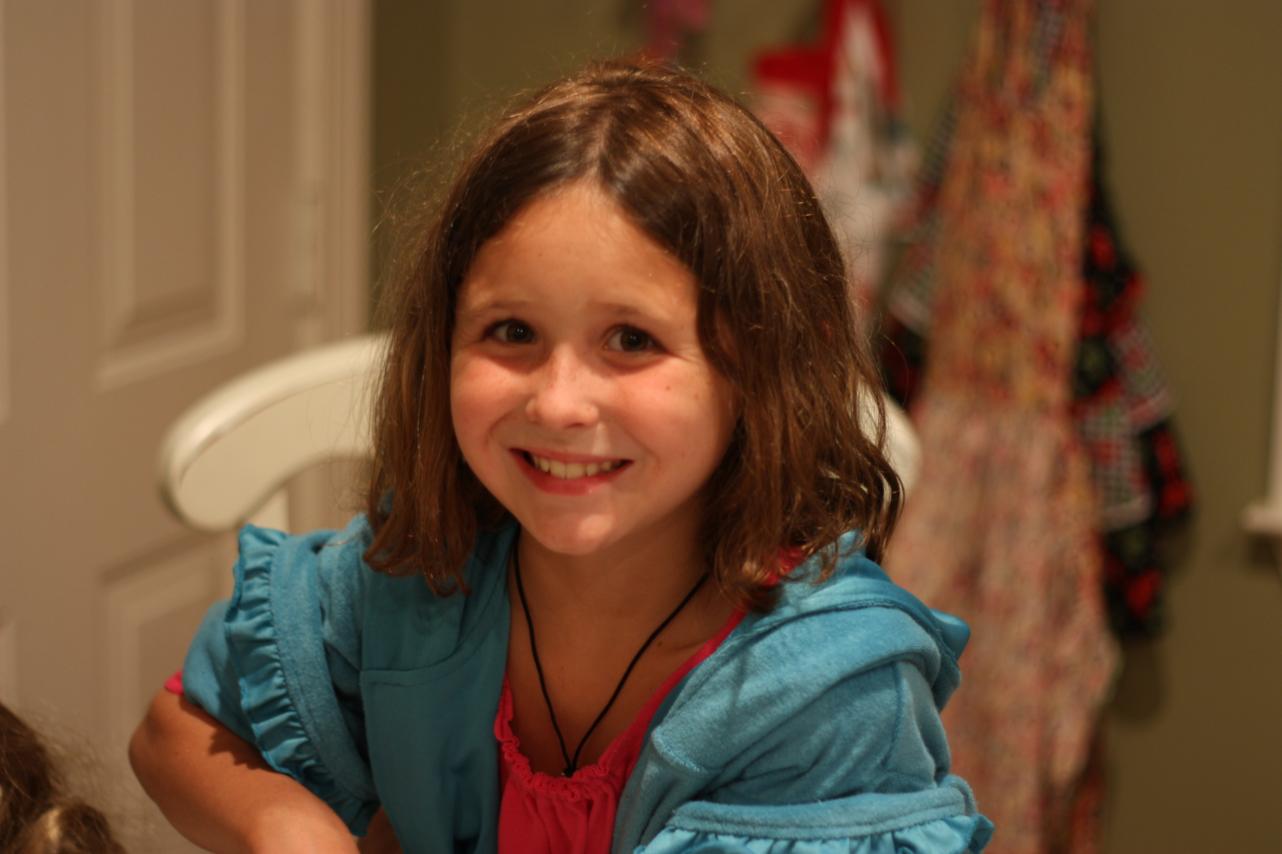
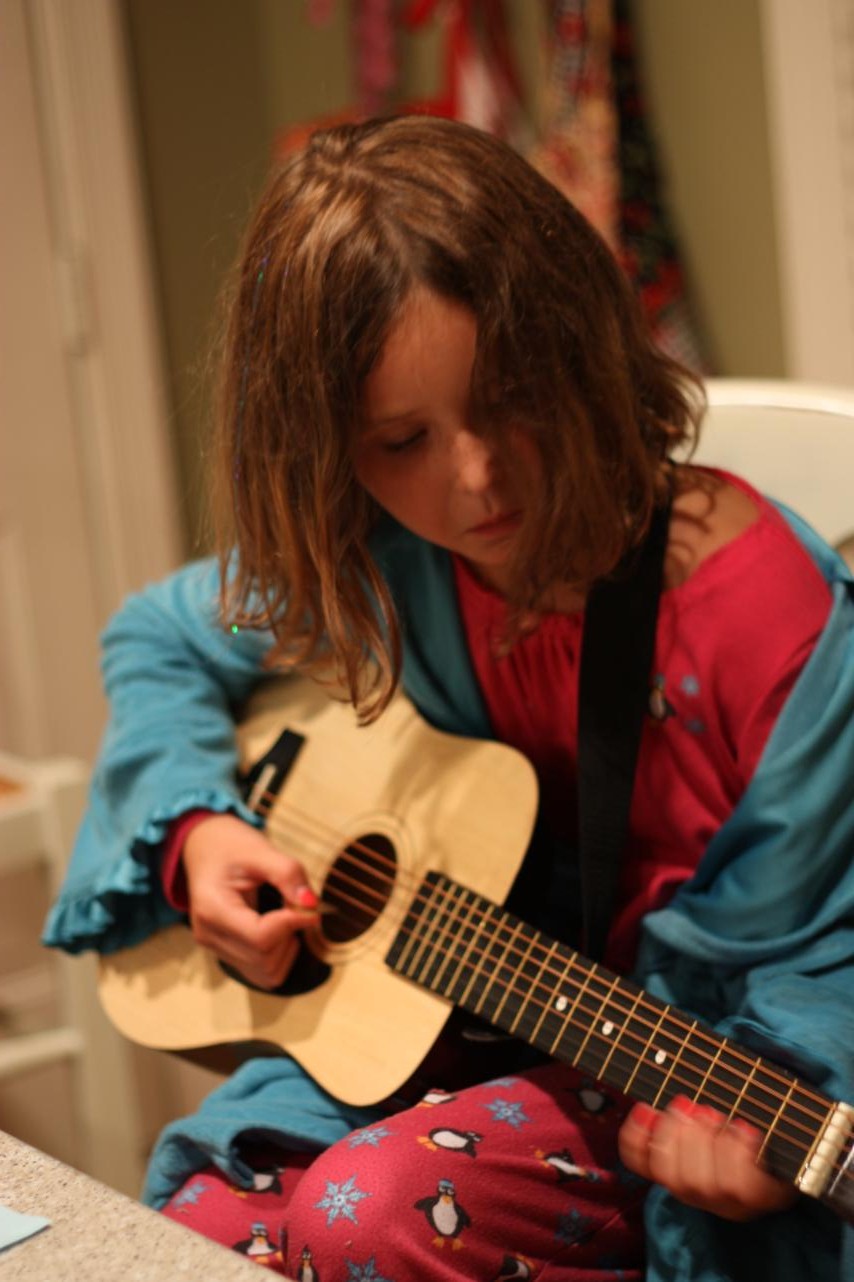
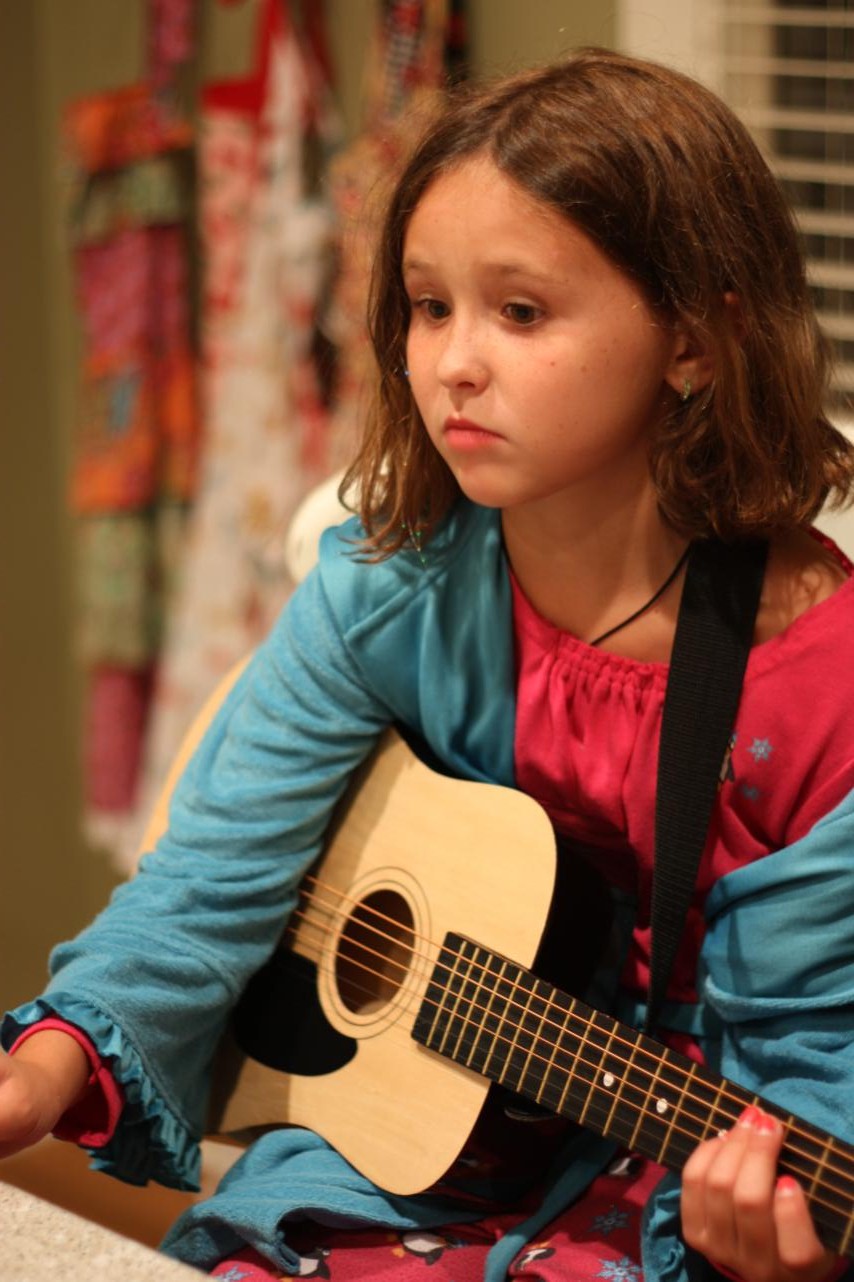
Did you know Anna is learning to play the guitar? After we had all taste-tested the cupcakes, she gave us a mini concert. First up was "When The Saints Go Marching In."

And then she played and sang a little ditty she made up herself. It was funny and was stuck in my head for a while.

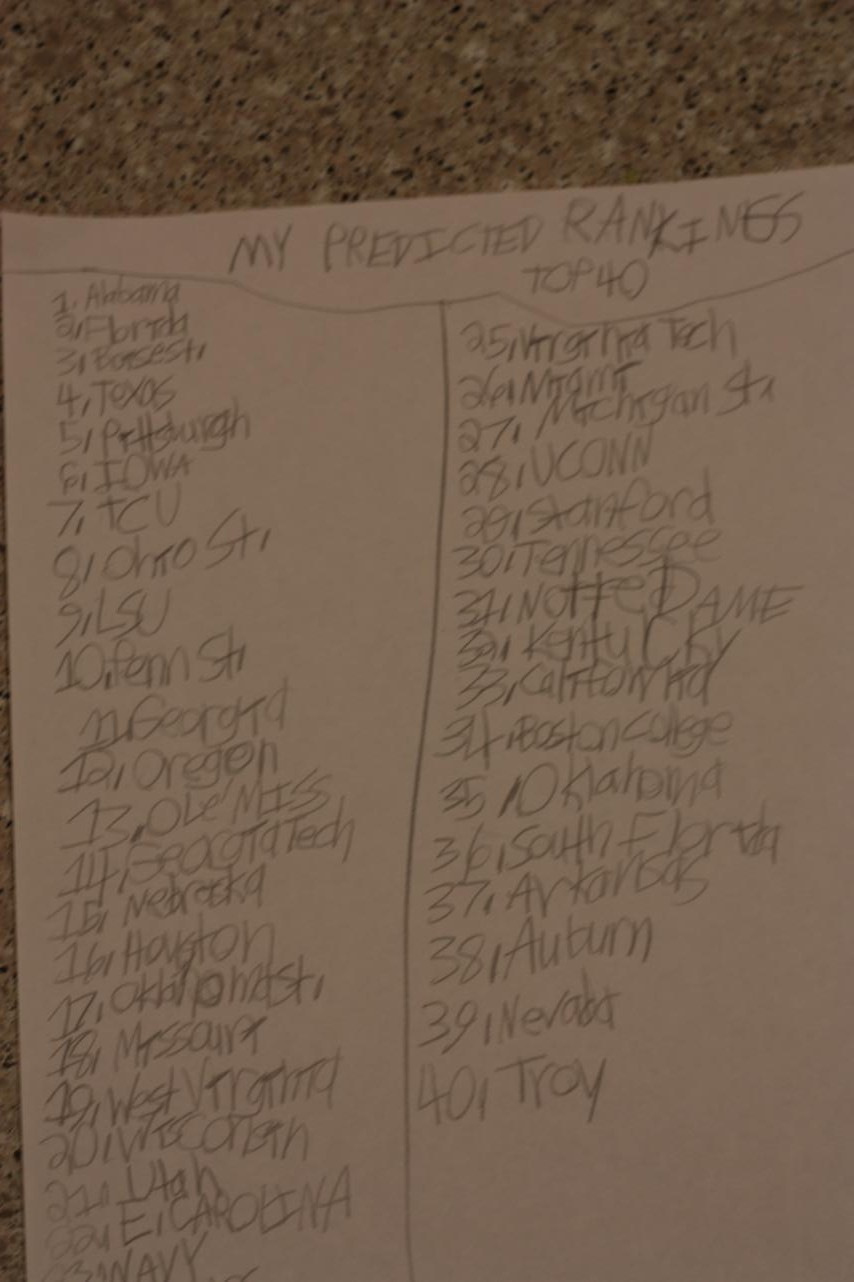
Wyatt worked on his college football rankings tonight.  I think some of our friends will be thrilled with his number one choice. Notre Dame is number 31 on his list.  Hopefully they'll finish the season higher than that.

Time to hit the sack...please come over and help us eat cupcakes tomorrow!!

Playing Catch-Up

It's 3:45 on Thursday and I've been working and working and working all week. I haven't had a lunch break and I've stayed late every night. But....I think I just hit a wall.  My brain has decided it cannot take anymore thinking about numbers! So, I'm going to take a quick blogging break.

I feel like I'm behind on so many things and need to play catch up.  First, my sweet mom had a birthday this week and I didn't even give her a shout-out post! Luckily, I've been working on some surprises for her that will hopefully make up for it.  (Or maybe I've been working on the surprises since the gift I ordered for her isn't in yet...you decide.) Mom's birthday was on the 12th (Monday of this week) and she got to celebrate in Virginia with my dad and one of their best couple friends.   Their vacation is coming to an end as they're due back home late this evening. I've already picked up Taylor (the german shepherd) from the vet and taken her back to their house and I will have Oh Henry at their house soon after I get off work. Happy late birthday, Mom!

**********

Doc's parents celebrated their anniversary this week and I didn't give them a shout-out either. Please forgive me! I know they spent some time with their friends and hopefully got to hang out around the house and enjoy each other's company.  Doc and I are actually in disagreement over what day the anniversary actually was - I could've sworn it was the 12th because I thought it was the same as my mom's birthday. Doc thinks it was the 14th.  So, Lala and Poppa, we need you guys to settle this once and for all. Which day was it?!  Oh, and happy late anniversary to you both!

**********

Remember the headboard bench that Doc built?  I showed you pictures of me spray-painting it green and briefly mentioned that it had been delivered to its new home. But I didn't show you how it ended up!  So let's back up.  It started as a stained headboard with new wood creating the bench.  My mom painted the new wood chocolate brown to match the stained part and then I sprayed the whole thing green.

I decided before I painted it green that I was going to give this bench to my cousin who is currently building her house by hand (well, she's got help from her parents and husband and the Amish, but they're doing a lot of it themselves). But this house they're building isn't just any old house. It's under their horse arena (where they ride horses and rope cattle and all that fun stuff) (my city-self couldn't come up with any other examples of things to do in a horse arena) and was originally supposed to be a concession stand/tack room/horse-washing-room/storage building. But then their house sold and they were left without anywhere to live. The long-term plan will be for them to eventually buy the plot of land that sits next to theirs and move into the house that already lives on that land. They can't do that until the land goes for sale. So, in the meantime, they're living with both of their parents and building their "house" that will eventually be become a concession stand/tack room/horse-washing-room/storage building by hand. Did I mention that they have 3 kids that are 4 and under?

Since I knew where the bench was going, I decided I needed to personalize it for them.  My aunt sent my mom a picture of their horse brand and my mom got to work making me a stencil.  I colored the back of the stencil with pencil and then taped it to the freshly painted green bench.

Then I traced the outline and pulled the stencil off.  The pencil rubbings on the back gave me a nice line when I traced it.

And then I painted the design brown.

Not too bad, right? Now, I definitely could've stopped there, but you guys know how much I love a distressed piece of furniture! I couldn't wait to get my sandpaper on this. Here's how it turned out (staged with my mom's patio pillows).

A close up of the brand:

I'm pleased with how it turned out.  My mom put a coat of polyurethane on it for me so it'd be ready for our trip to their neck of the woods.  I think my cousin was excited to get it.  I didn't even know she was using bright green in her decor so it was a perfect match! She mentioned maybe using it as a bench at her kitchen table. I think it'll look great wherever she puts it - inside or outside.

Oh, and while I was at the arena I managed to get a shot of the real brand on a horse's rump. What do you think - does my painting match it?

The brand is cattle horns (I think??) centered between two C's (for their last name).  I think it's all pretty cool.  They have lots of horses and cattle and I was lucky enough to see their border collie, Nelly, round-up the cattle while I was there. So fun to watch! My cousin and her husband  have competed in a lot of rodeos and won lots of saddles and other prizes.  These days they ride (break?) horses for other people and they also have some male horses whose, ahem, services are available. (Just in case anyone out there is looking for a horse-baby-daddy.)

**********

On Monday, June 28, I sent my dad these plans and told him I thought this shelf would look great on their empty patio wall next to the patio set we made.  I told him if he got the supplies I'd help him build it that weekend.  My dad told me he'd hit up our local orange or blue store on Tuesday, June 29 to get the wood.  On Wednesday, June 30, I went to my parents' house for dinner and whaddaya know, he'd already built the darn thing!

My mom said he was determined to finish it that night.  He stayed up til 11:30 working on it. Of course, once it was done it just sat there because he was relying on me to finish it.  And, since I'm pretty sure my mom isn't checking my blog from the flight that she's on right now, I'll go ahead and tell you that getting it painted is one of the surprises I have waiting for them to see.  Here's a sneak peek:

Hopefully I'll have some finished patio pictures to share with you soon!

***********

After some frustration with my camera at the wedding shower I attended last weekend, I decided to go ahead a splurge on a new lens for myself.  I deserve a present, don't I? It has shipped and should arrive any day now. I am supah excited to play with it and hope I get it all figured out before the triple baby shower I'm hosting on the 25th!

Ok, we should be caught up now. It's time to close all my work spreadsheets and hit the road!

Let me tell you about a boy I know...

You may have been able to tell from my last few posts that my life has been a little busy and crazy the past week. I have been so stressed out that I'm sure I haven't been the most pleasant person to be around. But Doc, even though he's had his own stress to deal with too, has been so good to me in so many different ways that he's made it all bearable and easier to get through. I'm too tired to write coherent paragraphs so here, in semi-bullet form, are a few ways my wonderful husband has shown me he loves me. He...

...washed and dried multiple loads of laundry over the weekend.

...folded the clean laundry (his least favorite chore).

...drove to my parents' house when I ran out of time to pick up our house guest for the week.

...made me lunch and brought it upstairs to me while I got ready to attend a wedding shower.

...cooked dinner for me every night while I sat at the sewing machine or smocked or worked on diaper cakes.

...fixed the hot water in our shower.

...took both dogs out several times without me.

...sat through dvr'ed episodes of The Bachelorette with me so I could get caught up.

...unloaded the dishwasher.

...made the bed both Saturday and Sunday.

...washed the kids' sheets and remade the bunk beds when I mentioned that we might have company.

And then, as if he hadn't done enough already, today he...

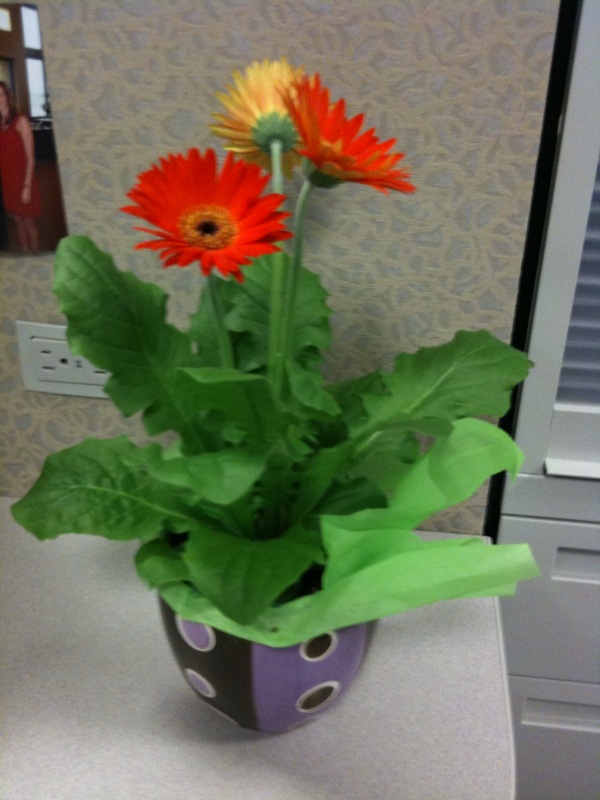
...showed up at my office while I was working late with some of these:

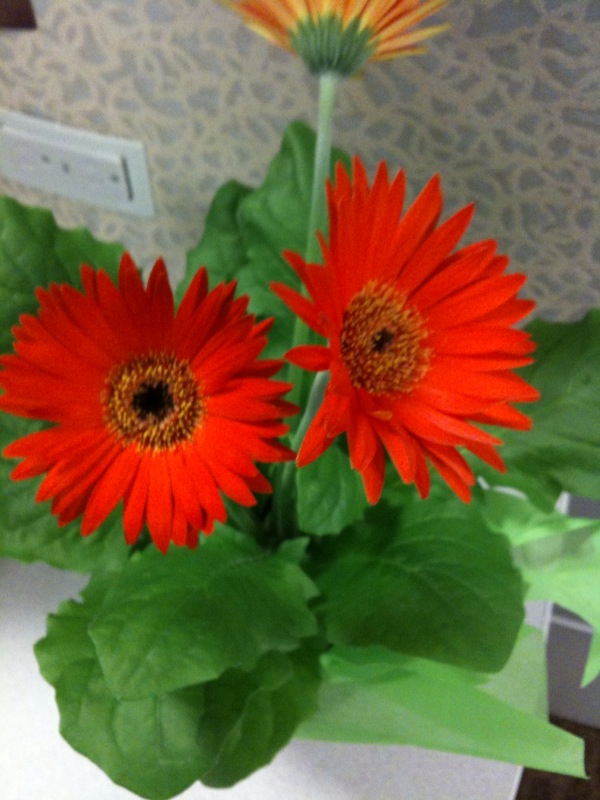
...and some of these!

He knows how much colorful flowers make me happy and that I have another crazy week ahead of me. These flowers sitting on my desk are exactly what I need to make it all better. I have a feeling they'll make me smile every time I look at them.

So, question for you, dear readers: can I plant these when I finally bring them home? They're gerber daisies potted in a small planter. I've never tried to grow them before. Do they like sun? Shade? Heat? Or should I just keep them in a pot inside? Will they be dead in a couple of days?

Thanks for all you do for me, Doc.  It definitely does not go unnoticed. I love you tons. You're my favorite!

Hair Today, Gone Tomorrow

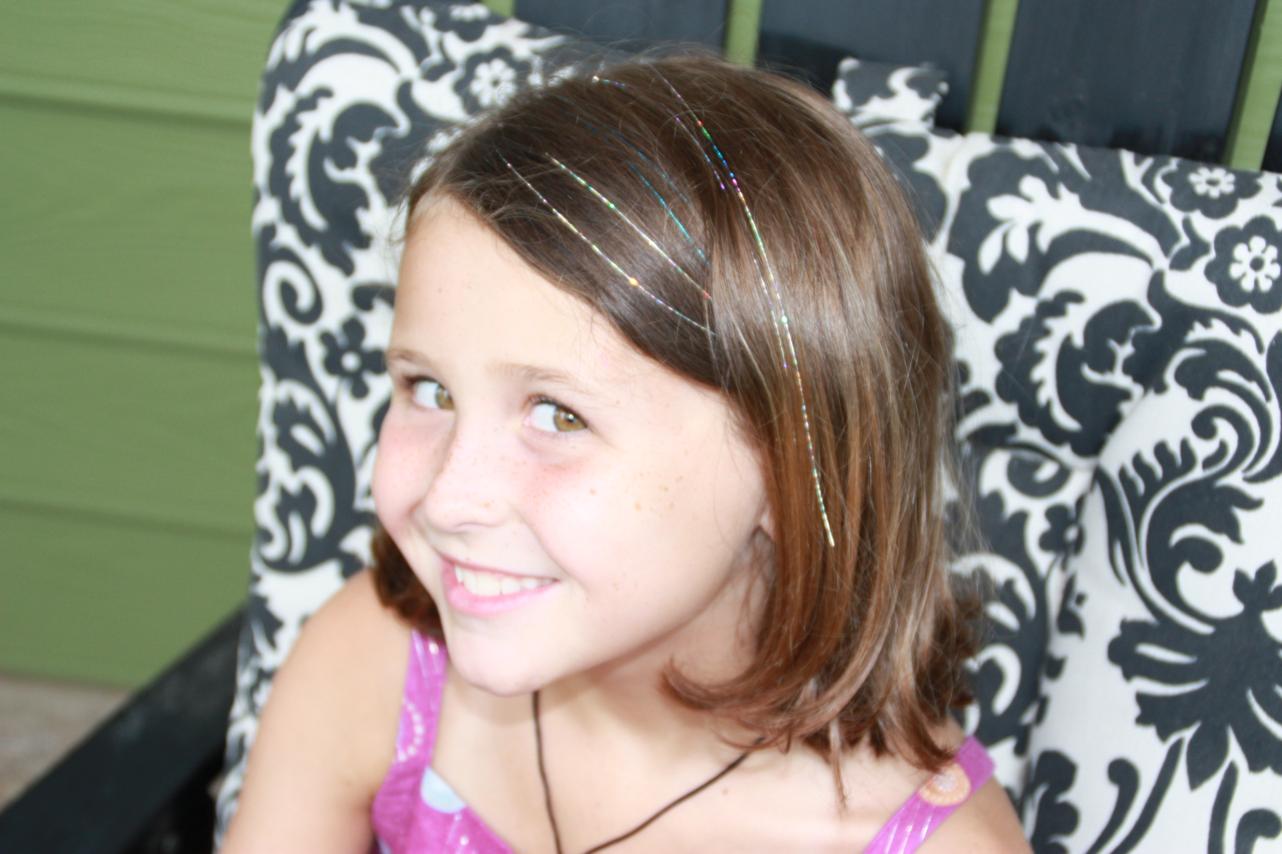
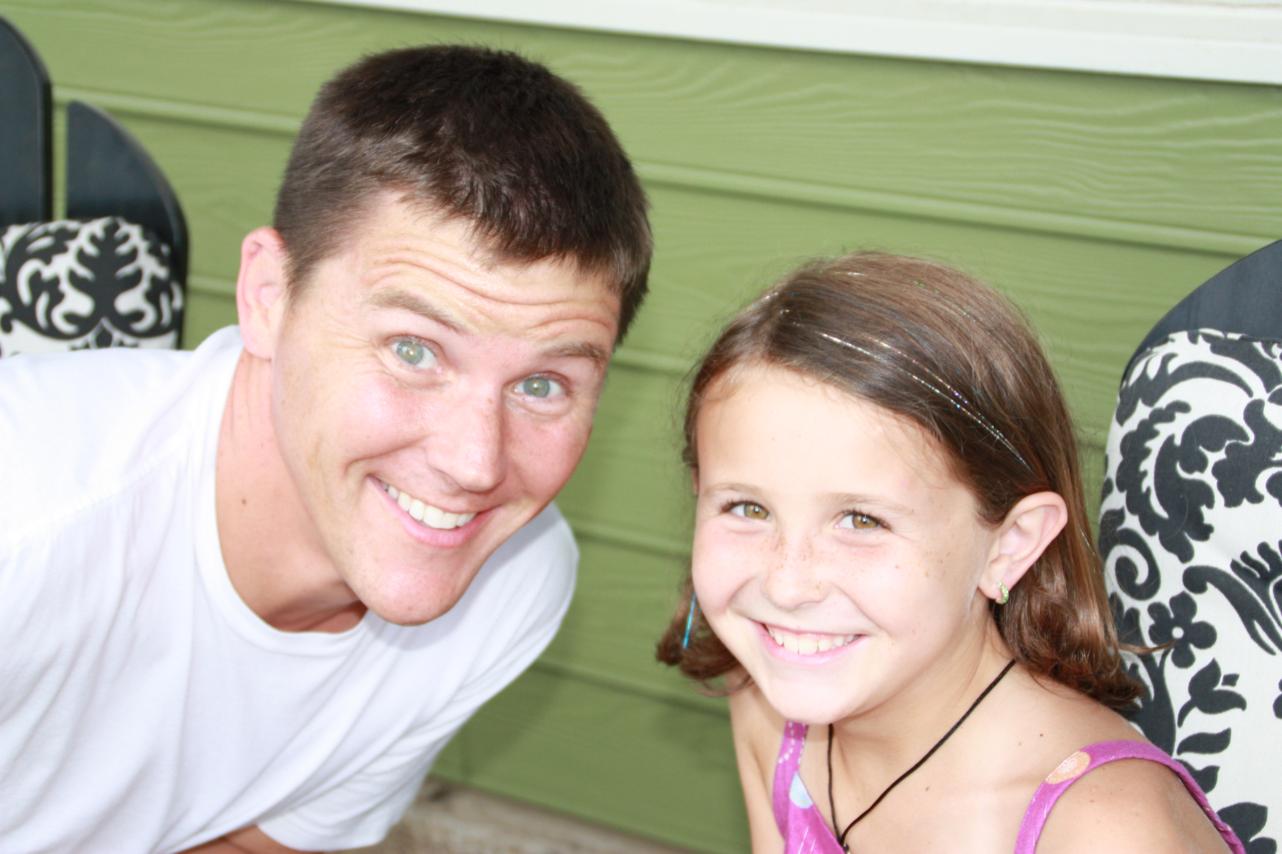
Last night when I got home from work Doc and the kids were sitting out on the front porch enjoying the light rain. I walked outside to join them and immediately noticed that Anna had sparkly hair.

She told me it's called hair "blang" and she got it at a salon yesterday. I nearly fell out when she told me how much it cost, especially since it's basically a few pieces of tinsel tied around a couple strands of hair. It's supposed to last 2-6 weeks, but I can't imagine that it'll hold for that long.

I actually like it much better than the hair wraps she usually gets, but I don't think her dad was a fan of the sparkly hair at all. He's being a good sport about it, though.

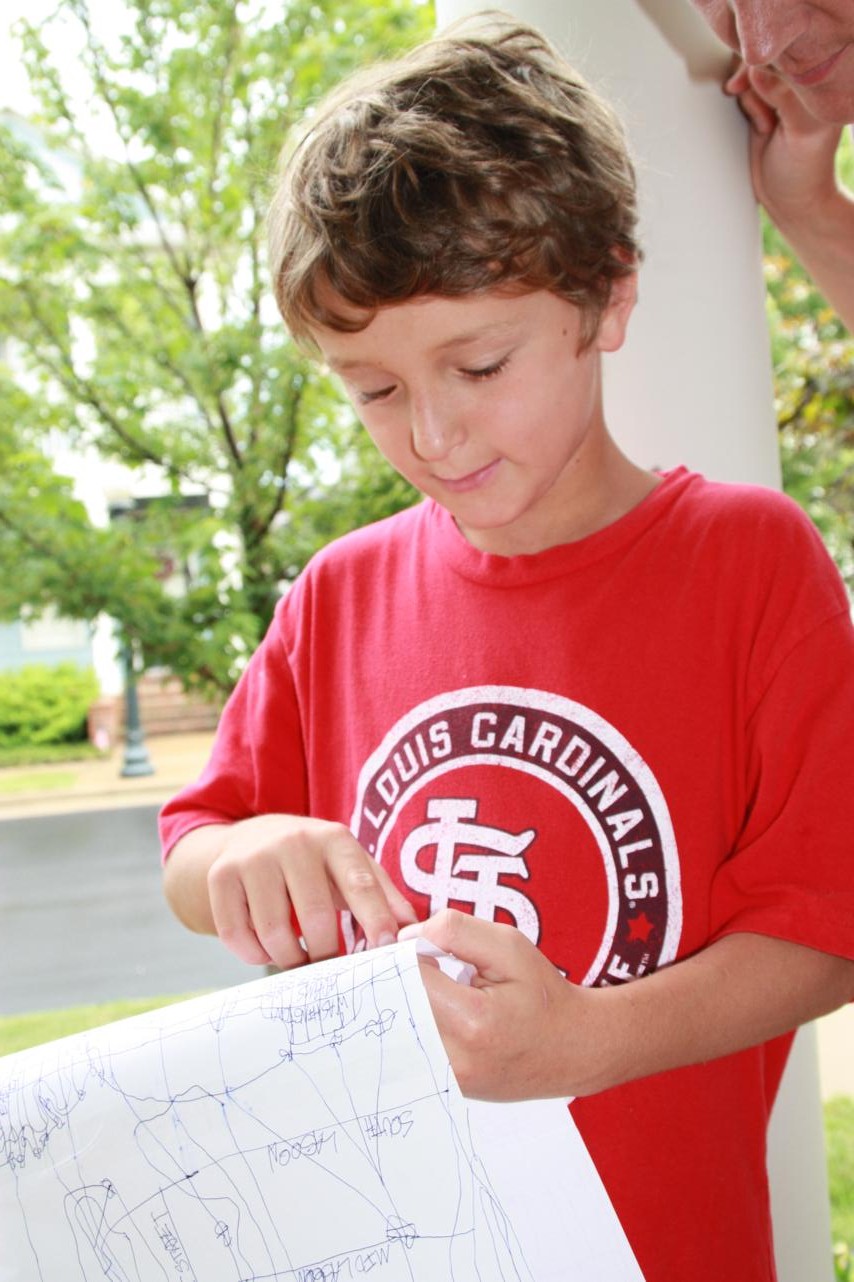
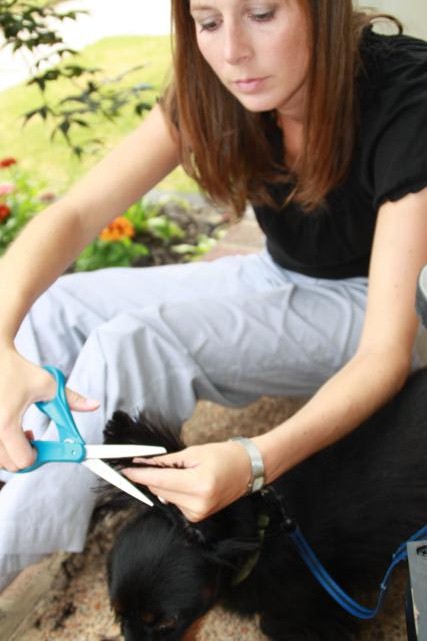
While we were outside I decided to grab a pair of scissors and give somebody a hair cut. And no, it wasn't this curly-headed boy. He wants to let his grow out until school starts.

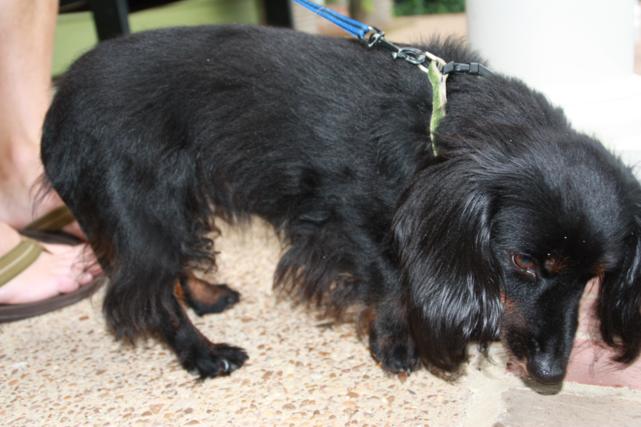
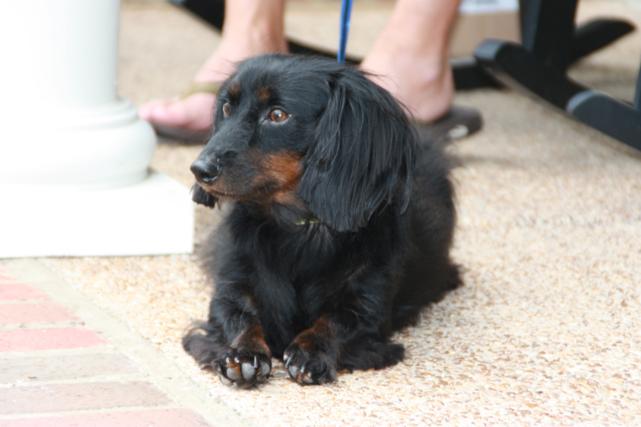
Instead, it was this scraggly haired pup.

The hair on her ears was getting a bit long.

This picture is pretty bad but it shows all of her tufts of hair that stick out.

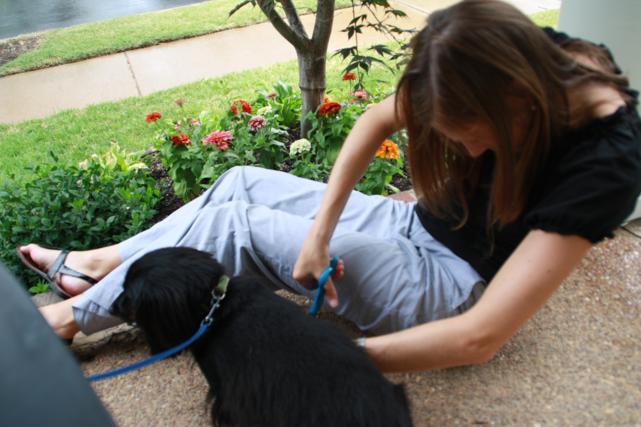
I'm not sure if any of you have ever tried this before or not, but it's very hard to trim the hair of a wiggly dog.

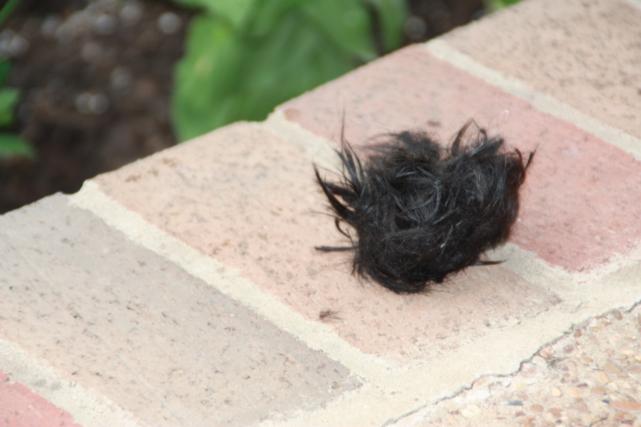
By the time I finally gave up, I had cut a pretty good amount of hair off.

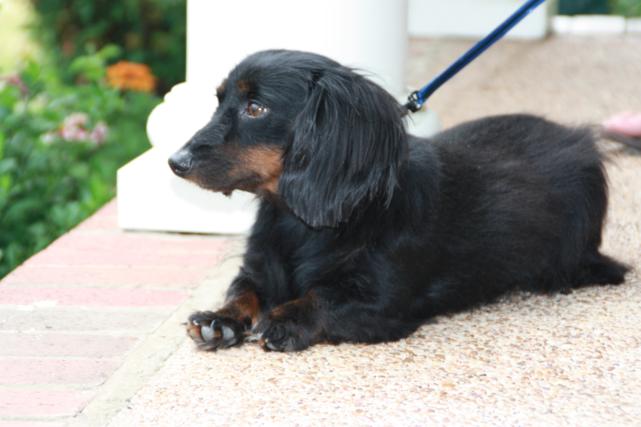
I think her hair cut looks nice!

She's a little embarrassed about it but I keep telling her it'll grow back out.

And that was the most exciting part of our Friday night!