2 More Completed Projects

It may be hard to believe, but last weekend while I was at my parents' house, I actually did more than just play with crayons.  I know, shocking.  I'm happy to report that I was able to check a couple of projects off the ol' to-do list. The first is a bench that someone had "ordered."  (It feels weird calling it that since I don't actually have a store, but they requested it, I made it, they paid for it, so that means they ordered it, right?)  The bench is an Ana White plan that I'd done last fall and this particular "customer" (that's weird too) had seen it in its new home and wanted one too.  Well by all means, let me jump right on that for you.

I didn't take an in-process shots, so here it is in its finished state.  My customer chose the paint color; it's Nifty Turquoise by Sherwin Williams.

The top is hinged and has a little storage compartment.

I won't lie, I was pretty nervous when I opened the can of paint and saw how bright it was.  Nifty?  More like Welcome To Preschool, Let's Learn Our Colors Turquoise.  Thankfully a dark chocolate undercoat toned things down a bit, especially after I went at it with the sander.

I haven't heard back yet if my customer is pleased or not.  Doesn't matter, though, cause this store doesn't take returns.  Mwahaha.

Project Numero Dos is one that my parents started a couple of weeks ago and I just helped finish it up.  The inspiration was this piece of wall art that my mom and I saw at an antique store.

What you see there is a whole bunch of strips of colorful beaded board framed together and hanging on the wall.  Fun, easy, genius.  I mean, who doesn't love beaded board?  It's cheap and super easy to get your hands on.  The antique store had some of these same colored slats in longer pieces for sale.  Aaaaand it just got even easier to get our hands on - we didn't even have to drive to Home Depot or Lowes.

I can't remember the price but it wasn't much.  Mom went ahead and bought one long slat in each color.

I think they may have called these antique beaded board but it really isn't much different than what you can buy in the store today.  These are tongue and groove pieces, not just strips from a big sheet of beaded board like we normally buy.  I think the main difference is that it's a little bit thicker.

Well, it's thicker and it's already painted and distressed.  Gotta love it when you can cut out a step from the get-go.

Now, these were mostly purchased so we could make some generic wall art for the beach house, but you know my mom needed something for her house too.  She cut off 15 inches from each slat, and then cut those down into 3 five-inch pieces.  She had a total of 21 pieces and went to town arranging them.  My dad built her a frame to go around them.

Mom has a long skinny place in her den where she wanted to hang this so she couldn't follow the pattern from the inspiration photo.  Instead, this is what she came up with.

It reads a little checker board-ish in this picture, but it's actually really, really cute in person.  The dark colors that look kinda black in the photo are actually a darker green and brown, and you can see a lot more of the imperfections in the wood in real life.

She even managed to line up all the "beads" in the beaded board.  (The slats didn't automatically line up, she had to shave a little off here and there.)

Dad and I put the hanging wires on the back and took inside to see how it'd look in it's new home.  I think it looks good by the polka dot chair!

Maybe one day I'll remember to take my real camera with me so I can take some better quality pictures (these are from the iPhone).  This would be really easy to recreate, and you could make it any size and color you wanted.

We also worked on another really cute, really fun project this weekend, but I can't reveal it yet because it's a birthday present.  It's so hard to resist posting pics because I think it has turned out so well.  I love it!  Here's a hint:  it involves a tree, a door, and a mailbox.  Any guesses??

Just for fun, here's a picture of Lolli.  This is how she spends her mornings when she thinks it's close to time for her to get in her kennel.  If I even think about coming near her, she darts under the bed where I can't reach her.  She's a mess, I tell ya.

Antique Luggage Tags

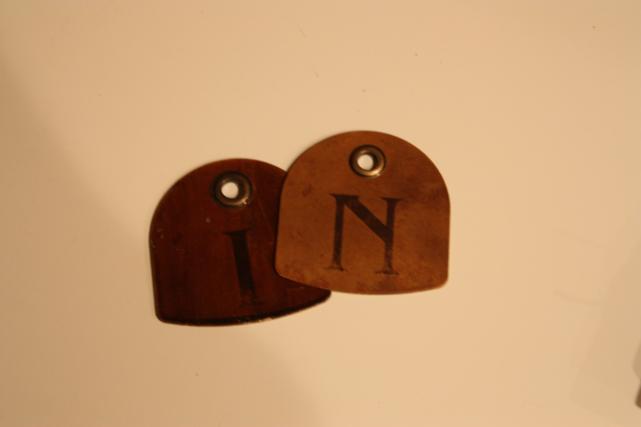
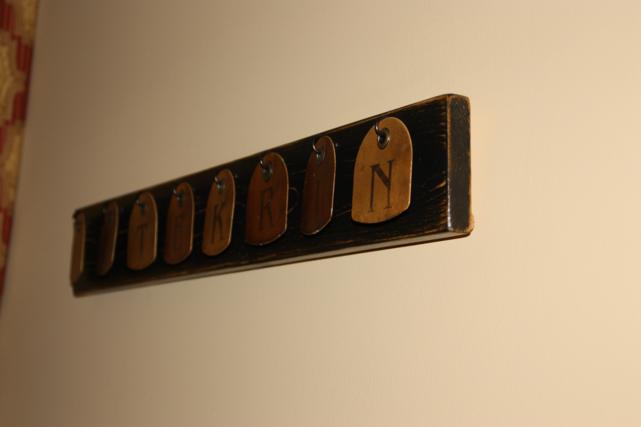
It feels like it's been forever since I wrote about a project in the woodshop, but that doesn't mean we haven't been working.  We certainly haven't been as busy as we were last fall, but we've still cranked out a project or two. Today's post is about a quick project my mom and I threw together a couple of weeks ago.  It started with these really cute antique luggage tags that she found.

Not the best picture, but you get the idea.  She found them at a gift shop and bought all the letters for her last name.  I was uber jealous when she brought them home, and couldn't believe she didn't get me any!  The joke was on her, though, because we finally made it back to that store and I was able to snag mine for 50% off.  Booyah!  She paid $1 for each tag and I paid only 50 cents.  (Not that $1 each was all that expensive, but still...)  I'm pretty sure they're reproduction luggage tags (the brand new "Made in China" stickers on the back may have tipped me off), but I still think they're pretty cool.
Of course, both of our husbands scoffed at them and said "whaddaya gonna do with those?"  Pfft.  Guys have no vision!

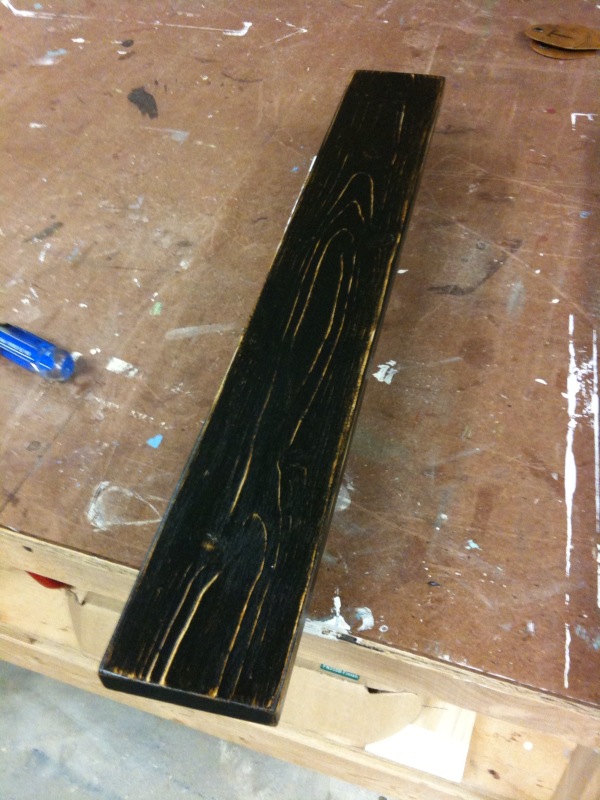
Mom and I got to work.  We each cut a piece of 1x4 about the length of our last names (in luggage tags, that is).  Both boards got the same treatment: a coat of gold-ish paint, a coat of black, and then a good pass-over with the electric sander.

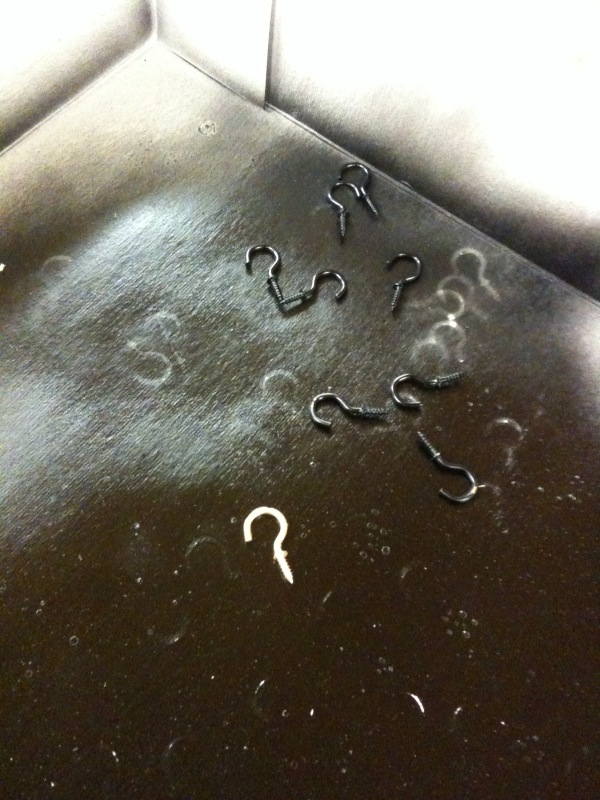
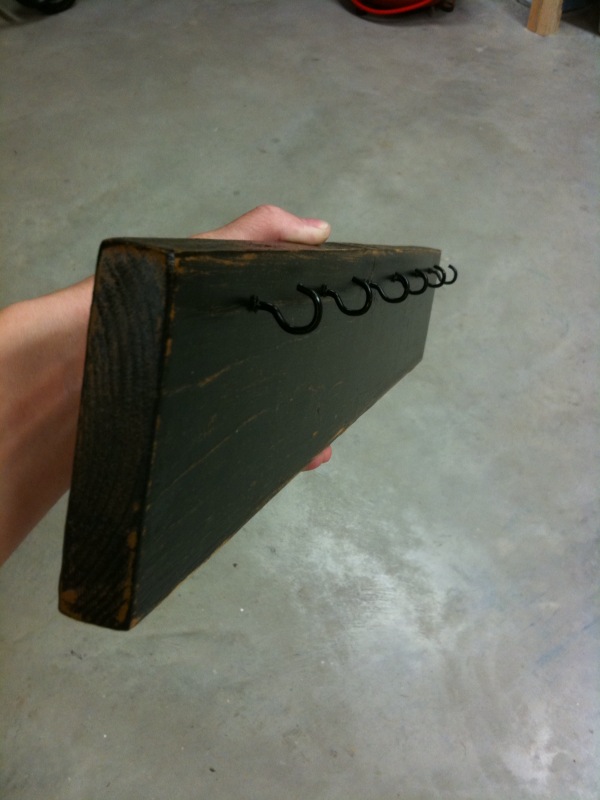
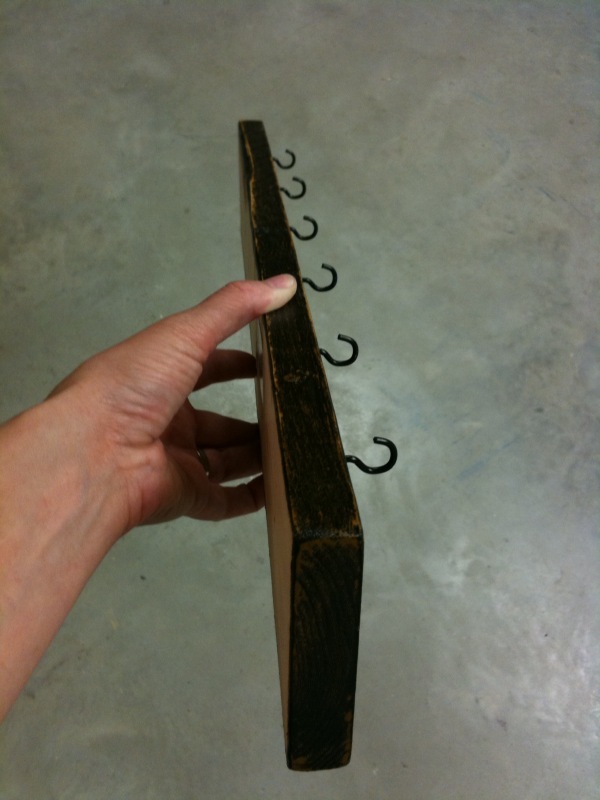
In between coats of paint, we also spray painted some tiny hooks.  The only ones we could find at Home Depot or Lowe's were shiny, shiny gold, and we didn't want that.  A quick coat of black spray paint fixed 'em right up.  The one in the center of this picture is pre-paint.  Kinda bright, isn't it?

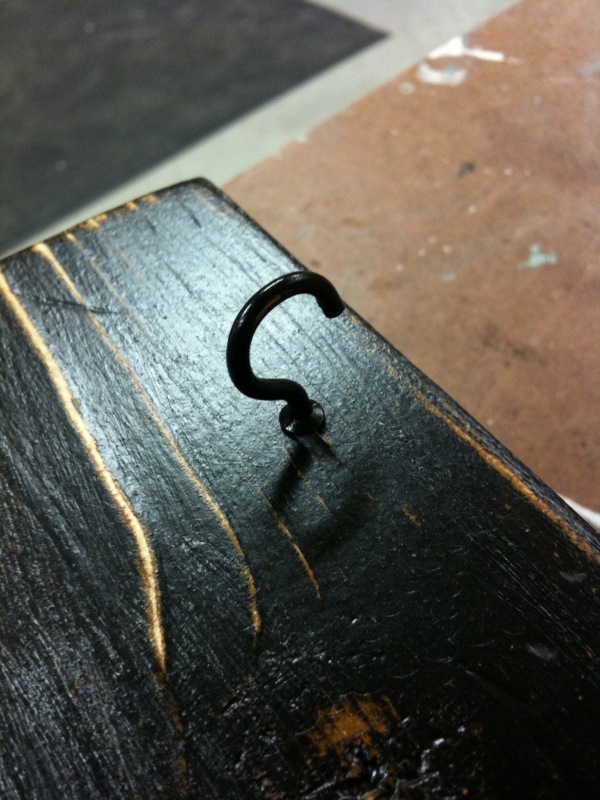
Once our boards were sanded, we gave them a quick coat of water-based polyurethane.  Next came my least favorite part of all woodworking projects: measuring.  I hate figuring out all the spacing!  Then it was just a matter of tapping starter holes (using a hammer and nails) and then screwing in our freshly painted hooks.

Twisting in those little suckers killed my fingers!

Hey, nice spacing.

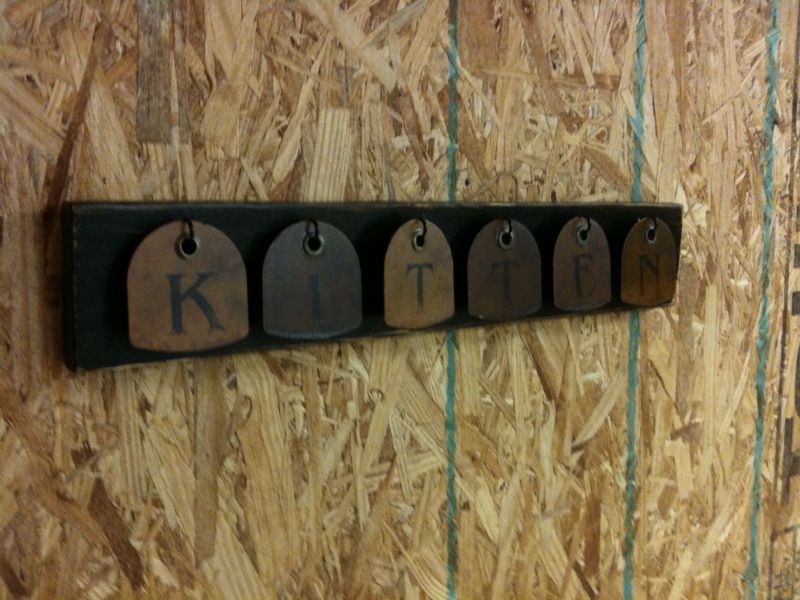
After that, it was just a matter of hanging the antique luggage tags from the hooks.  In keeping things slightly anonymous around here, we combined all of our letters to make up a new last name instead of photographing ours.  Here's to the Kitten family!

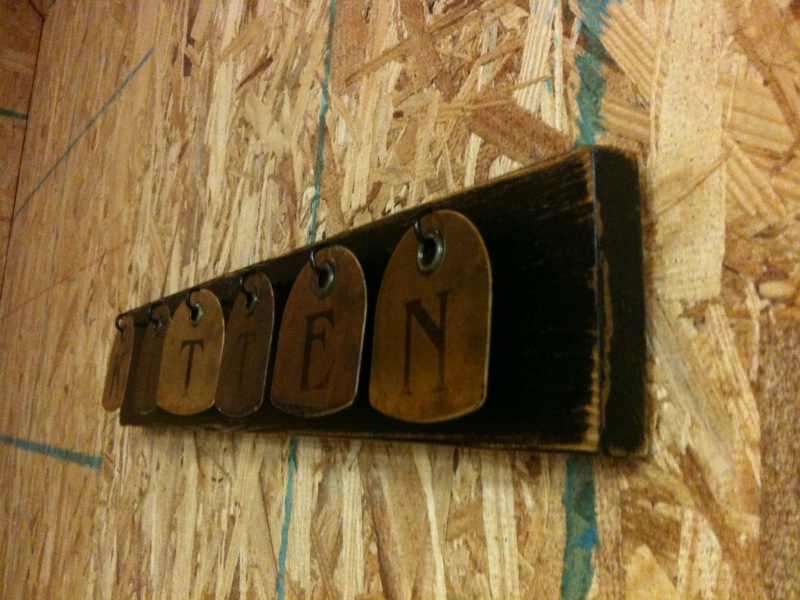
These things were impossible to get a good photo of.  If I used my flash, the light bounced off the tags all crazy-like, and if I turned the flash off, the picture looked blah.  But you can get the idea, right?

Of course, my dad suggest we just screw the tags onto the board, but I really like the way they hang.  Gives it more of a three-dimensional effect, I think.

Now, if I can just find the perfect spot to hang it...

A New Bed

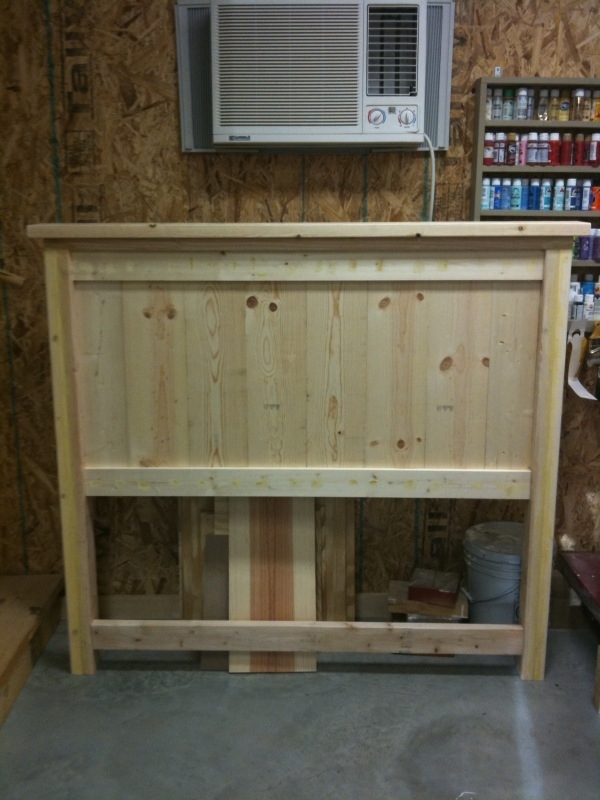
A couple weeks back, I mentioned that I had spent part of my Sunday afternoon working on a headboard.  If I remember correctly, I showed you this picture.

The plans for the headboard came from Ana-White.com.  I think it's called the farmhouse bed, and the plans were originally for a queen-sized bed.  For this project, we had to put on our thinking caps and scale it down for a full-size bed.

We had a minor setback with the side posts.  The plan called for two 4x4s, but we couldn't find any anywhere that weren't treated.  (Green lumber - like fence posts - should not be used inside because of the chemicals they release into the air.)  So we had to do some rigging to make it look like we had two 4x4 posts.  If you look closely in the picture above, you can see that we actually used two 2x4s and then filled the crack between them with wood putty.  I had to do several layers of wood putty but I think we finally got it looking like one solid piece of wood.

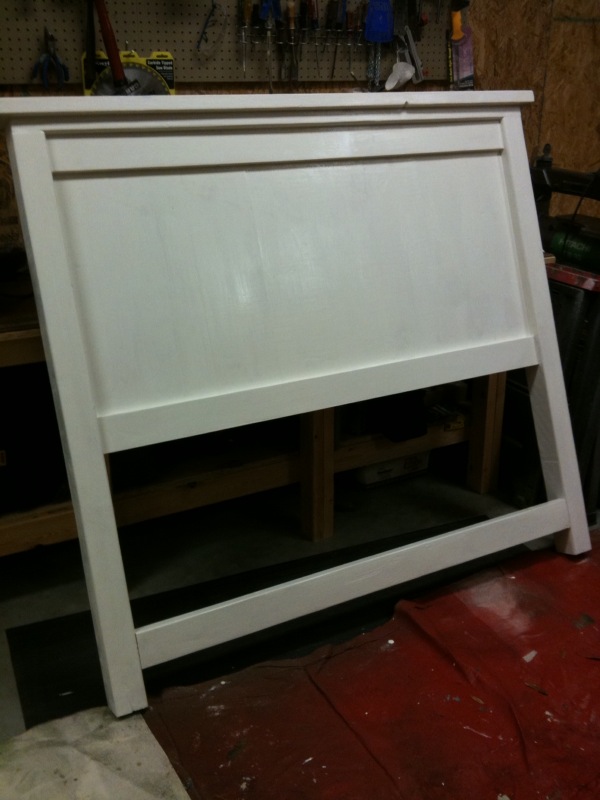
Take a look for yourself - this is the headboard after the first coat of white paint.

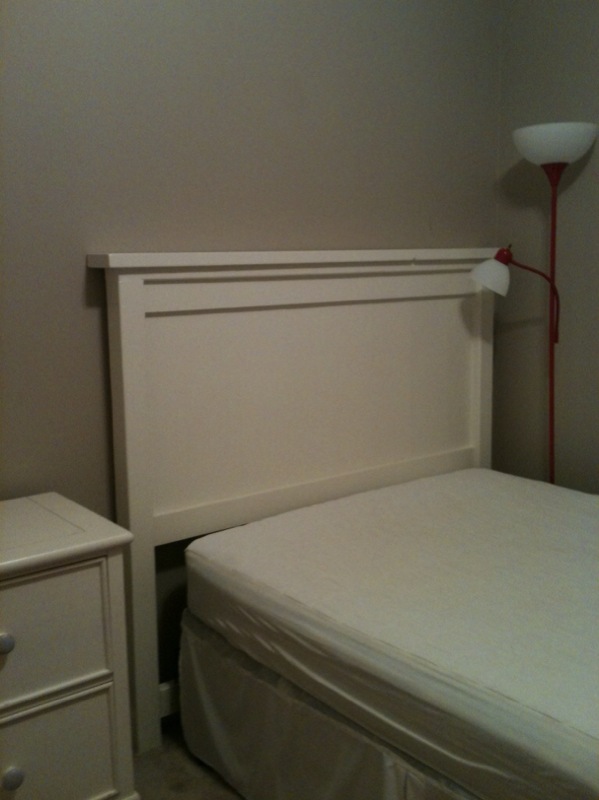
This headboard is for a bedroom re-do that I'm working on.  Because the headboard is so top heavy and it's going to be for a second-grade girl, we decided it would be best to secure it to the wall.  We're putting together her new room tomorrow morning, so the headboard made its way to its new home this week so that it could be put in place.

Here it is in its new home.

Because the headboard is attached to the wall, we didn't have to worry about connecting the metal bed frame to it.  Tomorrow the bed will get its new linens and the room will get lots of new accessories.  Stay tuned for some before and after pictures!

Weekend in Review

The most important thing I have to say about the past weekend is this:  We survived. We had so many things to cram into the span of three days!  And on one hand, I'm sad that we were so busy that we didn't get to spend much quality time with Doc's parents who were in town, but on the other hand, I don't know that we would have survived had they not been here.  They were a HUGE help in so many different ways.  I honestly can't thank them enough...but I will try with extra presents under the Christmas tree!

As soon as they arrived Thursday evening, we piled into their car and headed out to see the kids in their school's Christmas production.

Both kids had speaking parts in the play and were very excited about it.  I'm so glad we were all able to go see them perform.  I tried hard to get some good pictures, but here's the thing - during the photography class I took back in the spring, no one ever told me what setting my camera should be on when I'm in a dark gym and too far away for my flash to reach my subjects.  So all I was able to get is some crappy pictures. 

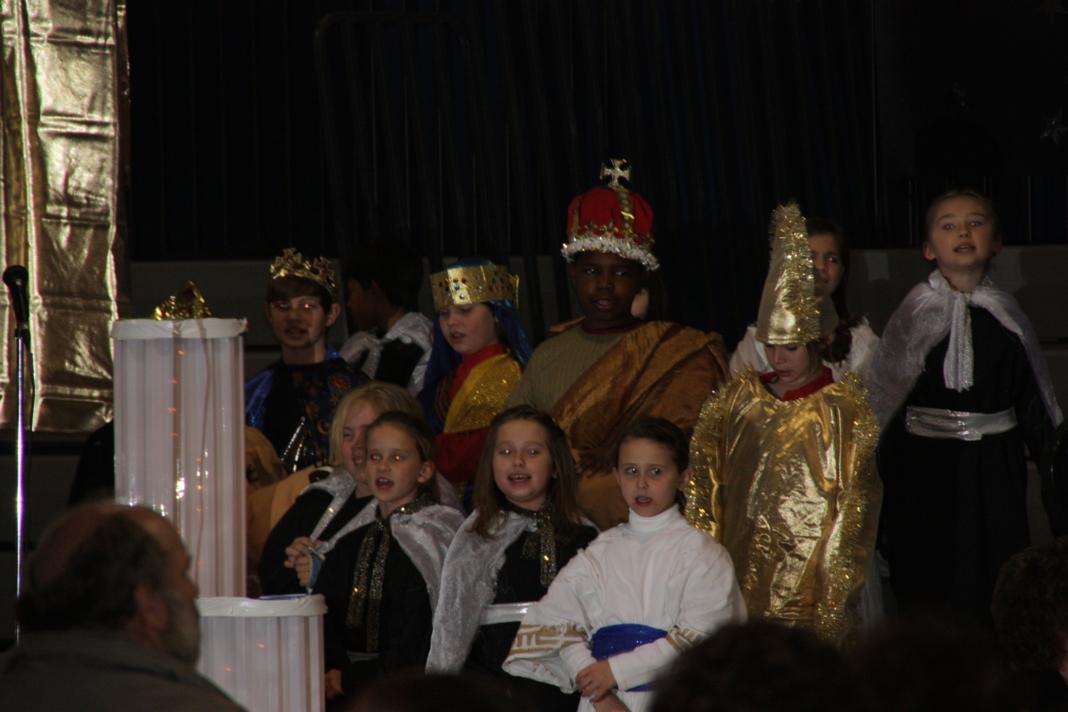
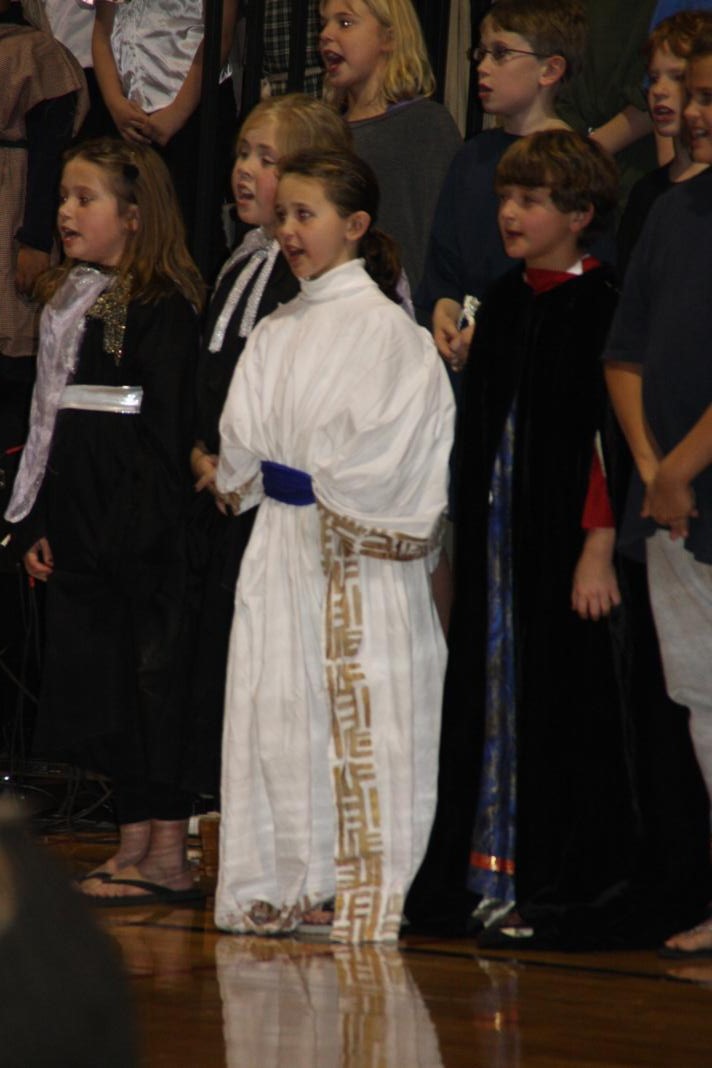
They started by all singing a Christmas carol together.  Anna's in the front row and to the right (in white).  See the white column over to the left?  Wyatt's standing right behind it.

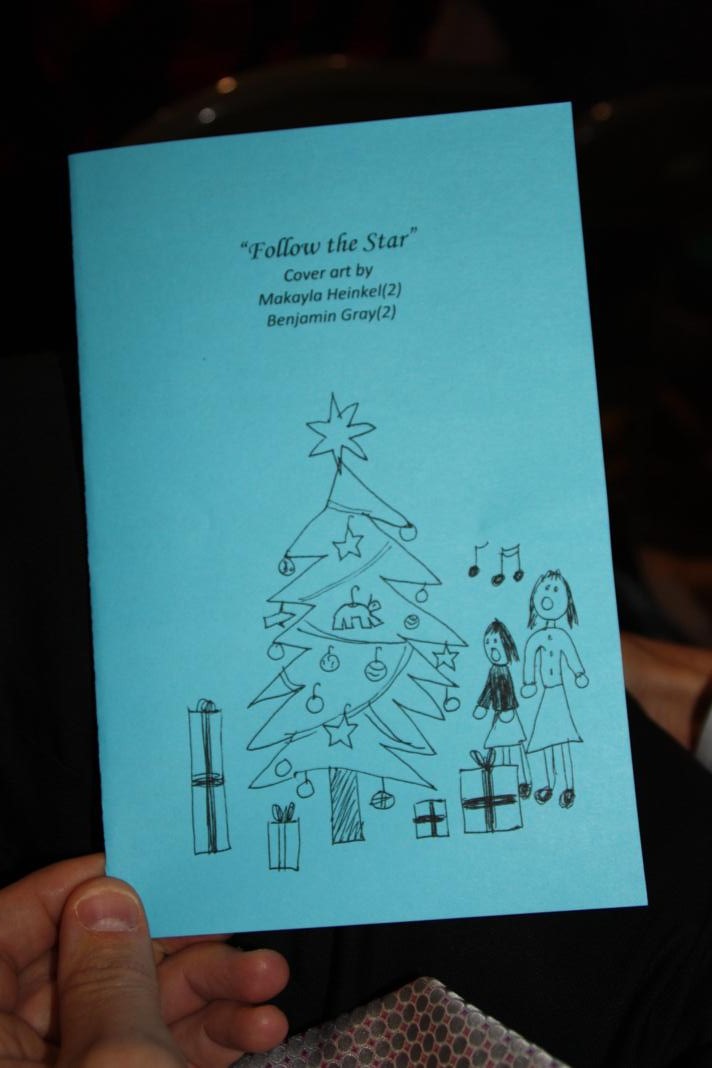
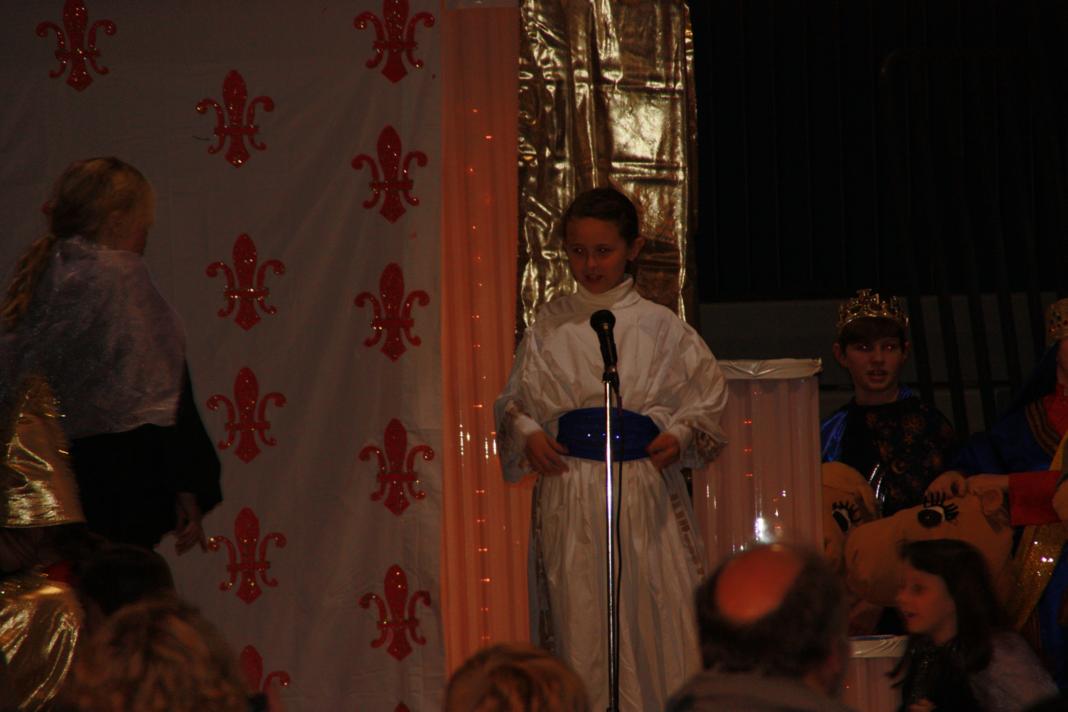
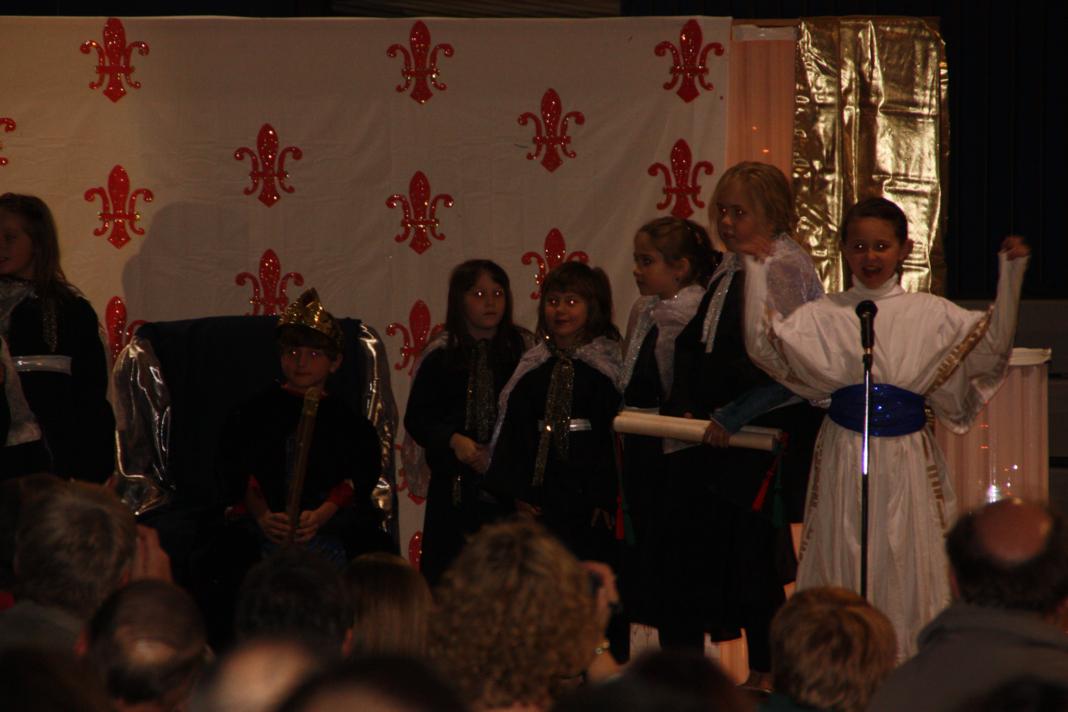
After the first song, it was time for them to move to the stage to begin the play - "Follow the Star."  Anna took her spot in front of the microphone.

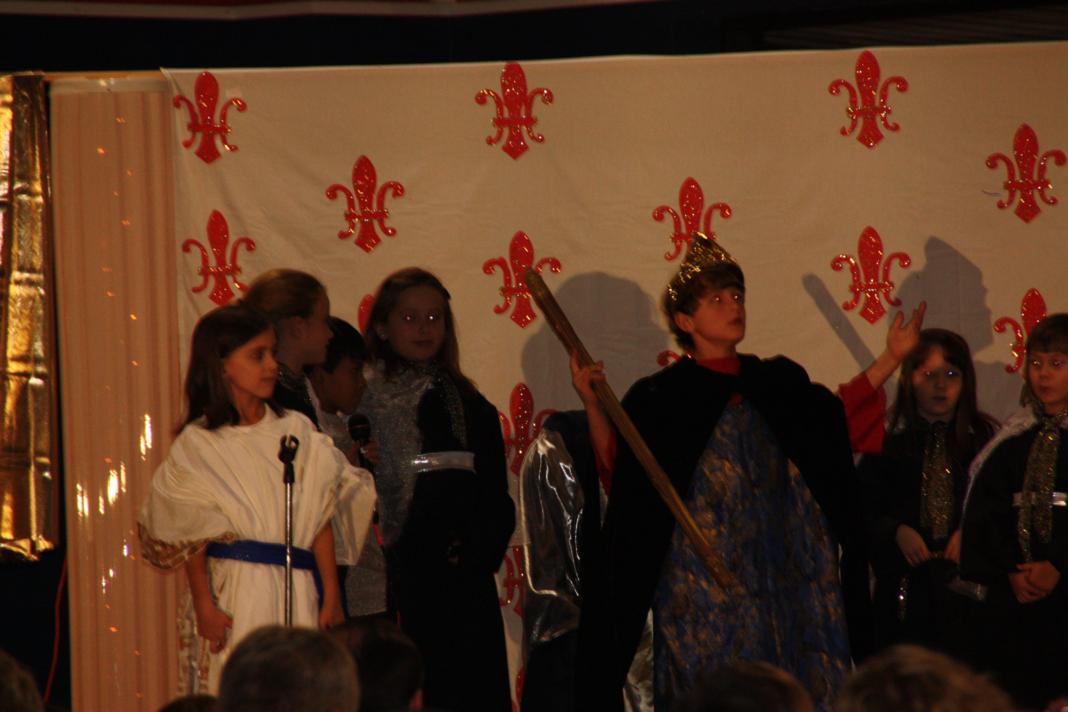
Wyatt was King Herod so he got to sit in the throne.

He had lots of speaking parts and did a great job!  My favorite part was when his character got frustrated and yelled "Enough already! Will someone just tell me the news?!"  He did some great acting.

Anna, as a Page, got into her role too.  She really put some arm motions into "Hear ye! Hear ye!"

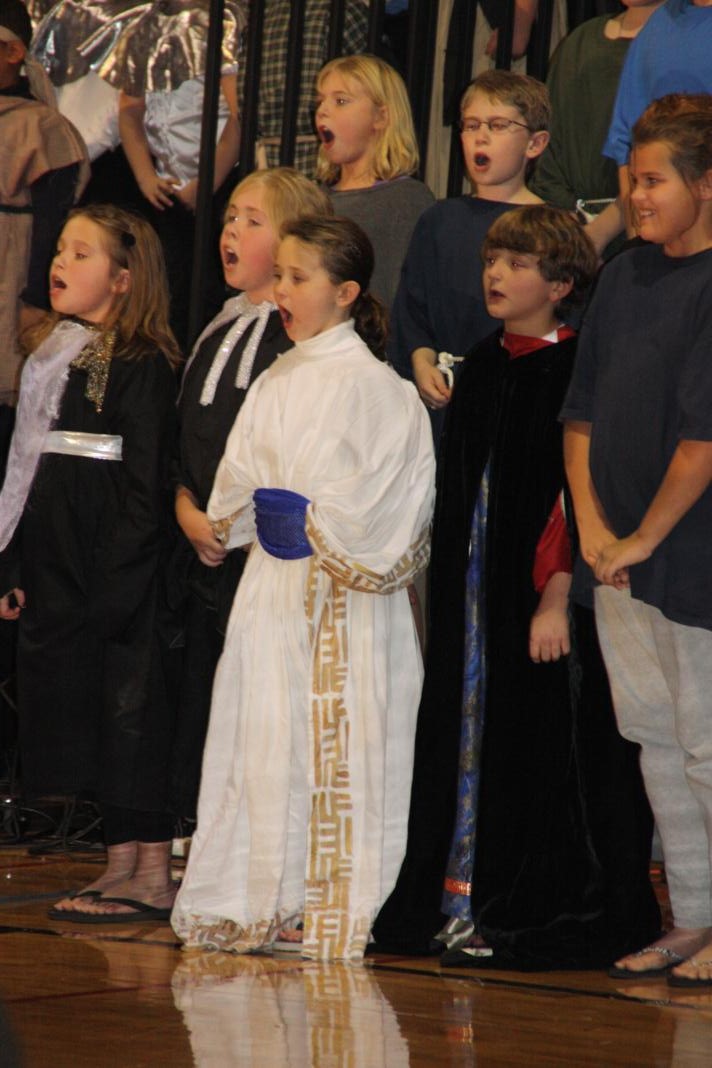
After their speaking parts were over, they returned to the bleachers to sing with the rest of their classmates.  Luckily for me, they sat next to each other so I could easily get pictures of them both.

Wyatt's King Herod costume looks strikingly similar to his Harry Potter halloween costume from a few years ago.  I wonder if that's just coincidence. 

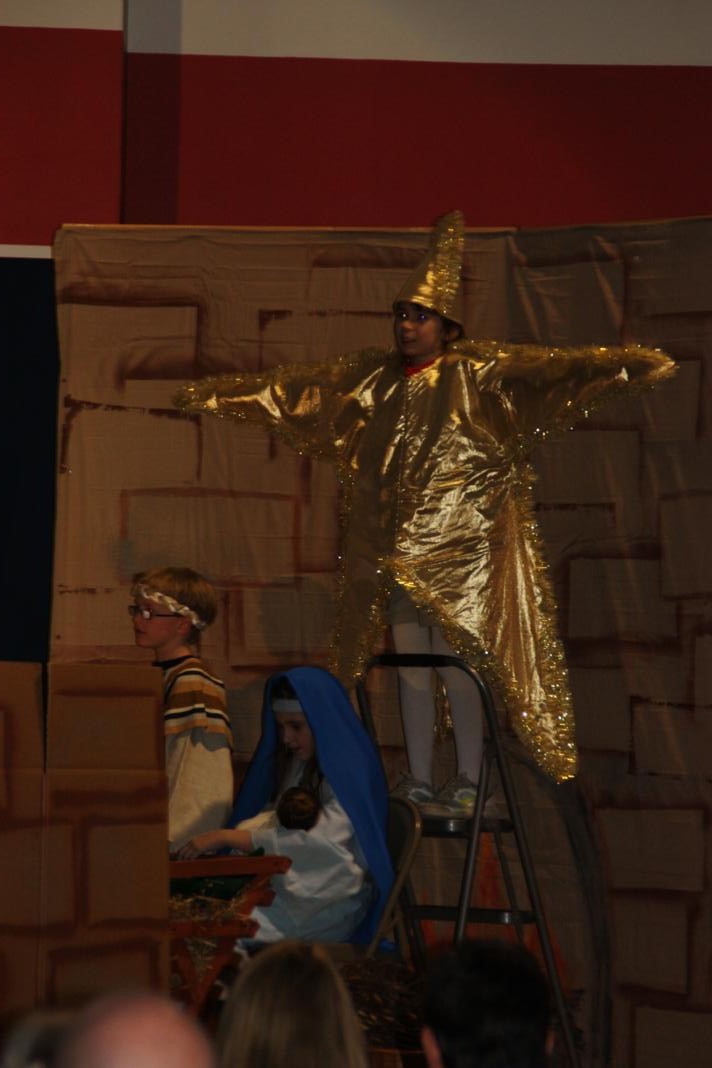
After watching the whole program, I have to admit that had I gotten the chance to audition, I would've tried out for the role of the star.

I mean, check out that costume! And the star got to climb on top of the ladder and shine over everyone else.   Sometimes this particular star got a little tired and had to lean on her ladder to rest.  It was awesome.

Friday both Doc and I headed out to work and left his parents to fend for themselves.  And do you know what they did?  They went to the grocery store for us and turned our kitchen into a bakery in preparation for Saturday's bake sale.  That's just reason #976 why I love them. 

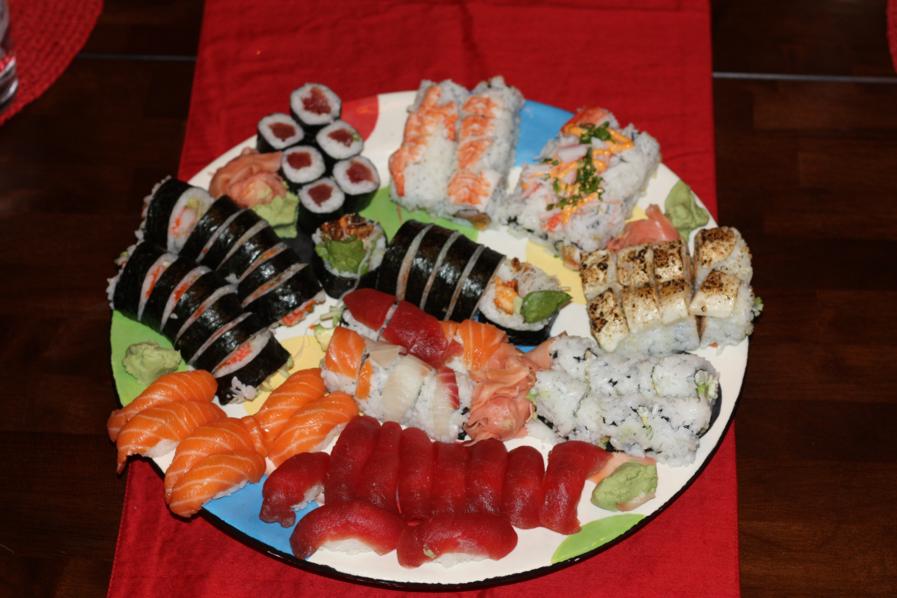
That night, Doc wanted to load up on carbs before his big run on Saturday morning.  Our next door neighbor is a big-time marathoner and suggested he eat sushi instead of pasta the night before.  It doesn't feel as heavy and weigh you down as much.  Doc gave it a shot last year and it worked so we decided we better repeat the sushi meal this year.

I think sushi is so pretty!  I should've taken an "after" picture...there were four of us eating and we devoured every last bite.  It was delicious!

Saturday started really early as we all headed out the door for the marathon - Doc to run it and the rest of us to cheer him on.  I think my pictures from the morning will have to be a post of their own.

When we returned home, the baking continued.  I even fell asleep for a few minutes, but my awesome mother-in-law just kept on going.  Check out all the goodies she made!

Peppermint-topped vanilla cupcakes:

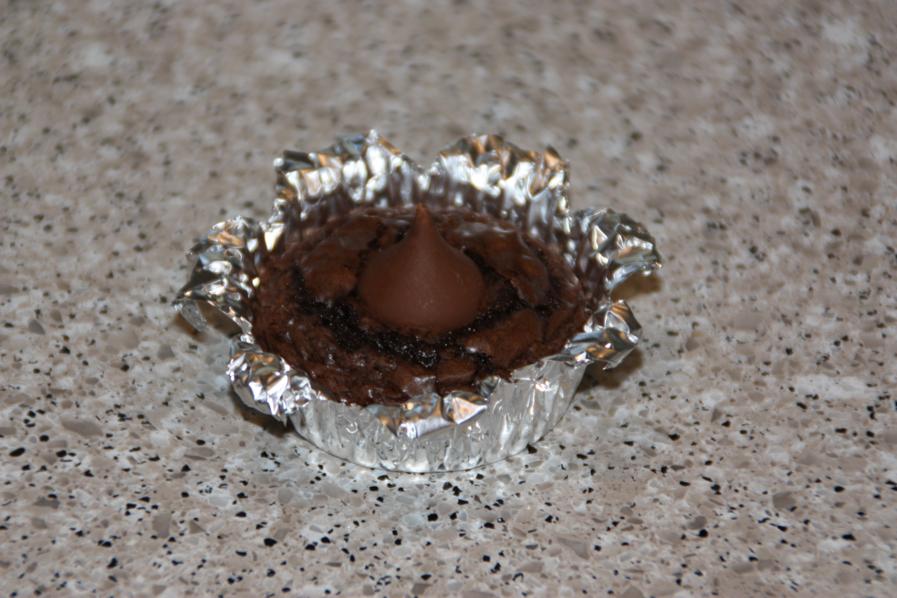
Individual sized brownies with a hershey kiss on top:

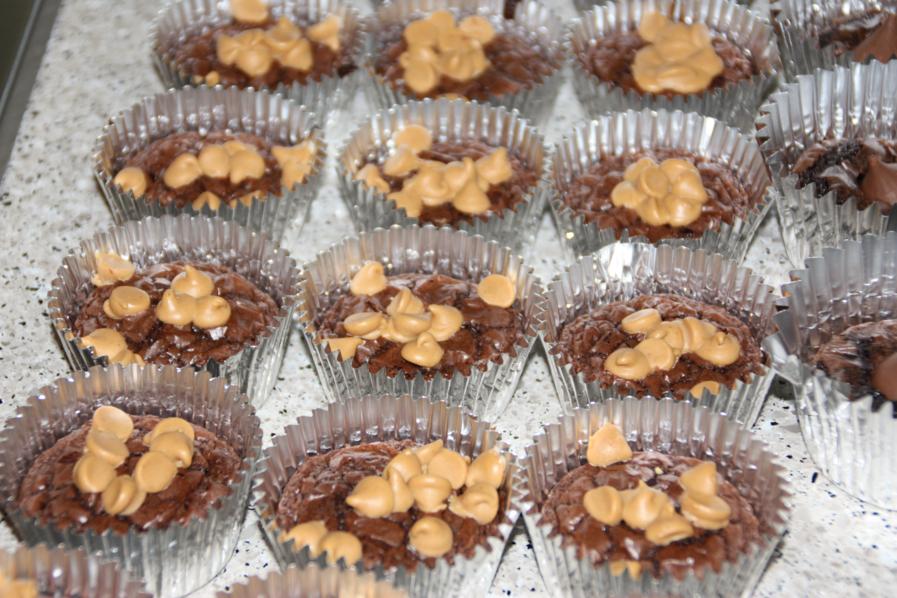
Another batch of brownies with peanut butter chips on top:

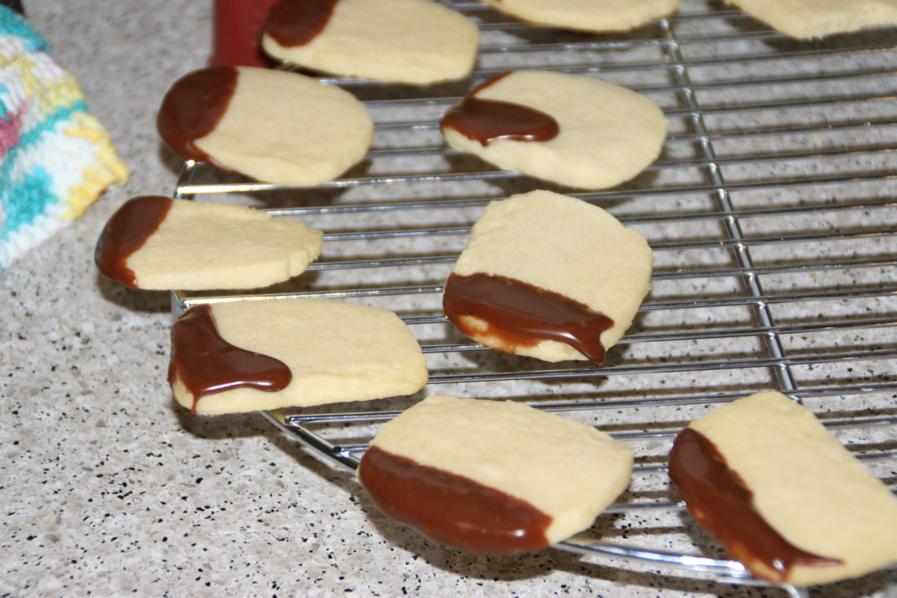
Shortbread dipped in chocolate:

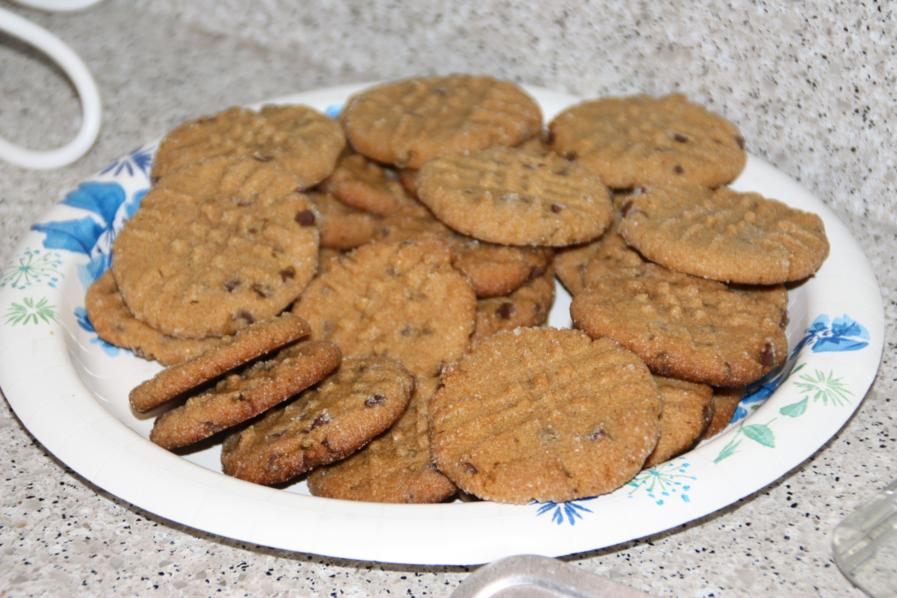
Peanut butter cookies with miniature chocolate chips:

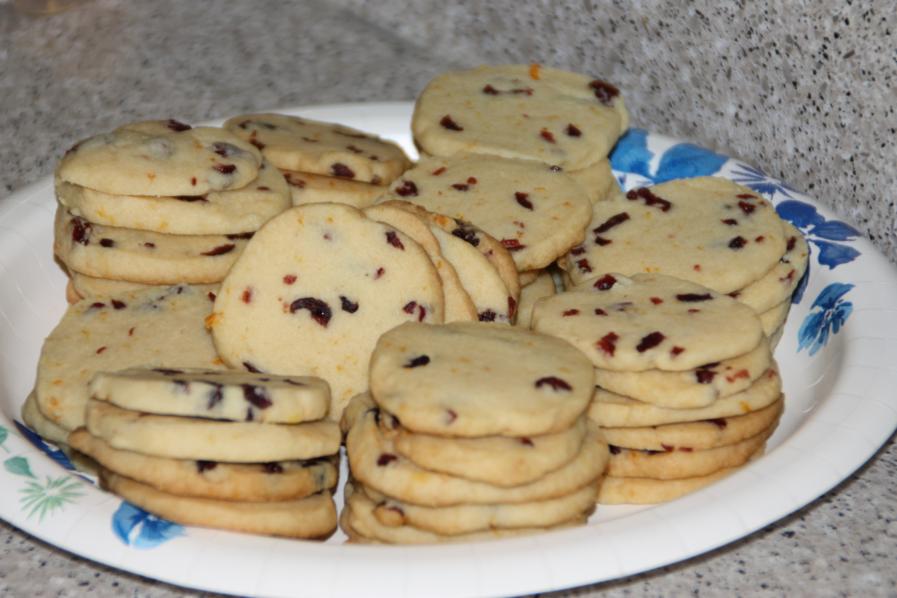
Shortbread with orange zest and cranberries:

Is your mouth watering yet?  That afternoon, when I was back in the woodshop getting ready for the shop sale, Doc's parents went to pick up the kids and then came back to keep baking.  I completely forgot to take pictures of the cookies Anna helped with.  They were so cute - Anna and Lala used food coloring to tint the dough and sprinkles and red hots to decorate.  There was a good assortment of Christmas trees, wreaths, and stars.  (I won't lie - I'm eating a  handful of them right now as I type this - yummy!)  We formed an assembly line that night to package all the cookies.  They were all bagged and tied with a red or green bow and then we boxed up to travel to the shop sale.

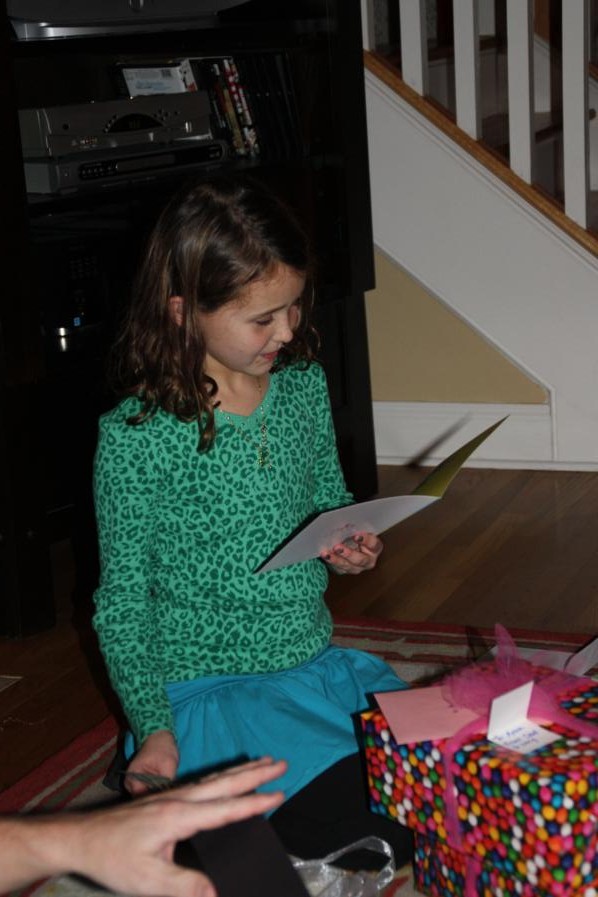
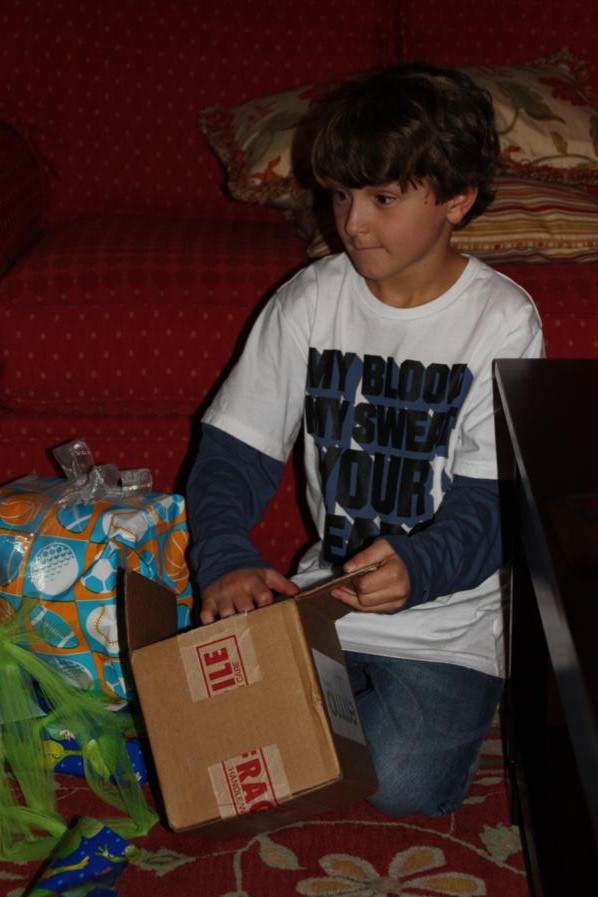
Since everyone in our family except me has a birthday in December, we also squeezed in a birthday party Saturday night.  Anna, Wyatt, and Doc all tore into their presents at the same time.

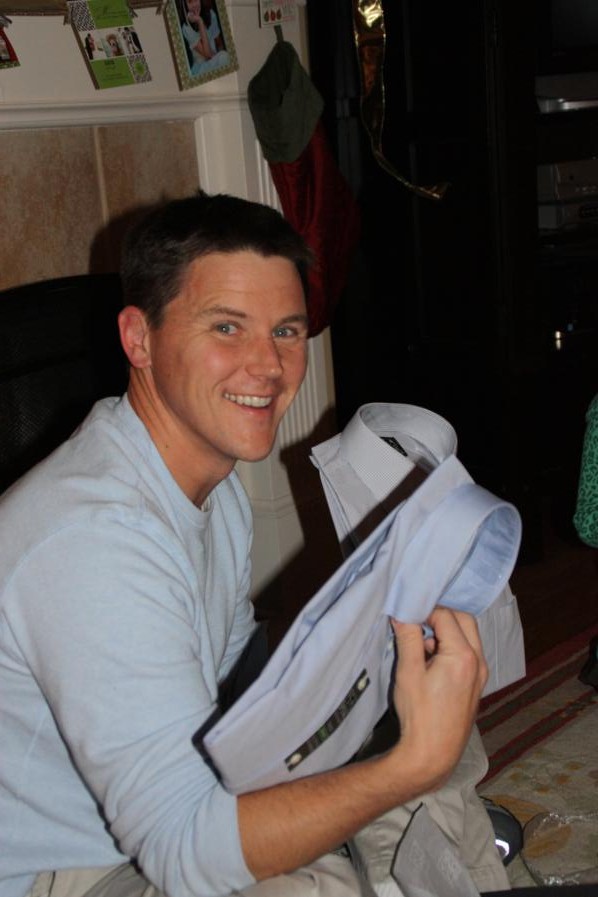
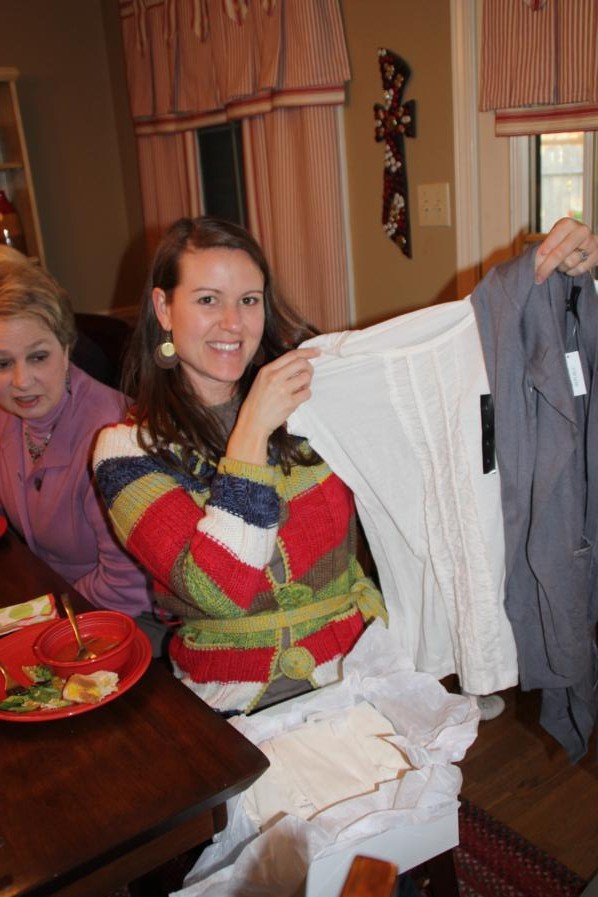
I think everyone was pleased with what they received.  Doc opened new dress shirts and ties.

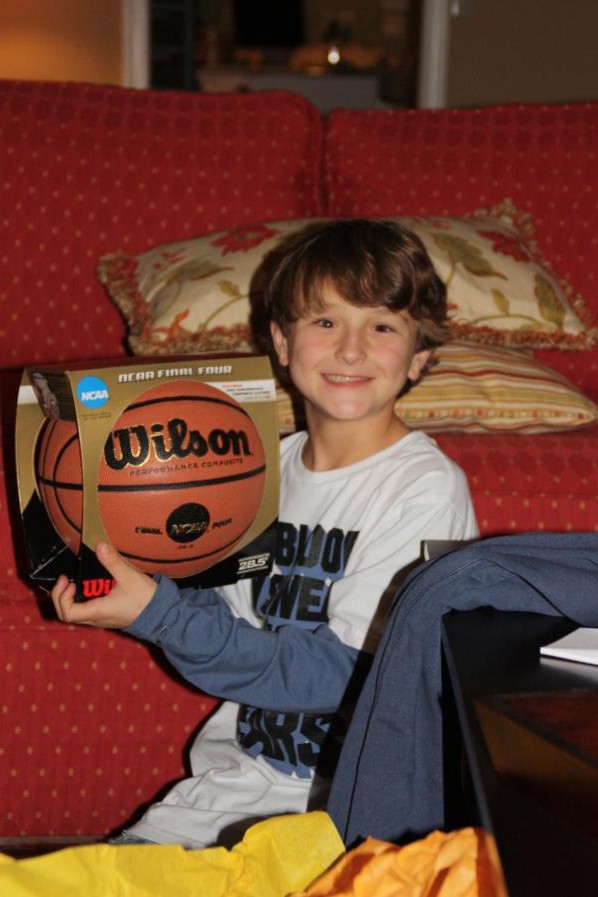
Wyatt got a new basketball, a puzzle, and some moolah.

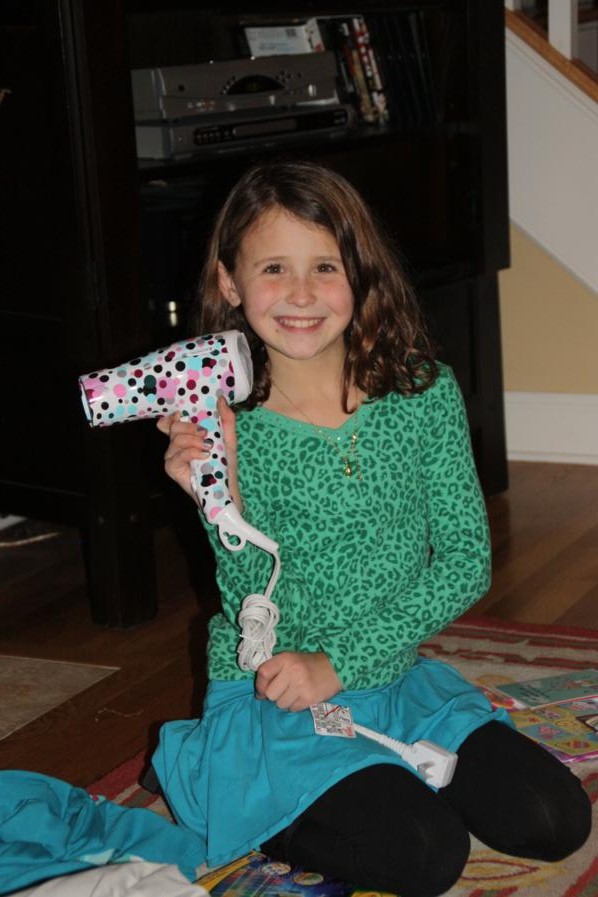
Anna opened a new hair dryer, a computer art game, and some spending loot.

Like Saturday, Sunday started pretty early.  This time we got cleaned up and headed to church.  I was a nervous wreck that morning because it was the day of the shop sale.  What if no one showed up?? What if no one liked any of my stuff?

The good news is that church seemed to calm me down.  Or it at least took my mind off the shop sale.  We had less than two hours between church and the start of the sale so what did we do?  We squeezed in another birthday party.  This time Beth got to open presents too.

Can you tell that Doc has to dress up for work everyday?  New dress shirts are always on his wish list.

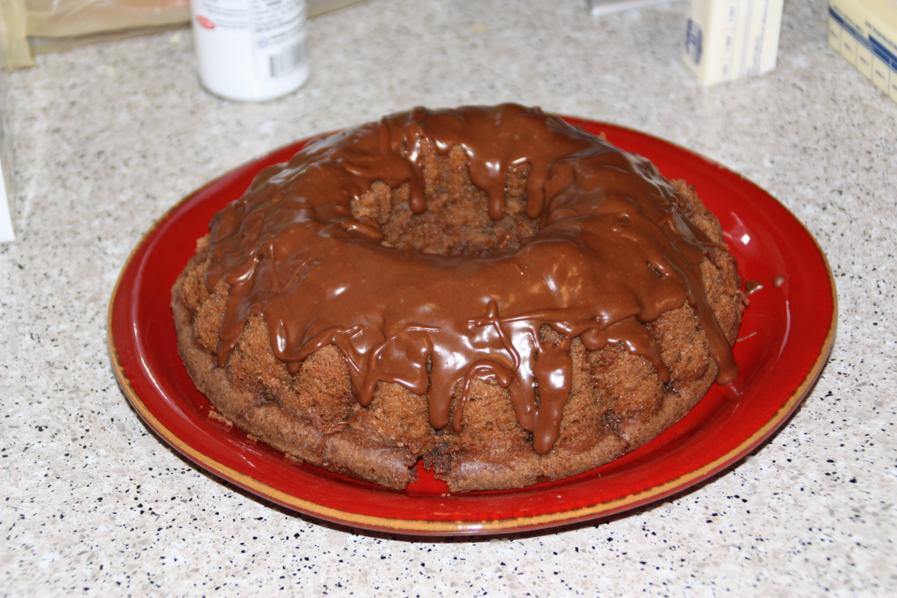
The party didn't stop with presents.  In addition to all the sweets that were prepared for the bake sale, my mother-in-law also made a homemade-from-scratch chocolate birthday cake.  Is she amazing or what?

I just realized last night that we forgot to bring the leftover cake home with us.  Mom, I really hope you and Dad have enjoyed eating it.  I really wanted a piece of it last night!  At least I have the cookies here to keep me happy.  (Speaking of last night - Doc surprised me with appointments for both of us to get massages at a local spa since we survived the weekend.  Best. Husband. Ever.)

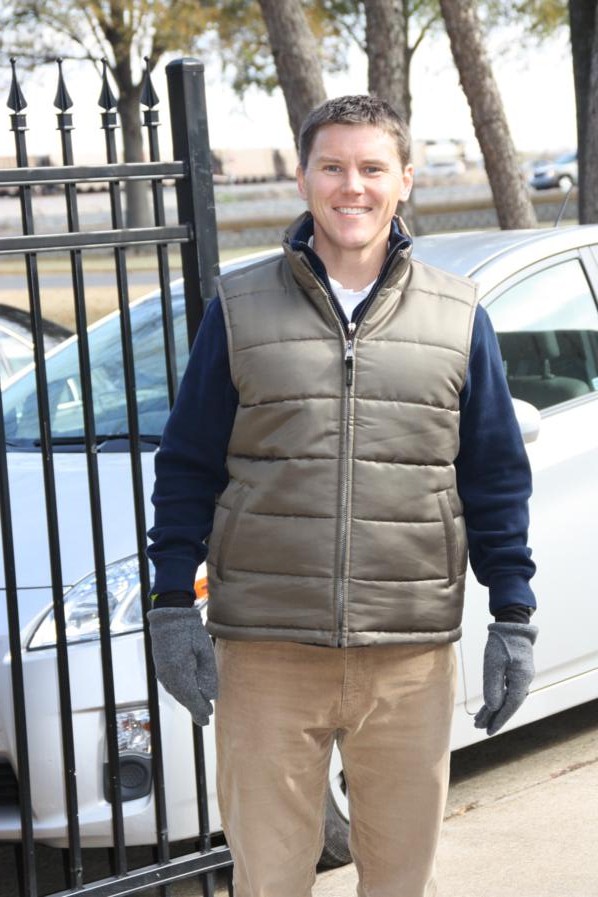
After we stuffed our faces full of cake, it was time for the sale to begin.  Doc wore his new birthday vest and greeted all of our guests.

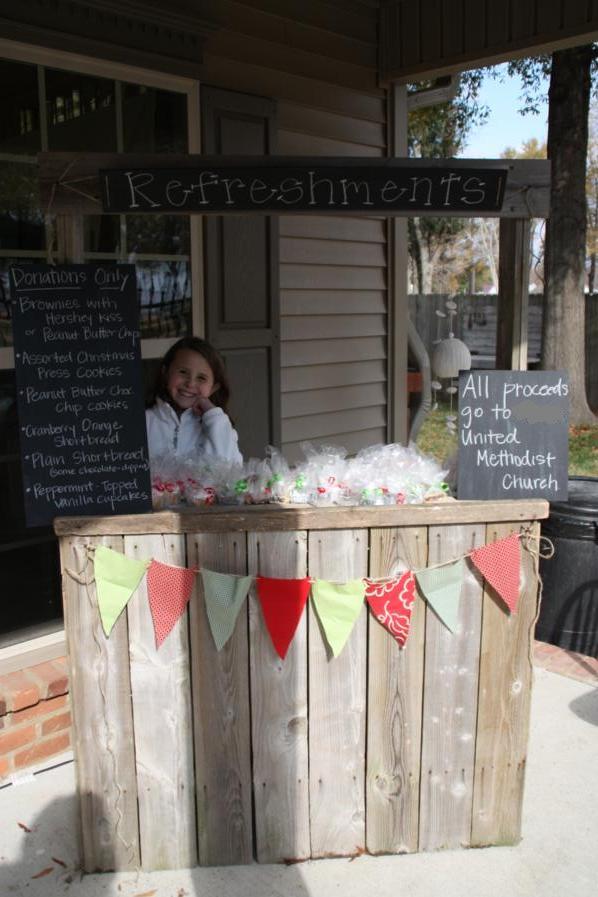
Anna did a great job at the refreshment stand.  The kids were all supposed to be "growing their dollar(s)" for our church, but Anna did most of the work while the boys ran off and played football.

They raised $76 for the church!  We still have time left to grow our dollars even more.  Anyone have any great ideas?

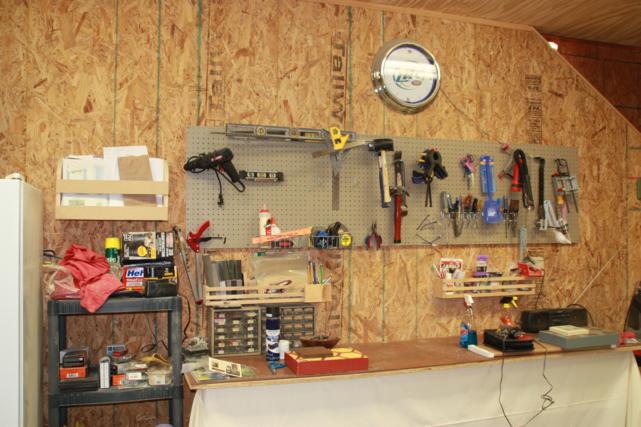
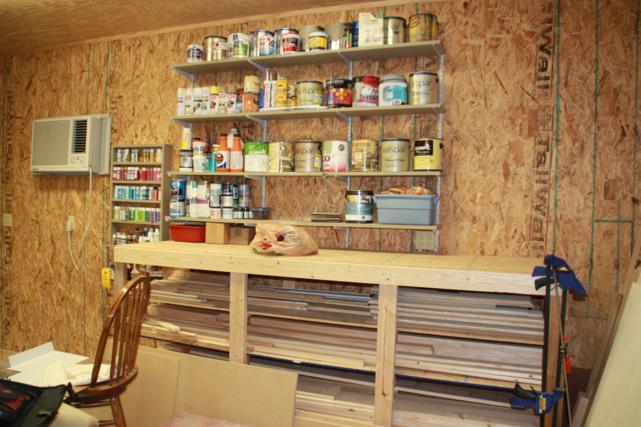
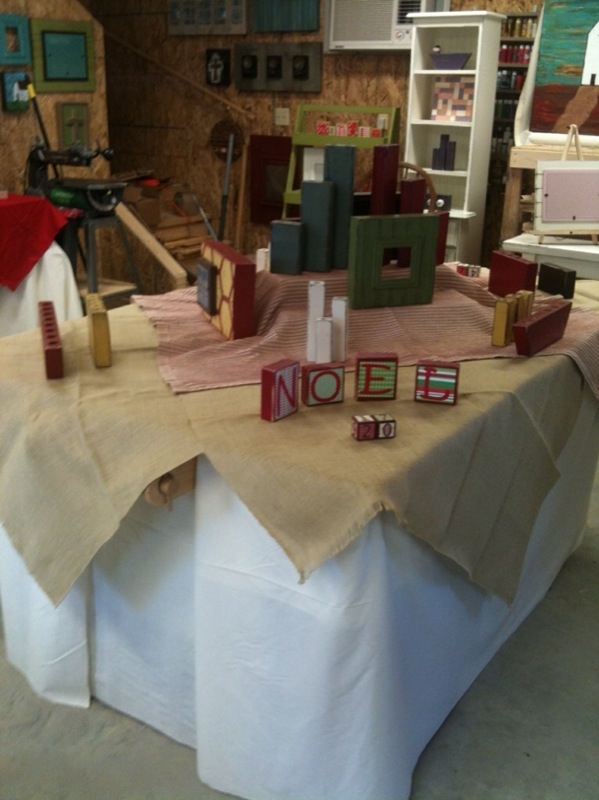
Inside the shop, we managed to turn what normally looks like this...

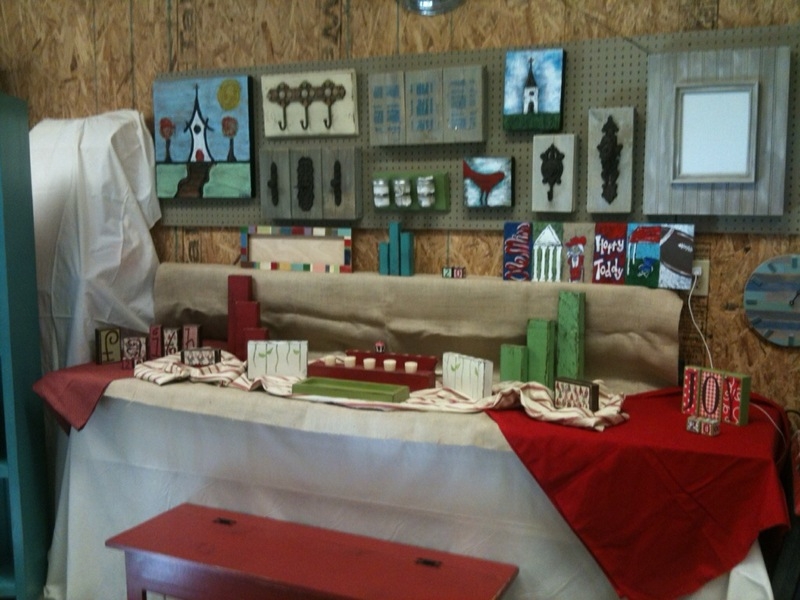
...into somewhat of a "store."

And y'all, my fears and nervousness were for nothing because people came! Lots of them! And all at 1:00 on the dot!

It was a bit crazy for the first half hour and everyone filed inside to look around.  I decided to park it outside at a "checkout counter" of sorts.  If anyone had anything negative to say about any of my stuff, I definitely didn't want to be around to hear it.  Even sitting outside in the freezing cold is better than that. 

I'm happy to say the sale was a success!  My sisters' paintings sold and lots of my stuff went too.  Almost all of the little things were snatched up, and even a few pieces of furniture found new homes.  While we still have a little bit of inventory left, I think the majority of it made its way out the door. Yay!

Doc's parents were helpful once again and drove the kids home while we cleaned up the aftermath.  We all met back at our house exhausted and ready to just sit.  We had pizza delivered and ate in front of the television.  Doc made me a fire and I finally, finally!, got to address my Christmas cards.

It may have been busy, but it was a great weekend.  I'll post the pics of Doc running shortly.  Oh, and if Wyatt read this blog (we've tried to keep it a secret from the kids), then I'd write a whole post dedicated to him since today is his birthday.  If you happen to run into him or talk to him on the phone, send him good wishes for his 11th year!

Lemonade Stand

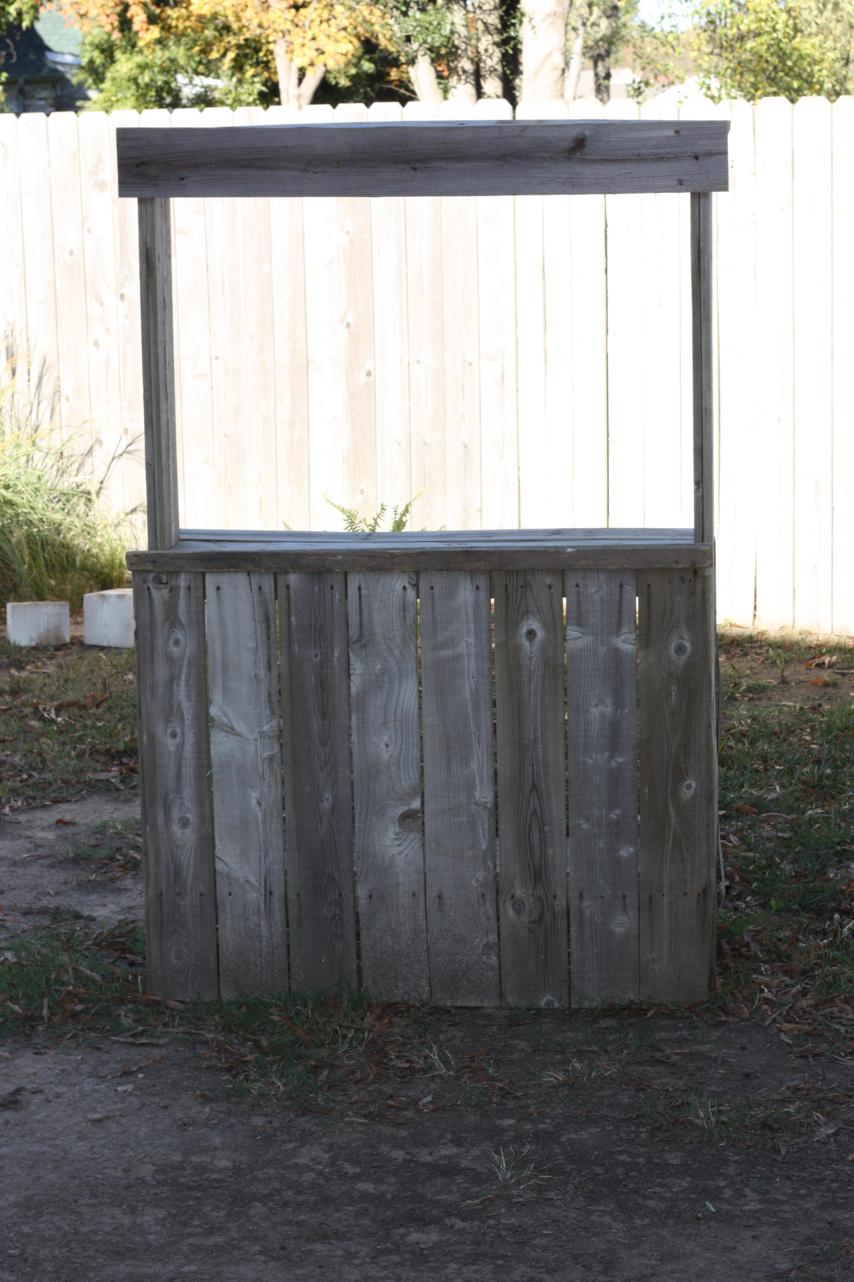
This post is a little overdue.  I had hoped that Doc would write it but since he's been so busy, busy, busy with work and travel and running, I guess I'll just do it instead.   But, while I'll get credit for writing the post, Doc gets all the credit for building the cutest little lemonade stand ever.  He built it all by himself.

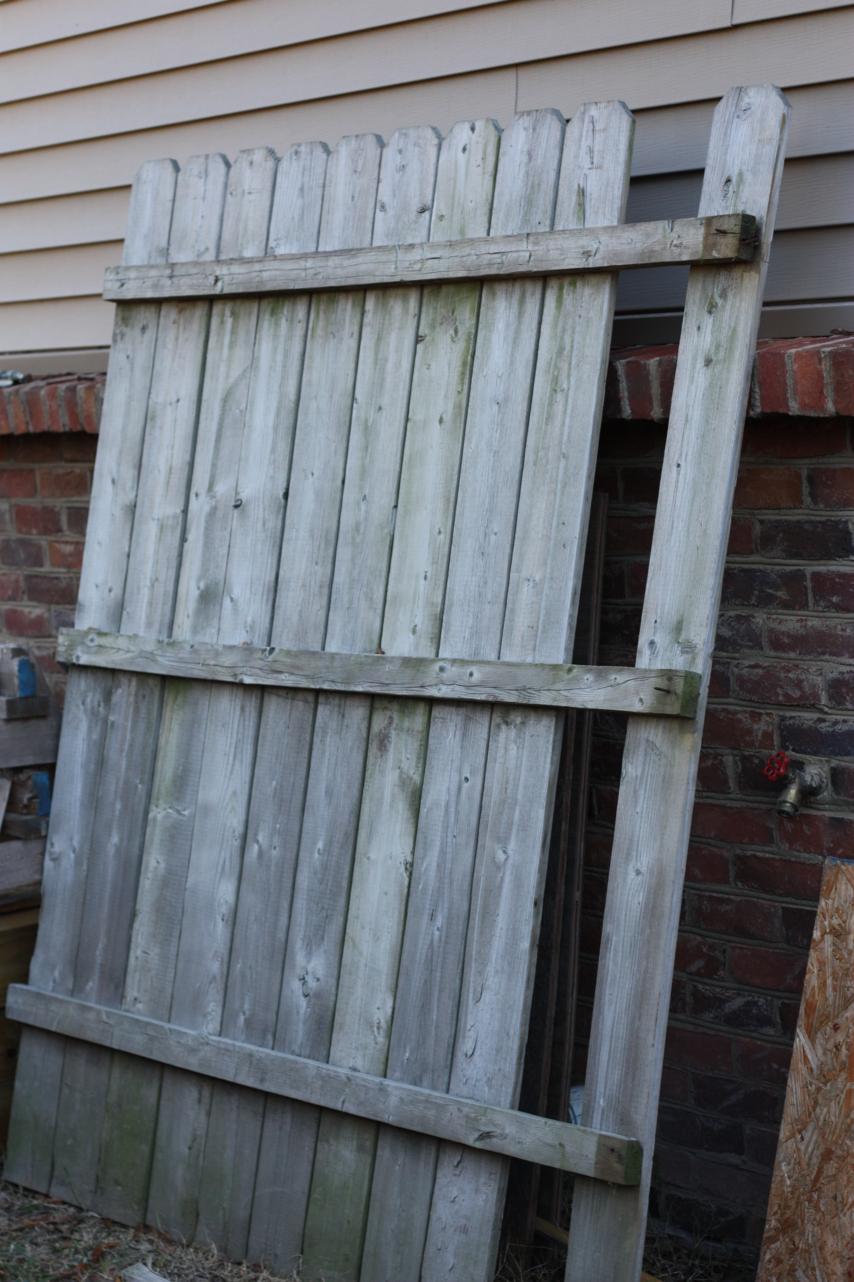
Remember the old fence pieces we got from my parents' neighbors?  After building the potting stand for my mom, we still had a good section of fence in tack.

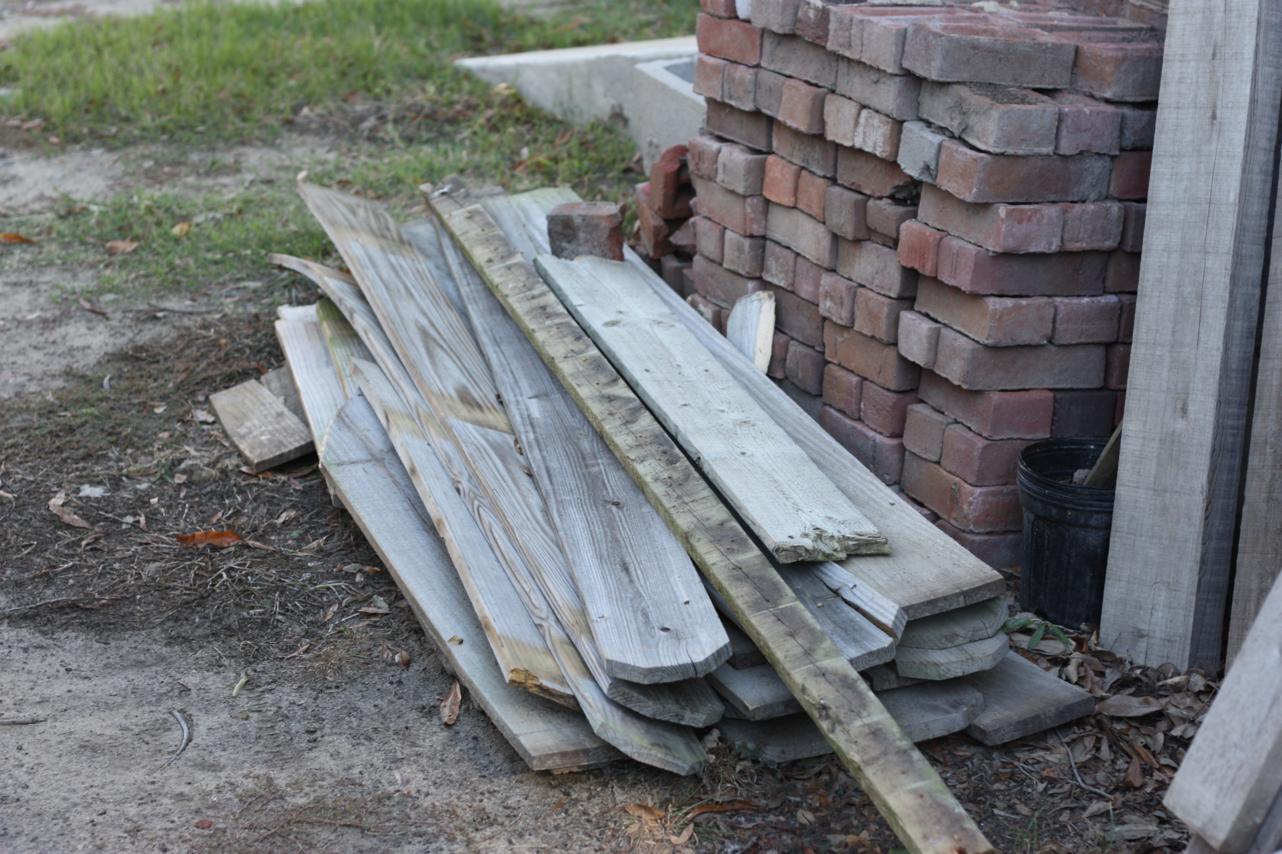
We had a decent sized pile of scrap fence pieces, too.

Quick switch of topic: A few weeks ago at church, our preacher gave us all a dollar bill.  (Crazy, right? How often do they pass out money at church? It's usually the other way around.)  We were all instructed to grow our dollar bills for the church.  We were told we could invest them individually or as a family or a small group.  But whatever we did/do, we have to bring back our dollar plus whatever we make with it to give to the church in 6 months. 

There are 13 people in our family, which means we have $13 to grow.  We brainstormed how we could double it and have decided that we'll use the money to have a lemonade/cookie stand at our shop sale that's coming up in just a few short weeks.  We'll ask for donations only, and all the proceeds will go to the church.  The kids are soooo excited about, which is great! And hopefully we'll have more than our original $13 when it's all over.

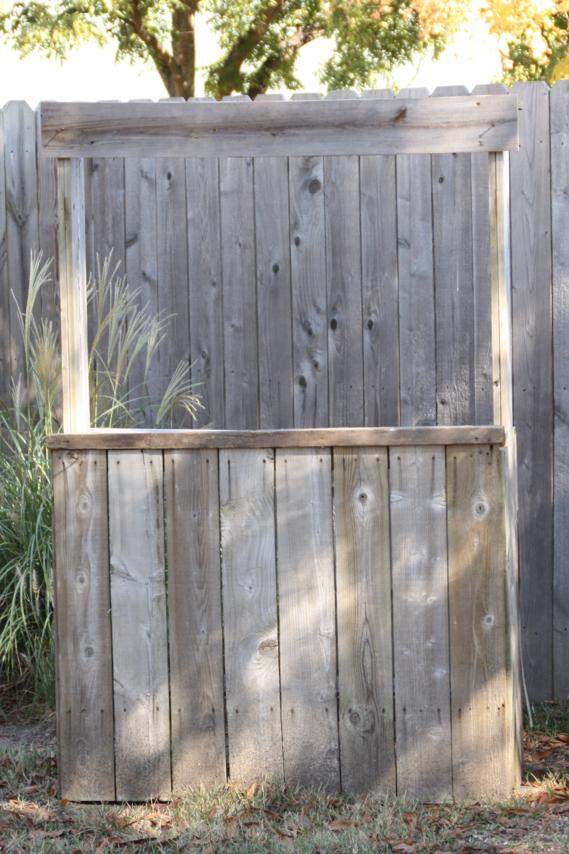
You can probably see where this is going.  An extra section of fence + an upcoming lemonade/cookie sale = we were building a lemonade stand.  And by "we" I mean Doc.

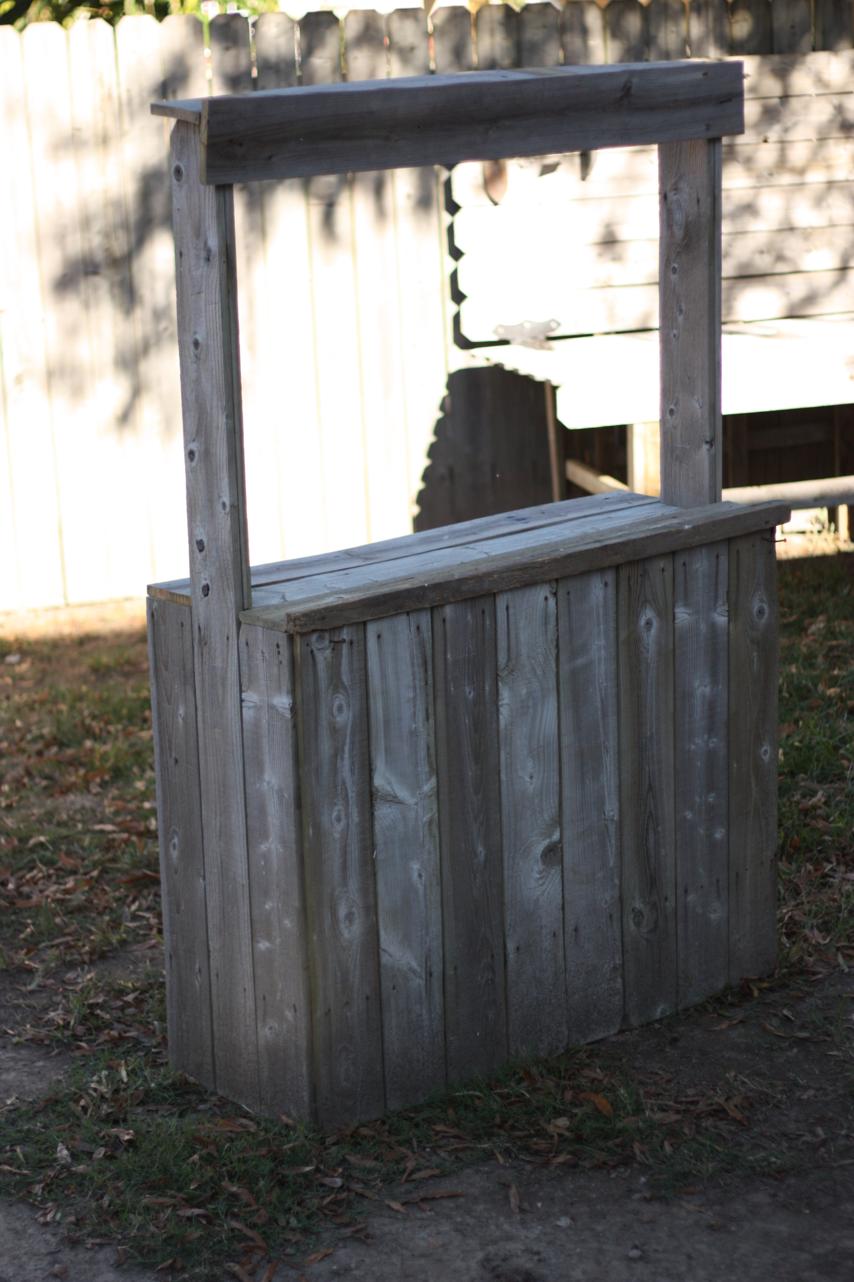
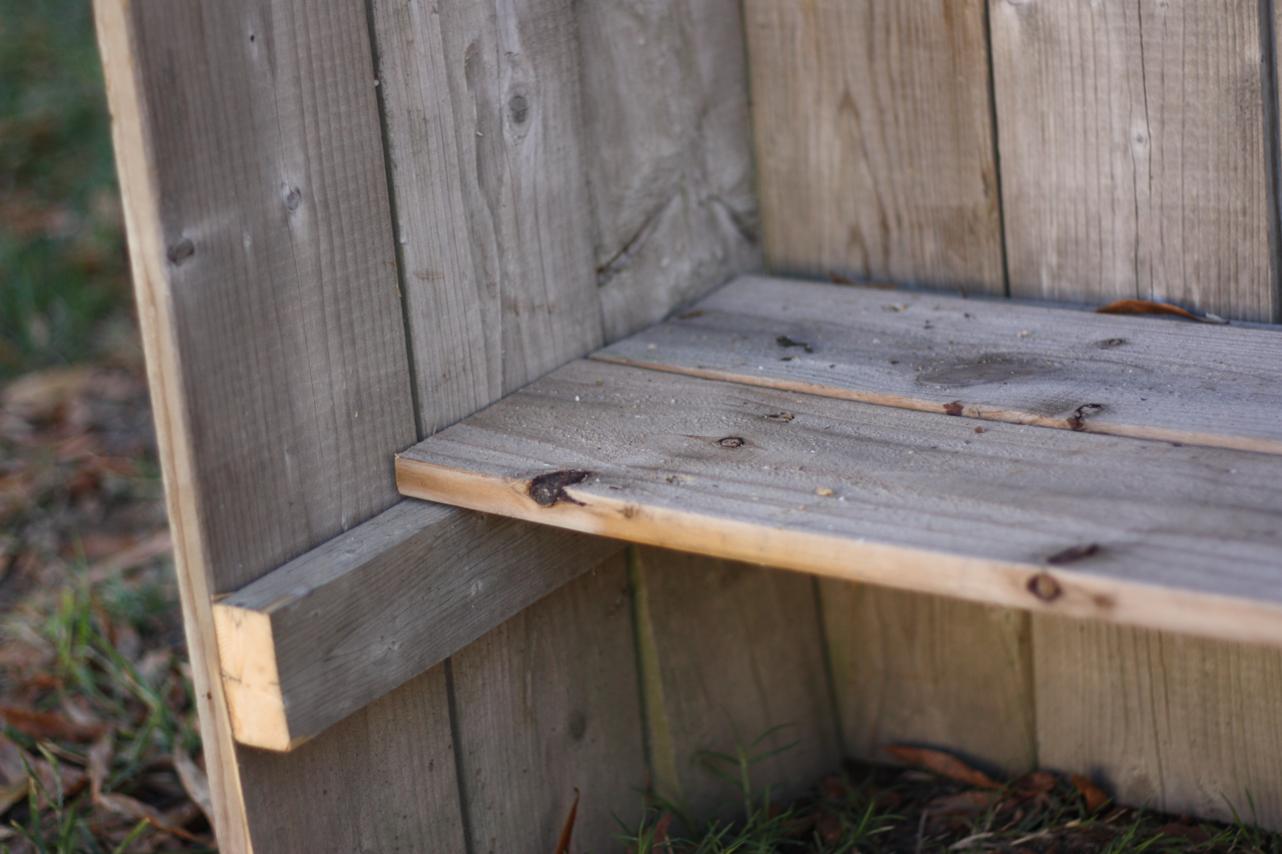
I swear I took pictures of him during the building process, but I can't find them right now.  But maybe I can explain what he did.  In the fence picture above, you can see how there's a board running horizontally right through the middle.  He cut the whole section of fence right above that board and the bottom half became the base of the stand.  He cut three slats off each end so they could turn and be the sides.  You can see the sides in the picture below.  And you can also see that I lied - he didn't cut the whole section, he left one tall slat on each side to hold the top.

The rest is pretty easy to figure out.  He used scrap boards to make the table top.  He lined the three top boards up with the three boards on each side.  More scrap boards were used to make the bridge across the top.

The bottom horizontal piece from the section of fence made a perfect ledge to build a shelf on in the back.  It'll be a good spot to store all the goodies.

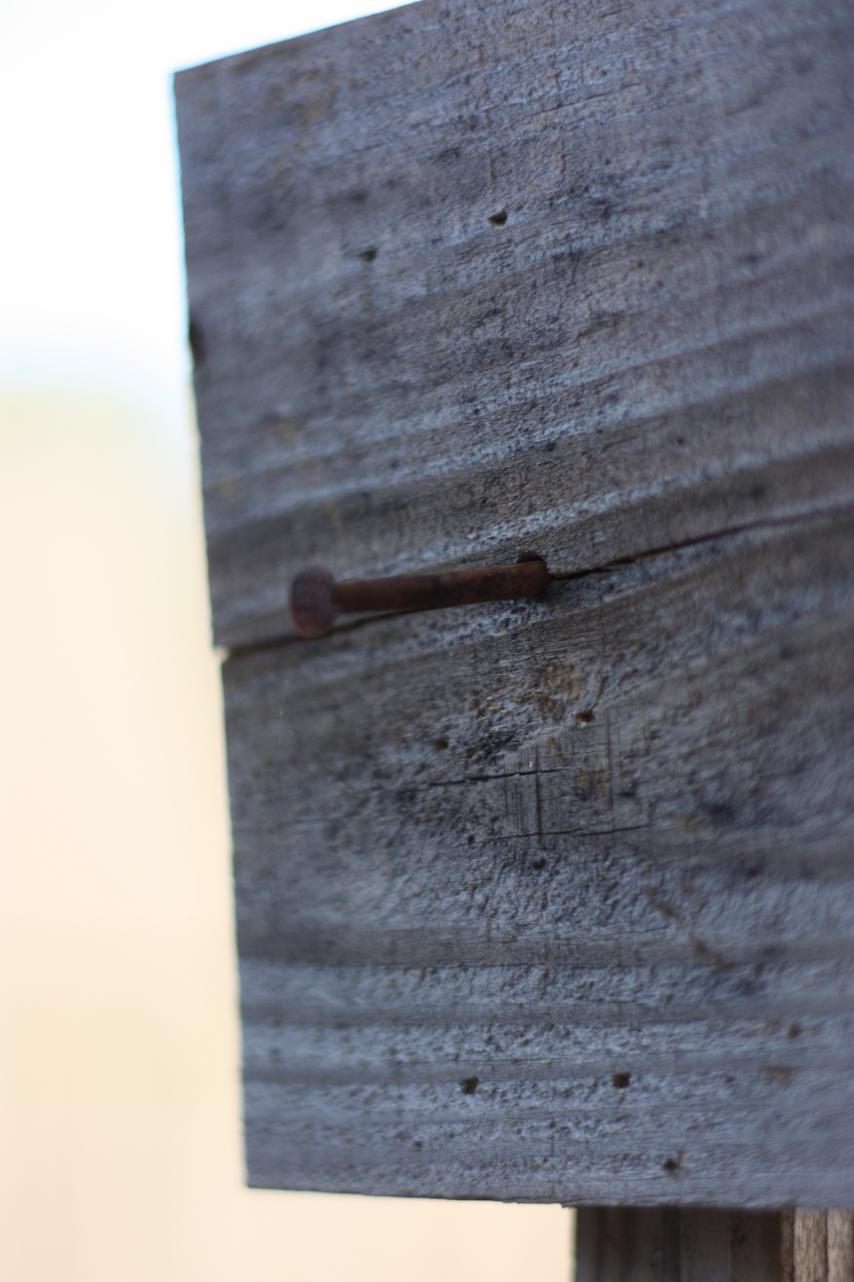
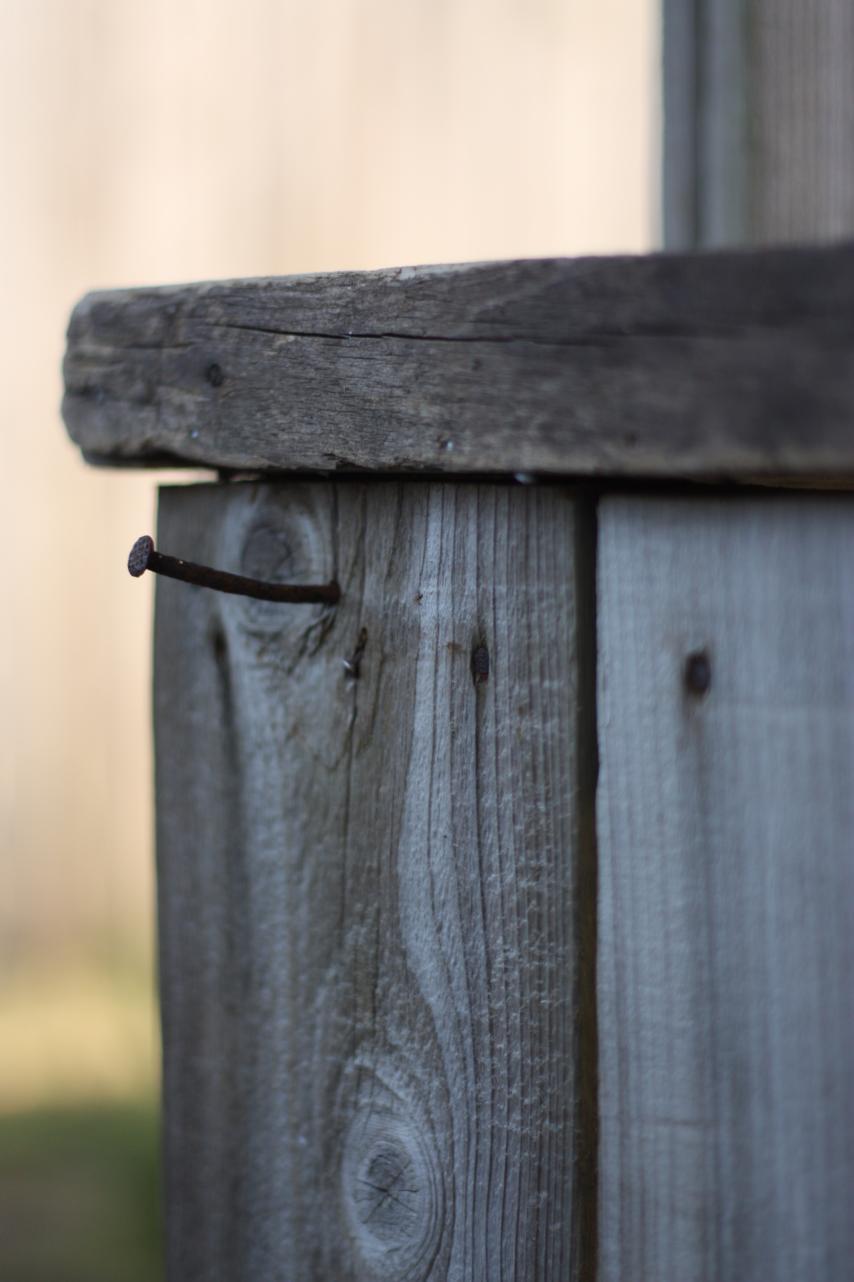
I only had one requirement for the stand - I wanted to be able to hang cute signs on it.  (I did not want a sign painted permanently on the top bridge so that we could use it for other things in the future.)  Doc hammered in these great rusty nails on the sides of the top board so that I can hang a sign between them.

He also put a couple nails down on the base for me.  I think a fabric banner would look super cute hanging between them, and I can make it festive for the event!

Super cute, right? I can't wait to see it in action!

The great news is, since it's made from recycled fence boards, it can sit outside next to the fence without getting damaged. And it blends right in!

I love it, Doc. Thanks for building it for me the kids!