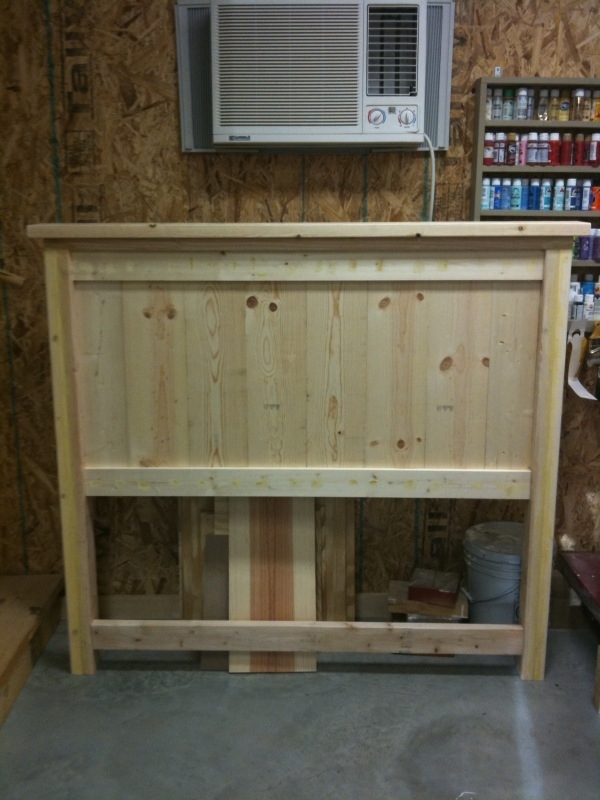
A couple weeks back, I mentioned that I had spent part of my Sunday afternoon working on a headboard. If I remember correctly, I showed you this picture.

The plans for the headboard came from Ana-White.com. I think it's called the farmhouse bed, and the plans were originally for a queen-sized bed. For this project, we had to put on our thinking caps and scale it down for a full-size bed.
We had a minor setback with the side posts. The plan called for two 4x4s, but we couldn't find any anywhere that weren't treated. (Green lumber - like fence posts - should not be used inside because of the chemicals they release into the air.) So we had to do some rigging to make it look like we had two 4x4 posts. If you look closely in the picture above, you can see that we actually used two 2x4s and then filled the crack between them with wood putty. I had to do several layers of wood putty but I think we finally got it looking like one solid piece of wood.
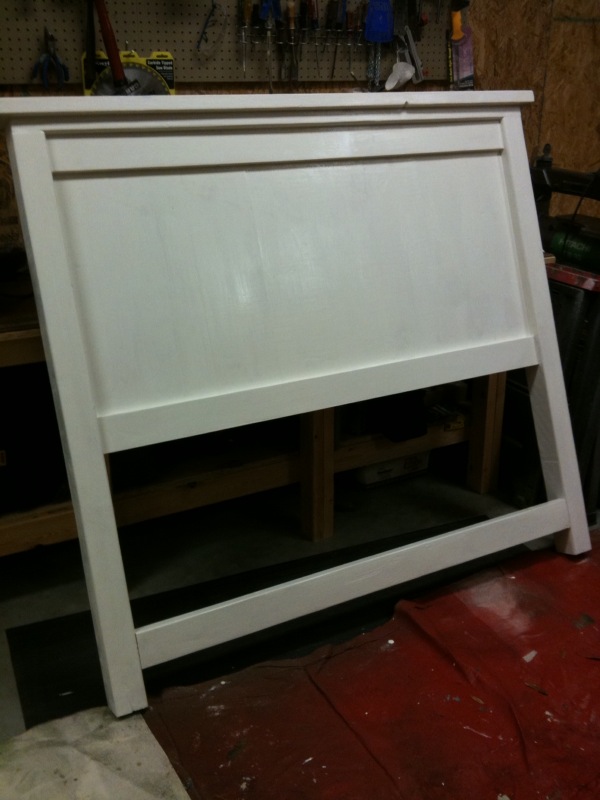
Take a look for yourself - this is the headboard after the first coat of white paint.
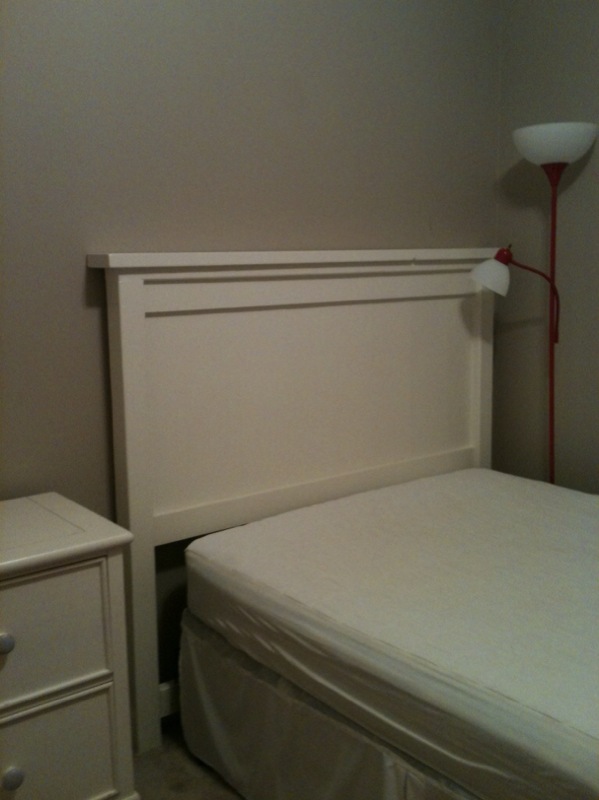
This headboard is for a bedroom re-do that I'm working on. Because the headboard is so top heavy and it's going to be for a second-grade girl, we decided it would be best to secure it to the wall. We're putting together her new room tomorrow morning, so the headboard made its way to its new home this week so that it could be put in place.
Here it is in its new home.
Because the headboard is attached to the wall, we didn't have to worry about connecting the metal bed frame to it. Tomorrow the bed will get its new linens and the room will get lots of new accessories. Stay tuned for some before and after pictures!


