Confession: I started this DIY project when I was still pregnant. My baby is eight months old now so yeah, it's taken me a while to get it finished. Oopsie. If you've been reading for a while, you may remember that when we were preparing to move into our current house, I said the only two rooms I was focusing on were the nursery and our master bedroom. Well, the nursery was a success. As for the master, I bought new bedding and that's about it. The bedding colors were really hard to match and I was running out of steam.
One afternoon I decided I'd just make some frames out of scrap wood and paint them to match the bedding. Most everything in our room is a neutral gray except for the pops of color in our pillow shams, and I wanted to bring those colors out somewhere else.
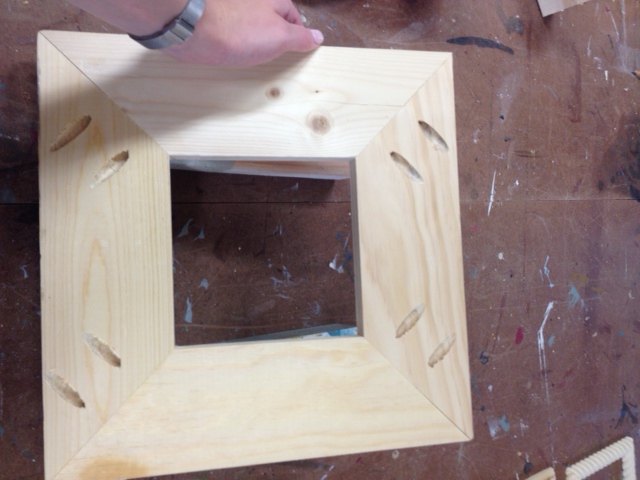
I found some scrap wood and cut it down to 16 boards of equal length (four boards for each frame, four frames total). I angled the edges using our miter saw and then used a kreg jig to attach them on the back side of the frames.
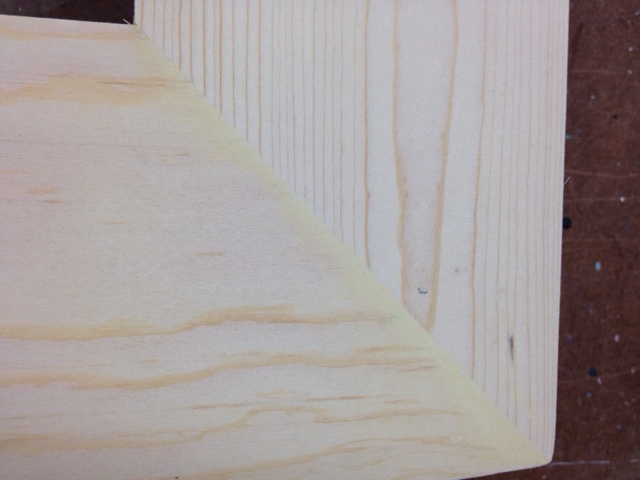
The saw blade on our miter saw is not the best for this step, so wood putty is always my best friend. Fill those cracks and no one will know any different.
Here's the view of the front after all four pieces had been attached and the seams wood-puttied.
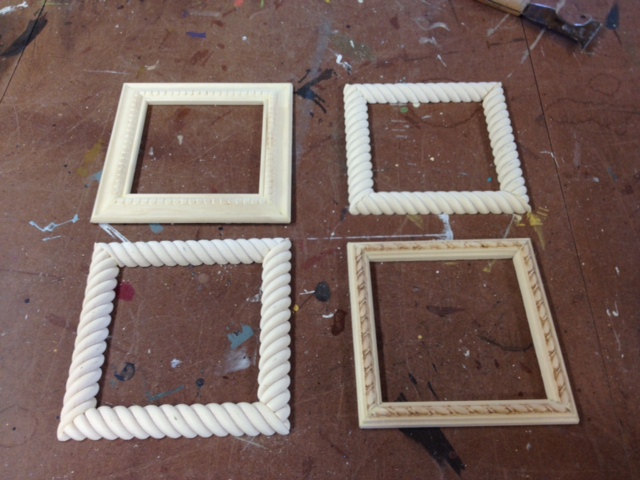
Next, I dug out some scrap molding and cut it down to size. I only had three different styles so two are just alike. I mitered the edges the same way as above, but for these I just used wood glue to hold them together. They are slightly smaller than the opening of the frame above.
My next step was to put a base layer of paint on each of the 8 frames (4 large frame bases, 4 frames of molding). I had already had some paint color-matched to our pillow shams and brushed a coat on each piece. I must've been too lazy to take a picture of this step.
That's when I hit the pause button. For a really long time. Like, long enough to have a baby and her grow for about 6 months...
Finally, I revisited this project so I could finish it. My plan all along had been to stencil some designs on each frame so they wouldn't be so plain.
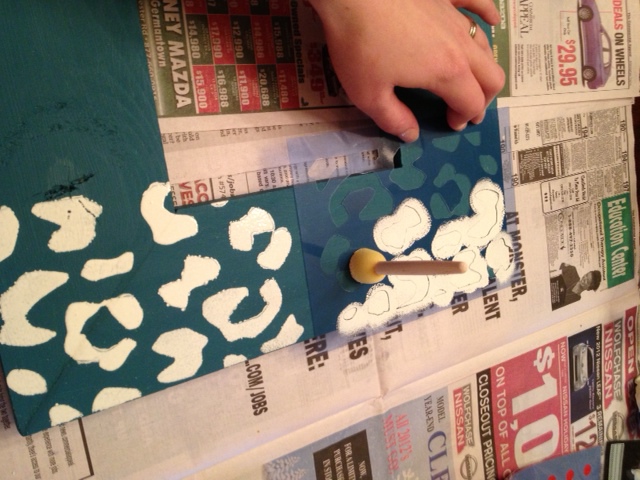
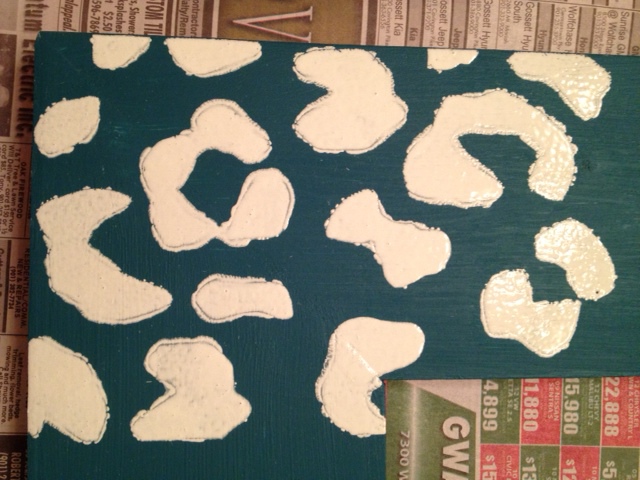
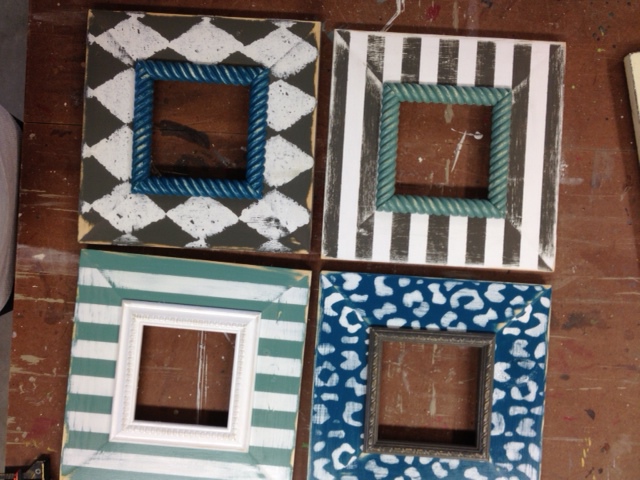
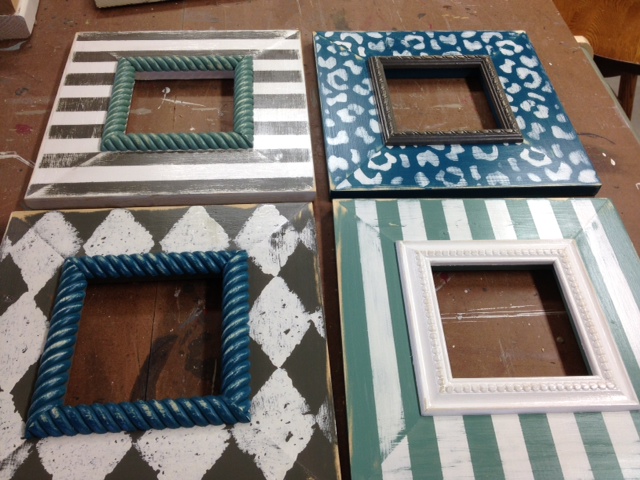
I started with the dark teal frame and used white paint to stencil on a leopard (cheetah?) print. Don't judge. I was limited in my stencil choices.
As you can see, I'm not a very good (read: patient) stenciler and had a lot of bleed through. Not a big deal since I was also planning on doing some sanding in the next step.
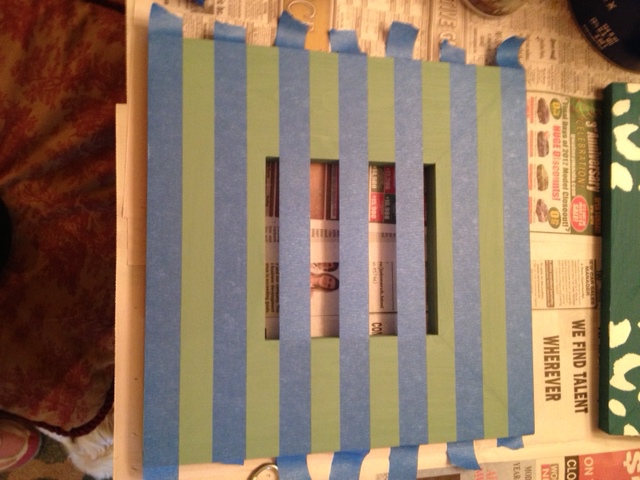
Since I didn't really have any other good stencils, I taped off some stripes with painter's tape on the lighter blue frame. I painted the stripes with white paint.
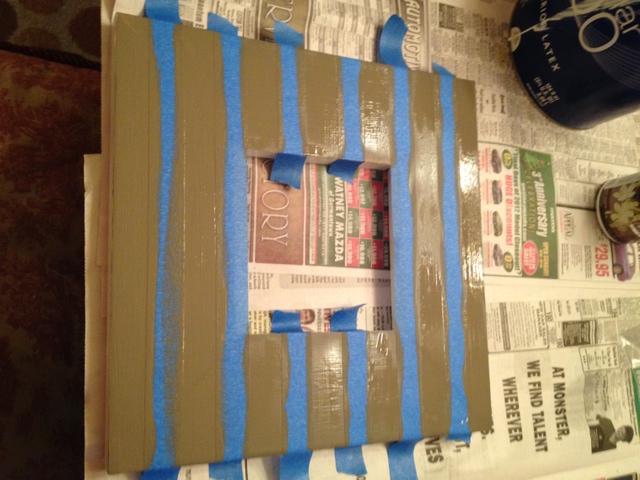
I also taped stripes on the white frame and painted on some tan stripes.
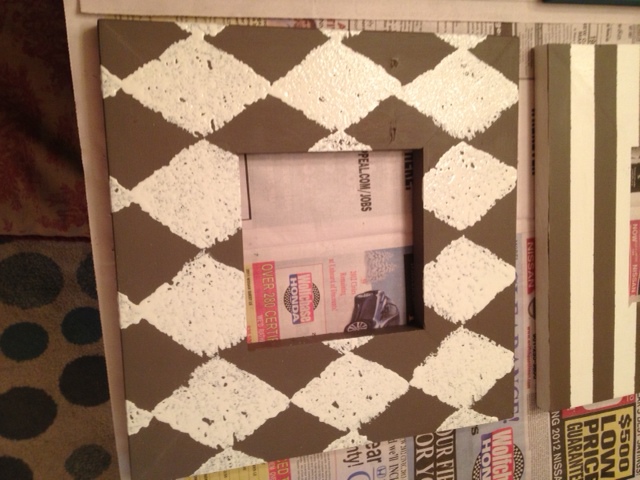
For the fourth and final frame, I used a sponge stencil and added white diamonds to the tan frame. This one drives me nuts because I didn't get my spacing centered. Gah!
The molding frames just stayed a solid color. After the stenciled designs were dry, I gave all four frames a good sanding to distress them a little bit, and then glued the molding frames onto the base frames. The molding frames being just a little bit smaller than the opening in the big frame created a little lip to hold in a picture.
I switched up the colors when I added the molding so that they'd all coordinate.
After sanding and adding a quick coat of polyurethane.
To finish them off, I added a claw picture hanger to the back of each one.
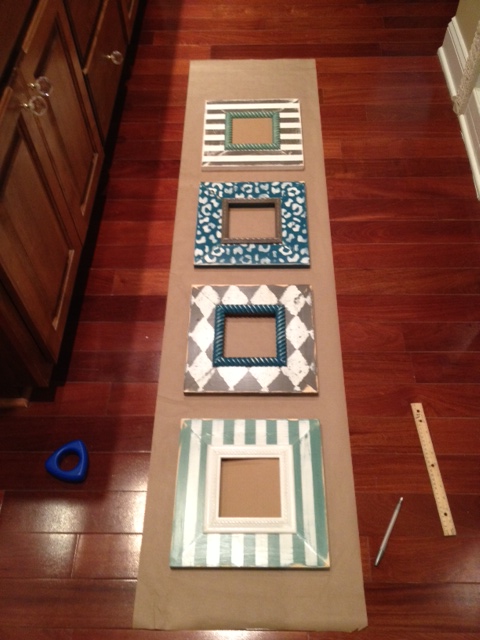
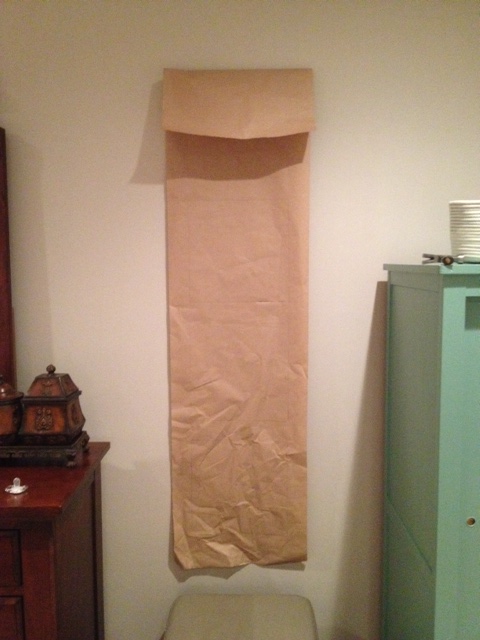
There was another pause that lasted about a month until I finally got around to hanging them up in our room. To get my spacing right, I rolled out a long piece of brown craft paper and lined them up on it. I used a ruler to make sure they were centered and evenly spaced. Once they were in the right spot, I traced around them and added a dot where the nail should go.
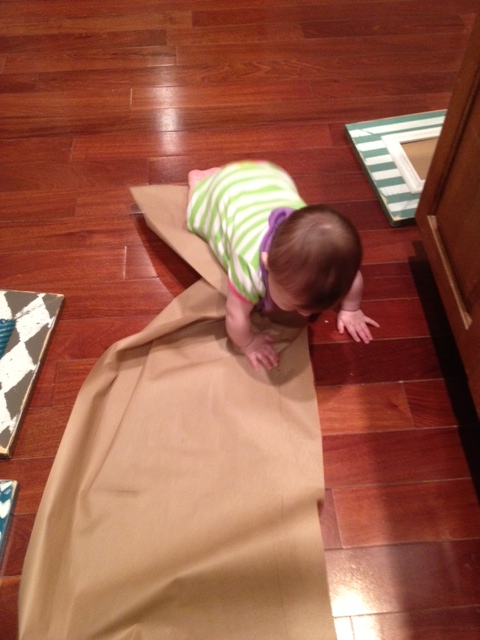
Just as I was finishing marking the last one, my little helper came in to show me how she would do it if it were her project. I didn't have the heart to tell her that was a pretty dumb way to figure out picture frame spacing.
I hung my brown paper on the wall and let gravity help me get it hanging straight. That wrinkled part at the bottom was my helper's contribution.
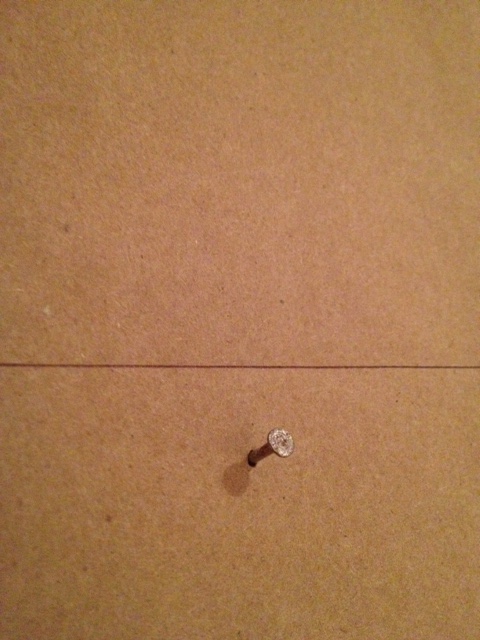
Since I had marked my nail holes on the paper, all I had to do was tap four nails in directly through the paper.
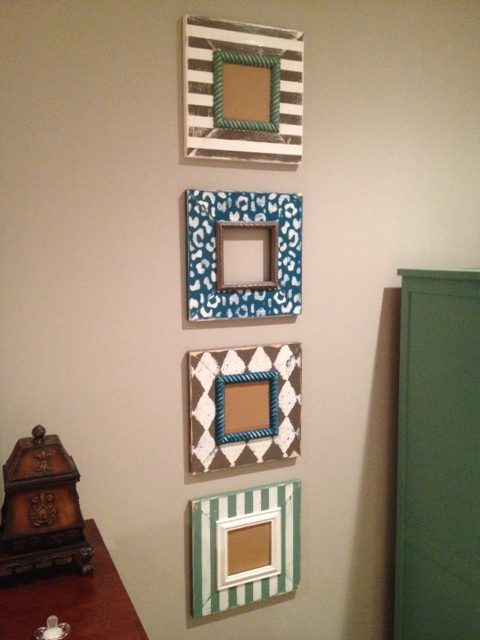
Then I just ripped off the paper and hung the frames up! I don't love, love them but I'm ok with them. I do love that we finally have something up on the wall and that it adds some color.
At some point, one of my helpers (my money's on the furry one) ran off with one of my cardboard backing squares. That's why the second one down is empty.
I suppose the very last step is to put pictures in the frames. Nope, still haven't done that, even though they've been hanging up for about three weeks now. I just can't decide which ones to use!
And I still owe you a tour of our room, especially since it's where we spend the majority of our time. It's far from finished, but I guess I could do an in-progress post. Maybe I'll work on that this week...

