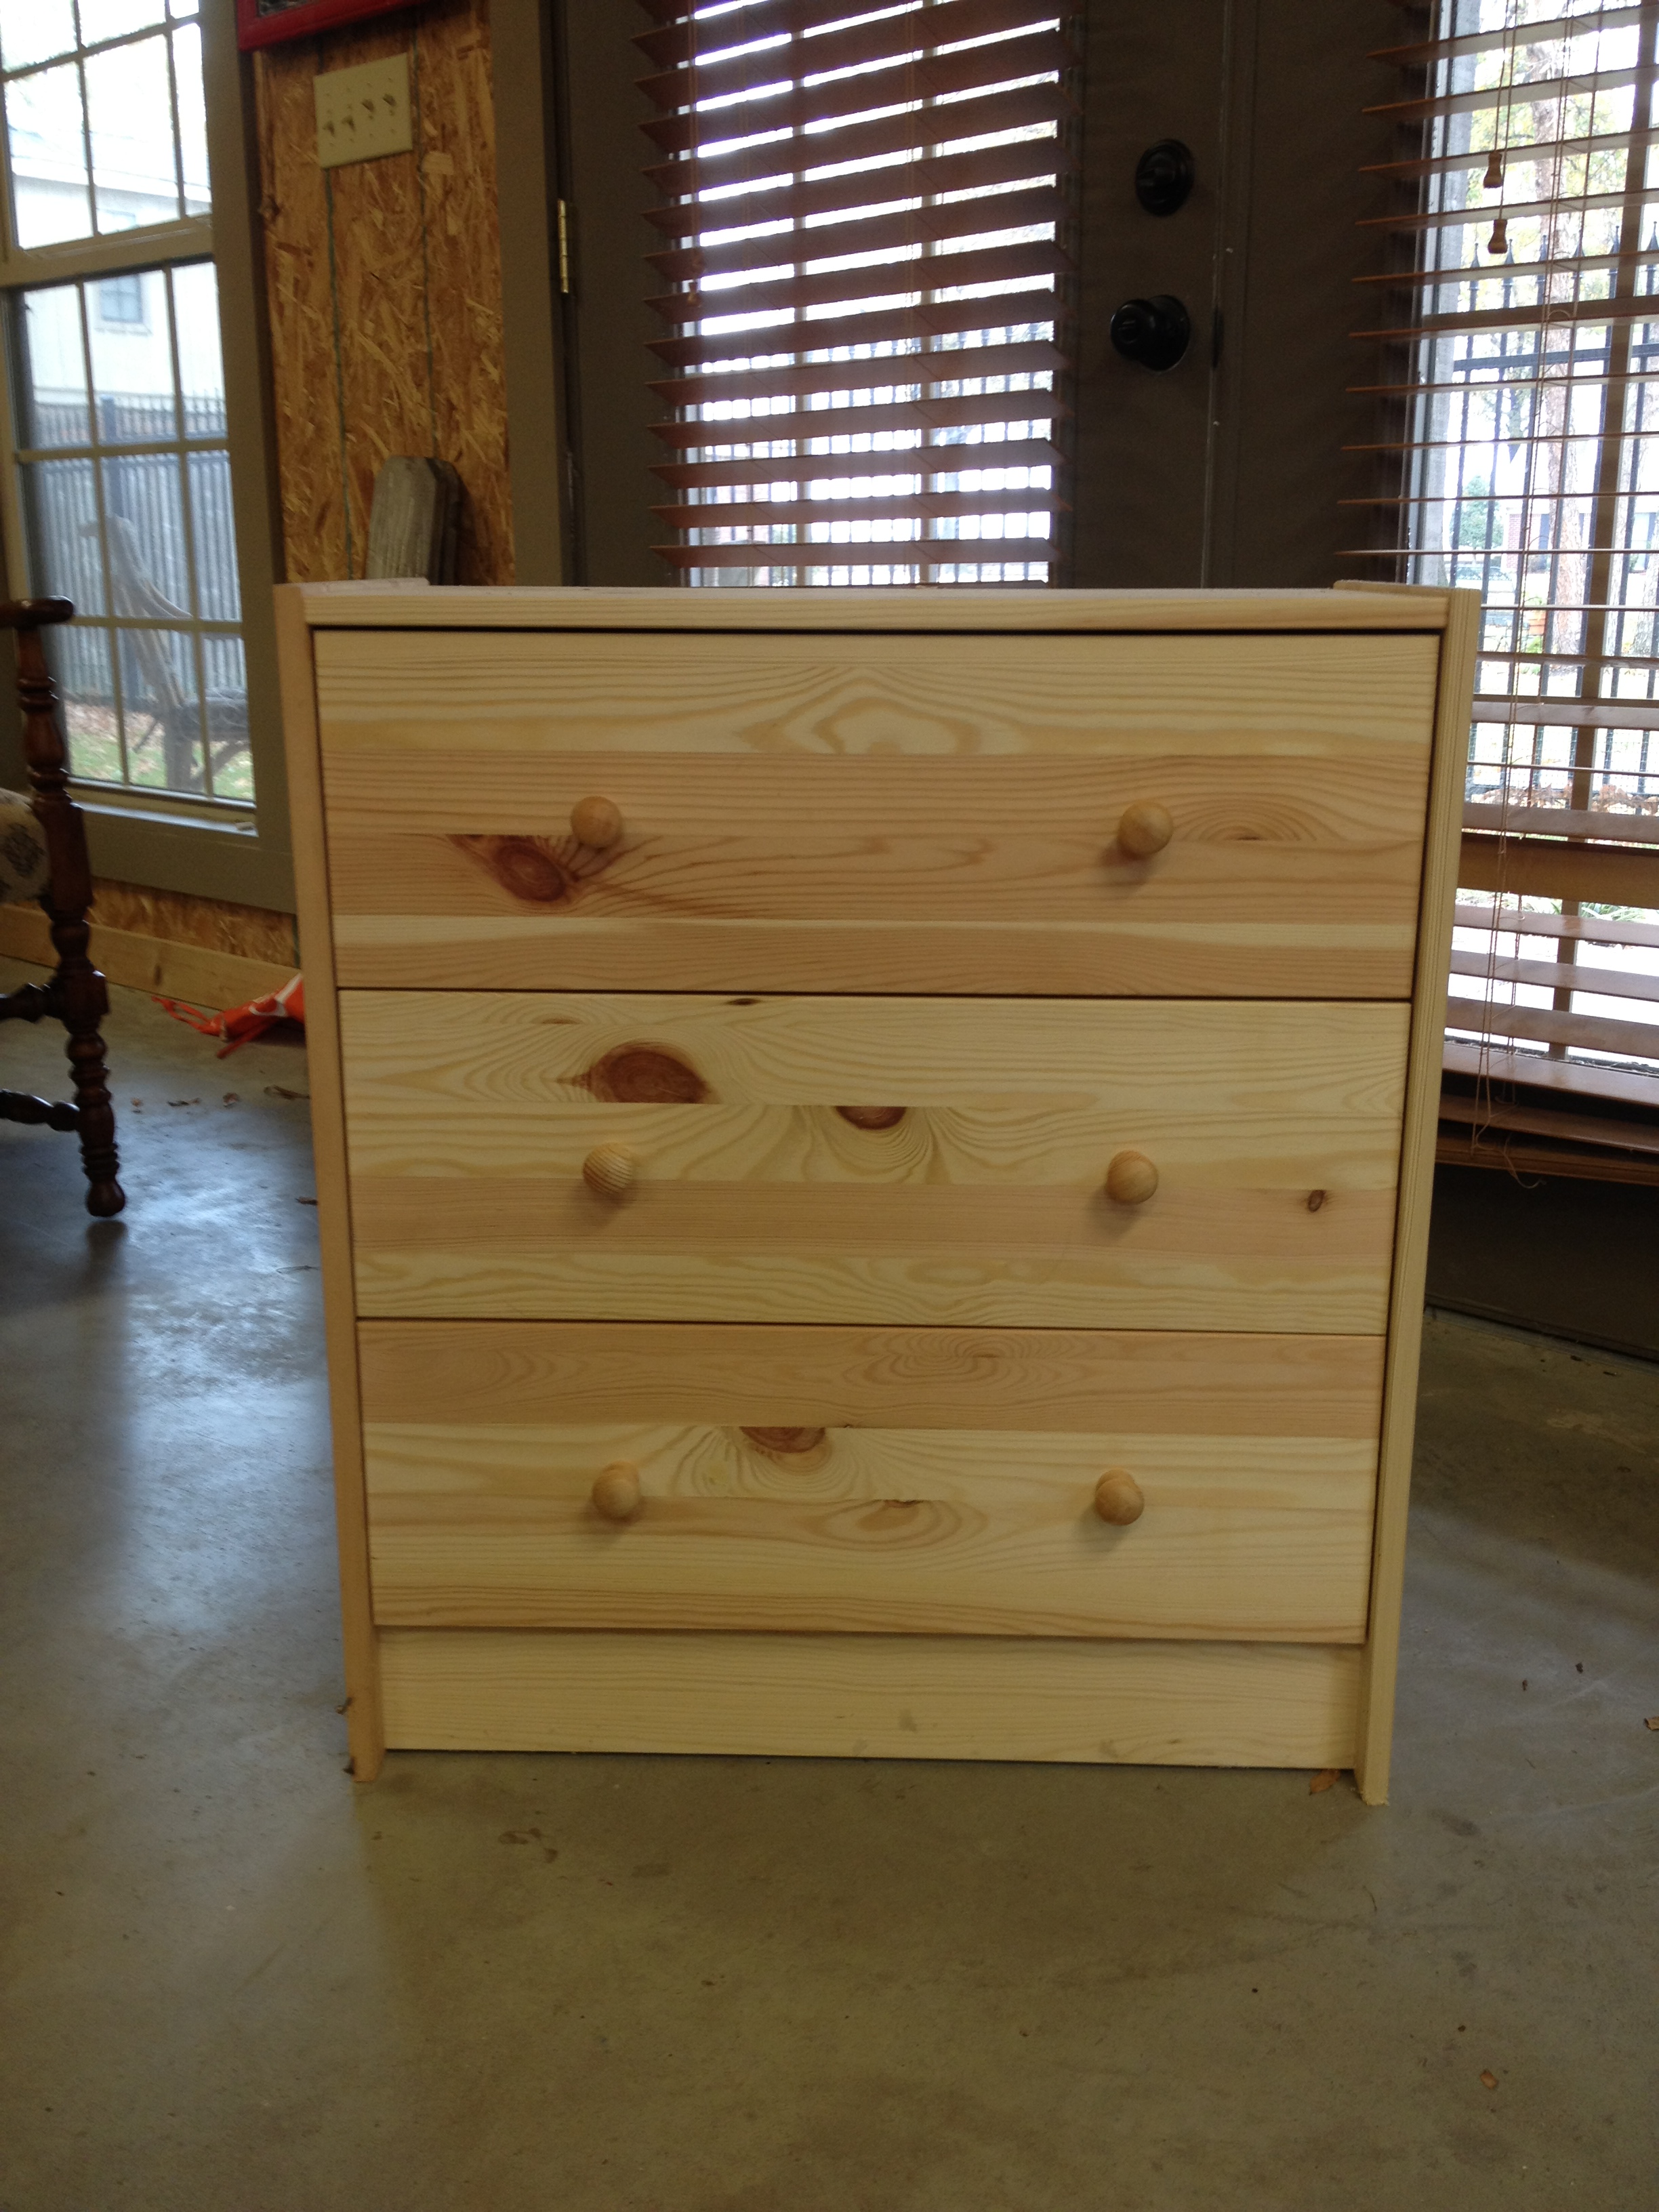
Don't know what an Ikea Rast dresser is? Check out my first hack here for more info. And if you're curious, hack #2 can be found here. We cranked out the third and final hack the day after Christmas. I didn't take pics of our step-by-step process, so this before and after should be quick. If you need a refresher, here's what the Ikea Rast dresser looked like right out of the box.
Plain, simple, raw wood. We used A Charming Nest's hack as our inspiration. Hop on over to her blog if you want more details of the steps.
No point in wasting time, let's get right to the after shots!
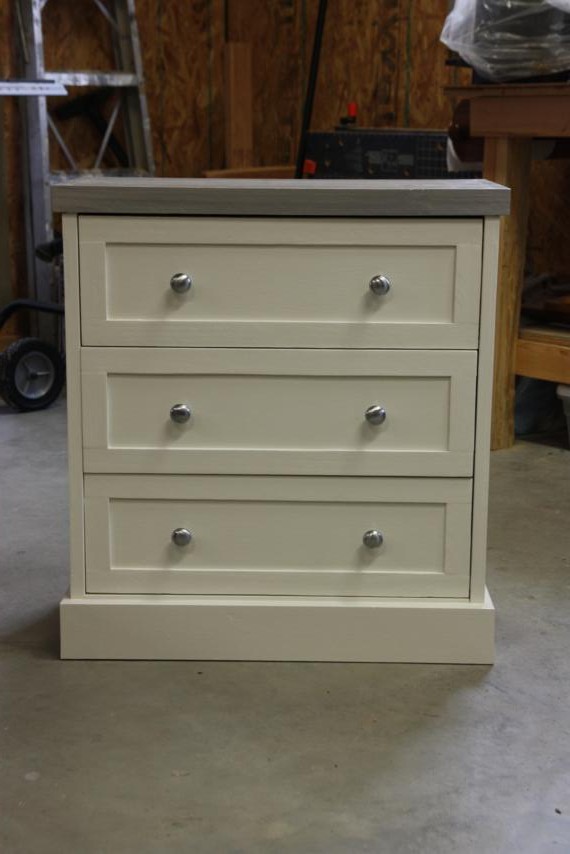
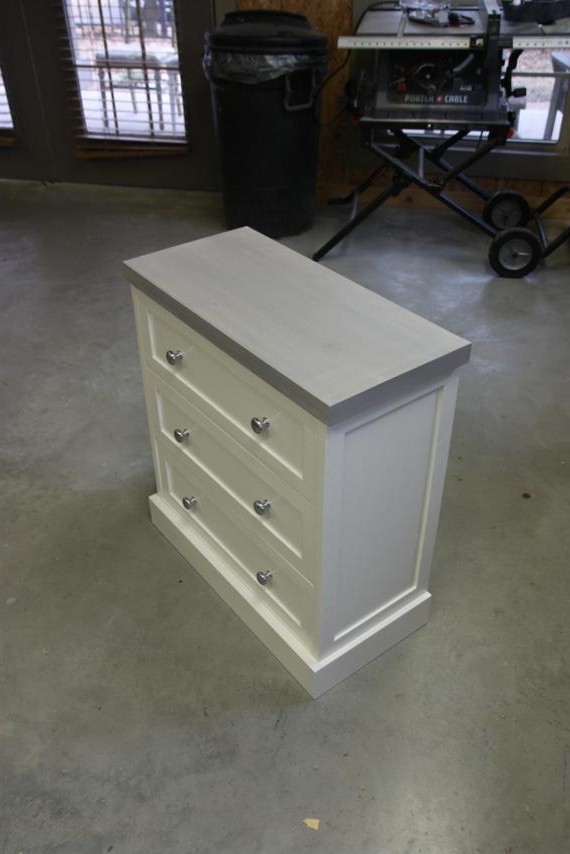
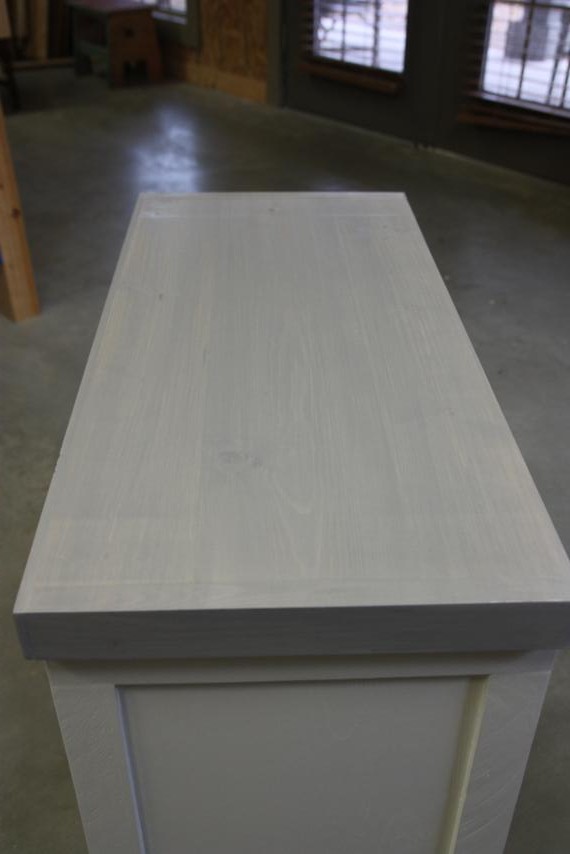
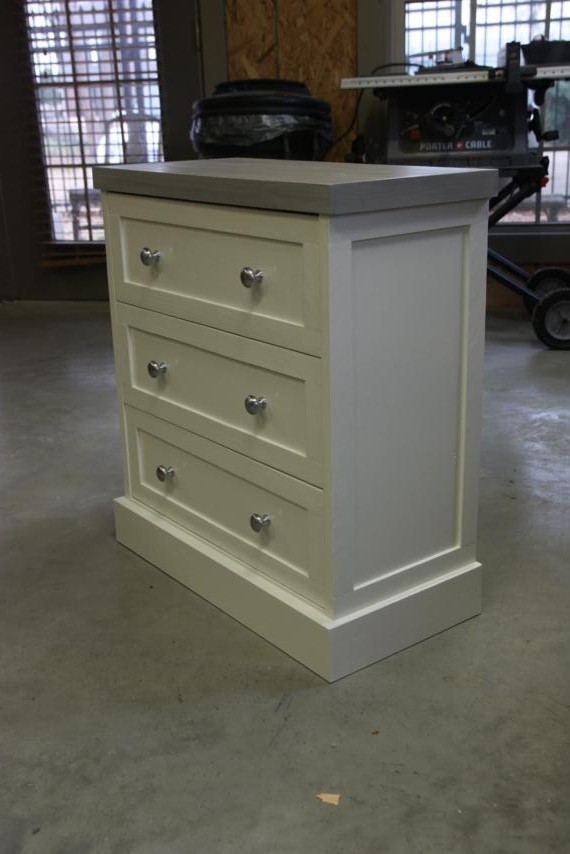
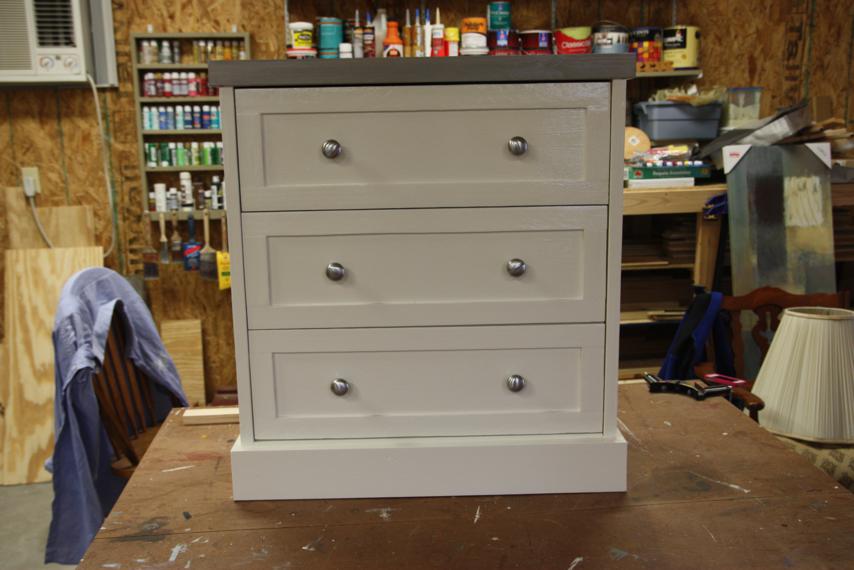
I love it! I used the same colors that I used for the stenciled hack since they'll both go in the jack-and-jill bedrooms at the beach house. Instead of staining the top, I watered down my grey paint and white-washed it on.
I really like that it has a nice contrast from the white base, but that you can still see some of the wood grain too.
And I thought brushed silver knobs would go well with the light grey top.
Kinda makes me wish I could go back and add trim to the other ones now, but I'm not sure if I have time!
Which one do you like best? I was in love with the stenciled one, but I think this one may be winning me over now.

