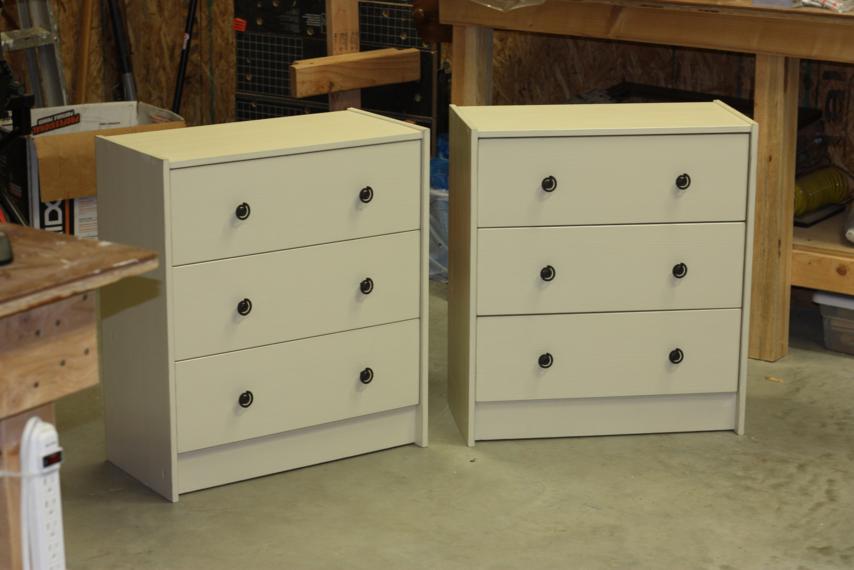
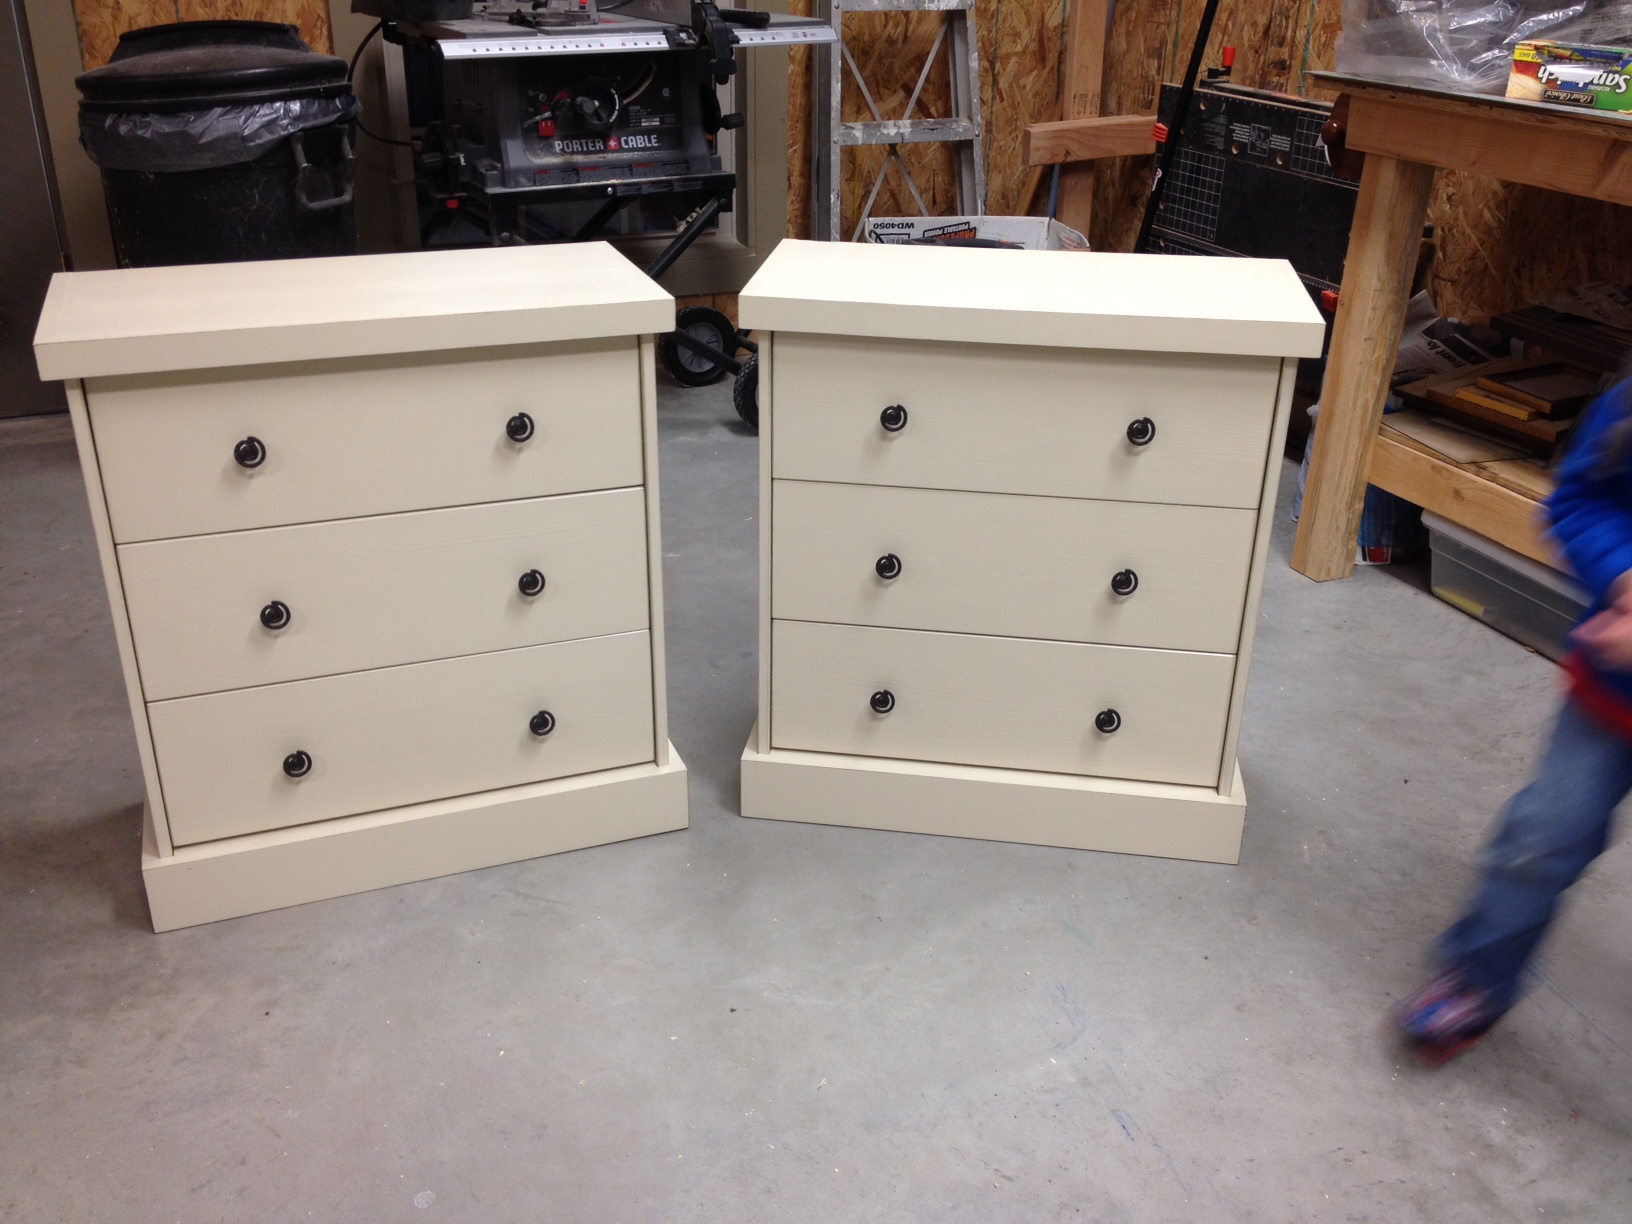
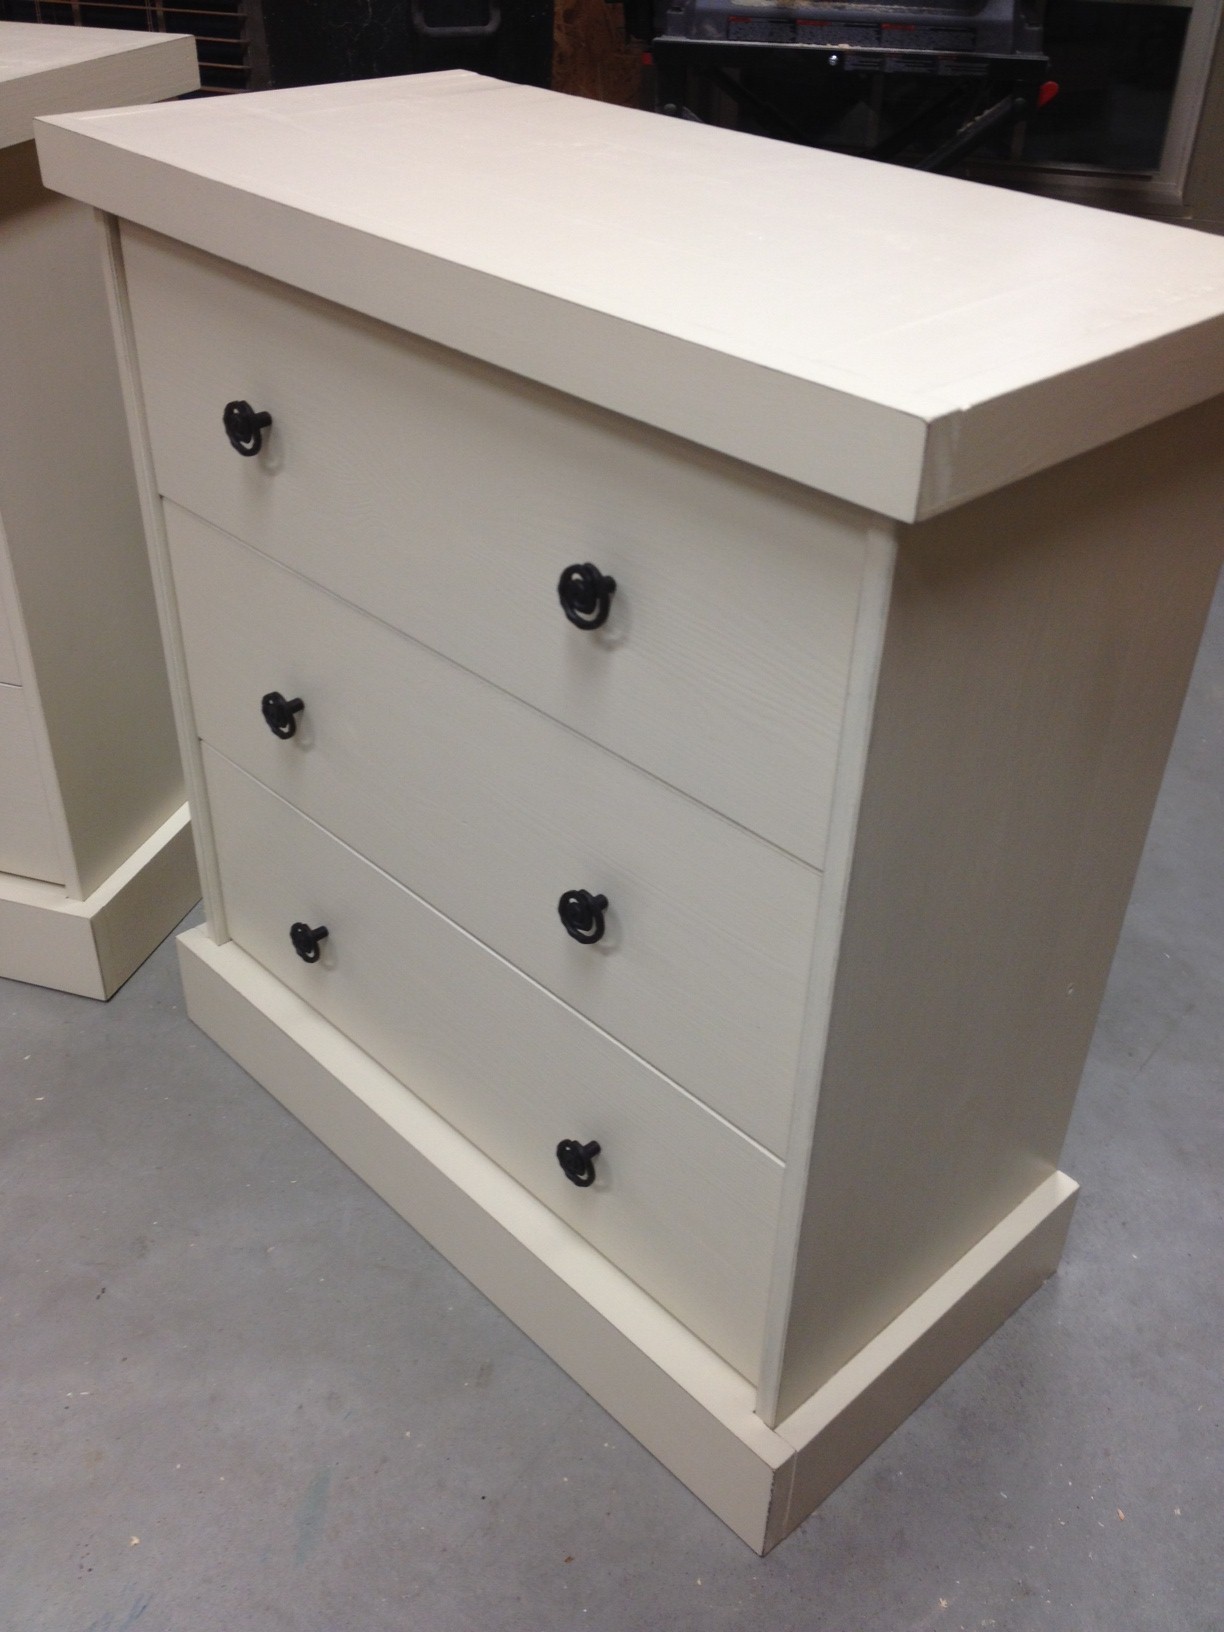
I promise I'll stop talking about Ikea Rast hacks soon. Or at least I'll take a little break. But first, I've got to update you on this redo. Remember the first two Rast dressers that I tackled? The two that were yawn-in-my-face boring? They looked like this.
I was pleased with them at the time. Plain was what I was going for and it's definitely what I got, so I thought they were ok.
The next Rast dresser I stenciled and I liked it a lot more than the plain, neutral ones. It's way more fun to look at, that's for sure. But plain was still the name of the game for the first two, so they stayed as is.
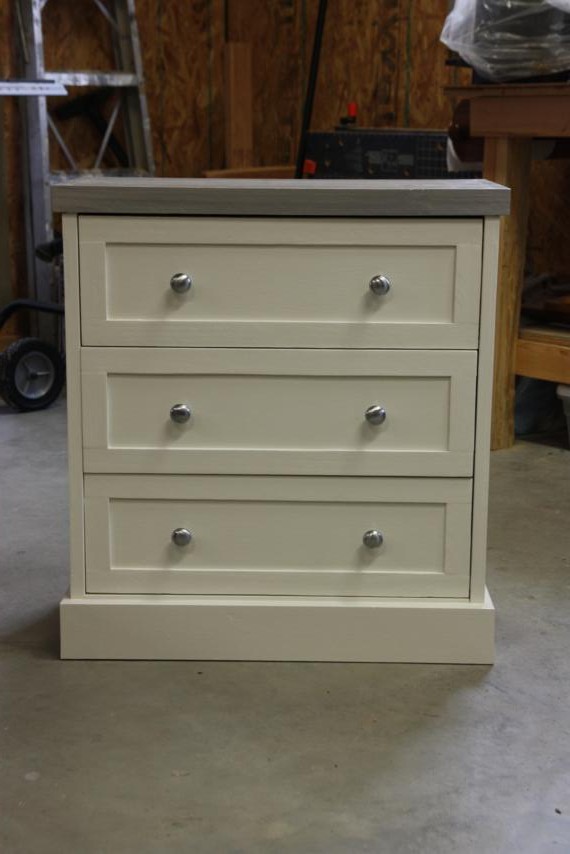
And then I made this one and ooooh wee, it became my newest favorite. I love how the added trim pieces beefed it up a little and made it look more like a susbtantial piece of furniture.
Oh how I suddenly wished that I had done this to the first two! Some ideas started rolling around in my head...could I go back and beef up the first two? Oh yes, yes I could.
One thing I knew for sure before I started tacking on trim: I did NOT want to repaint. And I didn't want to mess up the paint job I'd already done, especially since it was already sealed with polyurethane. So I had to get creative. I wouldn't be able add the smaller trim to each drawer, but I could at least beef up the top and bottom.
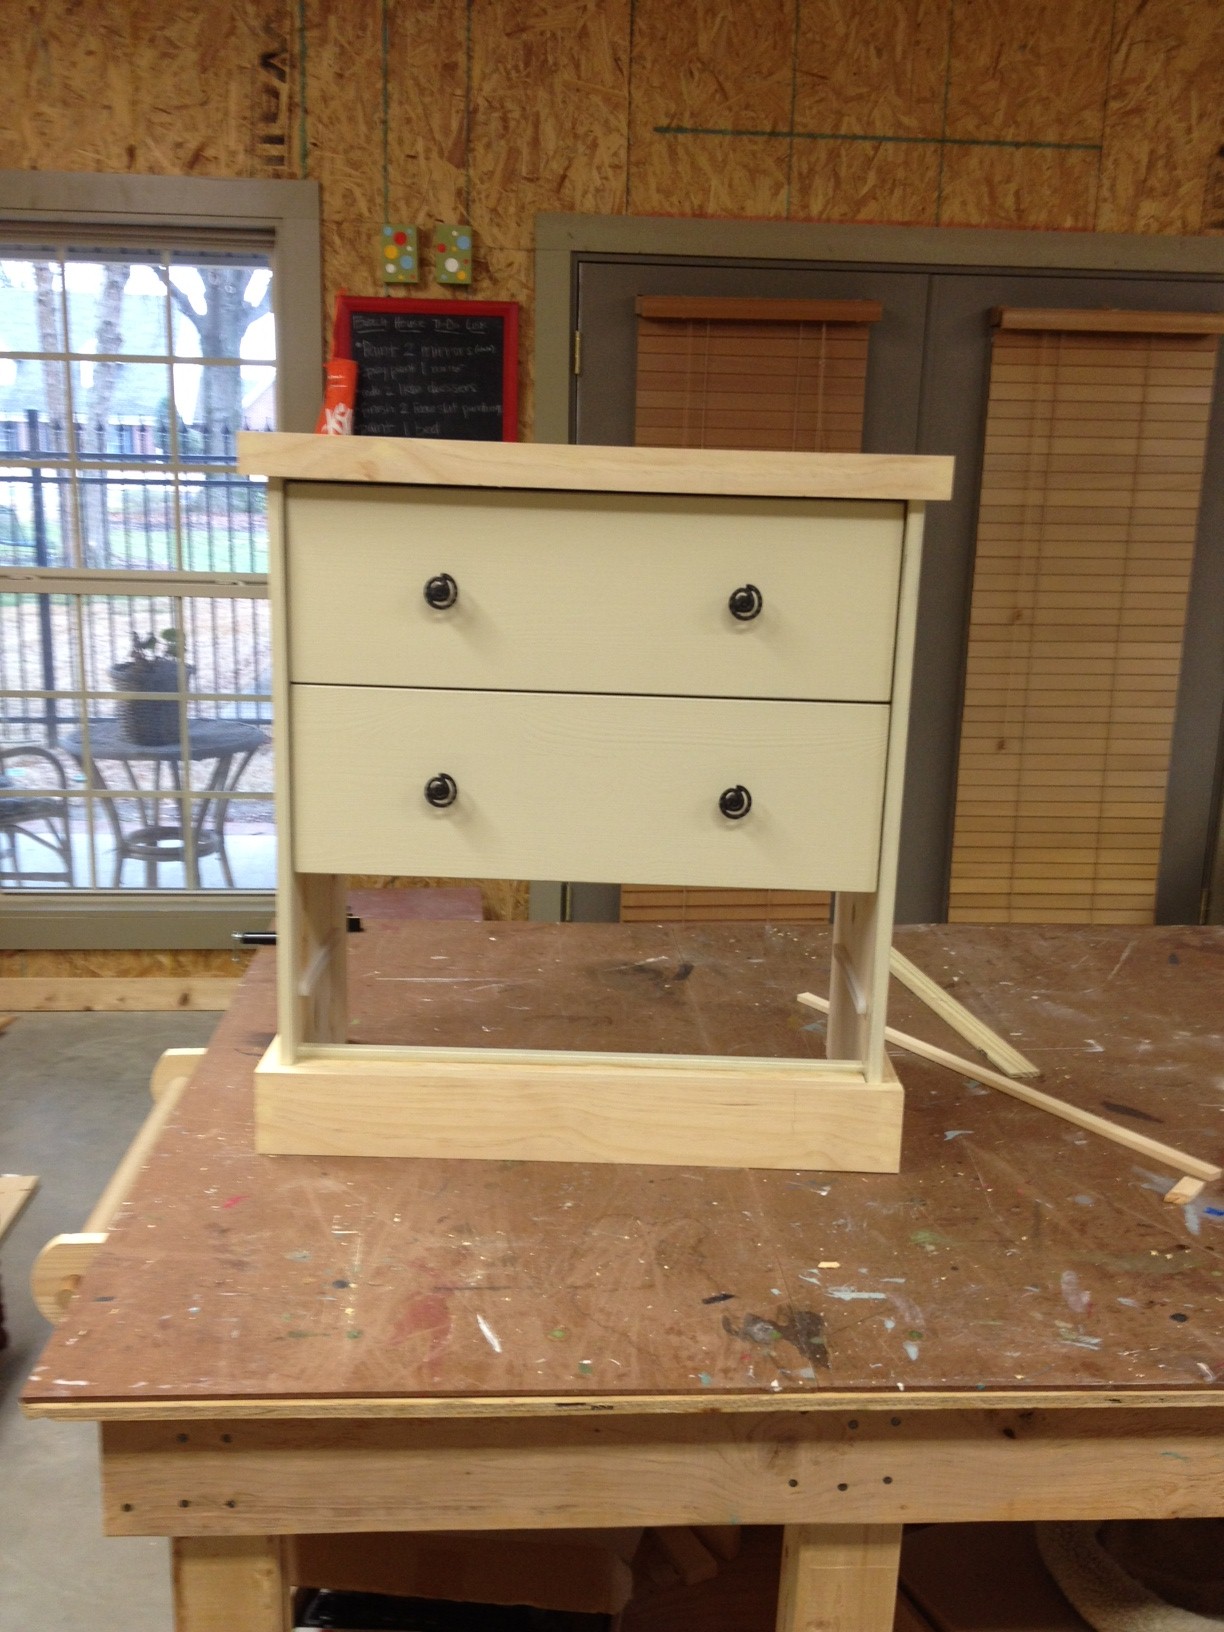
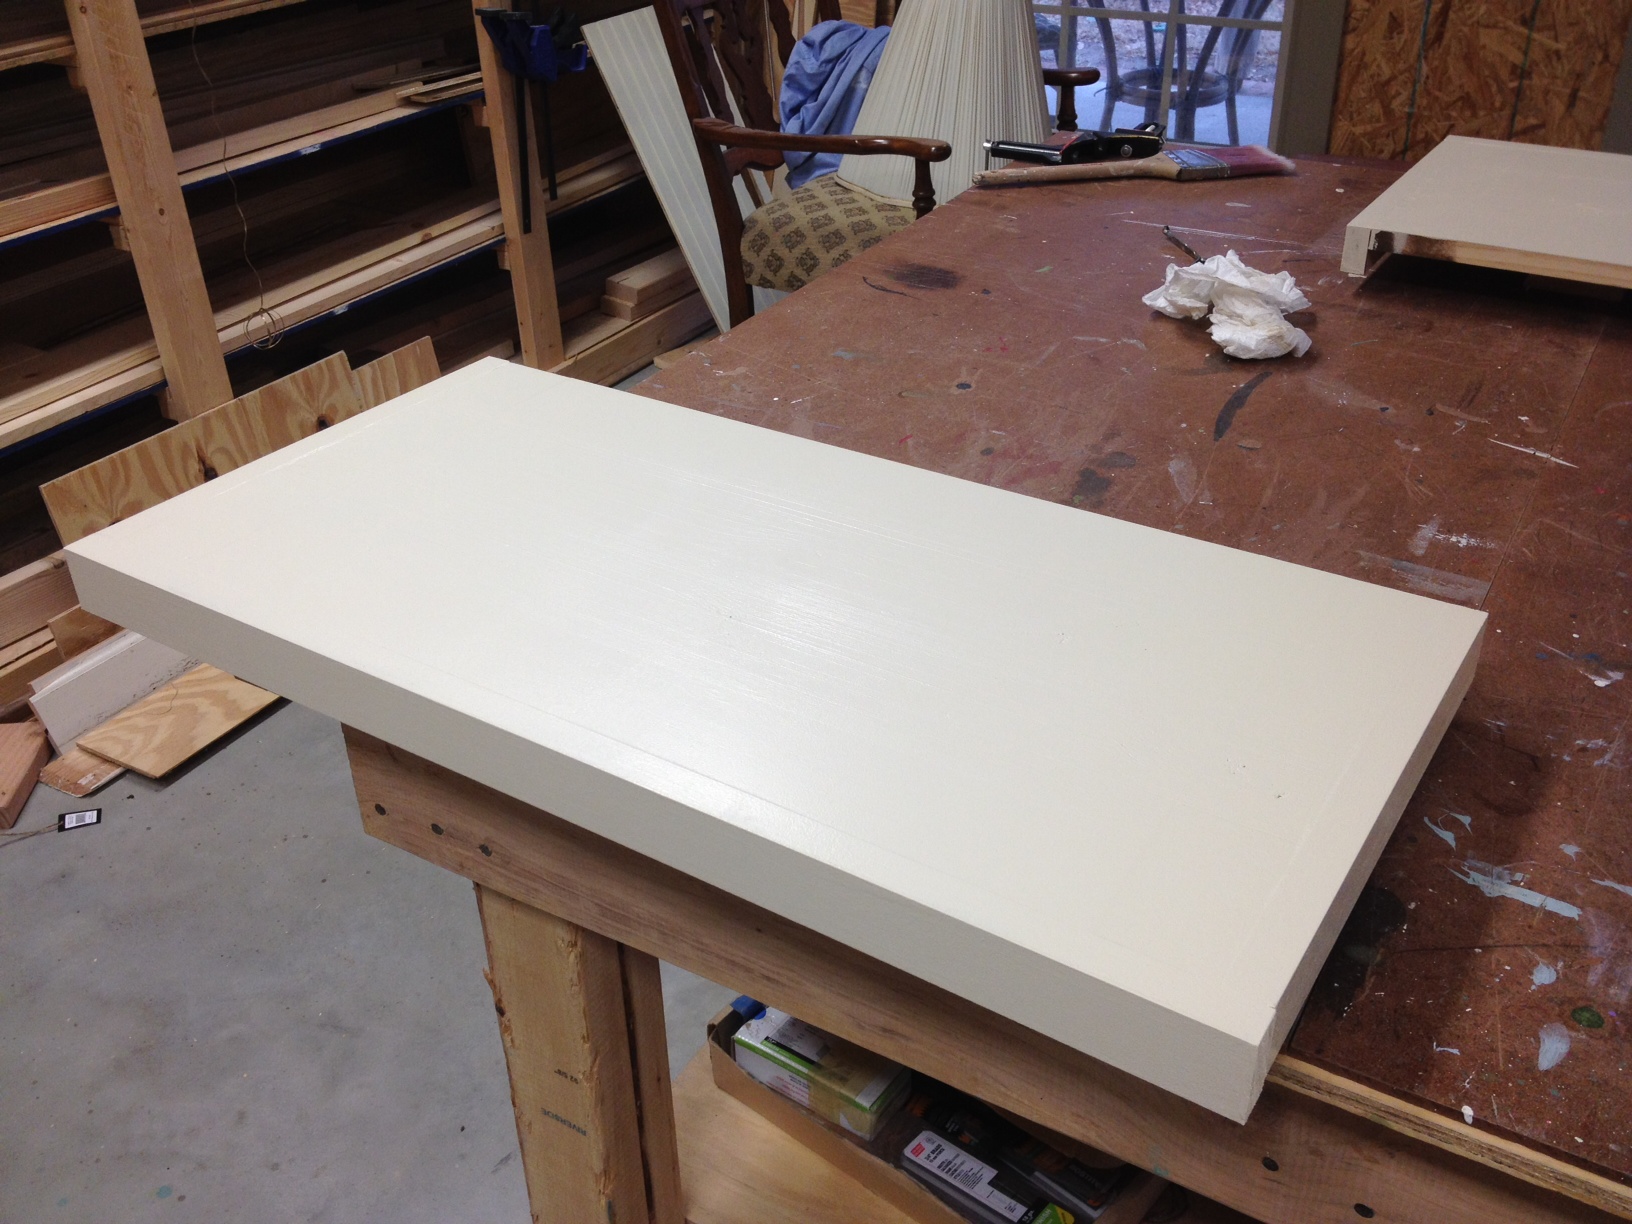
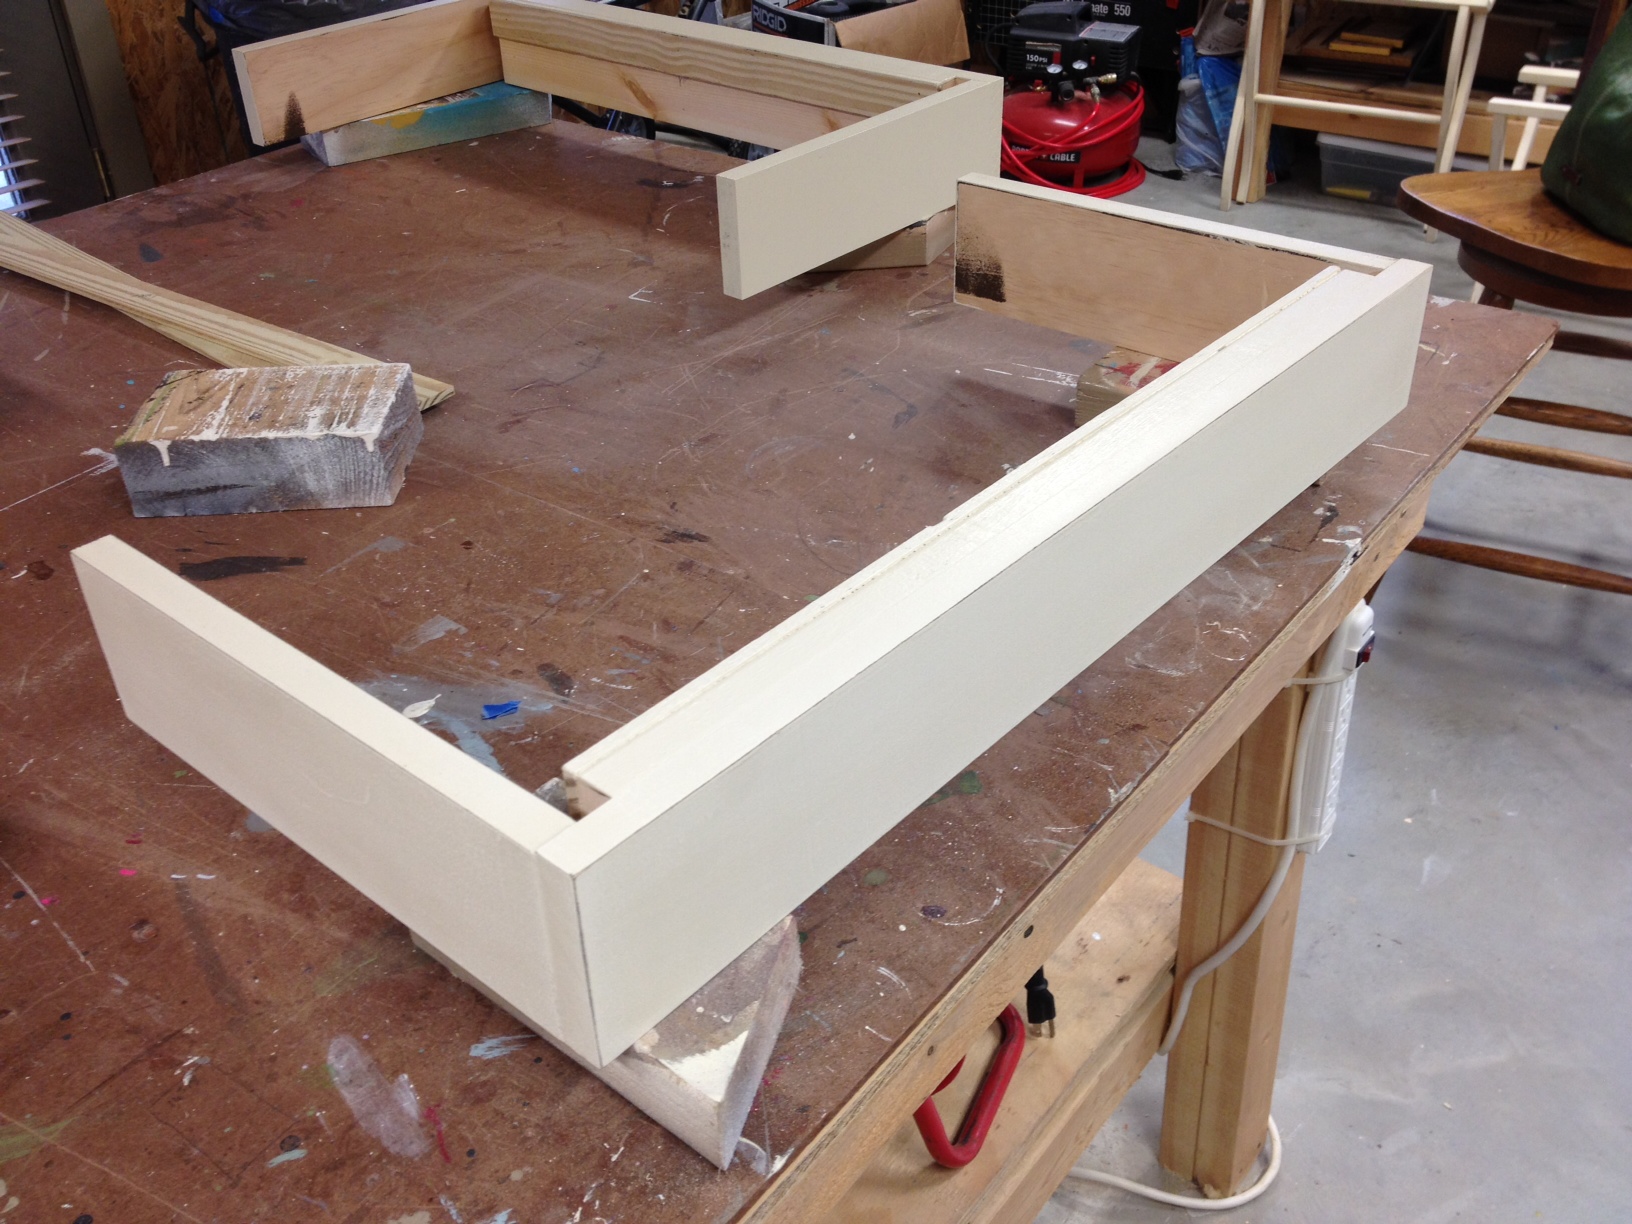
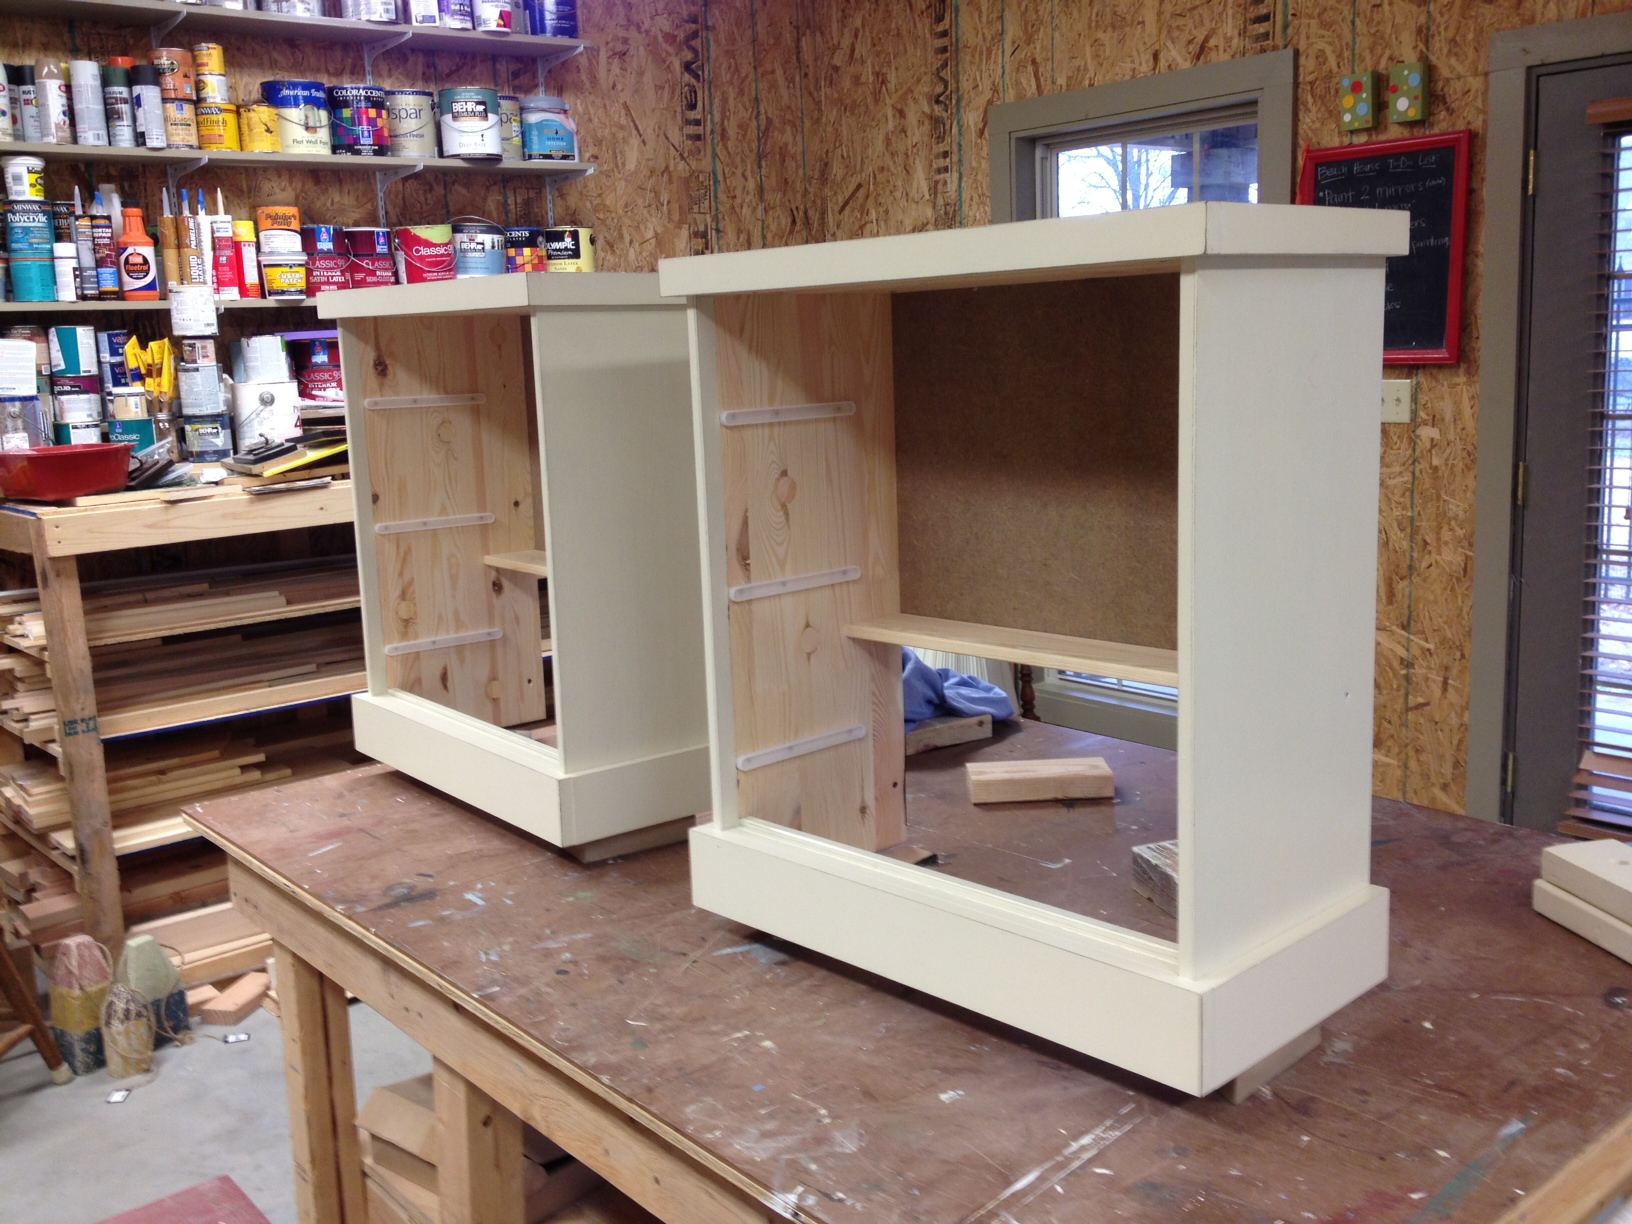
With my dad's help, we got to work building the top and bottom pieces. I figured it would be easier if we could build these to fit, but then take them off so I could paint them before actually attaching them. That seemed like the easiest way to get them painted without ruining the original paint job on the base piece.
The top was pretty much just a lid that slid right off.
And the bottom piece was kinda like a....retainer? Mouthpiece? That's the only thing that's coming to me. Basically, it slid right on the front and fit over the front of the two sides.
I gave them the same paint treatment: chocolate brown as a base followed by two coats of the cream. I gently sanded the edges to distress them just a little.
My dad figured out a way we could screw them to the base piece of furniture from the inside so we wouldn't have any visible nail holes on the outside. I love it when he comes through with a good idea like that. :) In the picture below, he's got the base flipped upside down and is attaching the top from the inside.
I did wait to add the poly until the new pieces were affixed to the base. In my mind, this helped "seal" them to the base. Probably not really in reality, but it sounded good in my head.
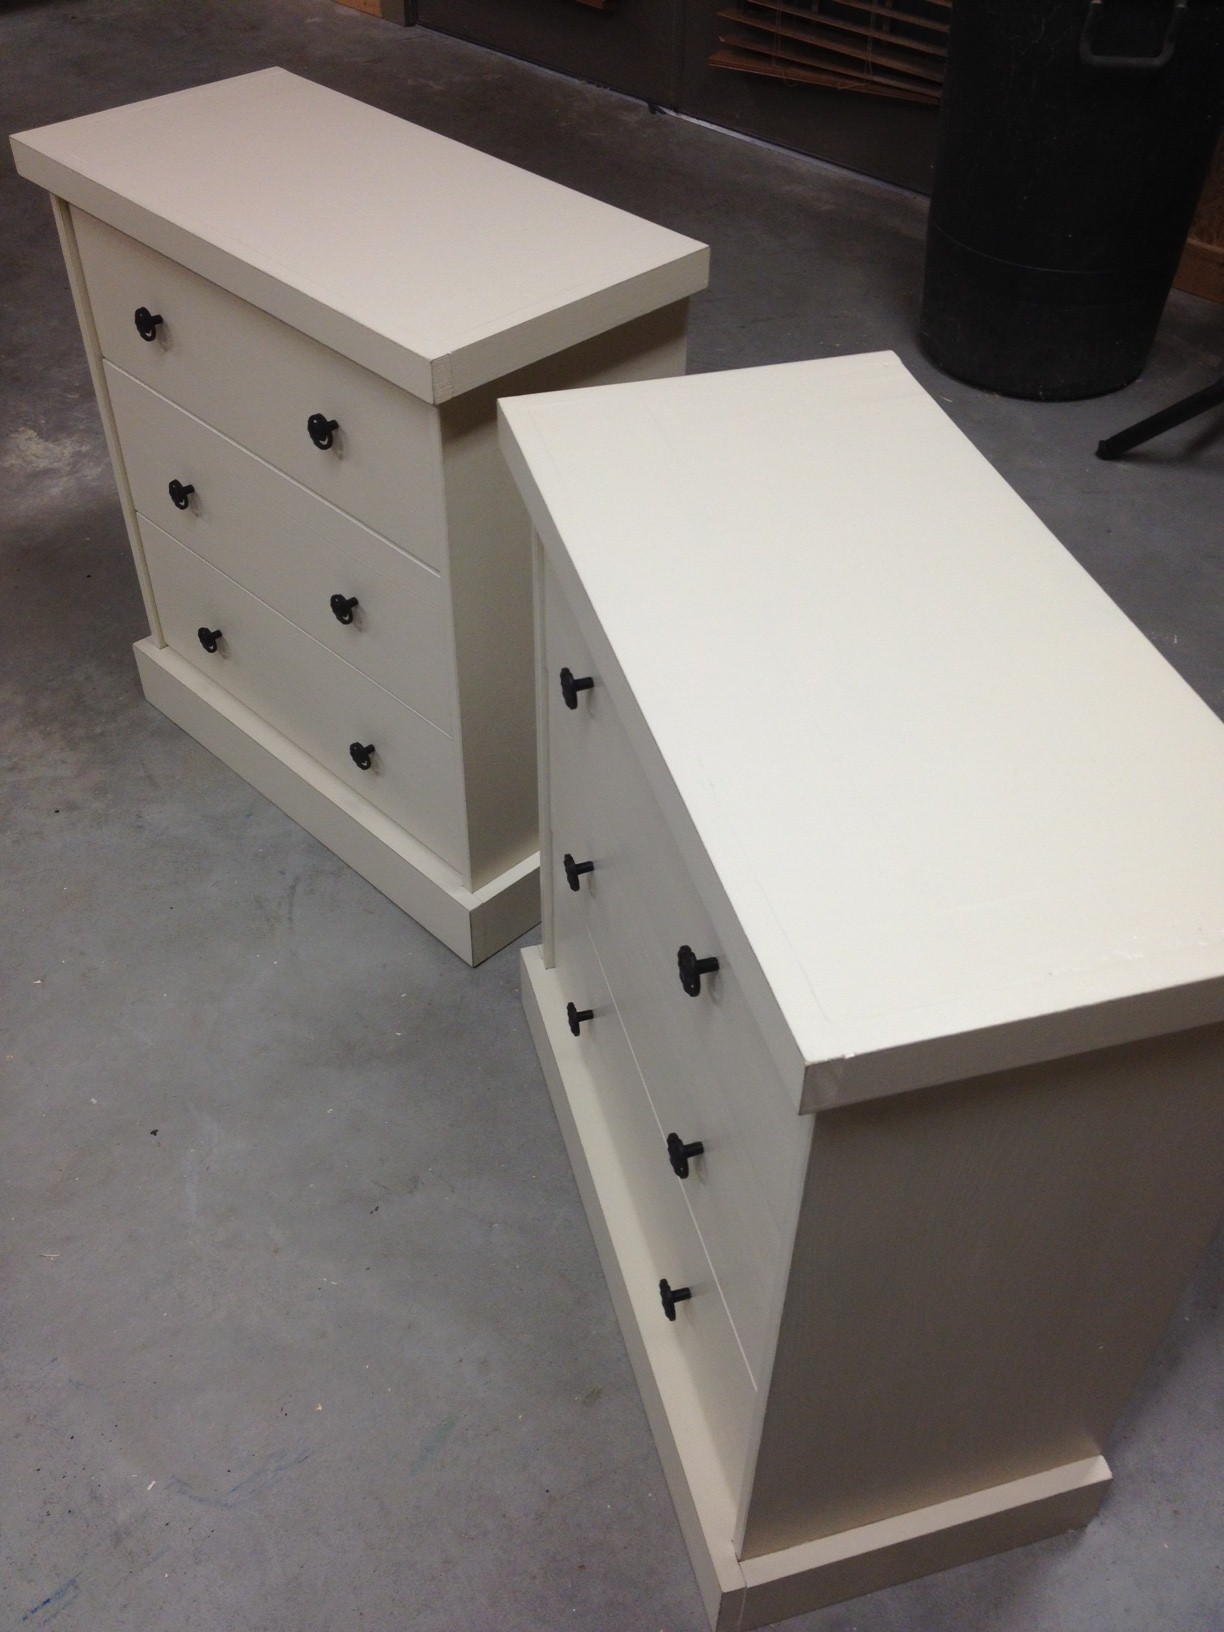
Then it was just a matter of sliding the drawers back in! They still aren't quite as cute as the original one with the trim, but it's definitely an improvement from before.
Did I mention that we're still short one bedside table? Yea, we have one room that still doesn't have anything and the clock is ticking. We've been hunting for something reasonably priced that we could refinish, but haven't had much luck. It might be time to think about building something from scratch...I probably should stop wasting time redoing things that are already done!

