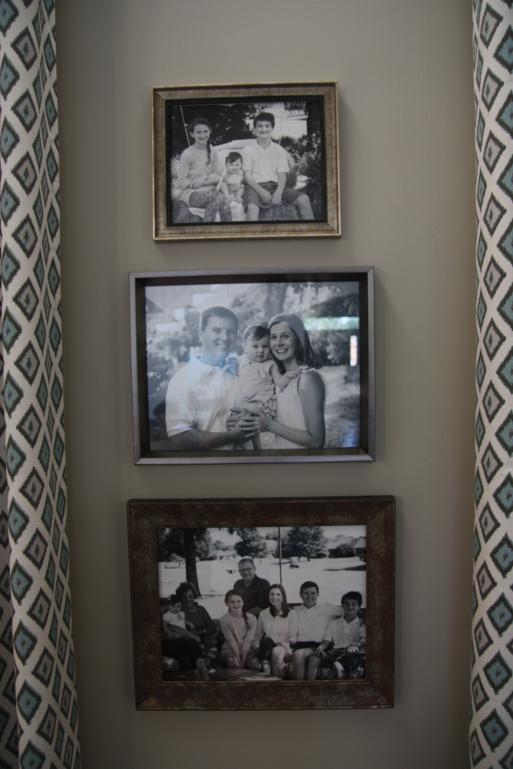
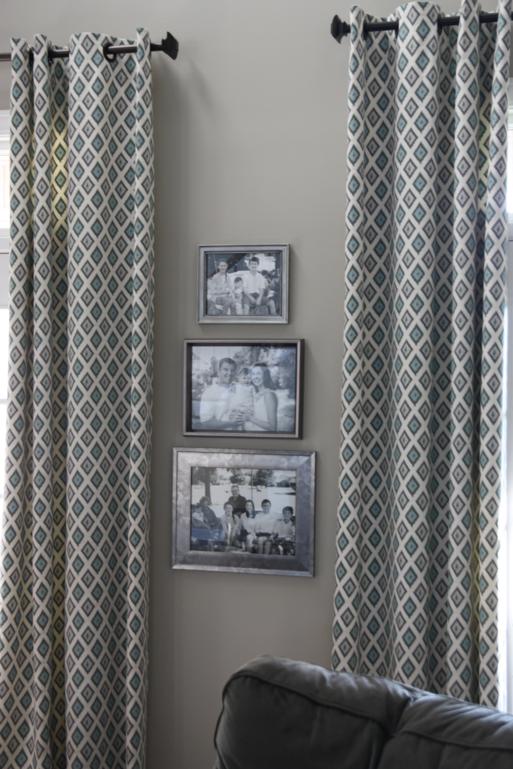
So, we've had this set of three frames hanging in our living room for some time now. It started out with just the middle one, but I thought it looked a little small and lonely by itself so I added one above it and one below it and filled them all with black and white photos.

While I loved the addition of the two new frames and they way they helped fill up the space, there was something about them that drove me nuts any time I was sitting in the room and had a view of them. I thought the top and bottom frames were silver when I added them, but compared to the middle frame that was already there, they looked very gold and horrible with the black and white photos.
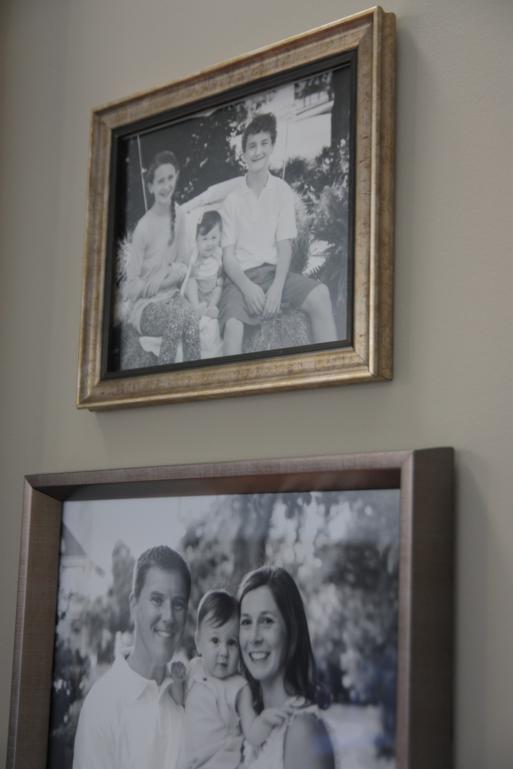
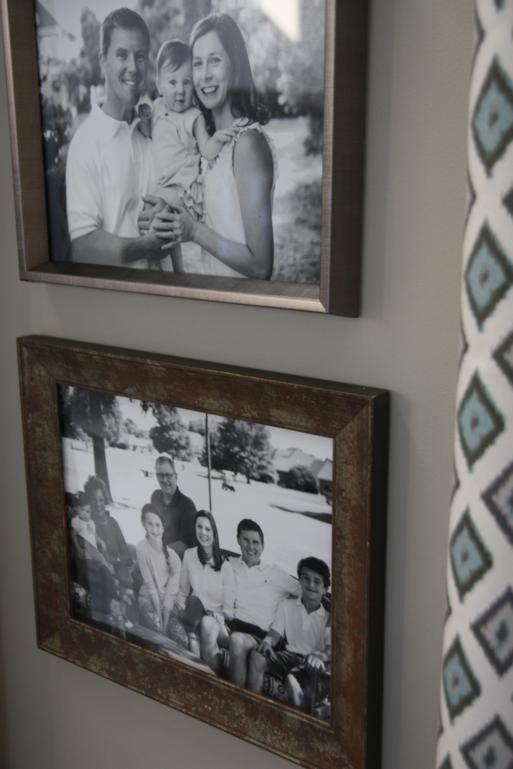
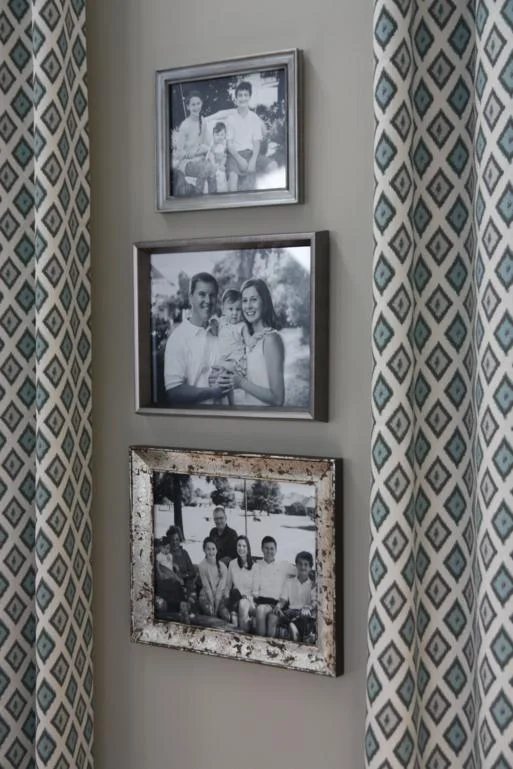
Here's a closer view of the top and bottom frames compared to the middle one.
Since the color of the frames drove me crazy, I figured I could solve that problem by just taking them down and making them more silver. And it was a really good excuse to try two products that I've been wanting to test out.
For the top smaller frame, I bought a tube of silver Rub N Buff that I've seen a lot of other bloggers use. The goal was to make the frame more silver so I bought the color Silver Leaf.

The application was really simple. I took the photo and glass out of the frame and taped off the inner black edge.

To apply the silver leaf Rub N Buff, I just squirted a small amount onto a paper towel and rubbed it on. It covered it a lot like painting it would have, but it dried very quickly and had the smoothest finish ever! Below, the original frame is pictured on the left, and the Rubbed and Buffed frame is on the right.


After removing the tape, I was left with a shiny silver frame!

Turns out, though, that it was a little too shiny. I probably should've bought more of a pewter color in the Rub N Buff. But, I knew I could tone it down a little with some dark glaze.


When I applied the glaze, some of the Rub N Buff smeared over onto my black edge. Guess I should've taped it off again! No big deal, I'm ok with the way the frame looks without it.

So with that frame more silver, but not too shiny, I could call it done and move on to the bigger one. For it, I wanted to try out using actual silver leafing. My supplies included a jar of gilding size and sheets of silver leafing.

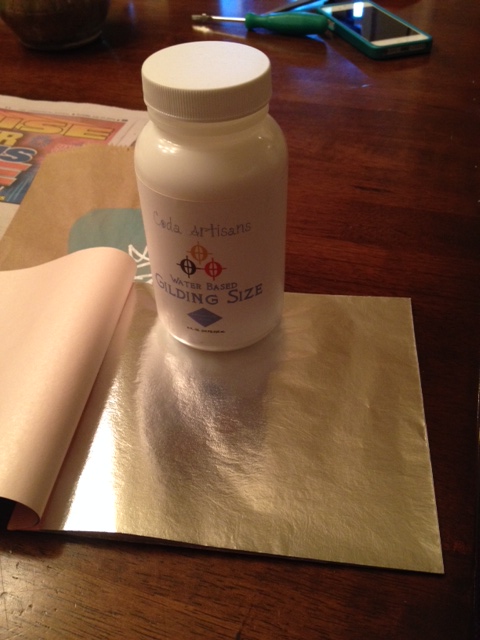
This process was a lot more involved than using the Rub N Buff. First I had to brush on some of the gilding size (the sticky stuff to make the sheet of leafing adhere to the frame) and then I placed a piece of the super thin leafing on top of it.


Then I used a dry brush to tap all over the leaf until it was good and stuck down. As I did this, small pieces would flake off.


The end result looked like this - kind of a distressed silver.


Just like with the smaller frame, I was afraid this would be too shiny silver so I rubbed on some dark glaze while I still had it out. Then I could call that one done and get these bad boys back up on the wall!

While I was pleased with how the upgrades on the two frames turned out, I still didn't like the grouping on the wall. The top frame that got the Rub N Buff application looked much better with the original middle frame, but the bottom one that got the silver leafing looked out of place to me. The other two were solid colors, making the distressed look of the bottom one look off.
Luckily, I happened to see this frame on sale for 40% off at Michael's and thought it would work well with the other two. So down came the bottom one and up went a new purchased one. Don't worry, I'll find a new home for the leafed frame!

It didn't turn out to be the super quick and easy upgrade that I thought it would be since the silver leafing took more effort and then I still ended up buying a new frame, but I'm really glad that I can now sit on the couch without being annoyed at how the look together! It's the little things, right?