I'm here to tell you about some wall art that I recently did. And by "recently did," what I really mean is recently finished. I started the project when Thomas was two weeks old. He is now 12 weeks old and I just finished. So you might say it drug on for a while.
When Thomas was two weeks old, this wall art was gonna look a LOT different than the way it actually ended up looking. Remember the watercolor quote art I did for Bren's room?
To date, it's still one of my very favorite pieces that I've done so, naturally, when I was brainstorming something to make for the little kids' bathroom, this came to mind. I decided to copy the technique and do something for our own house.

While Matt's parents were in town visiting and helping with Thomas, I decided to get started on the project. I gathered my supplies - two wooden canvases that I'd already had my Dad make for me and a handful of colorful craft paints. I chose brighter colors than the ones I used for Bren's quote art because I didn't want it to be too girly in the bathroom that Thomas would be using too.


Using the same technique as with Bren's, I started dabbing on the different colors with LOTS of water so that they would run and bleed together. And...it looked terrible.


The brighter colors just didn't blend as well or look as pretty as Bren's softer colors did. In a lot of places, the colors turned a gross orange-brown shade as they blended together. Not really the look I was going for. So I dumped them in the garage until I could come up with Plan B.
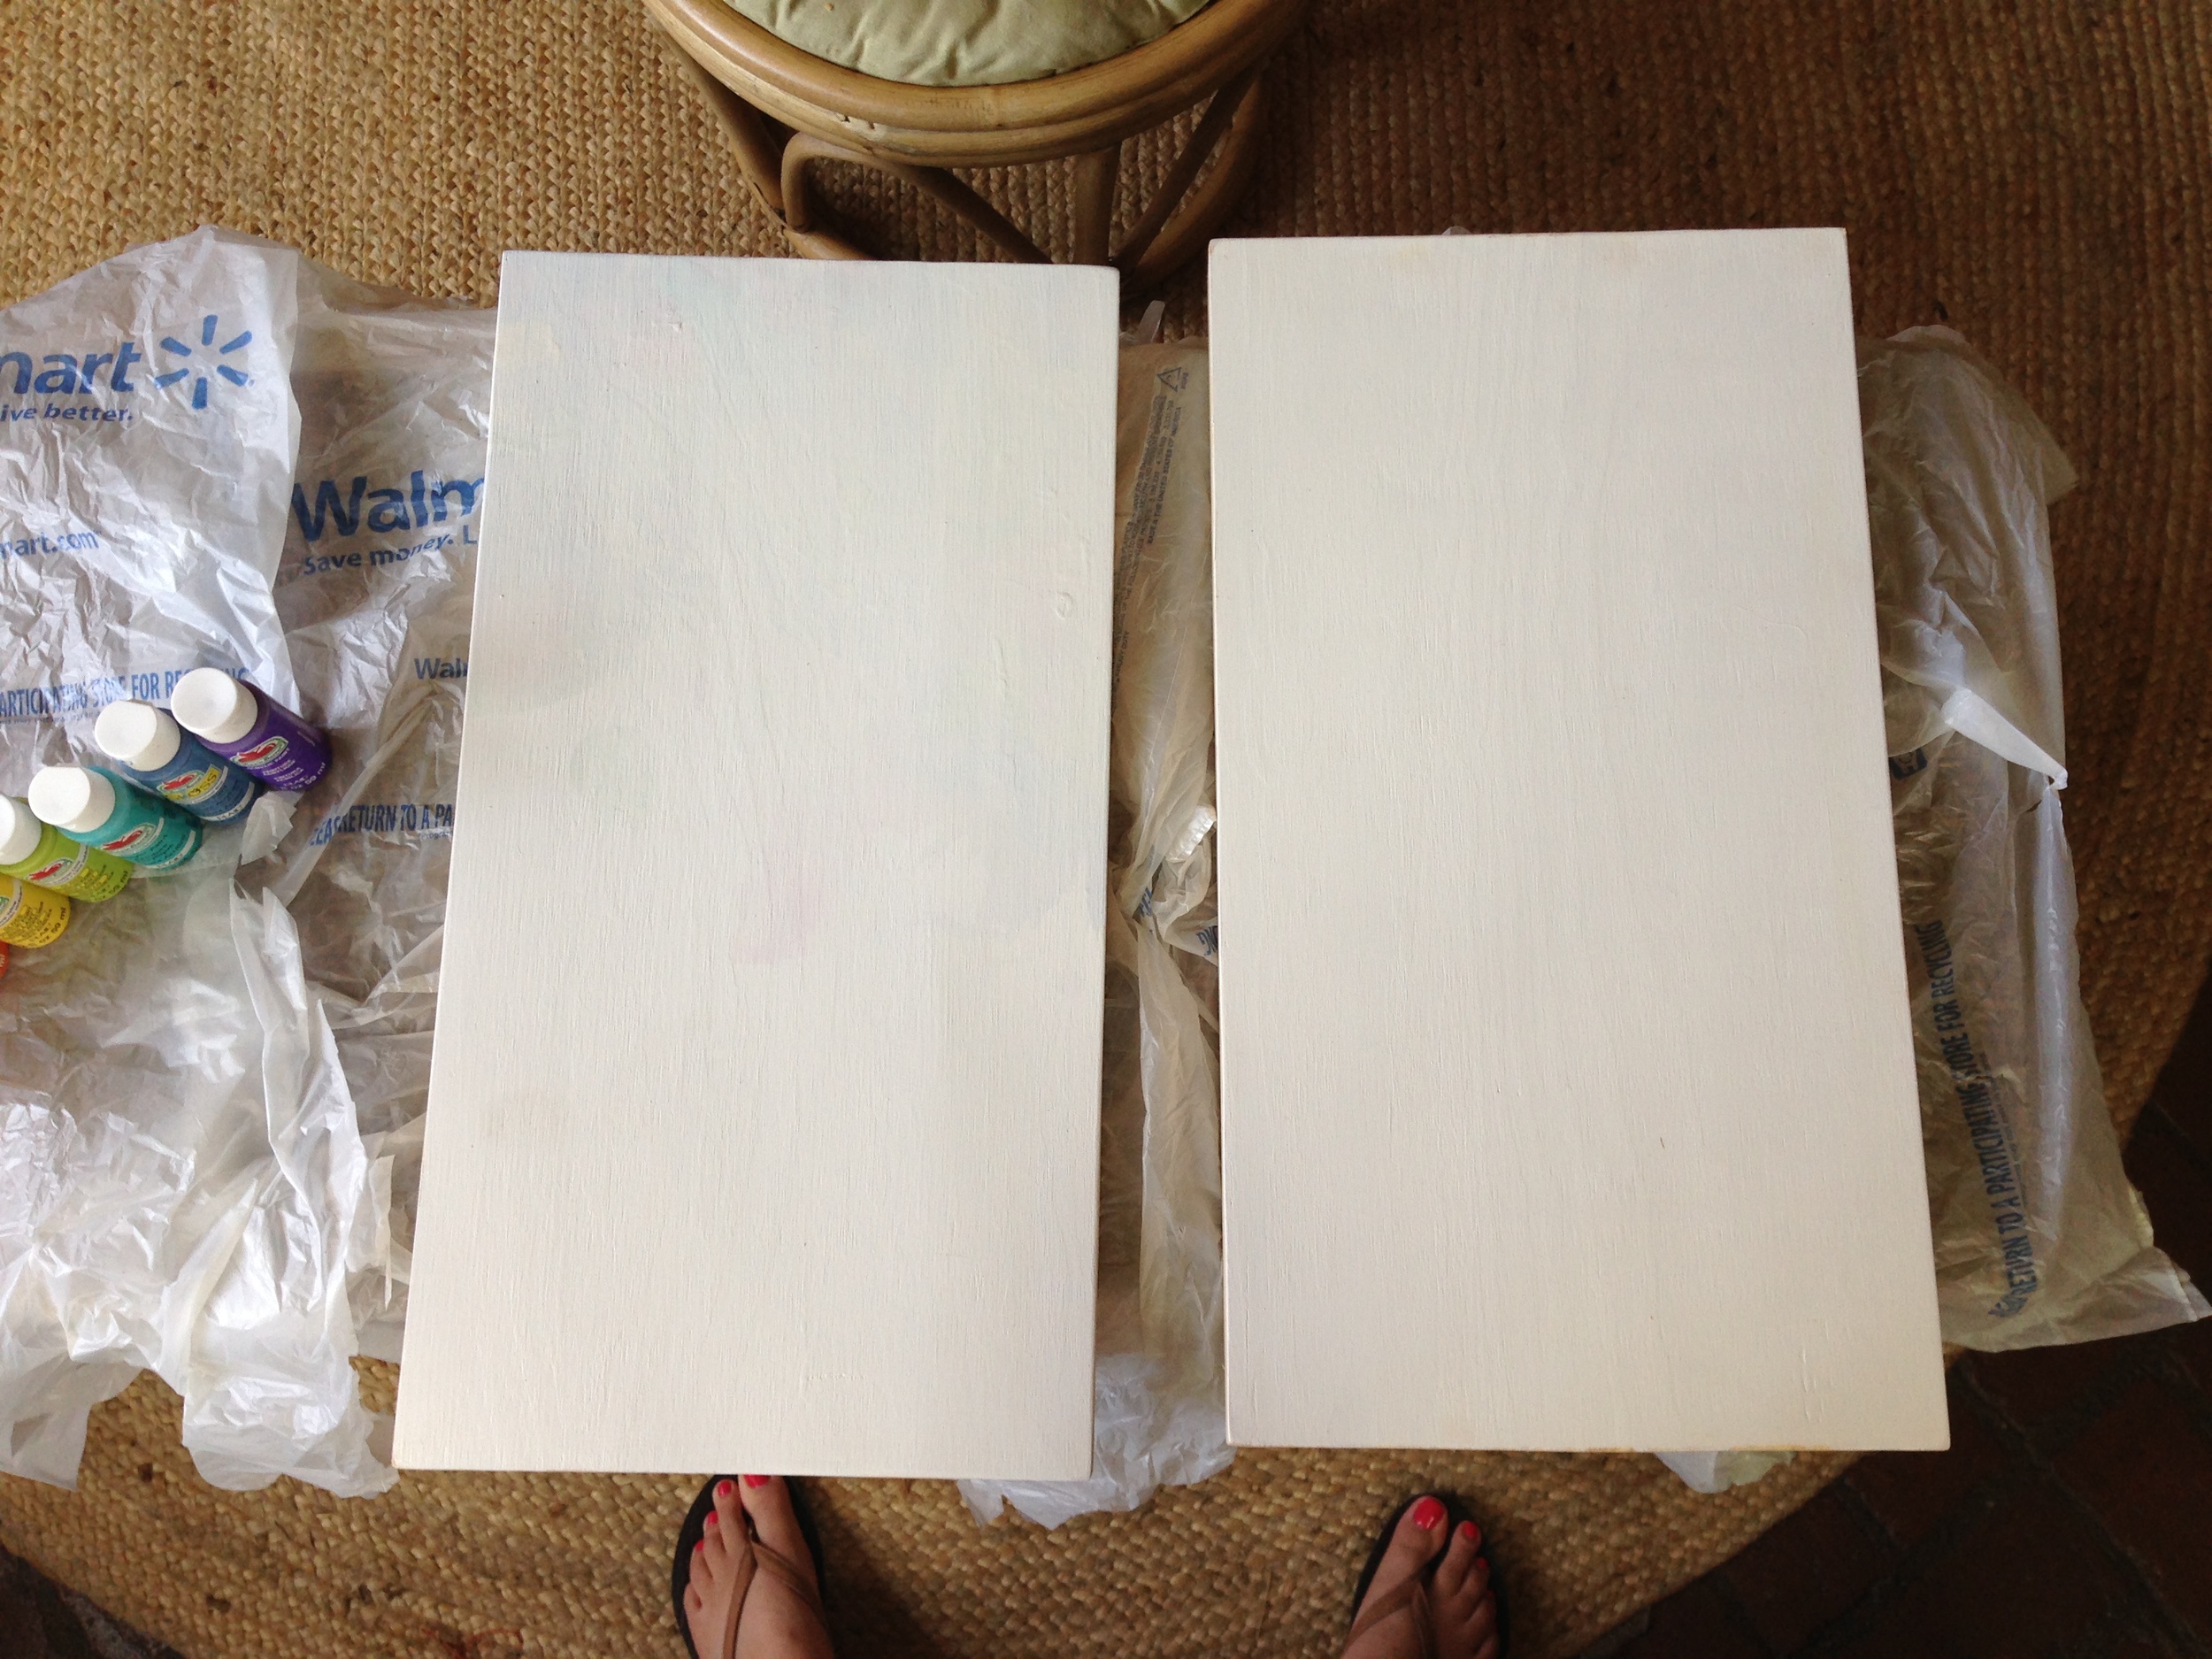
About, oh, a month or so later, I was ready to try again. I had painted over the watercolor mess, giving me two blank canvases again. This time, I added red to my paint lineup. The pink is still pictured but I didn't end up using it. It seemed like it would make it too girly instead of keeping it gender neutral.

For Plan B, I decided to pick up some new paint brushes.
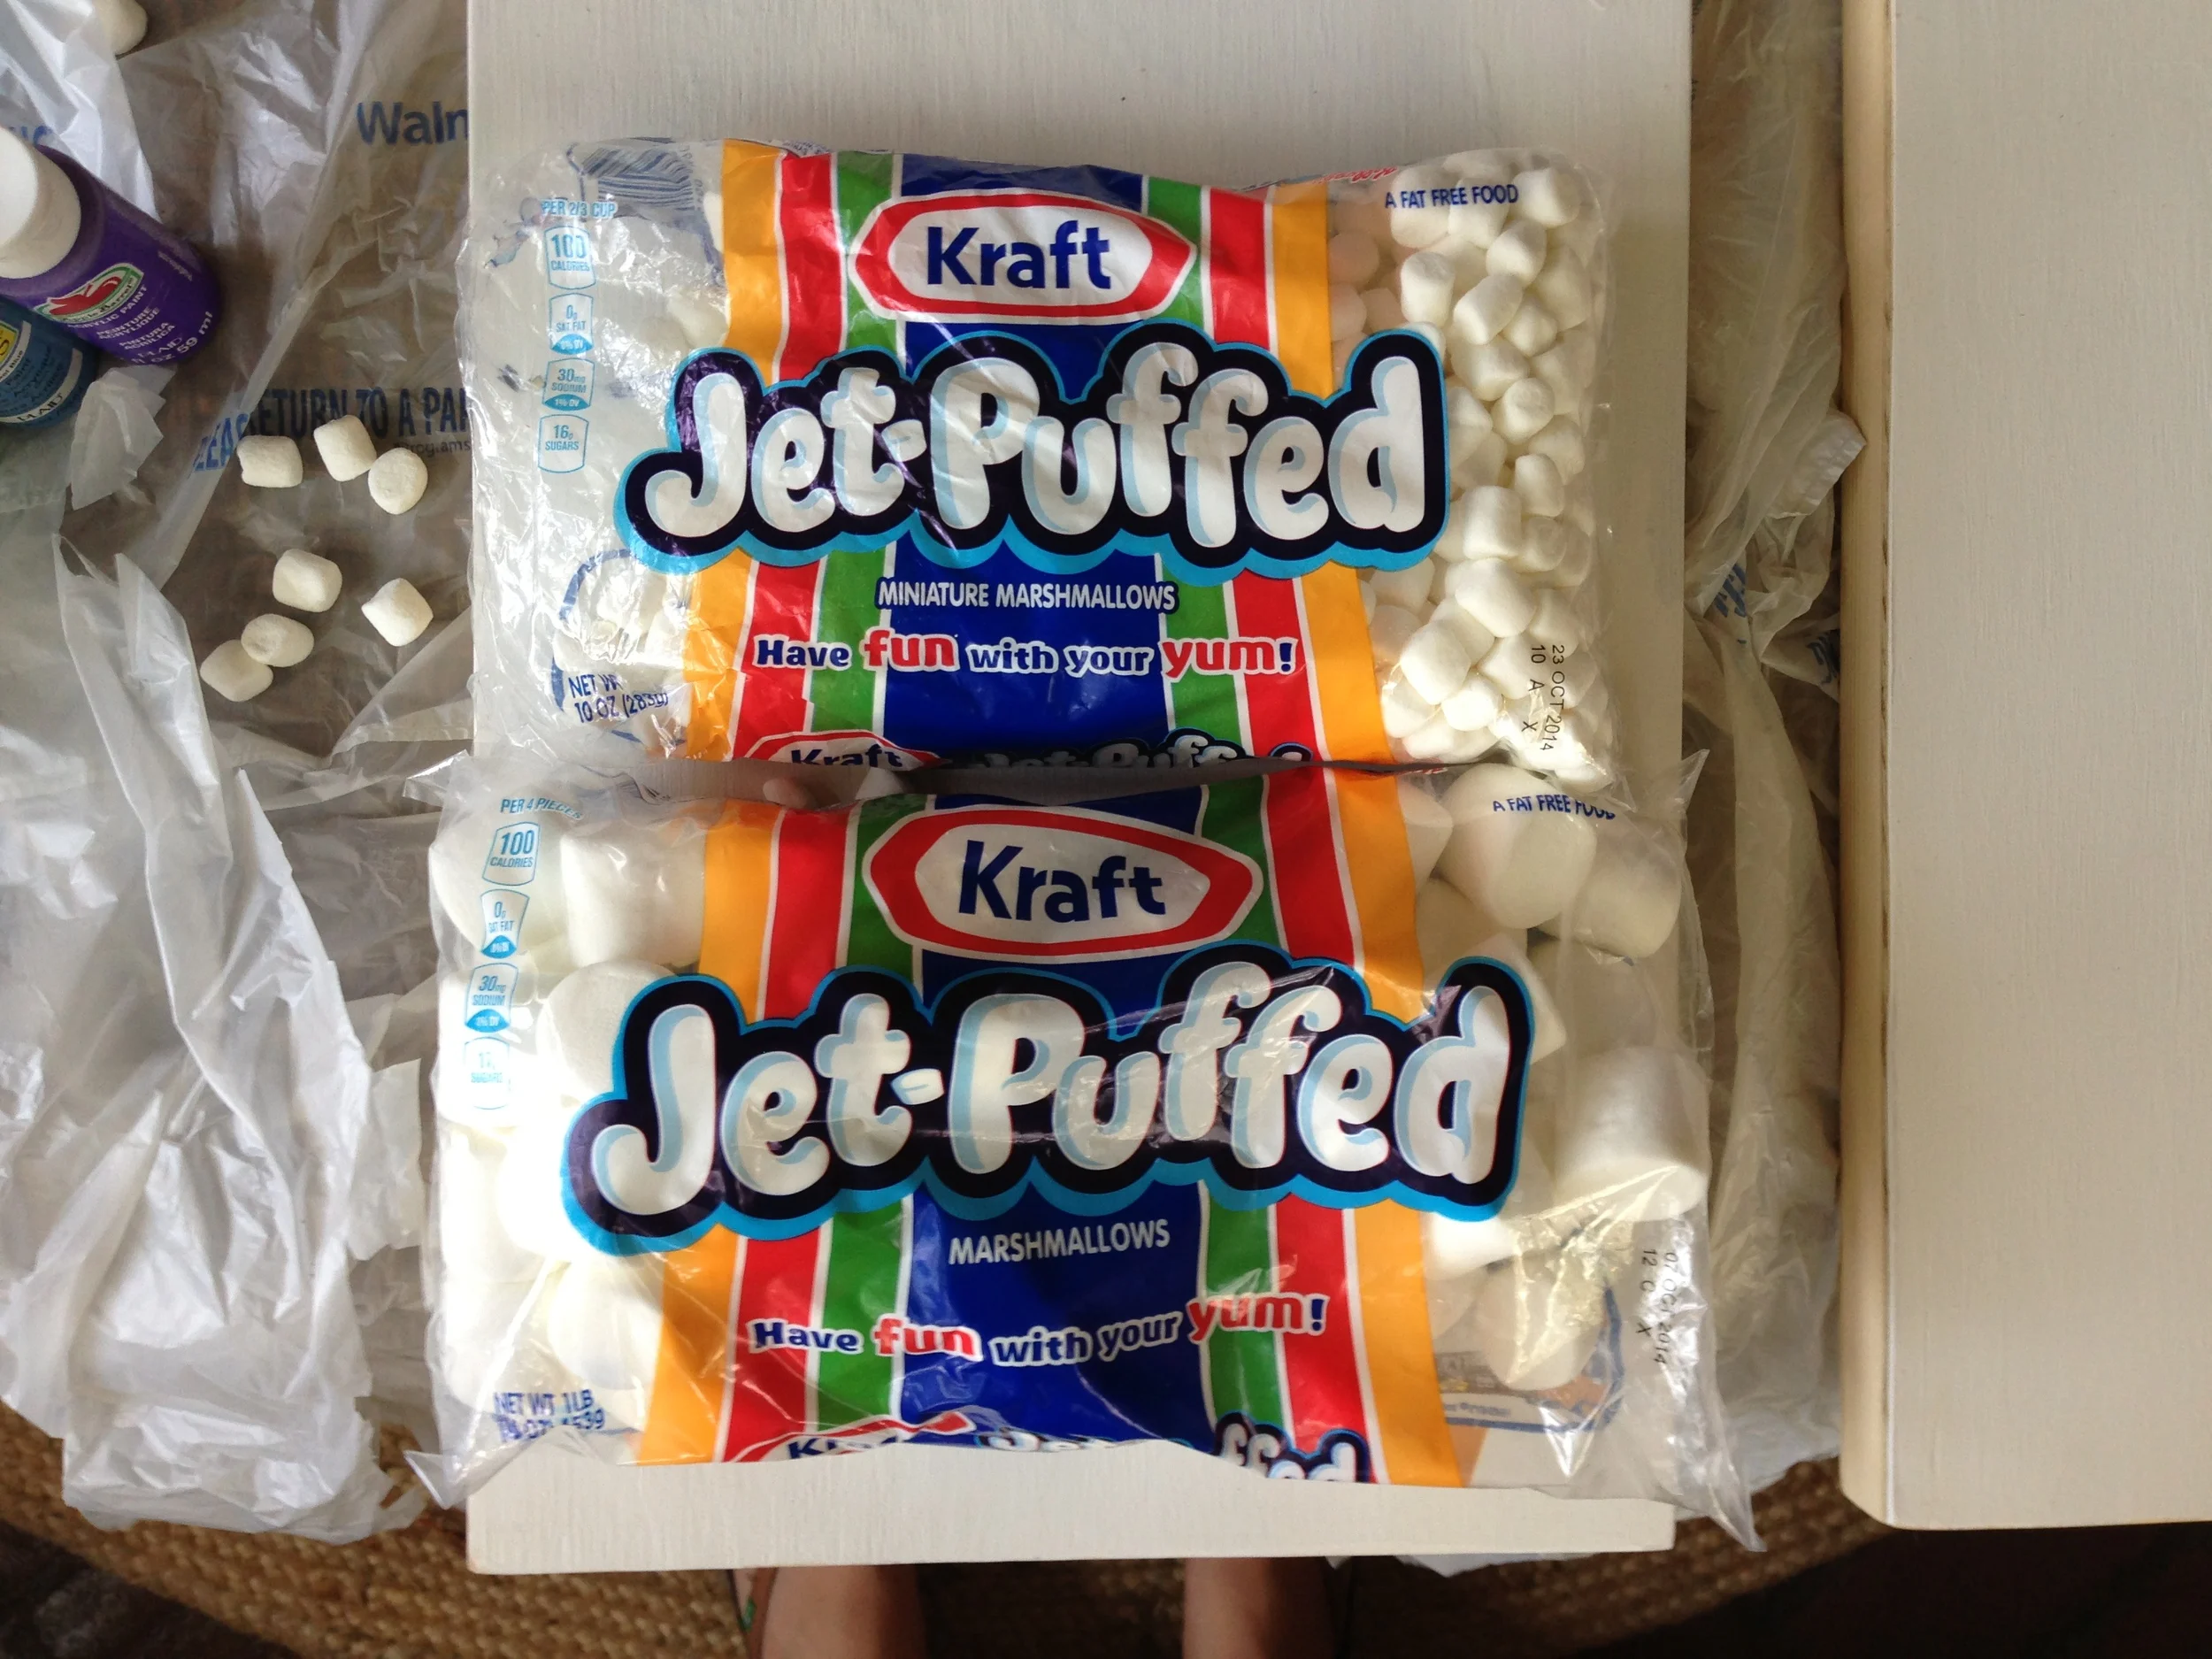
Sweet, right?
I'll go ahead and admit that painting with marshmallows did not turn out the way I had pictured it in my head, but that doesn't mean it didn't work. In fact, I really like the way it ended up working out!
I roped Mom into helping me so that it wouldn't take forever. We were all set up on her back porch while Mr. T was snoozing. To begin, we squirted out a little of each paint color, and grabbed a big marshmallow for each color.

We dipped the 'mallow in the paint...
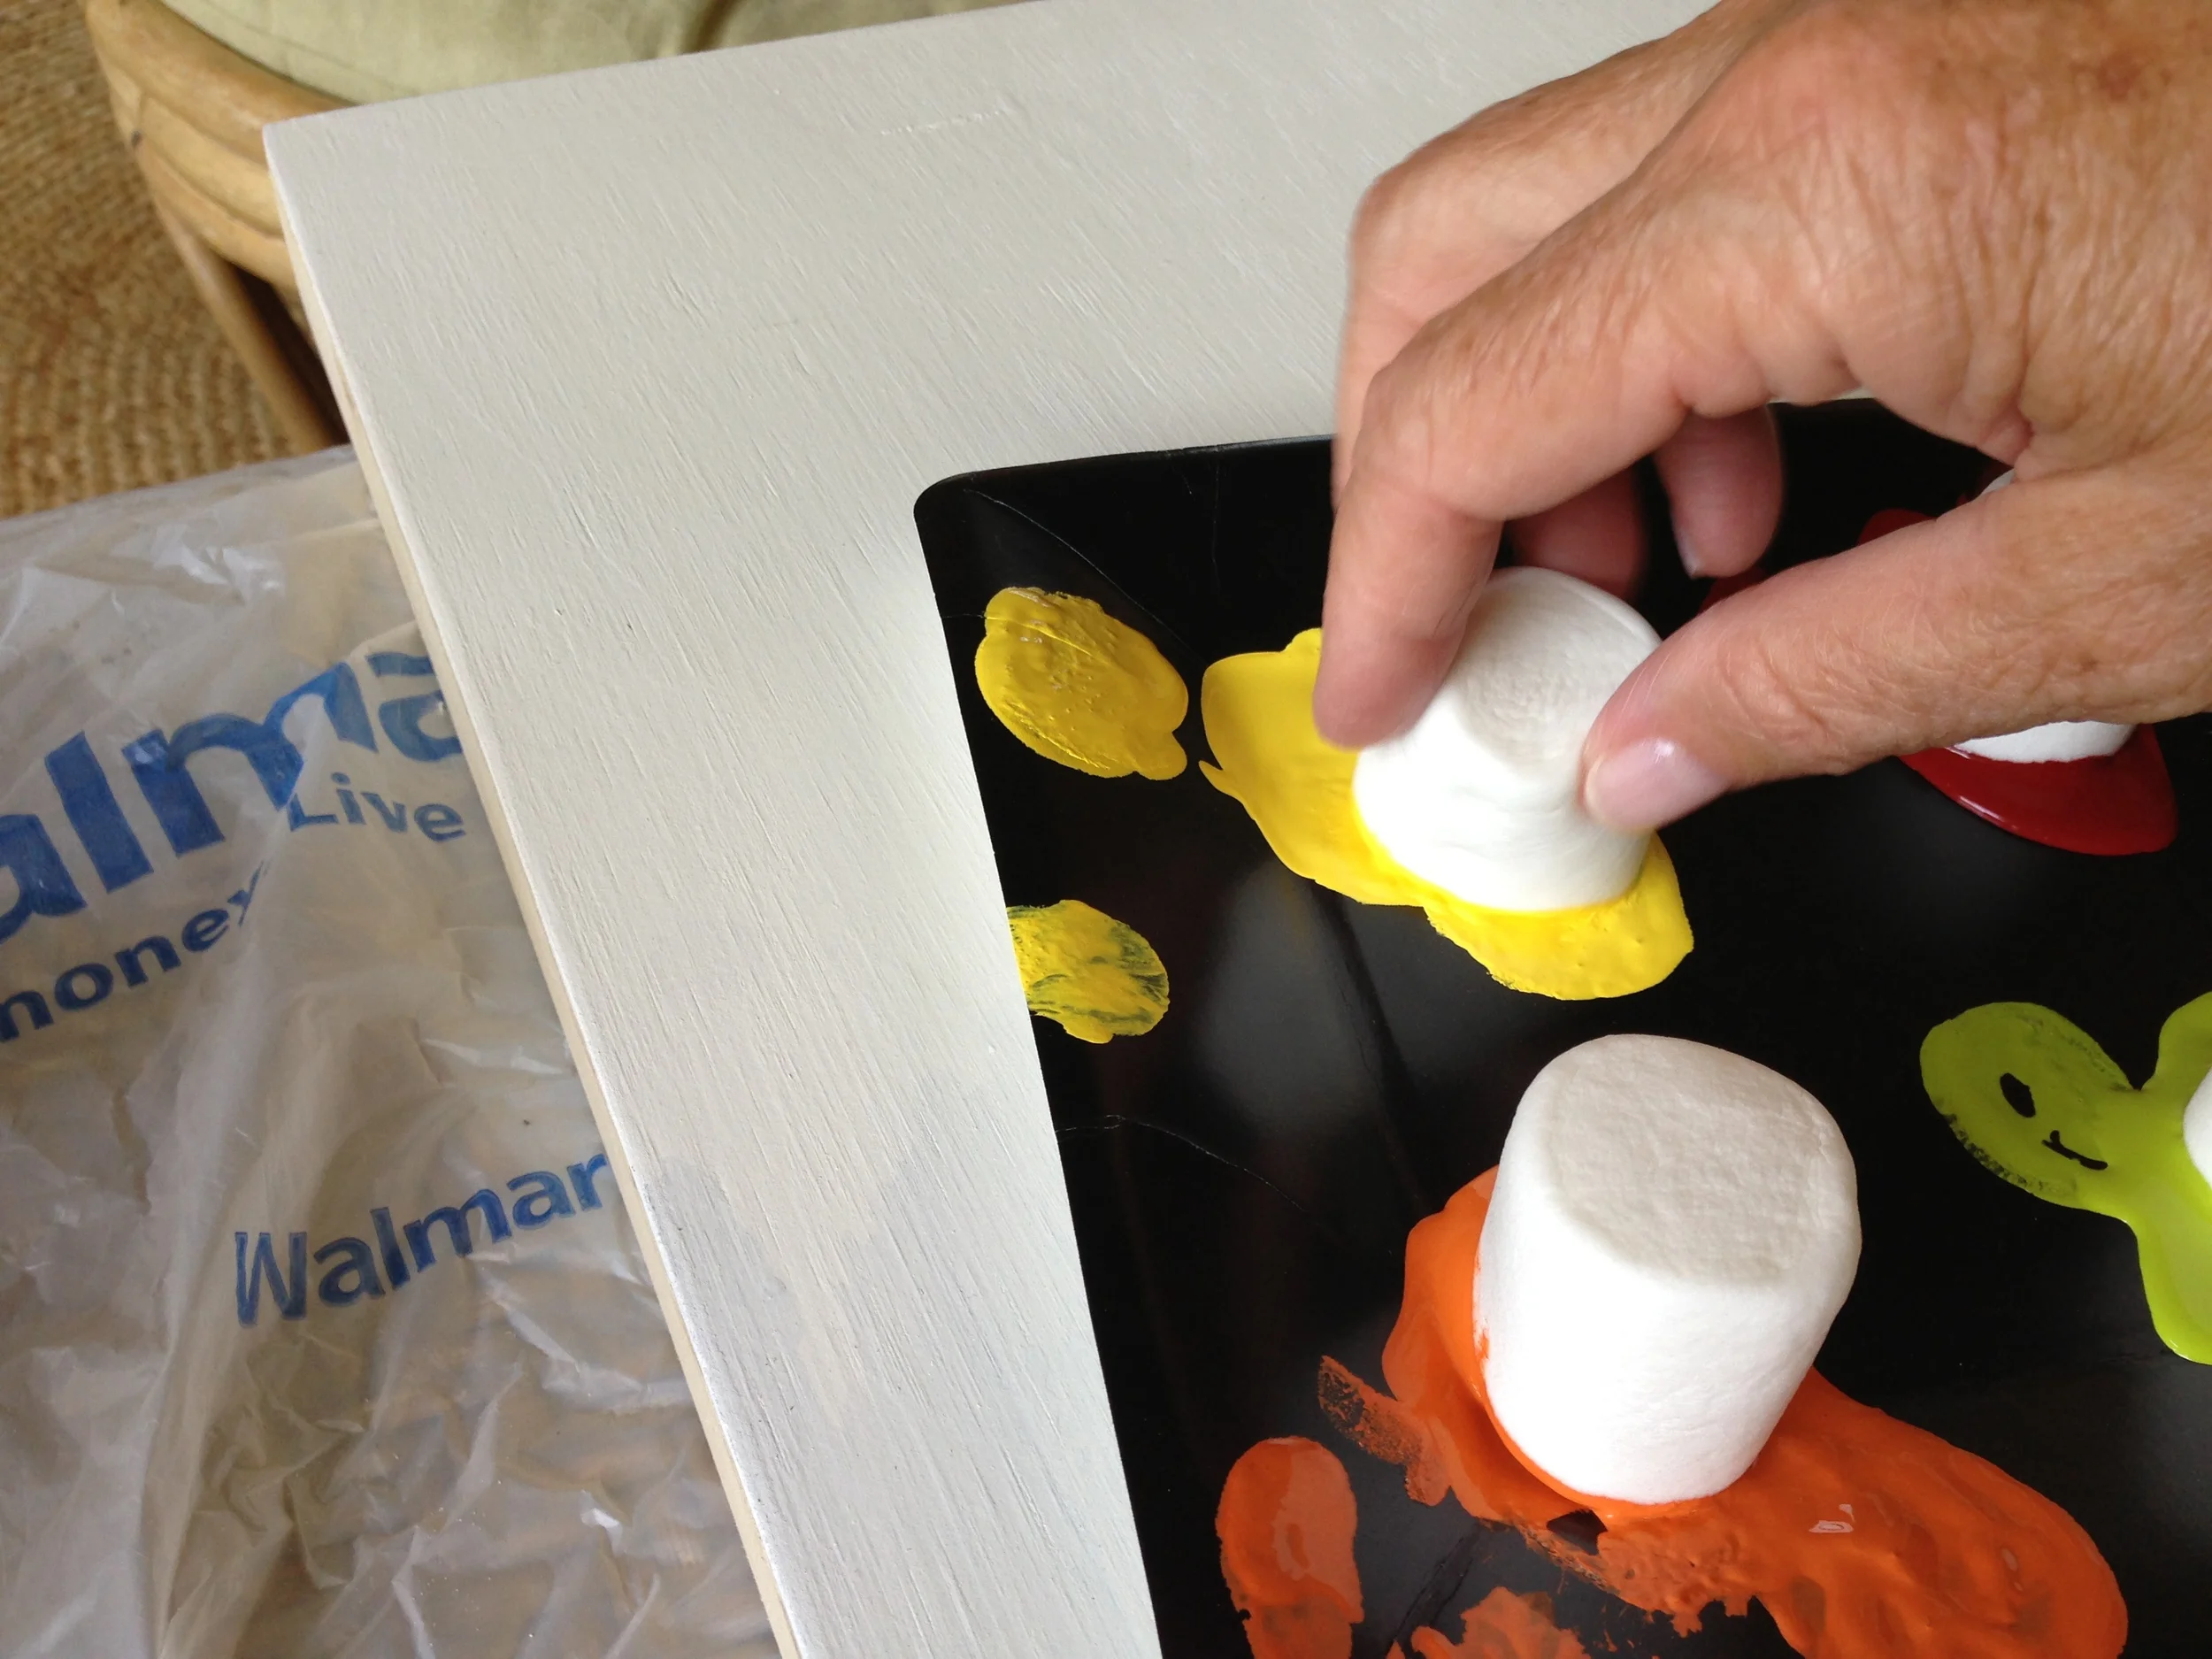
And then dabbed it onto the canvas.

For the most part, the marshmallows left a more solid and filled in circle than using a sponge would have.


We kept our marshmallow dots in rows and tried to be as random as possible about our color orders - something much easier said than done for the two of us! If the dots started getting too spongey looking, we just ditched the marshmallows and grabbed new ones. We may have eaten a few along the way too. :)
When we painted the second canvas, we followed the exact same order of colors so we didn't have to think about it as much. The second one was completed much faster than the first one!
I actually contemplated stopping the project right there. Who doesn't love a bunch of colorful dots? My niece and nephews all thought they were cool. But, I couldn't just waste that bag of smaller marshmallows, you know?
With the bigger circles dry, we used the smaller 'mallows to fill in the white spots between the dots. At first I thought we had made a big mistake by doing this, but by the time we were finished, I was ok with how it looked. And I knew if I was going to move onto the next step, I needed as little white background showing as possible.
Pictured at right, the white space has been filled with smaller dots on the top canvas. The bottom canvas was next!

With my canvases full of color, I could repeat the same steps I used to complete Bren's watercolor quote art. Just like with hers, I used my silhouette machine to cut some letters out of adhesive vinyl. Getting the letters evenly spaced and stuck down straight is always the hardest part for me! I used a piece of painters tape to give me a straight line to work with.

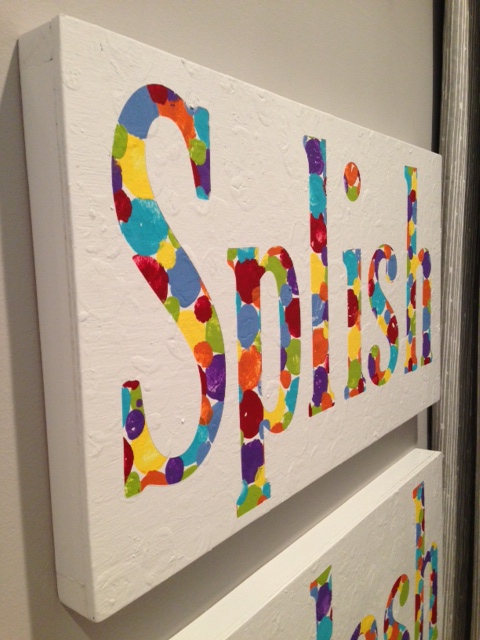
After what felt like an eternity of sticking and resticking, I finally had all the letters of "Splish Splash" good and stuck. :)

This project could've easily been finished here. Colorful background with white letters would totally work. But I was going for the opposite of that.
With a drop cloth down in the yard, I went to town with some glossy white spray paint. It was so sunny outside that these nearly blinded me as I worked on them. I couldn't see at all when I went back into the dark (by comparison) house!

After about a bajillion coats of white paint (had to cover up all those brightly covered dots!), I could peel the Splish Splash letters off and call 'em done! You know, only two months after I'd started them...
Here they are hanging up in the kids' bathroom (which I've totally redone, by the way. Pics soon). You can see that the marshmallow dots added some texture to the white background, but I'm totally cool with that. Don't mind how it looks at all! And, I like that I finally have something gender neutral and bathroom appropriate to hang on the wall!

I'll have more pictures when I reveal the whole bathroom. Need to find a new mirror first and then it'll all be done! In the mean time, go paint something with some marshmallows!