Before and After: Nursery Furniture

Early on, when we found out we were expecting a little girl and started shopping for furniture, I found the most perfect girly wrought-iron crib.  I wanted it so badly.  Only problem?  It would be a bit of a splurge.  After lots of serious thought (and maybe some convincing), Doc allowed me to buy the crib since I promised to try to go cheap with everything else in the room.  Isn't he the best? :) Obviously the room would need more furniture than just a crib, so to "go cheap" I started shopping at antique and thrift stores for the perfect pieces to make over.  This seemed like a more affordable idea than just logging onto a furniture website and ordering multiple matching pieces of furniture.

Let me preface the rest of this post by saying in the end, I'm not sure that I really saved a ton of money.  But we all poured a lot of hard work and labor into the nursery furniture, and that's gotta count for something, right?

I started shopping for the first piece for the nursery.  I knew I needed drawers of some sort to put clothes in, but I didn't really want just a plain ol' chest of drawers.  Surely we could find something cuter than that.  After scouring craigslist and some local thrift stores to no avail, my mom and I hopped in the car one Saturday and drove to Sheffield Antiques Mall.  We'd heard they were having a sale and you know we couldn't miss that!

Thank heavens we didn't have the boys with us because we took our time and walked up and down every single aisle and touched probably every single piece of furniture there!  After lots of deliberation between three different pieces - we knocked on 'em, tapped on 'em, opened their drawers, gave 'em a good shake - we decided this would be the one.  Hooray!

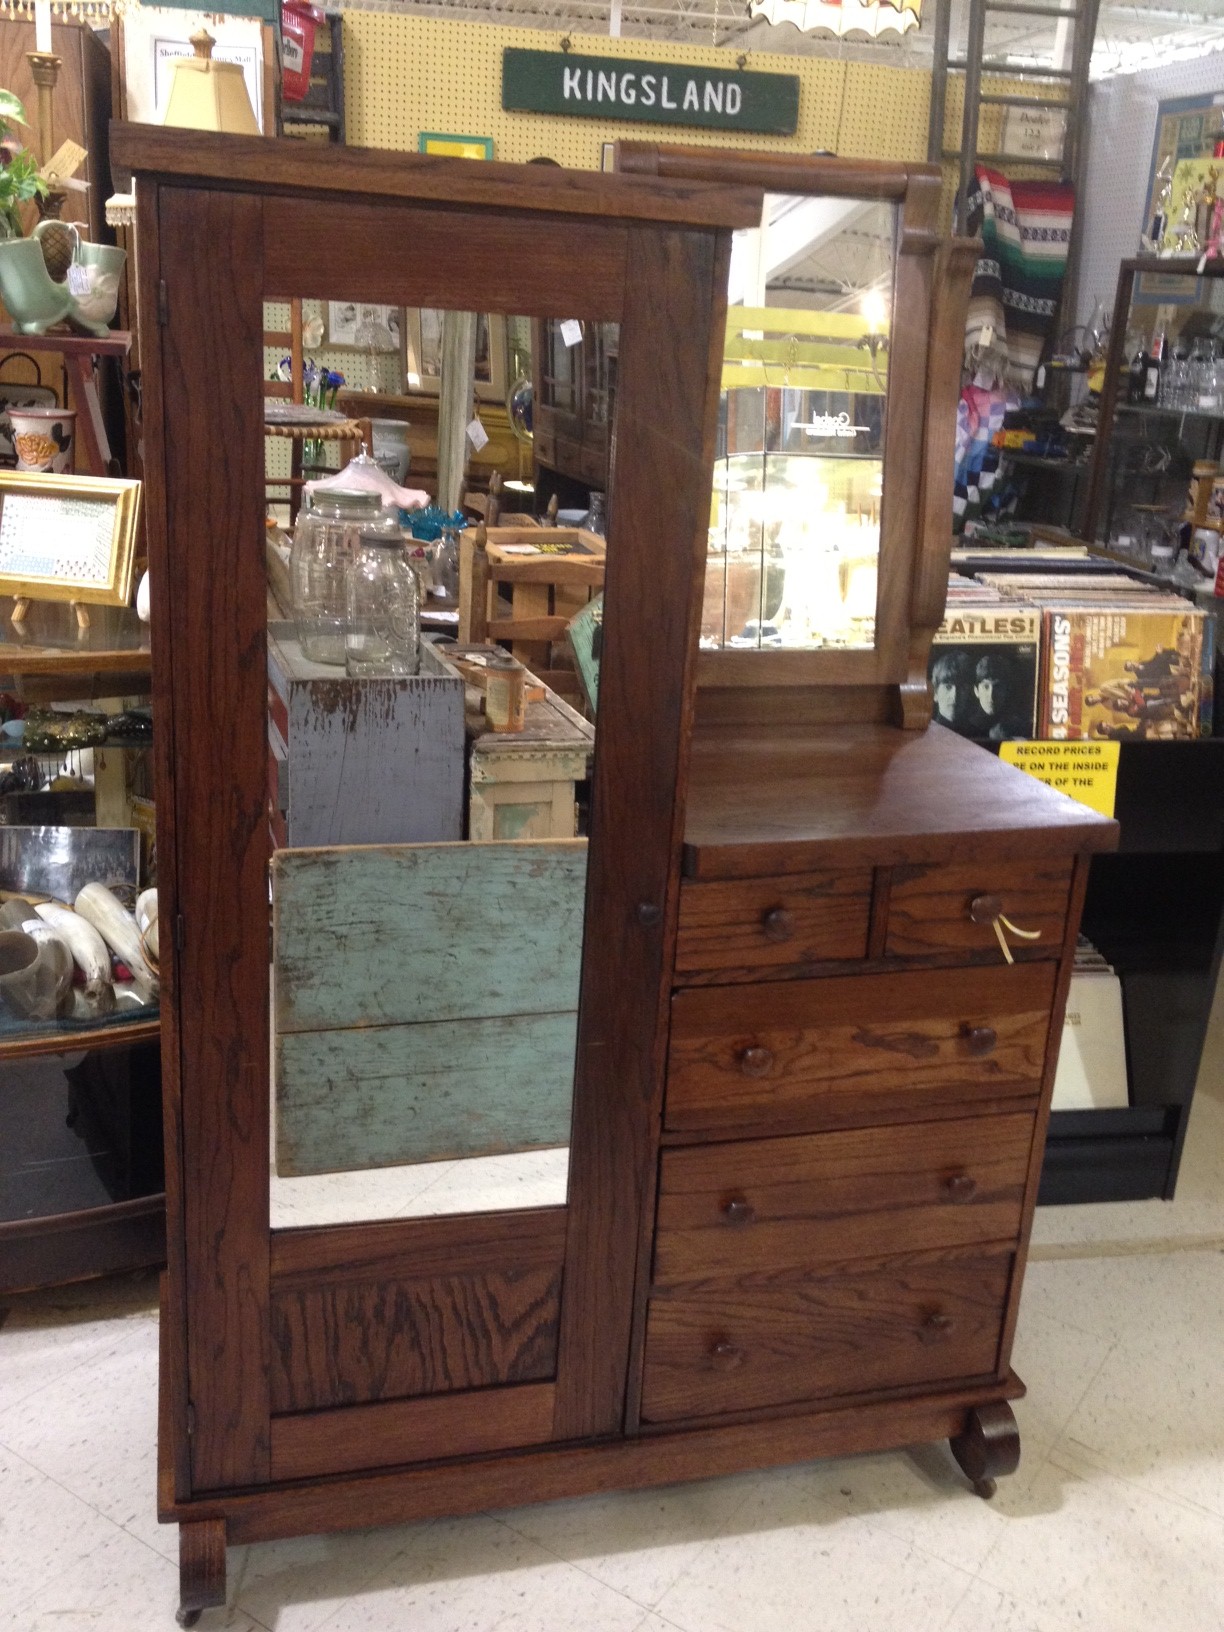
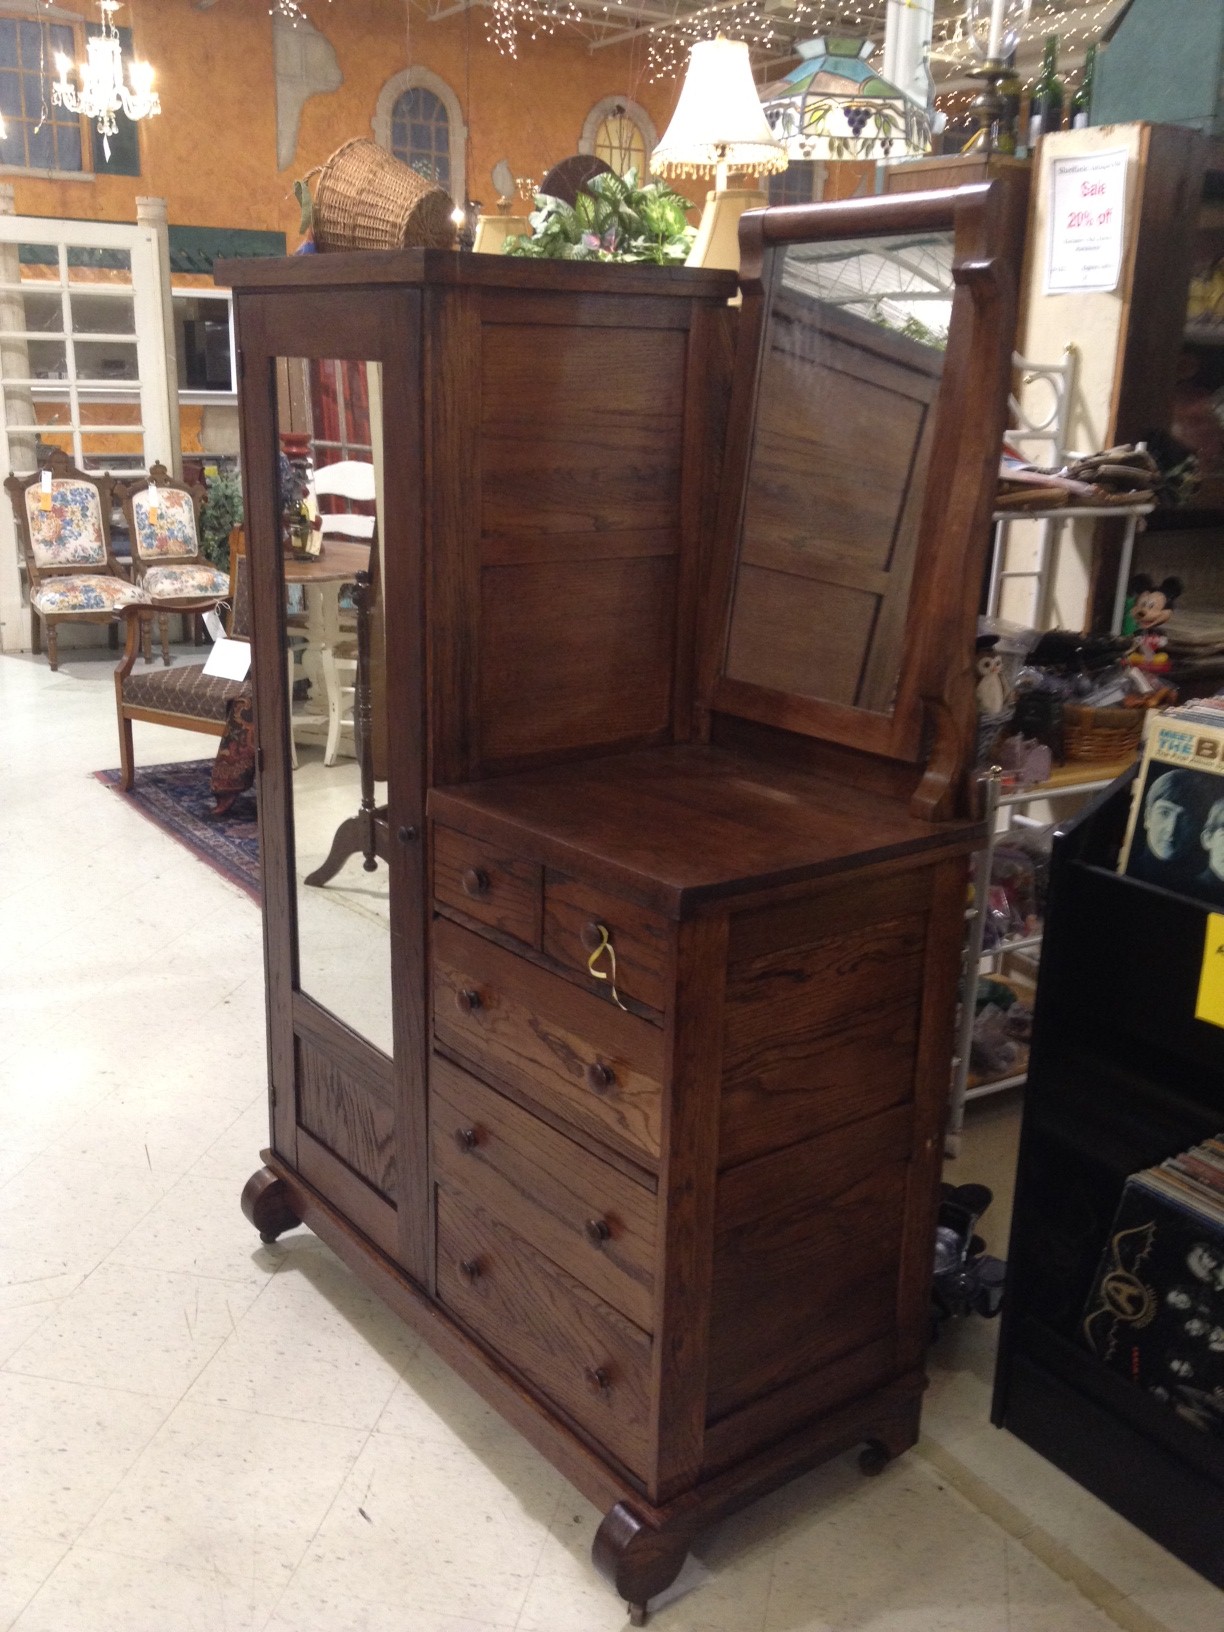
It's an antique piece with drawers down one side (beneath a small mirror) and a mirrored door for hanging clothes on the other side.  It's solid wood (I don't know what kind) that had a nice stained finish on it and was in really good condition.

I grabbed the discounted price tag off of it, took it up to the register, and made that sweet piece of furniture mine!

And then we encountered our first problem: it didn't fit in the car.  Whomp, whomp.  Feeling a little sad, we slapped a sold sticker on it, kissed it goodbye, and hopped in the car to brainstorm how we would get it home.  Thankfully, a friend of mine let us borrow her truck (thank you again, Allyson!) and Doc and I were able to pick it up just a few days later.  Phew!

I don't know the official name of this kind of piece, but we call her the Wardrobe.  I loved her just as much when she was unloaded into our woodshop (sans small mirror).
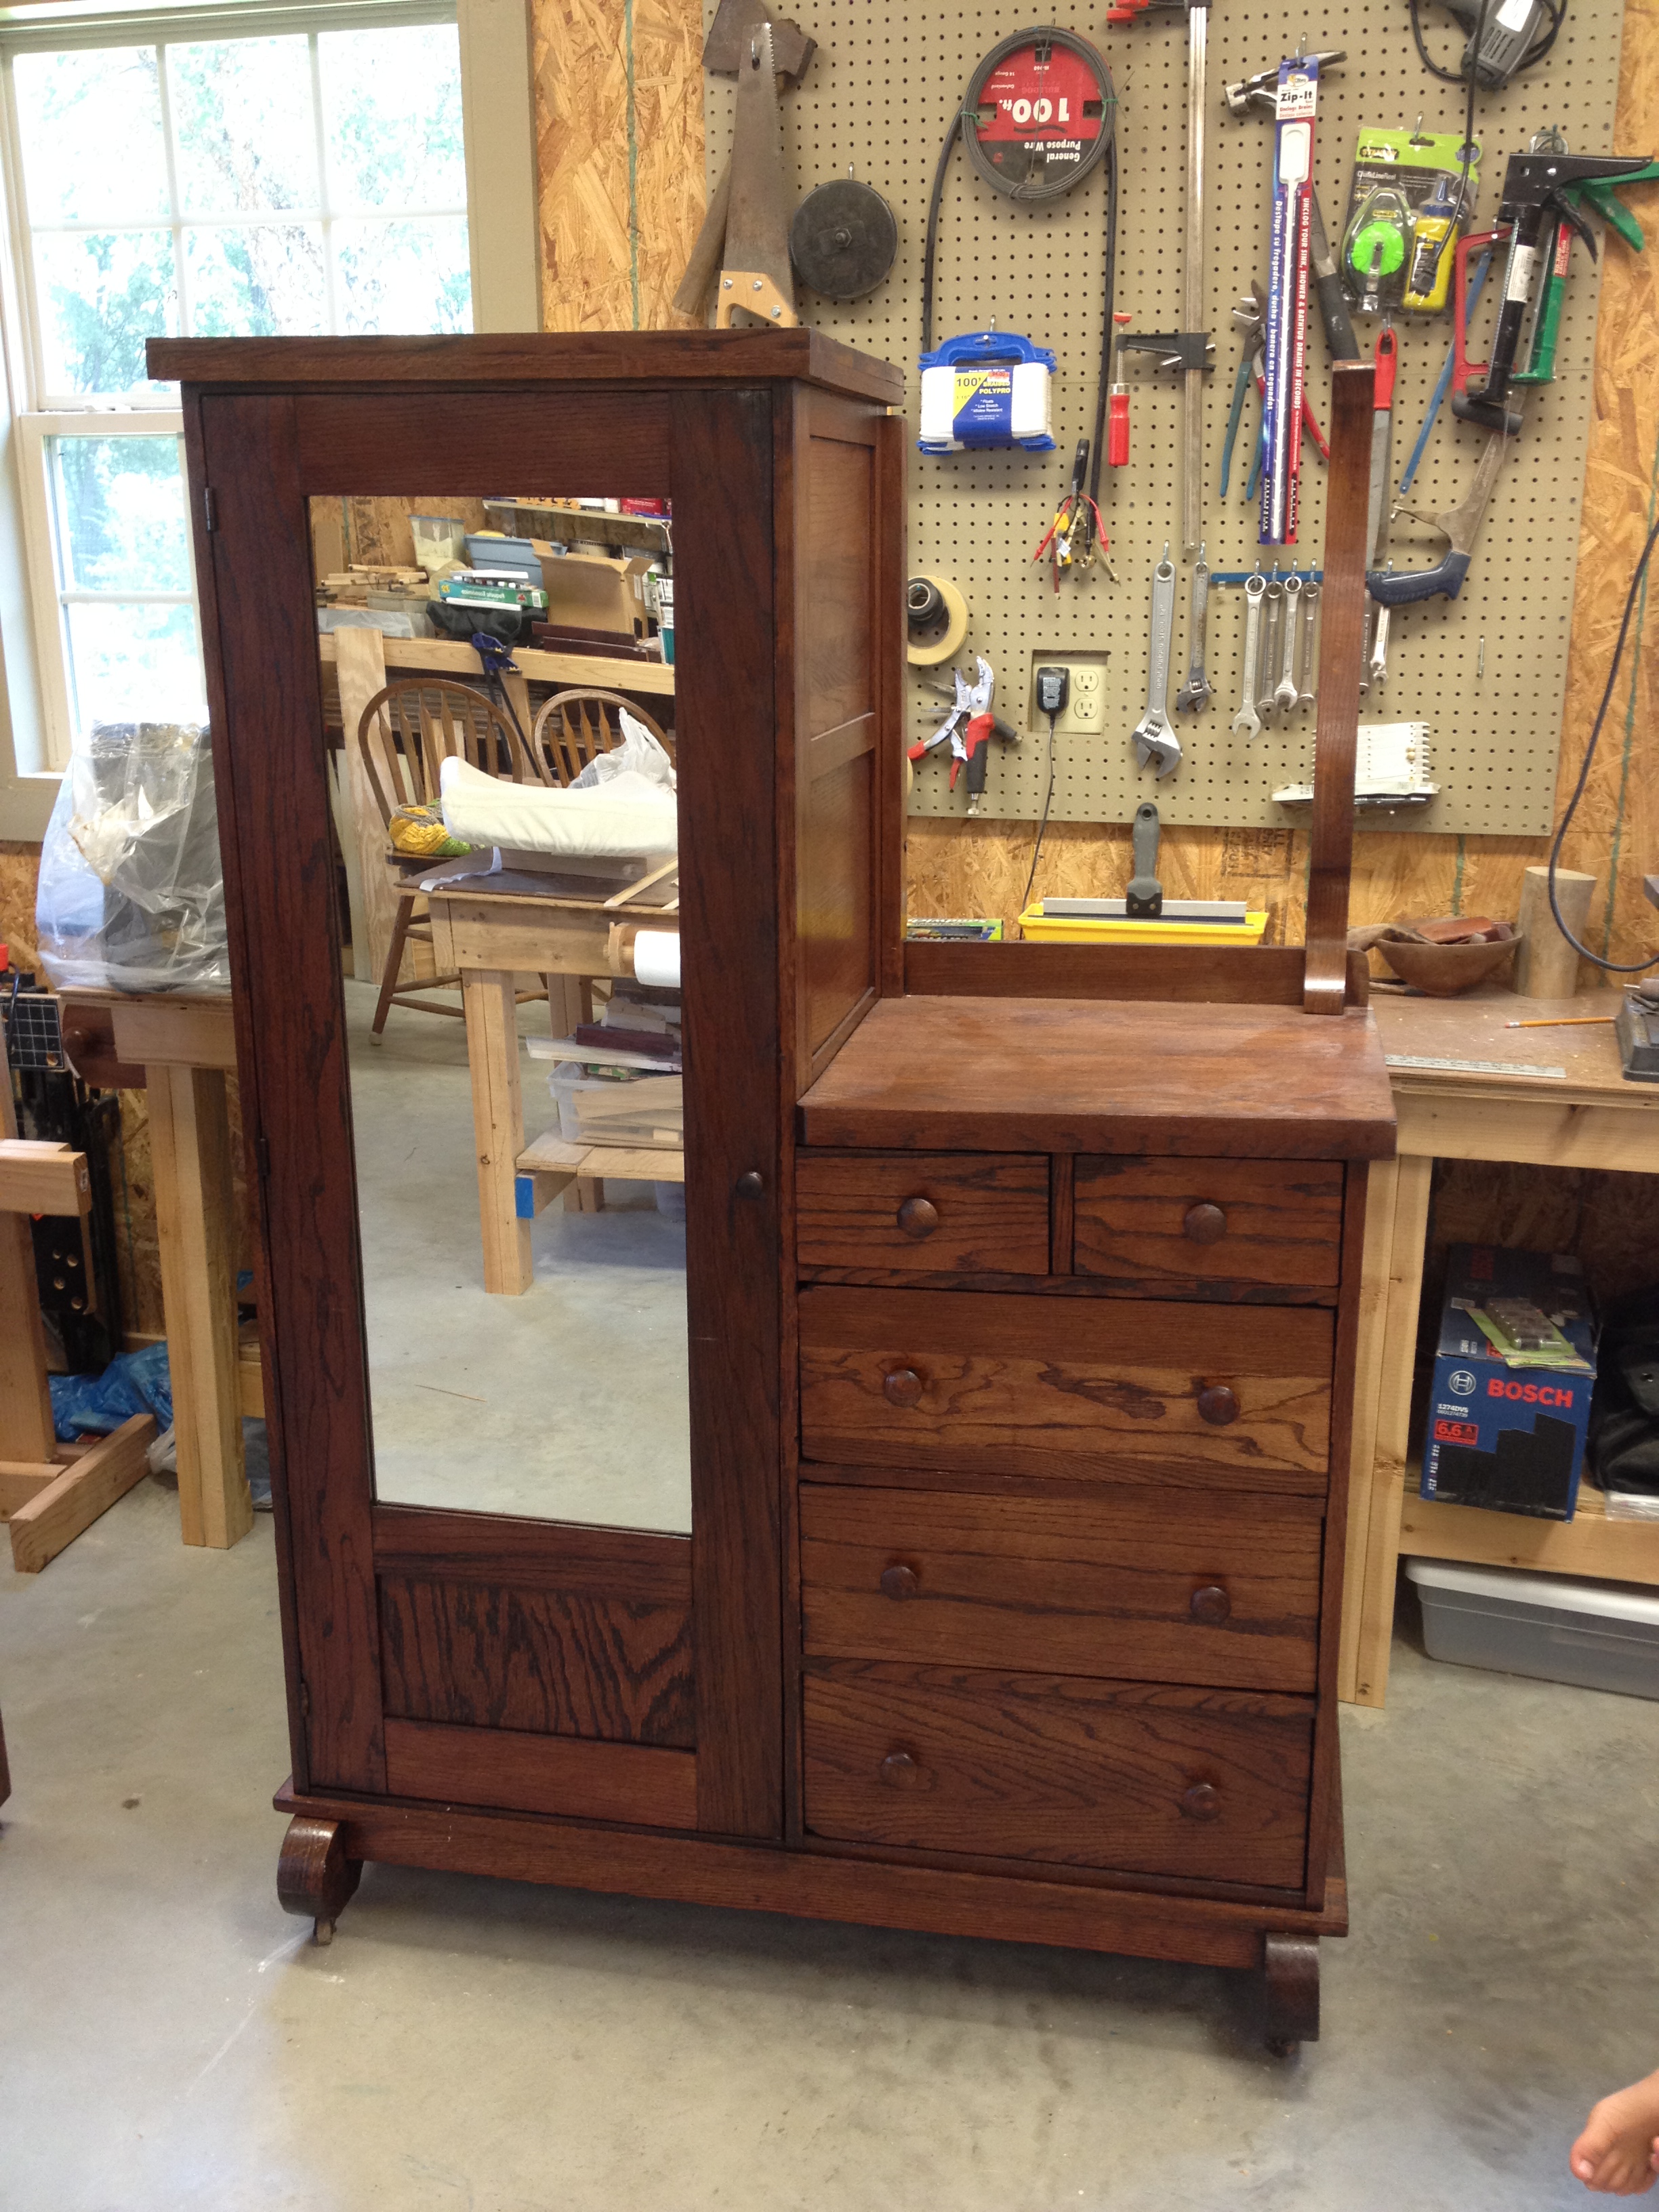
Why did we unload her in the woodshop?  Cause you know she's not going in the nursery like that!  No ma'am, I had big plans for her.

Fast forward a couple weeks to another Saturday, and we found ourselves back at the local thrift store.  This time, they had a piece that I really liked and thought would probably work in the nursery too.  We did some negotiating and ended up bringing it home with us.

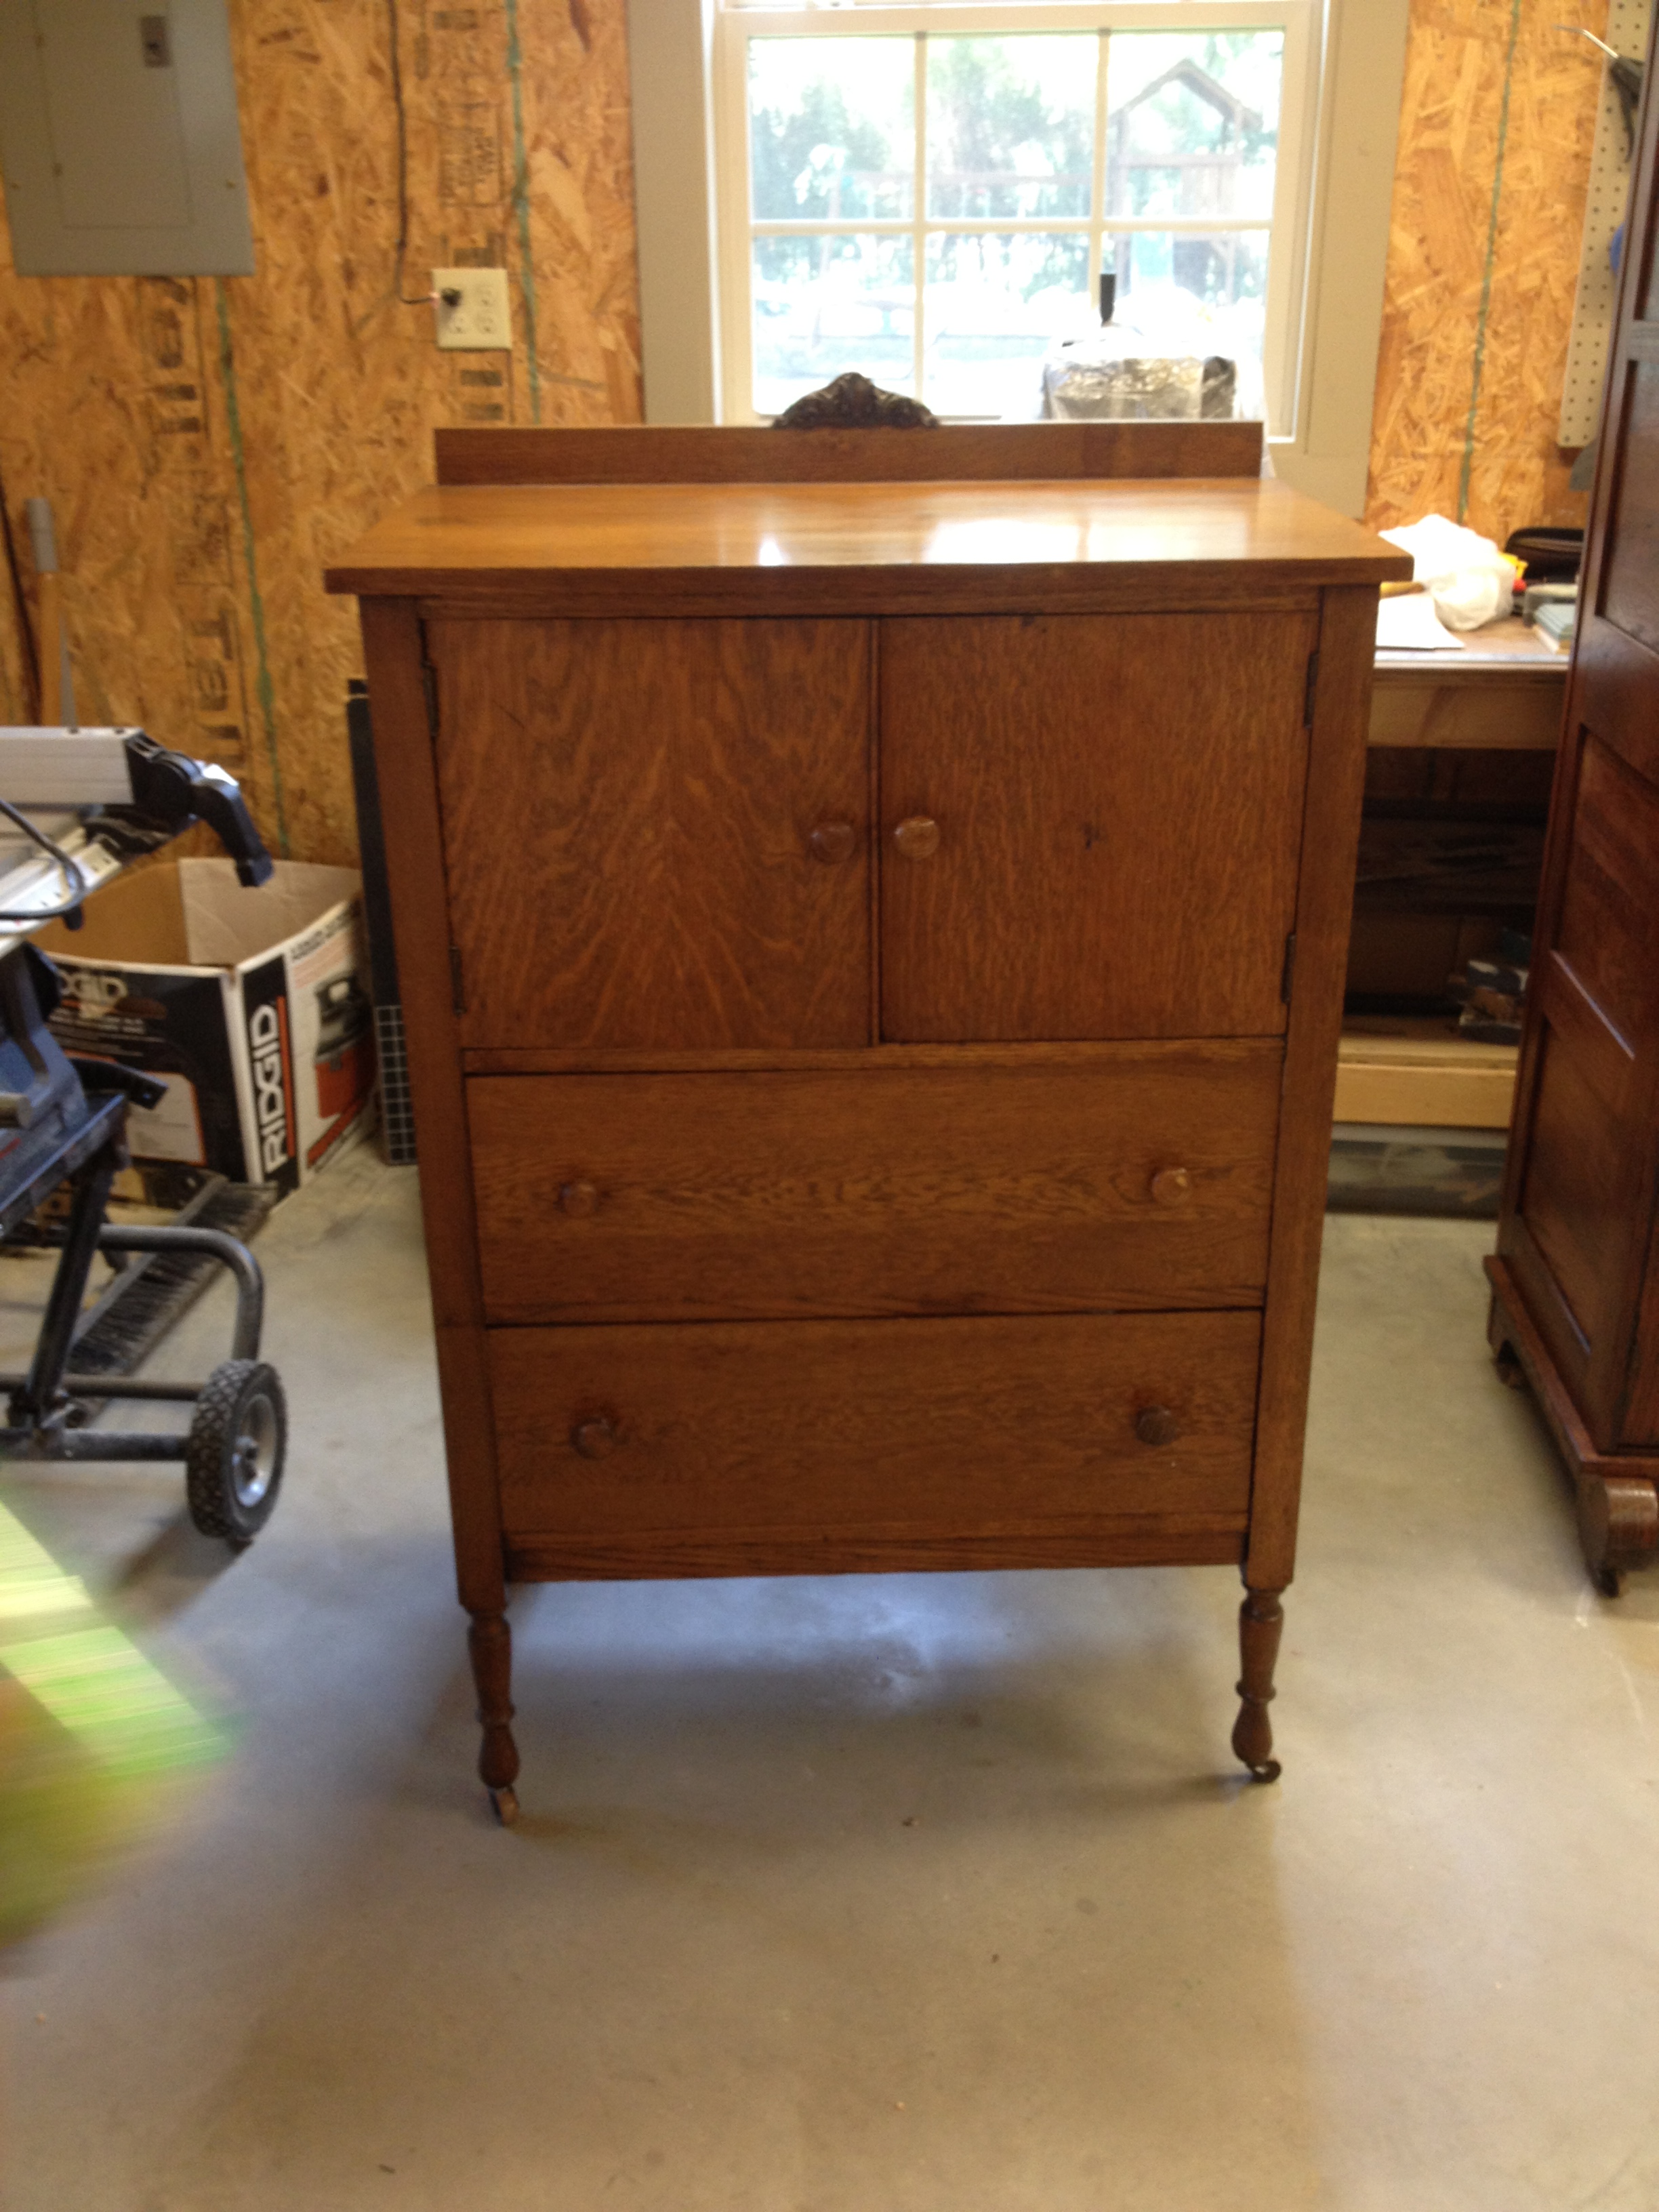
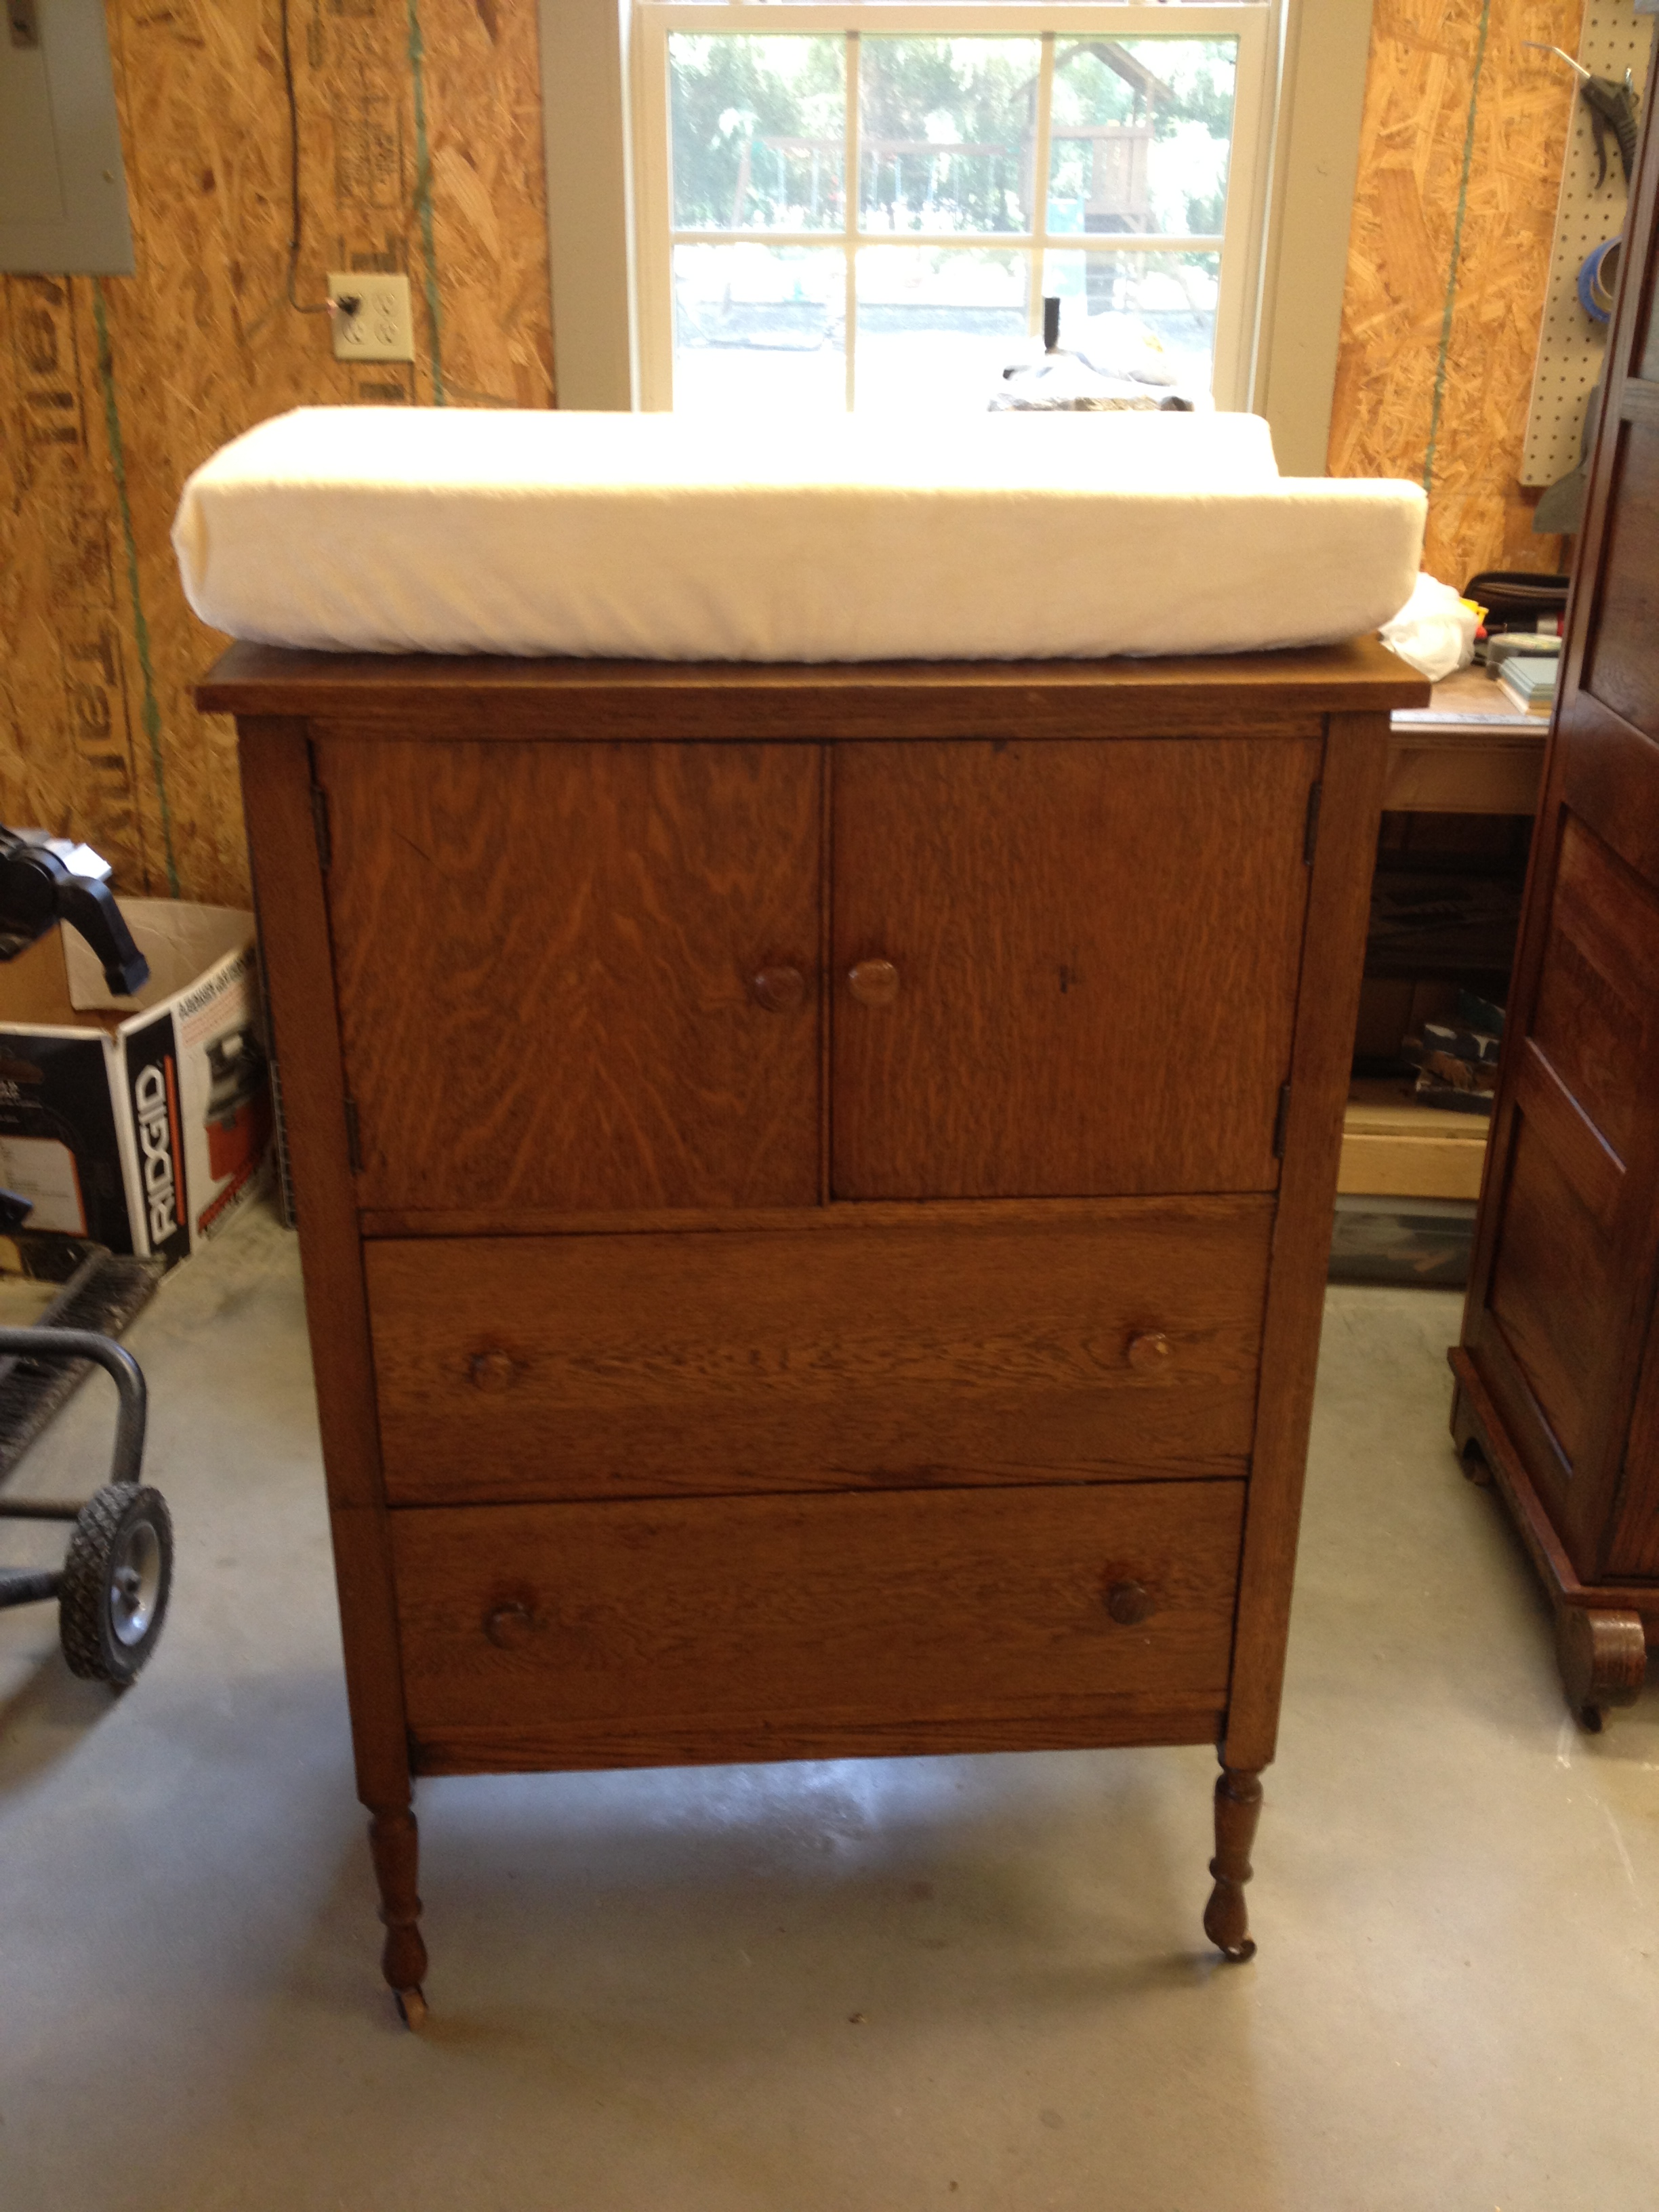
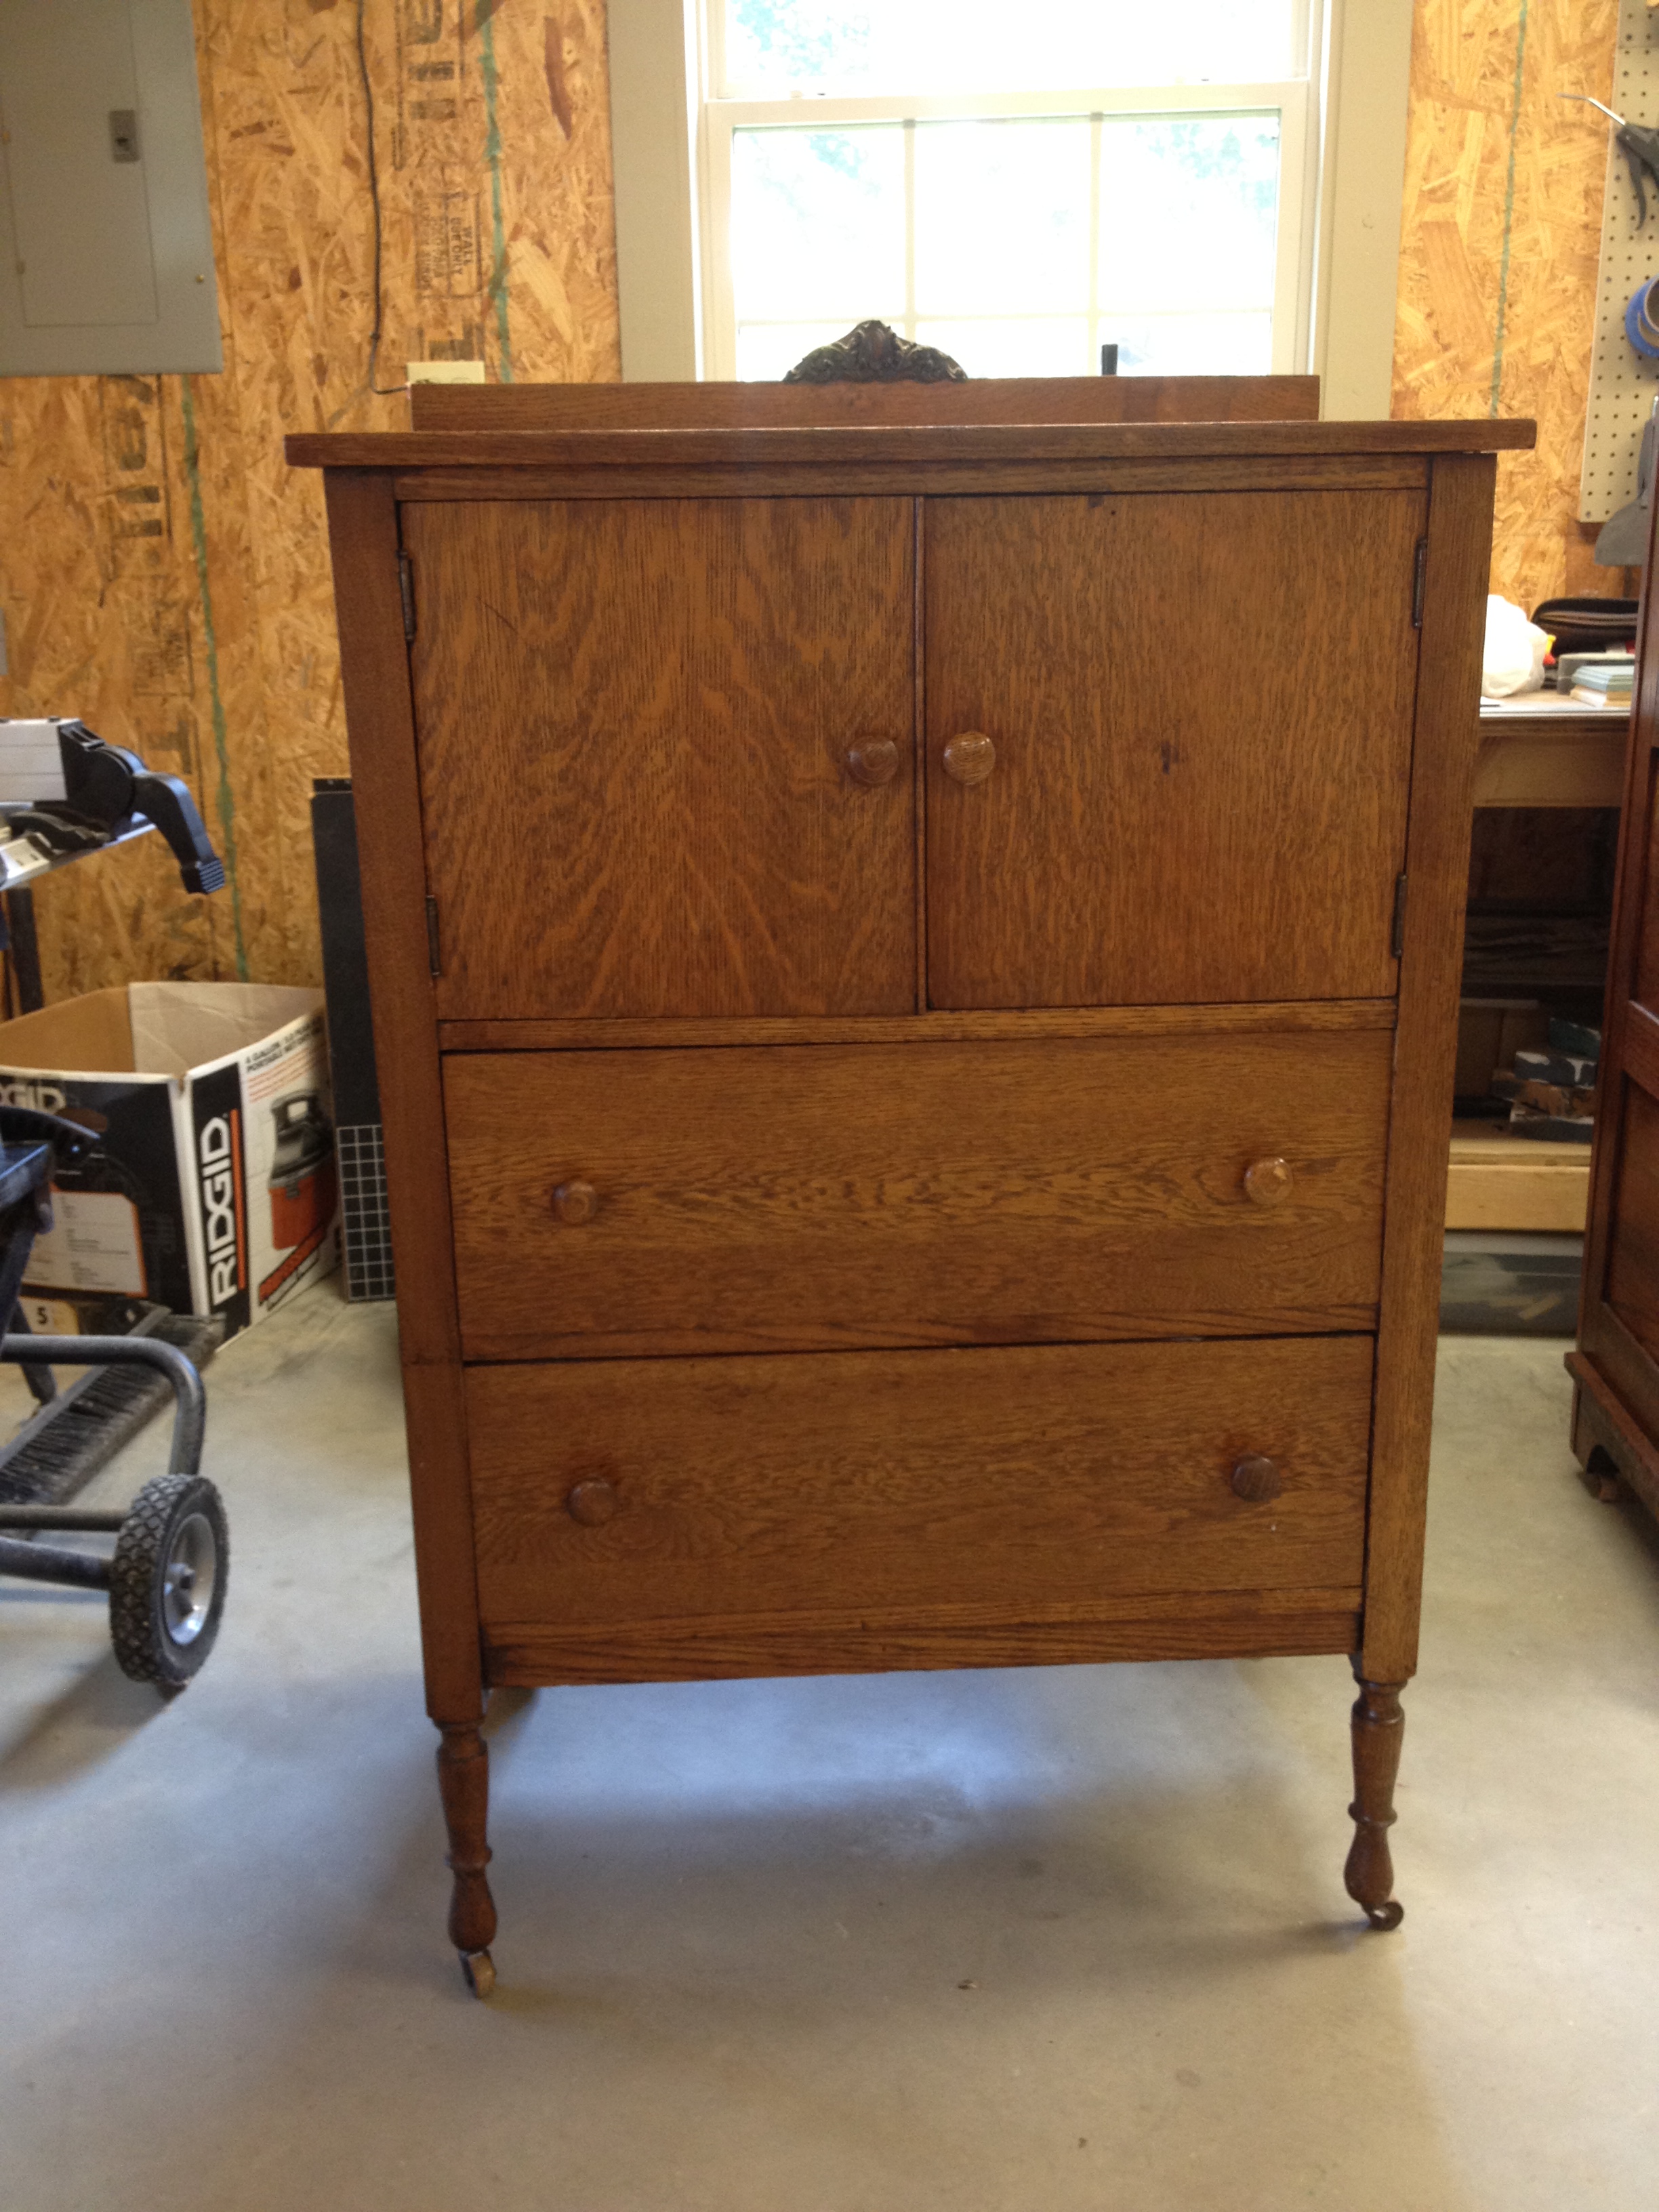
Once again, I have no idea what this type of piece would be called.  A sideboard, maybe?  I dunno.  From the holes drilled through the back of it, I'm guessing the previous owner had a tv sitting on top of it with all the other equipment - dvd player, etc - sitting inside those double doors.

I tested the size out with a changing pad my mom had at her house....

...and just as I had hoped, the size was perfect!  This would become our changing table.

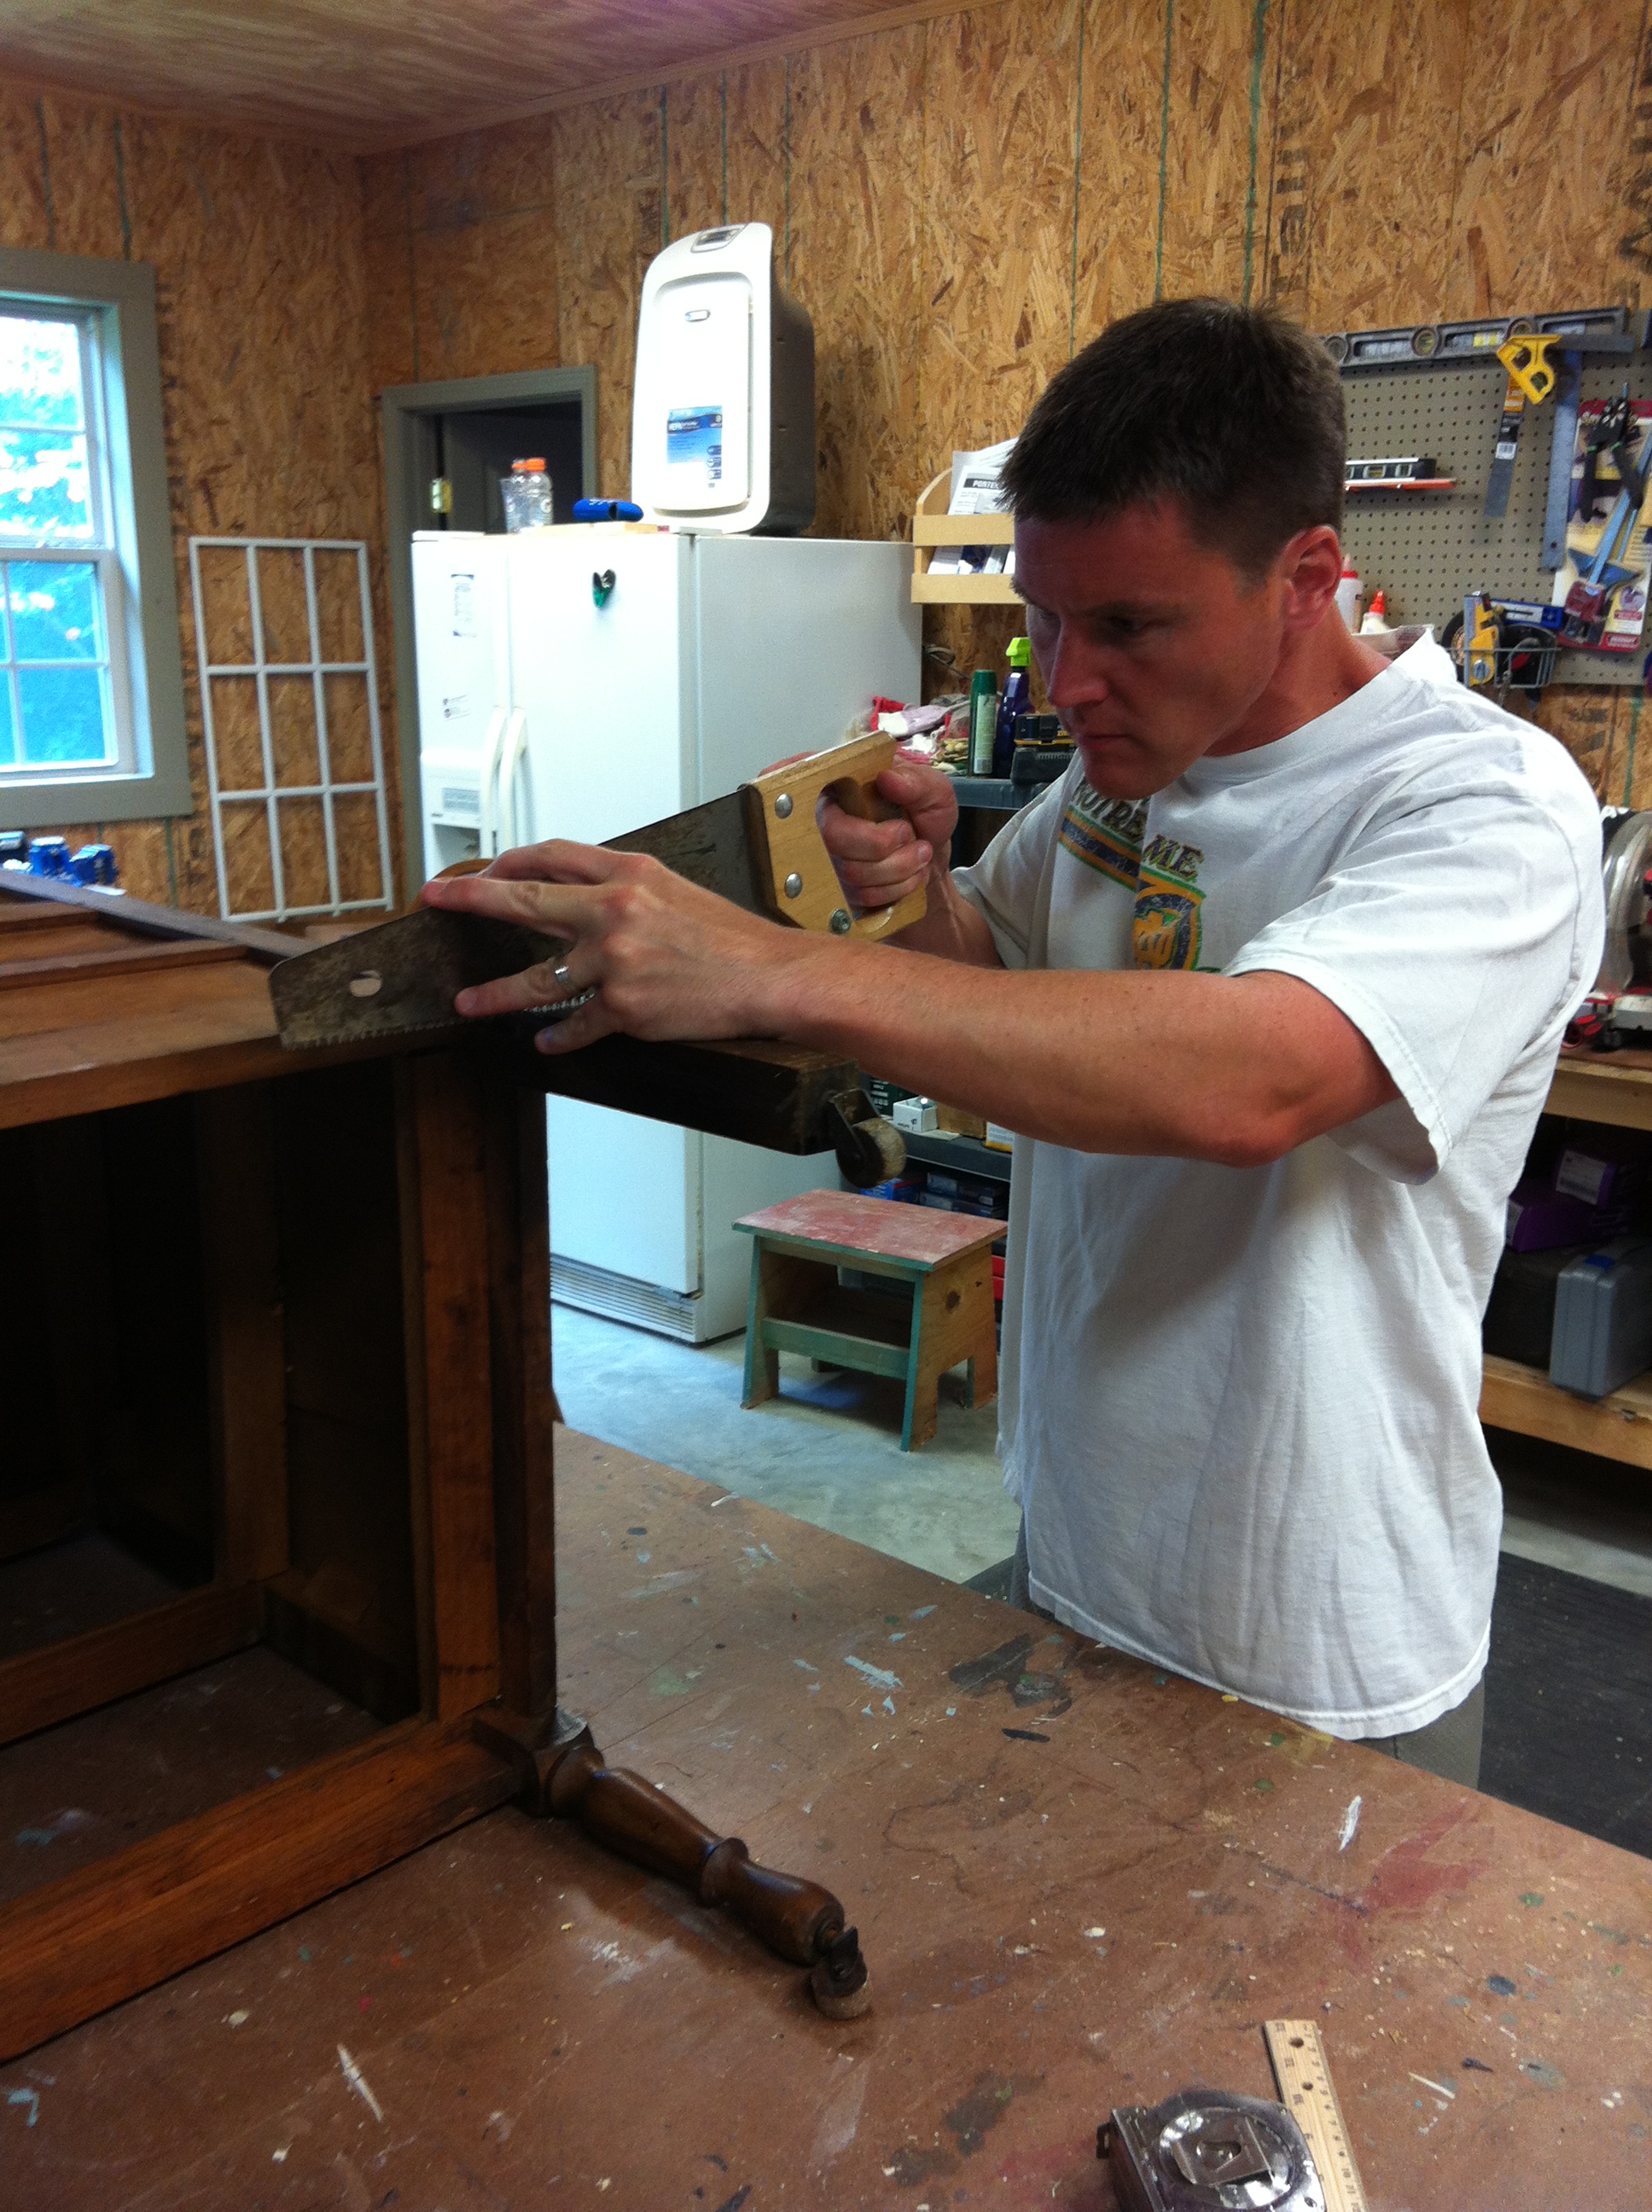
Unfortunately for this piece of furniture, she had to go under the knife right away.  Those legs had to go!  Don't get me wrong, I love me some scrawny chicken legs (they're what my family's made of, afterall), but with those legs, she was way too tall for me to change a baby on.  Out came the hand saw and off went the legs!

And with that, we officially had two pieces of nursery furniture that were ready for their big makeovers.

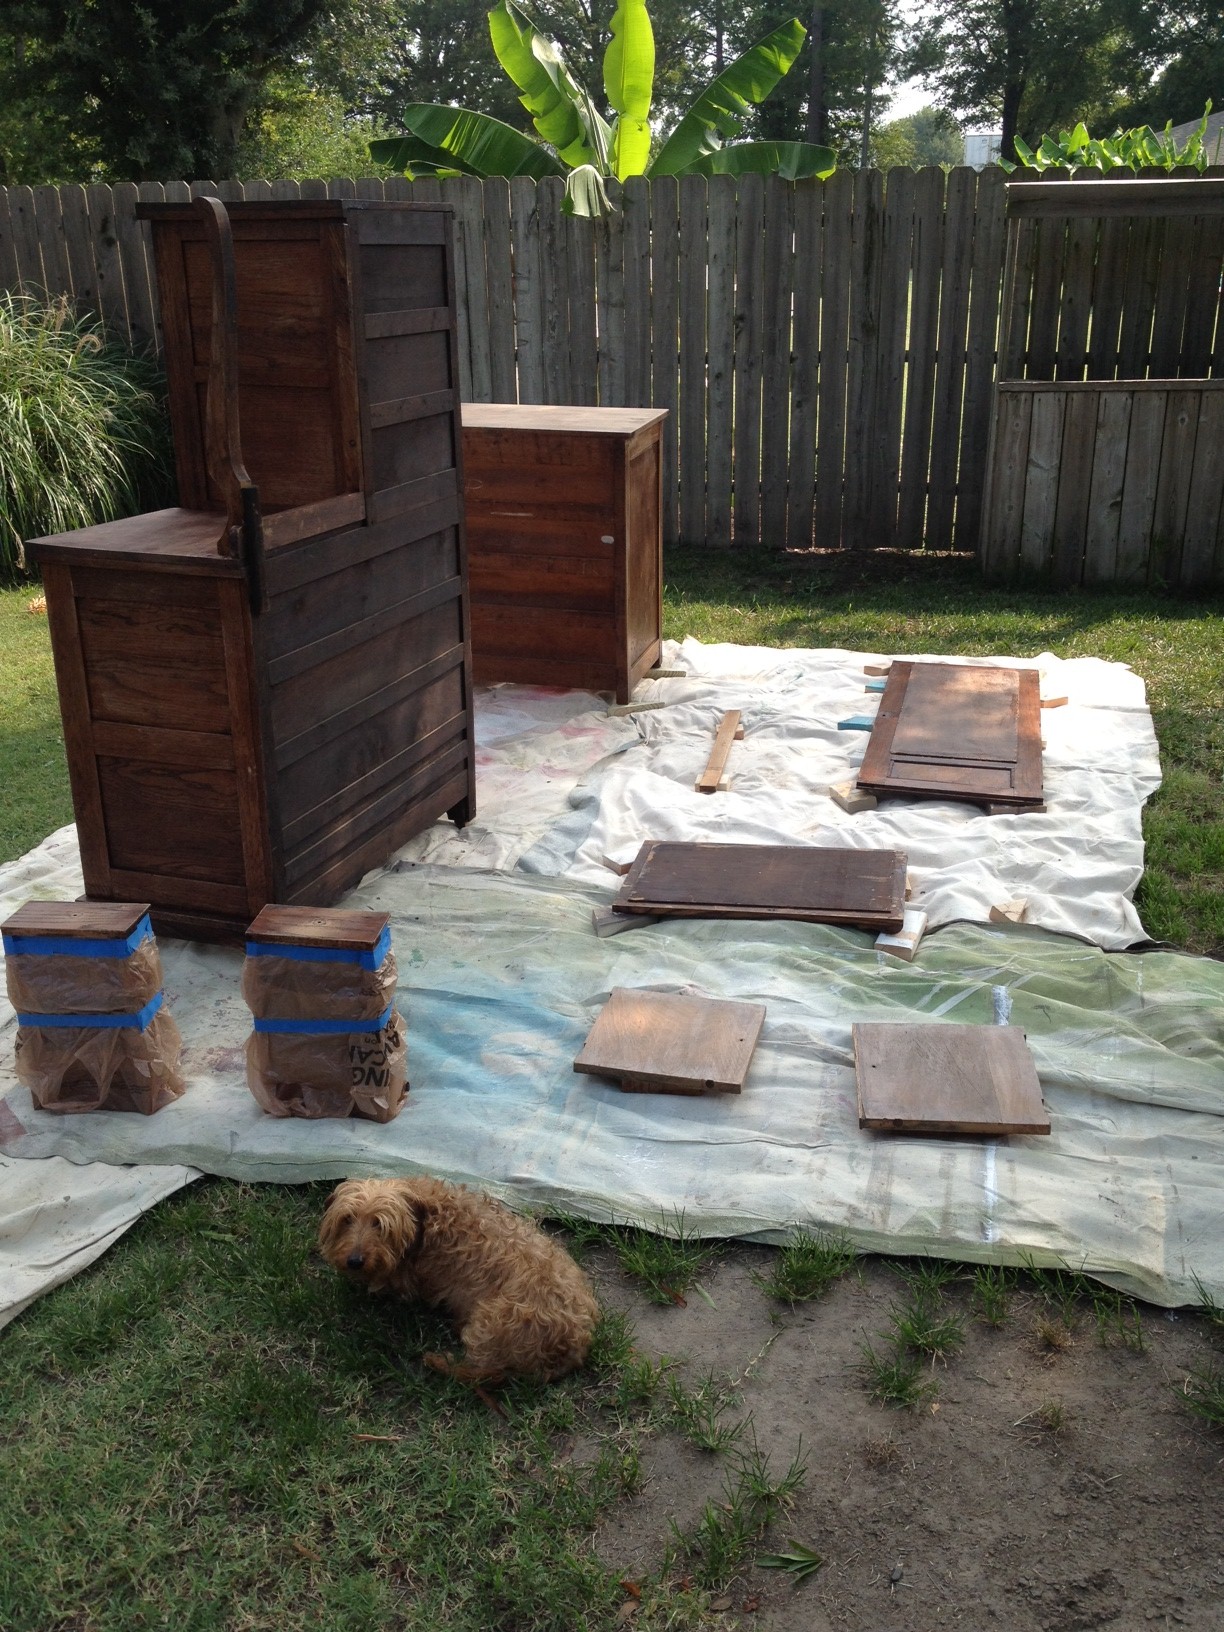
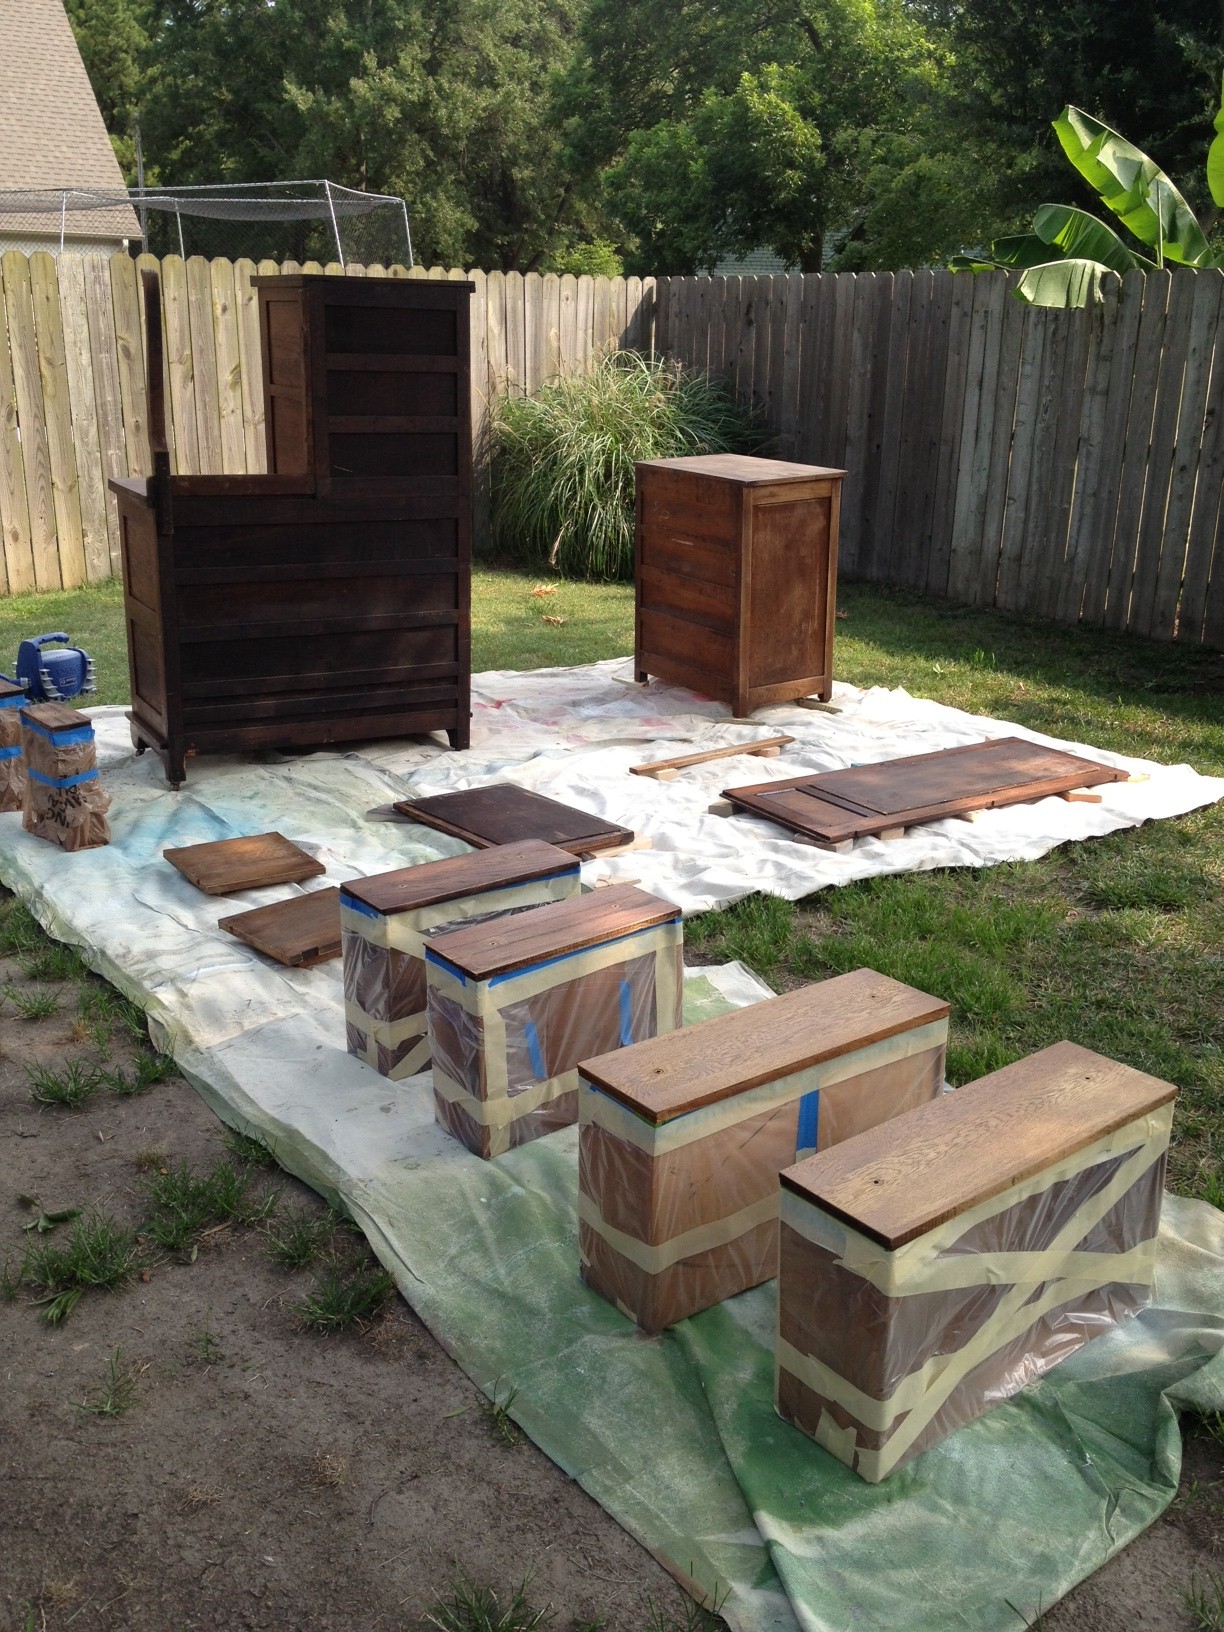
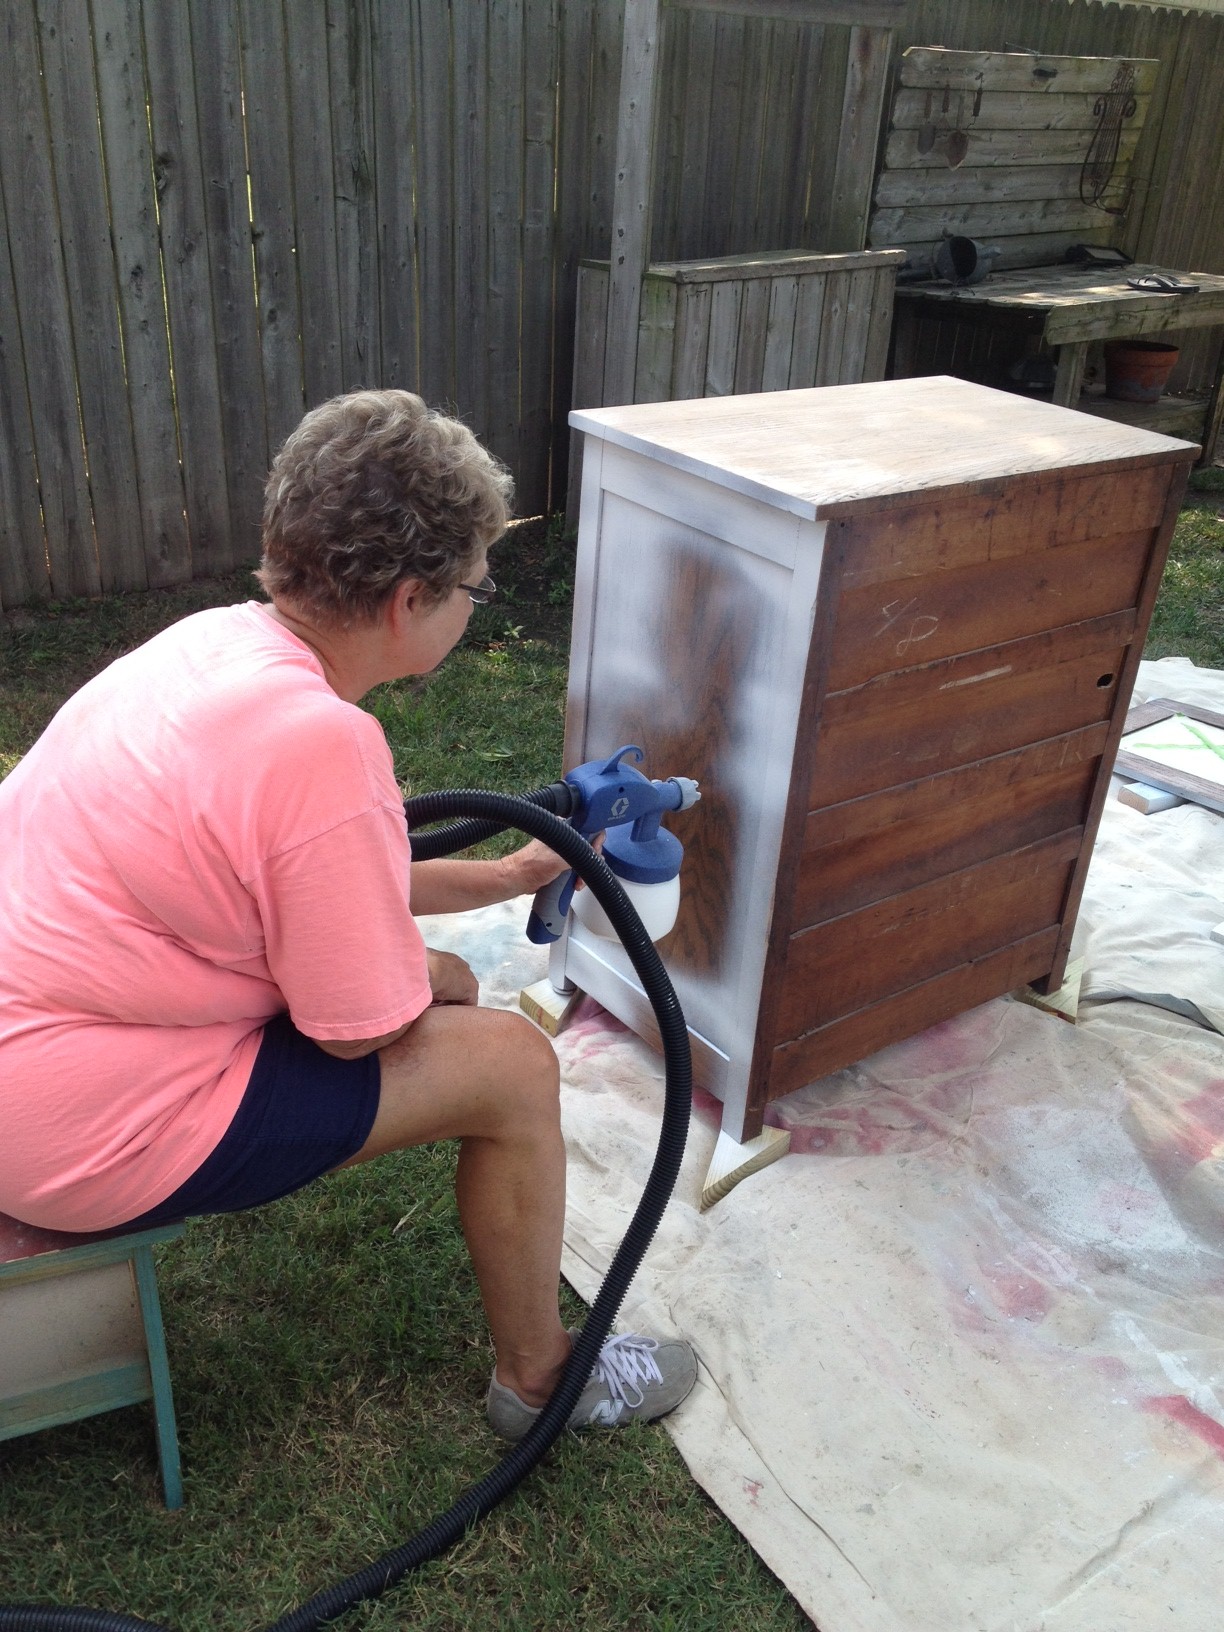
First step in the makeover process was to prime them.  You know I'm a fan of skipping this step, but I have also learned the hard way that stain likes to seep through paint and I was not about to have that happen with these!  My parents helped me out by carrying all the pieces out into the yard one Saturday morning.

Actually, I should back up a step.  Everyone knows the first step isn't to just start priming.  You've got to prep the wood first.  My mom was sweet enough to do this for me during the week while I worked.  First she rubbed all the pieces down with TSP to degloss them, and then she hit them all with the hand sander.  After that, I spent a couple hours taping off the drawers, mirrors, and any part I didn't want painted since I knew I was planning on using the paint sprayer.

Ok, now we can move on to priming.

Sporting my new $3 Wal-Mart paint shirt, I was ready to get to work.  I remember feeling huge this day...  I'd love to go back to that size now!

For any worry-warts out there, I was using a VOC-free primer so baby should be ok.

Mom stepped in occasionally to give me a break.  She's awesome like that.

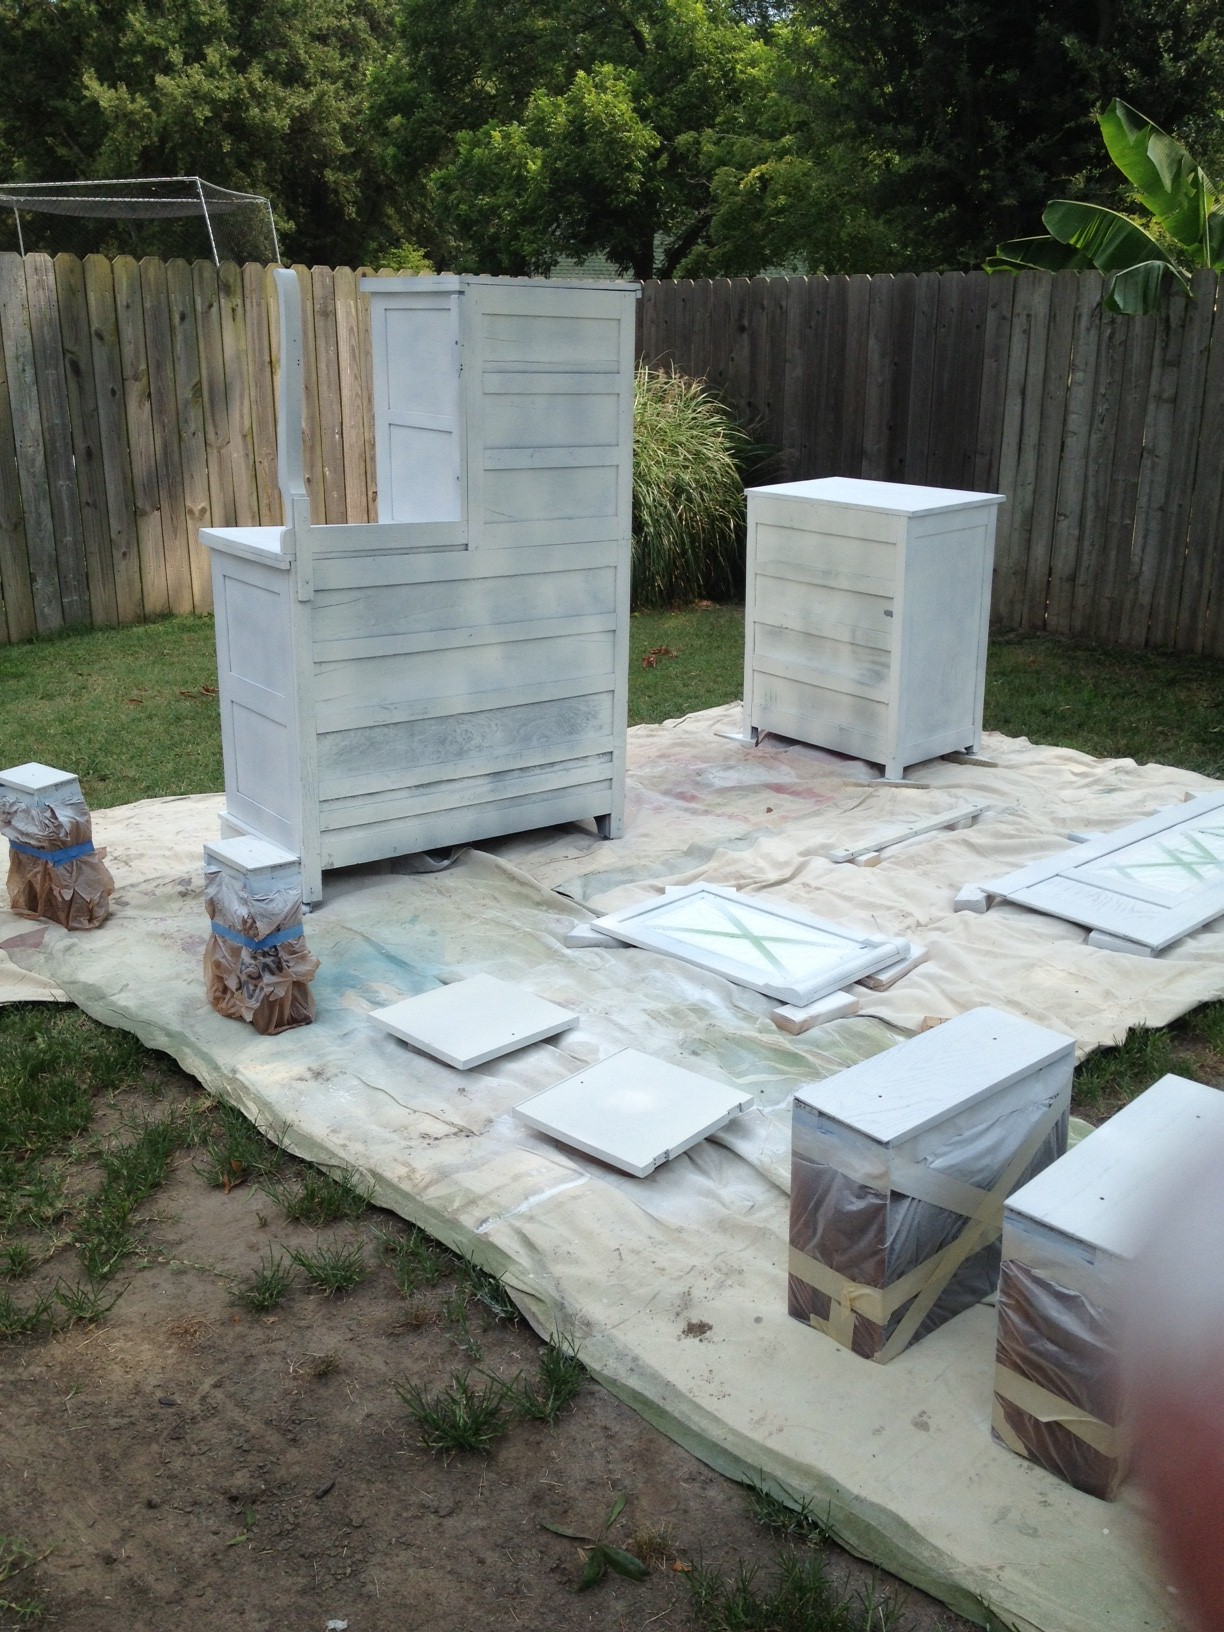
After almost a full day of spraying, we were able to call it day with two coats of primer on every piece.  Woo hoo!

Sadly, the primer accentuated a lot of flaws in the pieces.  Not awful flaws, really, just a lot of cracks that you couldn't really see before when it was just stained.  Not a big deal, we just had to spend a little bit of time caulking all the cracks so the pieces would look seamless.  Also, the primer made me 100% sure that I did not want to paint them white.  But if not white, then what color?

Feeling a little sassy, the color I chose was silver!  Martha Stewart's Precious Metals paint in Silver Leaf, to be exact.  Now, I've done a LOT of painting in my time, but after reading a few negative reviews, I decided to do my homework with this paint.  The last thing I wanted was funky looking nursery furniture.  If you google tips for applying this paint, you will find way more negative comments than positive (like, for instance, this article called "Marthat Stewart is a lying little b*tch").  Apparently, most people did not have a good outcome when they painted their walls with the Precious Metals paint.  Oy.

I was determined, though, so I did not let those bad reviews deter me.  Mostly what I read was that using a paint brush and roller on walls made the finish very streaky.  From my research, I couldn't find any results on how the finish looked on a piece of furniture when using a sprayer.  Guess I'd be the guinea pig.

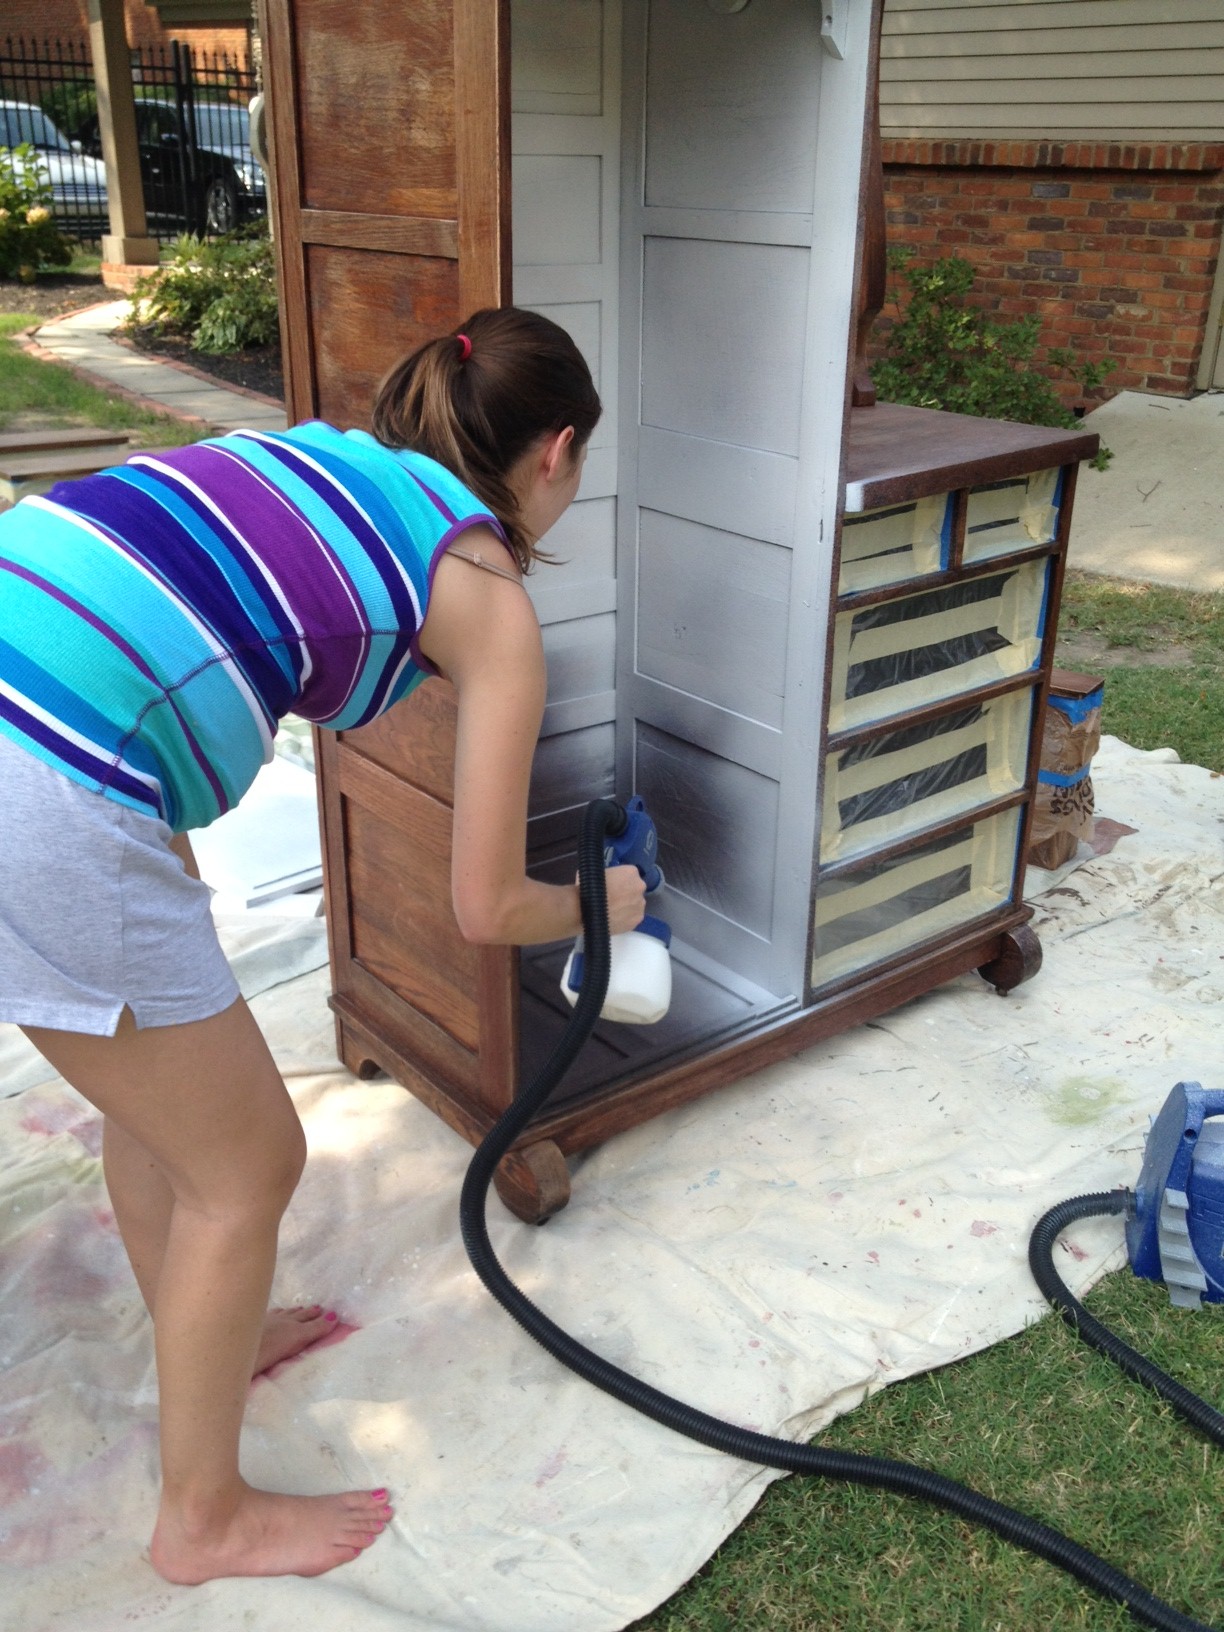
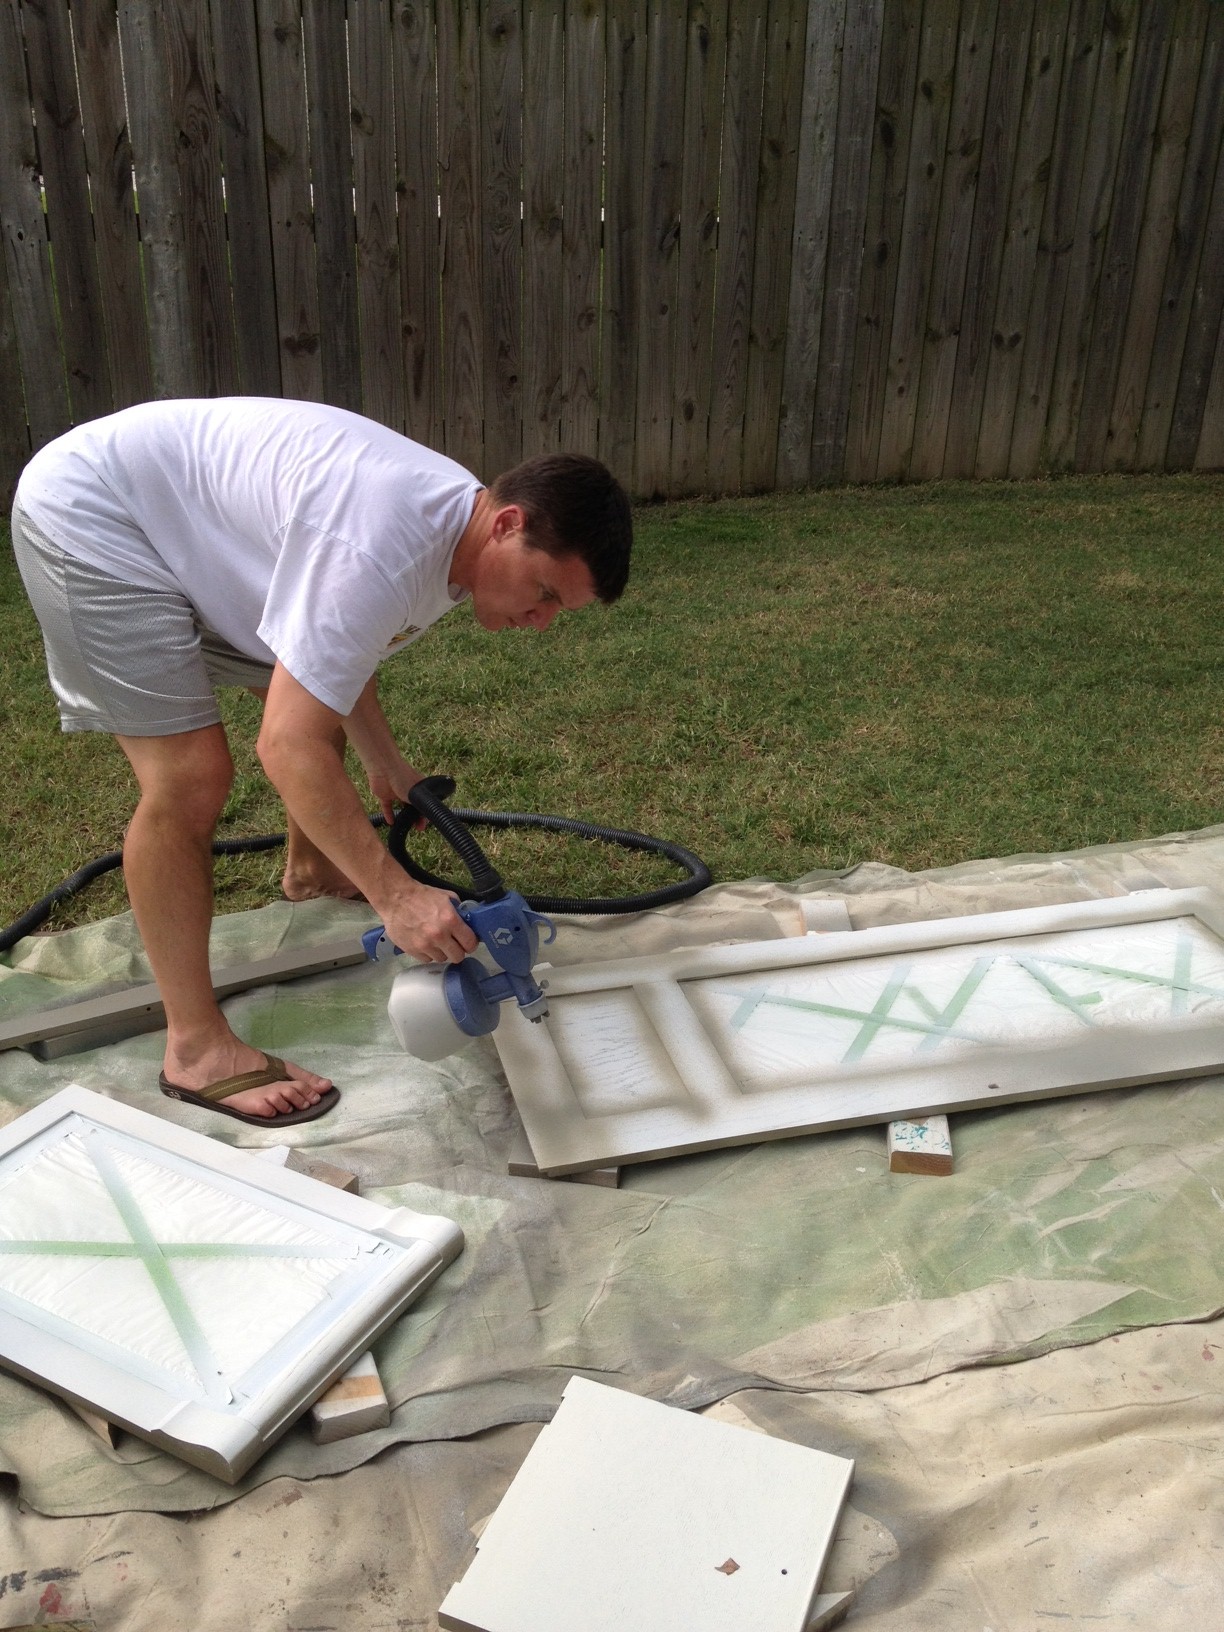
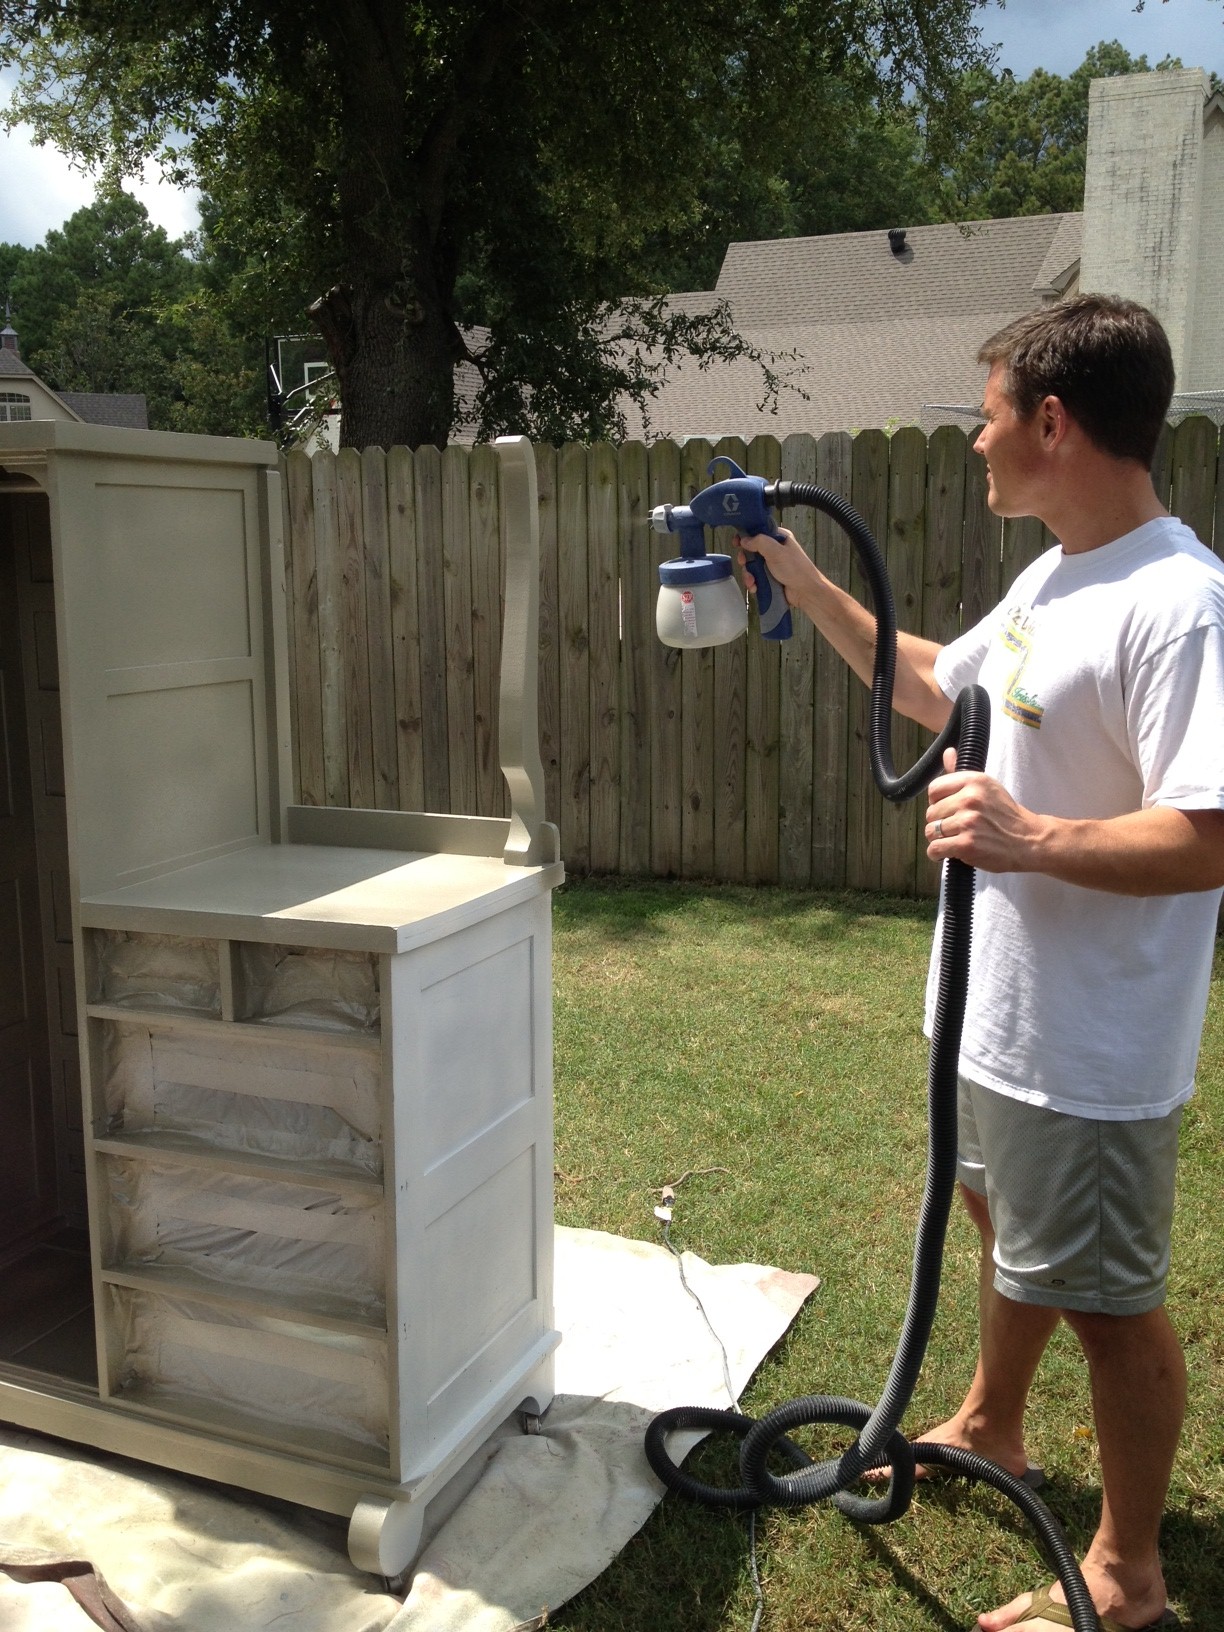
With all the furniture pieces layed out once again, it was time to get to sprayin'.  This paint did not come in the no-VOC option, so I had to sit this round out.  I'm so thankful for a husband and parents that were willing to assist in my projects!

I won't lie, I was nervous the whole time.  The sunshine made the color look more gold-ish.  I started doubting my color choice - should I have gone with the Tin or Mirror instead??  I held my breath and hoped for the best.

With all that sunshine all morning long, we didn't expect for the bottom to drop out of the sky.  Just as Doc was nearing the end of the first coat, the rain drops started falling.  It was a mad dash to get everything inside, and we didn't have time to walk them around to the shop, so we ran them into the back storage unit where the lawn mower usually goes.  Thankfully, the lawn mower wasn't in there because my dad was mowing the front yard at the time.  No one expected rain!

Even with our hurried attempts, the rain still hit the furniture in quite a few spots.  I was devastated but as we took a closer look, we realized it was going to need a second coat of paint anyway.  Sigh...we would not be finishing this step up that day.

One major thing we learned with this paint is that, while spraying it on gives it a nice finish, you can NOT, under any circumstances, do any touch up painting with a paintbrush.  It would be very noticeable and not blend in with the finish at all.  If the paint gets knicked or anything, you've got to break out the sprayer again to touch it up.  This turned me into a very anal person when it came to people being around my unfinished furniture.  There were lots of "please don't touch that!"s coming from me.  I'm sure I was a joy to be around. :)

I can't remember who did the second coat of silver - Mom, maybe?  I've lost track at this point.  At any rate, one day we drug all the pieces back out and a second coat of Silver Leaf paint was sprayed on.

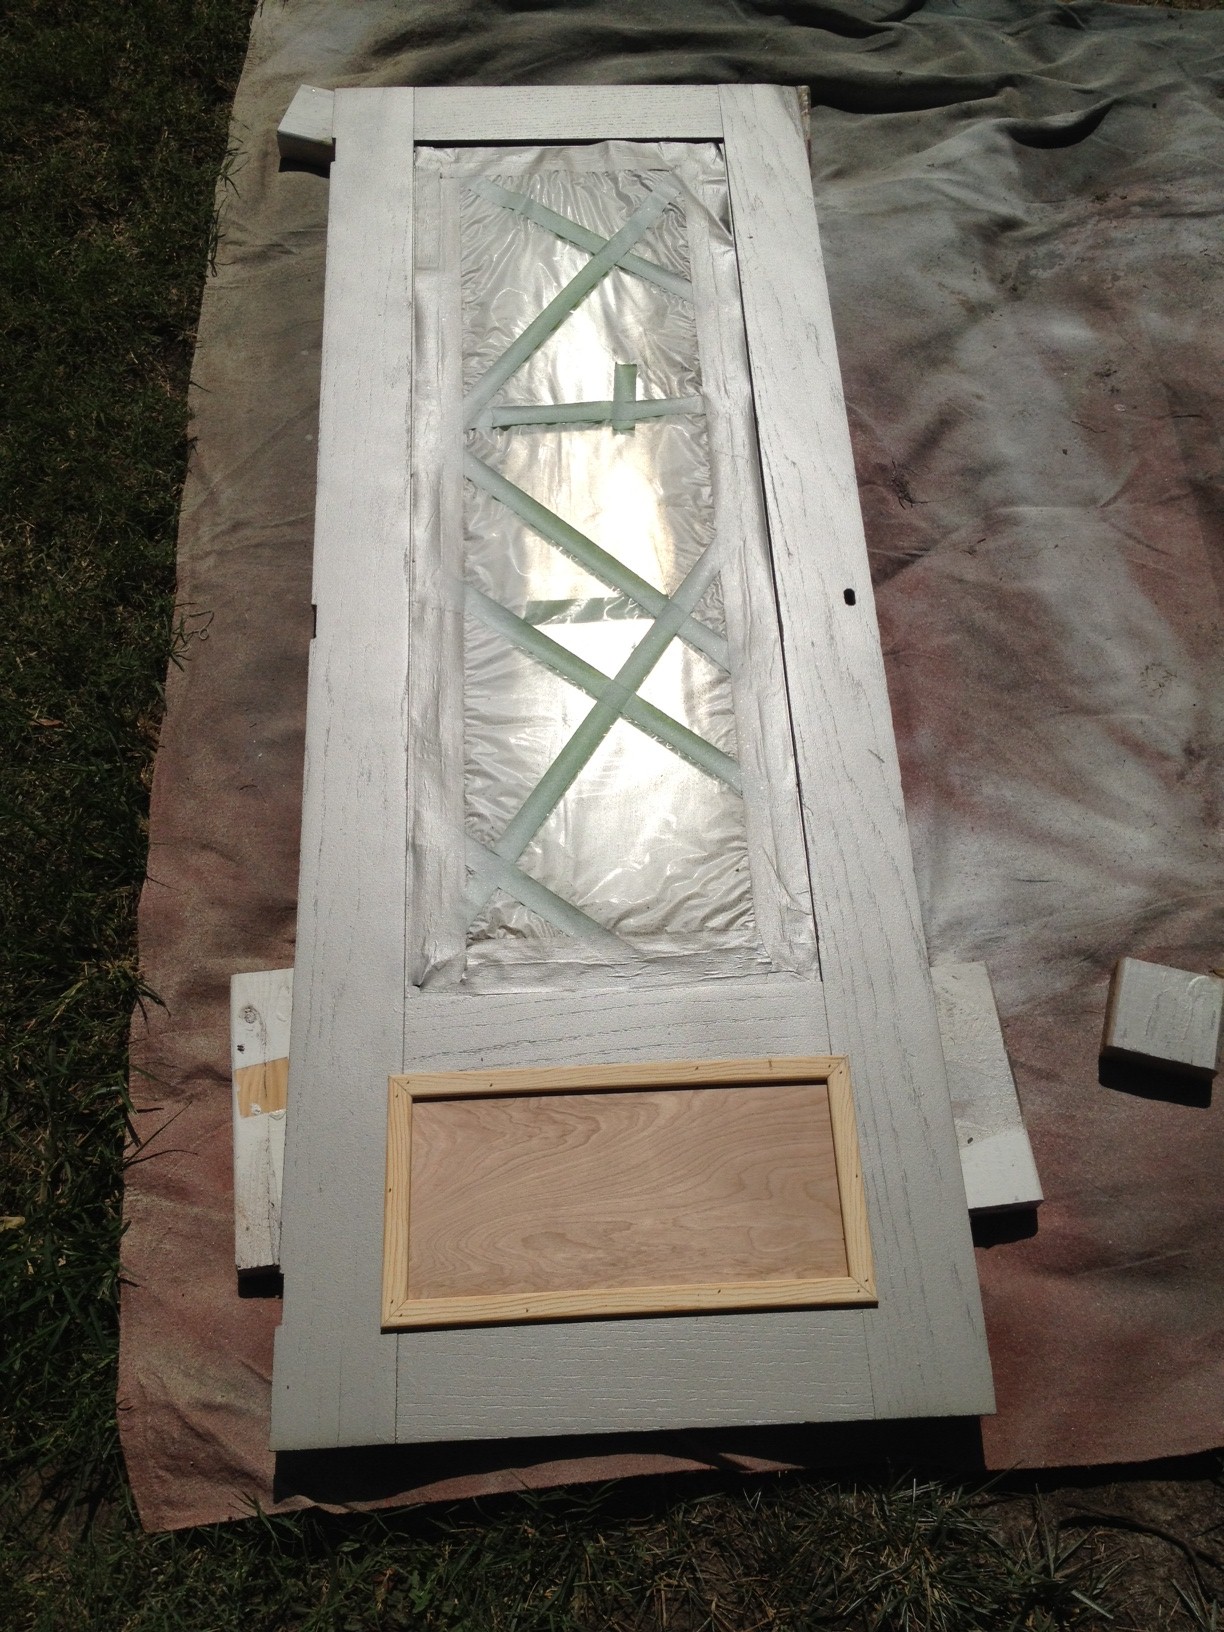
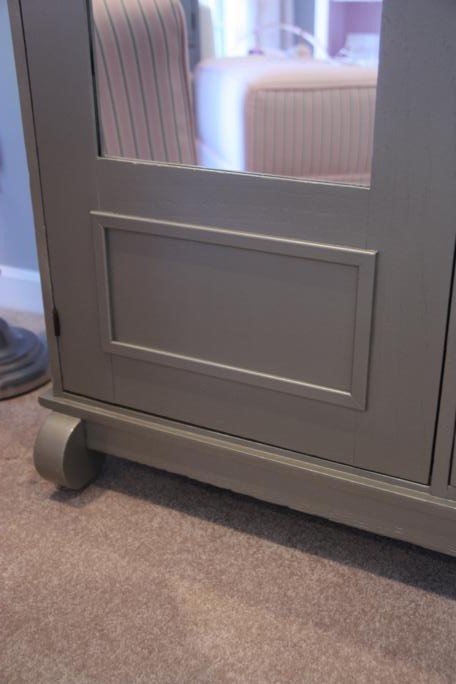
At this point, we decided to do a little bit of construction on the door of the wardrobe to make it look a little better.  On the front, there was a small panel below the mirror that seemed to be wavy from some water damage or something.  My dad cut a piece of scrap wood to cover the warped part and trimmed it out with some scrap trim.

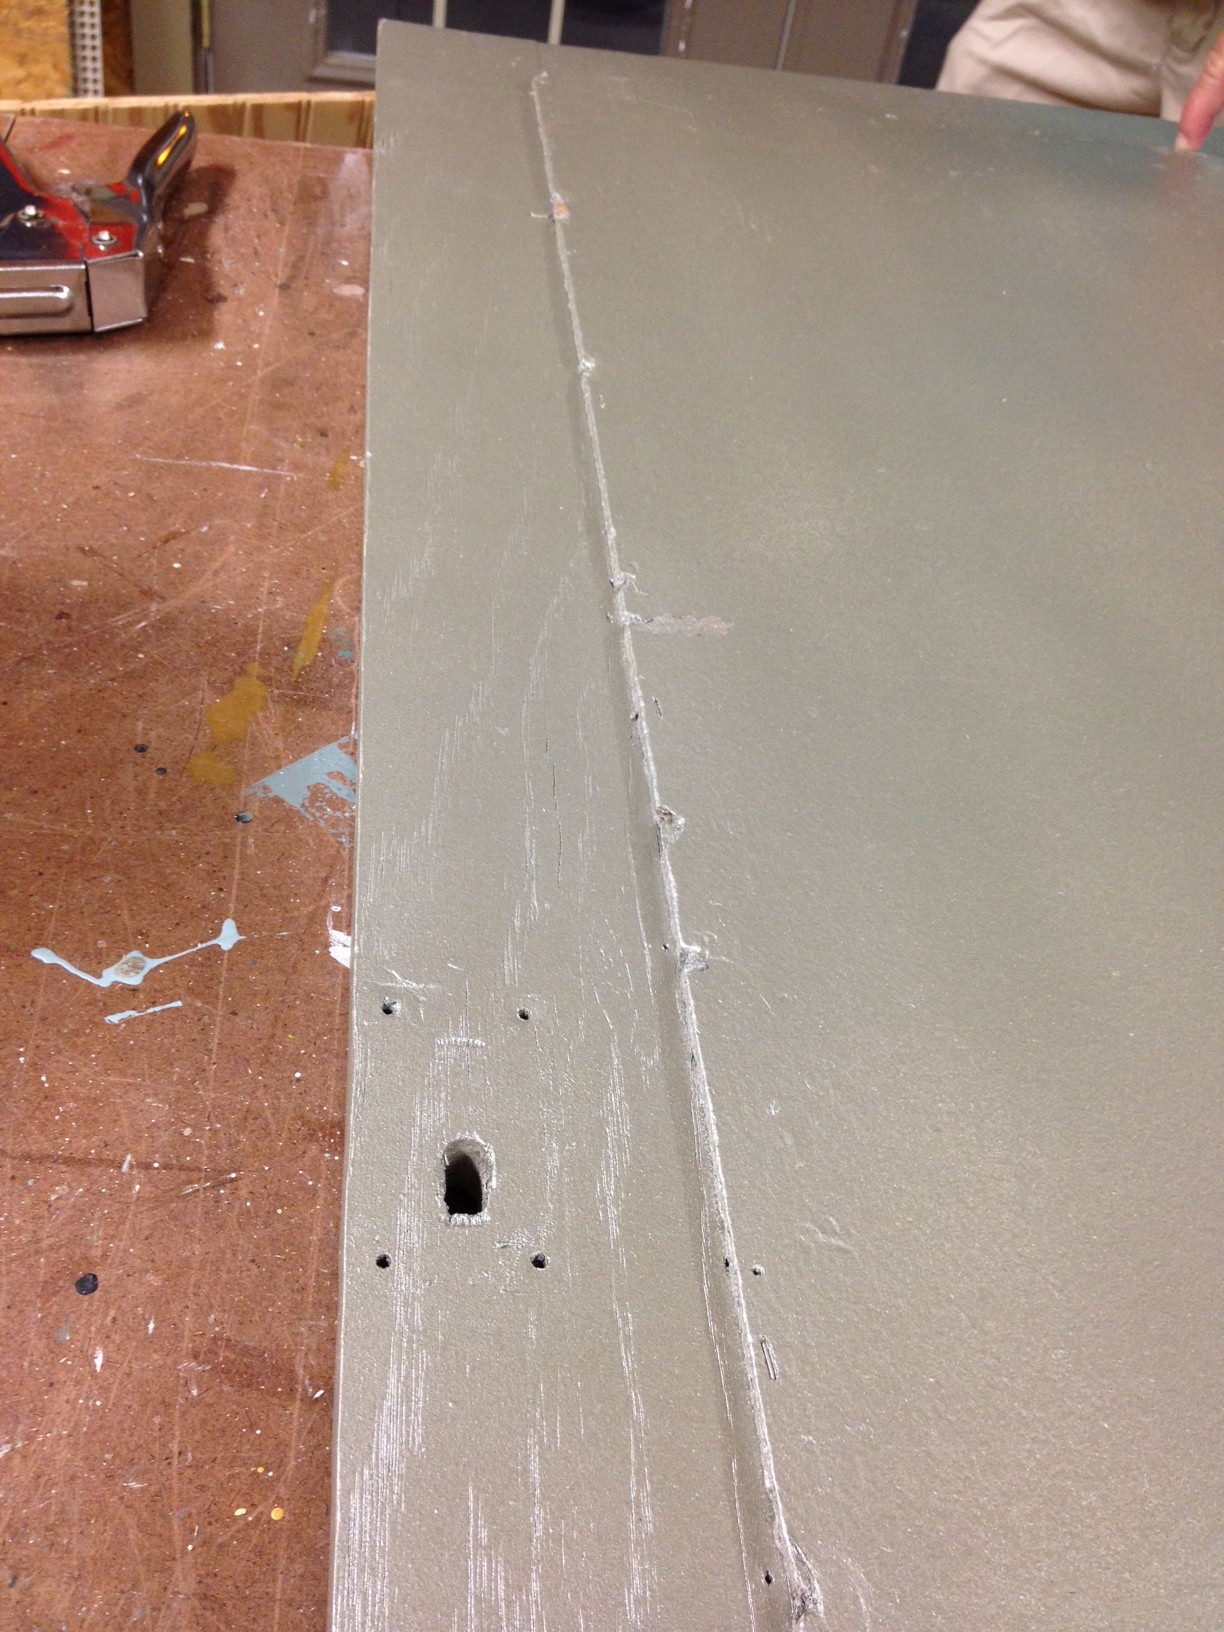
The inside of the door had a piece of plywood stapled to the back to hold the mirror on.  The edges of this piece were in less-than-stellar condition, as you can see below.

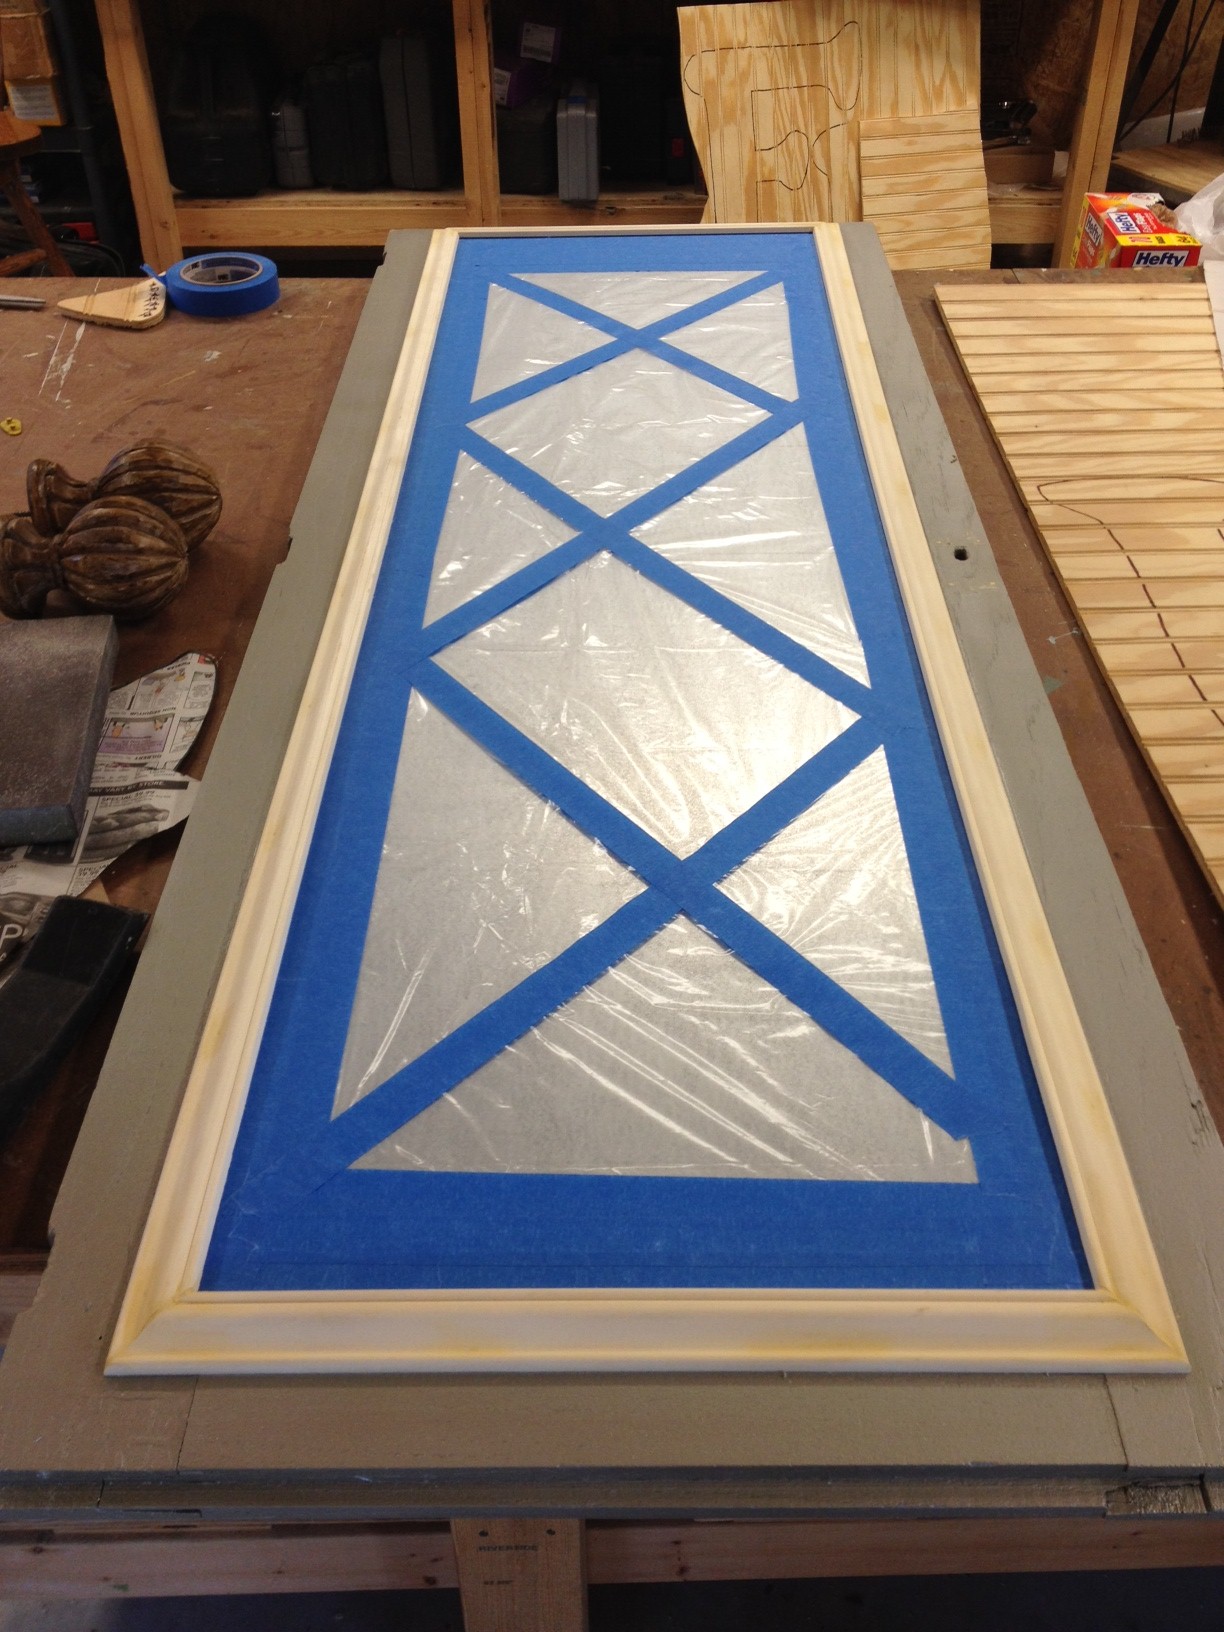
So I decided to add something - I wasn't sure what, at first - to the back of the door to cover it up.  My first thought was to do a chalkboard but then decided that would get chalk dust all over any clothes hanging inside.  Then I thought about a corkboard, but didn't like the idea of push pins being in the nursery.  The final - and winning - idea was to put a piece of sheet metal on the inside of the door for a magnetic board.  We had the sheet metal cut at a local sheet metal place.

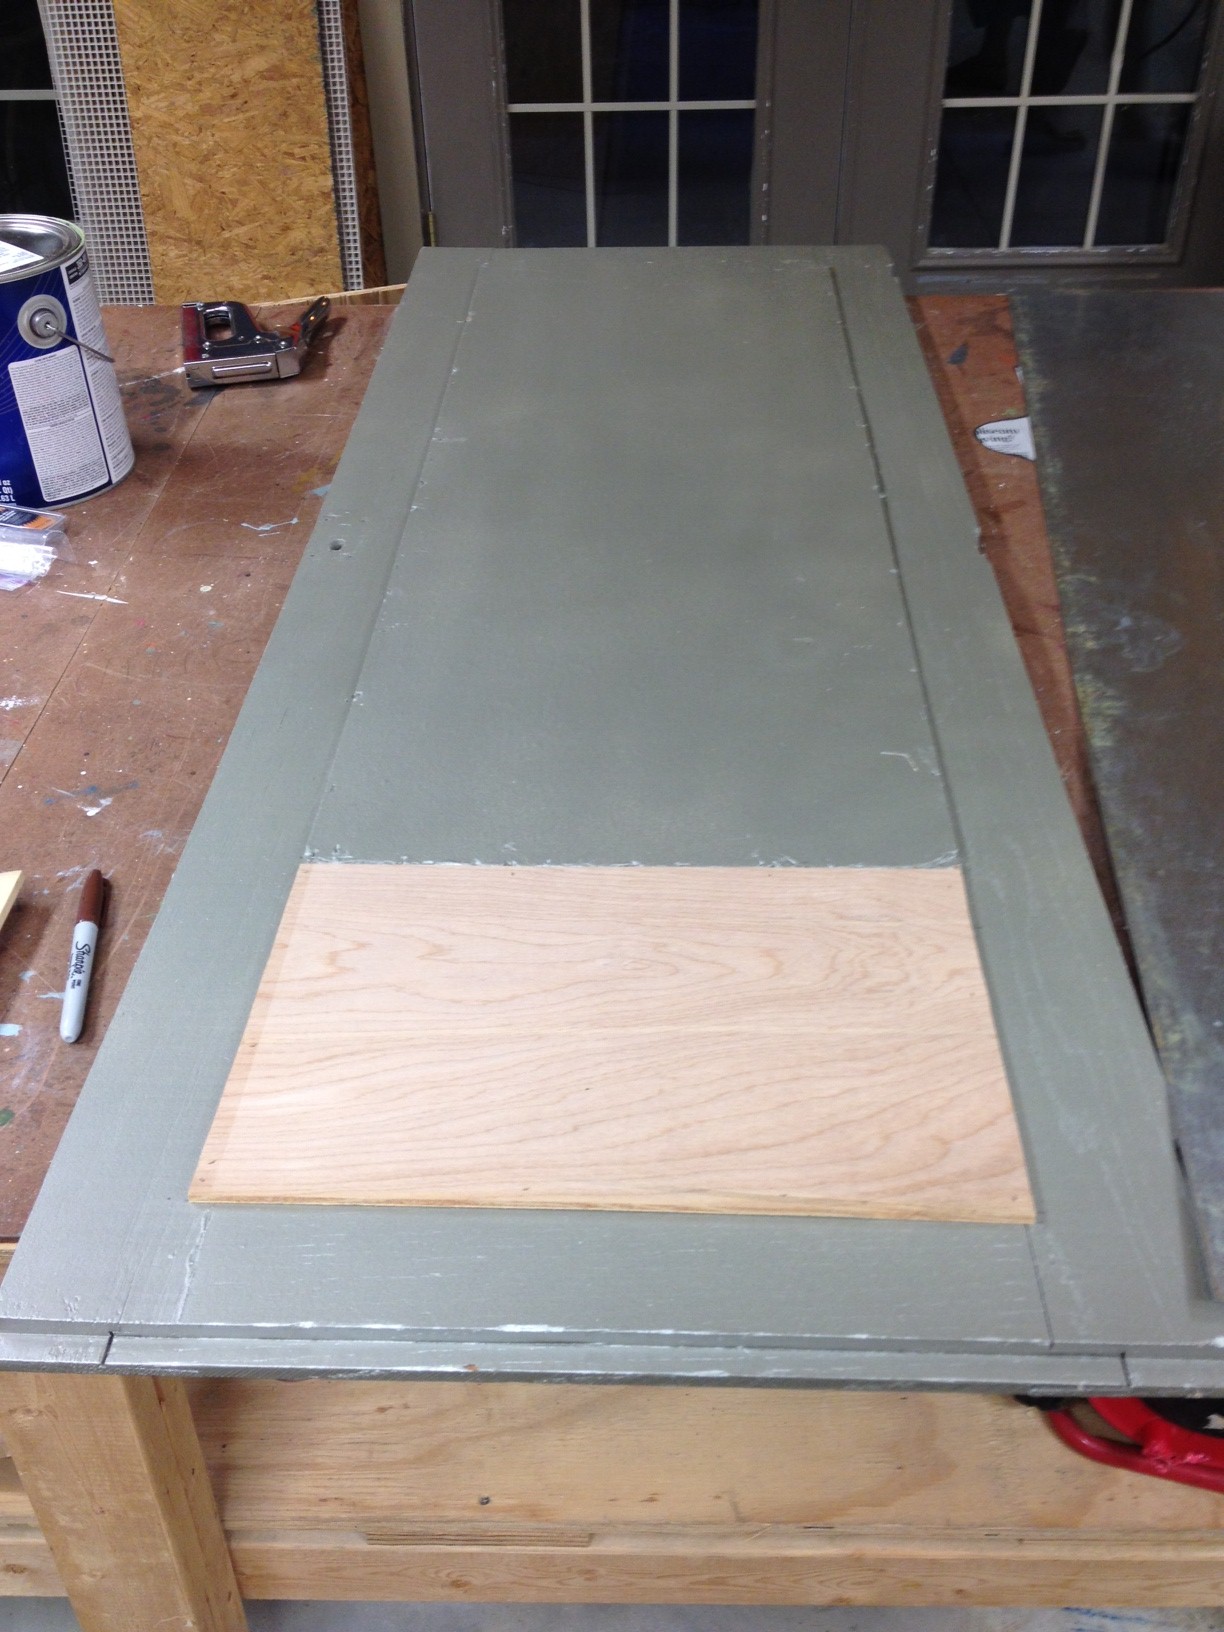
First, we had to add a small piece of scrap plywood to the bottom to make it flush with the piece holding the mirror on.  We just glued it to the bottom of the door.

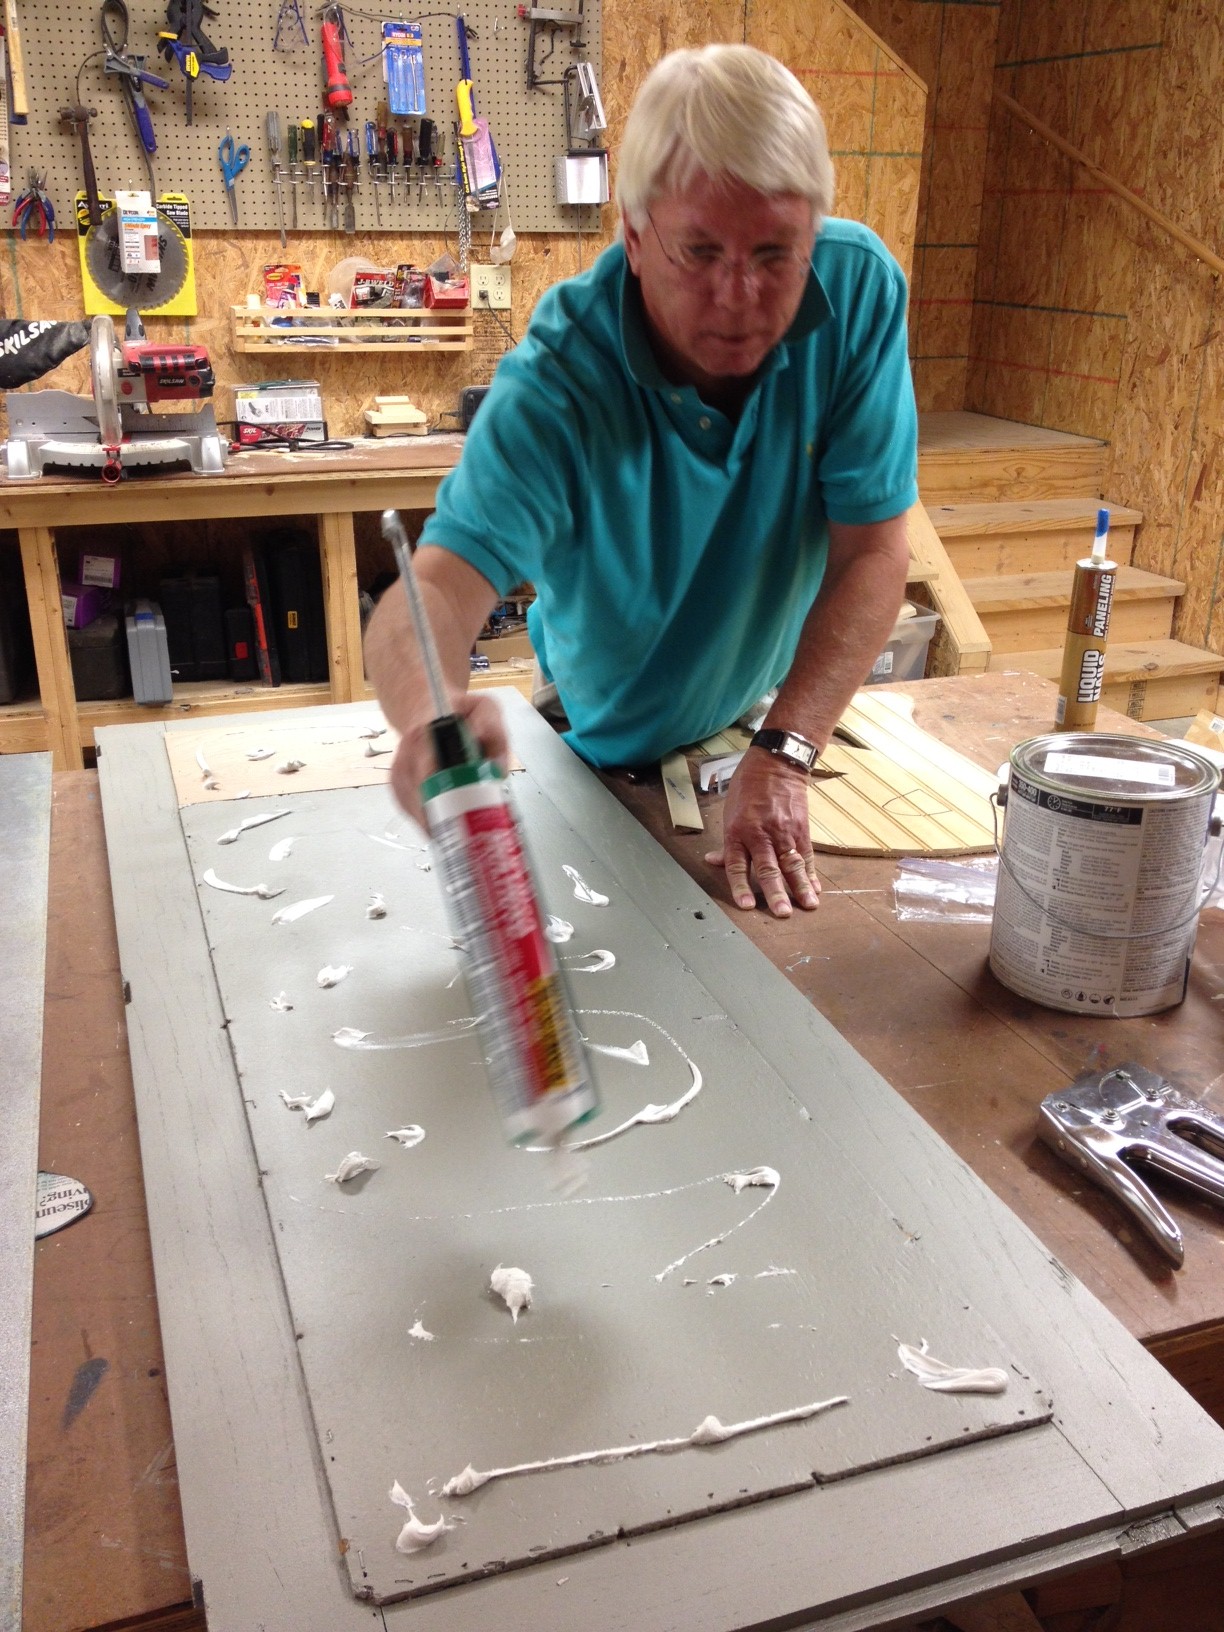
Then we glued the piece of sheet metal down on top of those pieces.

To make it look prettier, I trimmed the sheet metal out in a small piece of decorative molding.

The pain of these added upgrades was that it meant the sprayer had to come back out.  If I just brushed the paint on the with a brush, the finish would've been much different from the rest of the piece of furniture.  I begrudgingly did the prep work to get it ready for another coat of sprayed paint.

My mom did the last bit of this touch-up the same day we painted the nursery window hardware.  As soon as it was dry enough, we (my mom, actually) added two coats of water-based polyurethane.  Finally, I could relax a little bit about people being too close to the furniture!

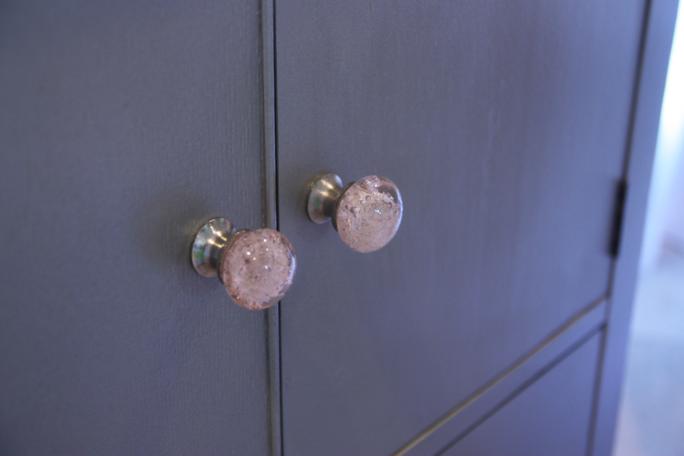
We weren't quite done yet, though!  There were still a few tweaks that needed to be made - mostly just some tightening of the drawers to sturdy them up and keep them sliding in and out smoothly.  I was also on the hunt for new hardware.  I didn't really know what I wanted, but knew as soon as I saw these at Anthropologie that they were the ones!

They're bubbled glass knobs in a light pink tint.

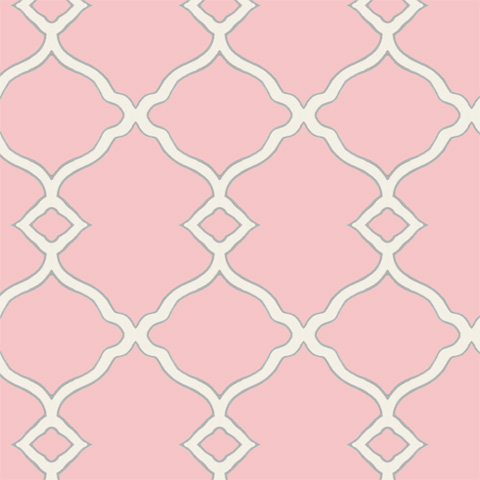
I also searched high and low for some cute contact paper to line the drawers with, and I found the perfect pattern!  This cute trellis pattern in pink with white and grey trim.  It would be perfect for the drawers and would match the nursery to a T!

I didn't order it.  Why?  Because it cost sixty-five bucks a roll.  SIXTY-FIVE DOLLARS for a roll of contact paper, and one roll wouldn't have even been enough.  Who in the world is spending sixty-five dollars on contact paper?!?!

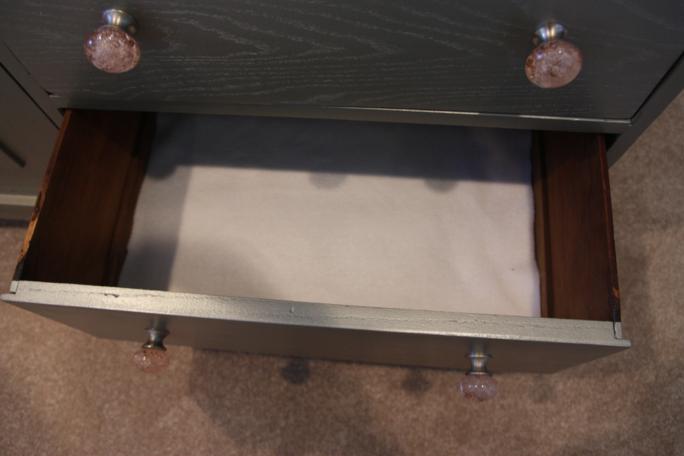
I did end up buying some plain white contact paper for $3 a roll from Fred's, but it didn't stick to the bottom of the drawers very well.  I bet those $65 rolls would've stuck for life.  My mom suggested lining them with white fleece and it worked perfectly.  Plus, it's soft!

Ok, ok.  Enough chit-chat.  Ready for the final reveal?  First, here's the wardrobe again in its original state.

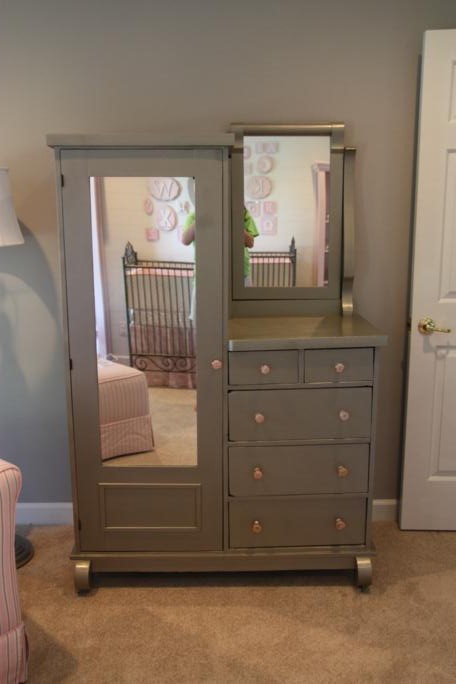
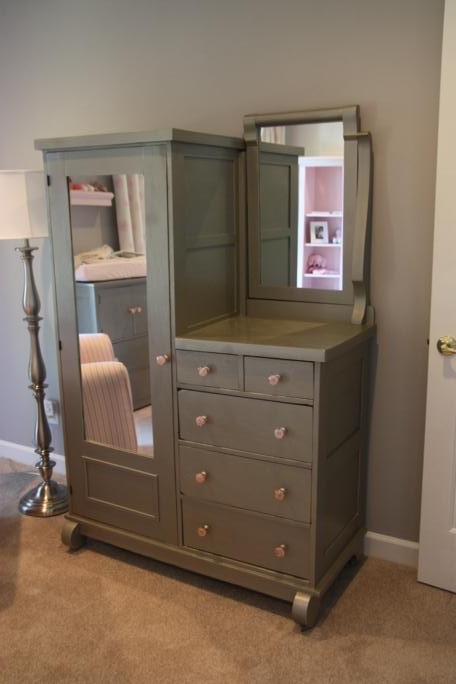
And, after hours of hardwork from everyone involved, here it is finally finished (and in the nursery, which you can get a sneak peek of in the mirrors!).

The lighting in these pictures doesn't always look the best, but the silver turned out really well.  It's not gold-ish like I originally feared.  And it has a nice even finish, thanks to using the paint sprayer.

Here's a soft fleece lined drawer.

This is the panel we added to the bottom of the door front to hide the water damage.  No more warped wood!

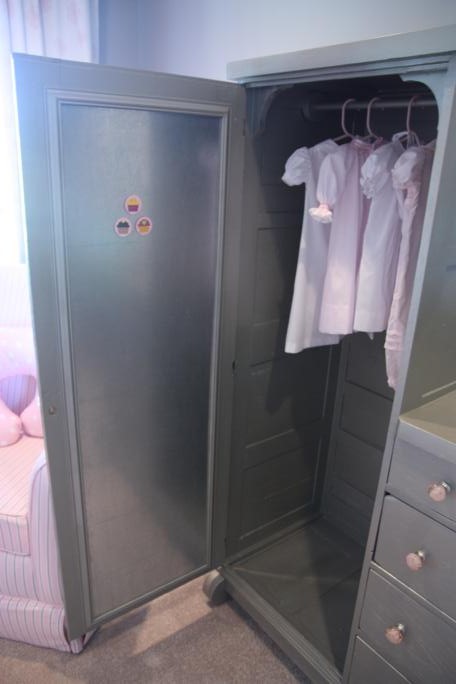
Inside is the magnetic board we added.

The color of the sheet metal actually blends in really well with the silver paint.

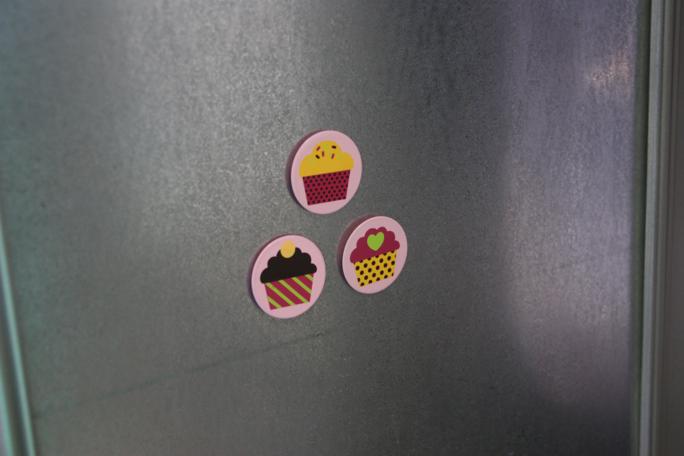
I haven't bought any cute kid-friendly magnets yet, but I had these cupcakes ones on the our fridge so I brought them in to test the magnet board out.

So that's the wardrobe!  Now let's check out the changing table.  Here it is again in its original state.

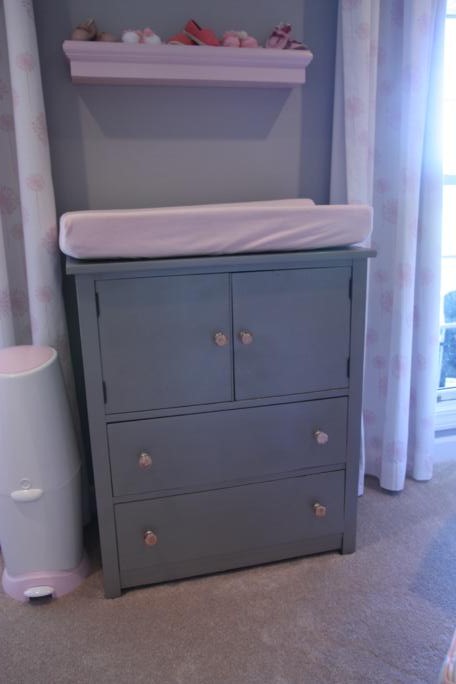
And here it is now.

Actually, here is what it really looks like because the changing pad has been added to the top.

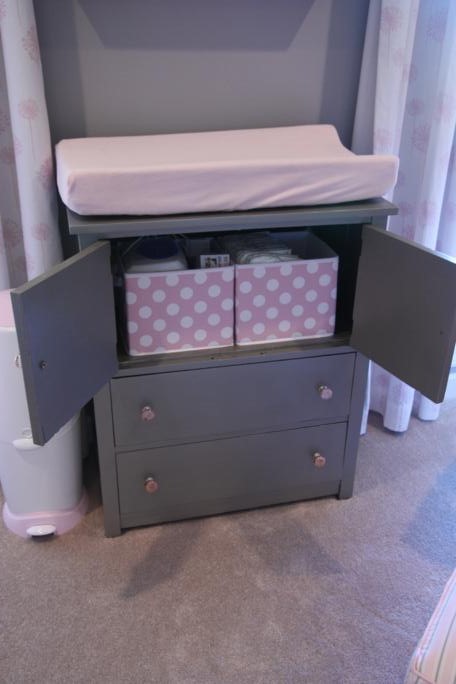
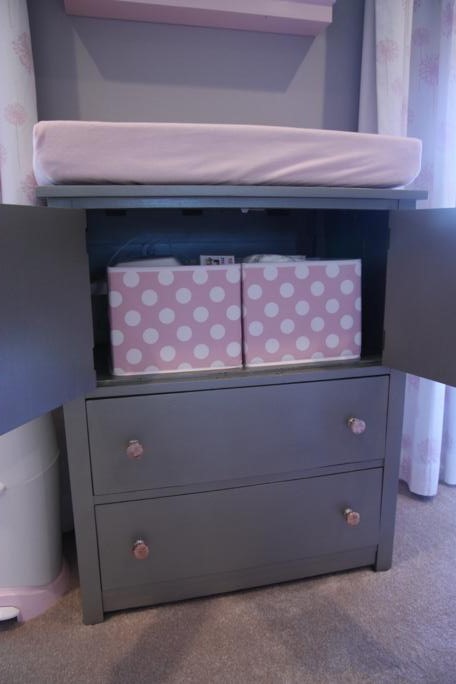
Inside the double-doors is all the supplies necessary for changing diapers, all stored inside some cute polka-dot bins.

We ended up leaving the hole cut in the back by the previous owner, and it's already coming in handy because we can plug in our wipe warmer.  Score!

Here are side-by-side comparisons for ya.


The rest of the nursery, including the two bookshelves we built at the last minute, is coming up next.  Stay tuned!

Before and After: Antique Bassinet

One Saturday last summer, my mom and I were out running around town and found ourselves stopping at a local antique store's sidewalk sale.  We weren't looking for anything in particular, but we were always on the lookout for a good deal on furniture that could be used in the beach house.  What we weren't looking for is baby furniture.  But that's what we ended up coming home with. We both separately stopped and eyed the bassinet as we made our rounds through the tent.  So cute!  But what would we do with it?  We spent a good hour wandering through the rest of the store before coming back to the bassinet.  Mom knew that Doc and I were ready for a baby and told me I should buy it.  My response?  "Uh-uh, no way.  I am not letting that thing jinx my reproductive organs."  There was no way I was going to buy furniture for a baby that didn't even exist yet.  I knew that if we encountered problems along the way I'd blame "that stupid cradle."
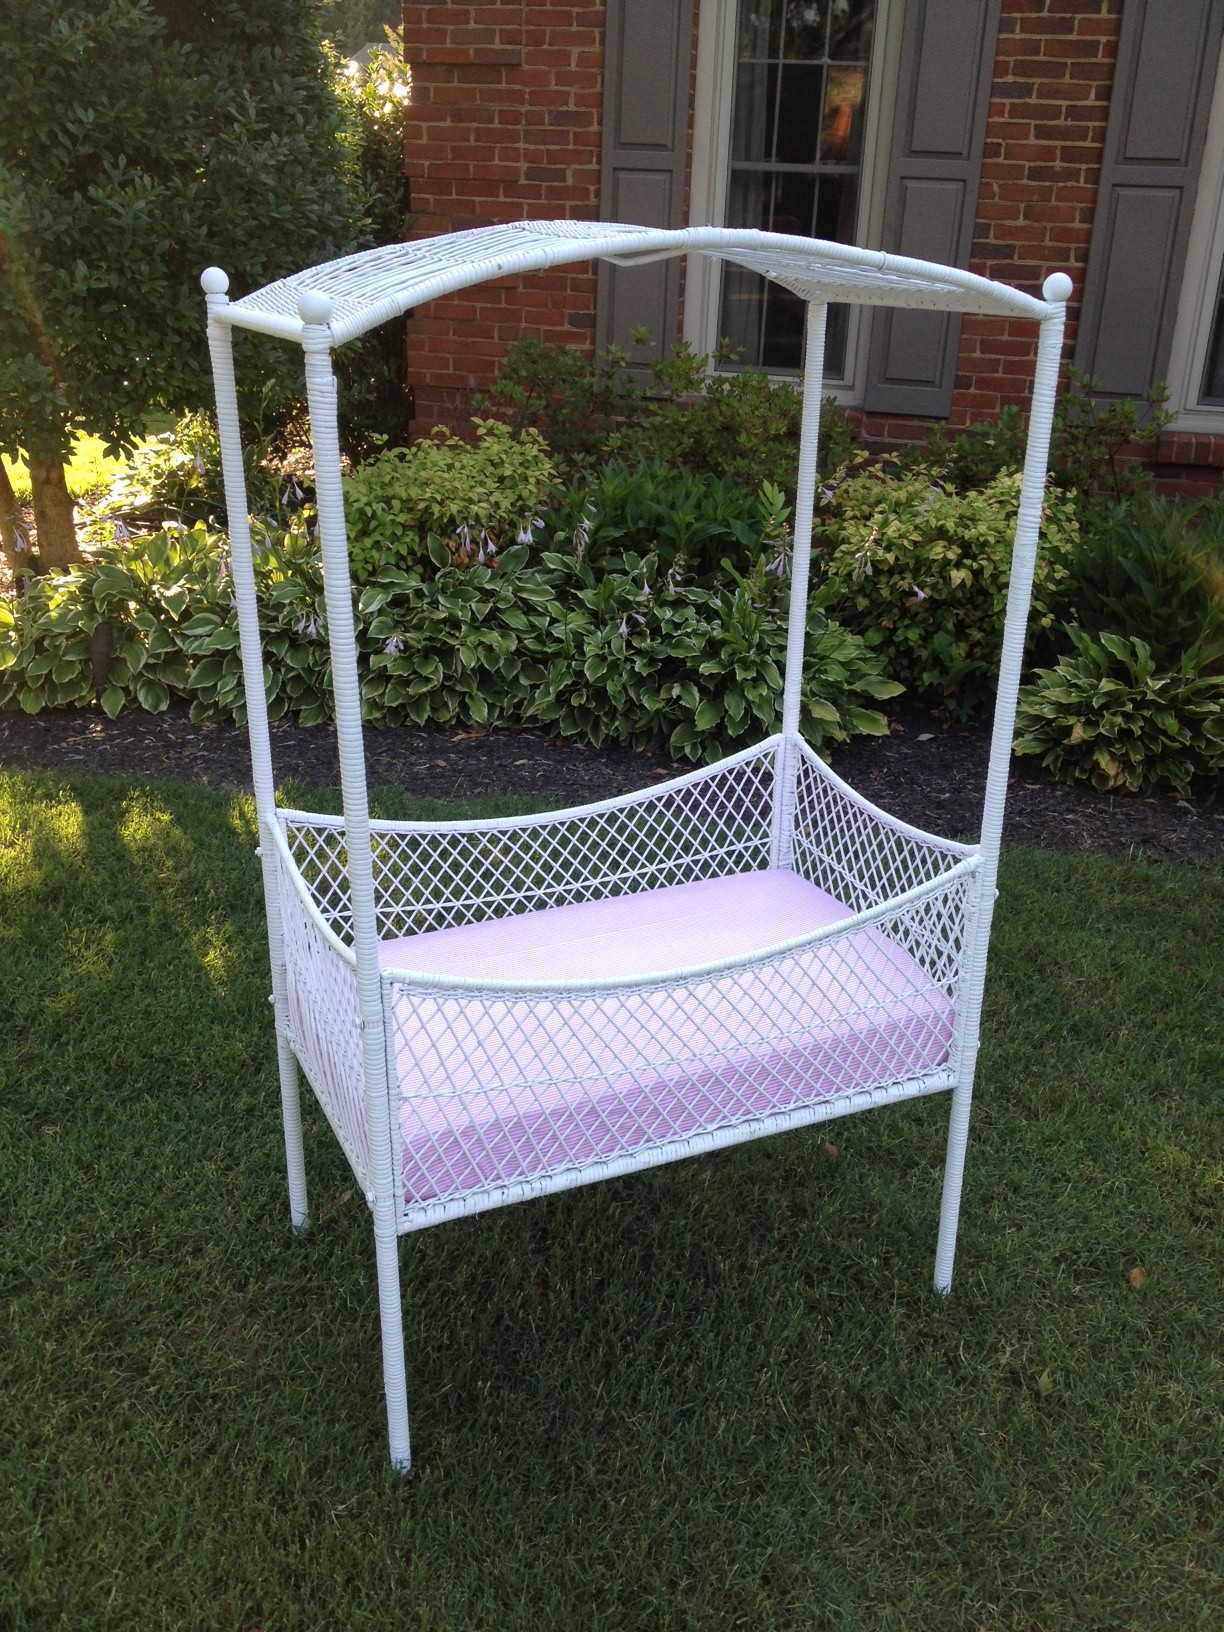
So my mom did exactly what I was secretly hoping she'd do: she bought it herself.  You know, for "her house."  We loaded it up in the back of her car, took it straight to the attic at her house, and never spoke of it again.  (Not really, but we didn't talk about it much.)

And now there's a baby on the way!  Not only can we now speak of the bassinet, but we were able to pull it out of the attic, dust it off, and give it a makeover job worthy of the little girl that will soon (!) be sleeping in it.

Before we get into the nitty gritty details of this Before and After series, let me tell you that it was white when we bought and then we decided to repaint it white so the new look is not really all that drastic of a change.  But it's still pretty darn cute.

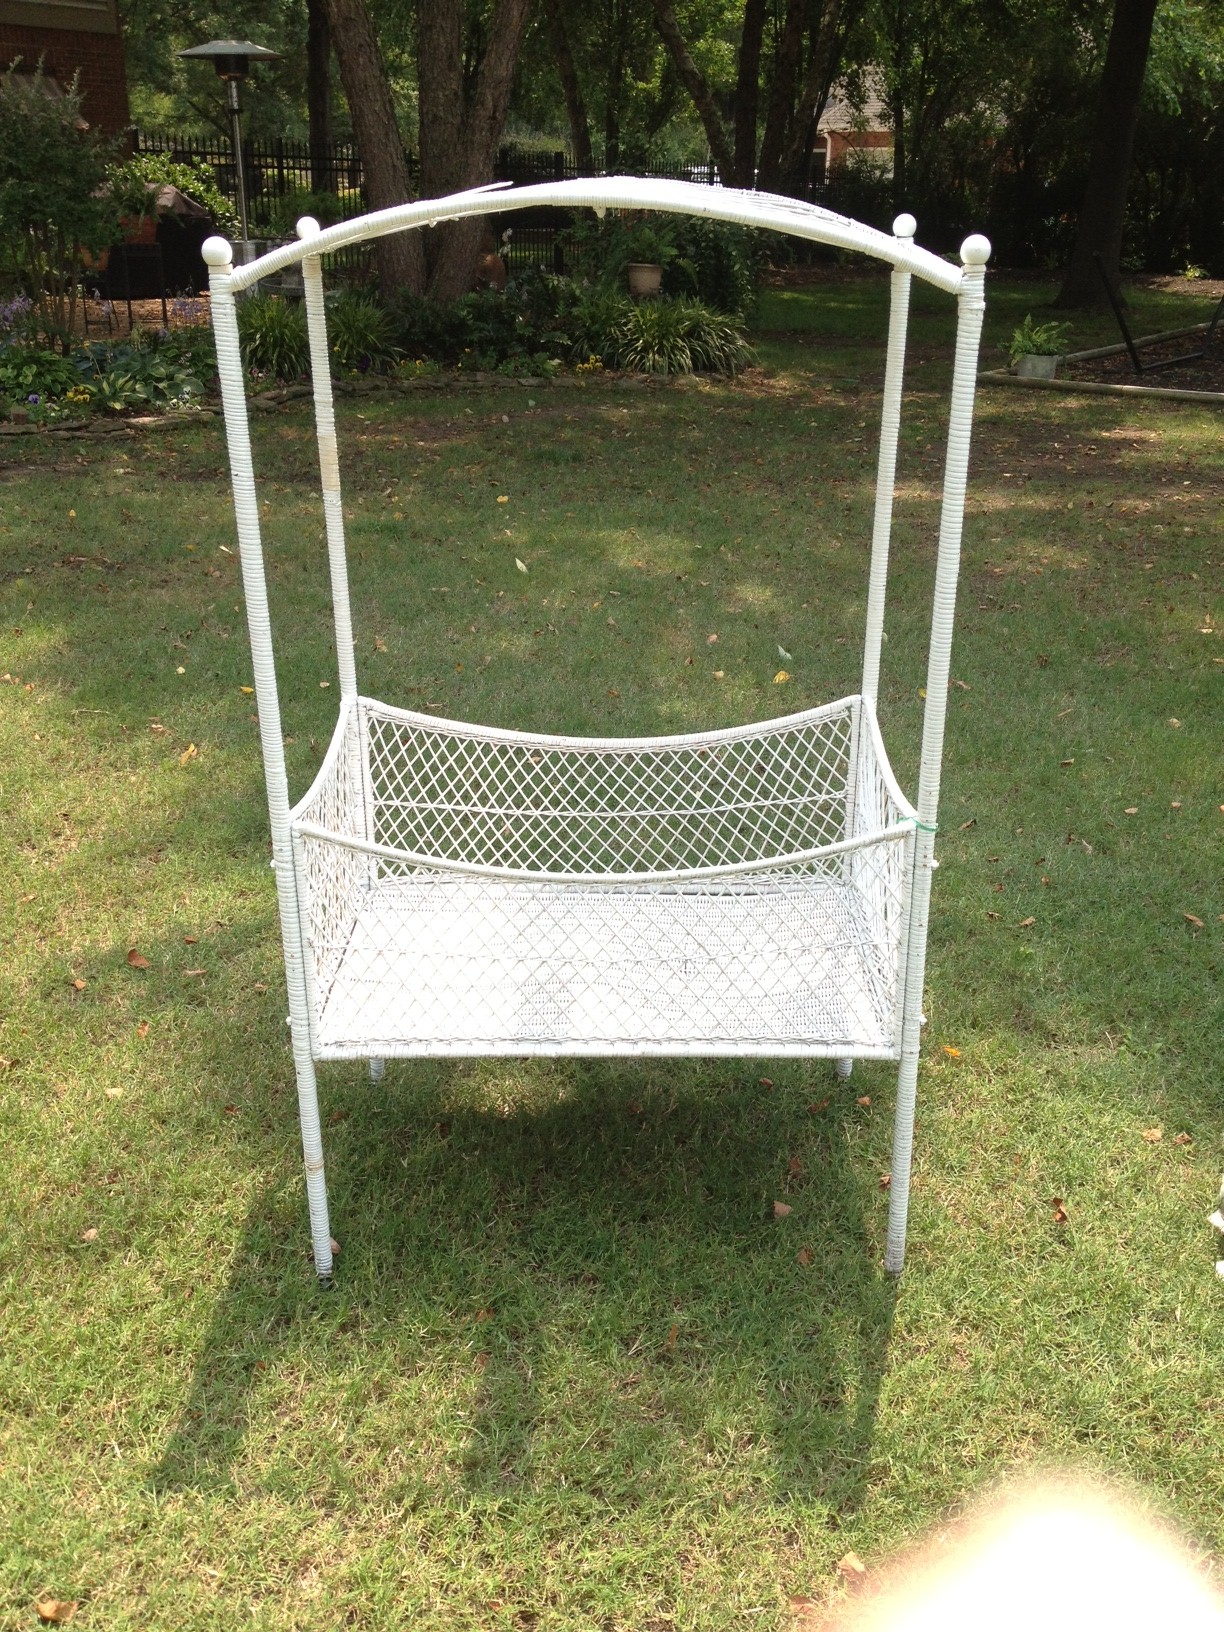
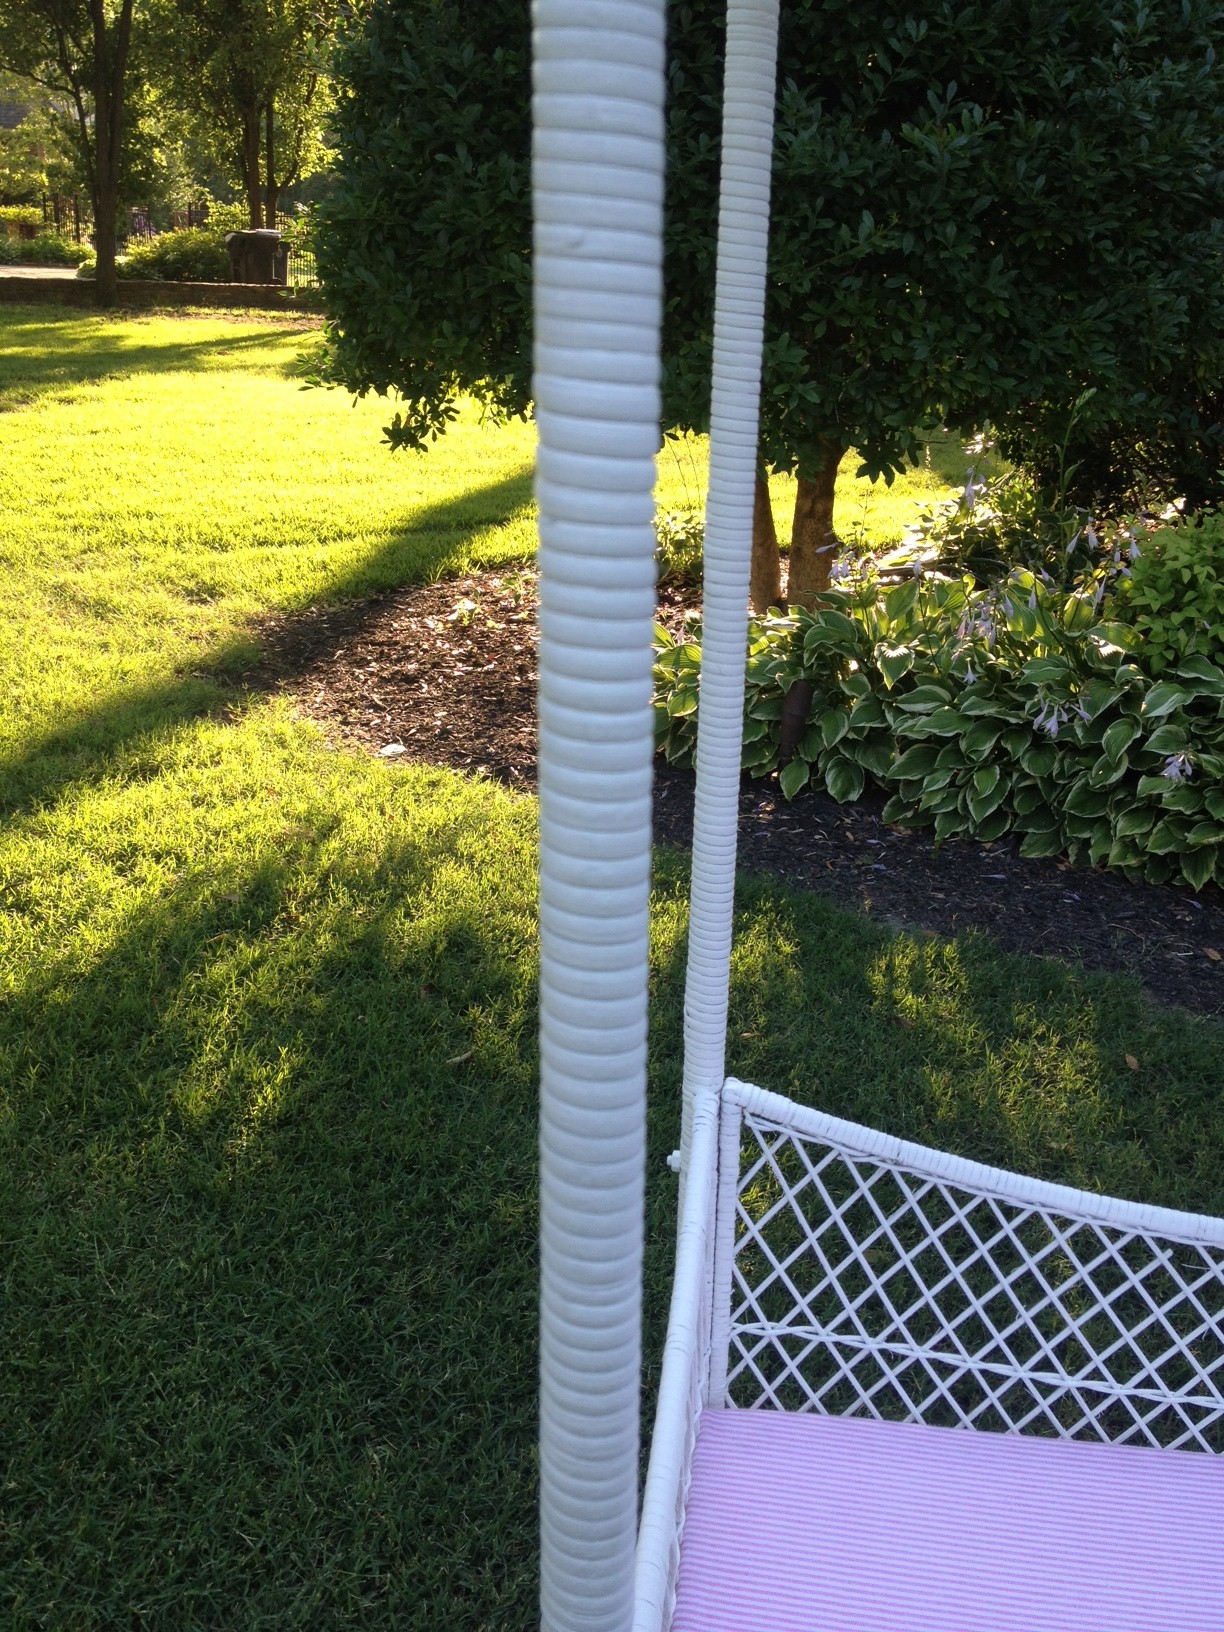
Here it is straight out of its hiding place in the attic.  It had already been hosed off in this picture.

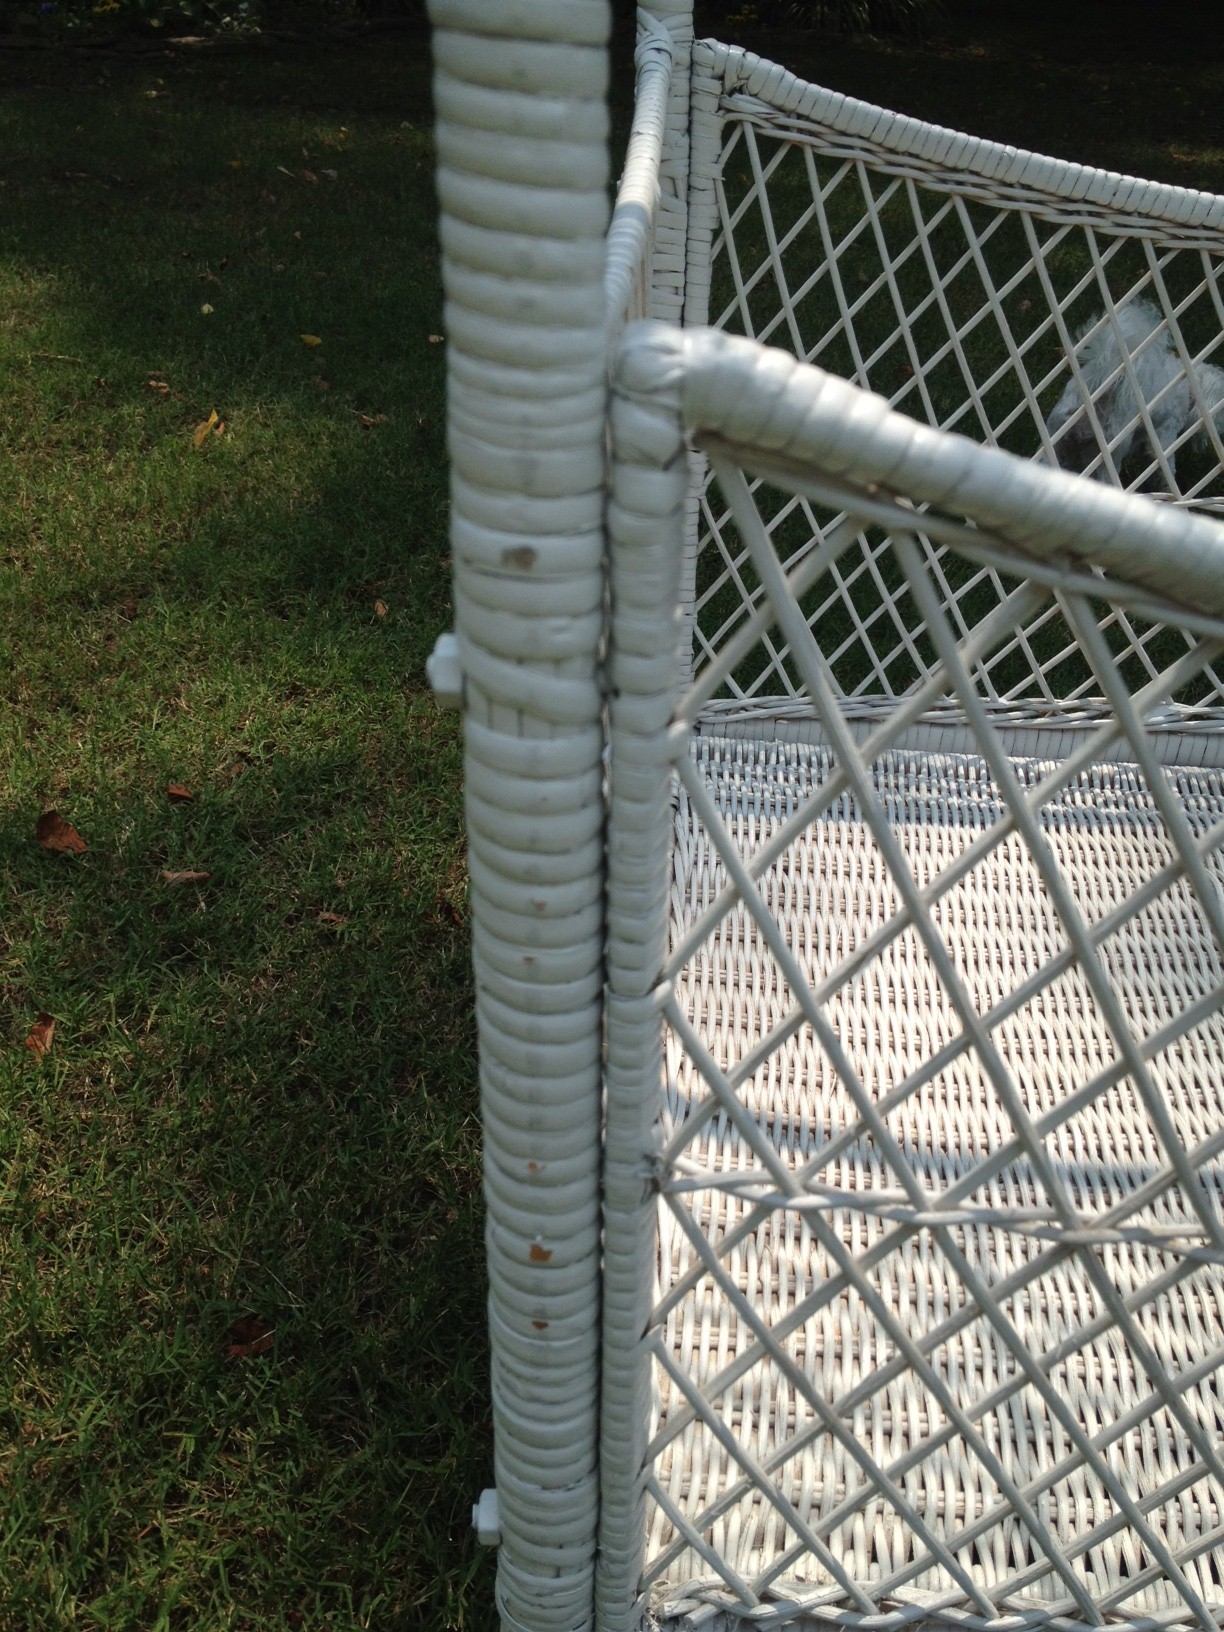
It doesn't look that bad from a distance, but up close you could see a lot of chipped paint.

A few spots had what looked like masking tape residue on them.  (My phone camera thought it was more important to focus on the grass, apparently.)

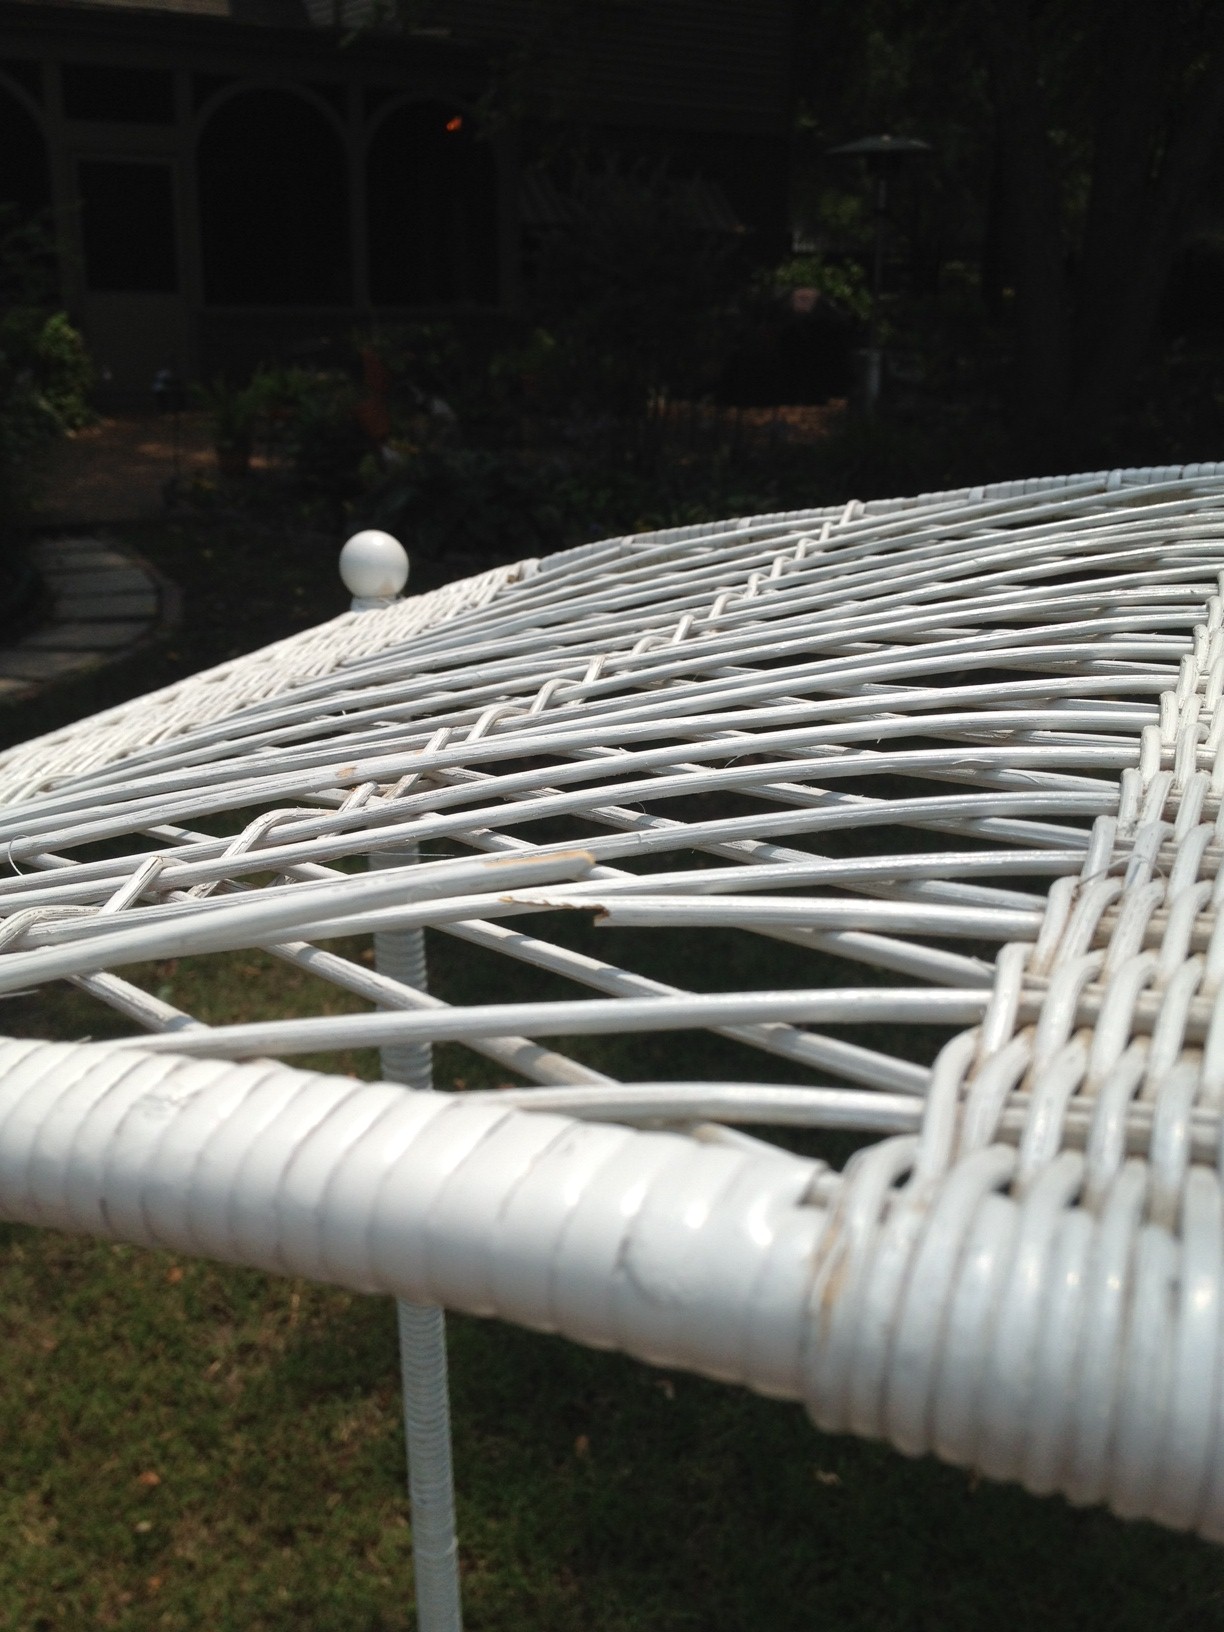
And there were just a few broken pieces of wicker.

I spent a few minutes making repairs, using glue where I could and sometimes pieces of tape.  You can't tell in the photos since it's sitting in grass, but the bassinet has small wheels so I went ahead and taped those off too.

I used our new paint sprayer to get the job done.  If my mom was writing this post, this is when she'd probably post a picture of my painting outfit.  It was bright and sunshine-y the day I painted so I threw a pair of gym shorts and a tank top into my bag for paint clothes (I painted in my parents' backyard).  Turns out that the tank top wasn't exactly sized appropriately for someone who's preggo, so I had a bit of belly hanging out.  It was not my best look.

Anyway, I used Home Depot's untinted white latex paint in a semi-gloss finish.  Since it was VOC-free I was able to do the painting myself.  Here it is with a fresh coat of paint.  (We'll come back to the mattress.)

Like I told you, not drastic at all.  But at least there weren't any chipped spots anymore.

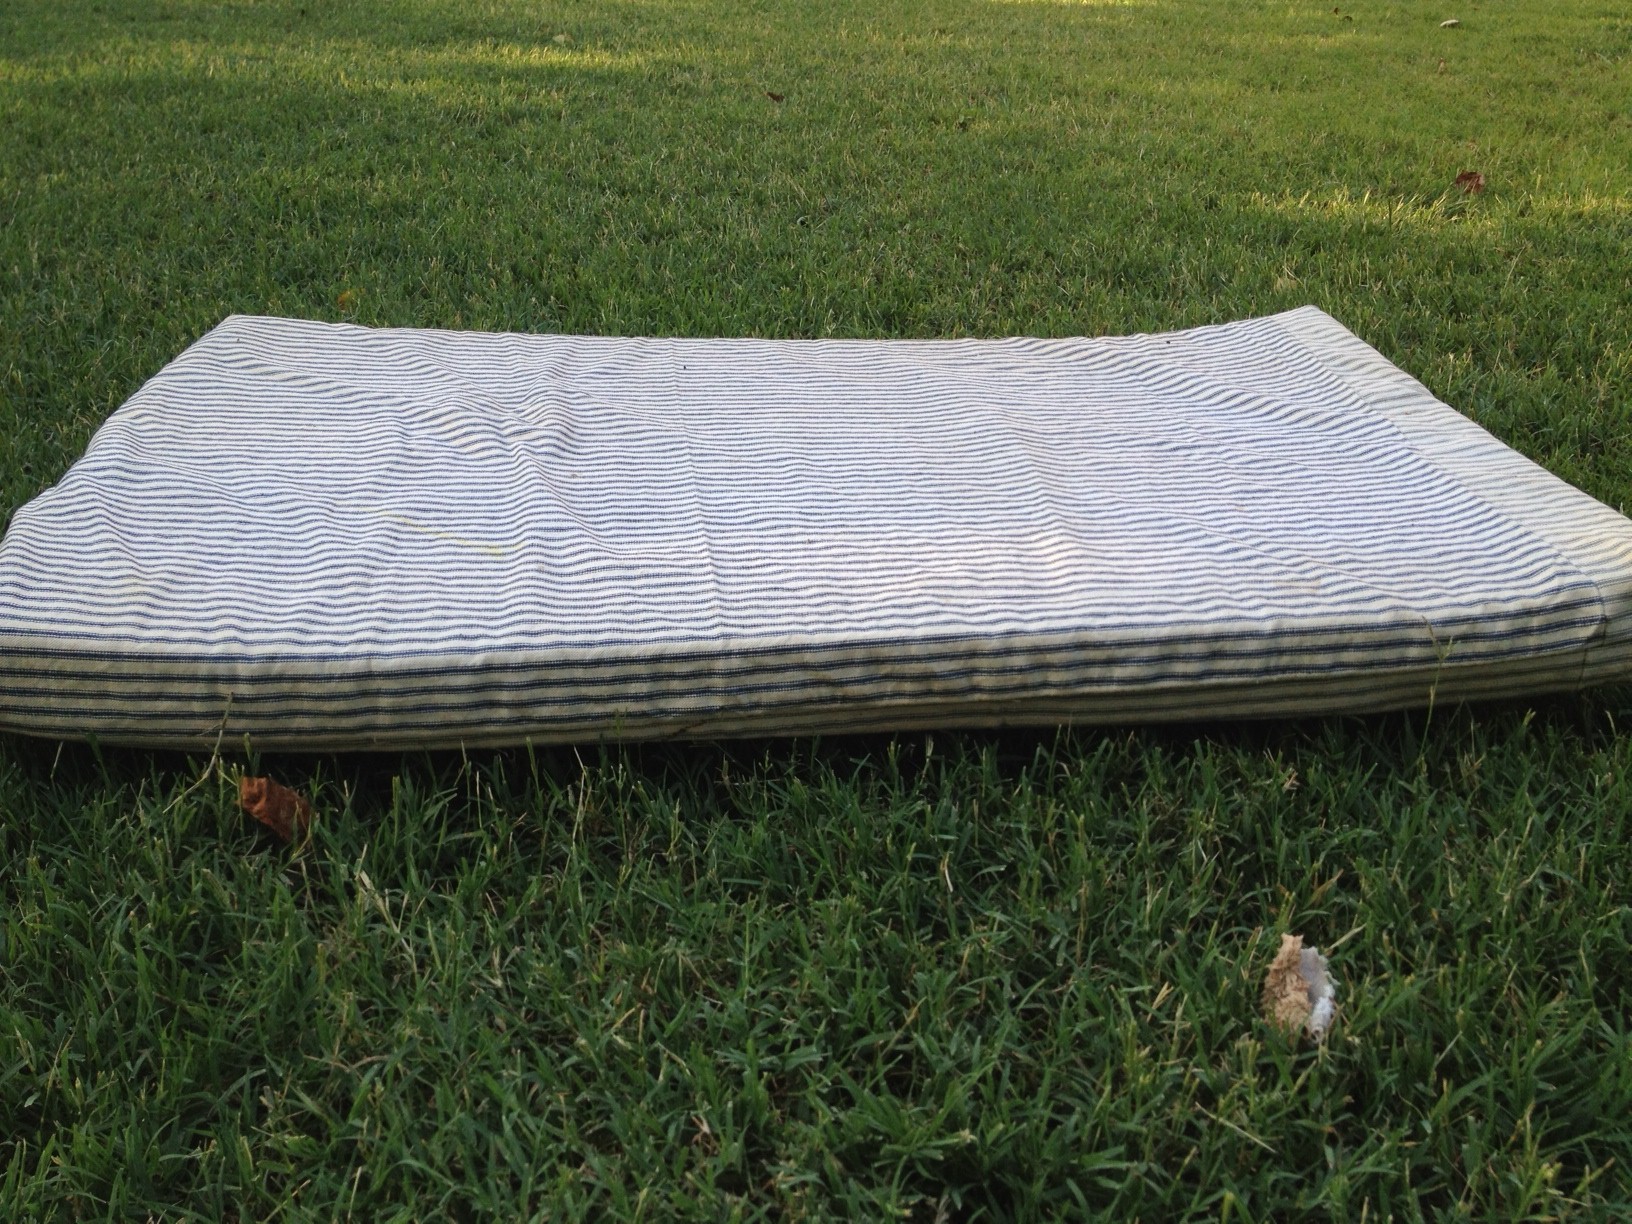
Back to the mattress.  The bassinet did come with one when we bought it but it was a wee bit on the flimsy side...

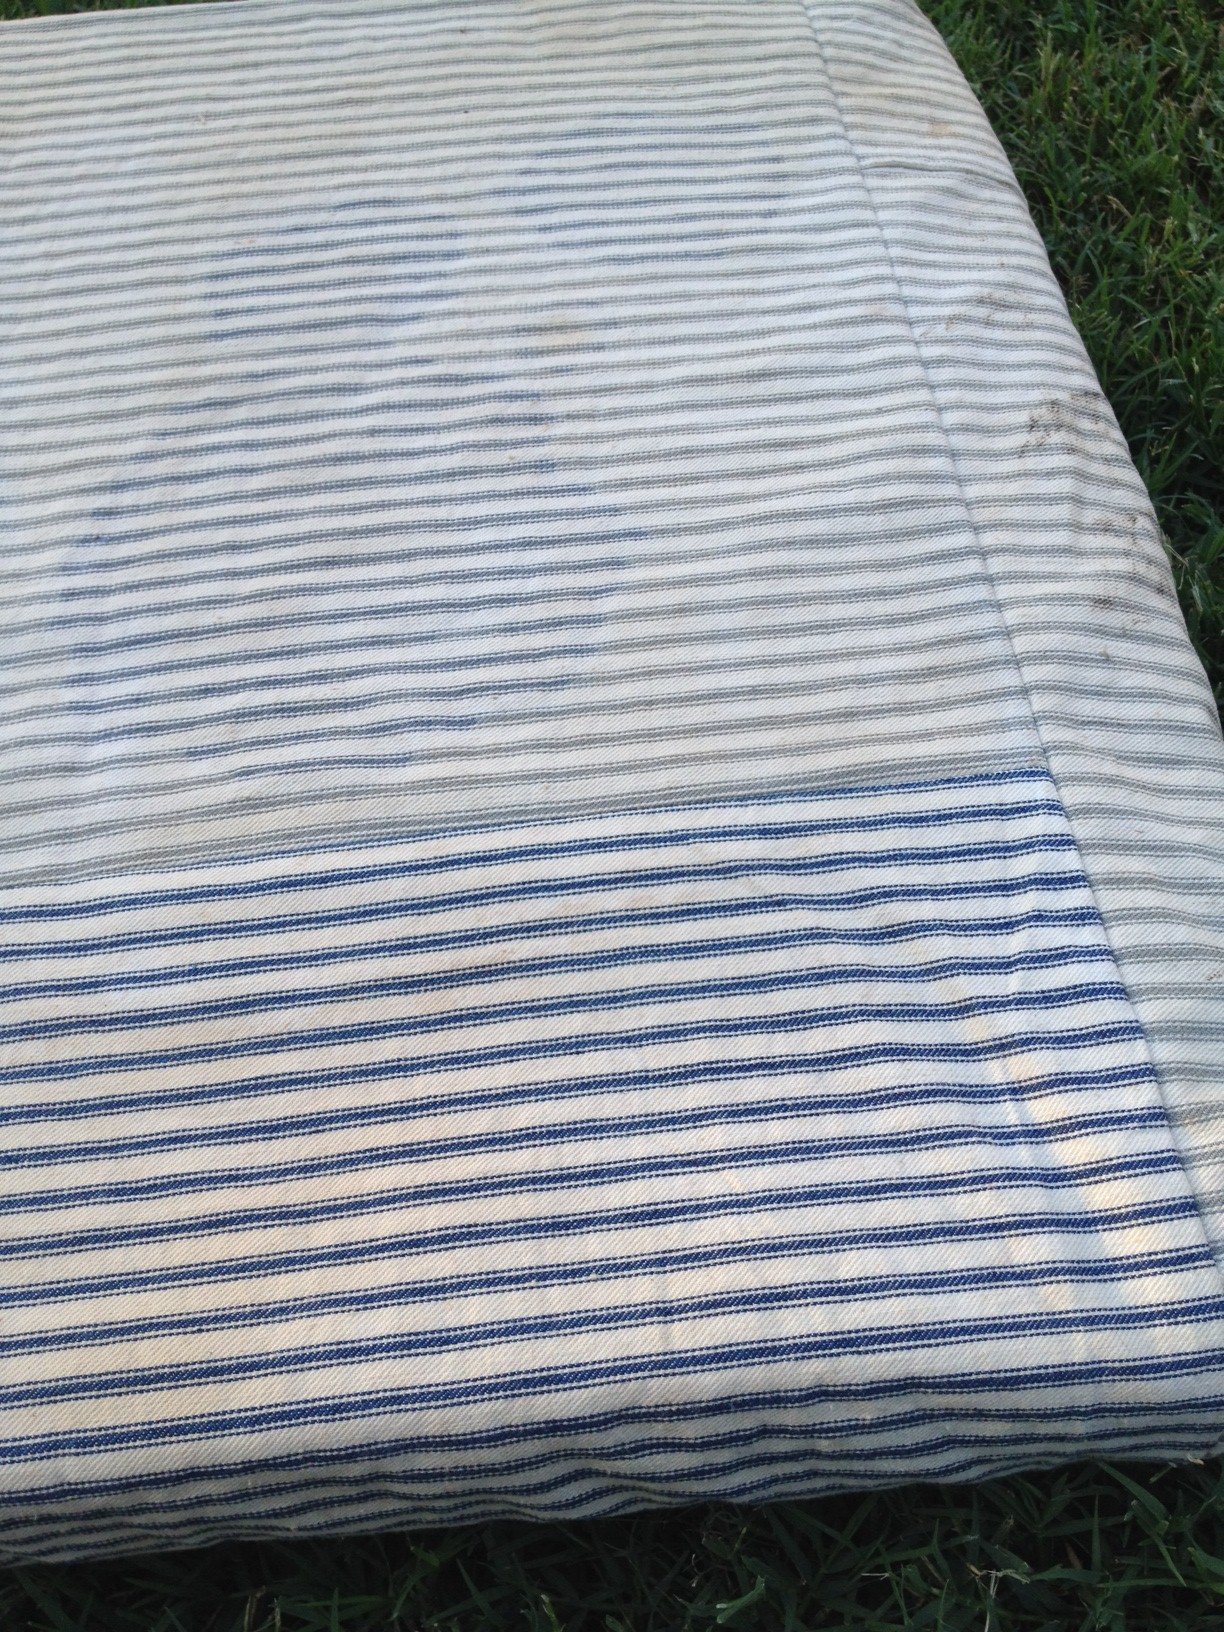
...and a lotta bit on the gross side.  I have never considered myself a germaphobe at all - I'll eat something off the floor even after 5 seconds, I'll share a popsicle with my nephew or kiss my niece's feet, I pack my shoes in the same bag as my clothes, etc - but there was no way I was going to let my newborn, fresh-out-tha-oven baby girl sleep on something that looked like this.

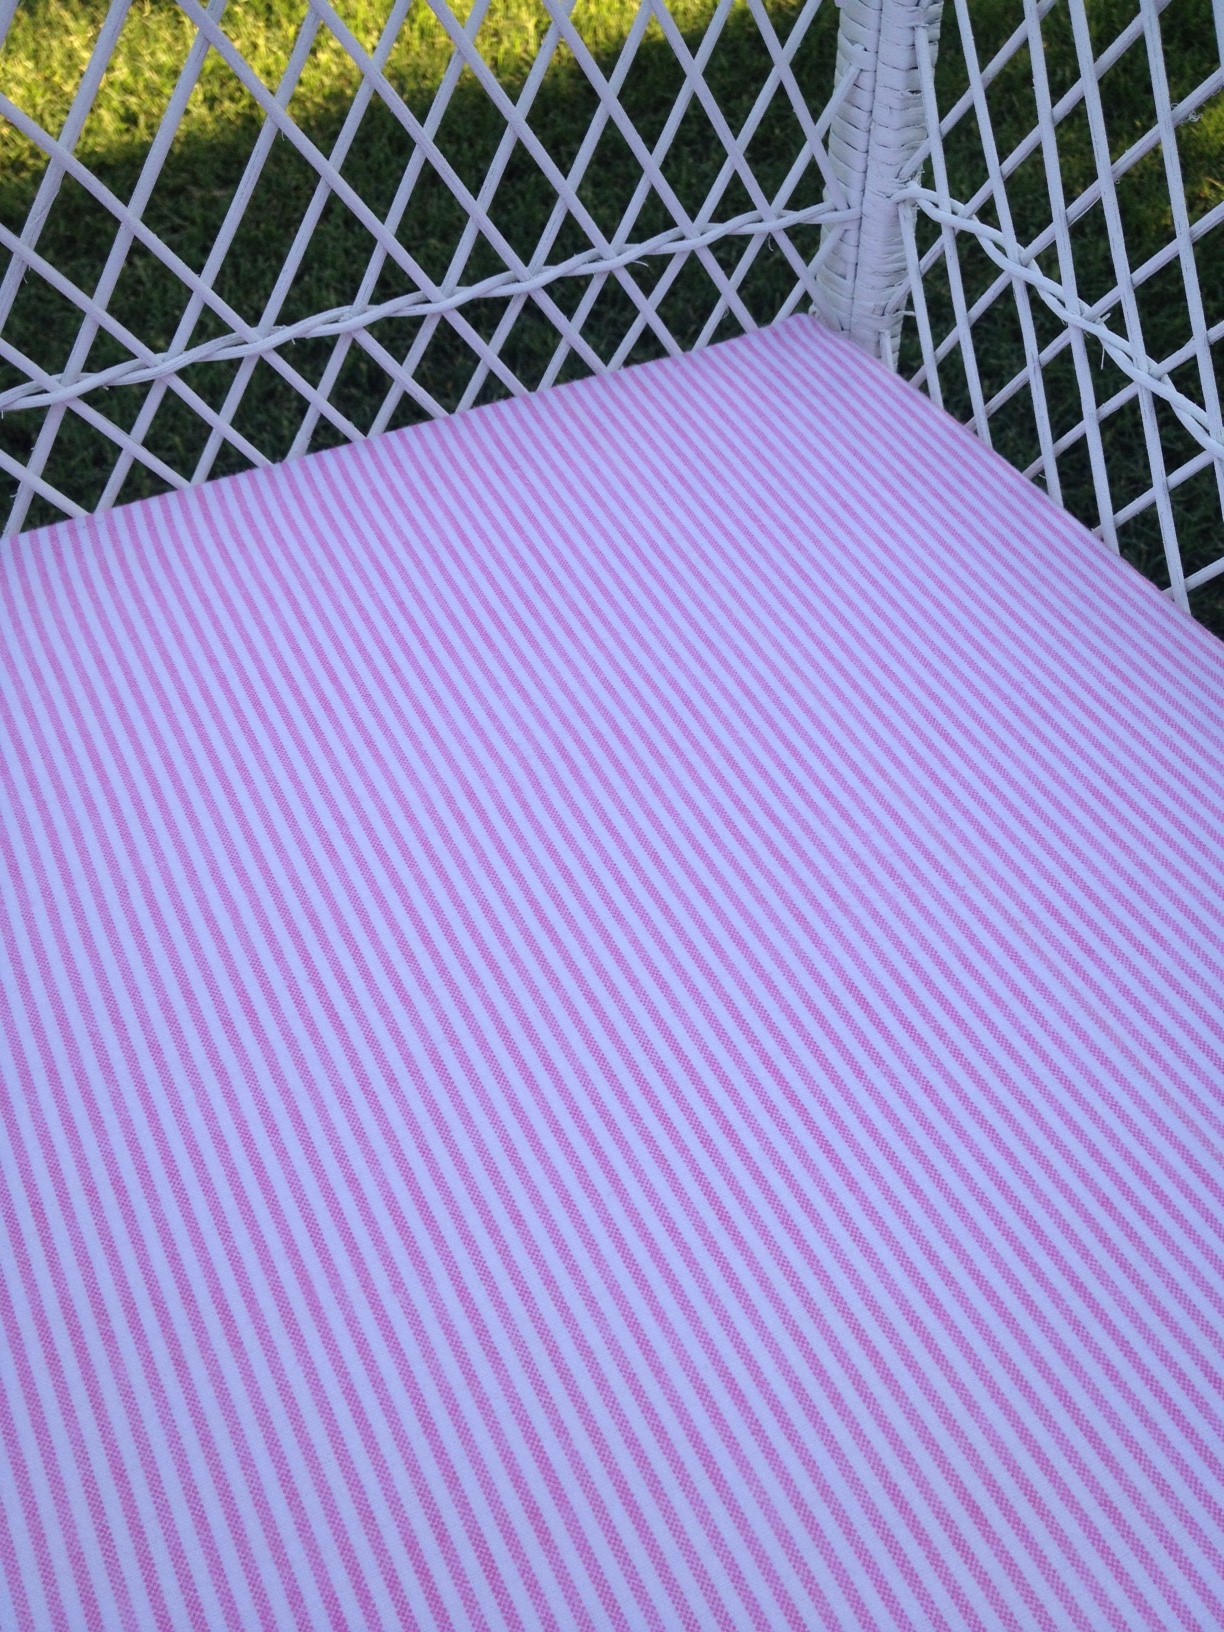
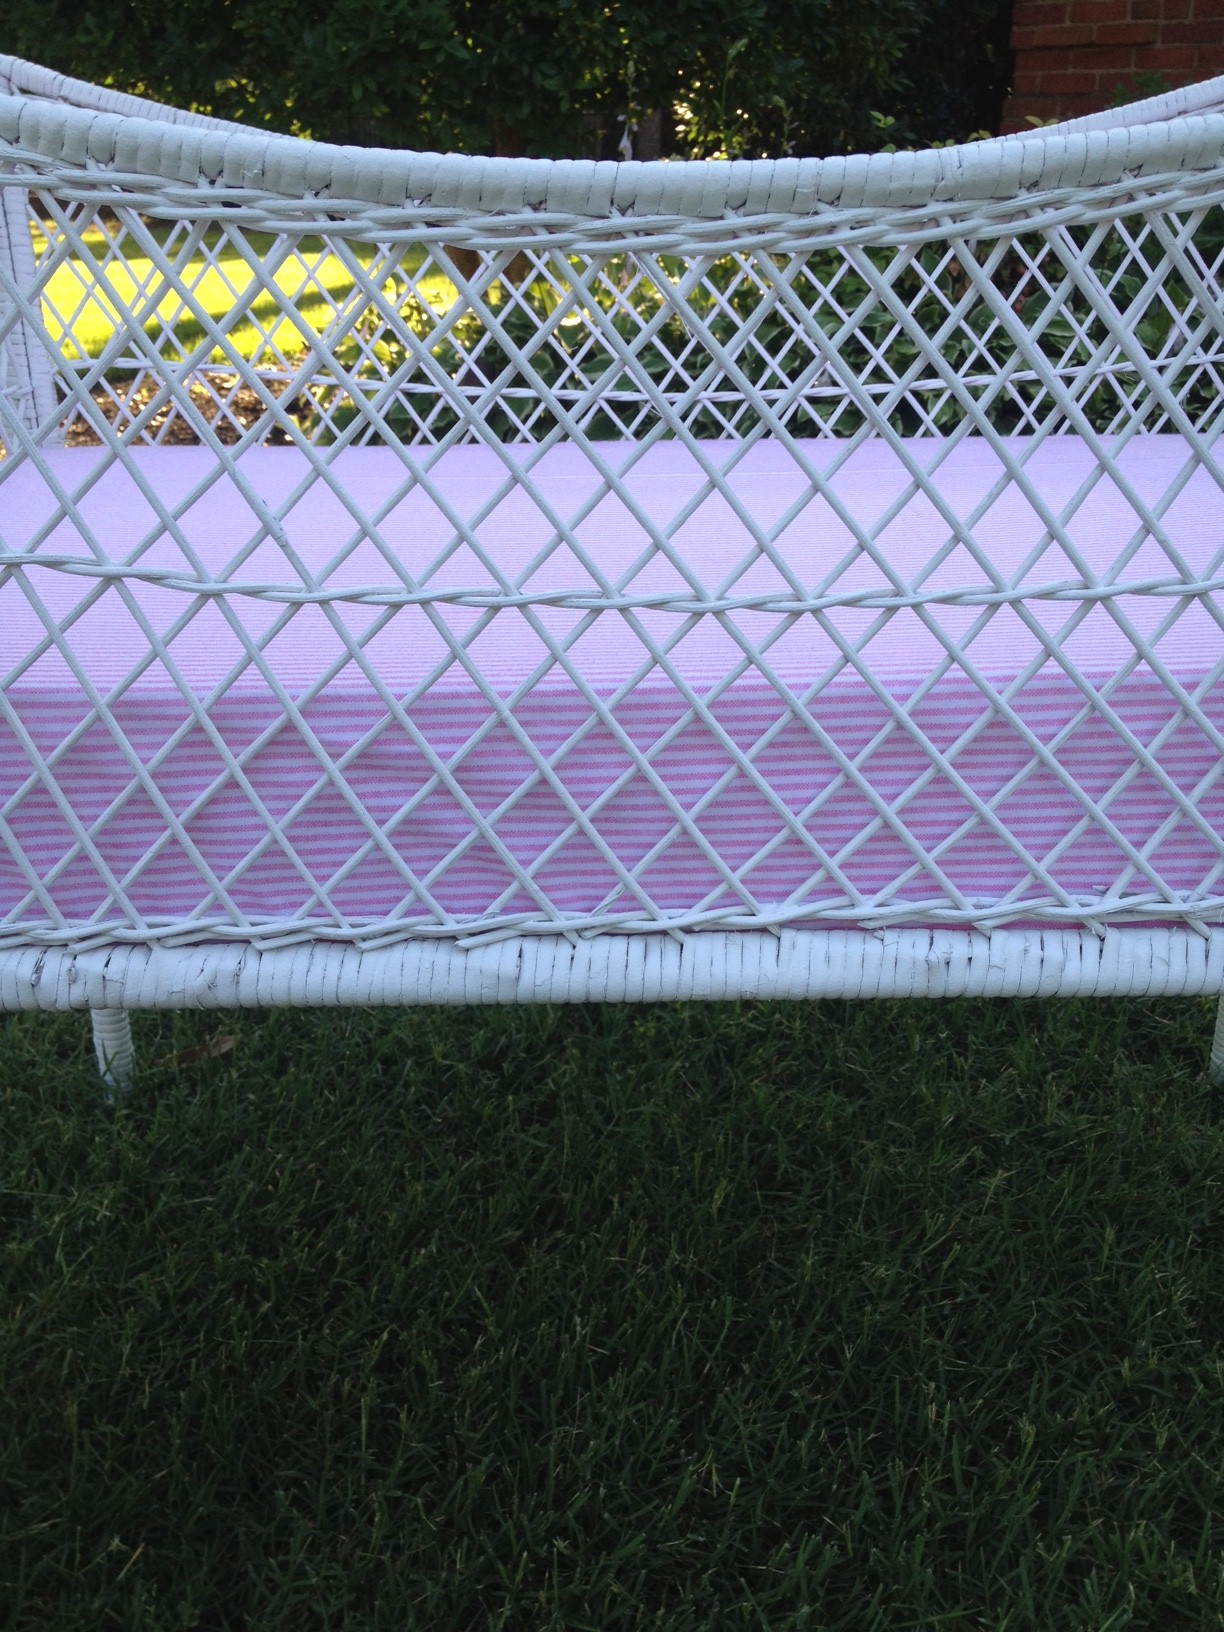
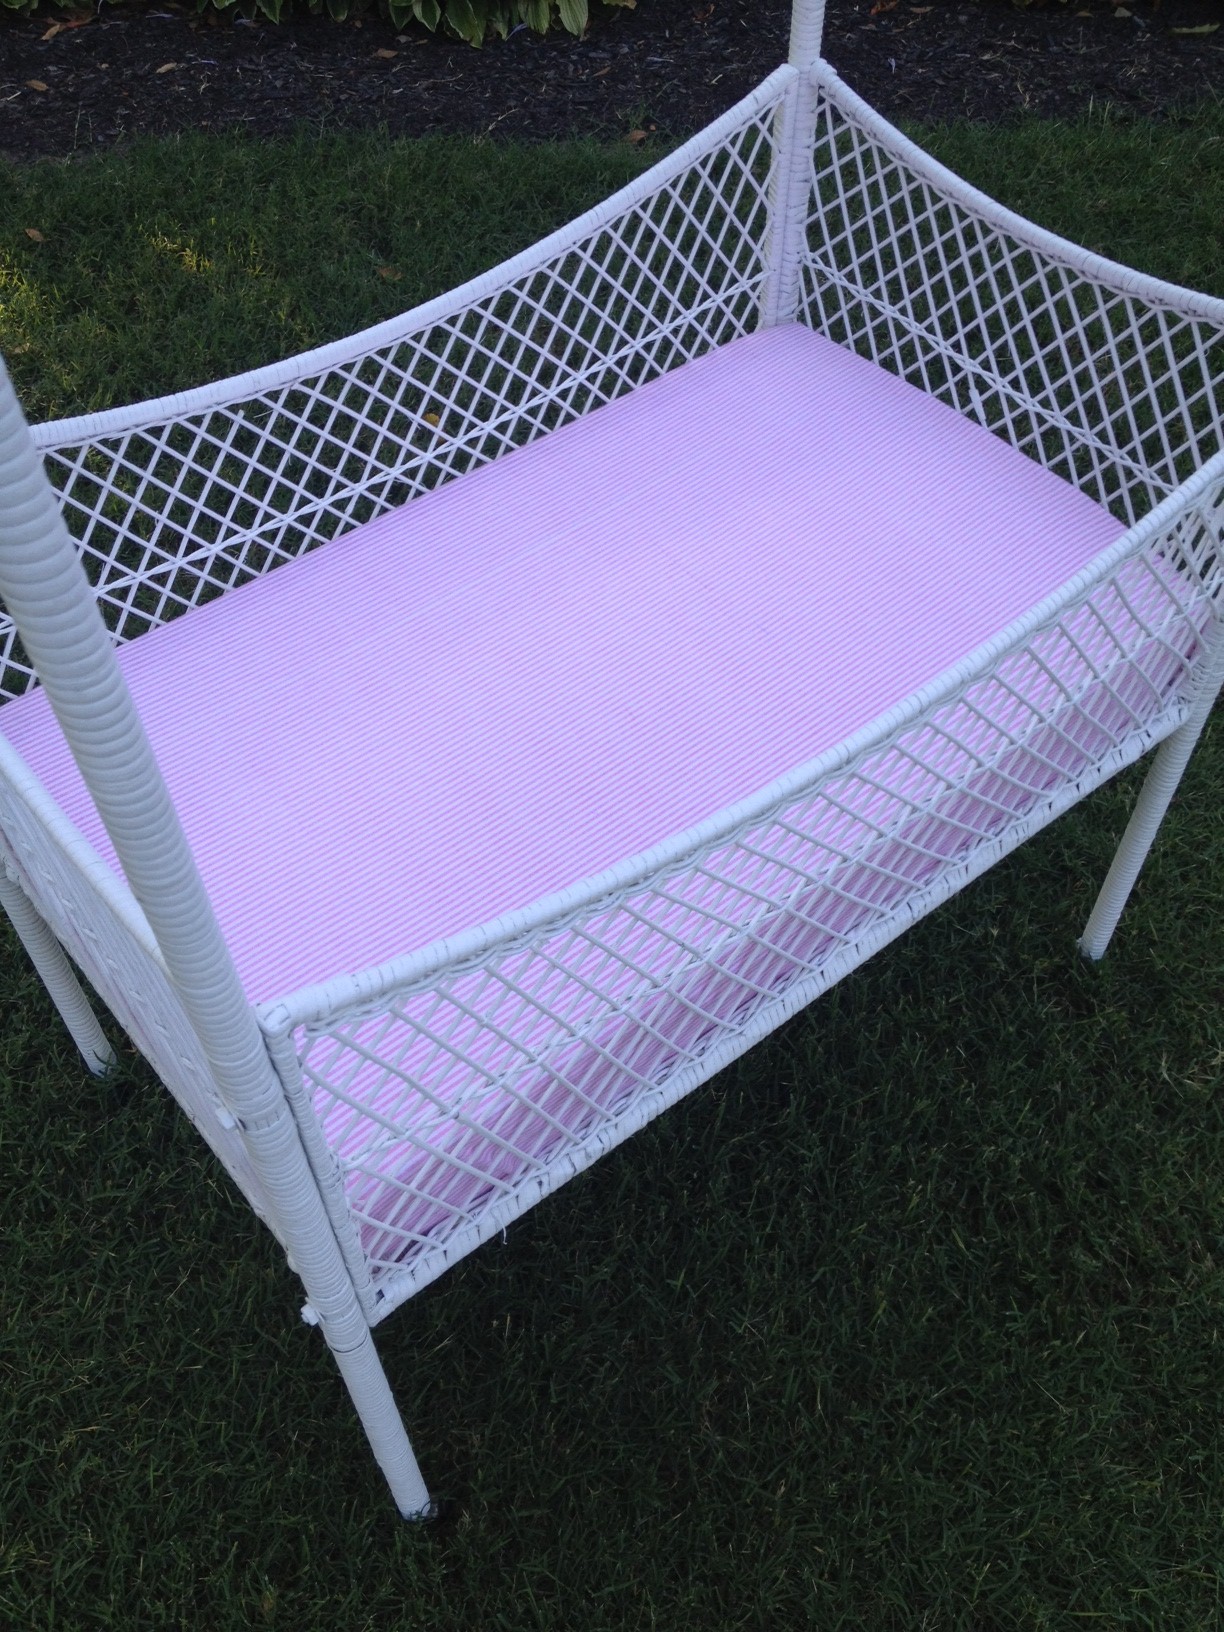
We pitched that mattress.  Because the bassinet is not a standard crib size, we couldn't just buy another mattress.  Instead, we had a piece of thick foam cut.  Using this tutorial as a guide, my mom was able to make a sheet that fits it perfectly.  It's made out of the softest pink and white striped fabric ever.

And since it's thicker than the original mattress, it fills the bassinet up a little better.

I like that it has a snug fit.  The other mattress just looked like it didn't really belong.

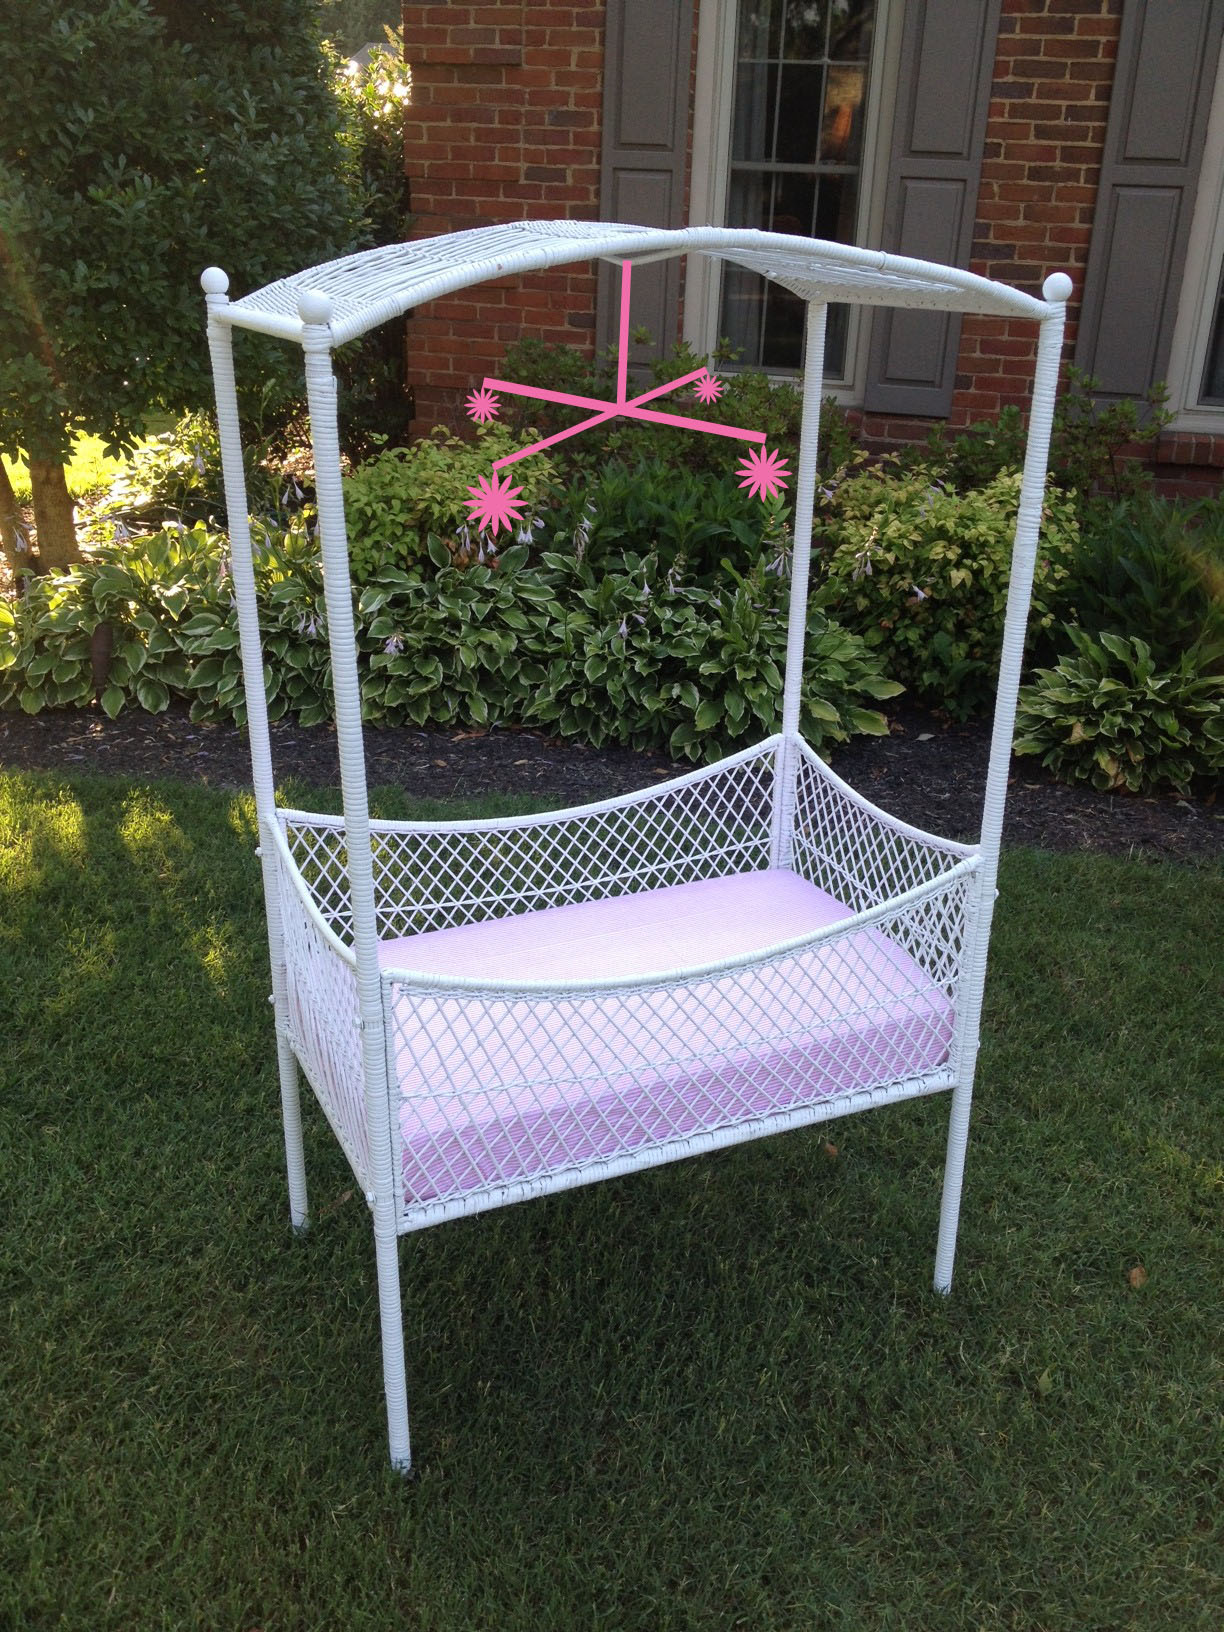
We toyed with other ways we could snazz this little bed up.  A dust ruffle?  Or maybe threading ribbon through the weave of the wicker?  But in the end, I decided I wanted it plain and simple.  This is something I plan on dragging all over the house during the first few weeks so I don't want a skirt or anything getting in the way.  I do think I want to find a small pink and white mobile to hang from the top.  Something sweet and dainty, maybe like this.  Here's my very amateur sketch in photoshop of how that might look.

My mom was so pleased with how easy it was to make the crib sheet that the next time I came to her house, she'd already made another one.  I think she's more excited about being able to change the look of it so easily than I am. :)

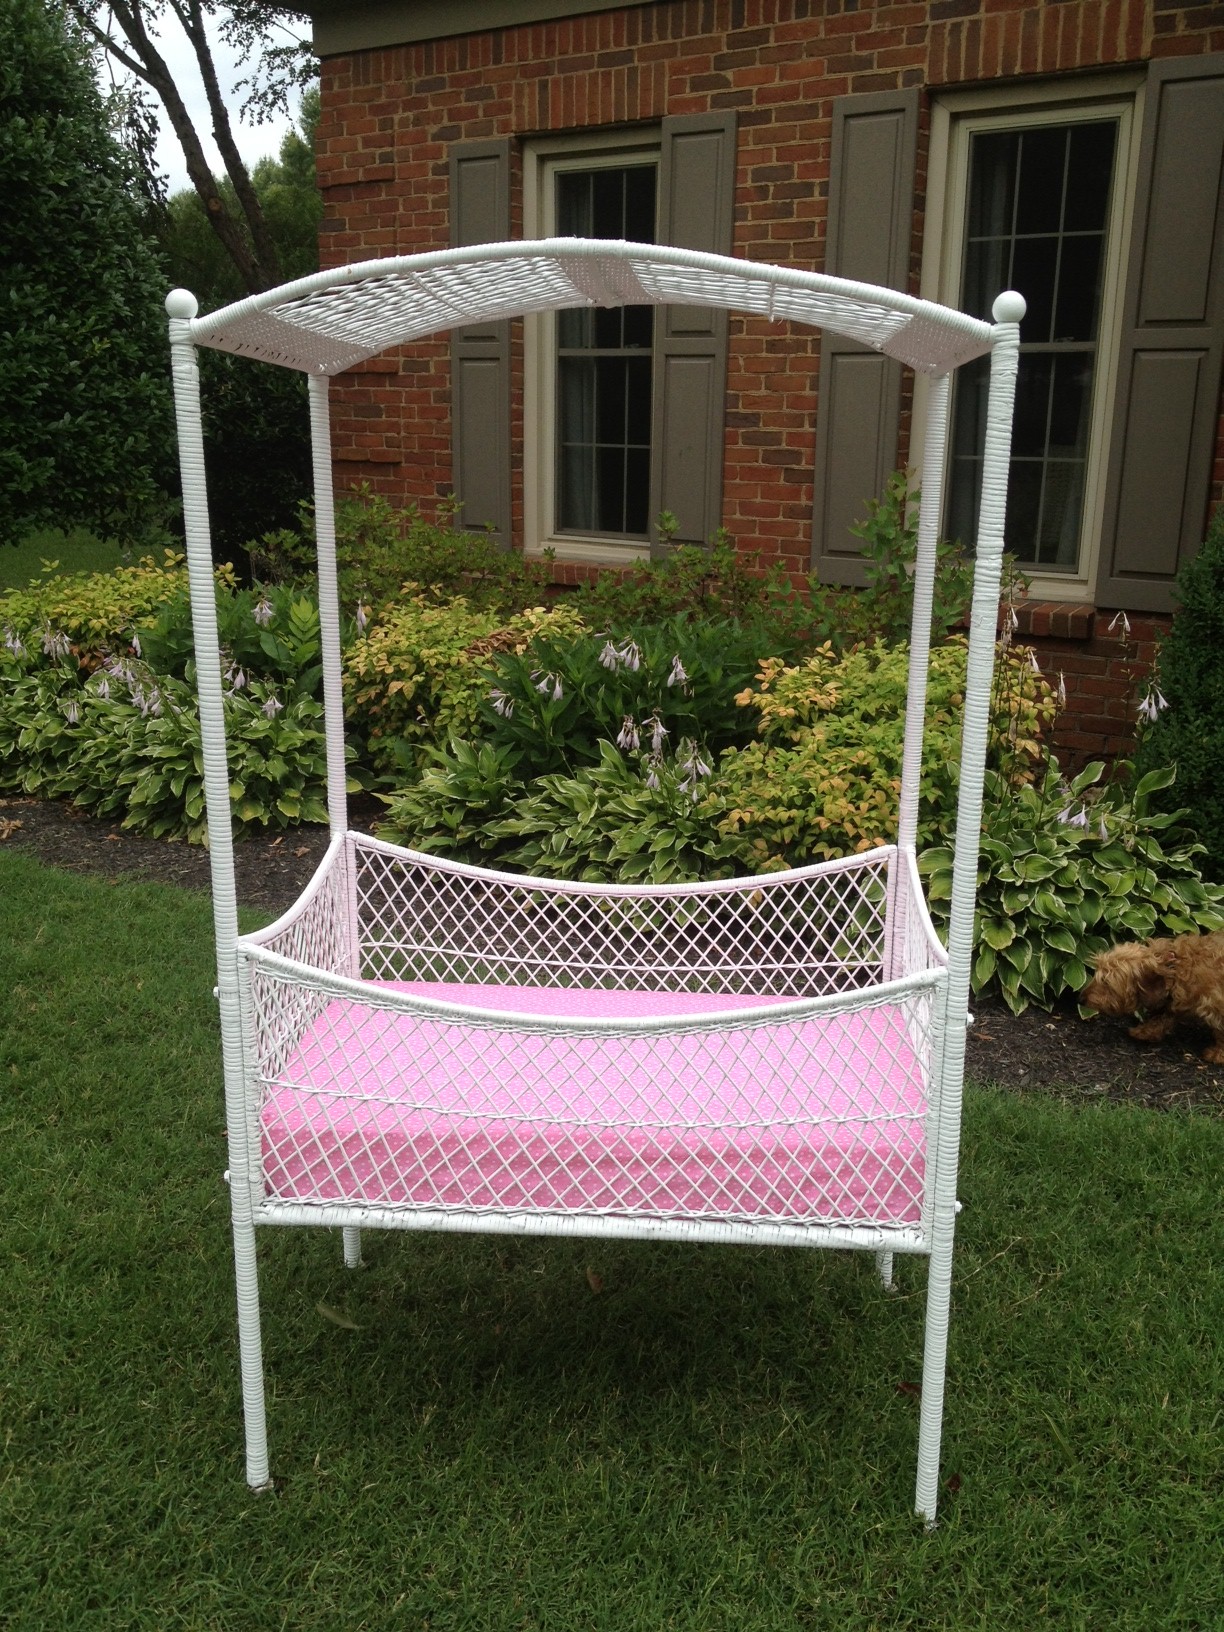
I really like how this pink fabric pops against the white wicker.

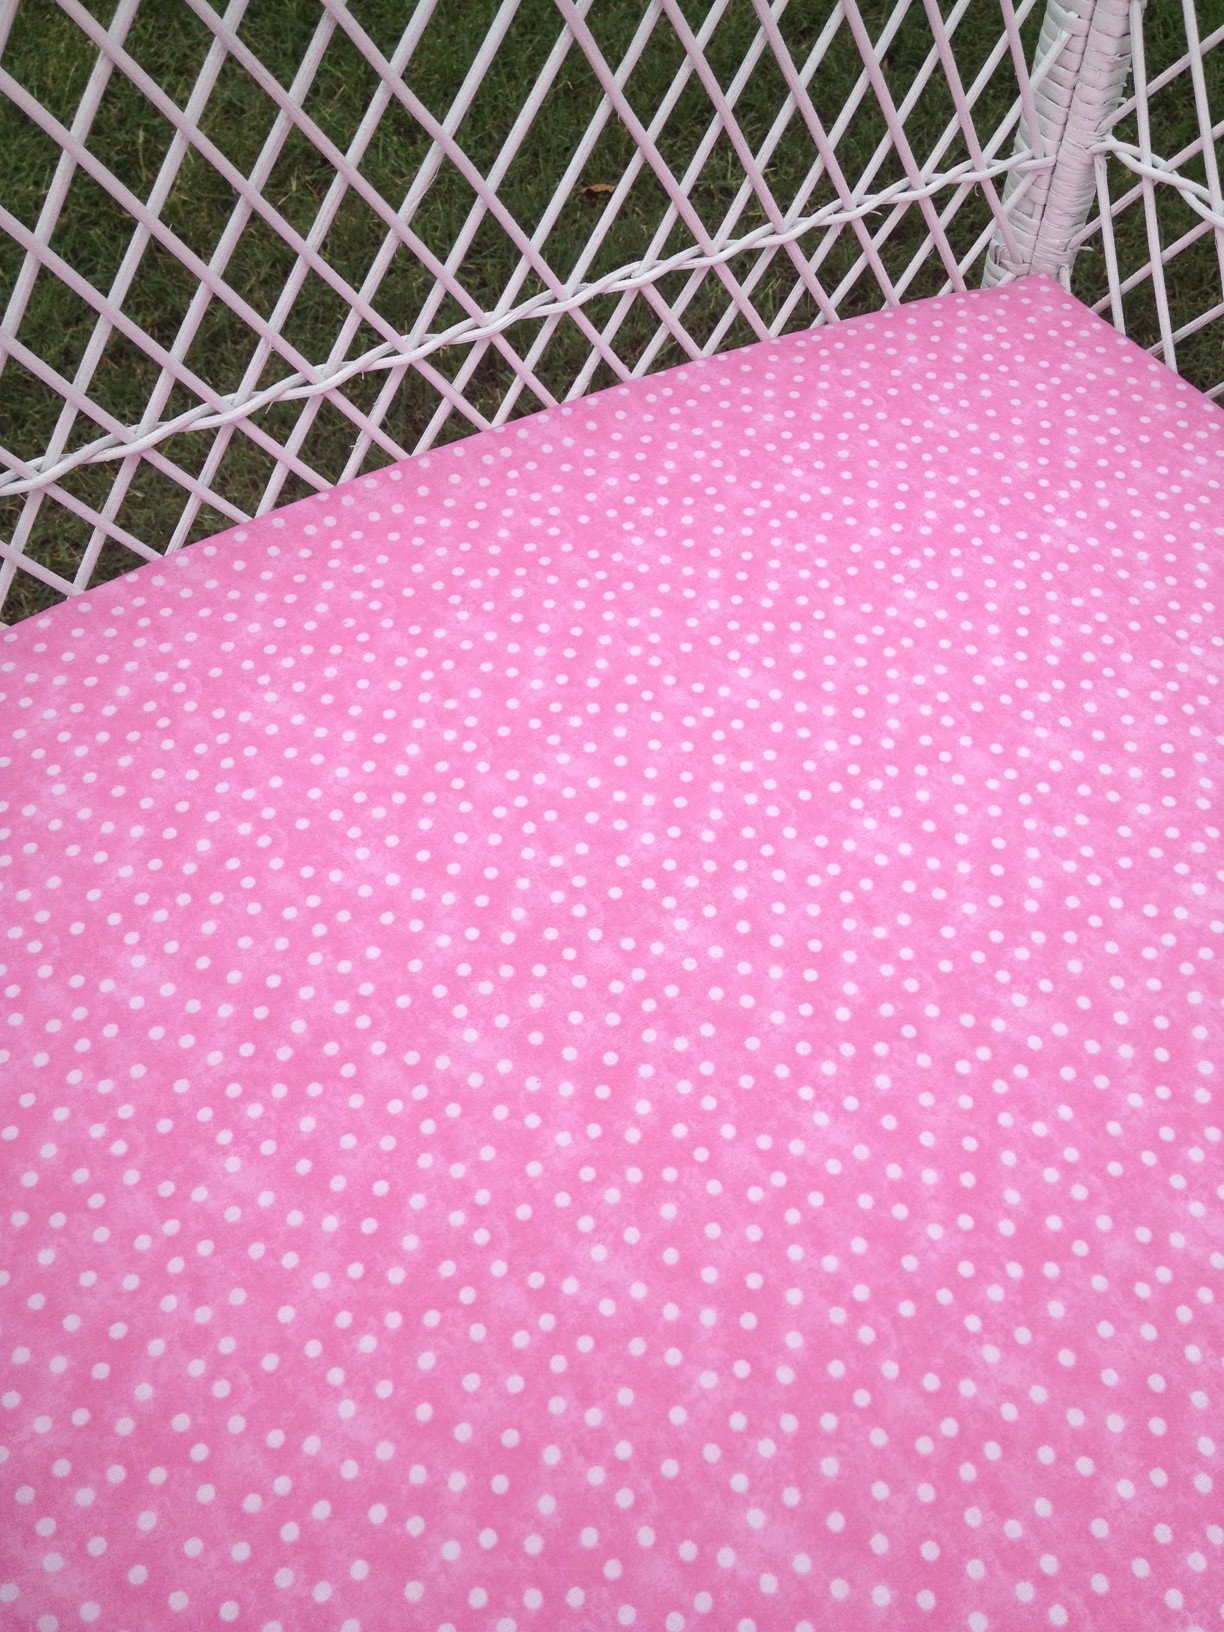
Up close it has tiny white polka dots on it.

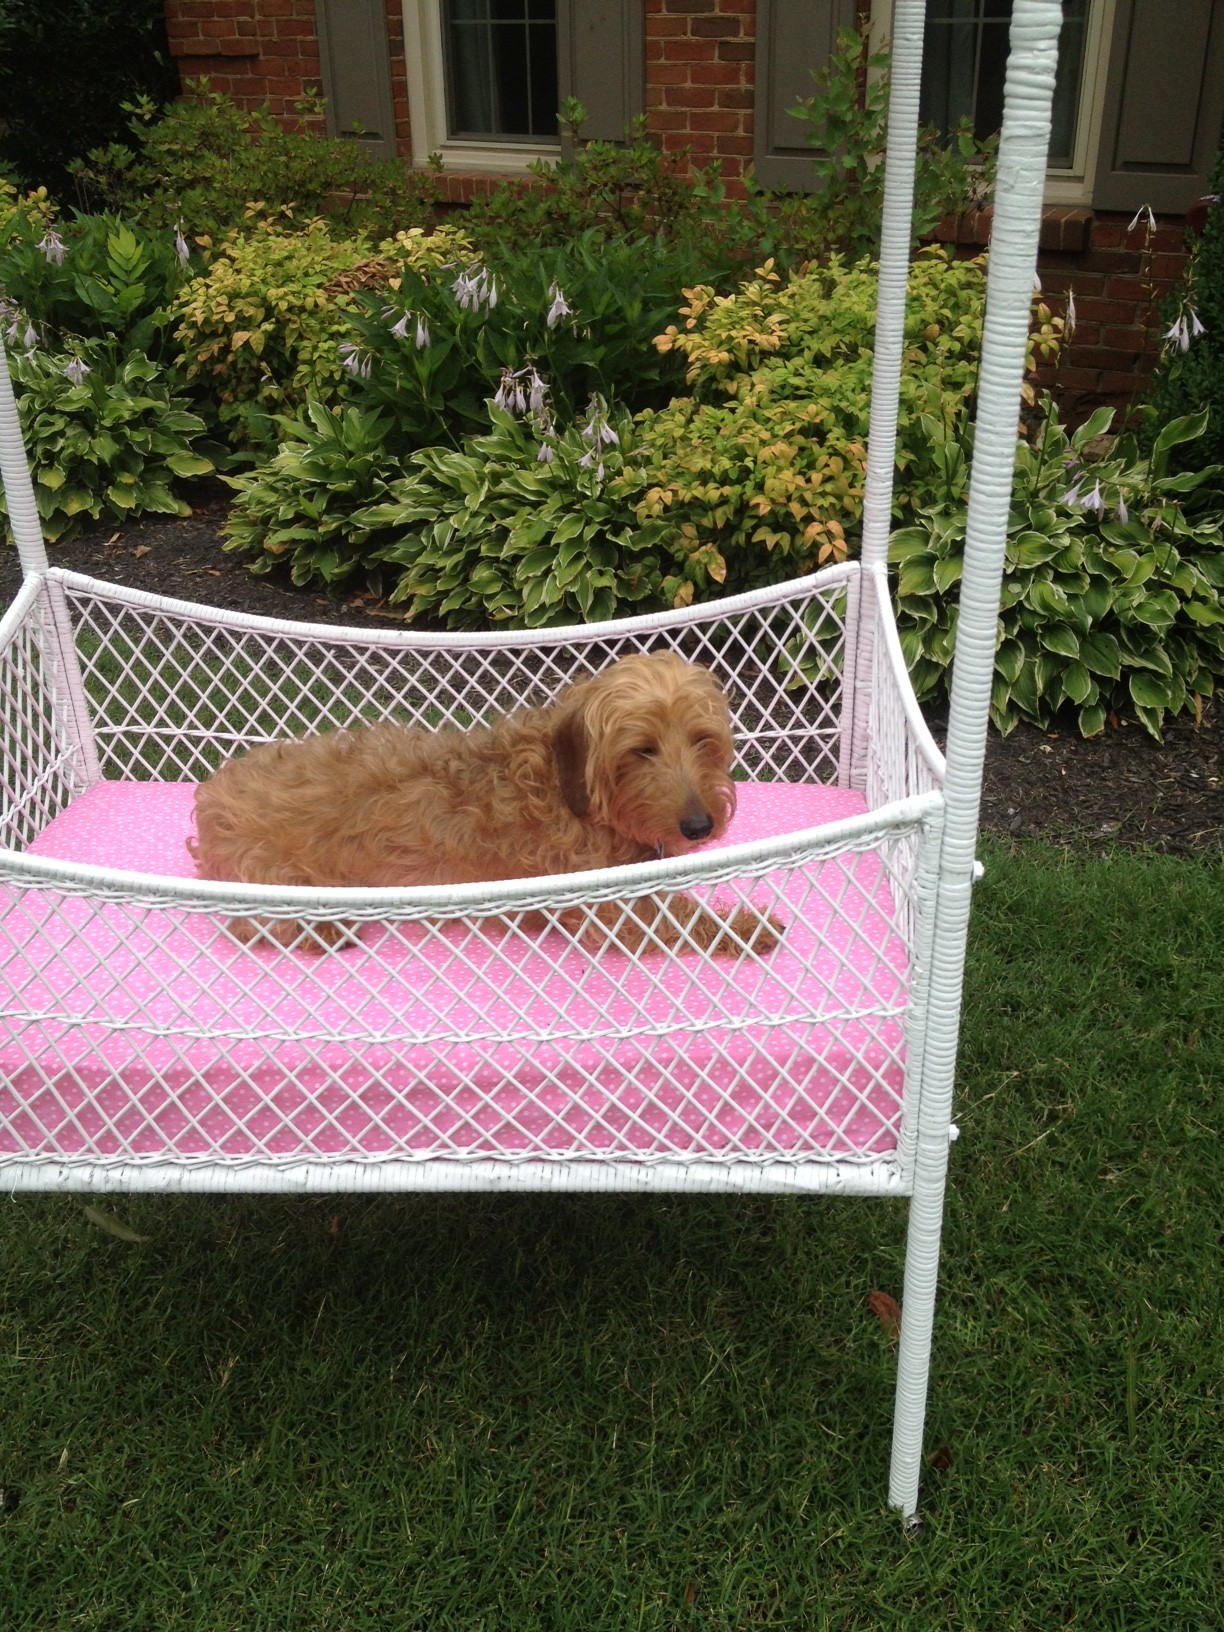
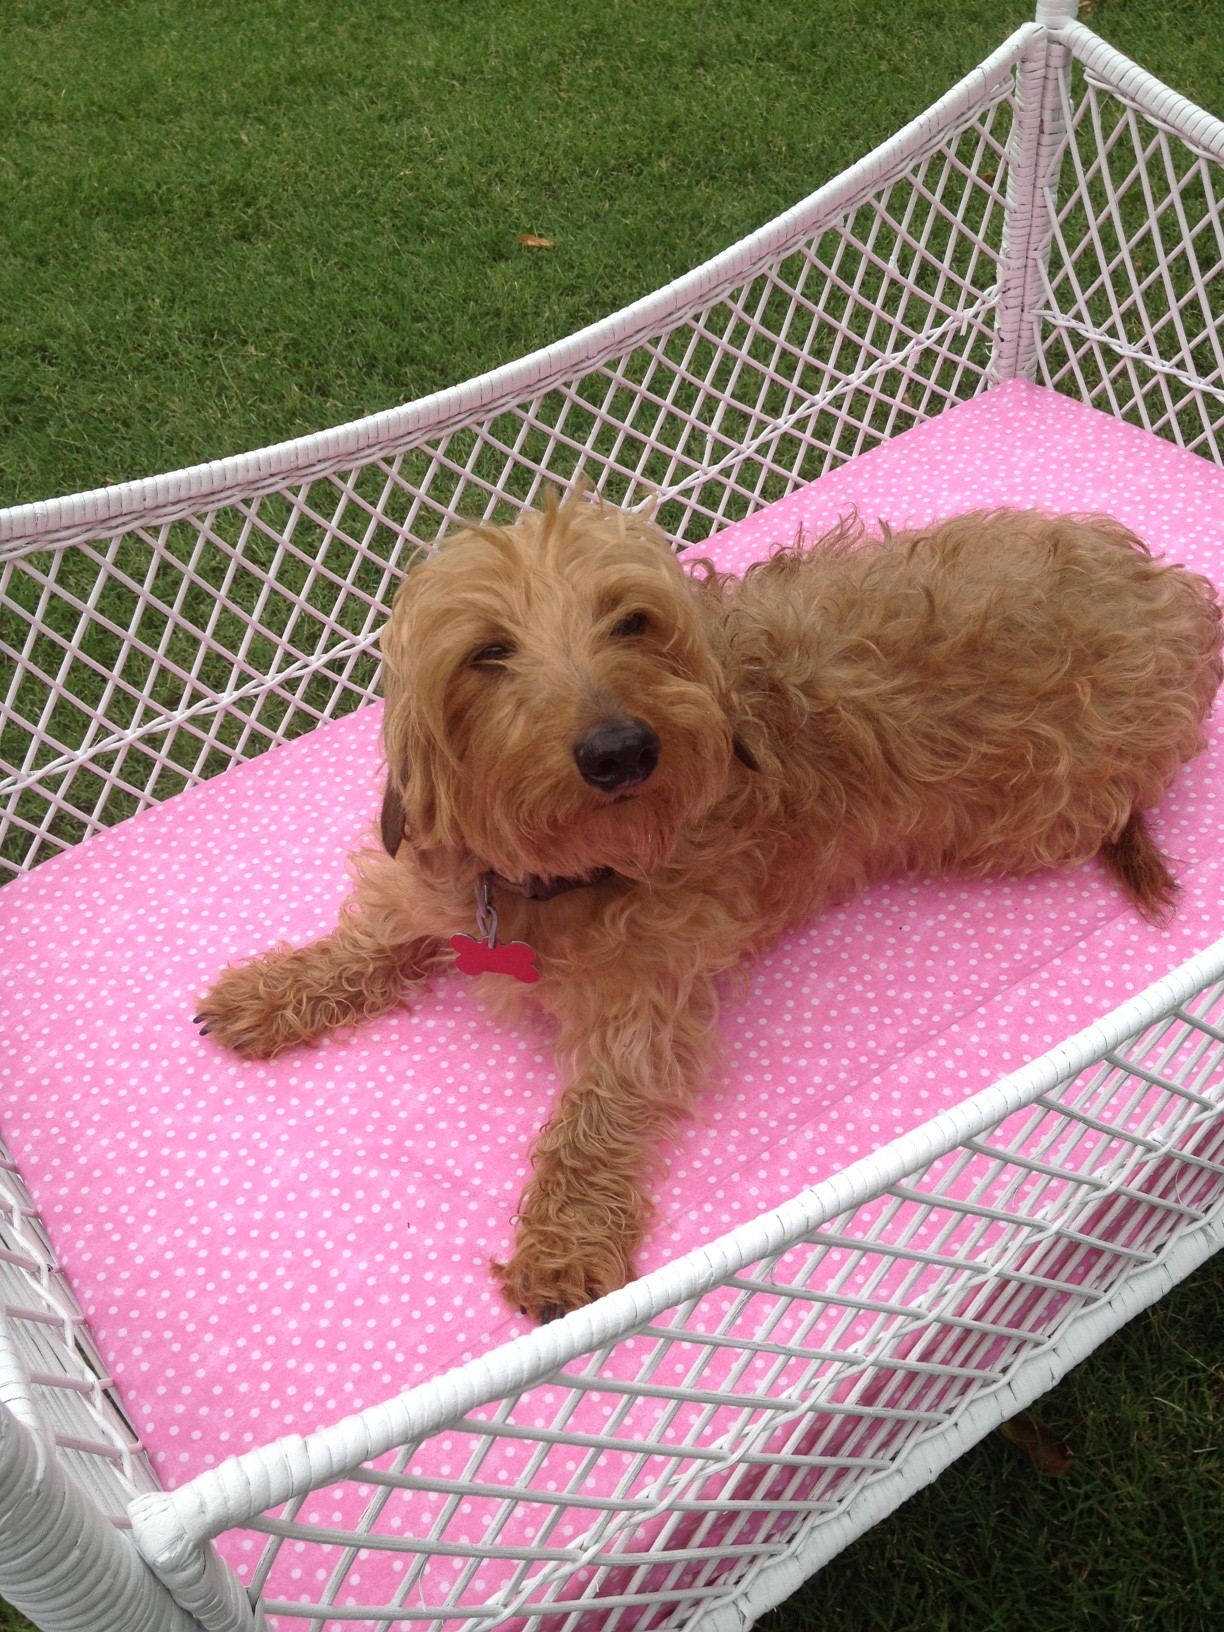
I am so excited about using this little bed that I couldn't resist; I had to try it out.  I picked up sweet baby Henry and put him to bed.

I've heard that dogs are color blind, but something tells me Henry knew he was laying on a pink sheet.  He was so embarrassed and would not make eye contact with me for anything.  This is the best I could get.

Baby girl may not have a name yet or her own nursery, but by golly she's got a place to sleep! At least for a couple of weeks maybe...

Before and After: 2 Chairs

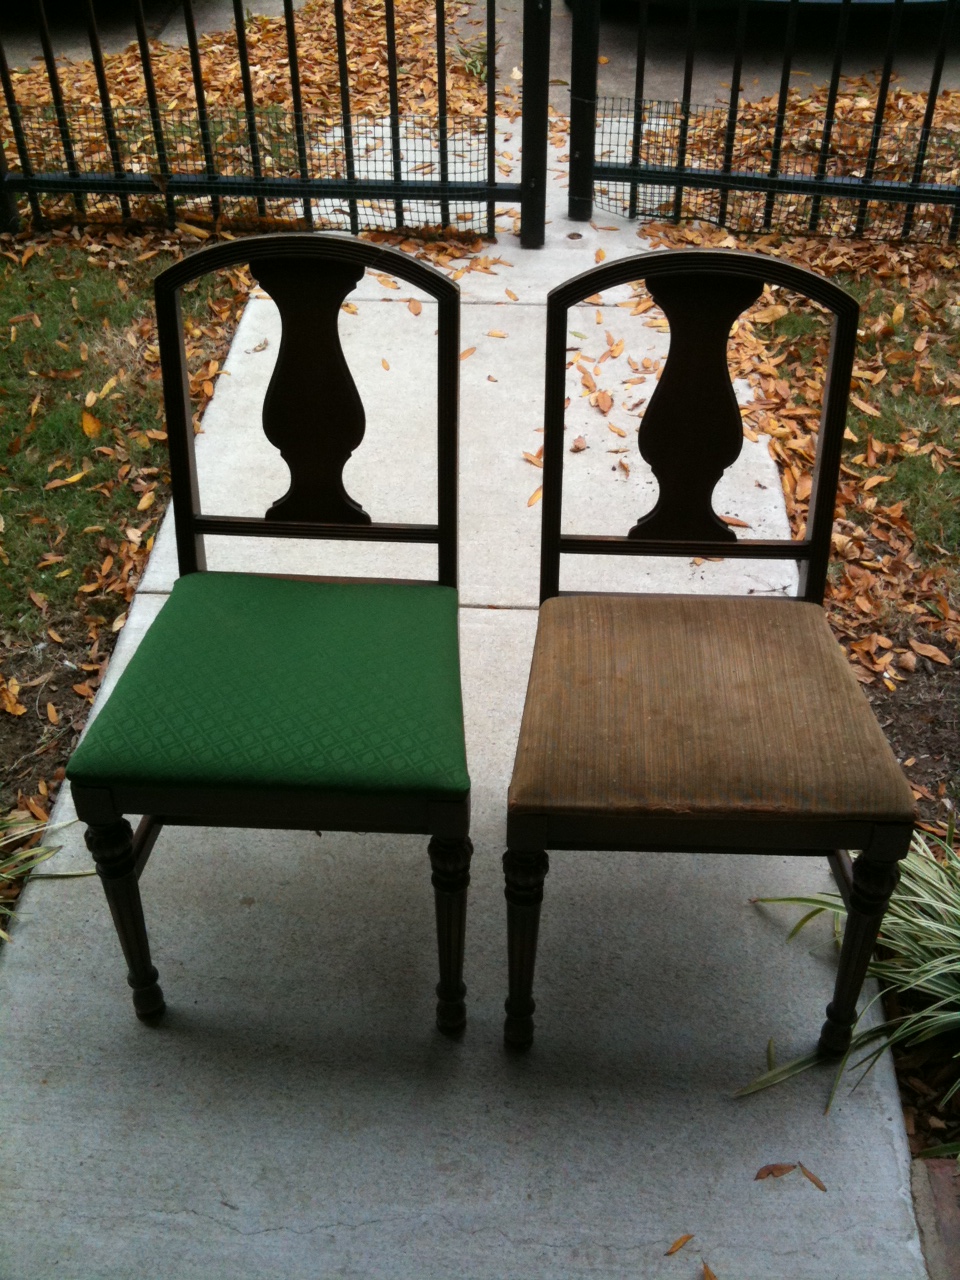
A good while back - I can't even remember when, maybe last summer? - my mom and I stopped by a second-hand furniture sale on the side of the road and scooped up these two chairs.

Pretty grody in that condition, but they had decent lines so we knew we could spruce them up.  I don't remember how much we paid for them - maybe $20-ish?  I do remember we talked the seller down from the original price, but not quite as low as we wanted.  As our typical fashion, we didn't even have a plan for them, but we bought 'em anyway!

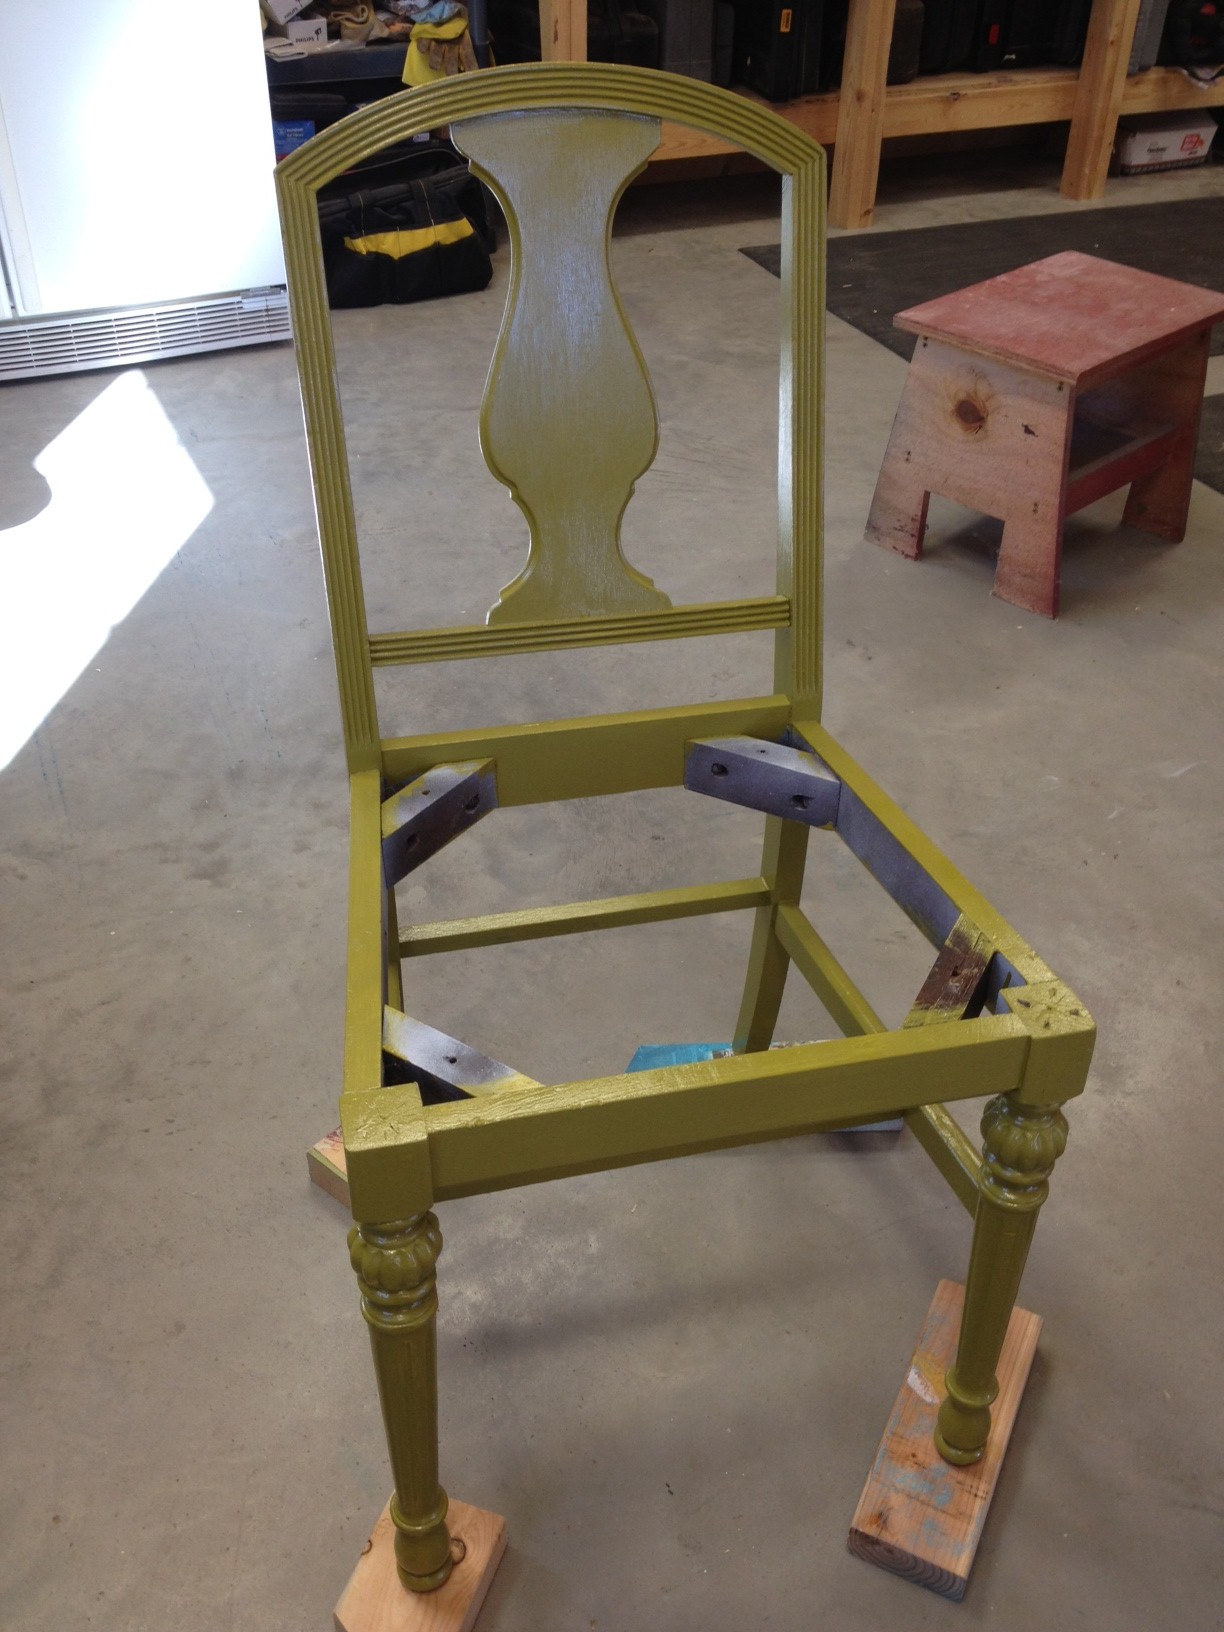
Fast forward lottsa months and I finally got around to refinishing them.  It wasn't hard at all.  I found some spray primer in the shop, so I skipped the sanding step completely (such a rebel!) and misted them with the primer.  Then it was just a matter of slapping on paint and recovering the seats.

Oh, and obviously since I was working on them, we'd figured out their purpose.  As with every other project these days, they'd head to the beach house.  Every bedroom needs a chair for you to throw your clothes in, right?

The first one got painted green and ooooh-wee! was it a rough shade of green.  Kinda like green pea baby food or something.  This picture really doesn't show off it's nastiness.

Can I just interrupt real fast and say that I hate, hate, hate painting chairs by hand?  All those legs and spindles and slats are torture.  This would've been an ideal candidate for some spray paint, if only I'd had some in green and the weather had been nicer.  The green pea color didn't make me enjoy painting it any more, either.

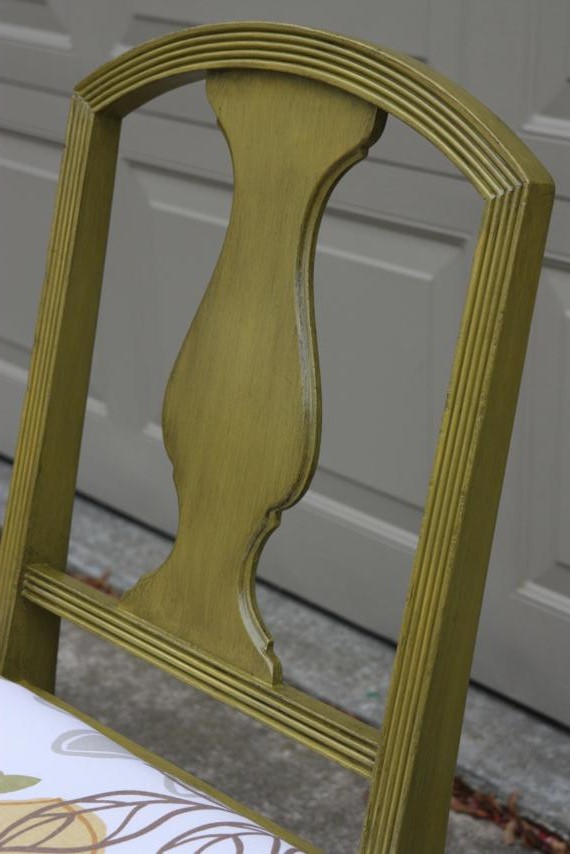
I almost completely ditched the project and said to heck with it, but I decided to give it one last effort and rub some glaze on it, hoping it would tone down the green peas.  Luckily, it did.  The picture below shows off the glaze the best.

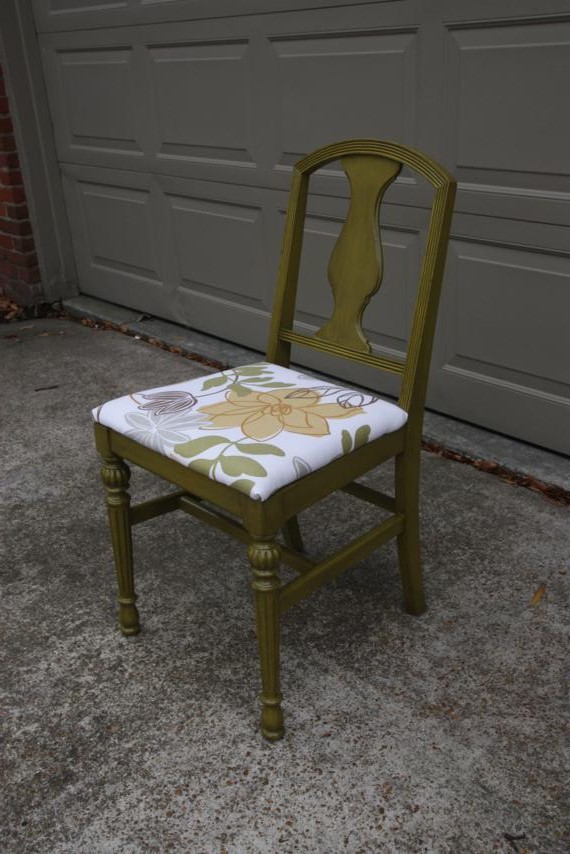
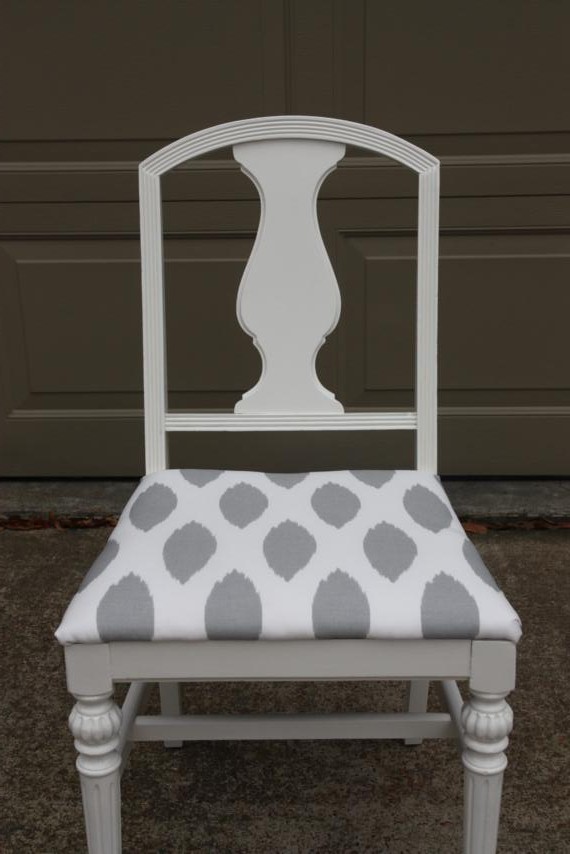
This chair, we decided, will go in the downstairs bedroom with the yellow dresser and this painting.  I used the fabric we picked for the curtains to recover the seat.  No fancy reupholstery tricks here - we just popped the seat off, added a layer of batting, wrapped it up like a present in the fabric, and staple-gunned it down.  Here's the finished product.


(Yes, I used the garage door as the backdrop to my photoshoot.  I was looking for a background that wouldn't be too distracting.  Our neighbors, I'm sure, think I'm totally weird.)

Here's a close-up of the fabric.

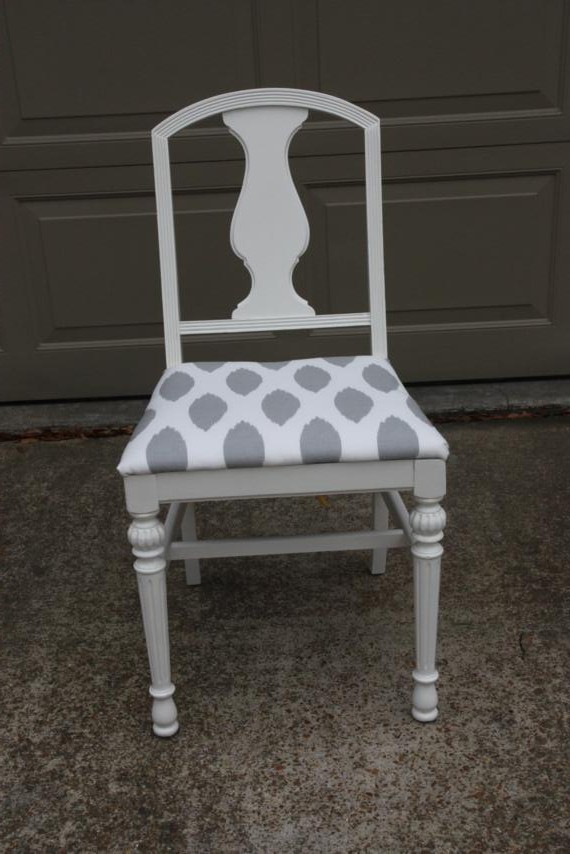
The other chair was done pretty much the same way, except minus the coat of glaze.  It got coated in glossy white paint and will go in one of the jack-and-jill bedrooms.  The fabric on the seat is the same fabric from the shower curtain my mom made for that bathroom.


A close-up of the fabric on this one.

Just for fun, let's go back to the before shot...

Yea, pretty sure I like them better now.


Which do you like better, the white or the green?

Ikea Rast Hack #3

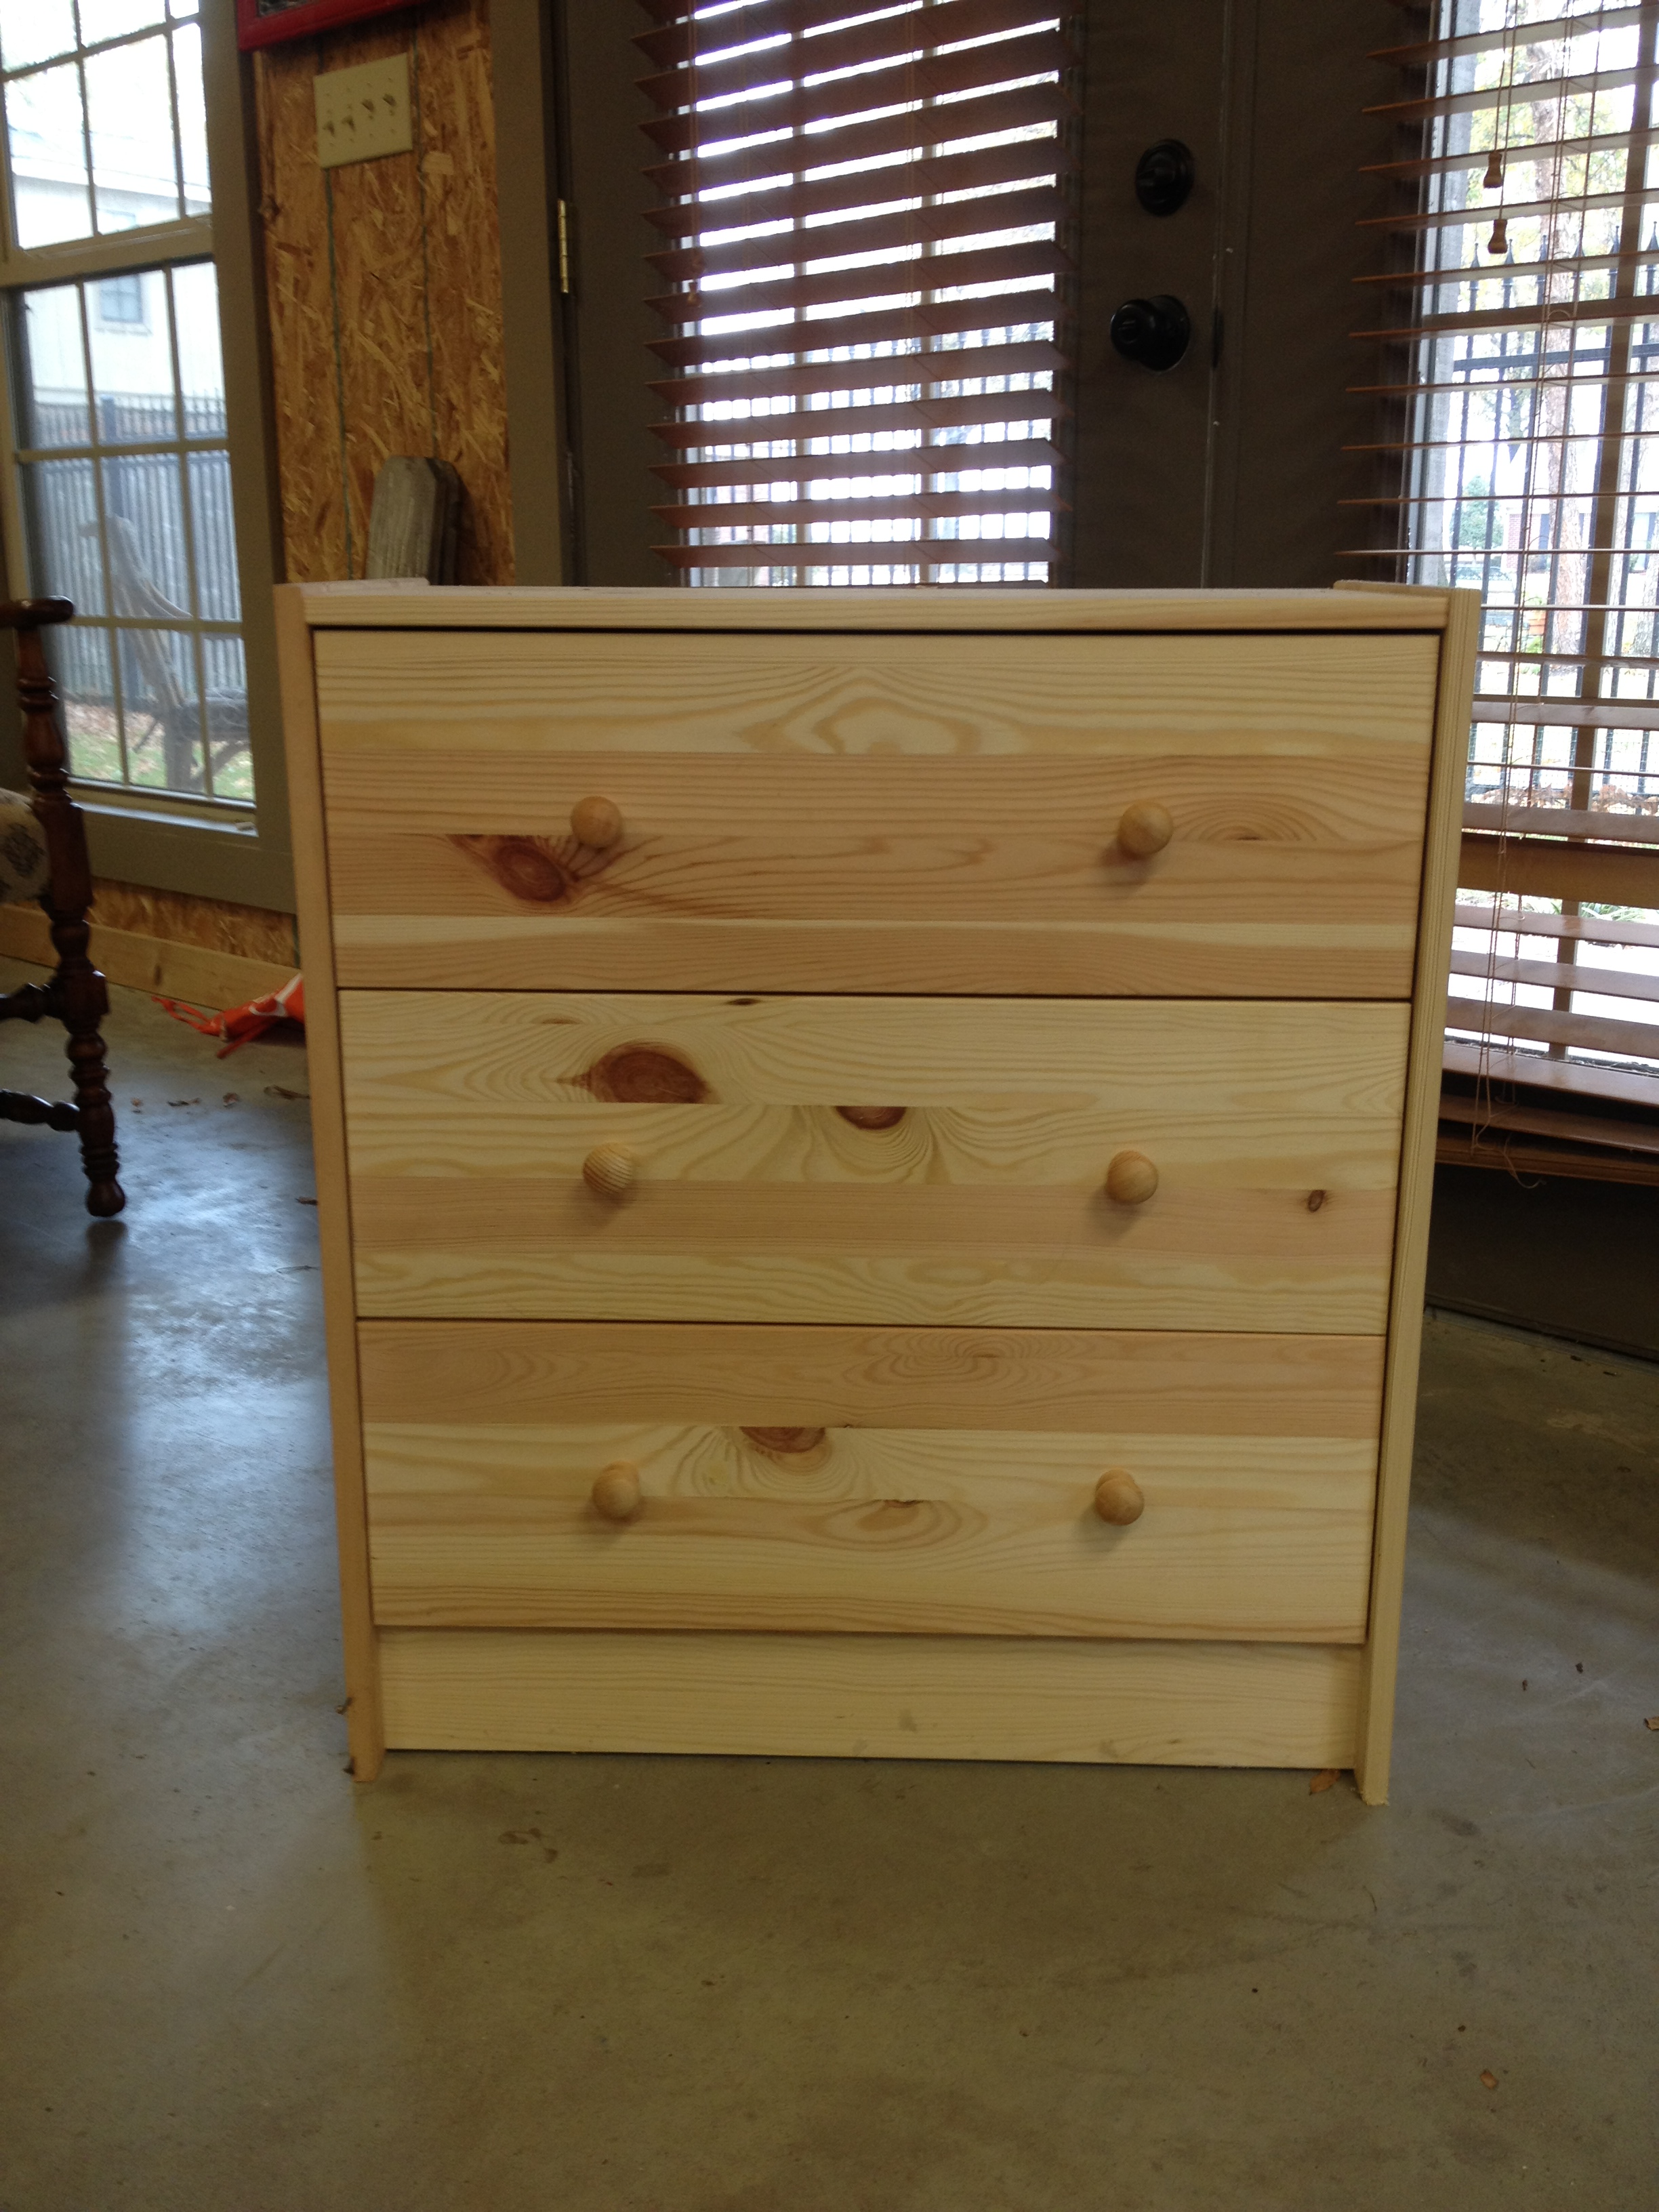
Don't know what an Ikea Rast dresser is?  Check out my first hack here for more info.  And if you're curious, hack #2 can be found here. We cranked out the third and final hack the day after Christmas.  I didn't take pics of our step-by-step process, so this before and after should be quick.  If you need a refresher, here's what the Ikea Rast dresser looked like right out of the box.

Plain, simple, raw wood.  We used A Charming Nest's hack as our inspiration.  Hop on over to her blog if you want more details of the steps.

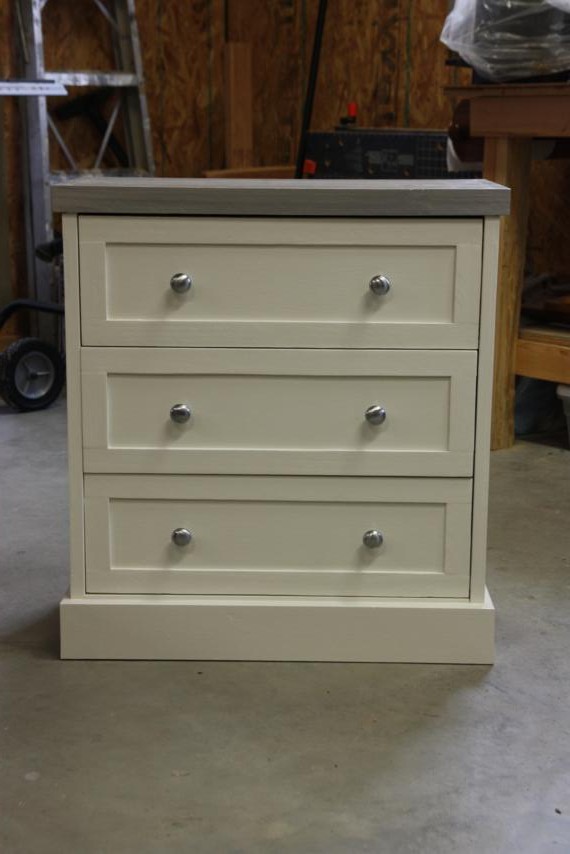
No point in wasting time, let's get right to the after shots!

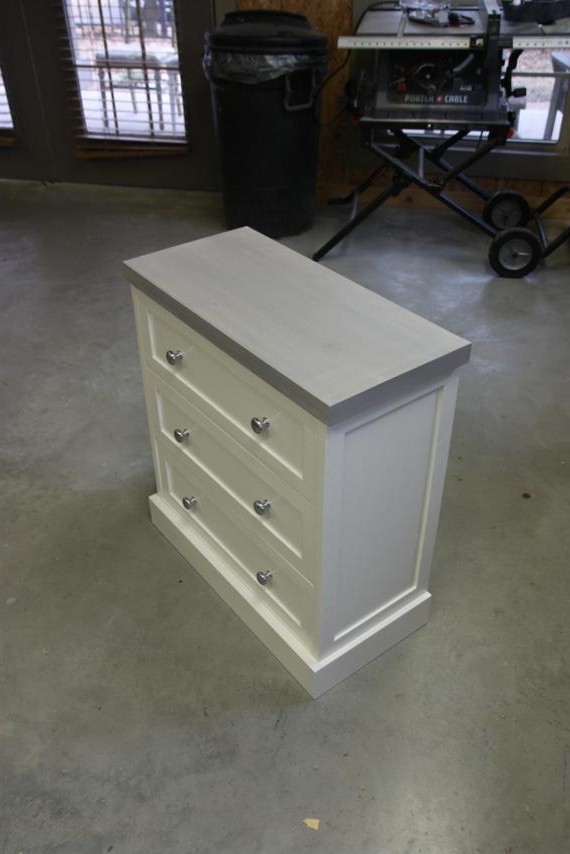
I love it!  I used the same colors that I used for the stenciled hack since they'll both go in the jack-and-jill bedrooms at the beach house.  Instead of staining the top, I watered down my grey paint and white-washed it on.

I really like that it has a nice contrast from the white base, but that you can still see some of the wood grain too.

And I thought brushed silver knobs would go well with the light grey top.

Kinda makes me wish I could go back and add trim to the other ones now, but I'm not sure if I have time!

Which one do you like best?  I was in love with the stenciled one, but I think this one may be winning me over now.

Before and After: Jett's Room

My nephew, Jett, is 6 years old and obsessed with all things army.  He reads about wars and loves to play with his plastic army men and was even an "army guy" for Halloween.  So for Christmas, his surprise gift from his mom and dad was a new army room. I won't lie, when my brother told me they were giving him an army room I immediately pictured camoflauge from floor to ceiling.  Oy.  In reality, there's not a lick of camo in there, but it's very much an army bedroom.

Nick and Beth waited until the kids fell asleep on Christmas Eve before switching out everything in his room.  I'm glad they did it all at one time instead of bit by bit...I love a big reveal!  This was not a complete room overhaul, but instead just new bedding and a few new accessories.  Furniture, paint colors, and major things like that stayed the same.

These pictures are all courtesy of sister-in-law, Beth.

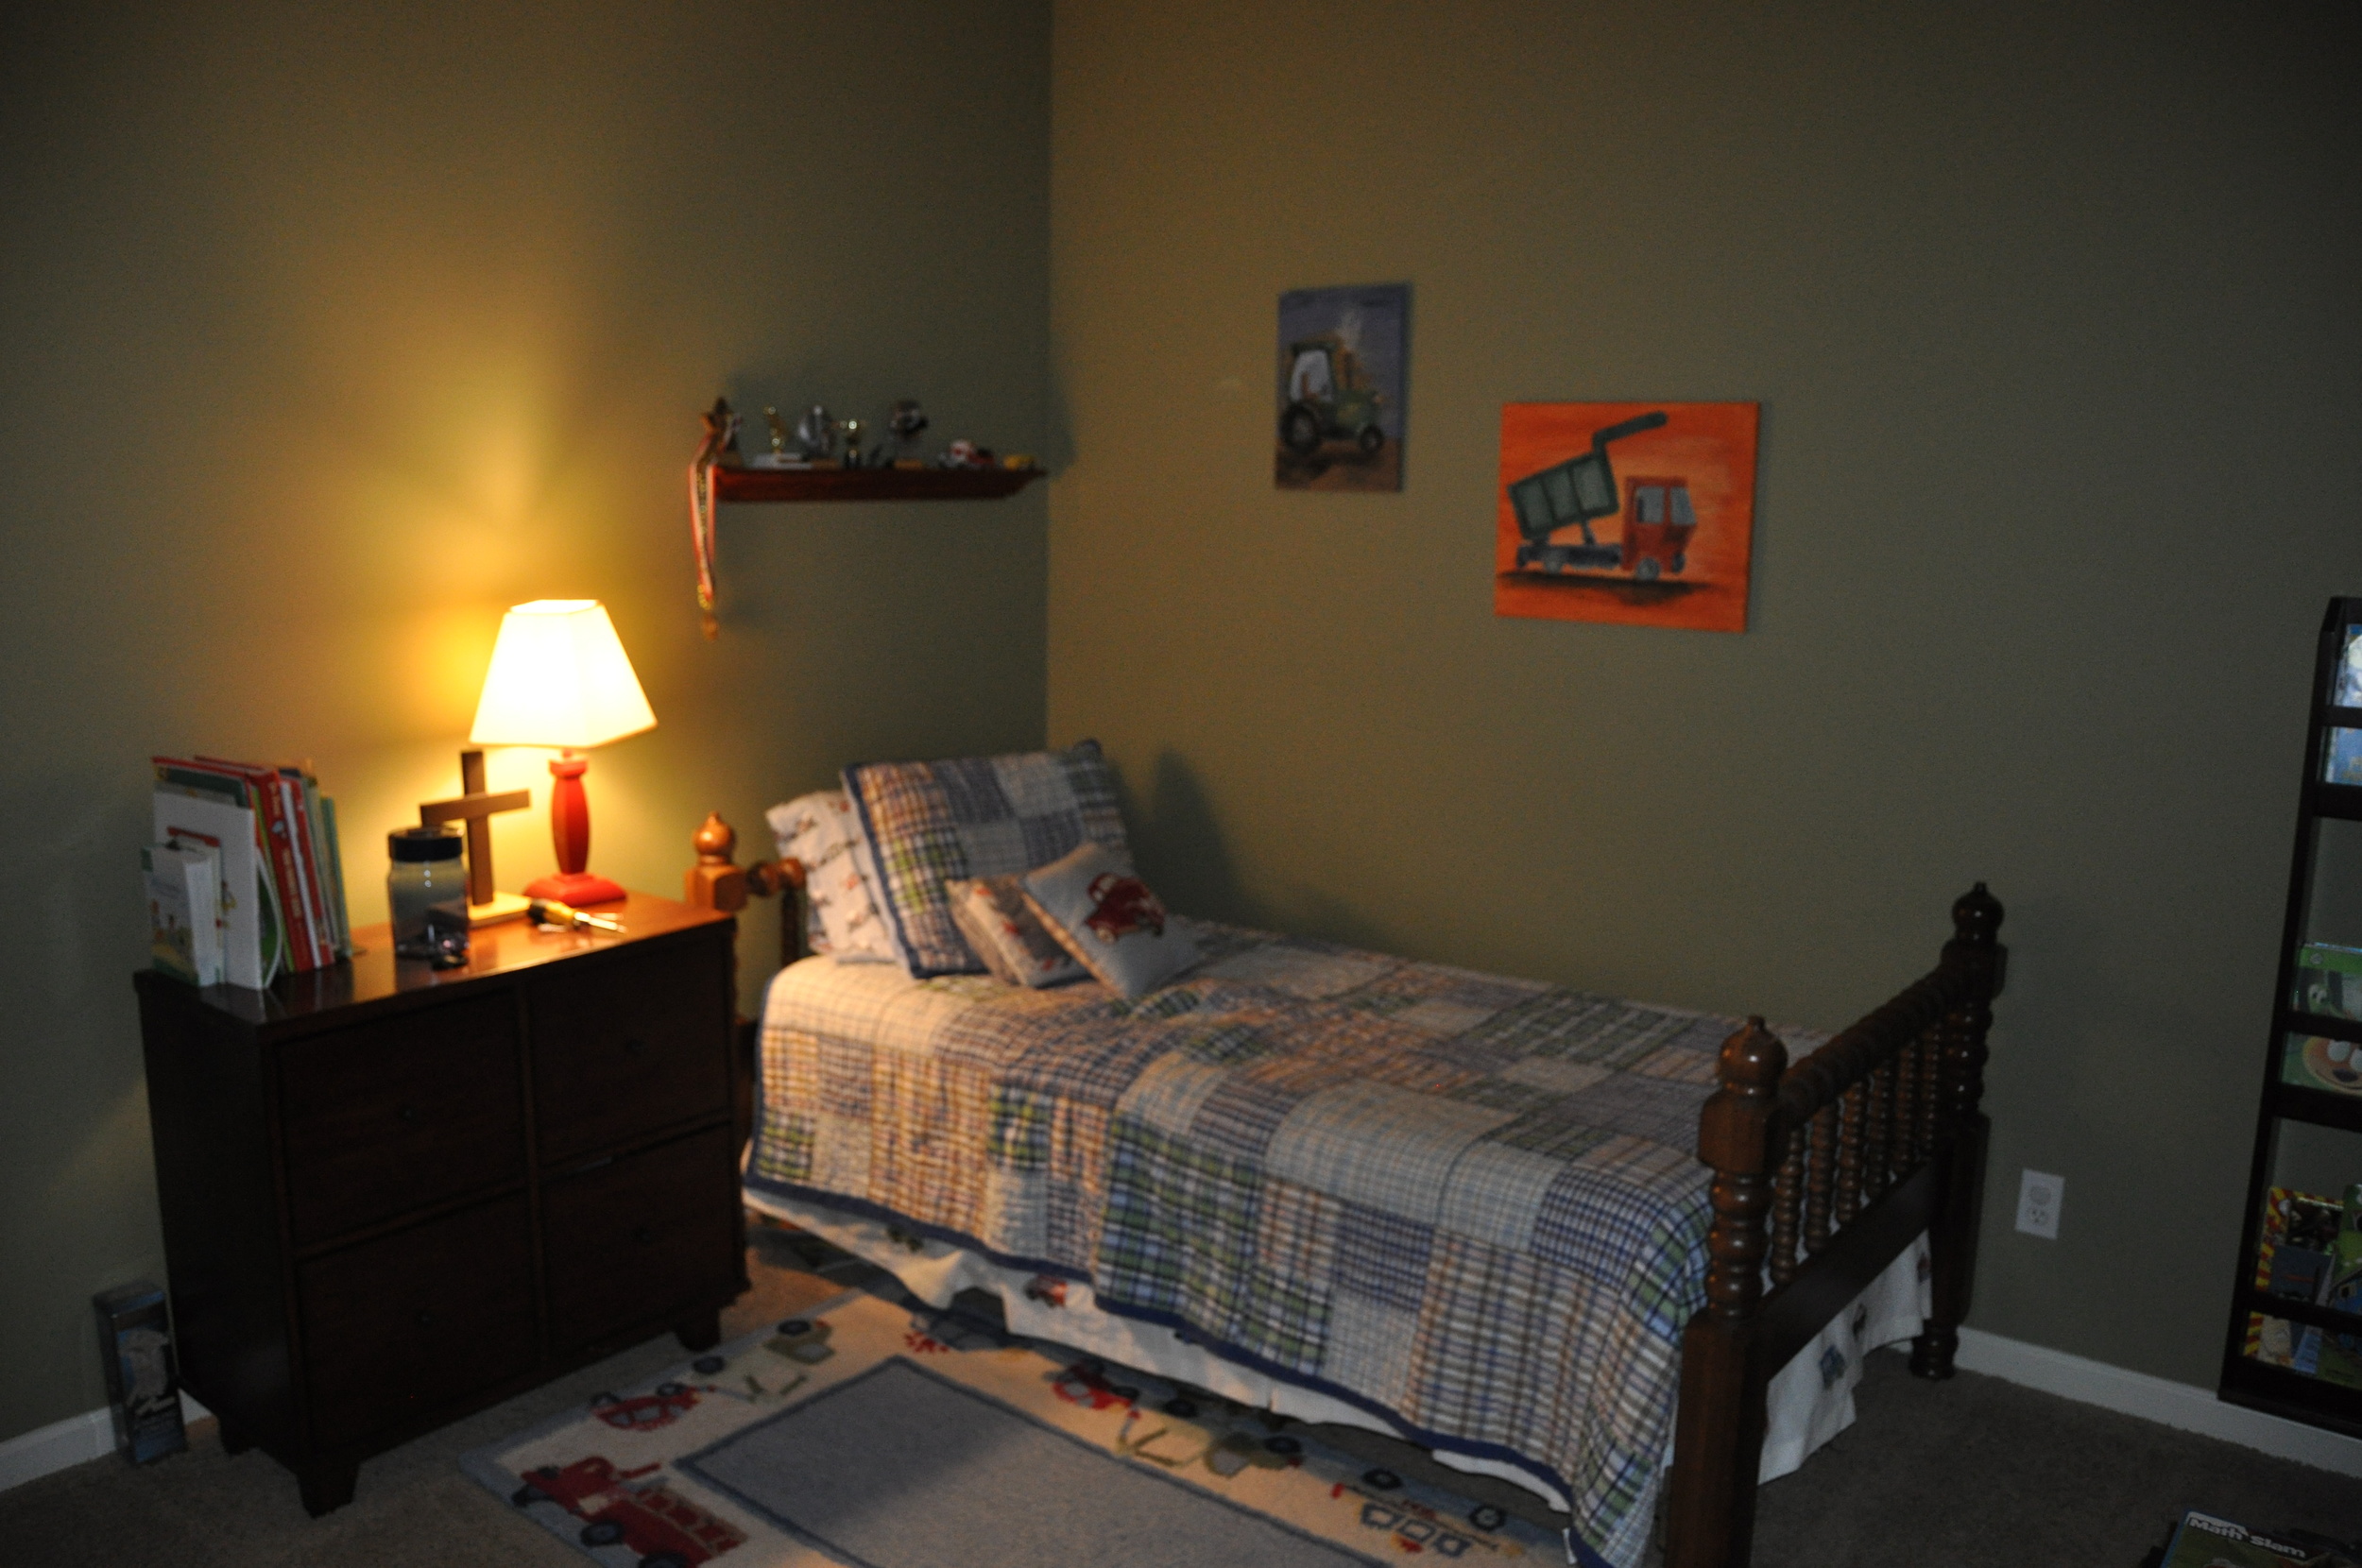
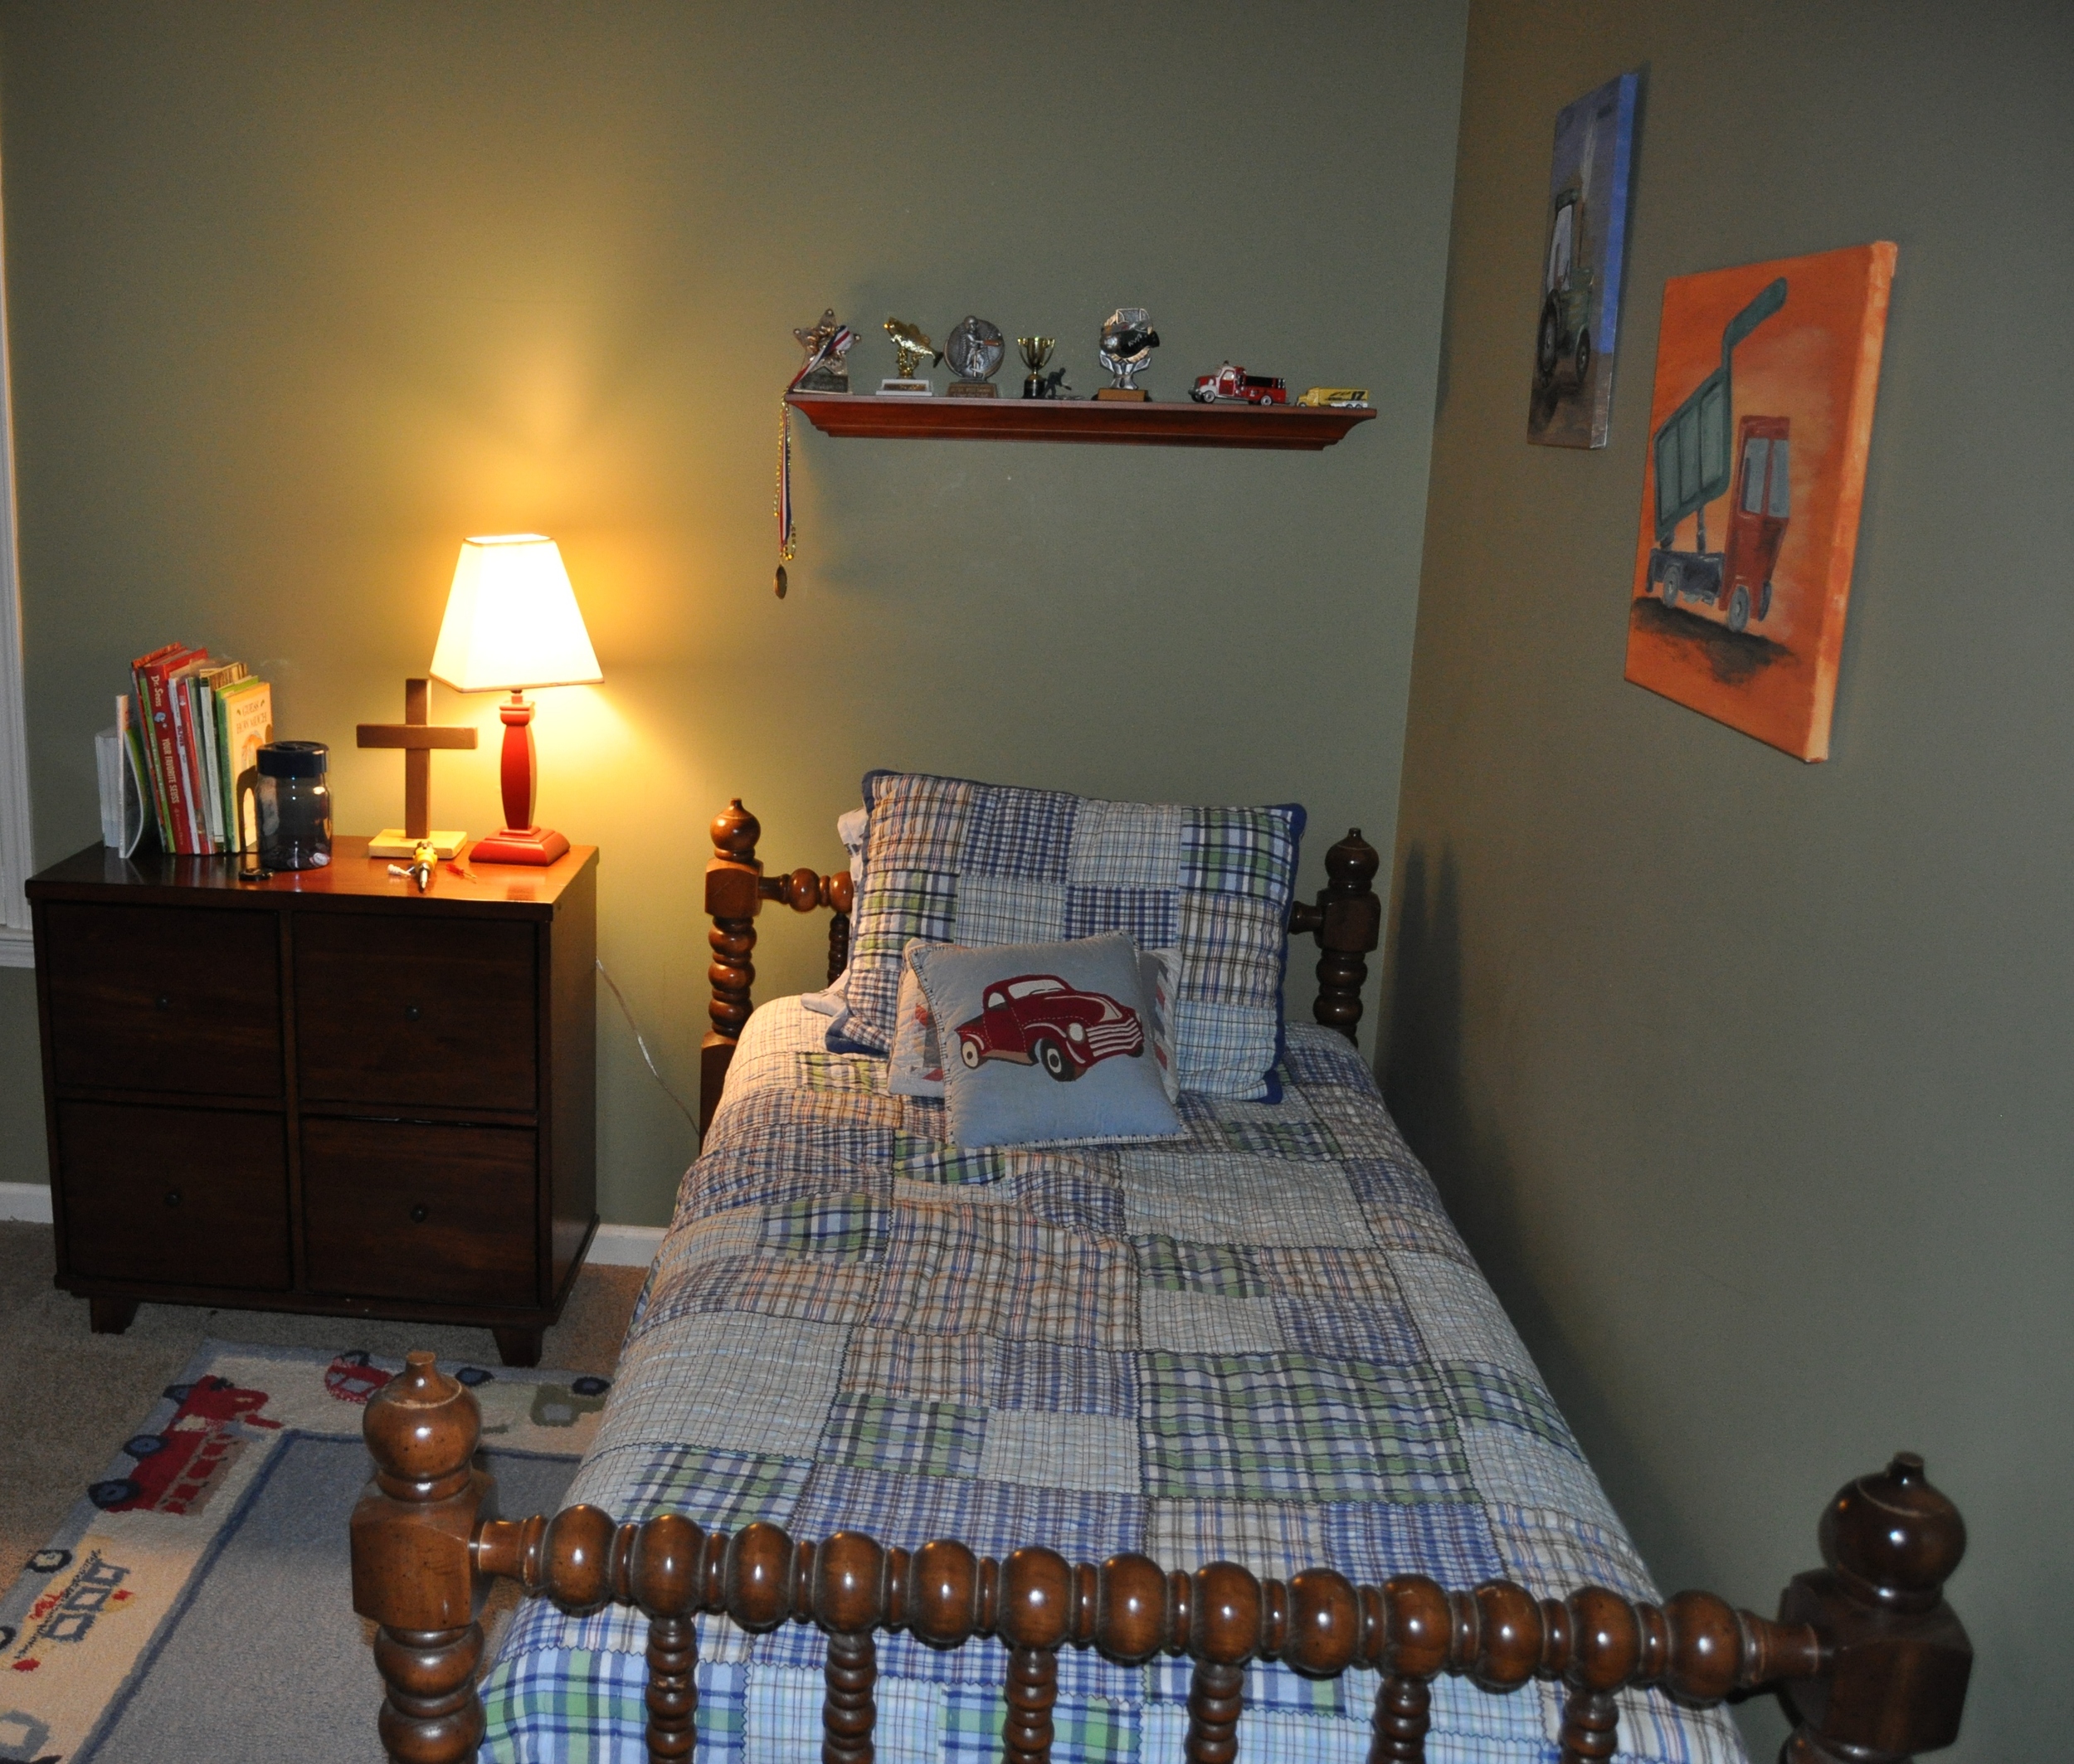
As you can (hopefully) see in the pics above and below, before the army room, Jett's room was all about cars, trucks, and trains.  He used to be OBSESSED with Thomas the Train and any kind of car, truck, object with wheels.  It was amazing to me how early he could distinguish between dump trucks and diggers and bulldozers and cranes.  I probably would've called them all tractors or something.  And he knew every Thomas character way before that.

So when he graduated from his crib and his "outdoorsy" nursery, all kinds of automobiles moved in.  His bedspread was just a madras plaid, but hidden underneath it were sheets covered in cars.  His throw pillows had cars and so did his rug.  What you can't really see in the picture above is that my mom had even embroidered trains, trucks, and cars on his bedskirt.  The wall art above his bed (painted by my sister-in-law Erin) was of a dump truck and tractor.

Here's a picture looking head-on to his bed.

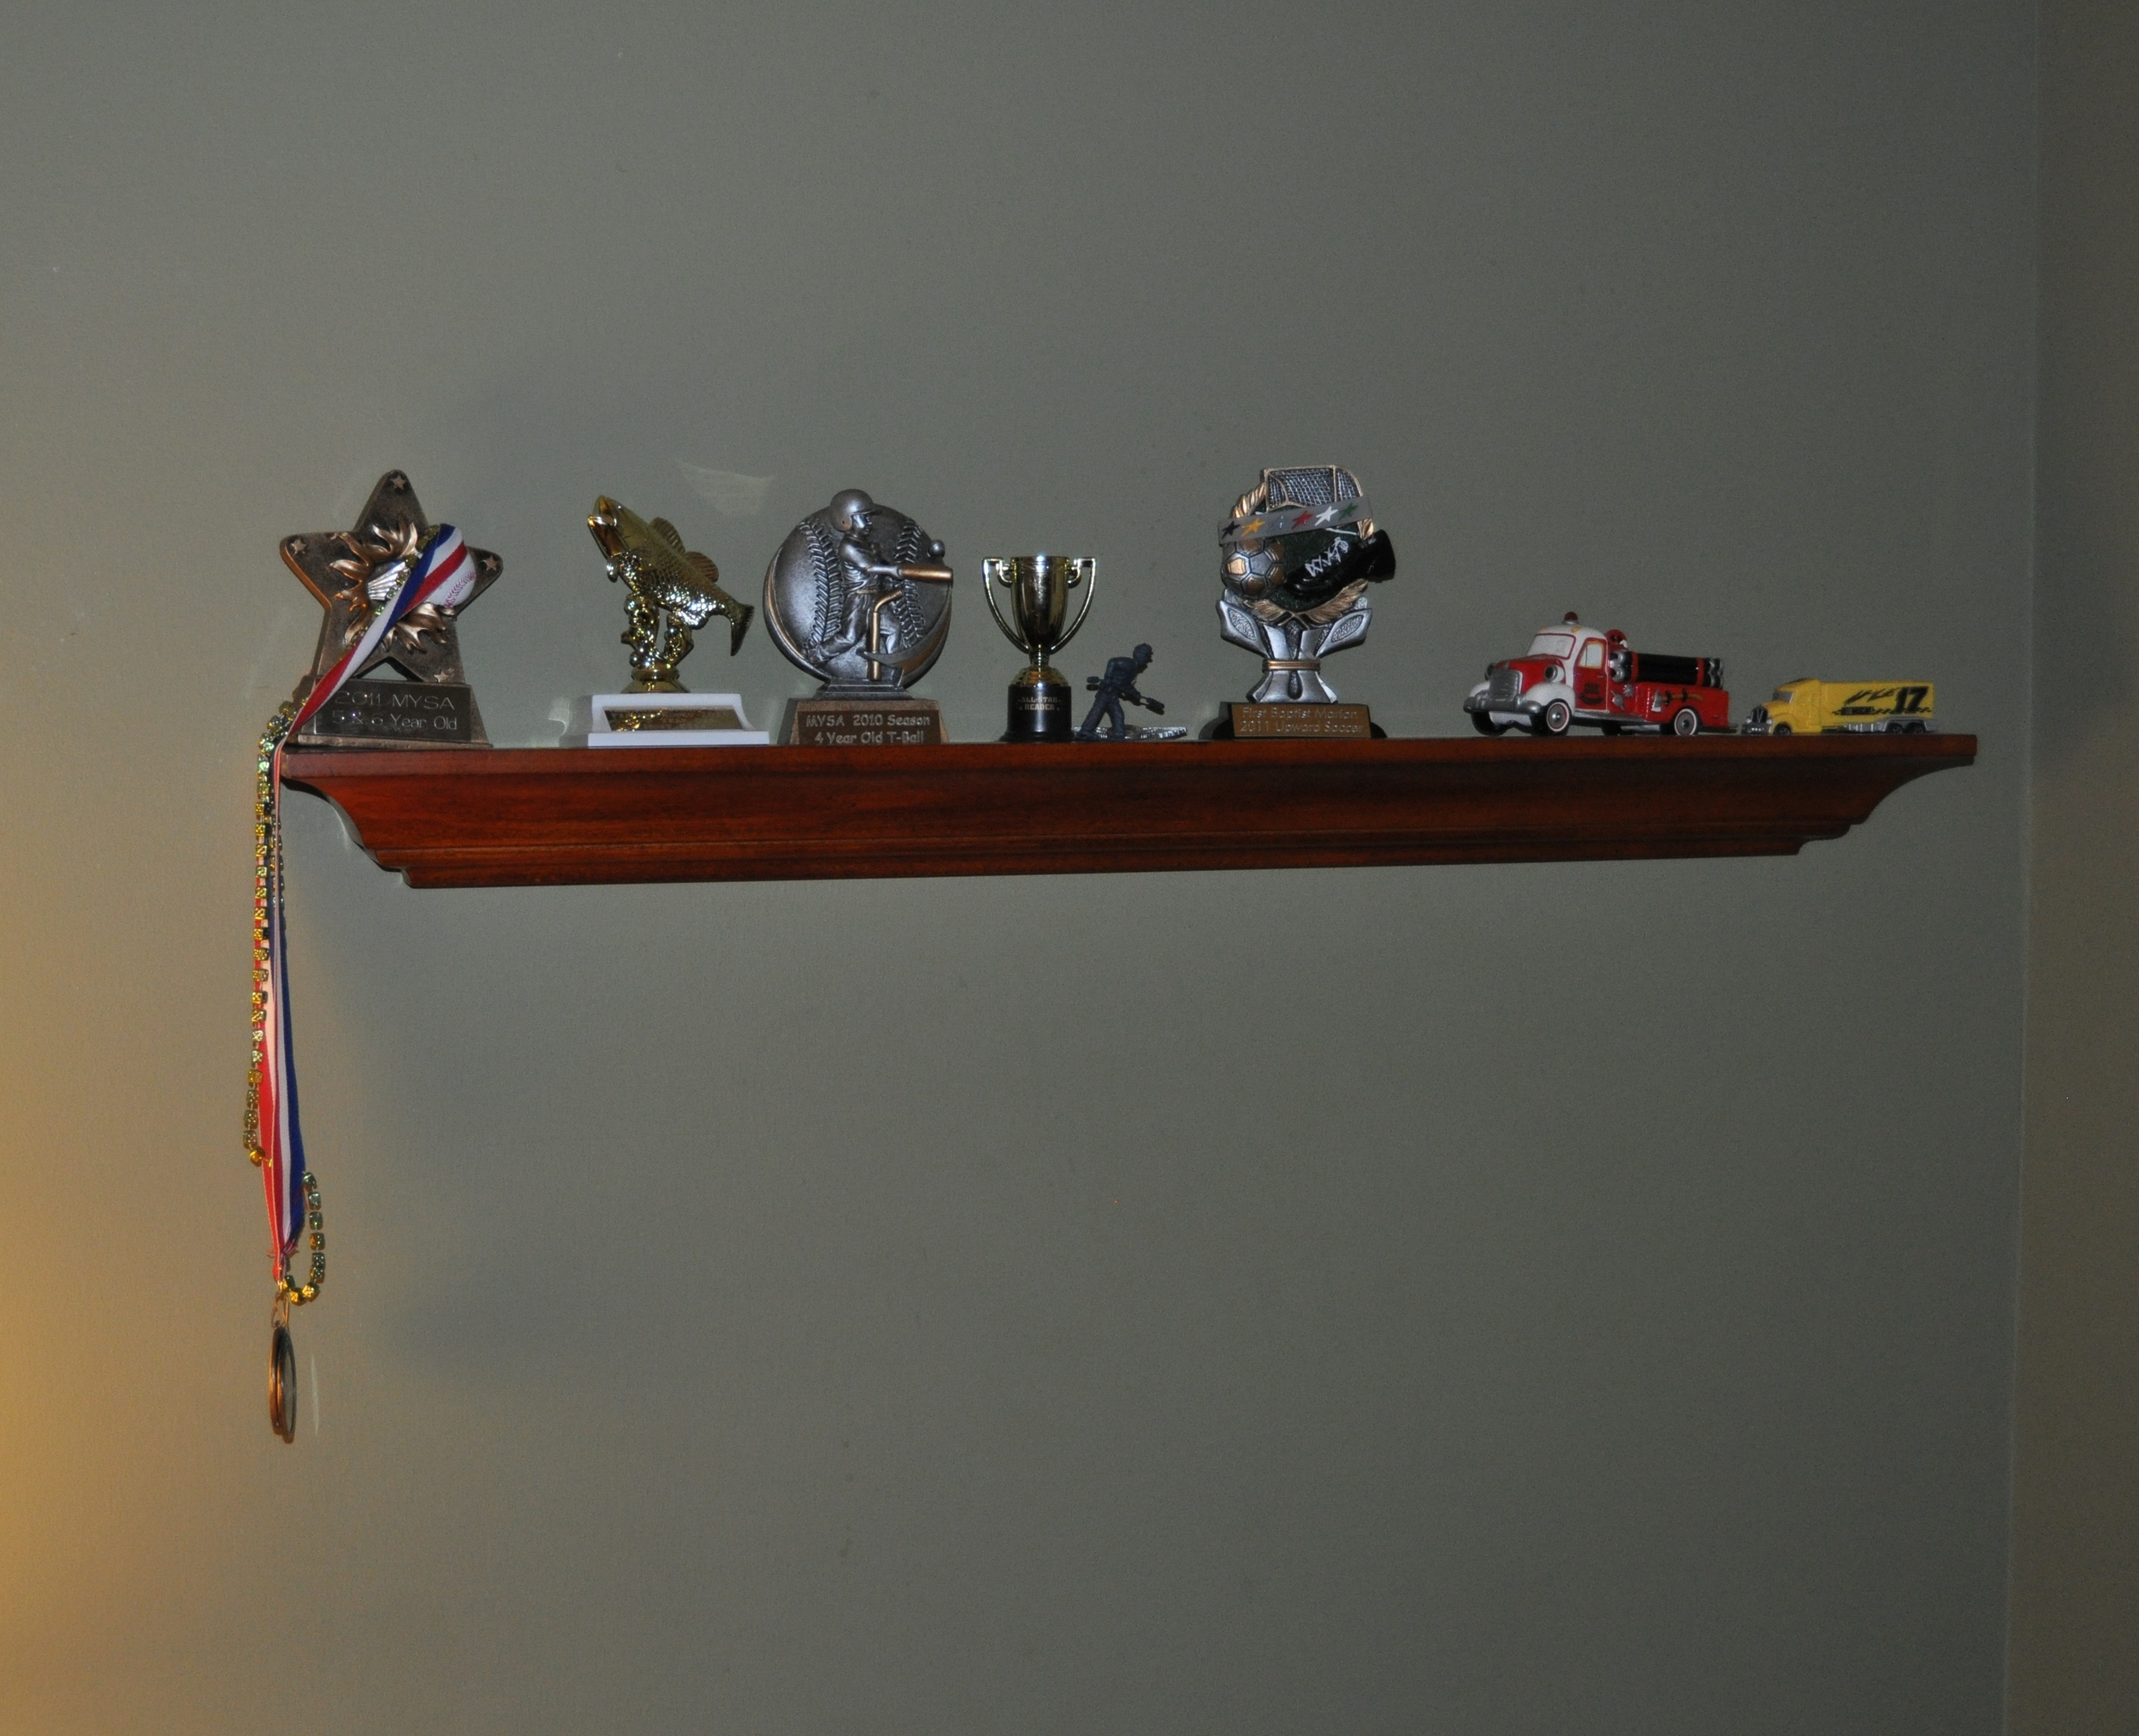
See that shelf above his bed?  It holds a couple - you guessed it - automobiles, as well as Jett's trophies.  It looks like he also stuck an army man up there.  Maybe he secretly knew what was coming...

Now let's fast-forward to what Jett got to see Christmas morning - his new army room!

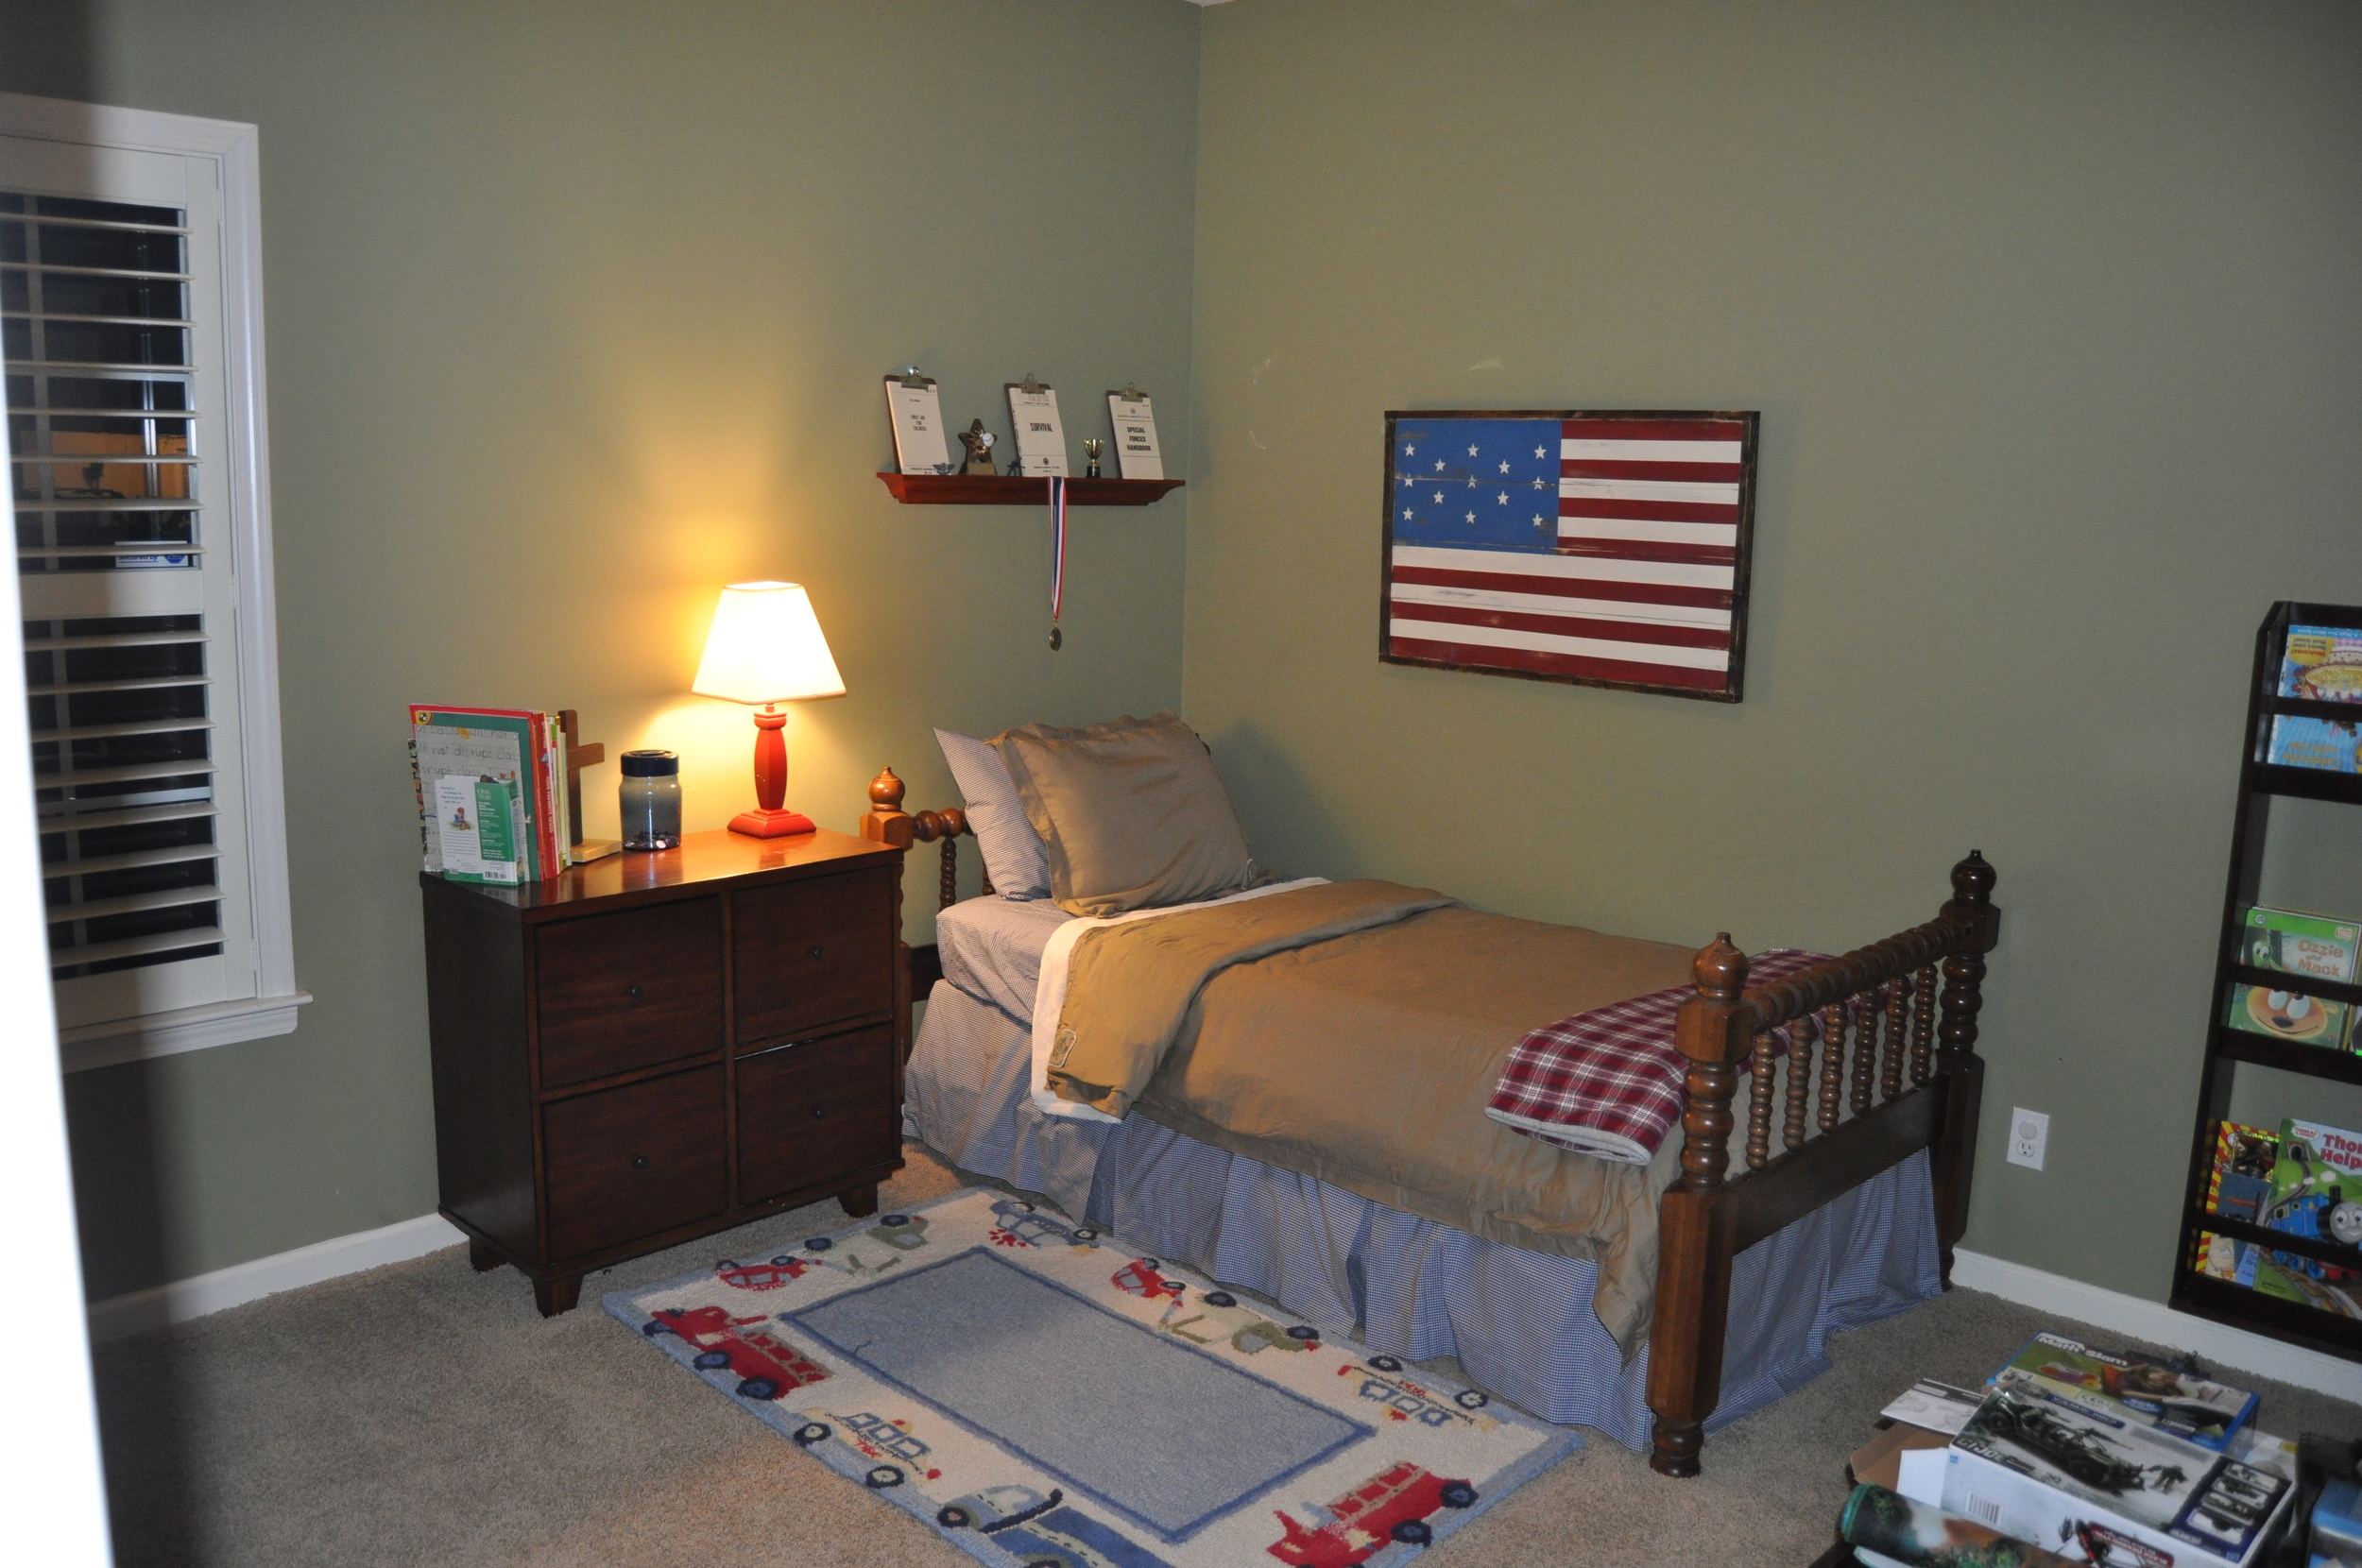
Here it is mostly done.  The rug is still there but I'm not sure that that's staying.

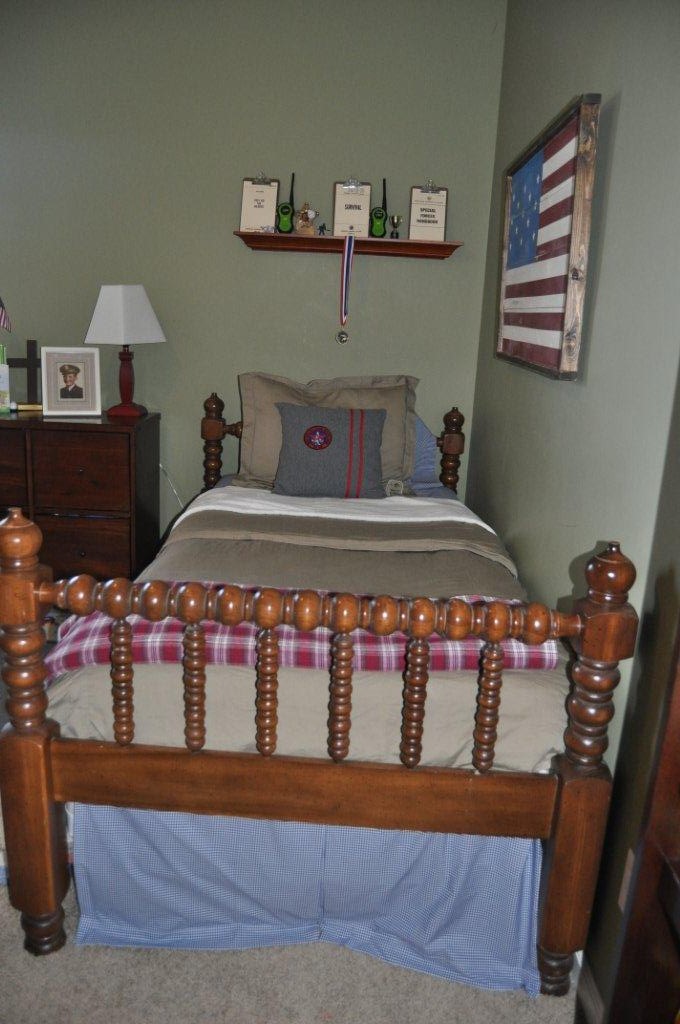
No camo.  It's a Patriotic army room.  The shelf above his bed now holds 3 clipboards with real army manuals.  He was excited to show that off.  Every good soldier needs a working set of walkie-talkies, so he's got some of those up there too.

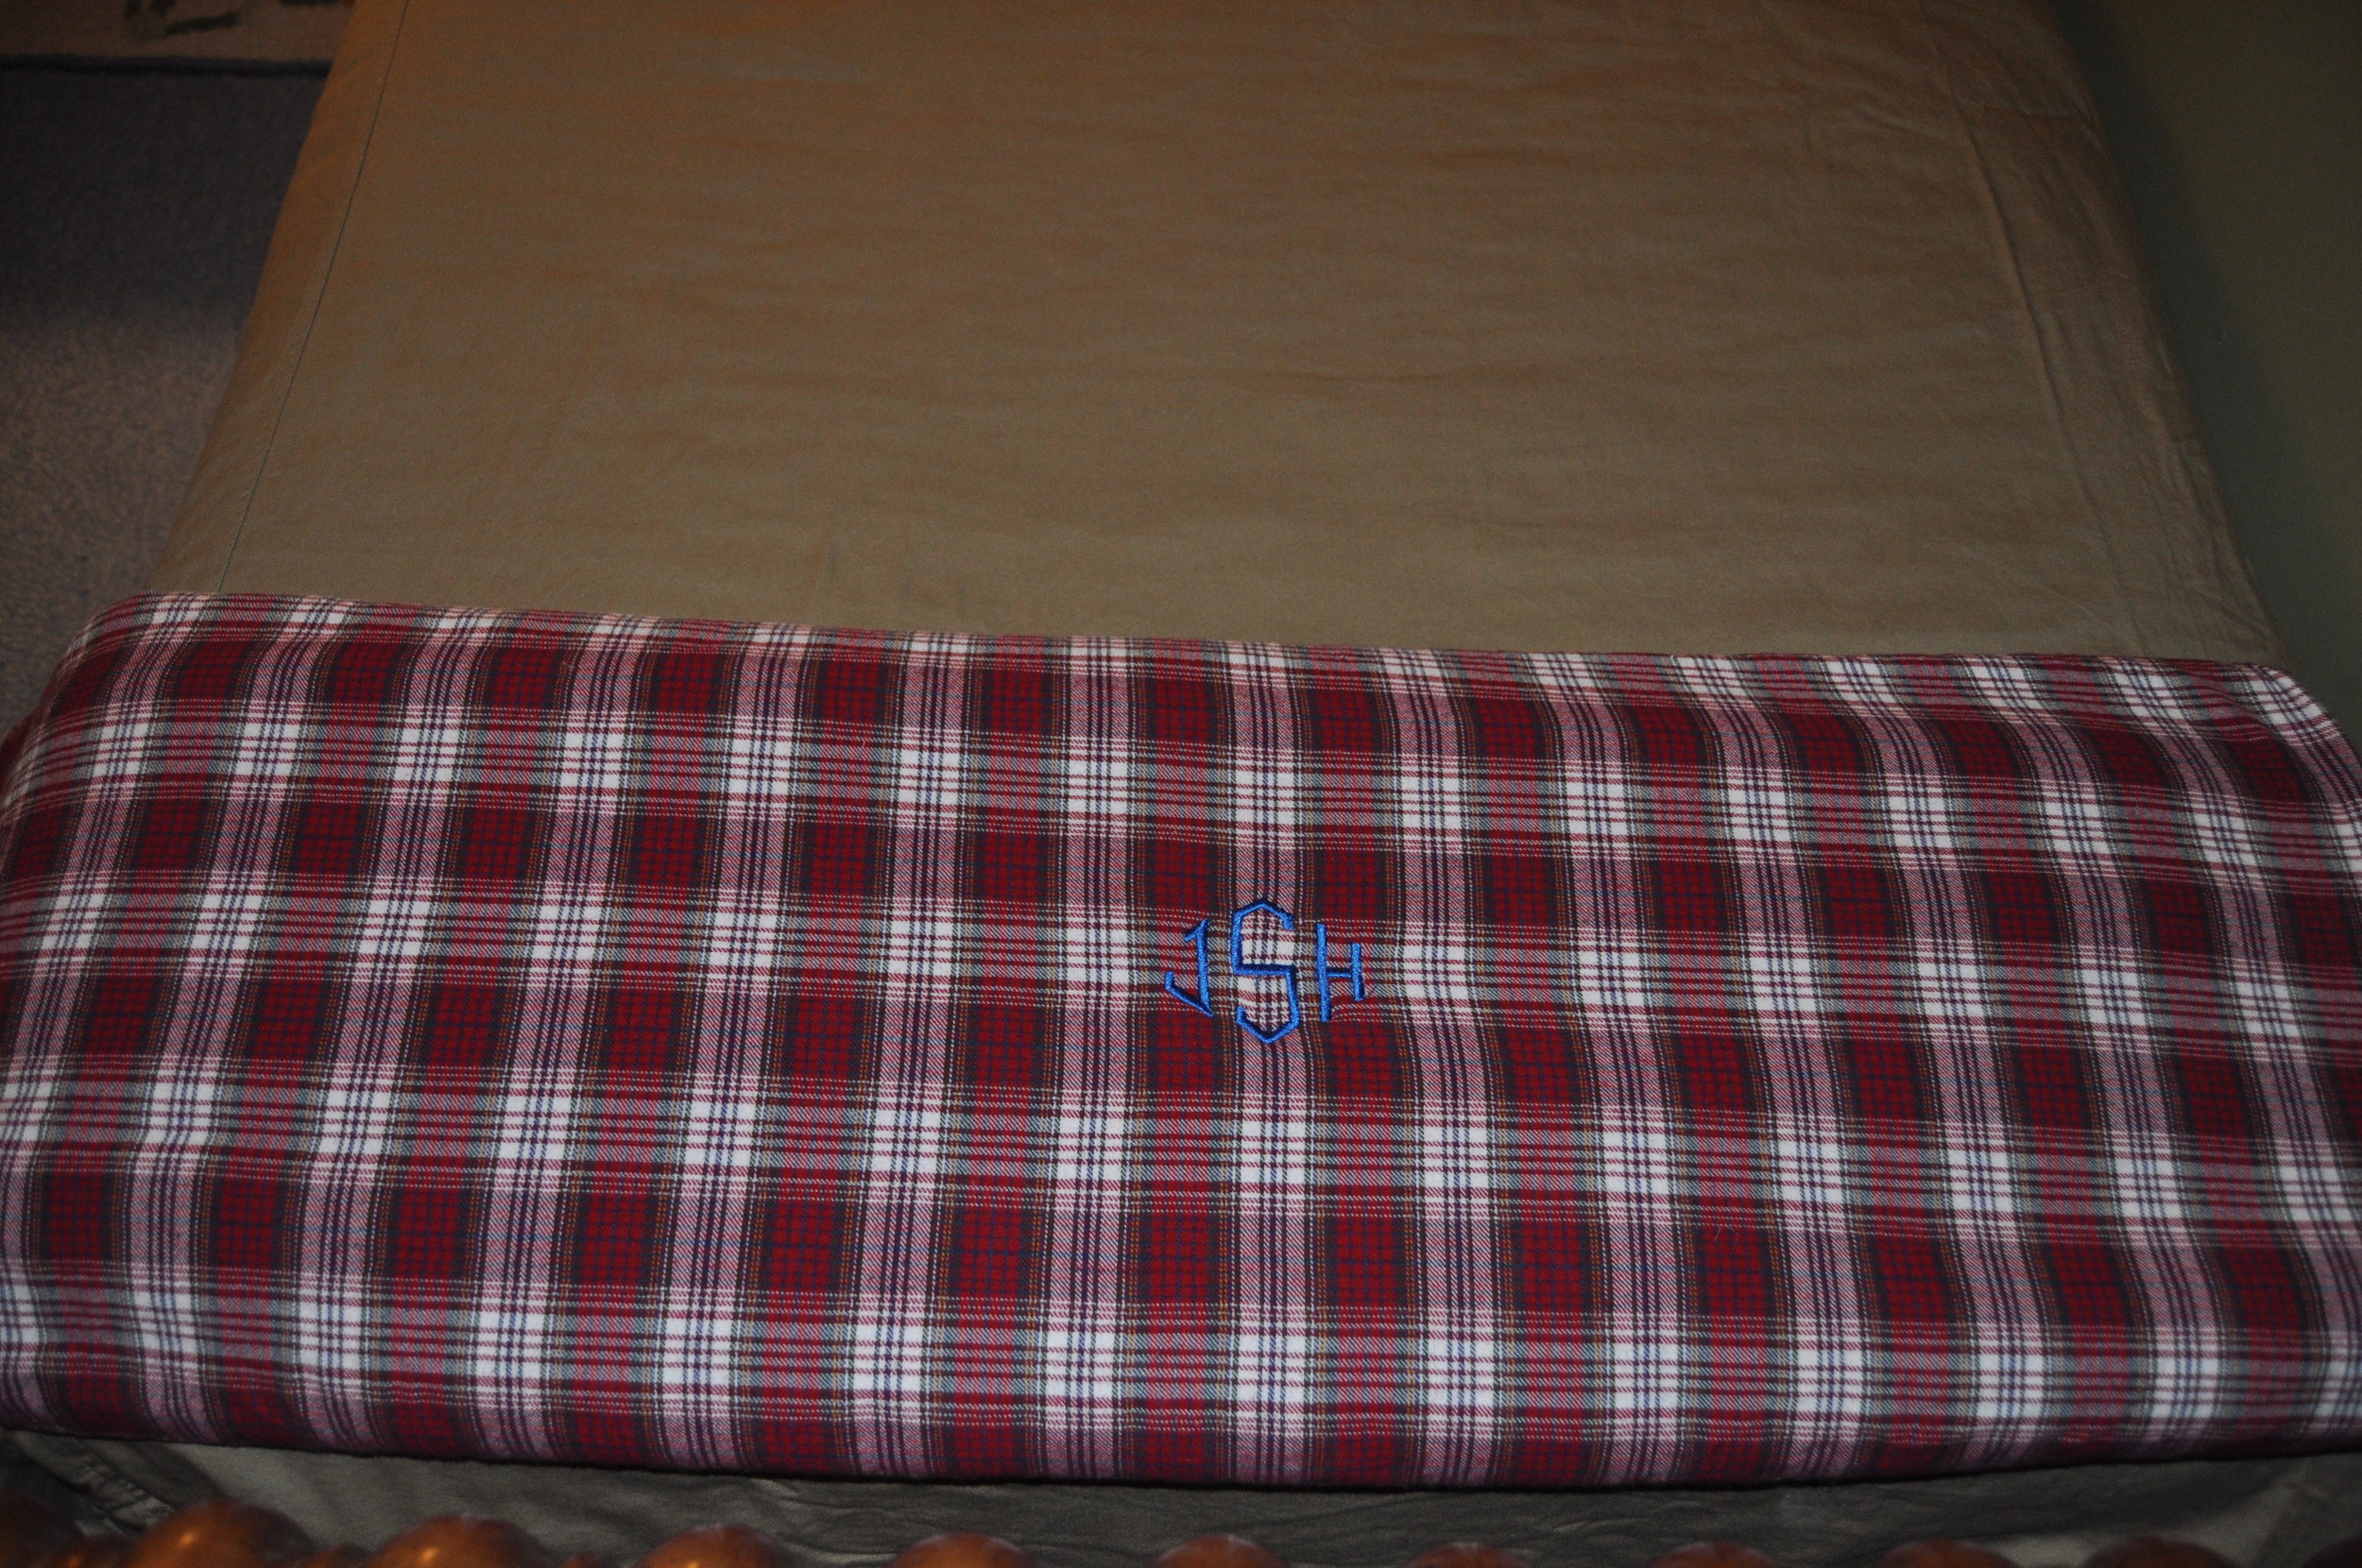
His new bedding came from Pottery Barn, I think, and is an olive-y khaki.  If I'm remembering correctly, it has an army patch on it somewhere, maybe where it's folded back in the picture above.  My mom made him a new blue gingham bed skirt and Beth made the throw pillow.  She also made his plaid throw blanket that my mom monogrammed.

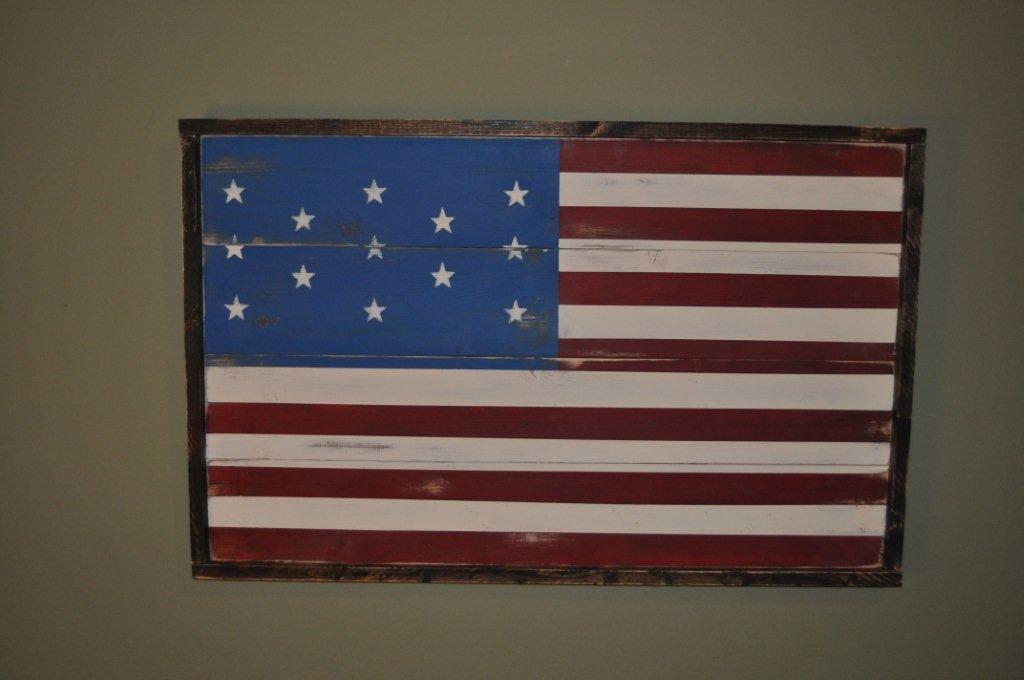
The wooden flag on the wall was made by my brother.  He's so proud of it.  It's painted on four 1x4s and trimmed with 1x2s.  I won't tell you exactly how many times it took him to get the measurements right for 13 stripes instead of 14, but let's just say 3rd times a charm.  According to Nick, it's an old timey flag so he didn't have to do as many stars.  I think it turned out really well!

My favorite accessory in the new army room is this picture that sits on the dresser by his bed.  It's my maternal grandfather and also Jett's namesake.  He was a funny guy and a sweet, sweet man, my Pepaw Jett.

Thanks for sharing the pics, Beth, so that we could all see.  I think the room turned out great!  I asked Jett if we could have a sleepover soon and he said yes, but that I couldn't sleep in his new bed.  Guess I'll just have to admire it all from an air mattress on the floor.