Busy Saturday

Happy 4th of July, everyone!  I hope you are either staying out of the heat or staying in a swimming pool (or lake, beach, etc)!  Doc and I just got home from spending the afternoon at my brother's house, where we hung out at their pool and enjoyed a delicious, festive meal.  Last night we celebrated our country's independence with all of our friends at a cookout.  I'm sad to say I have zero pictures from both events, but it's still been a nice holiday.  I plan on finishing it out on the couch, and maaaybe going to see some fireworks tonight if I can muster up the energy. While I don't have any Patriotic pictures to share, I do have pics from last Saturday.  Sometimes I decide to document a whole day with my cell phone, and this was one of those days.  It started really early when Doc got up to play golf at 6:30 and I couldn't go back to sleep.  I laid in bed contemplating what all I could do around the house before remembering that my mom had my niece and nephew at her house for the whole weekend.  You know what that means?  Saturday morning pancakes.  I hopped out of bed and rushed to get dressed and Lolli loaded up in the car; I was nervous I would miss breakfast!

When I arrived at my parents' house around 7:30, I peeked in the windows in the back before going in.  The house was still dark so I assumed they were all still asleep.  Score! I hadn't missed breakfast yet.  But I also knew my mom would kick my tail if I unleashed Lolli in the house and ended up waking the kids up too early, so I stopped short of opening the door and decided we better head out to the shop for a while.

I spent an hour or so out in the shop, getting a good start on some frames I'm working on, before walking back to the house.  This time I could see a small light on in the living room and knew my mom must be up.  I told Lolli to keep quiet and we headed in.  Mom was surprised to see me so early, and even more surprised when I told her I'd already been there for a while.  We chatted a while waiting for Bren and Jett to wake up but it never happened.  Do you know I had to finally go wake those little stinkers up at 9:45...I was starving!!

It was worth the wait...those pancakes were goooood.

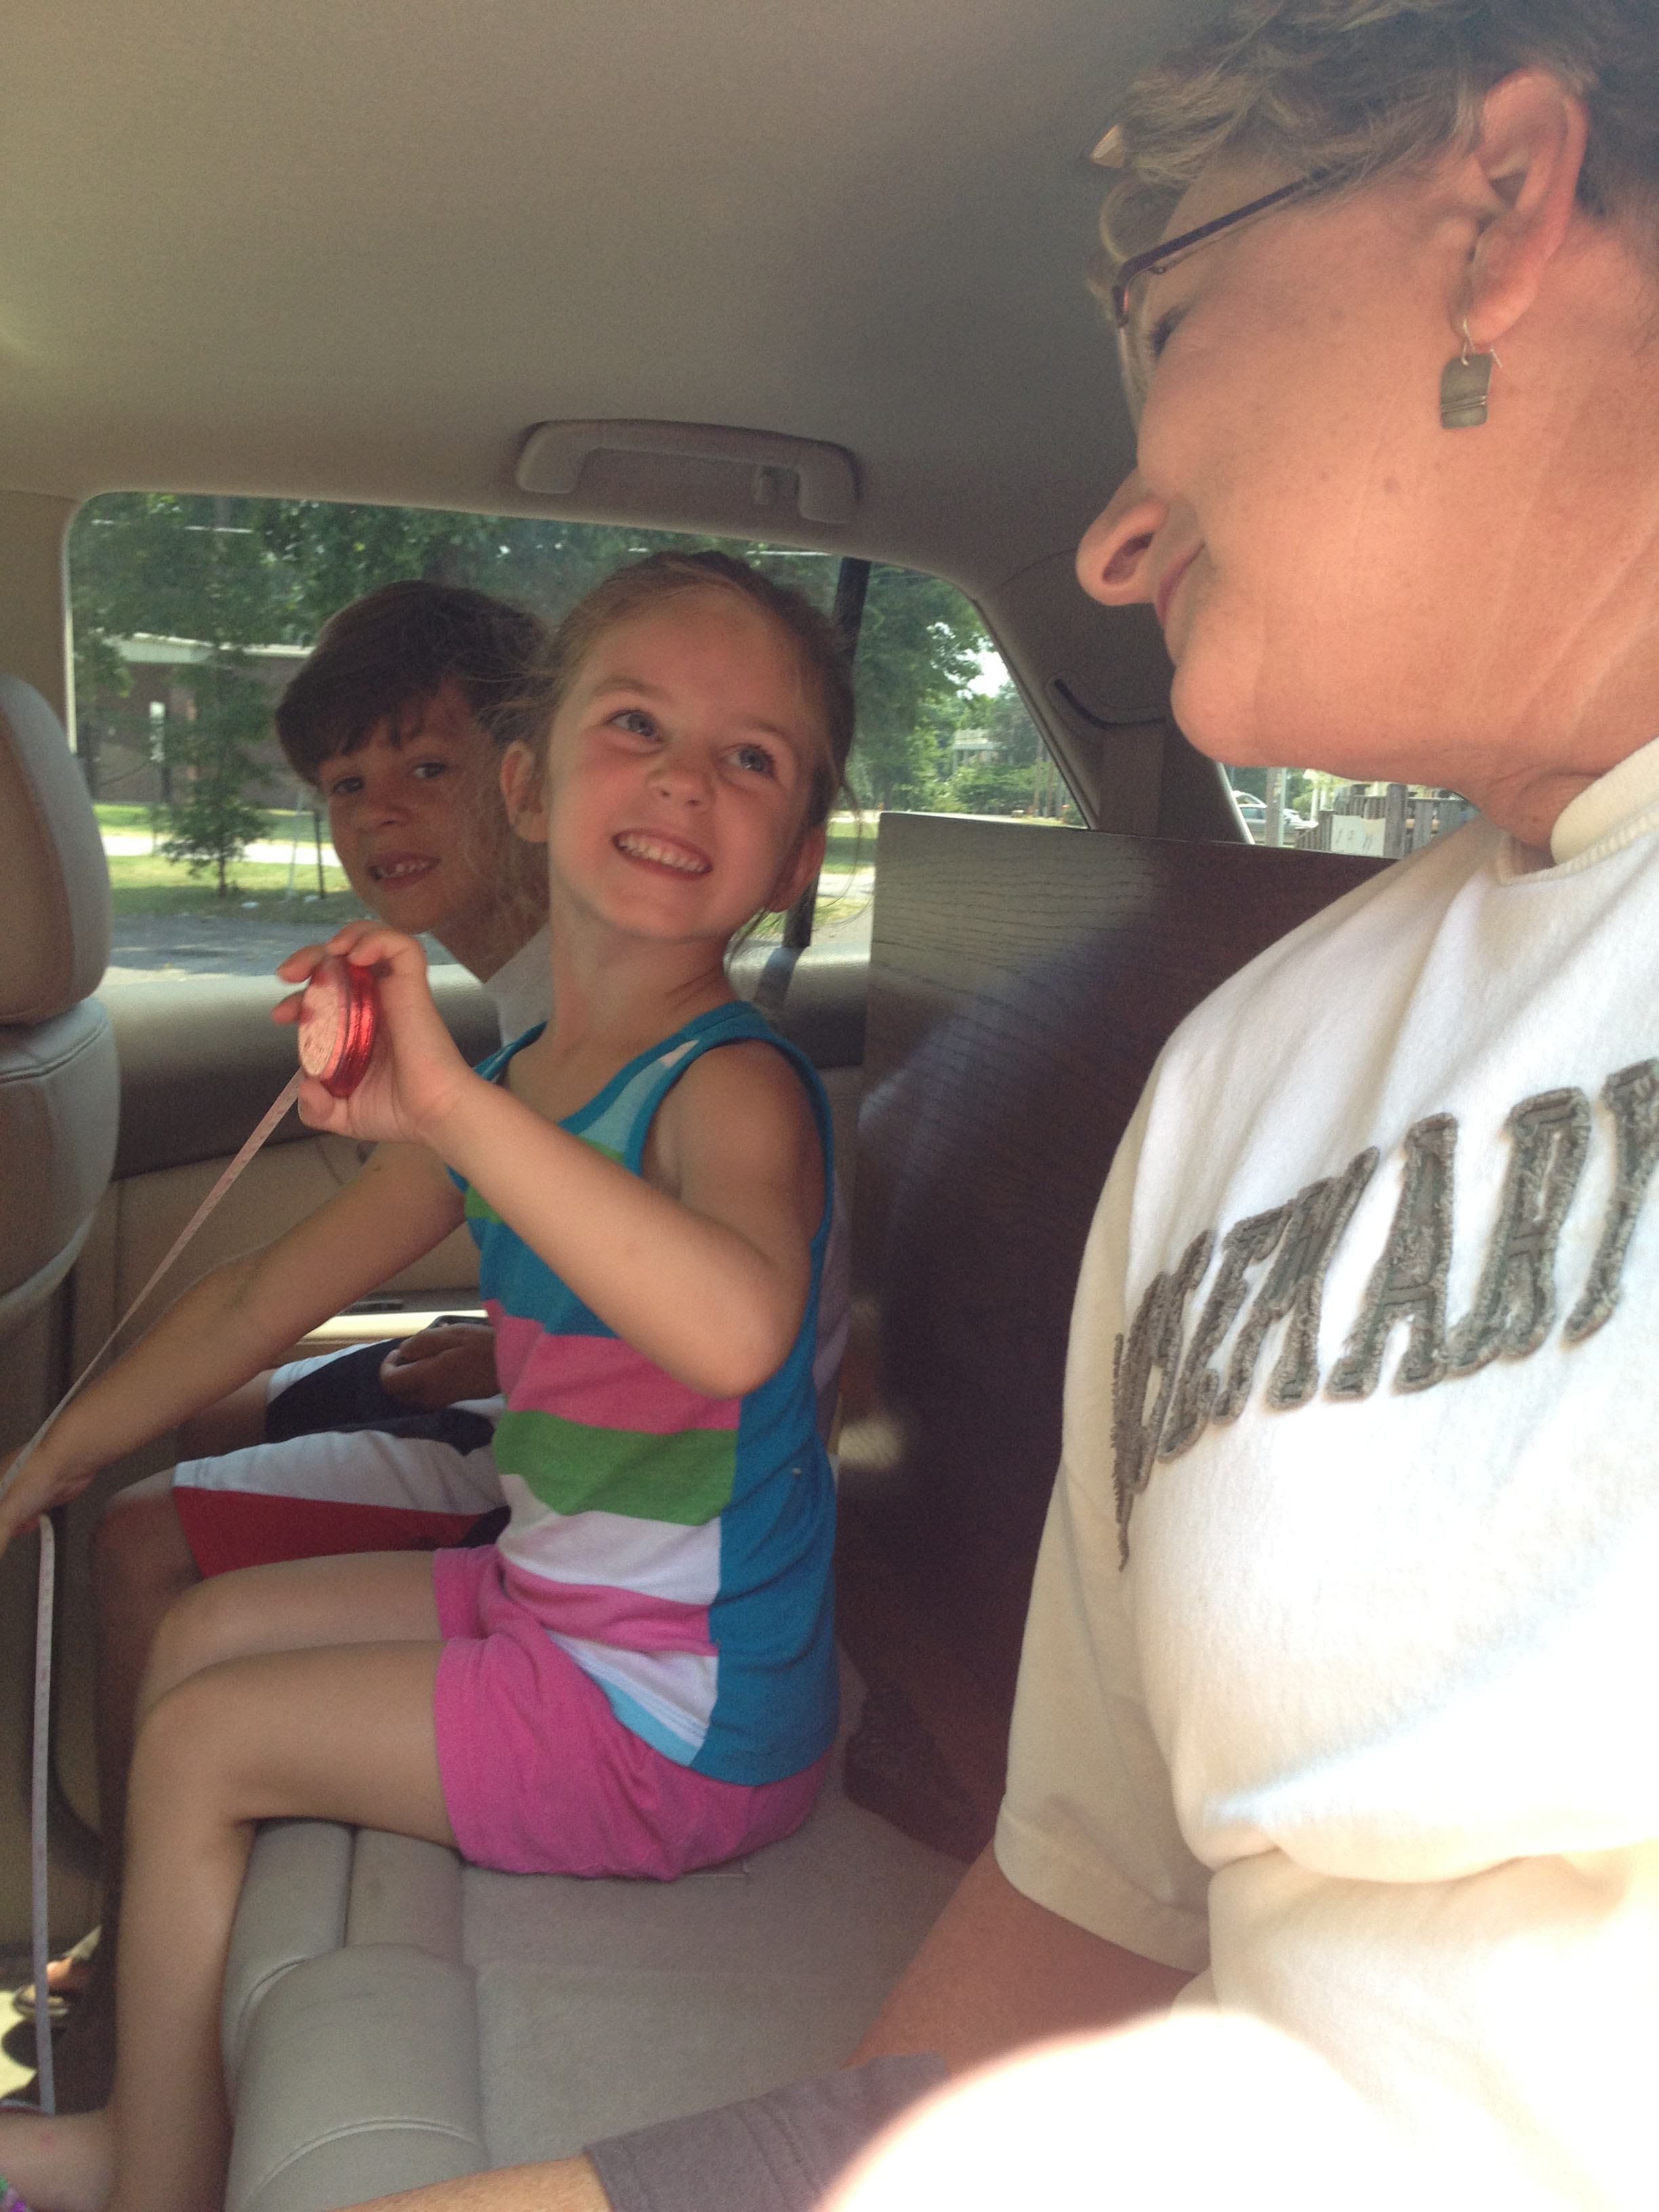
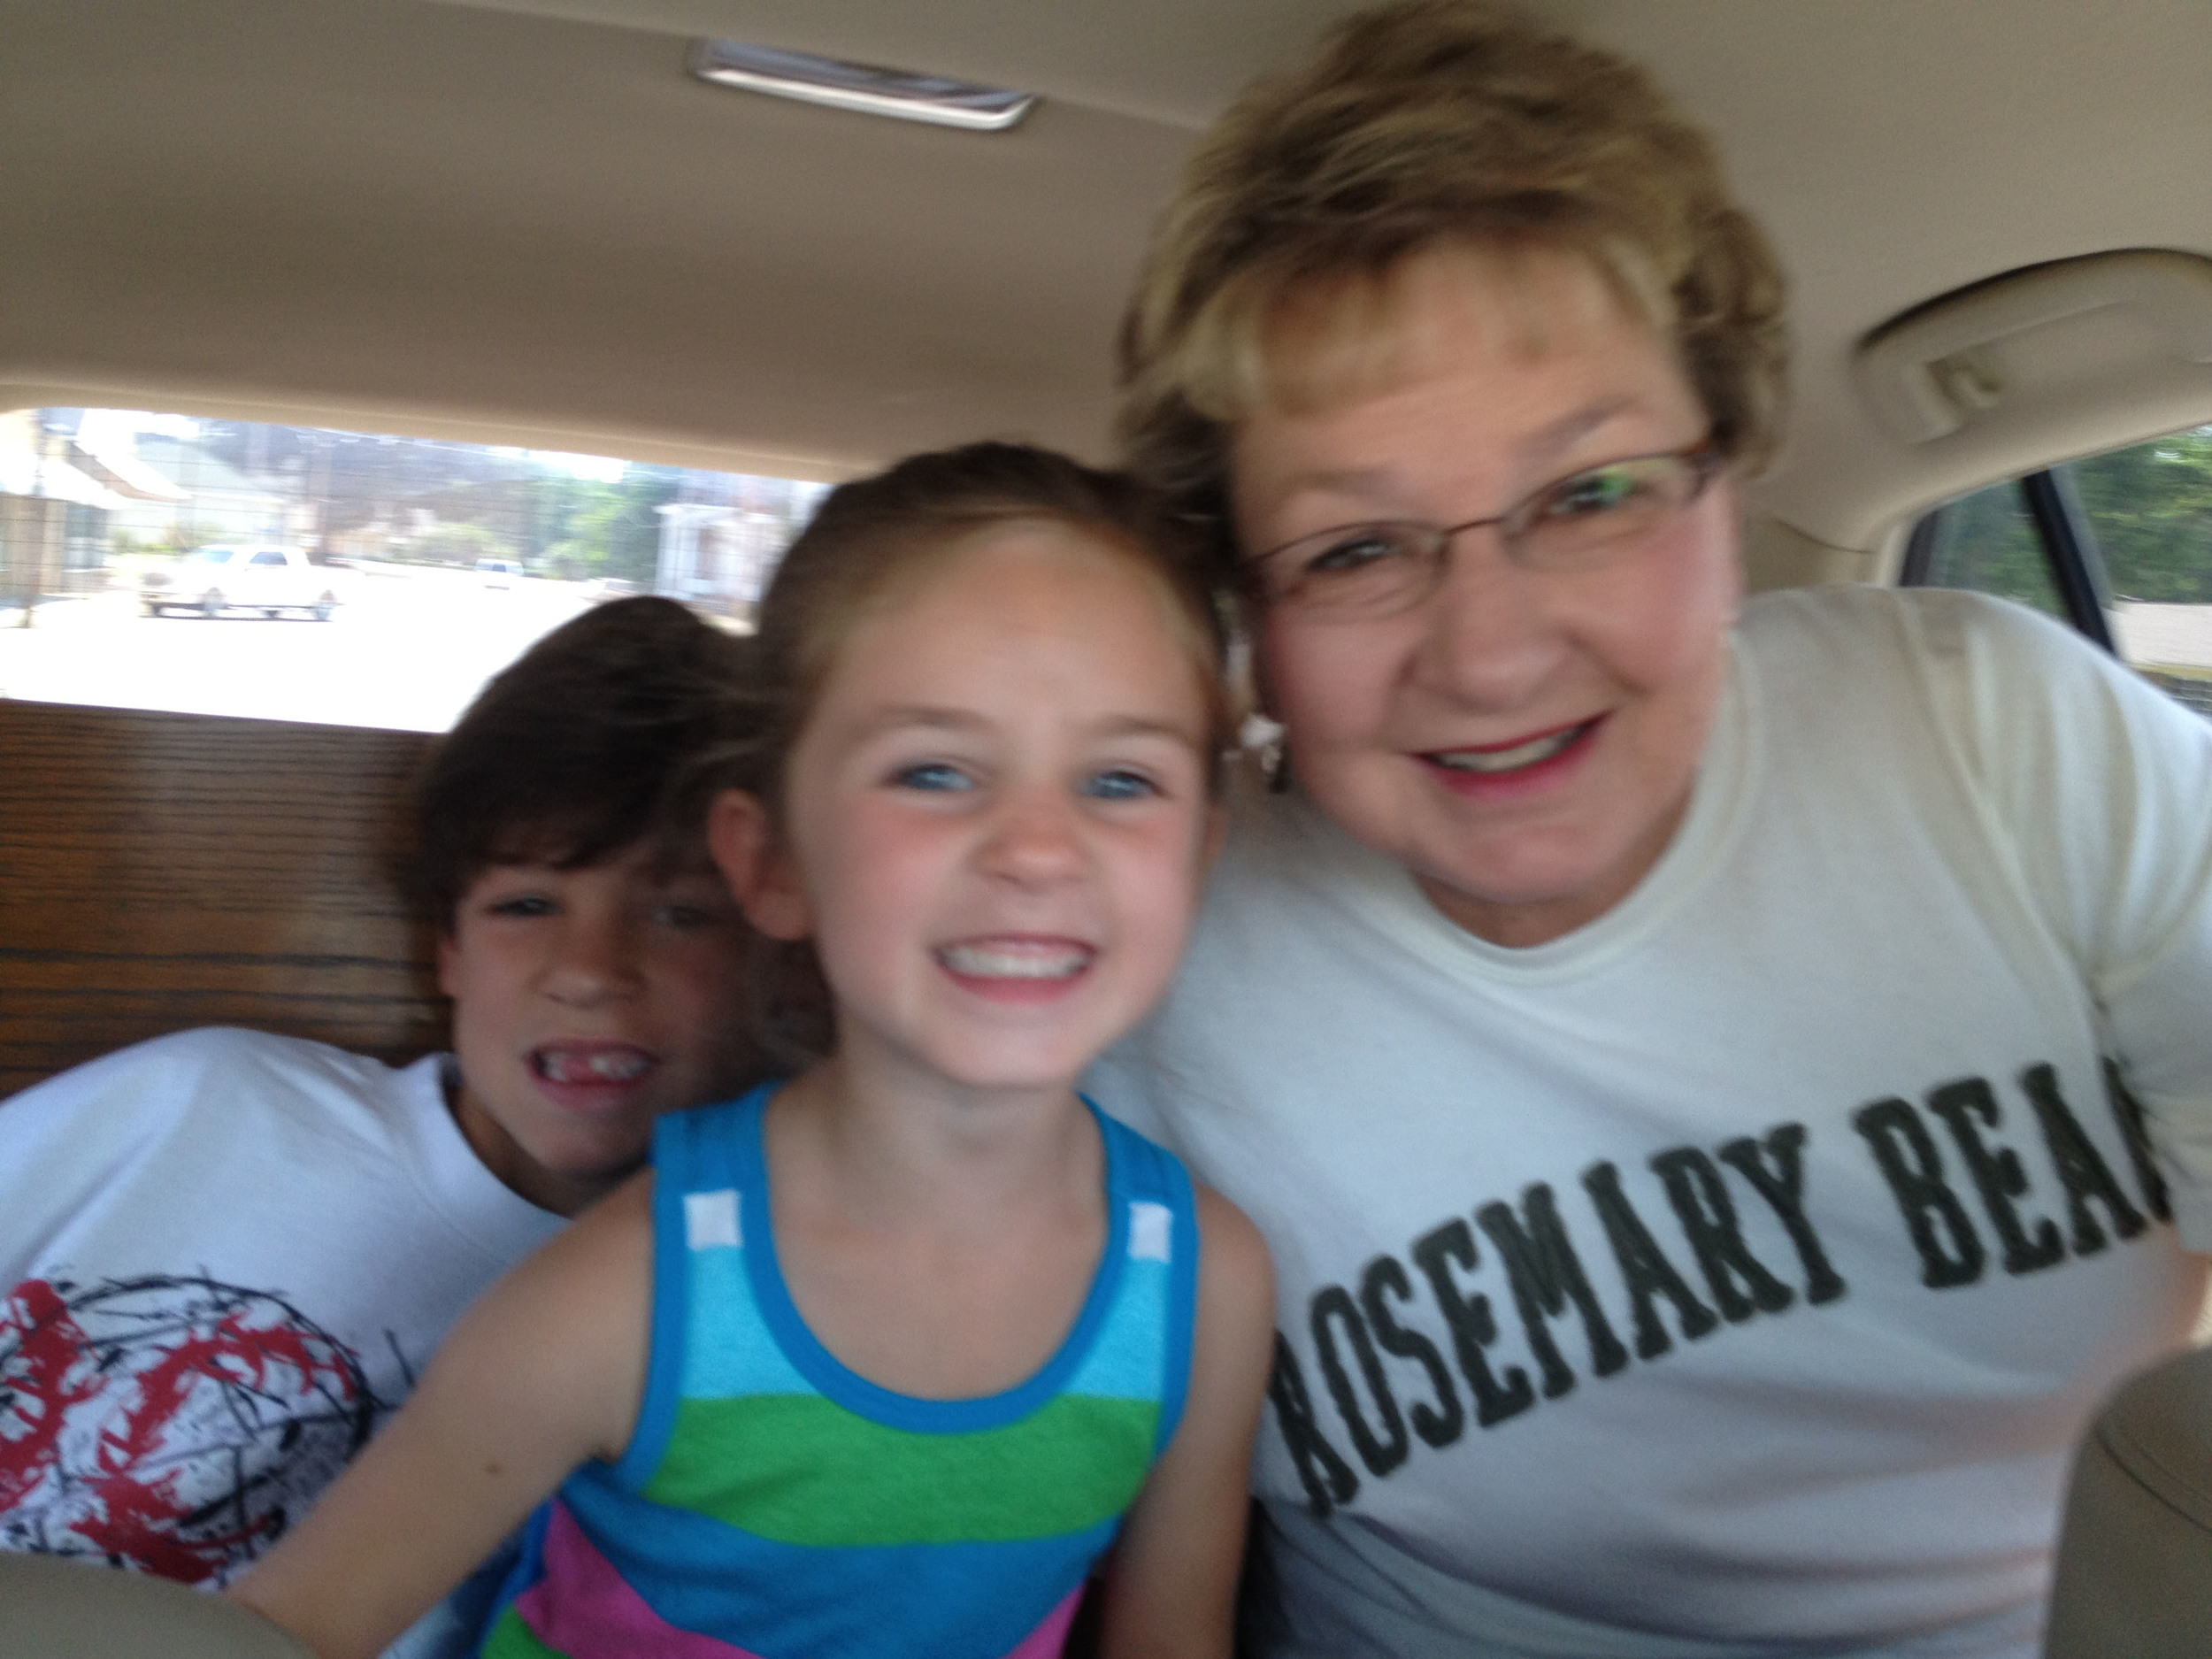
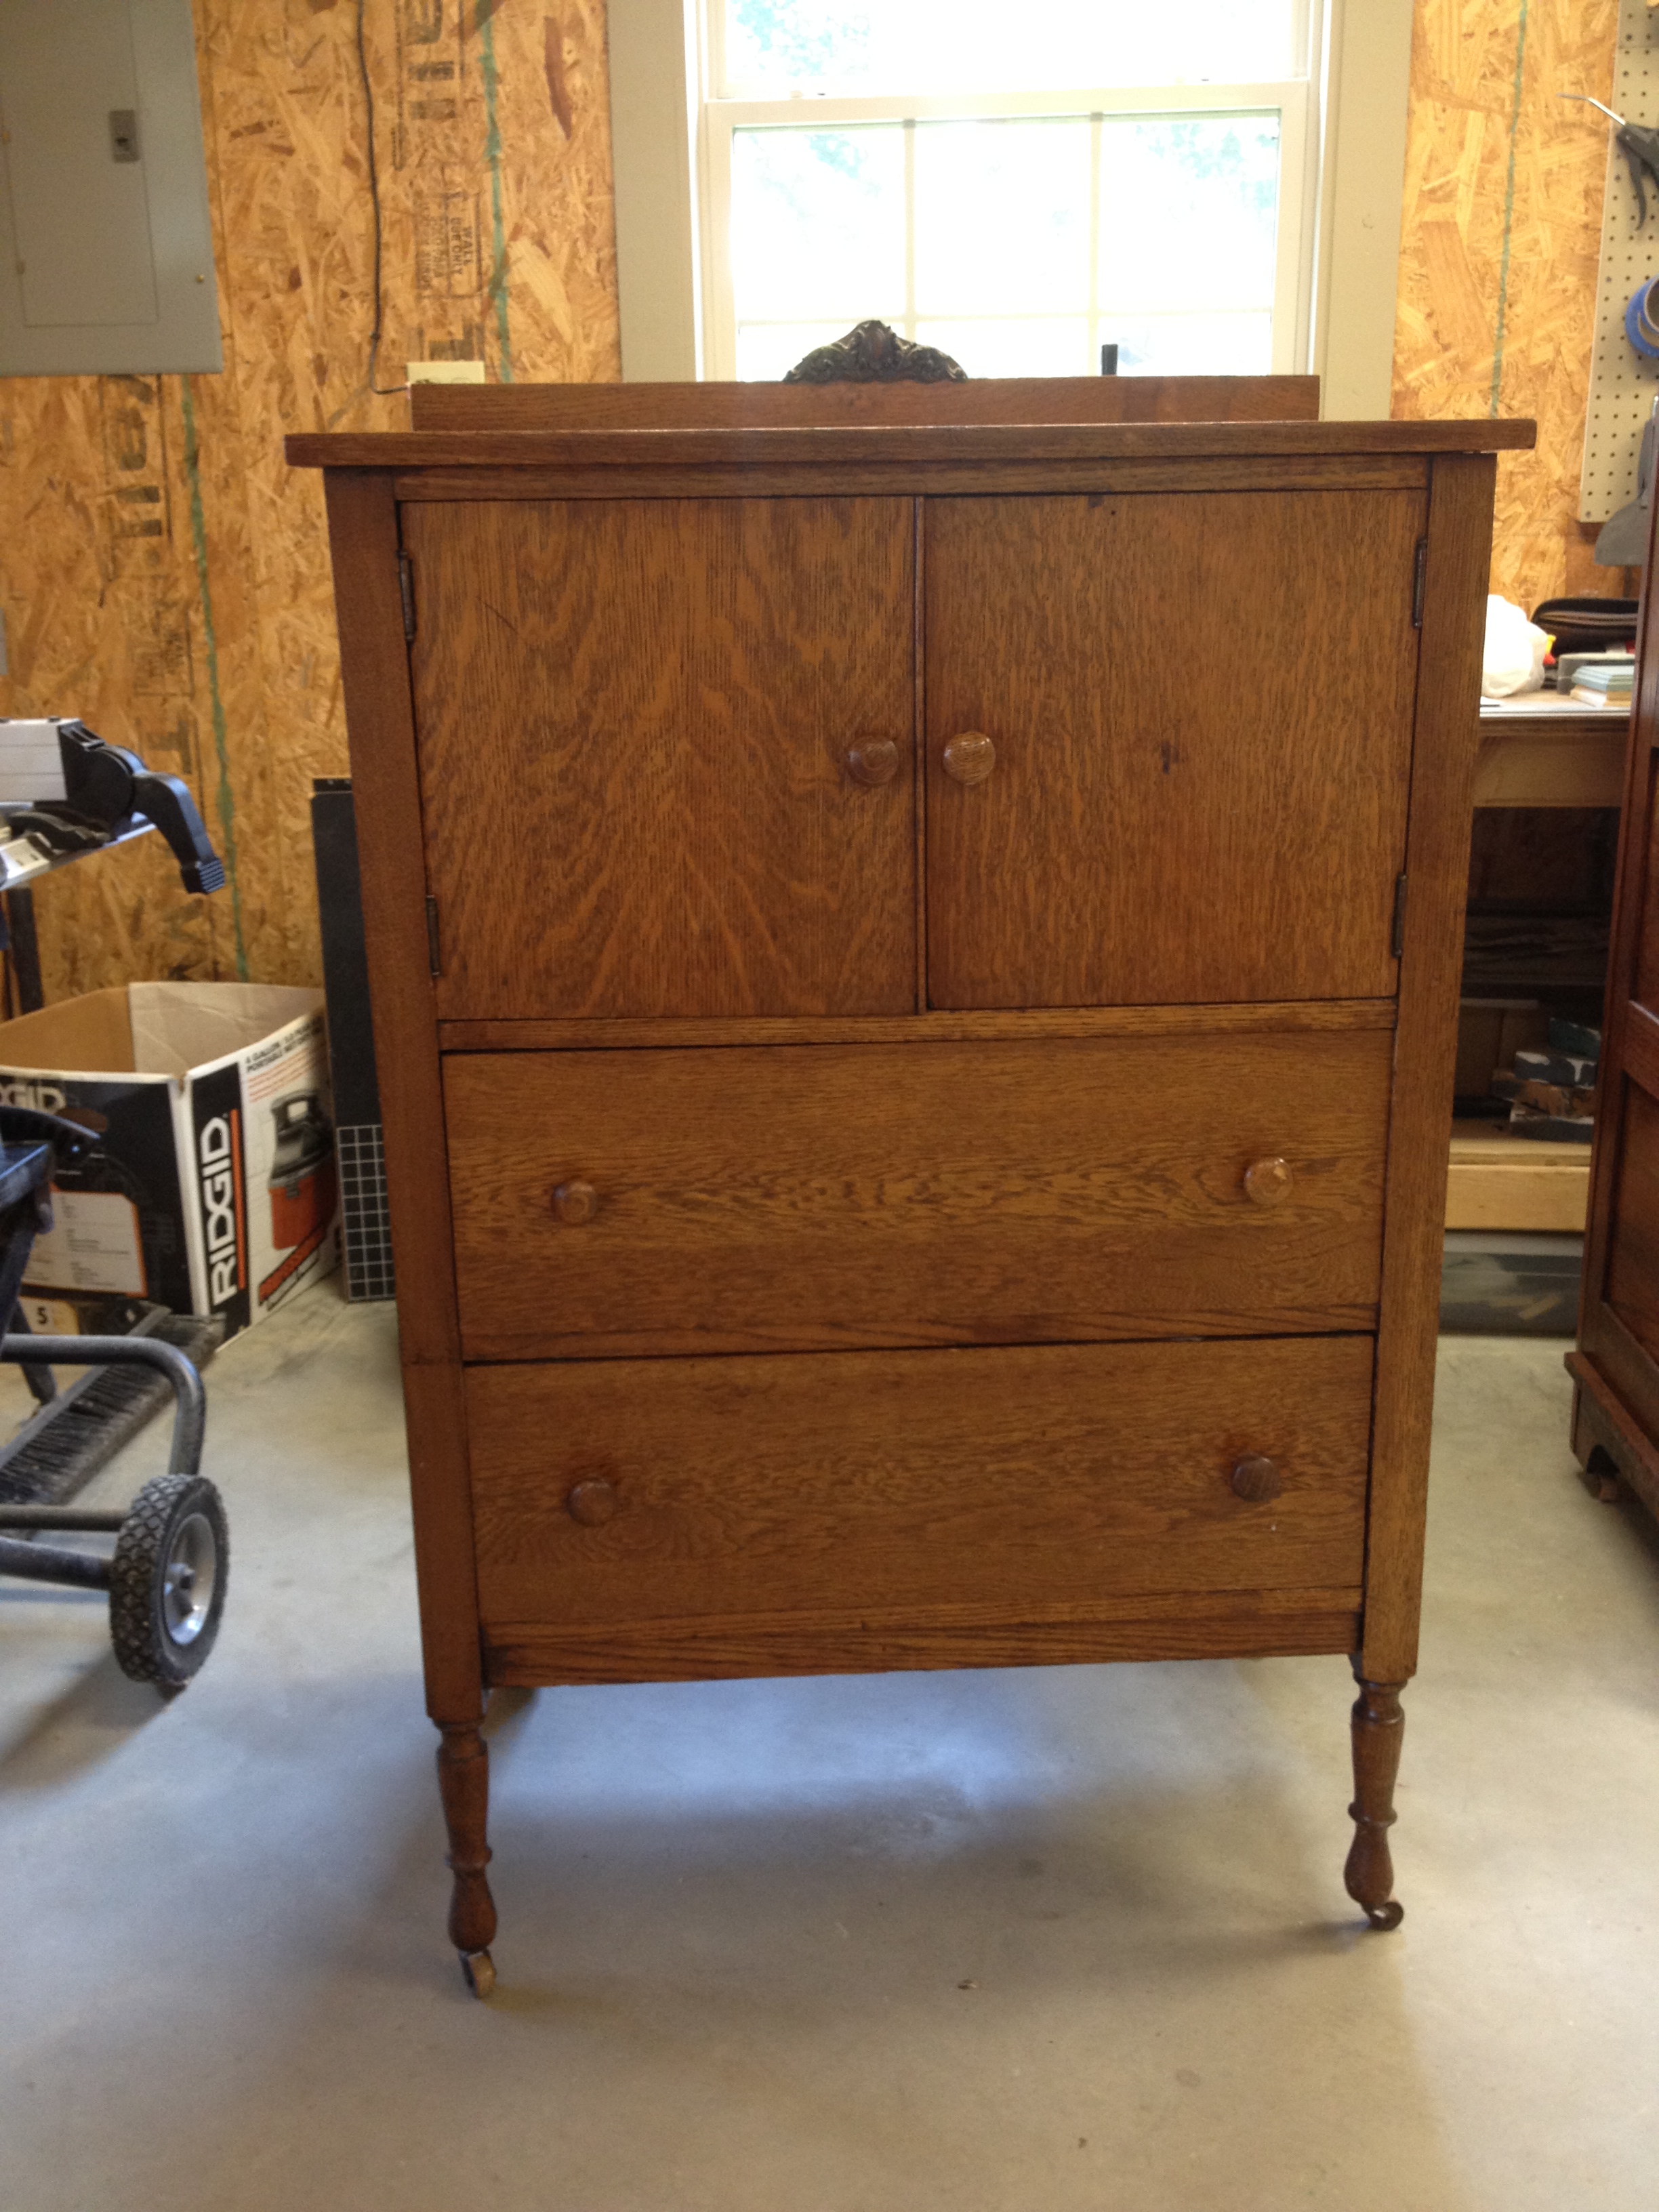
After getting the kids dressed and cleaned up, we went for a quick shopping trip at a local consignment shop.  I was looking for a piece of furniture to use in the baby's nonexistant nursery, and I was lucky enough to find a piece I liked!  The store was about to close so we laid down the seats in the car and crammed it in.  The kids were excited to ride seatbelt-free.  (Don't worry, our drive was less than a mile.)

Mimi got to cram in the back with them too.

This is the beaut we brought home.  I have big plans for it and have already begun working on it.  Hopefully I'll have pictures to show you soon.

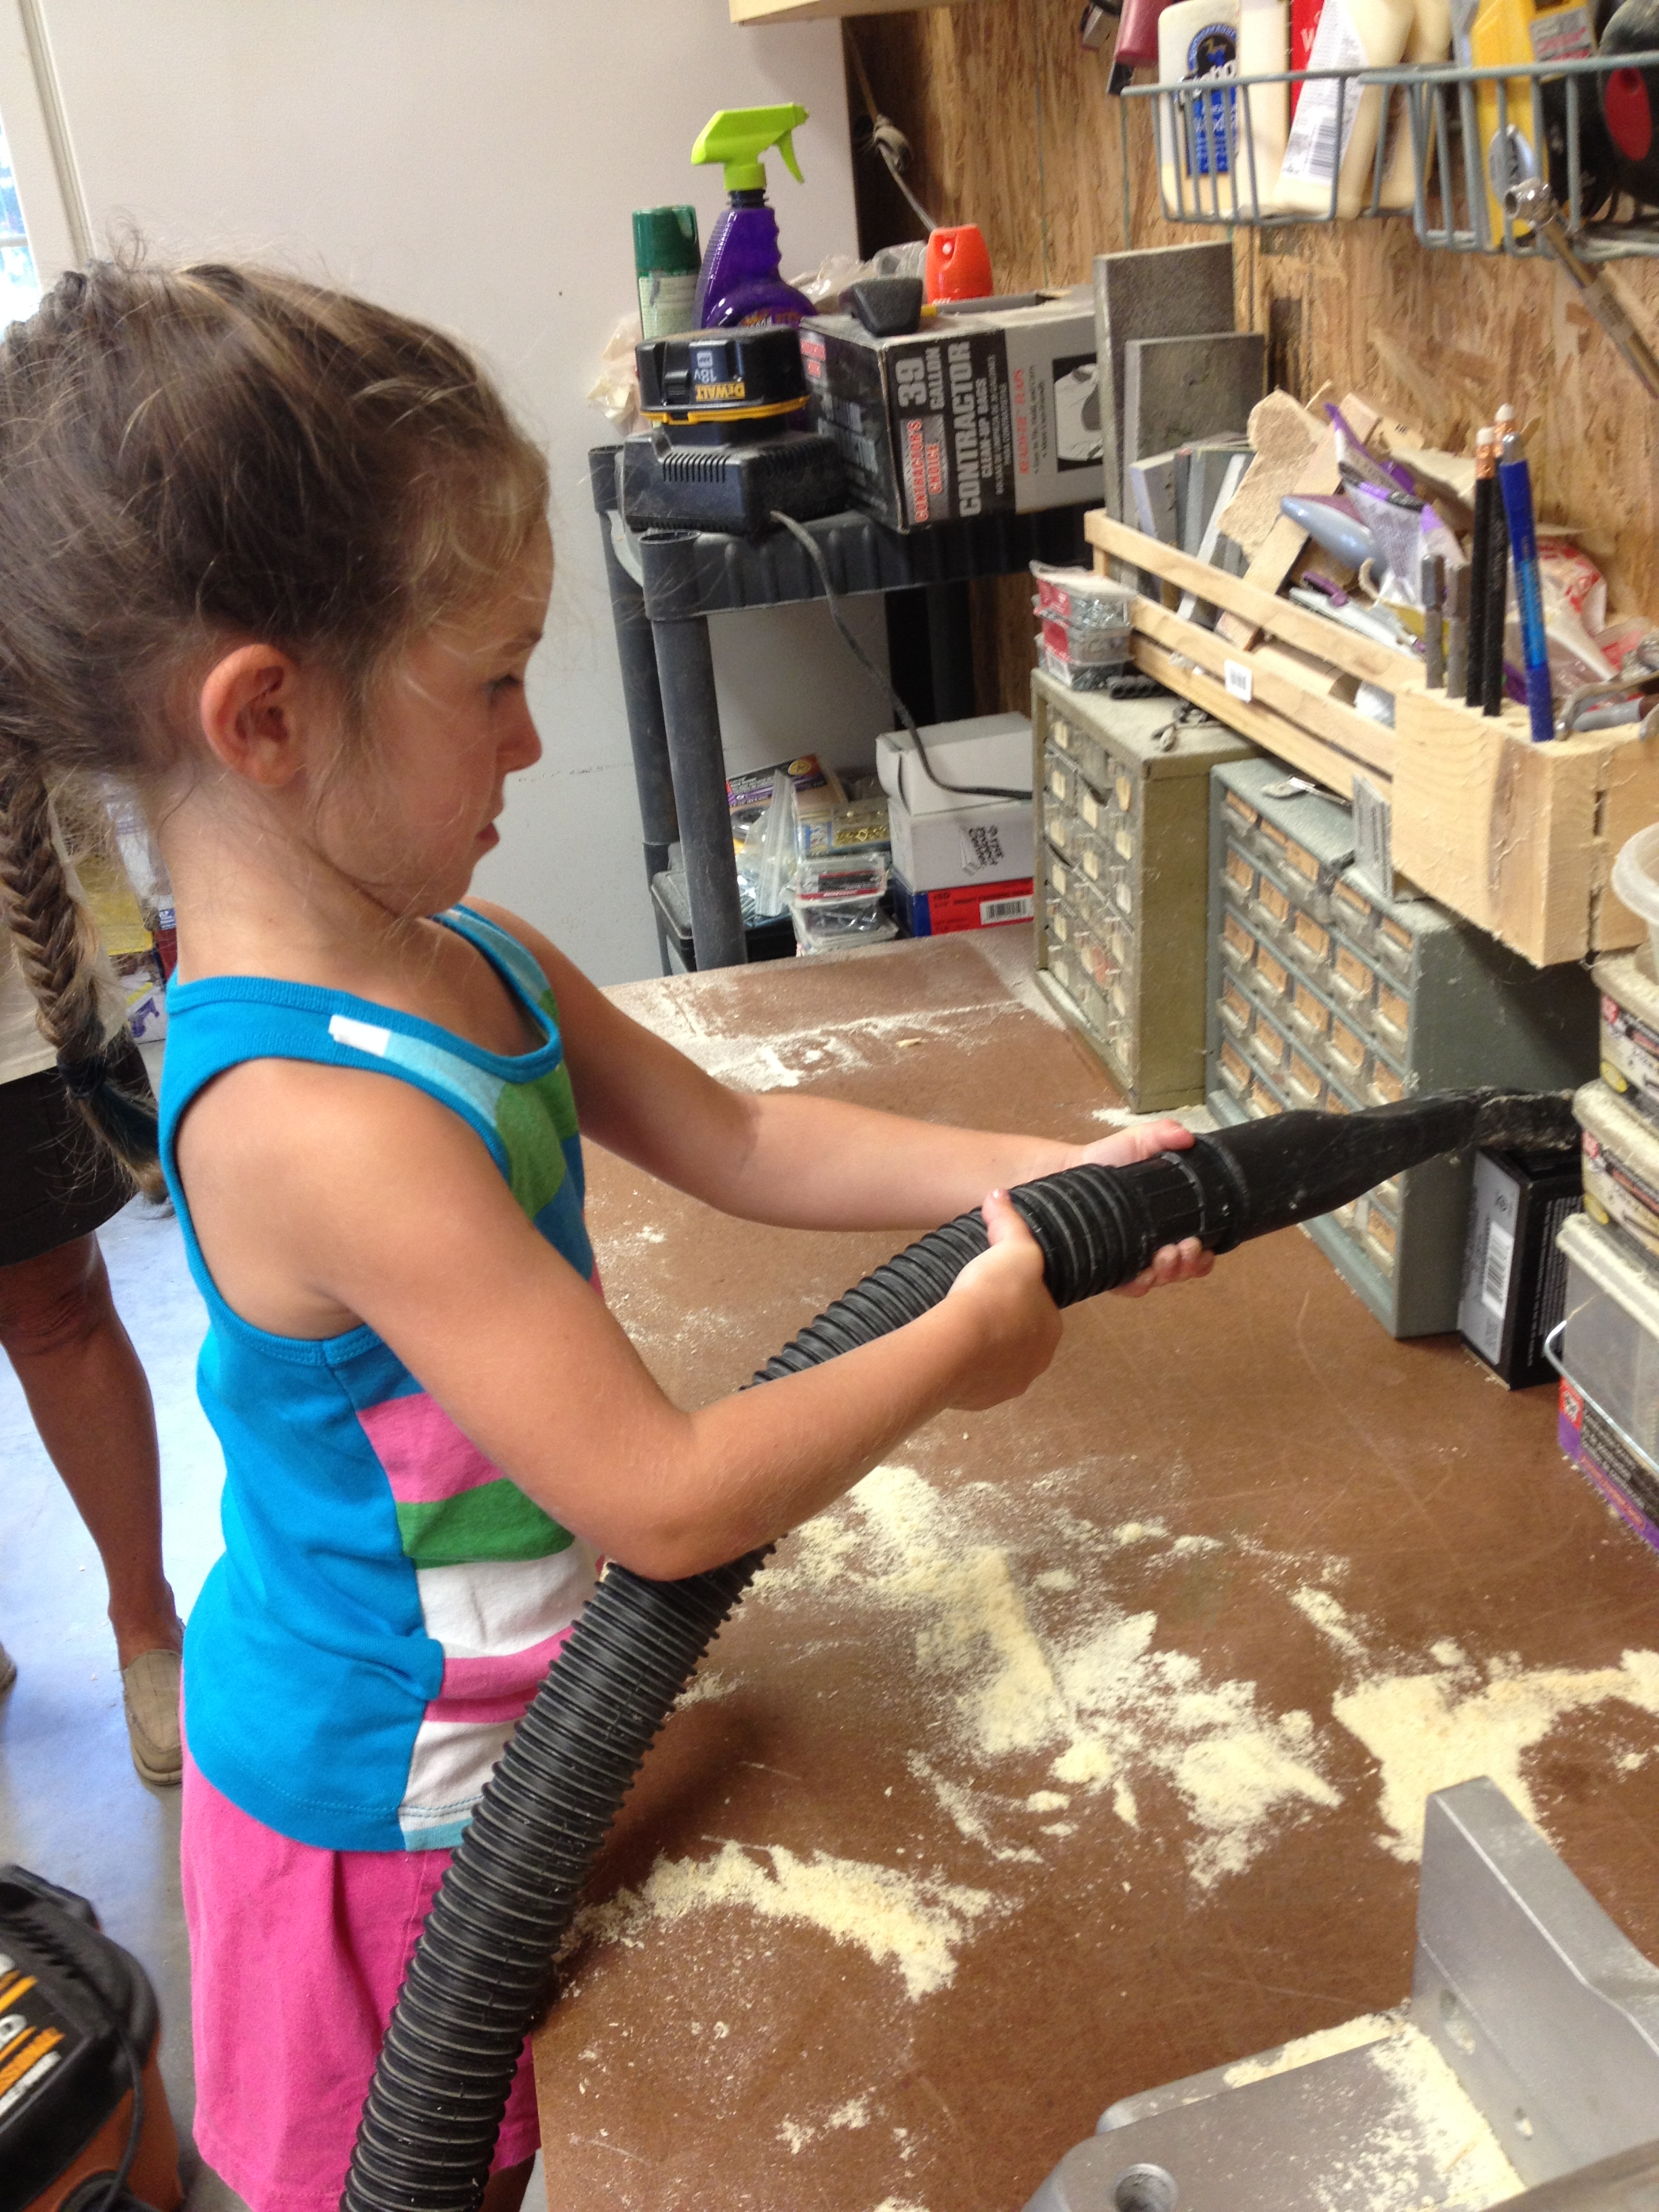
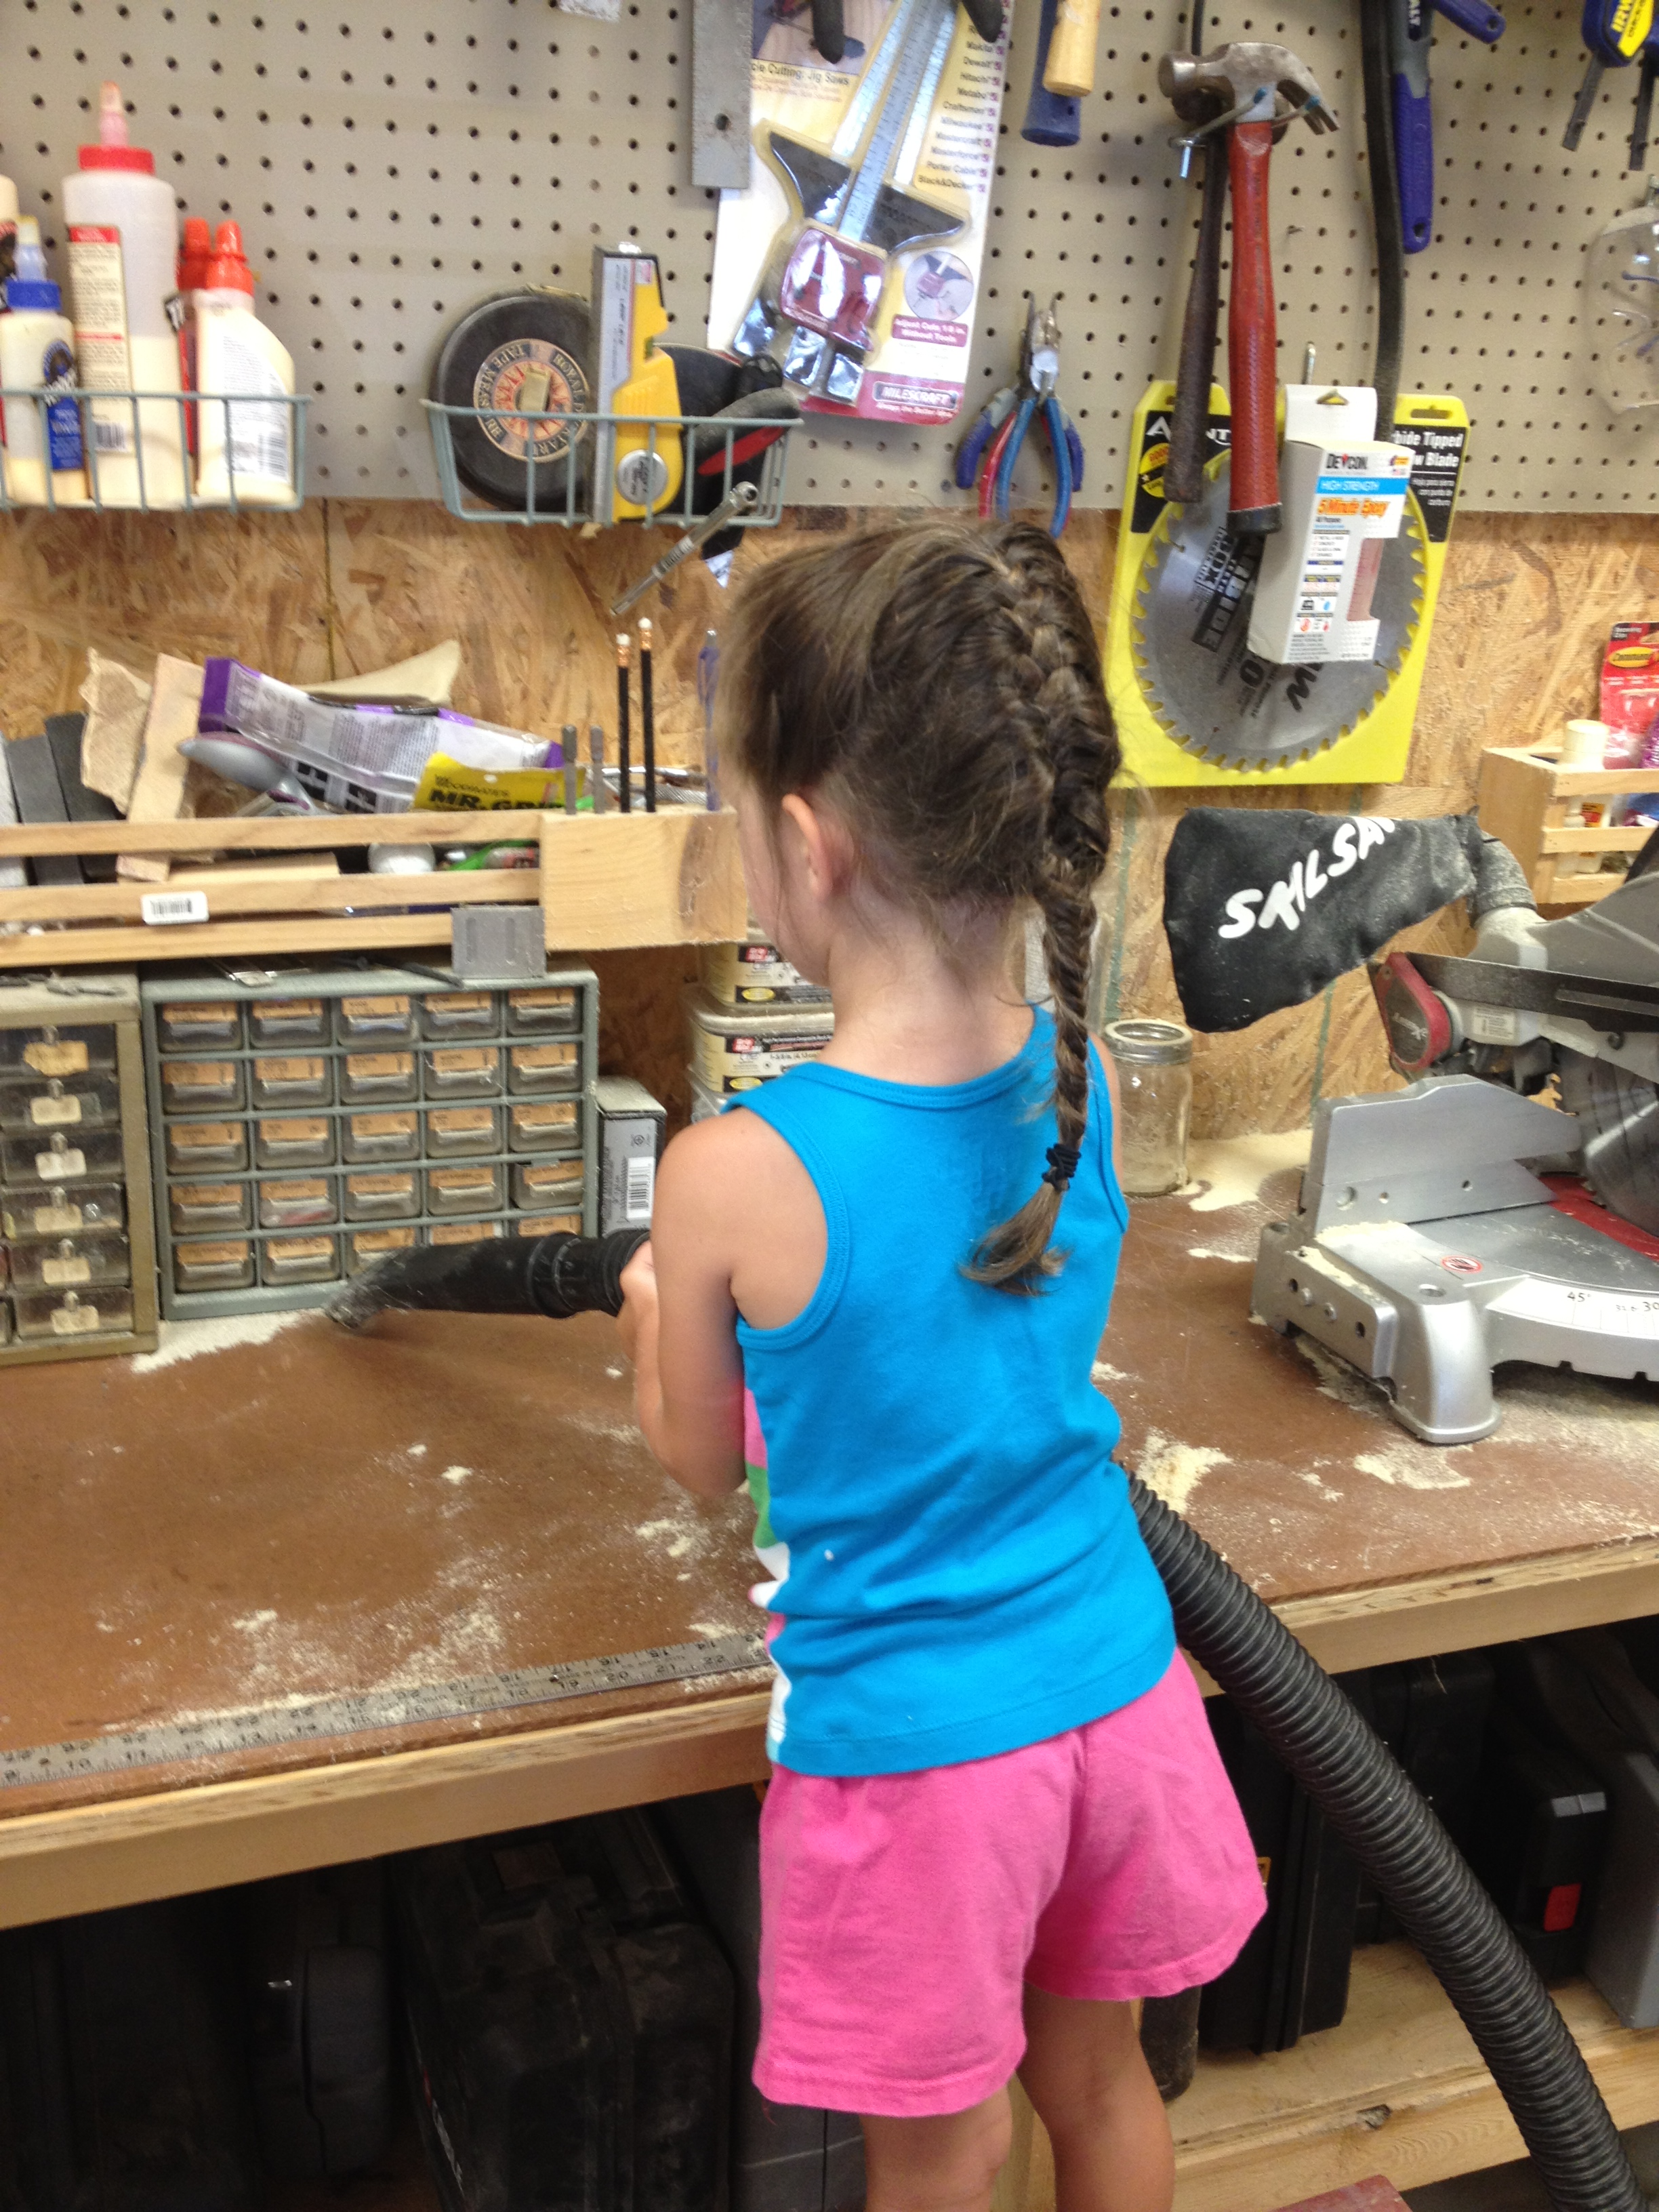
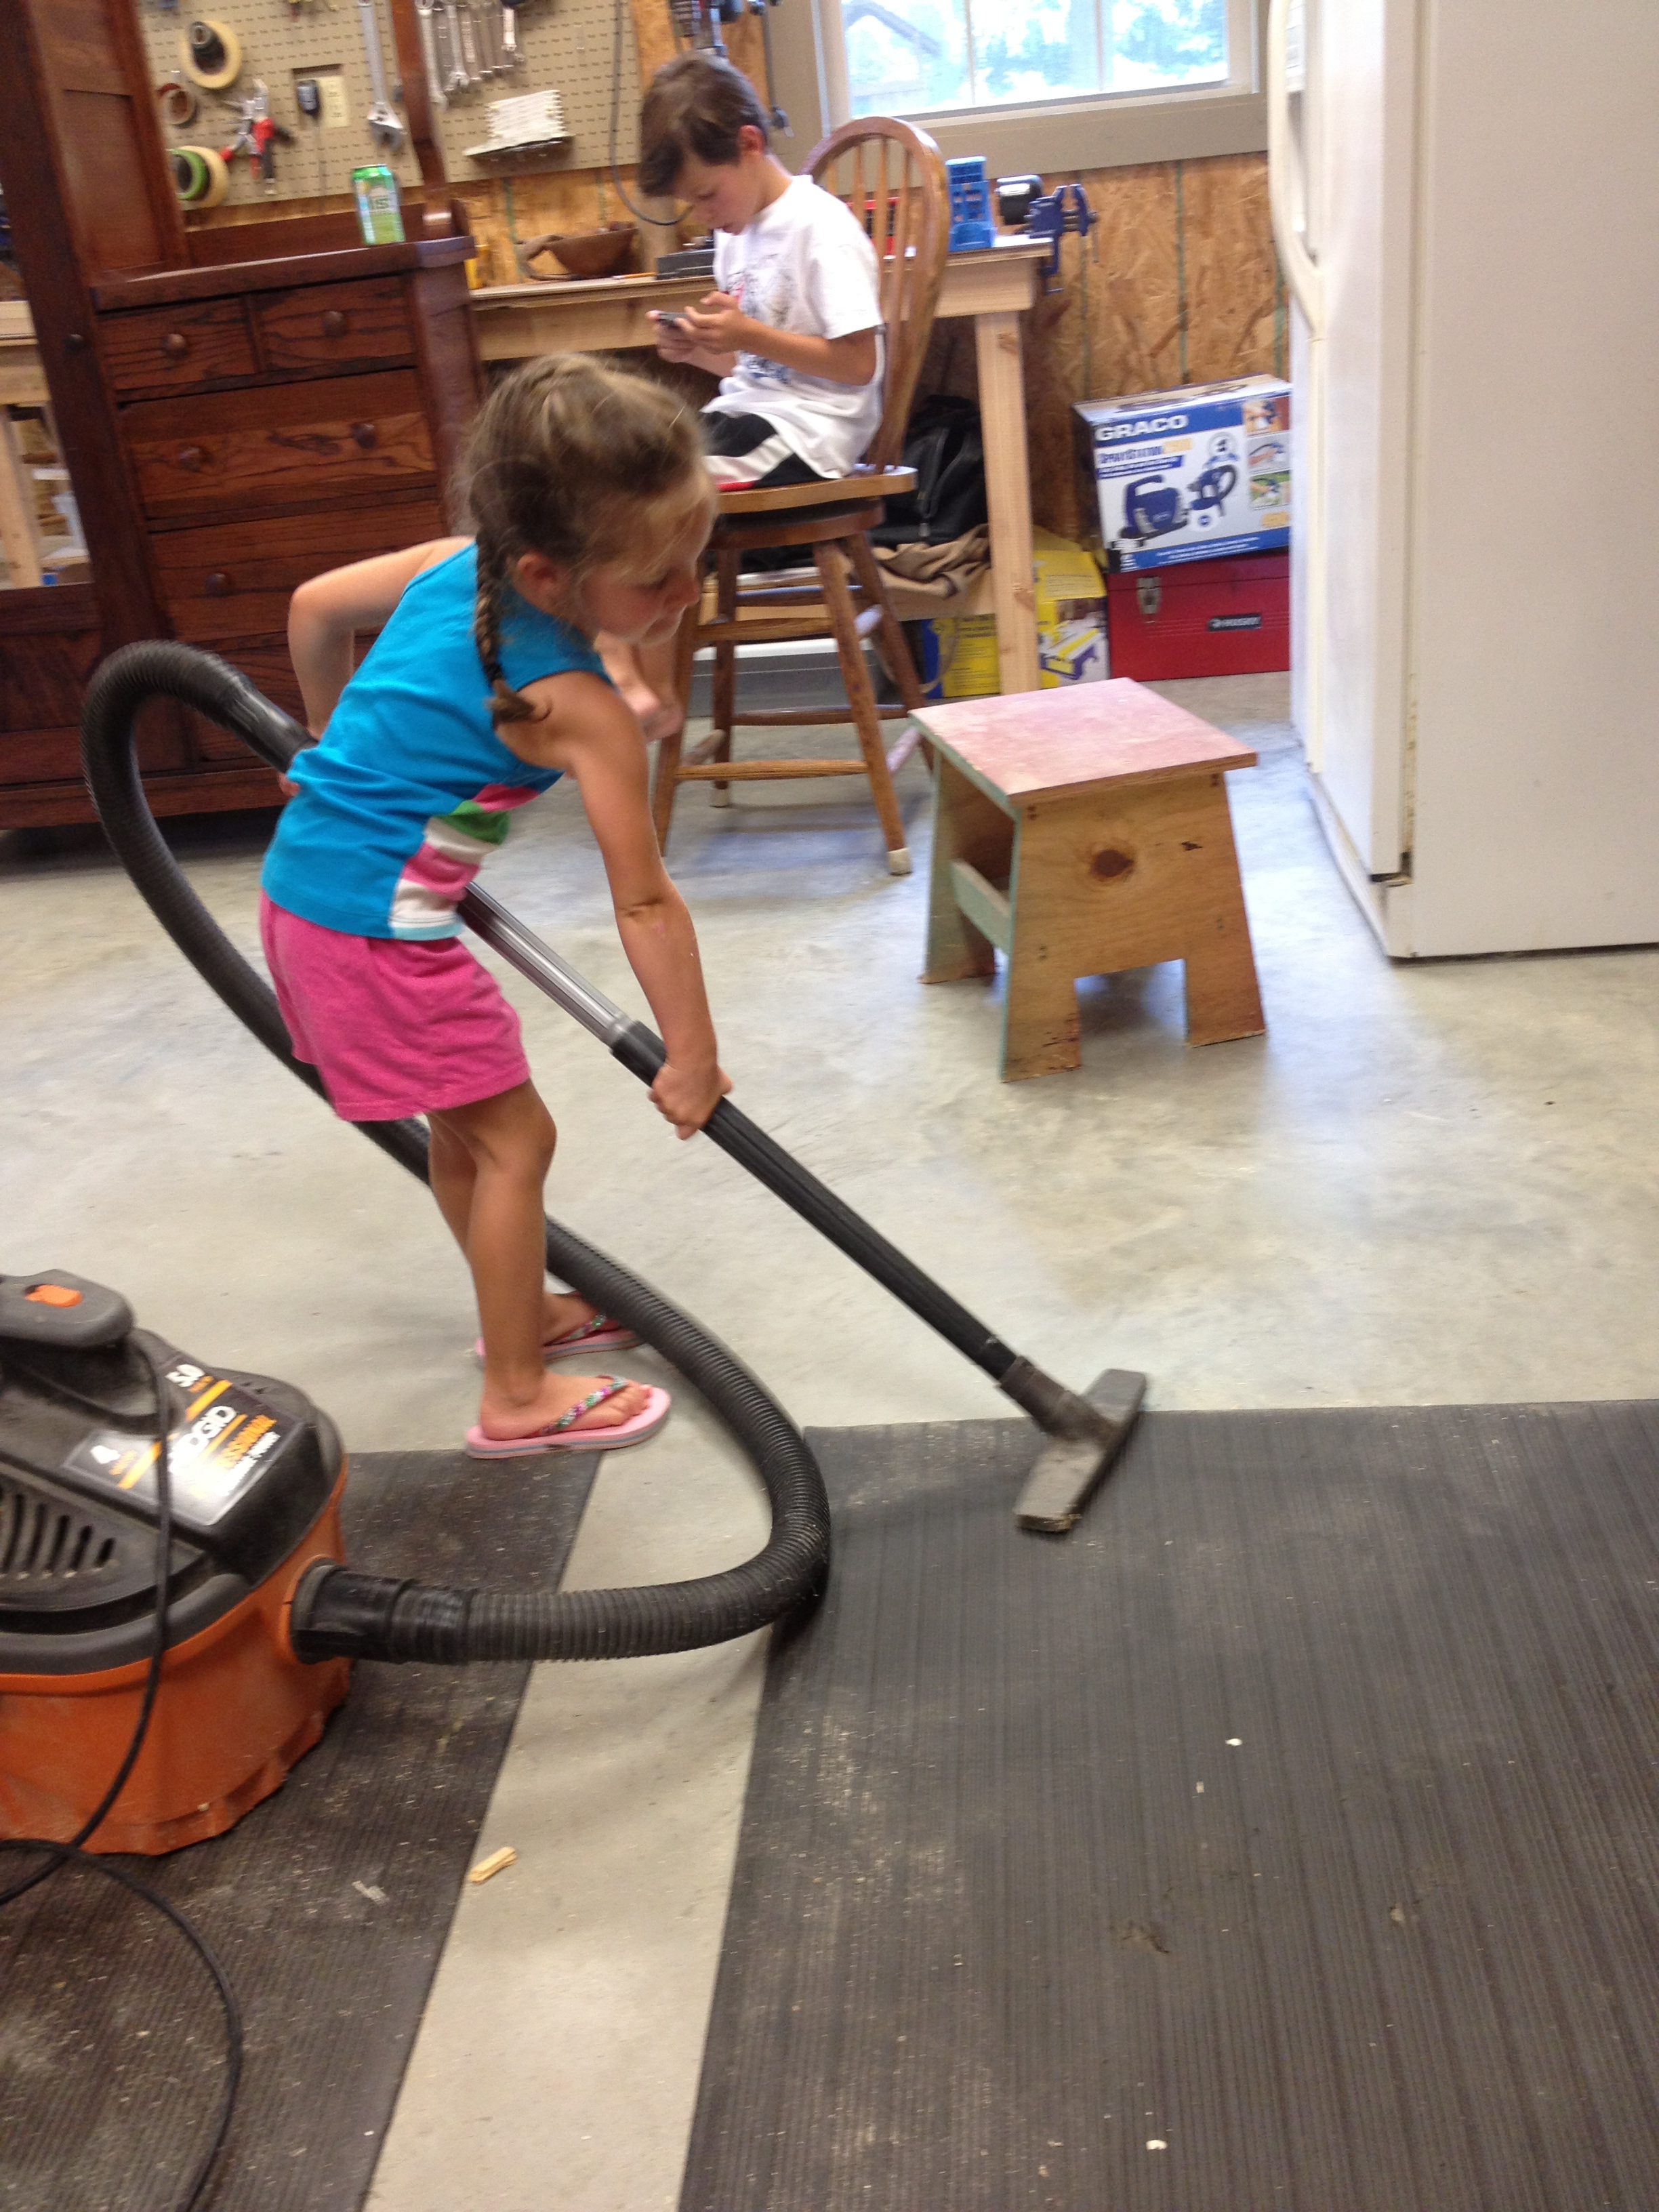
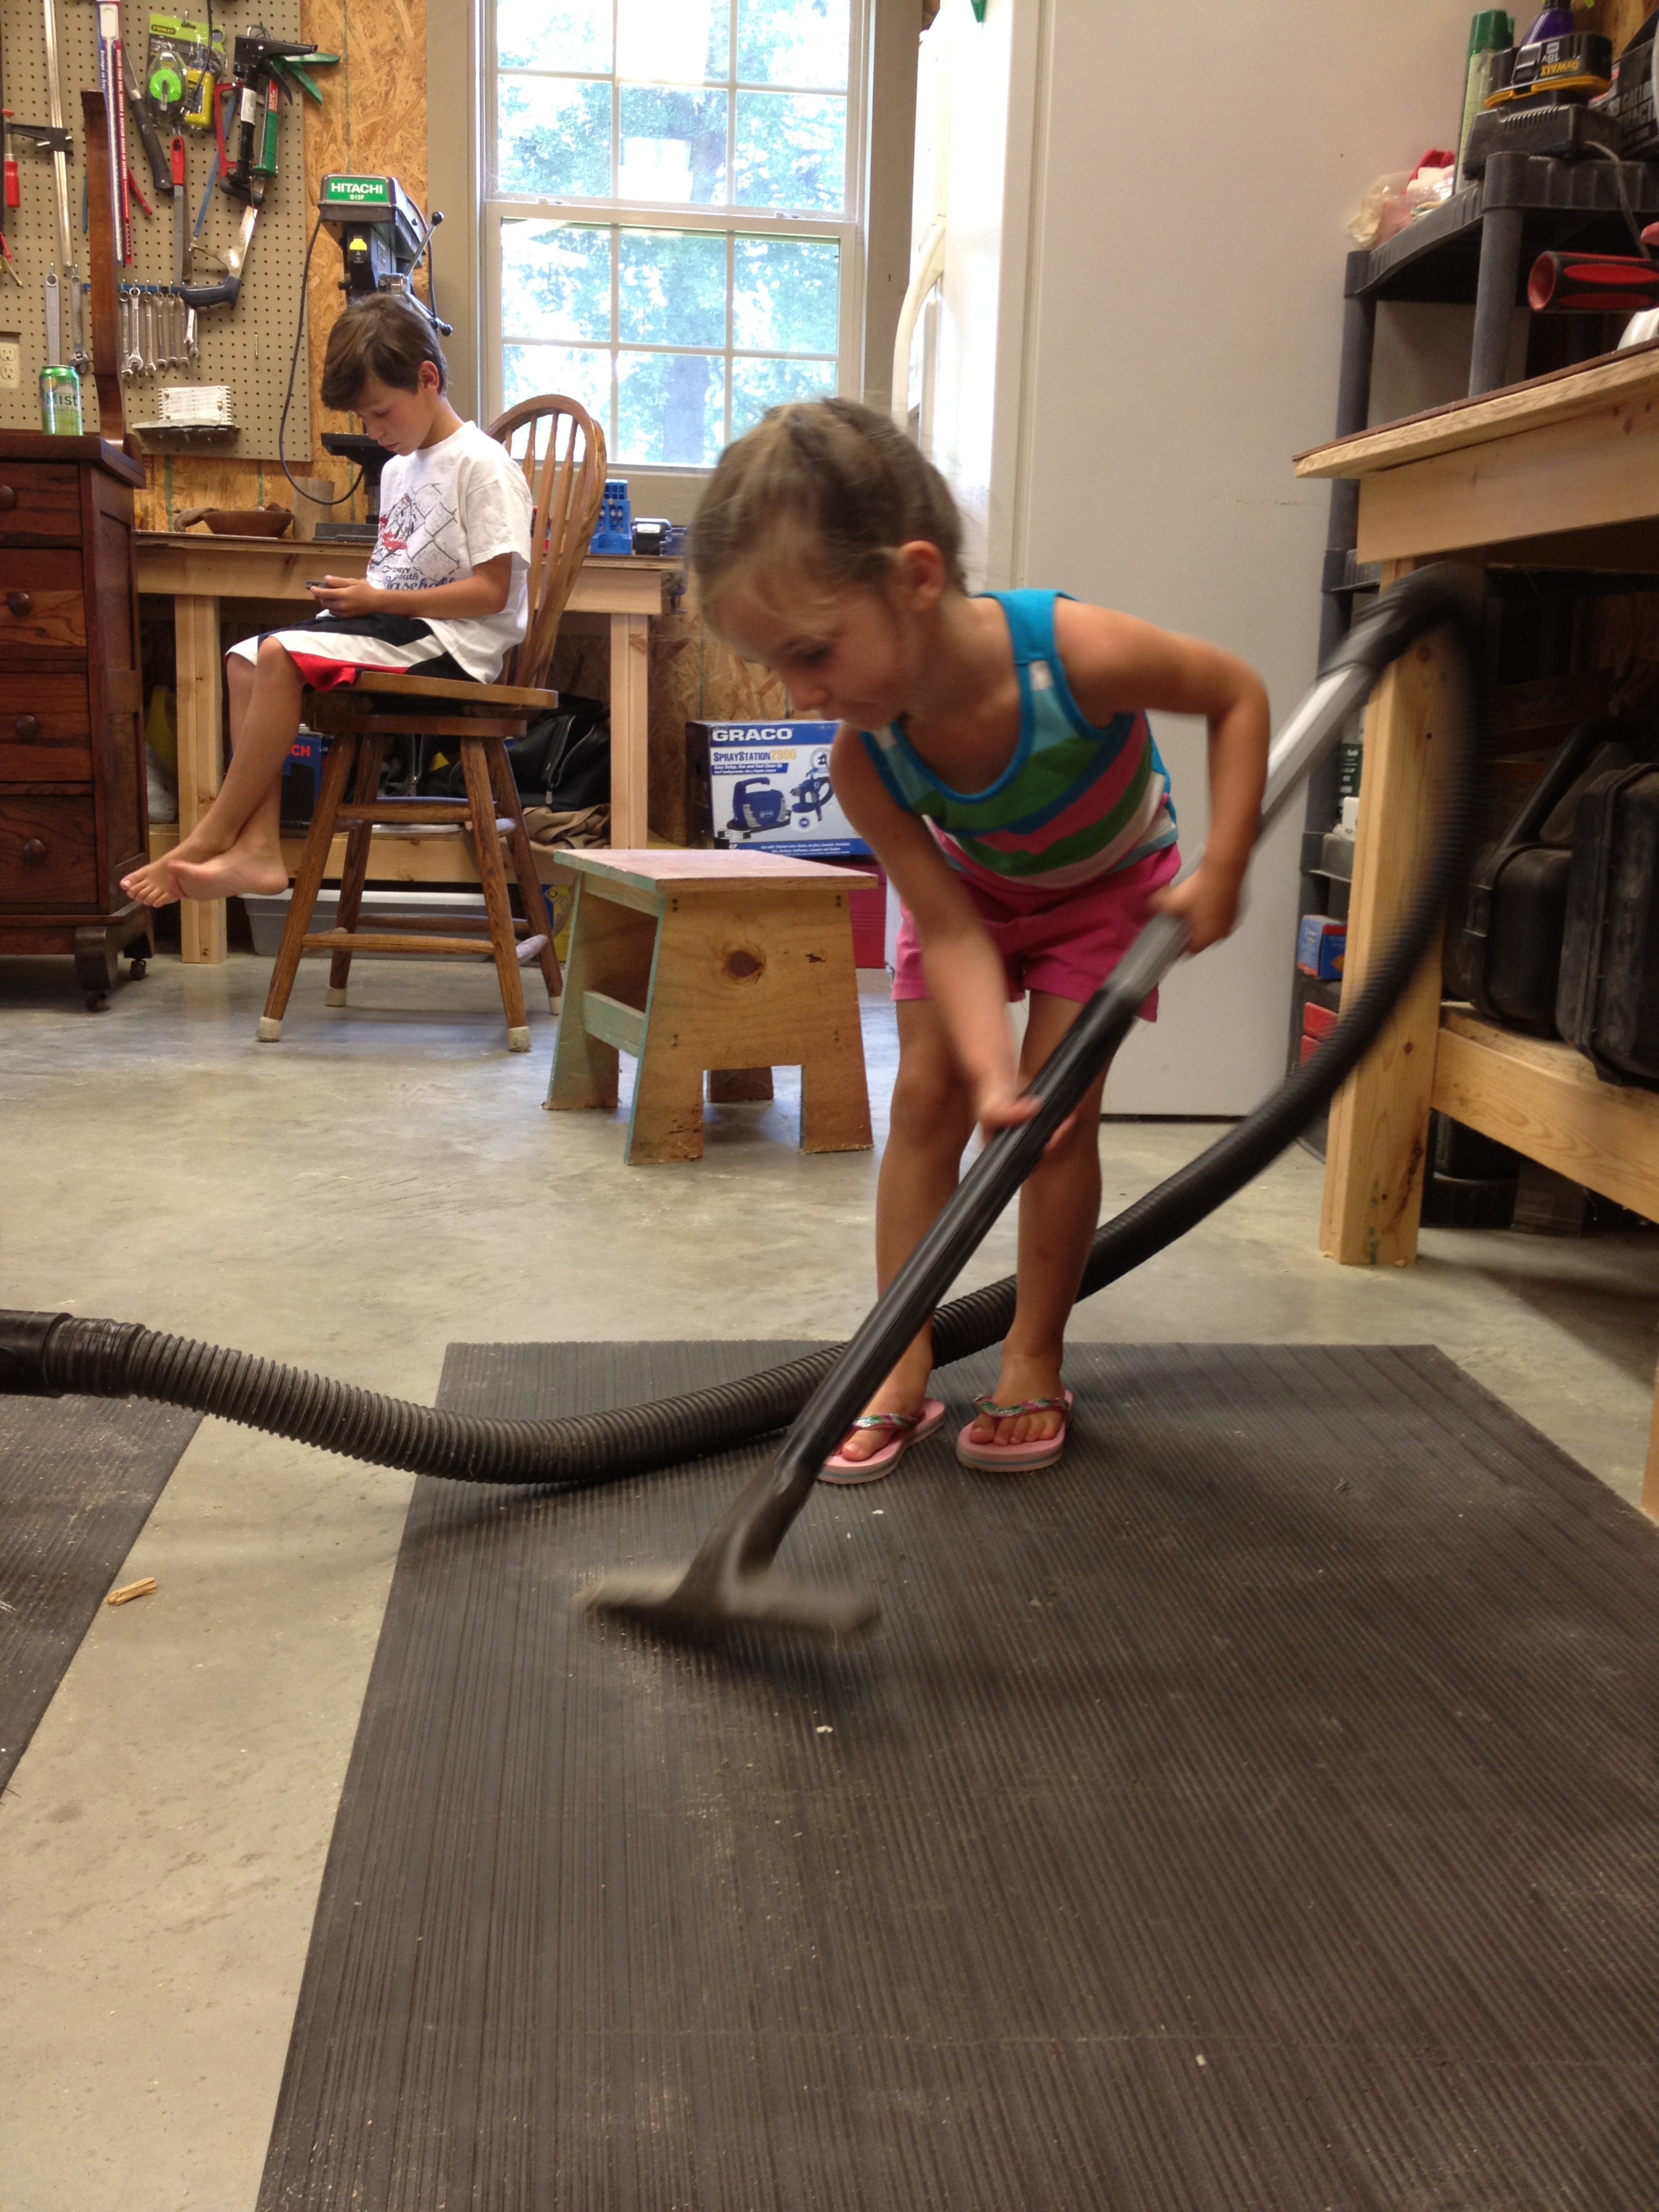
So I could get some work done in the shop, I put Brennie to work vaccuuming up sawdust.  If you ever want to keep a 3 year old busy for a while, might I suggest a shop vac?  She loved it! And she took her job very seriously.


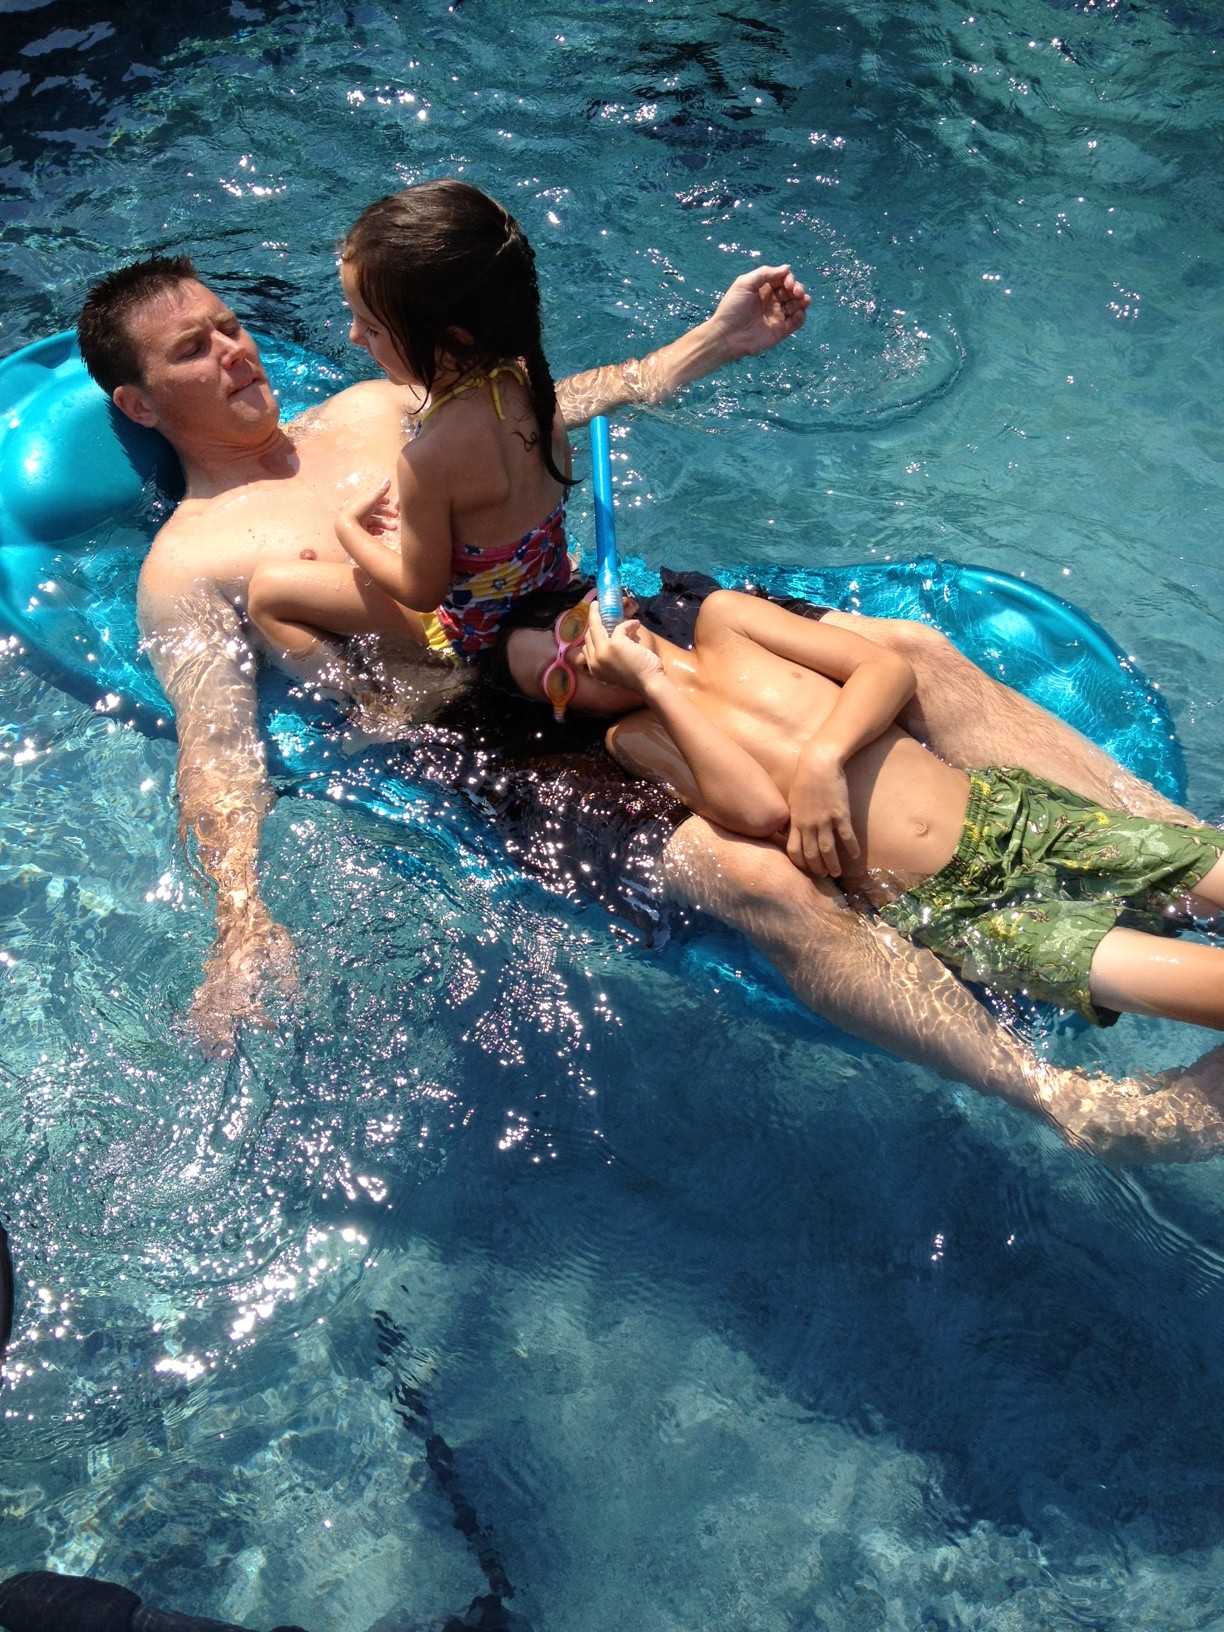
That afternoon, we spent a couple hours at the neighbors' pool.  Doc thought he'd lay out on a raft and relax.  I'm not sure he expected to have so much company on his raft.

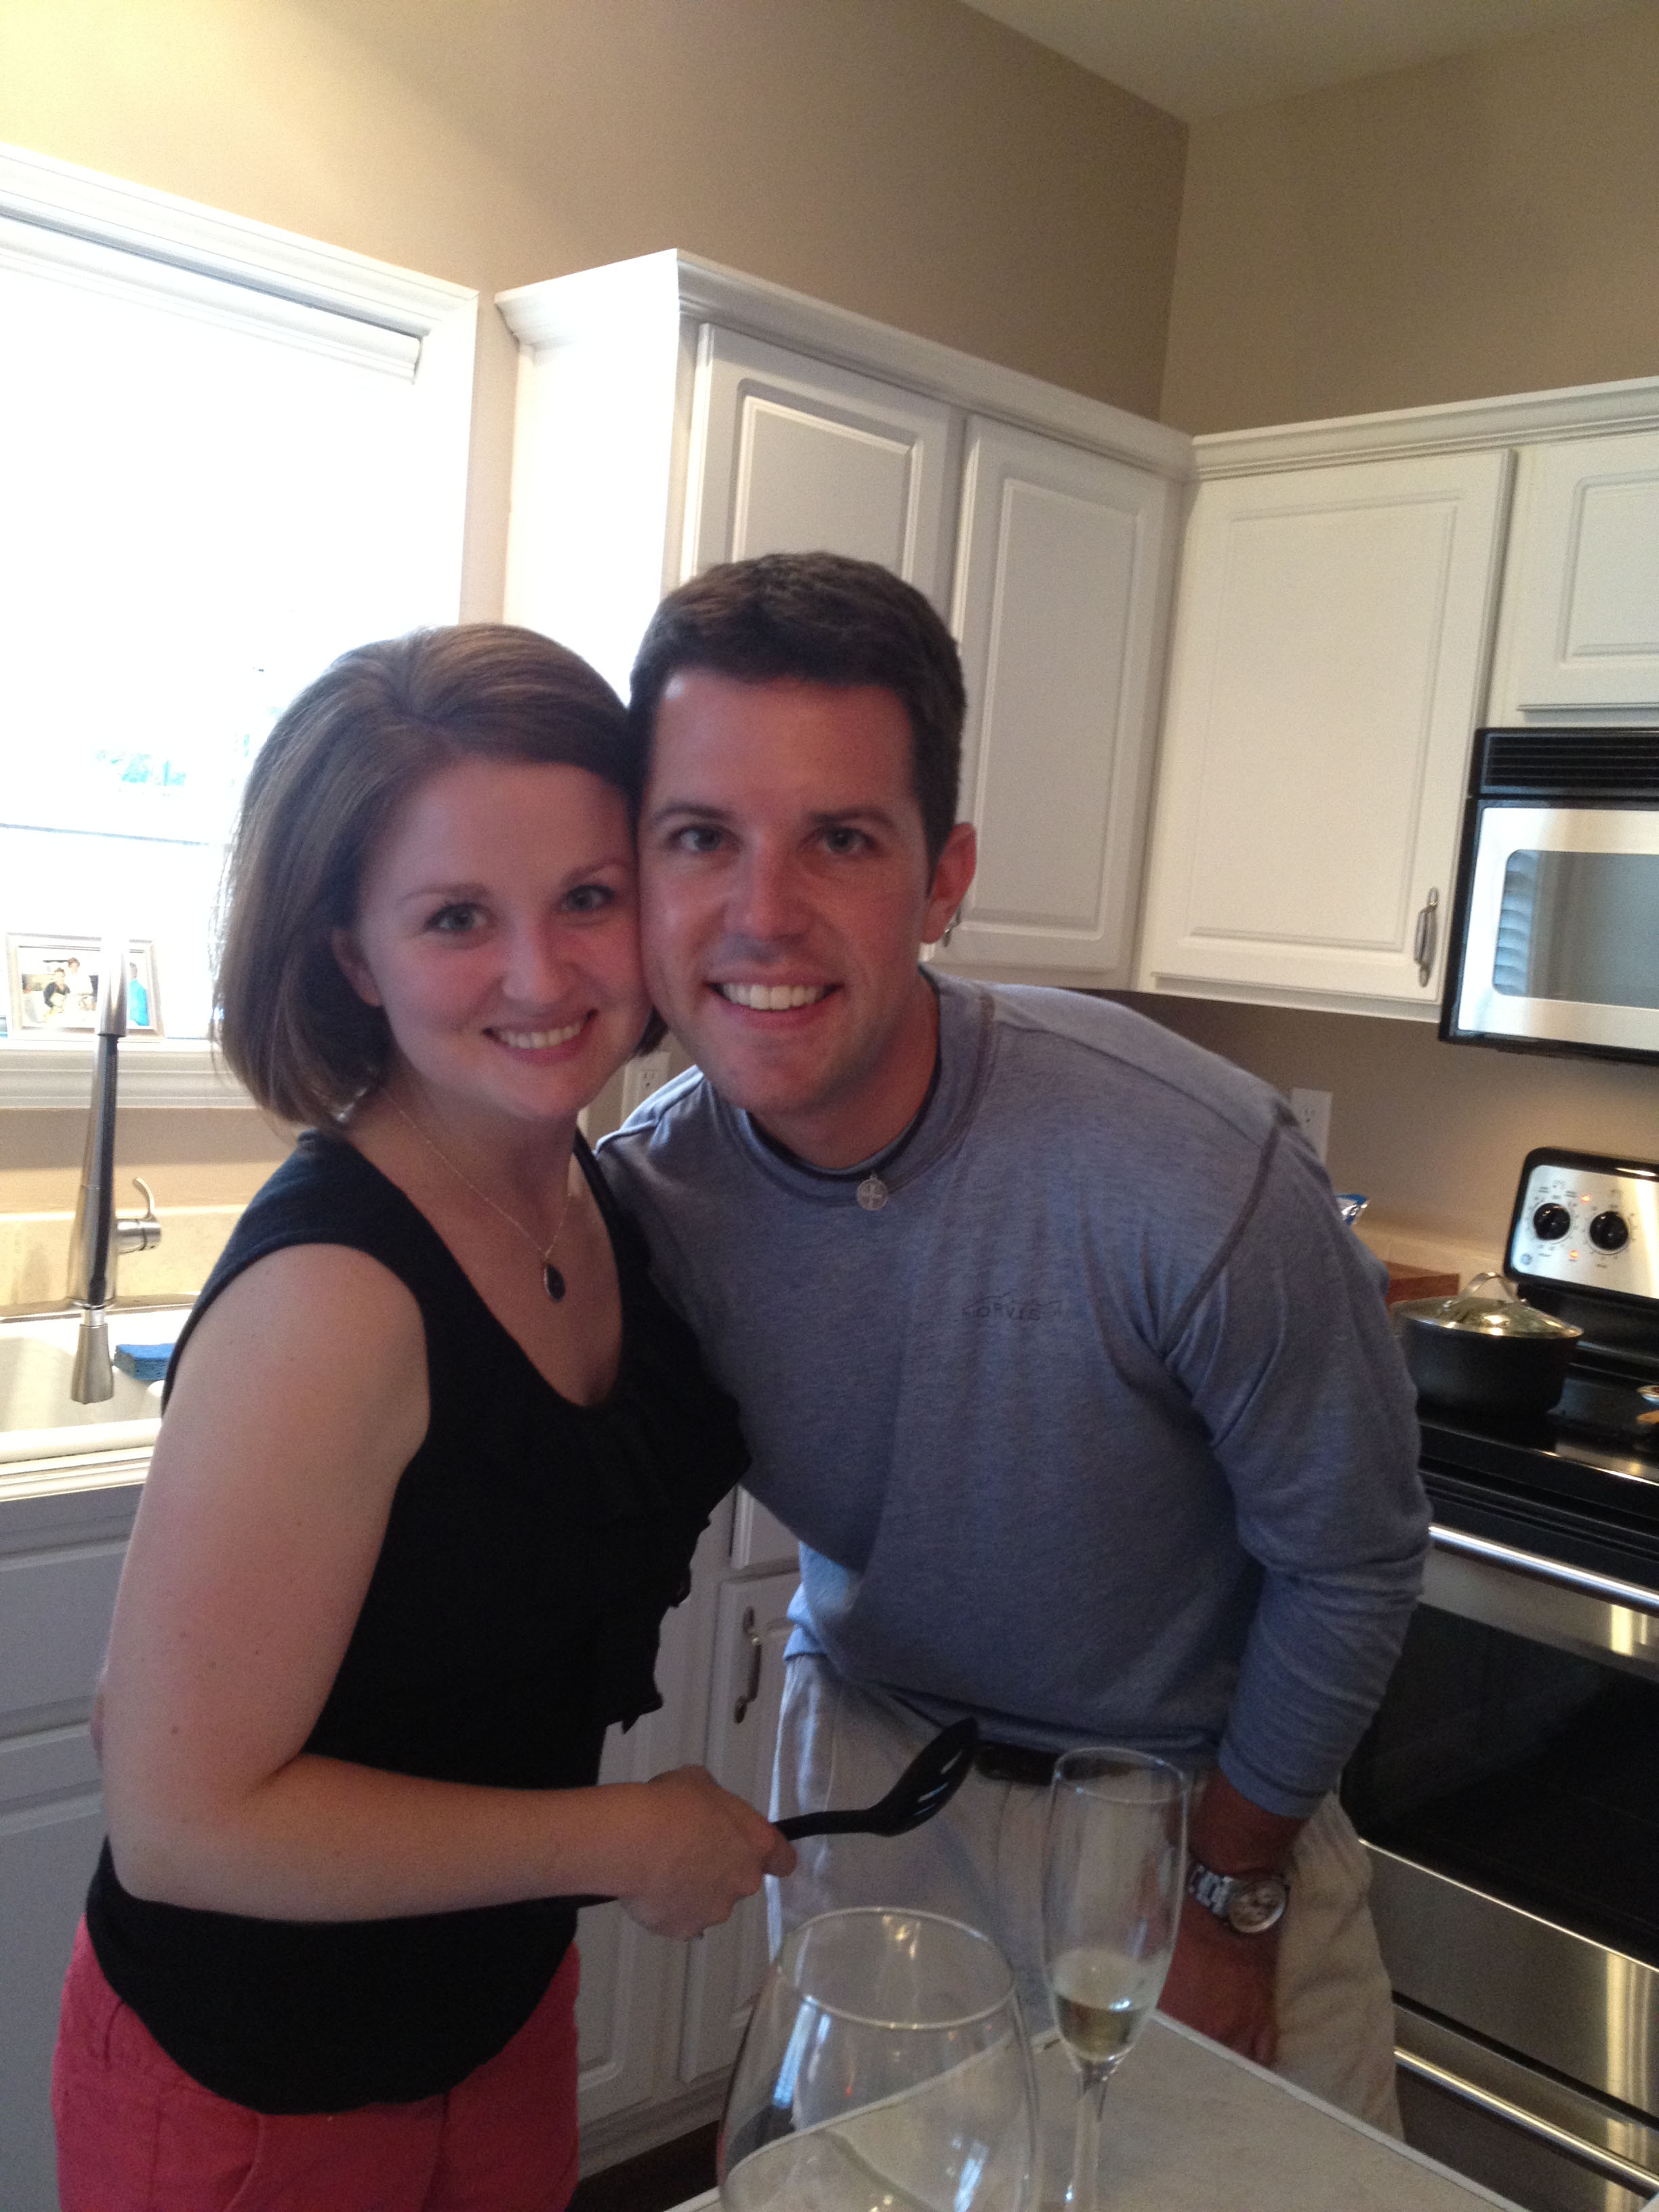
We had plans that evening so we left the pool early.  Chris and Allison had invited us over to their house for dinner.

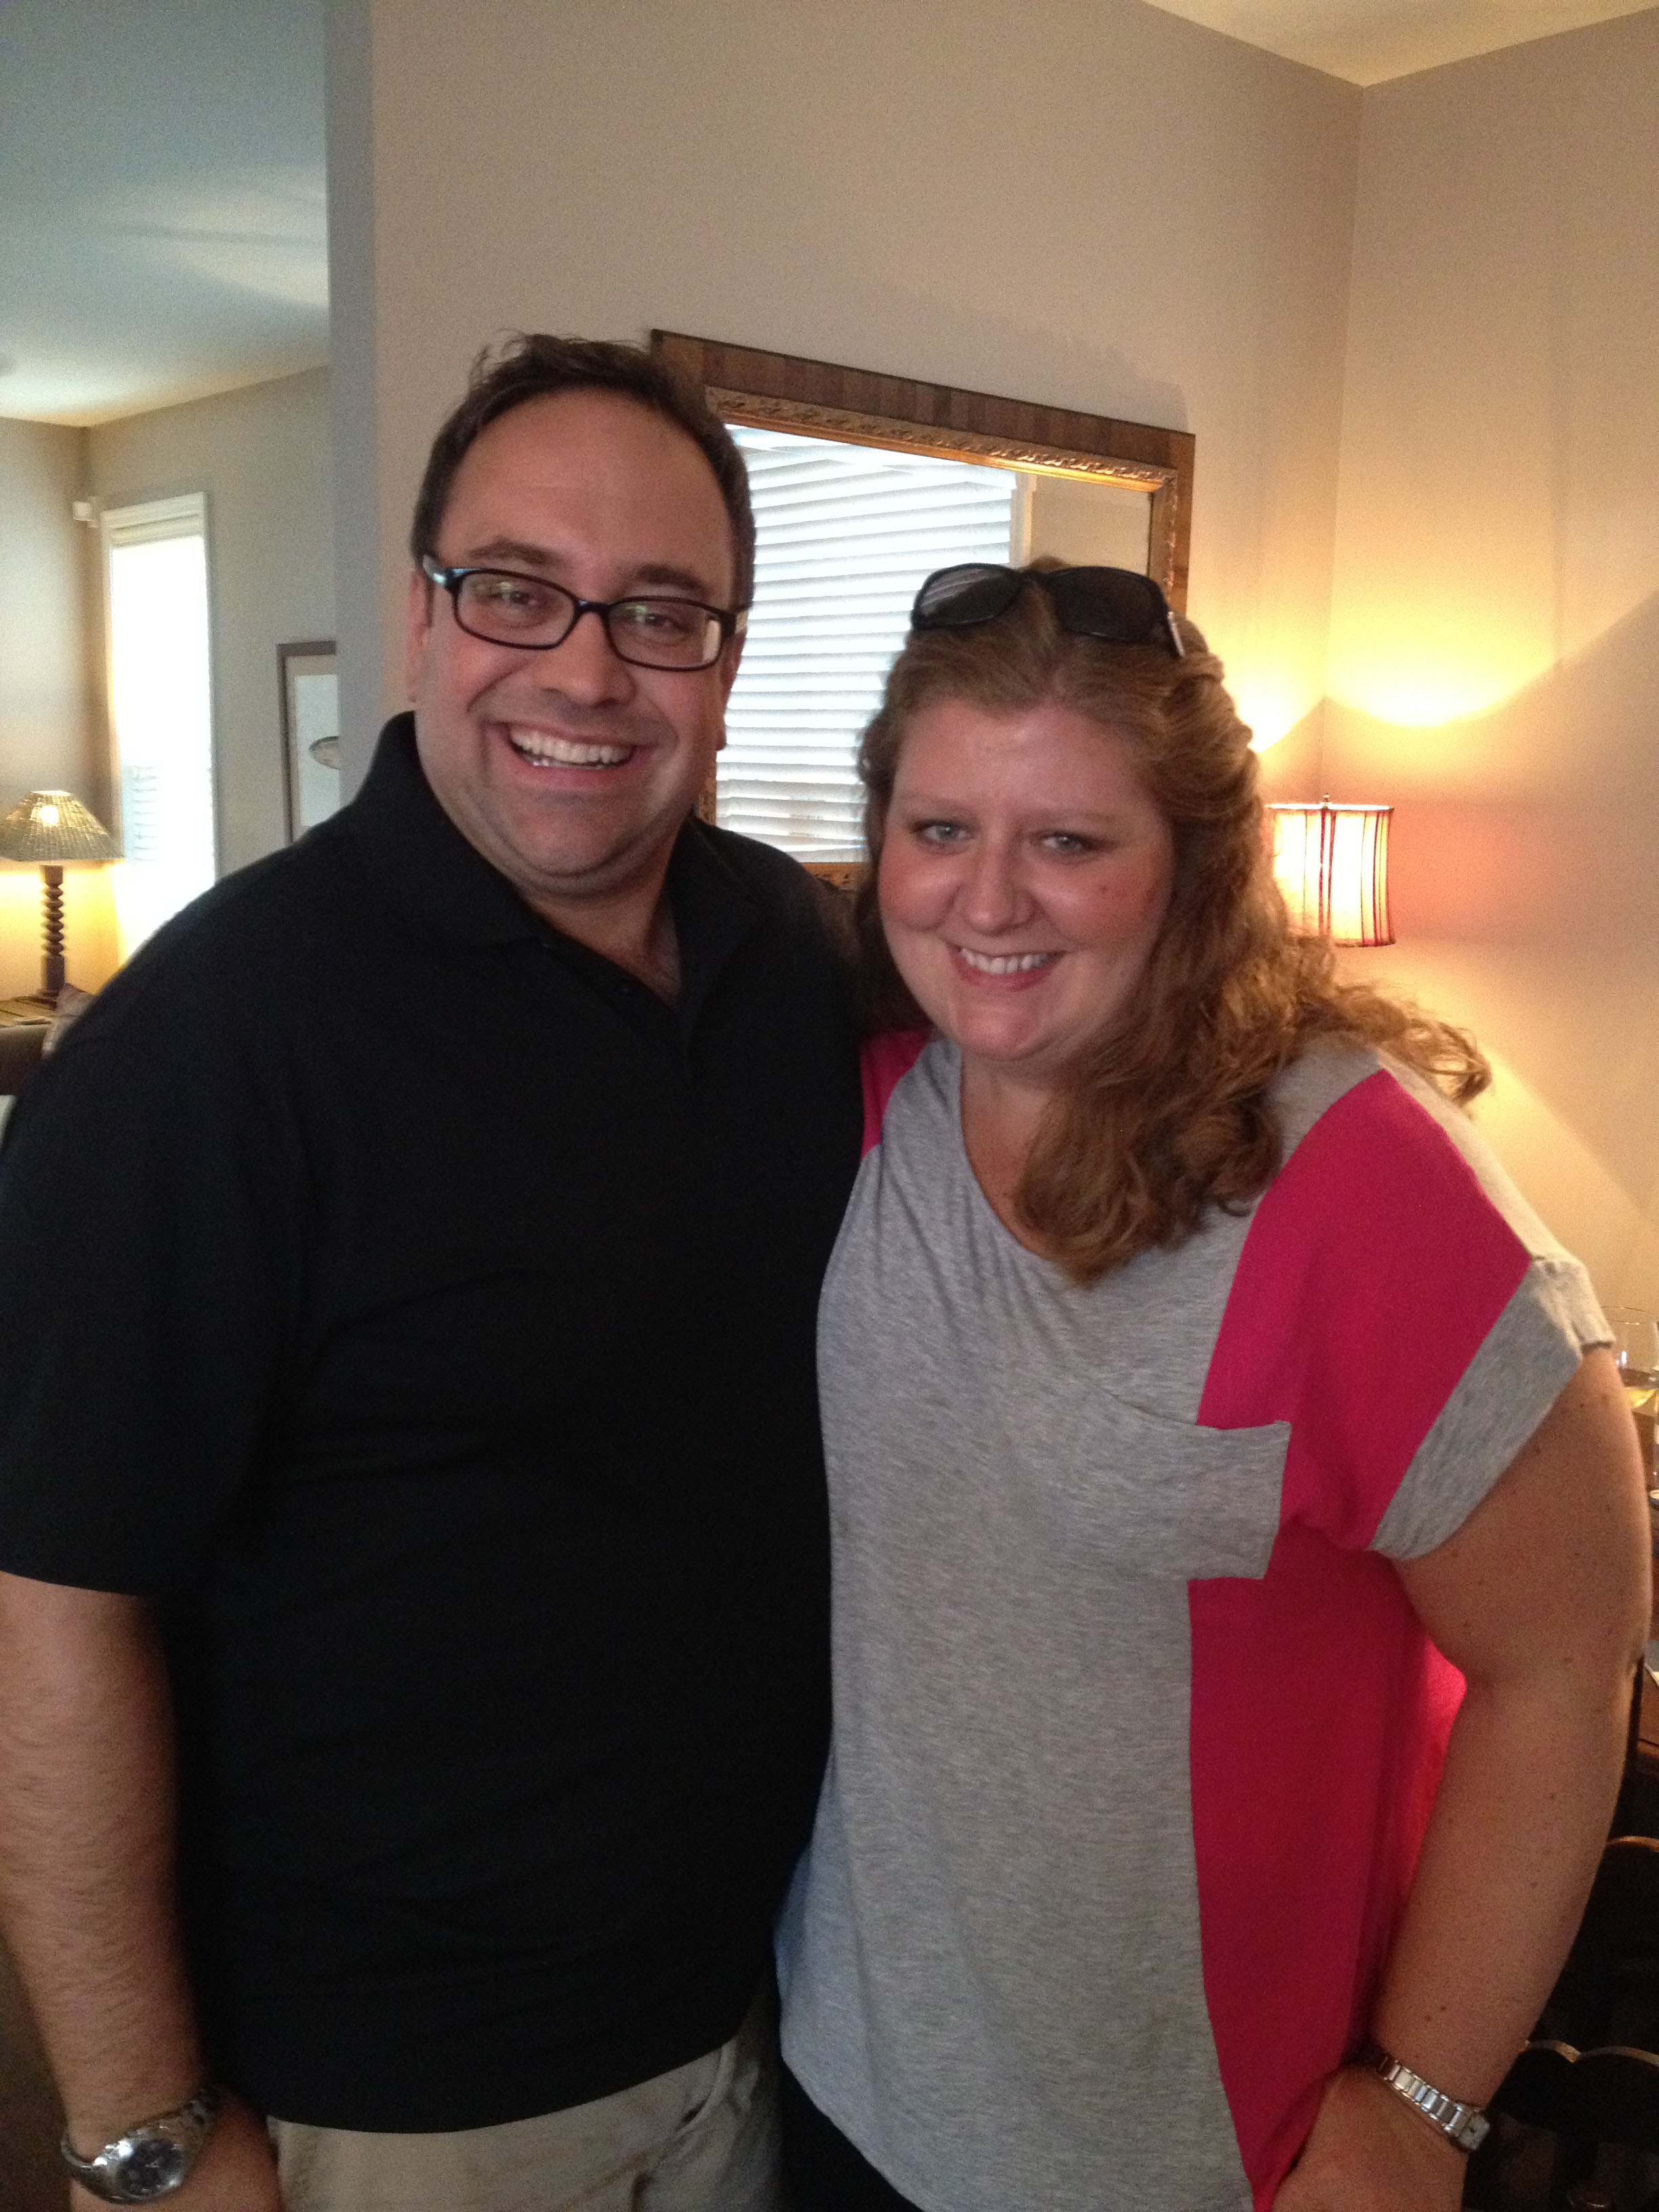
Jenny and Darrin came for dinner too.

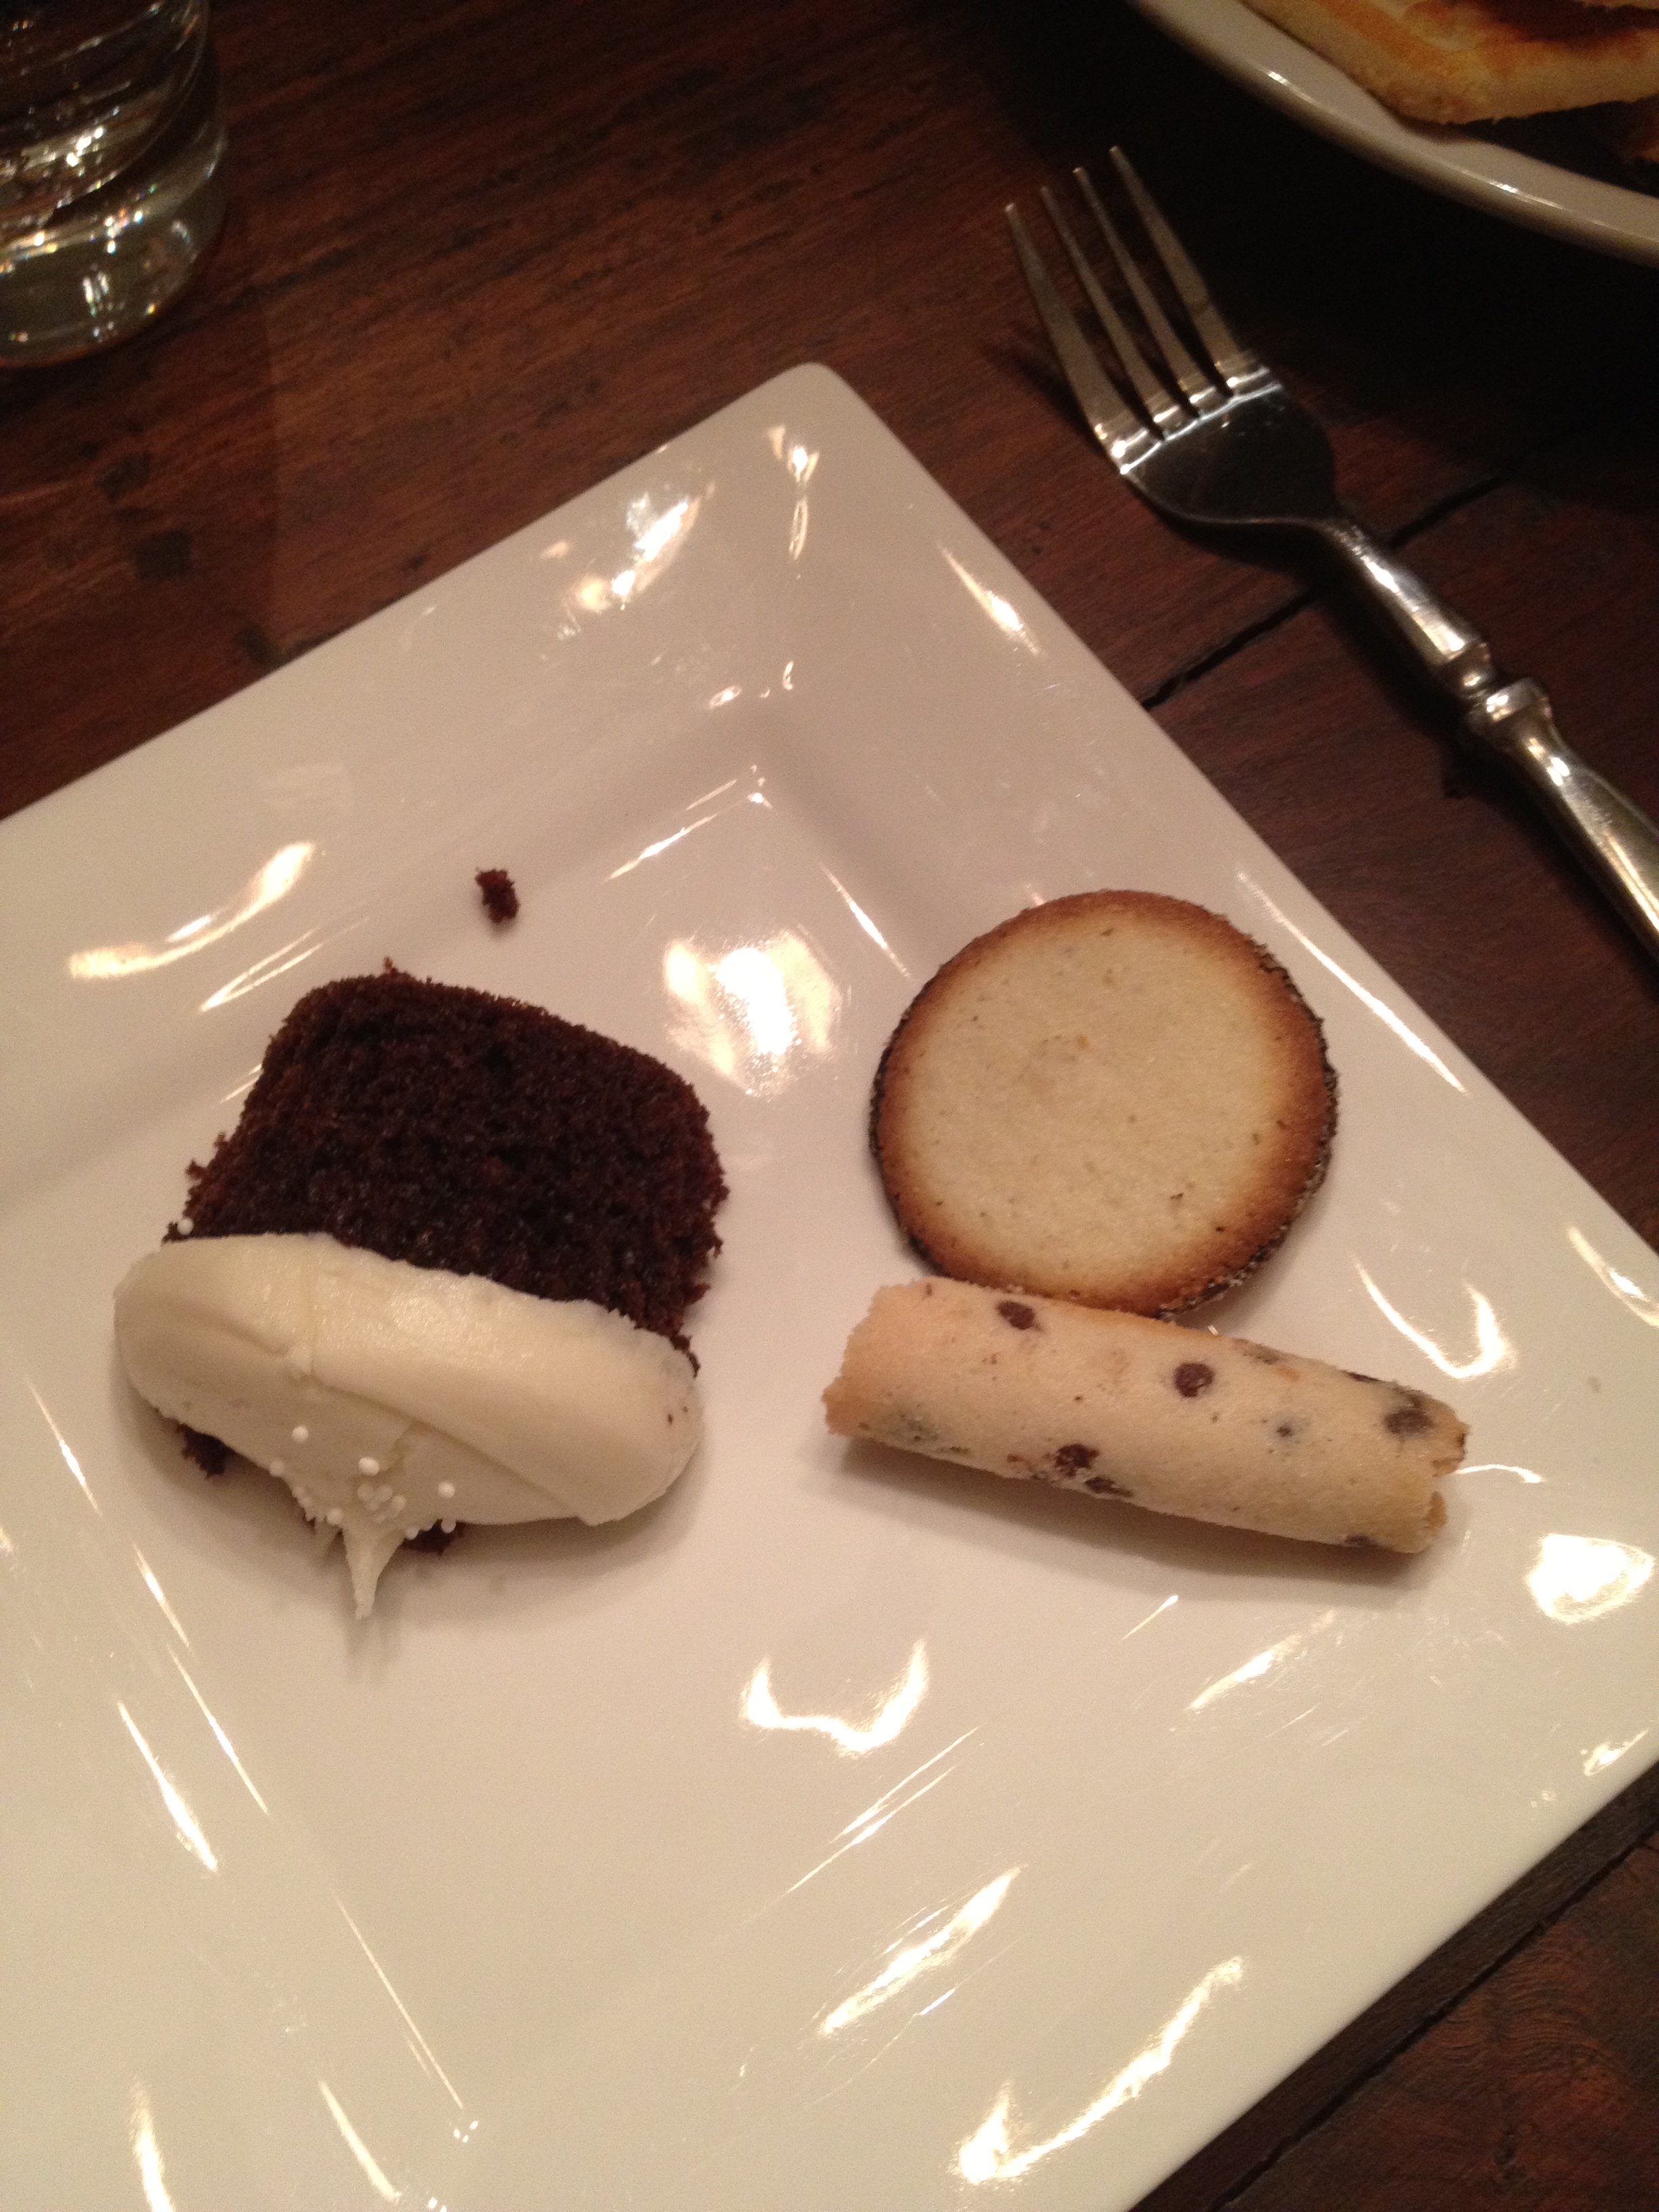
Meals prepared by Allison and Chris never disappoint.  For this dinner, they had prepared brisket (in a green egg), homemade cheese grits, and greens.  I think everyone at the table went back for seconds.  Dessert was equally as delicious...first we had a plate of cupcakes and cookies to choose from.  (This picture was taken early because I definitely filled my plate up with more than that.)

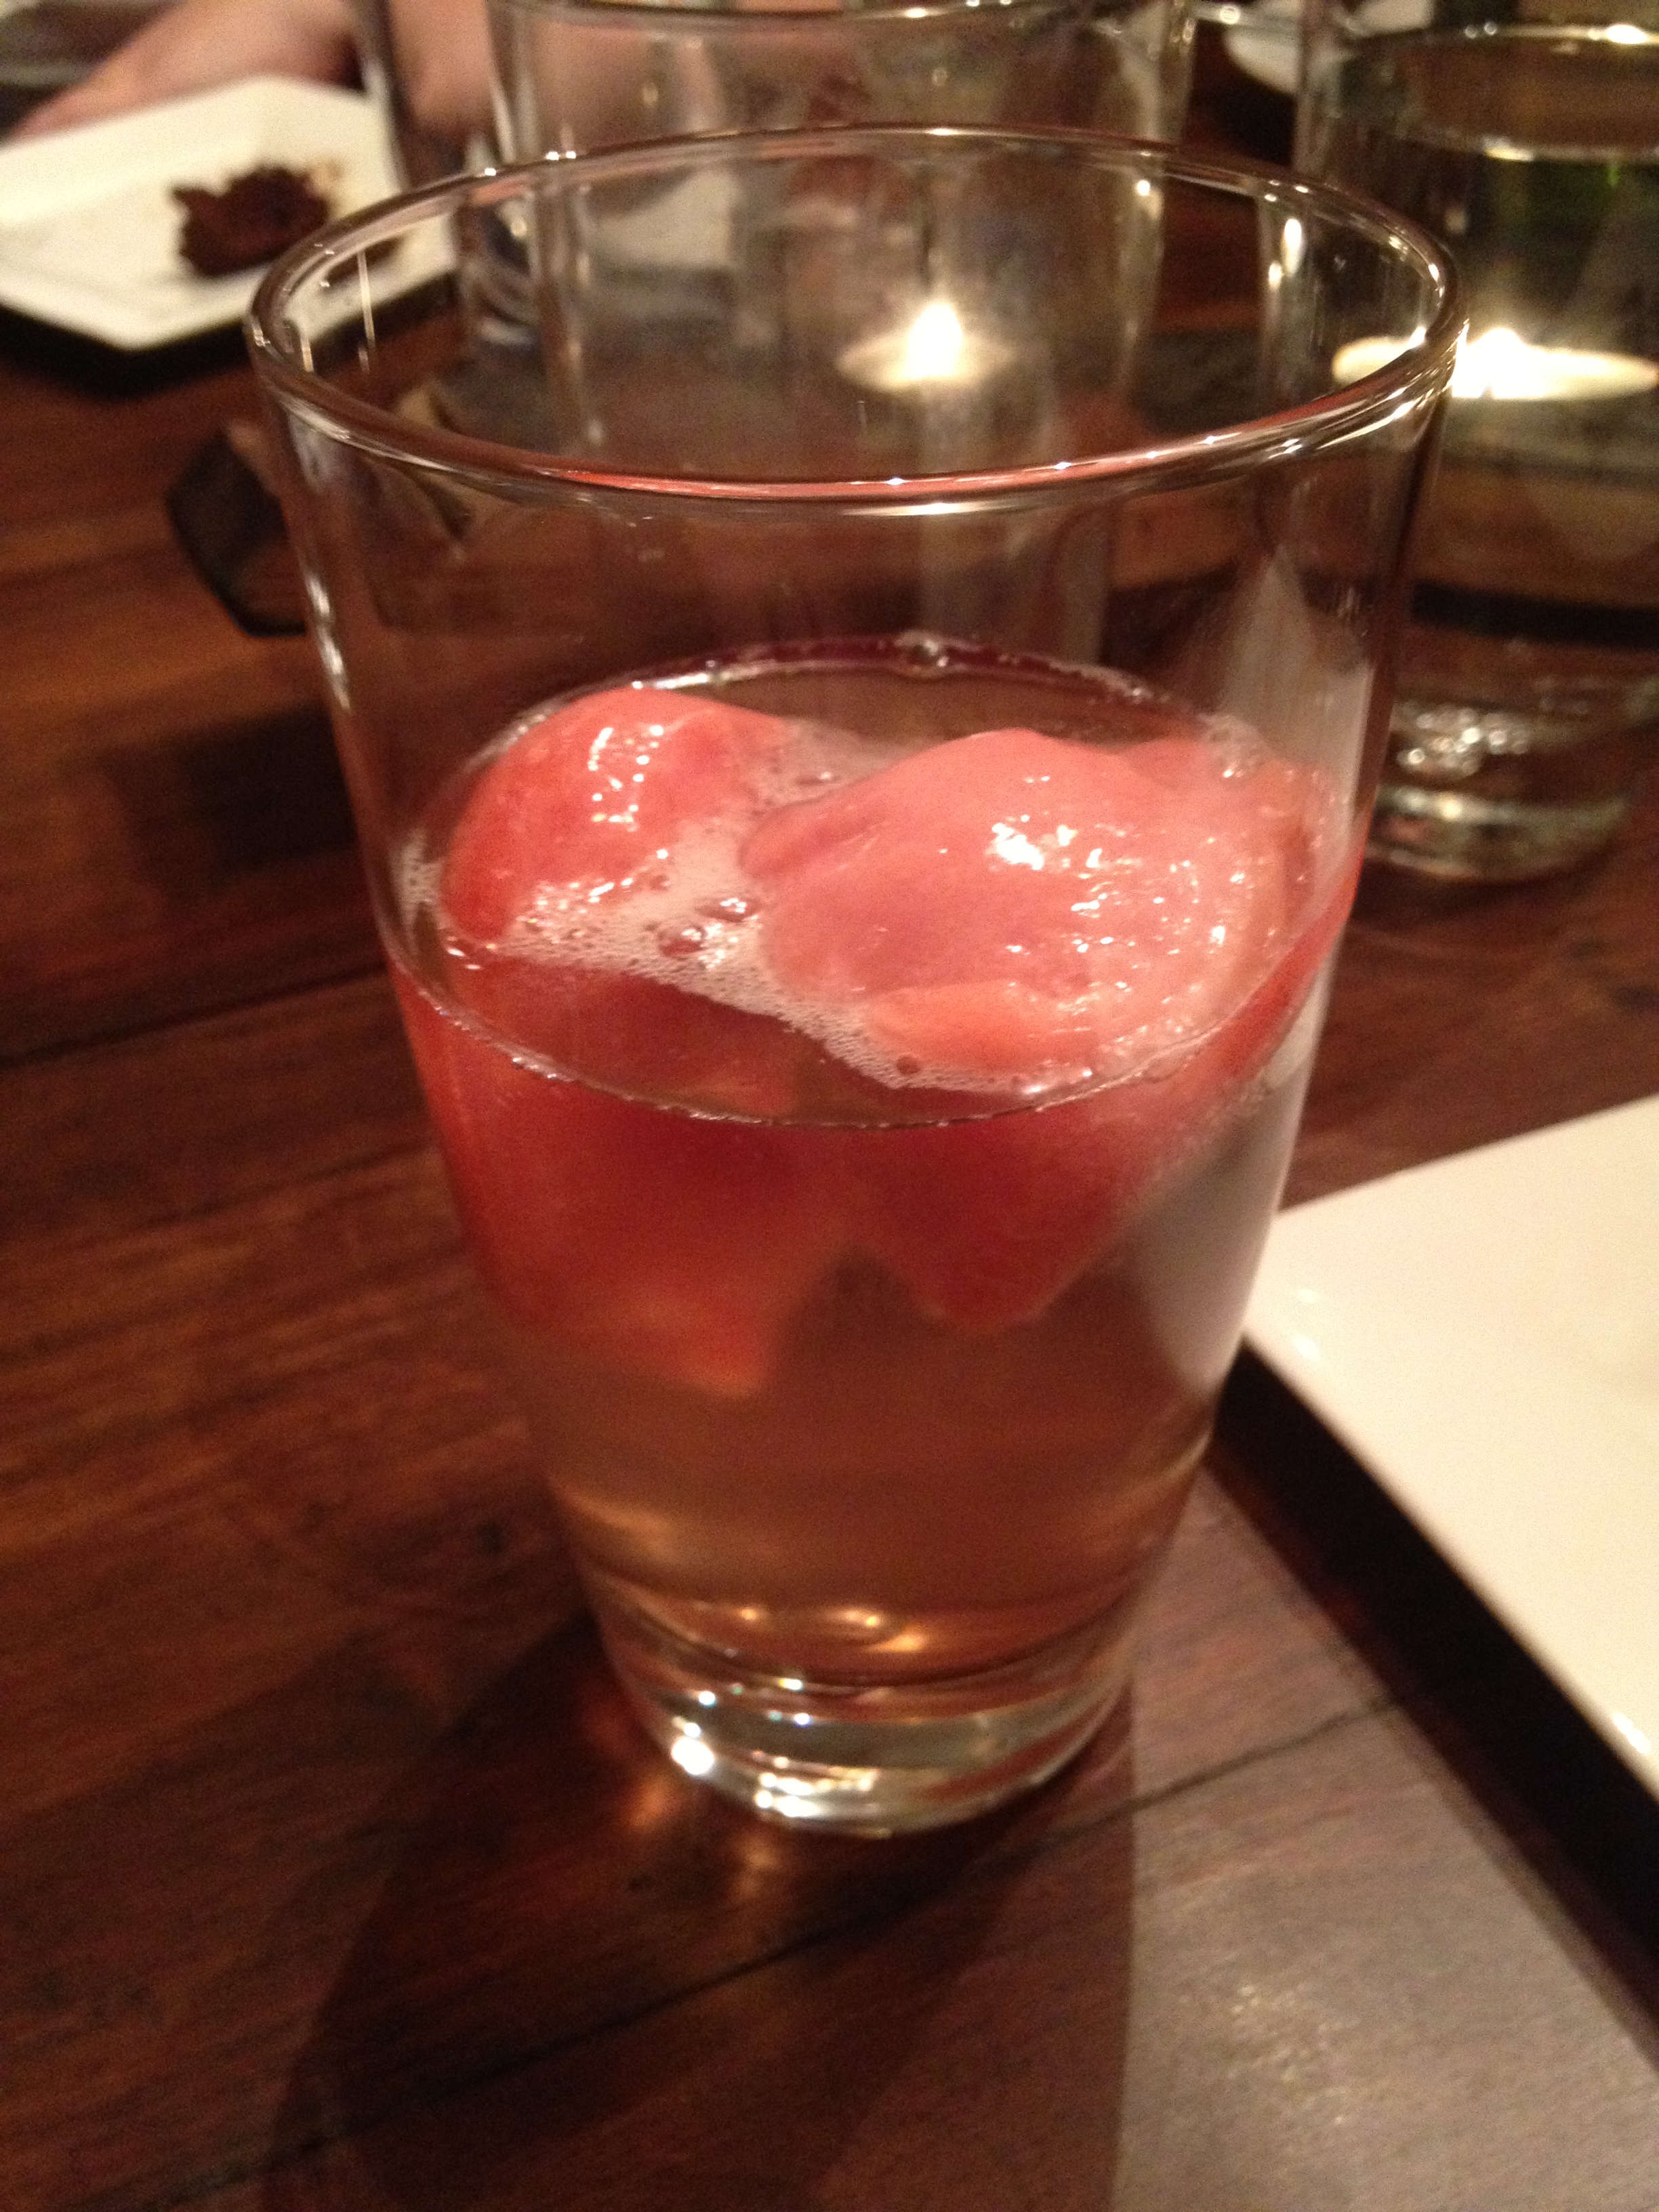
Then we had blood orange sorbet in champagne (sprite for me)!

We made it home around 11:00 and were completely and utterly exhausted from the long day.  But it was a good day - both productive and relaxing - and spent with people we love to be around!

Handbell Quartet

Did you know that since last spring, Doc and I have been in the handbell choir at our church? It all started out with us committing to join the choir for an Easter performance. That performance ended up not even being Easter Sunday and we've performed two other times since then! Going into it, Doc had never even played handbells. I played a year or two in the children's choir back in the day. Since we were both in the band (oh yea, that's right) we figured our limited music-reading knowledge would get us through it.

A couple of weeks ago our choir director asked if we'd participate in a handbell quartet...to perform two weeks after she asked. Sure thing! We figured with just four people and only two weeks out, it'd be easy breezy. Boy were we wrong!

Our pastor is currently preaching through the 10 Commandments and this past Sunday's commandment was #3: Thou shall not use the Lord's name in vain. Our choir director (and the preacher's wife) wrote a medley to fit with the sermon. The medley, Names of Jesus Medley, was made up of three (I think?) different songs. Blessed Be The Name, Something About That Name, and maybe something else. The whole medley uses 33 different handbells. Divide that by 4 and that's at least 8 bells per person. Yikes!

We found out that the quartet would be comprised of the two of us, our choir director, and another handbell member that's an ex-band director and can pretty much pick up any instrument and play it. Yea, two professionals and two amateurs.

Oh, and did I mention that the Sunday morning our director gave us the music is when she also told us that she was leaving that afternoon to go out of town and would return the afternoon before the day we were scheduled to perform?? Gulp.

The three of us met a couple times to learn the music and our parts, but everything changed when the director got back in town. She pointed out places we had wrong and told us she couldn't physically play all of the bells we'd left for her (probably because it was something like 16 bells!). So Saturday night we spent 3 hours in the church sanctuary working through the music. It was hardwork, but also pretty fun! (We are so wild and crazy these days.)

That was a long story. All that was just to let you know that here's a video of our performance. It's not the actual performance from during the service, but it's the run-through we did right before church started. My part is unfortunately much louder since I'm closer to the camera than everyone else, but hopefully you can hear all parts of the song.

Enjoy! And if you aren't impressed, don't tell me because I sweated through the whole service yesterday thanks to this.

Flowerbed Makeover: Phase Three

Get caught up by reading Phase One: Planning and Preparing and then Phase Two: Building and Installing! This is the last phase in this little two-weekend project adventure.  We'll call this one Phase Three: Adding Plants.  It was probably the easiest one overall since planting plants is something we already knew how to do.  Of course, we did it around noon on Father's Day after taking my dad out for brunch.  The sun was bright and hot, our bellies were full, and it was hard to stay awake long enough to knock it out.

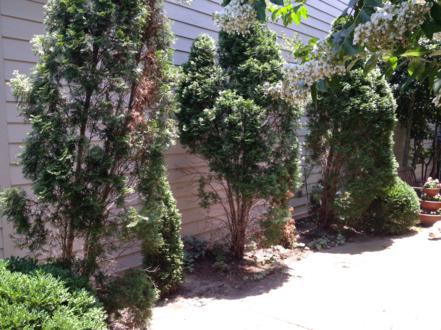
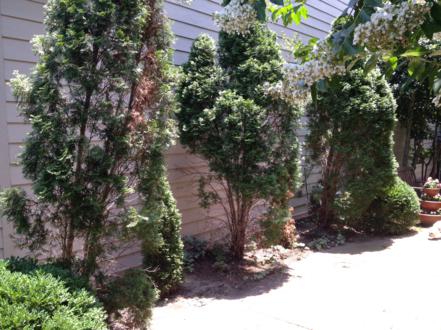
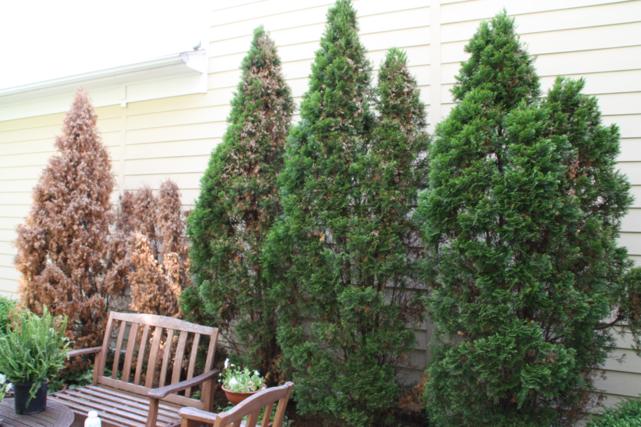
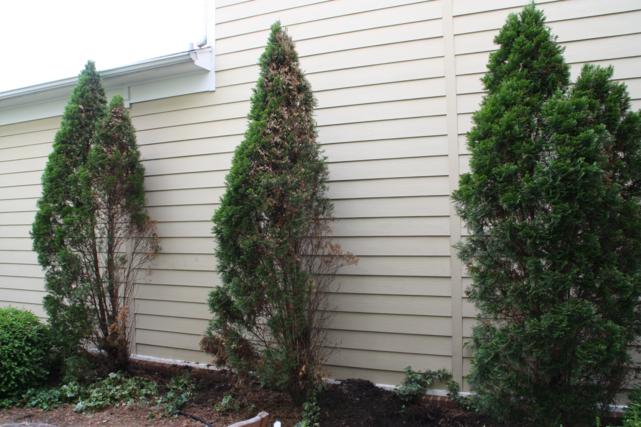
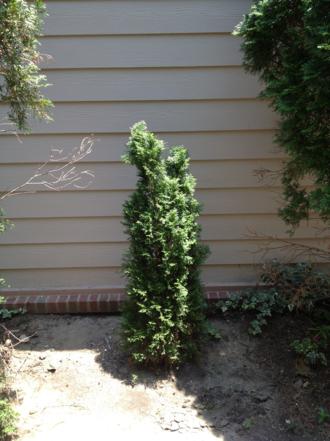
Lucky for you all, I don't have any in-progress shots so we can go ahead and skip to the after!  Well, almost.  Let's review what we started with first...a flower bed of five arborvitaes, three of which were tall (but kinda bare), one small healthy one, and one that was dead-as-a-doornail.

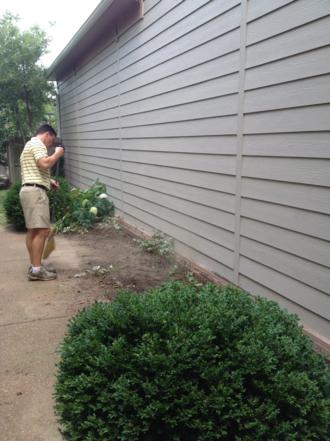
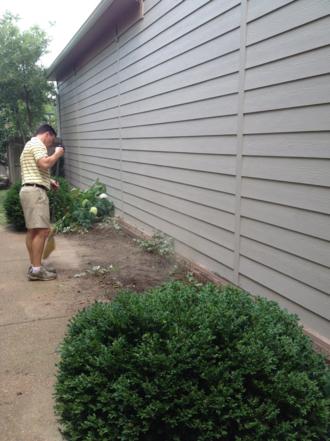
First, we removed the trees.

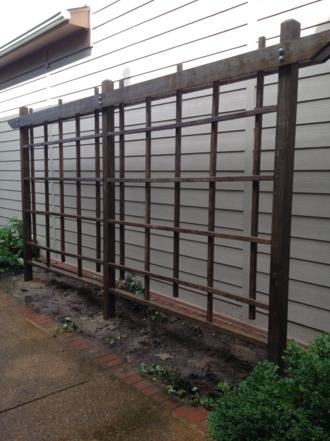
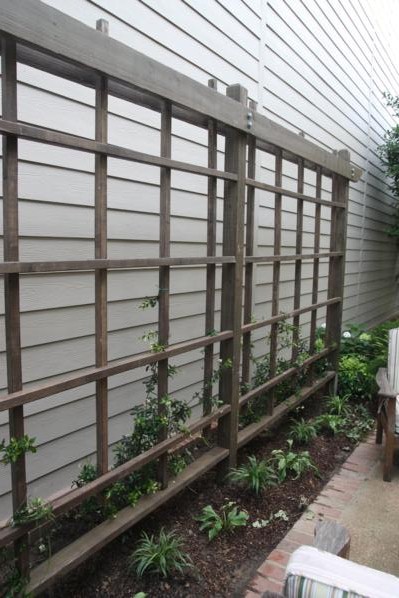
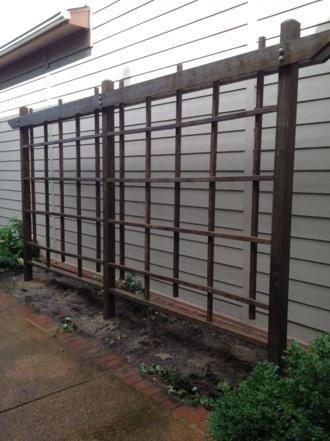
Then we installed a homemade trellis.

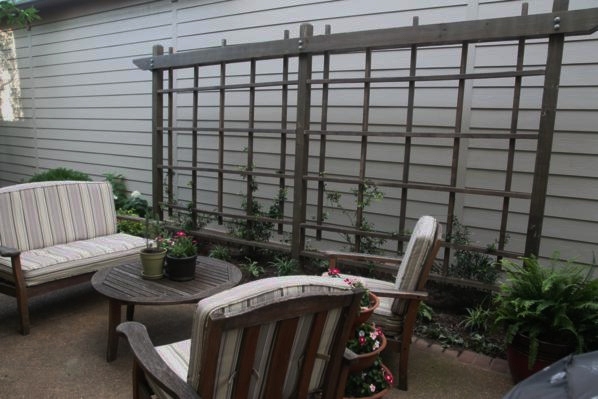
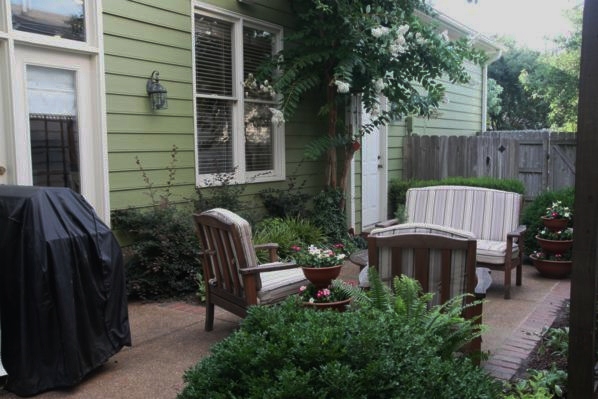
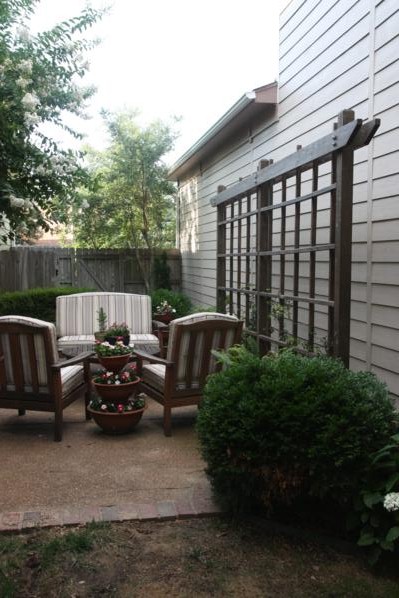
And now, finally, here it is fully dressed with plants and the furniture back on the patio!

Before we get up close and personal with the plants around the trellis, let's pan over to the other side of the patio to the other flowerbed.

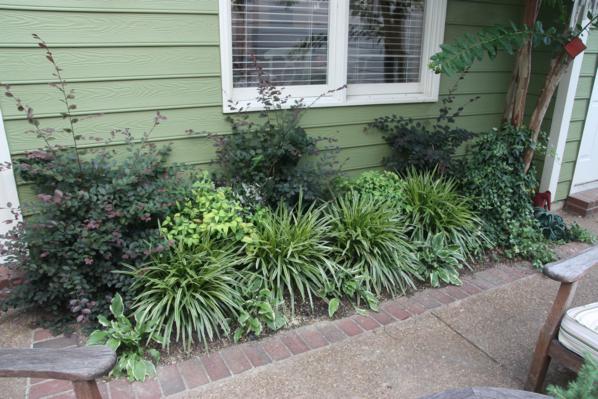
This flowerbed is one we planted right when Doc moved in 5 years ago, and we like the way it's filled in.  I'm not sure what the dark purple-ish leggy plants in the back are, but between them are two nandinas.  There's a row of verigated monkey grass in front of them and at the very front are a few hostas.  (If you look closely, you can see that the hostas have been eaten up by slugs/snails.  We're working on fixing that...)

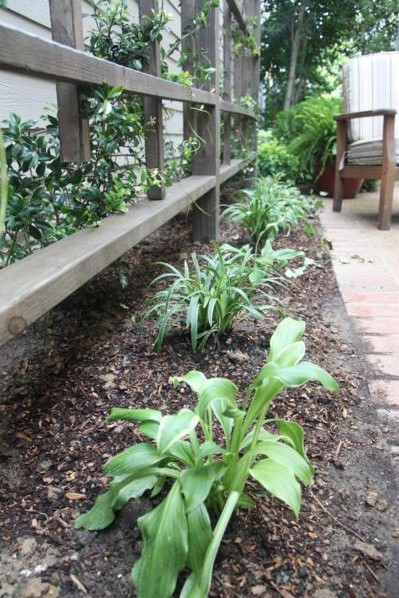
So, the point of all that is that we wanted the new flowerbed on the opposite of the patio to match what we already had on the courtyard.  That means that monkey grass and hostas got planted up front.

I hope they grow quickly and catch up with the size of the ones across the patio!

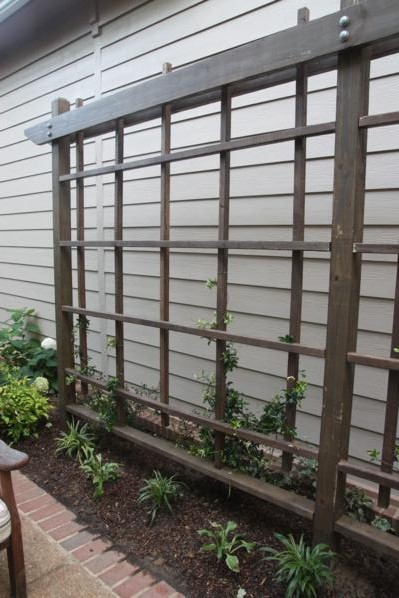
Obviously the point of the trellis was to have something vines could grow up, so we also planted 4 Pink Star Jasmines.  We're told they're fast climbers and we're counting on that.

Right now we have the branches twist-tyed to the trellis so they know which way to go.  Hopefully that works!

We also picked up two more nandinas to add on each side of the trellis.  We still have a small space back behind them where we could add something else, but for now we're going to wait and see how it all goes.

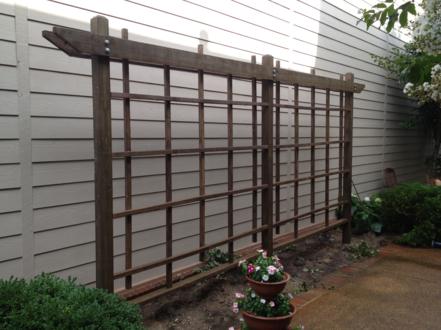
More pics of the finished project.

While we're finished with this project, this was by no means a complete Patio Makeover.  There's still more we could do, like add bricks around the perimetere of this same flowerbed so we can properly mulch it without it all washing out onto the patio.  Our furniture could also use a major face lift.  But let's not focus on those things!  For now, we're enjoying our new trellis and how it has changed the look and feel of our courtyard.  We've already had several meals outside...feel free to come over and join us sometime!

Flowerbed Makeover: Phase Two

If you're just joining us, Phase One: Planning and Preparing can be found here.  Today we're tackling Phase Two: Building and Installing. After all of our boards had been cut and stained, we loaded them back up into our Audi A4 pickup truck and brought them to our house.  We planned to assemble the trellis right beside where it would eventually go so there would be little to no heavy lifting and transporting.

But before we could lay out the boards and start putting them together, we had to get rid of these trees.

My strong husband managed to pull them all out by himself, leaving them in tact and with big root balls attached.  The dead one obviously got pitched and we plan on replanting the healthy baby one.  The three tall adult trees were picked up by a friend of his and headed to a new home.  Yay for recycling trees!

With the trees gone, it felt really weird in our courtyard.  It was so open and so bare.  Kinda blah.

I had thought through the assembly process several times in my head and decided it would be much, much easier if I measured and marked every board before we assembled anything.  So I got to work.  I wasn't going to be much help in the whole process but this part I could actually do.

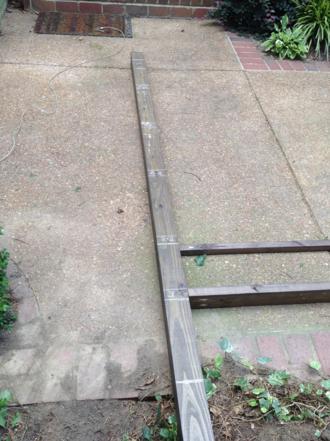
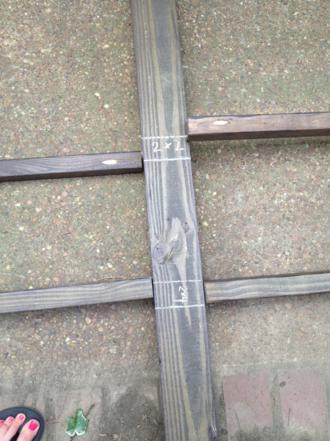
I started with the three 4x4 fence posts and, using chalk, marked where each of the cross boards would attach to them.  The boards are spaced out in this pic but I made the measurements with them all bumped up to each other so they'd be consistant on each post.

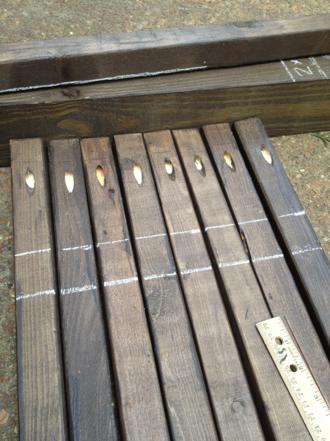
With the posts done, I gathered all 8 of my horizontal 2x2 boards (easy to spot because they all had pocket holes in the ends) and marked where all the vertical 2x2 boards would attach to them.

When it's 90+ degrees outside and you're 6 months pregnant trying to move as little as possible, you know what makes it all even better?  When your hot, furry puppy dog insists on sitting in your lap while you measure.

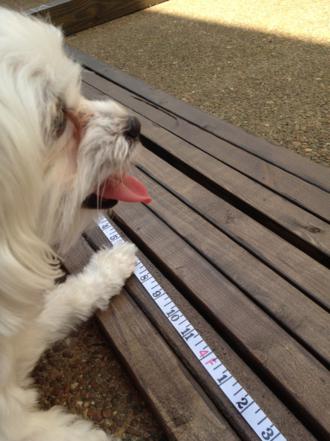
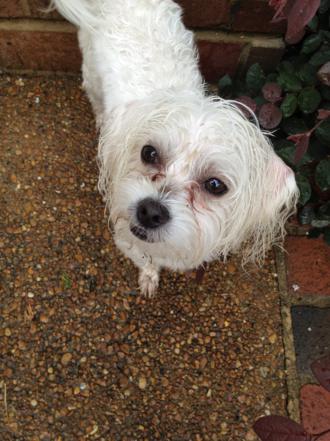
Luckily for her, she's cute.  I did put her to work holding my measuring tape, though.

"Like this, Mom?  Am I doing it right, Mom?"

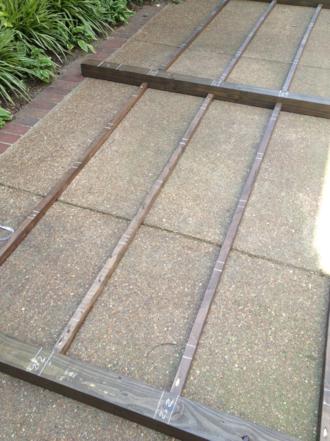
With all the measurements marked, I was able to start laying it all out on the patio.

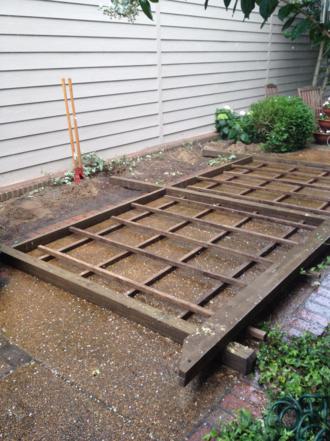
It was super easy to line everything up since I had drawn both the top and bottom of each board's placement and just had to center the boards between the two. (Obviously in the pic below the boards aren't perfectly lined up yet.)

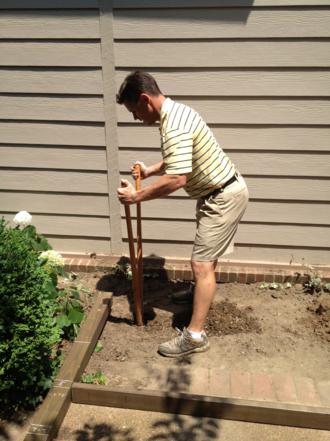
And with it all spread out and centered on the patio, Doc was able to begin digging the post holes for the three fence posts.

He doesn't always do yardwork and projects in khaki shorts with a polo tucked in, but he had just come from the golf course. ;)

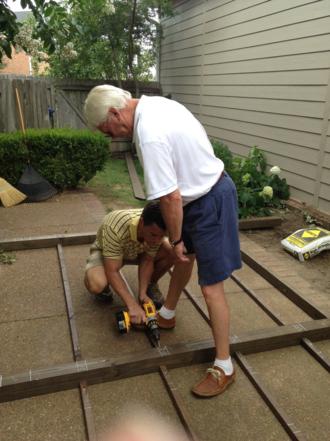
Around this time we called my dad to come over for help.  We had told him to be on standby that afternoon since we knew we'd need help lifting the whole structure into place when the time came, and technically Doc and I could've screwed all the boards together ourselves but we left the drill bit we needed at Dad's house so we told him to come on over and bring the bit with him.

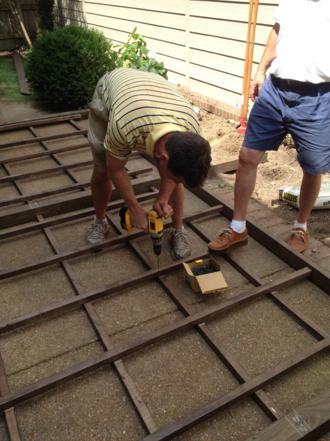
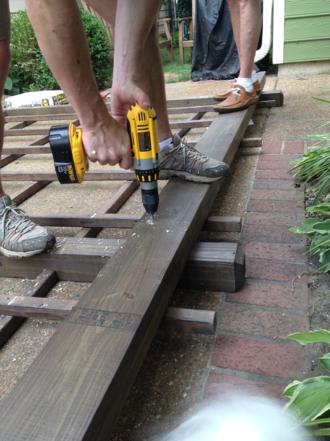
I obvioulsy didn't mind him coming early since it meant I got to sit and watch while the two of them screwed the whole trellis together.

Our plan all along was to assemble everything but the two top boards (the 16 foot 2x6s) before dropping it in the post holes.  Because those boards were so heavy, we were going to put them on at the end.  But we did go ahead and lay them out across the top of the structure to drill the holes where the carriage bolts would go.

Not sure if you can tell or not in this picture but both 2x6 boards are stacked together right on top of the fence posts.  This way, Doc could drill the carriage bolt holes through all three pieces at the same time so they would line up properly.

Doc drug out the 3 80lb. bags of sakrete we would be using to set the posts.  We were so close to being done!

And, just like that, the rains came.  Seriously, out of nowhere, the bottom just fell out of the sky and it was pouring down rain.  The guys lifted those heavy bags back up and took them back to the garage while I picked up all the power tools and unplugged our fan.

I guess that was God's way of telling us we should take a little break.  I am SO glad the whole trellis had already been screwed together because the rain washed off every one of my chalk lines.  Obviously I was planning on doing that with the water hose at the end anyway so I'm thankful that it did it for me, but man! what if we hadn't already put it together?  I would've been majorly bummed to have to start over with my measurements.  Small victory!

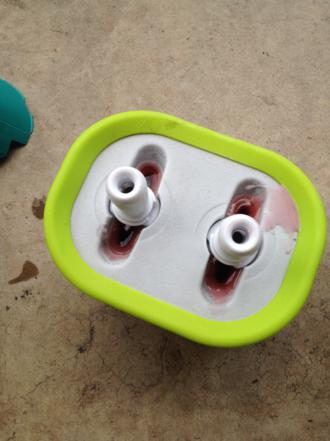
While we hung out in the garage and waited for the summer shower to pass, I decided to make a little treat for my boys.  Have you ever heard of Zoku?  If you have kids, you should really have one of these for the summers!  It makes homemade popsicles in just 7-9 minutes.

You keep the base of it in your freezer so it's always ready to go, and then just pour in whatever you want to make a popsicle out of.  The popsicles come out like a normal popsicle texture, not like the frozen blocks of koolaid ice that we made when I was little.

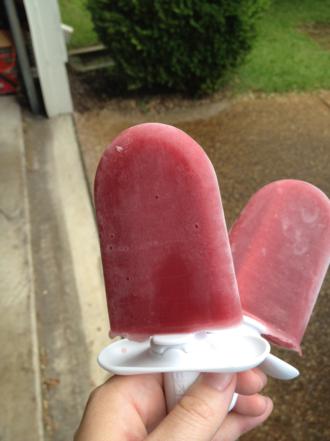
My Zoku only makes 2 popsicles at a time but I think you can get one that makes up to 4.  I used this juice box that I had in the fridge to make berry popsicles.

Just a few minutes later and voila!  Treats for my hardworking guys.

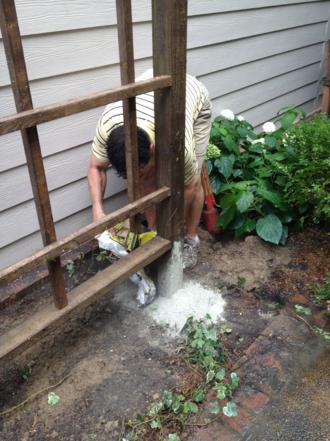
The guys went back to work when the rain simmered down to just sprinkles.  We all lifted the trellis right into the post holes (don't worry, I was mostly just a guide, I didn't have any weight) and they went to town adding the sakrete.

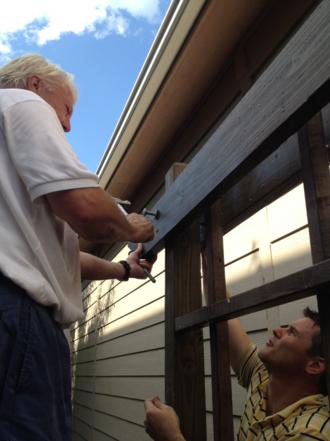
The sakrete got watered in and all that was left to do was add the two boards across the top.  Easier said than done, I'm sure.  The boards were really heavy and one of them had to hold it up while the other tapped in the carriage bolts.  You can see in the picture below that we used two 2x6s - one in the front and one in the back to sandwich the whole trellis between them.

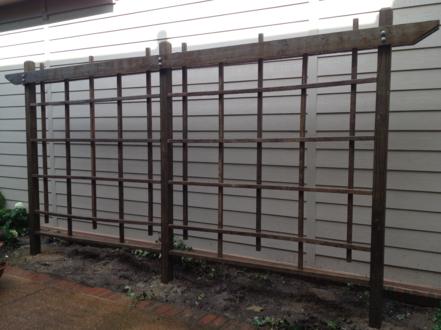
And finally, we could stand back and admire our work.

Here's where I should tell you that if you're planning on coming over with a level to check it out, don't bother.  I can tell you myself that no, it's not level.  It has a bit of a slant to it that I don't think would be all that noticeable if the wall behind it wasn't perfectly straight siding.  We think what happened is, when the rain came, some dirt and mud fell into the far right hole.  We had them all at the same depth before the rain, but we stupidly did not remeasure their depthness after the rain.  So the right post is a smidge higher, making all the boards slant upward on that end.  Live and learn, I guess.

Crooked or not, we're really proud of our new trellis!

By this point, we all looked a little like this - wet and dirty, tired and weary.

We called it a day and headed for the showers.  I'm sure we all slept well that night!

Join me soon for phase three where we finished up the flowerbed by adding a few plants.

Flowerbed Makeover: Phase One

Sorry for the delay in sharing this project - this week has turned into the busiest week ever!  I've finally gotten a chance to sit down tonight and since our cable is currently on the fritz, might as well blog, right? The big project that we knocked out over the past two weekends is a complete flowerbed makeover.  The chosen flowerbed is one I've mentioned on the blog before.  It's in our courtyard and had five large arborvitaes lining the wall of our neighbor's house.  (In our 'hood, each house has windows on only one side.  The other side of the house backs up to the neighbor's "yard" so it's a big blank wall.)  When we moved in, the trees were big and full. The winter of 2010/2011 was harsh on our trees and 2 of them ended up dying a slow death.

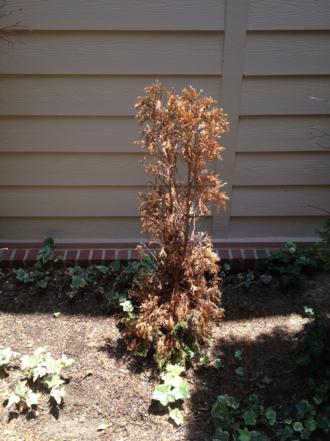
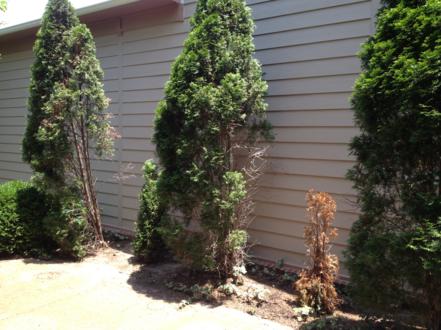
This picture isn't the best.  The 3 green trees on the right are the ones that were still healthy.  You can see one shrimpy dead tree on the left of the picture and there's another one on the other side of it.

In April of last year, we dug up the two dead trees and bid them farewell.  At the same time, we did a little rearranging with the two tall trees.  The middle healthy one was dug up and replanted in the far left spot.  The updated flower bed now went tall tree - empty space - tall tree - empty space - tall tree.

Three months later, in July, with the help of Doc's dad Bill, we finally planted two new baby arborvitaes in the empty spaces.  Sure, they were teeny tiny, but we hoped they would take hold and catch up quickly to the adult trees.

Fast forward almost a year later and not only had they not grown an inch, but one of them had gone in the complete opposite direction.

Our flowerbed was starting to look like a hot mess...three tall trees (one of which - the transplanted one - had a bit of a leaning problem), one tiny green tree, and one brown dead-as-a-doornail tree.

Two weeks ago I decided I'd had enough.  I couldn't stand to look at the pathetic trees anymore and wanted them gone.  The only problem was figuring out to do with the flowerbed if we got rid of them all.  The good thing about the tall trees is that they broke up the large expanse of blank wall from our neighbor's house and made our courtyard feel a bit homier.  After a bit of brainstorming, I decided that a tall trellis with vines growing up it would be the perfect replacement.

I pitched my idea to Doc and seemed on board as long as I could come up with plans for it.  I didn't know exactly what I wanted it to look like but I did know one thing for sure - no diagonal lattice!  I did not want something that looked like it belonged in a Country Chapel of Love.

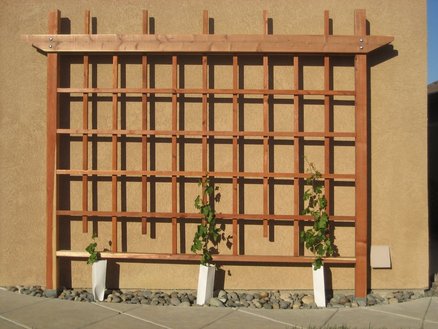
I spent a few minutes on Google searching for trellis designs and eventually found one that I liked and that seemed like it would be easy to build.

So now that you know the backstory and how we got to this point, we'll call Phase One of the Flowerbed Makeover the Planning and Preparing phase.

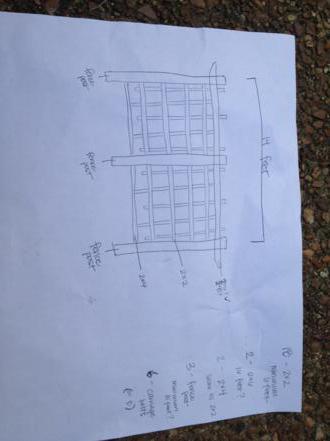
Step one was to draw out my plans and create a supply list.  I figured our trellis was going to be wider than the one found online (pictured above) so I had to make some slight modifications.

With supply list in hand, we loaded up the kids and headed to Home Depot.

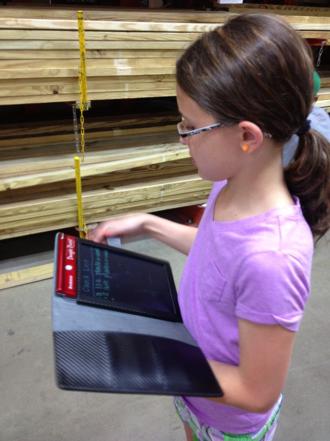
Anna was the official list-checker-offer.

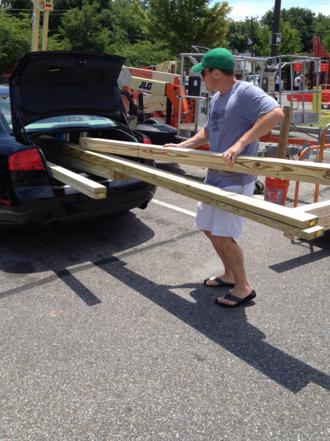
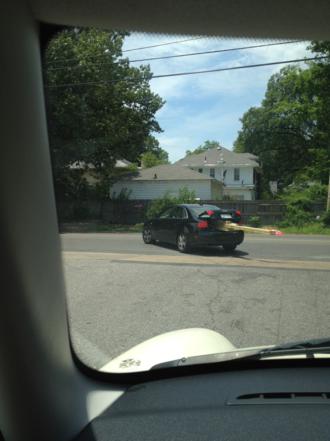
Most people would take their pickup truck to lug home a pile of lumber, but since we don't have a pickup truck, we had to improvise.

In case you've been wondering, yes, you can fit a 16 foot 2x6 in an Audi A6.  Well, most of it anyway.  We added a bright flag to the end that hung out of the trunk.

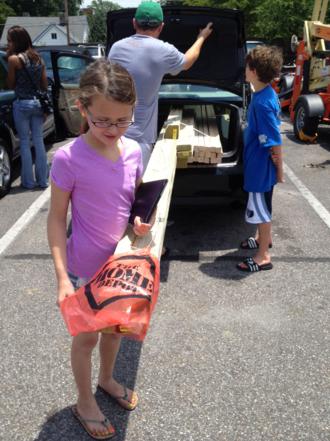
Anna and I were the lucky ones that got to follow behind the "pickup truck."  We stayed a safe distance back and were ready to swerve at any moment.

We took the pile-o-lumber to my parents' house so we could do all the prep work.  We probably could've done it at our house, but they have more yard pace and the tools live there.

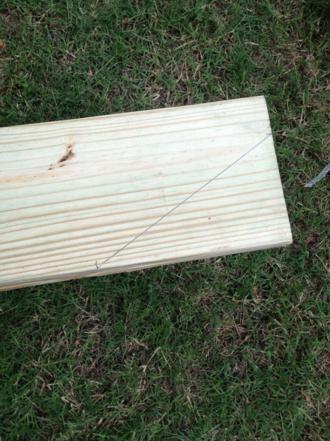
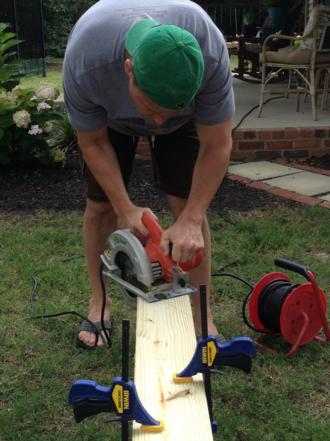
The prep work actually went fairly quickly.  We cut all the boards down to the correct sizes and added pocket holes where necessary.  We only had one angled cut to make.  I just eyeballed it and drew the line where I thought looked best.


Doc was able to cut through both 2x6 boards at the same time so the cuts would match.

With cuts made, there was only one thing left to do in the Planning and Preparing phase and that was to stain the boards.  We bought an outdoor stain that is water resistant so hopefully it will last.  We had to buy a full gallon of it and now have enough left over to stain about 25 decks...let us know if you need some stain!

Since the stain wasn't VOC free, I couldn't participate.  I owe Doc and HUGE thank you for tackling this task.  It was hot, hot, hot outside when he was staining.  We did two coats on all four sides of every board.  There are 25 boards total.  So 25 boards times 4 sides each times 2 coats of stain equals 200 sides that Doc painted.  Thanks, dear!

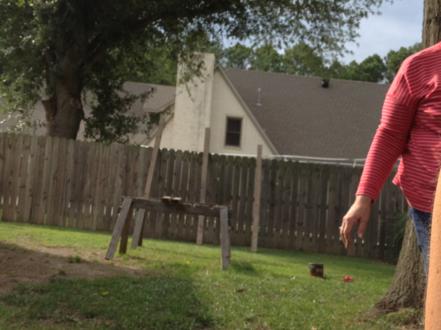
Believe it or not, this is the only picture I took of the staining process and there's a good chance this one was taken on accident since it's so far away.  You can kinda see the already stained boards leaning up against the fence and others are on the saw horses.

Doc was able to get the first coat done late Saturday afternoon right before the rain came in.  Sunday afternoon he knocked out the second coat and that wrapped up Phase One!

It took two more phases to complete the project.  I'll have the details and pics for you soon.