Get caught up by reading Phase One: Planning and Preparing and then Phase Two: Building and Installing! This is the last phase in this little two-weekend project adventure. We'll call this one Phase Three: Adding Plants. It was probably the easiest one overall since planting plants is something we already knew how to do. Of course, we did it around noon on Father's Day after taking my dad out for brunch. The sun was bright and hot, our bellies were full, and it was hard to stay awake long enough to knock it out.
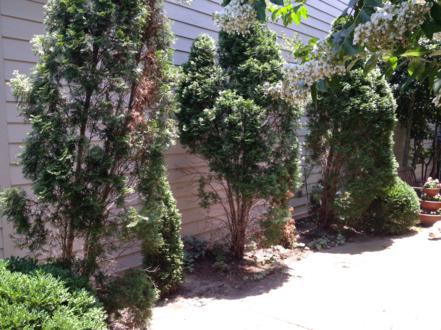
Lucky for you all, I don't have any in-progress shots so we can go ahead and skip to the after! Well, almost. Let's review what we started with first...a flower bed of five arborvitaes, three of which were tall (but kinda bare), one small healthy one, and one that was dead-as-a-doornail.
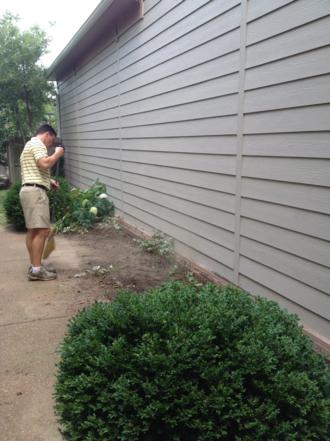
First, we removed the trees.
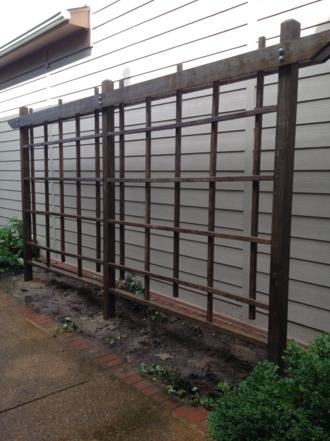
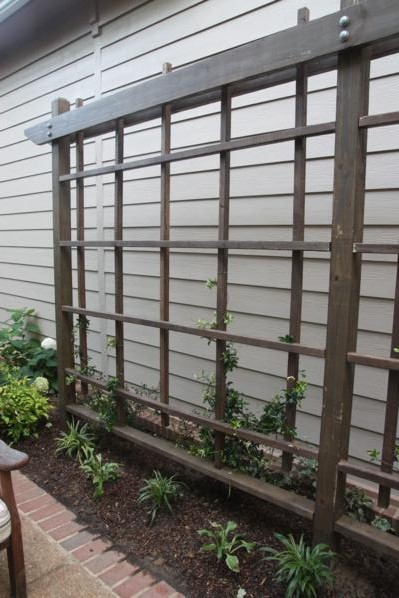
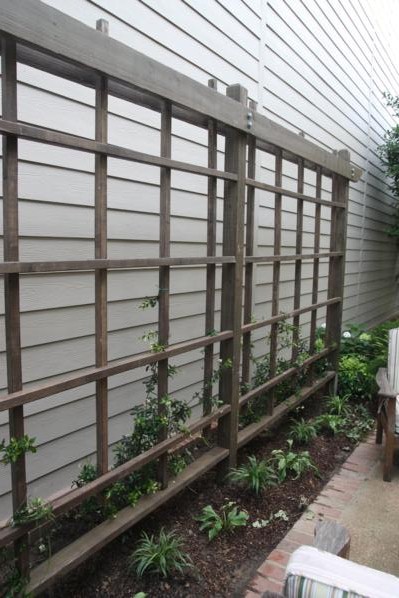
Then we installed a homemade trellis.
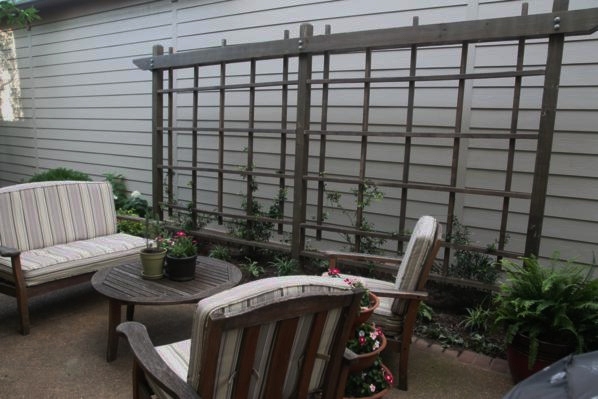
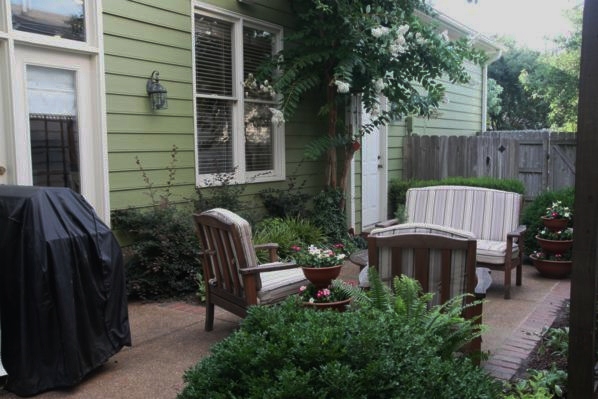
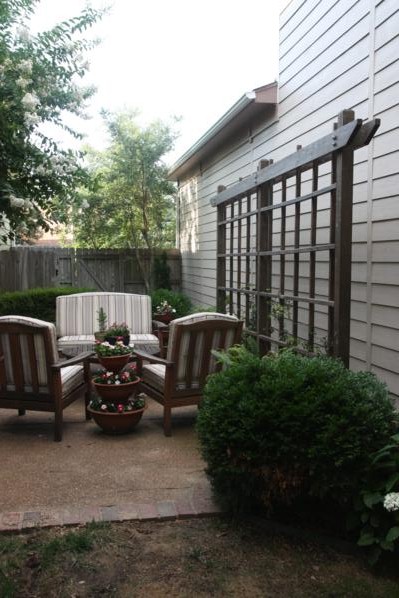
And now, finally, here it is fully dressed with plants and the furniture back on the patio!
Before we get up close and personal with the plants around the trellis, let's pan over to the other side of the patio to the other flowerbed.
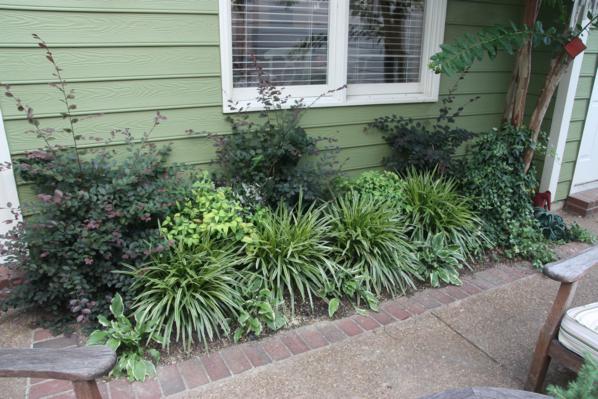
This flowerbed is one we planted right when Doc moved in 5 years ago, and we like the way it's filled in. I'm not sure what the dark purple-ish leggy plants in the back are, but between them are two nandinas. There's a row of verigated monkey grass in front of them and at the very front are a few hostas. (If you look closely, you can see that the hostas have been eaten up by slugs/snails. We're working on fixing that...)
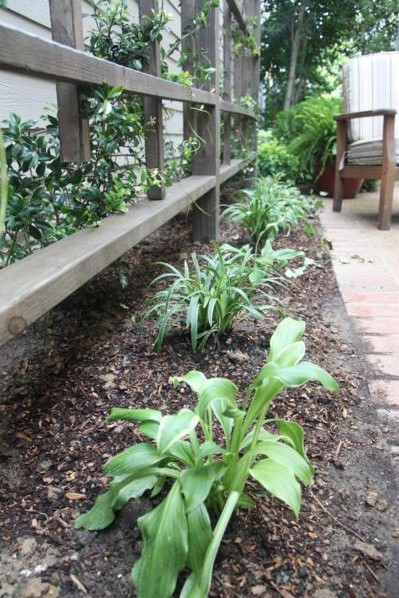
So, the point of all that is that we wanted the new flowerbed on the opposite of the patio to match what we already had on the courtyard. That means that monkey grass and hostas got planted up front.
I hope they grow quickly and catch up with the size of the ones across the patio!
Obviously the point of the trellis was to have something vines could grow up, so we also planted 4 Pink Star Jasmines. We're told they're fast climbers and we're counting on that.
Right now we have the branches twist-tyed to the trellis so they know which way to go. Hopefully that works!
We also picked up two more nandinas to add on each side of the trellis. We still have a small space back behind them where we could add something else, but for now we're going to wait and see how it all goes.
More pics of the finished project.
While we're finished with this project, this was by no means a complete Patio Makeover. There's still more we could do, like add bricks around the perimetere of this same flowerbed so we can properly mulch it without it all washing out onto the patio. Our furniture could also use a major face lift. But let's not focus on those things! For now, we're enjoying our new trellis and how it has changed the look and feel of our courtyard. We've already had several meals outside...feel free to come over and join us sometime!

