Christmas Wrap-Up

I didn't intend to take a week vacation from blogging...it just kinda happened.  I'm back now, though, with so much to catch you up on.  This holiday season has been one of the best and while now, after the fact, I'm kinda sad I don't have many pictures to show for it, I'm glad that during the moment I put my camera down and just enjoyed being there.  Of course, it helped that I completely forgot to take my camera with me on several occasions, but even when I did have it, I didn't take many pictures. So much has happened since I last really blogged.  We hosted friends for dinner and sang carols together.  We spent as much time as possible with family, from the tiniest nephew all the way up to our grandparents.  We had tickle fights, painted fingernails, and decorated gingerbread houses.  There were gifts given and gifts received.  Presents were stolen (but only when playing Dirty Santa) and stockings were filled.  We attended church services and took a flight out of town.  Books were read, puzzles were put together, and new video games were played.  A baby was born and we traveled to see said baby.  We snuck in some woodworking and furniture painting.  We attended a New Year's Eve party and counted down at 12.  Kisses were given and resolutions made.  And today, after having eaten our black-eyed peas and cabbage, we're primed and ready for a good year.  We are grateful for a fresh start in 2012 after being reinvigorated from the celebration of our savior's birth.

Basically, the last two weeks have been so, so good.

I'll just touch on the things I have photos for.  My pictures will be unedited - straight out of the camera - because I'm typing this on my brand new laptop and photoshop hasn't been installed yet.  I am in love with my new laptop even though Doc broke our "no secret gifts" rule by purchasing it.  I'm not holding much of a grudge, though, since it's much fancier than my old one...

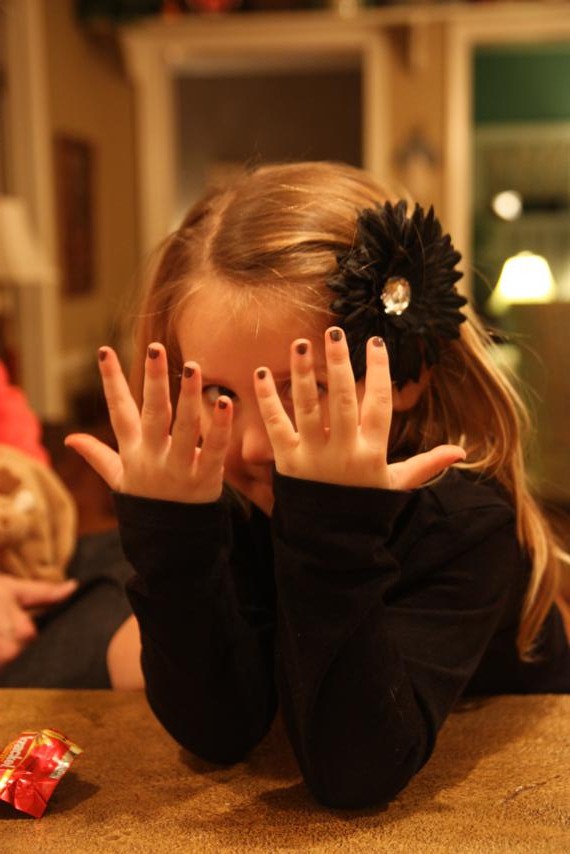
Since we traveled at Thanksgiving to see our "country cousins," that meant they came here for Christmas.  I can't even tell you how much fun it is to have us all packed into one house.  It's loud and chaotic and I love it.  (But it's also nice when we go home and things are quiet.)  Roany, the shy cowgirl, let me paint her fingernails.  We bonded over my Slick Slate nail polish and by the time she left, we were good friends.  She even spoke to me and gave me a hug!

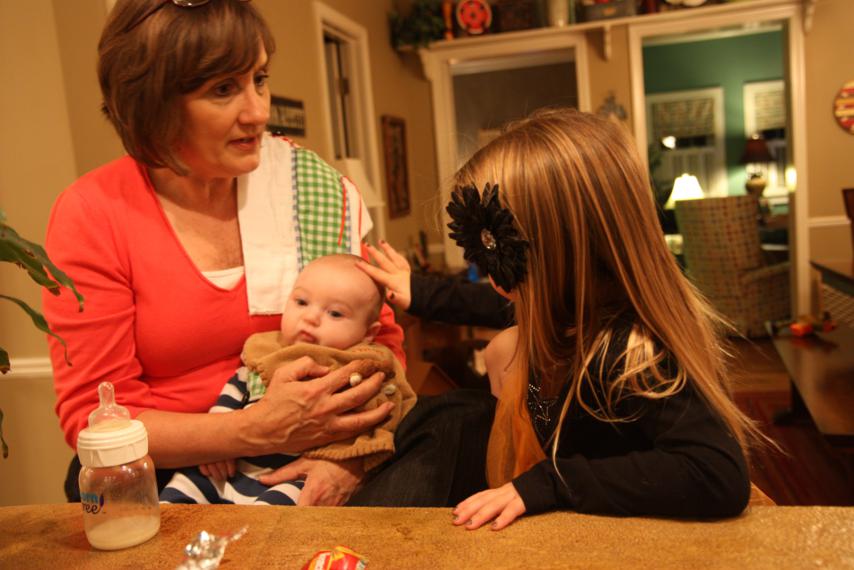
Roany was gentle with Baby Ramer.  She petted him very carefully.

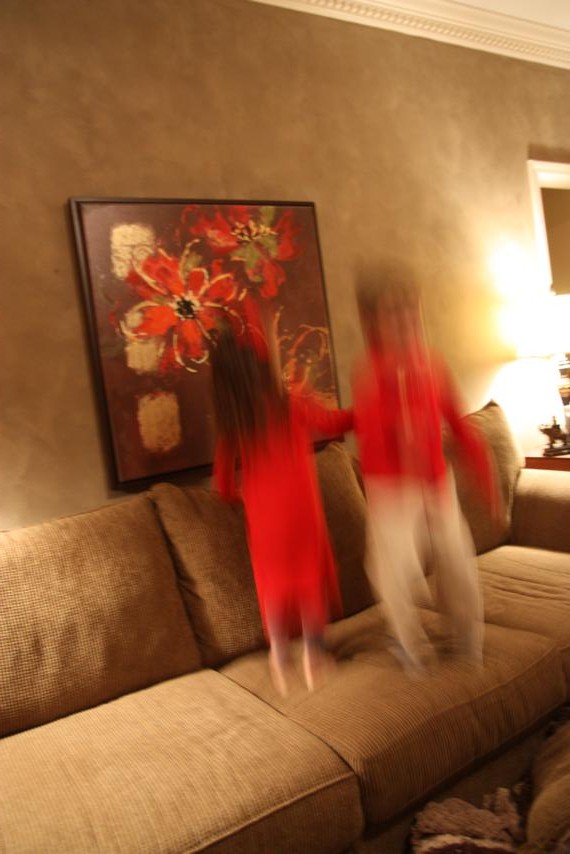
See these two blurs?  That's Bren and Parker.  They spent a good portion of the evening jumping on their Mimi's couch.

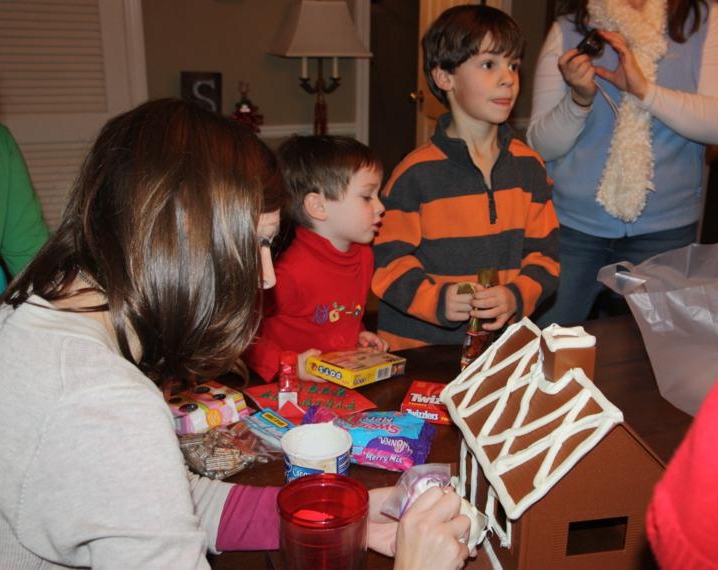
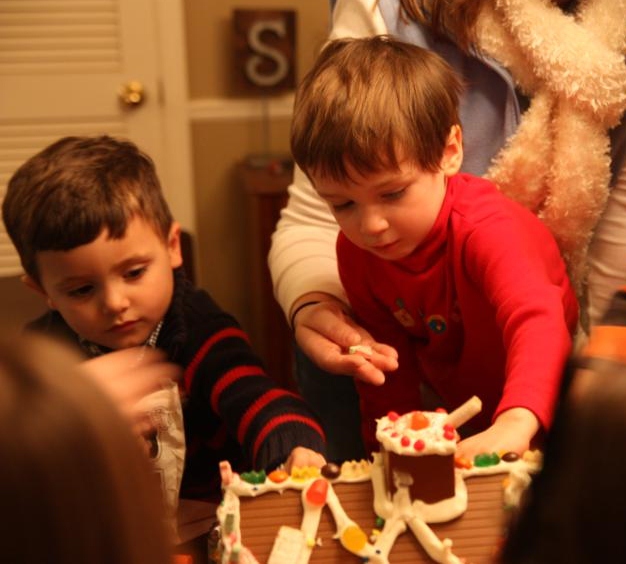
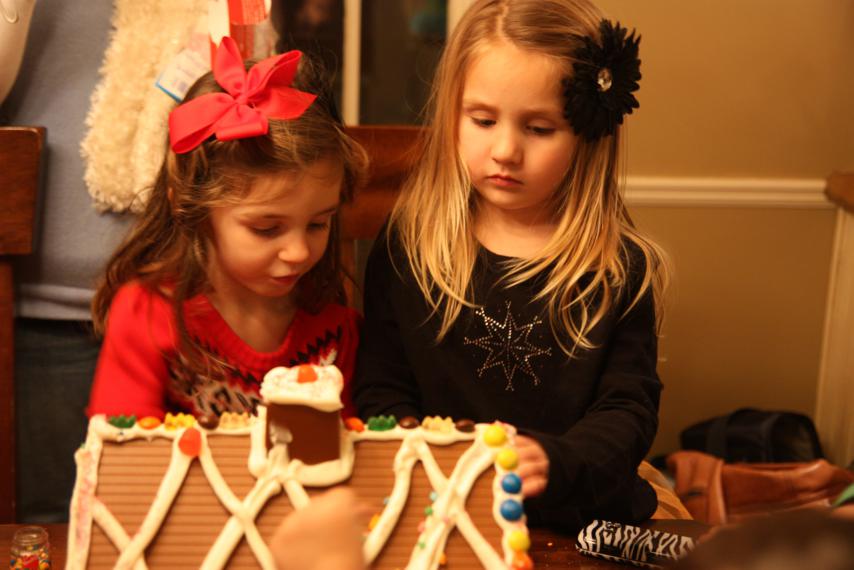
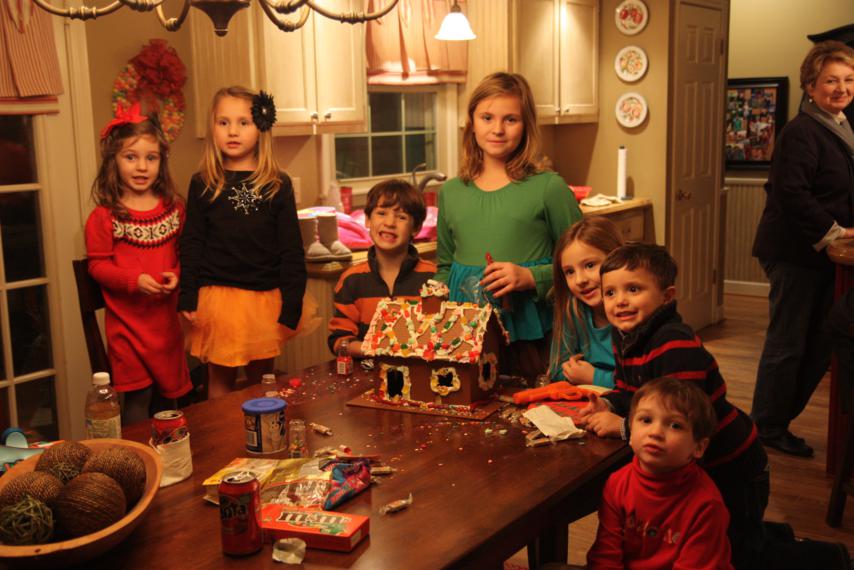
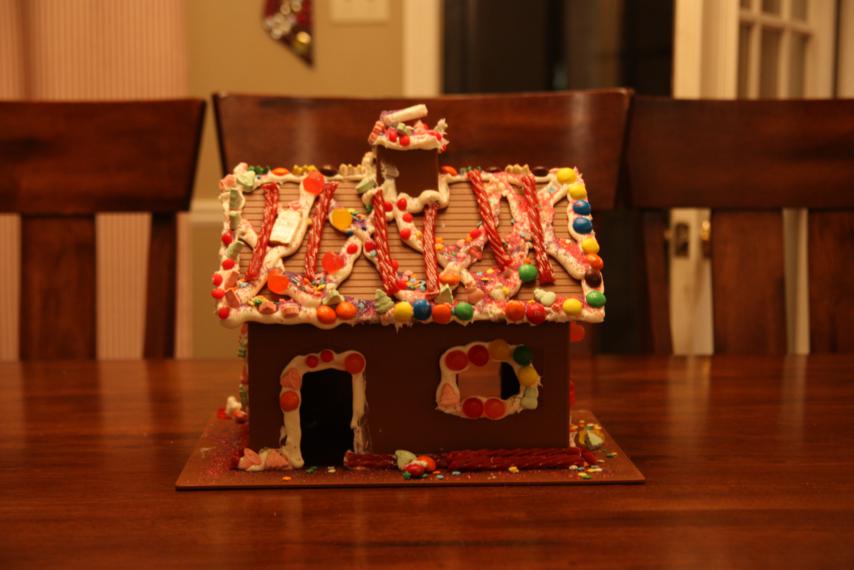
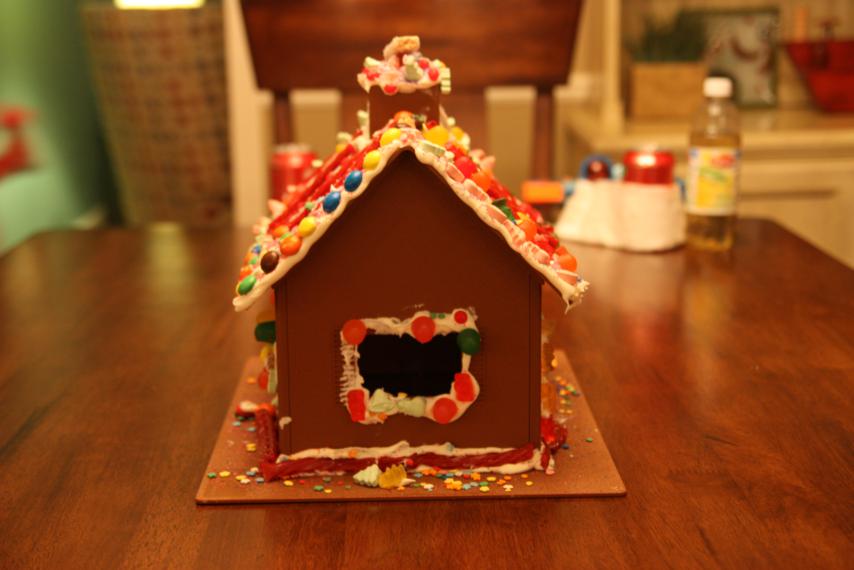
This year, my mom bought a cute little gingerbread house kit.  The house is actually plastic so all you have to do is assemble it, add some icing, and it's ready to decorate.  Then you can just wash it off and use it over and over again.  She nominated me to help the kids decorate it and while I really enjoyed it, I think next year I will add the icing before calling them all to the table.  It was stressful doing it with so many little people watching and begging to add candy!

They were thrilled when we finally let them go at it.  I really think this may have been one of my favorite moments of Christmas and am glad we'll have this new tradition.  Do you know, this was my first time to ever decorate a gingerbread house?!

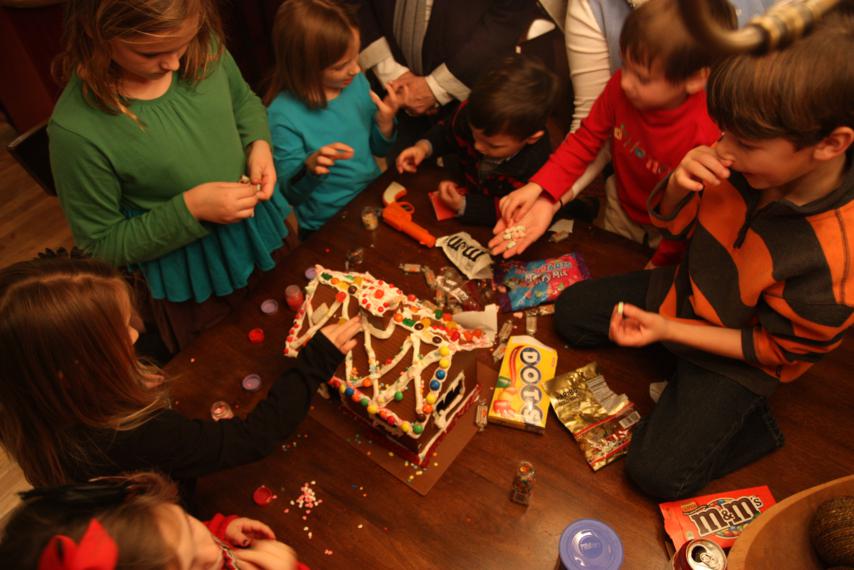
They worked so diligently - all seven of them.  All the chaos and yelling was gone...it was dead silent while they worked on their house.

Sometimes they got busted for eating the decorations.

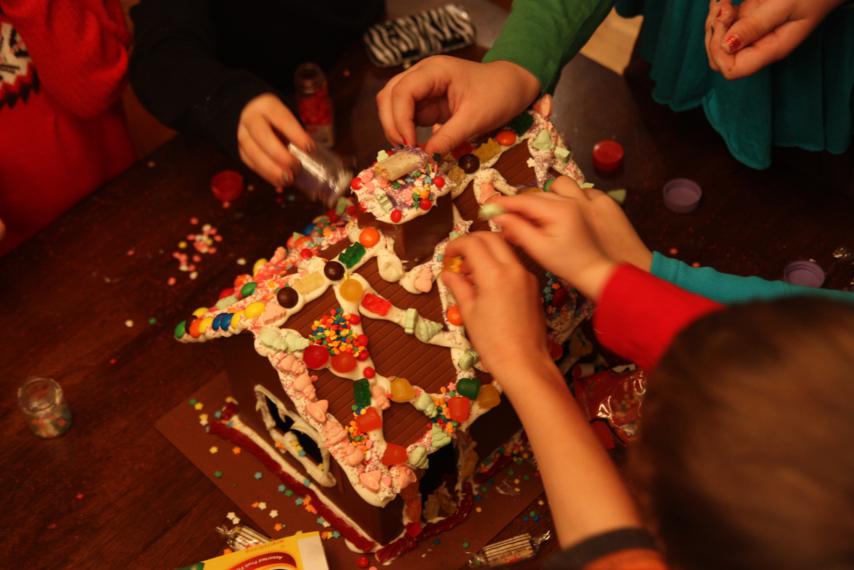
So many little hands, still decorating...

They were so proud of their hard work!

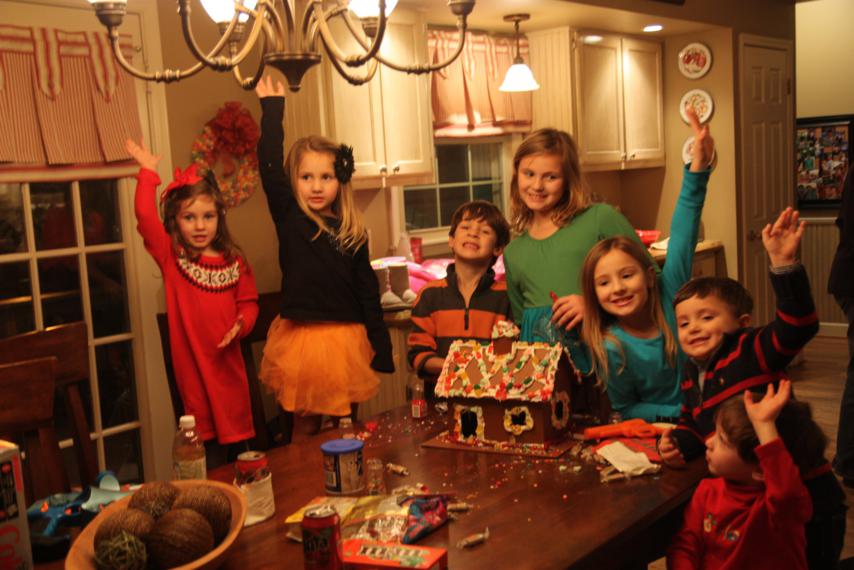
Hee hee...I think this is funny.  There were several of us standing in a row taking pictures, so when it was my turn, I raised my hand so they'd all look at me.  This is what I got in return...

(Carter's and Parker's hands are raised too, but they got cut off.  Crap.)

They did a pretty good job of making a mess!  I think Henry the dog probably found lots of dropped candy on the ground.  My mom managed to get the table cleaned up and the house became our centerpiece.

Ramer didn't get to play with all the candy, but I still managed to catch him smiling at his mama.

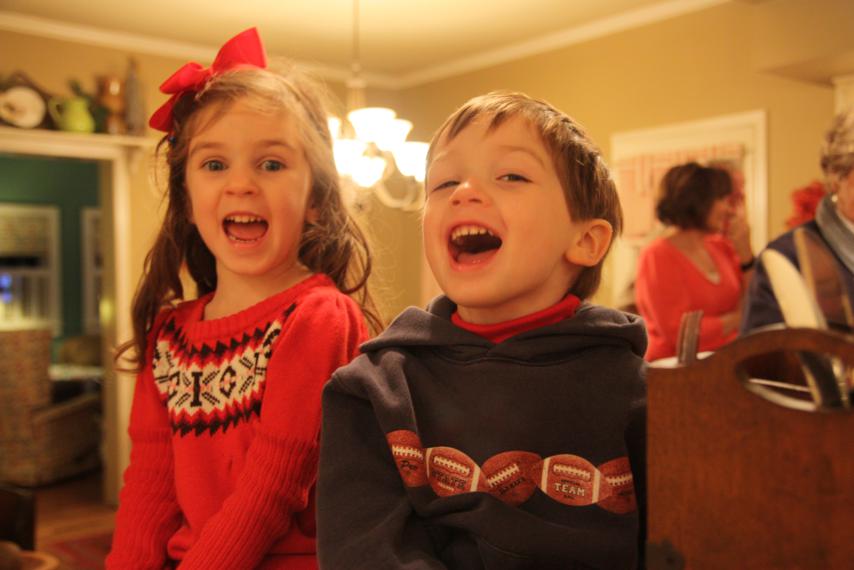
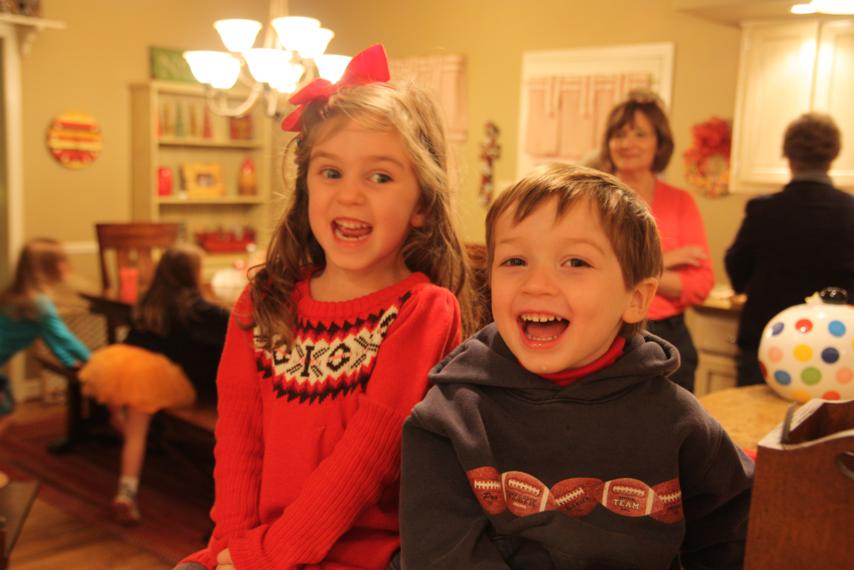
These two monkeys think they are the funniest people in the world.  And when one gets going, the other joins in and it just gets LOUD!

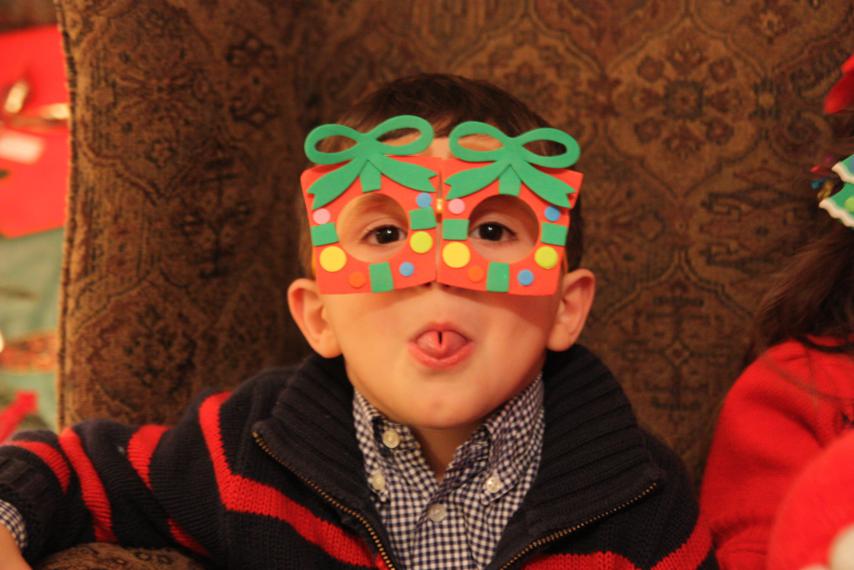
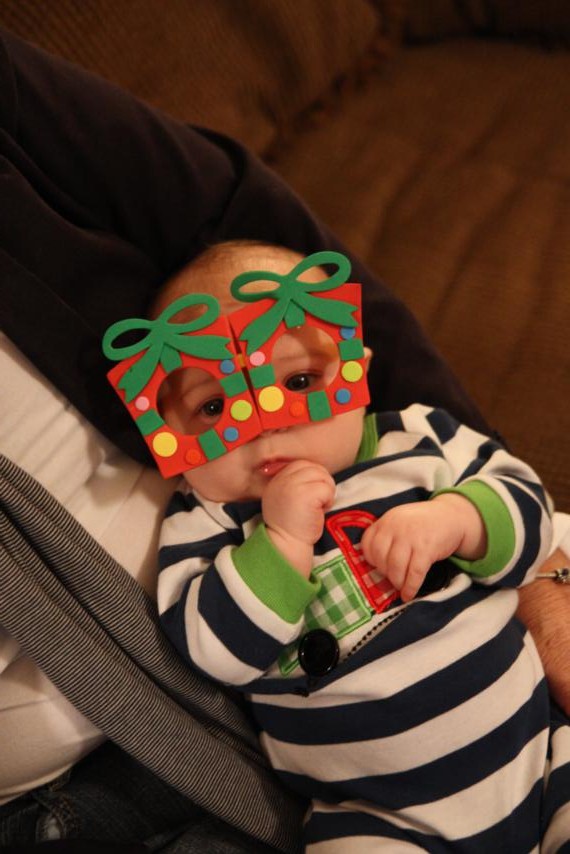
Earlier in the week, my mom went to the Dollar Store and found some festive glasses for all the kids.  There was an attempt at a group picture but mine didn't turn out.

The next night - Christmas Eve - I tried again for some star photos.  I'm not sure why it looks like one of the points got cut off on the stars.

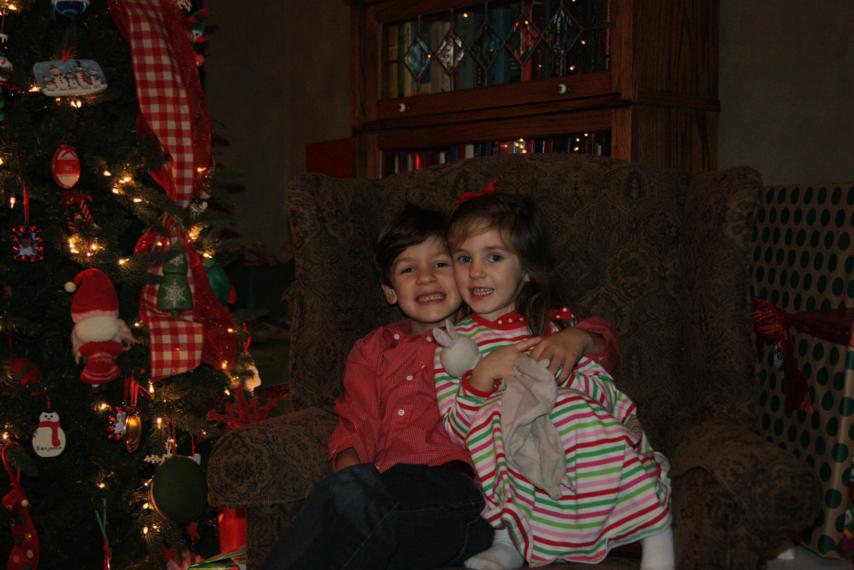
Sweet siblings.

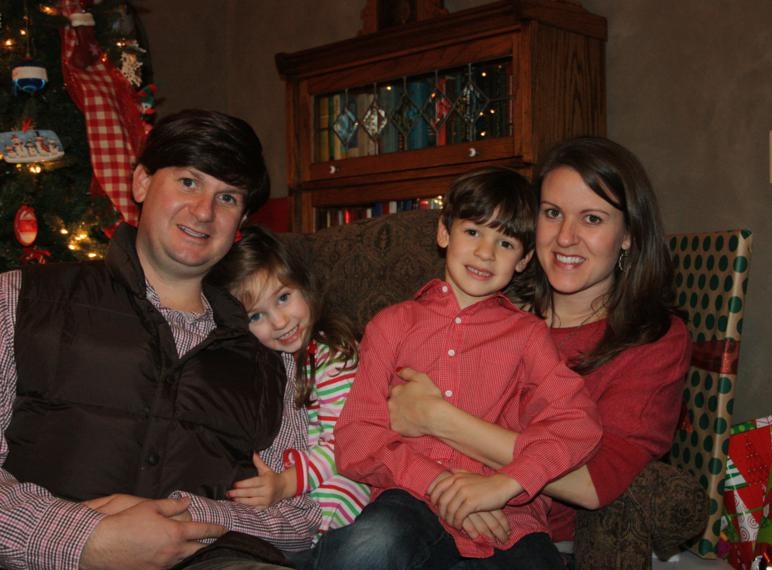
My oldest brother's family.

Mine and Doc's annual Christmas tree pic.

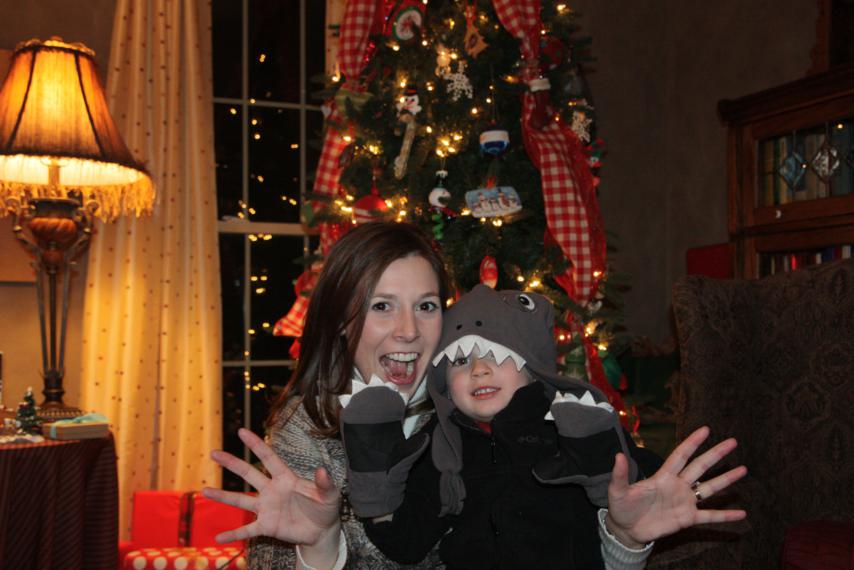
And then Parker ran into the room wearing a new shark hat and shark mittens, so we had to pretend to be sharks for the camera.

Ramer's mom put him (in his carrier) down on the floor and Jett and Bren sat down and sang Away In A Manger to him.  It was probably one of the sweetest things I've ever seen.

Before we could open presents, we sang Happy Birthday to Jesus and made sure we all knew why we celebrate Christmas.

Every year, my dad gets me a new hat for Christmas.  It's his thing.  Here is this year's hat.  Pretty cute, I think!

My Christmas Eve pictures end there.  I did catch this shot of my dad the next day, in between celebrations.  Can you say exhausted?  Even the dogs needed a nap!

Our kids didn't make it to our house until late in the day on Christmas.  I took a picture of each of them while they opened their stockings and that was it!  Sad, right?  I guess I was too busy playing Elf and passing out their gifts to take pictures.

Unfortunately, that's as much of a photo wrapup I can do.  I forgot to take my picture to Indiana with us and I didn't take it to our New Year's Eve party either.  I suppose those memories will just have to live on in my head.

I won't wait a week before coming back, I promise.  I've got lots more non-Christmas related things to share!

Merry Christmas!

Isaiah 9:6 - For to us, a child is born, to us a son is given, and the government will be on his shoulders.  And he will be called Wonderful Counsellor, Mighty God, Everlasting Father, Prince of Peace.

(Our Christmas card above.)

Merry, merry! Love, Lucy, Doc, Wyatt, and Anna

Christmas Home Tour

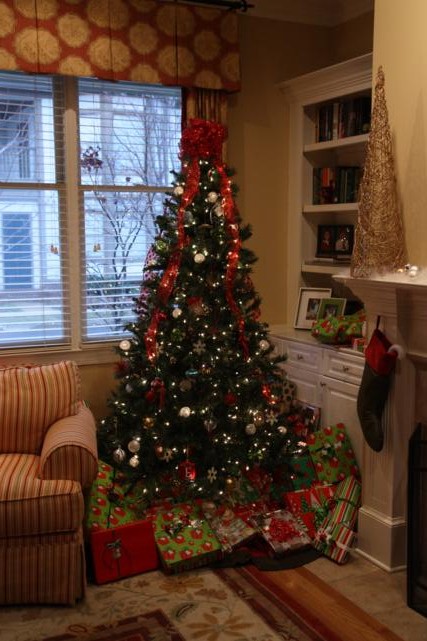
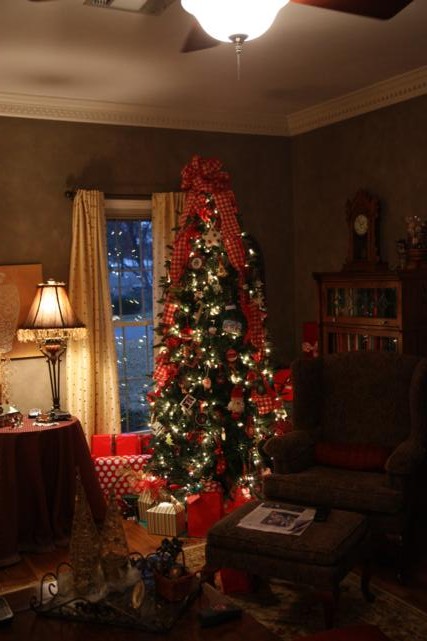
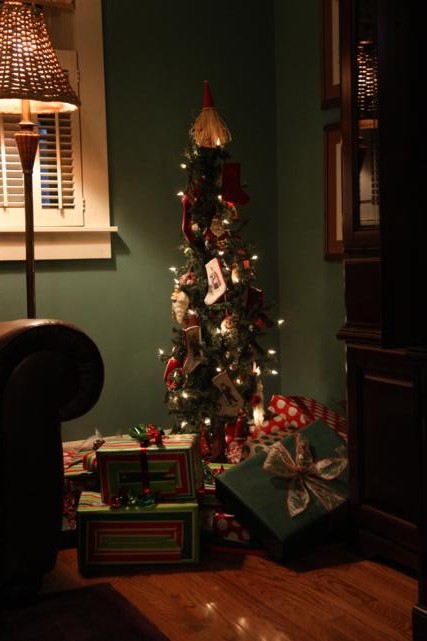
Merry Christmas Eve, everyone!  I hope its not too late for a quick Christmas home tour...I know that's the thing to do around blogland this time of year.  If you've been visiting my blog for a while, then you may remember our home tour from last year.  This year, everything in our house pretty much looks the exact same. I swore I would not put this tiny tree up again in our tall-ceiling house but alas, here it is again.  I even re-used last year's bow.  What you can't see in the picture below is how all of our presents actually spill over onto the other side of that chair to the left.  Our pile of gifts is bigger than our tree.

The mantel looks the exact same too.  I had big plans to do a burlap-theme Christmas this year, but I never got my act together.  When it came time to decorate, it just seemed easier to put everything back exactly where it was the year before.

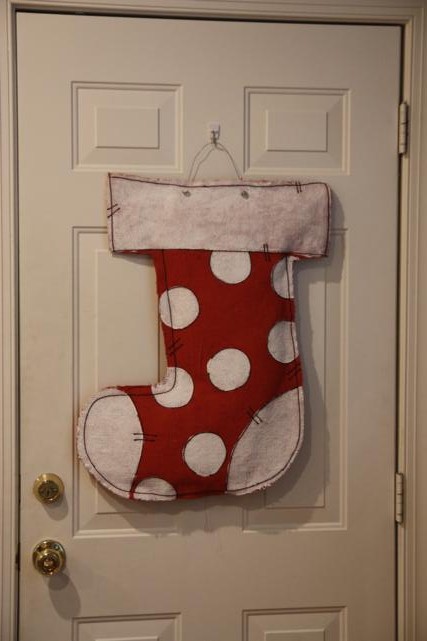
I did buy a couple new things this year, like this stocking burlee.  I bought it for our front door and then remembered that I already had the big ornament to hang there, so the stocking hangs on our back door.

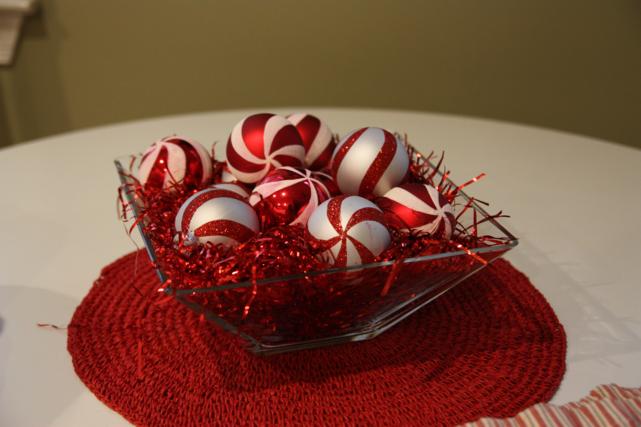
I moved the bowl of red and white ornaments into the kitchen table so that it'd match the stocking.

Another new addition this year is this fun little tree.  I actually bought it on major sale this summer and threw it in the attic.  It was a fun surprise when I started pulling out decorations; I'd completely forgotten about it!

It has colorful beaded ornaments on the branches.

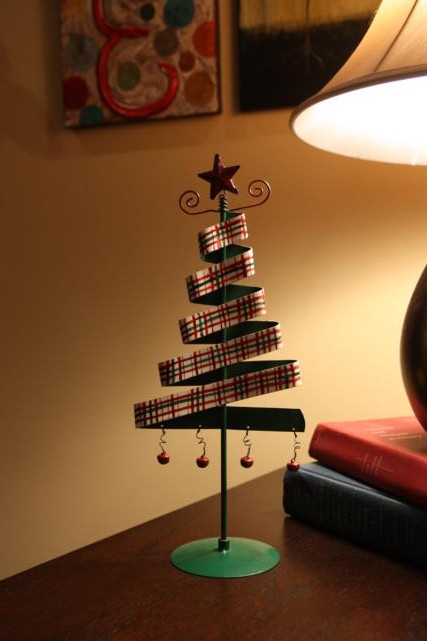
Also new is this little tree I won at bunco.

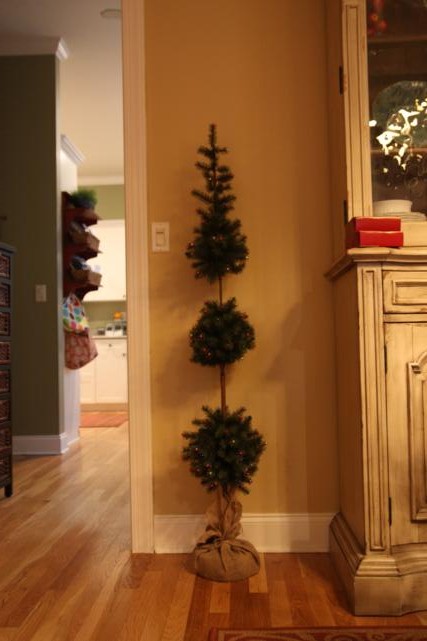
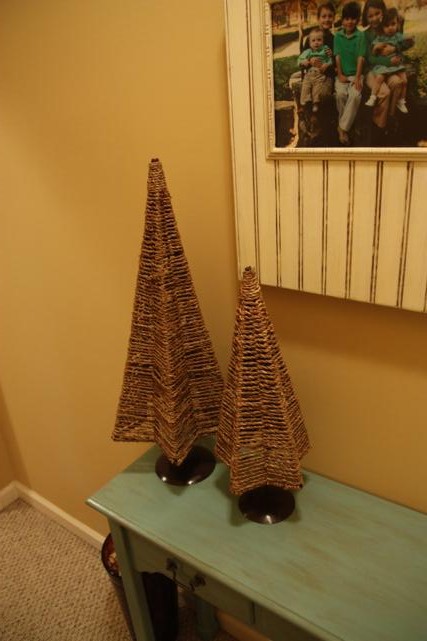
When I told my mom about my plans to do a burlap themed Christmas, she bought me these two jute twine-ish trees.  Since I was too lazy to follow-through on my plans, I just placed these on a table in the upstairs hallway.  Maybe next year I'll carry out my idea.

Well, that was hardly a home tour.  There wasn't much to take pictures of at my house since I only halfway decorated.

To make it up to you, how 'bout we tour my parents' house?  Might as well show off someone's hard work!

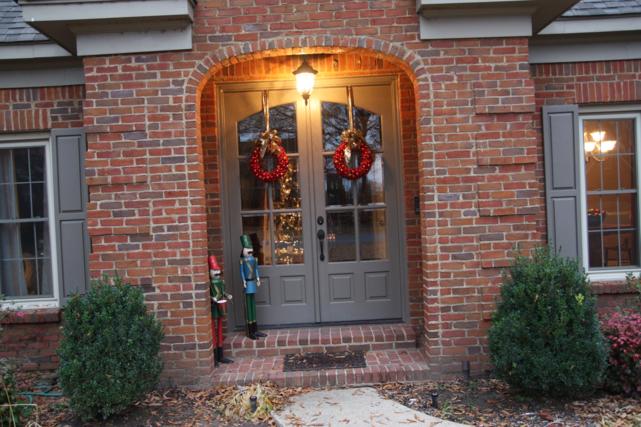
The ornament wreaths on the doors are some that Mom and I made a couple years ago.  Hers are still going strong; mine didn't survive the attic.  The front door is guarded by these two guys.  Don't worry, they're friendly.

Let's go inside!  In the entry way, you'll be greeted by the first of several trees.

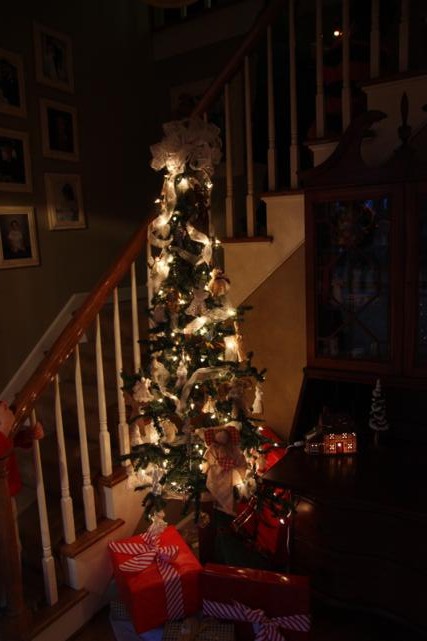
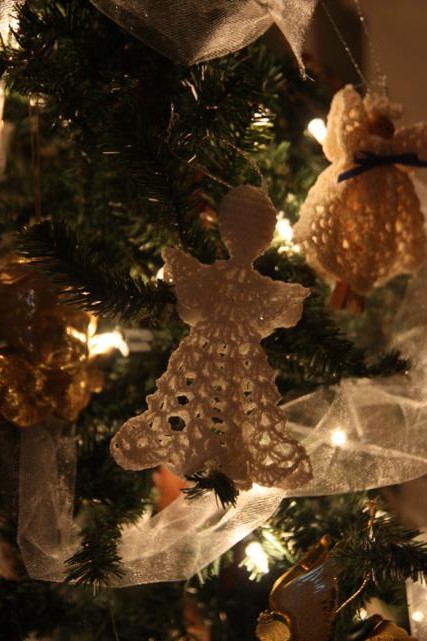
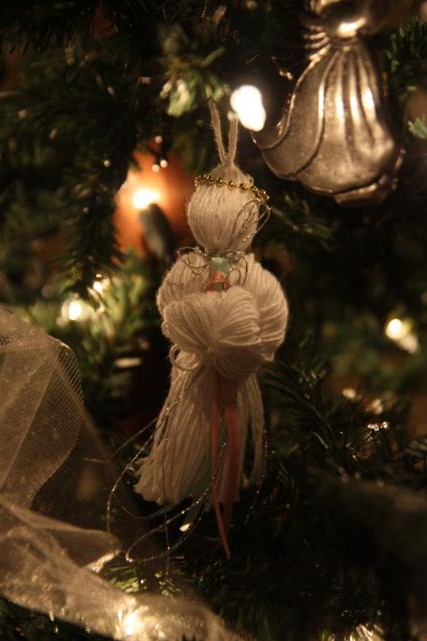
This tall, skinny tree is my mom's angel tree.  It's full of all angel ornaments, like this one that my grandmother made...

...and this one that I made way back in the day.

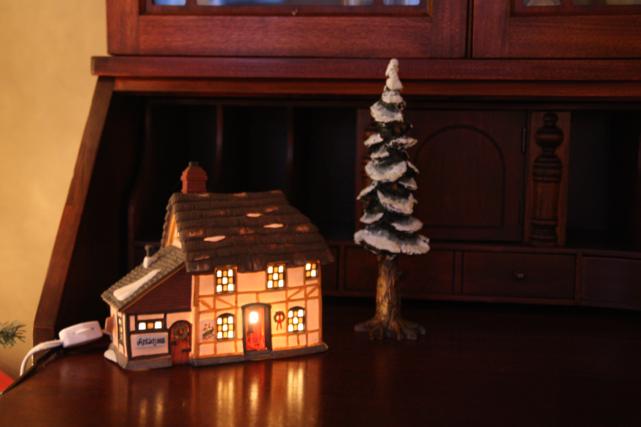
Also in the entry way is a small lit-up Dickens' Village house.  My mom has a whole village of these little houses.  Growing up, they were always placed under the tree and I loved to help arrange the town.  Now, with so many little people running around, they have to be strategically placed around the house in out-of-reach places.

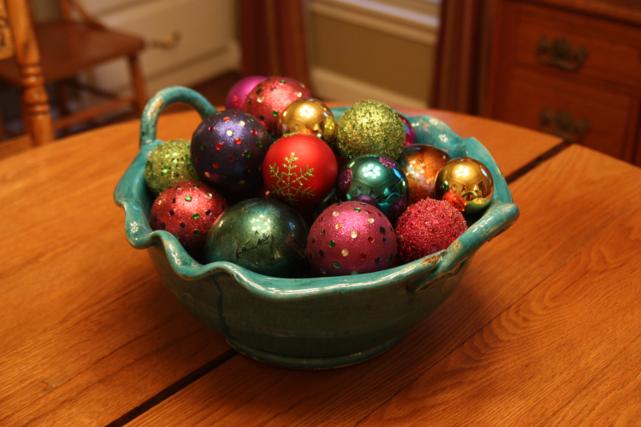
To the right of the entry way is the dining room.  Its decorations are subtle.  On the table sits this bright blue bowl full of ornaments.  I love it because its festive without being traditional red and green.

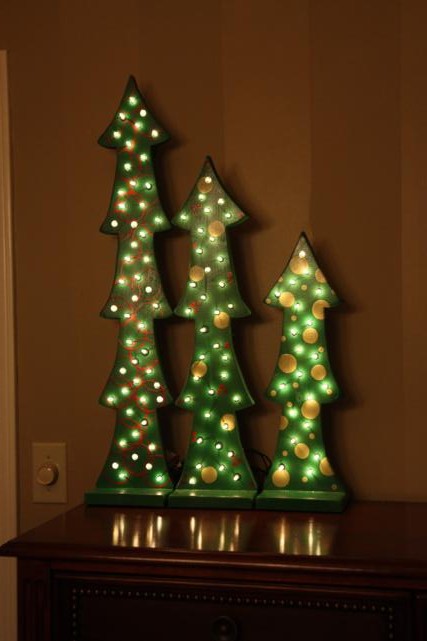
The dining room is also home to these three wooden trees (you may remember them from this post).

If we'd gone left from the entry way, we would found the big family tree in the living room.

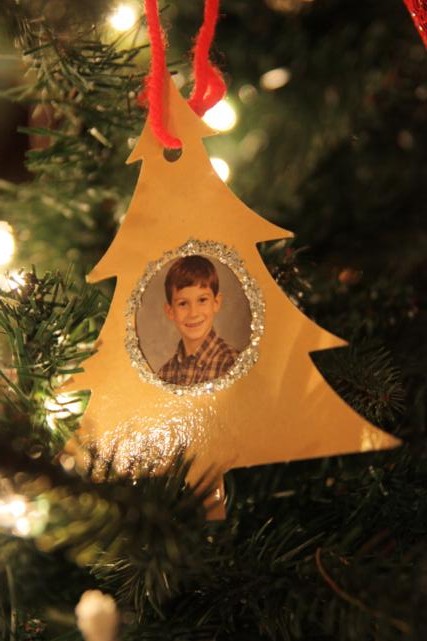
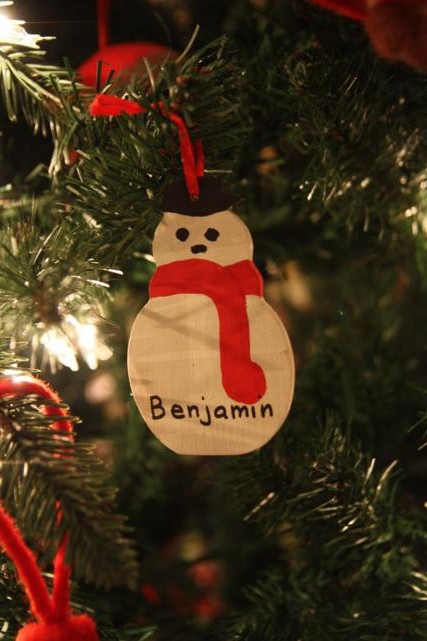
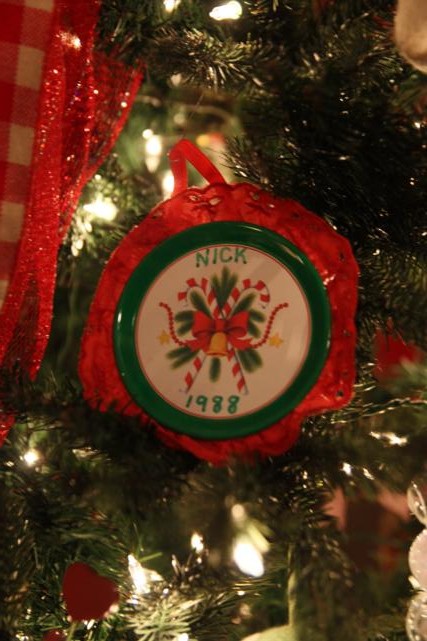
This tree has all of the sentimental ornaments on it, like the ones we brought home from school when we were little.


These three gold trees sit on the coffee table in the living room.

There are more houses from the Dickens' Village scattered around in here too.  This one didn't quite make it out of reach of little hands...I walked by at one point last night and saw that Santa was laying down taking a nap on the bench.

In the den is the third Christmas tree.  It's the smallest of the three.

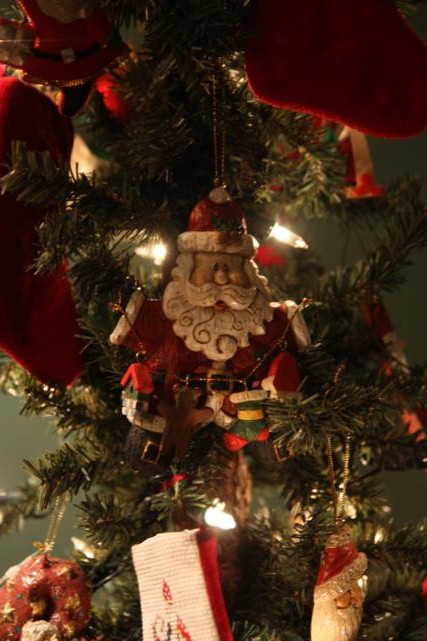
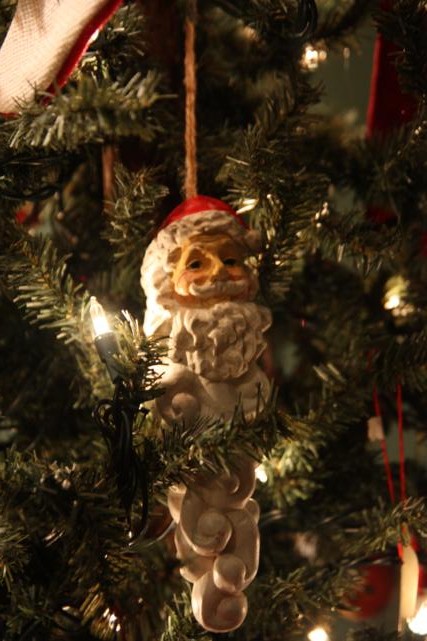
This one is Santa themed.


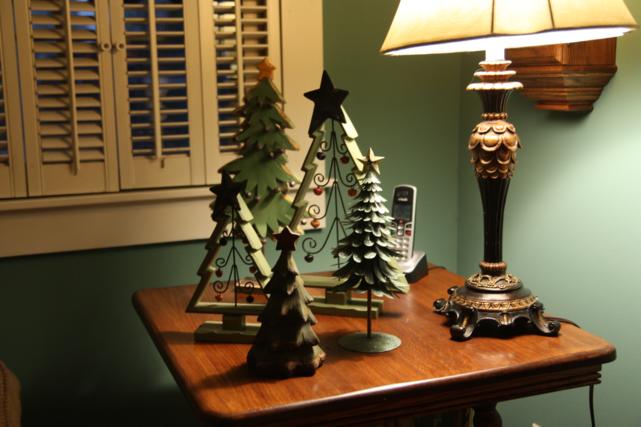
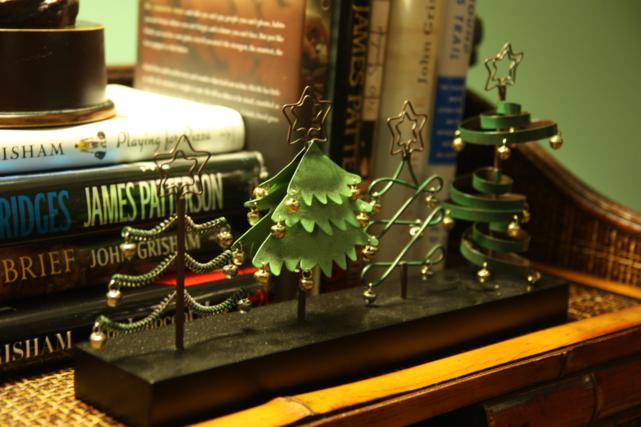
In this room, the side tables are adorned with even smaller Christmas trees.

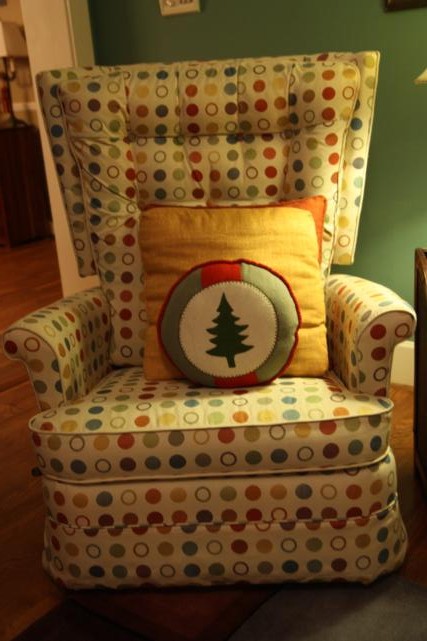
Even the chair has a Christmas tree throw pillow.

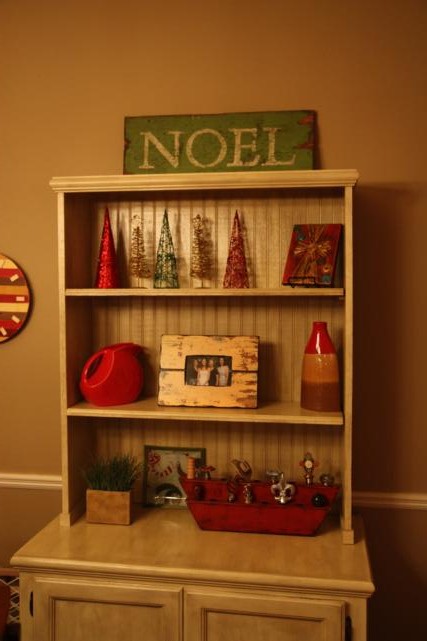
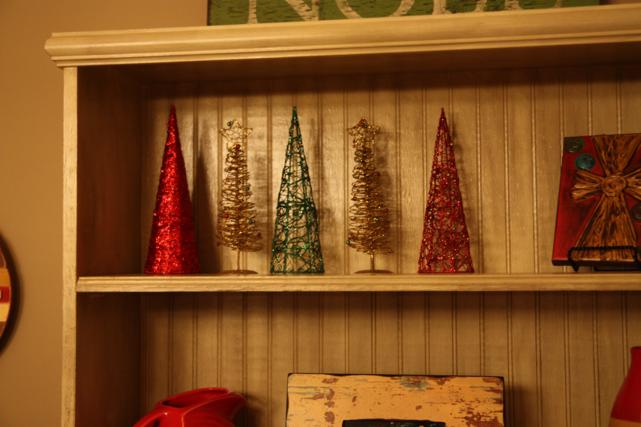
The kitchen is where we spend the most time and it has Christmas decorations everywhere.  There's no way I got them all, but here are a few.  On this hutch, some year-round knick knacks got switched out for more festive ones, like the Noel sign...

...and these sparkly trees.

On the walls are holiday wreaths.  The one on the left has interchangeable pieces for other holidays, and the one on the right is a gumdrop wreath that Anna and I made a couple years ago.


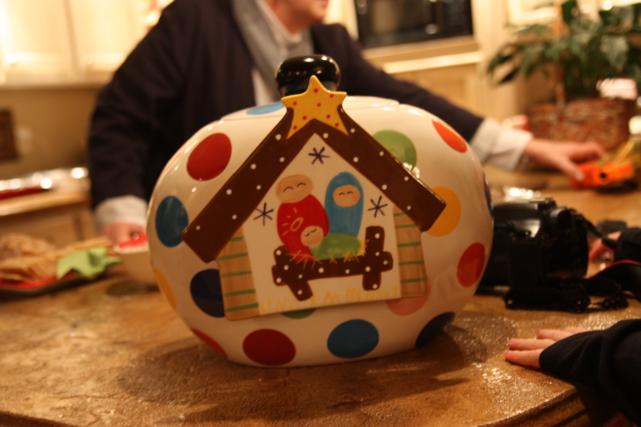
This cookie jar also has interchangeable pieces.  Mary, Joseph, and baby Jesus are on it now for Christmas.  It's not unusual to walk into the kitchen to find a 3-year-old climbing up on the counter to get to this jar of goodies.

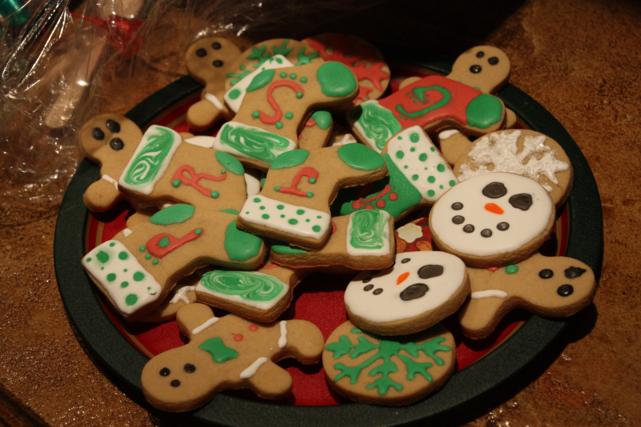
Speaking of goodies, there's always a bunch of yummy treats for the holidays.  Last night, we had gingerbread cookies that one of my friends made for us.

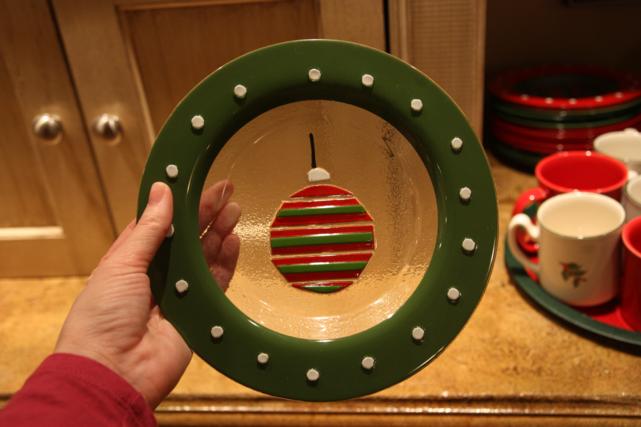
This time of year, my mom serves dessert on these ornament plates.

And if you need something to drink with your dessert, the mugs and hot chocolate are ready to go.

I'm ready for a warm mug of hot cocoa right now!  Hope you enjoyed the holiday tour!

Ikea Rast Hack (Again)

If you missed my last ho-hum Ikea Rast Hack (or have no idea what I'm talking about...), you can see it here. Like I said in the last Rast Hack post, after we saw the sturdiness of the first two we ordered, we immediately placed the order for two more (but unfortunately, not before the price went up five bucks to $34.99 each).  I knew right away which beach house room one of these would go in, so I could start on it immediately.  And this one was not going to be as Plain Jane as the other two.

My first step, like always, was to tape off the areas I didn't want to paint, like the inside of the dresser base and the sides of the drawers.  Then I gave this Rast Dresser two good coats of white paint.  I didn't take pictures of this process but I'm sure you can imagine what it looked like.  Picture one small dresser and three drawers all white.  Got it?  Good.

To jazz it up, I pulled out this pack of stencils that my mom gave me for Christmas last year.  It's the Ed Roth Stencil 101 Decor set.

After thumbing through the reusable stencils and holding up to see how'd they look, I finally settled on this pattern of hexagons for my Rast Dresser.  Ignore the blue-green paint...apparently I didn't clean it off the last time I used it.  Oops?

I planned on only stenciling the drawer fronts, not the whole piece of furniture.  And I also knew that I wanted to stencil the three drawers together so that the stencil matched up (as opposed to stenciling each one individually and then the pattern not lining up when they were placed in the dresser).  To do that, I lined my drawers up and taped them together.

This gave me one big blank slate to go crazy with, er stencil.

My stencil was bigger than the height of one drawer front, which meant my pattern would bleed from drawer to drawer.  I was ok with that, but it also meant that instead of lining it up and starting in a corner, I needed to find my center and start there.  I measured to find my midpoint (and then measured again) and lined up one of the hexagons with the middle.  I tried to place my marked midpoint on the drawers in the dead-smack center of the hexagon.

I was more than a little nervous to start stenciling.  I have never been very successful at painting over the stencil - in the past I've ended up just tracing the design and then filling it in with a paint brush.  I was determined to do this right, though, I read as many tips and tutorials as I could find online.  The secret seemed to be in the stencil adhesive, so I grabbed some from Michael's before starting.  I don't remember exactly what it was called, but it was Martha Stewart brand.  I sprayed it on the back of my stencil AND taped down the edges, penciled in my registration marks (so that I could easily line up the next repeat of the stencil), took a deep breath, and went for it.  I used a foam roller with very, very little paint on it and rolled over the stencil multiple times until the pattern was filled in.

The color is Essential Grey from Sherwin Williams and is the color of the walls in the bedroom where this dresser will live.  It seemed like it took forever for this first stencil to dry, but then, since I could work out from it in four different directions, the rest of it flew by.

Aww yeah!  I was supah excited with how this was turning out!

Up close it was not perfect by any means, but none of the edges were bad enough that a few swipes with a small paintbrush couldn't fix.  I'll be honest here - I did fix a few smudged edges, but not all of them.  I can live with a few imperfections, especially since you have to get really close to even see them.

I slapped on a couple of coats of water-based polyurethane before moving onto the hardware.  As far as hardware goes, I wanted plain and simple so that the stenciled pattern could be the star of this show.  Lowe's had a clear knob that ended up being the winner.

And check this out - the shape of the knob is the same hexagon shape as my pattern.  Score!  I love coincedences like that...especially since I didn't even realize they were shaped the same when I picked them out.

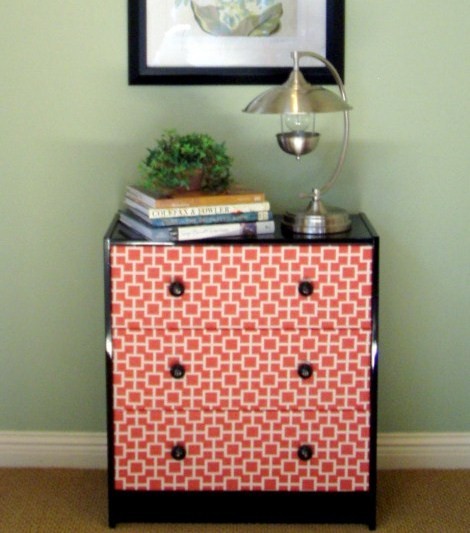
Ready for the full view?  Here'tis!

I know the after shots are always a lot more exciting when they're staged in a room, but since we haven't moved into the beach house yet, we'll have to settle with after shots being in the woodshop.  We'll be able to stage it in a bedroom soon, though!

So with that, we have 3 Ikea Rast Hacks done and 1 more to go.  I haven't even started on it yet and don't have a plan.  Anyone have any good suggestions?

Ikea Rast Hack

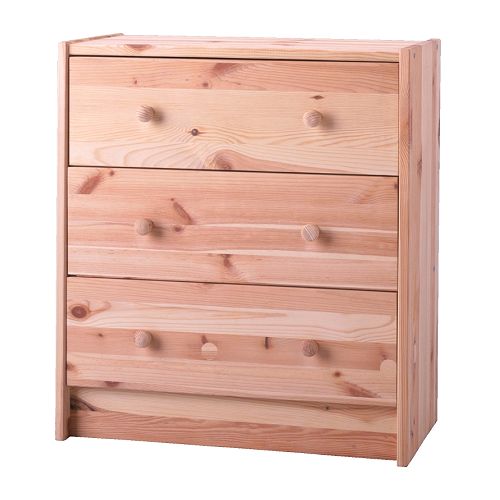
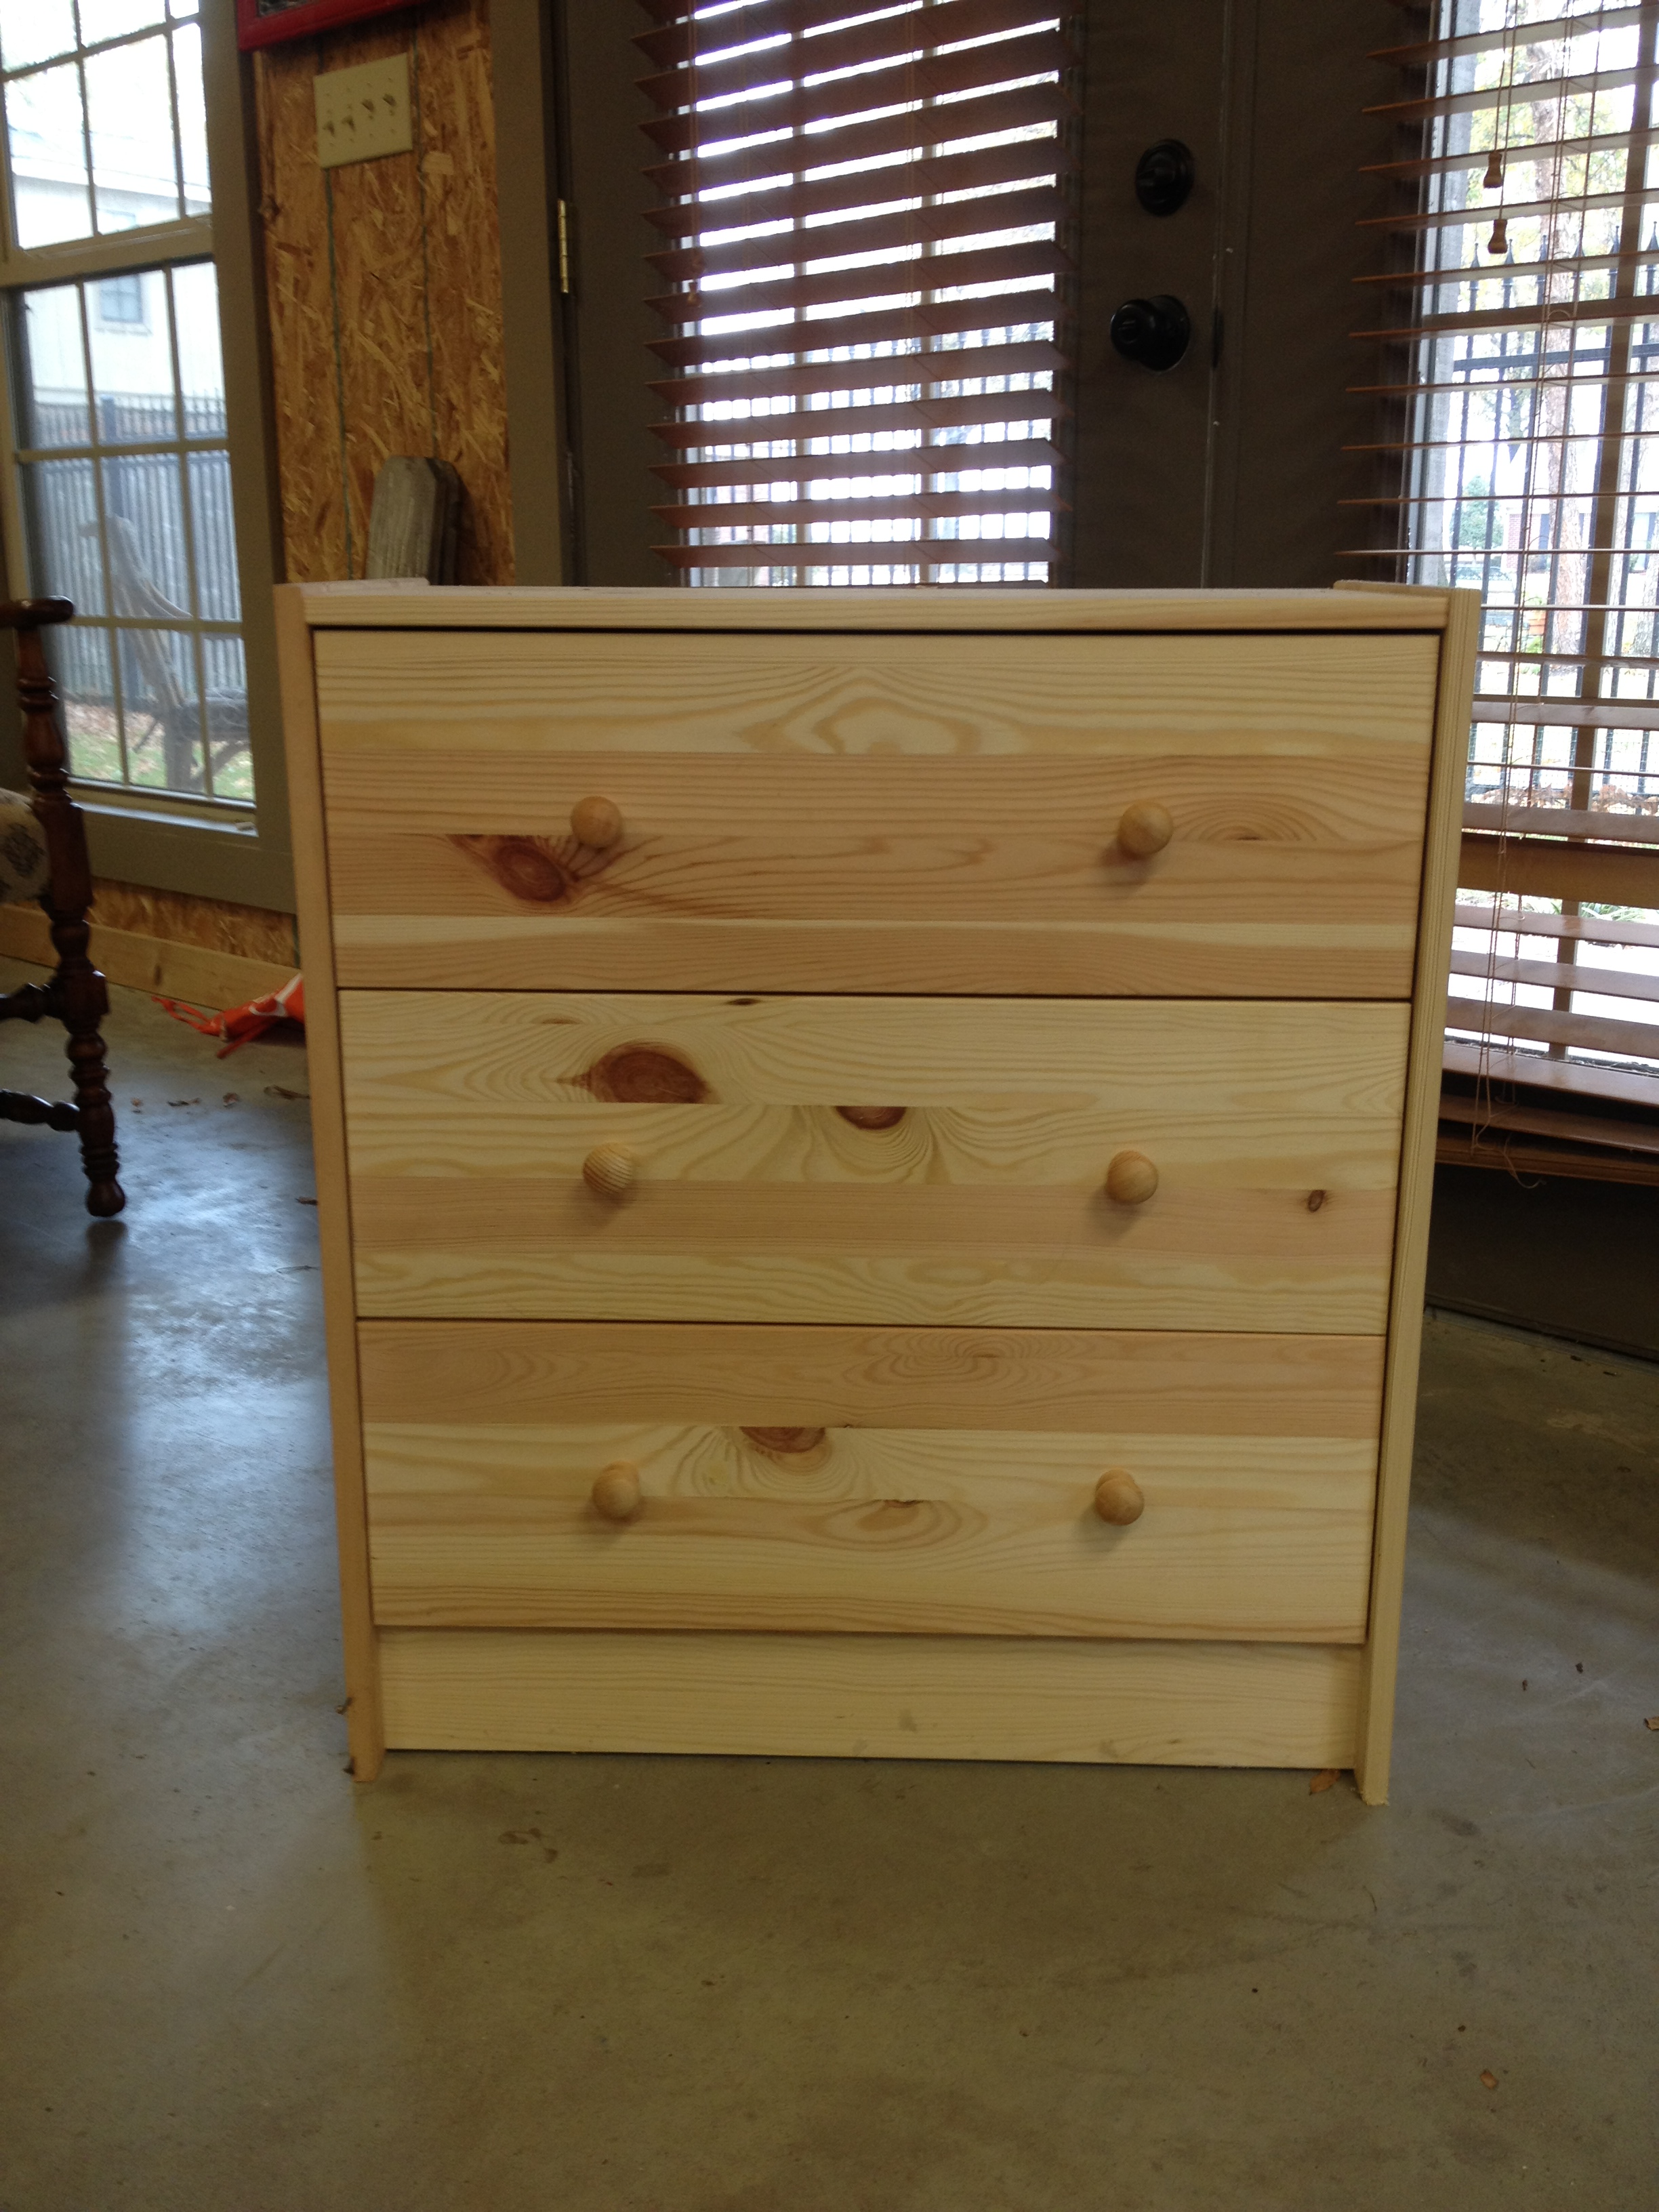
Do you know about the awesomeness that is the Ikea Rast Dresser?  It's the most perfectly-sized little 3-drawer dresser that comes in unfinished solid wood so that you can finish it any way your little heart desires.  And the very best part?  It costs a whopping $34.99.  You can't beat that with a stick! (Actually you can - it used to cost just $29.99.  I usually get upset when prices go up, but even with the $5 increase, it's still a heck of a deal!)

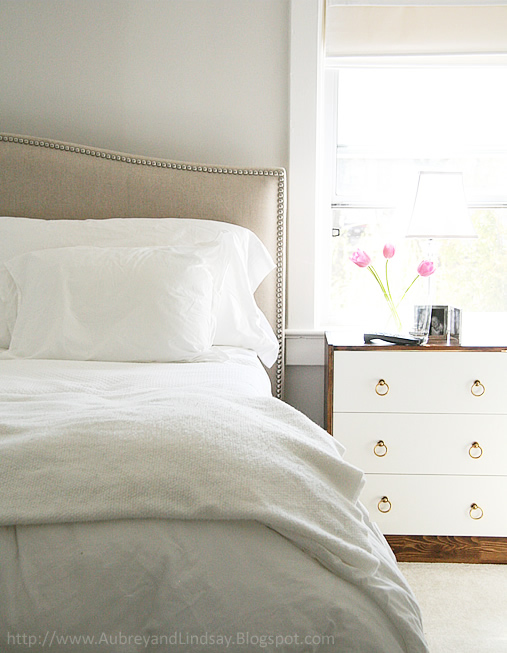
News of this gem of a piece of furniture has been catching on, and pictures of freshly made-over Rast Dressers have been popping up all over blogland. Some people manage to turn these simple little drawers into something that looks like it belongs in a fancy schmancy home decor magazine.  Like this one, for example, from Little House Blog.

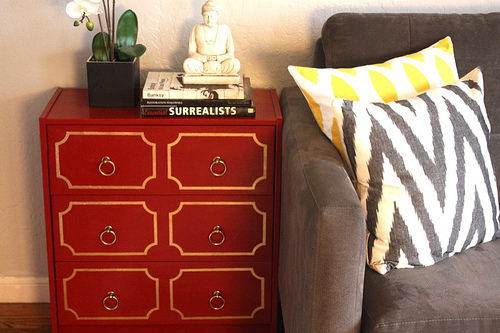
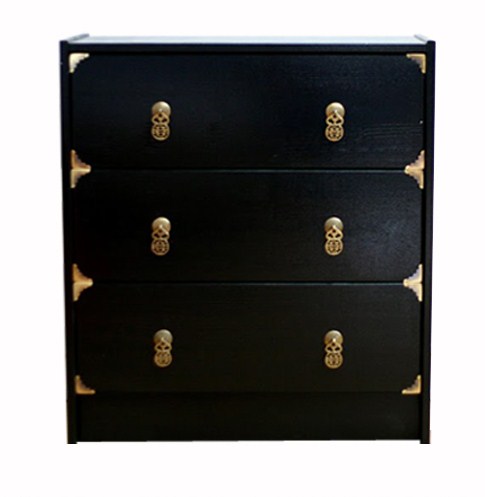
There are so many awesome takes on this project!  Here are some more that I found...

From Nothing But Bonfires:

From Design Manifest:

From Nouveau Stitch:

And finally, this one from A Charming Nest that I think is my personal favorite.  Can you believe this started as the same $30 piece of furniture?  Insane!
If you wanna see some more takes on this project, google Ikea Rast Hack and lots of results will pop up.  Or click on this blog to see a few more ways its been done.

So...seeing as how we're in the middle of trying to furnish a whole beach house and could use some bedside tables, I decided I better jump on the Rast Dresser train.  I placed my order a few months ago (back when they cost $29.99 - woot!) and my flat pack box arrived in no time.  Even with shipping, it was still a good deal (but it'd still be nice to have an Idea nearby!).  I had my dad put it together a while ago, but then it just sat.  I was itching to work on it, but we weren't quite sure yet where it would go and therefore couldn't decide on a paint color.

Recently we began nailing down furniture for the rooms and it became clear that we would use this as a bedside table in the master bedroom along with this dresser that I'd already repainted.  I gave it the exact same paint treatment so it'd match the dresser.

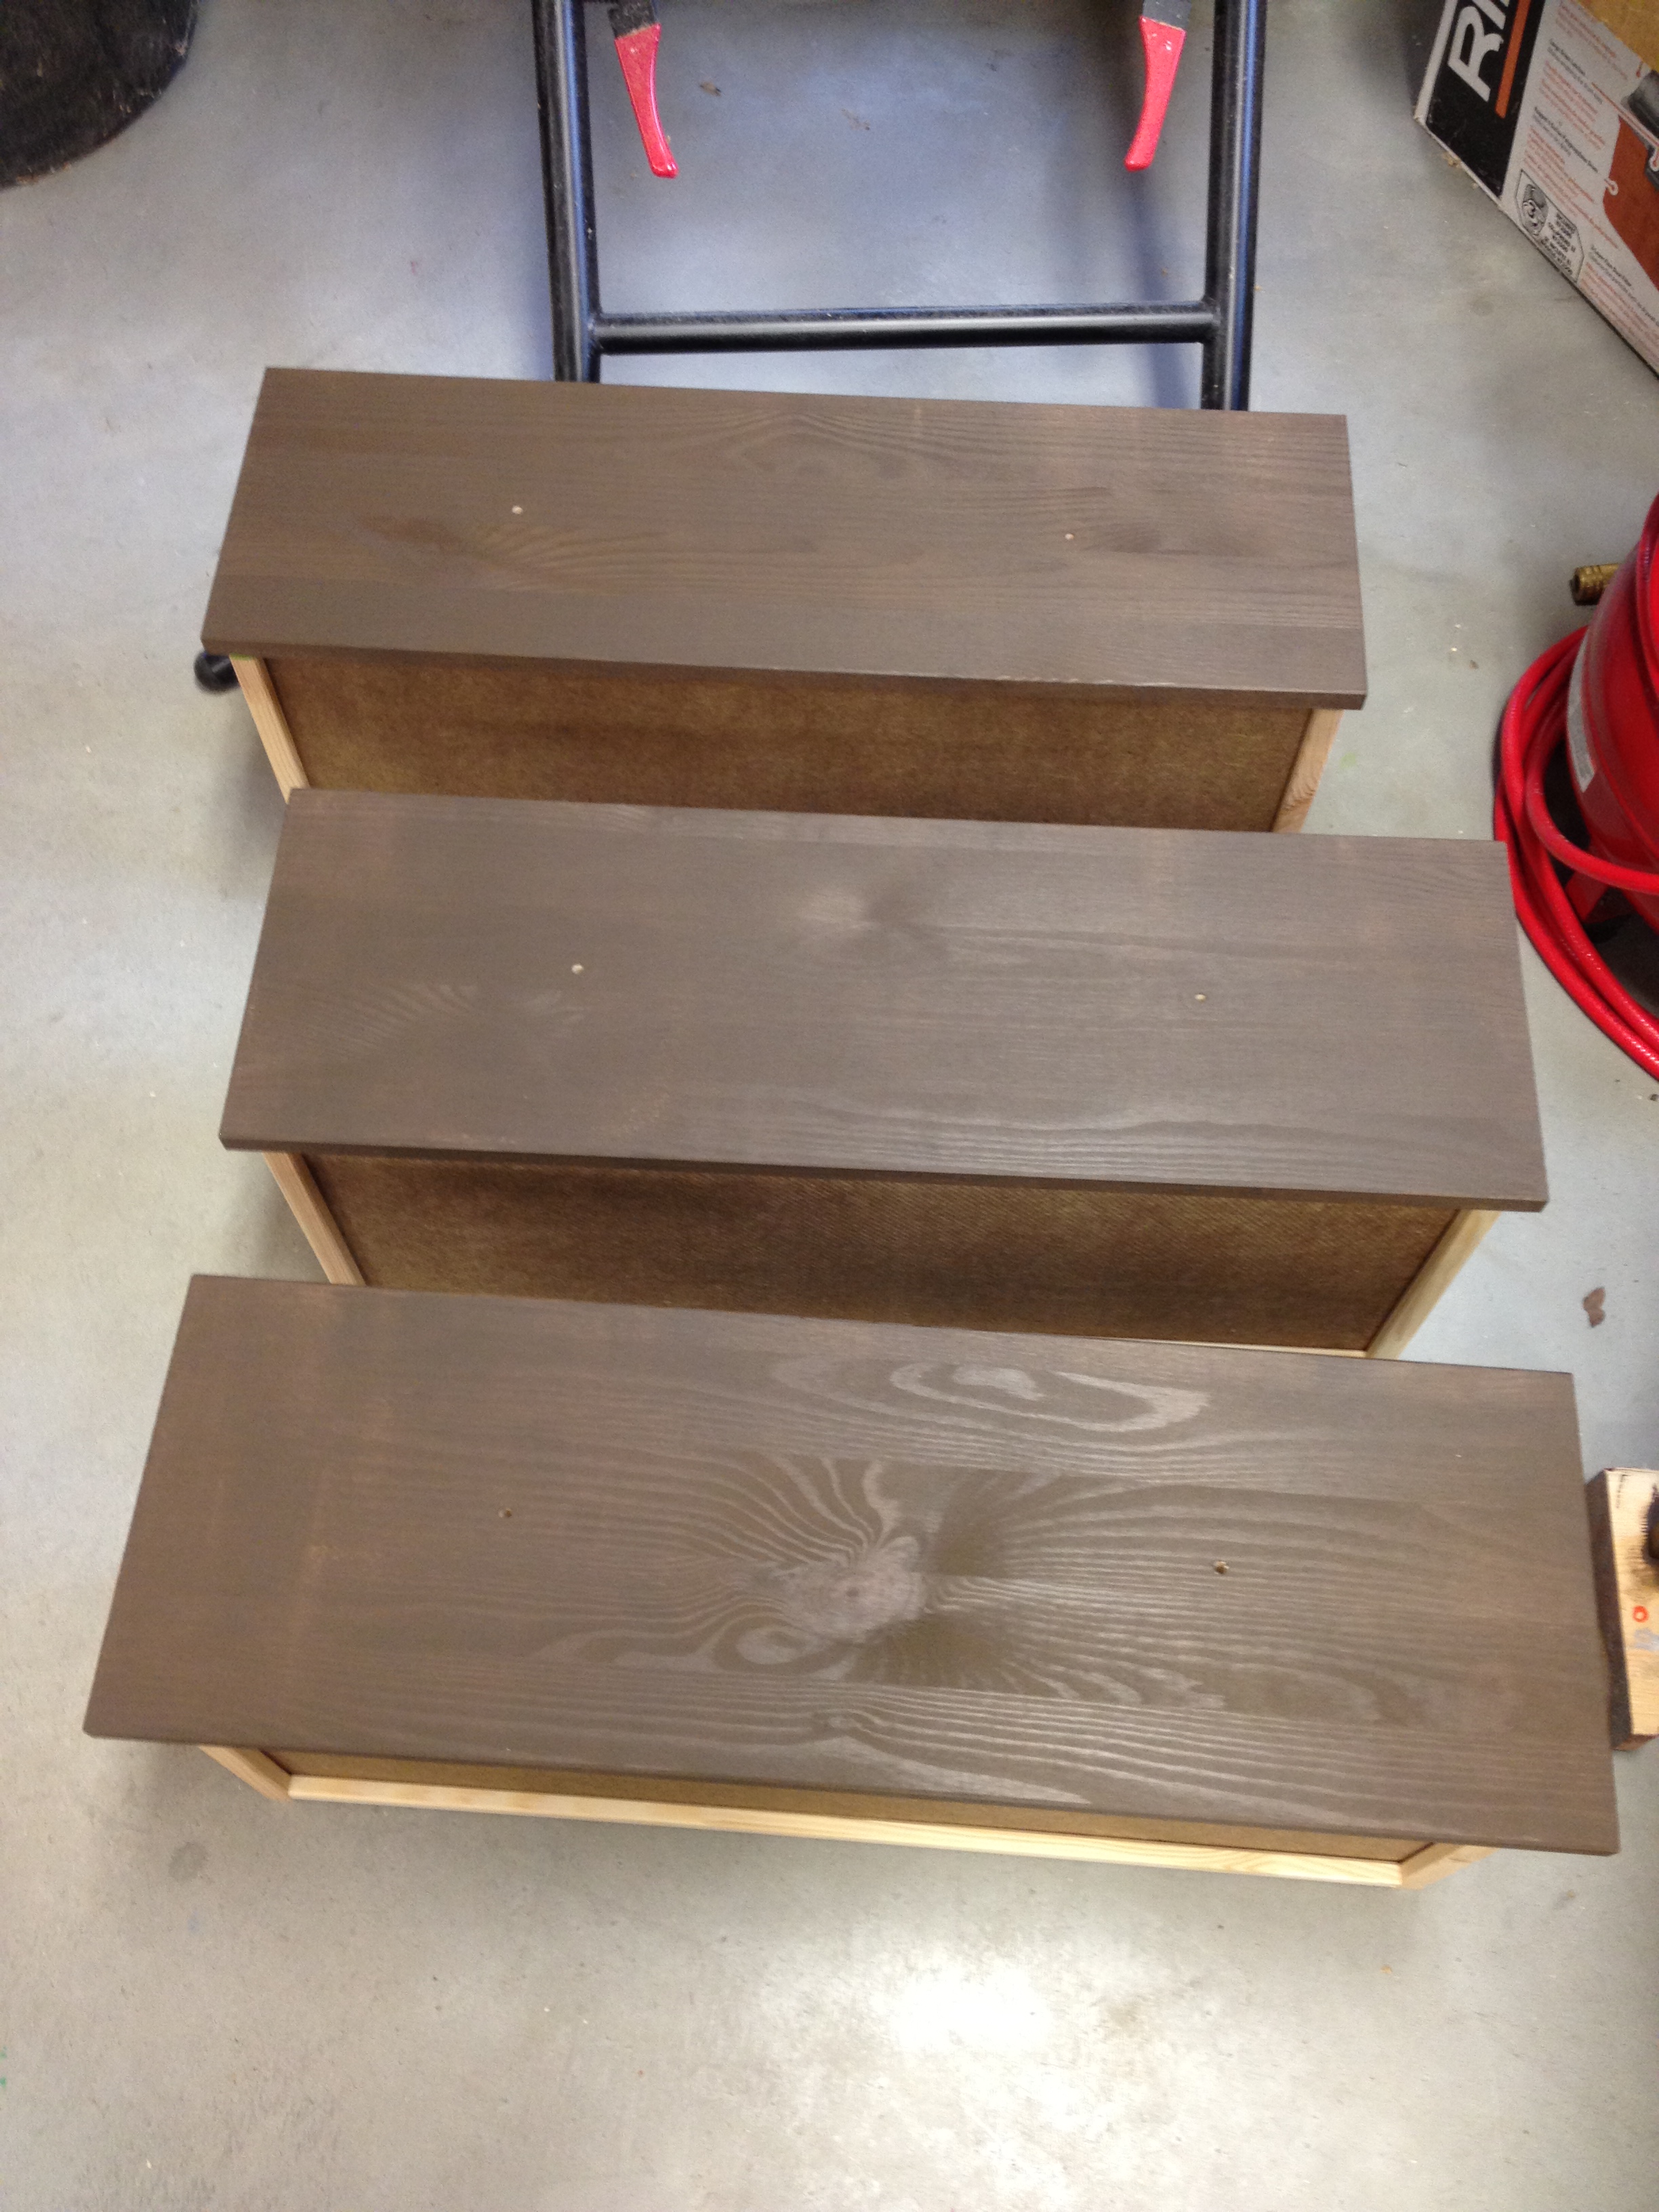
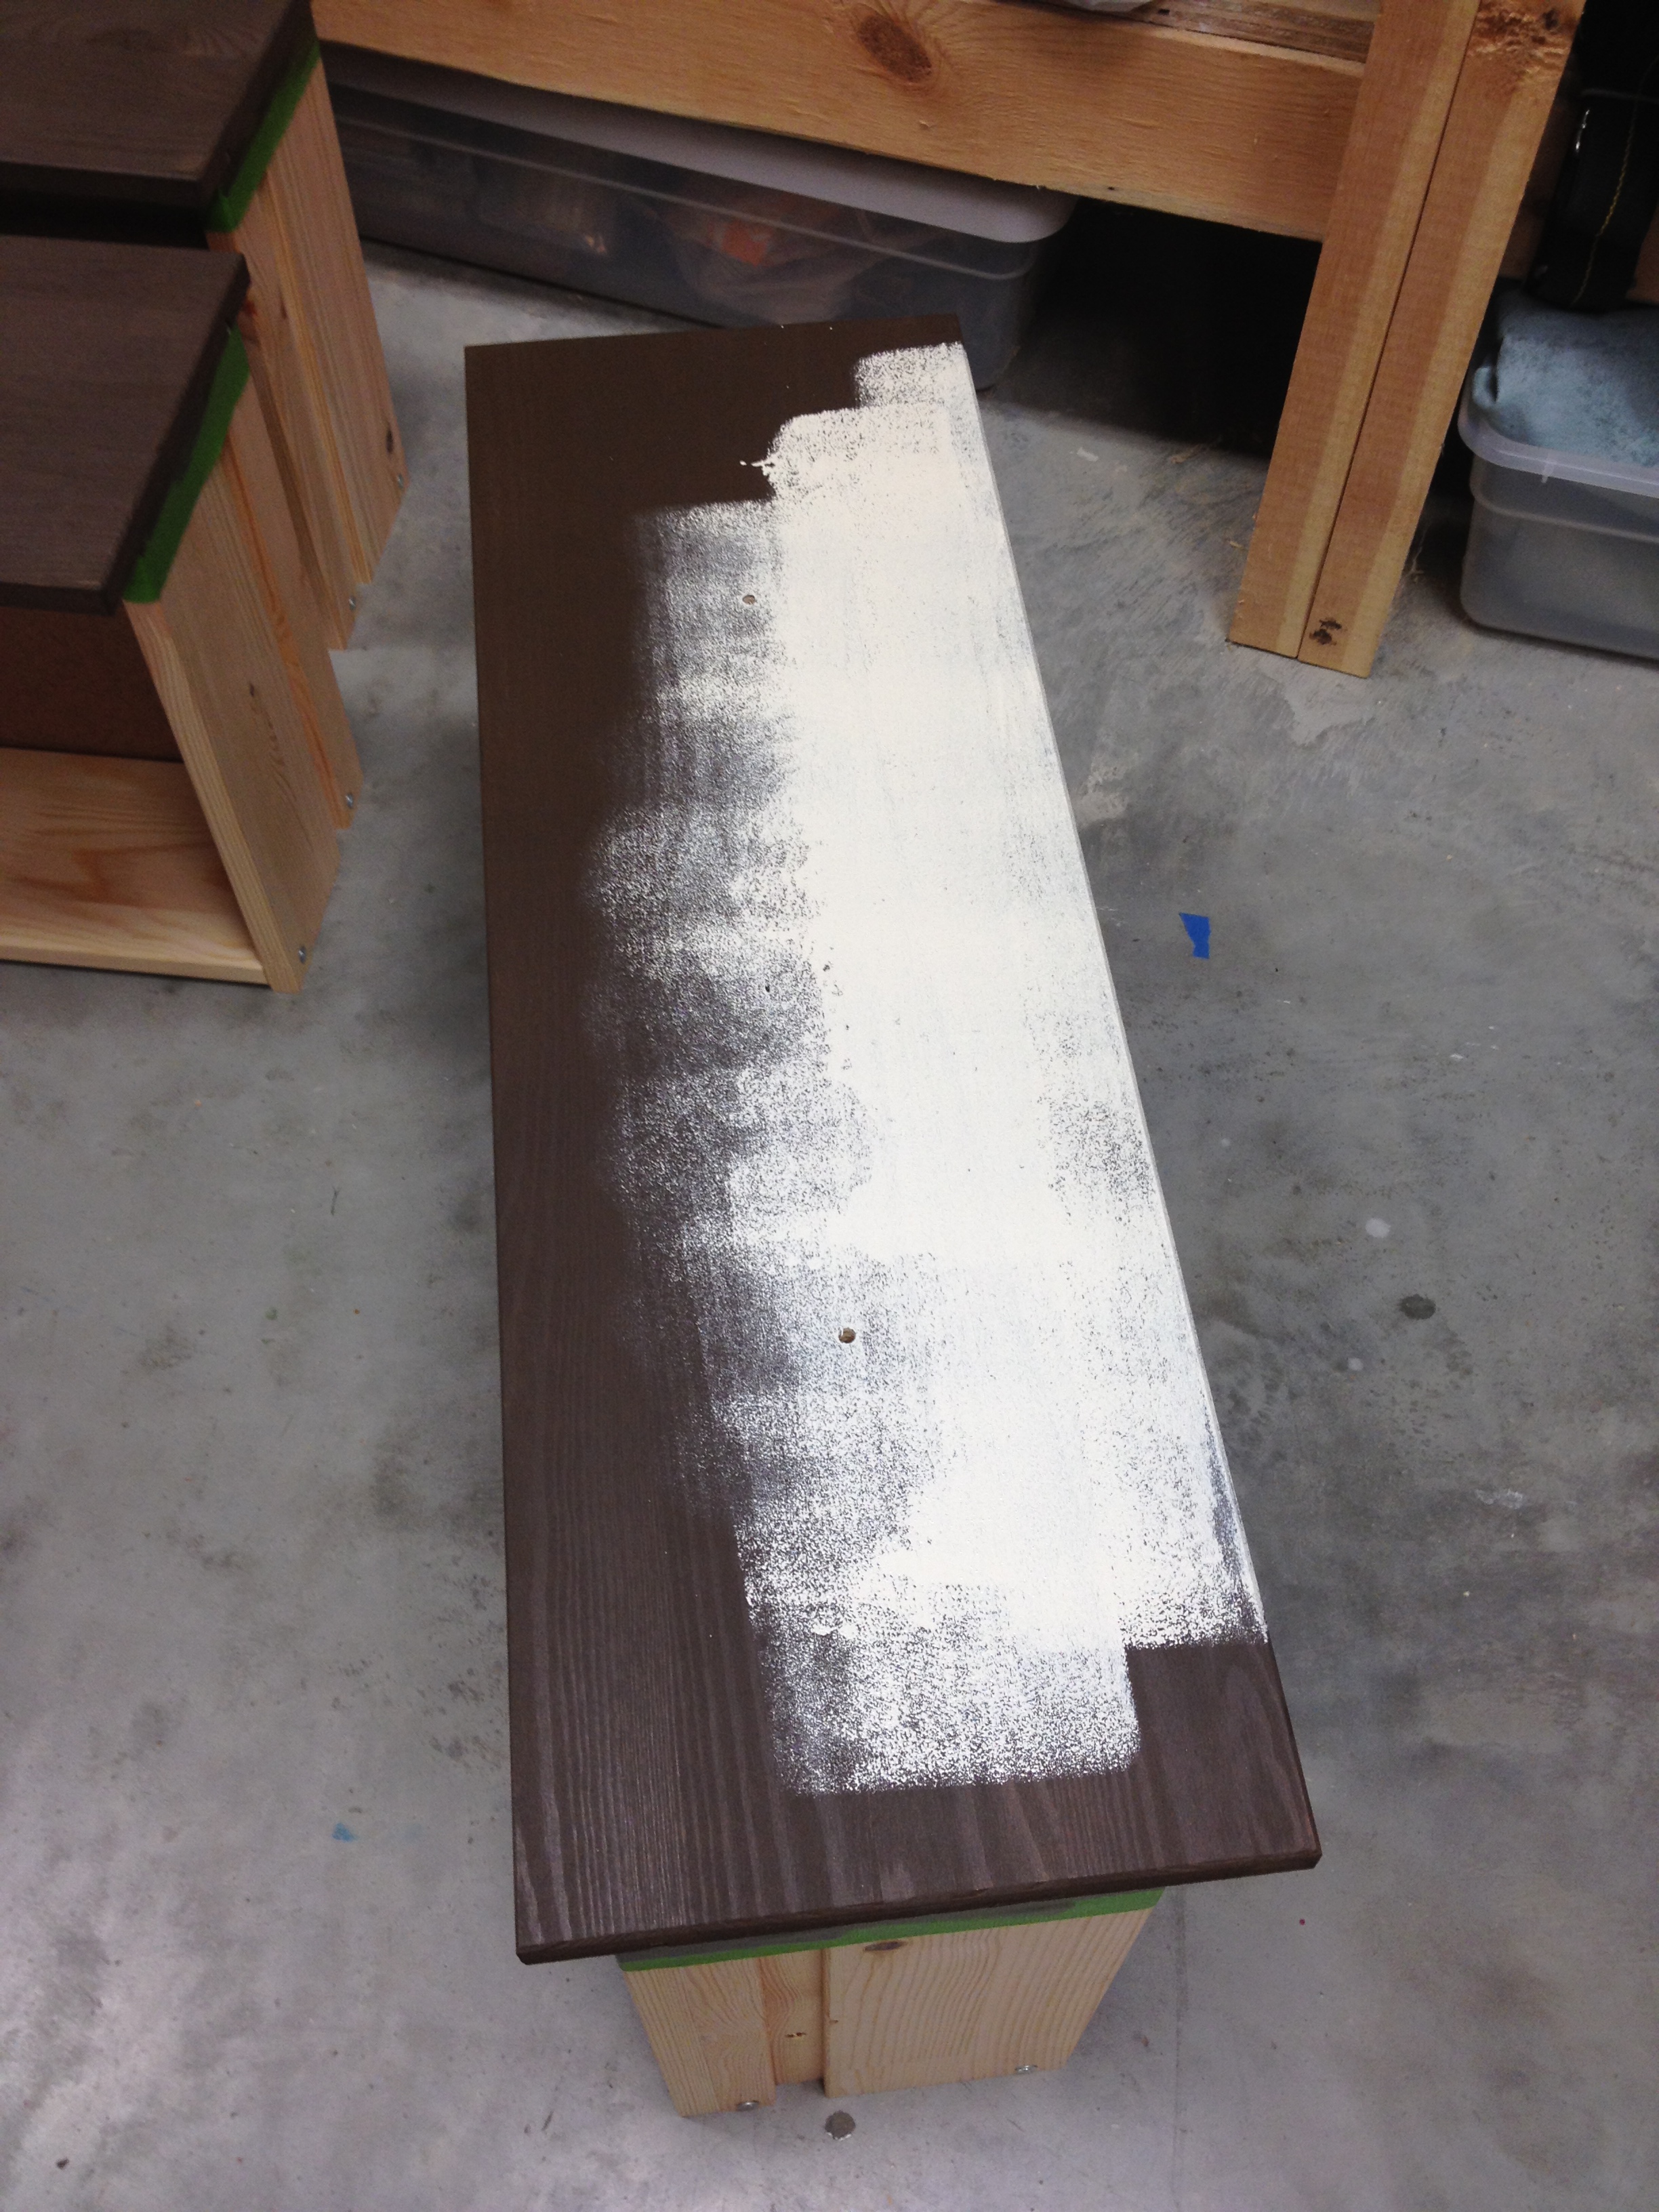
First, a coat of brown, but not before I taped everything off.  Like always, I just wanted to paint the drawer fronts and the outsides of the base.

Then I covered over that with two coats of the cream paint.

Just like with the dresser, I sanded the edges ever so slightly so that some of the brown would peek through.

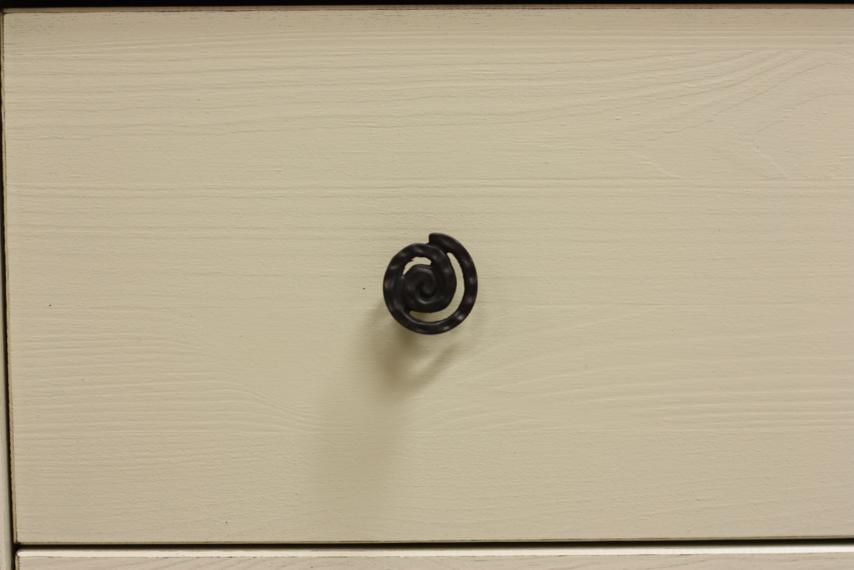
The color was pretty bland so I tried to jazz it up a little with the hardware.  Well, as much as you can jazz it up with hardware that's still neutral in case we redo the room.  I opted for these fun little spiral knobs.

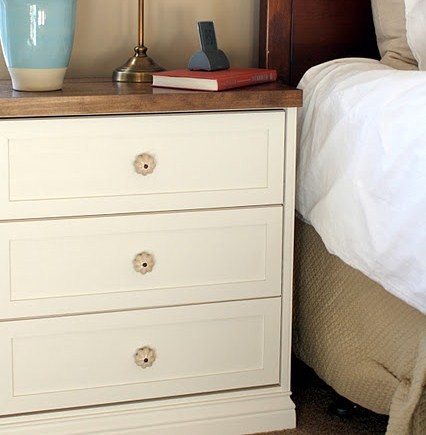
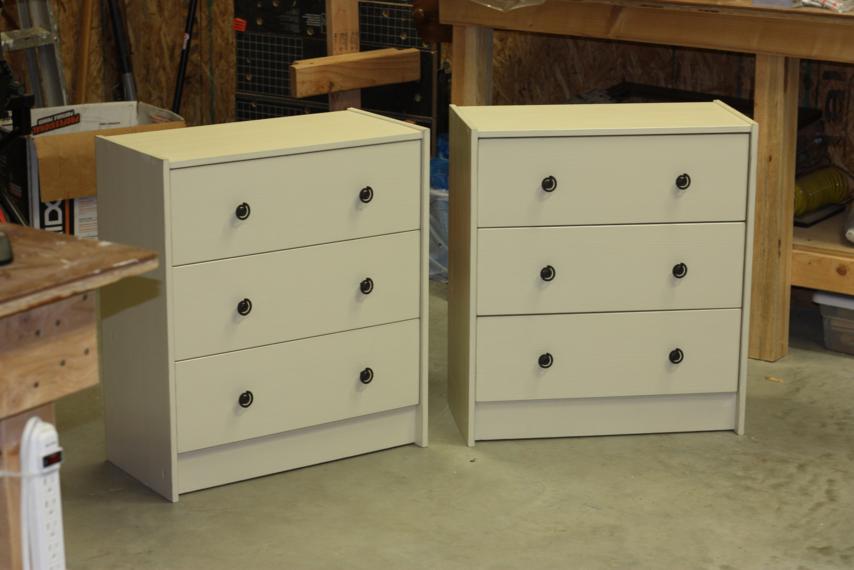
Ready for the end result?  You may need to sit down for this...

I know, I know...BORING!  Try not to yawn in my face, ok?  I wanted to go all out on this, but since it's going to be in a rental house and we don't know how often things will need to be switched, it had to be something plain.  Something safe in case all the bedding and room colors have to change.

Oh wait, I completely left something out...I actually did this whole process twice.  Two bedside tables for the master bedroom.

That really doesn't make it any more exciting, huh?  Then how 'bout I tell you this: after my dad assembled these first two and saw how solid and sturdy they were, we decided to order two more.  That means I'd have two more chances to go crazy on the Ikea Rast Dresser.  And ya wanna know something else?  I've already finished one of them and I totally broke out my pack of stencils to fancy it up.  Can't wait for you to see it!  Pics soon...