DIY: Bud Vase

First things first - have you picked my hairstyle?  If not, go do that now.  If yes, you may continue reading. I'm hosting another shower at our house this weekend which means I'm crafting up some decorations this week.  Not too many things though, because I'm going with more of a "pretty" theme and less of a "crafty" one.  The bud vase I'm about to show you is one I found online last week.  I can't remember where so I'm not sourcing it, but if anyone else knows where it came from, feel free to yell at me for stealing someone else's idea  let me know and I'll link to it.

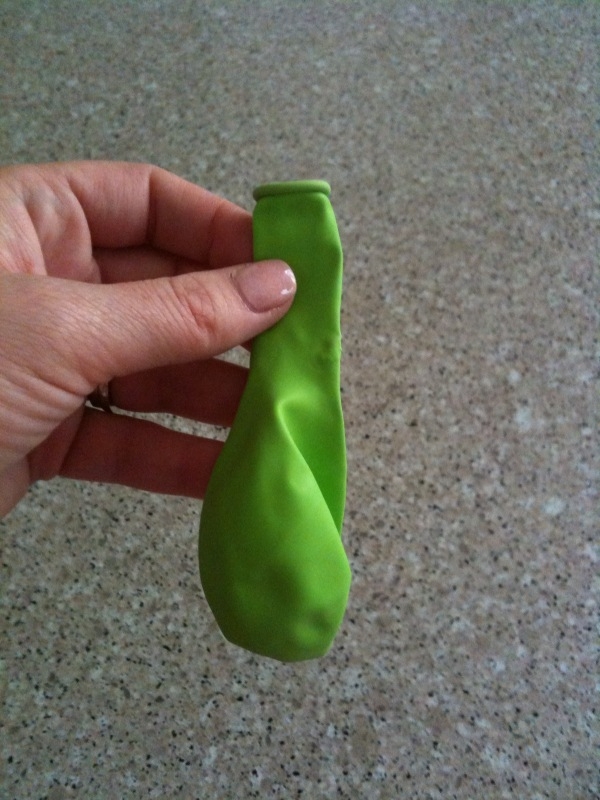
To make one of these cute bud vases you need two things: a balloon...

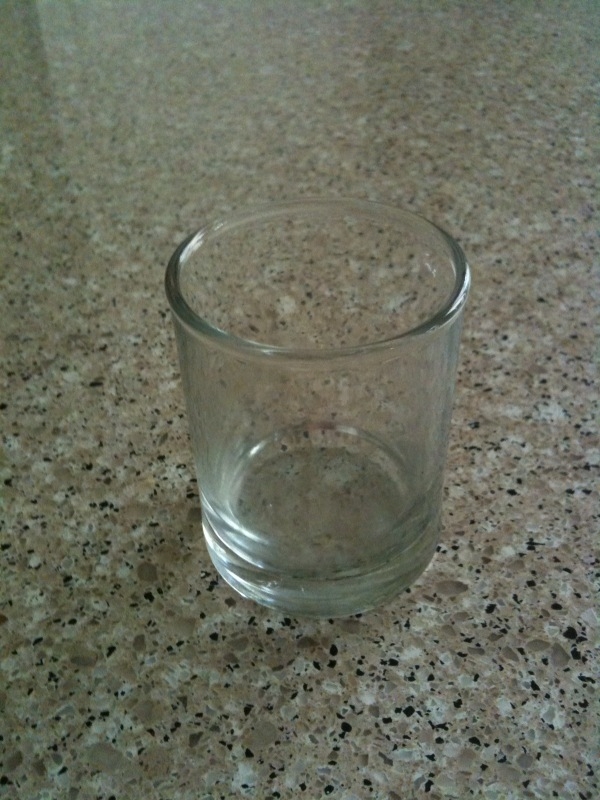
...and a candle votive.

These two things should be about the same size.  Skip the water balloons and those long skinny ones you use to make weiner dog hats.   You just need a regular ol' balloon and a regular small candle votive.

Here's my helpful hint for you:  go ahead and blow up the balloon before you start and then let all the air out.  This helps get the balloon all stretchy-outy.  Then, cut off the tip of the balloon - you know, the rolled up part that you put in your mouth when you blow it up.

Then just stick the votive inside the balloon!  (Ha, I wrote that like it's the easiest thing ever.  It's not.  It's hard to get the tight balloon all the way up the votive.  It hurts your fingers and takes forever.  And then your hands smell all rubbery and you want to cry.)  (Do like me:  ask your husband to do it for you.)

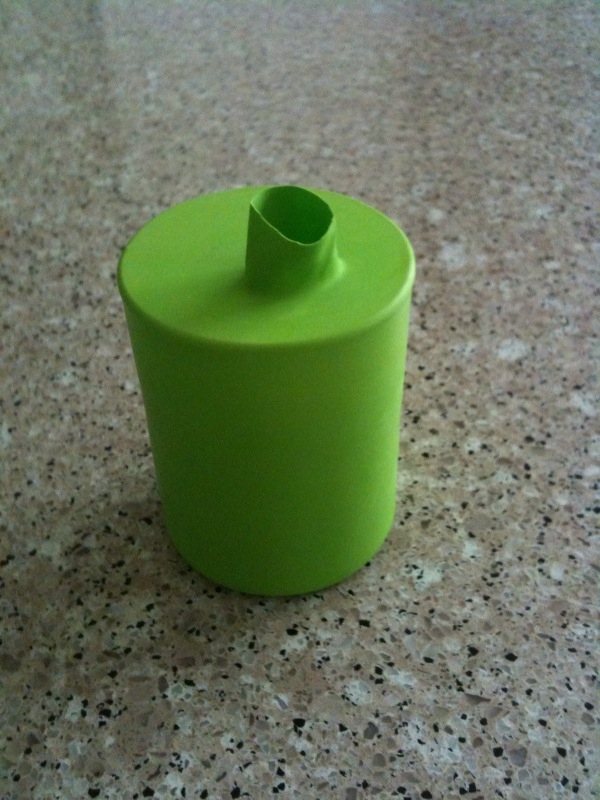
Make sure you pull the balloon all the way up around the votive so that it looks like this:

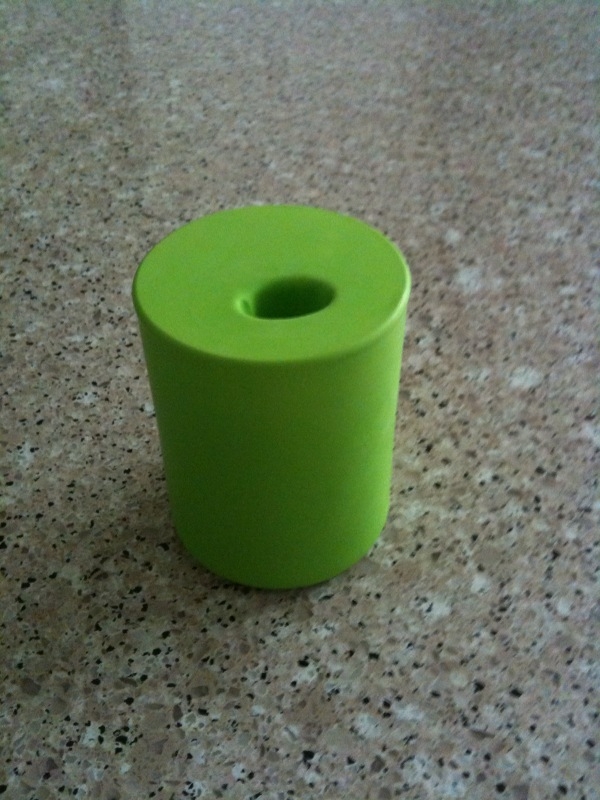
Then just poke that little top part down and bam!  You've got yourself a bud vase.

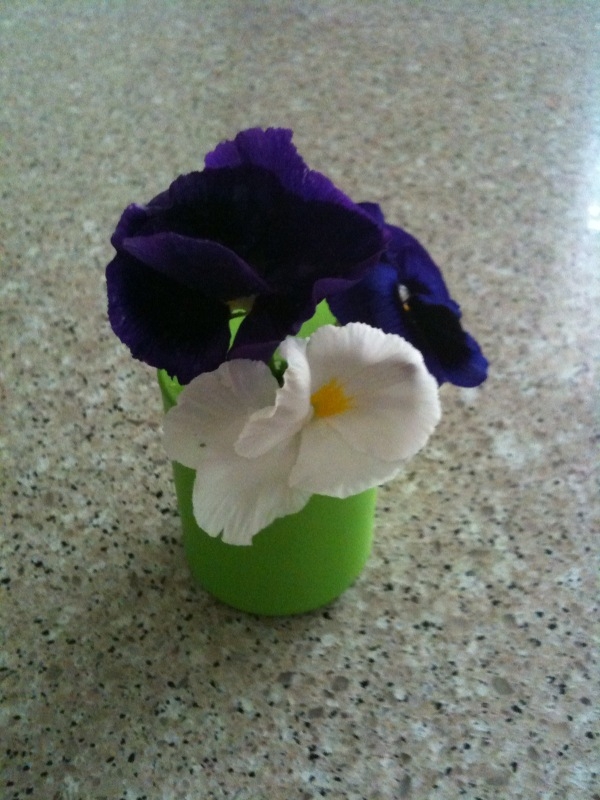
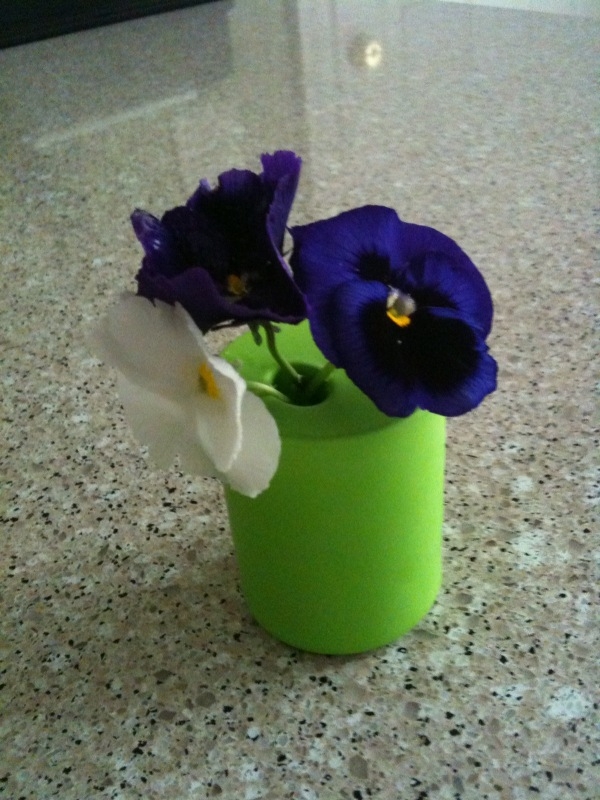
I snipped a couple pansies from my yard to use as a demo.  They obviously aren't the best flowers to use.  Try to picture it with a cute daisy.

Yea, that color scheme's not really doing it for me.  But here's another view anyway.

I've made about ten of these, but I don't know exactly what I'm going to do with them yet.  I think they'd be cute lined up in a row somewhere.  If I had a window above my kitchen sink I'd definitely put some there.  Maybe I'll place one or two on each of the bathroom sinks to cheer them up a little. 

If you are a mom or grandma that receives a lot of picked dandelions and weeds from your kiddos, this would be the perfect way to display them for a day or two.  And, since balloons come in all sorts of colors, you can make one to match your decor or switch them out for the seasons.  Hooray for cute, easy projects!

Pick My Hairstyle

Easter pics will come soon - for now, we've got something more pressing to discuss.  I have an appointment for a haircut this Wednesday afternoon (T minus 2 days!) and I don't know what I want to do with my locks.  I think I'm ready to lose some length, but that's all I've decided.  Thus, I need your help. I've googled images for you.  I seached for "above-the-shoulder haircuts."  Look at them carefully.  [Disclaimer for my male readers (all three of you): these pictures will probably all look the same to you, but trust me, they're not.  And, getting my haircut like any of these will not magically make me look like the celebrity from the picture.  Sorry.]

Things to consider: 1 - I have very fine, very stringy hair. 2 - My hair has zero body and does not hold curl well. 3 - I don't do much styling.  My go-to right now is to throw in hot rollers, shake it out and go. 4 - After the initial fix in the morning, my hair gets no more attention throughout the day.  No touch-ups, afternoon brushes, or re-dos.

Option One - The Anne Hathaway           Cut just above the shoulders and mostly all one length.  No framing around the face.

Option Two - The Heidi Klum           Also cut just above the shoulders, but this time with long layers and some shorter pieces around the face.

Option Three - The Jessica Simpson           Shorter layers than Heidi's.  Ignore the bangs.  I don't do those.

Option Four - The Eva Longoria           Layers all around.  A little face-framing, but not too bang-ish.

So that's it.  Which celeb do you think makes the cut to be my inspiration photo: Anne, Heidi, Jess, or Eva?  Or should I just show up empty-handed and let my hairstylist have at it?

Hippity, Hoppity, Easter's On Its Way!

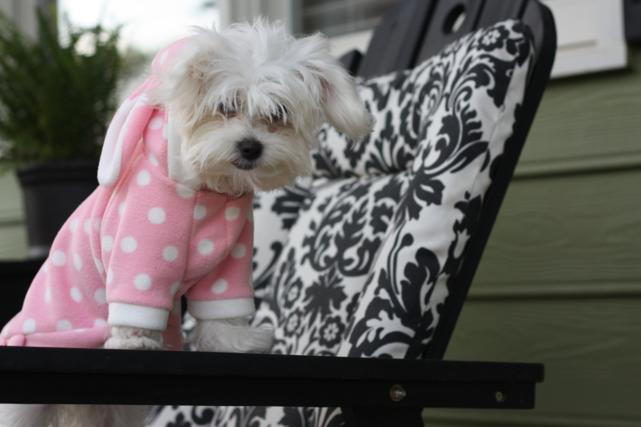
Lolli got her staples out yesterday afternoon - just in time for me to play dress up with her.  Don't let the expression on her face in the picture above fool you; she didn't like it one bit.  But how cute are her little feet poofin' out from the sleeves??

In the picture below, you can see the details of her Easter outfit.  It's a ruffled pink and white polka dot number complete with a hood that has bunny ears.  The best part?  I didn't spend any money on it.  It's a hand-me-down from my friend Jenny's cat.  Apparently her cat grew out of it, but I had to take it up for it to fit Lolli.

You can kinda tell it's made for a cat instead of a dog, because there's not much "neck" between the body and the top of the hood.  I had a really tough time trying to keep the hood up on her head.  Maybe you can tell what I'm talking about in the picture below.

See how it doesn't really look like the hood will fit up over her head?

That doesn't mean I didn't keep pulling it up and trying to get it to stay.  I also showered her with kisses and told her how pretty she looked in her Easter outfit.

Look at my shweet lopsided bunny dog.

Aaaaand the hood's off again.

"Mom?  I don't wanna do this anymore."

Guess who's got an appointment to get her hair cut this week?

Our Easter photo shoot came to an end when Miss Pop figured out how to shake off her hood.

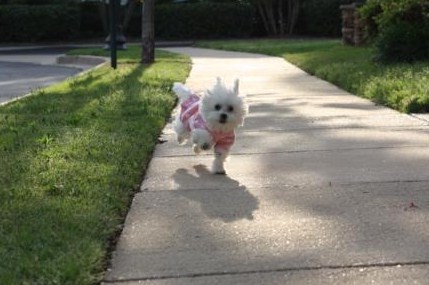
One last picture, just for fun.  This is one I caught of her in mid-run.  My dog is so talented she can hold herself up on one paw.

Happy Easter Eve, everyone!

Yard Crashers

Do you guys ever watch Yard Crashers on the DIY Network?  You know, it's the show where some innocent man heads to the home improvement store for a couple of boards to fix a fence in his backyard, runs into the host of the show, Ahmed Hassan, who asks him what he's up to for the day, and the innocent man ends up bringing home a TV crew and a slew of yard men who turn his simple fence project into a backyard oasis, complete with fountain and flat-screen TV. Have you seen it?  We don't actually get the DIY Network at our house but my parents do so I've caught the show several times at their house.  I love it!  Now I find myself looking around for Ahmed anytime I'm at the local orange or blue store.  We have a strict rule at our house: if a random stranger approaches you at the home improvement store and asks what you're up to, say yes and bring 'em home!

And guess what??

Yard Crashers totally happened at our house yesterday!

It was exactly like on the DIY Network, only Ahmed didn't ever approach us at a store.  In fact, he never made it to our house.  The camera crew and the yard men didn't either, now that I think about it.  And it seems we're still waiting on the fountain and flat-screen TV.

Okay, okay.  So maybe it was just me and Doc doing some yard work by ourselves.  Where's the fun in that?

But now that I've got you so curious (you are curious, right?) I suppose I can show you how we crashed our own yard.

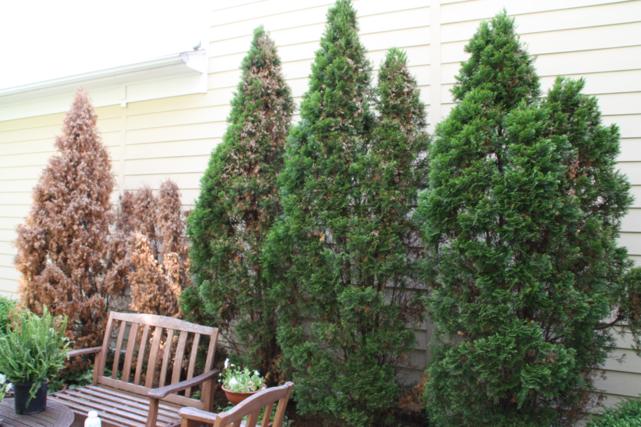
See these trees here?

They're in our side courtyard and, once upon a time, they were really pretty.  The previous owners of our house hired professional landscapers to work their magic.  The pros are the ones that brought in the five tree/shrubs above to soften the big wall of our neighbor's house and to give us a nice green view from our kitchen windows.  I must say that I've really enjoyed having them there.  We've been in other courtyards on the street that don't have lush green plants against their neighbor's big blank wall and it doesn't feel nearly as warm and inviting.

But here's the problem: these two on the far left decided they didn't want to live anymore.

They gave up on life sometime this past winter but we thought we'd give them til spring to see if maybe they wanted to give it another go and green back up.  They were still goners, though.

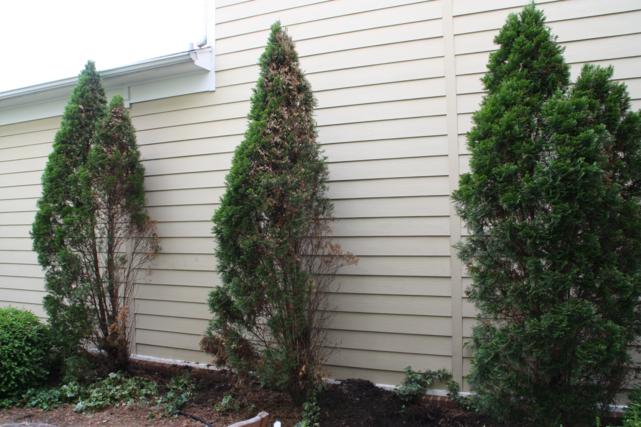
Obviously we knew they had to go.  But then what do we do?  We'd have three adult-sized tree/shrubs on the right, and a big hole on the left.  Sure, we could plant new ones, but they were going to look like dwarfs next to the others.

We racked our brains on how we were going to fix this problem and decided yesterday, Good Friday, was the big day.  My very own yard crasher got his tools ready.

And out came the dead plants!  (Which I apparently didn't take a picture of.  Use your imagination - three big trees and a big hole.)

Here's how we decided to fix the lopsided problem.  We dug out the middle of the three good trees - the second one from the right - and re-planted it on the far left.

So now, when we get ready to plant two new trees that will inevitably be smaller, we'll have a nice tall-short-tall-short-tall pattern going on.  Genius, right?

Let's just hope that uprooted and then re-planted tree makes it.  Right now it's getting its lean on, so some stakes and rope are in order.

As for what I was doing while my husband was digging big holes in the flower bed, I finally got around to planting some ferns and creeping jenny in all of our pots.

Sure, they may look puny now, but I'm counting on them doubling in size over the summer.  Fingers crossed.

And that was the extent of our yard crashing.  Turns out we didn't even need Ahmed, but that doesn't mean I'm going to stop looking for him at the home improvement stores.  Maybe some day...