Before & After: Allison's Nook

Goodbye January, Hello February! Seriously, raise your hand if you're glad THAT month is over.  I know my hand's up.  January was a doozy!  But, while a lot of the days teamed up and acted really snotty to me, there were still a few good things to come out of the month.  One thing in particular is Allison's new kitchen nook.

Allison is lucky enough to get to work in her pajamas from home everyday.  Until recently, her home office has been in her extra bedroom upstairs.  While the room worked just fine for her working needs, she was ready for something different.  We talked a lot about new desks and rearranging the room, yadda yadda yadda.  But then one day, Allison had an epiphany...she should set up her office downstairs in her kitchen nook!

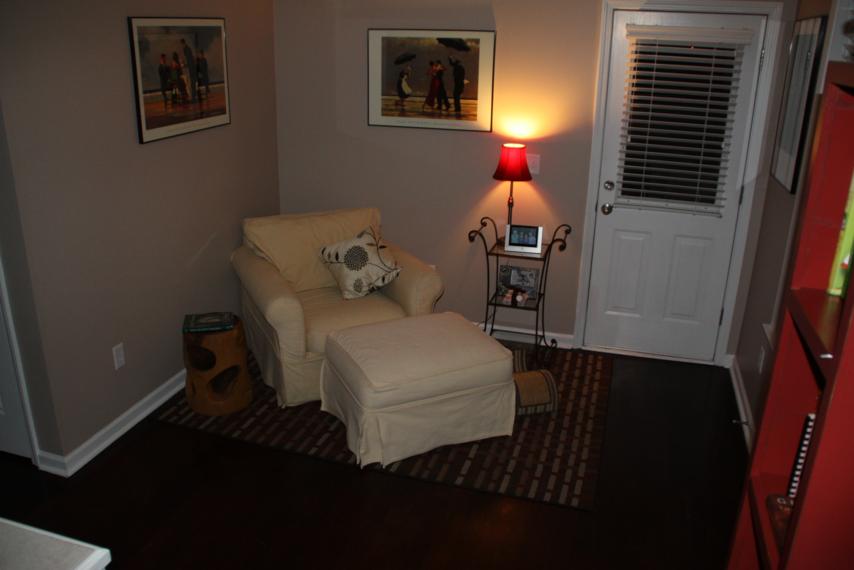
What nook?  Glad you asked.  See, off to the side of Allison's kitchen is this little space.

Cute and cozy, right?  The only problem is that this space wasn't getting used to its full potential.  Allison can correct me if I'm wrong, but I doubt anyone ever really stretched out on that big chair to relax, especially since the living room is just on the other side of the kitchen.

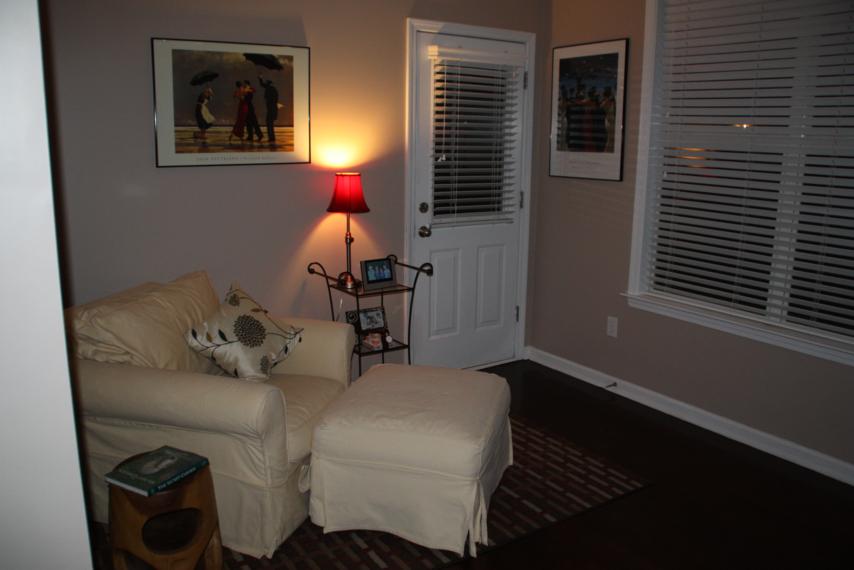
And you can see from this angle that the nook is equipped with windows that let in lots of good natural light during the day...perfect for a working environment.

I thought the idea sounded great and was on board with the plan.  Because the new work space would still be sorta in the kitchen, Allison wanted a piece of furniture that looked more table-y and not too desk-y.  We found plans online for a farmhouse style kitchen table and decided to try to scale it down to fit her nook.

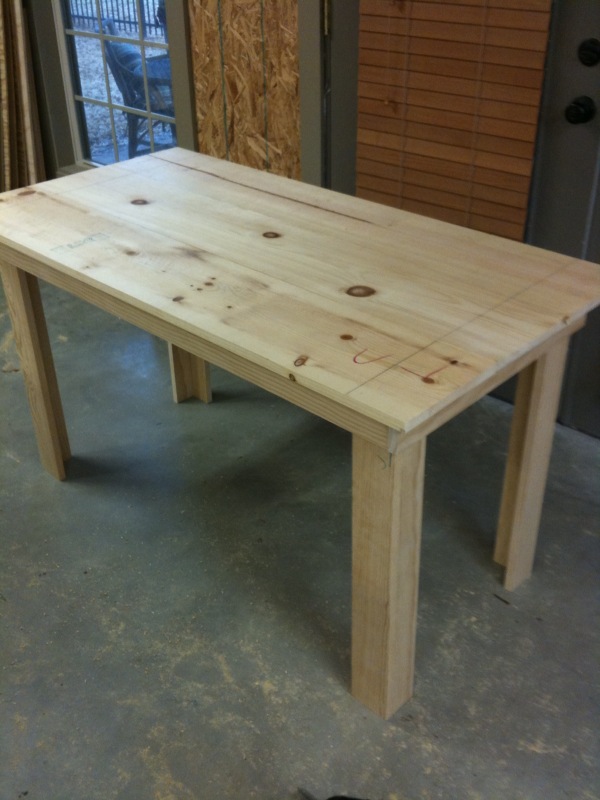
This was my part of the Nook Renovation.  I was in charge of making the table. With all the straight cuts, it was really pretty simple to make.  If I had bought the right sized wood on my first trip to Home Depot instead of having to make a return trip later, I would've been able to knock the building out in an hour or less.

Allison chose the color - white - and gave me a can of paint she found in her garage.  Our fingers were crossed that it was the same color as her trim and woodwork.

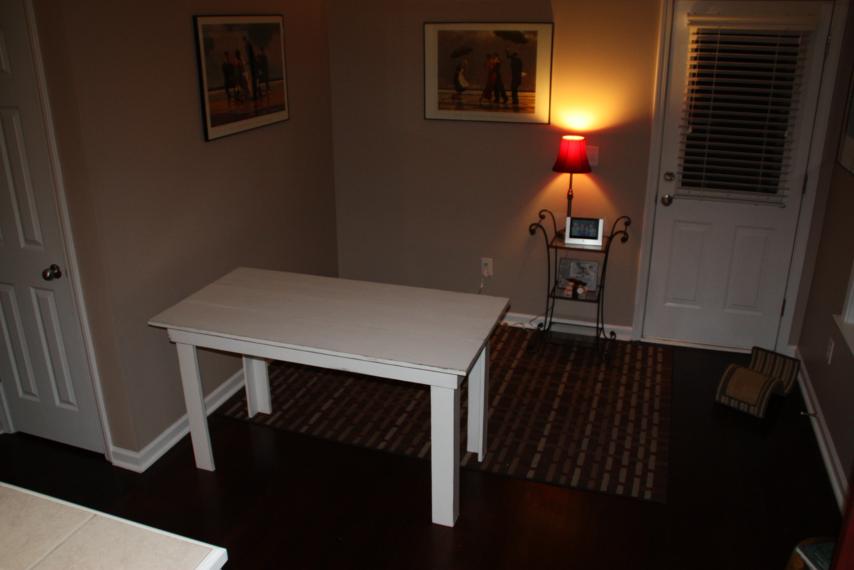
A coat of brown paint, three coats of white, some sanding, and one and half coats of polyurethane later, the table was ready to be delivered to its new home!  Doc was there to help with all the heavy lifting since Chris was out of town.  The big comfy chair got moved upstairs and in came the new white table.

Doc and I left it there just like that - naked and all by itself.  Decorating the area was Allison's part of the Nook Renovation.

Last Saturday, the Reno was complete so we headed over to see it.

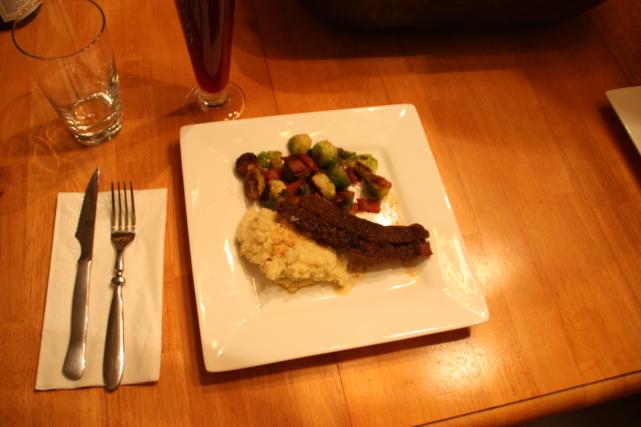
(And also to have dinner.  In my opinion, it was one of the best meals Allison's made yet...beef brisket, grits, and bacon and brussel sprouts.  It was so freaking good!)

(Then we had homemade tiramisu.  Just typing this right now makes me want to go back and eat it all over again.)

Where were we?  Right - the Nook Renovation.  Just a reminder, here's the before:

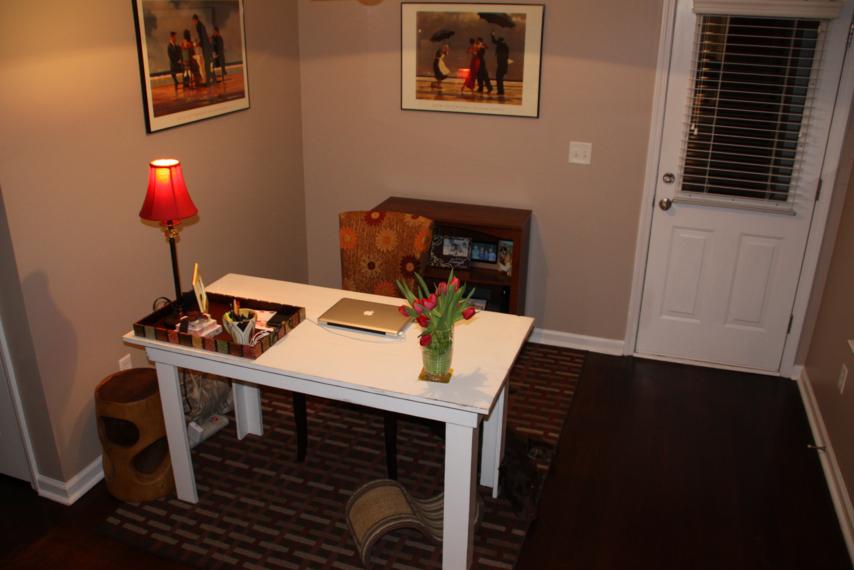
And here's how it looks now with all it's new work space accessories.

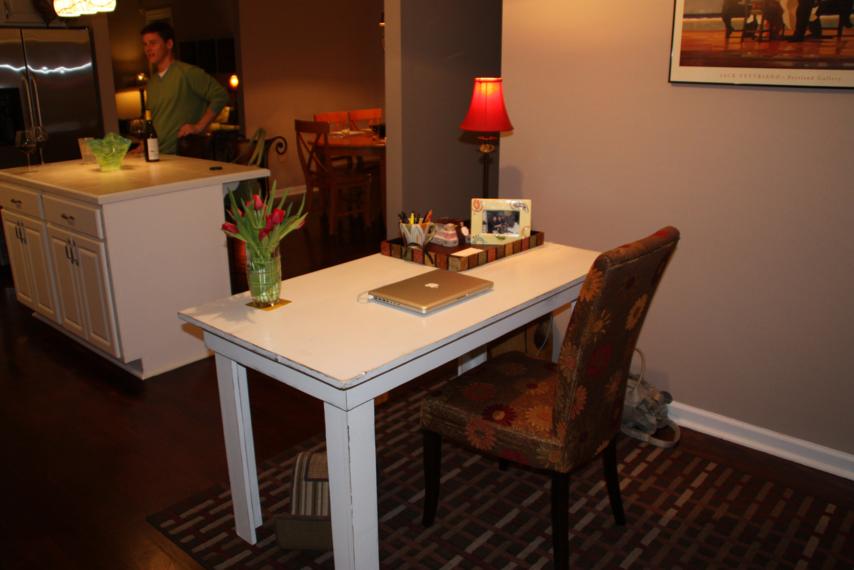
Pretty snazzy, dontcha think?  I'm loving the chair.  I would've never thought to go with a dining chair (I was picturing a wooden desk chair) but it makes perfect sense.  It is technically a farmhouse kitchen table afterall.

Just so we can all visualize how Allison spends most of her days, here's a view from her side of the desk, er table.  (Except that cutie in the background belongs to me.)

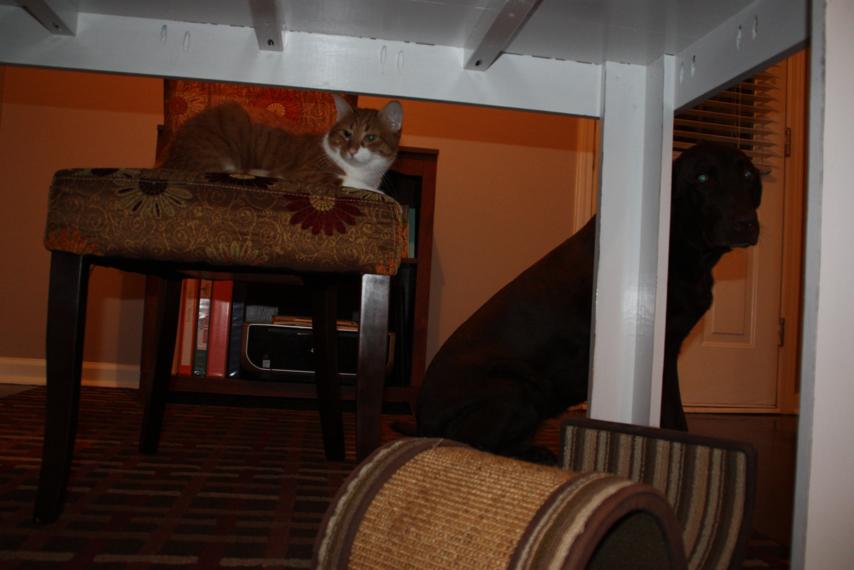
The good news is that the new setup seems to be both Porter and Grace approved!

Next on the ol' to-do list are a set of matching bookshelves to go upstairs with that big comfy chair.  I'll post pictures when it gets done!

Final Goodbye

Today we said our final goodbye to sweet Minnie.  It was hard. Earlier in the week we made the decision to have Minnie cremated.  I knew that's what I wanted to have done so I could bury her in my parents' backyard with my childhood dachshund Greta, but having to actually say it aloud at the vet's office was hard.  In fact, this past Monday was my first time back at their office since that horrible night.  I thought all my tears were gone, but I was wrong.  The vet tech cried with me.

Also?  Having to pay a bill for an after-hours emergency surgery is not so fun.  But, like my mom keeps reminding me, Minnie was worth every penny and then some to me, and I'd pay it all again if she could still be here.

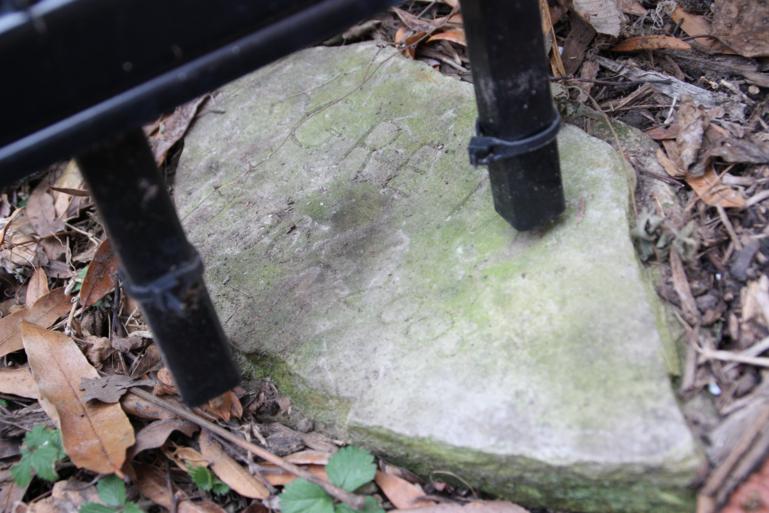
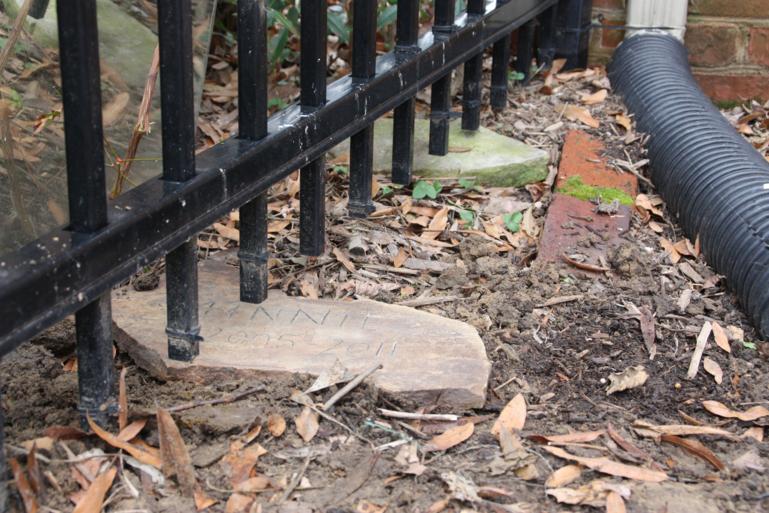
My mom picked up Minnie's remains on Thursday and I decided we'd bury her today after church.  Here's the headstone on Greta's grave.  She was buried in 2003 and my dad scratched her name into this stone.  The wrought-iron fence didn't exist when she was buried, but now it runs right over her grave.  I think that's good because no one can step on her.

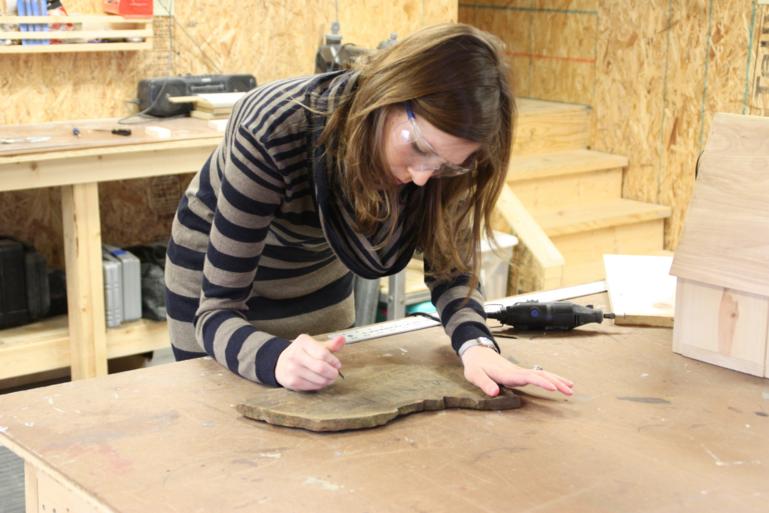
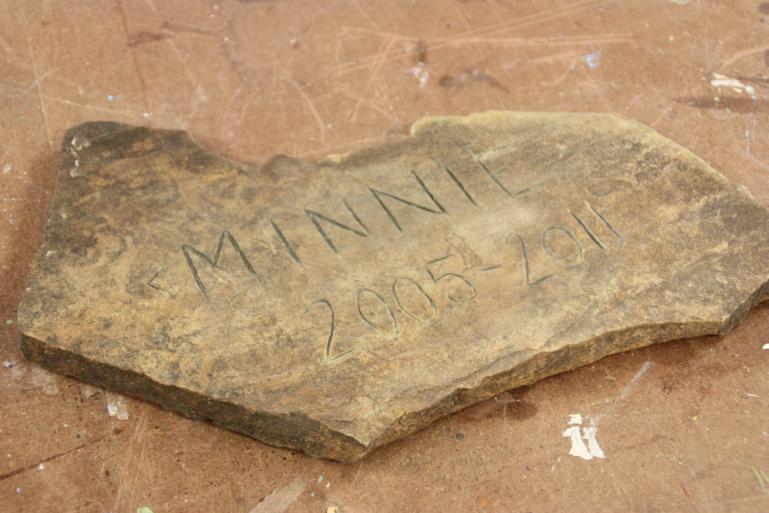
Immediately after church we picked out a stone from my mom's flower bed.  I got to work etching Minnie's name on it using a dremel and a nail.

It looks ok for now, but I may try to work on it again another day to make the letters deeper.  I don't want them to wear away too soon.

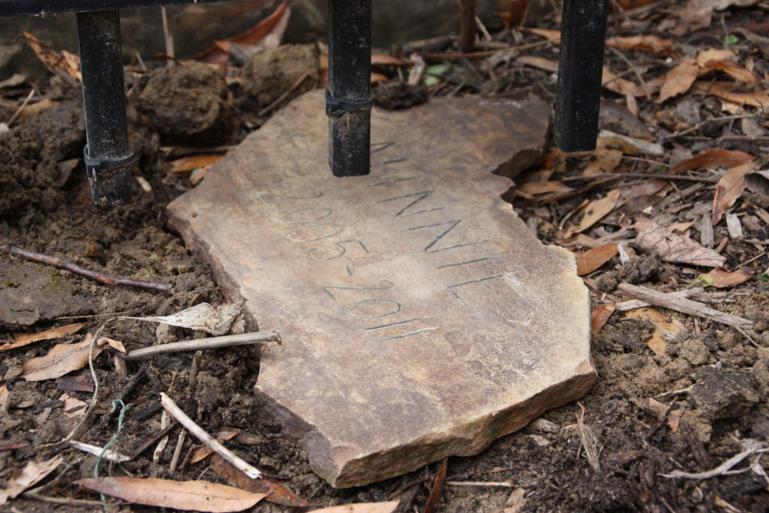
My dad dug the hole while my mom, Doc, and I watched.  I decided to put her new collar in the grave with her.  We placed her headstone right under the fence.

In this picture you can see how she and Greta are right next to each other.  I like to think they're friends in Heaven.

So that's my little girl's final resting place.  It makes me happy to know she'll always sorta be at my parents' home with us, but even more so that she's free of pain and running and jumping and playing in Heaven.

Before and After: Hallway

Before I get to the hallway, can I just say that you guys totally rock!  Why? 1 - You actually read my nerdy post.  I completely expected everyone to just skim right over it. 2 - You shared your opinions on the issues. 3 - MOST of you sided with me.  Yay!

And Beth, I didn't even think about the fact that you teach keyboarding.  Duh!  I'm so glad that you confirmed that the correct answer is two spaces after a period.  As far as this blog goes, we'll carry on with double-spaces and extra commas.

Ok, ok.  Let's talk about my parents' hallway makeover!  We completed this project about a week or so ago, but I'm just now getting around to looking through the pictures.  The hallway I'm referring to is the one from my parents' garage door.  It leads to the laundry room, my parents' bedroom, and the kitchen.  And, until a couple weeks ago, it was the last of the wallpaper in their house.

My mom got to work before I was able to get good before shots.  Here are some I dug up in my archives so you can see what we were working with.

In this really bad, scary-eyed picture of Taylor, you can see the nice "sponged" looking wallpaper.

My mom chose the wallpaper years ago because she thought it would hide dirt.  This hallway sees lots of traffic since we all come in and out the garage door.

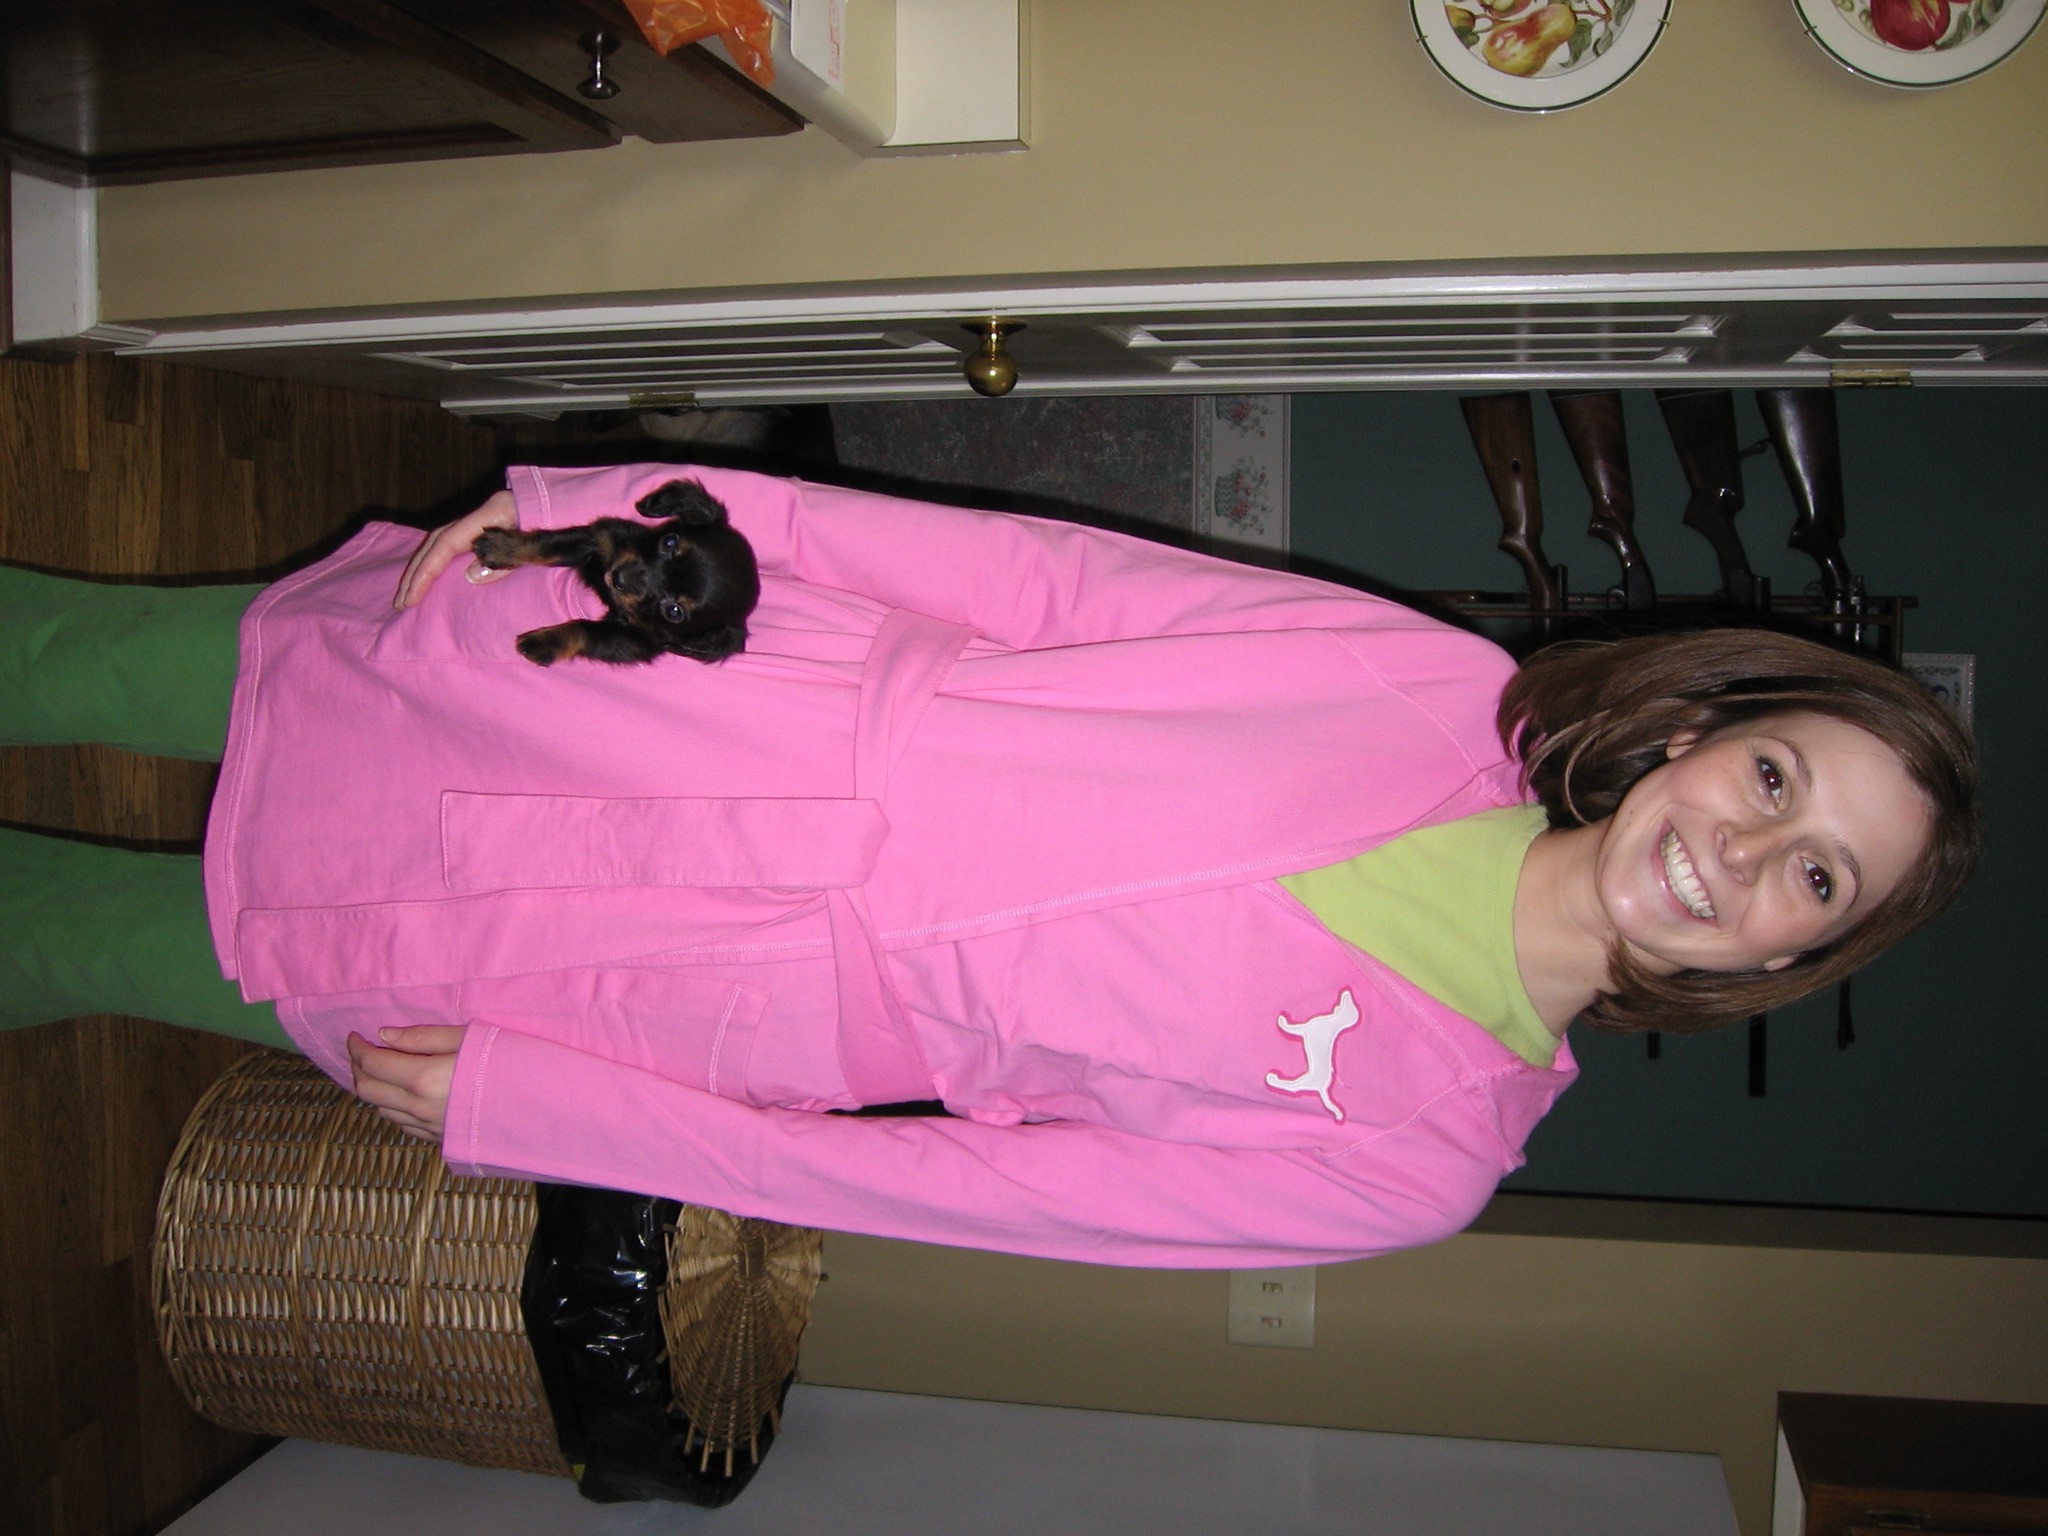
If you look past me and sweet Minnie in the picture below, you can get a full view of the wall.  The "sponged" wallpaper is on the lower portion, right below a sweet wallpaper border separating it from the teal colored walls.  And yes, that would be a gun rack hanging in the hallway.  We're from the south, y'all.

In the picture above you can also see the falling-apart garbage can of yore, the old white refrigerator, and the cabinets and countertops before their 2008 makeover.

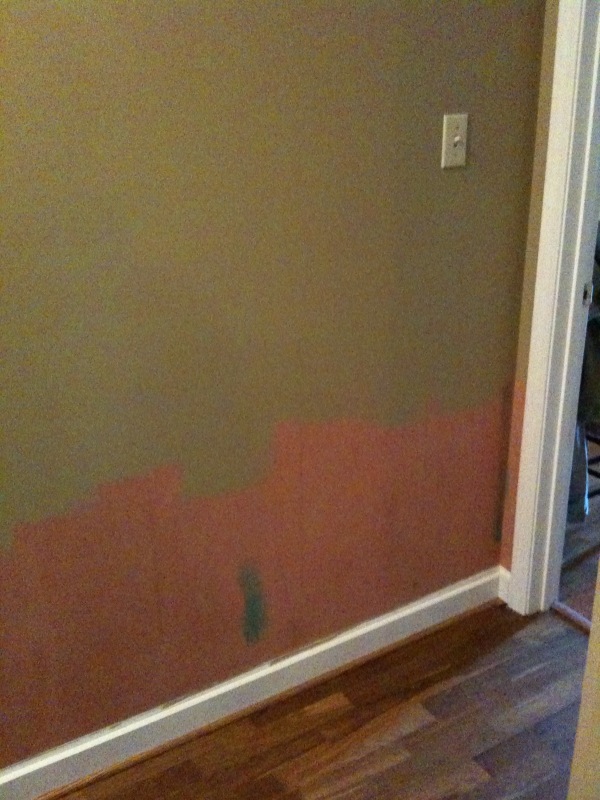
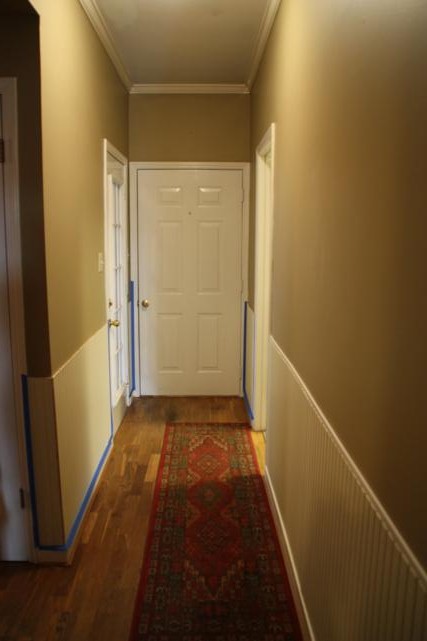
Good looking hallway, right?  By the time I arrived with a camera, my mom had already stripped the wallpaper off and painted the walls khaki.

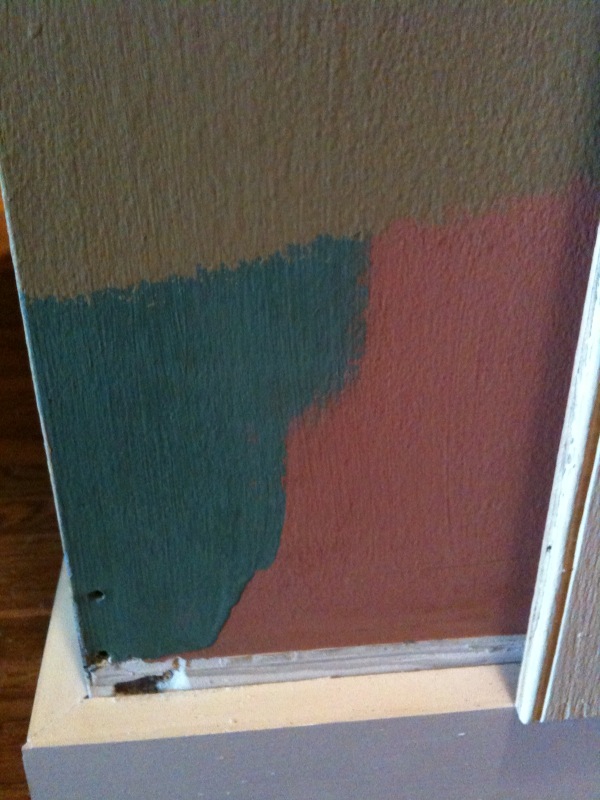
See that salmon color below the khaki?  That's what color the hallway was before the teal.

Here's the progression of the hallway in paint colors:  salmon to teal to khaki.  I think it's a huge improvement.

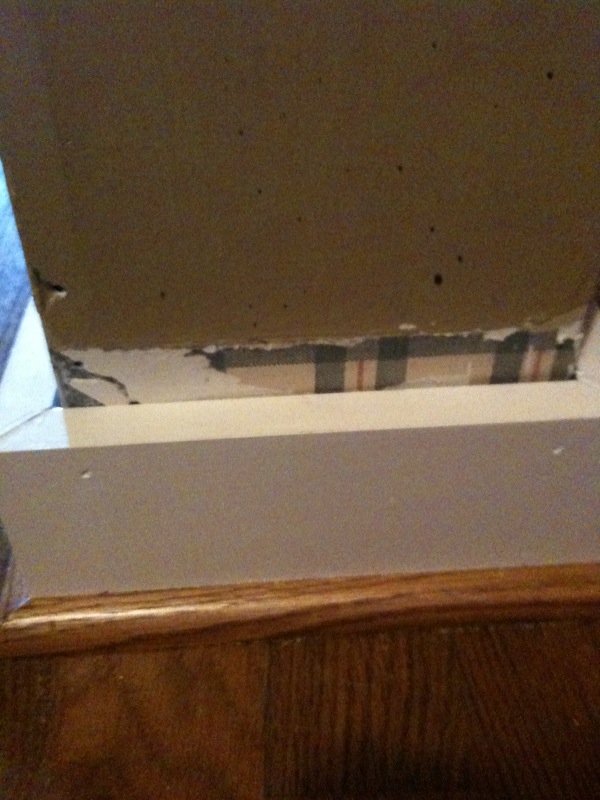
And as if those paint colors aren't awesome enough, check out this tiny remnant of wallpaper that coated the halls when we first moved in.  A nice country plaid...

When my mom was done stripping the wallpaper, my dad ripped off the old baseboards and quarter-round.  The ones in the picture above are new...that was his first step in this hallway transformation.

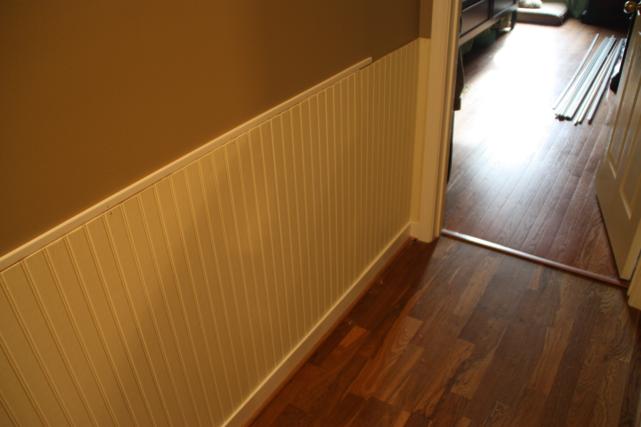
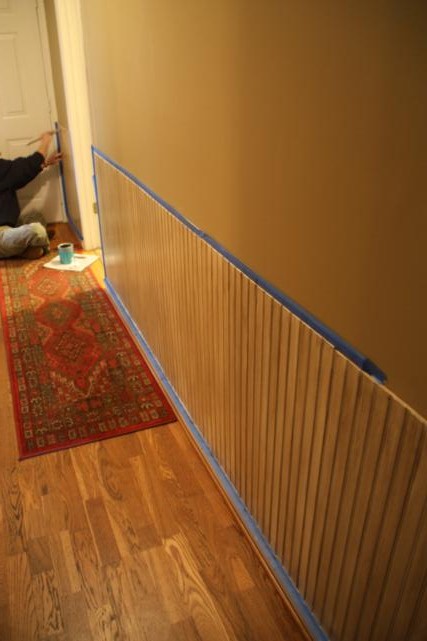
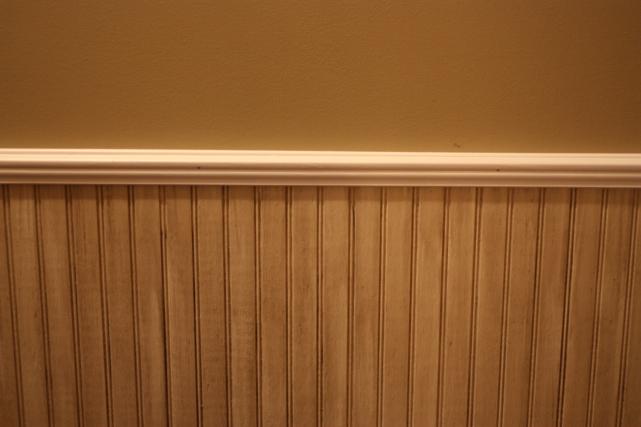
With the walls painted and the new baseboards and corner-round installed, the next step was to add sheets of beaded board.  We were going for a wainscoting effect, but definitely taking the easy route by using the sheets of beaded board instead of the tongue and groove planks.

My dad painted the sheets of beaded board a creamy color before we nailed them to the wall.  Just one less step we'd have to do in that tiny hallway.  (By the way, my mom was out of town during the majority of this process.  Dad did the bulk of the work but Doc and I pitched in a lot.)

So here's how the hallway looked after the beaded board went up.  This view is from my parents' bedroom doorway looking at the back door.  The kitchen is to the left and the lit up room on the right is the laundry room.

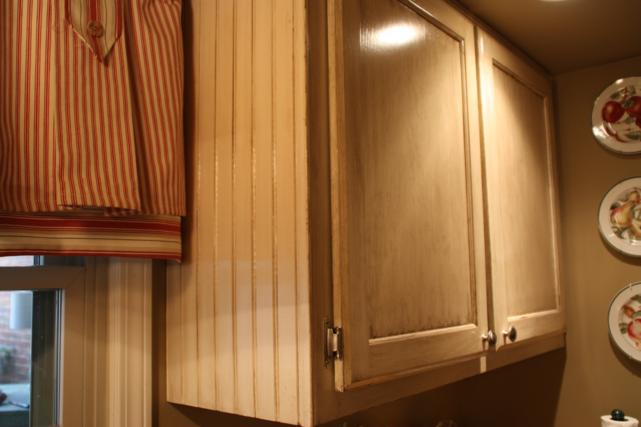
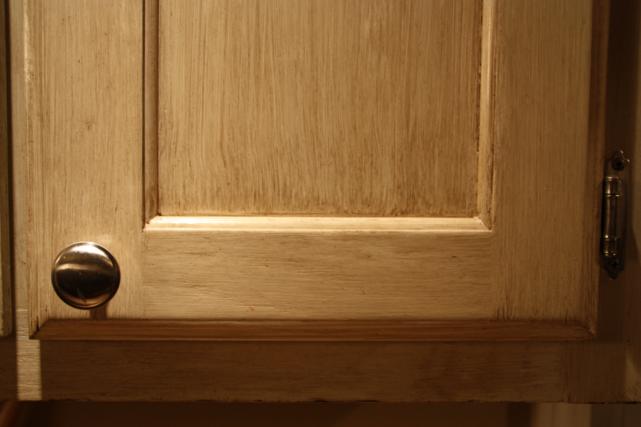
Remember how I said the kitchen cabinets and countertops had a makeover of their own in 2008?  The cabinets used to be a dark brown and my mom paid someone to come in a paint them an antiqued/distressed khaki to brighten up the kitchen.  This is how they look now.

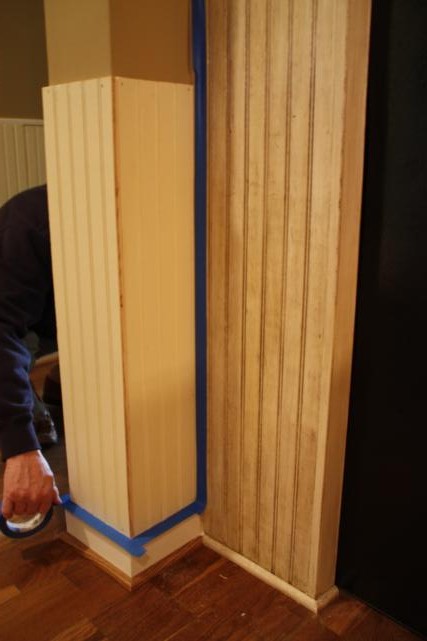
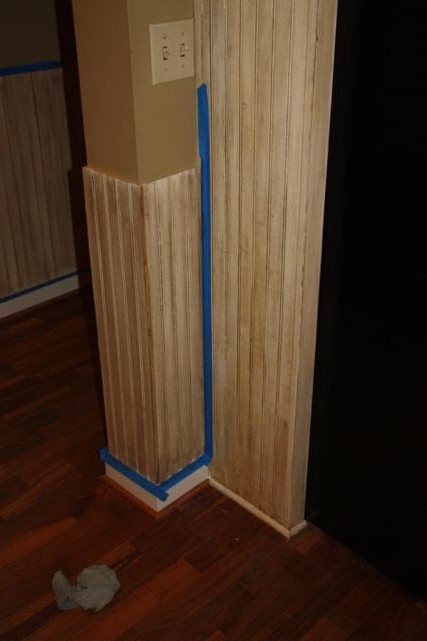
Why does that even matter?  Well, the new beaded-board in the hallway curved around the corner and bumped right smack dab into the painted beaded-board in the kitchen.

(New stuff on the left, 2008 makeover beaded-board on the right.)

My job was to make our newly installed beaded-board match what was already in the kitchen.  Was I nervous?  You betcha.  Luckily, I paid lots of attention to the girl that painted their cabinets, so I tried to do everything like she did.

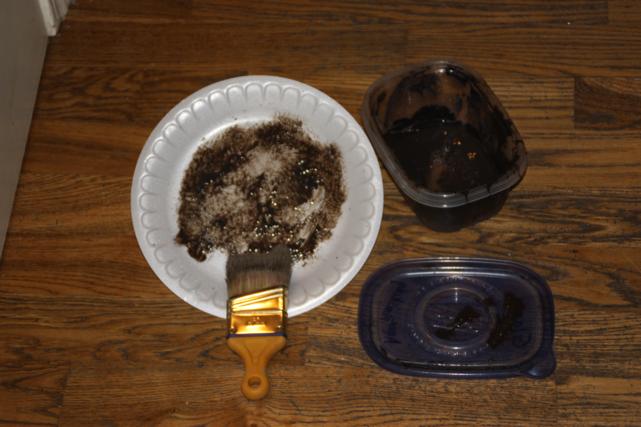
I mixed my glaze to match what she had used (yes, I kept some of hers - I knew it would eventually come in handy).

I took a deep breath and got to work.  I started in the corner where the two met so I could make sure I was getting it the right shade.  Here's the result:

Not too bad, eh?

I continued glazing while my dad followed behind me with a polyurethane.  We used water-based poly so it wouldn't turn yellow.

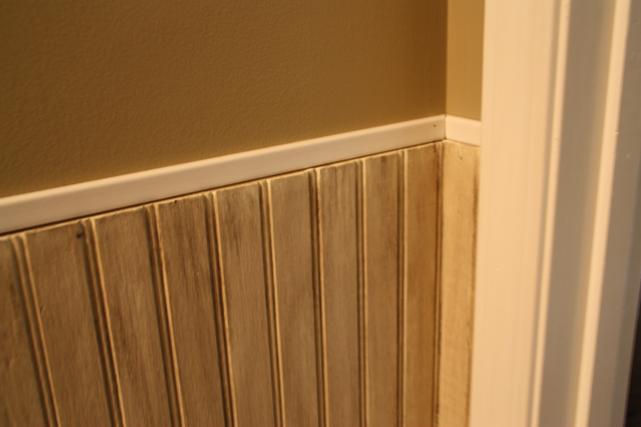
Next up we added this small piece of trim around the top.  We used a level to make sure we hung it straight, just in case we didn't have perfectly straight cuts at the top of our sheets of beaded-board.

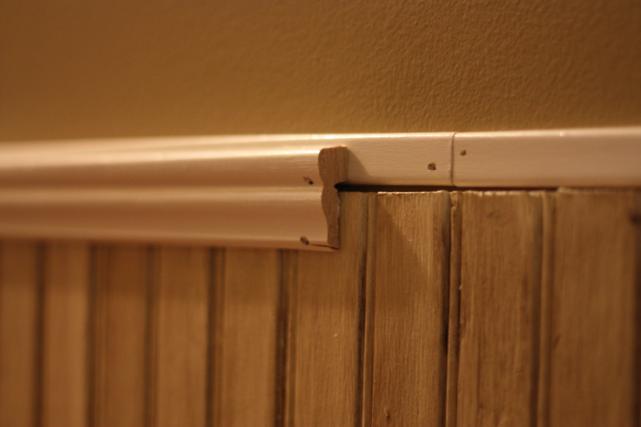
Then we put up the decorative piece of molding.  This piece covered any gaps we had between the beaded-board and the smaller trim.

Here's how it looked after both pieces of trim were on.

The last step was to add another small piece of trim around the baseboard to hide the raw edge of the sheets of beaded-board.  No picture of this.  Sorry.

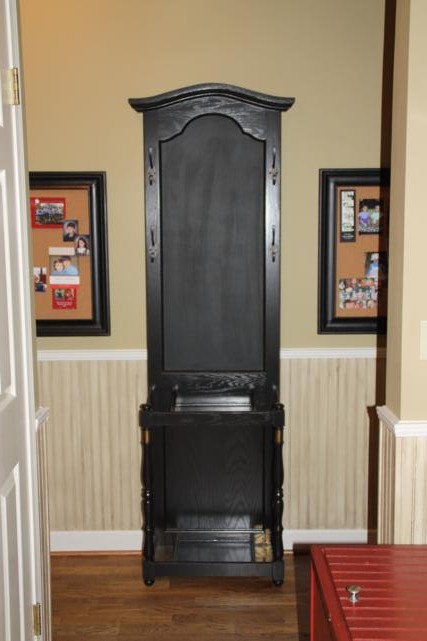
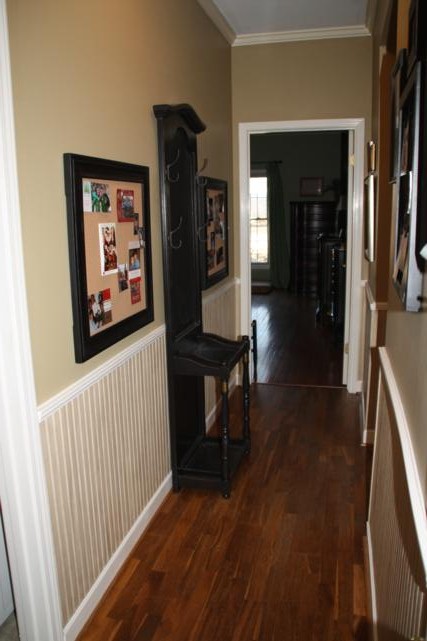
Actually, I guess the very last step was to redecorate the hallway.  Thankfully, I managed to talk my mom into ditching the gun rack.  Of course, that meant she needed to go in its place.  Luckily for her, I had already refinished the perfect piece for her hallway.

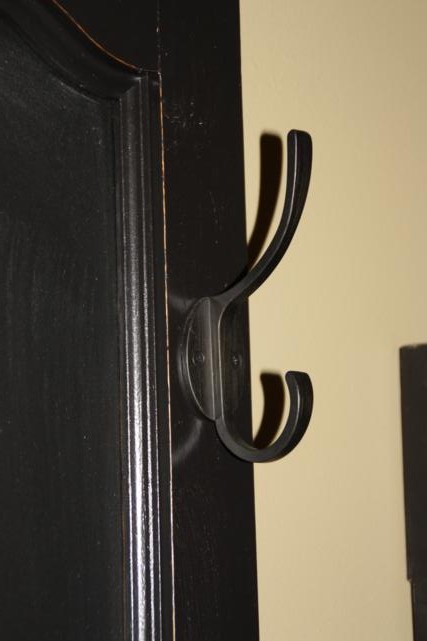
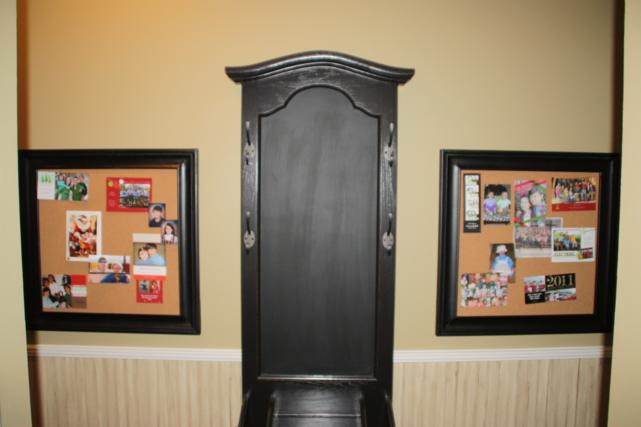
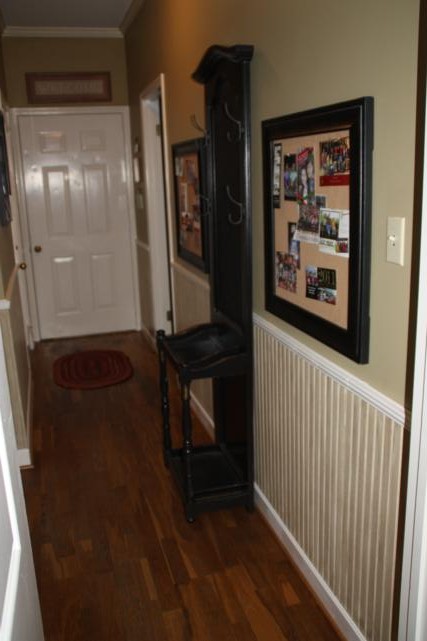
I bought this hall tree for $5 a little over a year ago.  It was stained oak and had a broken mirror and hideous white and gold hooks.  I painted the wood black, replaced the broken mirror with a chalkboard, and bought new black hardware to replace the ugly hooks. (My flash was on for the photos so it didn't photograph very well.  Boo.)

Hang your coat or hat on these new hooks:

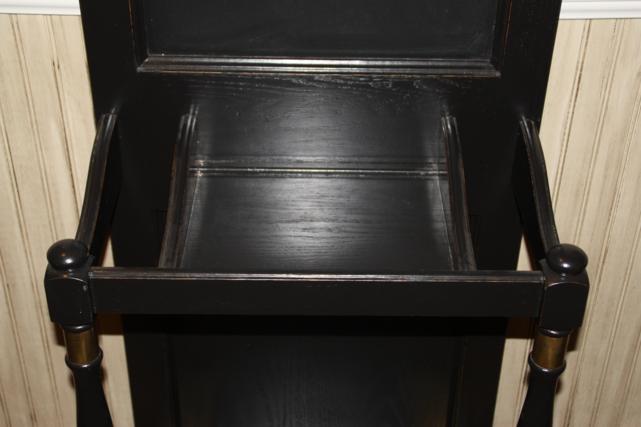
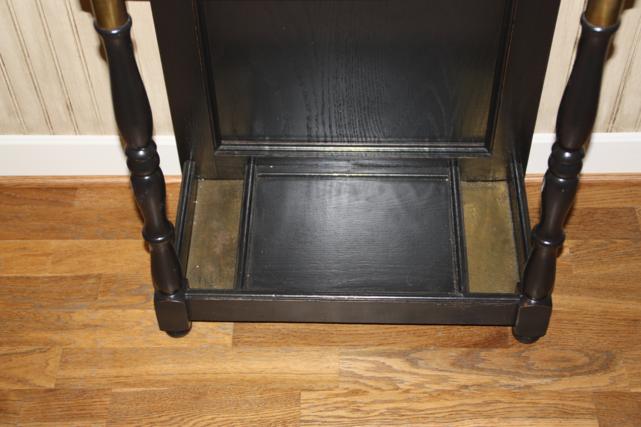
Small shelf to throw your keys or purse on...the openings on either side of the shelf are where you stick your umbrella.

The brass plates at the bottom are where your wet umbrella can rest, and the shelf in between them is where you can put your wet boots!

My mom decided this hallway is where she wanted to hang snapshots and things from her grandkids, and she wanted it to all be easy to change or add to.  She hung these big bulletin boards on either side of the hall tree, and they're hung low in case she ever wants to hang something else above them.

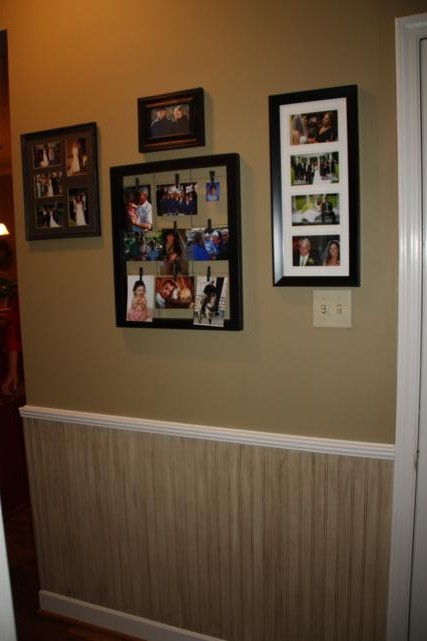
On the opposite wall is a collage of frames.  Don't worry, she's got another frame to hang on the bottom left in that empty spot.

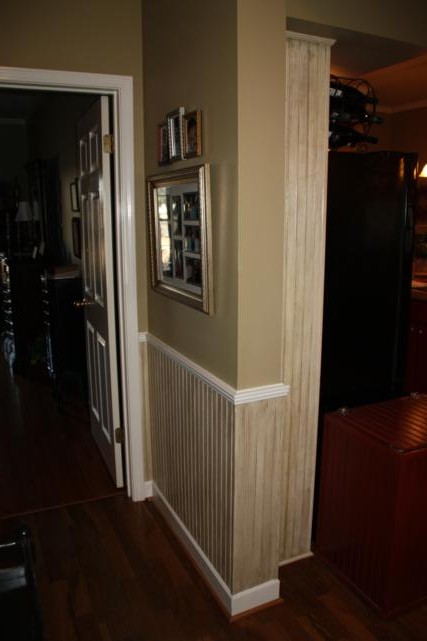
And here you can see how the hallway leads into the matching kitchen.

So that's it for the hallway.  We can officially check that off our list of things-to-do.  I hope you like it, Mom, cause as far as we're all concerned, it's going to stay that way for a loooong time!
Mantles, Spaces, and Commas

Guys, I need your help.  During our fondue night, we got into some heated discussions and I seemed to be on the losing end of all of them.  Maybe that's because I'm an accountant and was disagreeing with two English-y people (one has an English degree, they have both done lots of editing).  But surely, hopefully, someone out there is on my side. First:  did you know that the architectural structure surrounding a fireplace is actually spelled mantEL? I sure didn't, as shown in this post and this post and I'm sure countless others.  Of course, my friends - if I can even call them that - never felt the need to call me out on my repeat misspellings.  Instead, they sat at my dining table and giggled about this secret that only they knew.  Yes, seriously. 

So, I decided to look it up.  It seems as though they are right in that "mantle" today is usually a cloak and that "mantel" refers to the shelf over a fireplace.  But, BUT!, they both stem from the same word and the word "mantle" actually lists "shelf that projects from wall over fireplace" as one of its definitions too.  So maybe I'm not totally wrong.

I will take a quick second to mention that according to a story told Friday night, Allison was responsible for correcting a large corporation on their mantle misspelling.  On a visit to Starbucks during the holidays a couple years back, she noticed that on their holiday cup sleeves they had "mantle" instead of "mantel" as the place you should hang your stockings on.  She fired off an email to bring the mistake to their attention and the very next day, the sleeves were gone.  Pulled off the shelves, never to be used again.  So, while she couldn't fire off an email to her friend about a few blog misspellings, you've got to give her credit for single-handedly taking down a huge company.  Or at least their coffee sleeves.

Moving on. Let's talk about spaces.  Slate.com recently published this article that has been circling the web.  The topic?  Why you should never, ever use two spaces after a period.  The second line of the article makes my blood boil: "Typing two spaces after a period is totally, completely, utterly, and inarguably wrong."  Say what?!?  You're telling me that something I know for a fact that I learned in school - in my keyboarding class - is just flat out wrong?  No, no, no. 

According to the article, typewriters, back in the day, used "monospaced type" where every letter occupied the same amount of horizontal space.  The keys for all letters and numbers were the same size, regardless of whether they were a big fat "m" or a little skinny "i".  Because of that, there was all kinds of extra space floating around the little letters, making it harder to spot the spaces between sentences.  So the "two space" rule was adopted to make the text easier to read.  Nowadays, most fonts use "proportional typesetting" where skinny letters are given less space than fat ones.  Typographers argue that using two spaces with today's modern fonts no longer enhances readability, but instead diminishes it. 

Here's a good quote from Ilene Strizver: "I talk about 'type crimes' often, and in terms of what you can do wrong, this one deserves life imprisonment.  It's a pure sign of amateur typography."  Well, it looks like I'm about to start serving a life sentence!  Heck, I'm using double spaces as I type this post.spacespaceThe article also says that a space in text causes the reader to pause and keeps the text from flowing.  I hardly think my double spaces create "big holes" in my writing.  In fact, I can barely tell a difference between one space and two. 
Then why do I do it?  Bottom line, because that's the way I was taught.  And why would any teacher teach me the wrong thing?  I feel certain that my keyboarding teacher taught straight from the book, so it must've been printed there too.  Does that mean that textbook authors are also wrong?  Regardless of the arguments and what's right or wrong, I don't think I'll be able to change my ways.  Even if David Jury thinks "it's so bloody ugly."

Last topic: commas.  More specifically, the Oxford Comma.  Basically, this comma is the one used when listing items in a sentence.  It's the one that comes before the "and" or "or."  Example:  I enjoy reading, sewing, painting, and woodworking.  In that sentence, the Oxford Comma would be the one behind the word "painting."  Easy peasy, right? 

Well, it turns out there are arguments against using that comma.  One argument is that it's redundant in a simple list, since the "and" or "or" separates the last two items in the list. 

Sigh.  That's not what Ms. Pisahl from fourth grade English taught me.  The rule was this:  count the number of items you're listing, subtract one, and that's how many commas your sentence should have.  And so that's what I'm sticking with.  (Look, I even demonstrated in the title of this post.  Three topics minus one equals two commas.)

Is anyone else on my side of any of these arguments?  Anyone?  Double-spacers unite?

Poppy's Birthday

It's 9:30 pm and I almost forgot to mention that today is my dad's birthday.  Yes, that would be this guy:

The guy who can't take a serious picture to save his life.  I even told him it would be on the internet and he told me to just let him know when directors called asking if he could be in their movies.

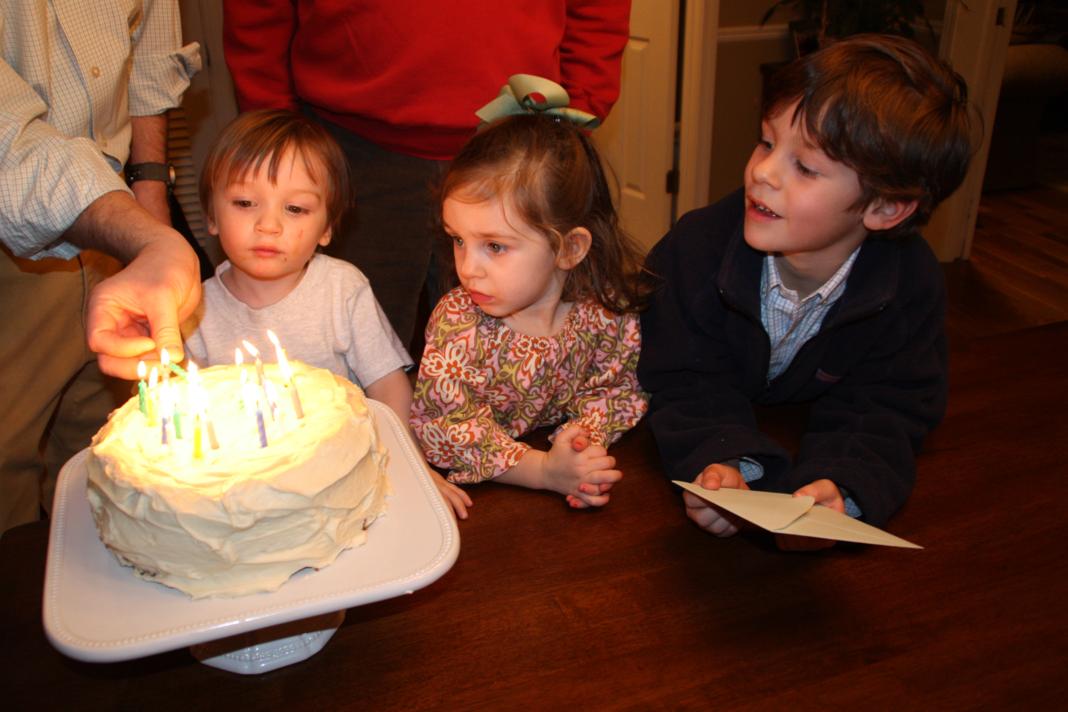
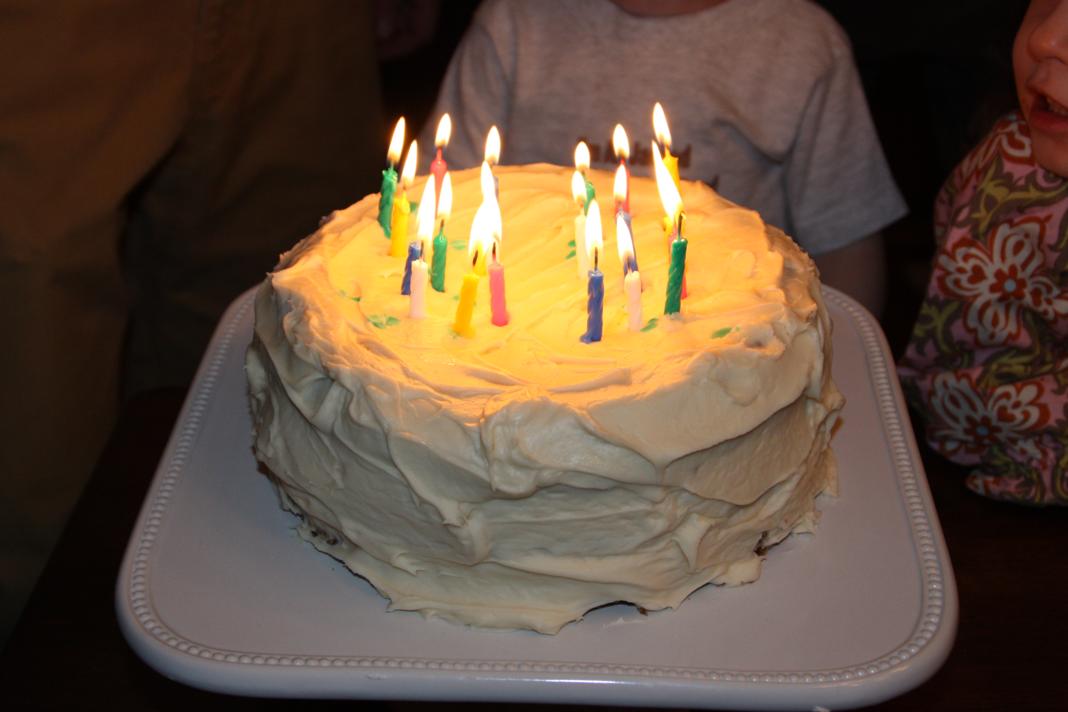
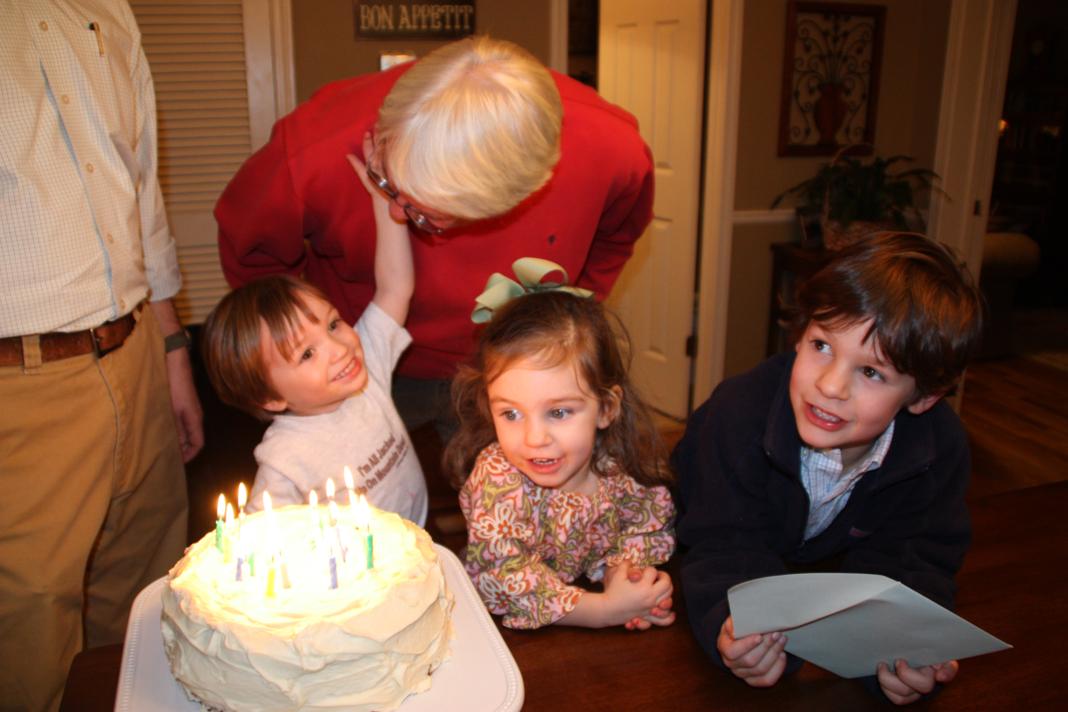
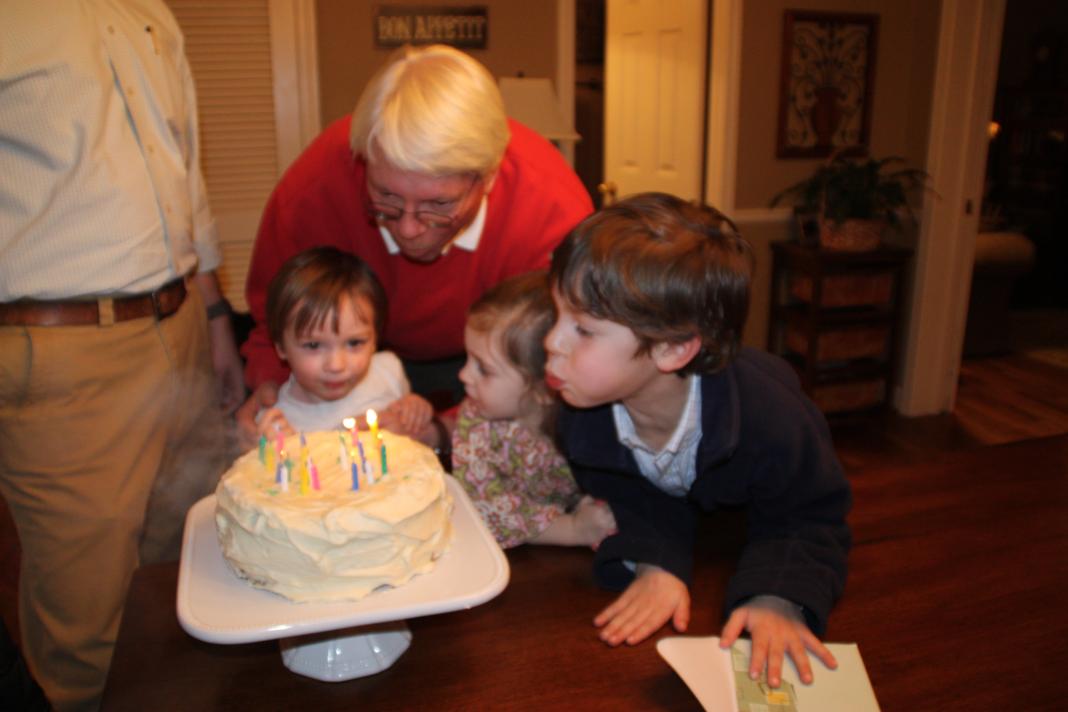
We had birthday cake - carrot cake at dad's request - tonight at my parents' house.  The little ones could not wait to help blow out the candles.

You can't tell in this picture, but I did arrange the candles in a 5 and 8 since we didn't exactly have enough.

Everyone in the family officially knows all the words to the Happy Birthday song.  We still haven't mastered singing it to the birthday honoree instead of singing it to the cake.

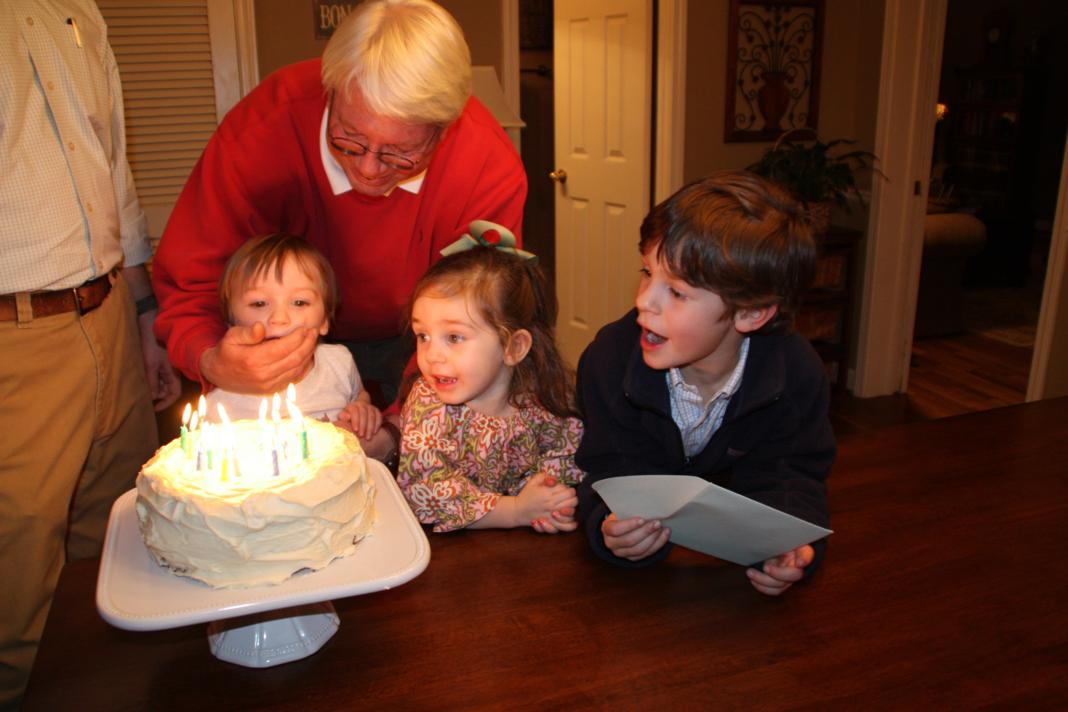
Parker thought the song was lasting a little long so he went ahead and started blowing.  Luckily, Poppy managed to cover him up before the candles went out.

And finally everyone got to spit on the cake help blow out the candles.

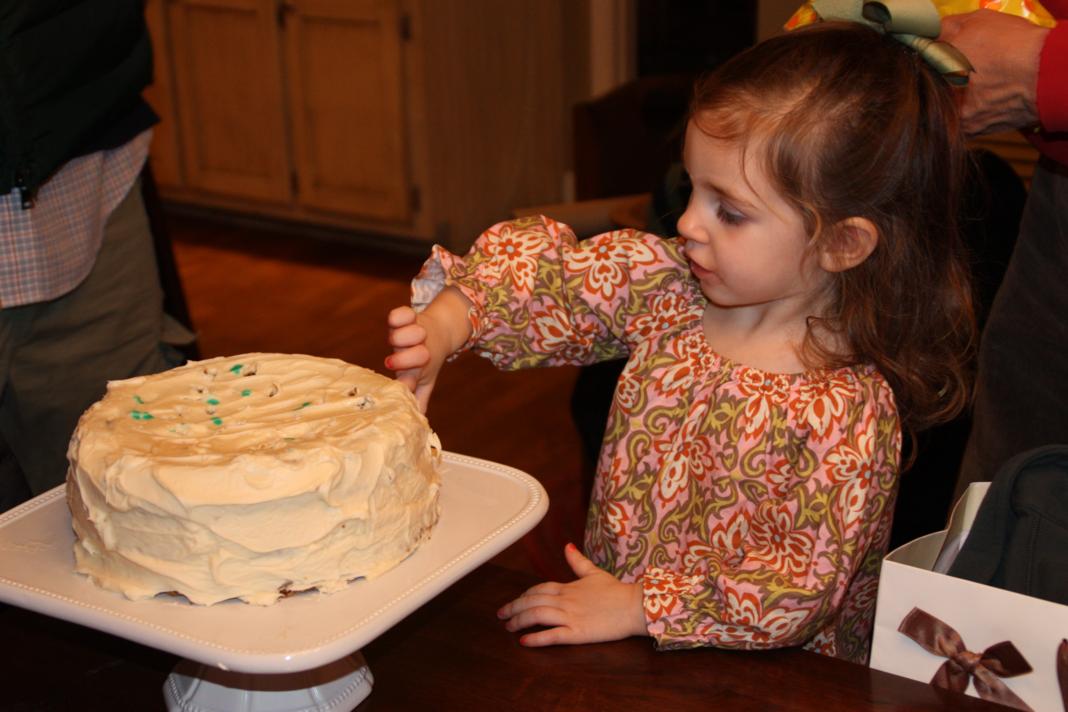
Now, if you're Bren, you take this time to look around and make sure everyone's attention is on Poppy opening gifts...

...then you go in for the scoop...

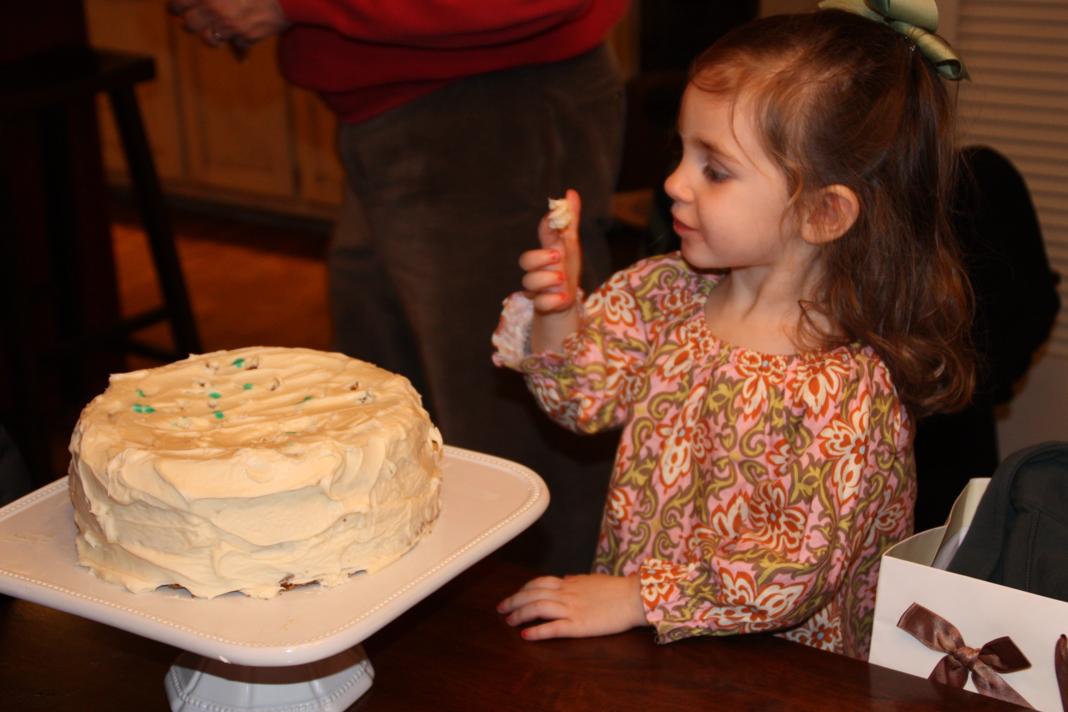
...get a good-sized glob...

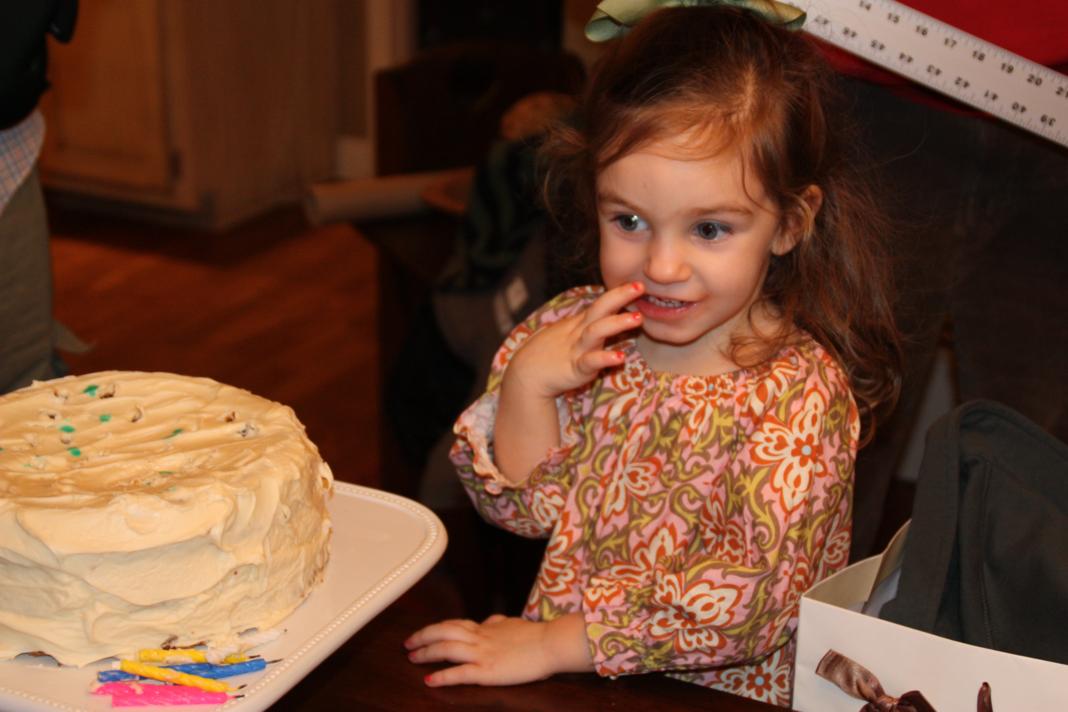
...and score!

No one saw that, right?

Of course, we should've seen that coming after Parker's birthday party.  I guess if you ever want to have cake with our family, you just have to be ok with little finger prints in the icing.

Parker's shirt said it all for how much excitement was in the house.

Hey, raise your hand if you're two!

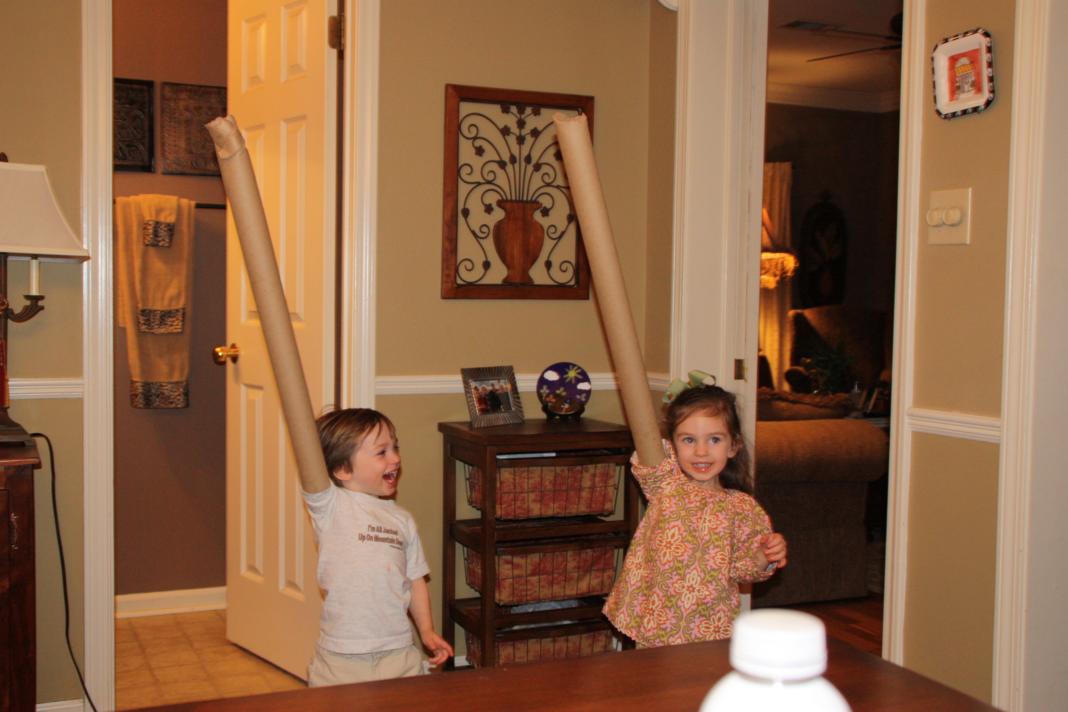
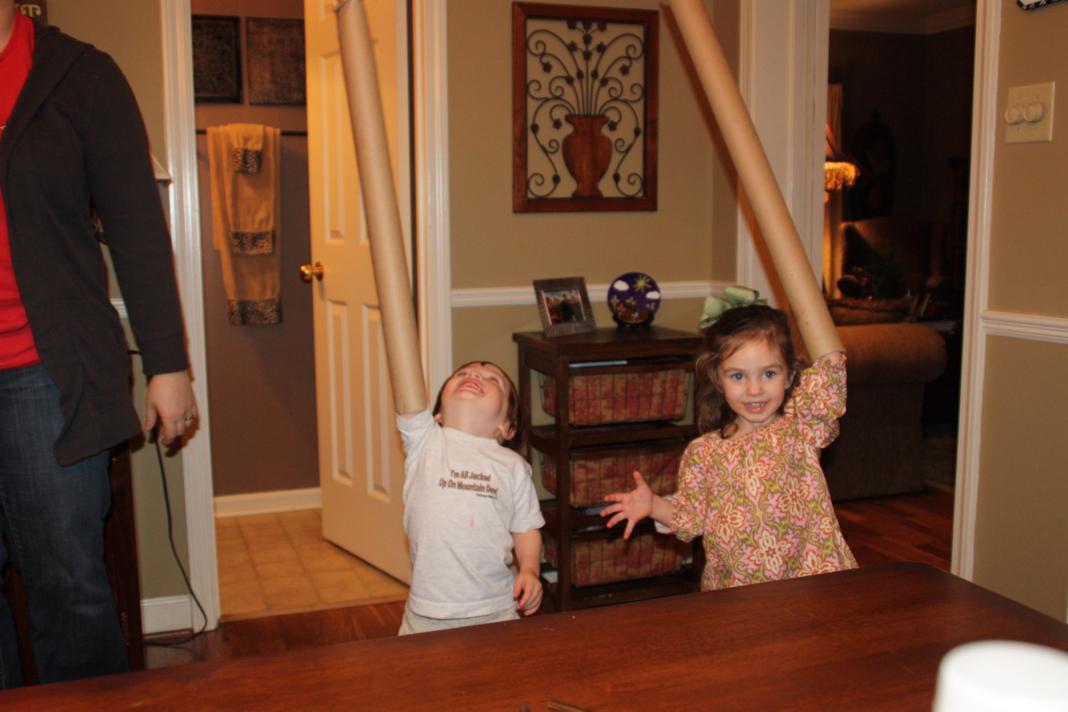
Parker and Bren had nubbin' arms after they found some cardboard fabric rolls.  They thought they were fun and we thought they were hilarious.

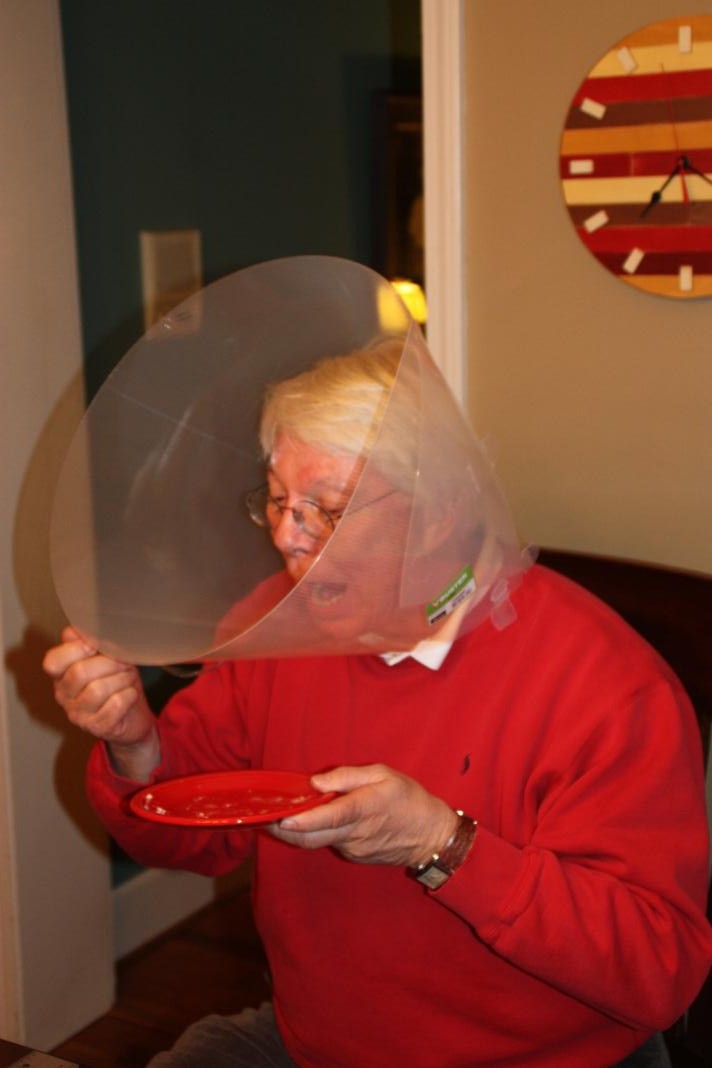
Did anyone reading this make a new year's resolution to lose weight?  If so, my dad has come up with the perfect diet solution for you.  Don't waste your time counting calories, exercising, or eating low-fat foods.  All you need is one of these:

As Dad demonstrates, simply wear the cone during meals and it's impossible for you to eat.

The pounds will just drop off!  That's my dad's gift to you on his birthday.

Happy birthday, Dad!