Before I get to the hallway, can I just say that you guys totally rock! Why? 1 - You actually read my nerdy post. I completely expected everyone to just skim right over it. 2 - You shared your opinions on the issues. 3 - MOST of you sided with me. Yay!
And Beth, I didn't even think about the fact that you teach keyboarding. Duh! I'm so glad that you confirmed that the correct answer is two spaces after a period. As far as this blog goes, we'll carry on with double-spaces and extra commas.
Ok, ok. Let's talk about my parents' hallway makeover! We completed this project about a week or so ago, but I'm just now getting around to looking through the pictures. The hallway I'm referring to is the one from my parents' garage door. It leads to the laundry room, my parents' bedroom, and the kitchen. And, until a couple weeks ago, it was the last of the wallpaper in their house.
My mom got to work before I was able to get good before shots. Here are some I dug up in my archives so you can see what we were working with.
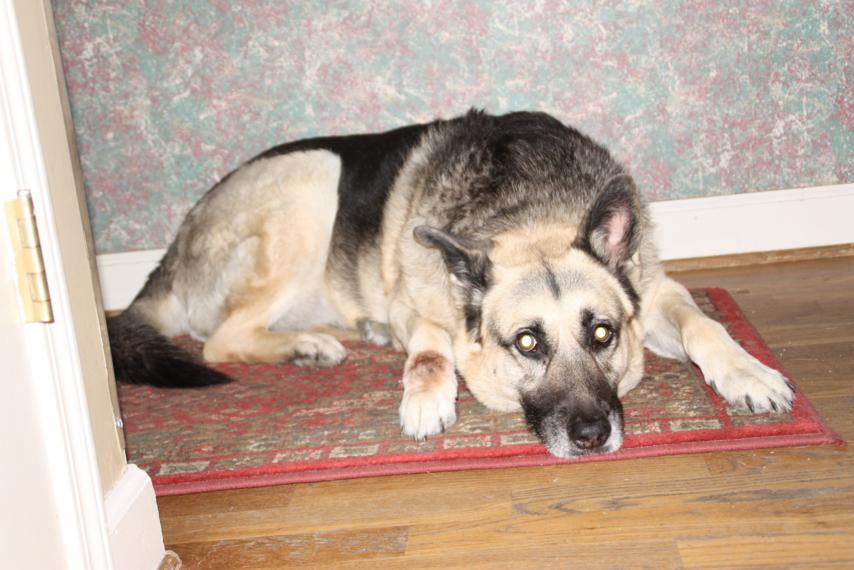
In this really bad, scary-eyed picture of Taylor, you can see the nice "sponged" looking wallpaper.
My mom chose the wallpaper years ago because she thought it would hide dirt. This hallway sees lots of traffic since we all come in and out the garage door.
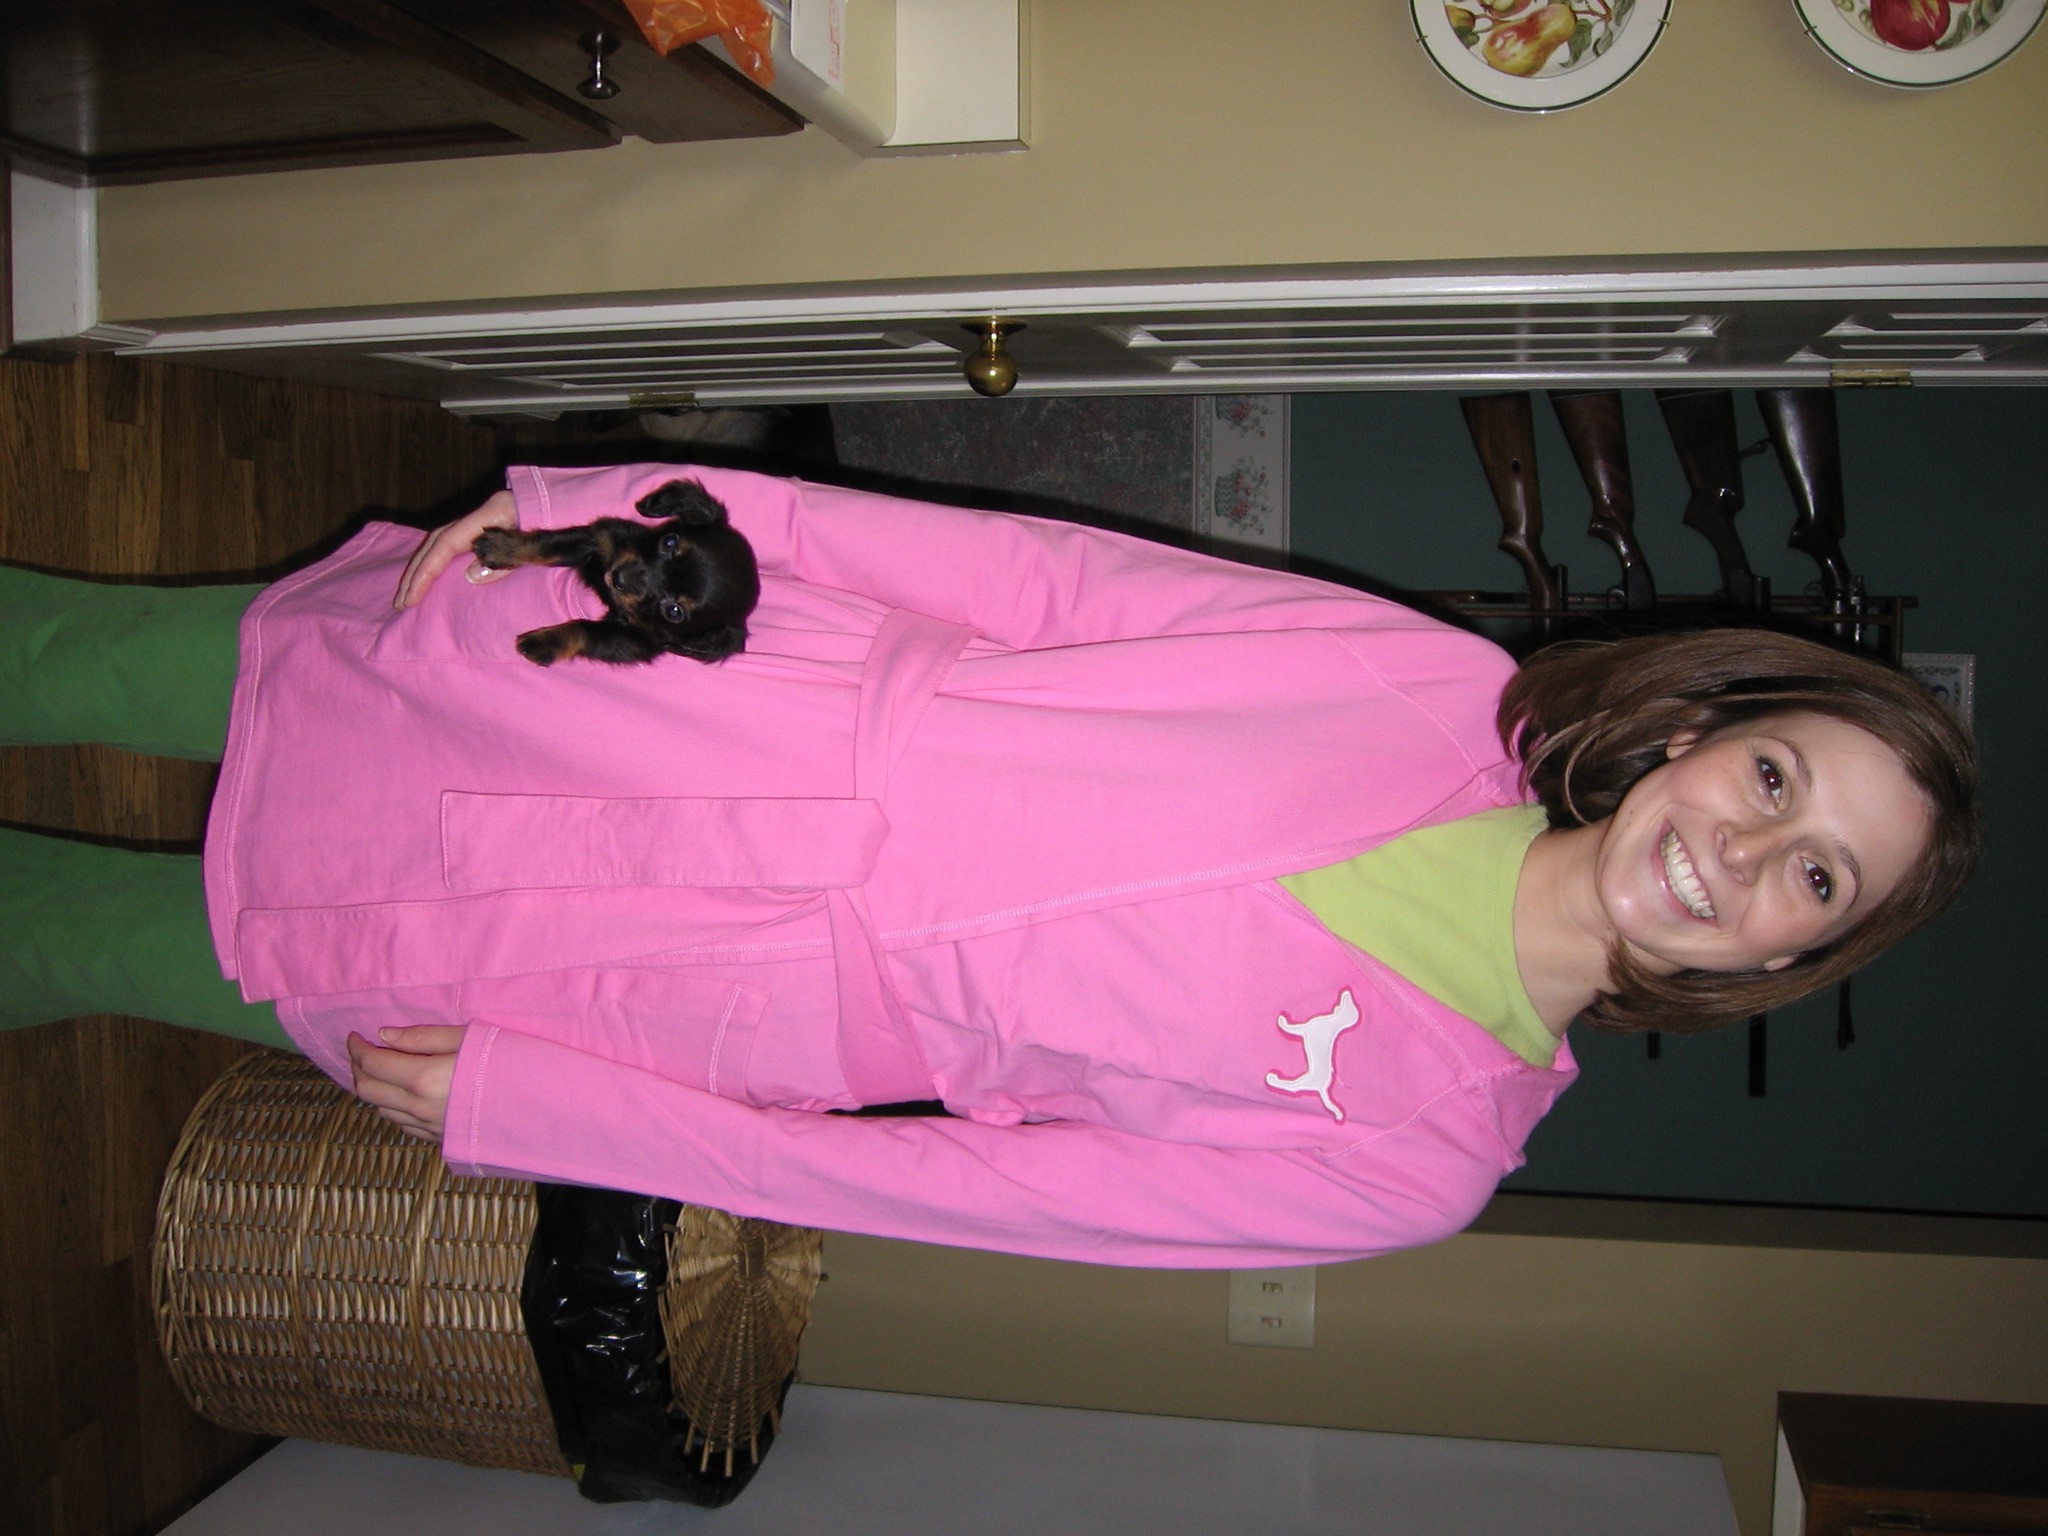
If you look past me and sweet Minnie in the picture below, you can get a full view of the wall. The "sponged" wallpaper is on the lower portion, right below a sweet wallpaper border separating it from the teal colored walls. And yes, that would be a gun rack hanging in the hallway. We're from the south, y'all.
In the picture above you can also see the falling-apart garbage can of yore, the old white refrigerator, and the cabinets and countertops before their 2008 makeover.
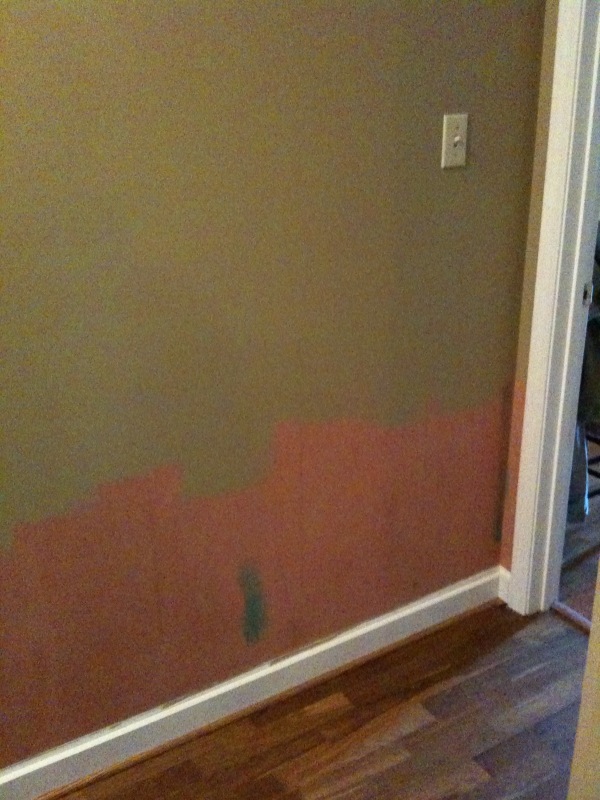
Good looking hallway, right? By the time I arrived with a camera, my mom had already stripped the wallpaper off and painted the walls khaki.
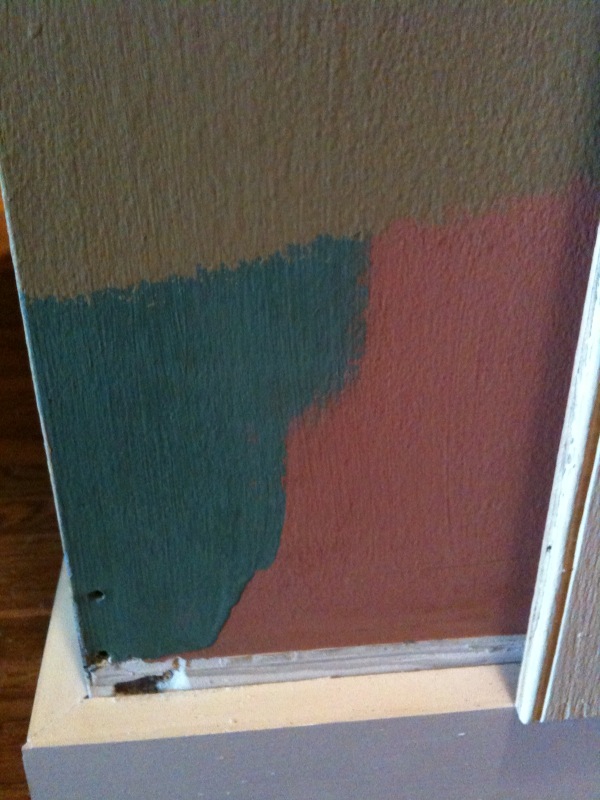
See that salmon color below the khaki? That's what color the hallway was before the teal.
Here's the progression of the hallway in paint colors: salmon to teal to khaki. I think it's a huge improvement.
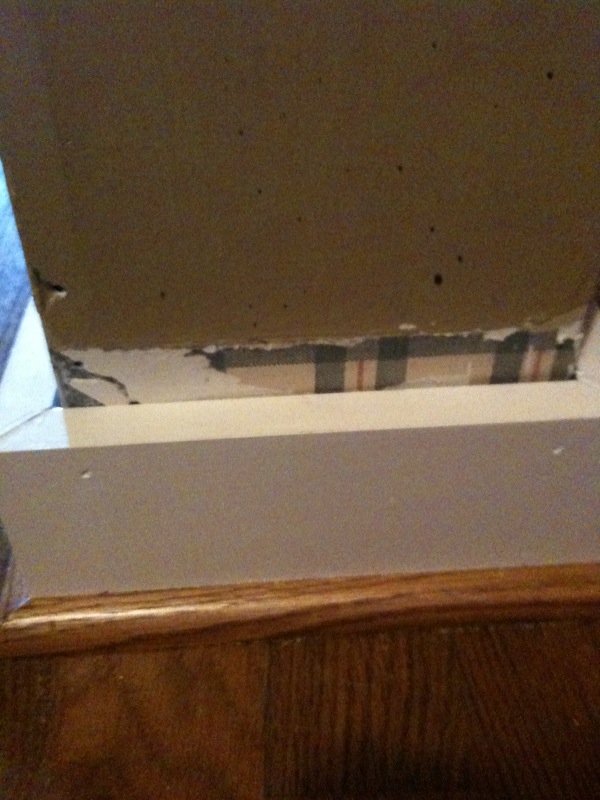
And as if those paint colors aren't awesome enough, check out this tiny remnant of wallpaper that coated the halls when we first moved in. A nice country plaid...
When my mom was done stripping the wallpaper, my dad ripped off the old baseboards and quarter-round. The ones in the picture above are new...that was his first step in this hallway transformation.
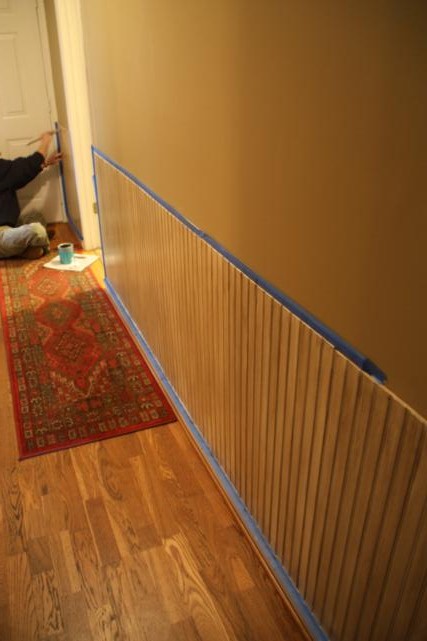
With the walls painted and the new baseboards and corner-round installed, the next step was to add sheets of beaded board. We were going for a wainscoting effect, but definitely taking the easy route by using the sheets of beaded board instead of the tongue and groove planks.
My dad painted the sheets of beaded board a creamy color before we nailed them to the wall. Just one less step we'd have to do in that tiny hallway. (By the way, my mom was out of town during the majority of this process. Dad did the bulk of the work but Doc and I pitched in a lot.)
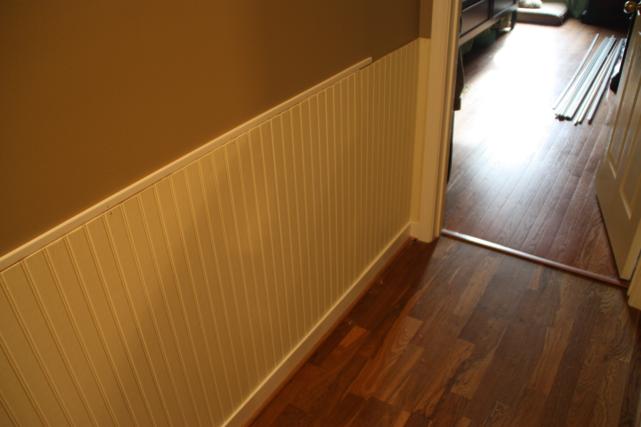
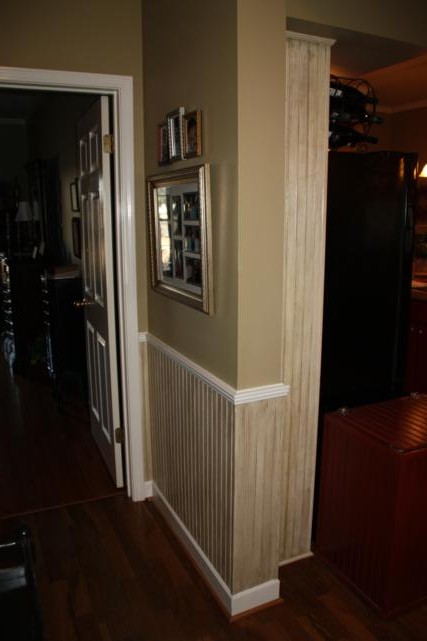
So here's how the hallway looked after the beaded board went up. This view is from my parents' bedroom doorway looking at the back door. The kitchen is to the left and the lit up room on the right is the laundry room.
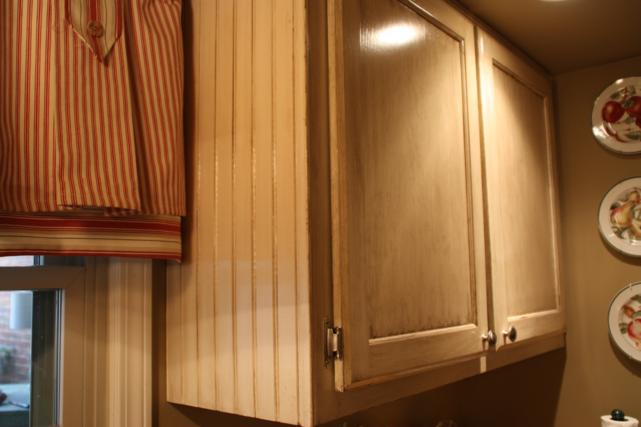
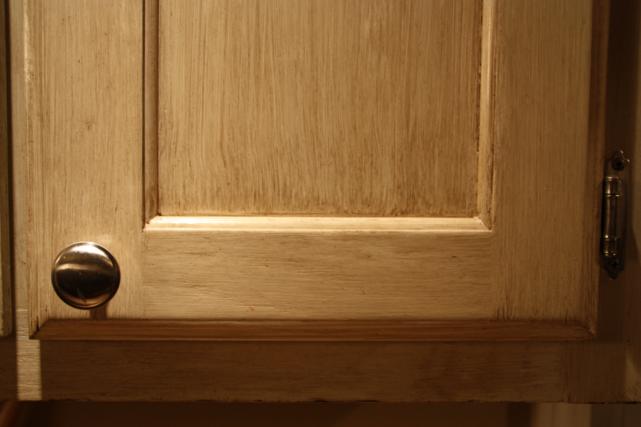
Remember how I said the kitchen cabinets and countertops had a makeover of their own in 2008? The cabinets used to be a dark brown and my mom paid someone to come in a paint them an antiqued/distressed khaki to brighten up the kitchen. This is how they look now.
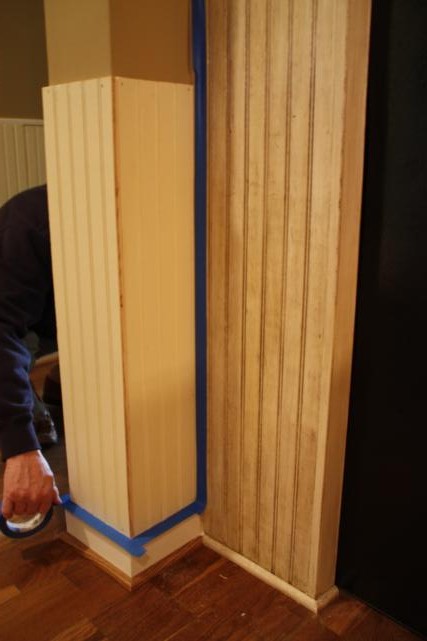
Why does that even matter? Well, the new beaded-board in the hallway curved around the corner and bumped right smack dab into the painted beaded-board in the kitchen.
(New stuff on the left, 2008 makeover beaded-board on the right.)
My job was to make our newly installed beaded-board match what was already in the kitchen. Was I nervous? You betcha. Luckily, I paid lots of attention to the girl that painted their cabinets, so I tried to do everything like she did.
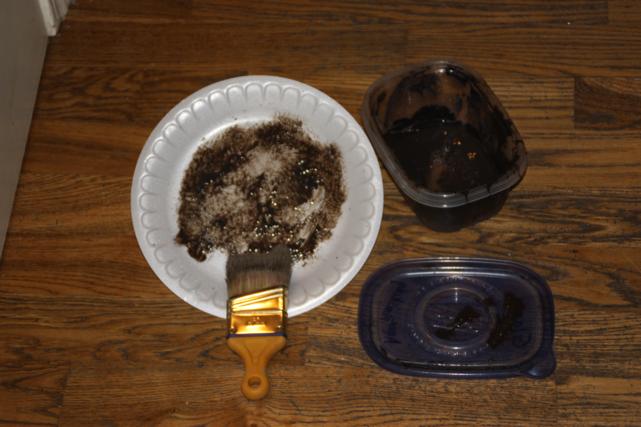
I mixed my glaze to match what she had used (yes, I kept some of hers - I knew it would eventually come in handy).
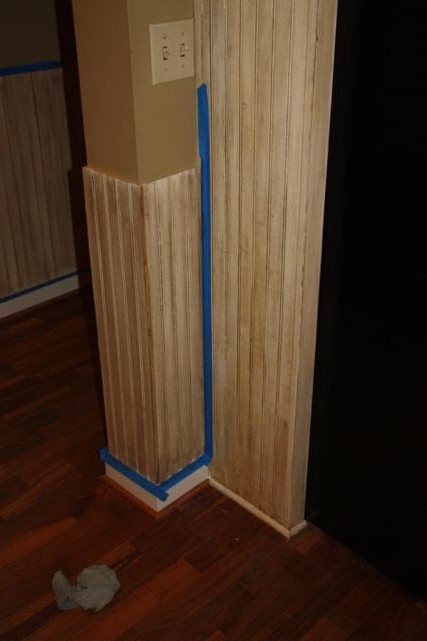
I took a deep breath and got to work. I started in the corner where the two met so I could make sure I was getting it the right shade. Here's the result:
Not too bad, eh?
I continued glazing while my dad followed behind me with a polyurethane. We used water-based poly so it wouldn't turn yellow.
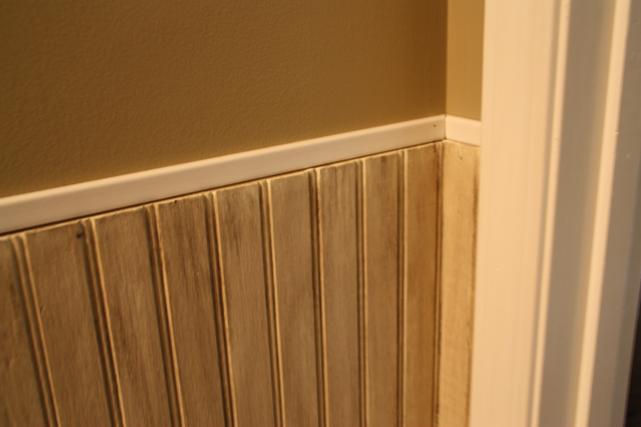
Next up we added this small piece of trim around the top. We used a level to make sure we hung it straight, just in case we didn't have perfectly straight cuts at the top of our sheets of beaded-board.
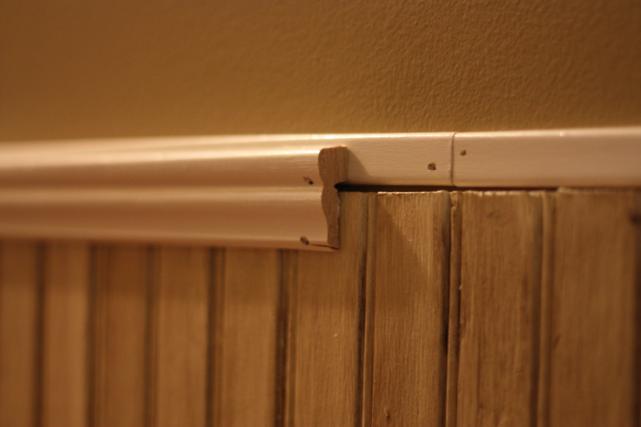
Then we put up the decorative piece of molding. This piece covered any gaps we had between the beaded-board and the smaller trim.
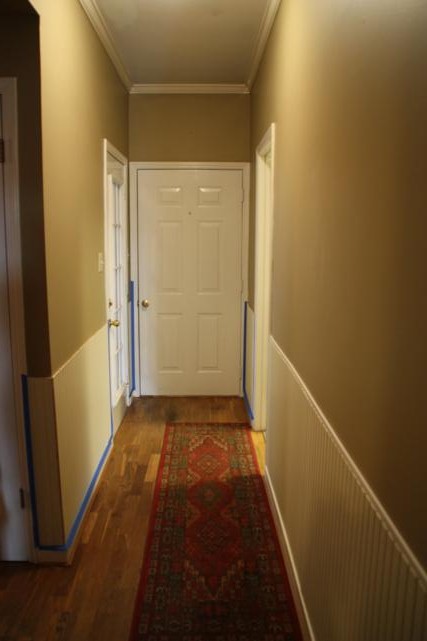
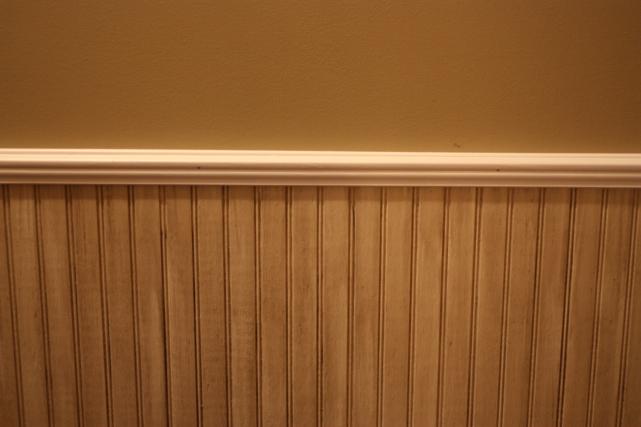
Here's how it looked after both pieces of trim were on.
The last step was to add another small piece of trim around the baseboard to hide the raw edge of the sheets of beaded-board. No picture of this. Sorry.
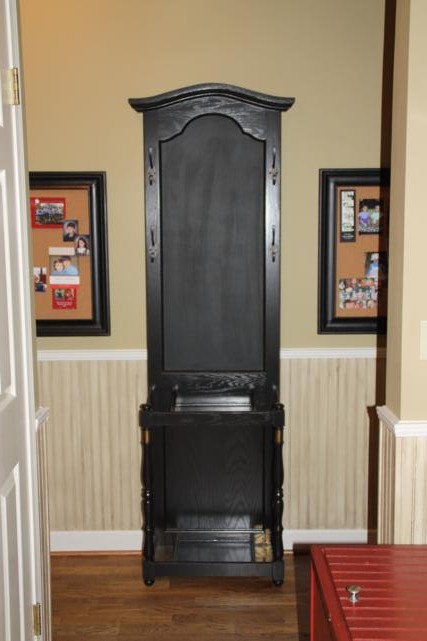
Actually, I guess the very last step was to redecorate the hallway. Thankfully, I managed to talk my mom into ditching the gun rack. Of course, that meant she needed to go in its place. Luckily for her, I had already refinished the perfect piece for her hallway.
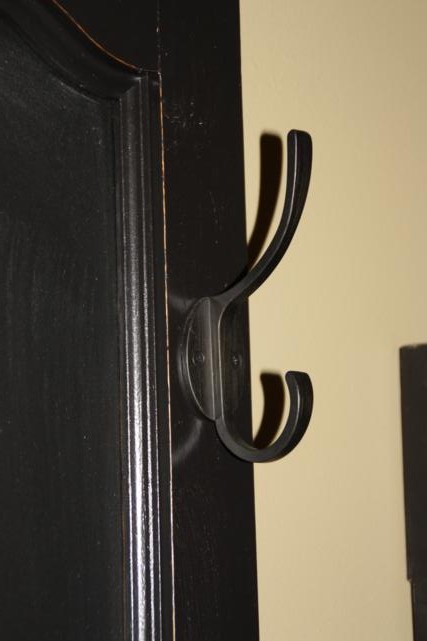
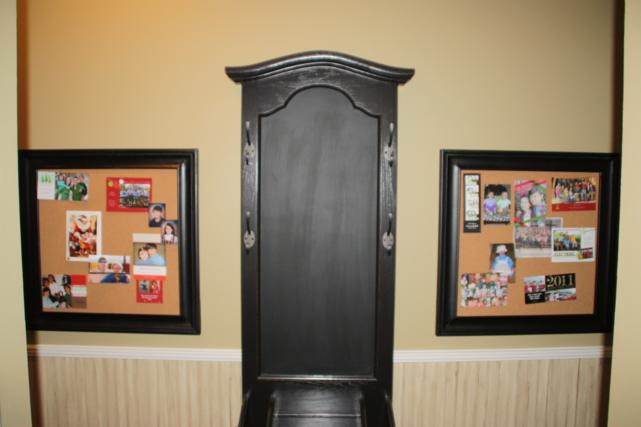
I bought this hall tree for $5 a little over a year ago. It was stained oak and had a broken mirror and hideous white and gold hooks. I painted the wood black, replaced the broken mirror with a chalkboard, and bought new black hardware to replace the ugly hooks. (My flash was on for the photos so it didn't photograph very well. Boo.)
Hang your coat or hat on these new hooks:
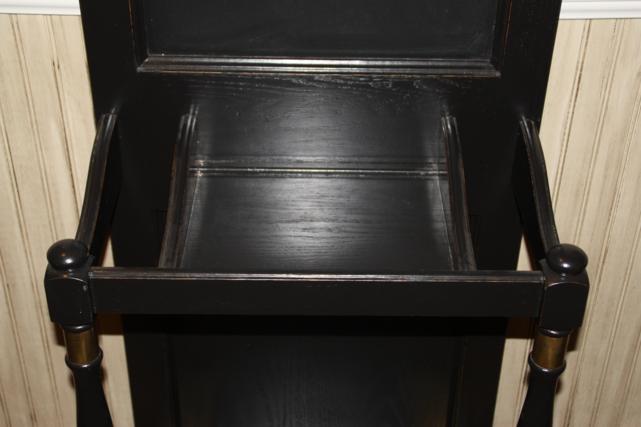
Small shelf to throw your keys or purse on...the openings on either side of the shelf are where you stick your umbrella.
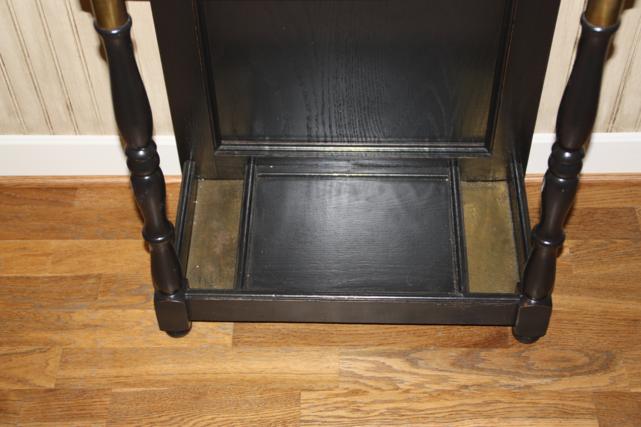
The brass plates at the bottom are where your wet umbrella can rest, and the shelf in between them is where you can put your wet boots!
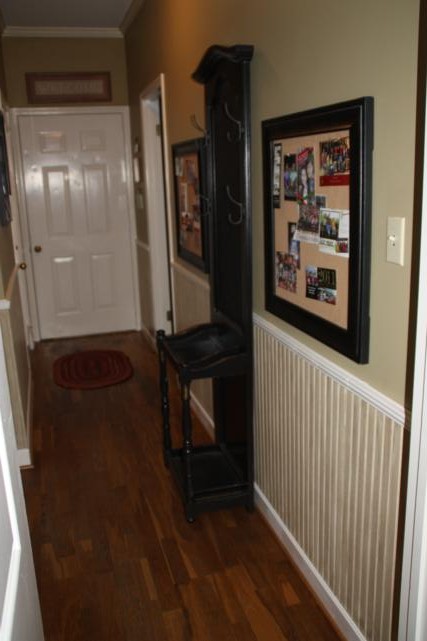
My mom decided this hallway is where she wanted to hang snapshots and things from her grandkids, and she wanted it to all be easy to change or add to. She hung these big bulletin boards on either side of the hall tree, and they're hung low in case she ever wants to hang something else above them.
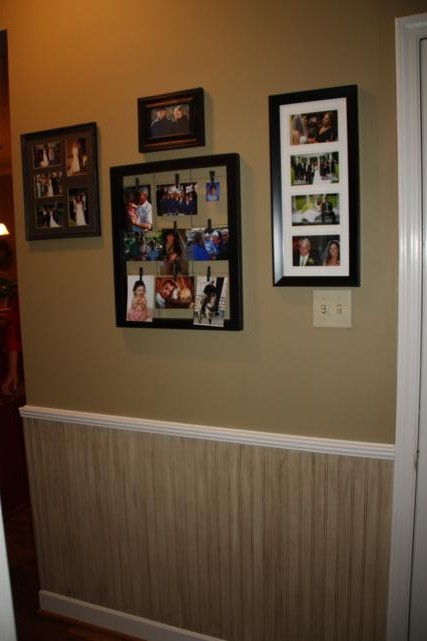
On the opposite wall is a collage of frames. Don't worry, she's got another frame to hang on the bottom left in that empty spot.
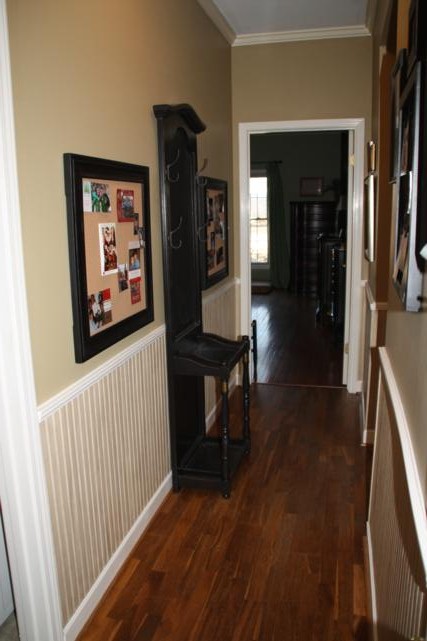
And here you can see how the hallway leads into the matching kitchen.
So that's it for the hallway. We can officially check that off our list of things-to-do. I hope you like it, Mom, cause as far as we're all concerned, it's going to stay that way for a loooong time!

